-
Tired of adverts on RWI? - Subscribe by clicking HERE and PMing Trailboss for instructions and they will magically go away!
You are using an out of date browser. It may not display this or other websites correctly.
You should upgrade or use an alternative browser.
You should upgrade or use an alternative browser.
How to make a true gilt dial on the cheap - Tropical or Black
- Thread starter chrome72
- Start date
Rock n roll! You may beat me to itBingo!

I'm not totally sure where I'll end up, but I'm going to start with transparencies for certain. I'm not against film; the quality is untouchable. But I'm not even sure if I'll use the photo resist for making a cliche or just for personal one off dials.@WatchN3RD do you plan on using film or transparencies.
I don't have the time or energy to pursue it as anything other than a new challenge or problem to solve, so it's really just about getting it to work.
If I was in charge of spearheading the quality of production at a gilt dial factory, I'd make 24" dial prints and use film negatives of their photos. But I'm just in it for the challenge. "I ain't got no business model or nuthin' with a specific end-goal. Just tryin' to have me some fun and maybe learn me sumtin' along the way."
With that said, I'm absolutely starting with transparencies, and I'm hoping that will be "good enough" for my needs.
I think it's on this thread that people have lost their minds 

With that said, I'm absolutely starting with transparencies, and I'm hoping that will be "good enough" for my needs.
Printing on transparencies will be much faster and cheaper to experiment. If you nail down your final designs and process (and as you know the two can be tied together), you could always make high quality large prints, photograph them, have the negatives developed, and use the higher resolution negative for printing. But I would not spend the time or money until you get the process down, and I think a high resolution print on transparency will deliver good enough results.
Also, a minor correction from what I previously posted: a 6x9 carrier won't work in your enlarger, and they don't make one for it anyway. 6x6 or 6x7; whichever is cheaper and easier to find.
Looking forward to seeing how this turns out, and I'm happy to contribute knowledge to this endeavor!
@WatchN3RD chatted with some folks on the vintage photo Reddit group and you have a good set up! What you aim to do it 100% feasible. Thanks for pushing us forward!
Thanks for confirming the good news, and give yourself some credit for pushing forward too!@WatchN3RD chatted with some folks on the vintage photo Reddit group and you have a good set up! What you aim to do it 100% feasible. Thanks for pushing us forward!
Much appreciated. From your previous post, I divulged a 2.25x2.25 aka 6 x 6 would most likely be perfect. Your advice was great.Printing on transparencies will be much faster and cheaper to experiment. If you nail down your final designs and process (and as you know the two can be tied together), you could always make high quality large prints, photograph them, have the negatives developed, and use the higher resolution negative for printing. But I would not spend the time or money until you get the process down, and I think a high resolution print on transparency will deliver good enough results.
Also, a minor correction from what I previously posted: a 6x9 carrier won't work in your enlarger, and they don't make one for it anyway. 6x6 or 6x7; whichever is cheaper and easier to find.
Looking forward to seeing how this turns out, and I'm happy to contribute knowledge to this endeavor!
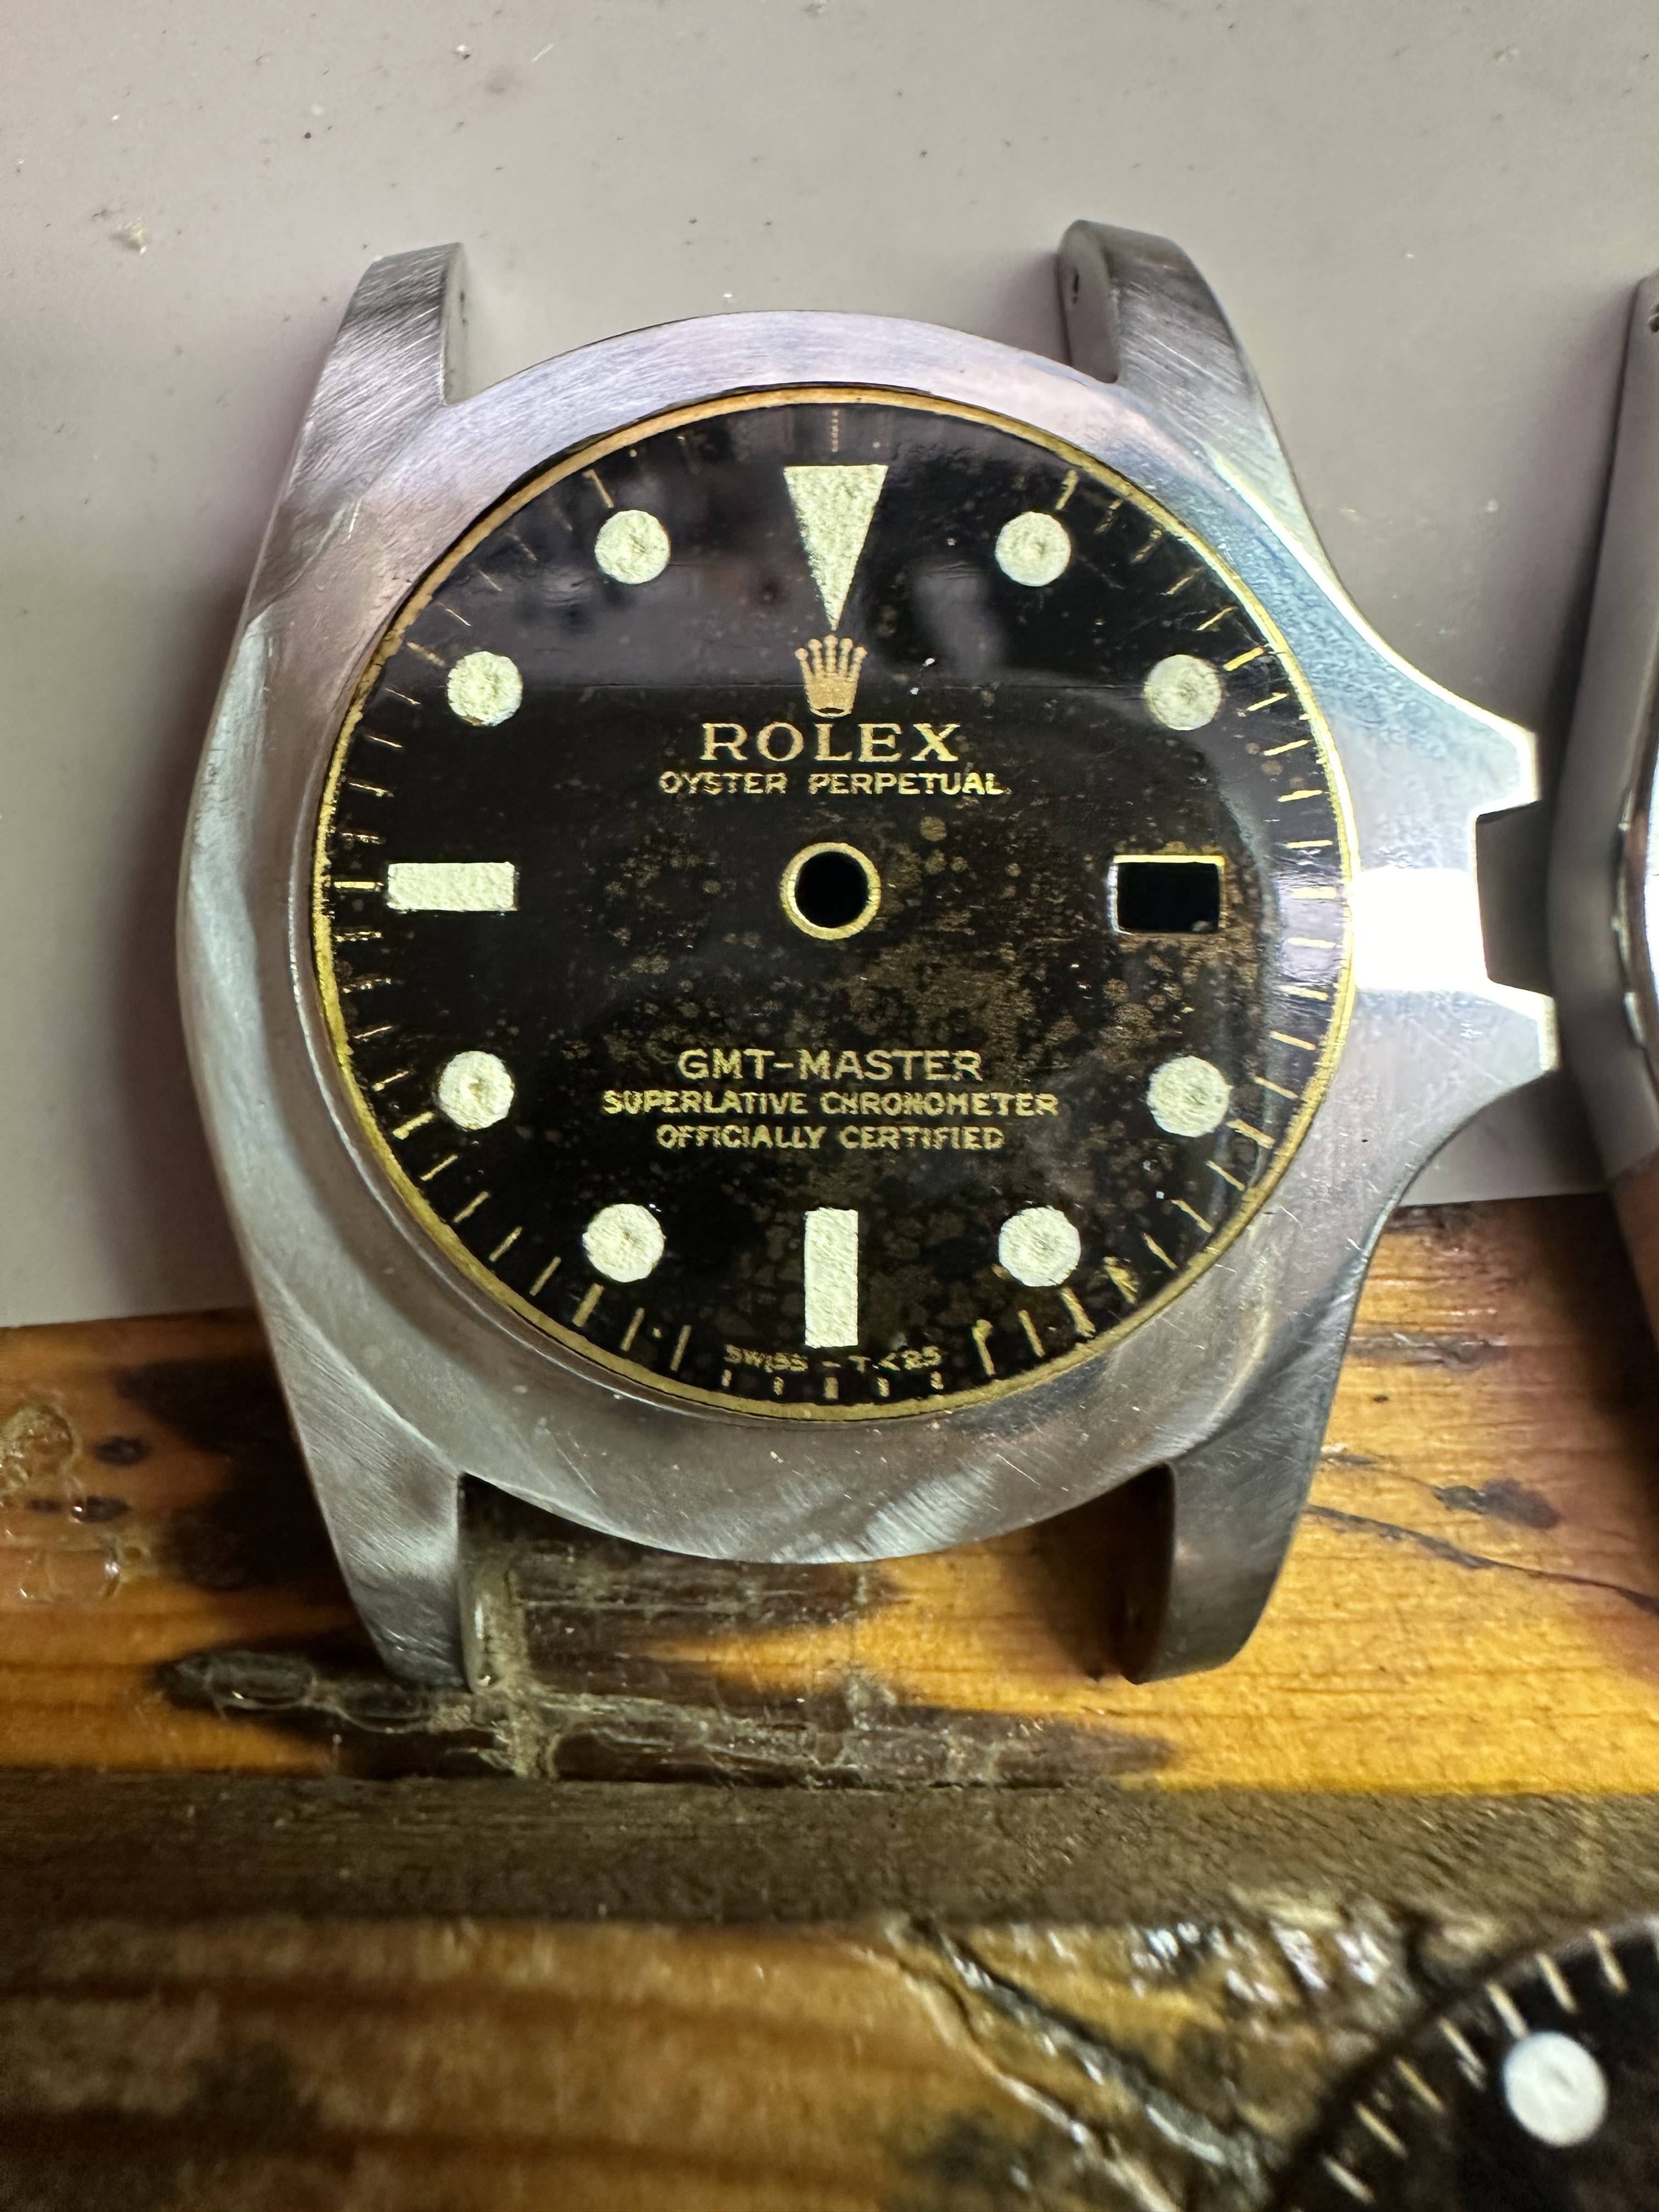
I challenged me again at the tiny and fine 1016 dial. This time you can read the swiss at the bottom:
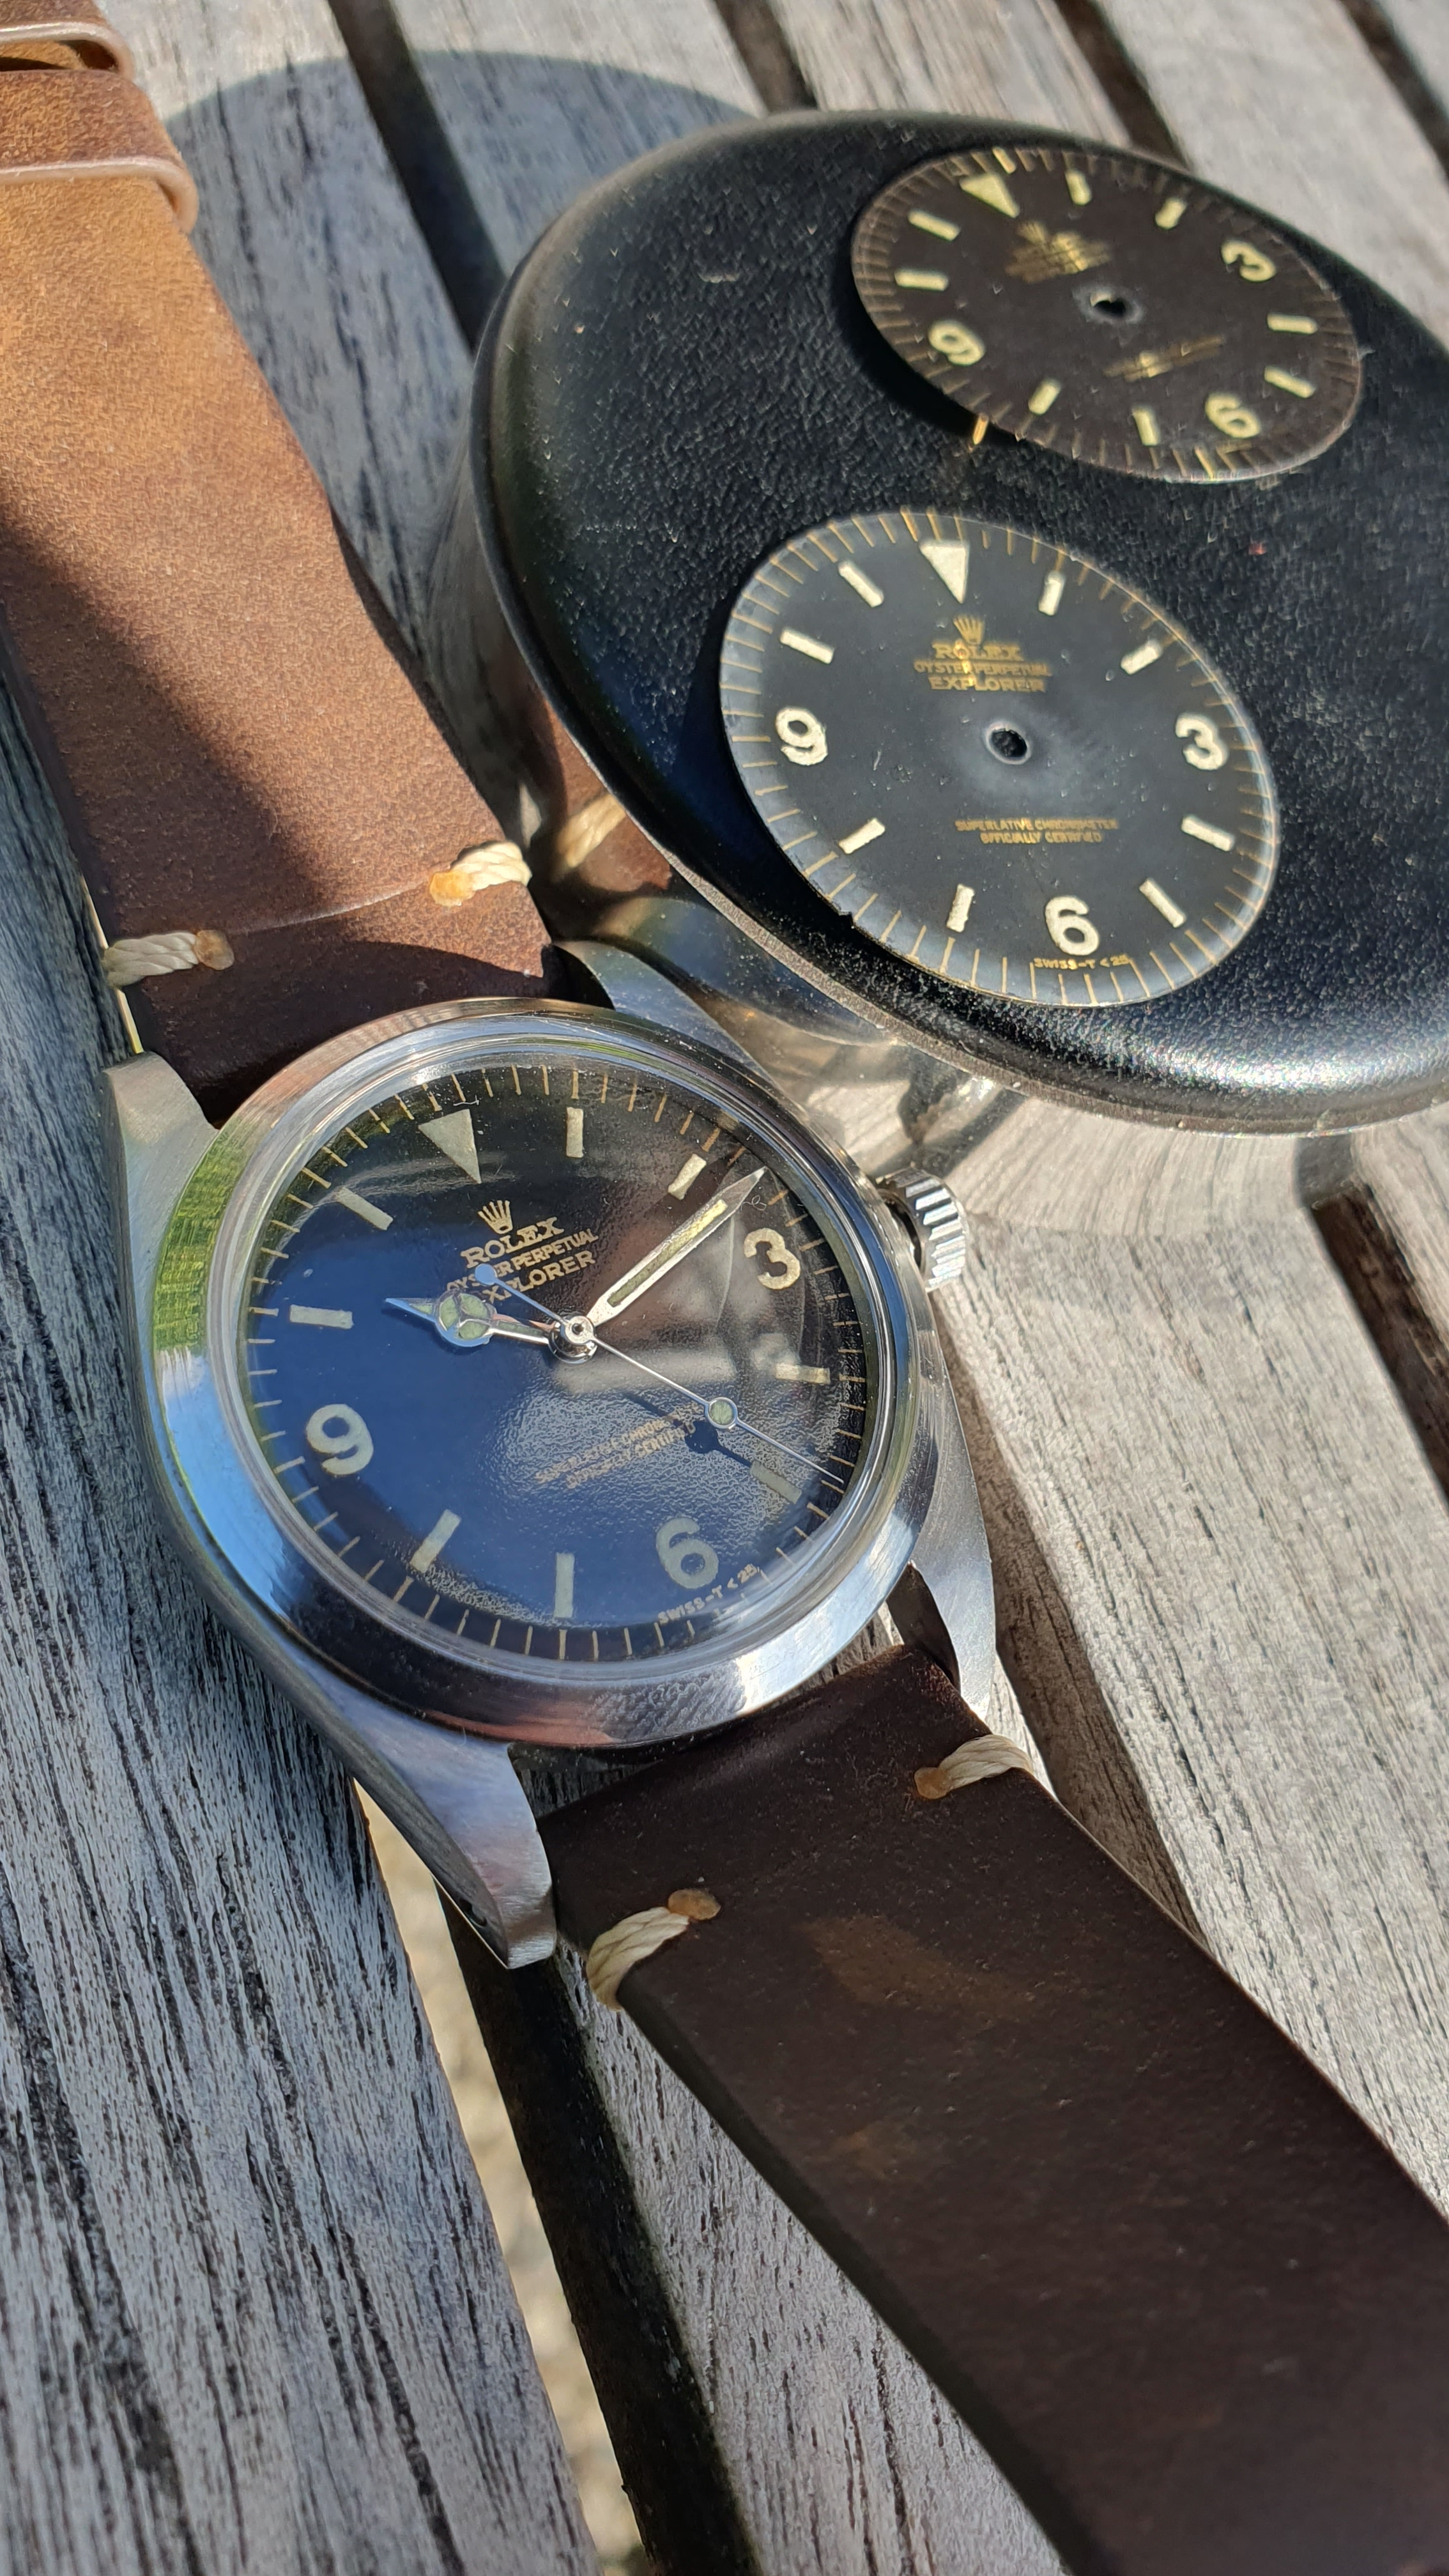
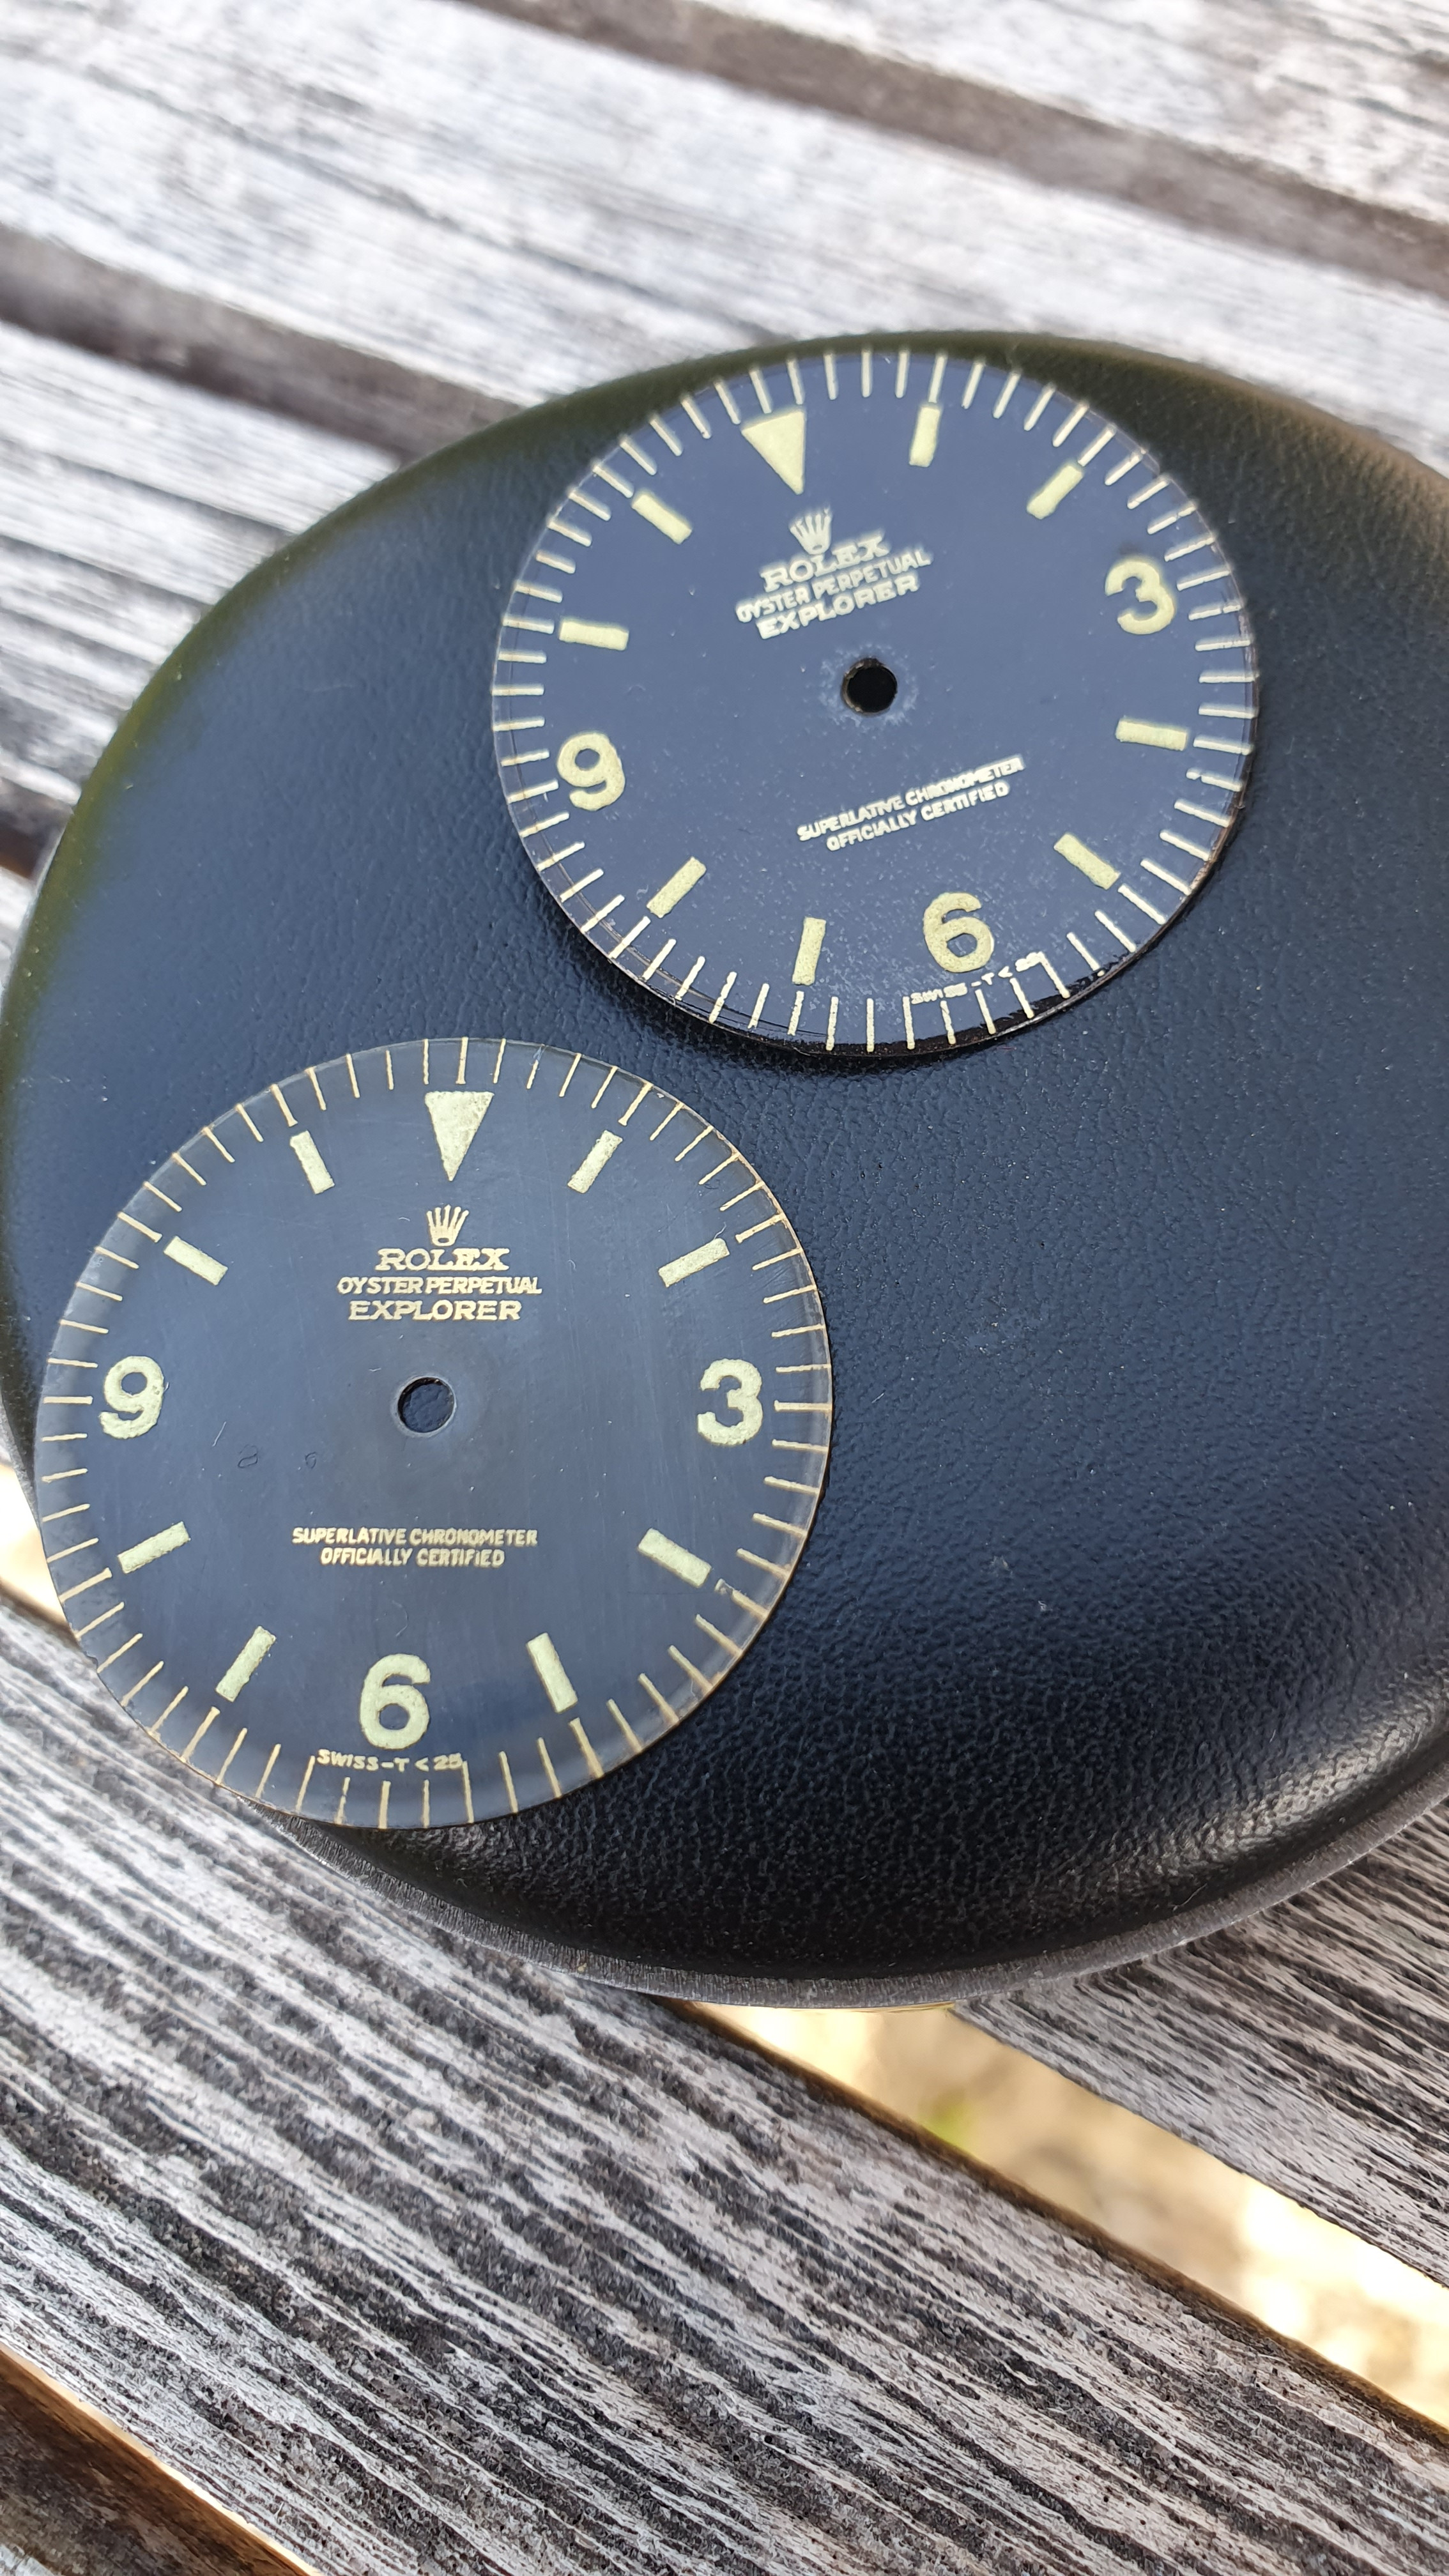
This time the crown found its way to the dial. There for the calender hole is horrible.
Did you realize, that I forgot the crown on the dial? Me not. Sometimes you are so focussed that you no longer see the big picture.
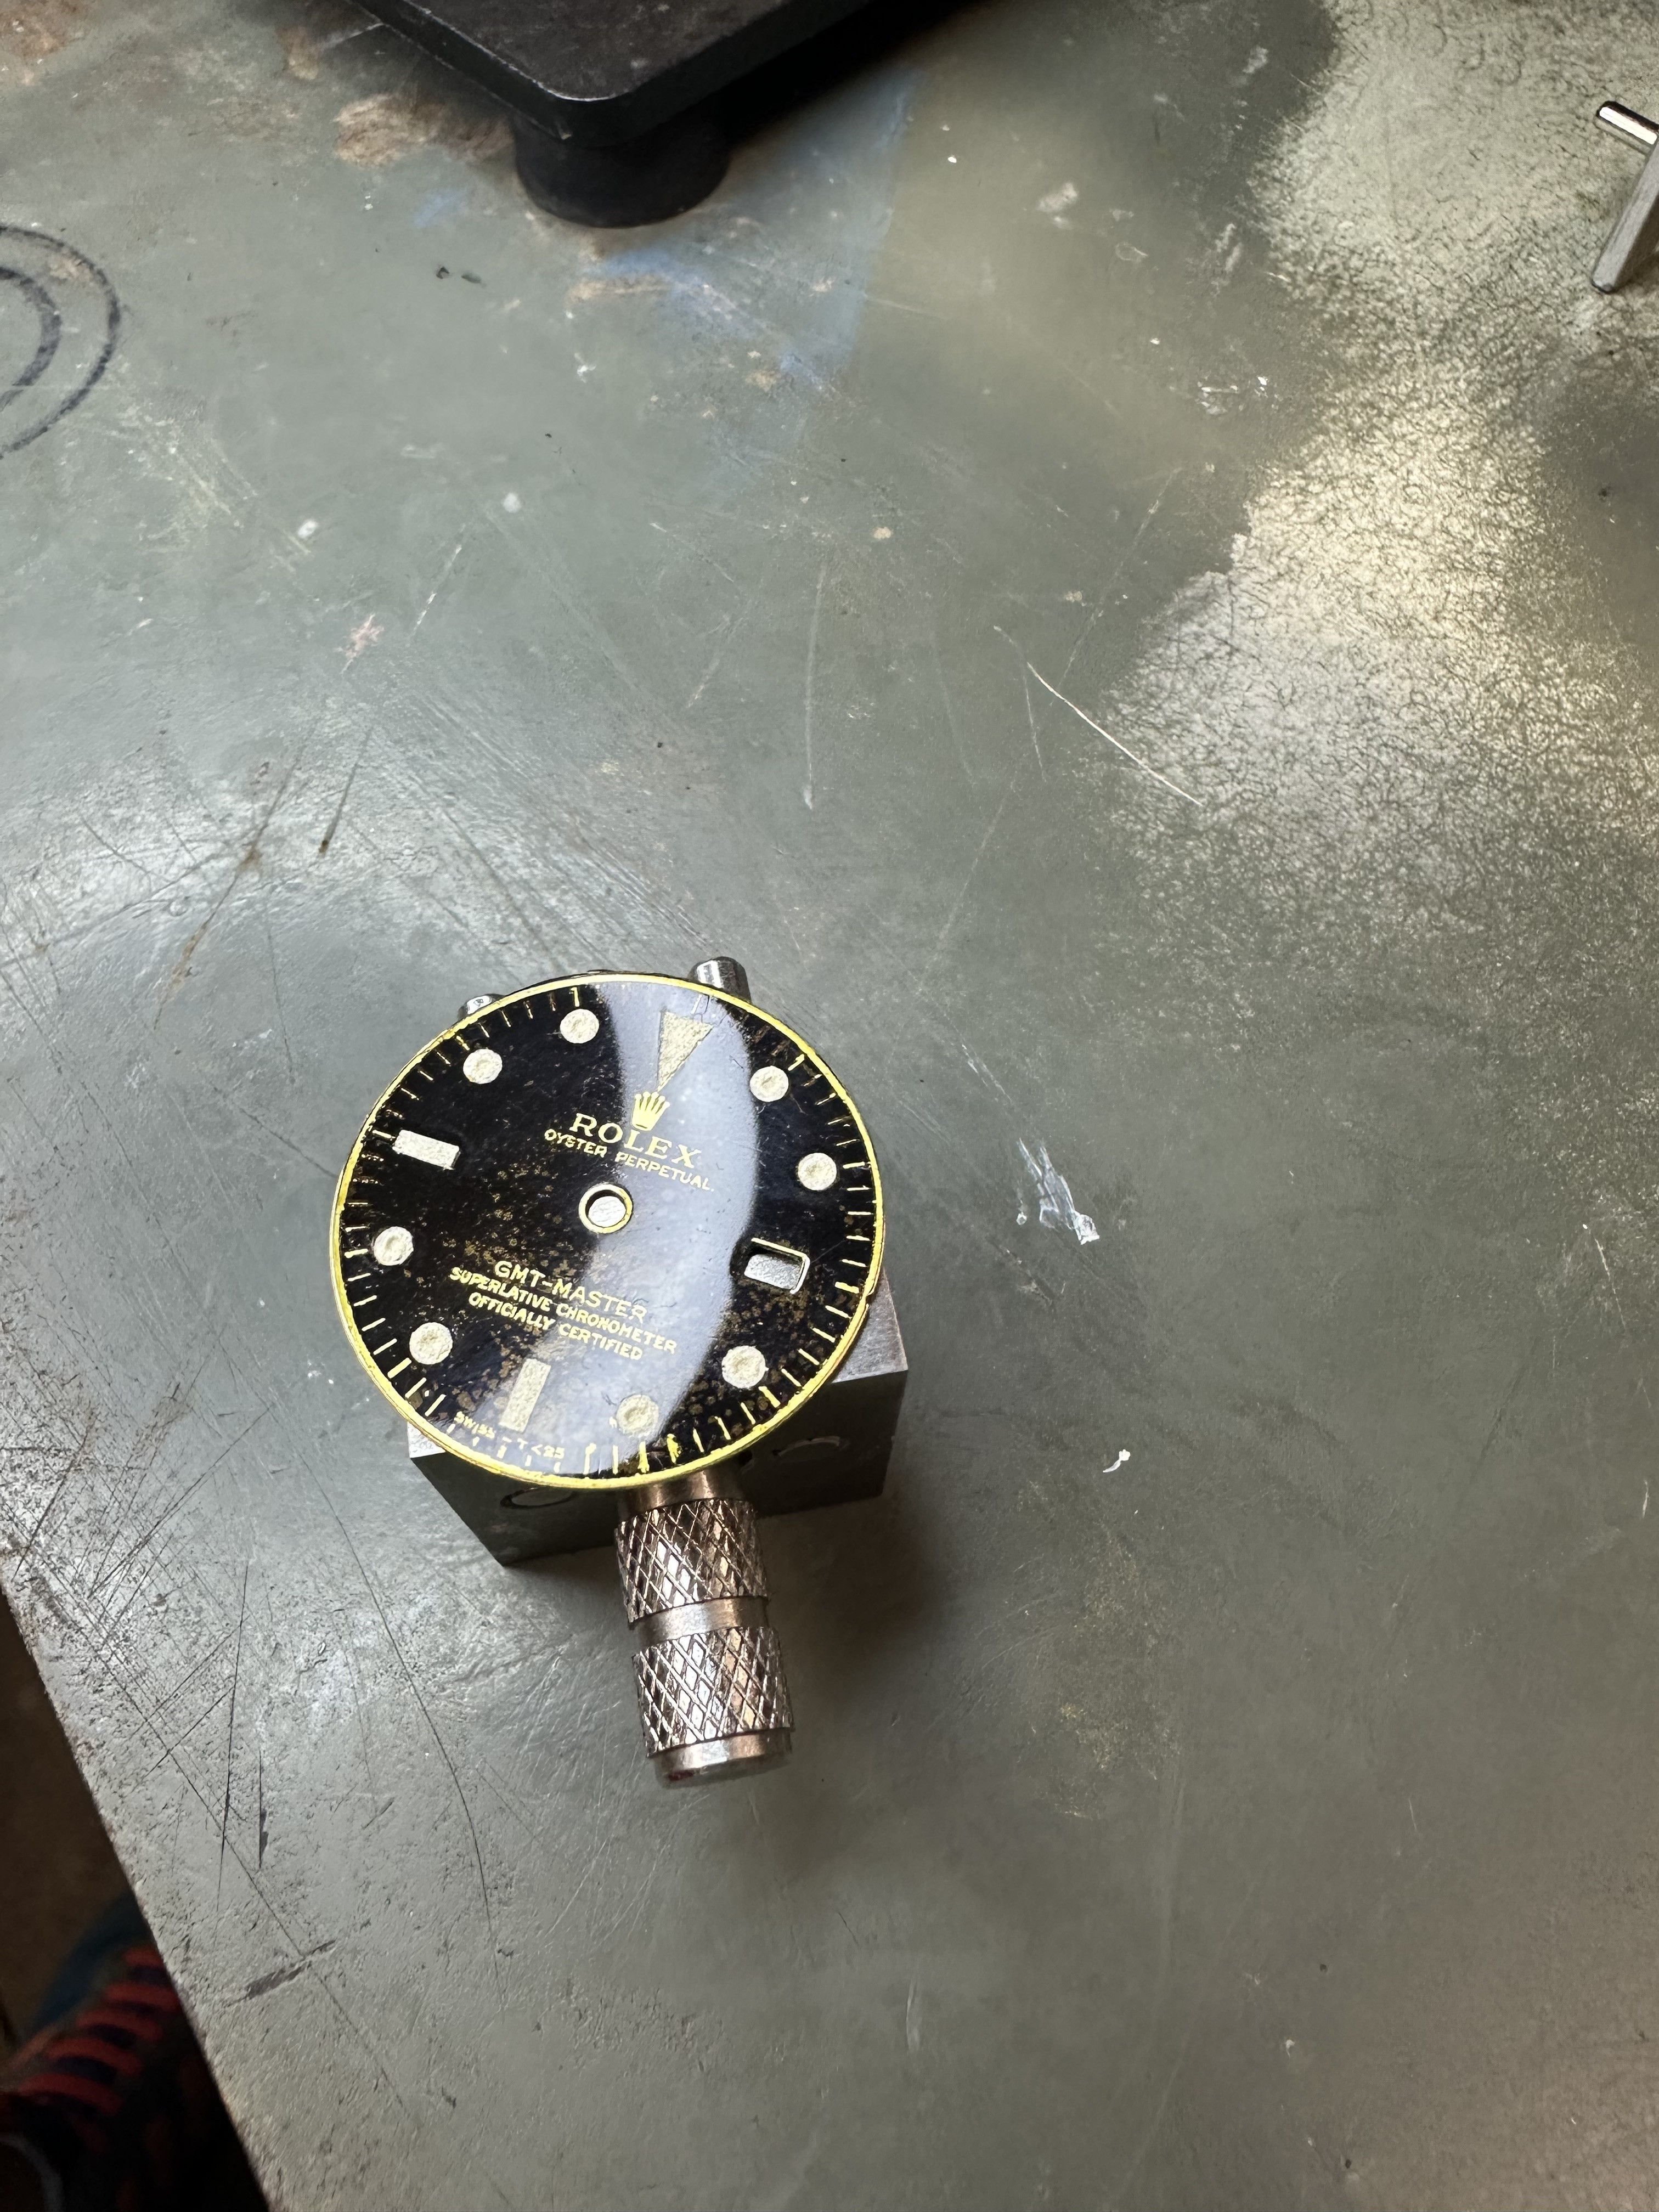
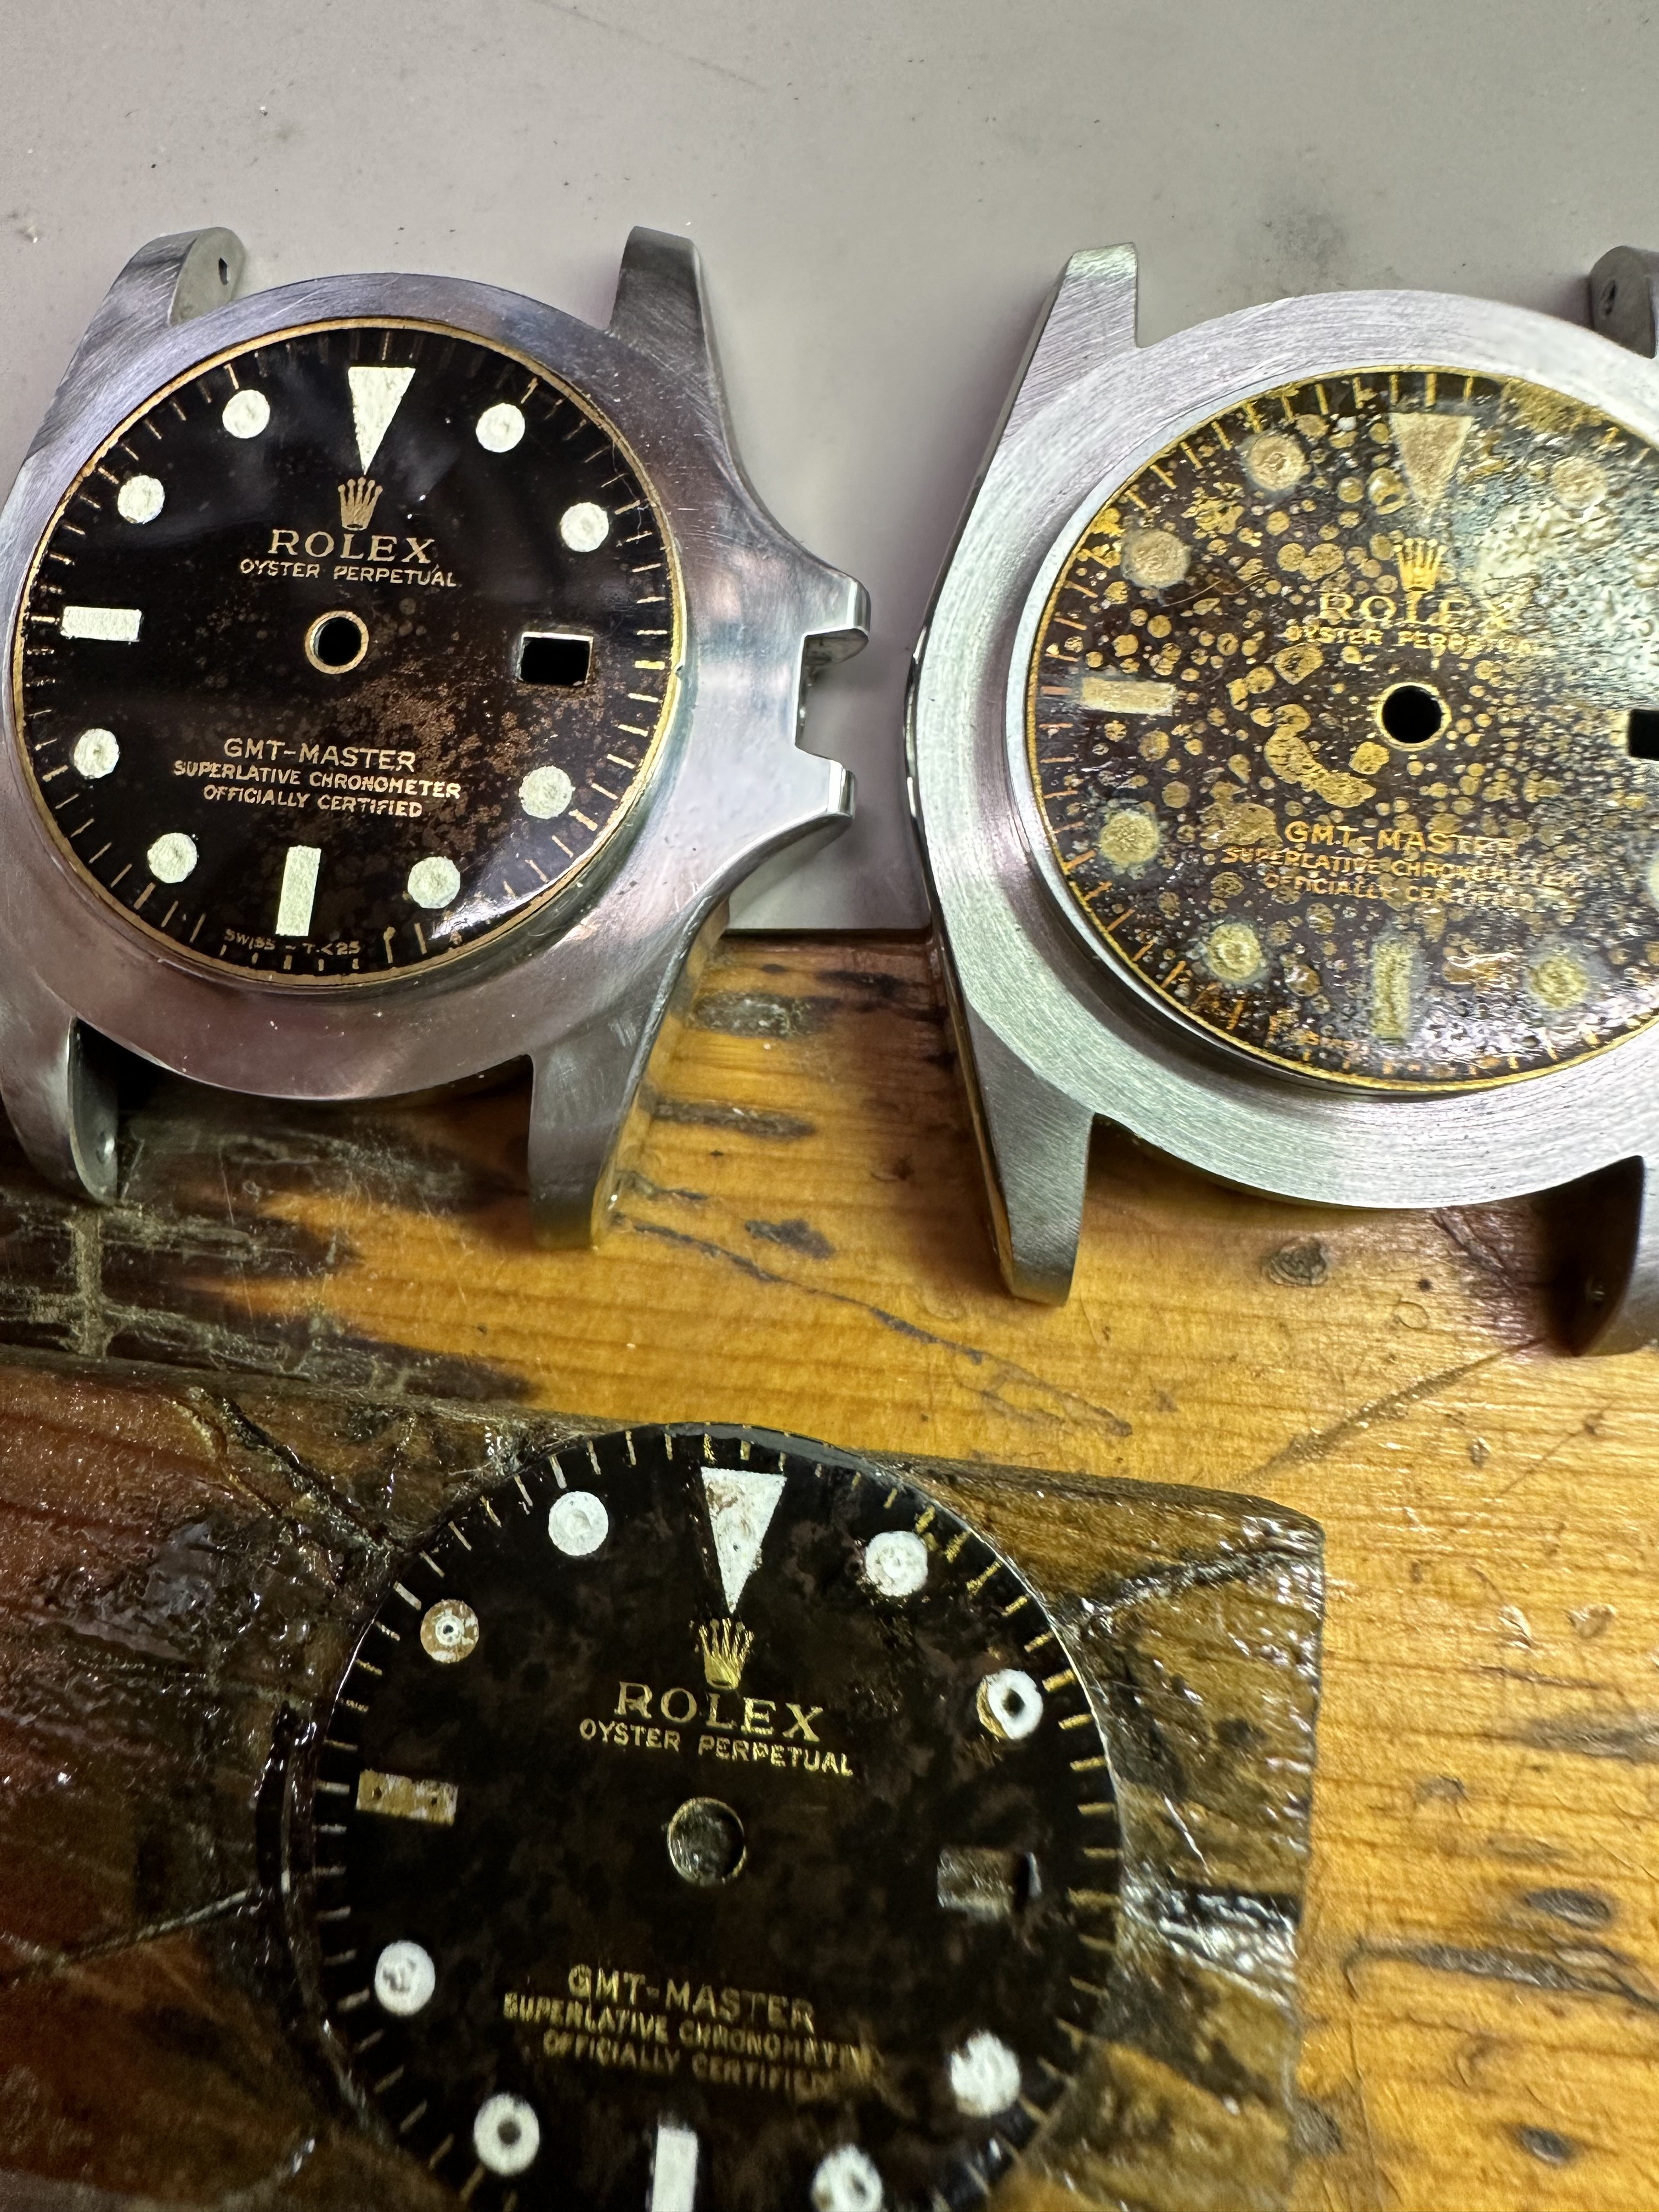
I still had a dial coated with some crappy nitrocellulose that wouldn't dry. I tried to heat it a little, and it started to bubble up like a cheap piece of plastic.
I think it came out good for a crazy "tropical," but I'm more impressed with the other dial I've managed to not destroy yet.
It's not my best dial or my best lume, but it's one of my better dials with better lume.

I think it came out good for a crazy "tropical," but I'm more impressed with the other dial I've managed to not destroy yet.
It's not my best dial or my best lume, but it's one of my better dials with better lume.
@WatchN3RD I think you are well on your way to perfecting tropical gilt dials. You've learned a few techniques to help control the degree and overall outcome of the tropicalization. I suspect you will be getting requests, if you haven't already. Great job!
On another note, I have been happy with the nitrocellulose that I tried, although I couldn't get a great polish. I suspect I might need to try a light coat of glossy acrylic varnish afterwards. Plenty of experimentation left to do.
On another note, I have been happy with the nitrocellulose that I tried, although I couldn't get a great polish. I suspect I might need to try a light coat of glossy acrylic varnish afterwards. Plenty of experimentation left to do.
Well, thank you for those very kind words! I have not had any requests; just a few dials where I got lucky. But again, thank you for the compliment.@WatchN3RD I think you are well on your way to perfecting tropical gilt dials. You've learned a few techniques to help control the degree and overall outcome of the tropicalization. I suspect you will be getting requests, if you haven't already. Great job!
On another note, I have been happy with the nitrocellulose that I tried, although I couldn't get a great polish. I suspect I might need to try a light coat of glossy acrylic varnish afterwards. Plenty of experimentation left to do.
I should clarify, I don't think all nitrocellulose is garbage. I am using some that is sold as instrument lacquer, and that specific product seems to provide more troubles than benefits. It's thick, takes a while to dry, and is rather sensitive to heat and humidity. The acrylic rattle-can I have is easier to use, more durable, and it has a better looking finish. Happy to hear that your nitrocellulose is not giving you the same issues mine is.
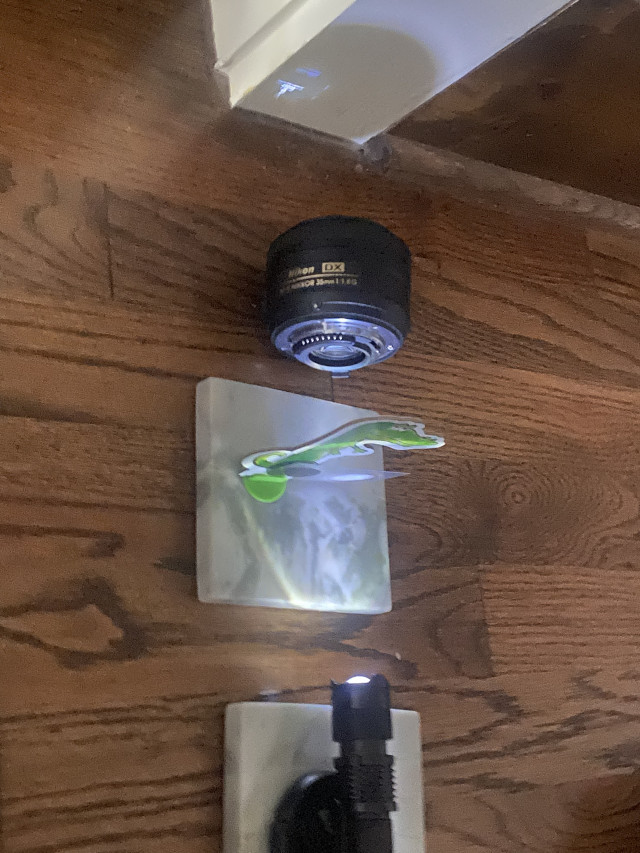
@WatchN3RD while I figured out my 3d printer I borrowed my neighbors camera lenses and tried a janky photolithography set up. I have no idea what I’m doing and I know there is math involved. But project a larger image in and get a reduced image out all while keeping the details. If you reverse the lens you get crazy small output and you can see the words “Tudor” (not pictured)
Anyways here is my janky set up. It’s hard to capture the details with my phone but it’s super crisp to the naked eye.
Anyways here is my janky set up. It’s hard to capture the details with my phone but it’s super crisp to the naked eye.
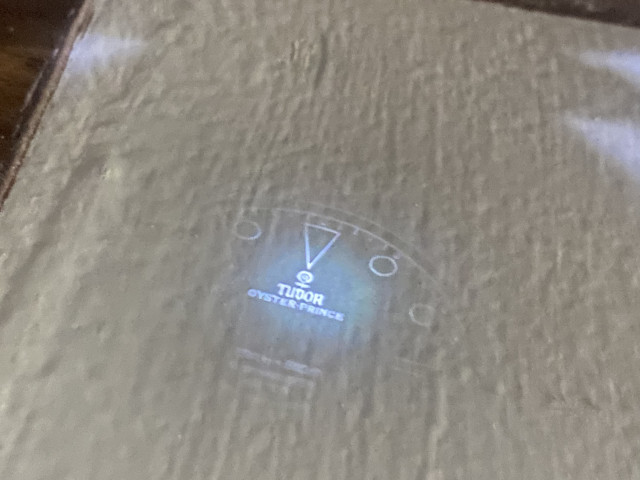
If you reverse the lens you get crazy small output and you can see the words “Tudor” (not pictured)
Anyways here is my janky set up. It’s hard to capture the details with my phone but it’s super crisp to the naked eye.
Yes, this is how it is done!
I have about 6 different lenses my neighbor let me borrow. What kind of math do I need to do to figure out how to do a better setup? I know the following matters:Yes, this is how it is done!
1) the distance from the light to the transparency
2) the distance of the transparency to the camera lens
3) the distance of the camera lens from the substrate
4) The lens itself (focal length?)
a good question would be if I know I want a project an image of X size and I have a transparency of Z size, can i work backwards from there?
I think yes, but I would still want to find out which lens is best of the 6 you have to work with. Which allows for the greatest reduction without distorting the image would be my starting point.a good question would be if I know I want a project an image of X size and I have a transparency of Z size, can i work backwards from there?
a good question would be if I know I want a project an image of X size and I have a transparency of Z size, can i work backwards from there?
The formula for distance from focal point of lens to projection plane is (M+1)f=s’.
s’ = distance from focal point of lens to projection plane
M = magnification
f = focal length of lens
If the lens is 50 mm focal length then the distance between the focal point (somewhere in the middle of the lens) to where you want the projection (photolithography board) at a magnification of 0.5 (half size or 1:2) is 75 mm. Life size (M = 1 or 1:1) would require a distance of 100 mm.
The distance from the focal point of the lens to the object (transparency with dial) is s=s’/M.
s’ = same as above
M = same as above
s = distance from the focal point of the lens to the object
So continuing the example above, if you want half size (M = 0.5) then s = 37.5 mm. Life size would be 50 mm.
M = size of object projected divided by size of object in real life. You have a 54 mm transparency of a dial and want to reduce it to 27 mm then M = 27/54 = 0.5. It’s slightly more complicated if you have a 48 mm image of a dial and want it to be projected to 27 mm on your photolithography board. You have desired M = 27/48 = 0.56. Use that in the other equations.
The longer the lens focal length, the more working distance between the lens focal point and the projection plane, but the more bellows draw you need in an enlarger between the lens focal point and the transparency.
Note that finding the position of the focal point in the lens is not easy without manufacturer’s specs. Just approximate and make slight adjustments by moving everything a little each way to get exactly what you need. Then measure twice and write it all down!