• Tired of adverts on RWI? - Subscribe by clicking HERE and PMing Trailboss for instructions and they will magically go away!

How to make a true gilt dial on the cheap - Tropical or Black

WatchN3RD

I supported. Doesn't make me an expert!
Gold Patron
24/7/18
465
498
63
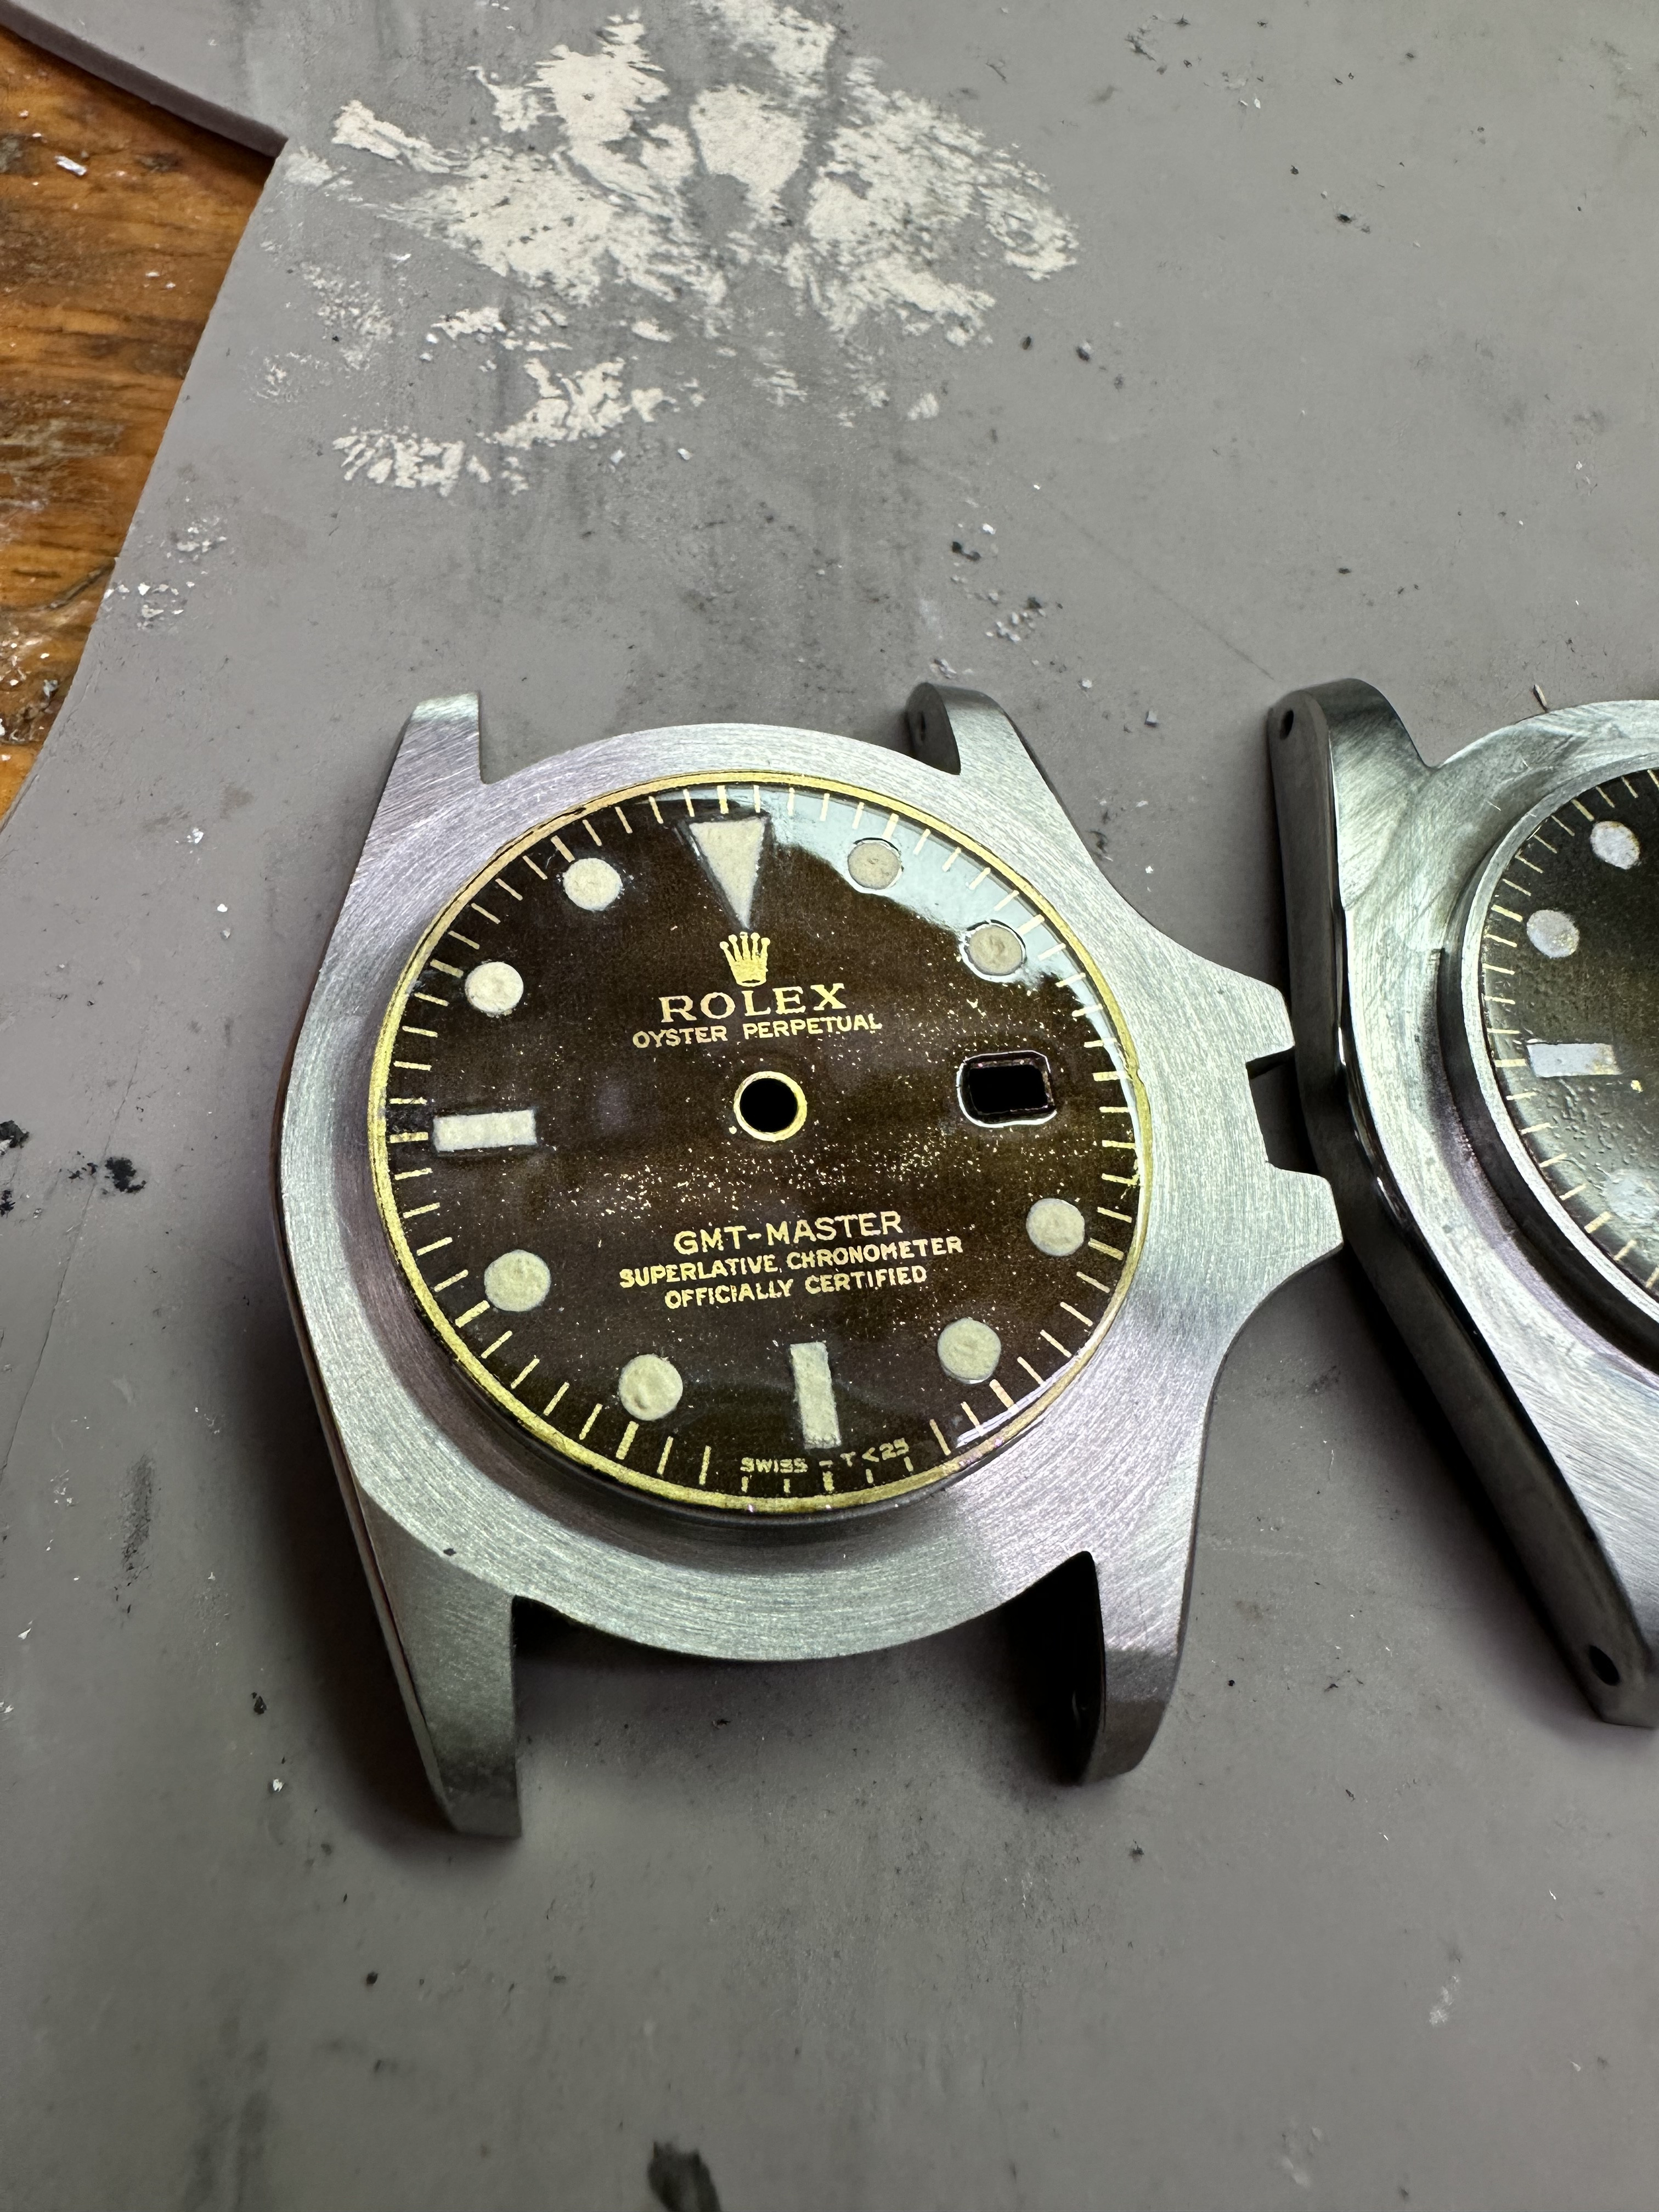
Also, I'd like to thank @matzemedia for the inspiration by proving an amazing clearcoat is possible with rattlecans doing a final thin coat without sanding and polishing the last coat.
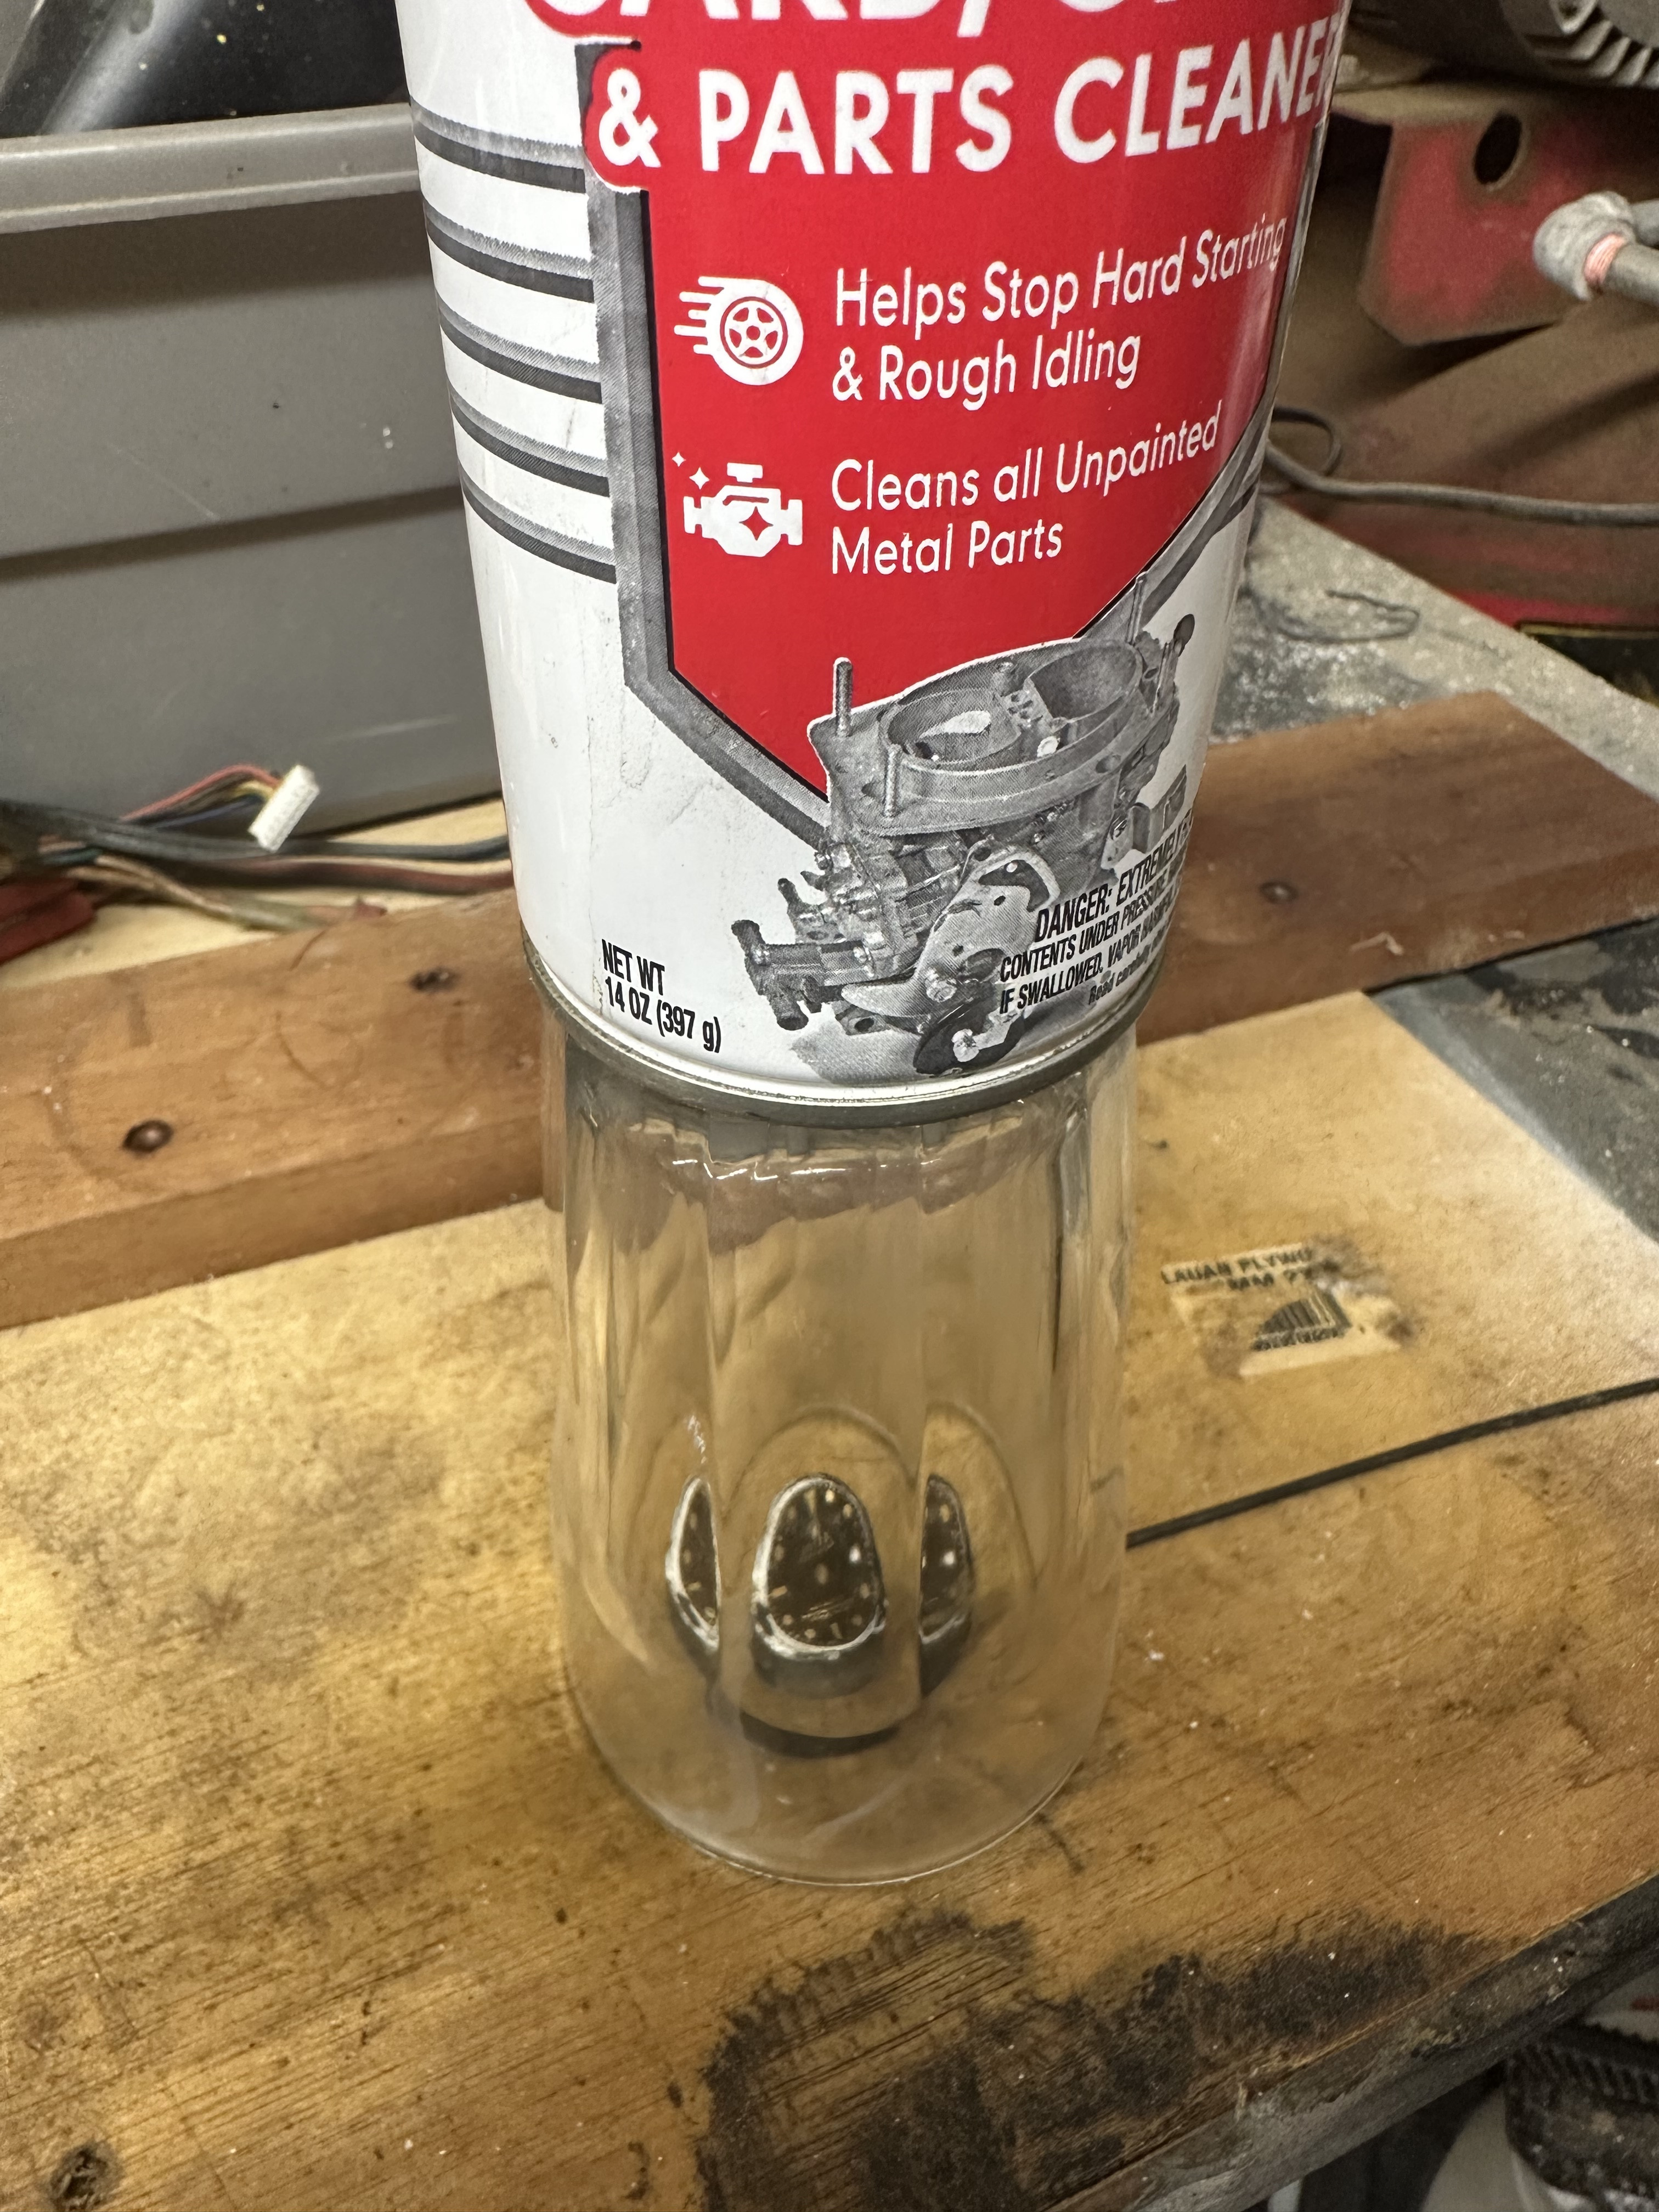
I was able to achieve the same, but I did have to cheat a little by putting the dial under a glass with solvents inside for a few minutes.
Just enough to slow the drying -- which helped the gases escape and also let the coat level itself.


matzemedia

Active Member
Supporter
Certified
22/4/21
322
629
93
Deutschland
Keep on building ;-)

After my fail by using Nitrocellulose as lacquer and getting a very dark gold effect, I created again two dials and finished them by using standard acyl lacquer. They are both not really dark black - it is more a mix of gray and brown. I which they get a bit more into black. But the print is good enough.
This time I used a Microscope to lume thei dial. That was great.

To see the result in one case, I converted an older model of mine.


WatchN3RD

I supported. Doesn't make me an expert!
Gold Patron
24/7/18
465
498
63
Did you realize, that I forgot the crown on the dial? Me not. Sometimes you are so focussed that you no longer see the big picture.
I didn't notice. That triangle lume was perfect too!
 

WatchN3RD

I supported. Doesn't make me an expert!
Gold Patron
24/7/18
465
498
63
I tried clear gesso as glue on my last attempt, but it turns out it has some sort of sand of grit in it. I may try to carefully touch it up with brass patina and see if I can get a cool tropical effect, but most likely, I'll have to redo it.
 
  • Like
Reactions: 369mafia

WatchN3RD

I supported. Doesn't make me an expert!
Gold Patron
24/7/18
465
498
63
I tried clear gesso as glue on my last attempt, but it turns out it has some sort of sand of grit in it. I may try to carefully touch it up with brass patina and see if I can get a cool tropical effect, but most likely, I'll have to redo it.
Obviously, the dial was too tropical, so I chose to recoat the dial with a new transfer on top of the speckled dial. It's almost impossible to line everything up with the Sunnyscopa film because it's so soft and flexible, but I'm impressed with the look in person. Very hidden brown shades come through, and there's still a nice bright brass contrasting with a dark black.
And sorry for the orange peel in the pictures. I only gave it a slight mist for a protective coat until I give it a proper mirror coat.
 

GenuineFool

Known Member
Supporter
Certified
Obviously, the dial was too tropical, so I chose to recoat the dial with a new transfer on top of the speckled dial. It's almost impossible to line everything up with the Sunnyscopa film because it's so soft and flexible, but I'm impressed with the look in person. Very hidden brown shades come through, and there's still a nice bright brass contrasting with a dark black.
And sorry for the orange peel in the pictures. I only gave it a slight mist for a protective coat until I give it a proper mirror coat.

This is going to look fantastic on the wrist. Well done!
 
  • Love
Reactions: WatchN3RD

WatchN3RD

I supported. Doesn't make me an expert!
Gold Patron
24/7/18
465
498
63
This is going to look fantastic on the wrist. Well done!


I've achieved a morror polish, but unfortunately, the rattle can "industrial" acrylic clear coat might take months to fully cure. There are definitely deep scratches that are only noticeable (with major magnification) from my phone. I'm calling it "good enough."
It looks a lot better than the hazy nitrocellulose dials that might cure in a decade, if I'm lucky.
 

WatchN3RD

I supported. Doesn't make me an expert!
Gold Patron
24/7/18
465
498
63
Going off phone pictures, it appeared better before the mirror polish. Not sure why, but it is an Apple phone algorithmic illusion.
More importantly, this "6x7" enlarger isn't stuck as a 35mm, right?🤞
 

GenuineFool

Known Member
Supporter
Certified
I've achieved a morror polish, but unfortunately, the rattle can "industrial" acrylic clear coat might take months to fully cure. There are definitely deep scratches that are only noticeable (with major magnification) from my phone. I'm calling it "good enough."
It looks a lot better than the hazy nitrocellulose dials that might cure in a decade, if I'm lucky.

It is better than "good enough", in my opinion. It is rare to find a mirror polish still on a gilt dial with no indication of scratches or other surface marks. I say it befits the age perfectly.

Going off phone pictures, it appeared better before the mirror polish. Not sure why, but it is an Apple phone algorithmic illusion.
More importantly, this "6x7" enlarger isn't stuck as a 35mm, right?🤞

I think it looks better as it is now. But again, just my opinion.

An enlarger can't be stuck or limited to a certain size if not manufactured that way or modified. Do you have a manufacturer name or model number somewhere? That will quickly tell you what it was made for. If it is for only 35mm, you might be able to modify it to accept medium format (6x6, 6x7, 6x9). But that will come with more cost, time, etc. But if the area to put the film carrier in is big enough to clear a 6x6 negative, it might be finding a carrier that "fits" and maybe changing the enlarging lens (focal length will depend on the bellows draw, or how much space you can get between the lens and the negative carrier).
 
  • Love
Reactions: WatchN3RD

chrome72

Renowned Member
7/12/17
605
511
93
Houston TX Baby
Looks pretty good! Did you jus wet sand and polish the acrylic lacquer?

Doesn’t the nitro cure to near full strength in a week? As in good for use? I know technically it doesn’t fully cure for ages.
 

WatchN3RD

I supported. Doesn't make me an expert!
Gold Patron
24/7/18
465
498
63
It is better than "good enough", in my opinion. It is rare to find a mirror polish still on a gilt dial with no indication of scratches or other surface marks. I say it befits the age perfectly.


I think it looks better as it is now. But again, just my opinion.

An enlarger can't be stuck or limited to a certain size if not manufactured that way or modified. Do you have a manufacturer name or model number somewhere? That will quickly tell you what it was made for. If it is for only 35mm, you might be able to modify it to accept medium format (6x6, 6x7, 6x9). But that will come with more cost, time, etc. But if the area to put the film carrier in is big enough to clear a 6x6 negative, it might be finding a carrier that "fits" and maybe changing the enlarging lens (focal length will depend on the bellows draw, or how much space you can get between the lens and the negative carrier).
Thanks for the compliment! You may be right about it looking better. It's easy for me to get overly picky when going down these rabbit holes.
Also, I meant to upload a picture of the enlarger equipment. Here it is.


GenuineFool

Known Member
Supporter
Certified
Thanks for the compliment! You may be right about it looking better. It's easy for me to get overly picky when going down these rabbit holes.
Also, I meant to upload a picture of the enlarger equipment. Here it is.

I think we all know what you mean by the rabbit holes. In pursuit of perfection it's easy to lose sight how close you actually are. Especially when viewed through a 20x loupe...

The enlarger is great! Omega produced good enlargers, and Rodenstock made great enlarger lenses. Plus, it is a true 6x7, so you could print a dial on a transparency (negative image of course!) at about 50-54 mm in diameter and reduce it to actual size. The trick will be to install the enlarger lens upside down. You'll also need a bellows draw equal to about twice the focal length of the lens, and the lens will need to be lowered so that it is only a distance equal to about the focal length of the lens above what you are projecting on.

Distance between printing substrate and lens = focal length
Distance between lens and negative = 2x focal length

This will theoretically allow double the resolution for your dial prints. At the end of the day, it might only end up being a 50% gain, but that will be more than enough.
 

WatchN3RD

I supported. Doesn't make me an expert!
Gold Patron
24/7/18
465
498
63
Looks pretty good! Did you jus wet sand and polish the acrylic lacquer?

Doesn’t the nitro cure to near full strength in a week? As in good for use? I know technically it doesn’t fully cure for ages.
Thanks. It sprays very thick, so I wet sanded and then did a mixture of both exposing to solvent vapors and heating it for 10-15 minutes in a toaster oven from 110-150C. Then I attempted to spray a thin coat and did the vapor and heat some more. The vapors and the oven heating are not done at the same time!
Finally, I wetsanded and polished with foam and then cotton using an electric drill. Was worried about dremel speeds melting the clear, so I used a drill. I did not use any polish or waxes yet because I didn't want it to affect the finish from curing or possibly cause issues with lume adhesion.

Both the heating and the vapor exposure help to subtly melt the clear and hopefully promote curing. Heating can bring out scratches with curing but the melting effect seemed to cancel those issues.

It sounds more complicated than it was. I just went from one process to another until it looked good. Then, I polished it a little for the last step. Polishing should not really be done until it's cured, as it can seal the pores and prevent proper curing.
 

chrome72

Renowned Member
7/12/17
605
511
93
Houston TX Baby
Thanks. It sprays very thick, so I wet sanded and then did a mixture of both exposing to solvent vapors and heating it for 10-15 minutes in a toaster oven from 110-150C. Then I attempted to spray a thin coat and did the vapor and heat some more. The vapors and the oven heating are not done at the same time!
Finally, I wetsanded and polished with foam and then cotton using an electric drill. Was worried about dremel speeds melting the clear, so I used a drill. I did not use any polish or waxes yet because I didn't want it to affect the finish from curing or possibly cause issues with lume adhesion.

Both the heating and the vapor exposure help to subtly melt the clear and hopefully promote curing. Heating can bring out scratches with curing but the melting effect seemed to cancel those issues.

It sounds more complicated than it was. I just went from one process to another until it looked good. Then, I polished it a little for the last step. Polishing should not really be done until it's cured, as it can seal the pores and prevent proper curing.
Ah i didn't think acrylic would be effected by a solvent. That is nice to know!
 
  • Like
Reactions: WatchN3RD

WatchN3RD

I supported. Doesn't make me an expert!
Gold Patron
24/7/18
465
498
63
I think we all know what you mean by the rabbit holes. In pursuit of perfection it's easy to lose sight how close you actually are. Especially when viewed through a 20x loupe...

The enlarger is great! Omega produced good enlargers, and Rodenstock made great enlarger lenses. Plus, it is a true 6x7, so you could print a dial on a transparency (negative image of course!) at about 50-54 mm in diameter and reduce it to actual size. The trick will be to install the enlarger lens upside down. You'll also need a bellows draw equal to about twice the focal length of the lens, and the lens will need to be lowered so that it is only a distance equal to about the focal length of the lens above what you are projecting on.

Distance between printing substrate and lens = focal length
Distance between lens and negative = 2x focal length

This will theoretically allow double the resolution for your dial prints. At the end of the day, it might only end up being a 50% gain, but that will be more than enough.
Excellent to hear!. I'm assuming I still need a new lens since there's a 1:3.5 f50mm one on it? Should I just make my own film carrier/holder?

I'm so ignorant with anything involving darkrooms and film.
 

GenuineFool

Known Member
Supporter
Certified
Excellent to hear!. I'm assuming I still need a new lens since there's a 1:3.5 f50mm one on it? Should I just make my own film carrier/holder?

I'm so ignorant with anything involving darkrooms and film.

The 50 mm lens could work. You need ~100 mm of space between the negative carrier and the lens to make a 2:1 reduction from a 6x6 negative to a properly sized dial. That should be possible with that enlarger.

You can probably pick up a cheap 6x6 negative carrier on eBay. I would make sure it is compatible with your enlarger. Note that 6x6 (mm) = 2 1/4 x 2 1/4 (inches). 6x7 (2 1/4 x 2 3/4) or 6x9 (2 1/4 x 3 1/4) would also work. Here's a cheap 6x6:
https://www.ebay.com/itm/155997893372

I would just check that the appearance is comparable to one you might have with the enlarger.

I would not try to make one. It has to be perfectly flat or parts of the projection will be out of focus and blurry. You might be able to do it with anti-Newton glass, but that is more expensive than just buying a carrier.
 

chrome72

Renowned Member
7/12/17
605
511
93
Houston TX Baby
The 50 mm lens could work. You need ~100 mm of space between the negative carrier and the lens to make a 2:1 reduction from a 6x6 negative to a properly sized dial. That should be possible with that enlarger.

You can probably pick up a cheap 6x6 negative carrier on eBay. I would make sure it is compatible with your enlarger. Note that 6x6 (mm) = 2 1/4 x 2 1/4 (inches). 6x7 (2 1/4 x 2 3/4) or 6x9 (2 1/4 x 3 1/4) would also work. Here's a cheap 6x6:
https://www.ebay.com/itm/155997893372

I would just check that the appearance is comparable to one you might have with the enlarger.

I would not try to make one. It has to be perfectly flat or parts of the projection will be out of focus and blurry. You might be able to do it with anti-Newton glass, but that is more expensive than just buying a carrier.
@WatchN3RD wre you aiming for photoresist??! I like it if so
 

WatchN3RD

I supported. Doesn't make me an expert!
Gold Patron
24/7/18
465
498
63
The 50 mm lens could work. You need ~100 mm of space between the negative carrier and the lens to make a 2:1 reduction from a 6x6 negative to a properly sized dial. That should be possible with that enlarger.

You can probably pick up a cheap 6x6 negative carrier on eBay. I would make sure it is compatible with your enlarger. Note that 6x6 (mm) = 2 1/4 x 2 1/4 (inches). 6x7 (2 1/4 x 2 3/4) or 6x9 (2 1/4 x 3 1/4) would also work. Here's a cheap 6x6:
https://www.ebay.com/itm/155997893372

I would just check that the appearance is comparable to one you might have with the enlarger.

I would not try to make one. It has to be perfectly flat or parts of the projection will be out of focus and blurry. You might be able to do it with anti-Newton glass, but that is more expensive than just buying a carrier.
Thank you soooo much for this information! I would be extremely lost without your knowledge and assistance. I'll take your advise on the negative carrier and get a real one.
 
  • Like
Reactions: GenuineFool