• Tired of adverts on RWI? - Subscribe by clicking HERE and PMing Trailboss for instructions and they will magically go away!

How to make a true gilt dial on the cheap - Tropical or Black

WatchN3RD

I supported. Doesn't make me an expert!
Gold Patron
24/7/18
523
591
93
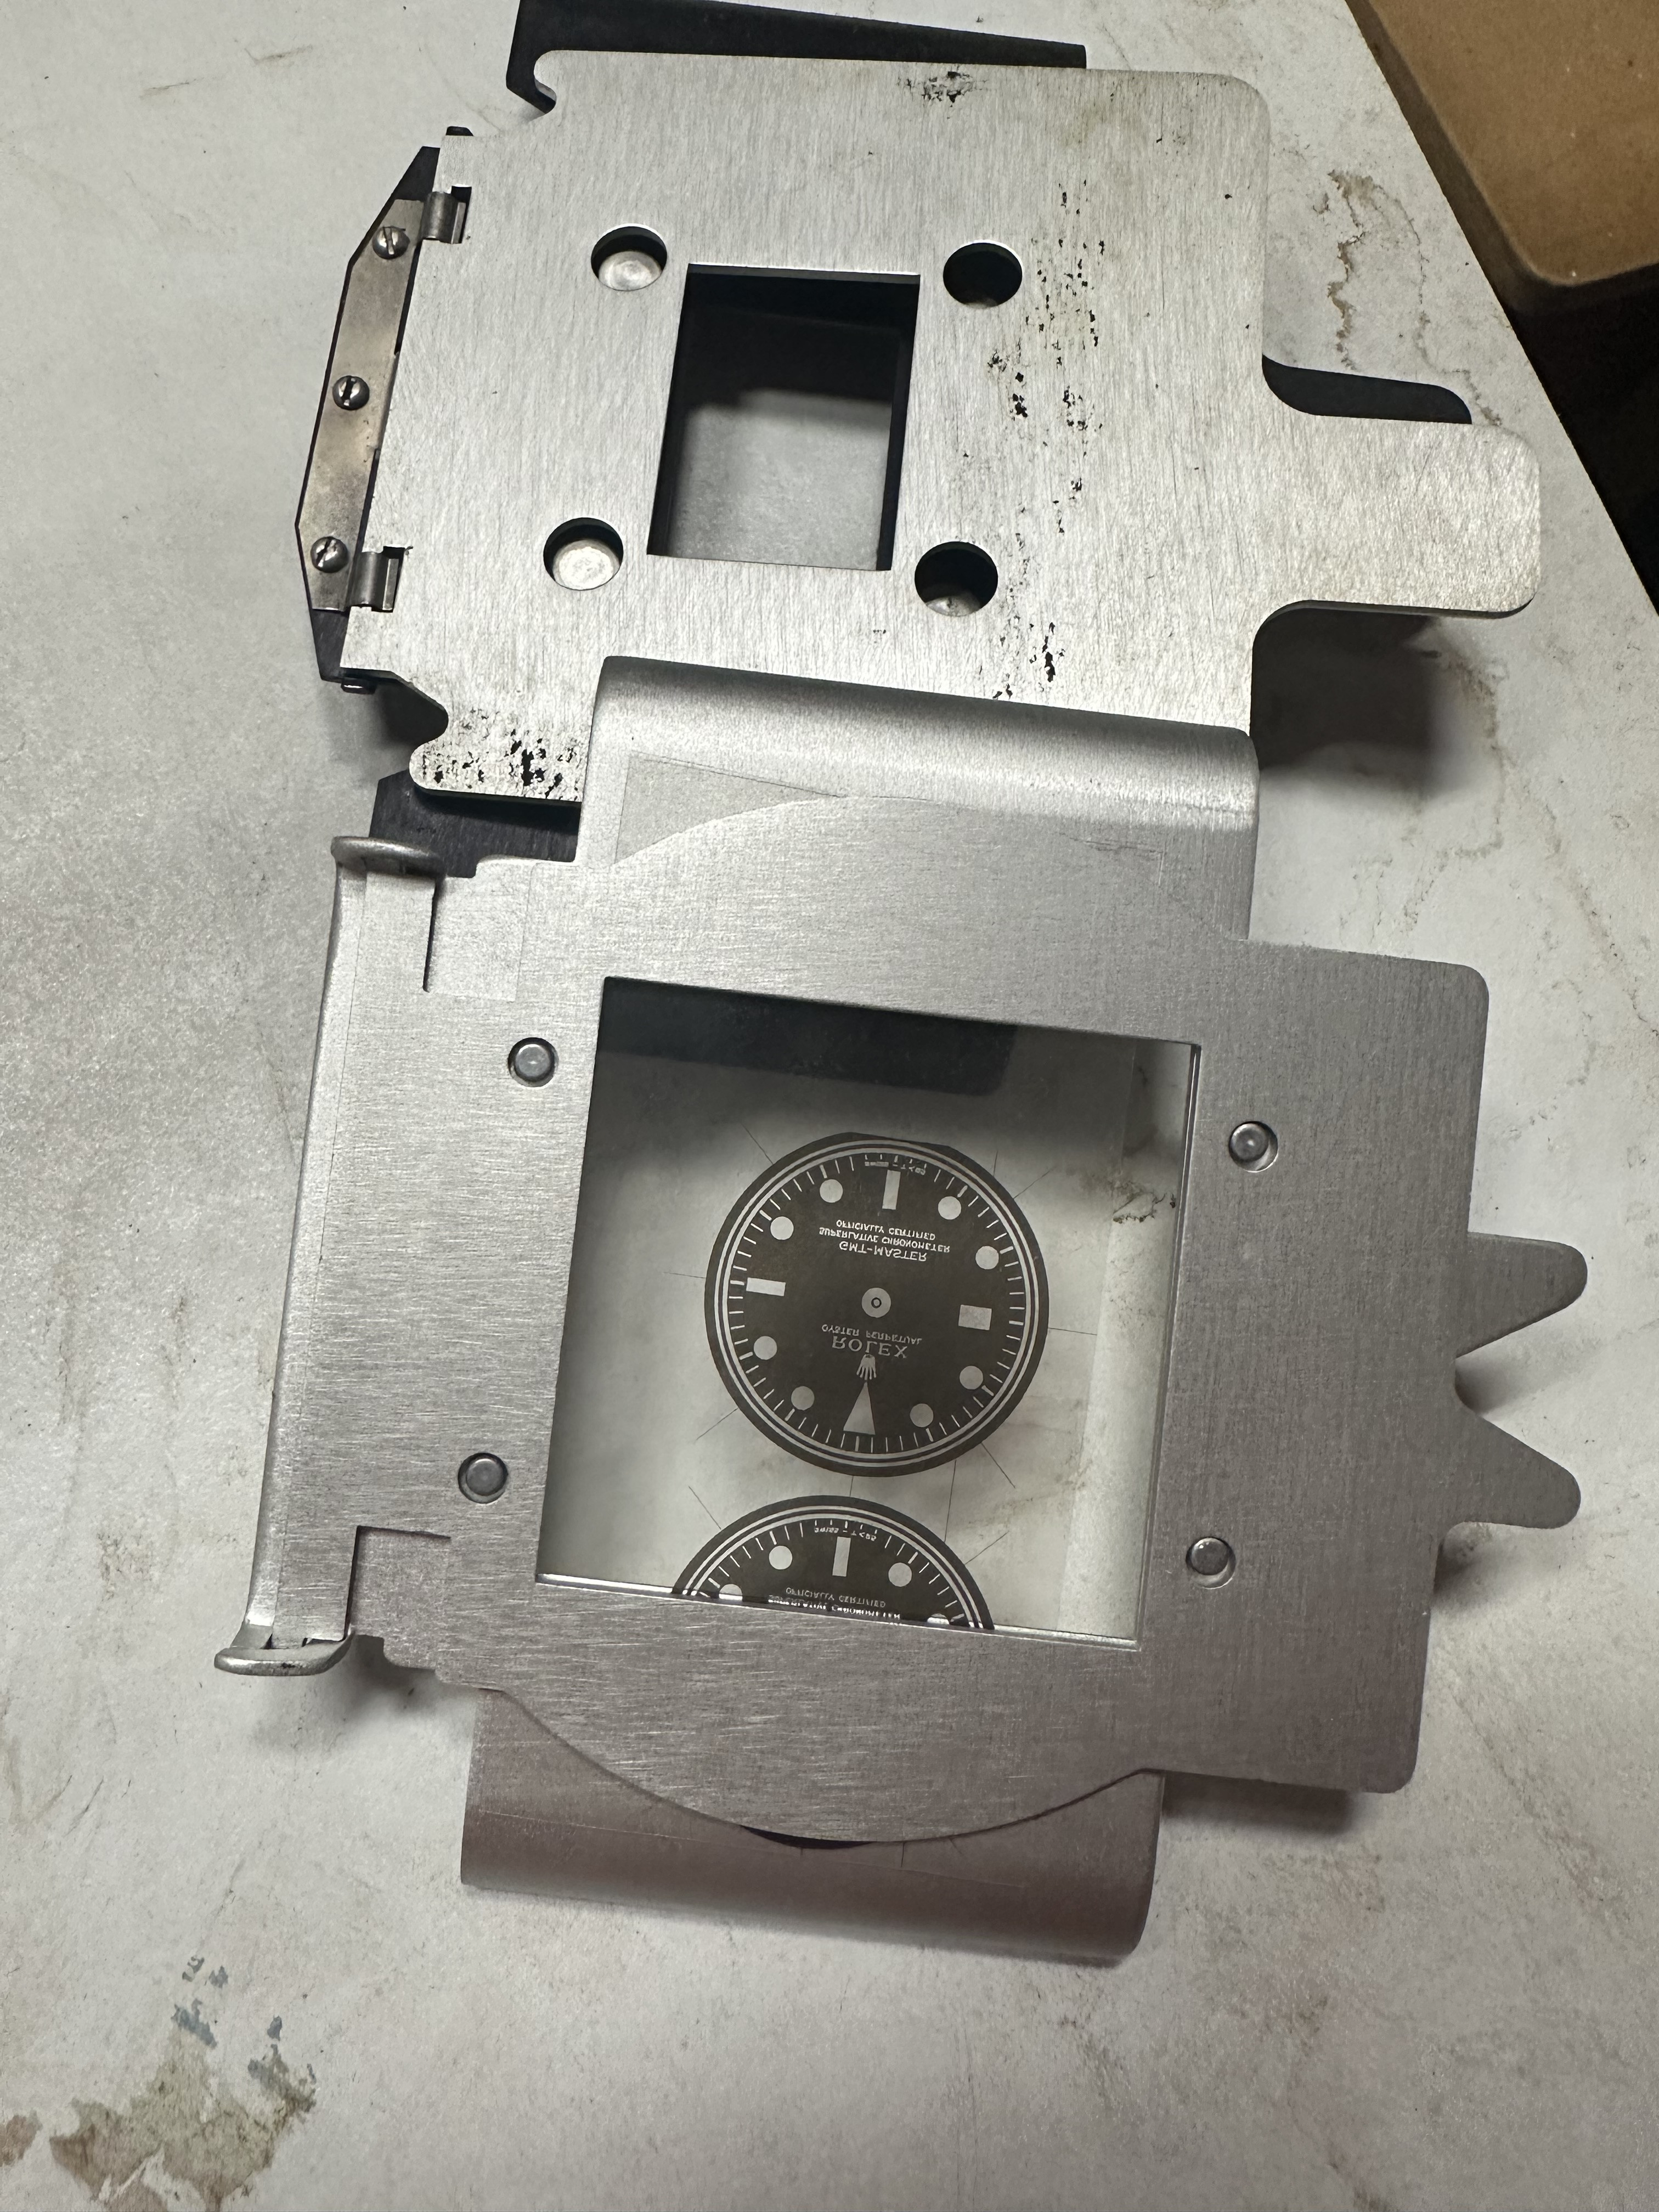
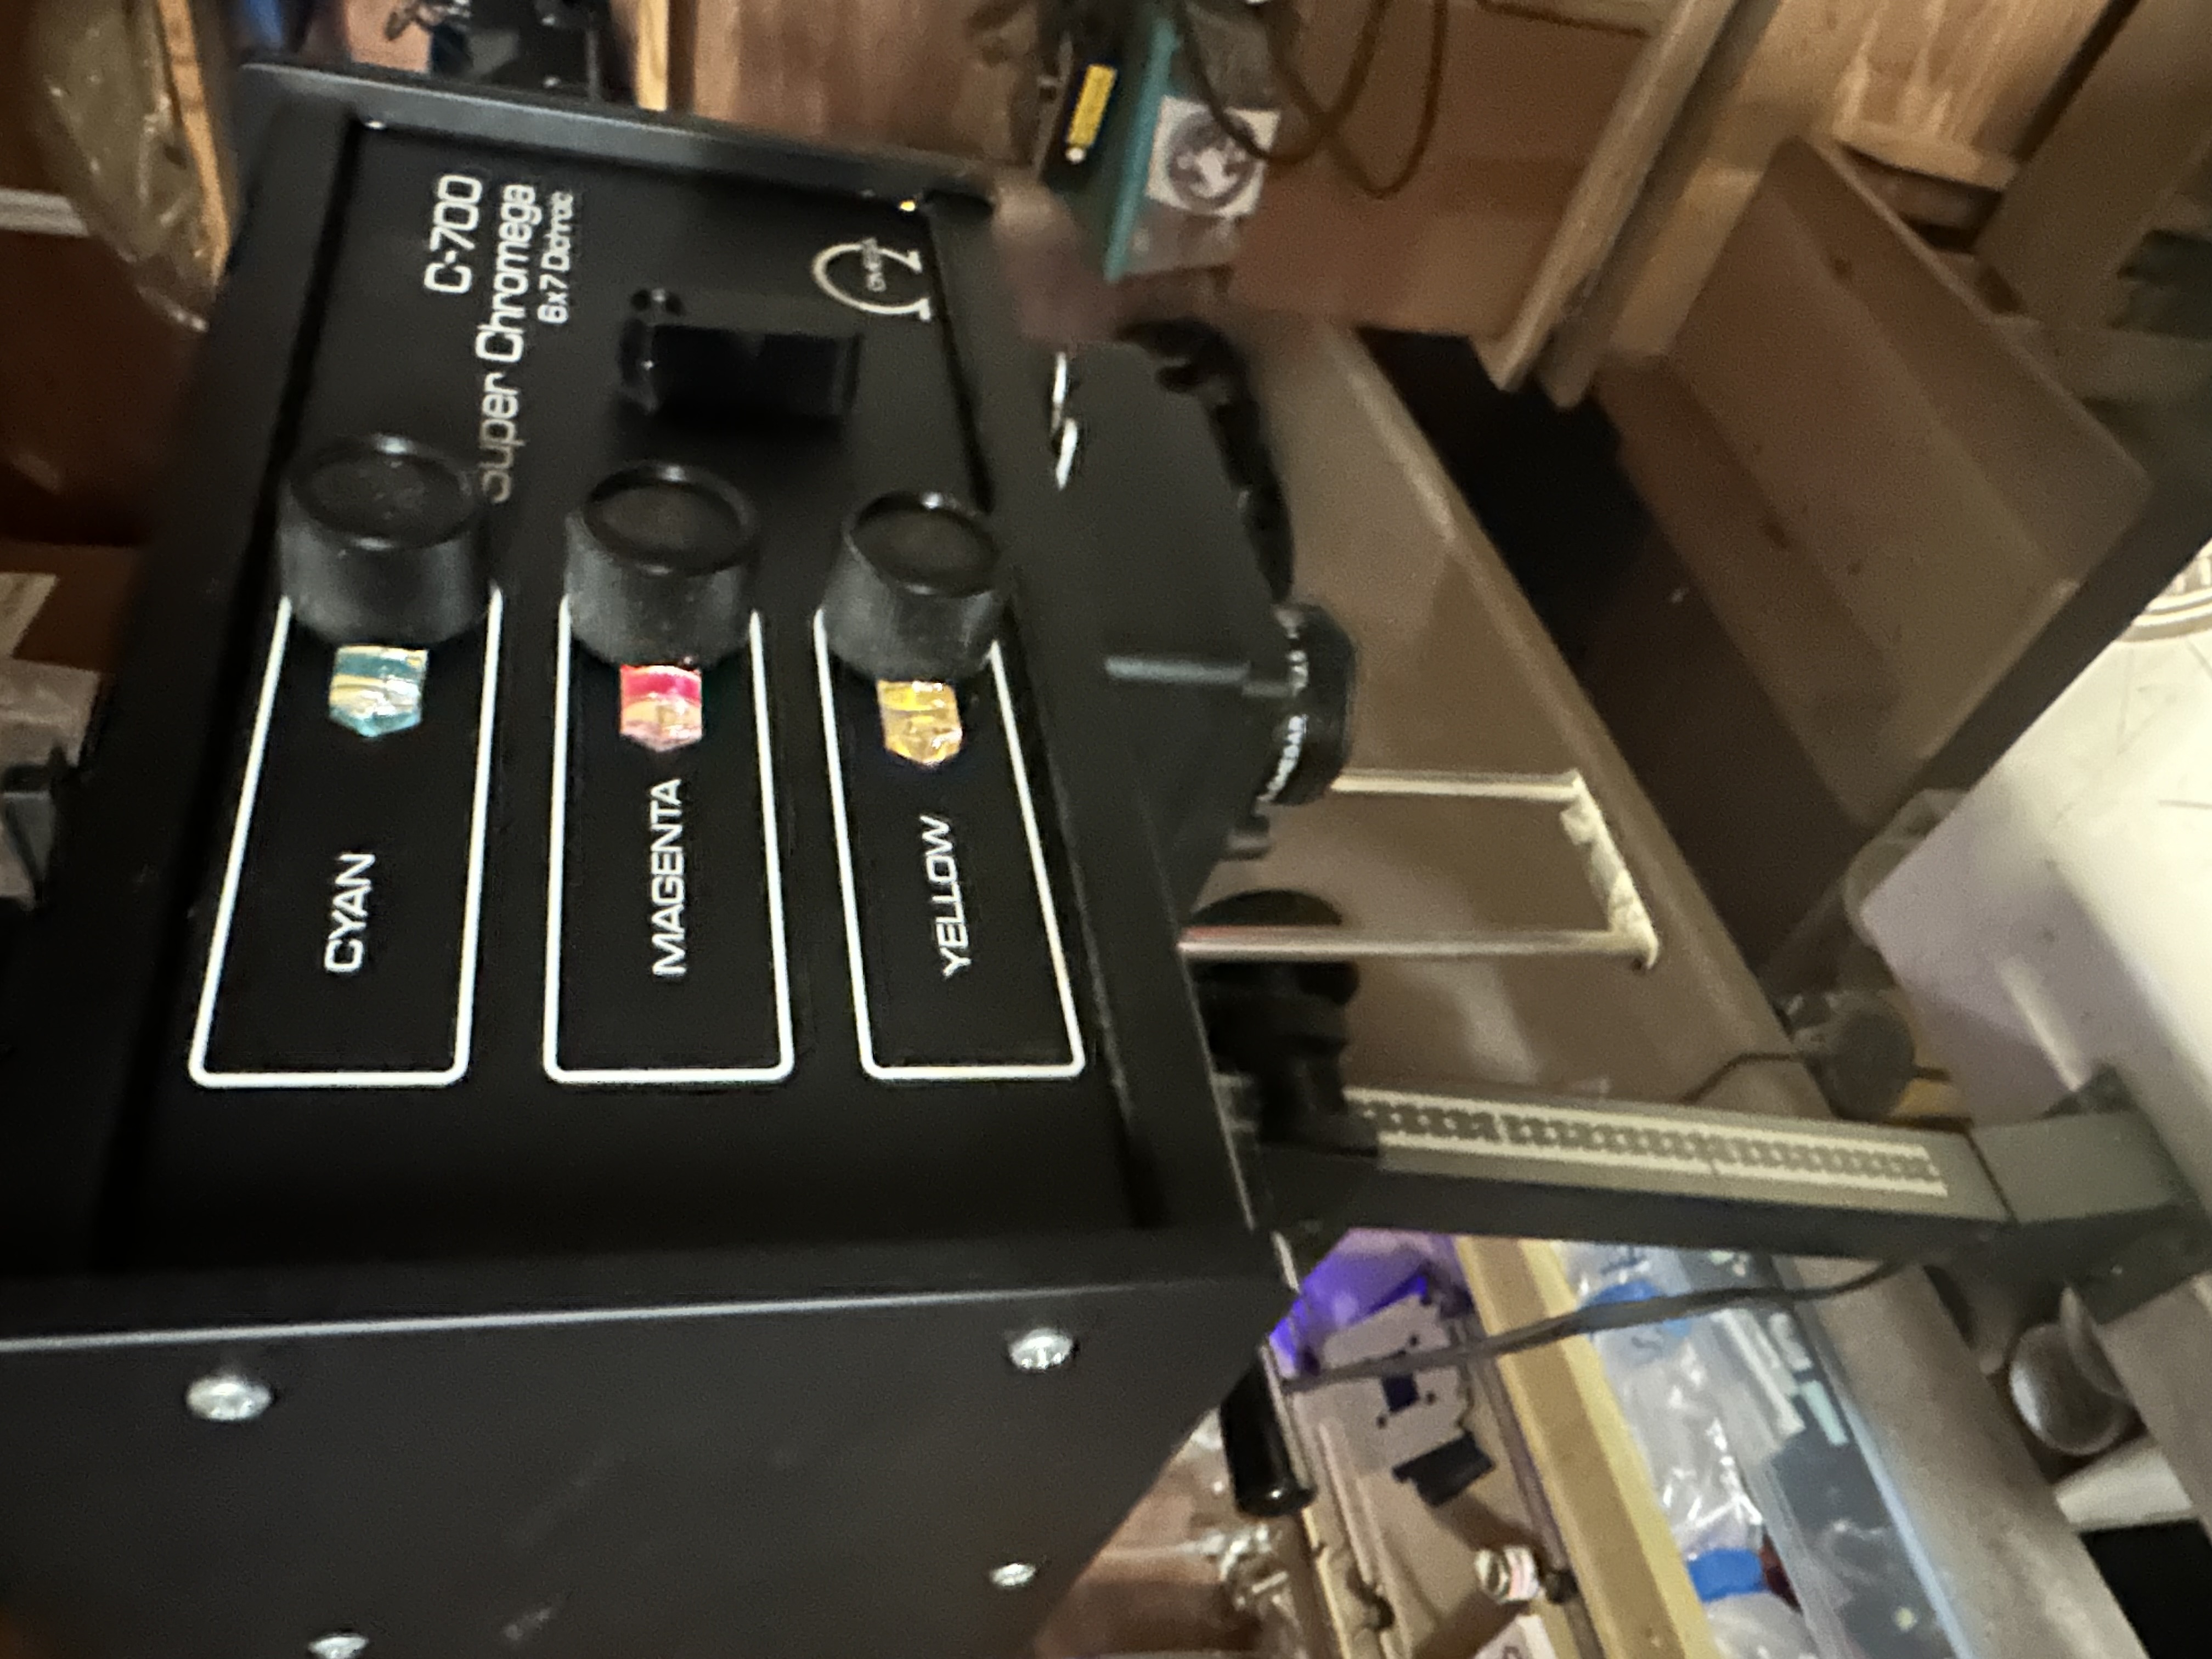
Got the enlarger plugged in and tested. It works! I also took your advice and got a new negative carrier. Not sure what all the buttons are though, and I still need to decide how I will reverse the lens. Is the turning mechanism on the lens for focusing only? It seemed like it was adjusting the brightness too. Or are they always like that?


Last edited:

chrome72

Renowned Member
7/12/17
639
561
93
Houston TX Baby
@WatchN3RD are you aiming for a 1:1 projection? I.e. the projection would be the same size as the image on the carrier?

https://www.photrio.com/forum/attachments/enlarger1-jpg.191846/ for imagery of how you can achieve reductions

https://www.photrio.com/forum/threads/massive-reduction-with-enlarger.163816/ post #12 might be helpful

The more I think about it and see the details in these dials when zooming in, I am willing to bet given the tech at the time, that a larger version of the dial was made and then reduced onto the photosensitive cliche. I am at a loss for how they can achieve such small details (the serifs on the text, the detail of some of the Tudor rose logo) without photolithography.
 

chrome72

Renowned Member
7/12/17
639
561
93
Houston TX Baby
@WatchN3RD i like this so much. Im willing to bet exposure time is pretty long and you could just stick a dial in styrofoam to get it level and then correctly position the dial under the image and align accordingly quite easily.
 

WatchN3RD

I supported. Doesn't make me an expert!
Gold Patron
24/7/18
523
591
93
@WatchN3RD are you aiming for a 1:1 projection? I.e. the projection would be the same size as the image on the carrier?

https://www.photrio.com/forum/attachments/enlarger1-jpg.191846/ for imagery of how you can achieve reductions

https://www.photrio.com/forum/threads/massive-reduction-with-enlarger.163816/ post #12 might be helpful

The more I think about it and see the details in these dials when zooming in, I am willing to bet given the tech at the time, that a larger version of the dial was made and then reduced onto the photosensitive cliche. I am at a loss for how they can achieve such small details (the serifs on the text, the detail of some of the Tudor rose logo) without photolithography.
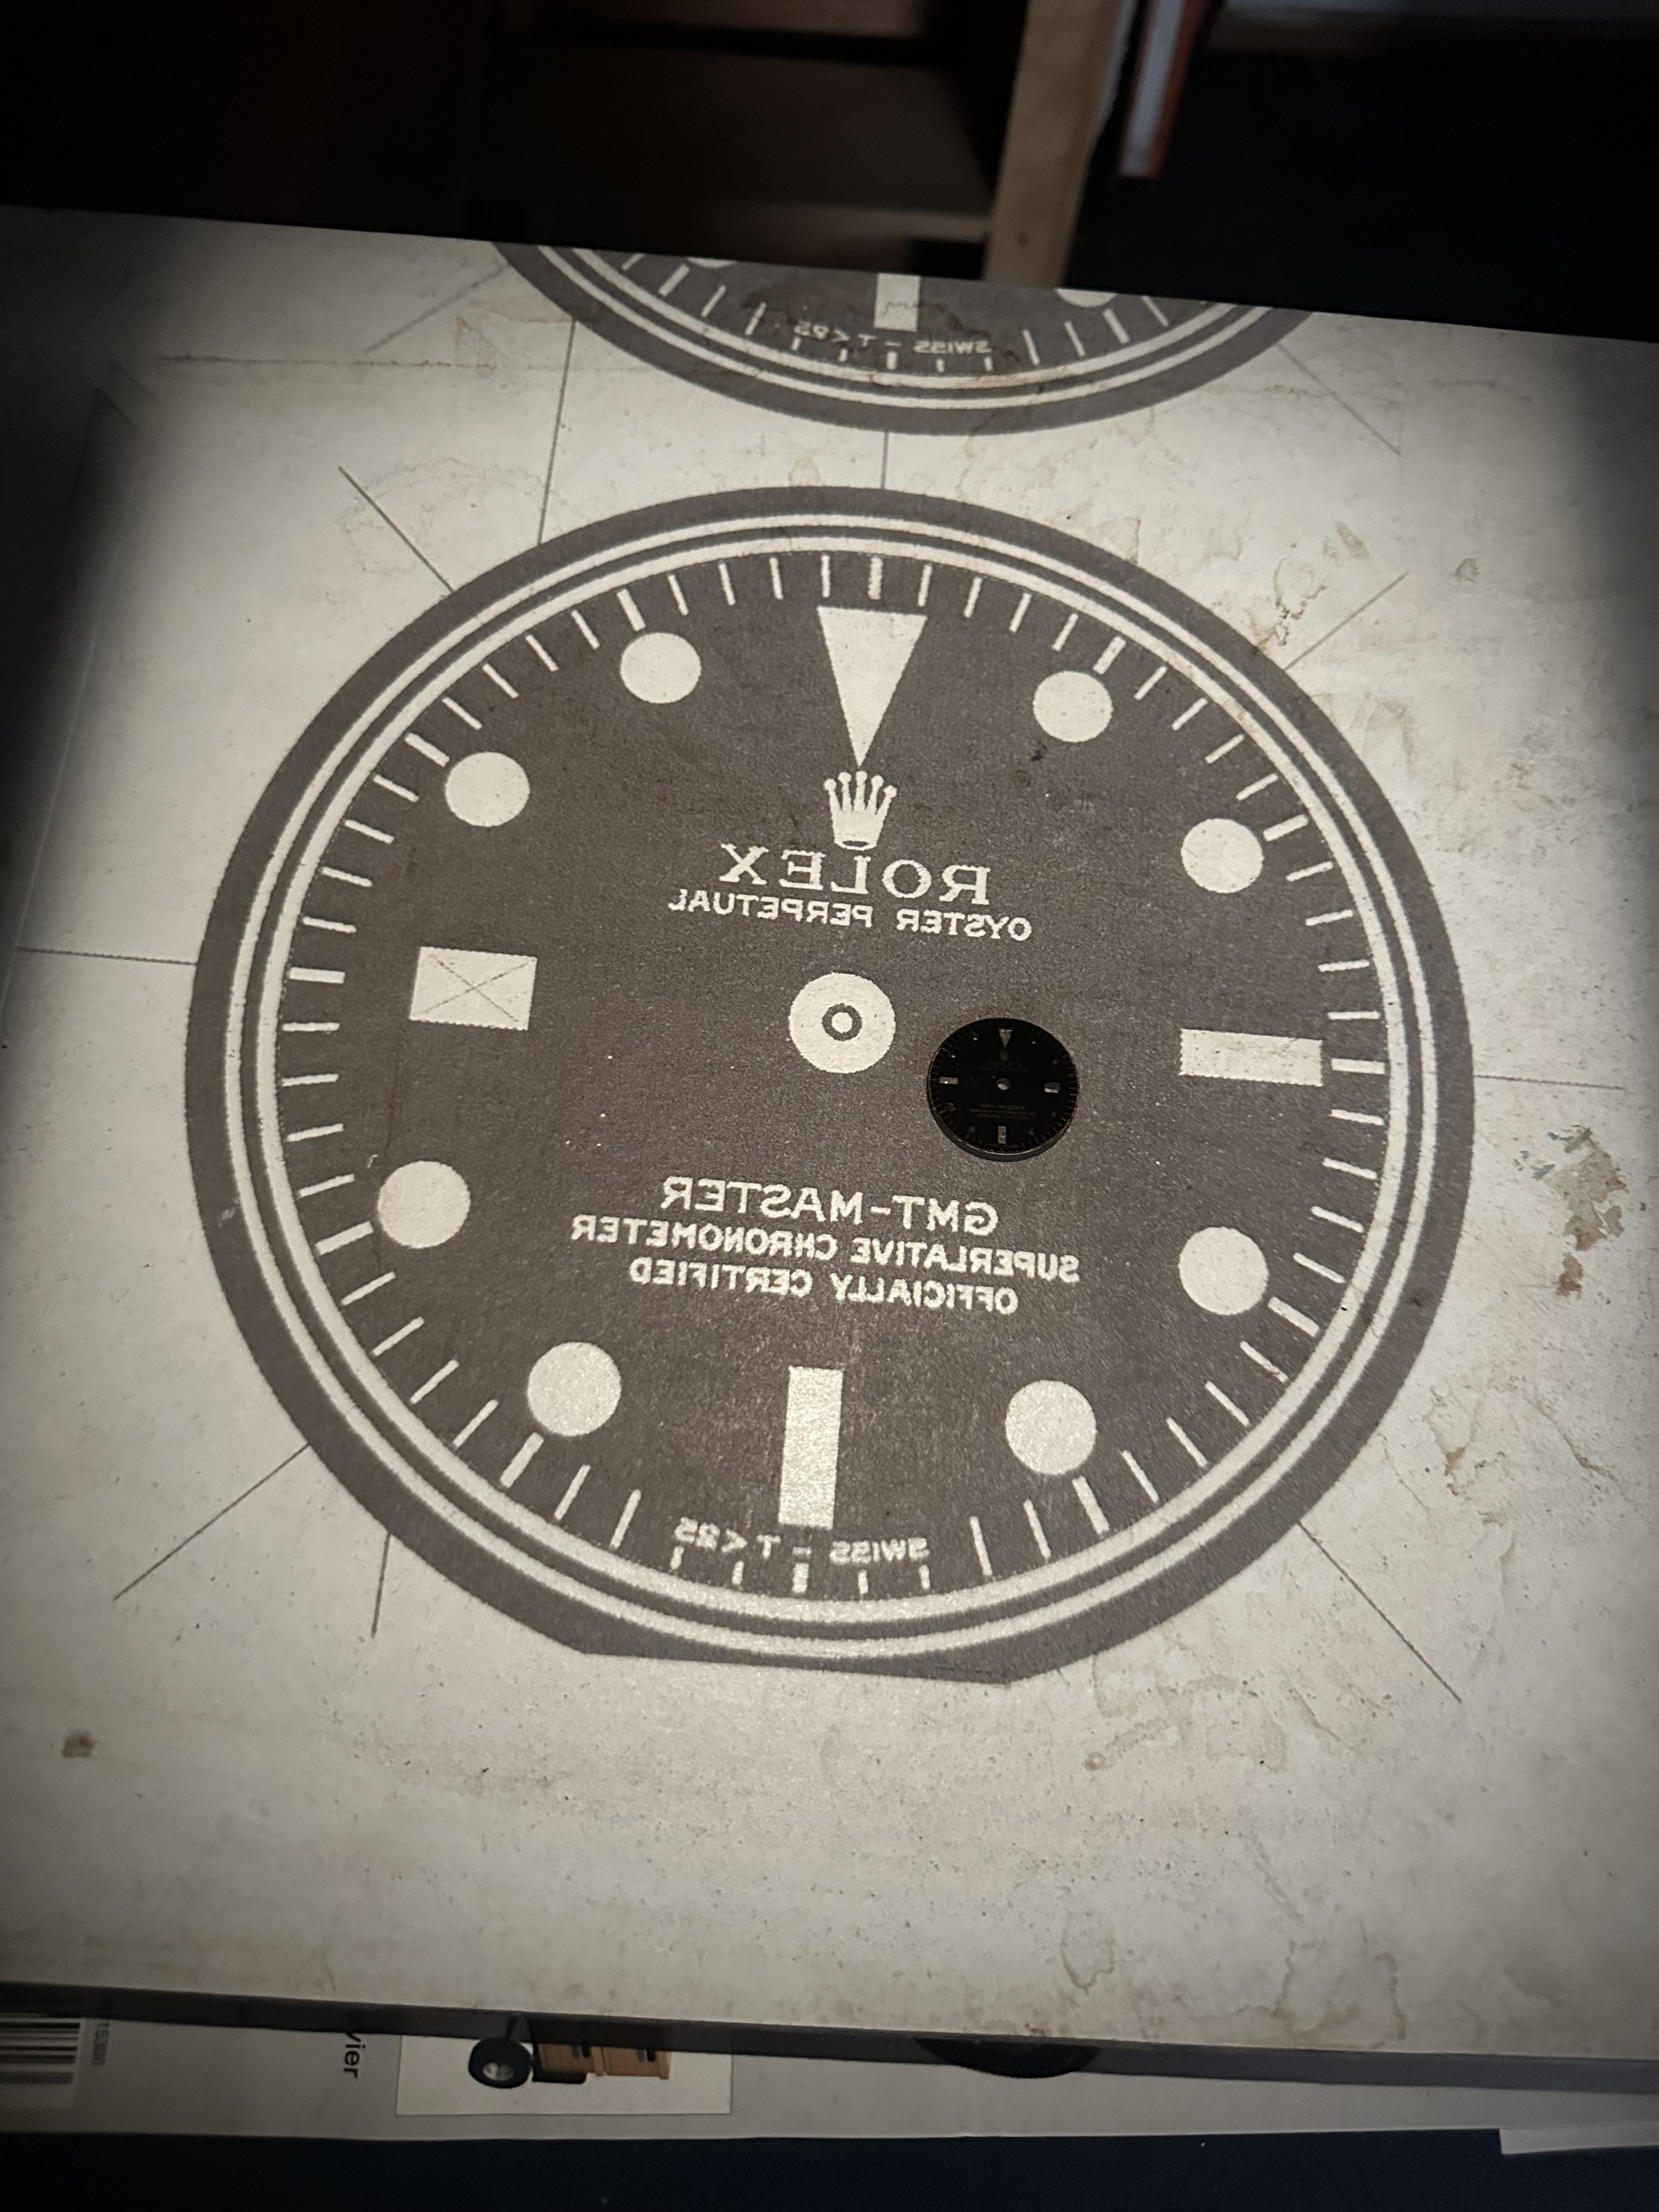
Not aiming for 1:1. Aiming for reducing the image but I haven't done the lens reversal or looked to see if other adjustments are needed. As is, I can reduce it enough, but it won't focus correctly until I make some changes.

Thanks for the links. I'll be sure to check them out when I have some time. Also, I'm almost certain they started with a large hand drawn dial that was reduced onto a cliche via projection or photo negative. How else could they achieve serifs on the smallest text? That's my thinking but I can't state it as fact.
 

chrome72

Renowned Member
7/12/17
639
561
93
Houston TX Baby
Not aiming for 1:1. Aiming for reducing the image but I haven't done the lens reversal or looked to see if other adjustments are needed. As is, I can reduce it enough, but it won't focus correctly until I make some changes.

Thanks for the links. I'll be sure to check them out when I have some time. Also, I'm almost certain they started with a large hand drawn dial that was reduced onto a cliche via projection or photo negative. How else could they achieve serifs on the smallest text? That's my thinking but I can't state it as fact.
If you think about what tech was available late 19th century for pad printing, which would essentially be unchanged in the 50s, photo reduction was widely understood and used commercially. There is no way this was done without it.for example the vintage Tudor rose logo has bits that are .1mm in size. No hand draw efforts will replicate that are that scale. There is math involved to get every bit uniformed. The would have had to be reduced.
 

GenuineFool

Known Member
Supporter
Certified
Got the enlarger plugged in and tested. It works! I also took your advice and got a new negative carrier. Not sure what all the buttons are though, and I still need to decide how I will reverse the lens. Is the turning mechanism on the lens for focusing only? It seemed like it was adjusting the brightness too. Or are they always like that?

The CMY buttons (should probably be knobs) are to adjust the color output of the lamp so that if you are printing a photo on variable contrast paper you can adjust the contrast in the final image. I would just set them to 0 or equal numbers so it is effectively white light.

Reversing the lens: I'd have to see exactly how it mounts, but if it screws apart in two pieces (one on each side of the lens board; you'd have to disconnect the bellows) then you can just change which side each piece goes on so it points in the opposite direction. If it is one piece that screws directly into the board you could try just disconnecting the bellows and screwing into the top or flipping the board if it detaches. Try hunting down a manual for this model online. It should tell you how to set it up and mount a lens. (It won't say anything explicit about reversing a lens, but it shouldn't be hard to figure out.)

The turning mechanism on the lens is the aperture, just like a lens on a camera. There should be an f/stop scale. When you close the aperture (higher f/stop) then less light comes out but there is more depth of field in the projection so easier to focus. When you open up the aperture then more light comes out but it will be harder to focus precisely. The sweet spot for sharpness with most lenses is either f/5.6 or f/8, but f/4 and f/11 would not be perceptibly different. Less light equals longer exposure. The more stopped down then less sharpness. The same is true for wide open (lower f/stop number).
 
  • Like
Reactions: chrome72

WatchN3RD

I supported. Doesn't make me an expert!
Gold Patron
24/7/18
523
591
93
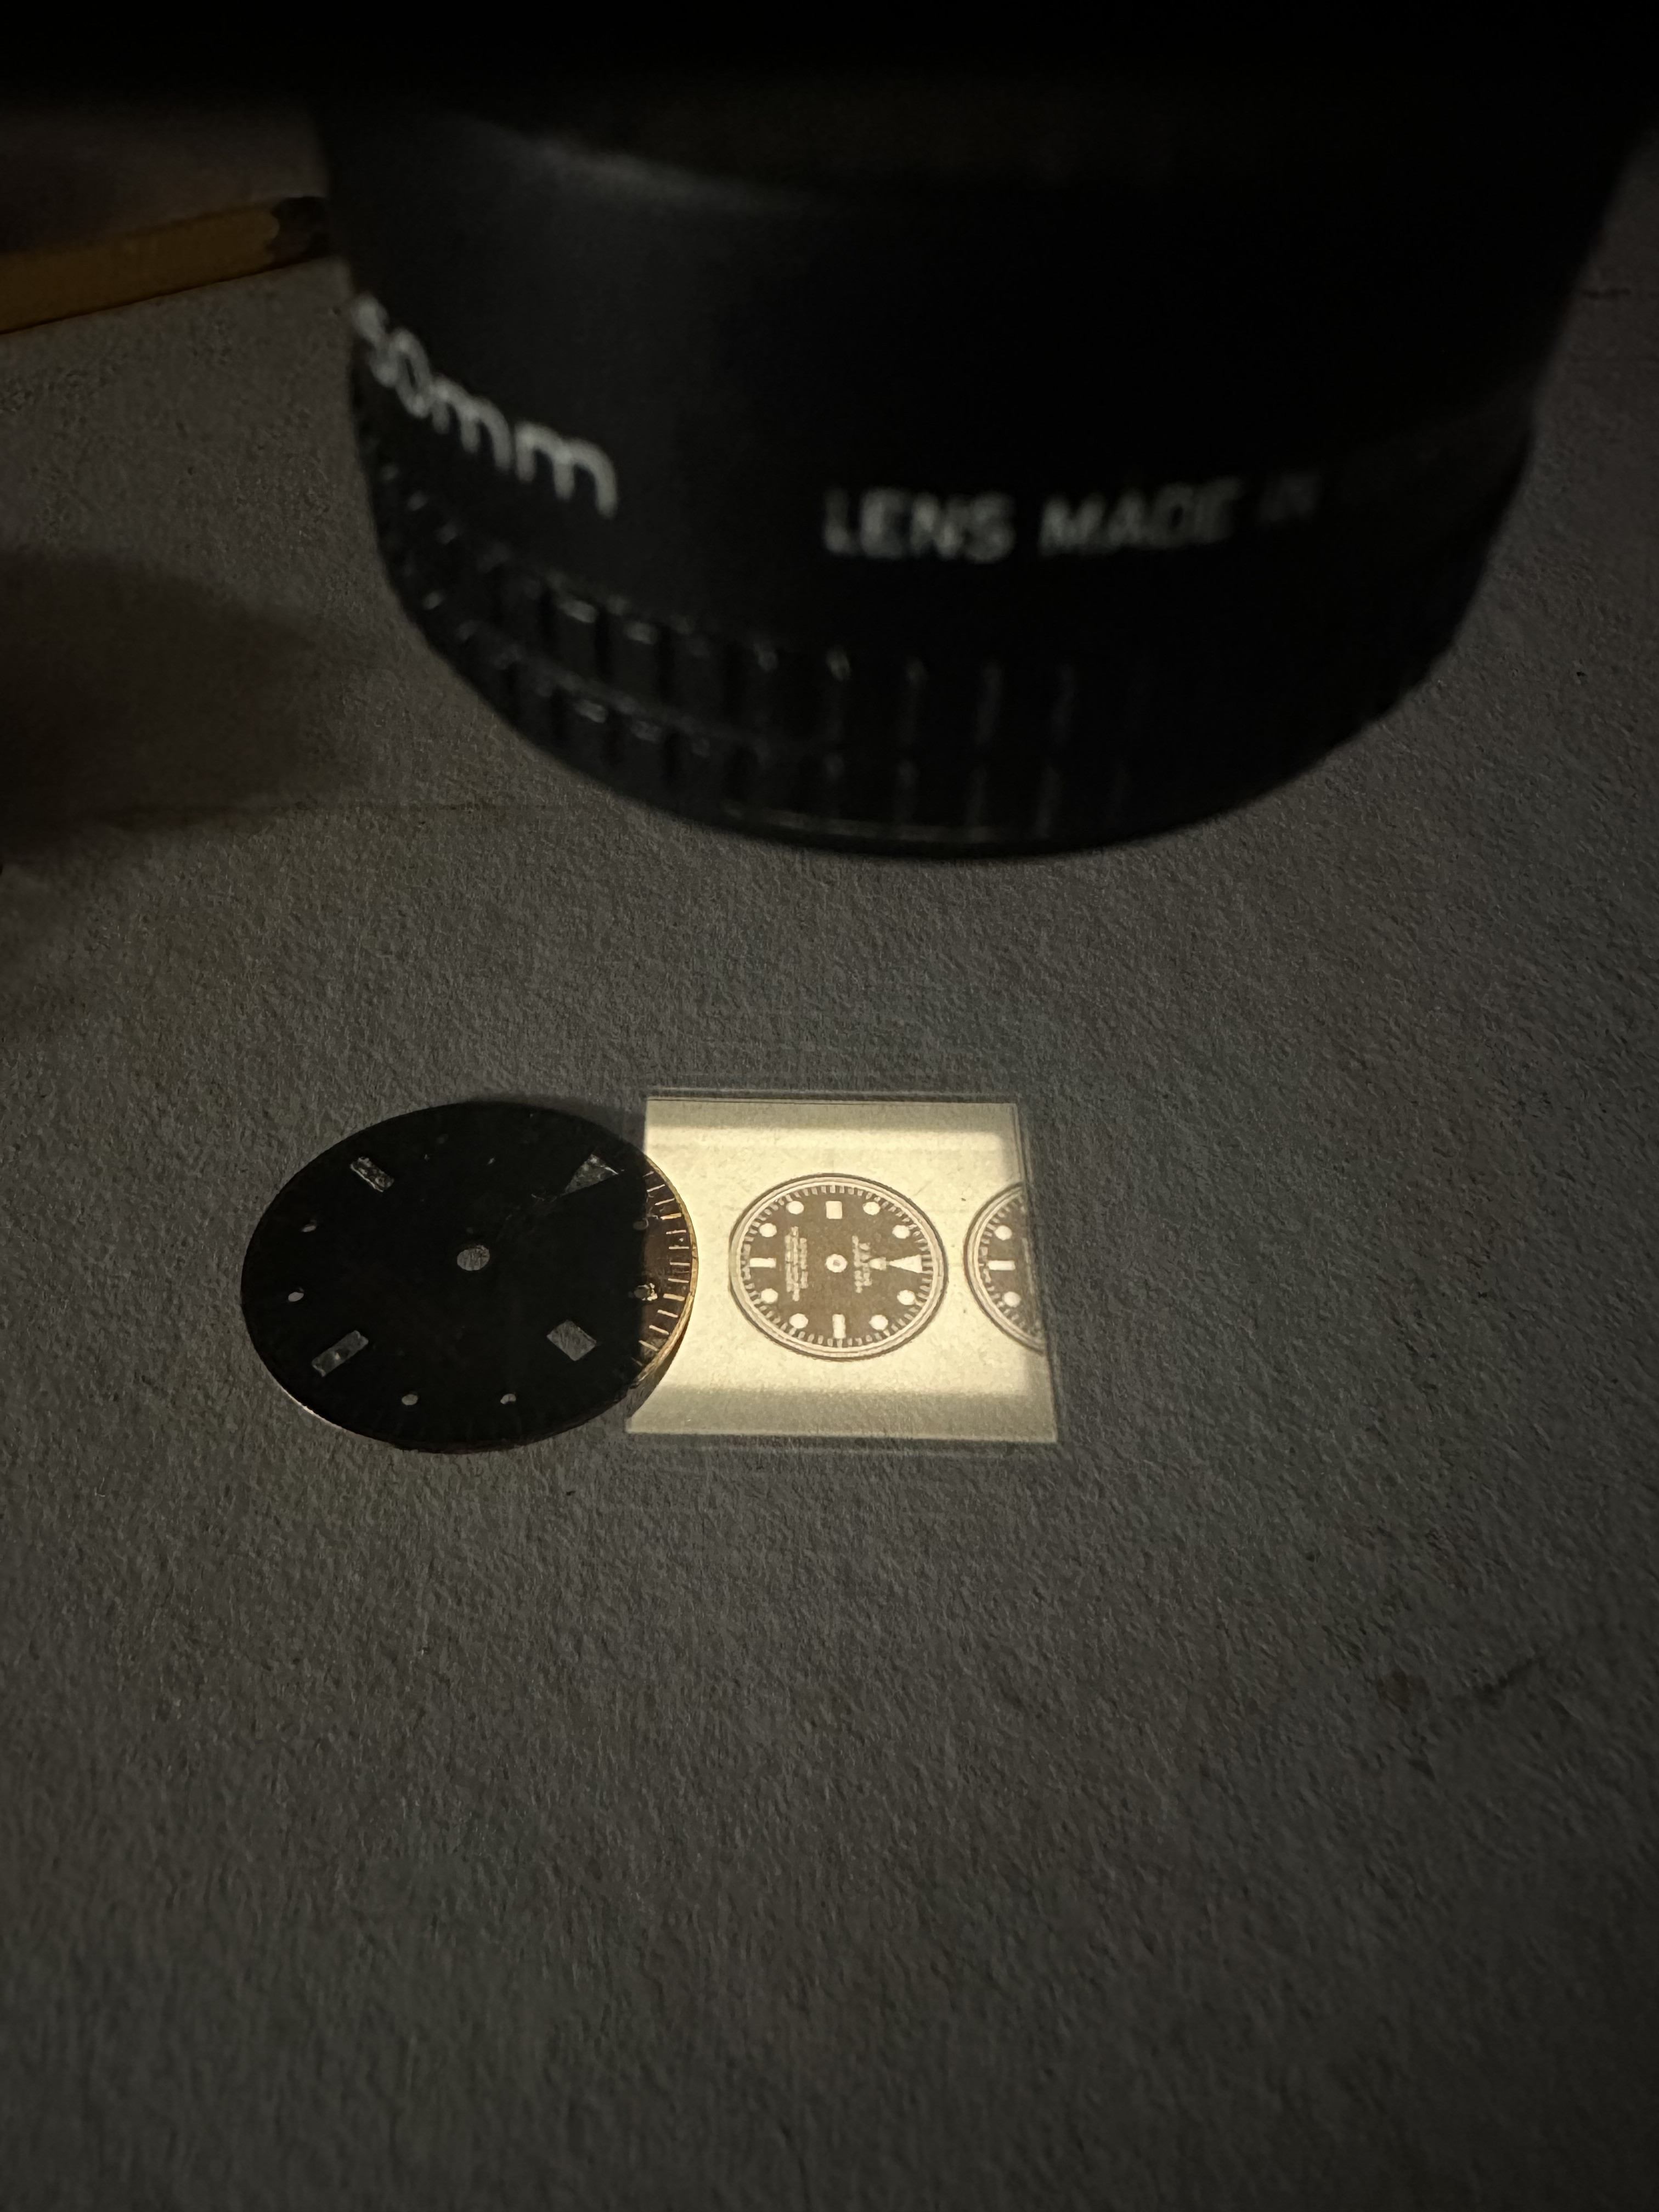
@GenuineFool Excellent feedback, thanks! The lens is a one piece, so it's the more difficult type to reverse. Toying around, I taped a 10x loupe below the lens, and it reduced the 27.3mm dial negative down to about the 1/4 the original size. Way, way to small, but I might try it with a 3x loupe to see if that gets me closer. If not, I'll find a way to manually reverse the lens.
 
  • Like
Reactions: chrome72

chrome72

Renowned Member
7/12/17
639
561
93
Houston TX Baby
@GenuineFool Excellent feedback, thanks! The lens is a one piece, so it's the more difficult type to reverse. Toying around, I taped a 10x loupe below the lens, and it reduced the 27.3mm dial negative down to about the 1/4 the original size. Way, way to small, but I might try it with a 3x loupe to see if that gets me closer. If not, I'll find a way to manually reverse the lens.
When you just put the loupe up and it reduces, do you still have the fidelity of details?
 

GenuineFool

Known Member
Supporter
Certified
My question is the same as chrome72's: loupes are often lower quality objectives. There still might be enough resolution that it looks good, but if you are able to use only the lens, that is best.

Can the lens be screwed in from the insides of the bellows? If not, can the lensboard be flipped so the lens is inside the bellows?
 

WatchN3RD

I supported. Doesn't make me an expert!
Gold Patron
24/7/18
523
591
93
My question is the same as chrome72's: loupes are often lower quality objectives. There still might be enough resolution that it looks good, but if you are able to use only the lens, that is best.

Can the lens be screwed in from the insides of the bellows? If not, can the lensboard be flipped so the lens is inside the bellows?
Honestly, the resolution seemed clear and easy to focus, but I didn't inspect it with a loupe since a 10mm dial or smaller was never going to work.
As far the lens, I'm sure I can mount it reversed inside the bellows, but I would lose the ability to adjust the aperture while also limiting the bellow's movement. Correct? Do you think that's a minor issue?
 

GenuineFool

Known Member
Supporter
Certified
Honestly, the resolution seemed clear and easy to focus, but I didn't inspect it with a loupe since a 10mm dial or smaller was never going to work.
As far the lens, I'm sure I can mount it reversed inside the bellows, but I would lose the ability to adjust the aperture while also limiting the bellow's movement. Correct? Do you think that's a minor issue?

Yes, you would lose that ability, or it would require opening up the bellows, changing the aperture, closing the bellows, etc. However, this is the type of thing you can figure out by experimenting. Get a sense of the necessary exposure time for your boards, record aperture and exposure time, and check the result. It might take some trial and error, but once you figure it out you should never have to do anything different if your overall process remains the same.

Factors that affect exposure: aperture, distance from lens/light source to print, time. Reducing to the correct size will sort of fix the distance. Aperture should probably be set around f/5.6 to start as it will be sharpest but reduce exposure time. Time is then the variable. See if the boards you are using have any guidance on that.

One other thing: make sure that when you turn on and turn off the lamp there isn't any shake. A stable set up will prevent movement blurring details.

Also, exposure time is unlikely to have to be very precise. If less than maybe 5 seconds, stop down the lens one stop. That will double the exposure time. So 5 seconds of exposure at f/5.6 would be 10 seconds at f/8. The reason that it is generally better to work with a time of 10 seconds (or longer) is that if you are off your timing by half a second or so, it's only a 5% difference in final exposure, which can be difficult to detect by eye. You are working with B&W images of dials, so as long as the black is black, you can stop. Unnecessarily long exposure times could cause the areas that should be white to become gray due to light leak, not true black on the negative/transparency, etc.
 
  • Like
Reactions: chrome72

WatchN3RD

I supported. Doesn't make me an expert!
Gold Patron
24/7/18
523
591
93
Chrome and Genuine,

So, I installed the lens inside the bellows; it was unsuccessful. Basically gave me a 1:1 enlargement at best. I think the lens I have is rather symmetric, so reversing it has less benefit than most. Also, lets not forget mounting it inside the bellows loses a lot of adjustments to the whatever golden ratio I'm trying to achieve.

But, I have ordered some lens extensions!!! That should solve any reversing issues stemming from the lens not being reversed. Correct?🤞
 
  • Like
Reactions: GenuineFool

chrome72

Renowned Member
7/12/17
639
561
93
Houston TX Baby
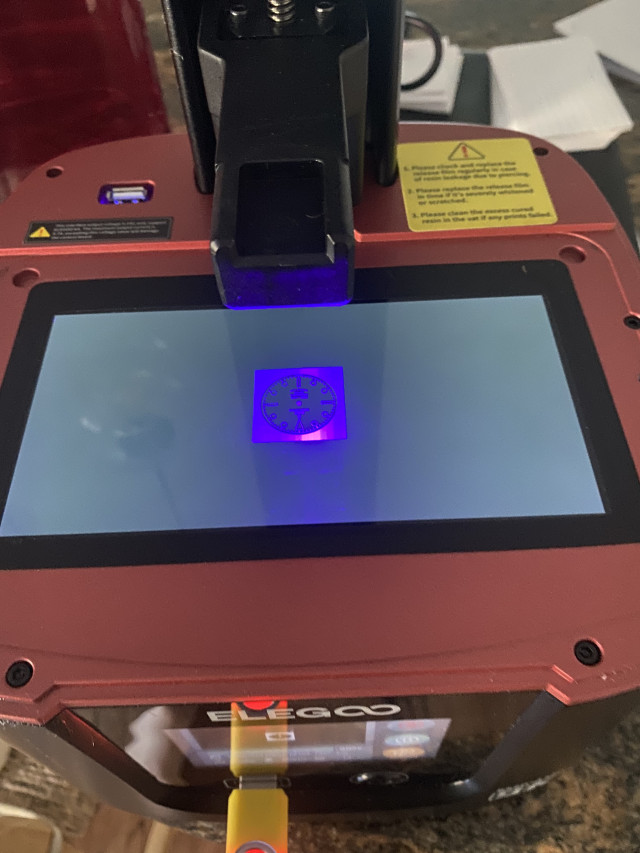
@WatchN3RD do you plan on using the regular bulb in there a light source? I am still learning but I don’t know if a uv bulb would work. I think the lens filters it out? I have seen some do it but I think there was quite a few modifications
 

WatchN3RD

I supported. Doesn't make me an expert!
Gold Patron
24/7/18
523
591
93
@WatchN3RD do you plan on using the regular bulb in there a light source? I am still learning but I don’t know if a uv bulb would work. I think the lens filters it out? I have seen some do it but I think there was quite a few modifications
It's an old school light bulb that gets hotter than burning $hit in an oven, so I'm stupidly assuming it will work. Also, the box itself has an attenuator, plus 3 filters to control Cyan, Magenta, and Yellow. My guess is that each one filters different wavelengths because the OG bulb is good at burning stuff.

I'm glad you put that on my radar though. I didn't even think of additional filters from the lens itself.
 

GenuineFool

Known Member
Supporter
Certified
@WatchN3RD

Glad you are progressing with your setup. Enlarger lenses can be symmetric; I forgot about that. It's more about bellows extension at this point, so hopefully the lens extensions work for this application. 🤞

Typically, only camera lenses would have UV coatings; I don't think it would matter for enlarging lenses as I believe they are mostly uncoated. However, I hadn't thought about using UV light in an enlarger. Luckily, there are online communities for alternative process photographers, many who need to use UV light, but mostly for contact prints (negative in direct contact with paper for a 1:1 print) rather than enlargements.

Here are two links, each with opposing viewpoints, to send you down this rabbit hole:

https://www.photrio.com/forum/threads/making-an-uv-enlarger.92824/

https://solarlamp.de/cyanotype/an-enlarger-for-alternative-photography/

I will say that in the first link there is mention that trying to use a grain focuser with UV light could damage your eyes, so be careful with a UV bulb if you plan to use such a device (a magnifying glass or equivalent might work if you don't have a grain focuser). Maybe UV sunglasses will still show something with a UV bulb, if the wavelengths are not entirely in the UV spectrum?
 

chrome72

Renowned Member
7/12/17
639
561
93
Houston TX Baby
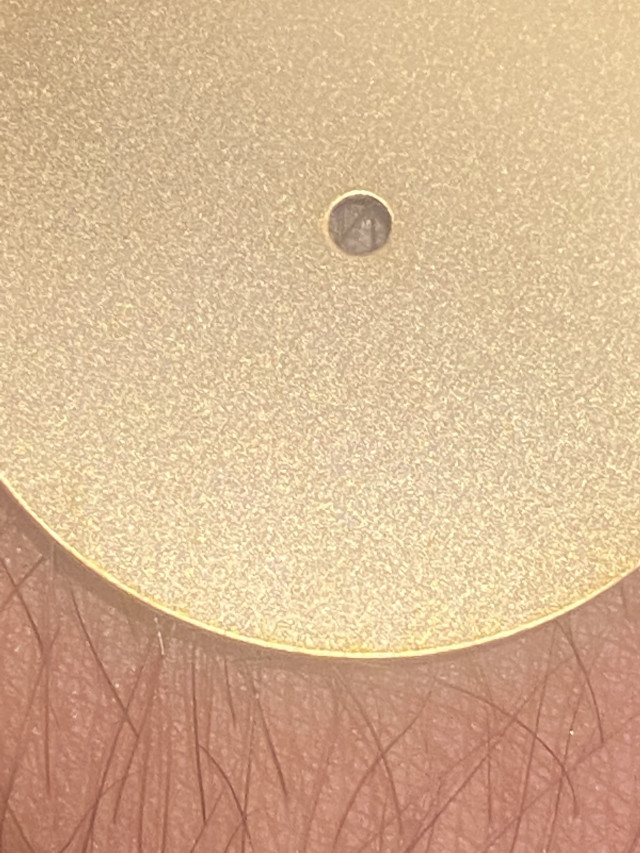
My aliexpress 28.5mm brass dial blanks have the glittery appearance like some of the gilt dials. I just gave it finger rub application of bar keepers friend to remove any oxidization. Taking 3 of these to a digital printer to print some white gilt dials as a test for a project

 
  • Like
Reactions: GenuineFool

WatchN3RD

I supported. Doesn't make me an expert!
Gold Patron
24/7/18
523
591
93
Yes! Looks like a very fine media blasted finish. Exactly the finish you previously mentioned when comparing to a perfect mirror.
Pardon my ignorance here though, what is a white gilt dial? I'm picturing a late 50's gilt dial that sometimes appears silver, but what is the digital printing for?
 

chrome72

Renowned Member
7/12/17
639
561
93
Houston TX Baby
Thoughts on using this without getting a mirror finish?
Yes! Looks like a very fine media blasted finish. Exactly the finish you previously mentioned when comparing to a perfect mirror.
Pardon my ignorance here though, what is a white gilt dial? I'm picturing a late 50's gilt dial that sometimes appears silver, but what is the digital printing for?
Ha it’s just white ink with the vase metal
Showing. The idea below should give you an idea

 
  • Like
Reactions: WatchN3RD

GenuineFool

Known Member
Supporter
Certified
My experience scrutinizing high magnification images of gilt dials is almost exclusively with Explorers. I haven't seen one that I would say is a mirror finish. So if the finish on those dials just removes mirror-like reflections, it is certainly fine. But if it's more textured, that might be a different story.