• Tired of adverts on RWI? - Subscribe by clicking HERE and PMing Trailboss for instructions and they will magically go away!

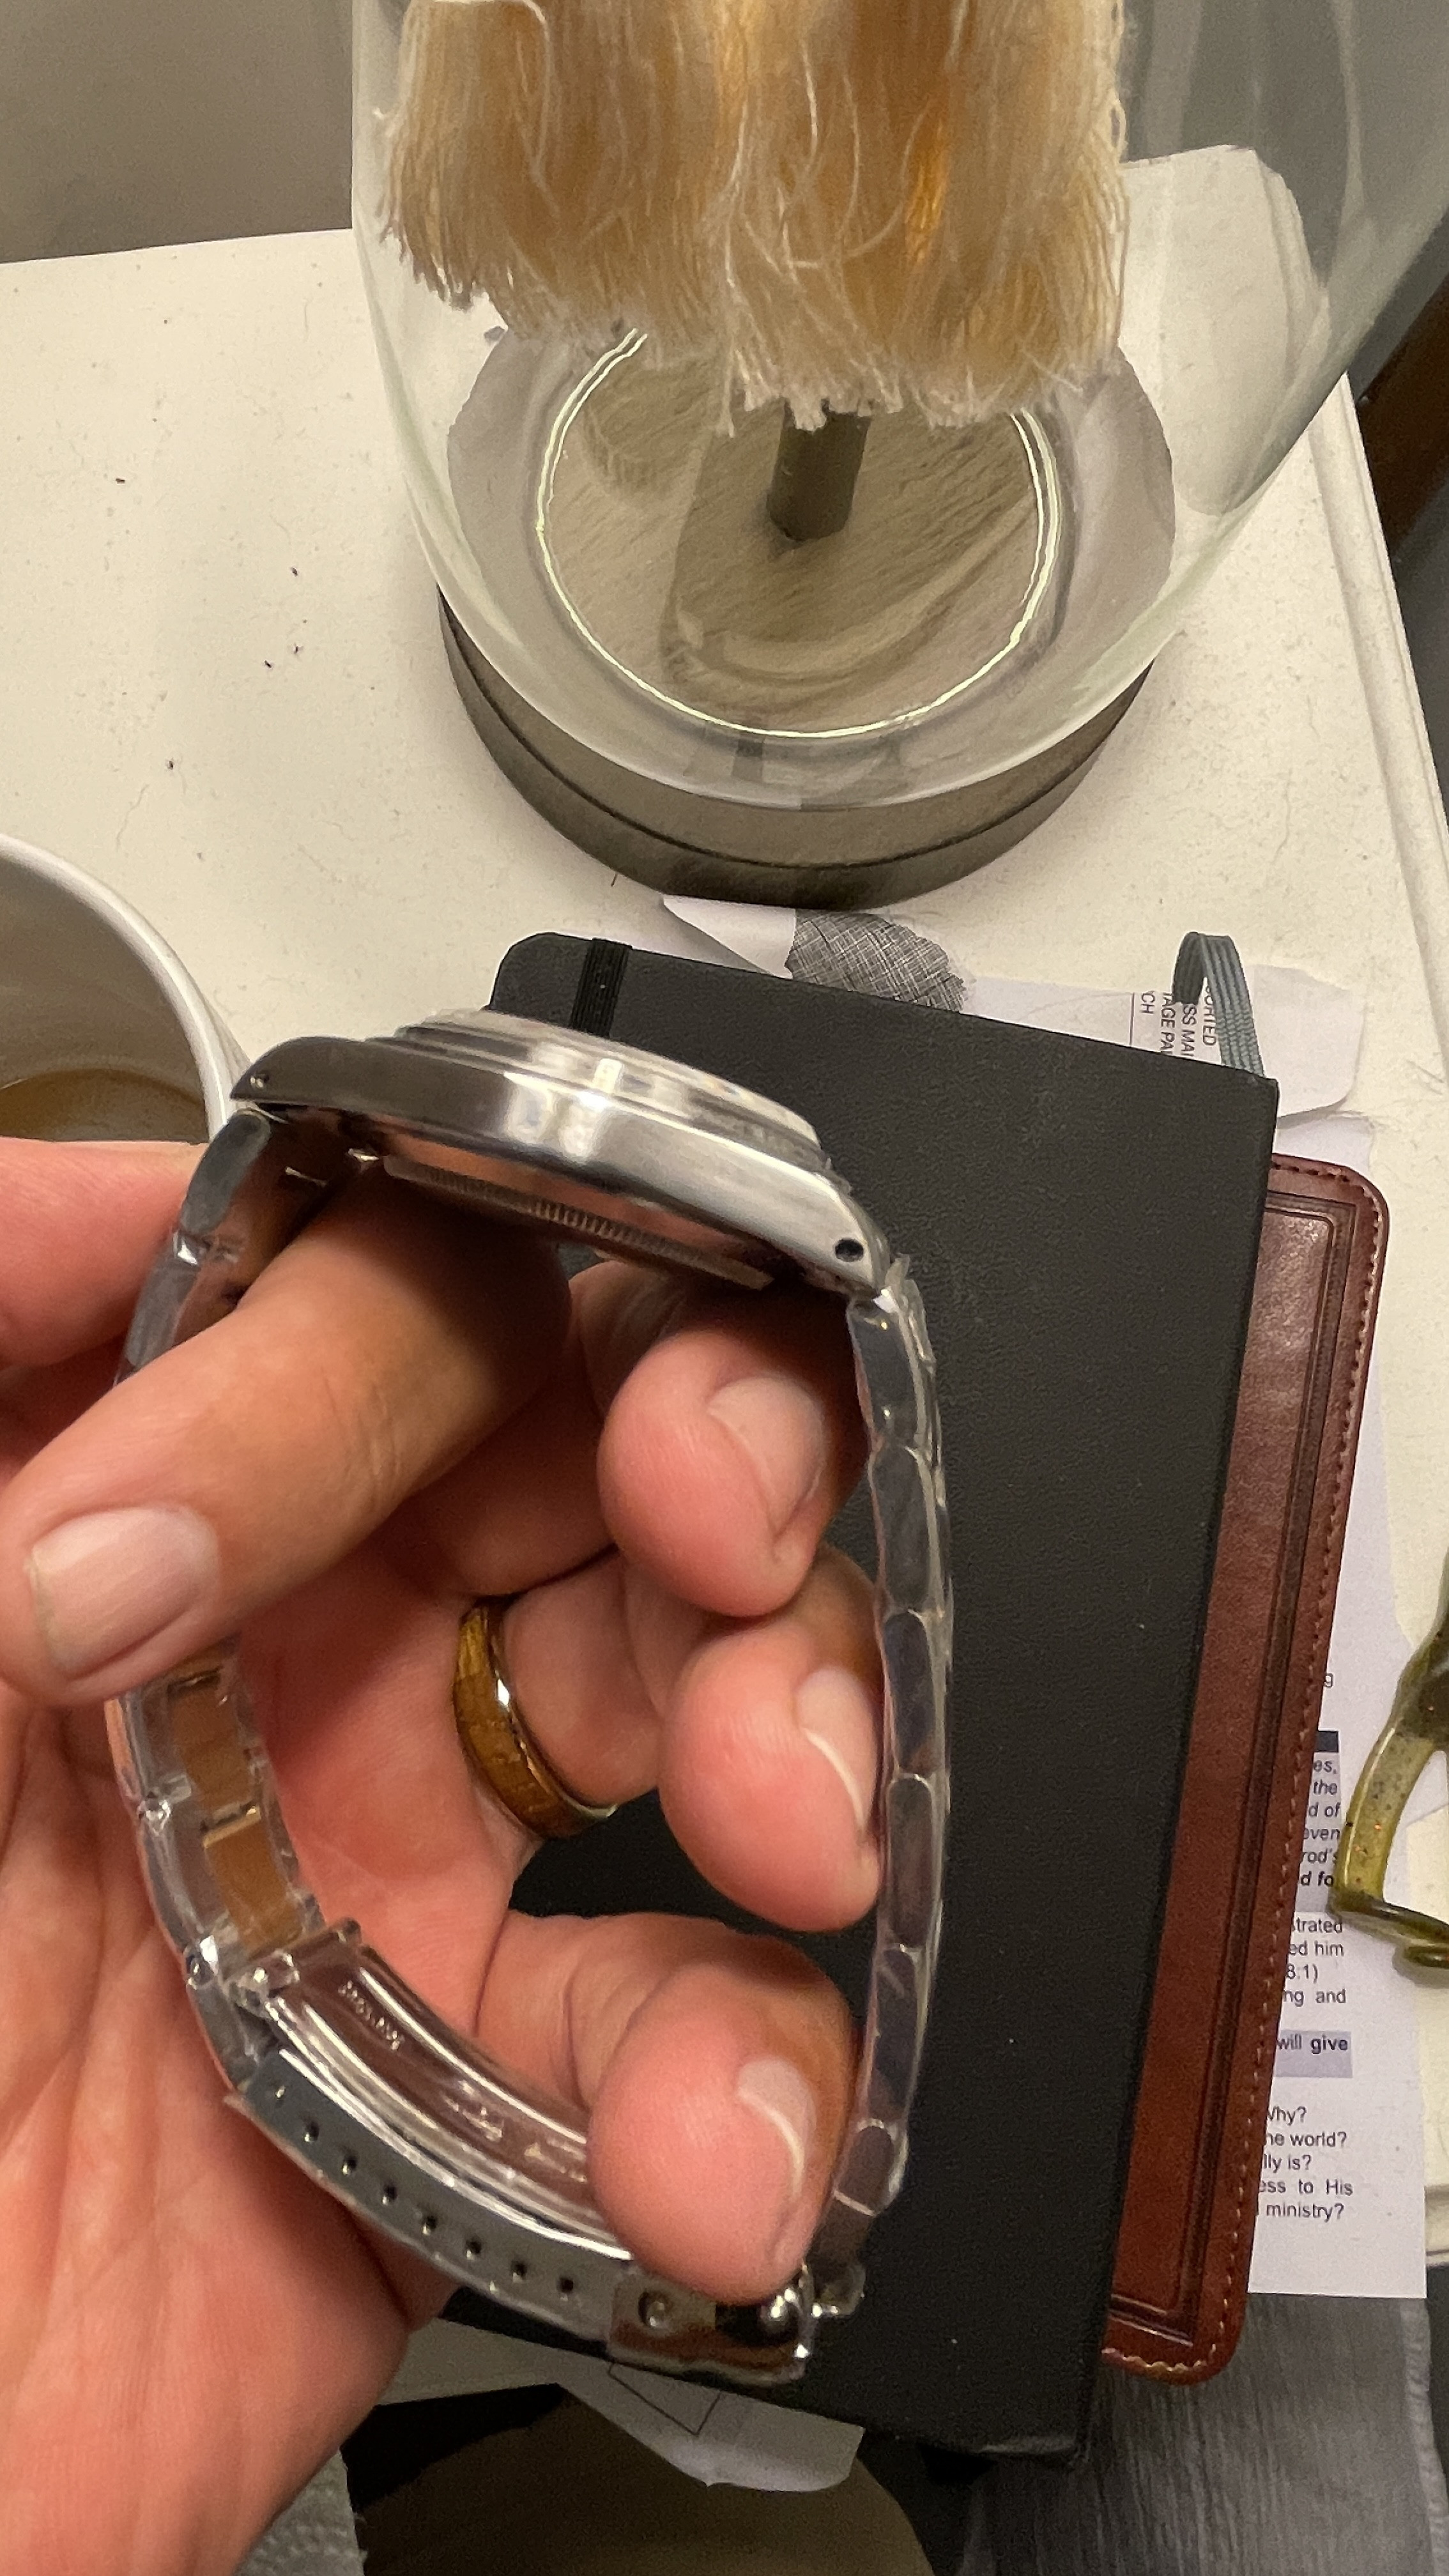
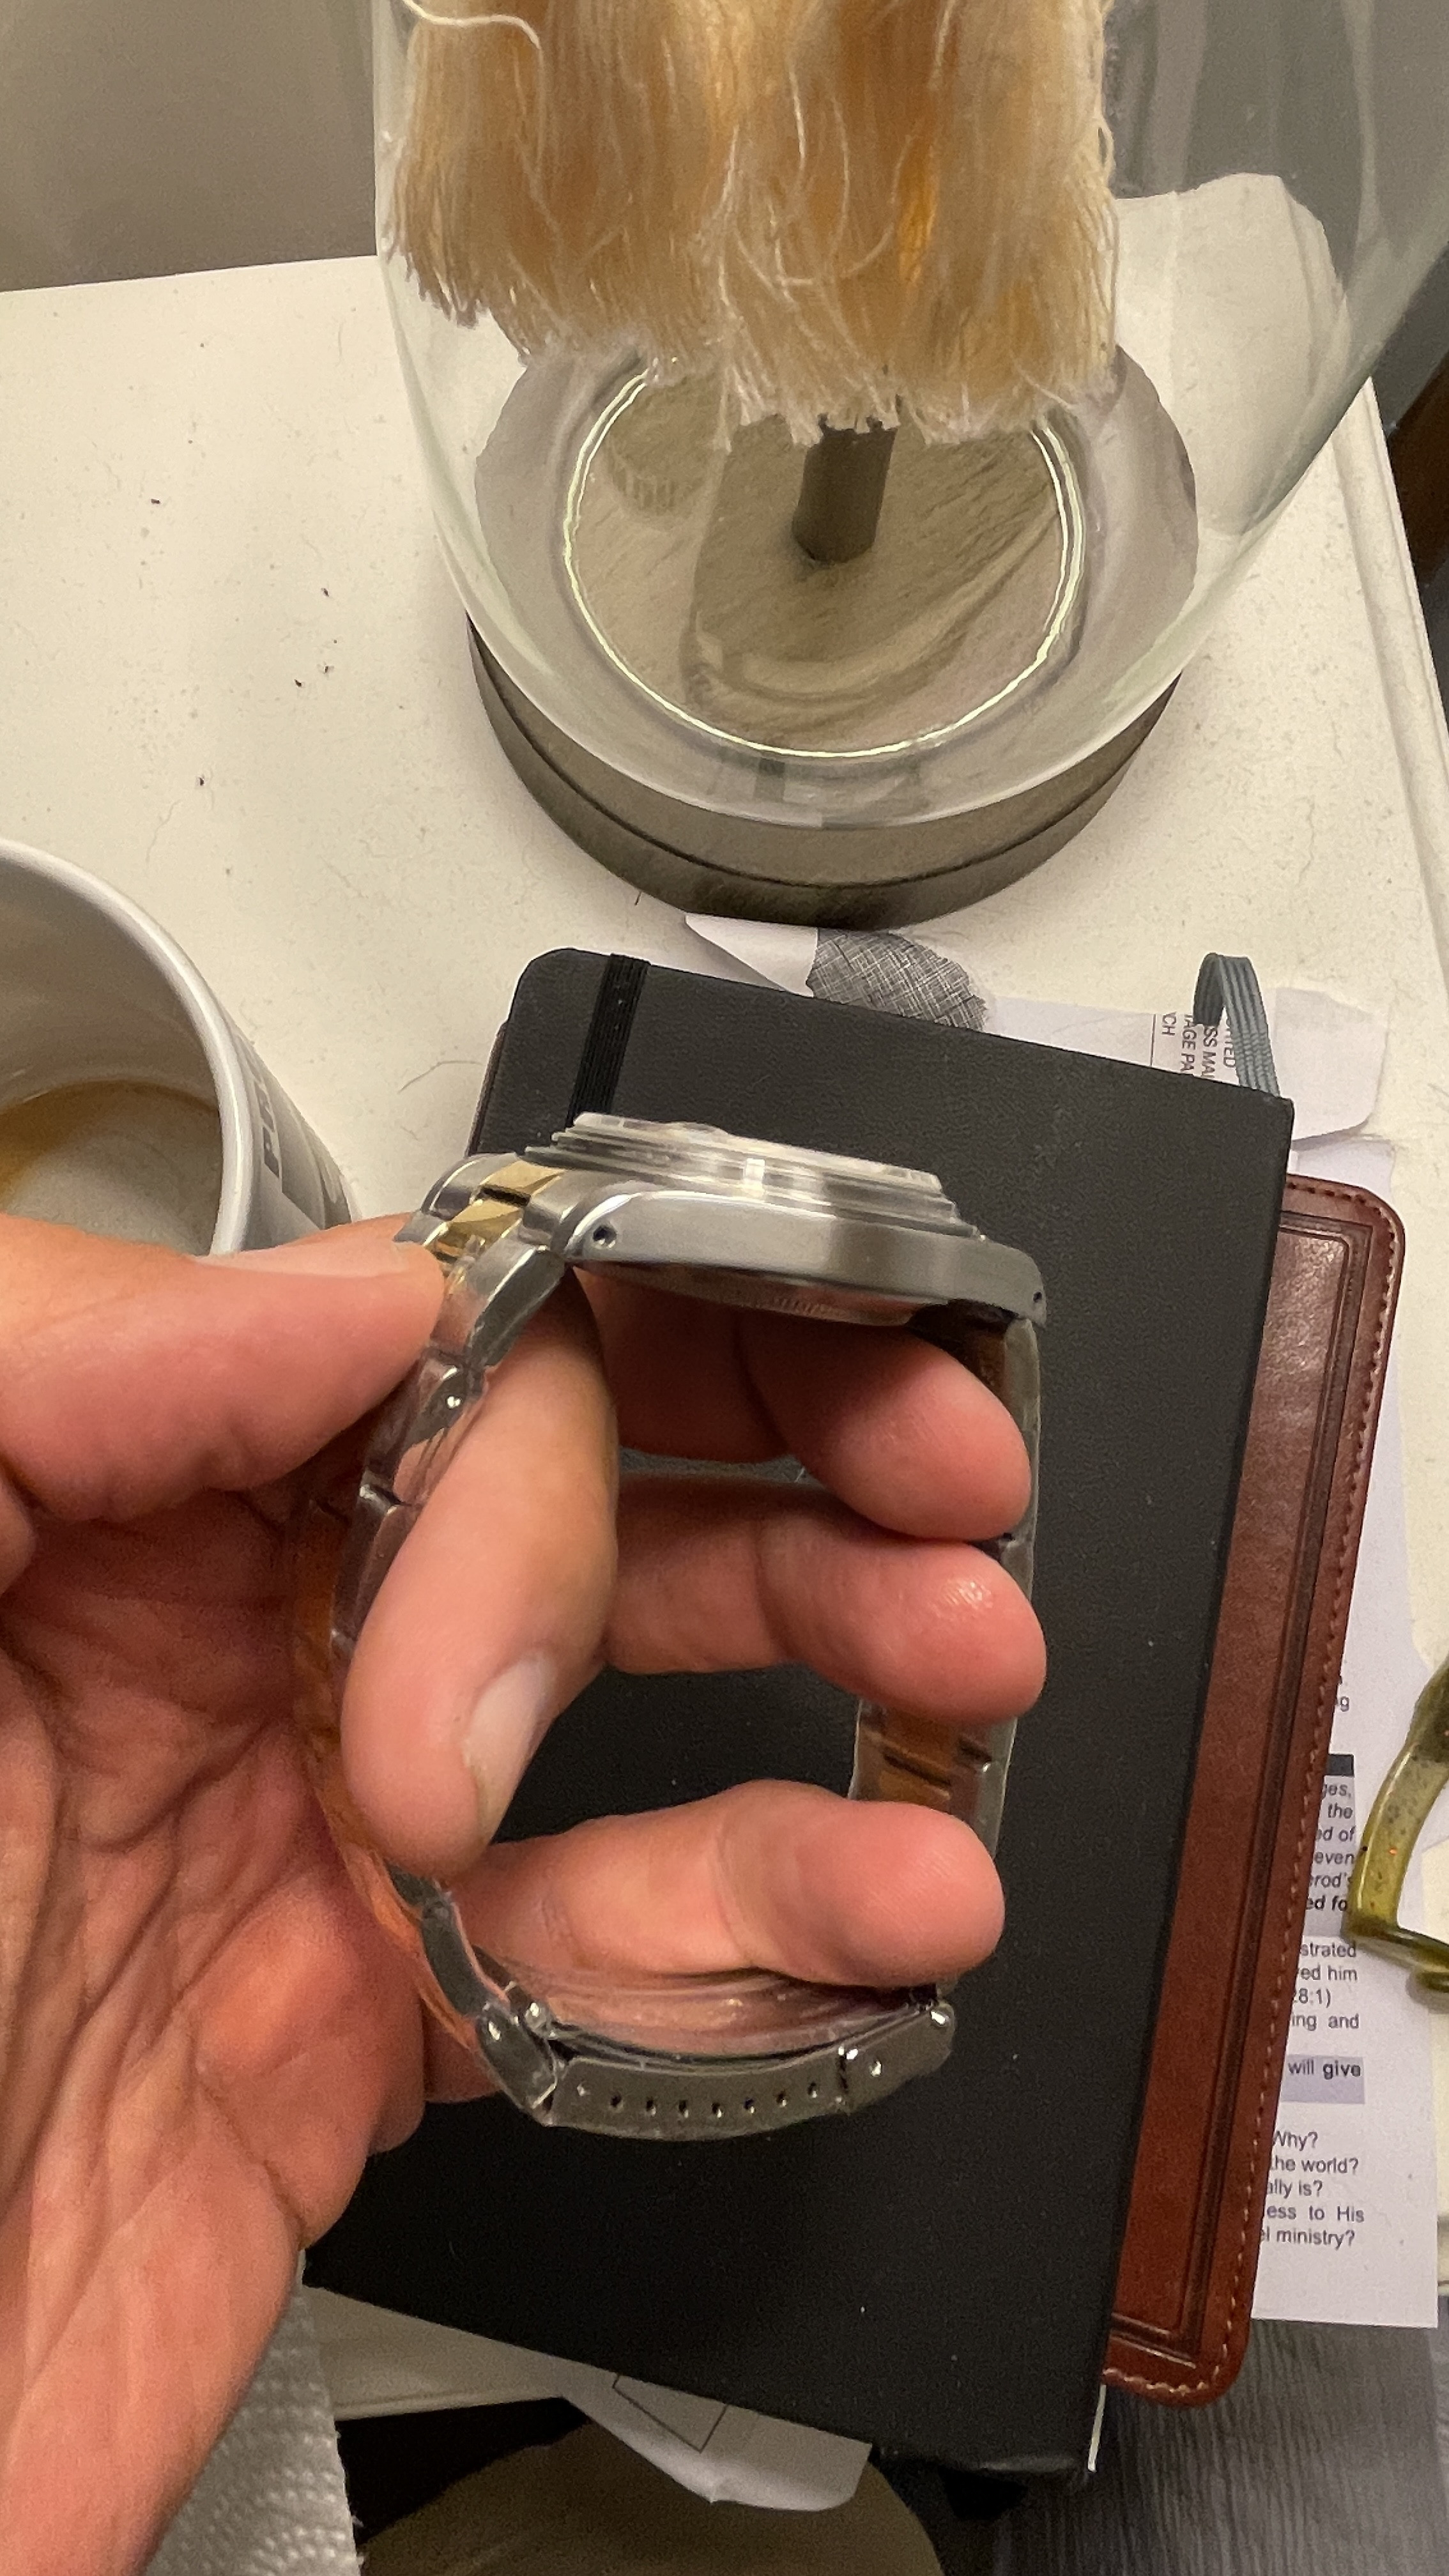
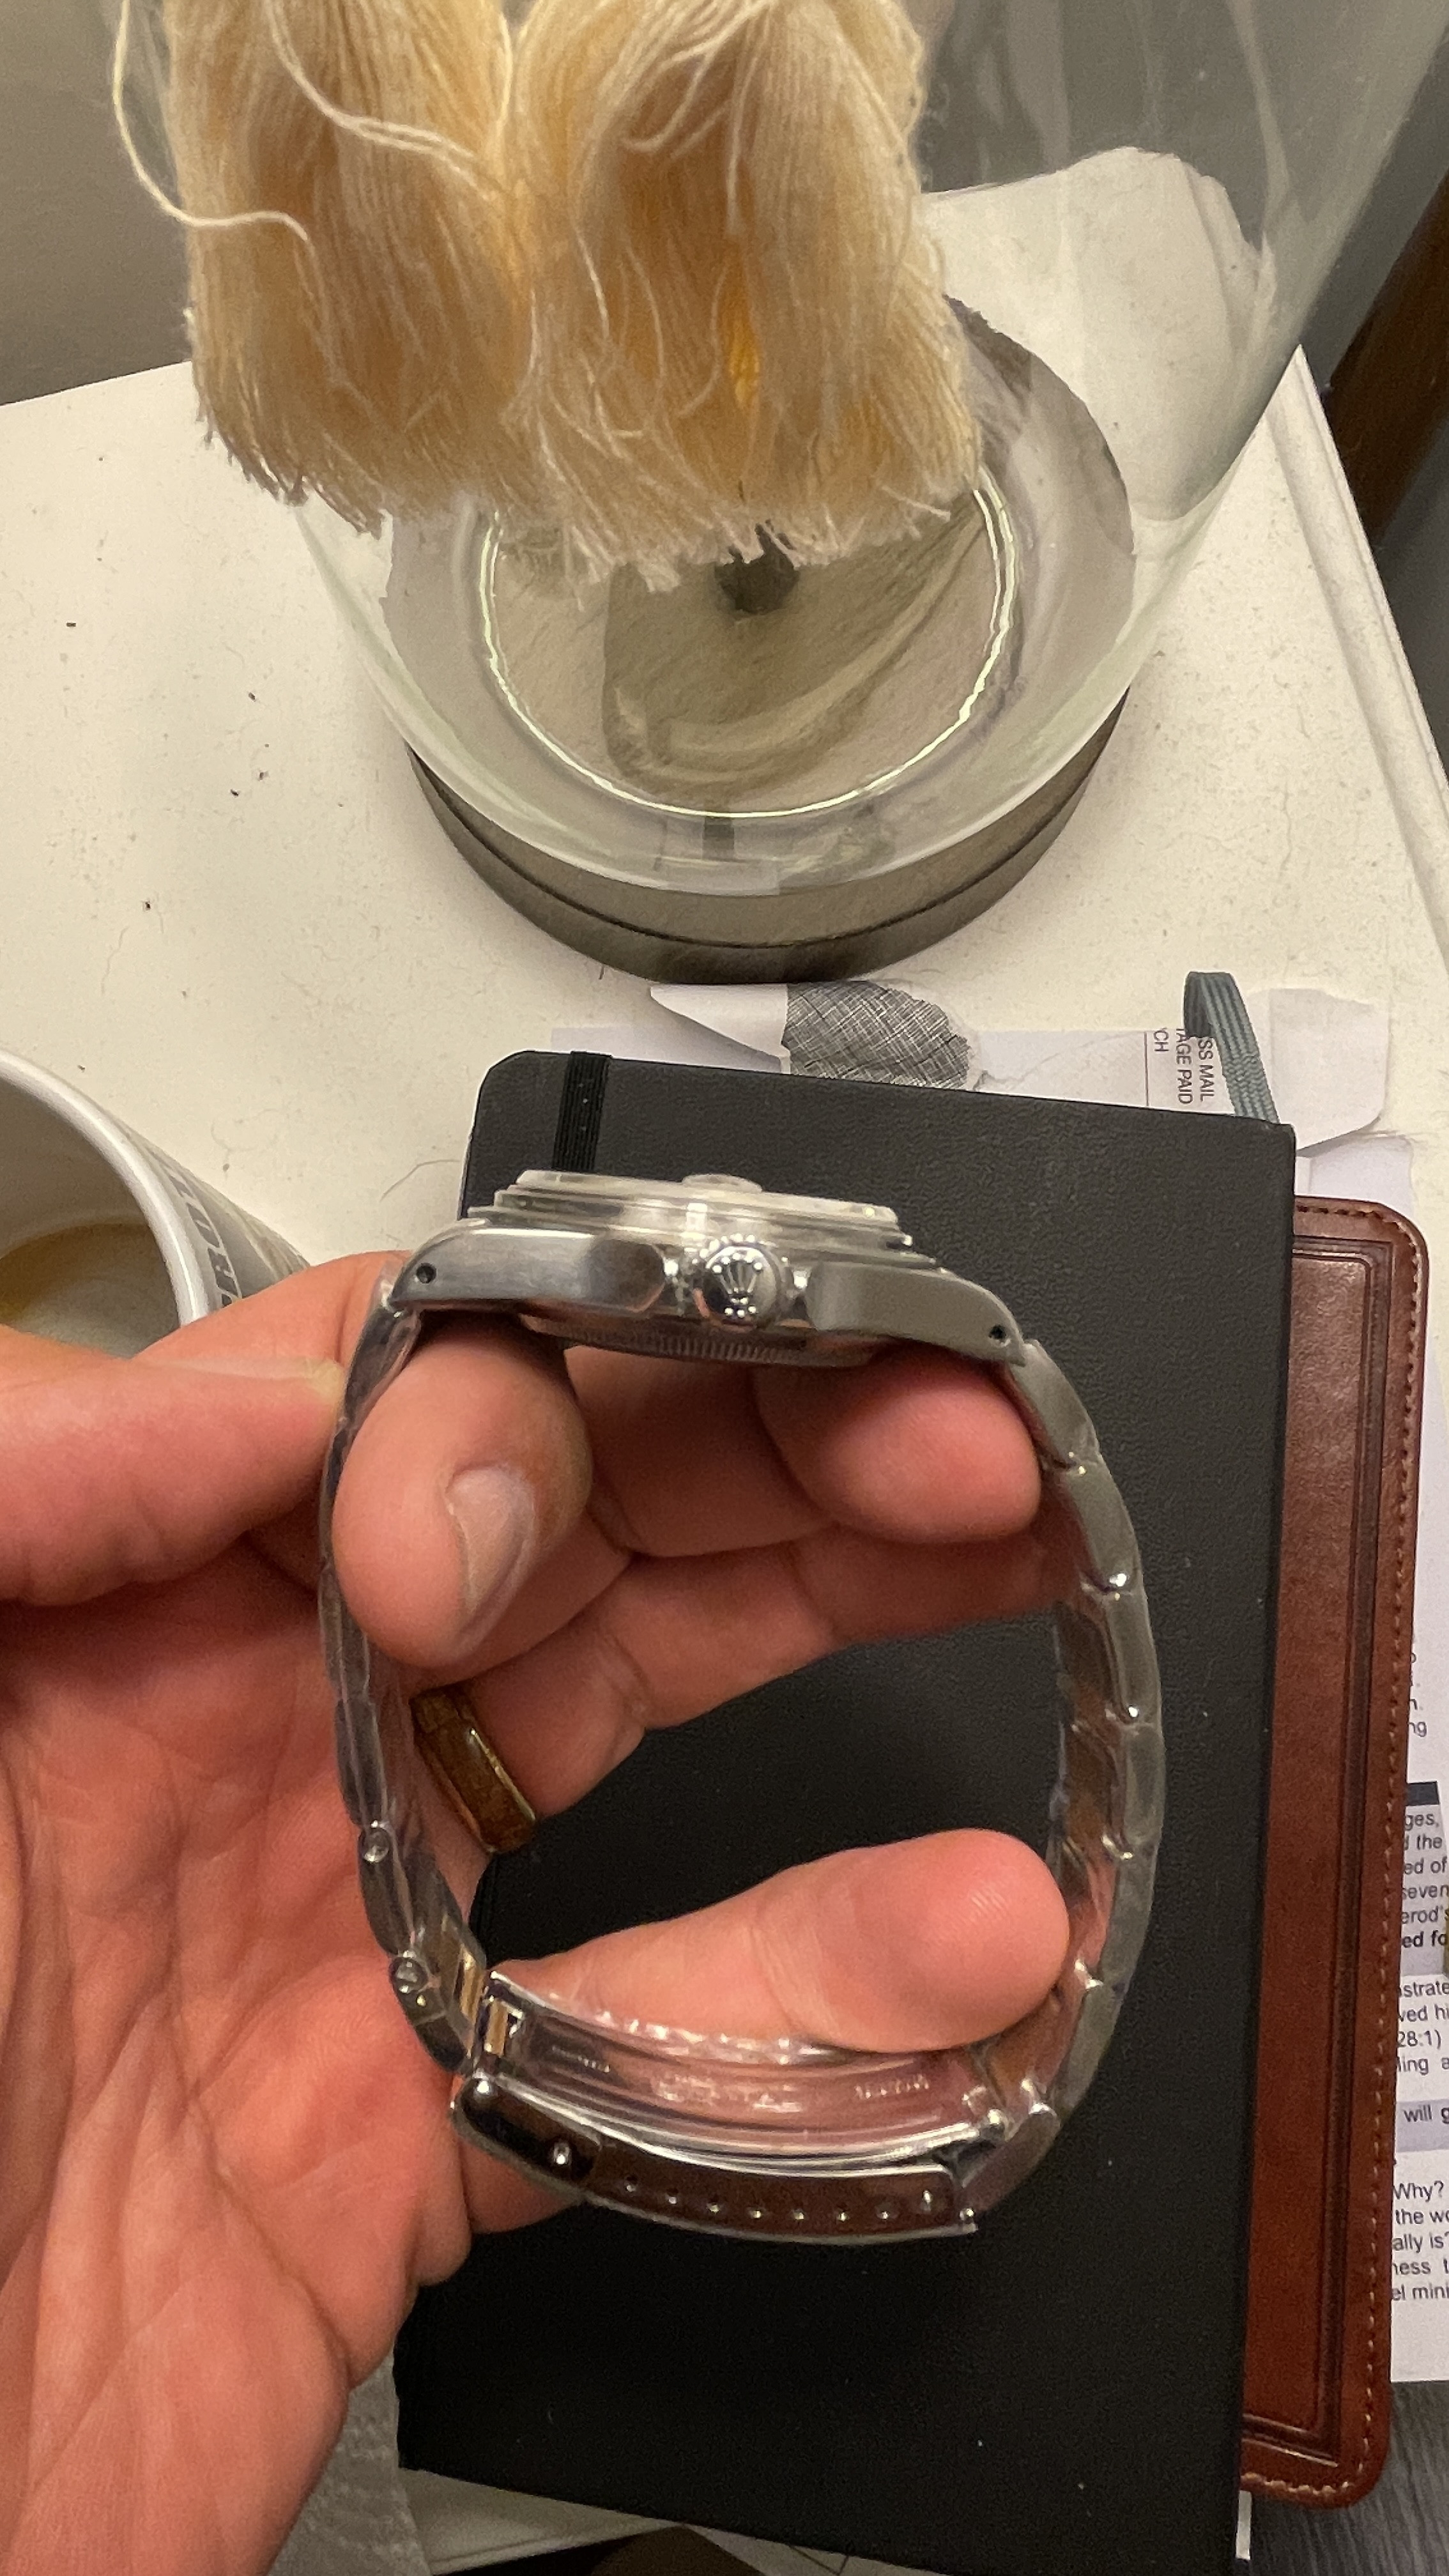
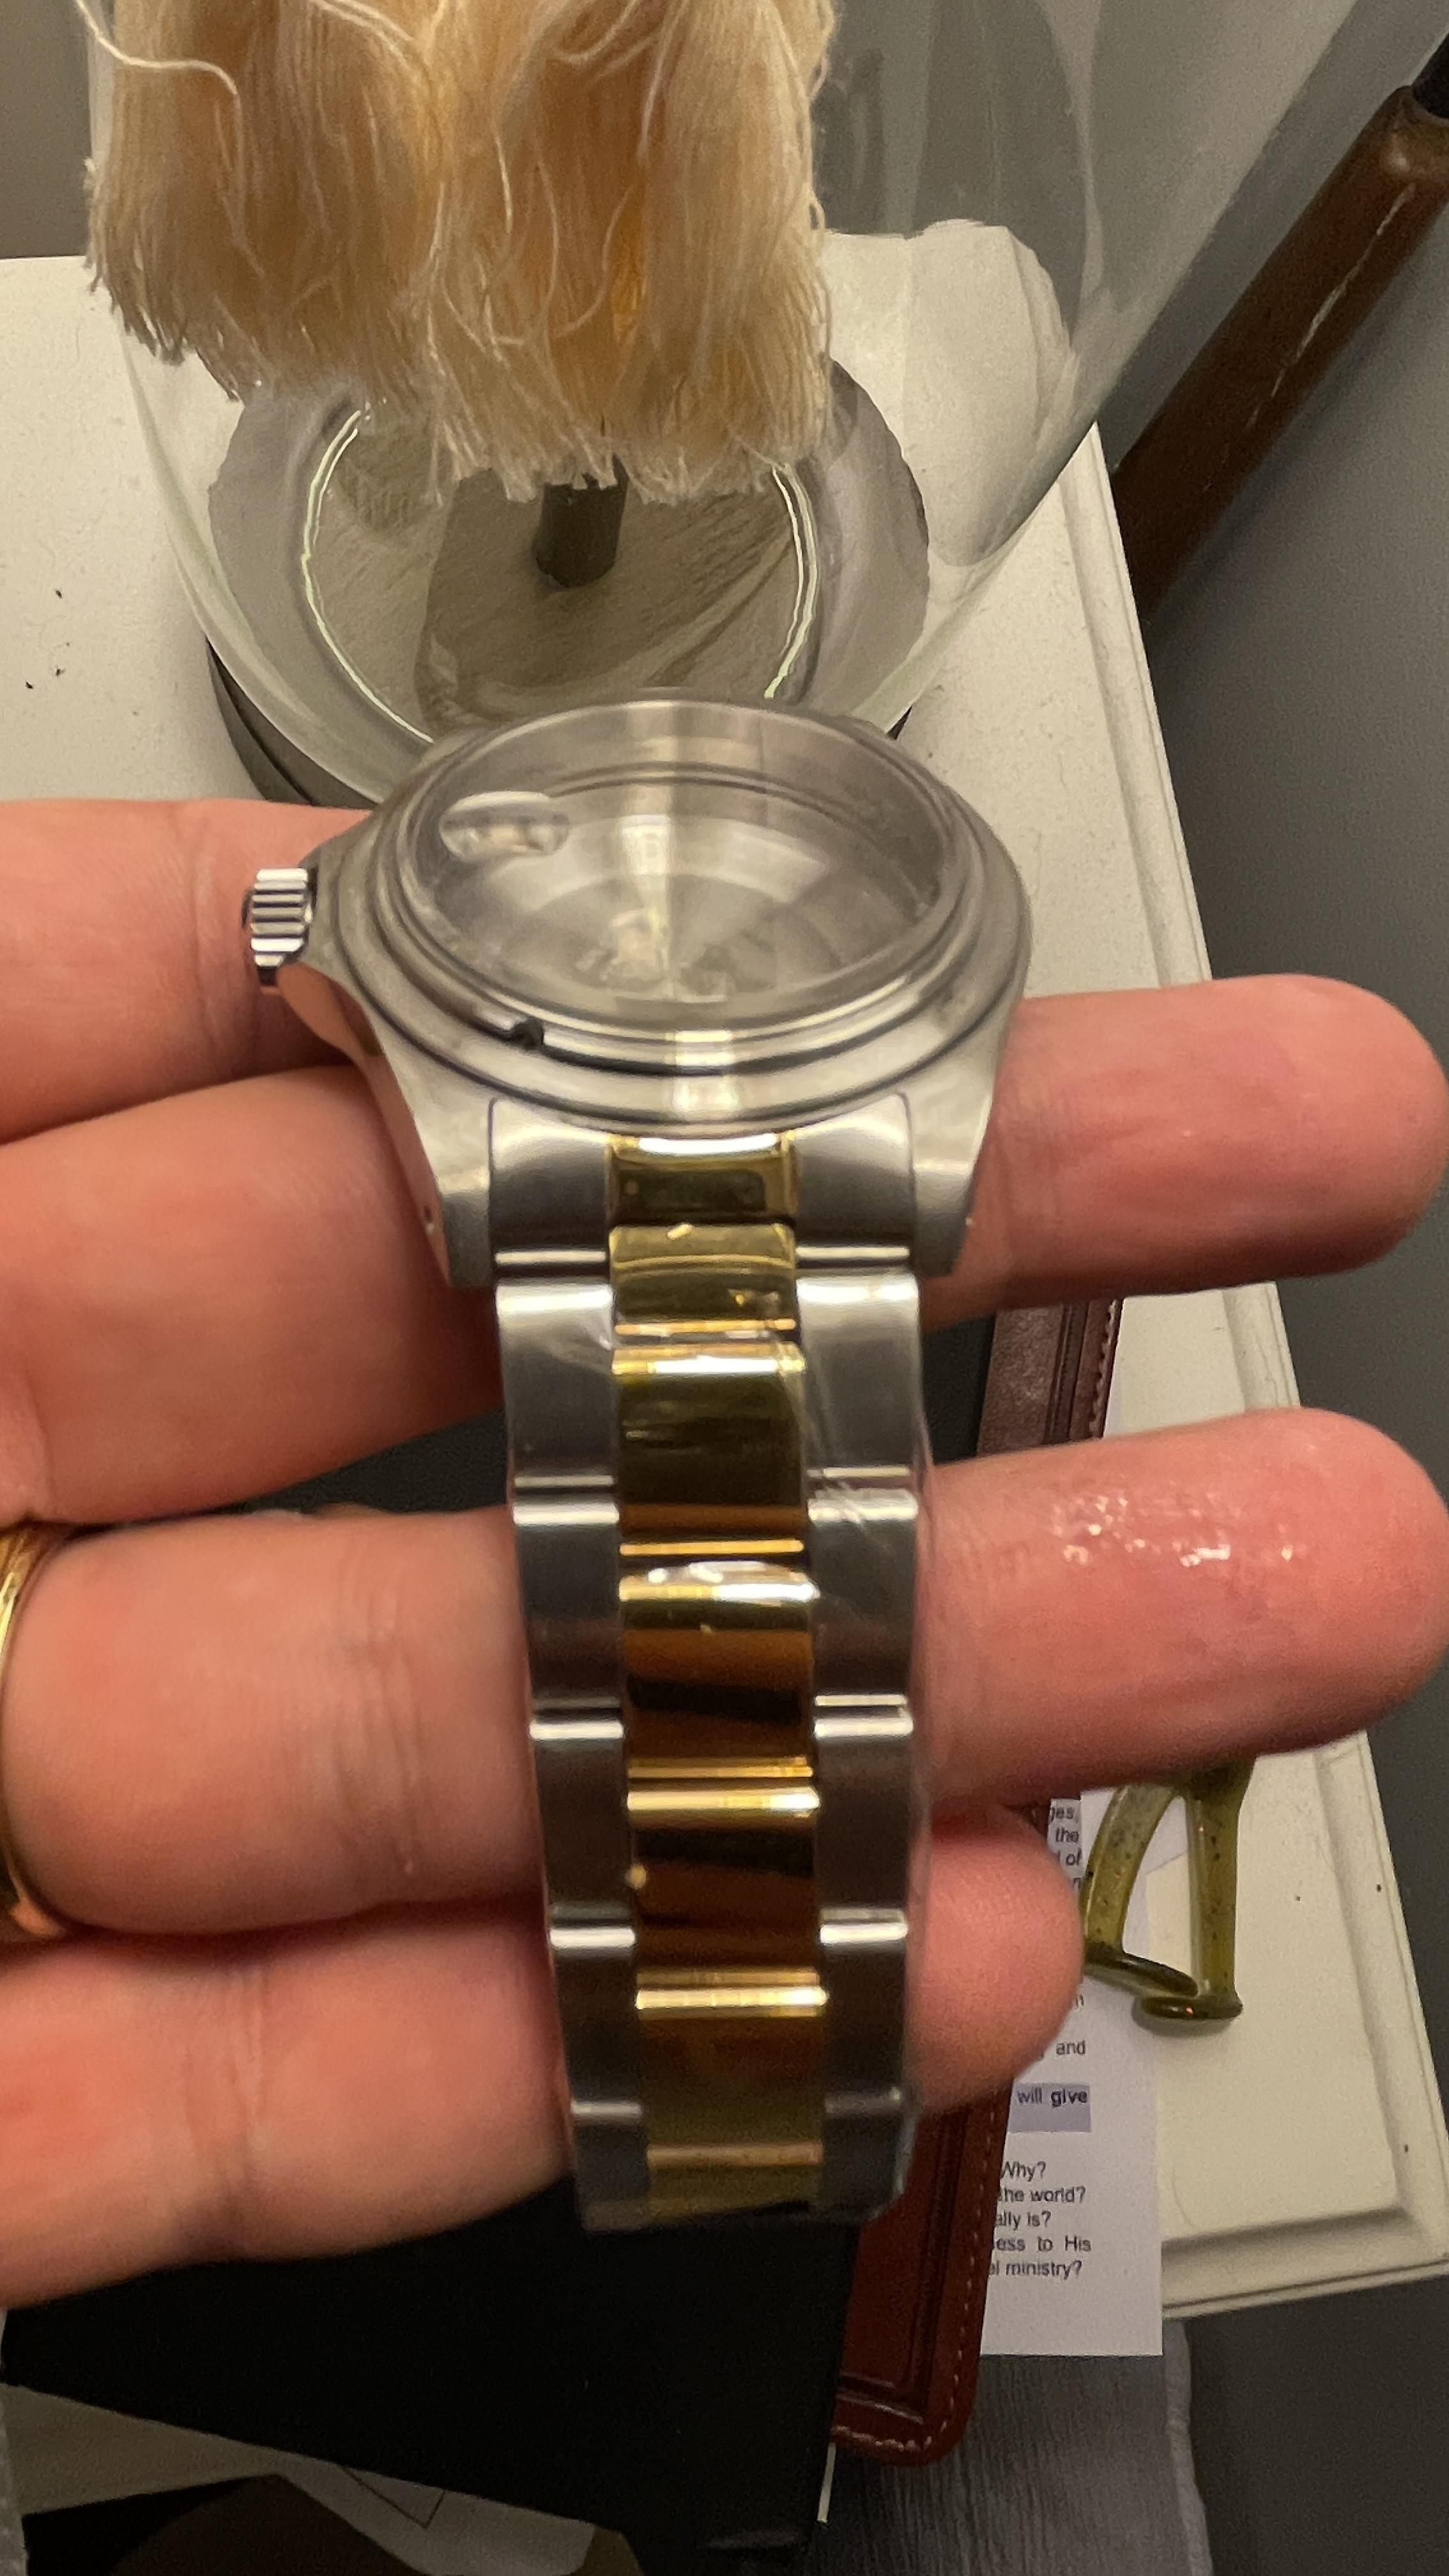
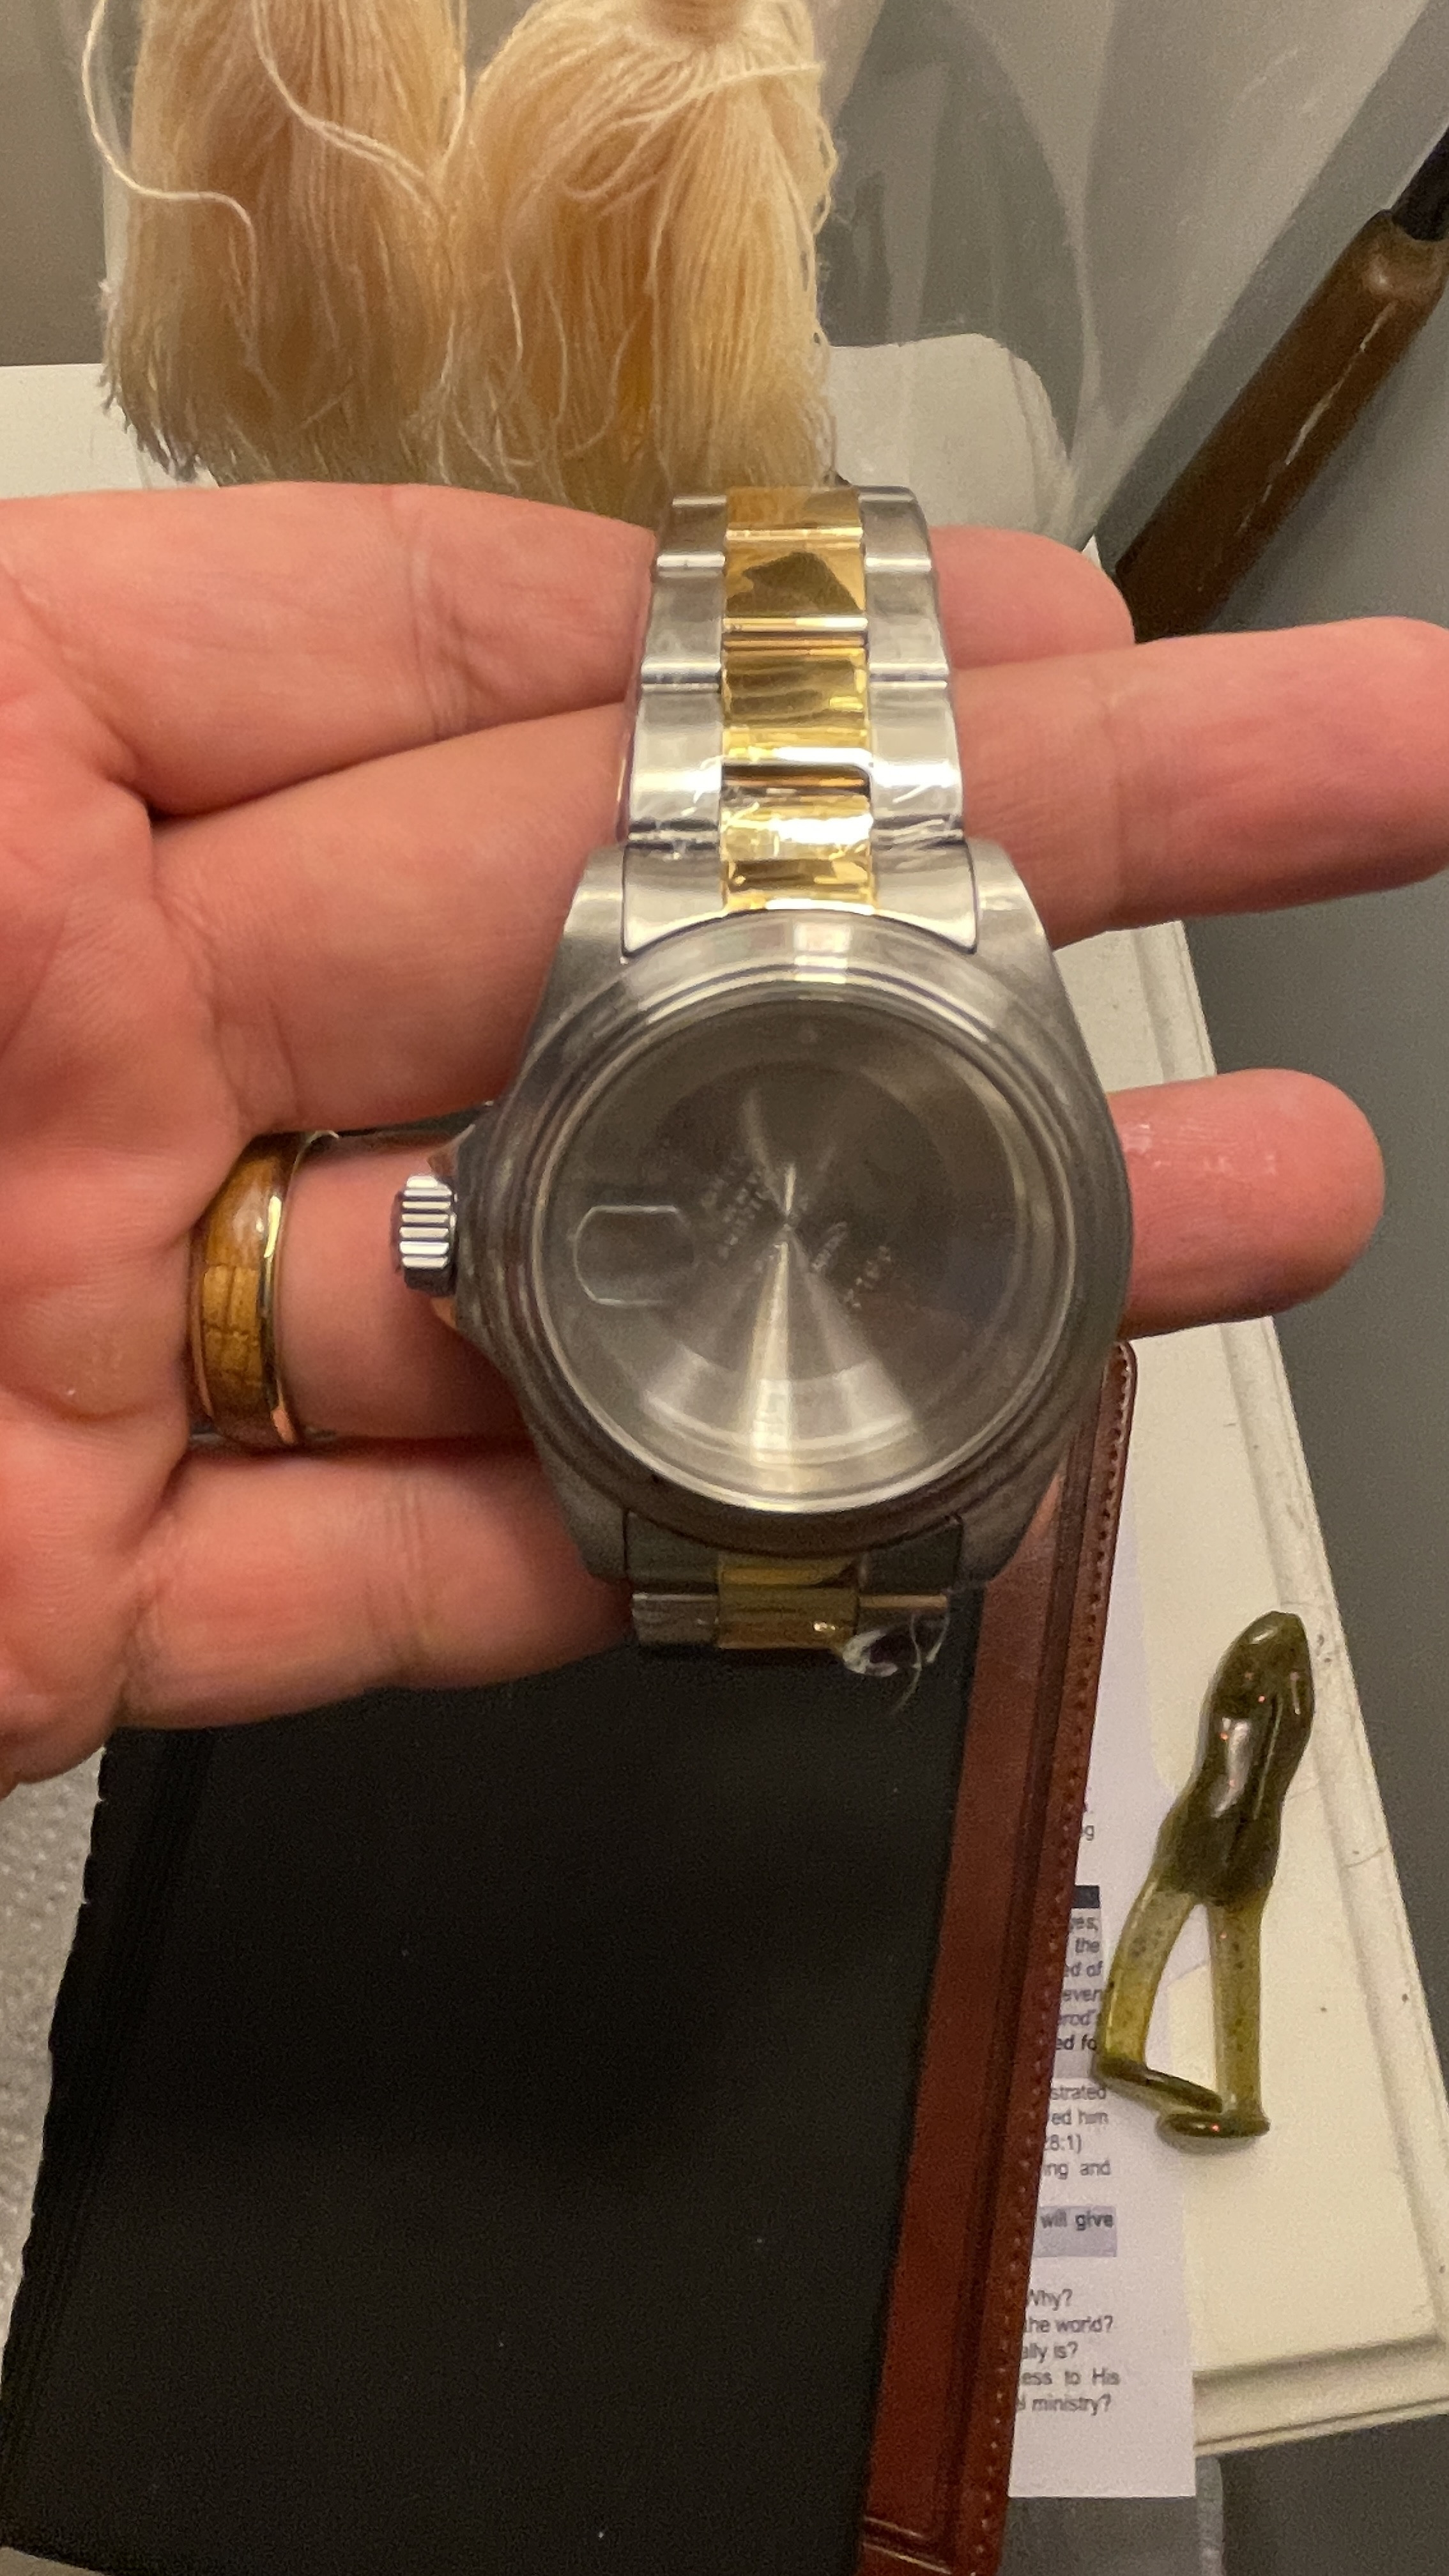
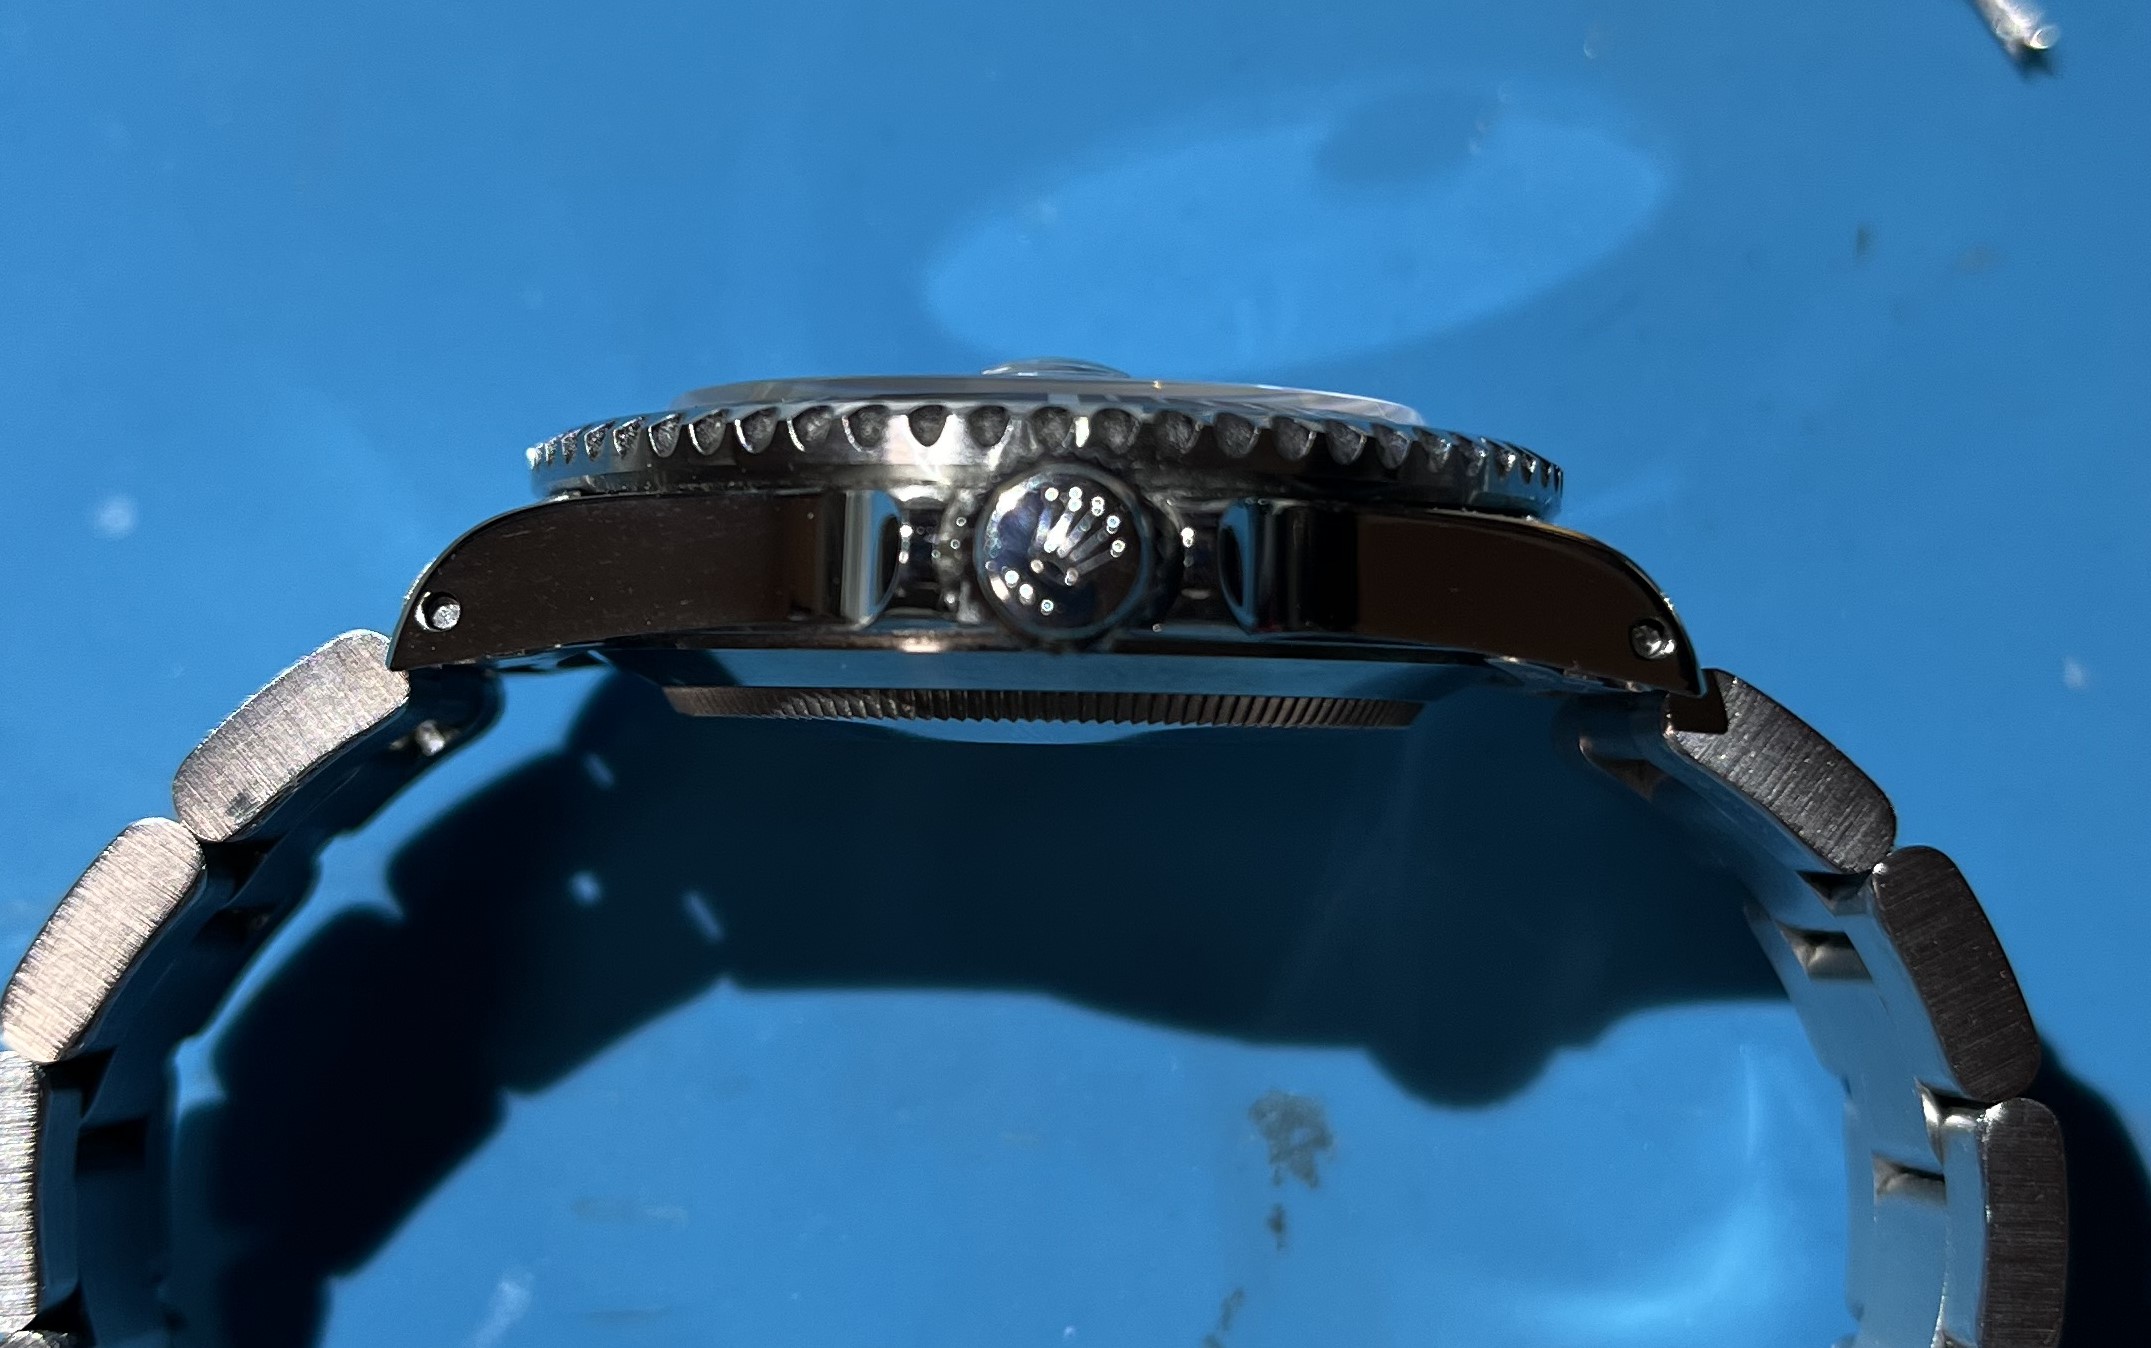
I purchased a Sillan 16610 case from Alibaba.

Yellowhammerwatches

Known Member
26/1/24
178
517
93
I can't remember if I had the cutout on the side or if I just used the cutout near the stem. I just used Rolex style screws. You screw them in far enough to be under the lip where there is a cutout. You then rotate the movement so the screws stay under the lip until they are in the correct position. Insert crown and then unscrew the screws so that their heads push against the lip and lock the movement firmly in place.
That’s good news. I’ll try that next one I do. Got 4 more franken 16613s to do (two blue, two black).
 

trash3939

I'm Pretty Popular
Patron
Certified
14/10/19
2,523
10,933
113
These cases work just fine and take gen parts. I had my watchmaker cut the oval indent into the back of the case to accept gen style movement mounting screws. Did the same on my BPSD.
I also use clamps to hold the movement in place and would like to try this method.
 

bowtiefanatc

I'm Pretty Popular
Supporter
Certified
2/11/12
1,053
959
113
You can do the gen method by simply rotating the movement in the case to the stem opening and adding the screws there. Then rotate and reverse them out once in proper position.
 
  • Like
Reactions: Yellowhammerwatches

Yellowhammerwatches

Known Member
26/1/24
178
517
93
You can do the gen method by simply rotating the movement in the case to the stem opening and adding the screws there. Then rotate and reverse them out once in proper position.
Are the screws anything special or just case clamp screws? I see gen spec movement screws on eBay but not into buying something I don’t need
 

bowtiefanatc

I'm Pretty Popular
Supporter
Certified
2/11/12
1,053
959
113
I’ve tried thicker screws and they don’t work very well. The ones that have worked for me are the ones that have thinner edges (like normal movement tab screws)
 
  • Like
Reactions: Yellowhammerwatches

trash3939

I'm Pretty Popular
Patron
Certified
14/10/19
2,523
10,933
113
hzpDEk.jpeg
 

bowtiefanatc

I'm Pretty Popular
Supporter
Certified
2/11/12
1,053
959
113
I did a test on my case (not that great) but I sure learned a lot about what to do and not to do next time.
 
  • Like
Reactions: trash3939

Yellowhammerwatches

Known Member
26/1/24
178
517
93
I did a test on my case (not that great) but I sure learned a lot about what to do and not to do next time.
Yep. Learn a little each time. Like what direction you sand has a direct impact on the final finish. Also learned as long as you go through the insides of the lugs the outer holes will be good enough to function. I had a hell of a bur in one hole that I just kept feeling like I was making it worse. Buffed out pretty good, and didn’t affect the spring bar fitment in the slightest. Good to know perfection isn’t a requirement.
 
  • Like
Reactions: trash3939

bowtiefanatc

I'm Pretty Popular
Supporter
Certified
2/11/12
1,053
959
113
Yep. Learn a little each time. Like what direction you sand has a direct impact on the final finish. Also learned as long as you go through the insides of the lugs the outer holes will be good enough to function. I had a hell of a bur in one hole that I just kept feeling like I was making it worse. Buffed out pretty good, and didn’t affect the spring bar fitment in the slightest. Good to know perfection isn’t a requirement.

I went through the top with my little drill press. Learned about drill bit flex and better ways to build a jig that will hold the case steady.
 
  • Like
Reactions: trash3939

bowtiefanatc

I'm Pretty Popular
Supporter
Certified
2/11/12
1,053
959
113
I got this drill press off Amazon:
https://a.co/d/7dKwRPR

It’s small and can fit on a table easily. It also takes very small bits with ease. I ordered other tungsten bits to do the drilling (highly recommend fresh bits and cut oil.

It comes with a clamp which is ok. I’d prefer a more heavy duty one.

My plan for the jig is using a couple pieces of wood and carving them out so they securely hold the case in place while I drill.
 
  • Like
Reactions: trash3939

trash3939

I'm Pretty Popular
Patron
Certified
14/10/19
2,523
10,933
113


Thanks to the guys who gave me tips. I feel like I’m getting a hang for lug holes and polishing.
The first hole to be drilled from the back should be thin (1.0 mm) and should penetrate as straight as possible against the hole.

Next, re-drill the hole correctly with a drilling machine using a 1.2mm bit to correct the hole that has been drilled through at an angle.

Finally, finish with a 1.3 mm bit.

The burrs are sanded inside and out with a file, sanded with sandpaper No. 400 to 1000, polished with sandpaper No. 2000 to 3000, and finally buffed.
 

Yellowhammerwatches

Known Member
26/1/24
178
517
93
The first hole to be drilled from the back should be thin (1.0 mm) and should penetrate as straight as possible against the hole.

Next, re-drill the hole correctly with a drilling machine using a 1.2mm bit to correct the hole that has been drilled through at an angle.

Finally, finish with a 1.3 mm bit.

The burrs are sanded inside and out with a file, sanded with sandpaper No. 400 to 1000, polished with sandpaper No. 2000 to 3000, and finally buffed.
I’ve been going 1mm inside to out, then 1.3mm outside to in. I don’t have the 1.2mm bit (or at least I haven’t used it). Then I debur with a rat tail file then a diamond rat tail dremel bit. But I haven’t been using the sand paper grits on the interior of the holes. I’ll wrap some around the file and clean that up. For polishing I’ve been using 400, 800, 1500, then wet sanding with 3000 all by hand before polishing with some green compound on low speed with a dremel and then hand buffing with a cape cod cloth.
 
  • Like
Reactions: trash3939

Karbon74

Pika Factory
Patron
Certified
5/5/23
10,234
19,982
113
EU - Kalos Region
I’ve been going 1mm inside to out, then 1.3mm outside to in. I don’t have the 1.2mm bit (or at least I haven’t used it). Then I debur with a rat tail file then a diamond rat tail dremel bit. But I haven’t been using the sand paper grits on the interior of the holes. I’ll wrap some around the file and clean that up. For polishing I’ve been using 400, 800, 1500, then wet sanding with 3000 all by hand before polishing with some green compound on low speed with a dremel and then hand buffing with a cape cod cloth.

From the inside you go hand or use the press?
 

Yellowhammerwatches

Known Member
26/1/24
178
517
93
From the inside you go hand or use the press?
Bauer drill press from Harbor Freight. Tungsten carbide bits and cutting oil. When I ream out the newly drilled hole with the 1.3mm I use the dremel. Insert the tip into the hole while the case is in the vice and turn on the dremel. It only takes half a second. I’m sure the best practice would be to swap bits in the press and do it that way, but the BEST practice would be not going through the interior lugs to start with. Plus I’m a redneck so sketchy shit is in my DNA.
 
  • Haha
Reactions: Pinion Minion

Karbon74

Pika Factory
Patron
Certified
5/5/23
10,234
19,982
113
EU - Kalos Region
Bauer drill press from Harbor Freight. Tungsten carbide bits and cutting oil. When I ream out the newly drilled hole with the 1.3mm I use the dremel. Insert the tip into the hole while the case is in the vice and turn on the dremel. It only takes half a second. I’m sure the best practice would be to swap bits in the press and do it that way, but the BEST practice would be not going through the interior lugs to start with. Plus I’m a redneck so sketchy shit is in my DNA.

So, you do go from the inside to go through the lugs.

Then to ream at 1.3mm
You prelock the tip into the hole while power off, and then you power on?

You don’t lower the press turning?