@chrome72 Please don't get me wrong: your work looks good and your guide is excellent and the method with the paper also seems to improve the toner transfer somewhat. My statement was about the method in general. With each of the three steps we lose detail.
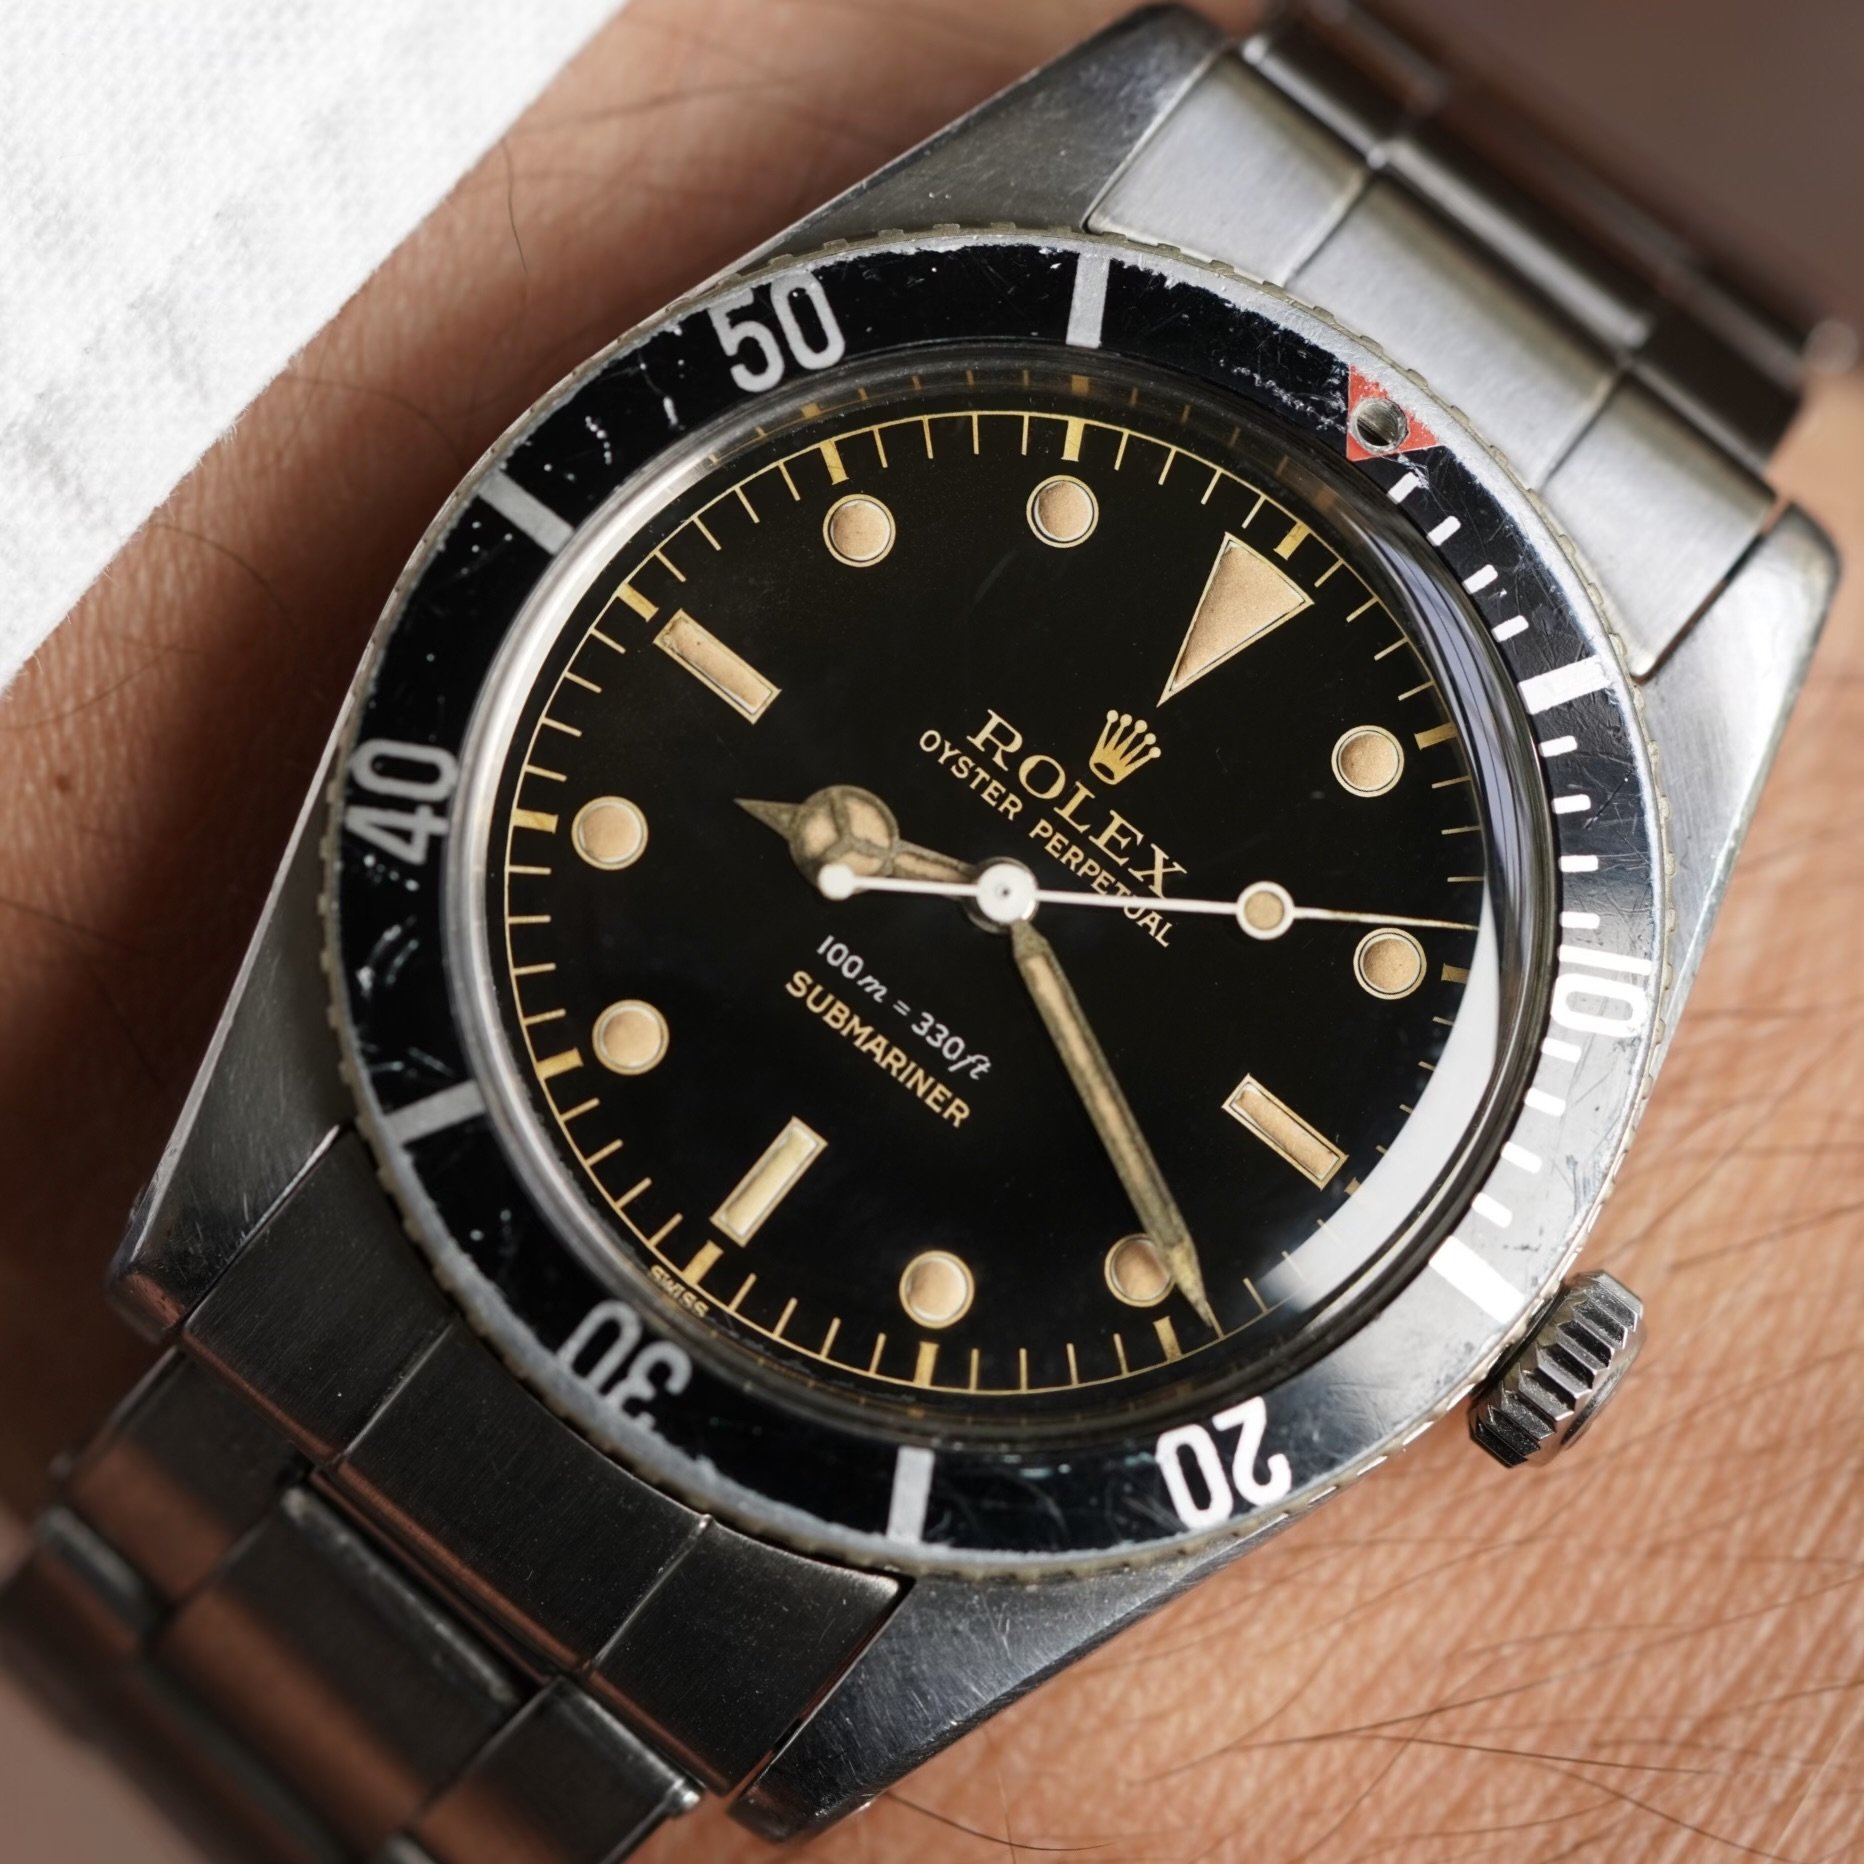
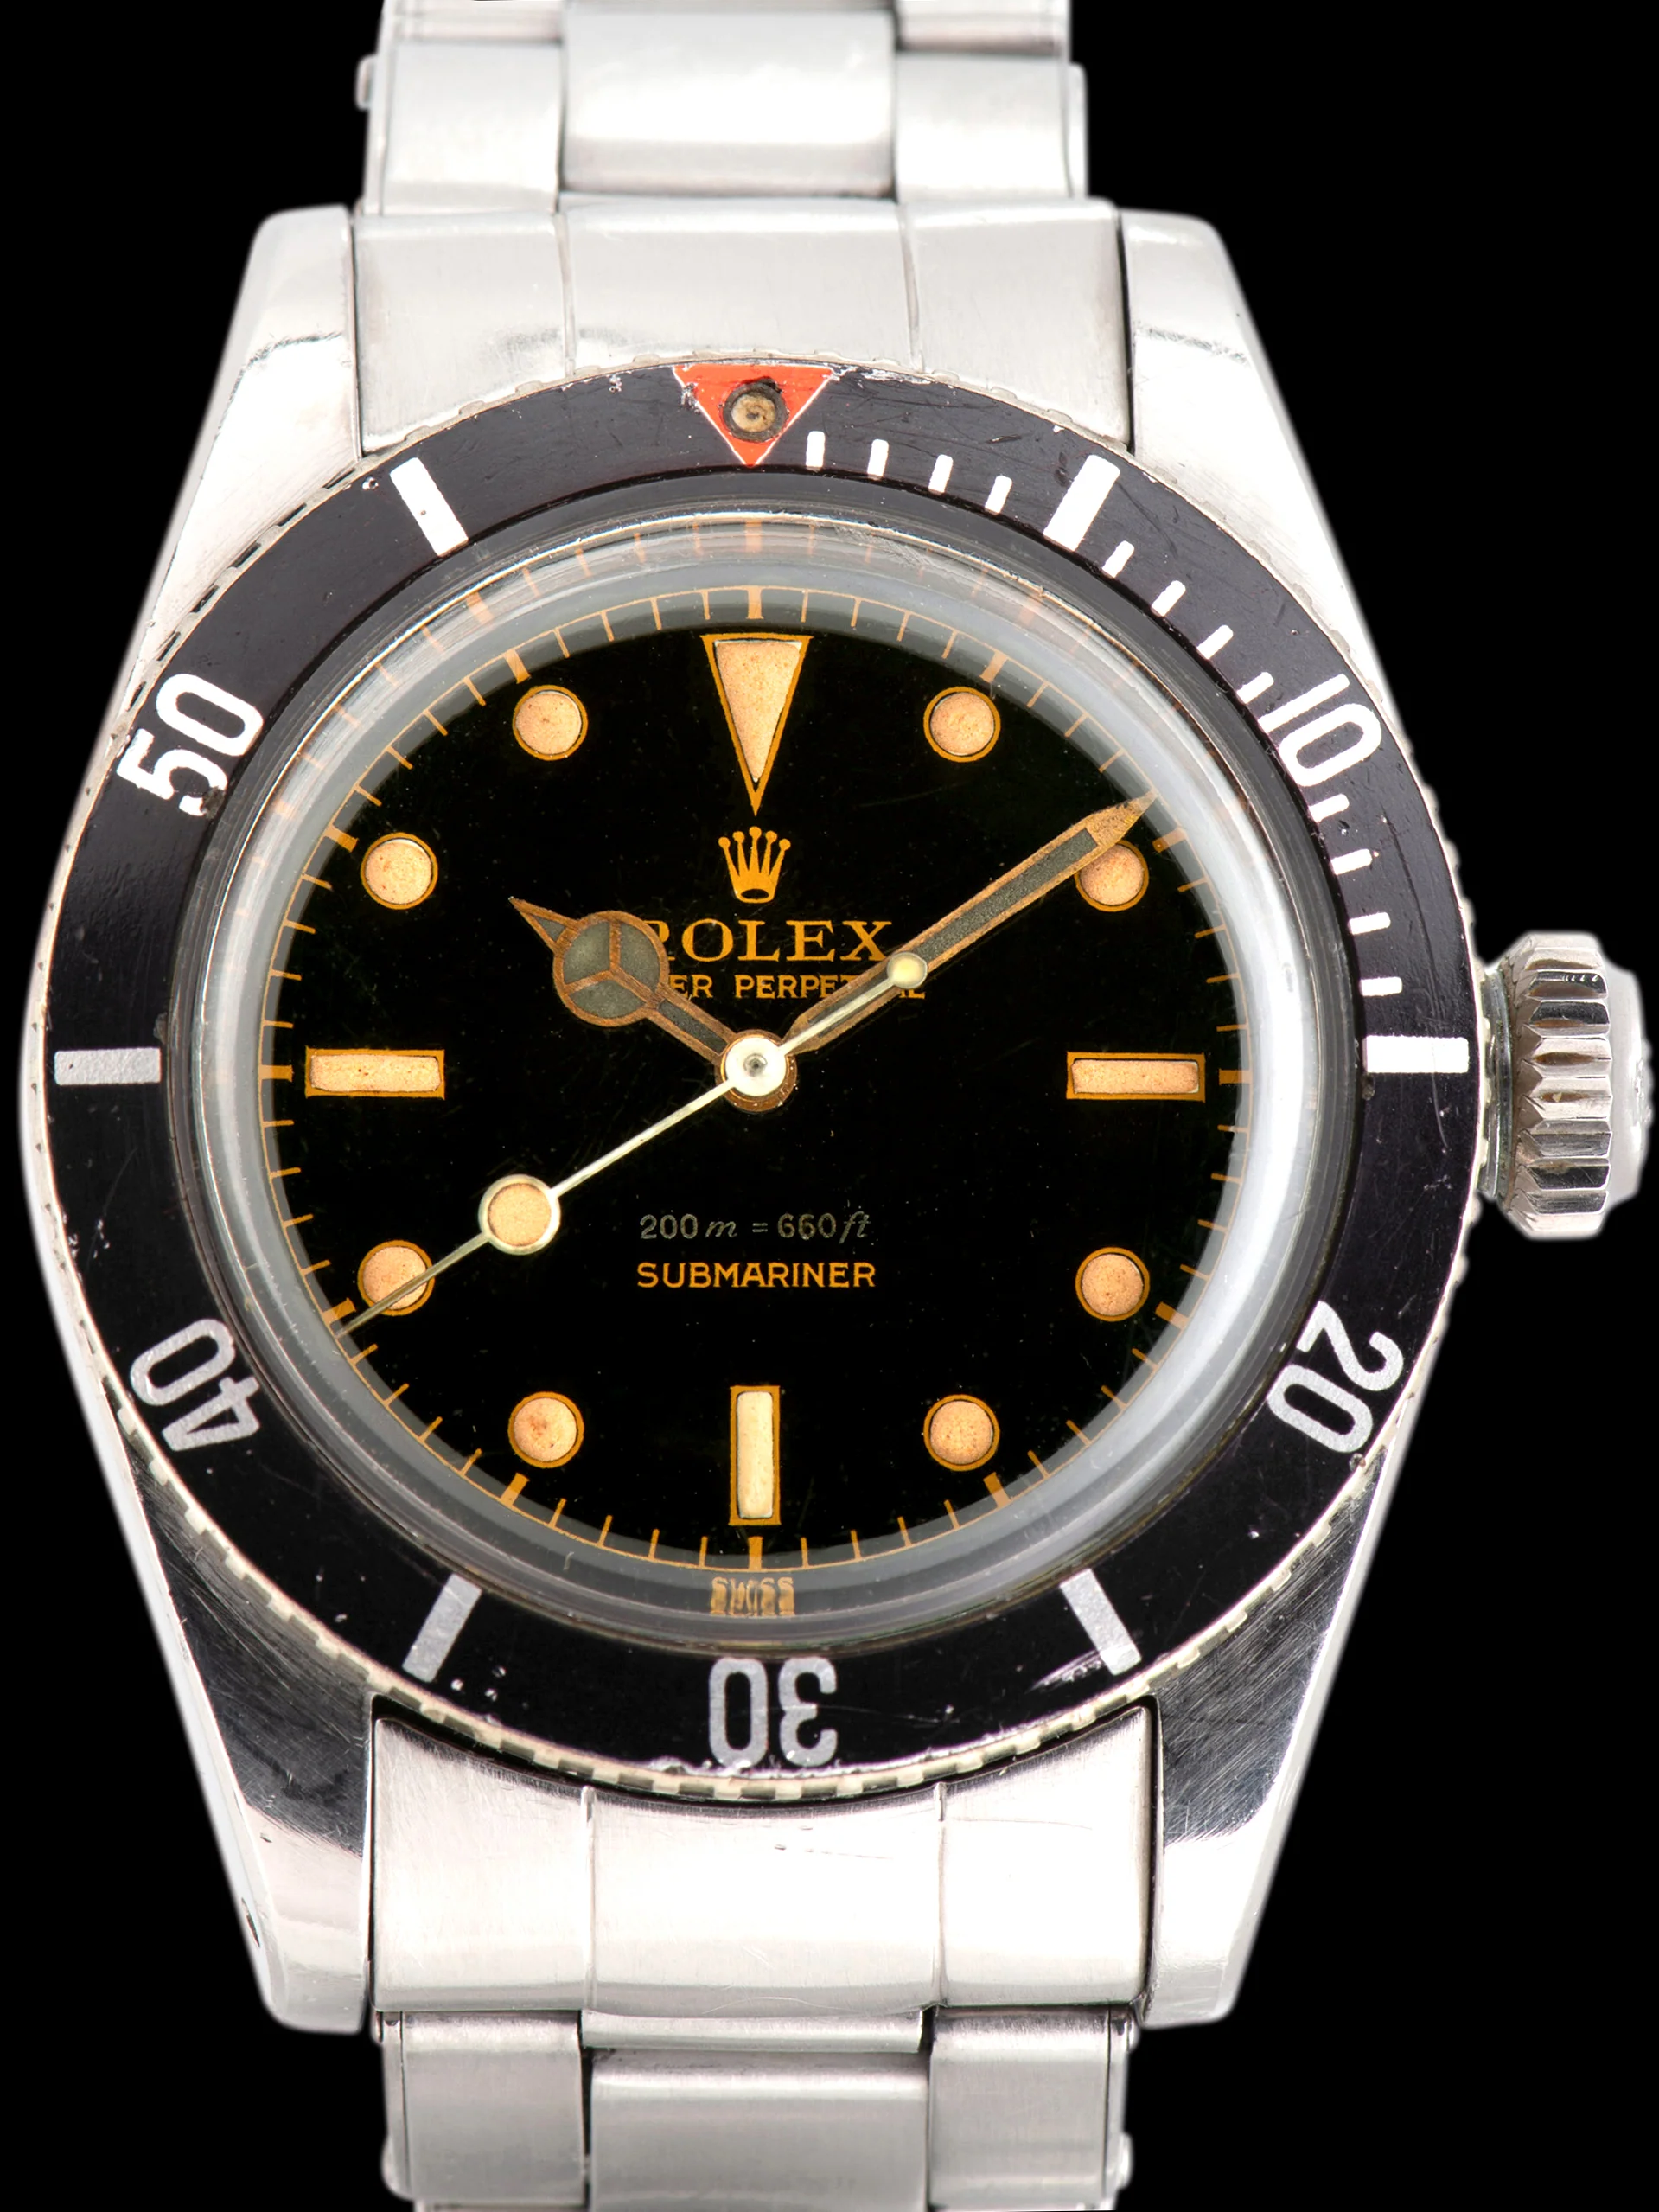
In my experience, this method is ok for dials with little detail and large letters. The Rolex 5513, for example, is a great example. However, for dials with small typography (reference 1675, 1016) the result is no longer as good. This is perhaps the reason why some people here try to achieve more detailed results using the decal process.
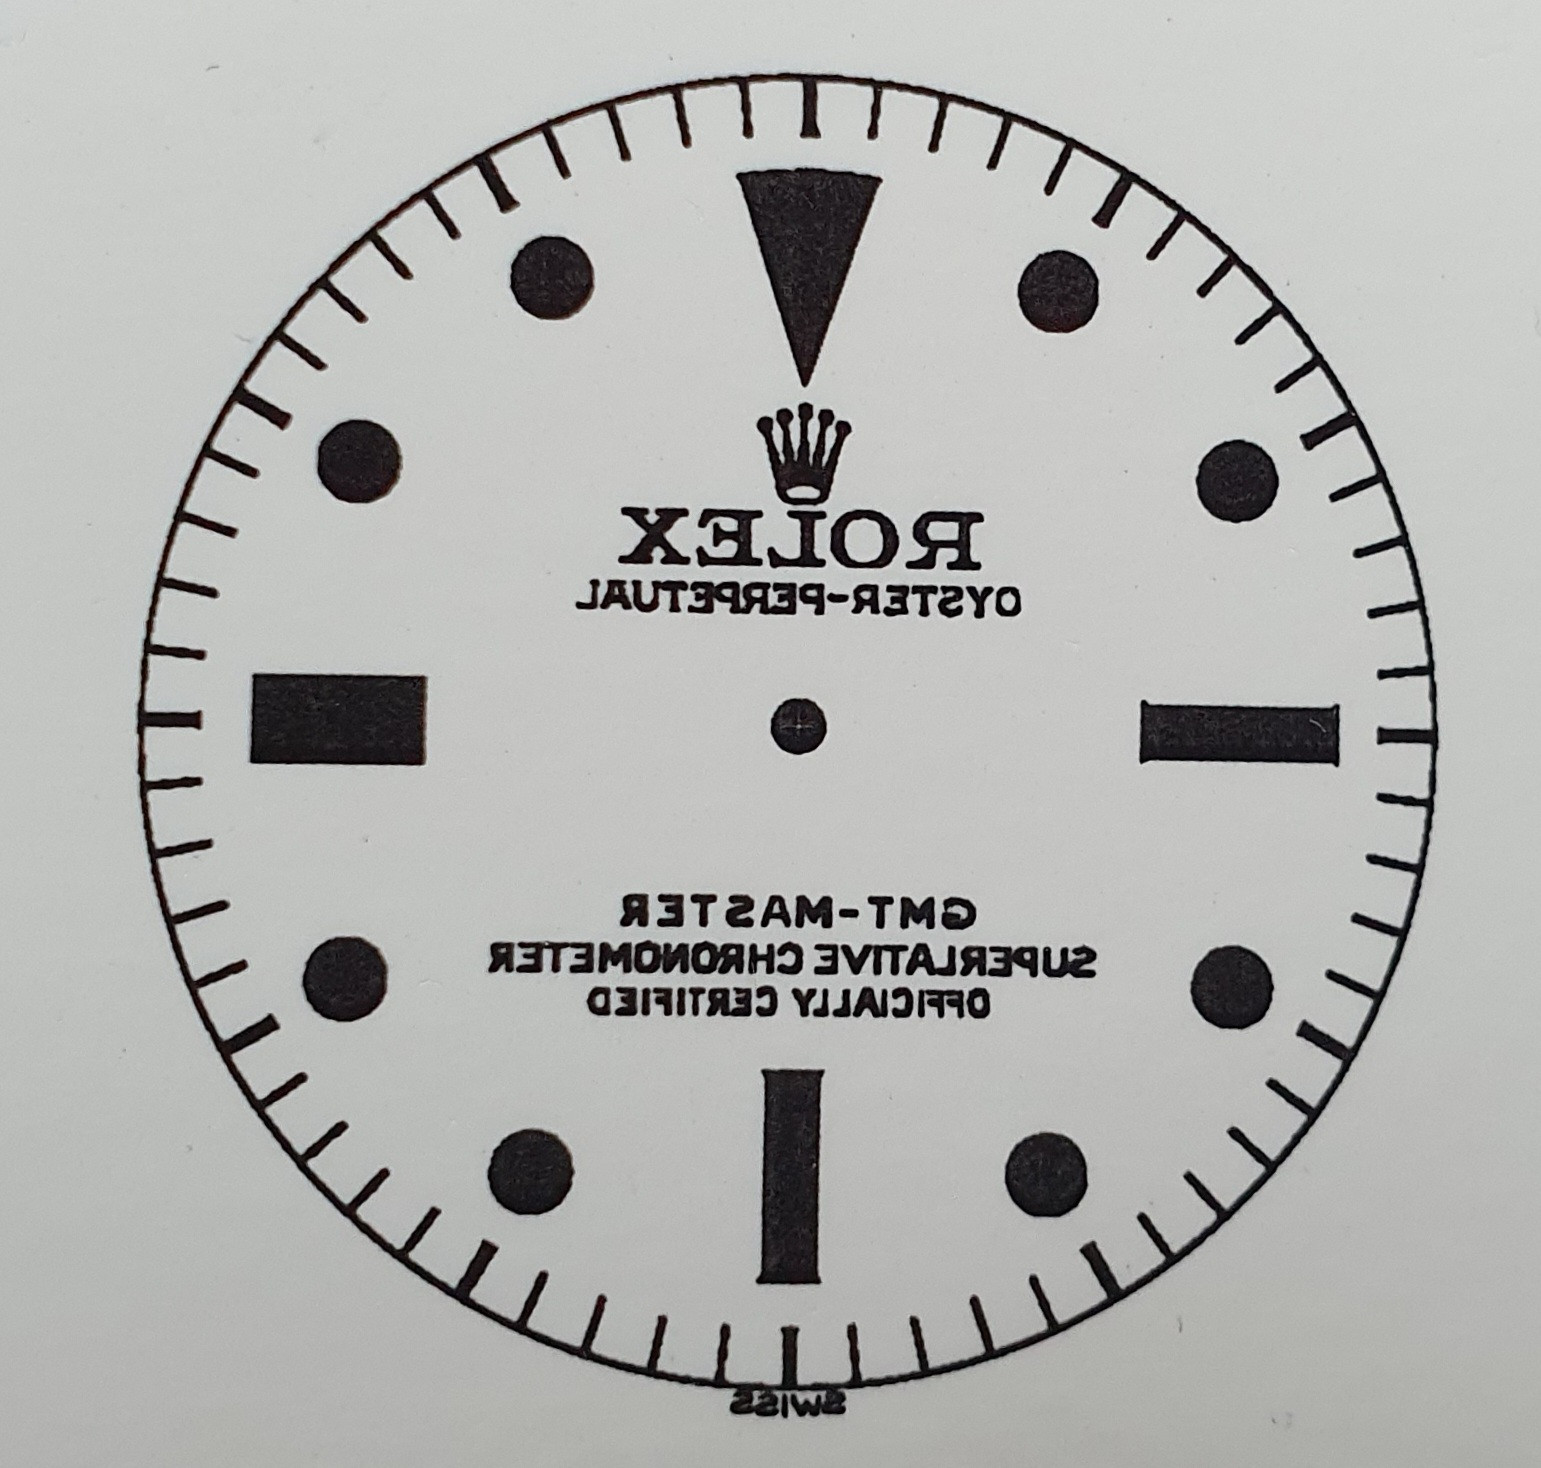
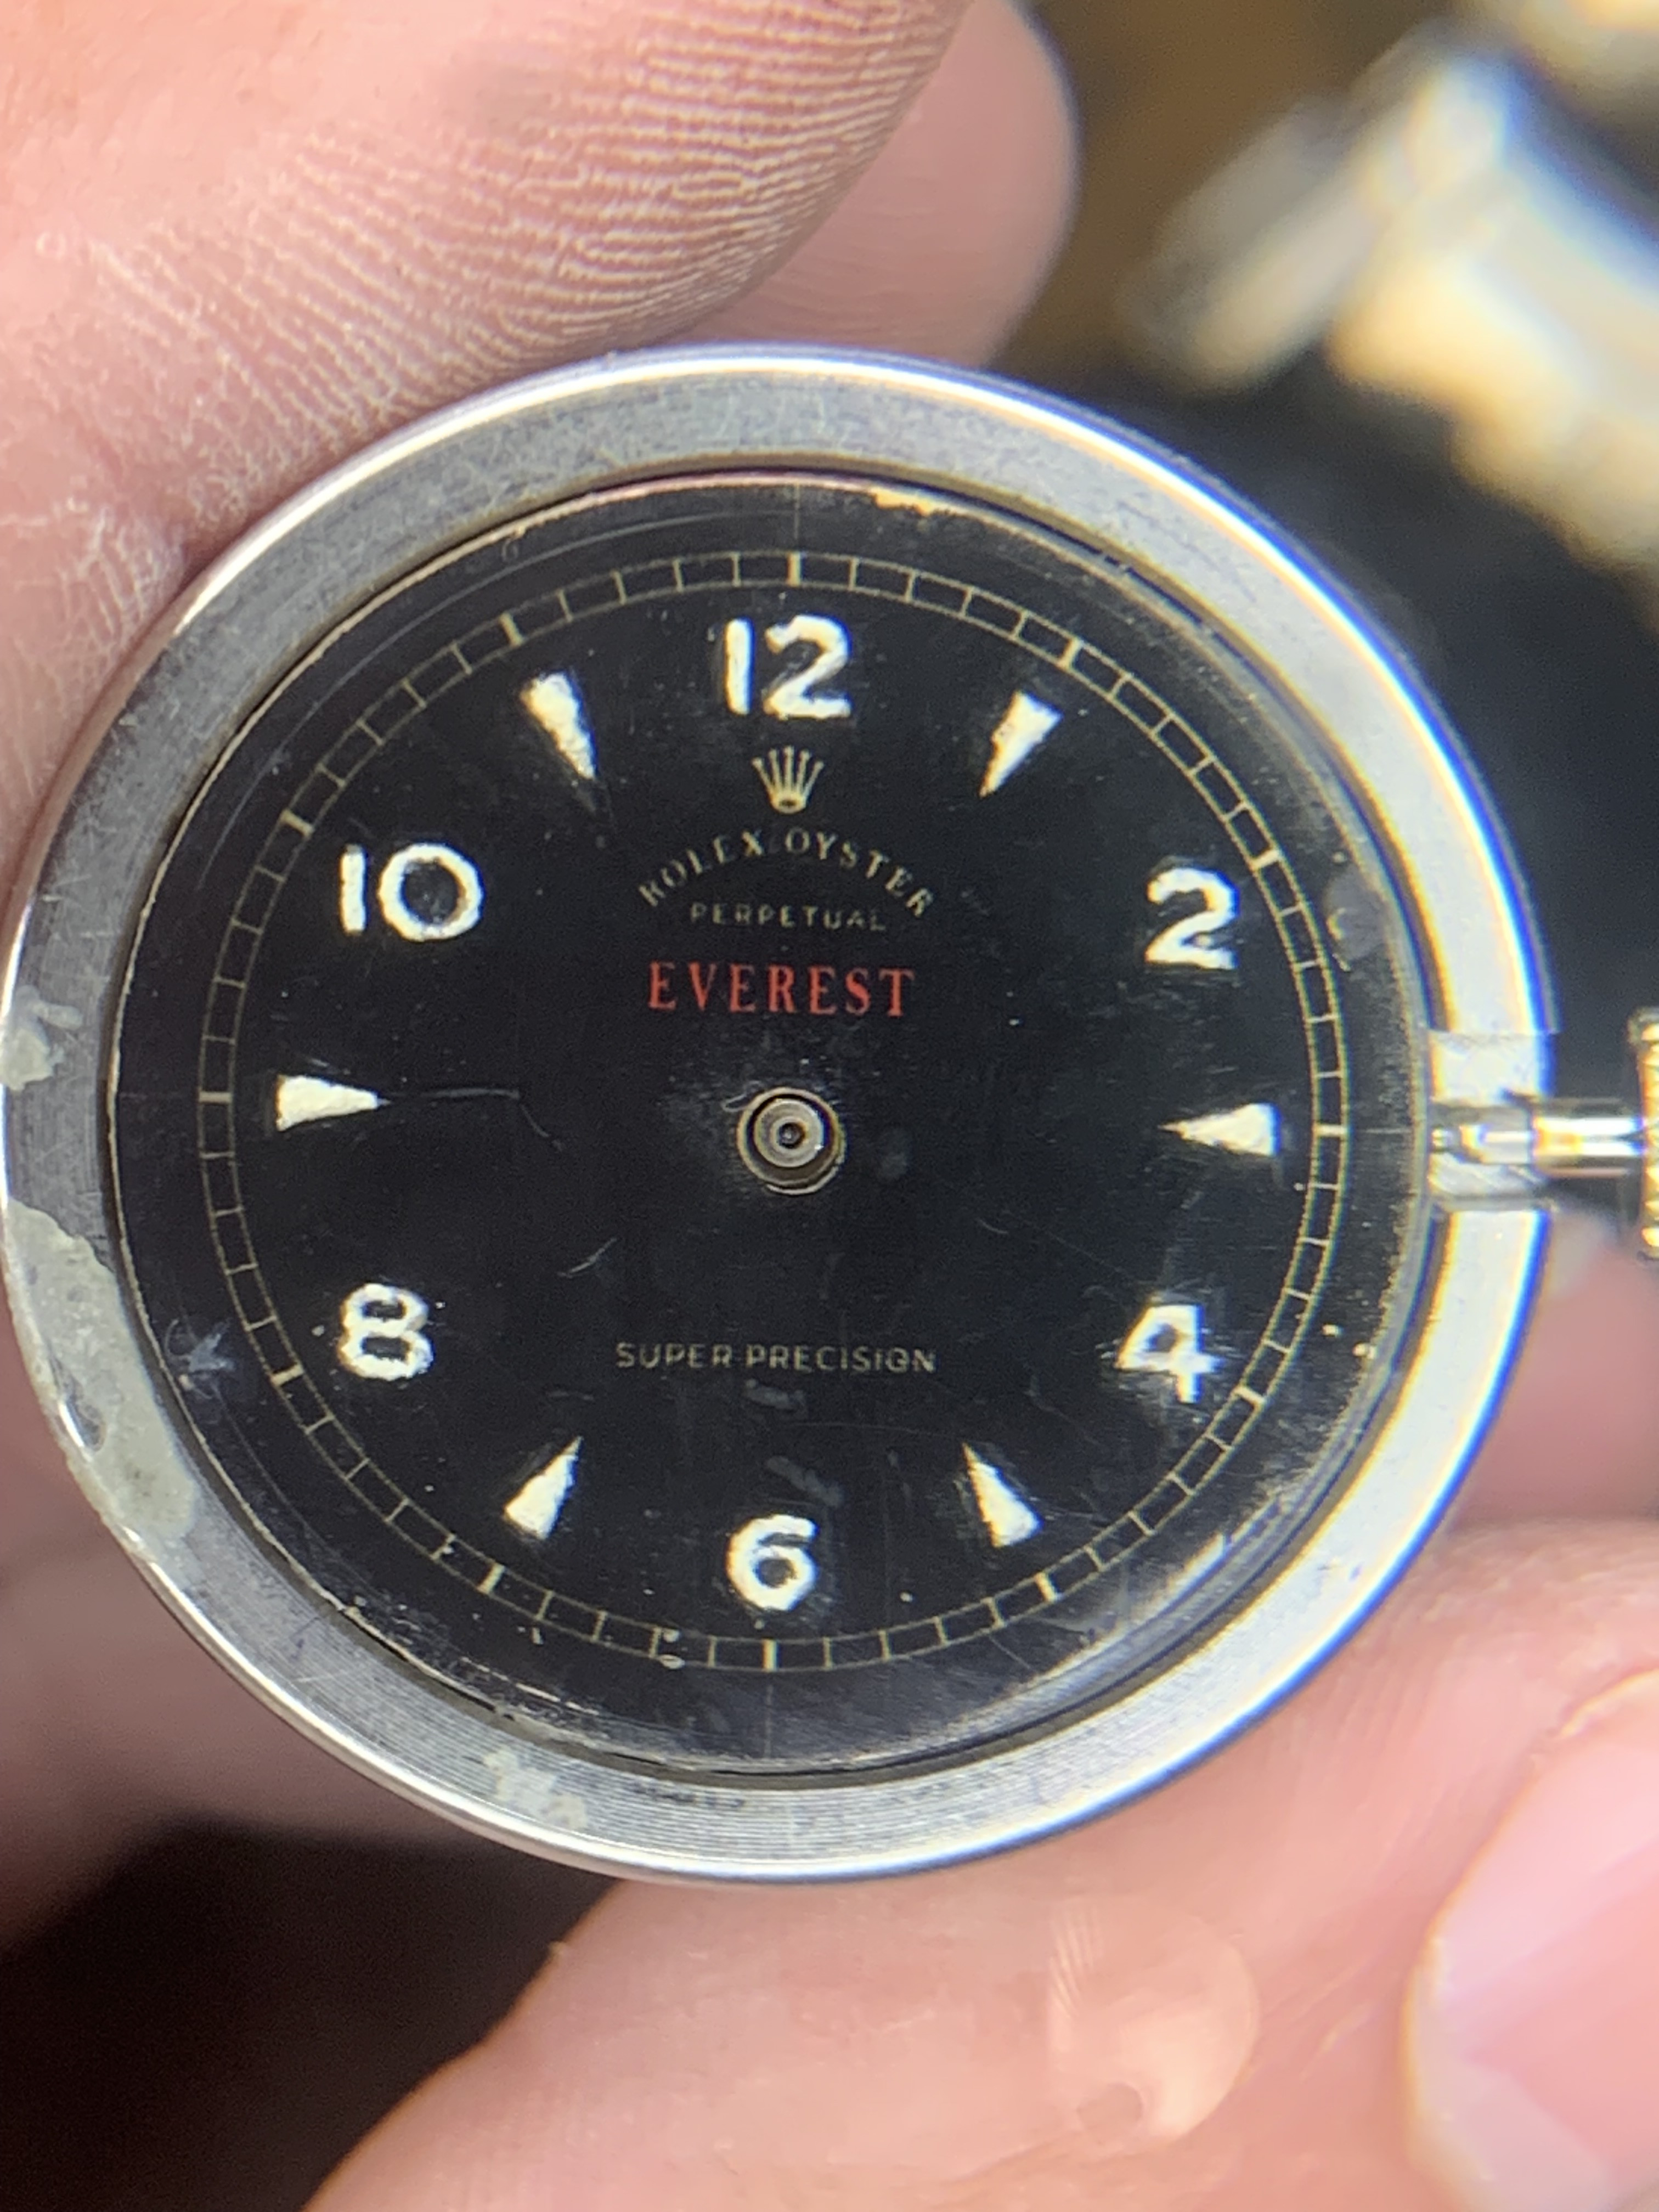
Result 5513 with bigger font:
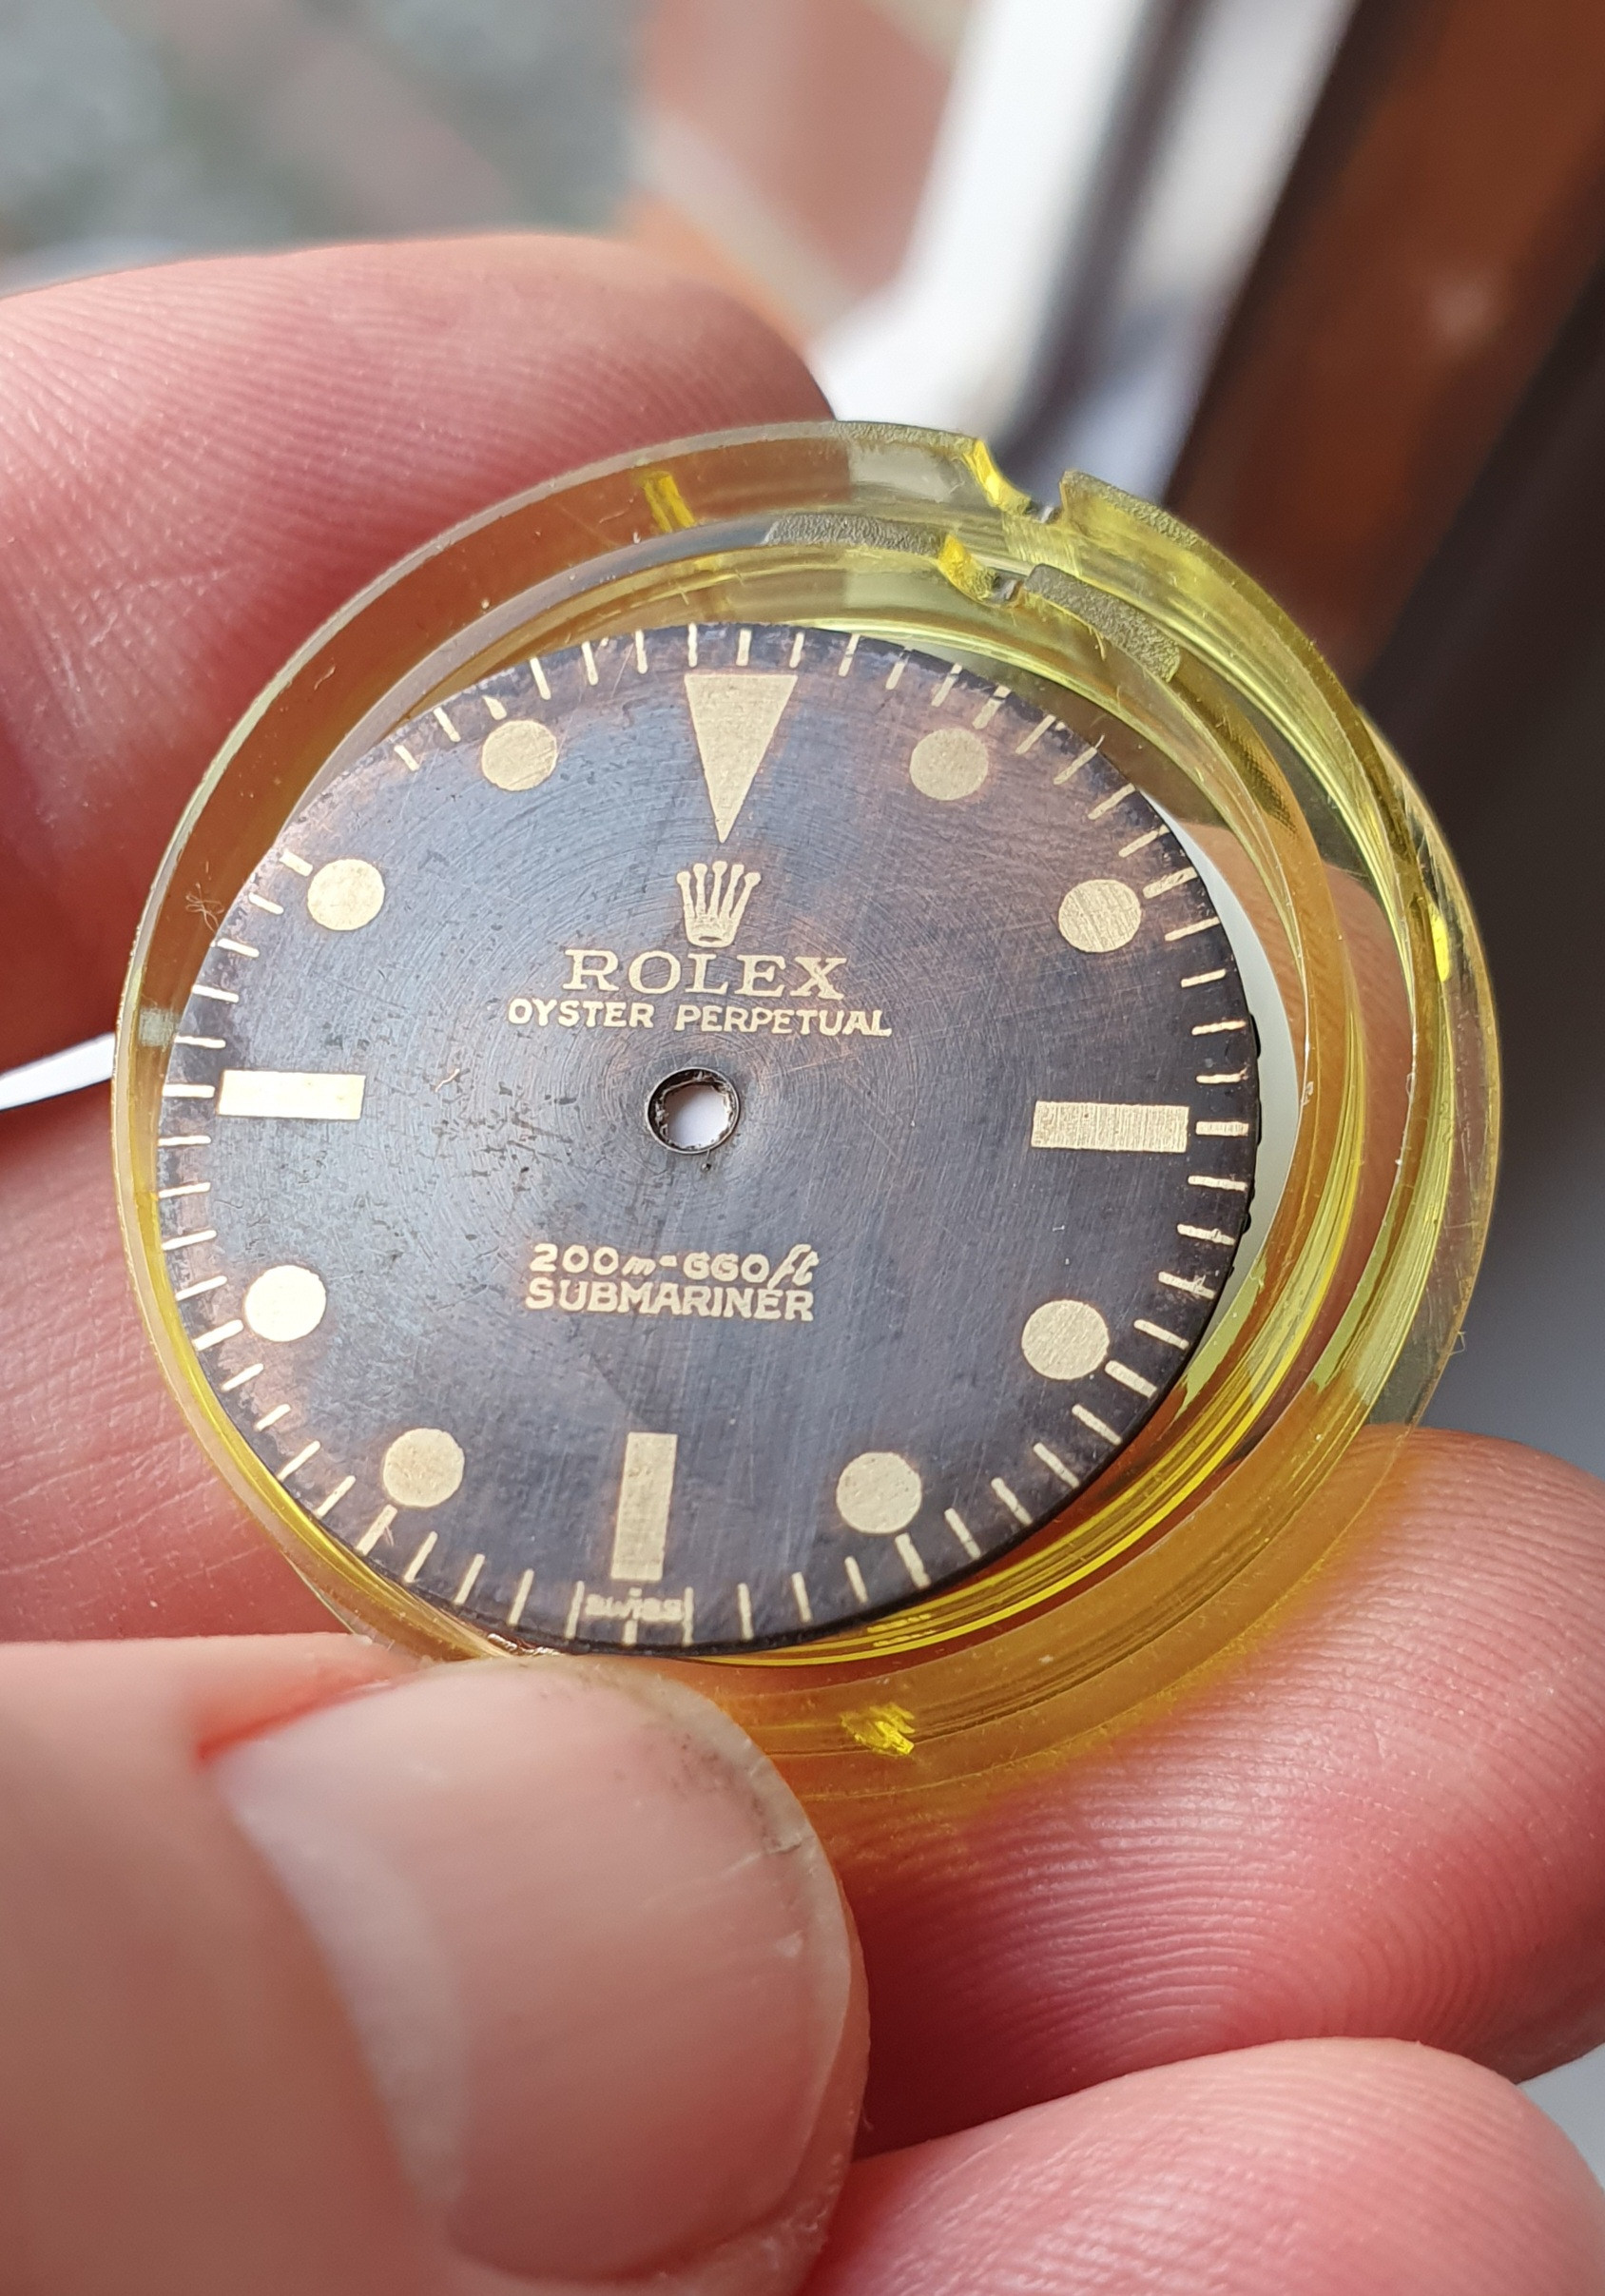
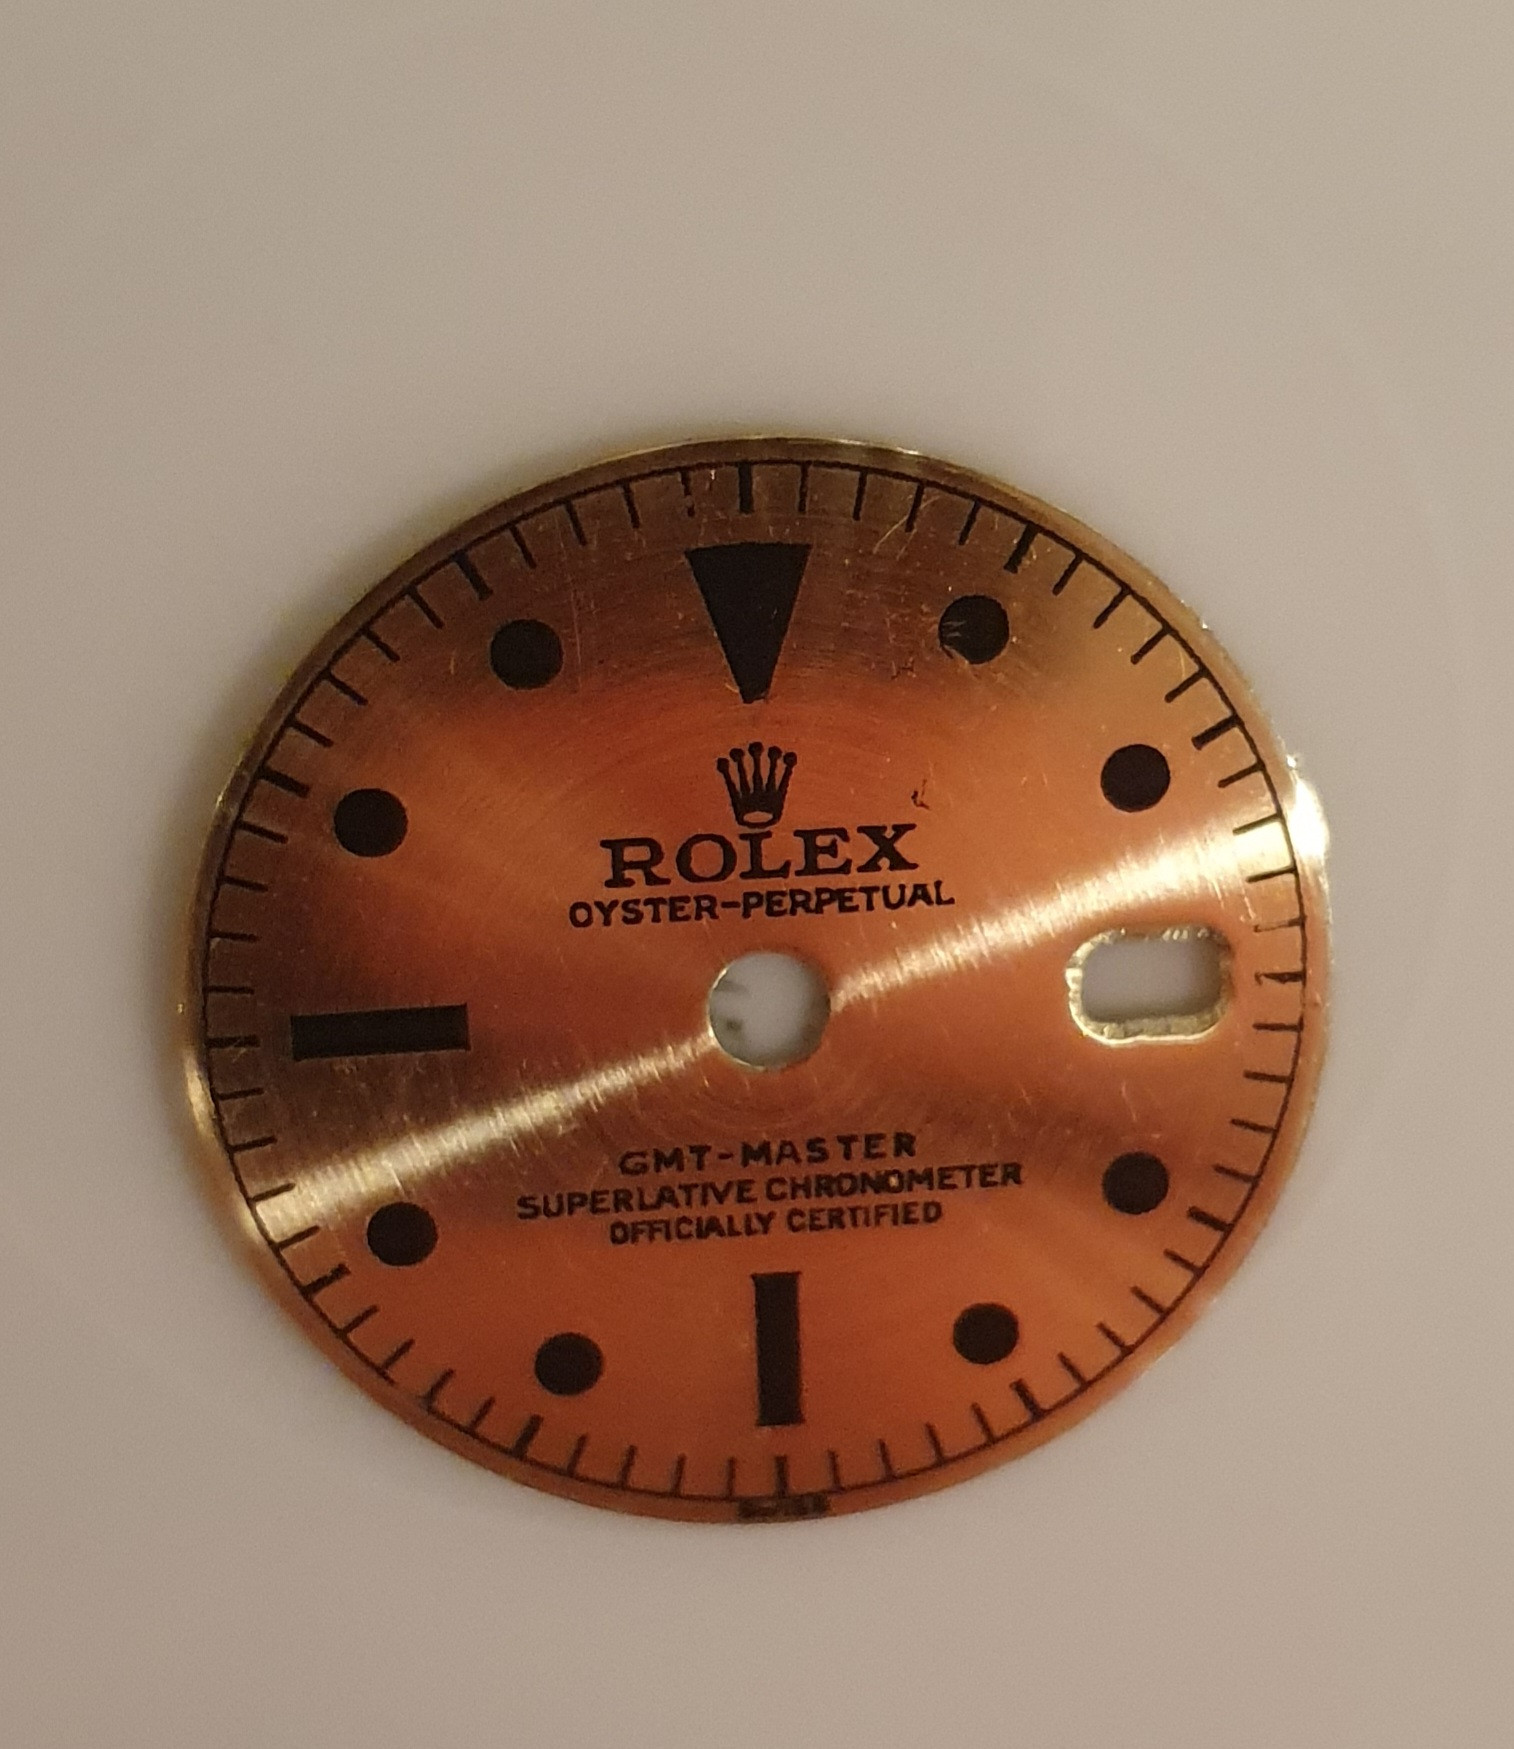
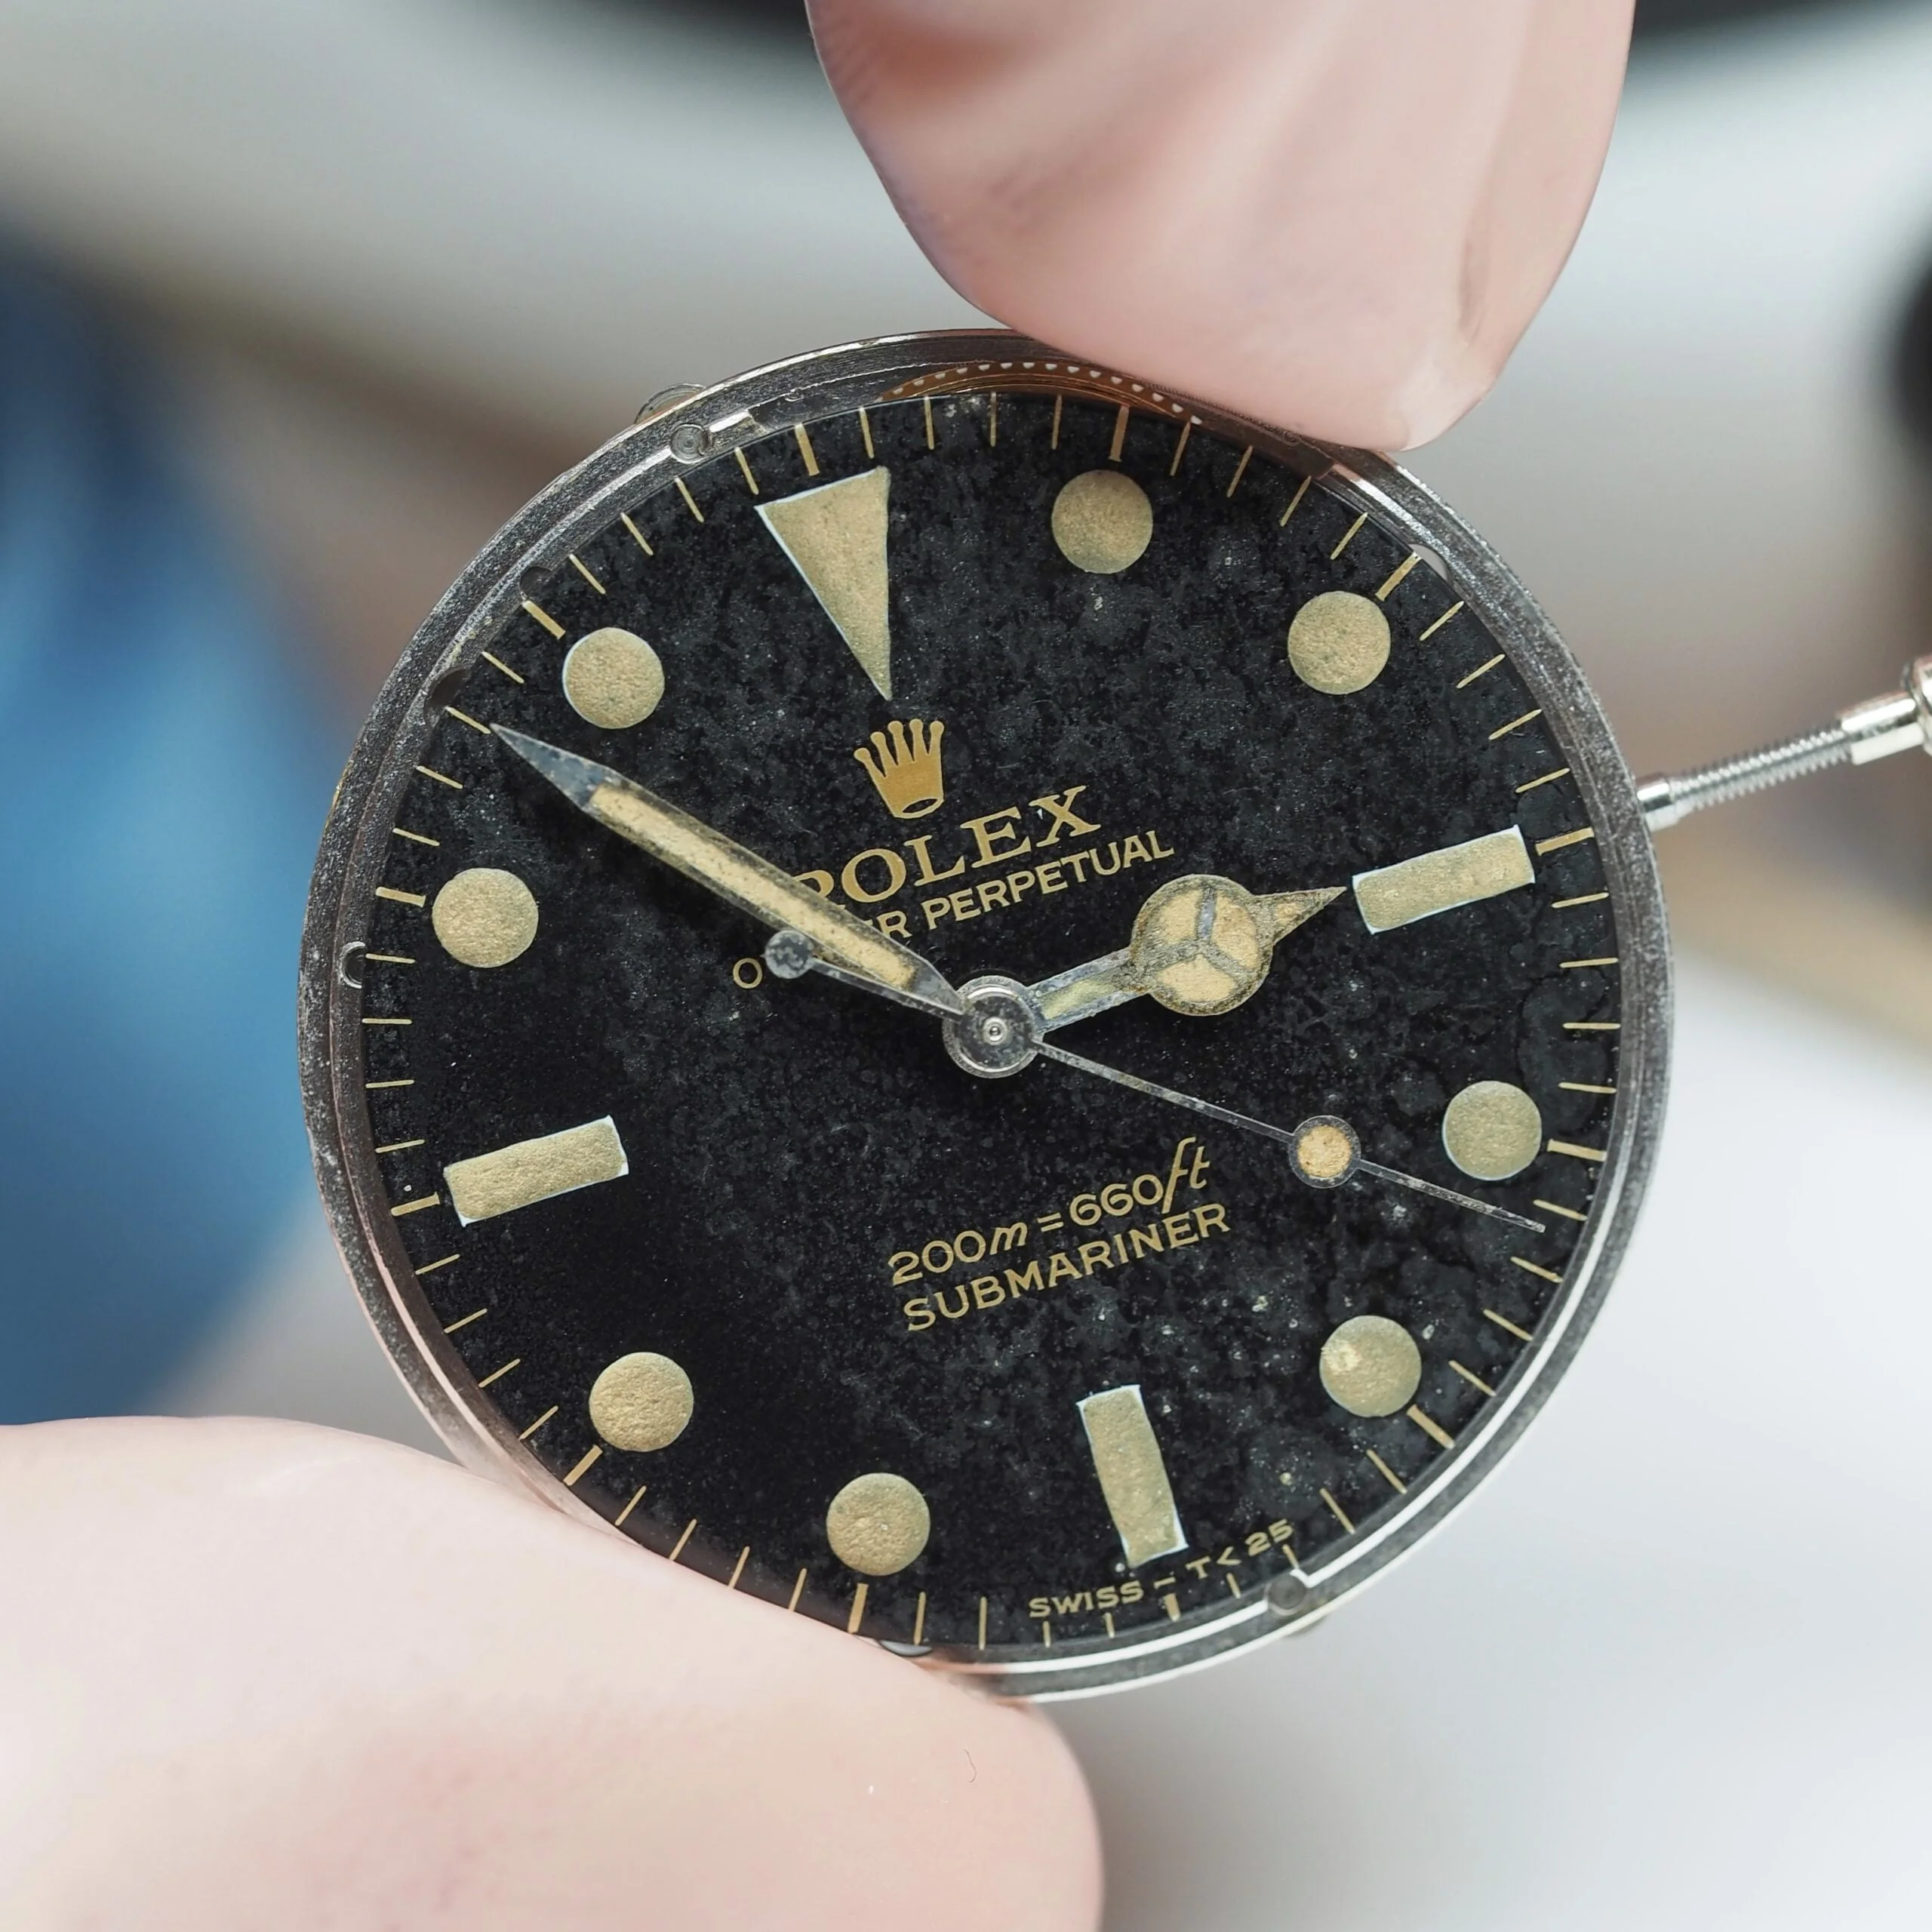
Compread to gen still horrible:
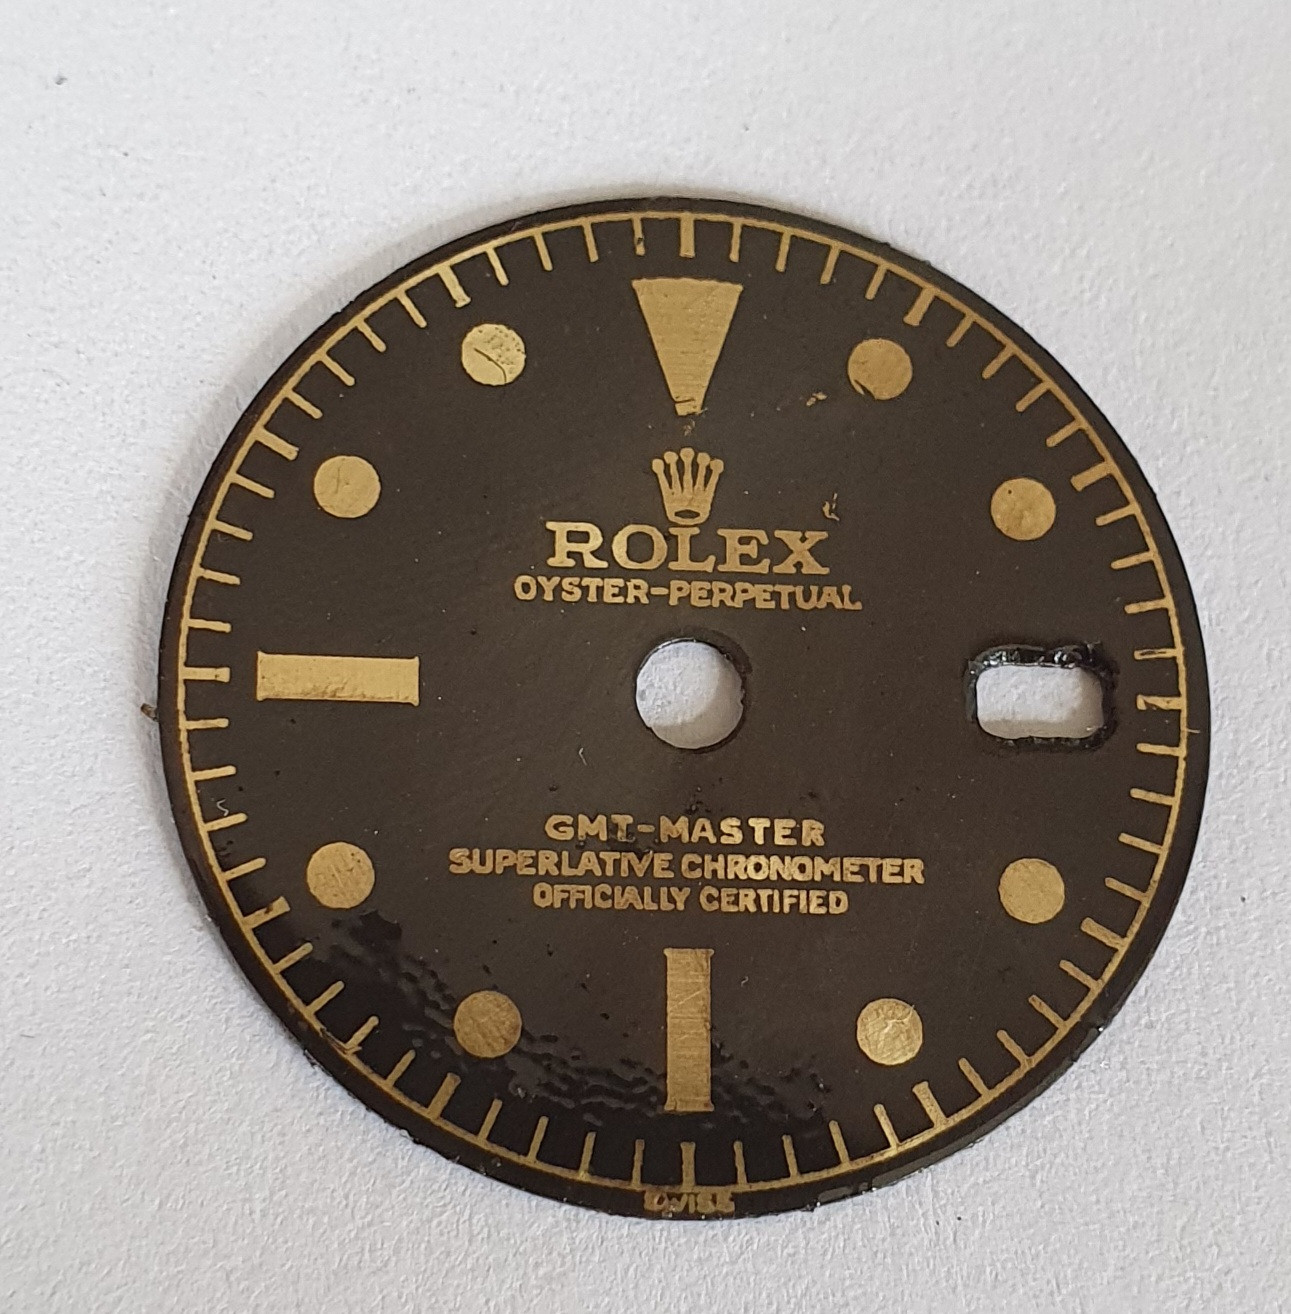
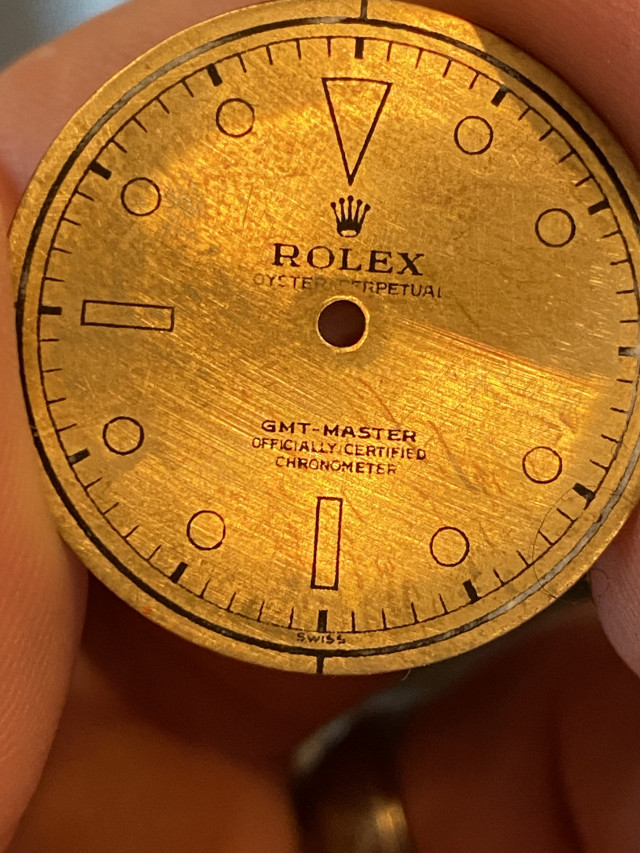
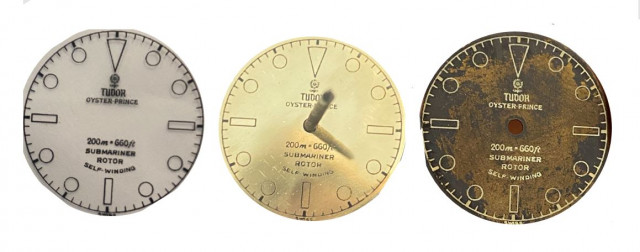
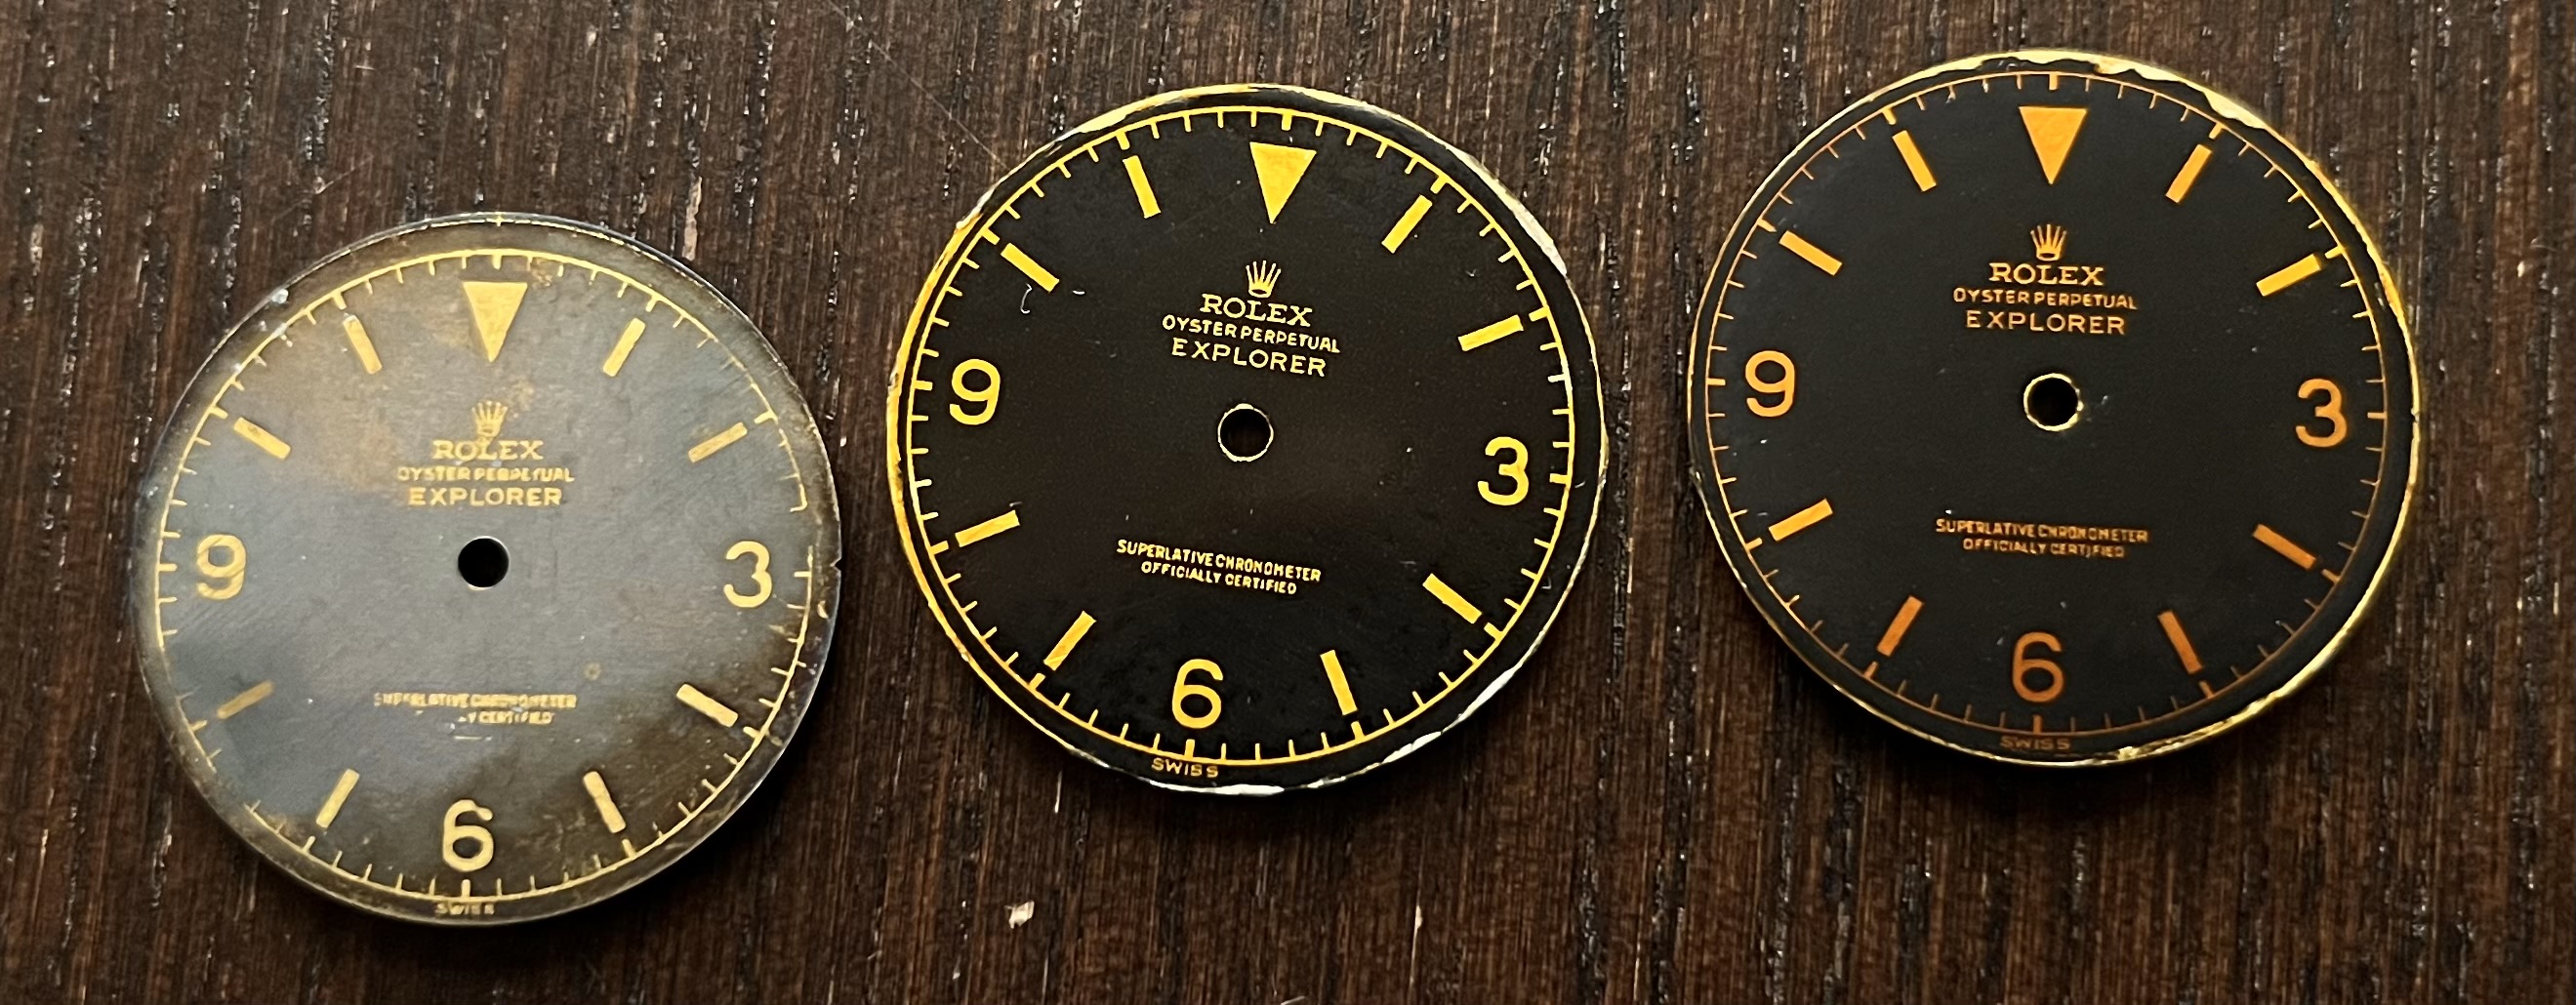
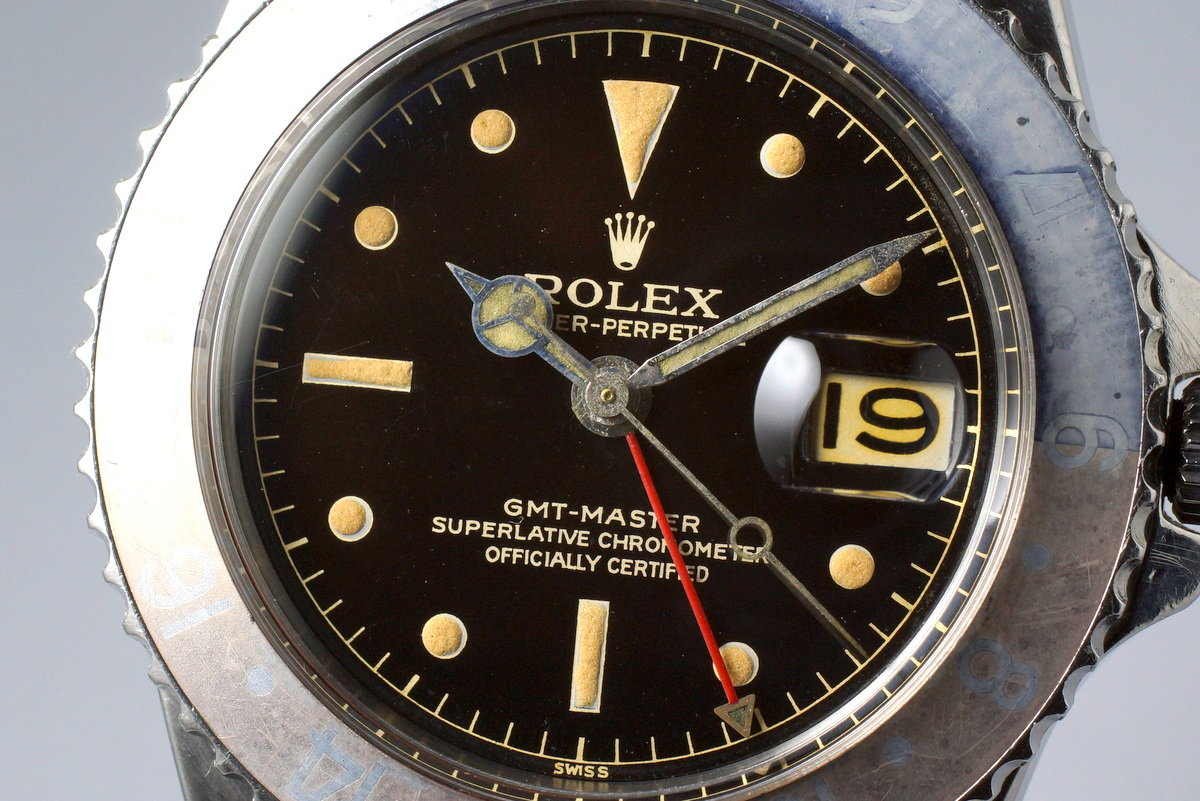
Result 1675 with thinner font and more detail:
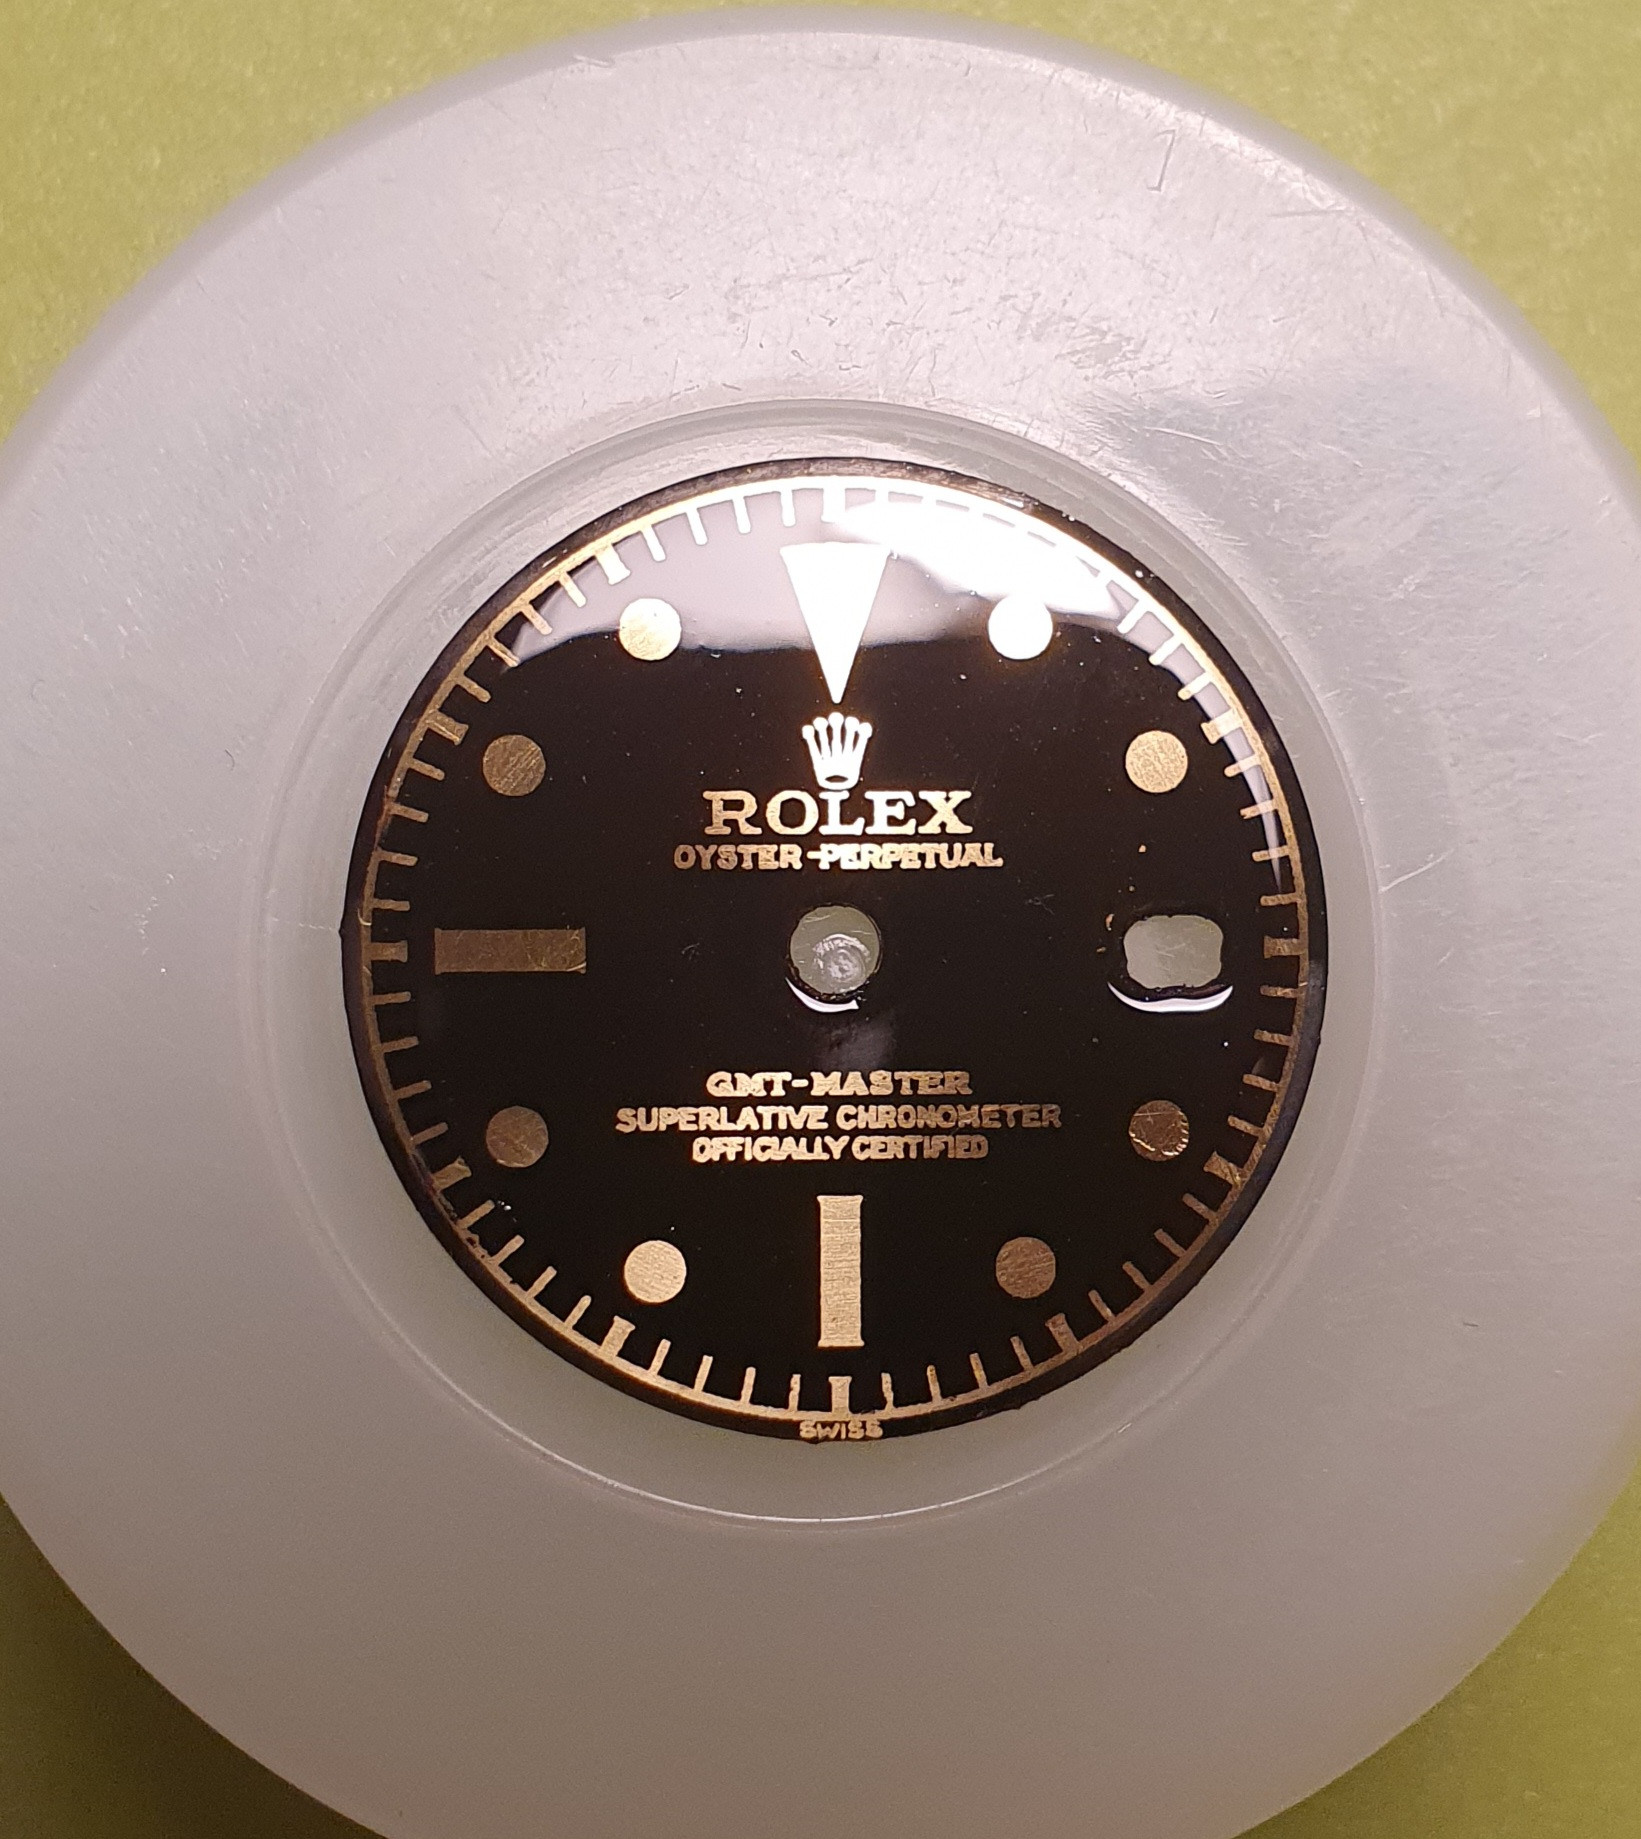
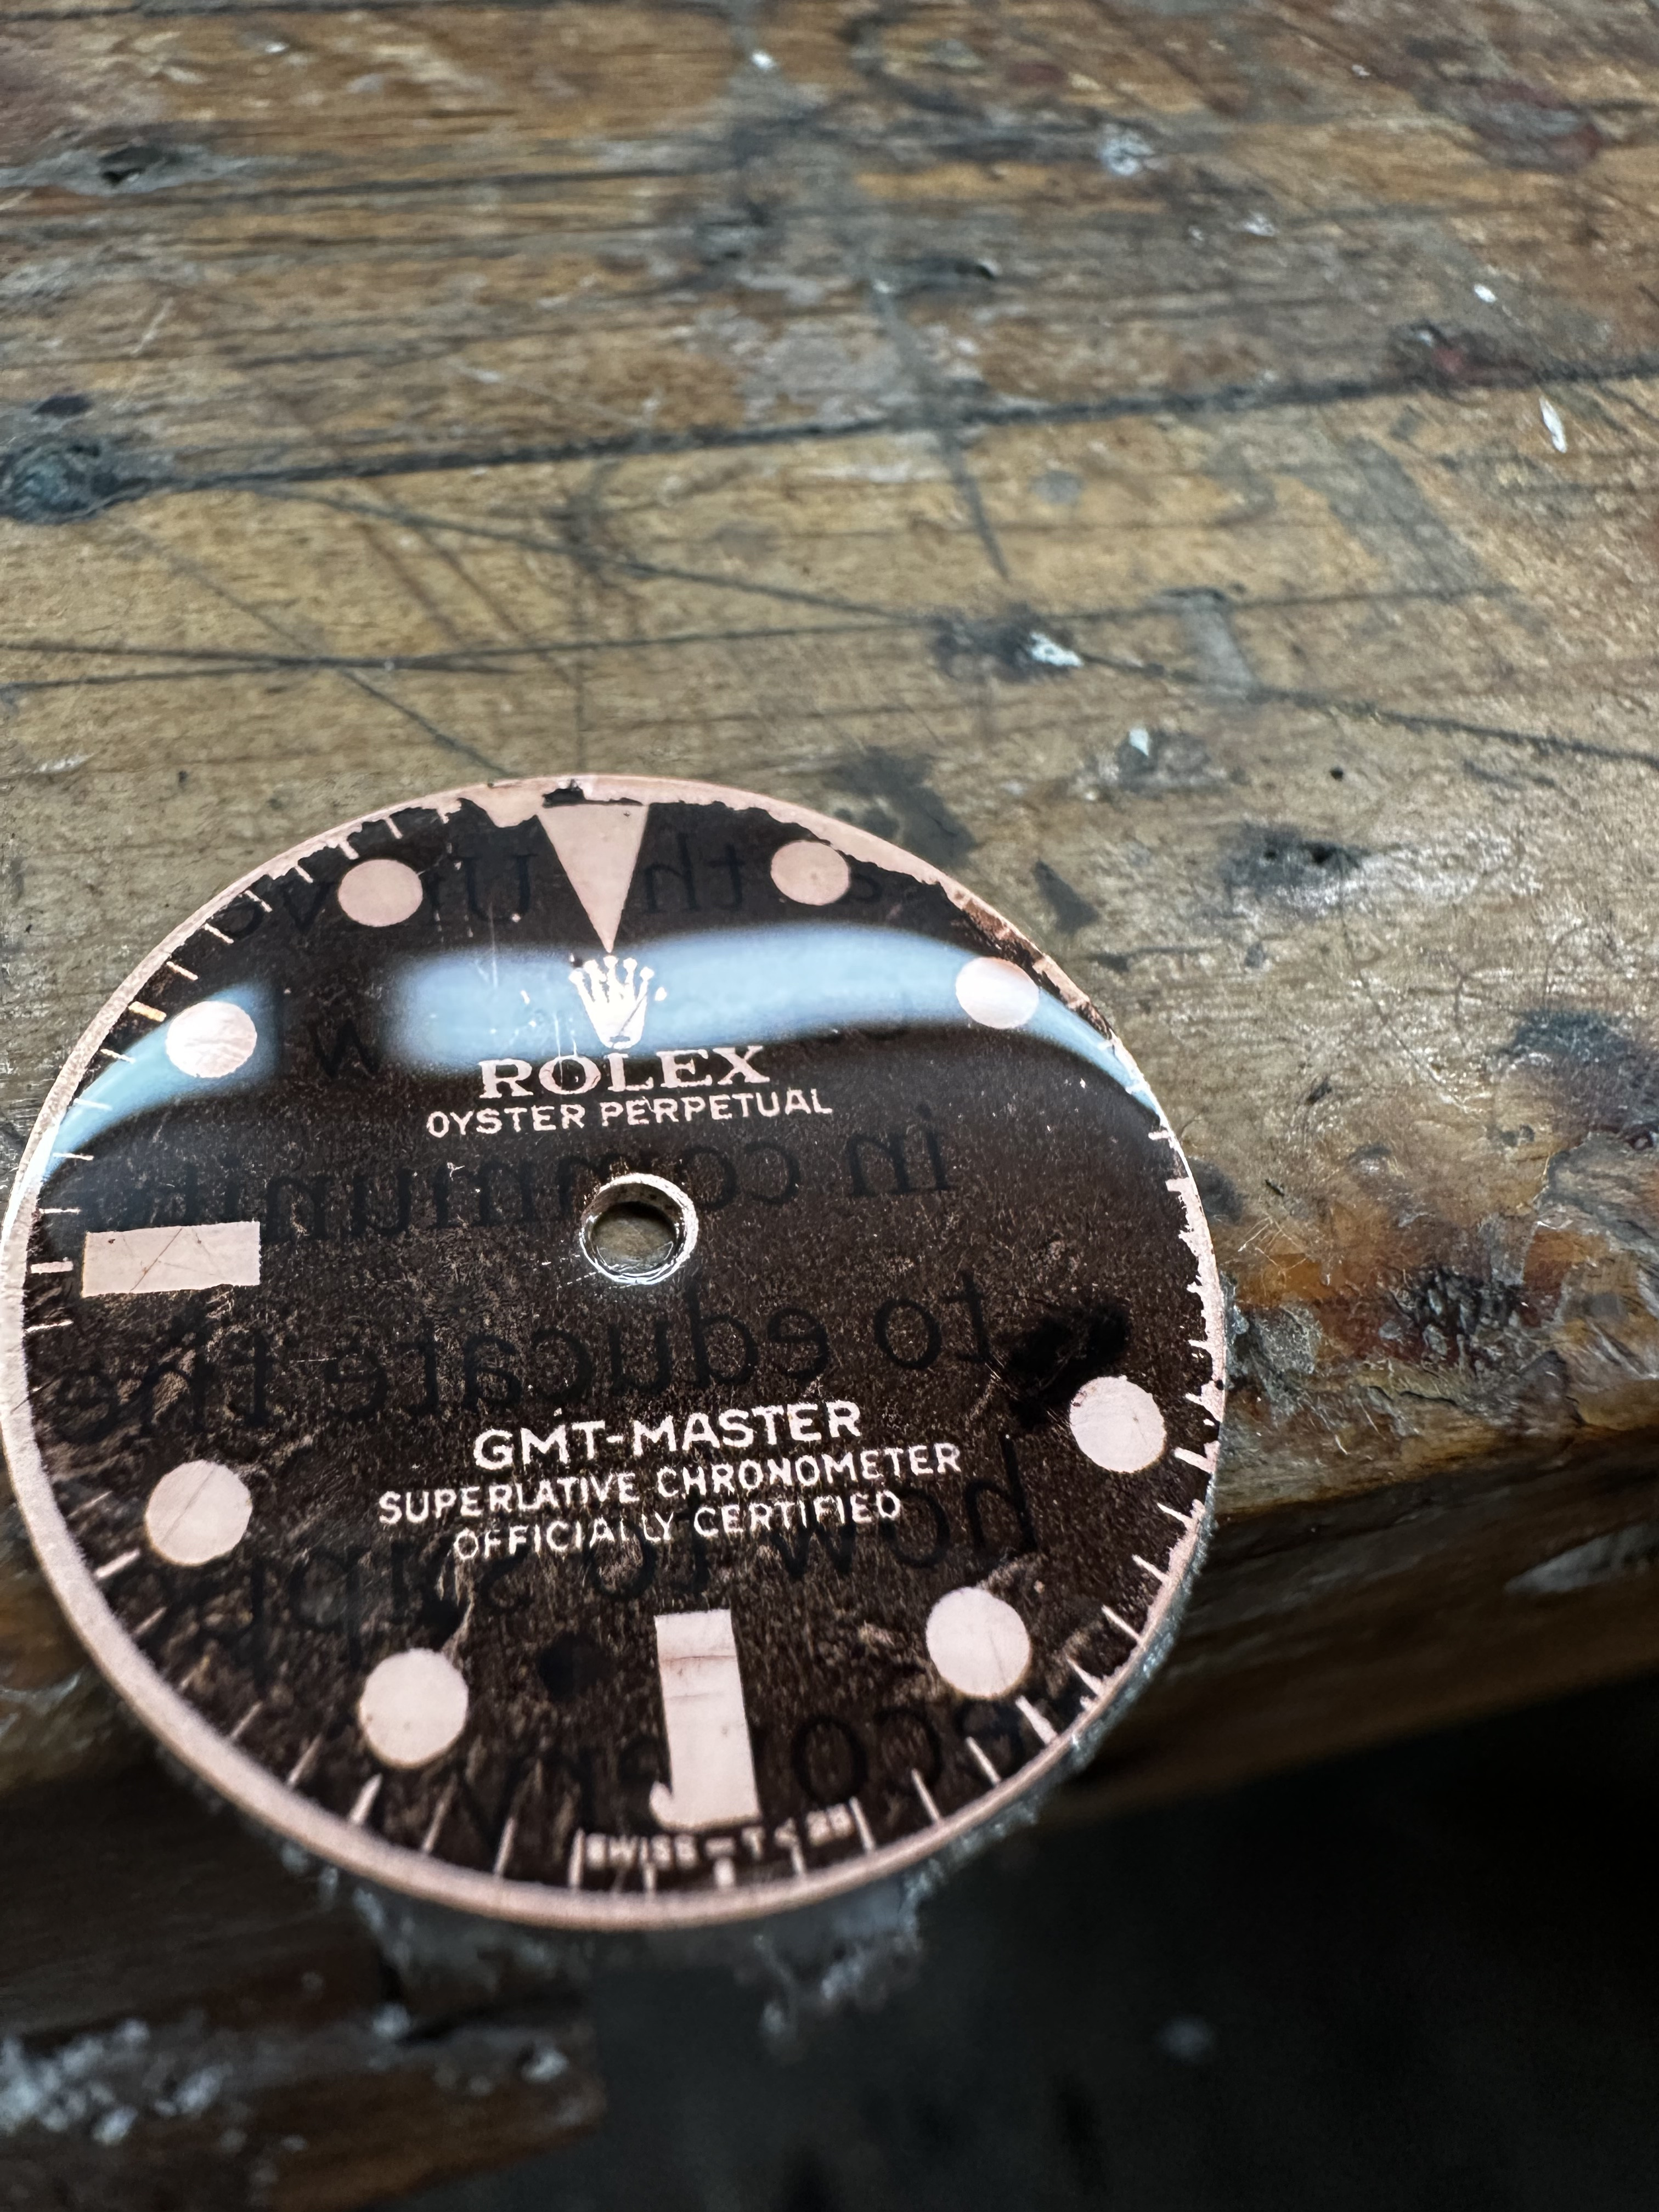
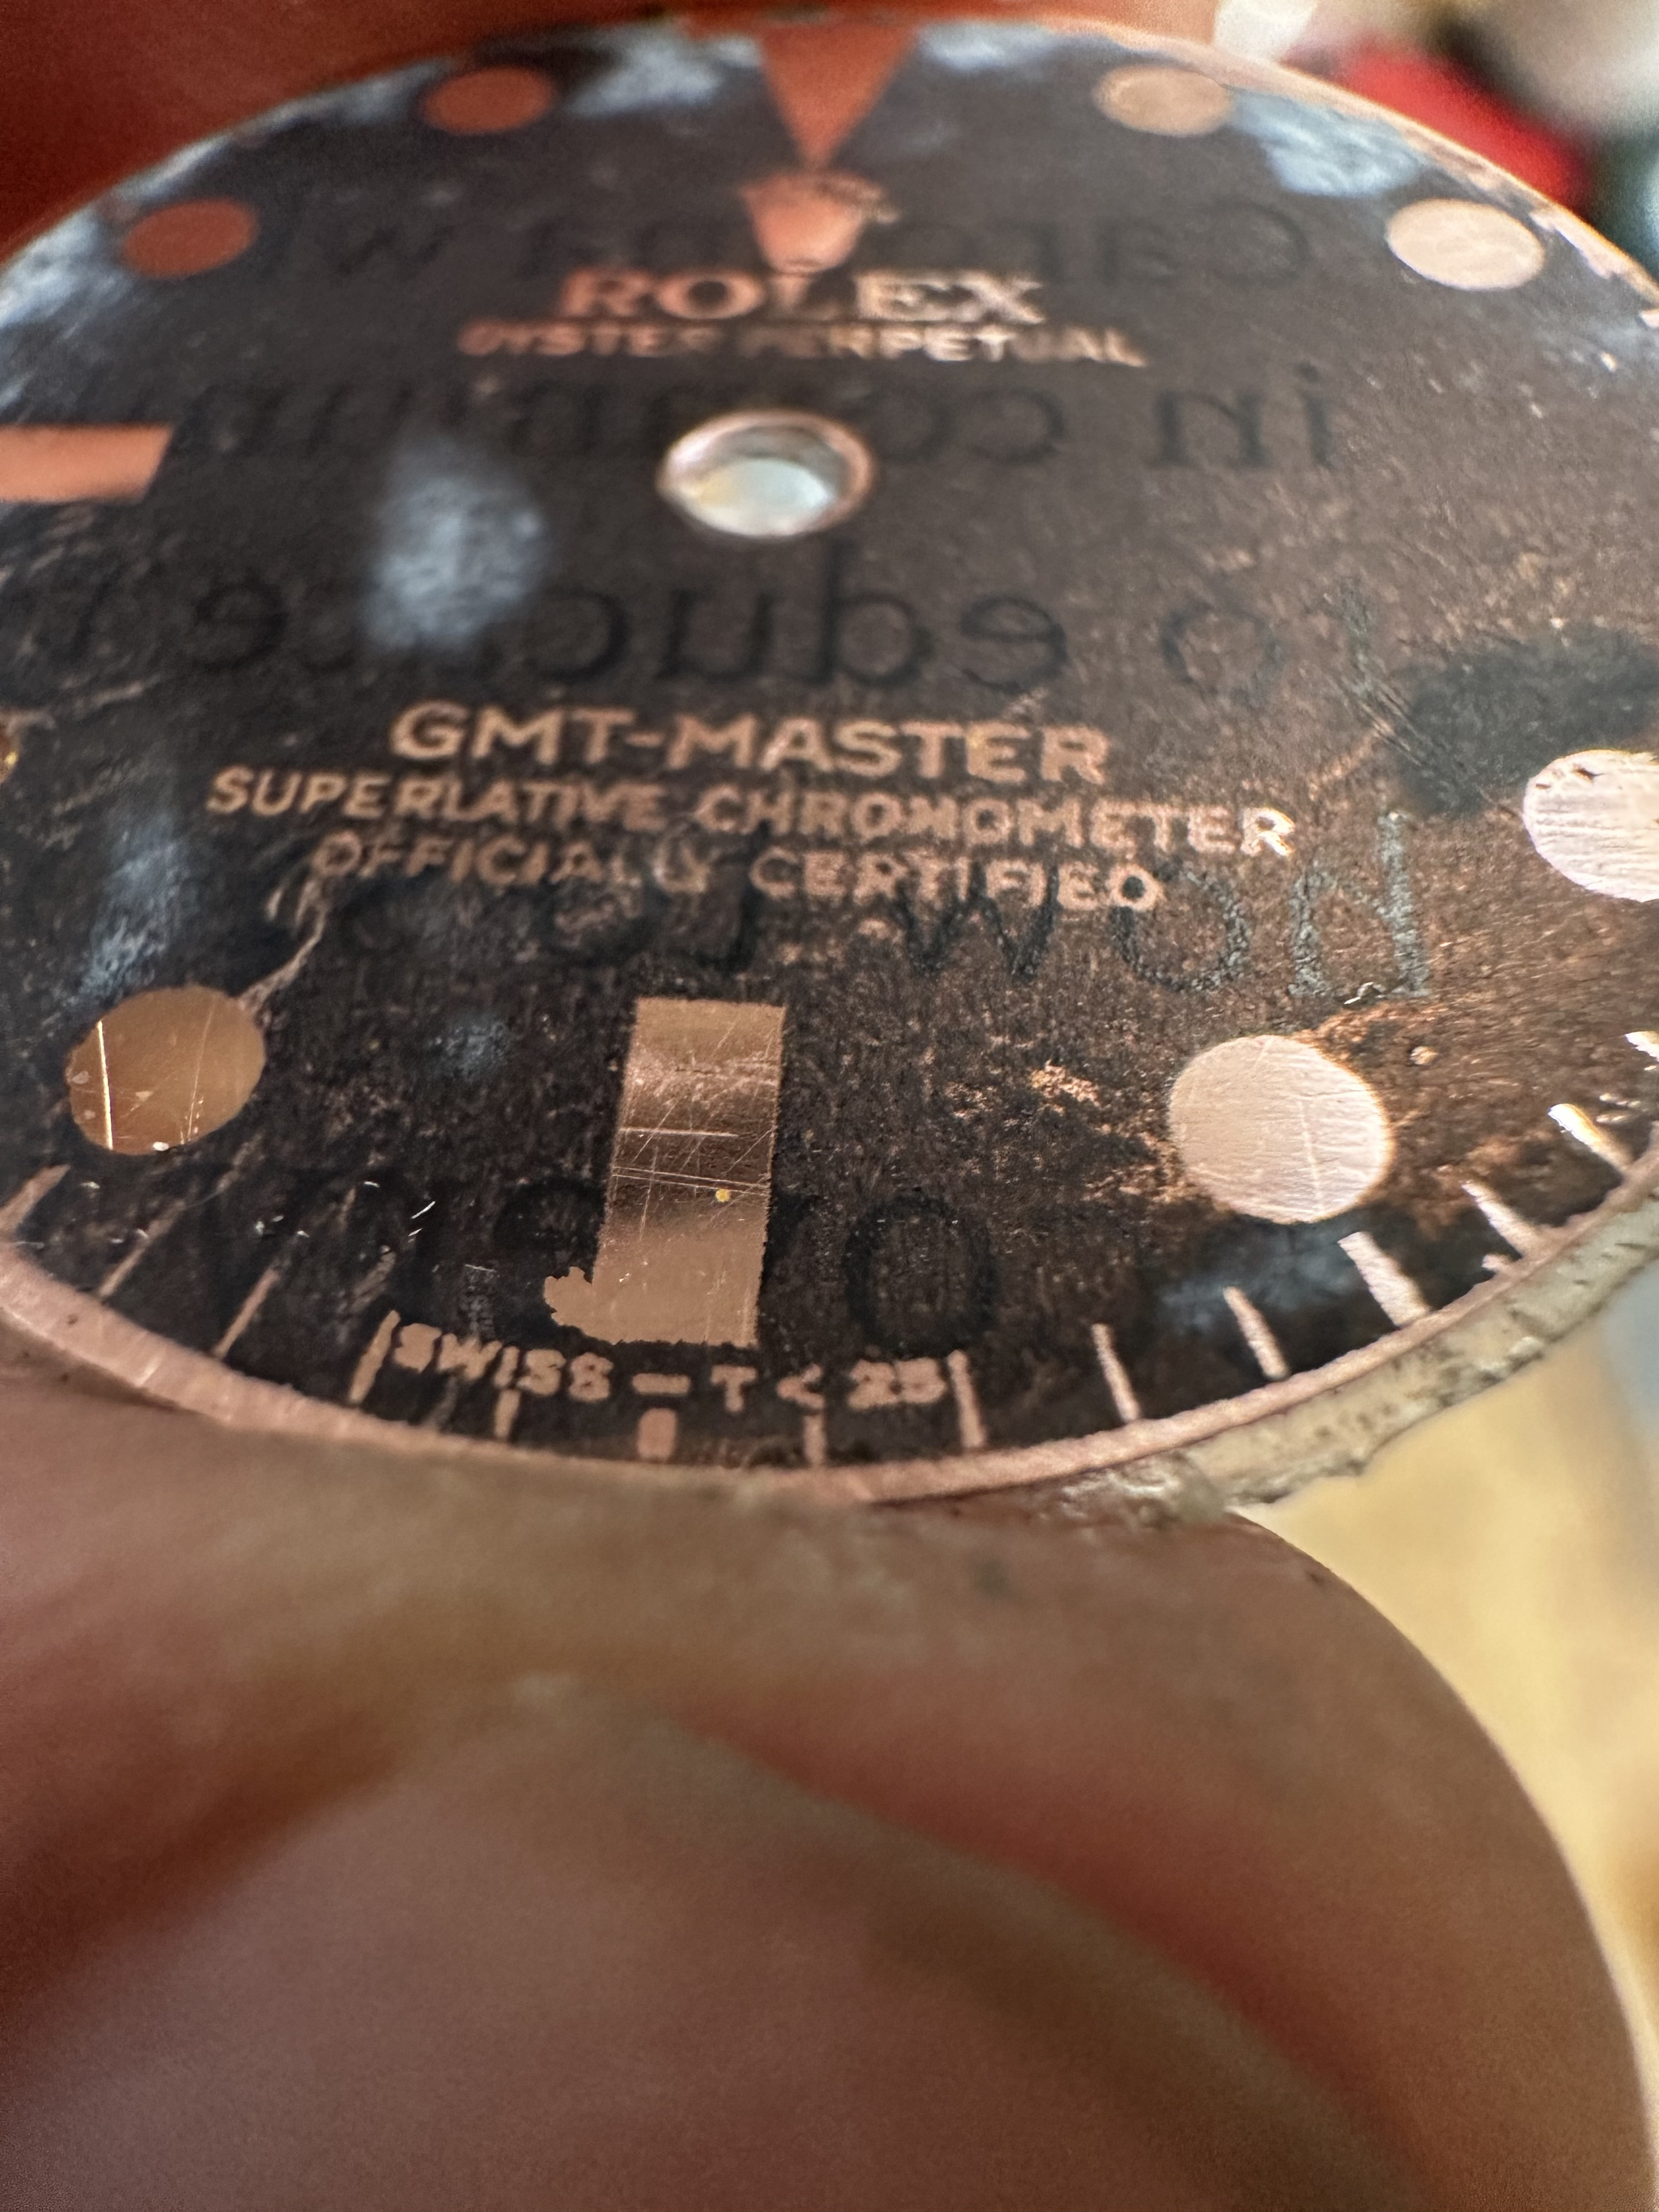
Compred to gen:
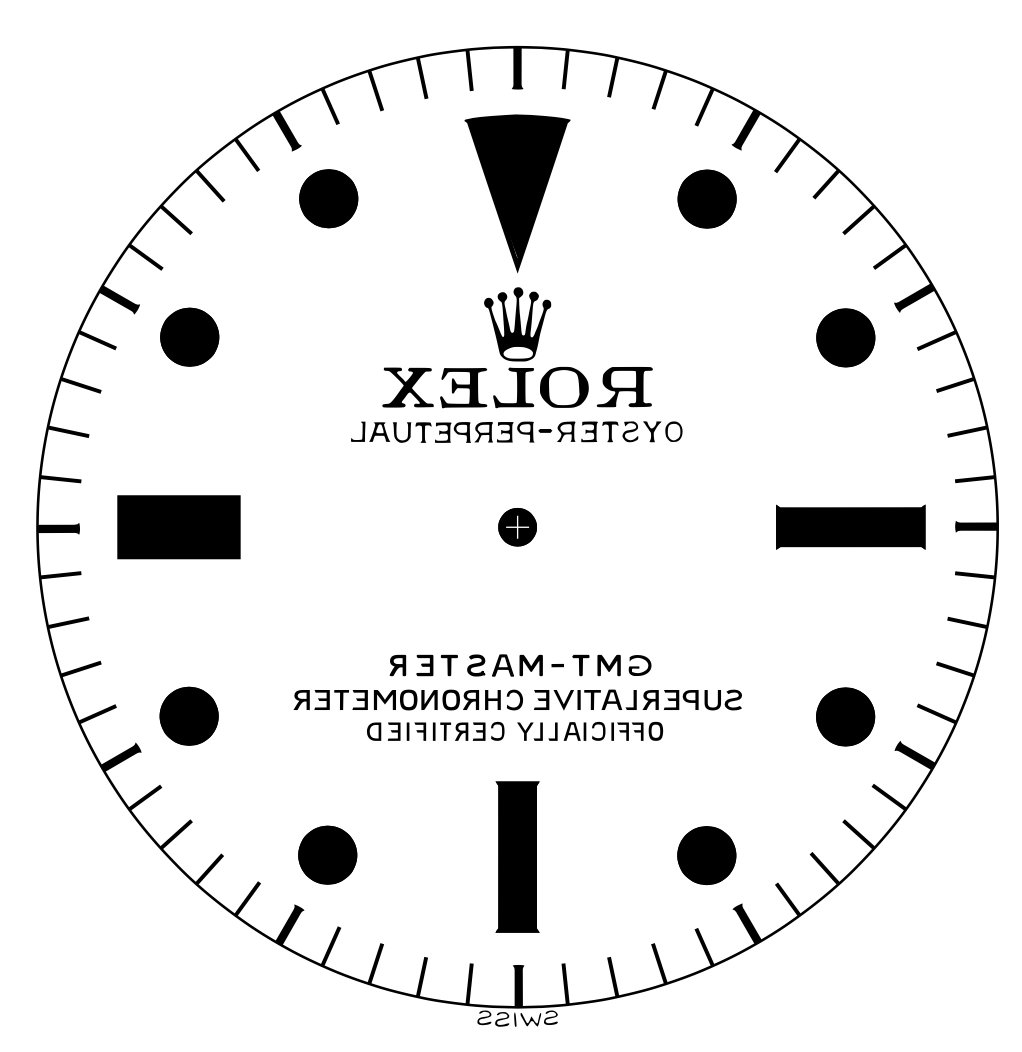
- when creating the computer grafic we can be very detailed; especially with vector grafic
- when printing, the precision of the printer and the settings are essential
- with toner transfer we lose precision again
- most of all, however, we lose precision when blackening
In my experience, this method is ok for dials with little detail and large letters. The Rolex 5513, for example, is a great example. However, for dials with small typography (reference 1675, 1016) the result is no longer as good. This is perhaps the reason why some people here try to achieve more detailed results using the decal process.
Result 5513 with bigger font:
Compread to gen still horrible:
Result 1675 with thinner font and more detail:
Compred to gen: