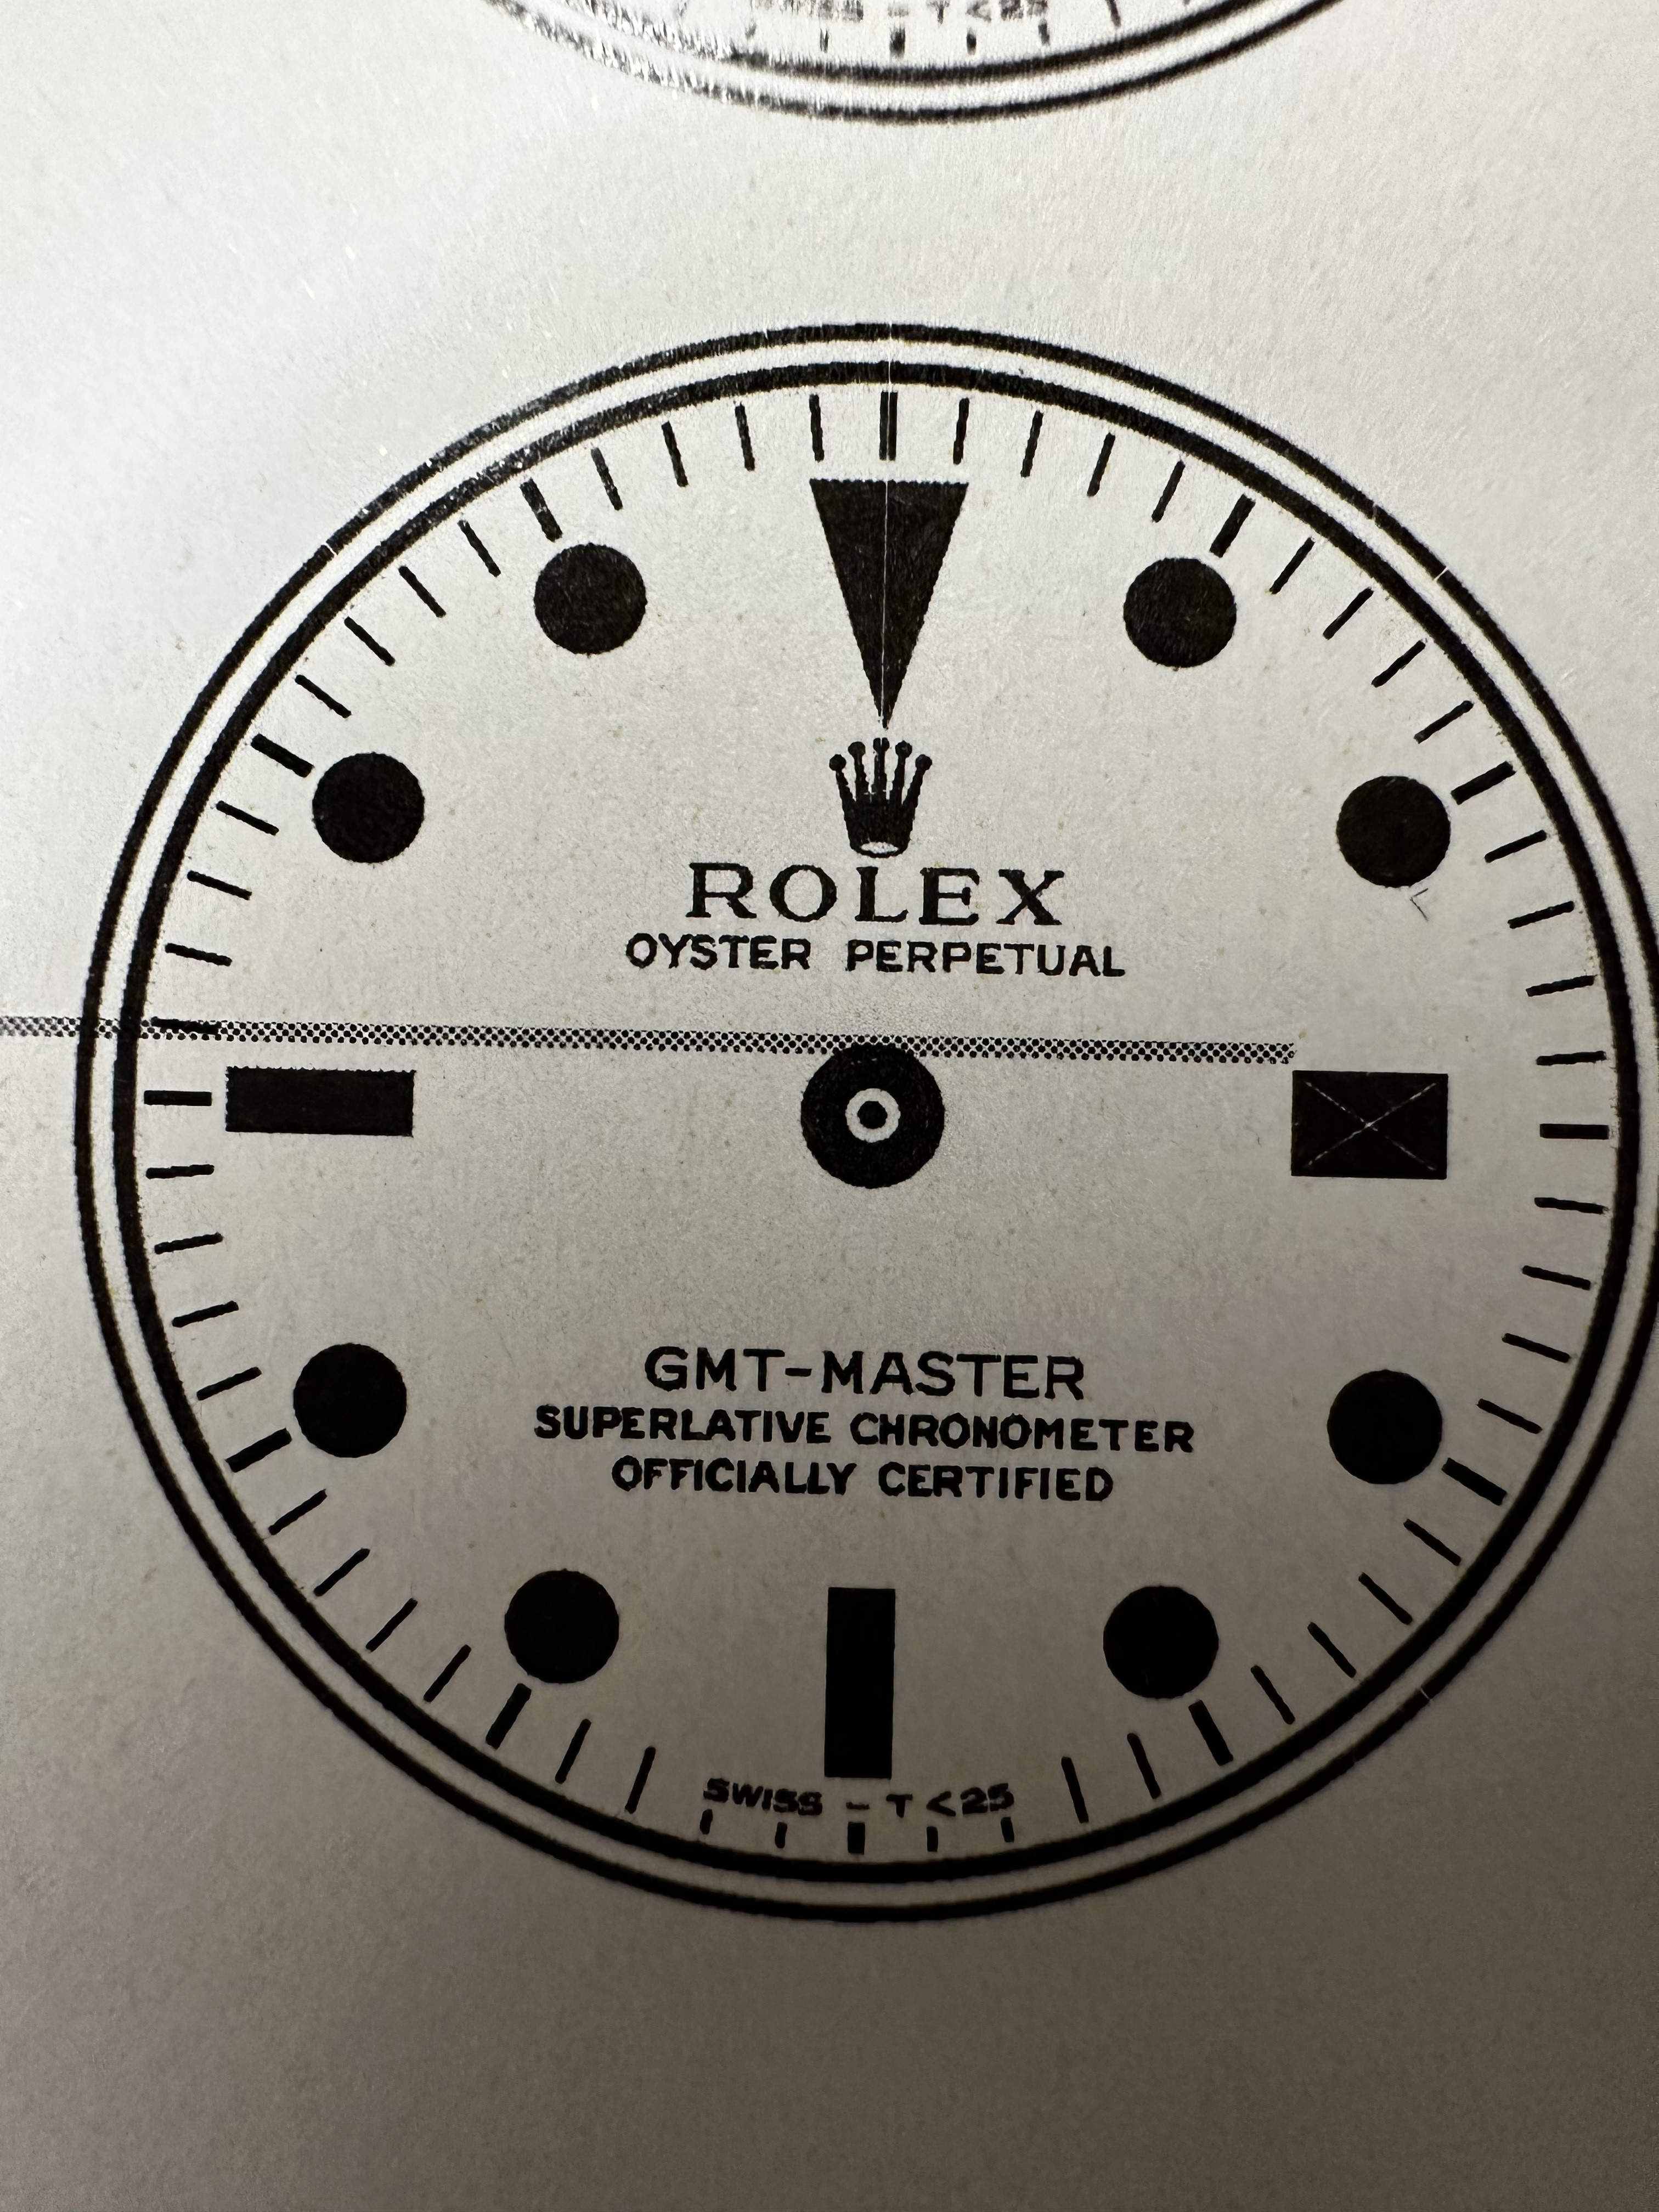
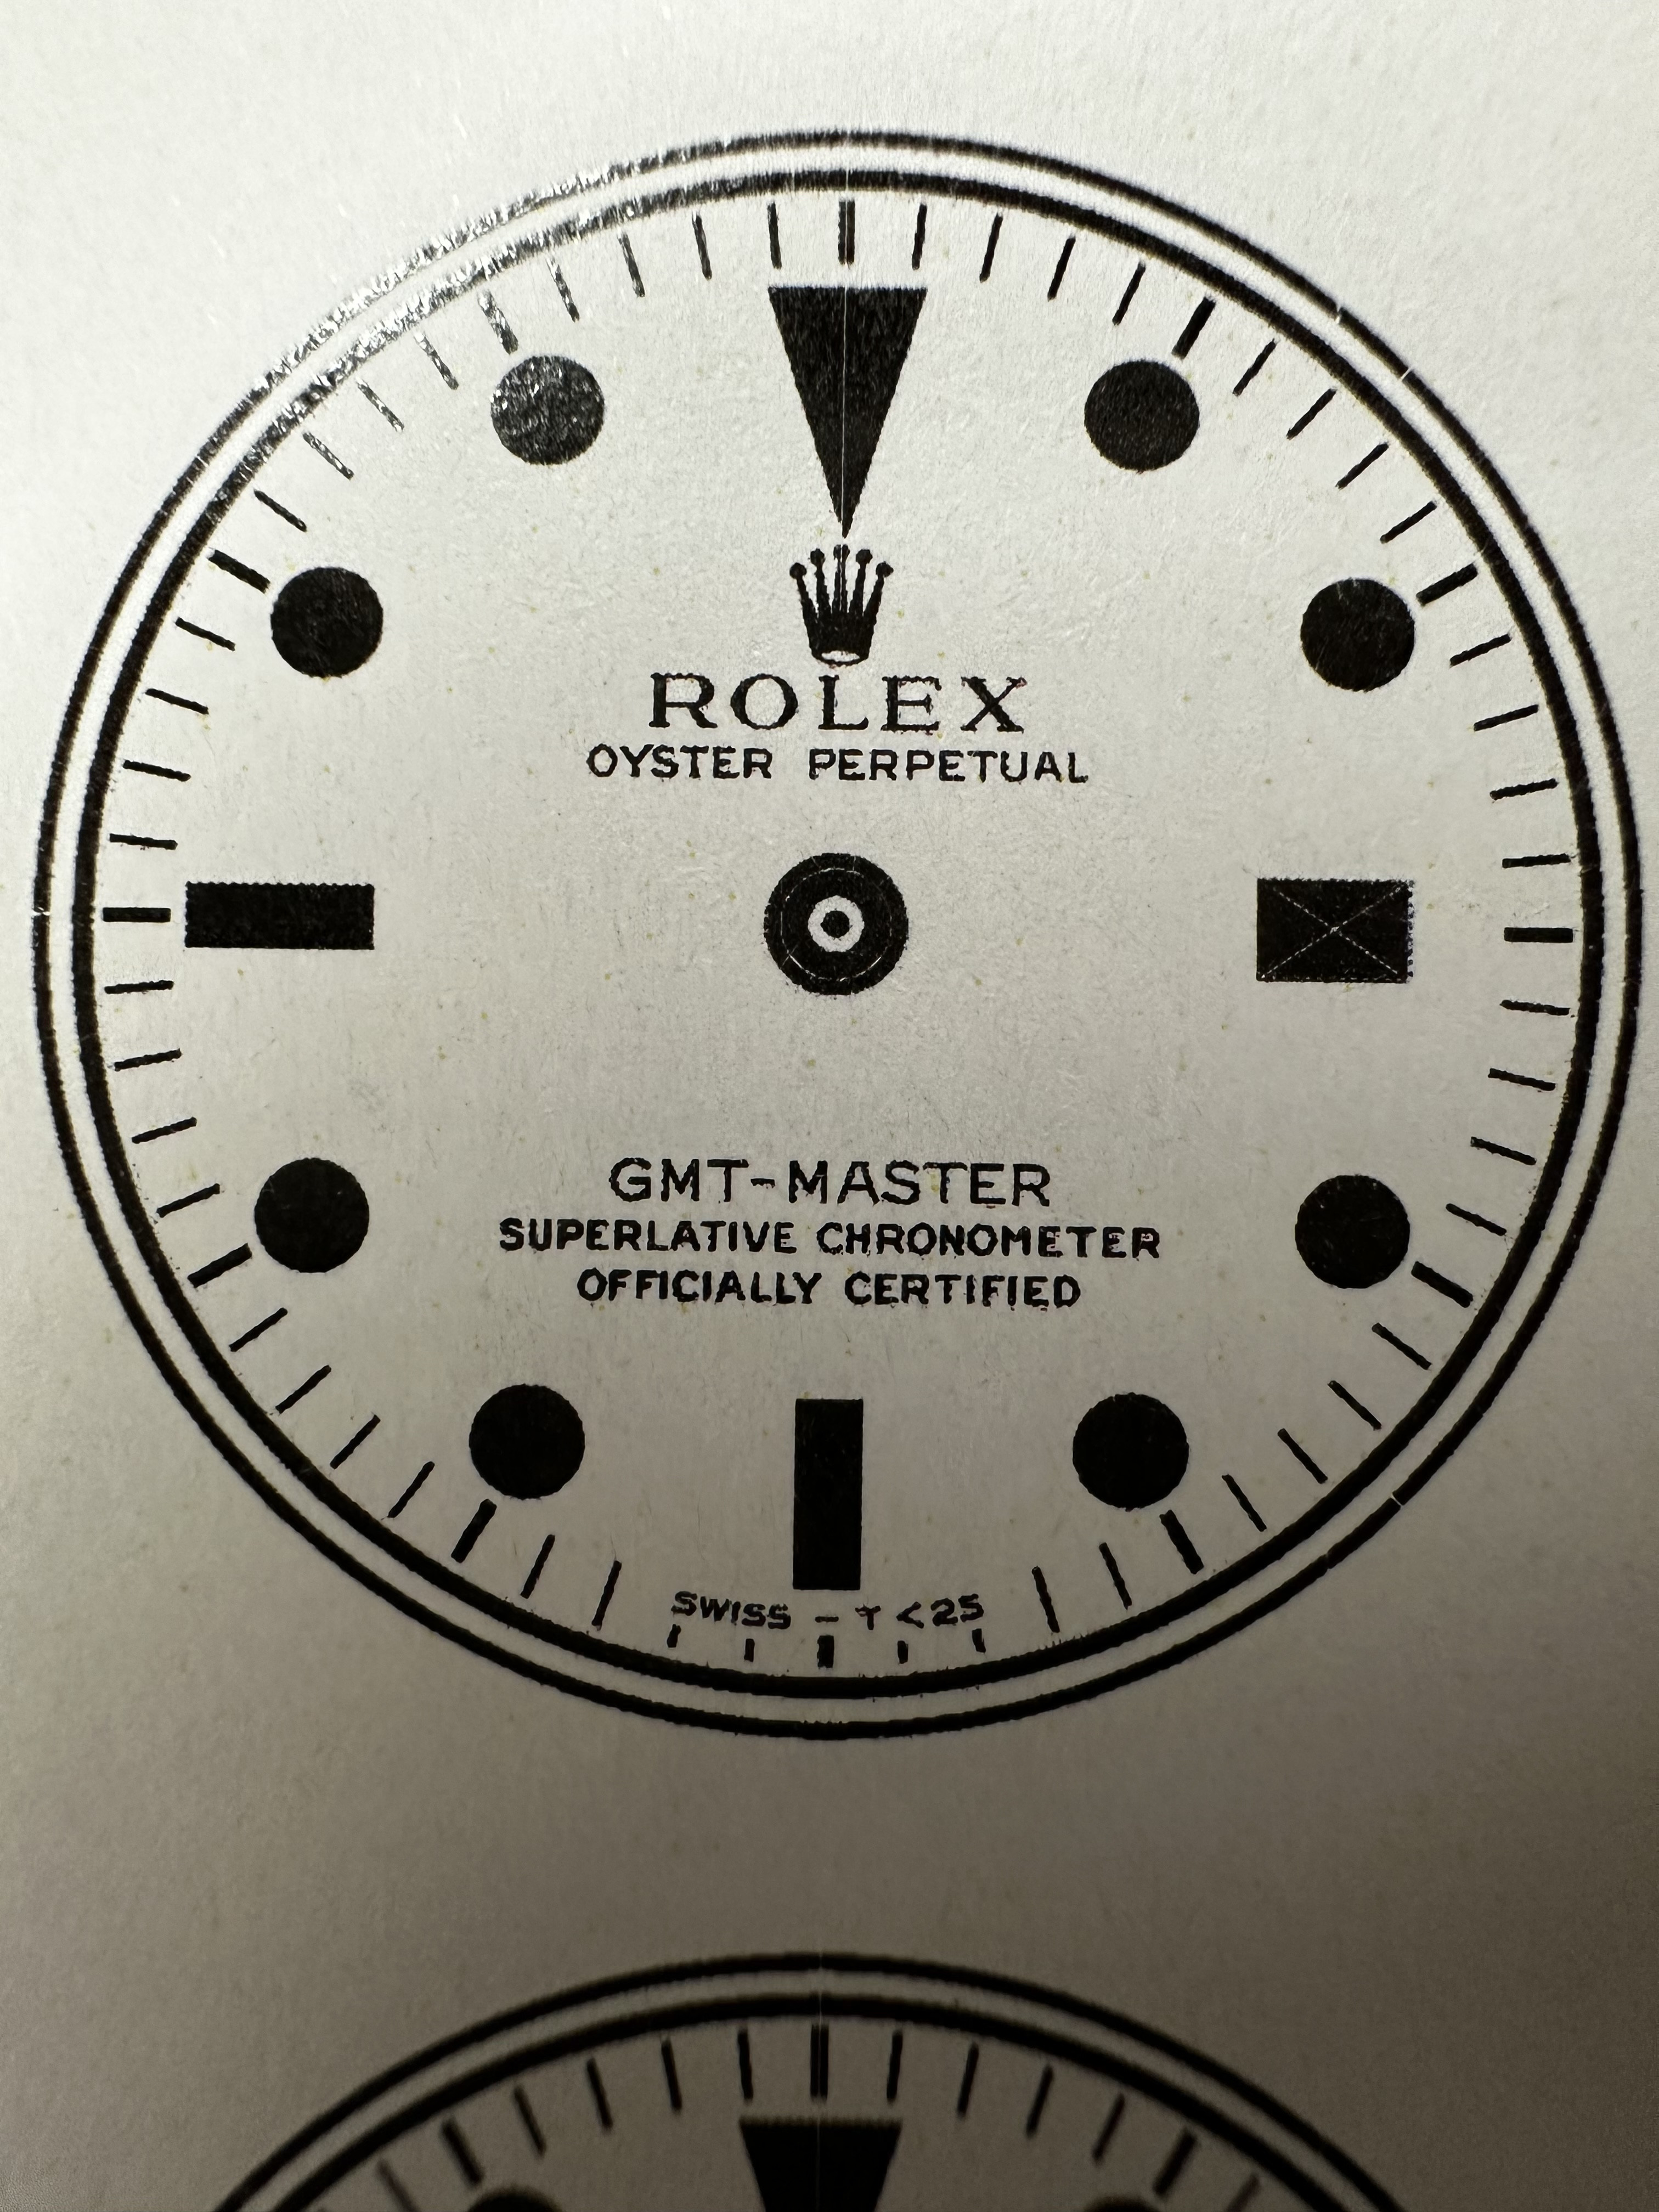
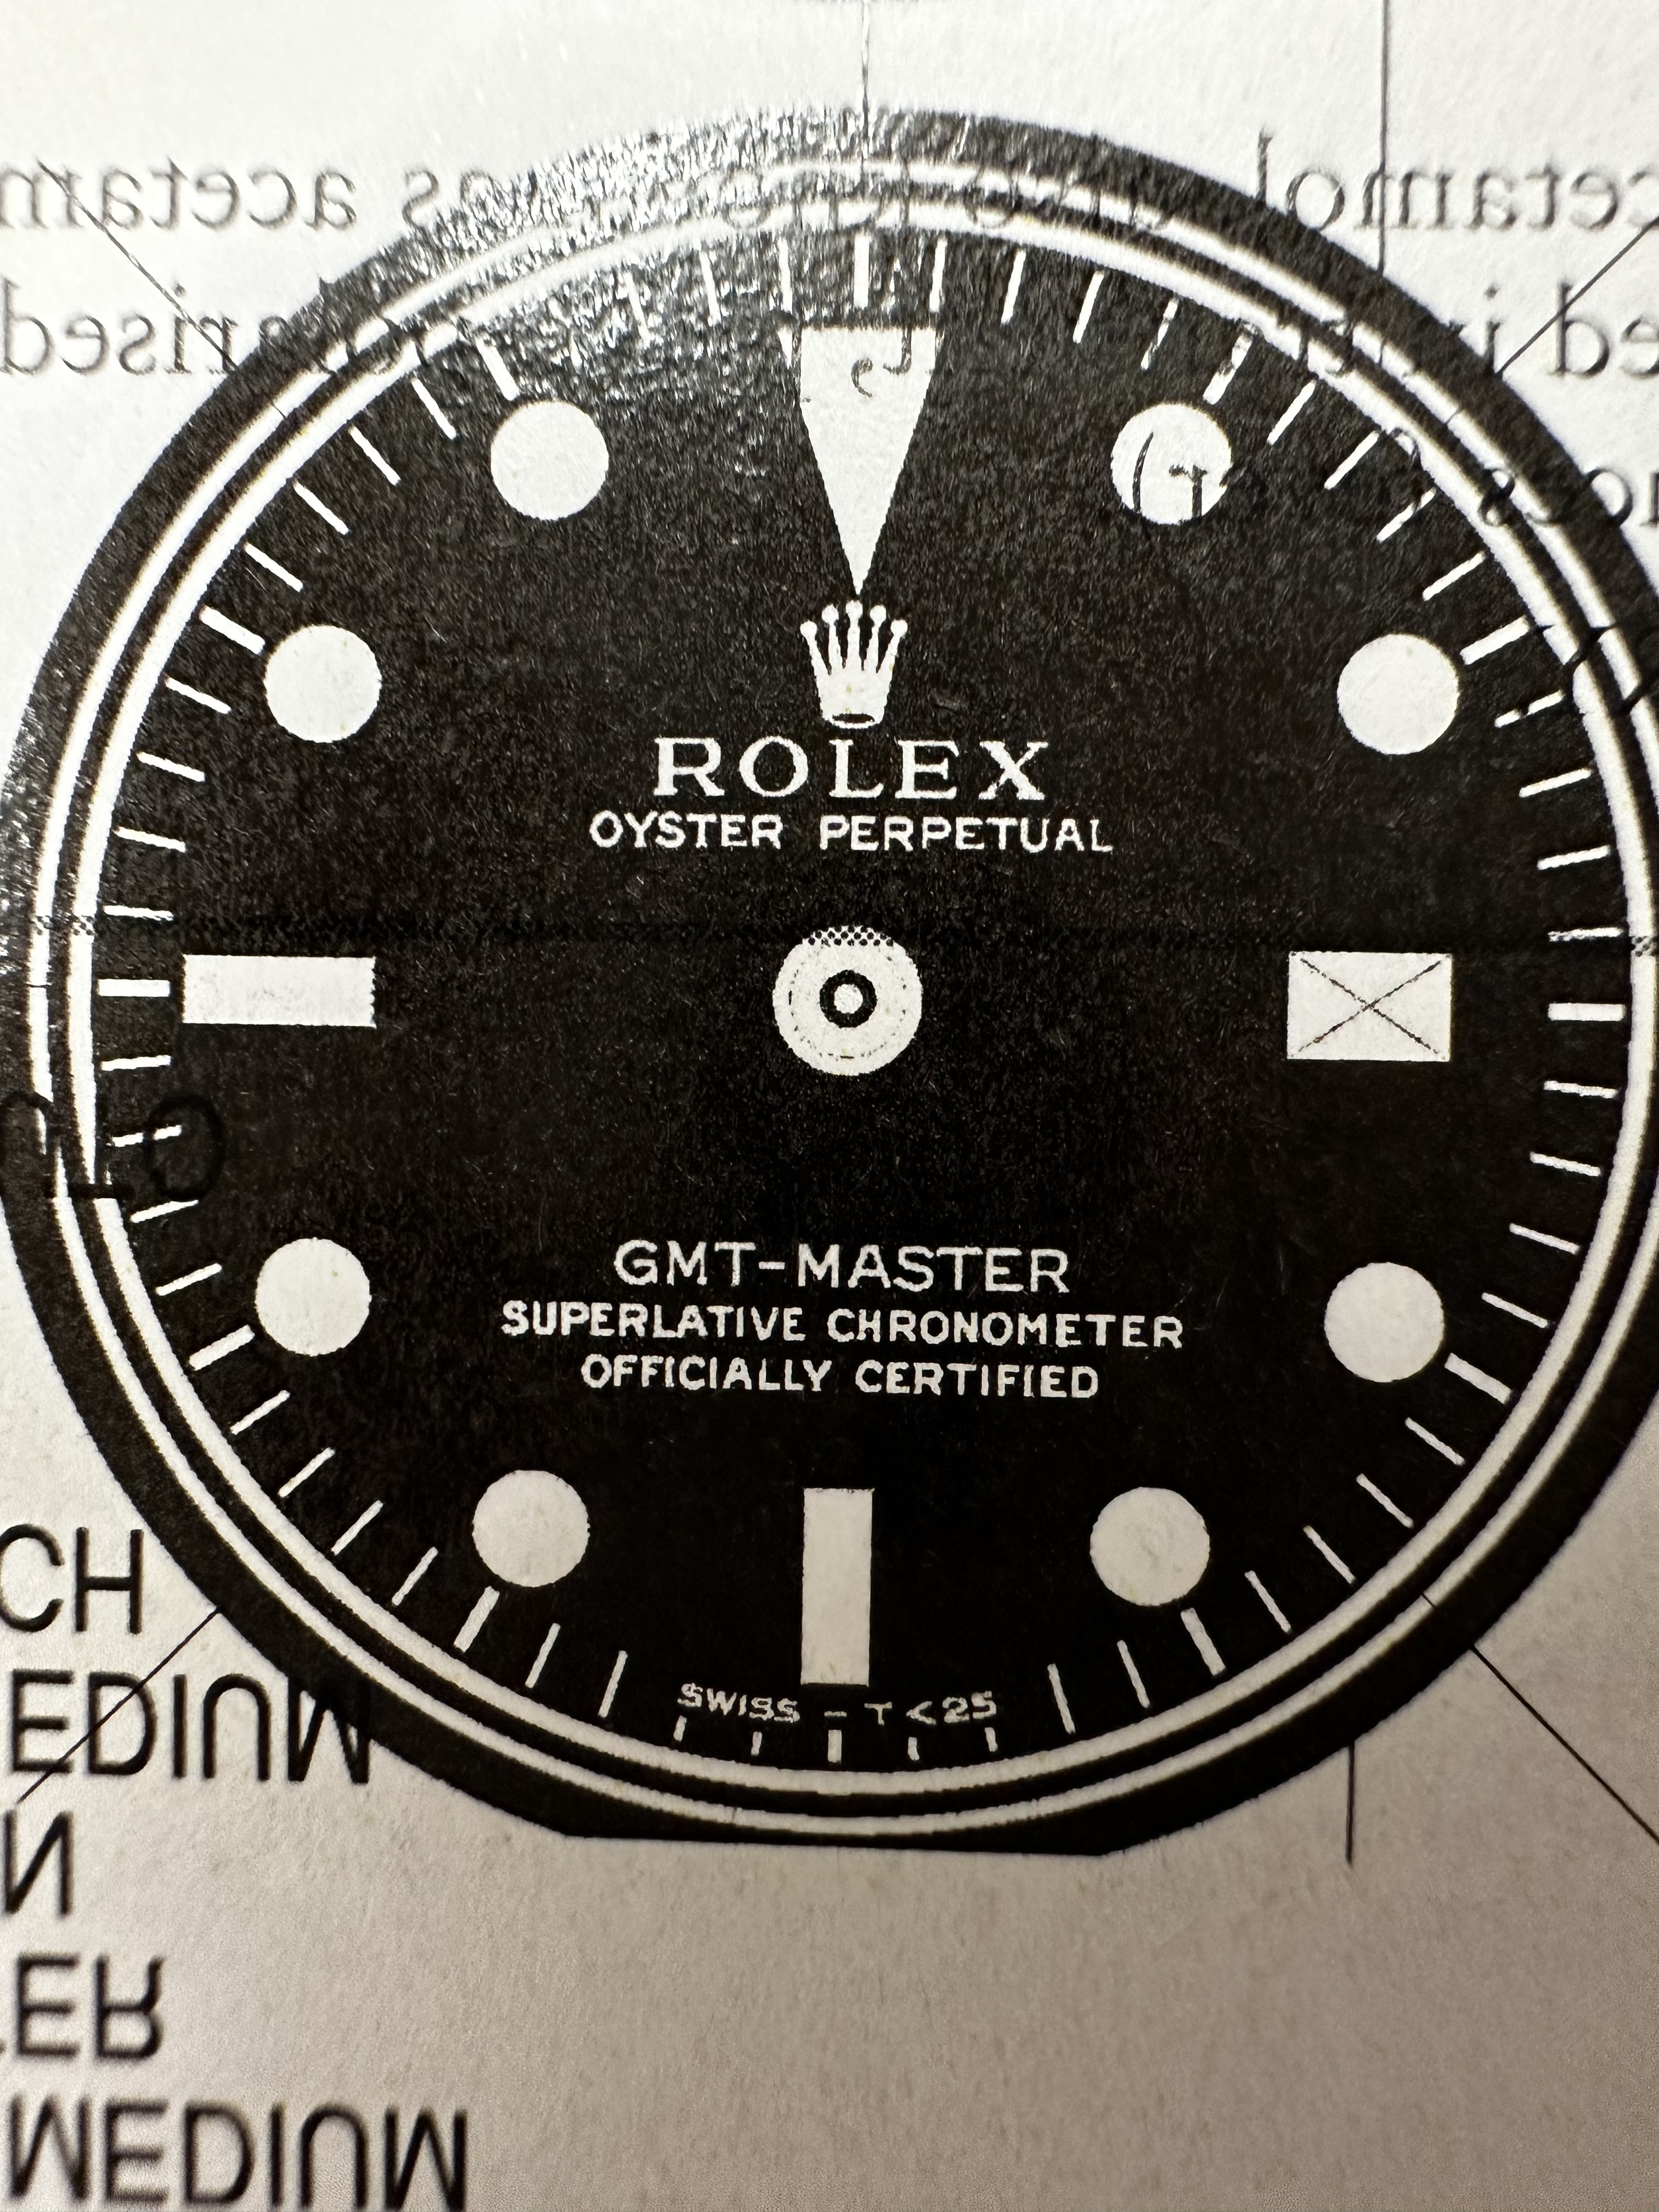
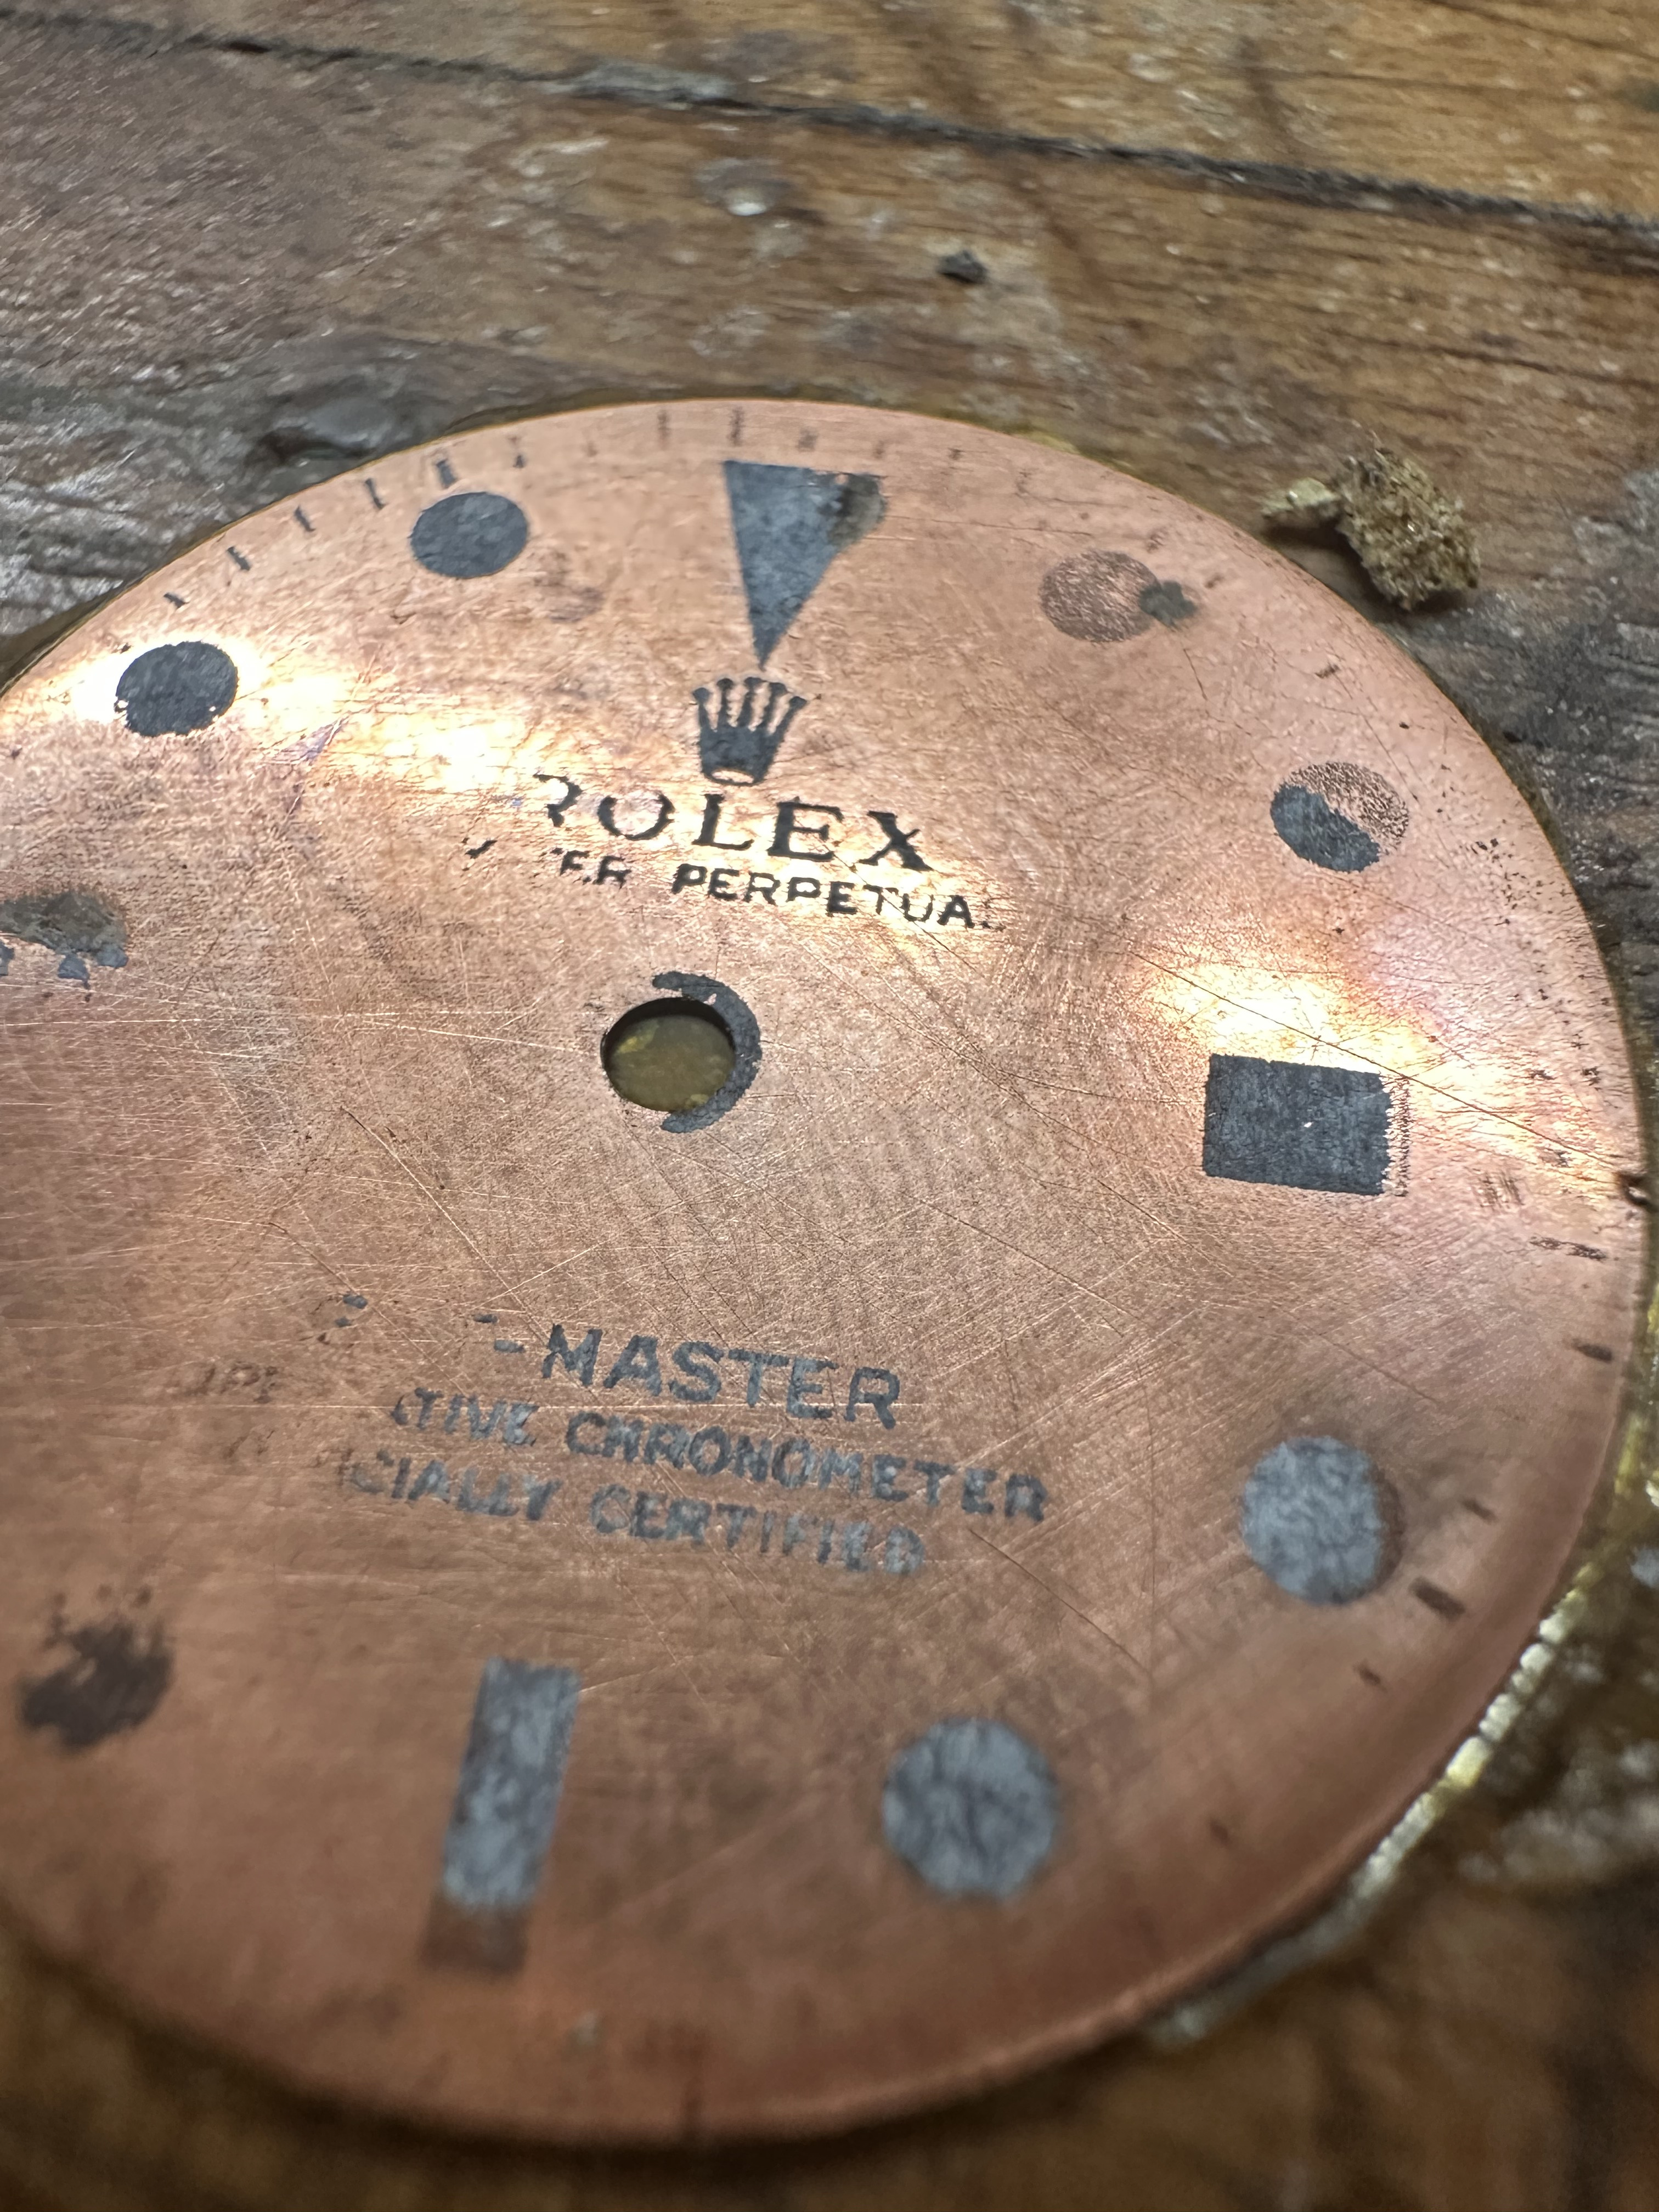
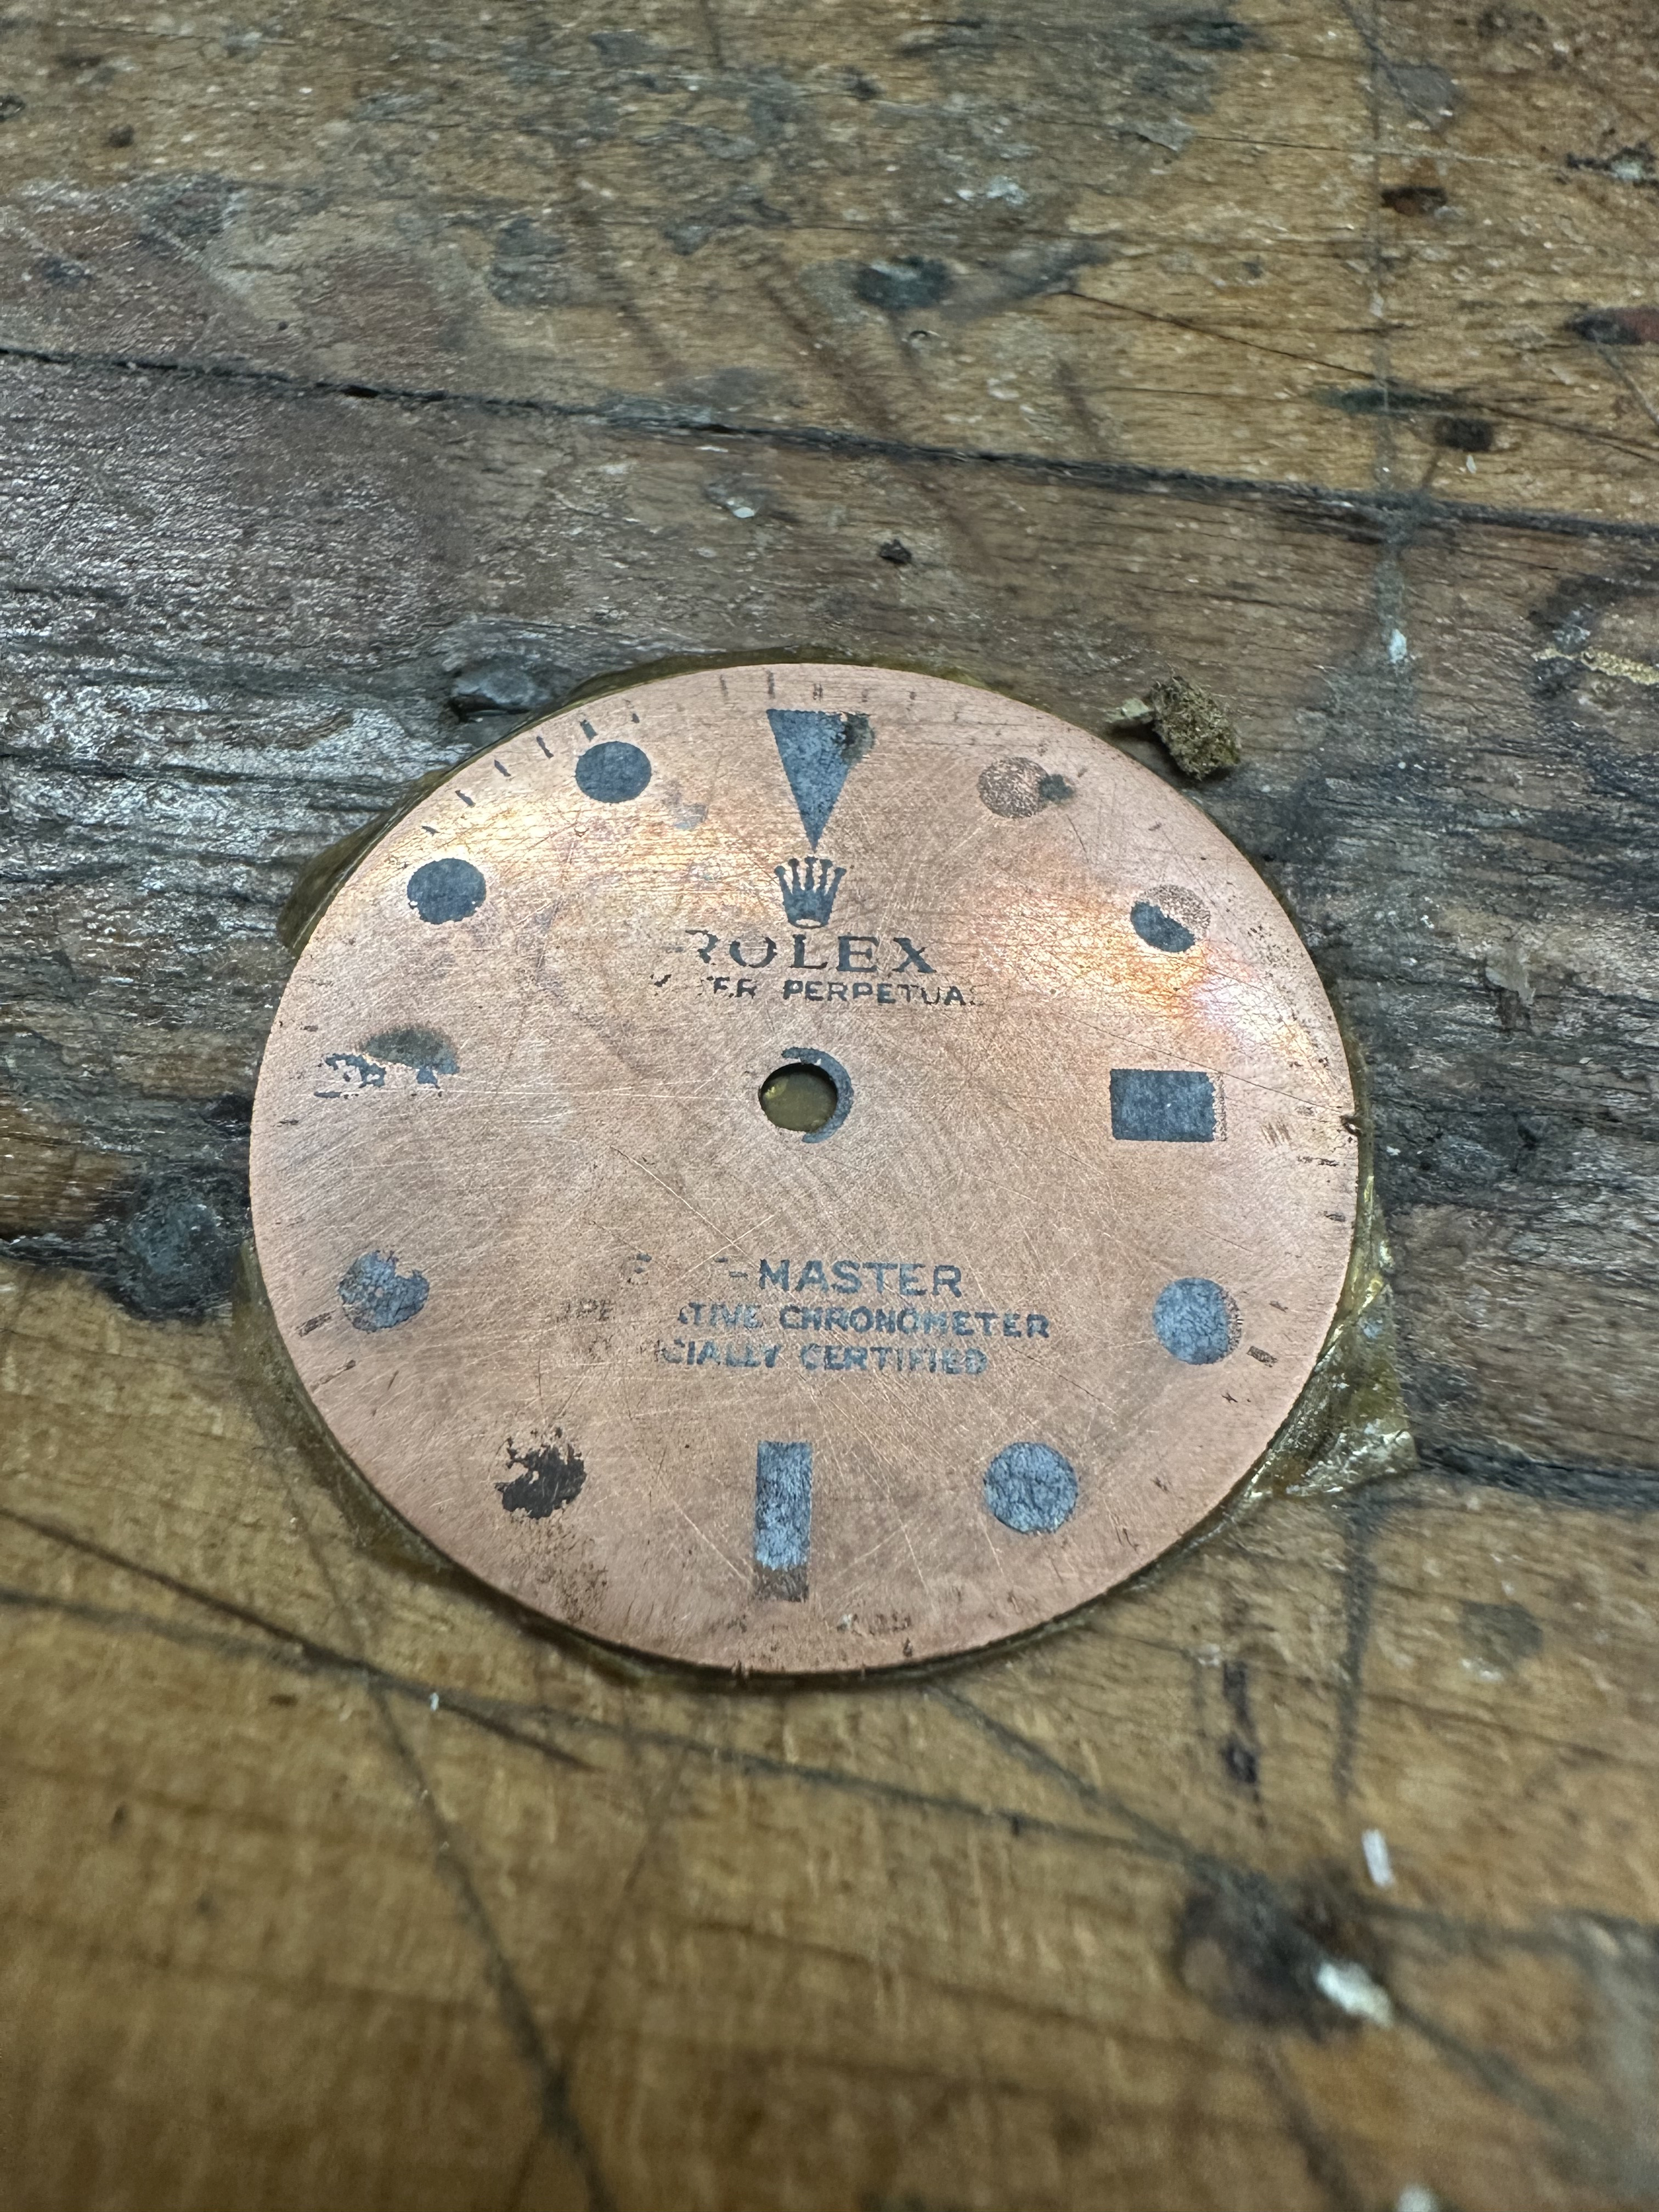
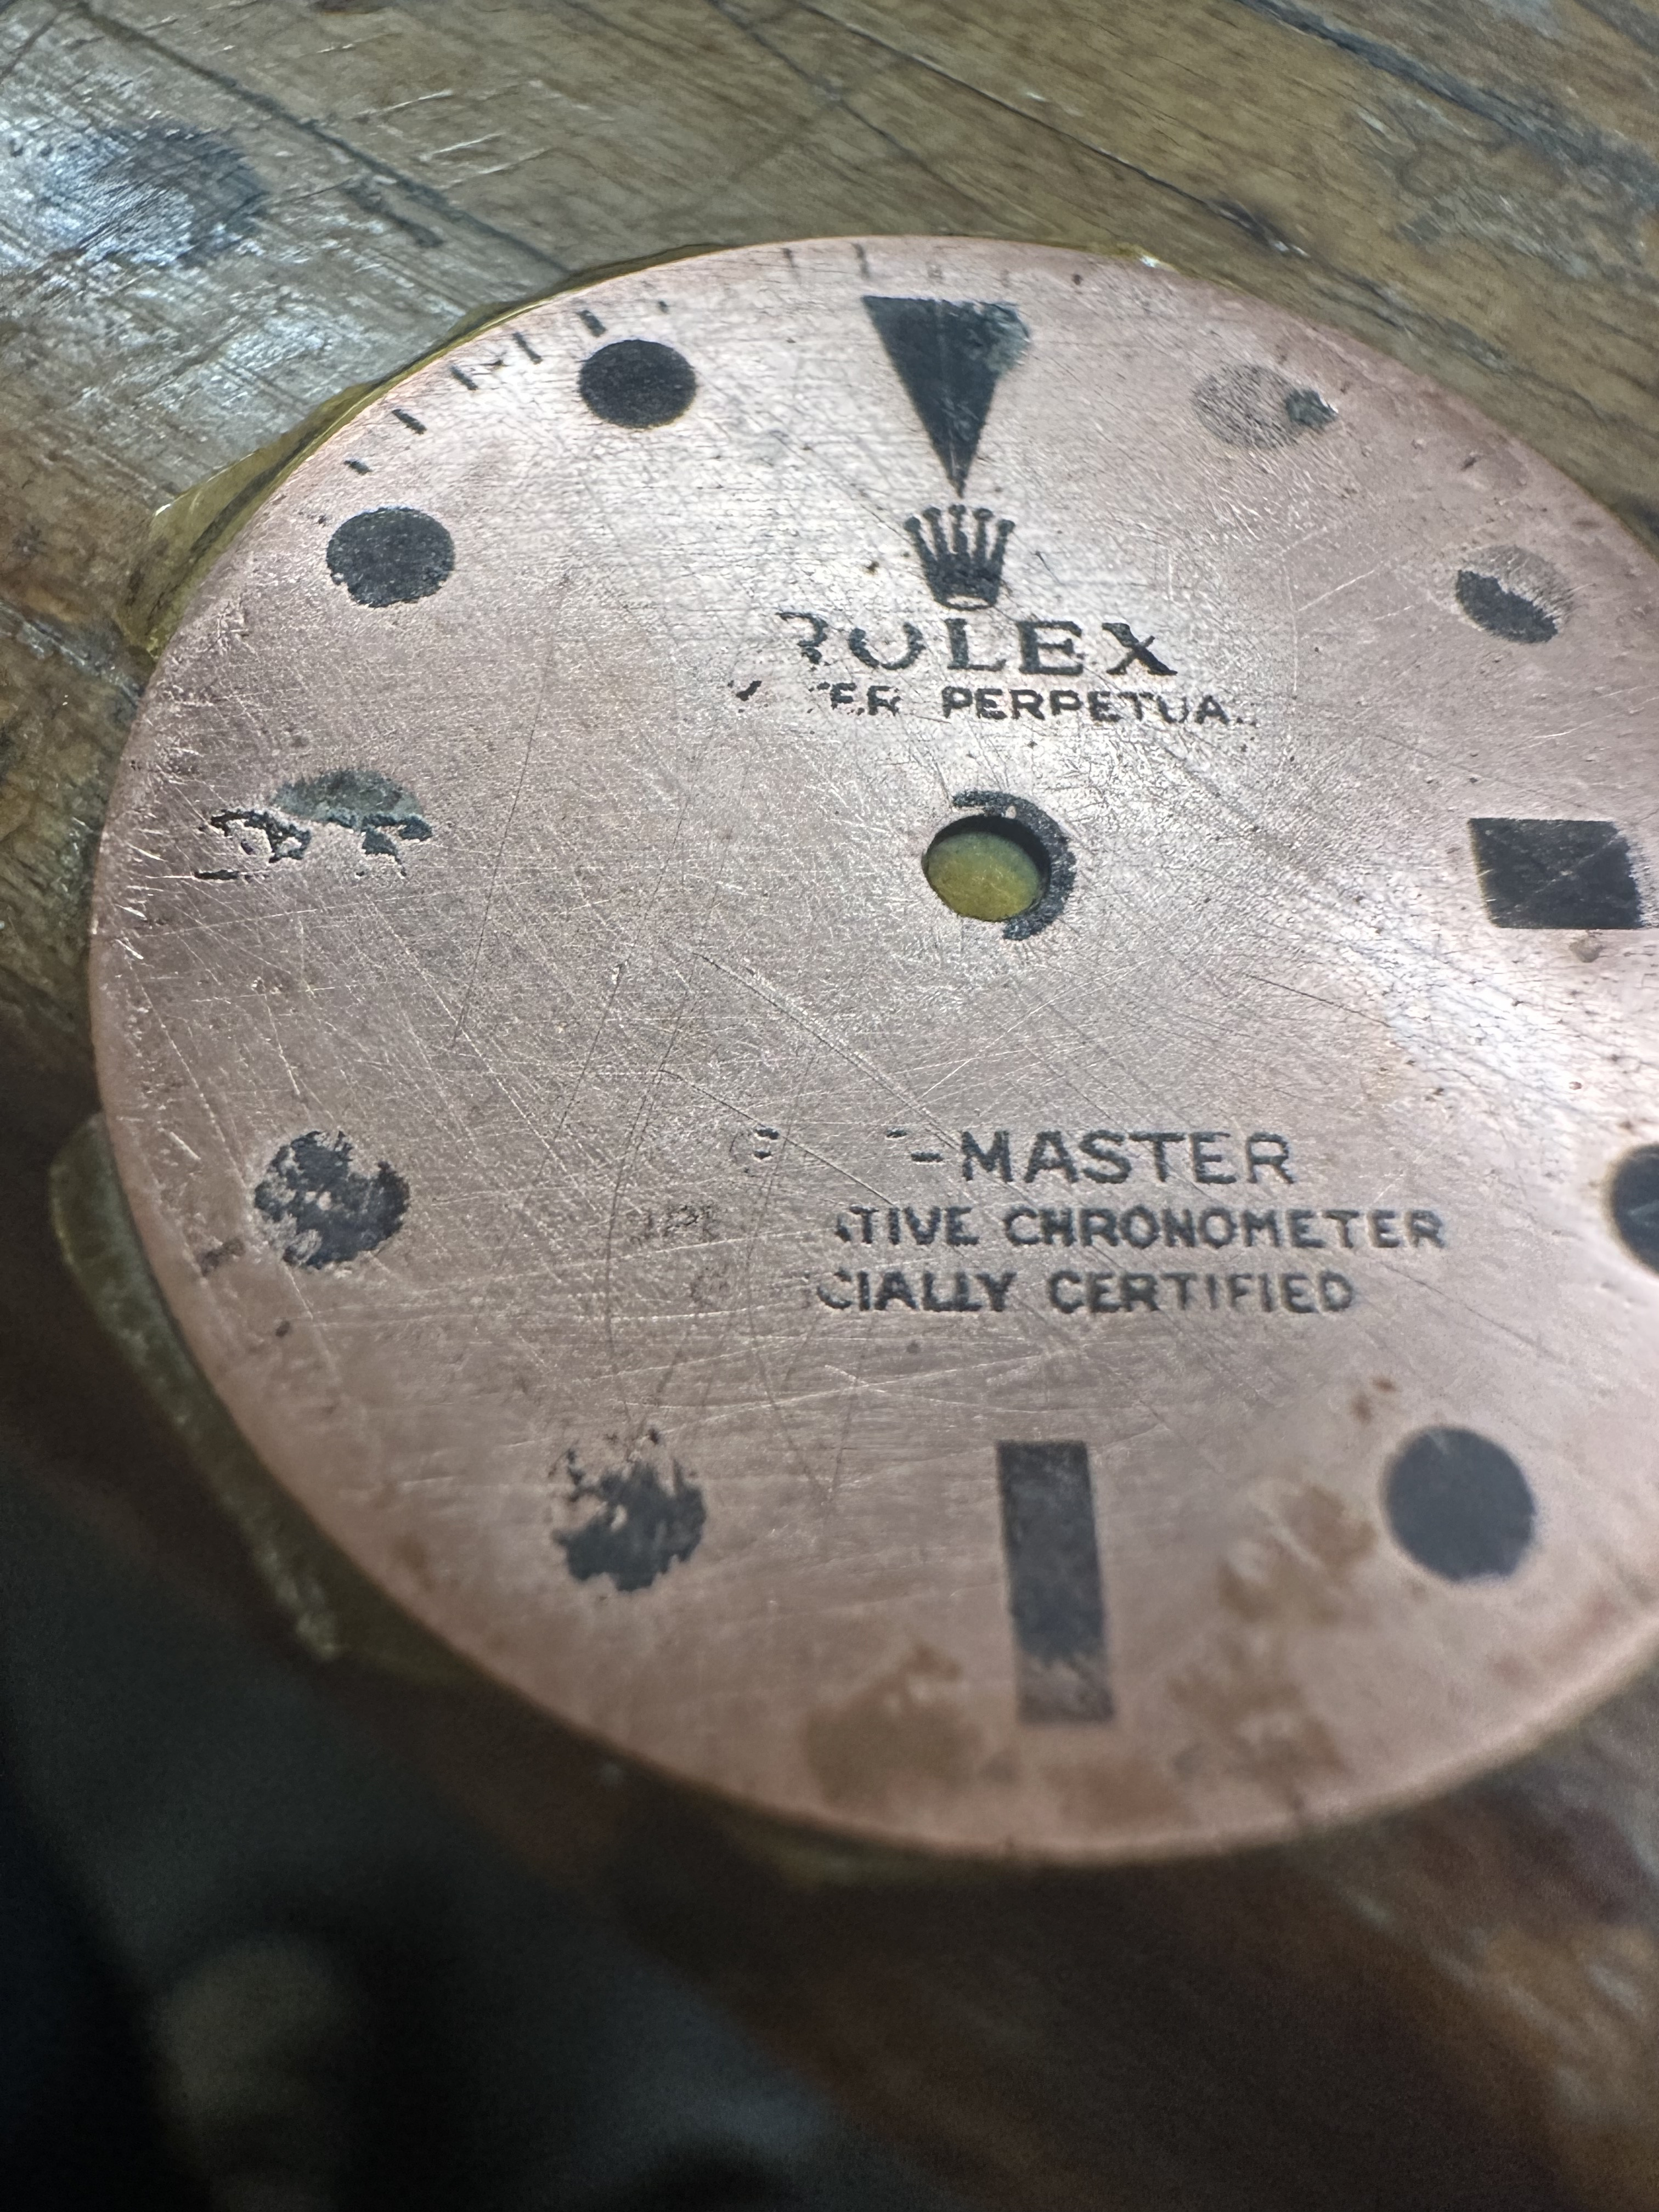
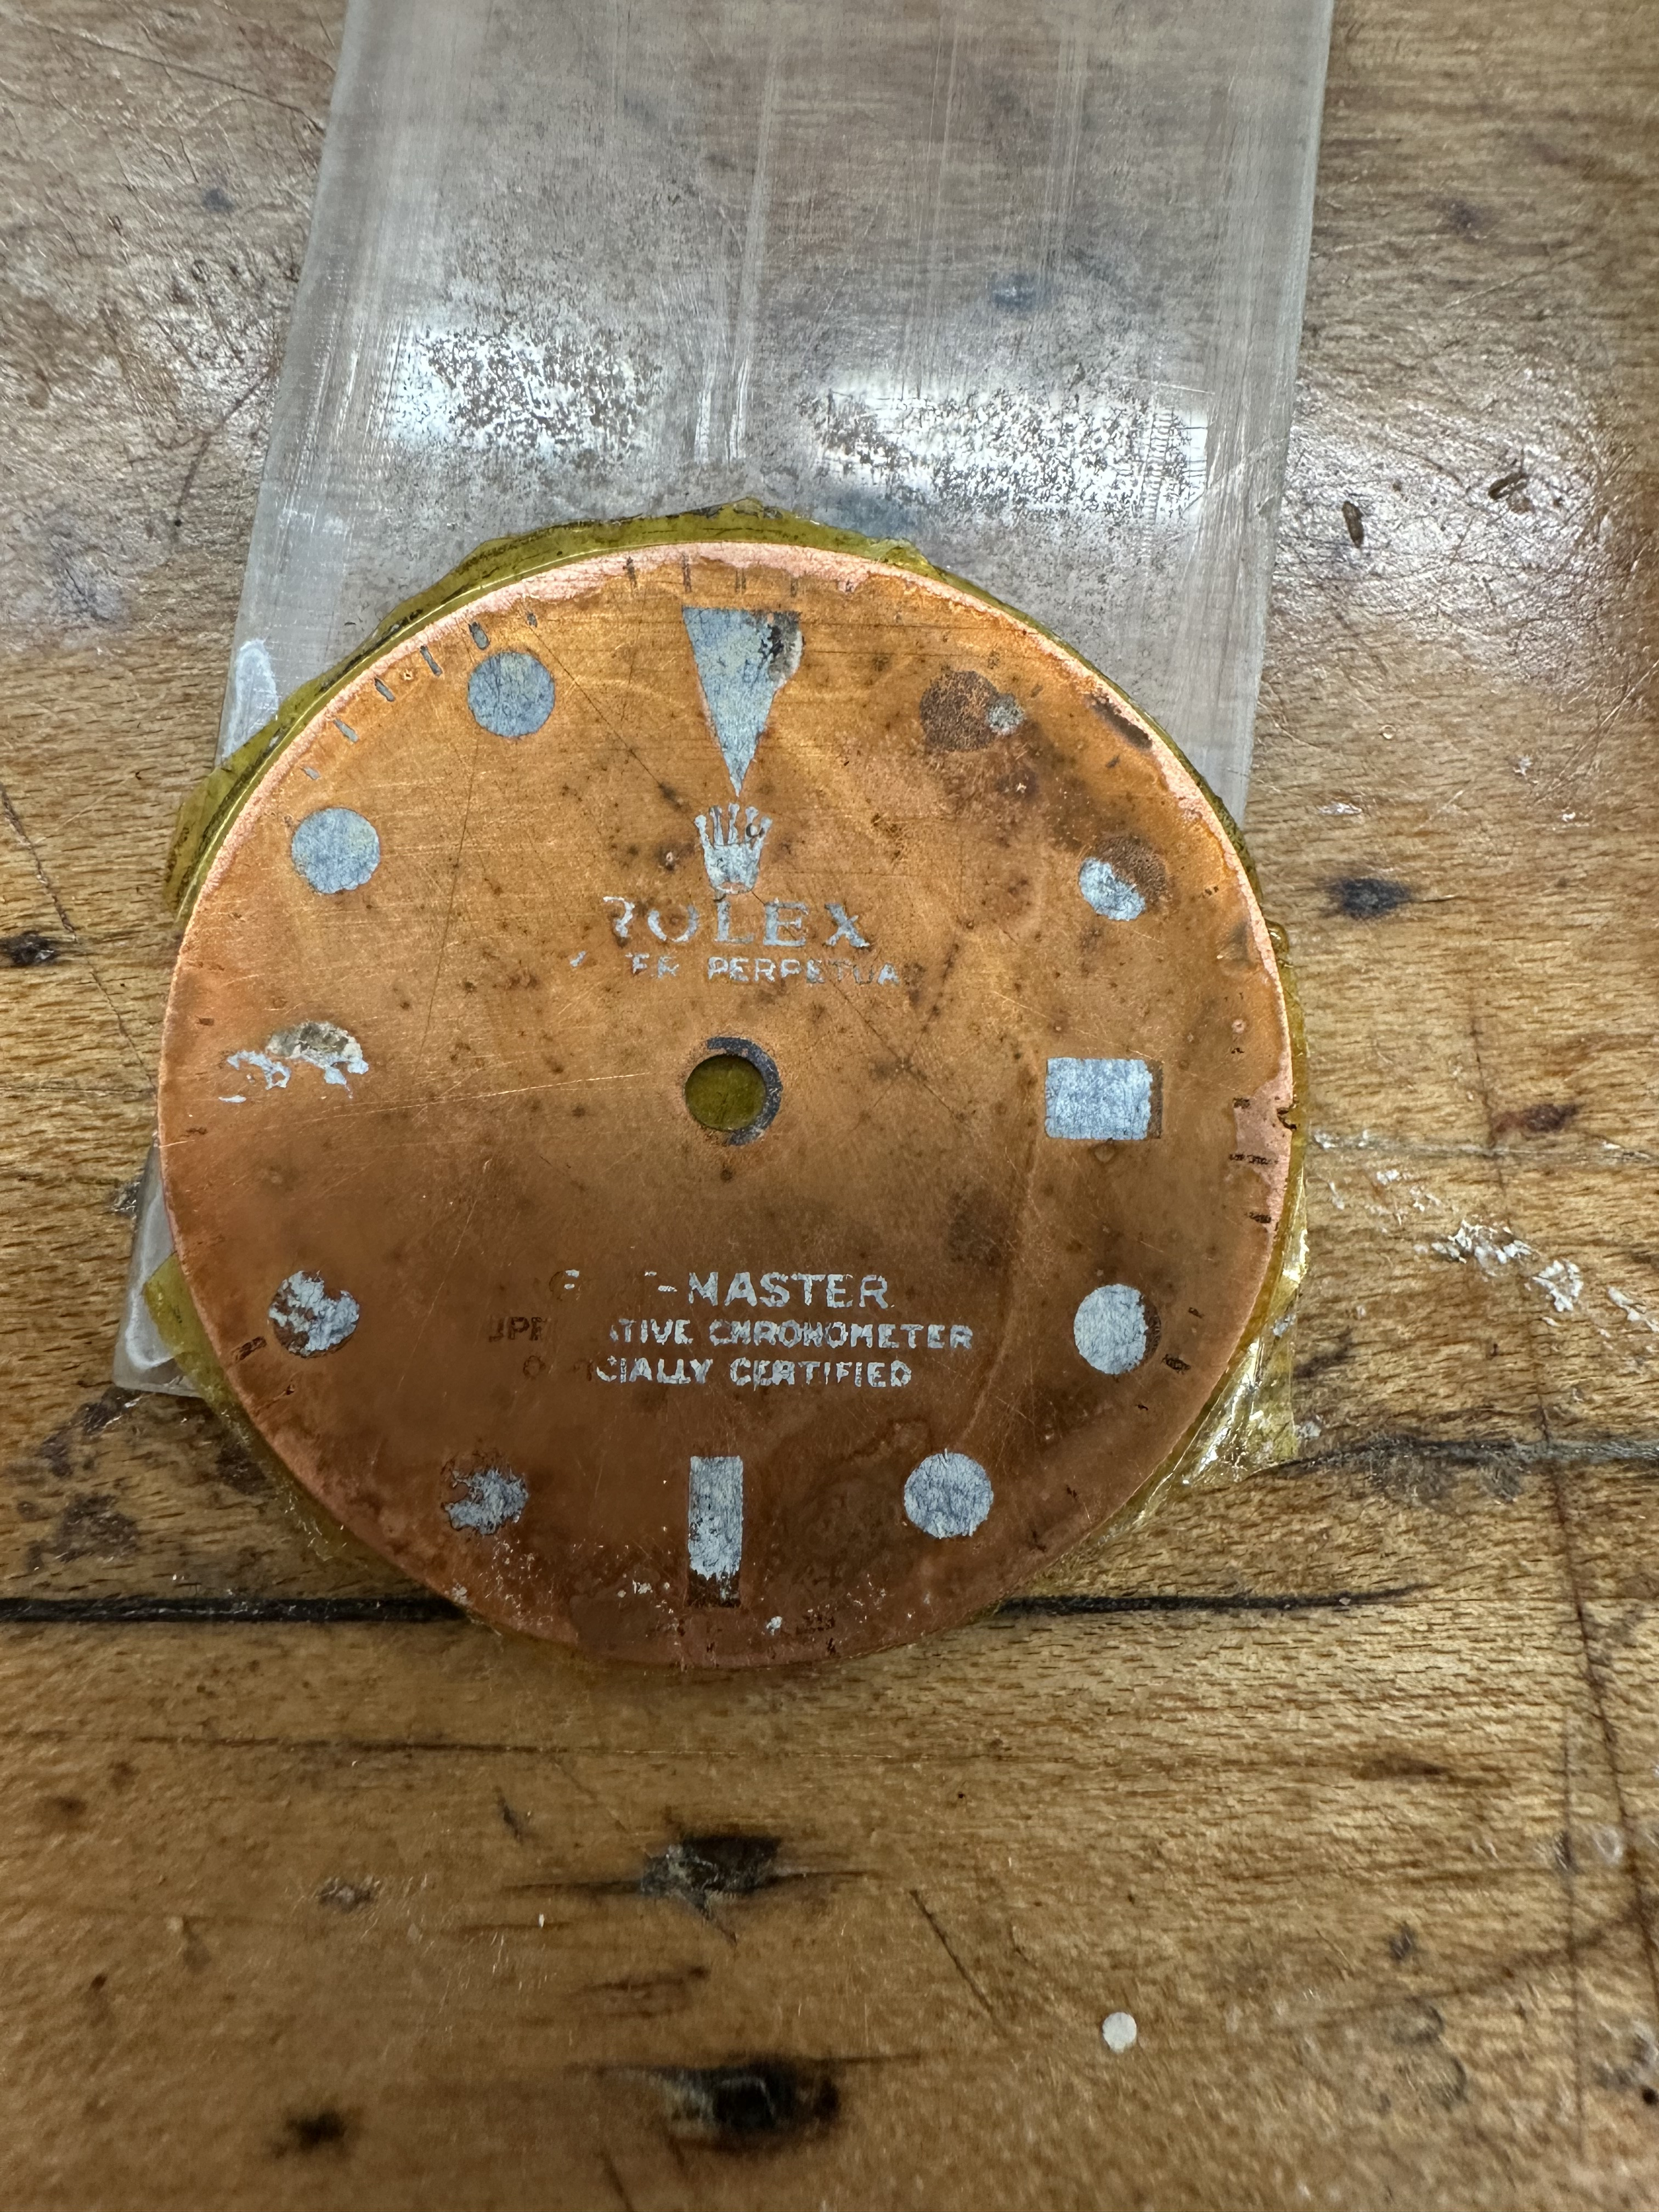
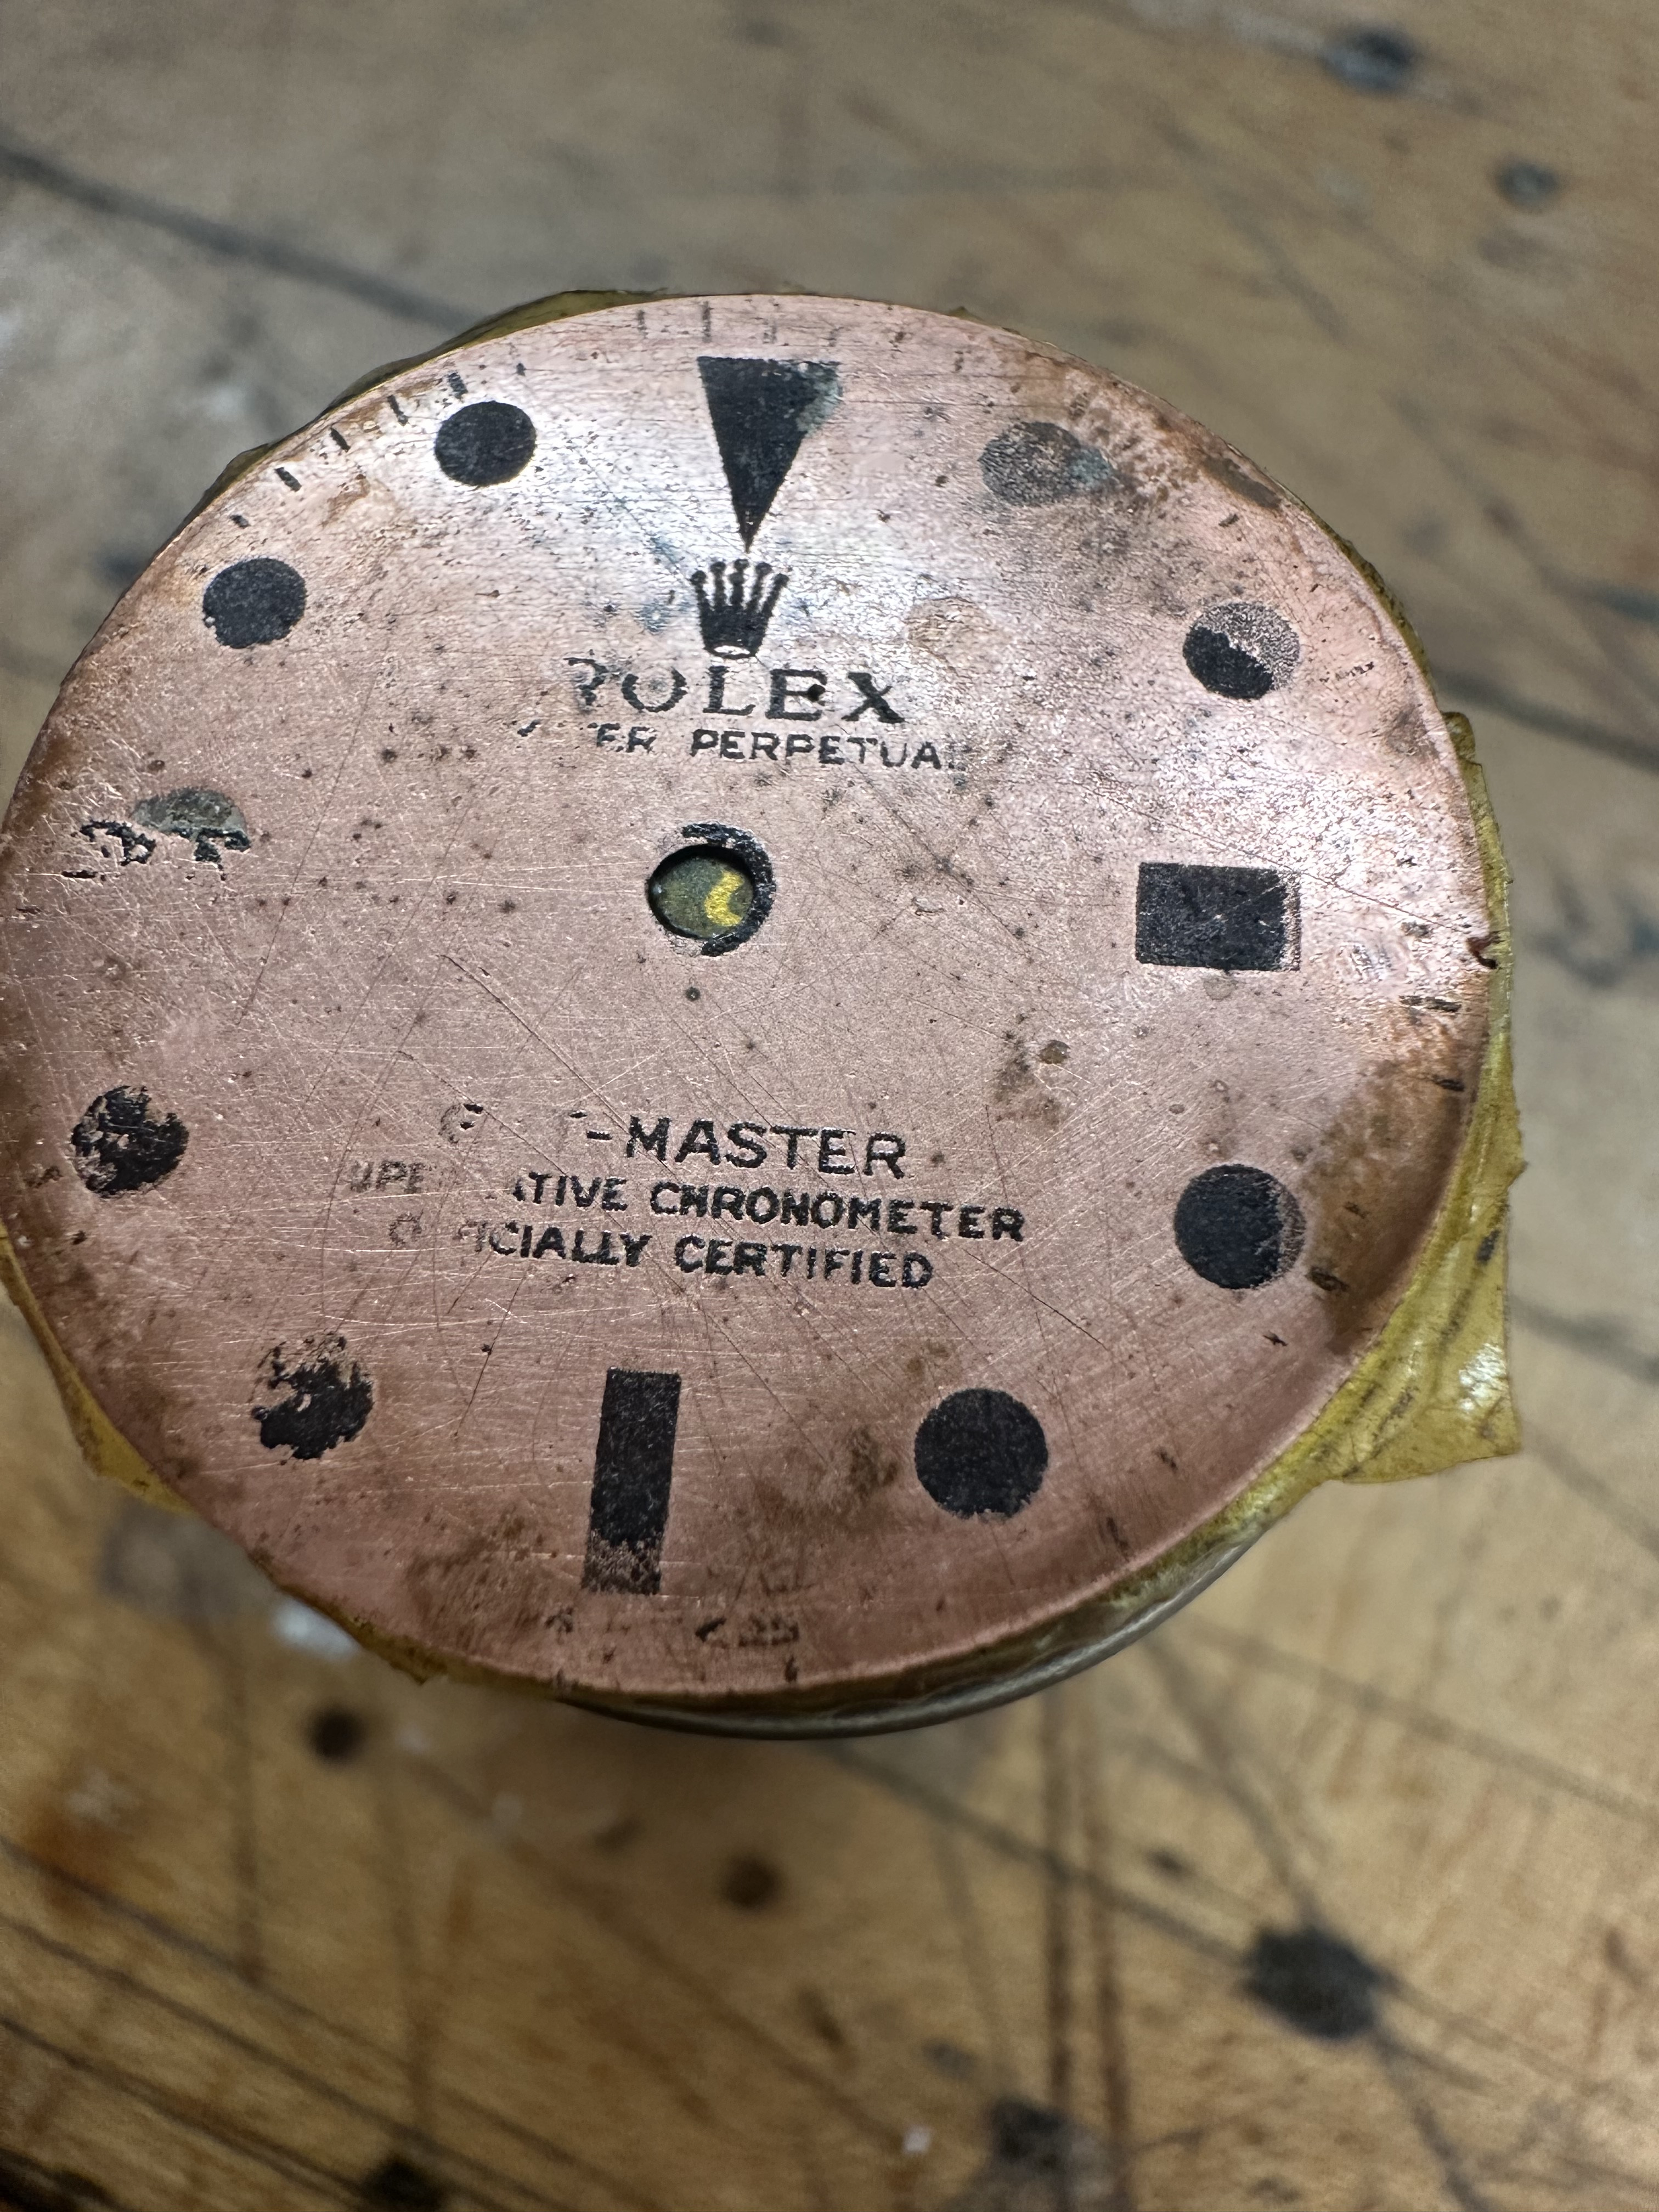
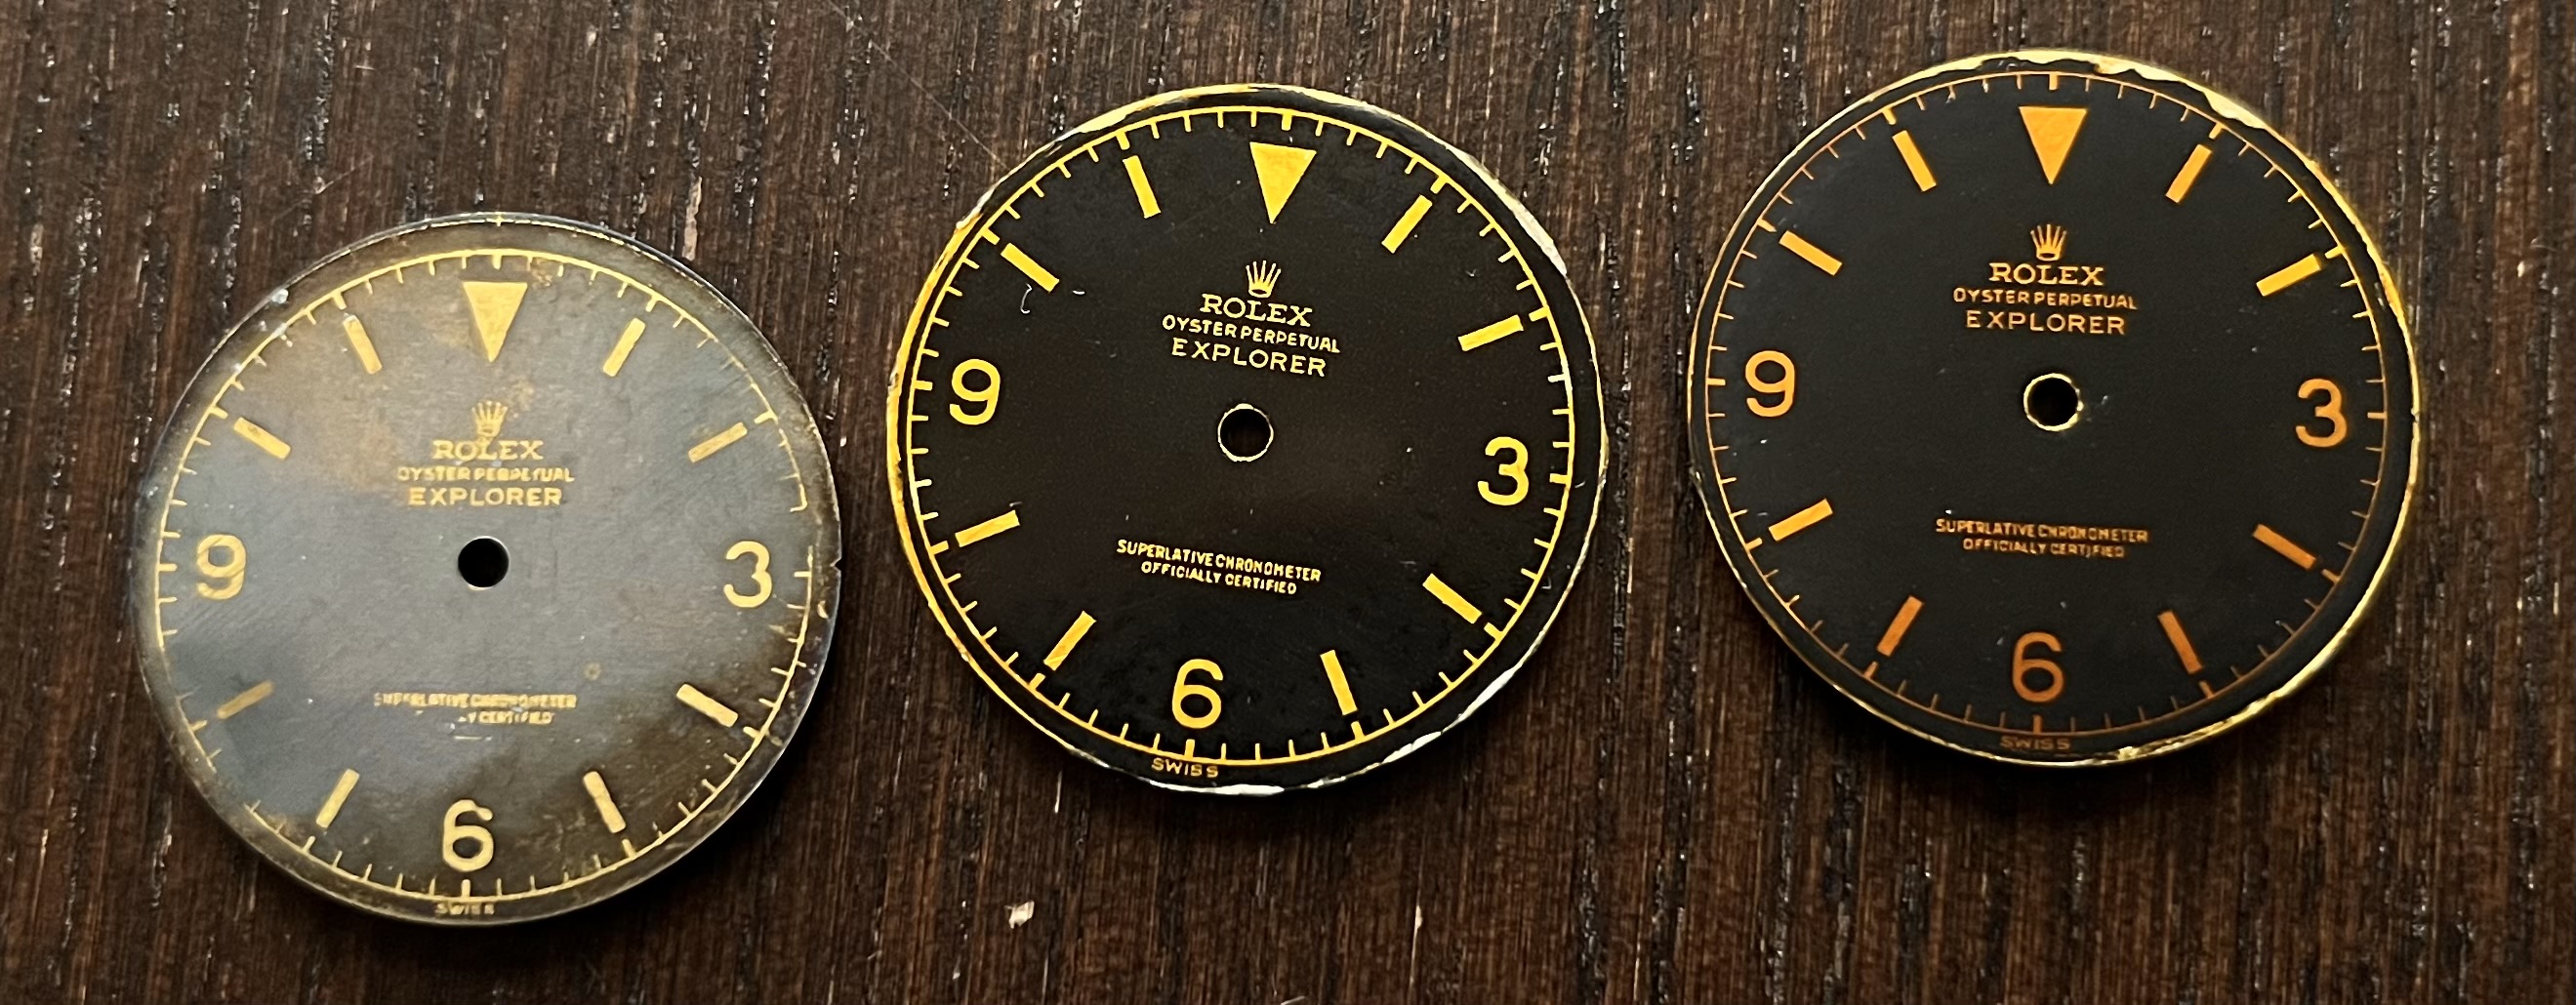
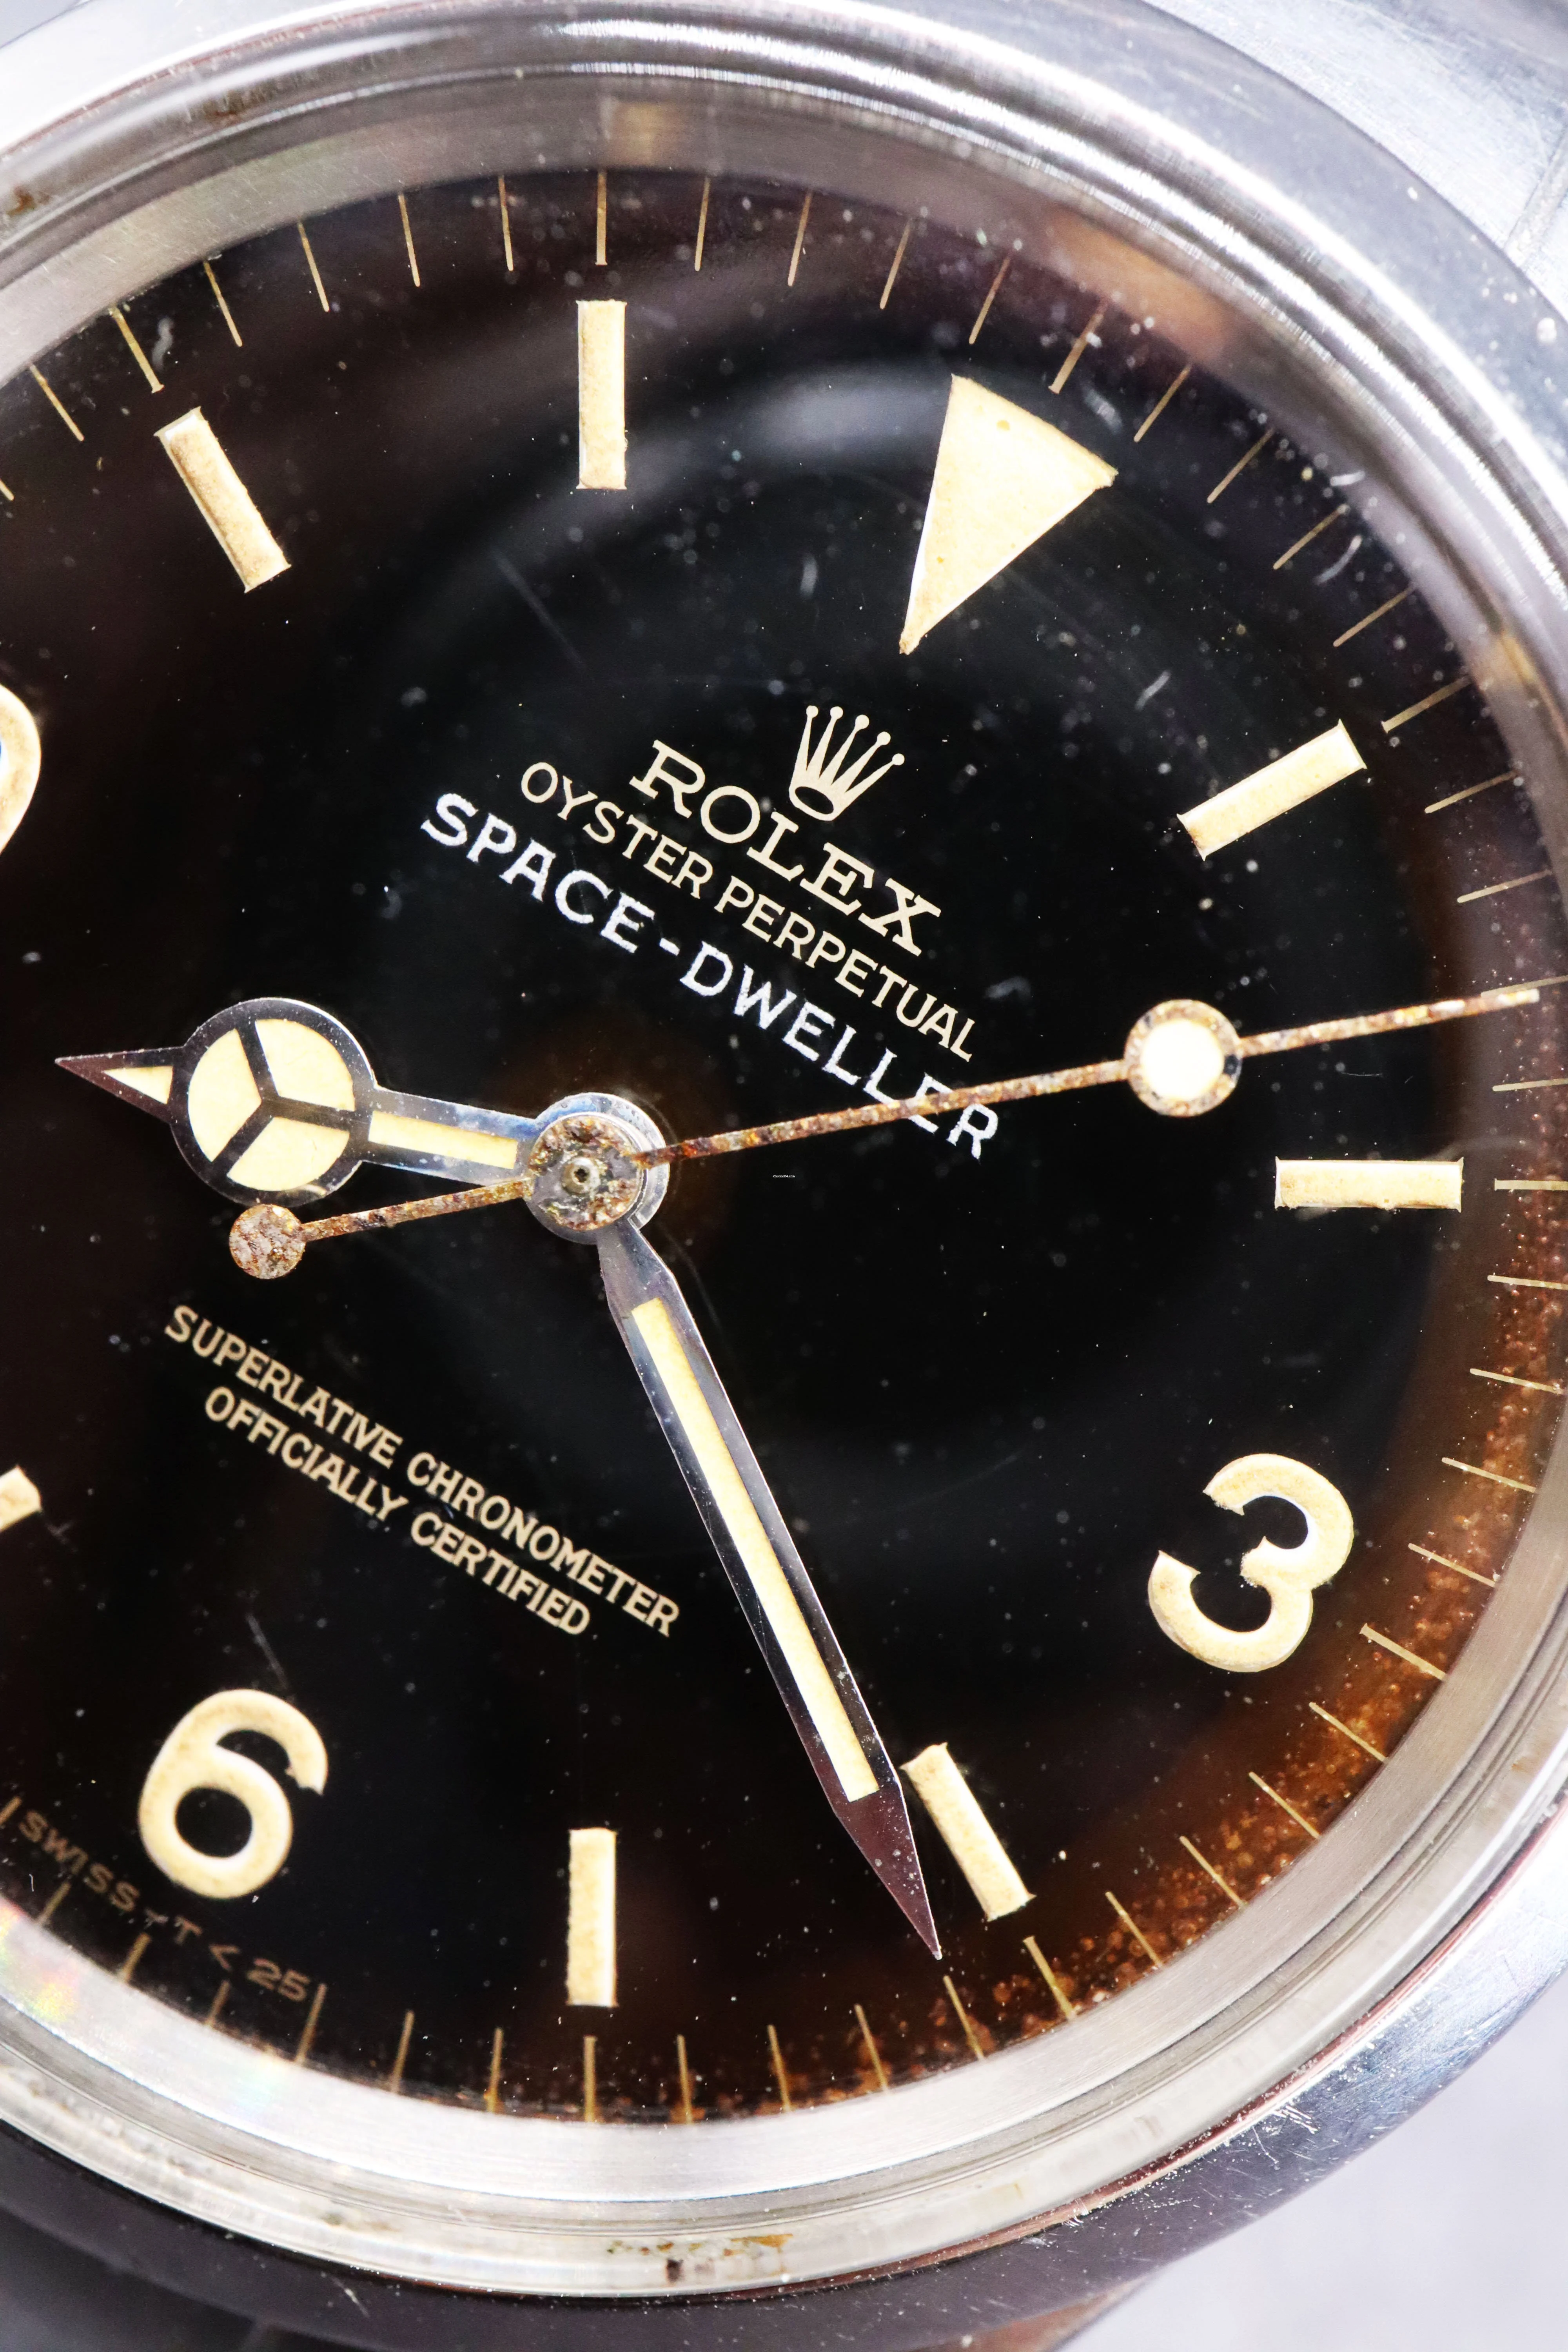
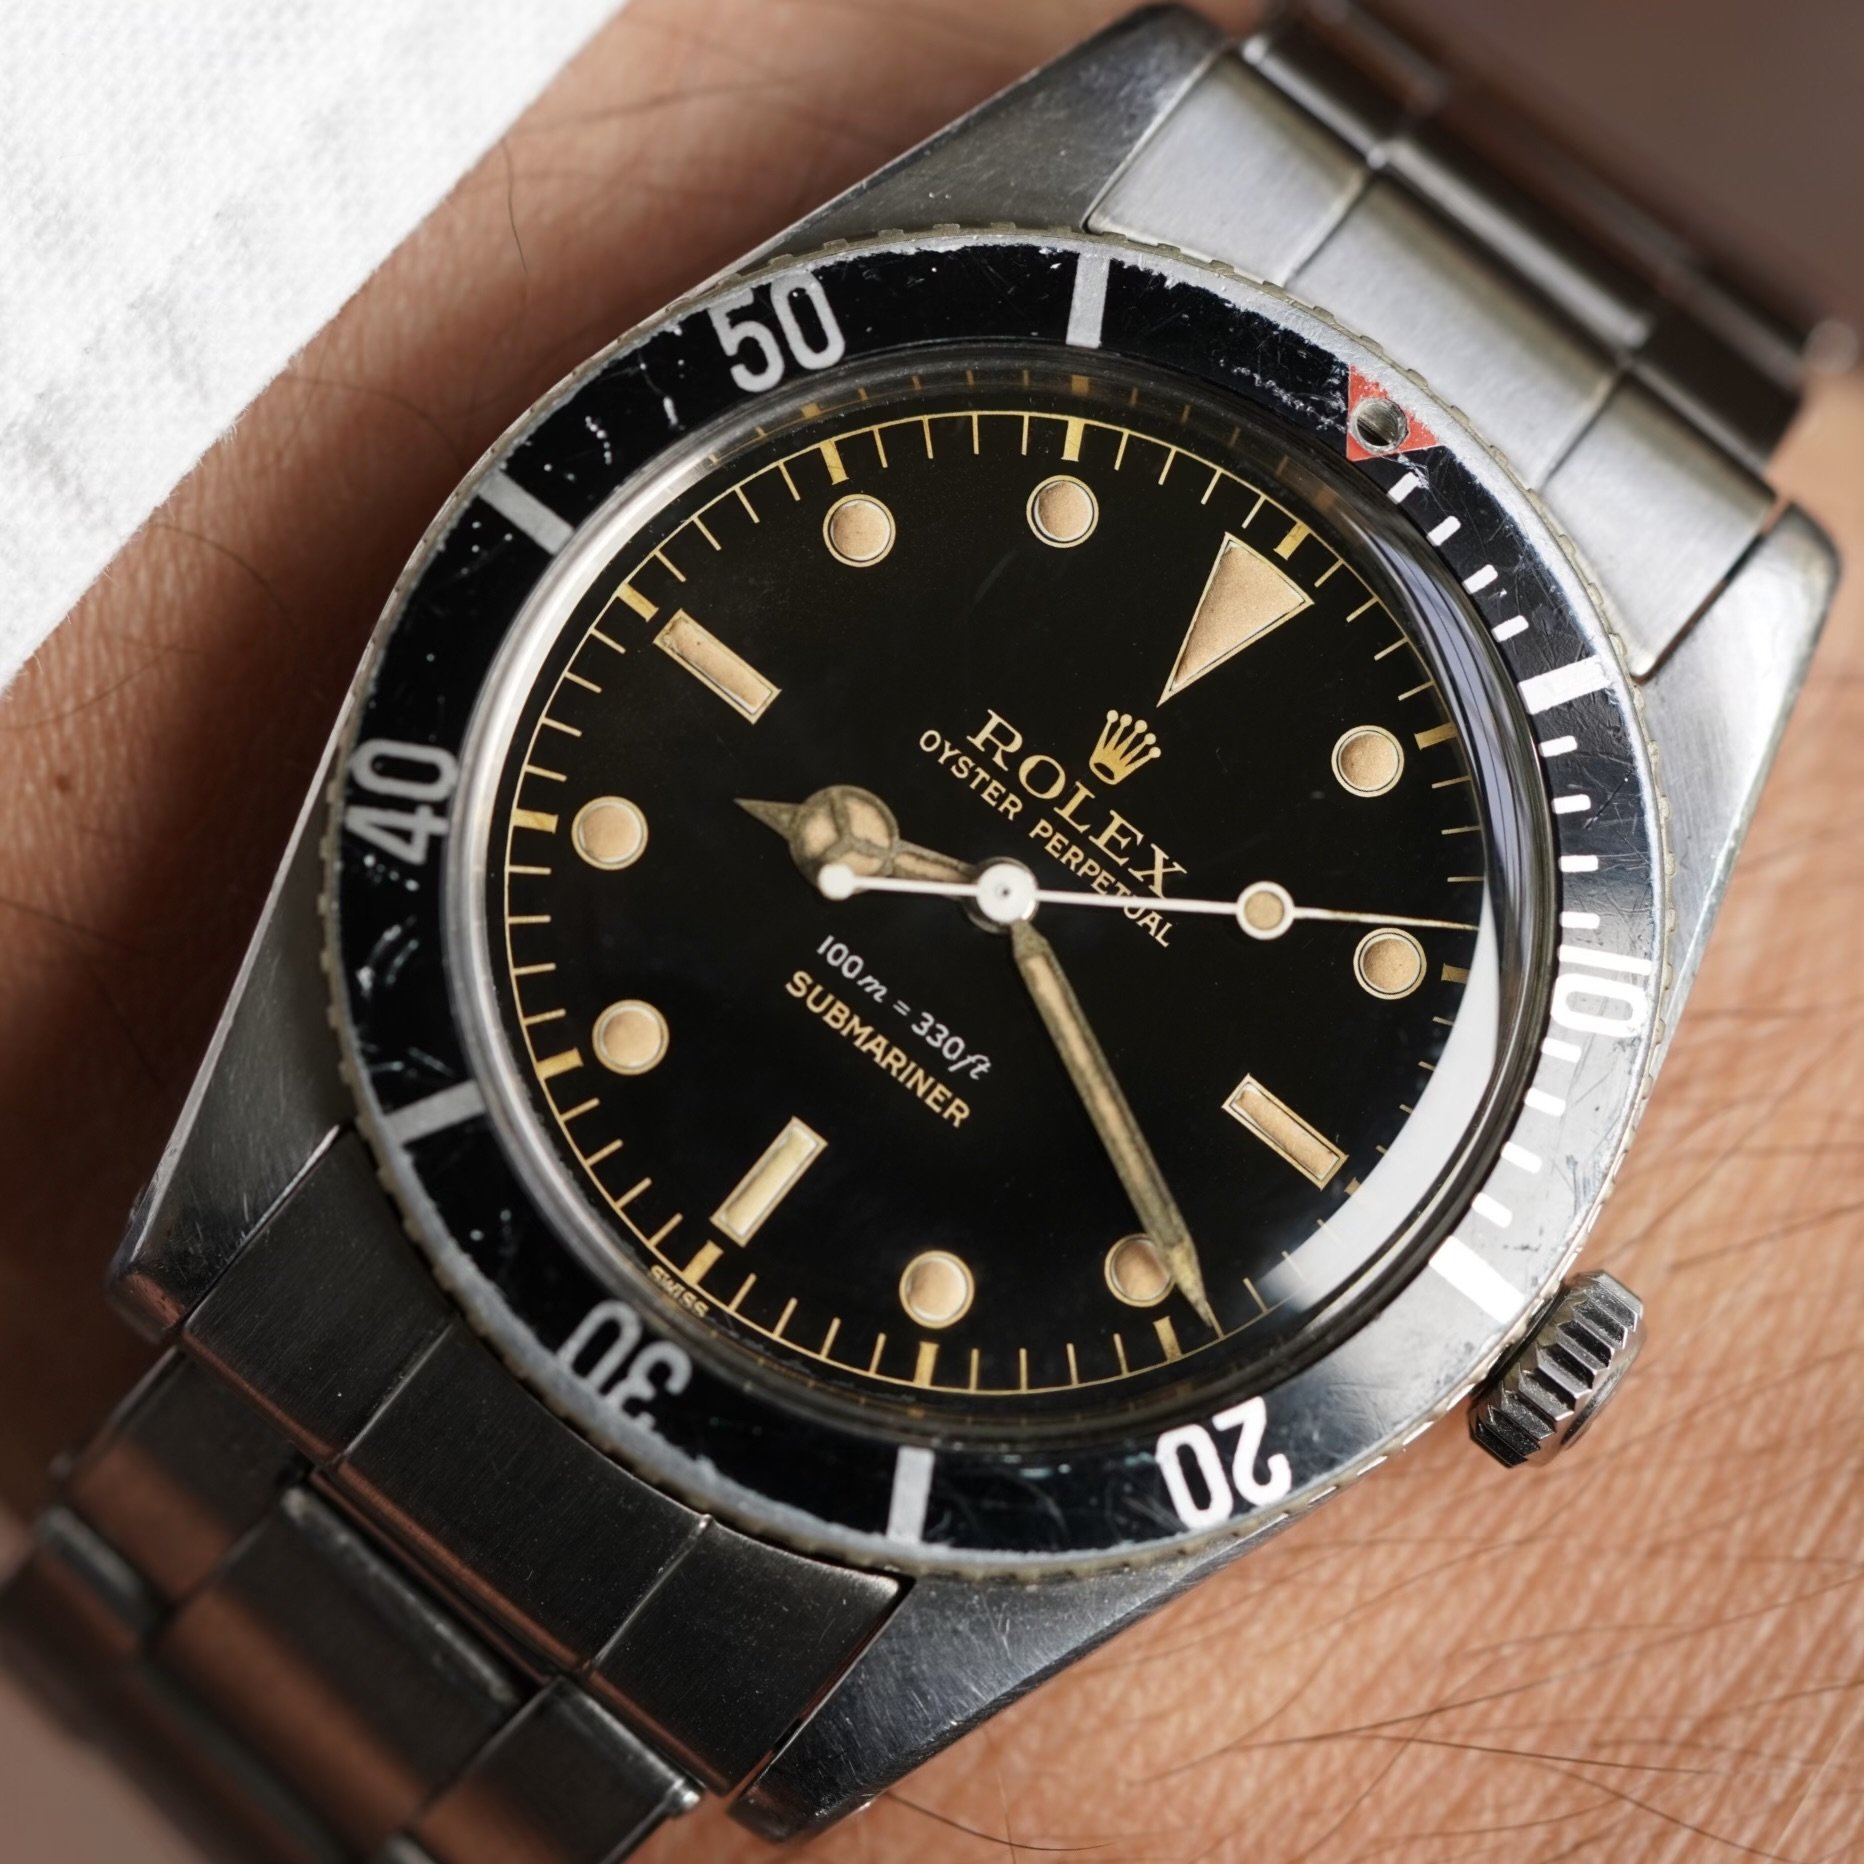
Nice work. That uneven sanding certainly created a nice "illusion" of patina with the different shades. It sure looks great in your picture!Here's a comparison of three dials, left to right: the first were made by toner transfer/chemical darkening, the second and third made with waterslide decals. The first has no lacquer. The second has 2-3 coats of the tinted nitrocellulose I posted earlier. The third has 5+ coats of the tinted nitrocellulose lacquer. You can see how the bare brass on the first is a pale yellow color, while it becomes a more intense yellow with a few coats of tinted lacquer, and finally starts to take on an orange color that is seen in some heavily patinated gilt Rolex dials.
Gen gilt dial with pale brass color like dial 1 above:
Gen gilt dial with more saturated yellow like dial 2 above:
Gen gilt dial with orange brass color like dial 3 above:
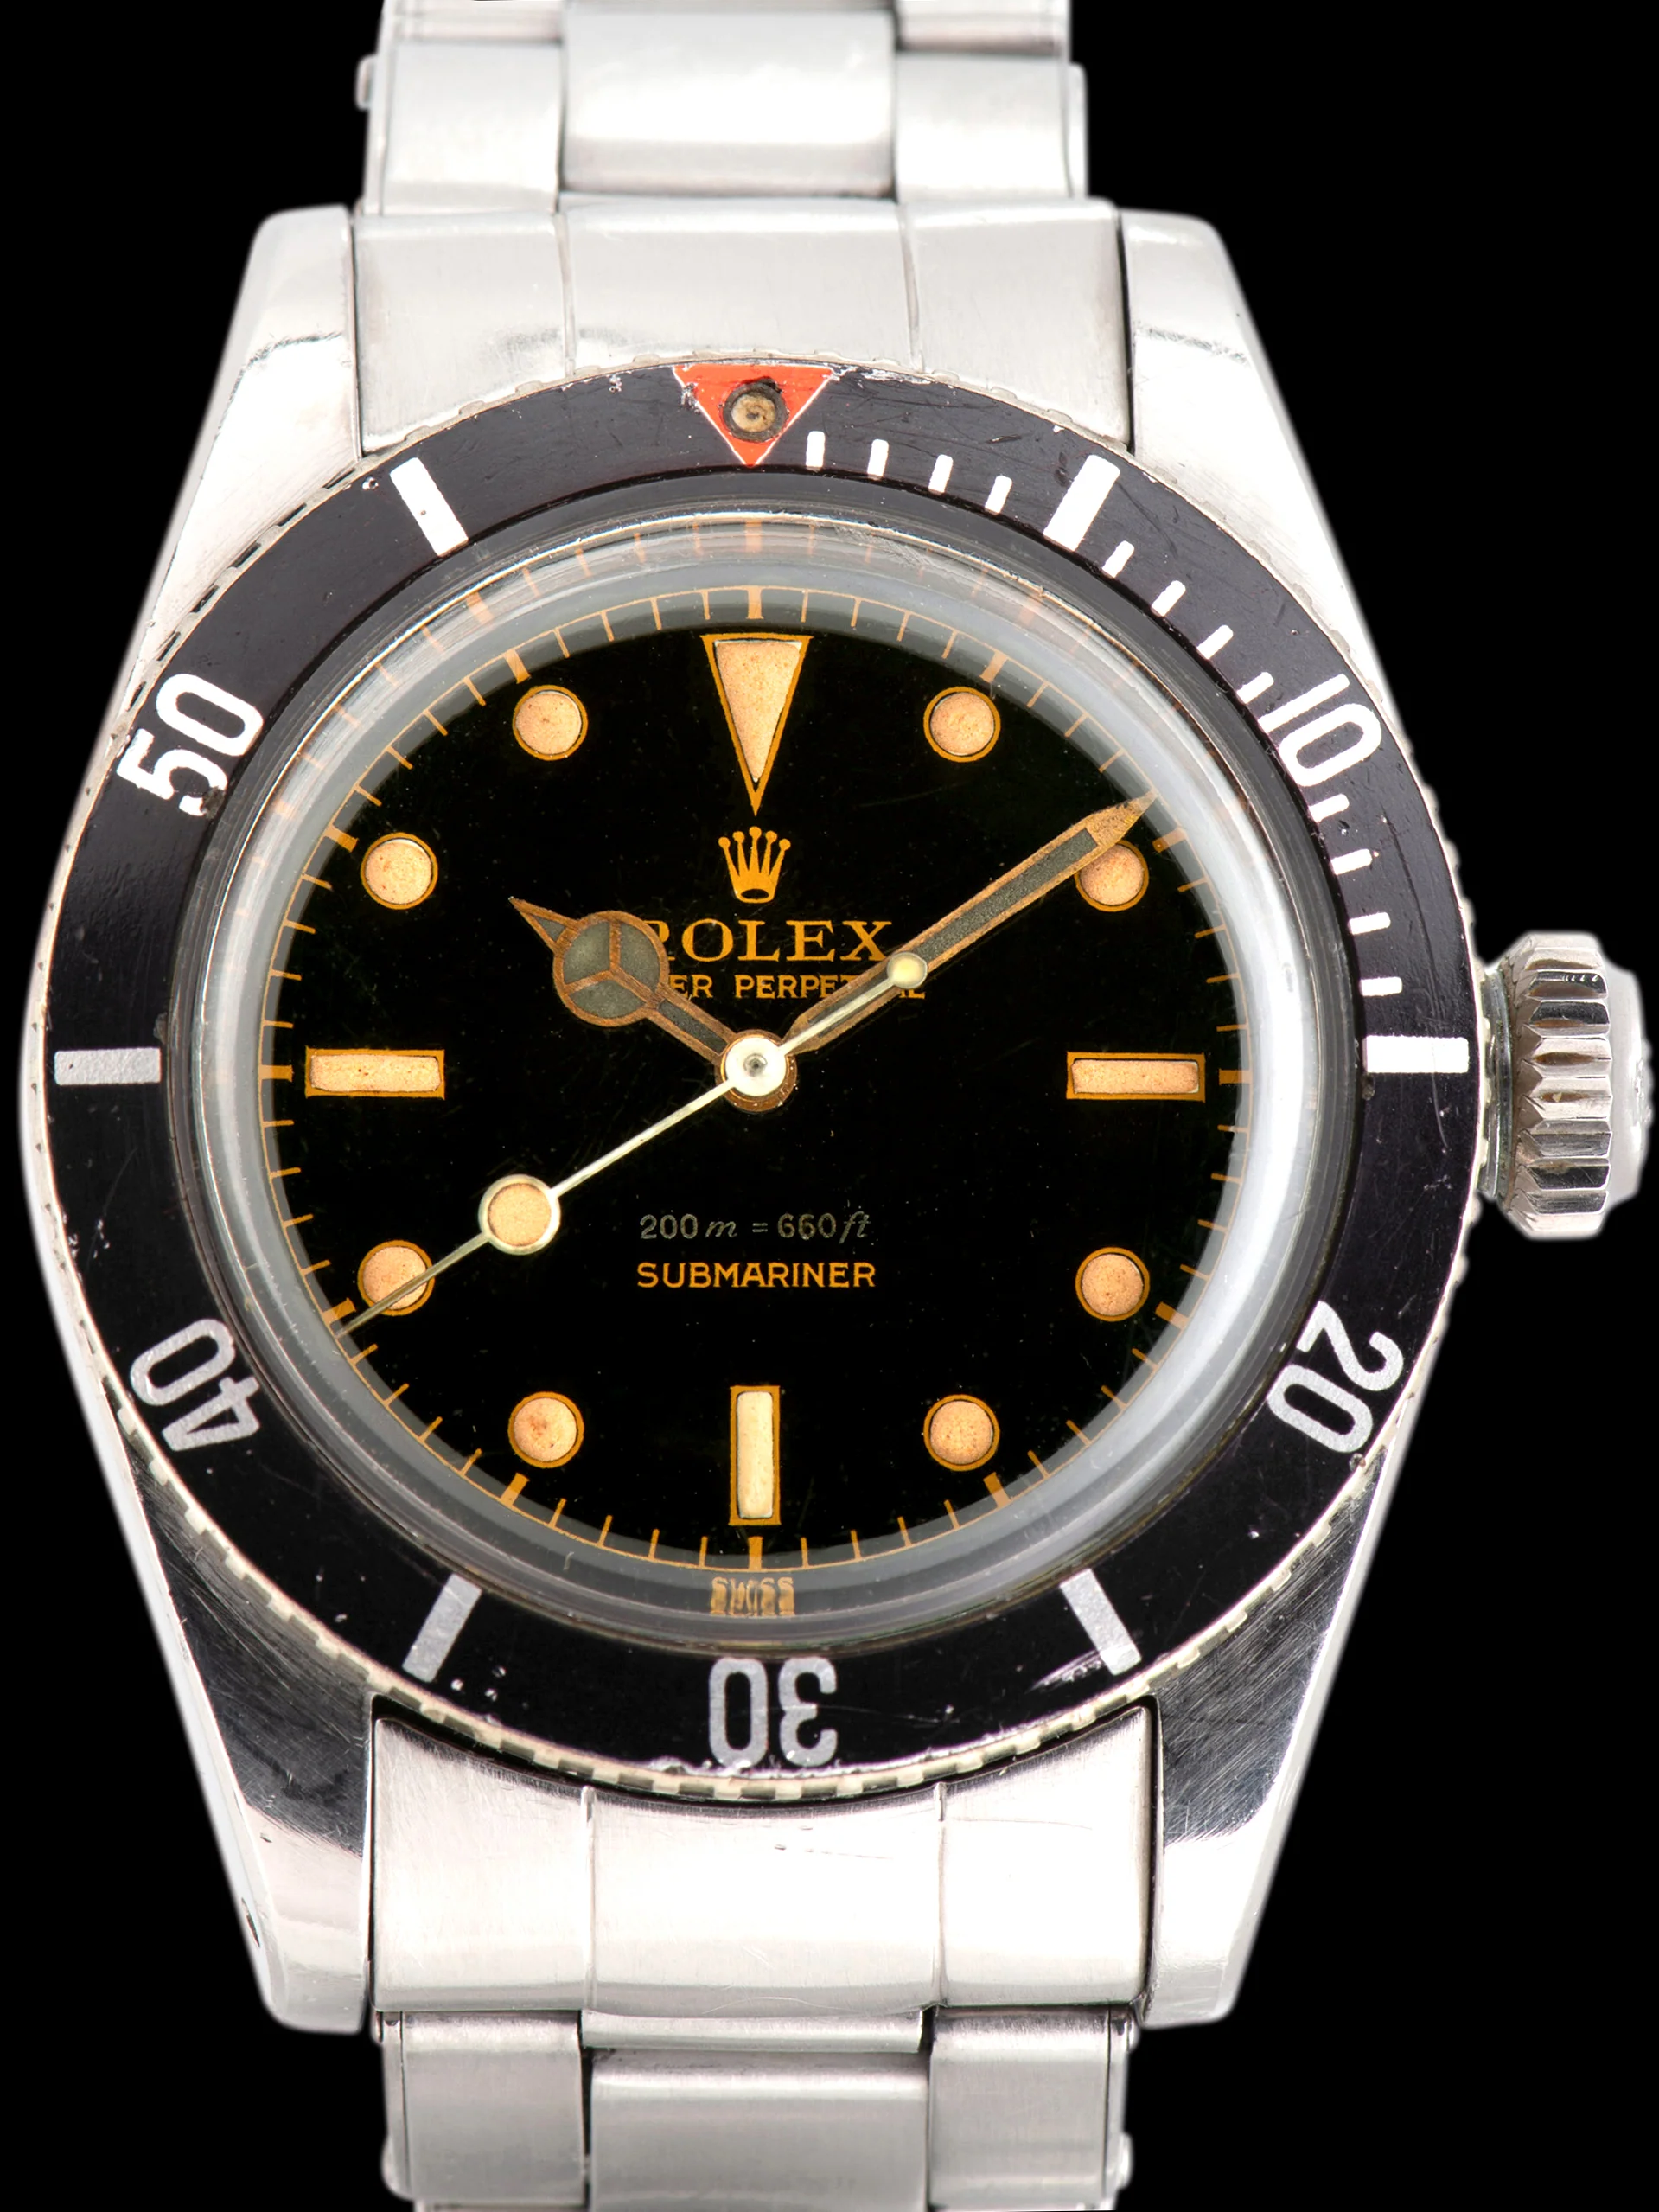
You can make the color as saturated and amber as you'd like by increasing the number of coats. If too much, you can sand it off. (You can see in dial 3 almost a gradient in the color of the gilt. That's because I sanded a little unevenly and the top of the dial was sanded slightly more.)
-
Tired of adverts on RWI? - Subscribe by clicking HERE and PMing Trailboss for instructions and they will magically go away!
You are using an out of date browser. It may not display this or other websites correctly.
You should upgrade or use an alternative browser.
You should upgrade or use an alternative browser.
How to make a true gilt dial on the cheap - Tropical or Black
- Thread starter chrome72
- Start date
Do you think if I had heavy layers of tinted nitro and then used acetone vapors to smooth out I’d get that nice orangish tint? It’s so nice
I think so. It will take some experimentation. The third dial is not as black as the second because I left it in an acetone chamber for too long and it started to get a bit milky. Sadly, it was not mirror gloss finish either, but pretty good. (How many vintage glossy dials are still mirror gloss?)
On the amber tinted one does the gilt still shine through the tint? Or does the tinted lacquer mute the gilt to the point where it renders the filth shine moot?
On the amber tinted one does the gilt still shine through the tint? Or does the tinted lacquer mute the gilt to the point where it renders the filth shine moot?
The gilt shines through. The coloring is transparent, not translucent or opaque. I suppose if you had many coats it would reduce the shininess of the gilt, but I didn't notice it. (Since I over-treated it in an acetone chamber to smooth the finish and that dial became milky, the shininess of the gilt has been reduced some.)
Okay, is thi
I decided to try a magazine paper test again to see results because I get a decent print on smooth paper.
I like how you have shown all of your steps here. It definitely helps tracking down the various effects of each process.
1) The actual printout is noticeably thicker, so that should be the first item to pinpoint. Is it possible your settings are using a "dot gain," "saturate," or similar setting? Here's a Adobe post I found with many possible issues. (I know you are not using Adobe, but many of the printing issues apply to many programs/platforms.) https://community.adobe.com/t5/inde...d-rasters-are-thickened-on-print/m-p/13074528
2) Thickening of the letters and lines during blackening still has me confused, but Chrome72's theory of a halo around the toner makes the most sense thus far. Usually if an acid is eating away at toner in this situation, the chemical blackening would encroach on the toner area and start to eat away at the edges of the toner. The blackening portion would continually grow, but yours is doing the opposite! Just thinking out loud, but if wiping it with alcohol somehow doesn't help, I wonder if 2-3 minutes of vinegar or lemon juice would be enough to eat away and remove the halo portion before blackening. It seems like you'd only want to remove a microscopic edge so I'd guess a mild acid for a short period could be enough
Okay, I think I know why the halo effect is occurring. I believe it's because the acid is a corrosive process as I've thought all along. The toner is actually acting like a sponge for the acid, so instead of blackening it, it's eating away at it where it's most concentrated.I like how you have shown all of your steps here. It definitely helps tracking down the various effects of each process.
1) The actual printout is noticeably thicker, so that should be the first item to pinpoint. Is it possible your settings are using a "dot gain," "saturate," or similar setting? Here's a Adobe post I found with many possible issues. (I know you are not using Adobe, but many of the printing issues apply to many programs/platforms.) https://community.adobe.com/t5/inde...d-rasters-are-thickened-on-print/m-p/13074528
2) Thickening of the letters and lines during blackening still has me confused, but Chrome72's theory of a halo around the toner makes the most sense thus far. Usually if an acid is eating away at toner in this situation, the chemical blackening would encroach on the toner area and start to eat away at the edges of the toner. The blackening portion would continually grow, but yours is doing the opposite! Just thinking out loud, but if wiping it with alcohol somehow doesn't help, I wonder if 2-3 minutes of vinegar or lemon juice would be enough to eat away and remove the halo portion before blackening. It seems like you'd only want to remove a microscopic edge so I'd guess a mild acid for a short period could be enough.
I decided to try a magazine paper test again to see results because I get a decent print on smooth paper.
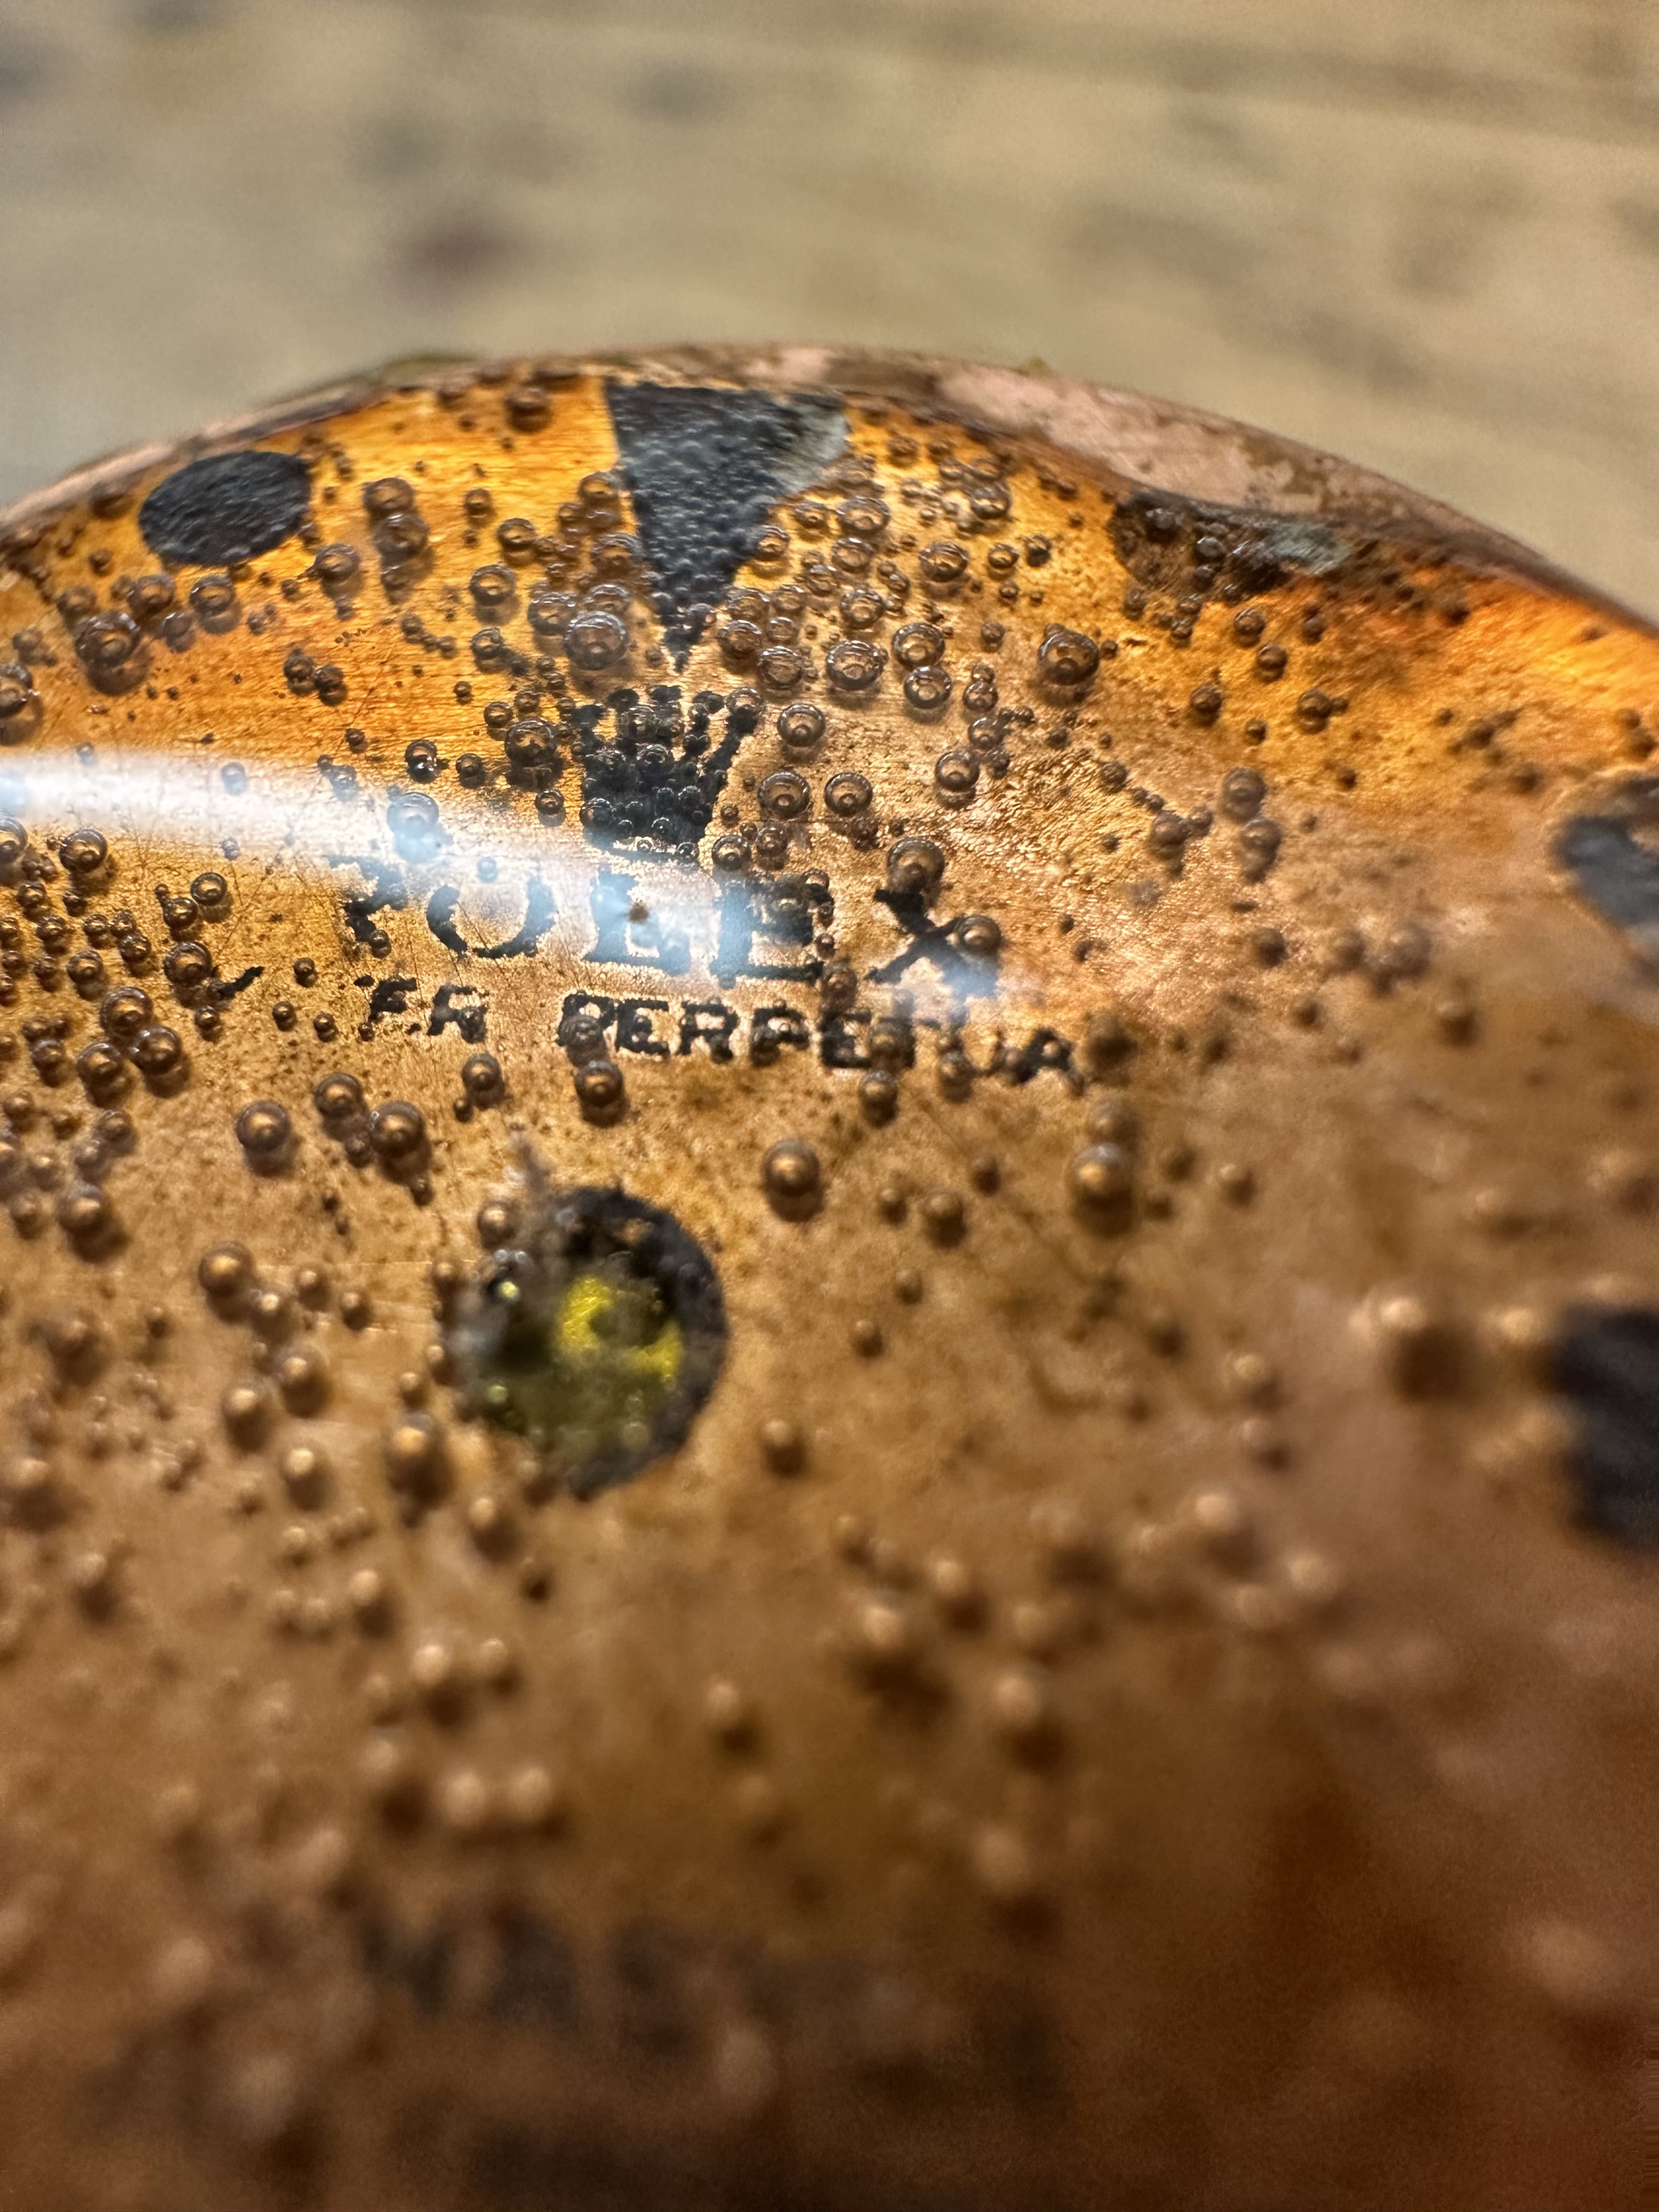
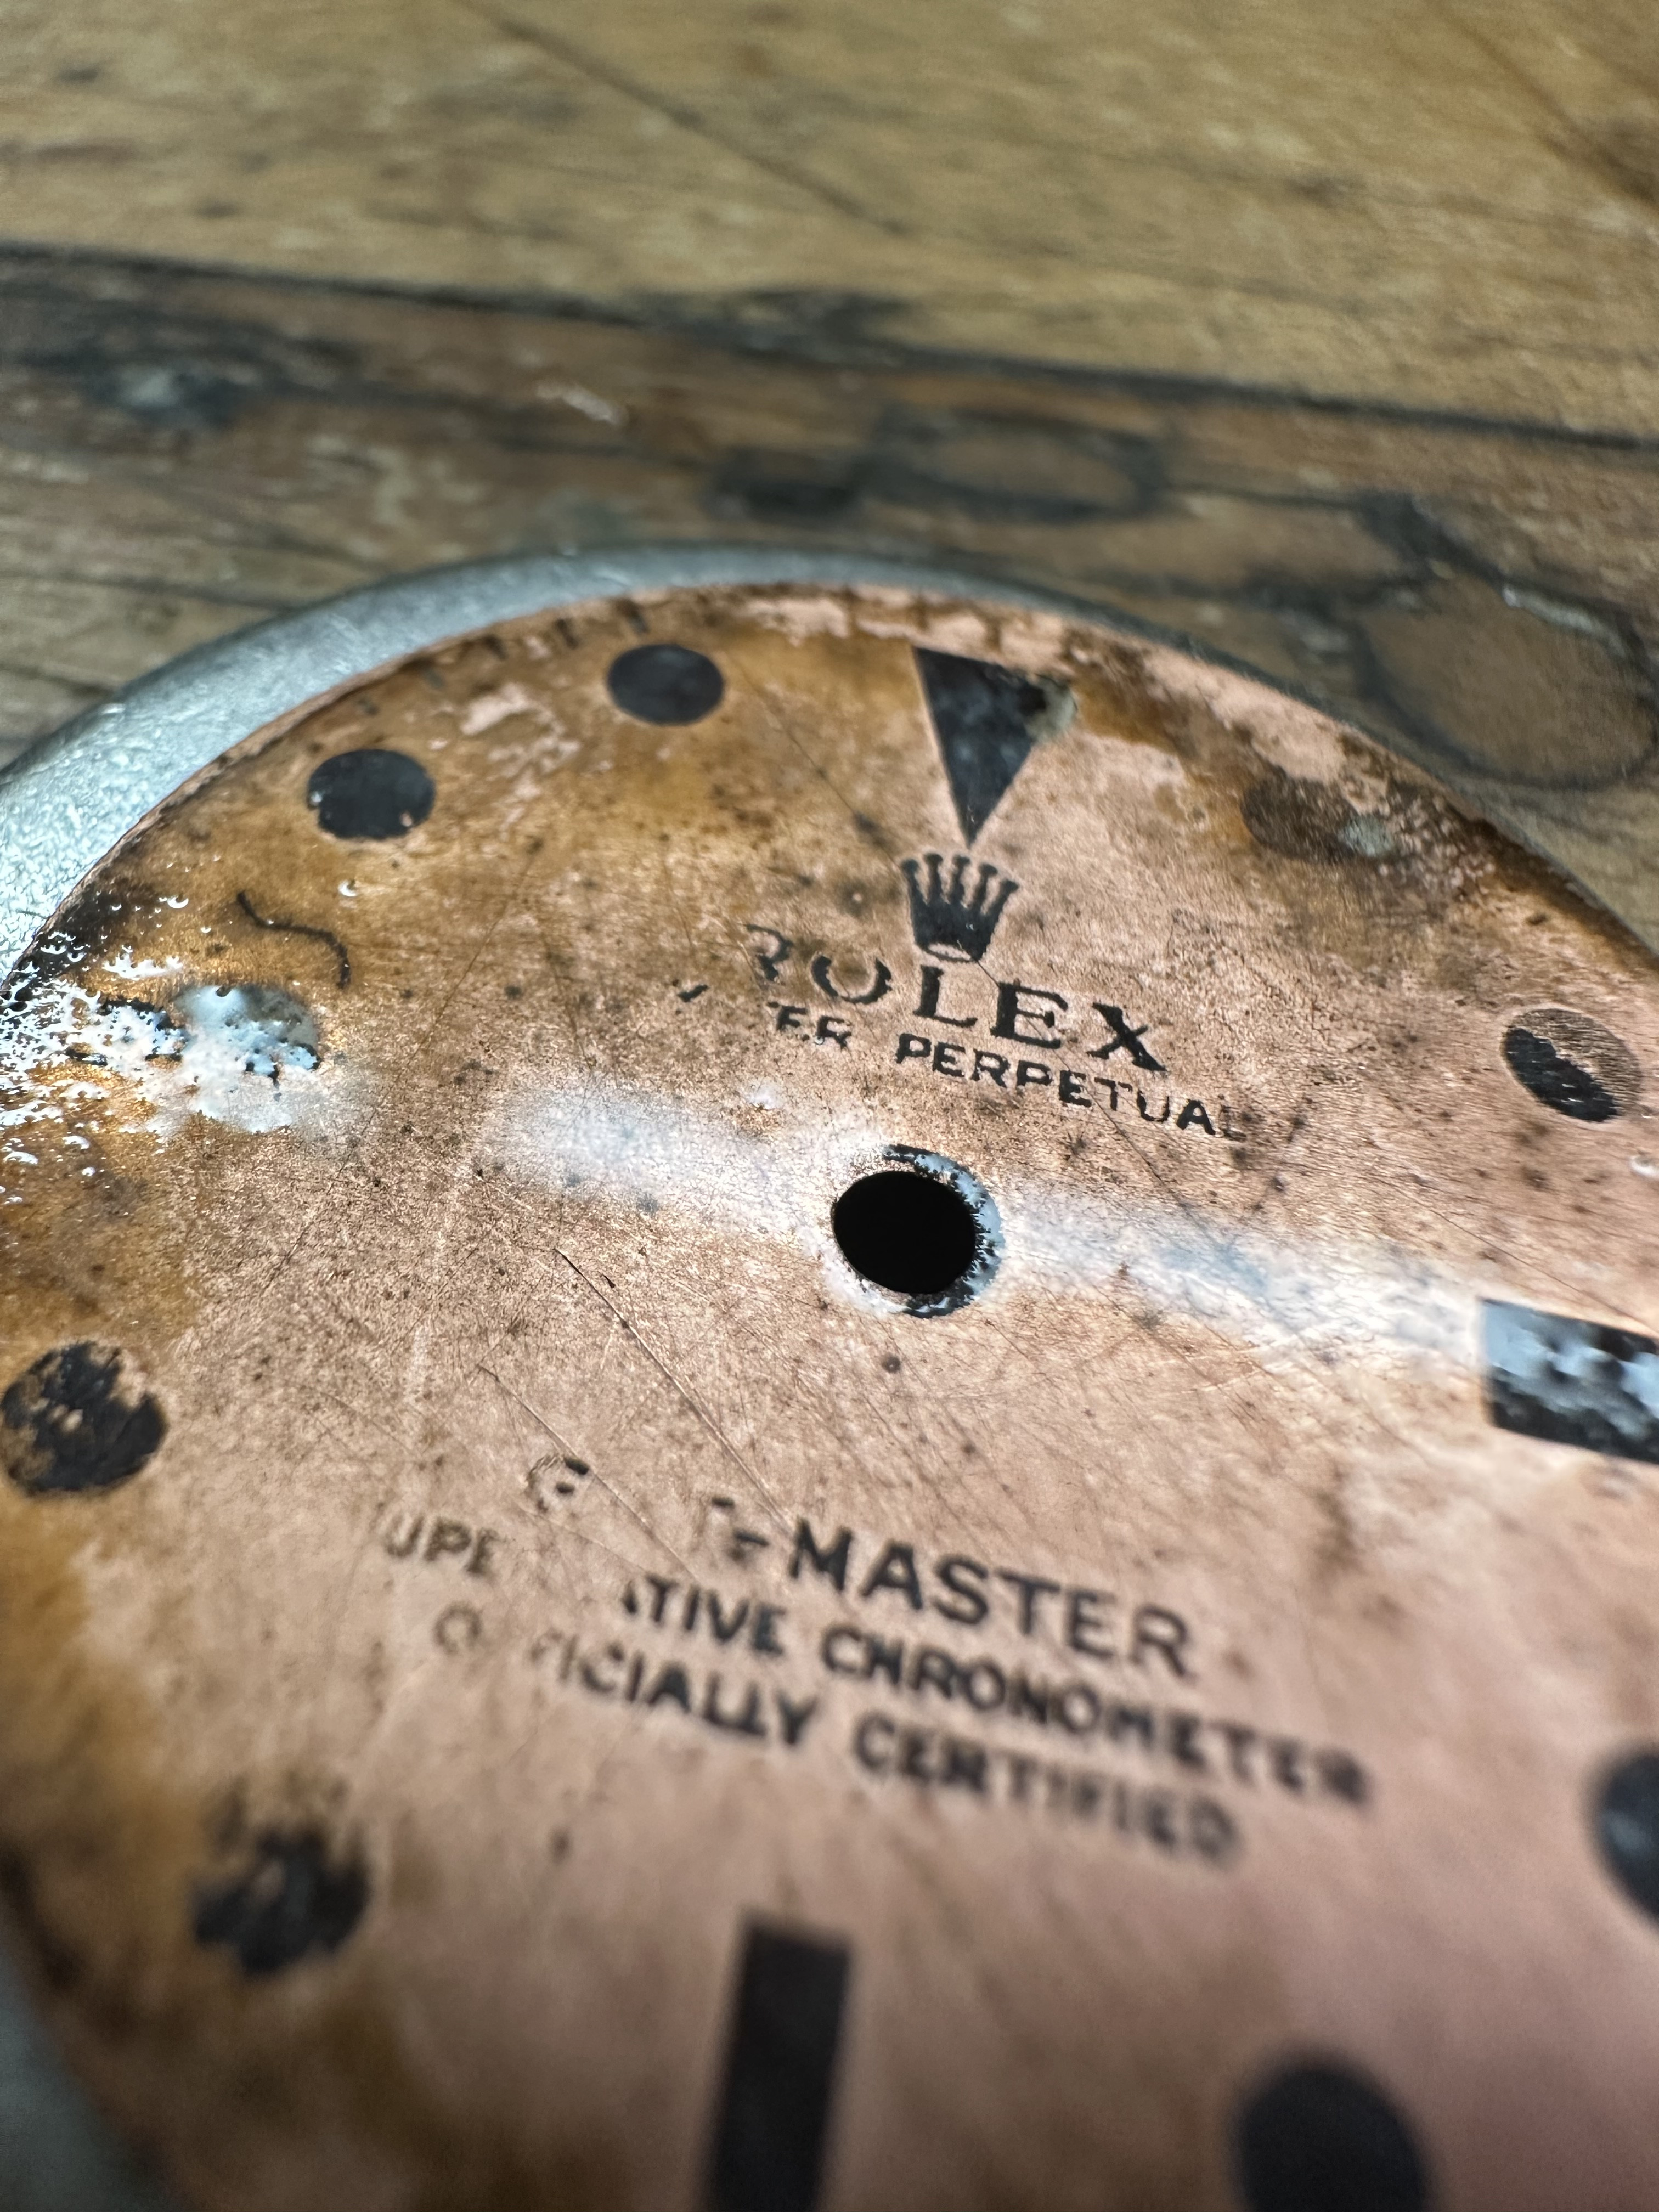
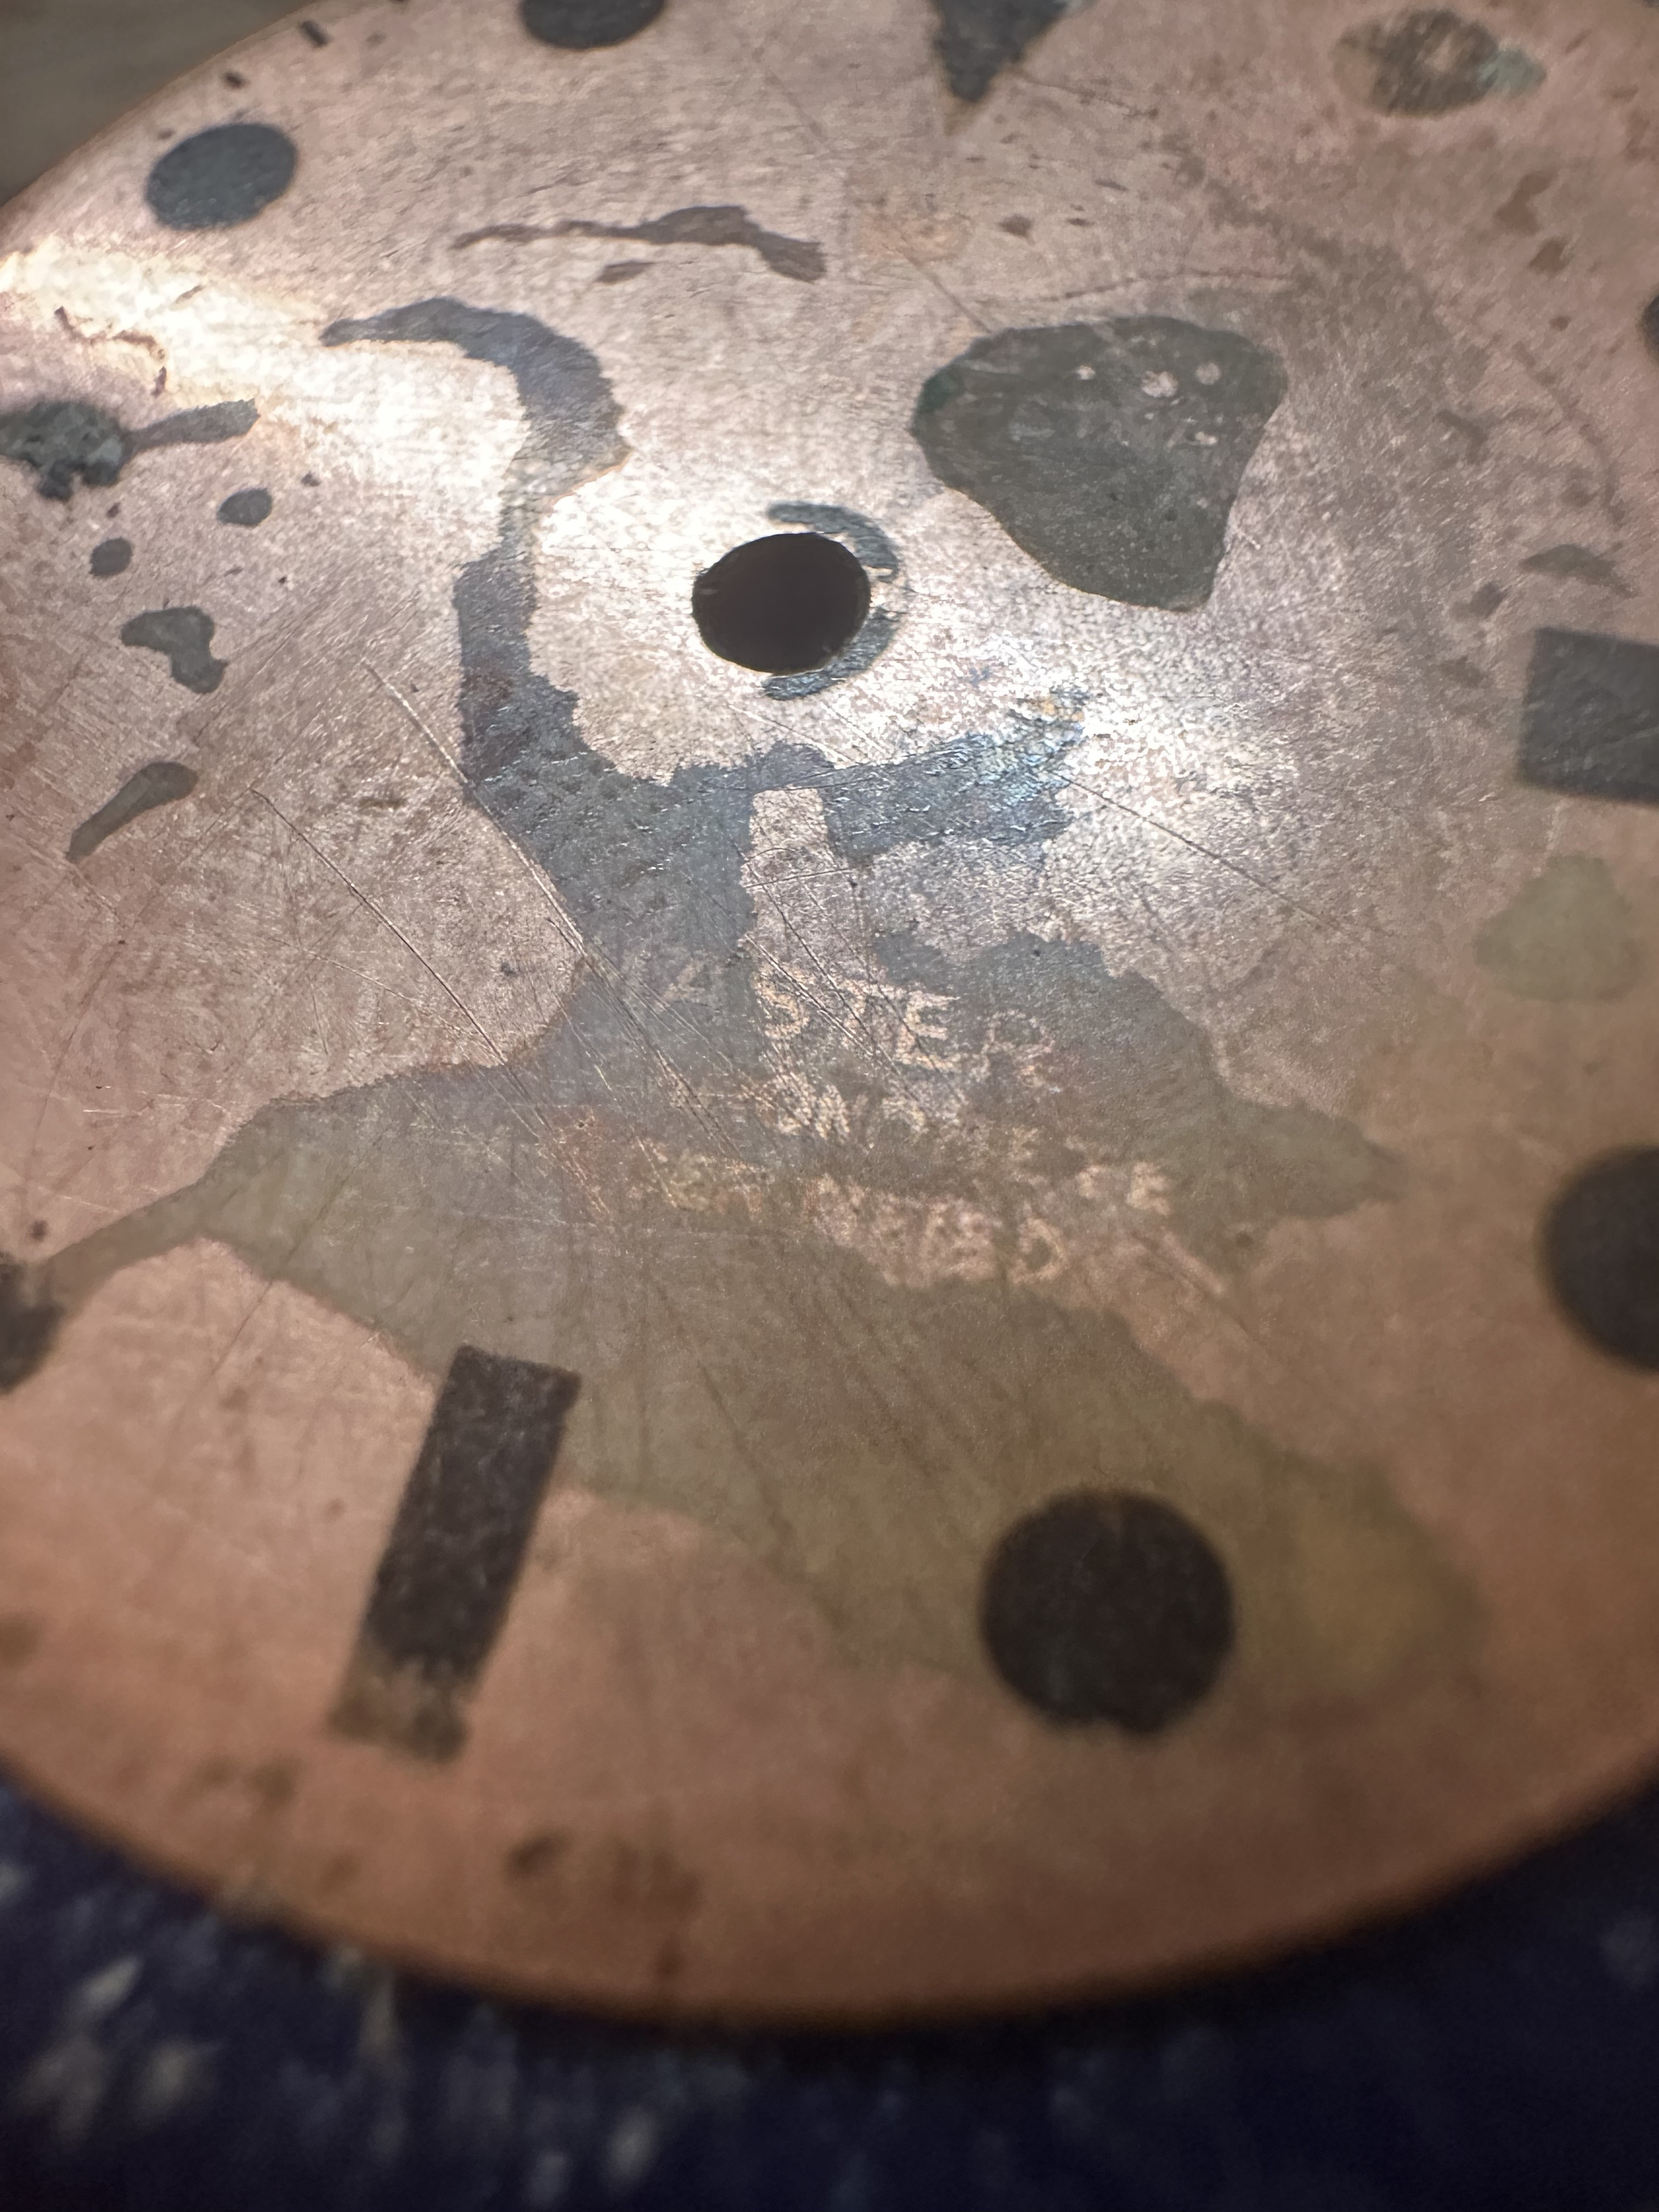
I got a crappy transfer, so I decided to hit it with acid as an experiment. All pictures above are from the same dial being exposed to acids, water/humidity, oxygen, and repeating the process. If you look closely, you can see a halo effect forming and an acid etch that is similar to one that is produced by a full negative relief.
Last edited:
Again, this is just my theory, so I could be wrong. I don't want to state it as fact, but I did see somewhat of a halo effect in a few of the pictures.Thanks for investigating. I’ll try foil over the toner as that should help
If anything, at least we'll keep thread going.
By the way, I thought my prints looked really clean on the magazine paper. Would you agree they are clean enough to avoid finding a 2400dpi printer?
My prints from staples at 600 dpi are super crisp. I don’t think 2400 is necessary. Your prints do have slightl squigglies. I could never figure out why it shows up in 1 print vs not the next. It’s talked about earlier in this thread a bunch of random things that effect print (ie print drivers and paper type selectio at time of print or even what program you print from as some are better are true vector prints vs estimating what the vector path was).Again, this is just my theory, so I could be wrong. I don't want to state it as fact, but I did see somewhat of a halo effect in a few of the pictures.
If anything, at least we'll keep thread going.
By the way, I thought my prints looked really clean on the magazine paper. Would you agree they are clean enough to avoid finding a 2400dpi printer?
Tried foil on toner twice hoping it would prevent the expansion of the fronts.Thanks for investigating. I’ll try foil over the toner as that should help
Here is what I found. NF = no foil half. F= foiled side. The foil won’t work. The foil actually reduces the legibility of the fonts. Like foil gets trapped inside the small space of “A” or “E” and makes them come out weird.
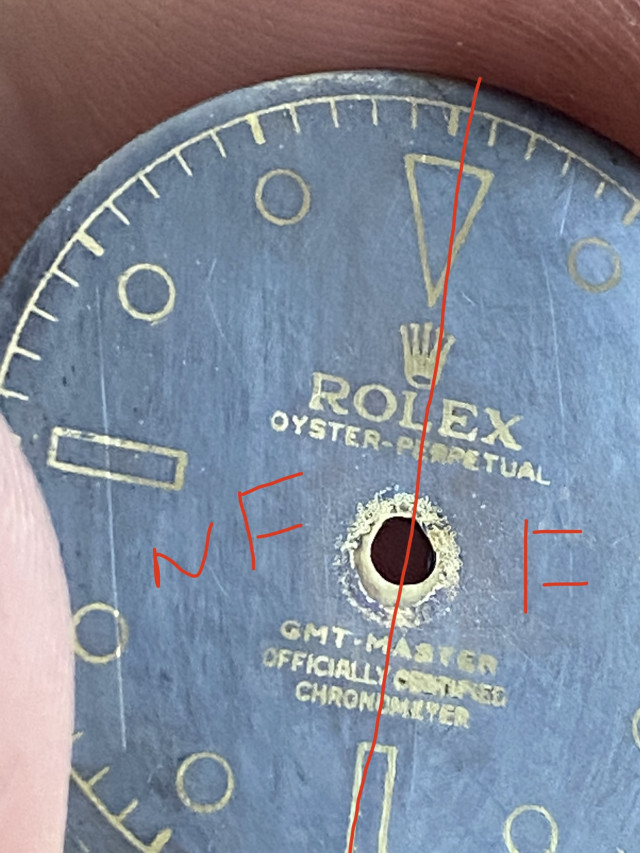
My last hurrah with this will be spraying on the patina or tinkering with heat to speed it up. Really trying to reduce time of exposure to hopefully prevent the expansion of the font. If that doesn’t work I may have reached the end of the line for acids. Plating would be a different thing and I may or may not have issue with that.
IF I can’t figure in out the font is legible by the naked eye which is all that really matters to me as I won’t be using a microscope to view it.
Also I should add not necessarily end of the road for my project….it might be end of road for toner transfer. Still photoresist, laser, and good ol pad printing.
Toner transfer is frustrating AF. My successful results where I got coverage across entire dial have been with Sunnyscopa, but the "glue" and heat it needs to stick properly, seems to create microscopic layer.
I'll jump on the photoresist testing too, if you don't get the results you want from spraying the patina.
I'll jump on the photoresist testing too, if you don't get the results you want from spraying the patina.
I found this and I think I will try it as a next step as it solves a few things. 1) standardized uv source and distance and 2) it uses an lcd screen as the photoresist mask which is awesome and should give high definition too. I think the screen actually has things projected onto it internally.Toner transfer is frustrating AF. My successful results where I got coverage across entire dial have been with Sunnyscopa, but the "glue" and heat it needs to stick properly, seems to create microscopic layer.
I'll jump on the photoresist testing too, if you don't get the results you want from spraying the patina.
It uses a cheapo dlp 3D printer (elegoo you essentially have a lcd screen which you would place your coated dial blank down and it “burns” the image onto the coated dial. Wash away what wasn’t cured and you are left with your resist mask.
I still will do a test with what I have to see if it would withstand acids and not have an t sort of halo effect. But cool tech!
impressive thread, the level of detail which you guys have going on is astonishing. makes me appreciate gilt dials even more. i took the lazy route!
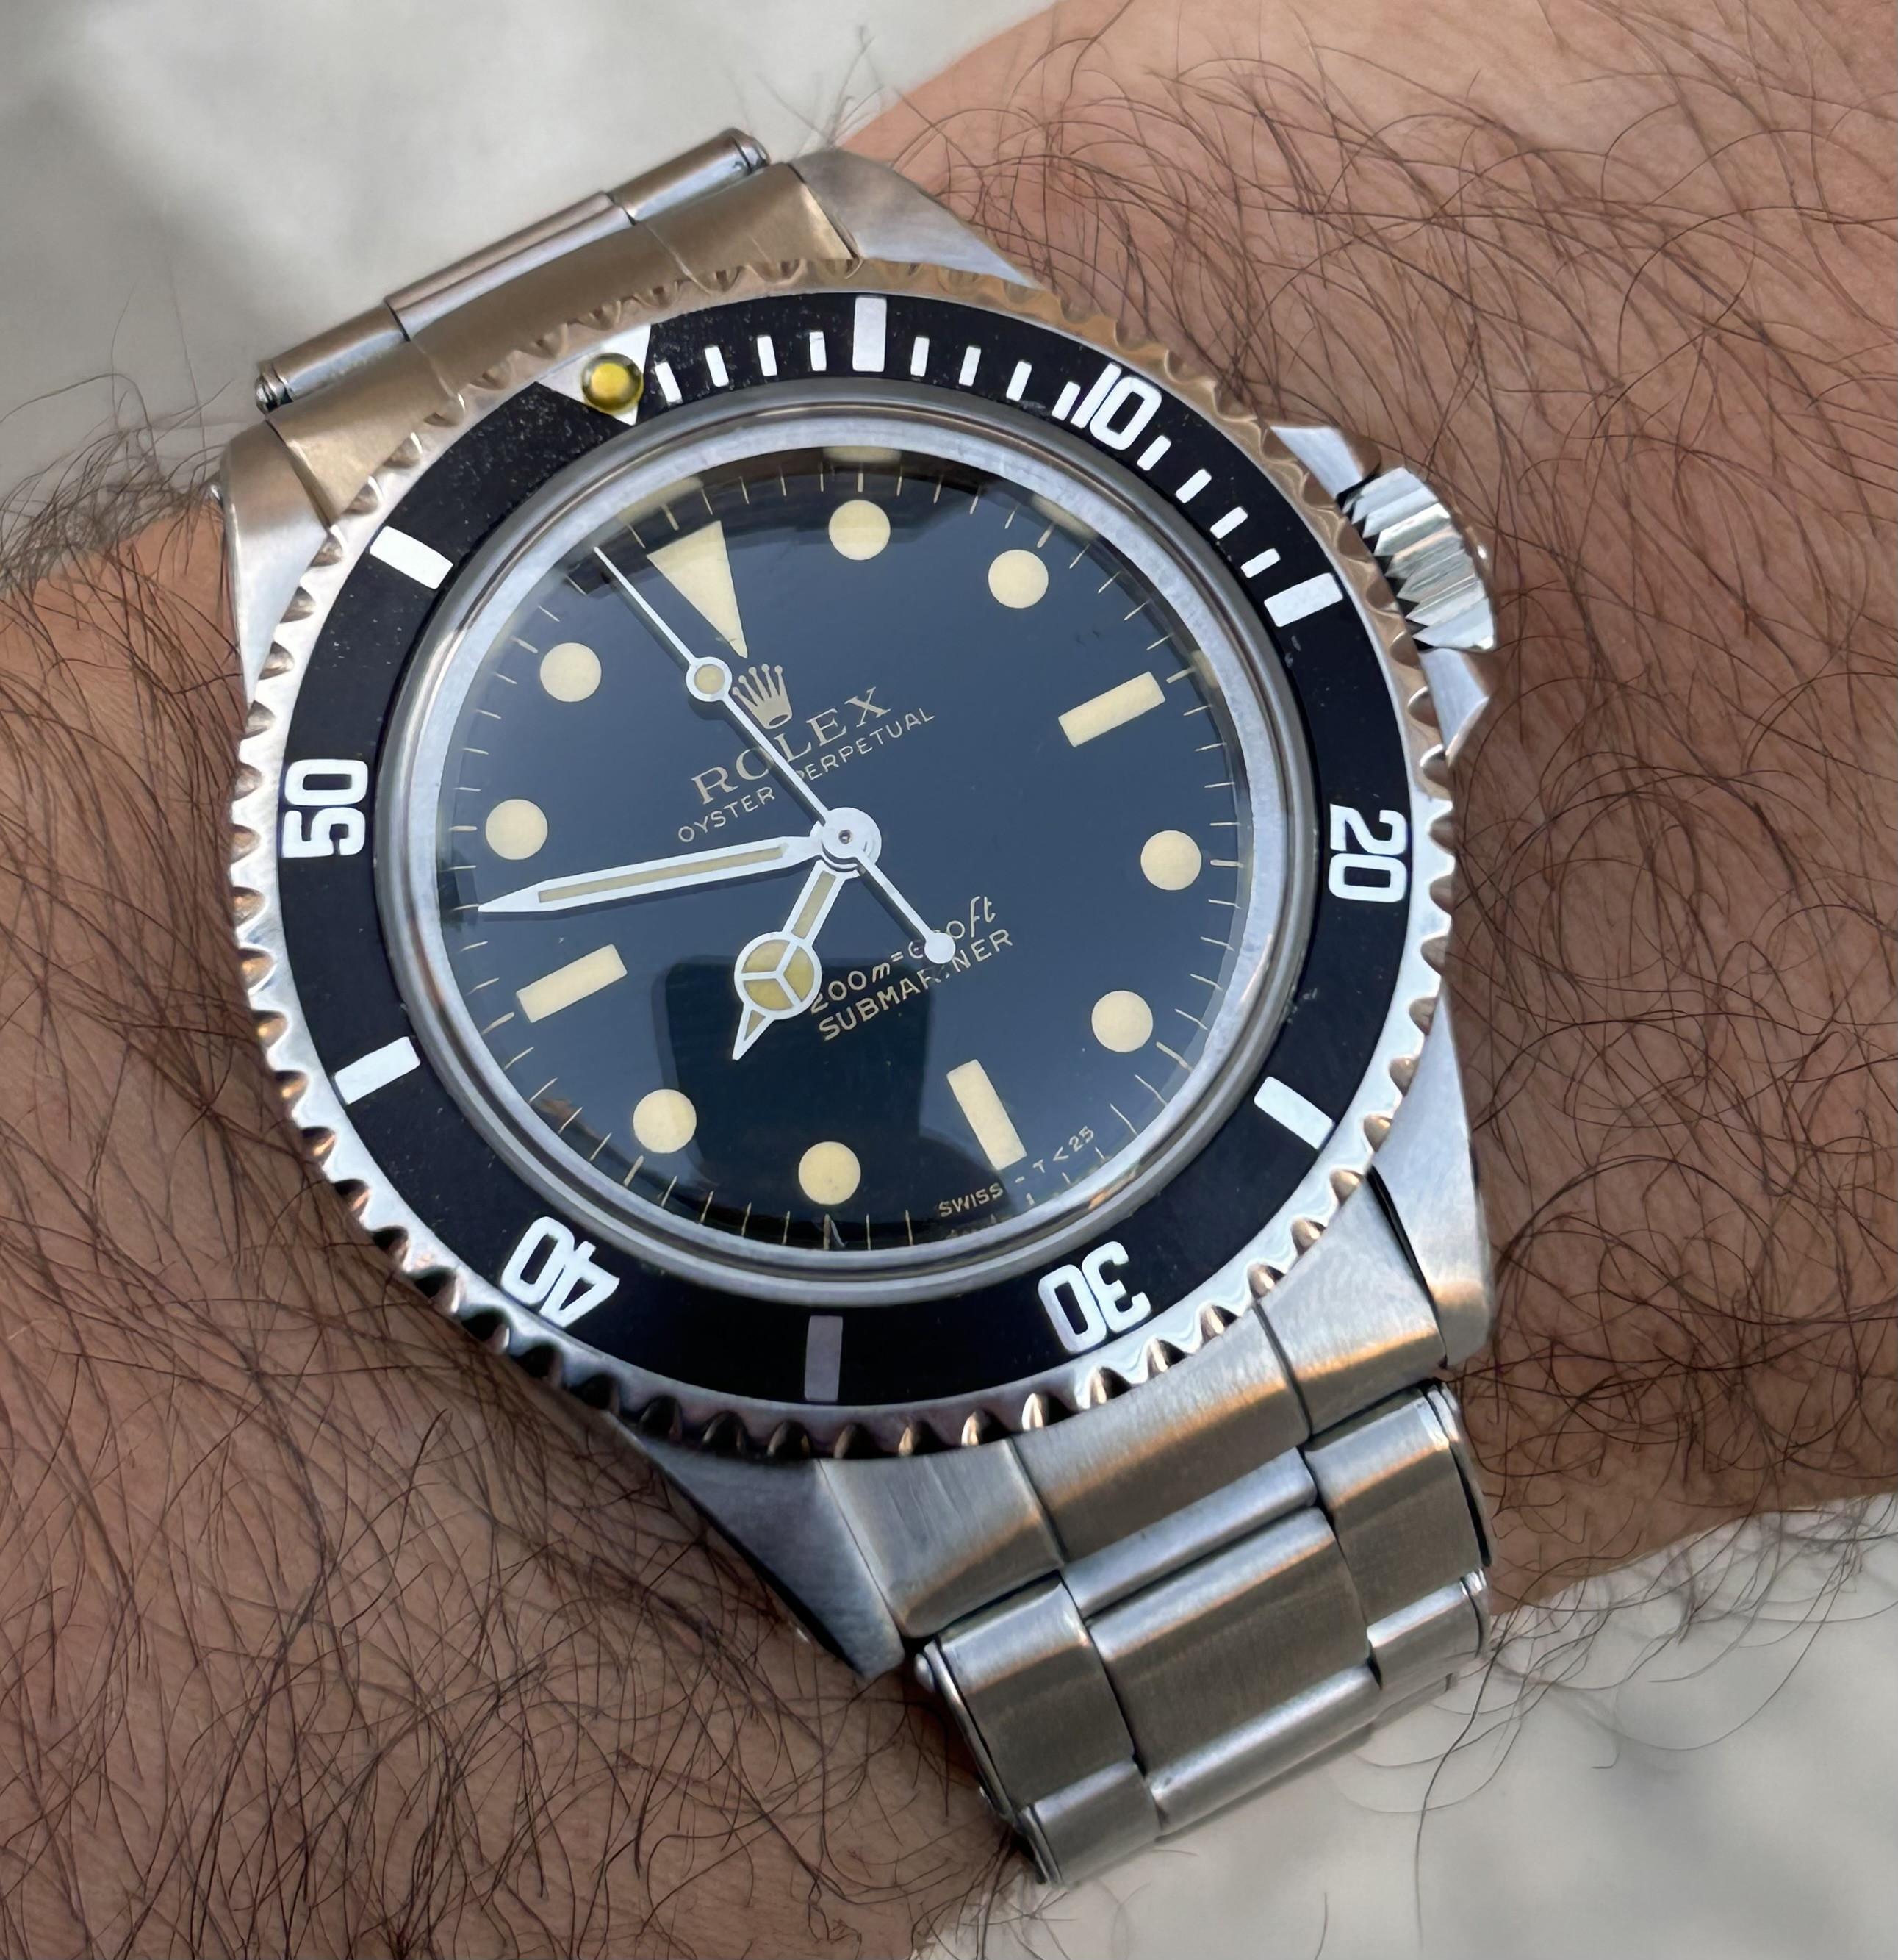

Nice! Where did you get that dial?impressive thread, the level of detail which you guys have going on is astonishing. makes me appreciate gilt dials even more. i took the lazy route!

Pretty awesome technology, but when I considered etching via digital screen, I don't think the dpi was precise enough. Have you compared the PPI of the screen to your desired etch resolution yet?I found this and I think I will try it as a next step as it solves a few things. 1) standardized uv source and distance and 2) it uses an lcd screen as the photoresist mask which is awesome and should give high definition too. I think the screen actually has things projected onto it internally.
It uses a cheapo dlp 3D printer (elegoo you essentially have a lcd screen which you would place your coated dial blank down and it “burns” the image onto the coated dial. Wash away what wasn’t cured and you are left with your resist mask.
I still will do a test with what I have to see if it would withstand acids and not have an t sort of halo effect. But cool tech!

