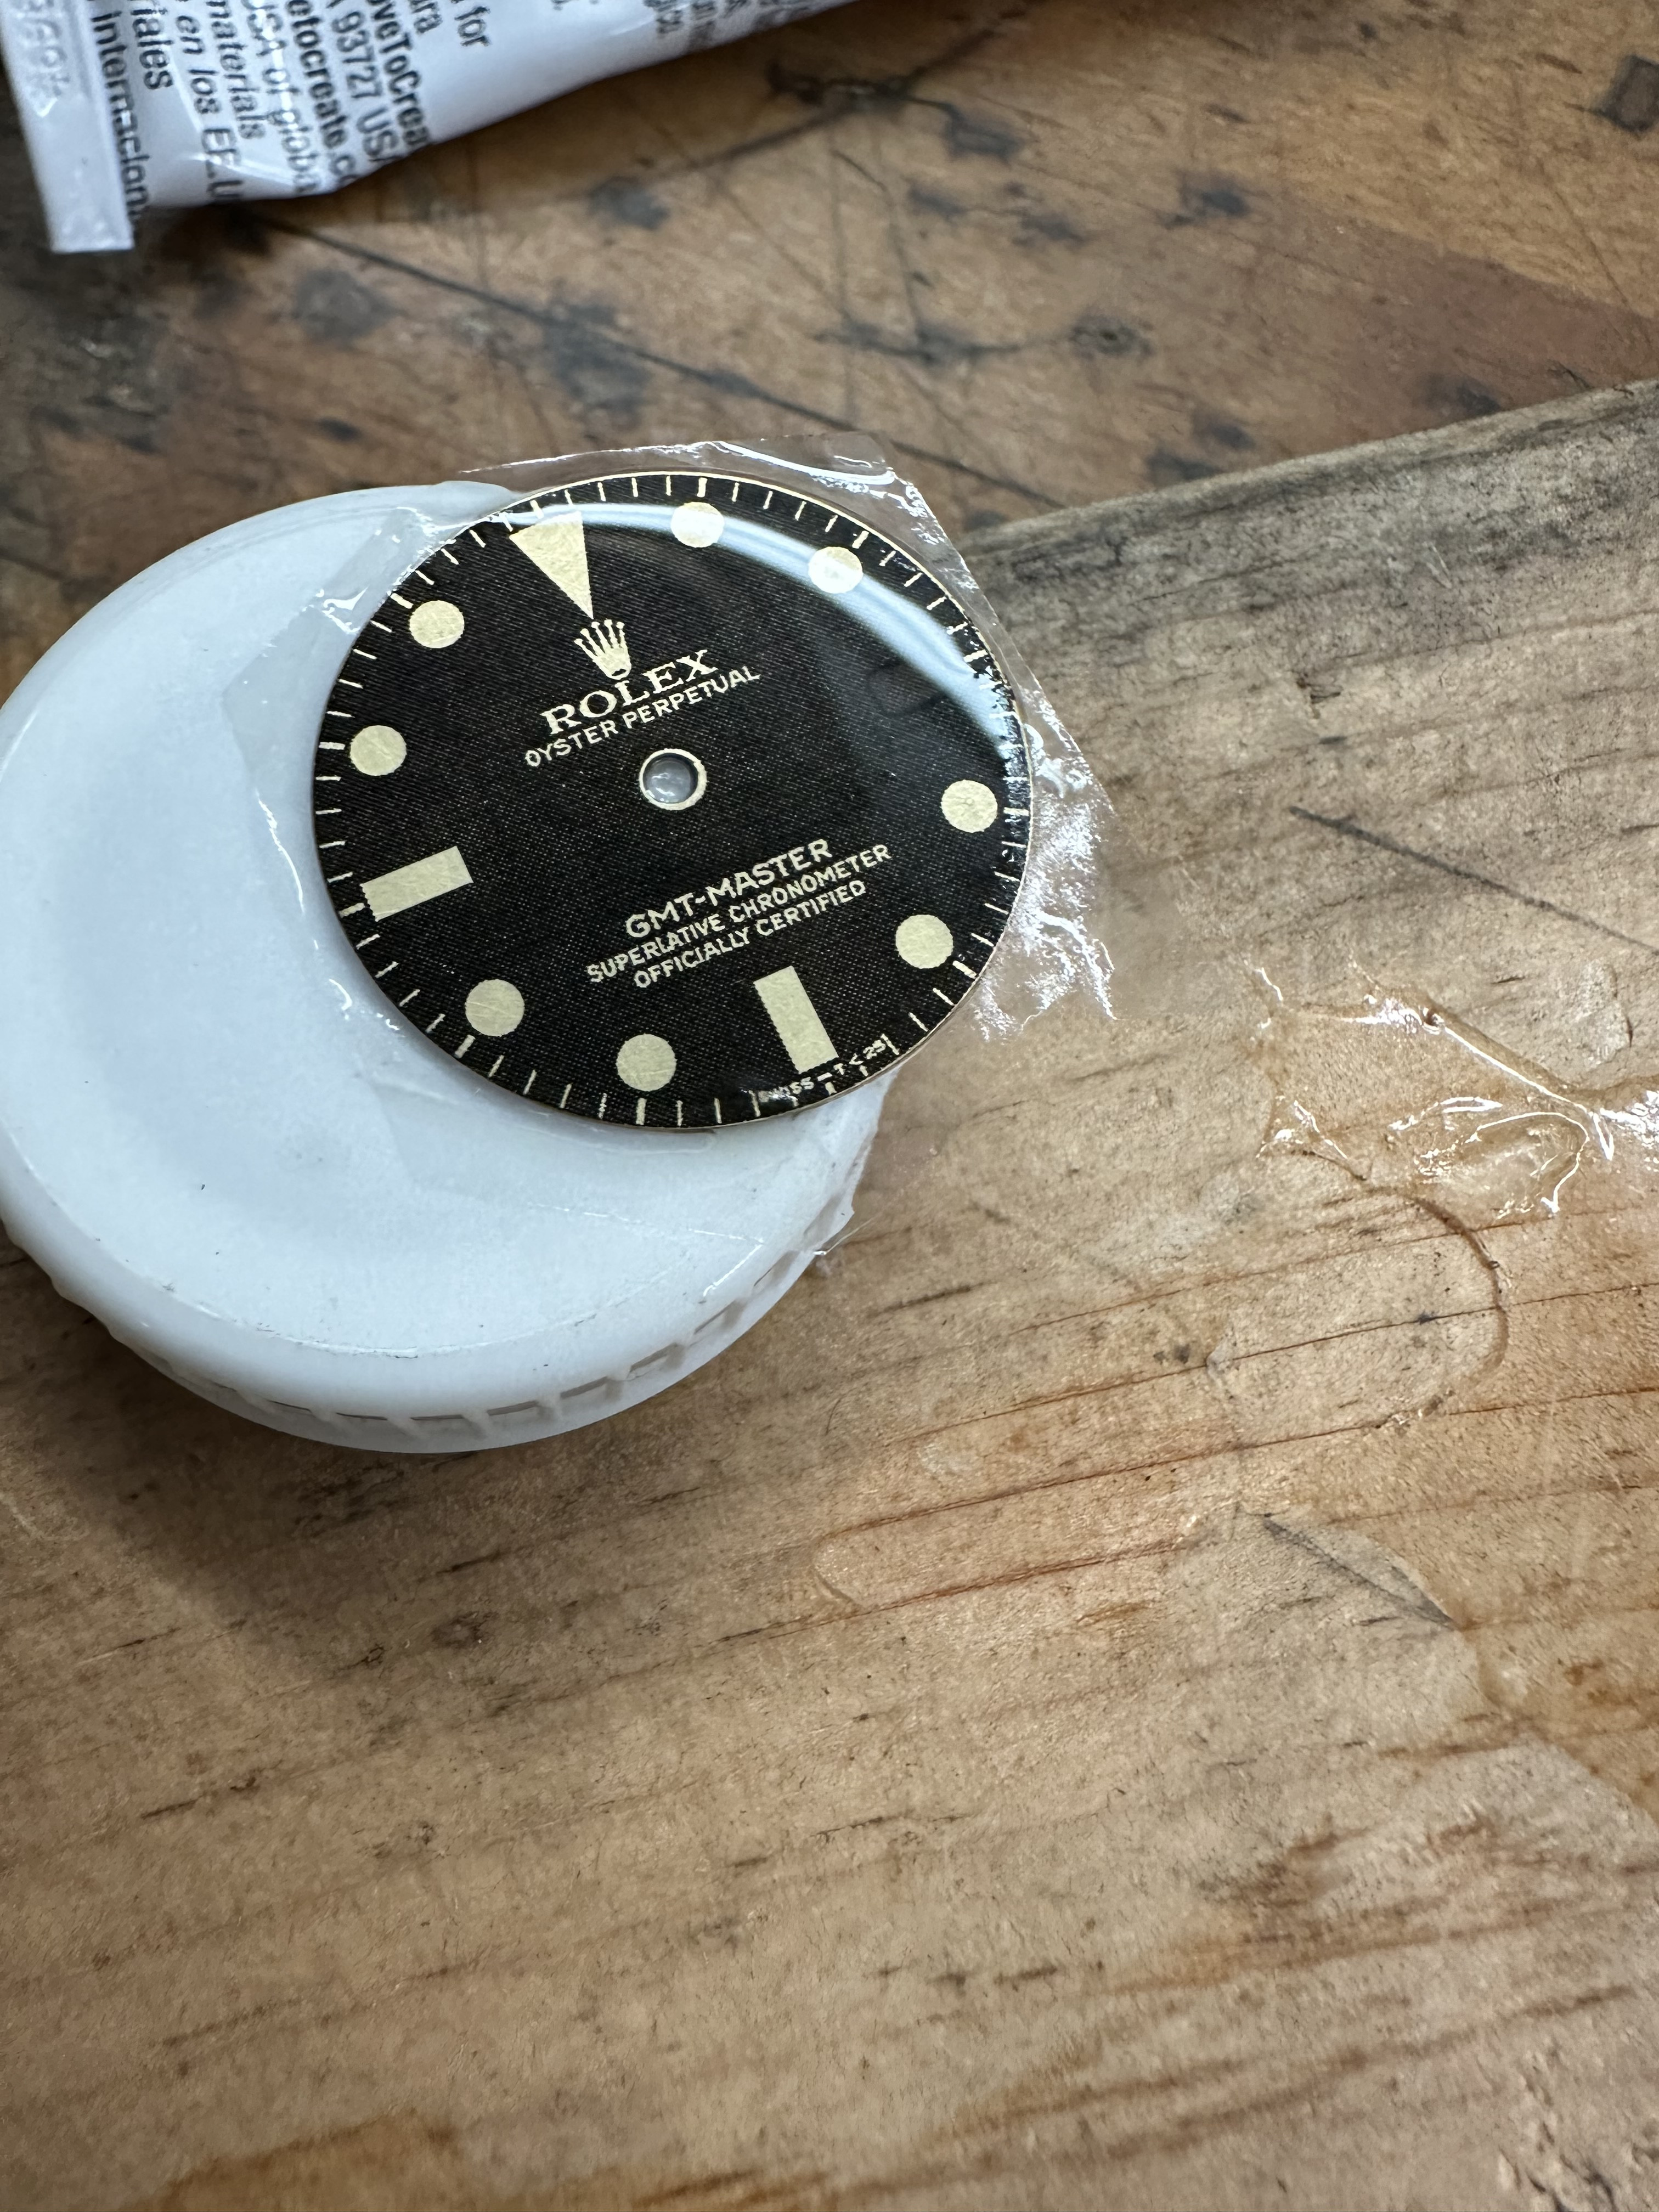
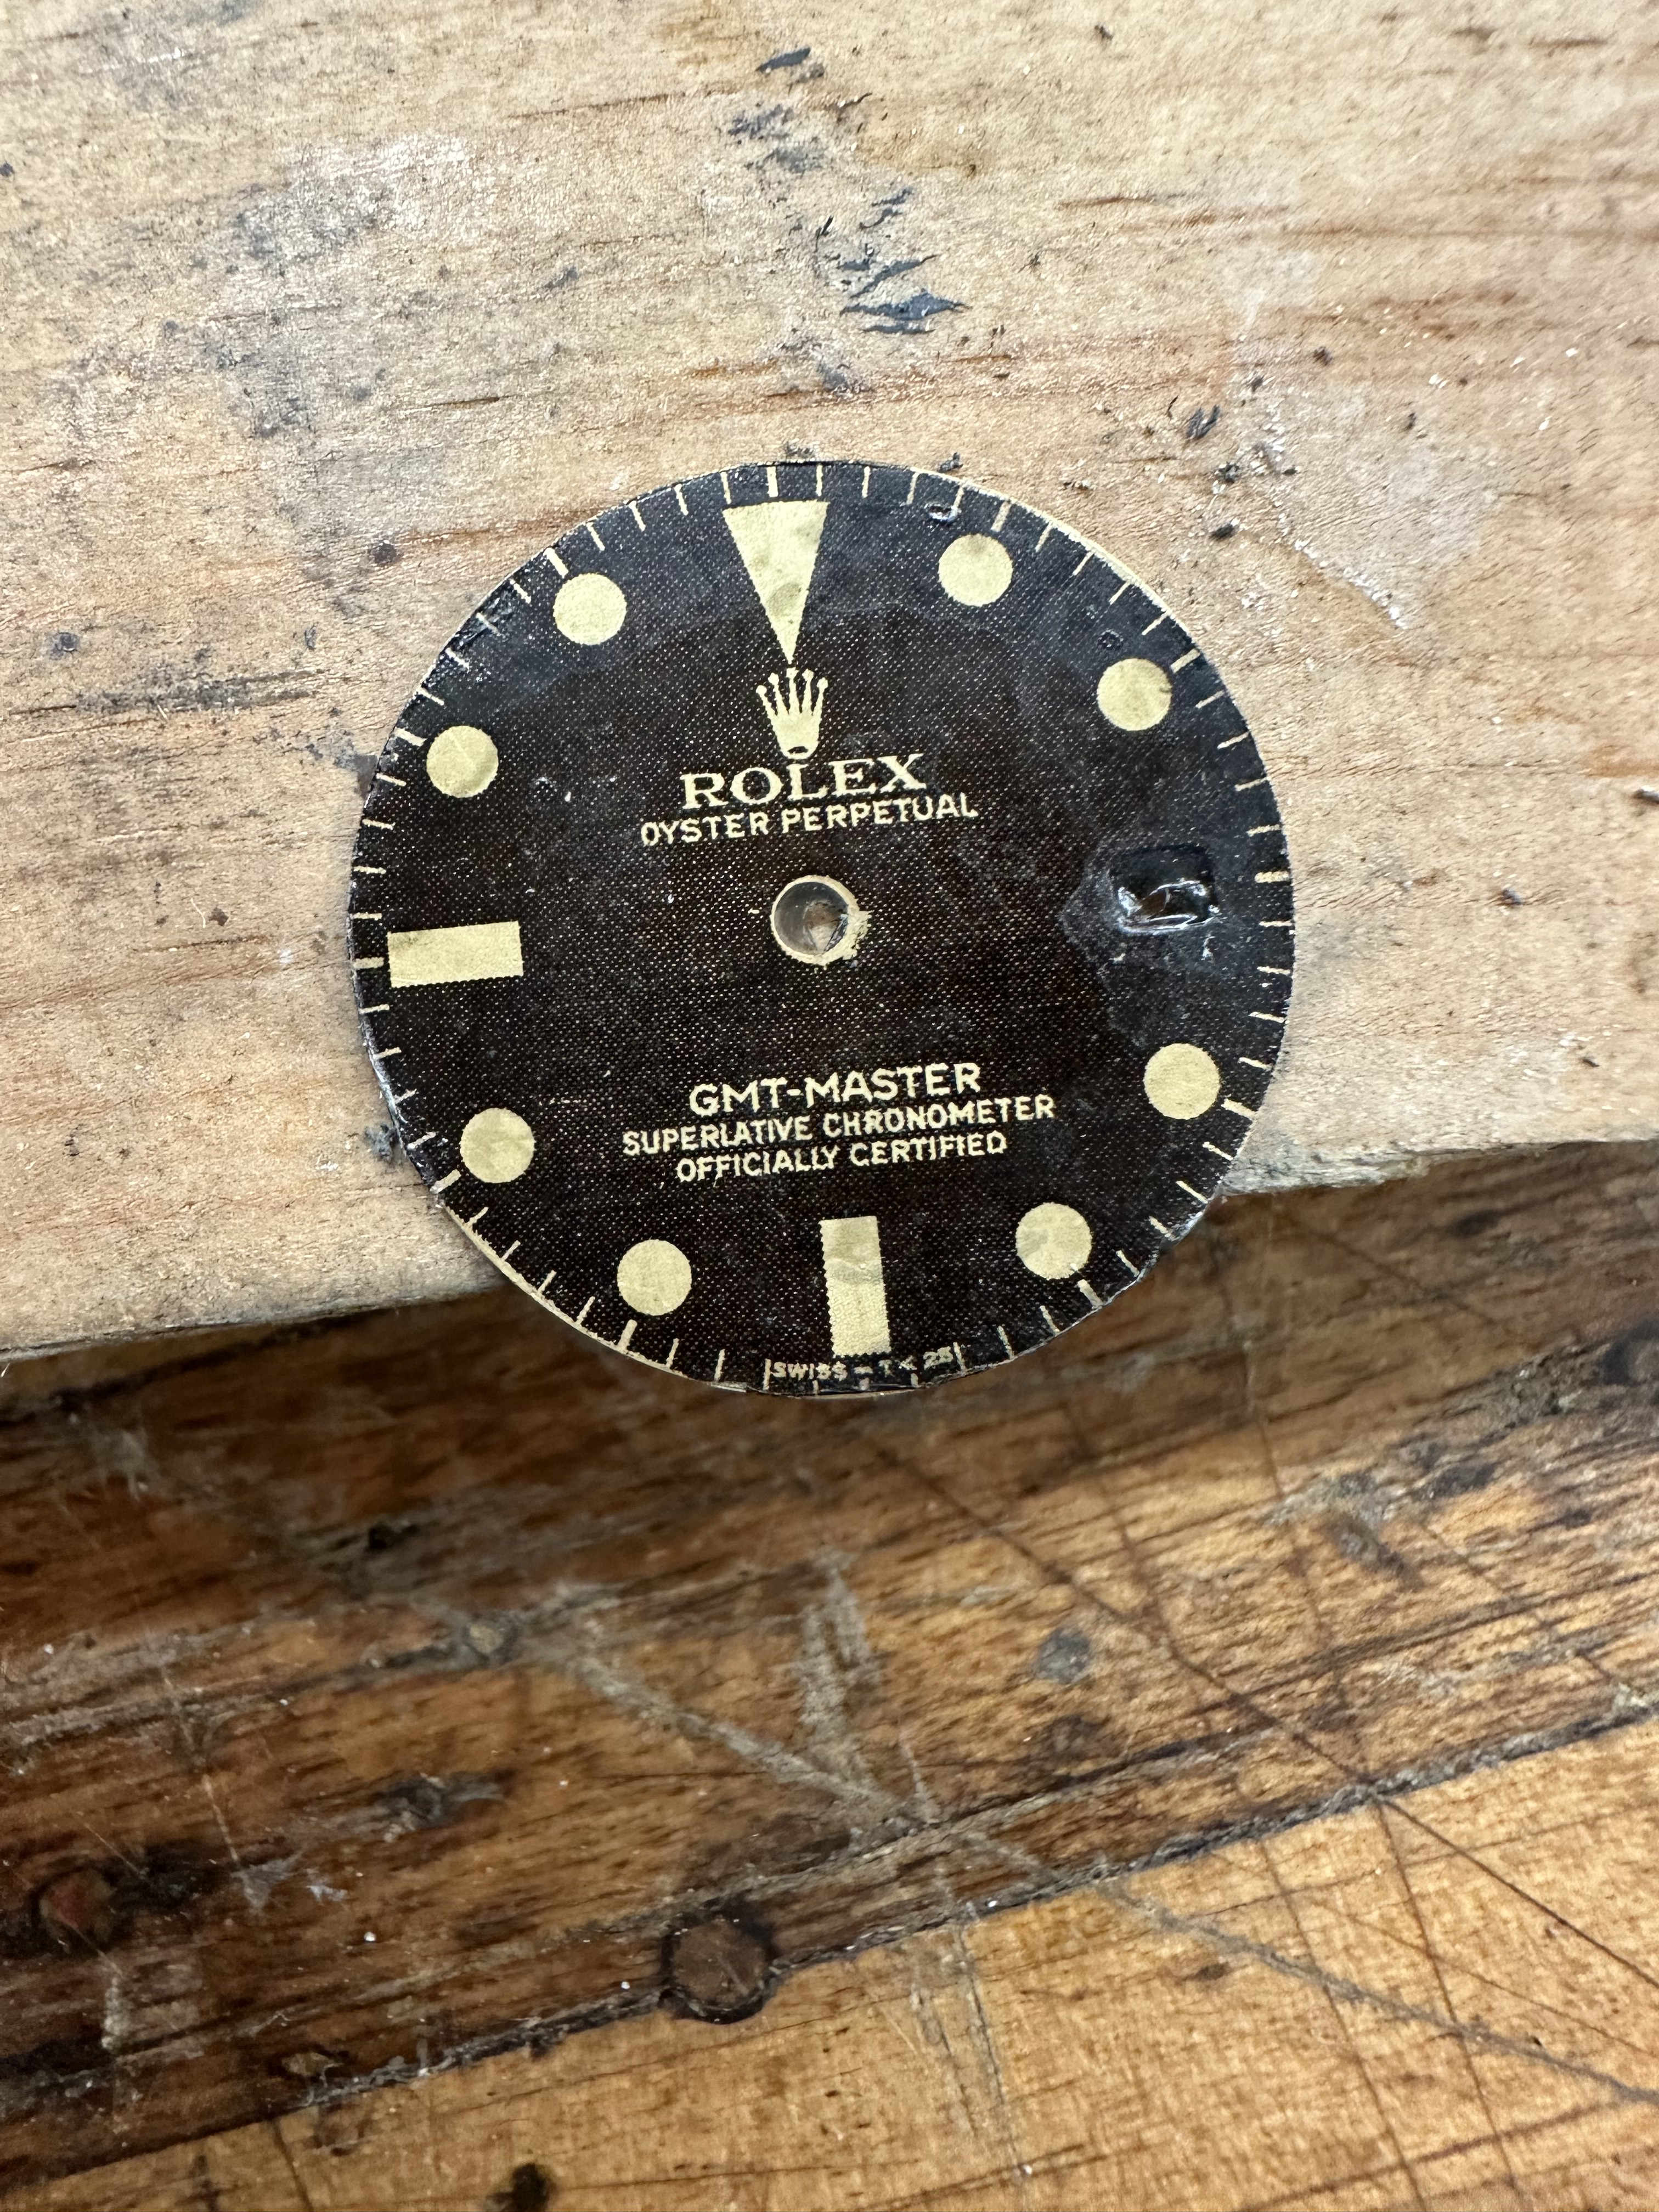
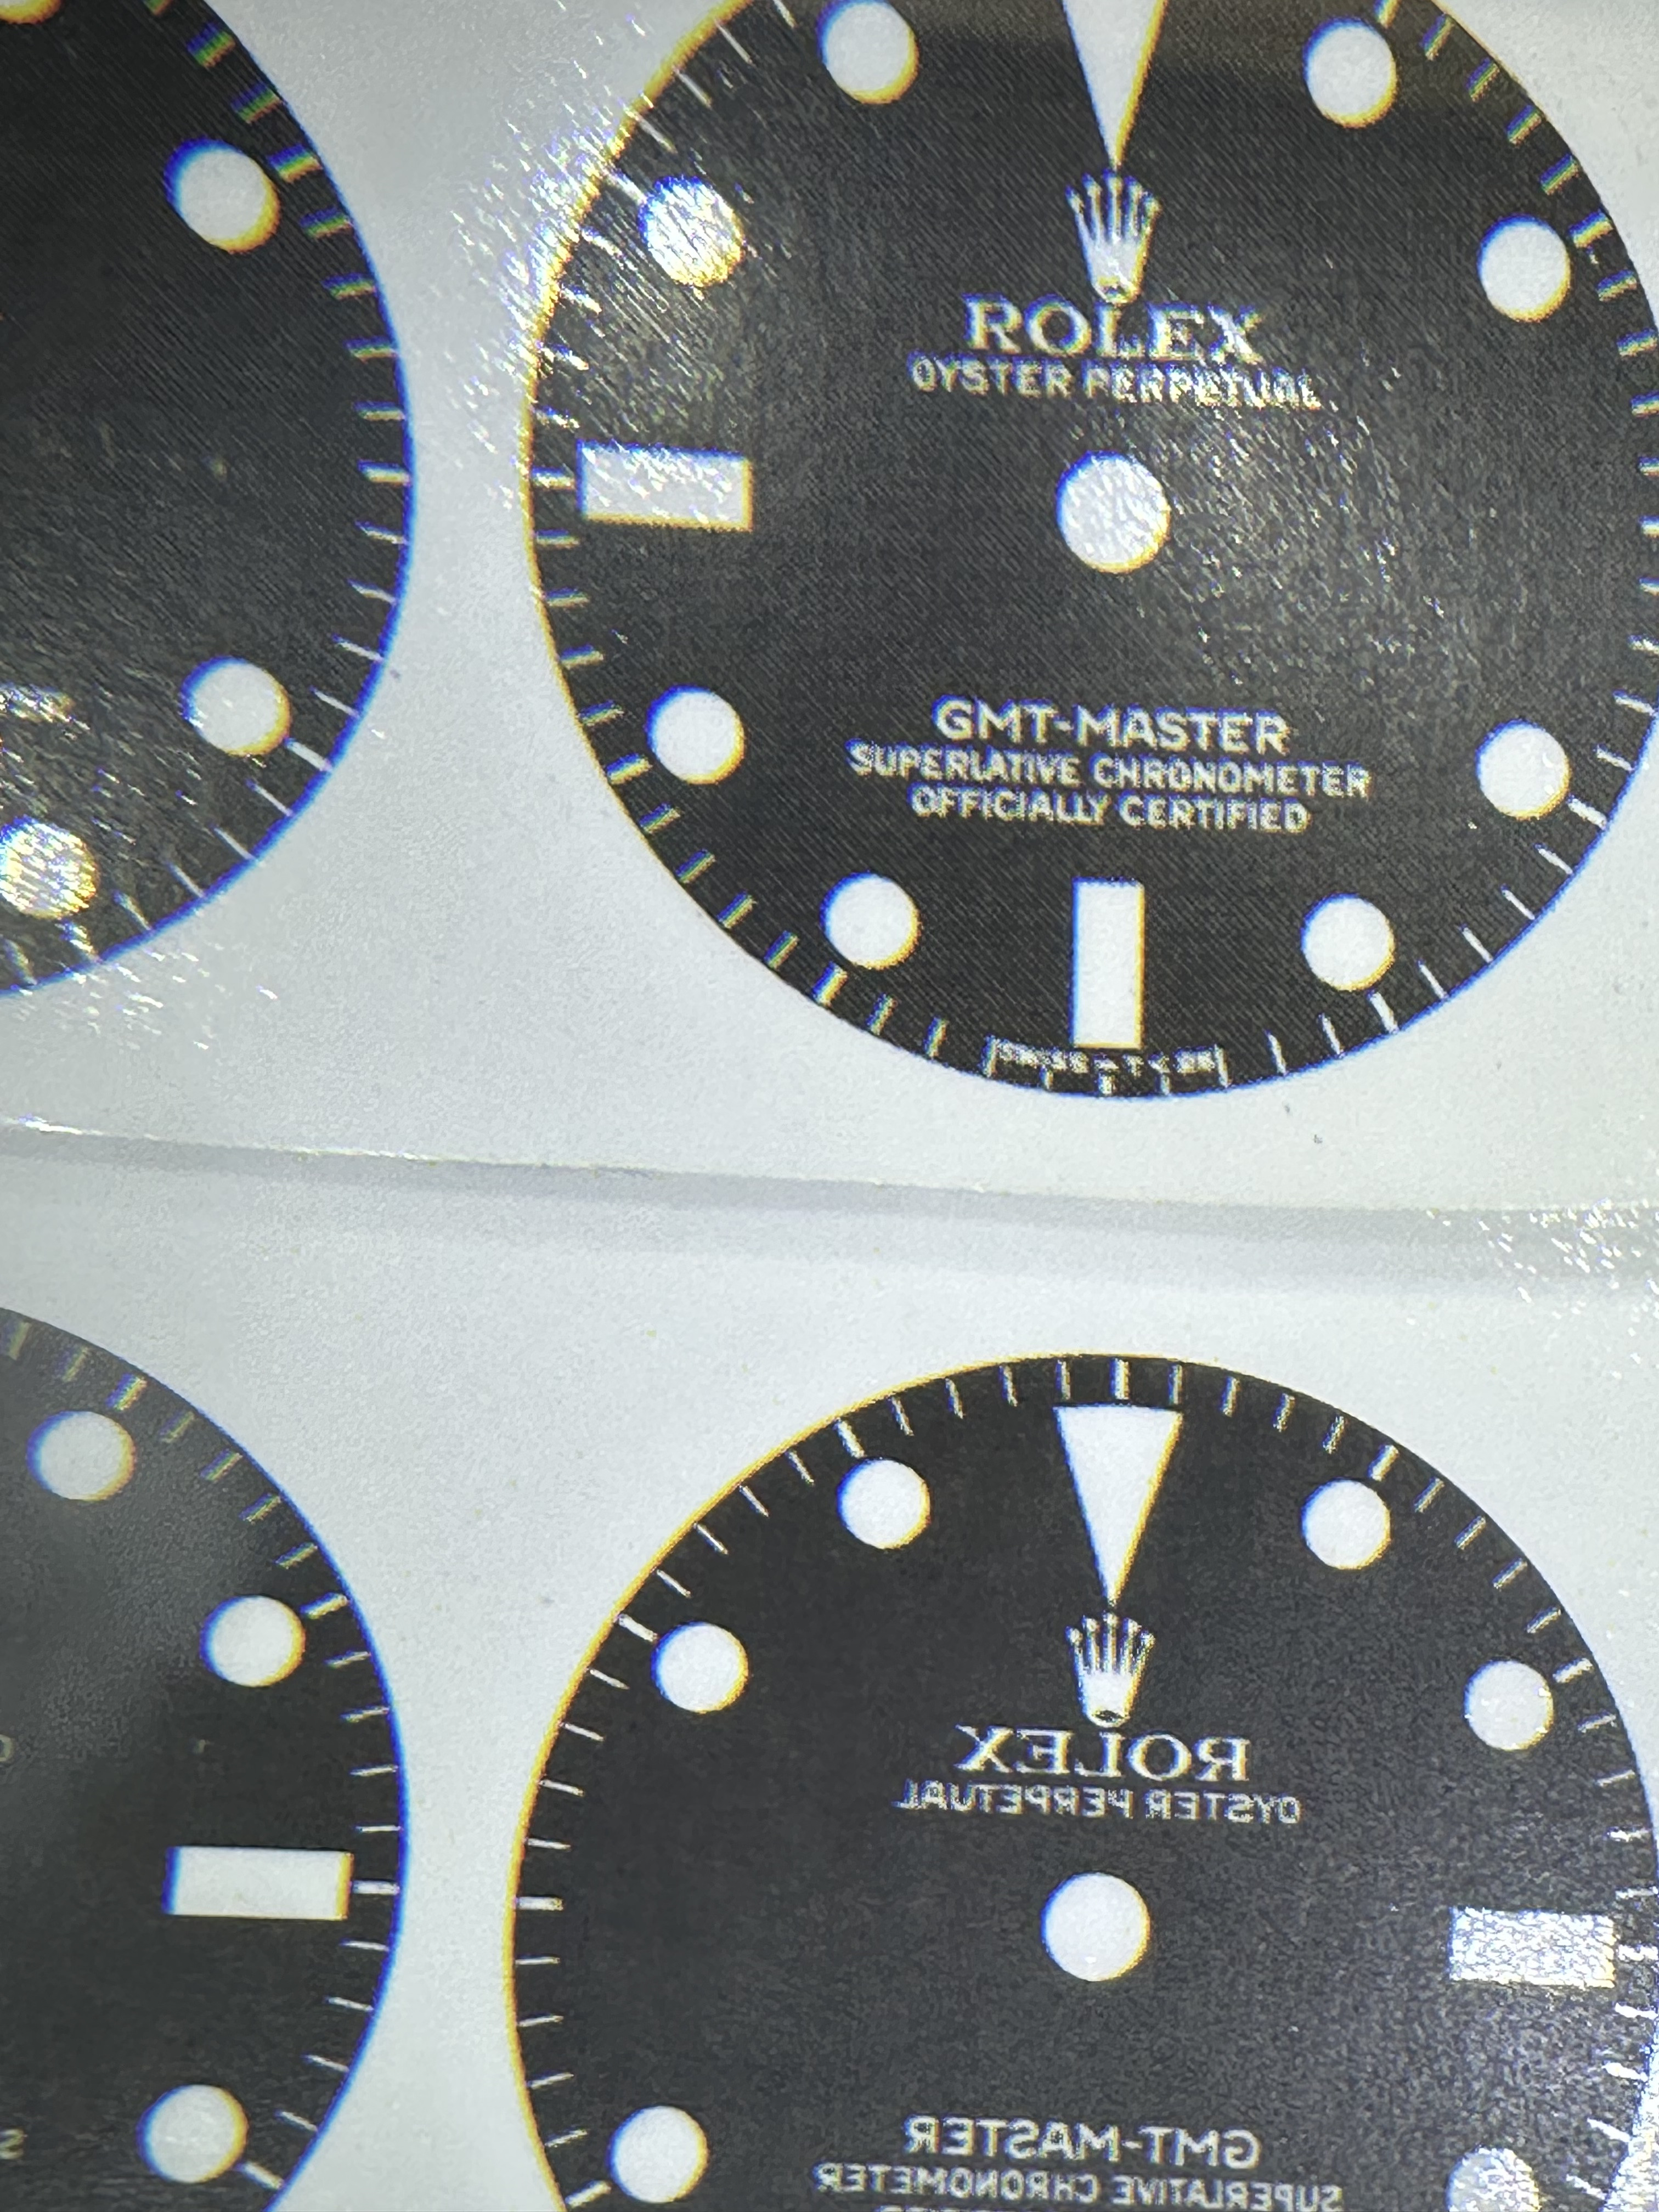
I assumed you were using Sunnyscopa. Did you use a different brand? When you say 120 degrees, is this 120 degrees celsius in the oven?Well, I just follow the instruction of the film free decals paper I've ordered. In my case, there was a Video instruction that was great. For the heat, I have to put it into the heater at 120 degree. I think each film free decals are different, so it may not help you to explain my option.
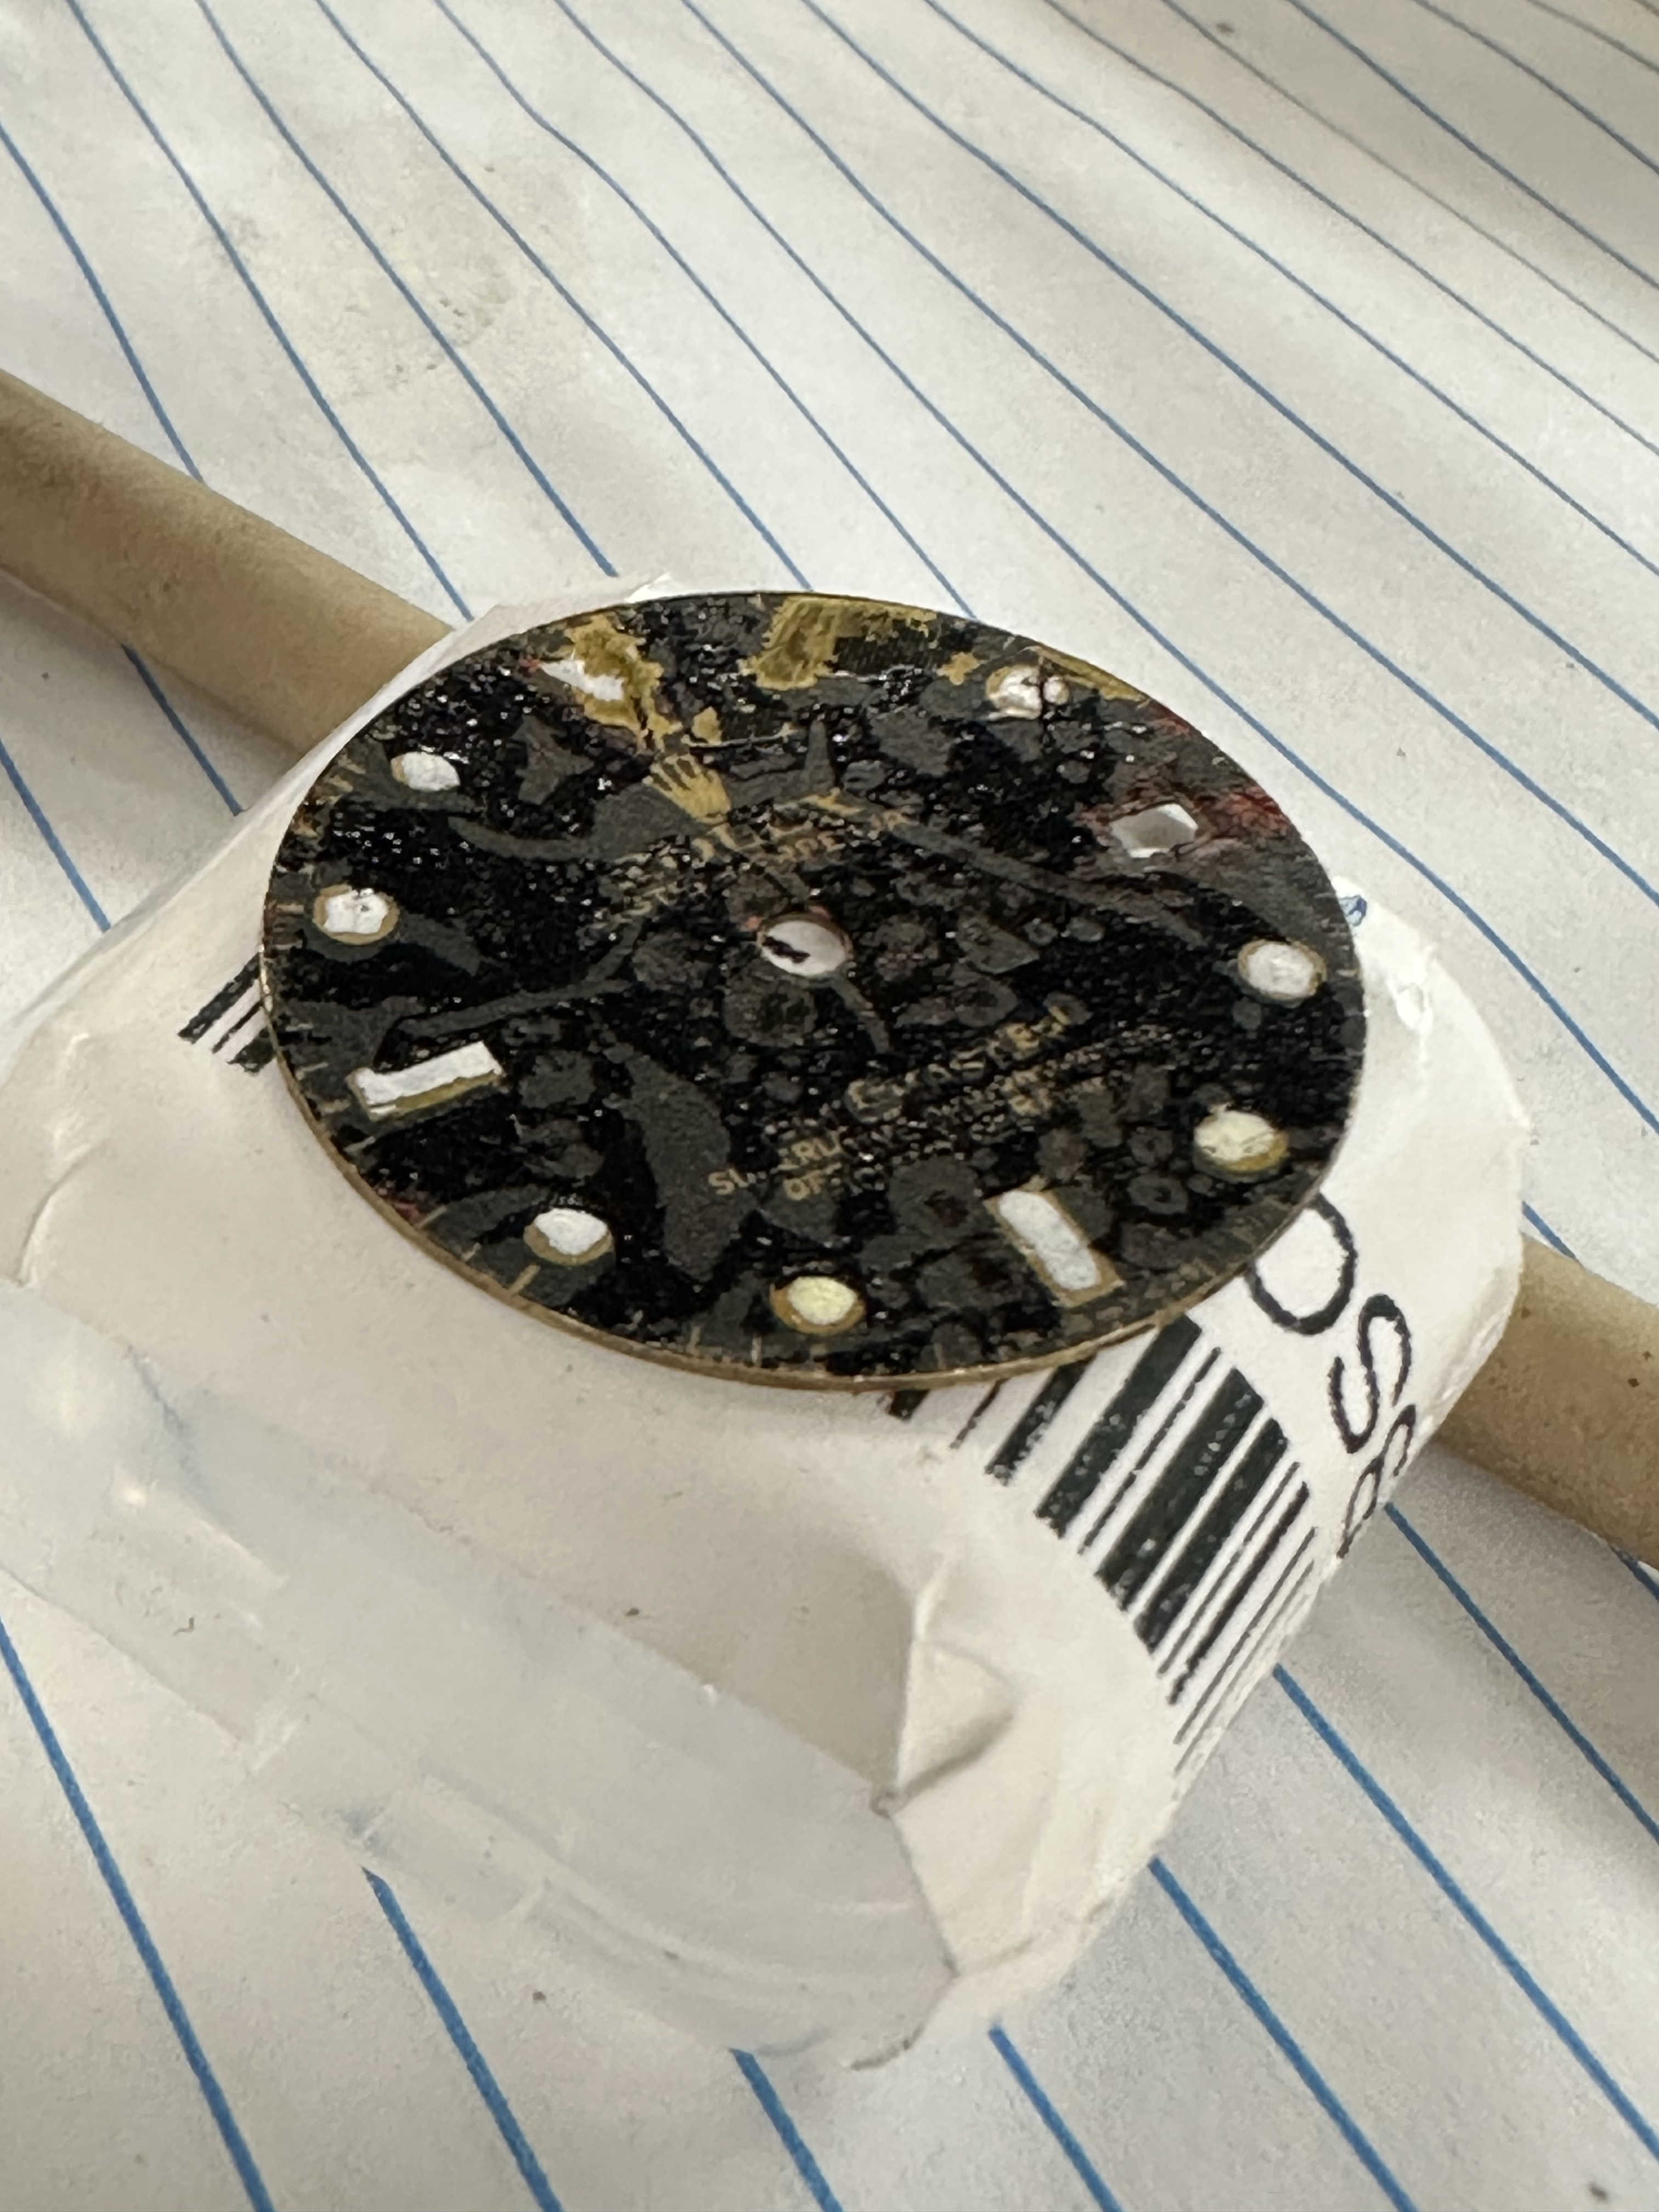
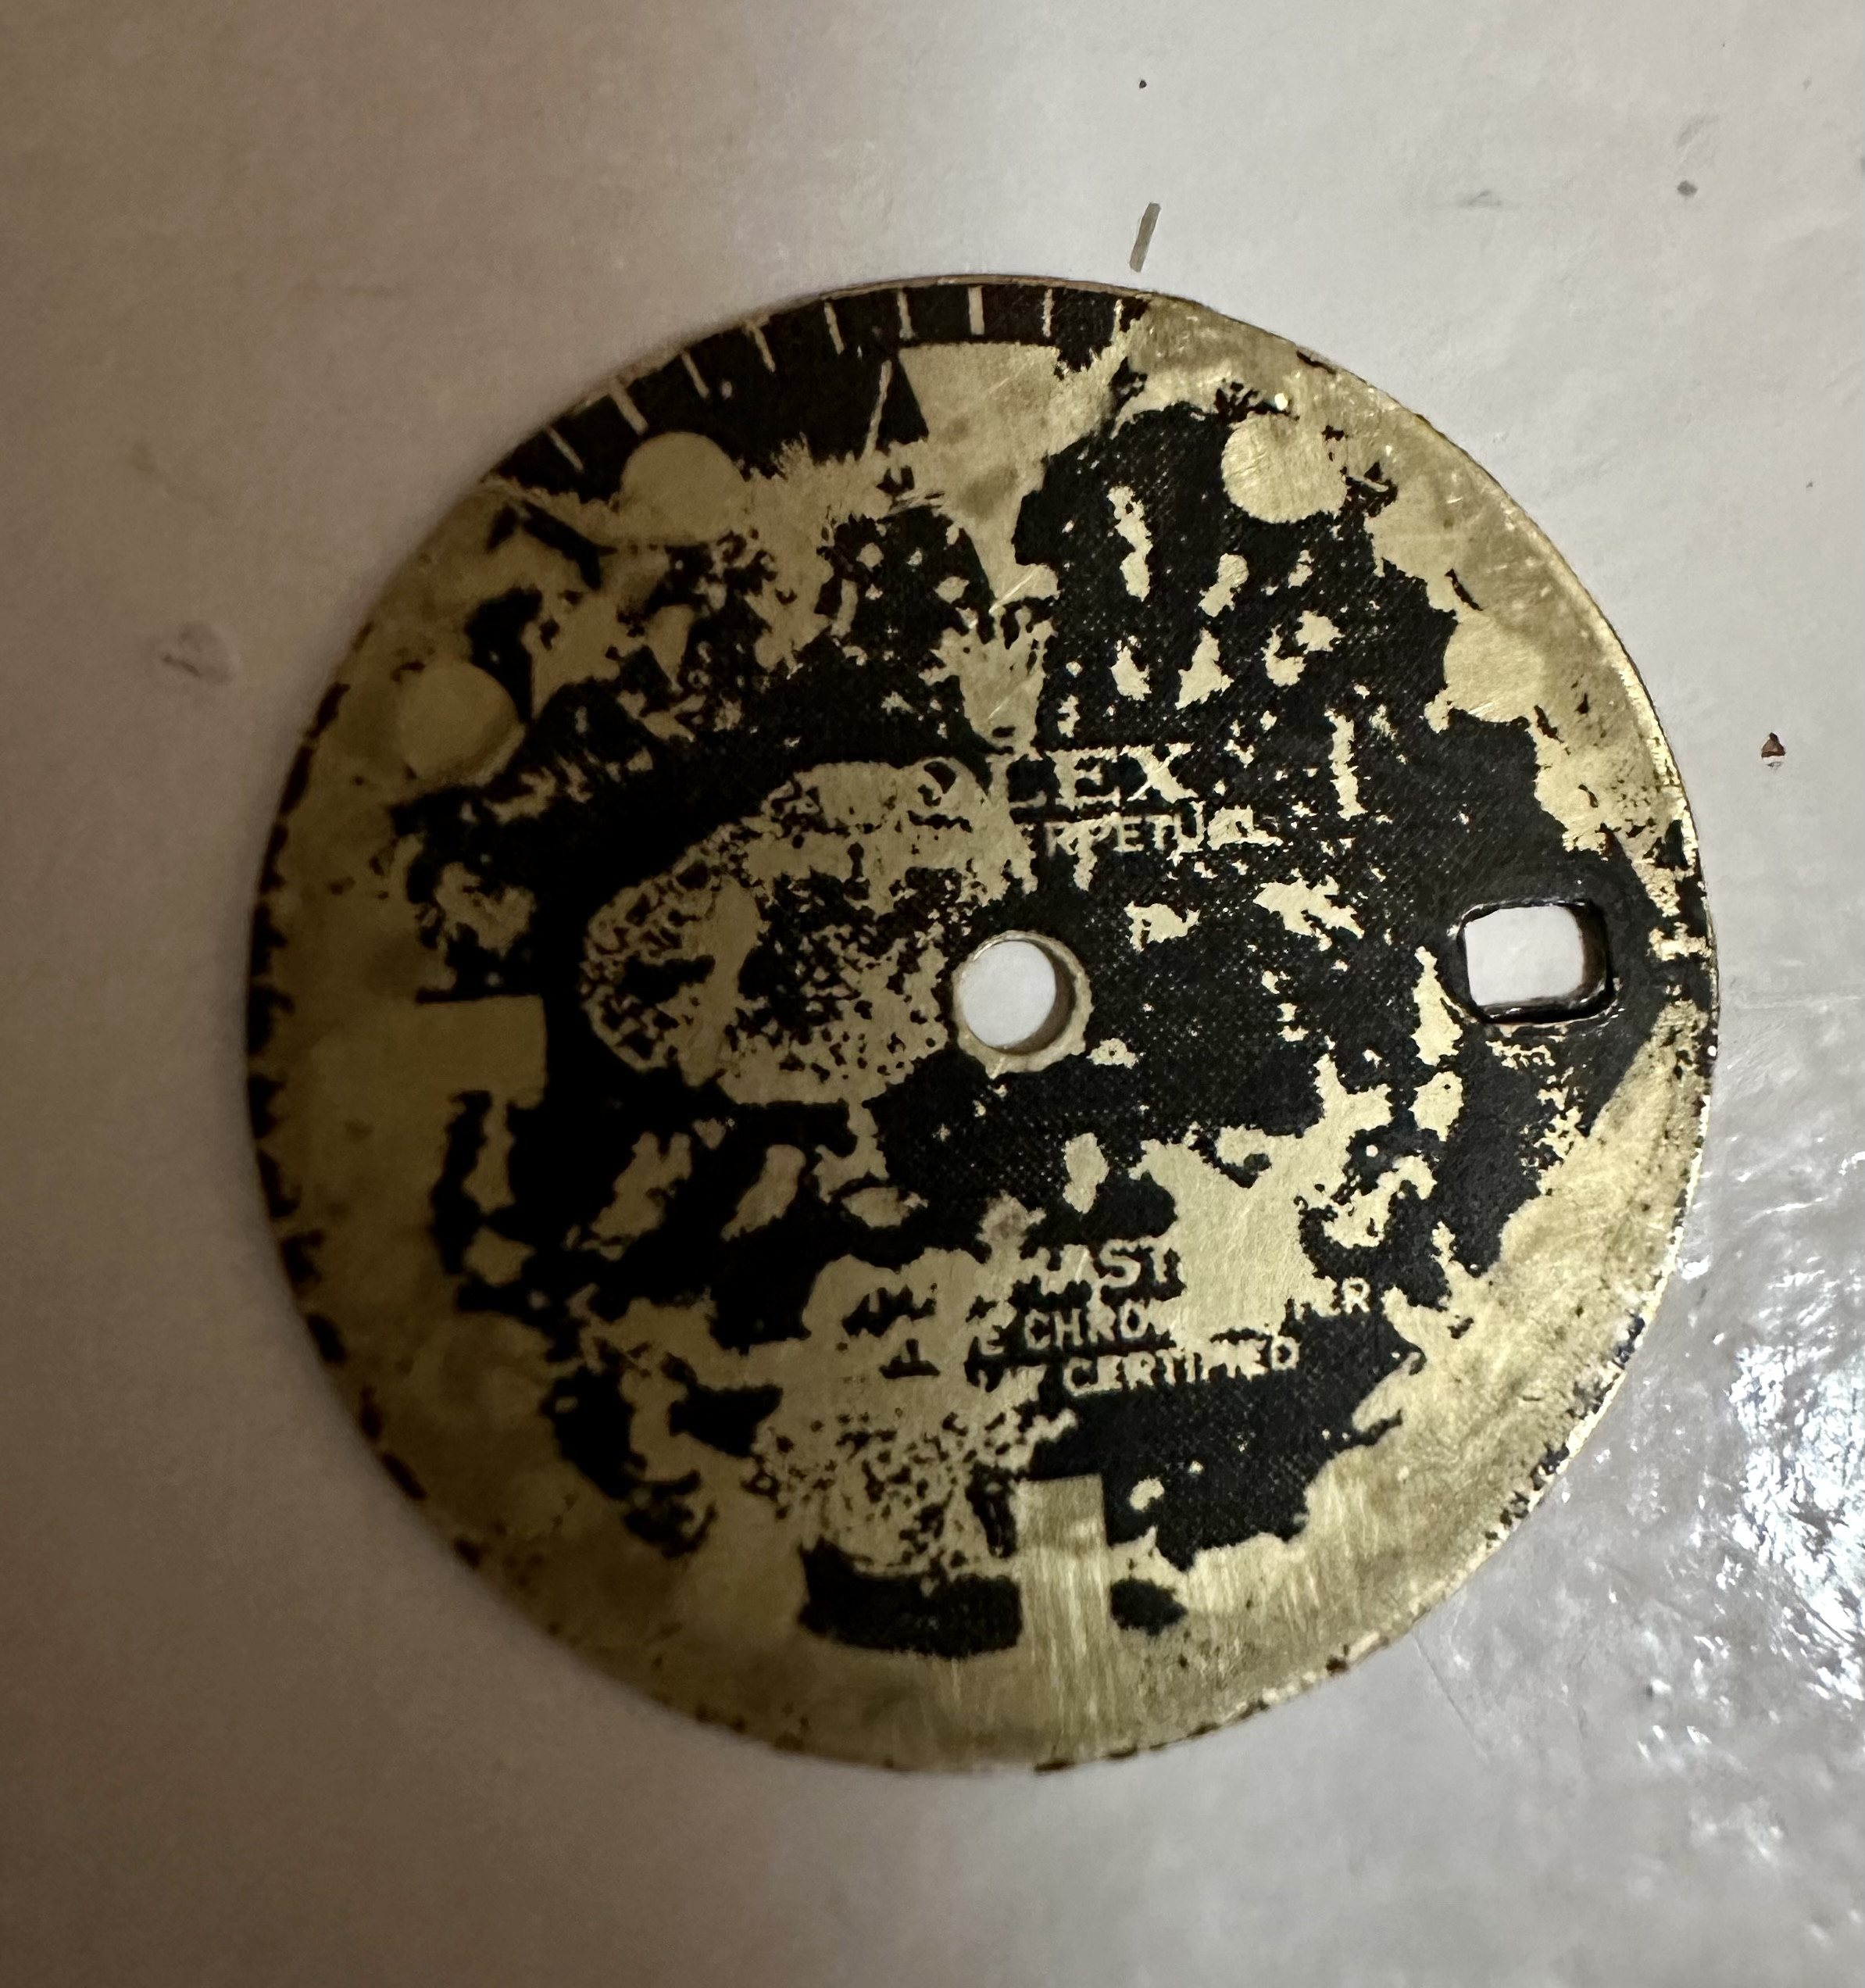
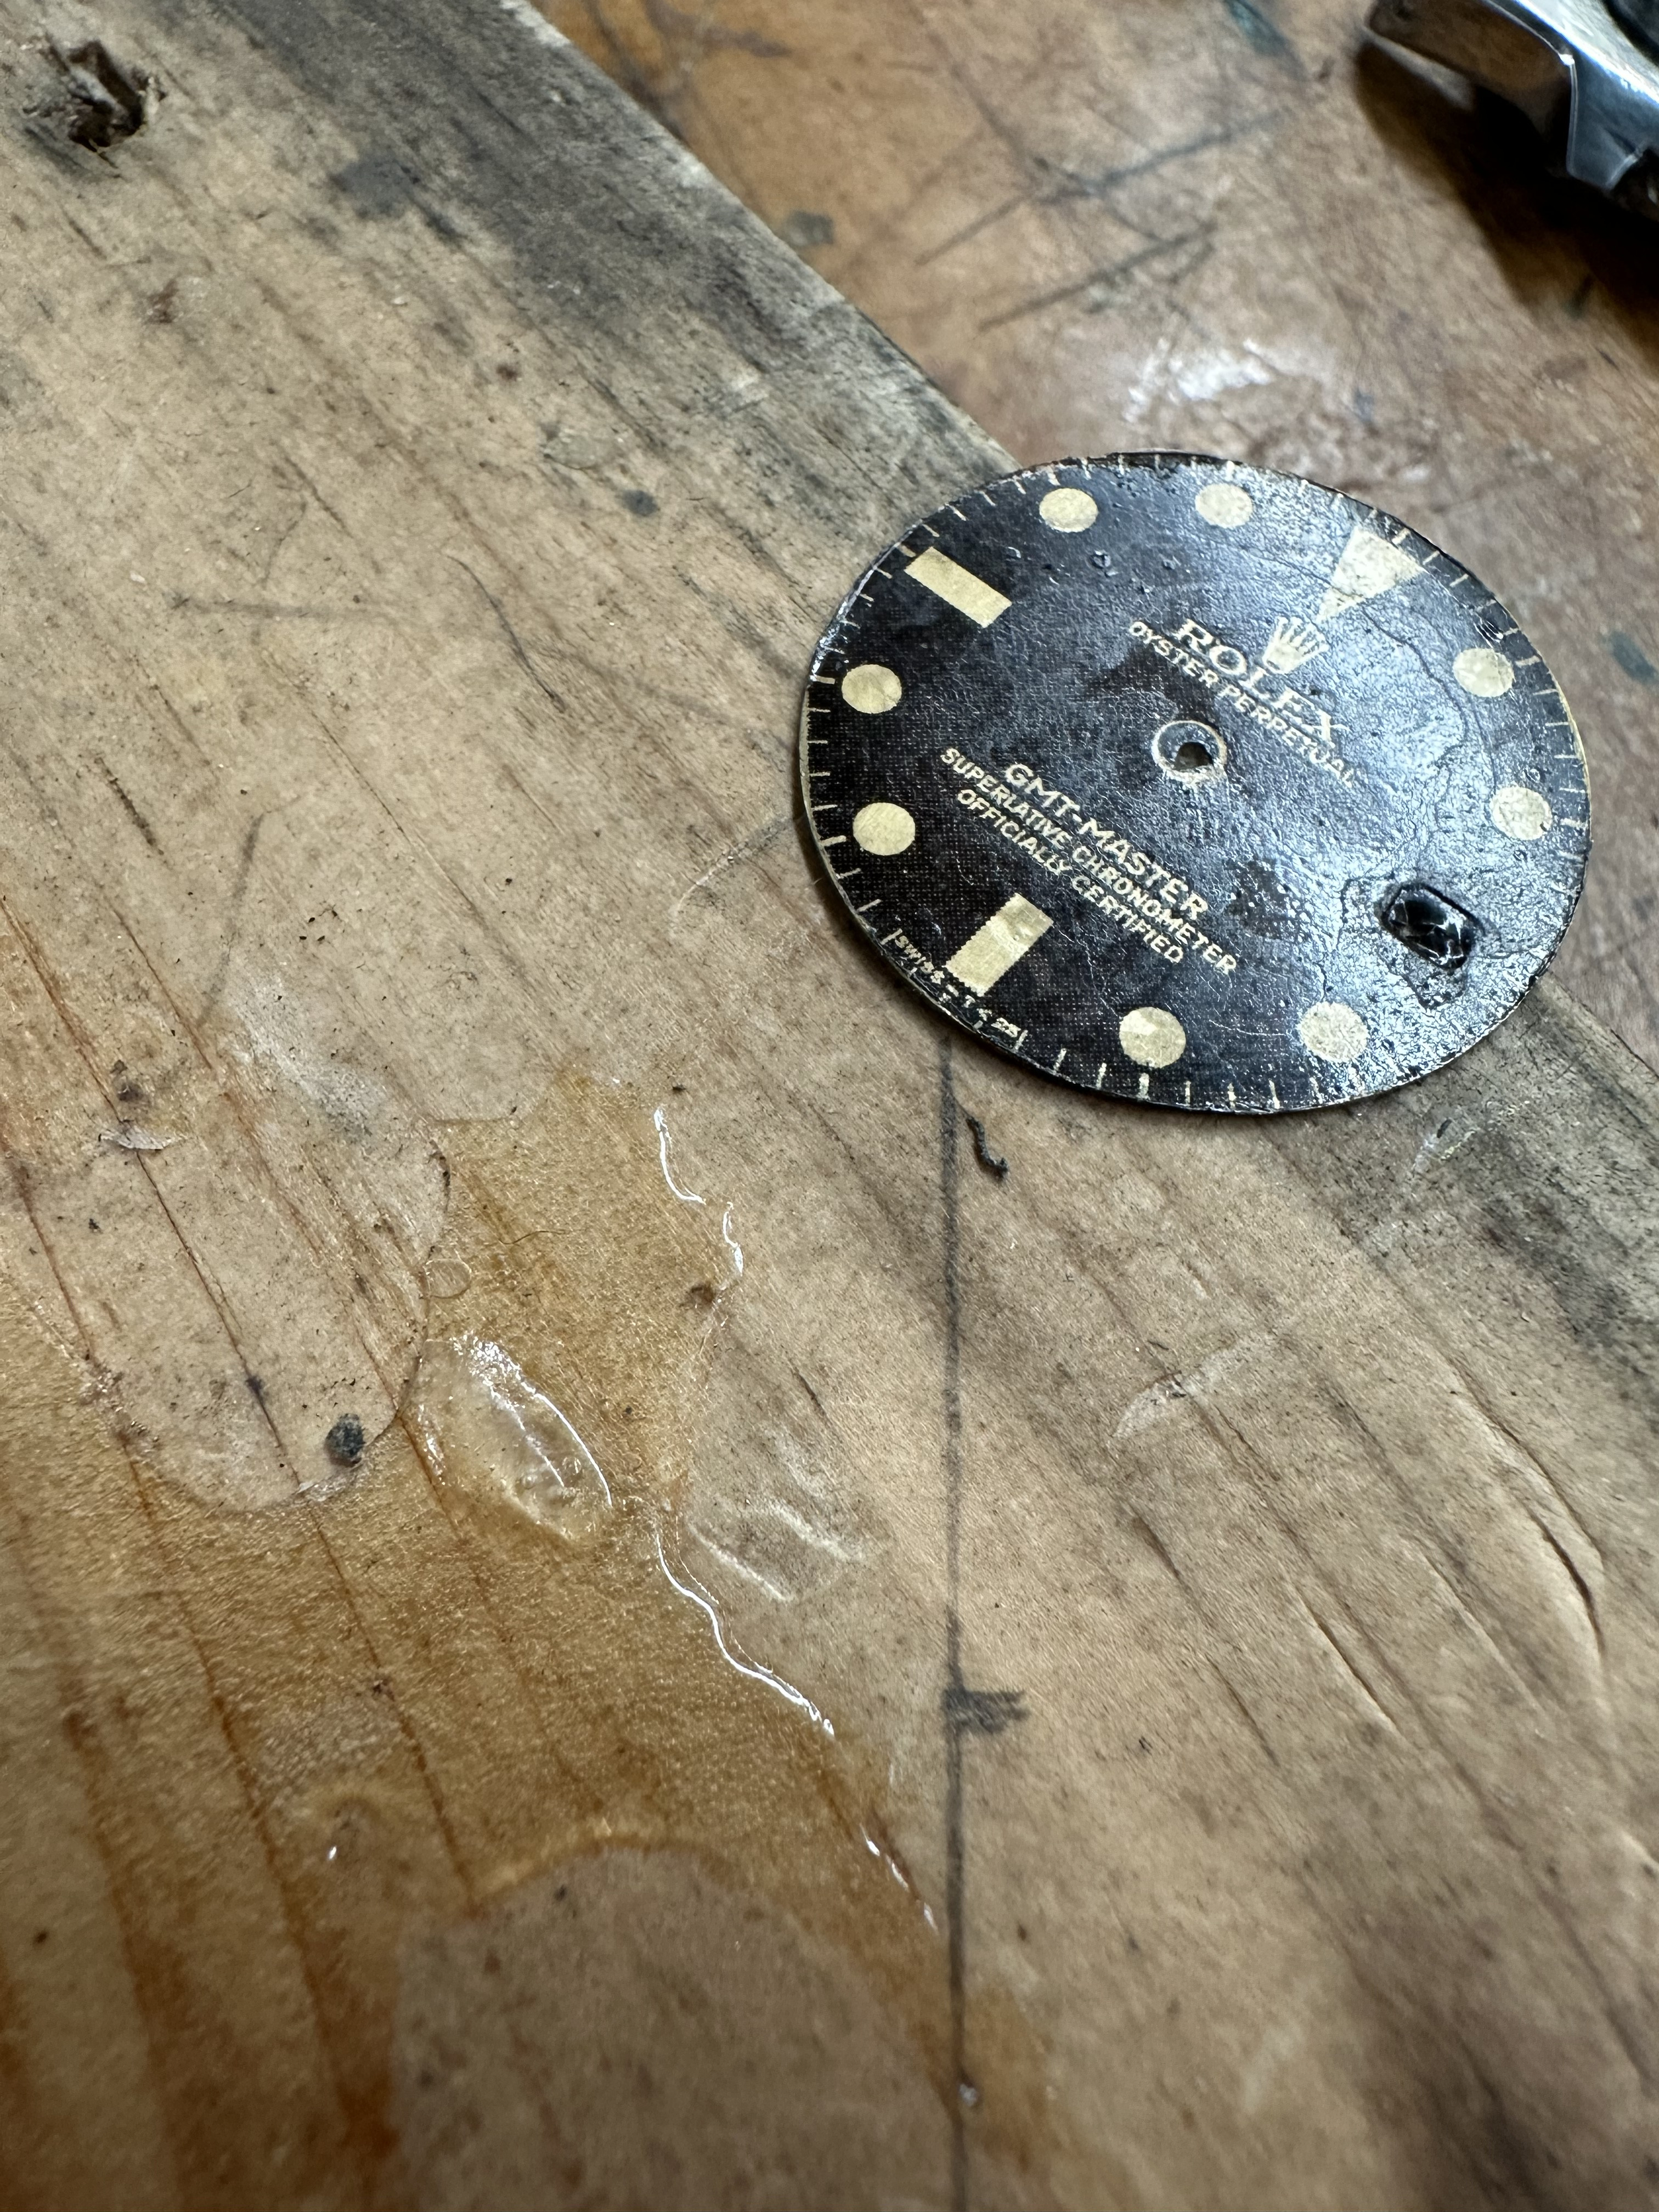
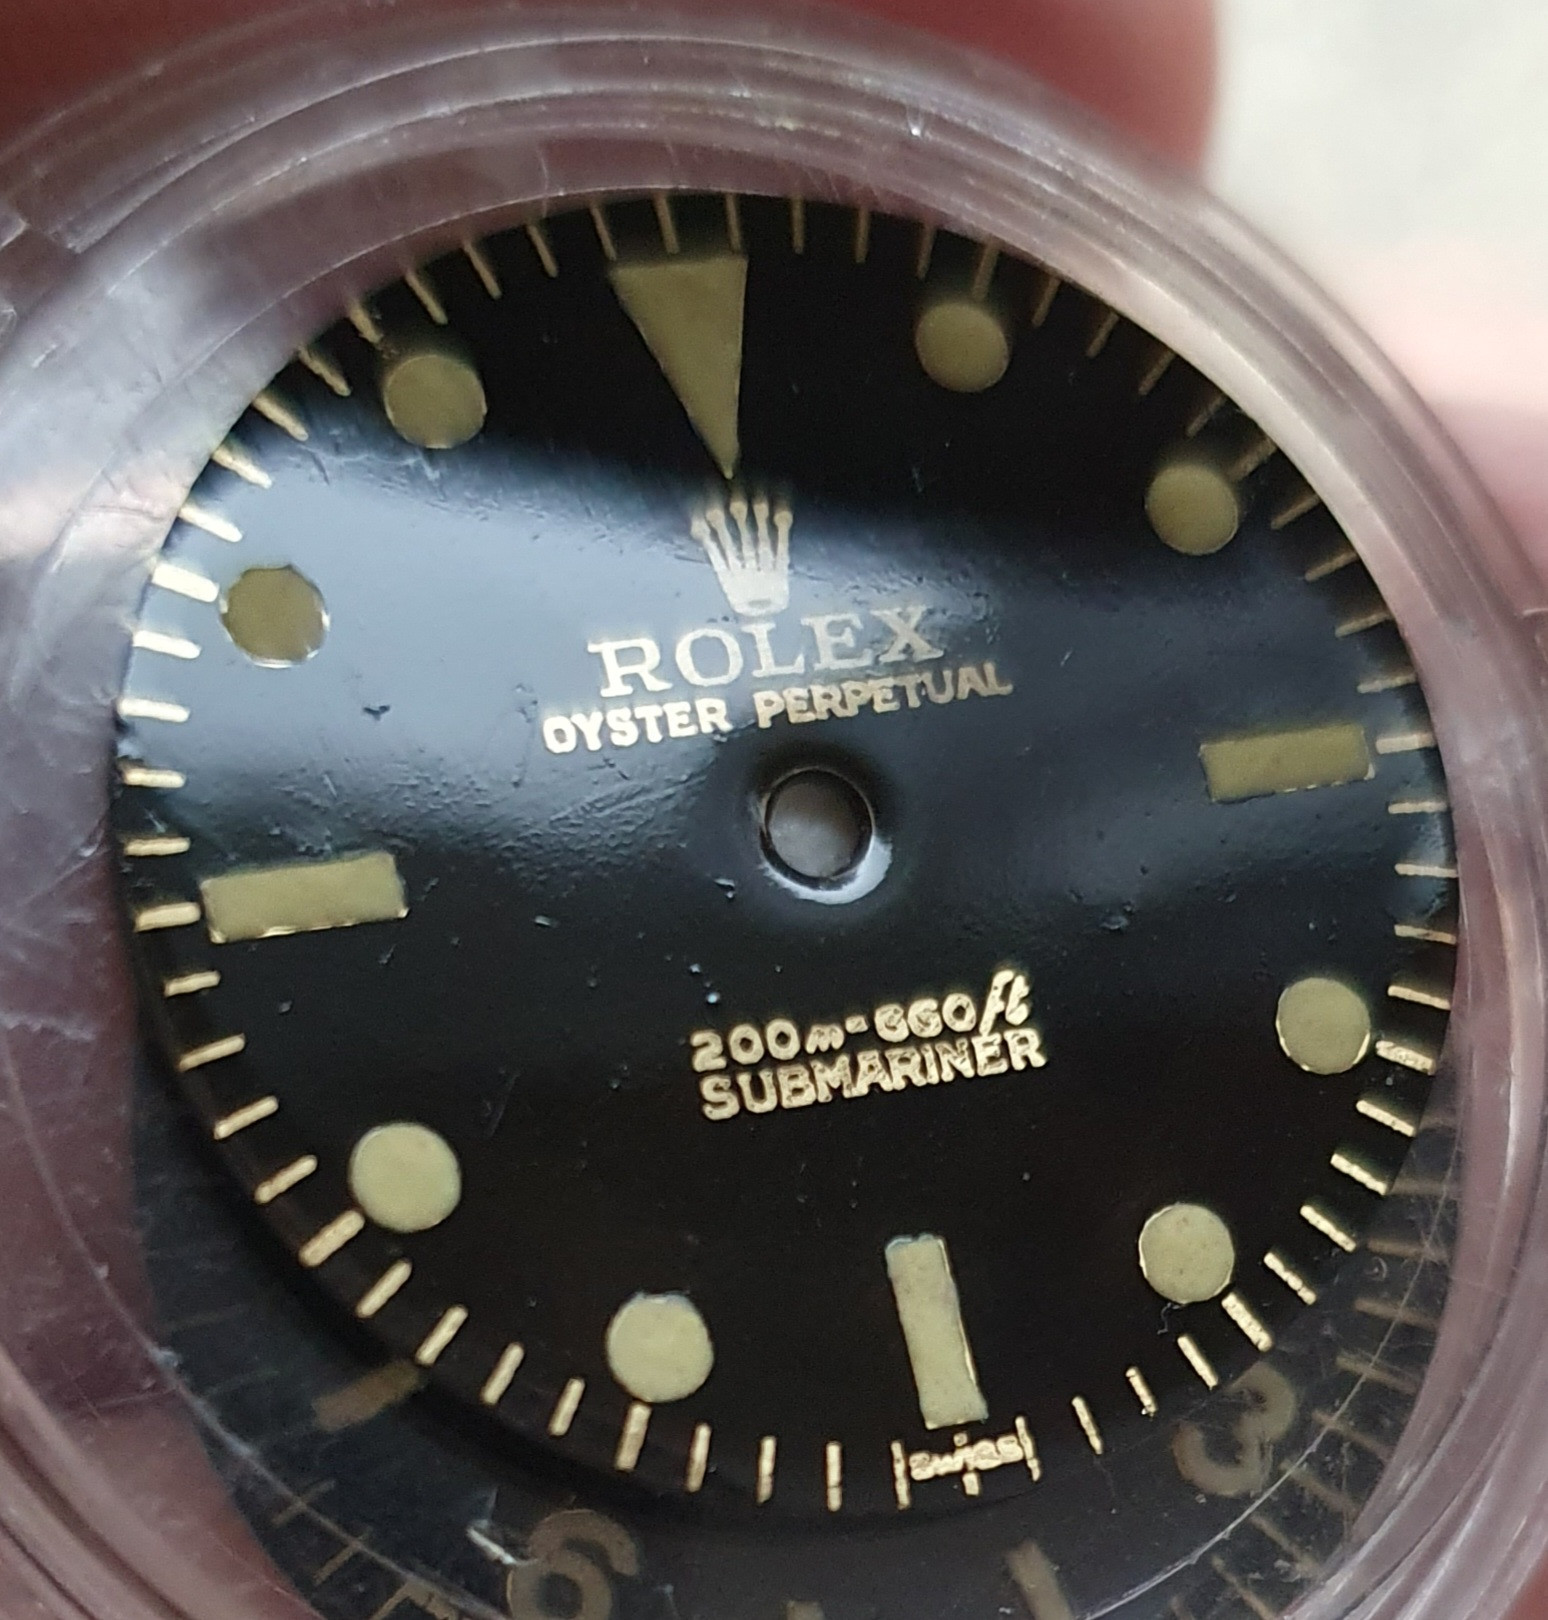
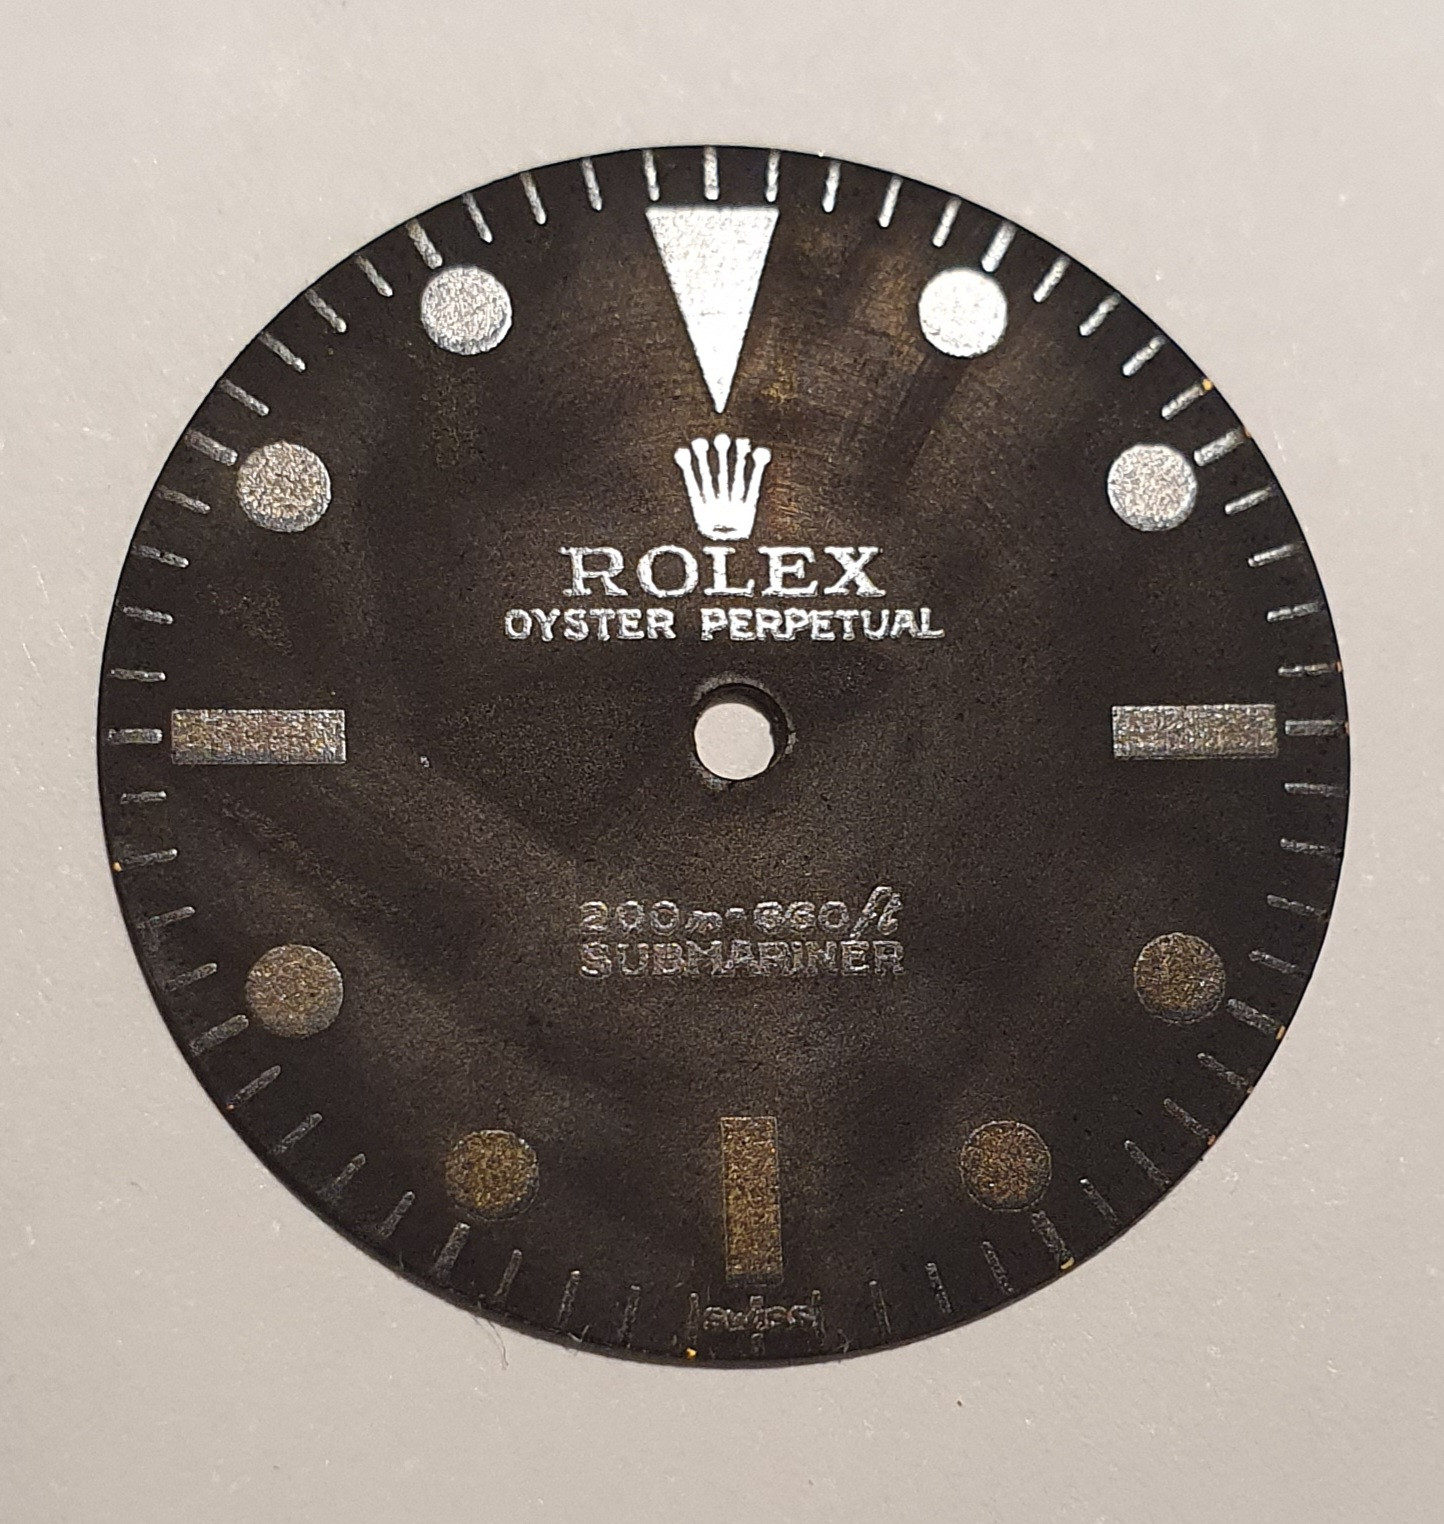
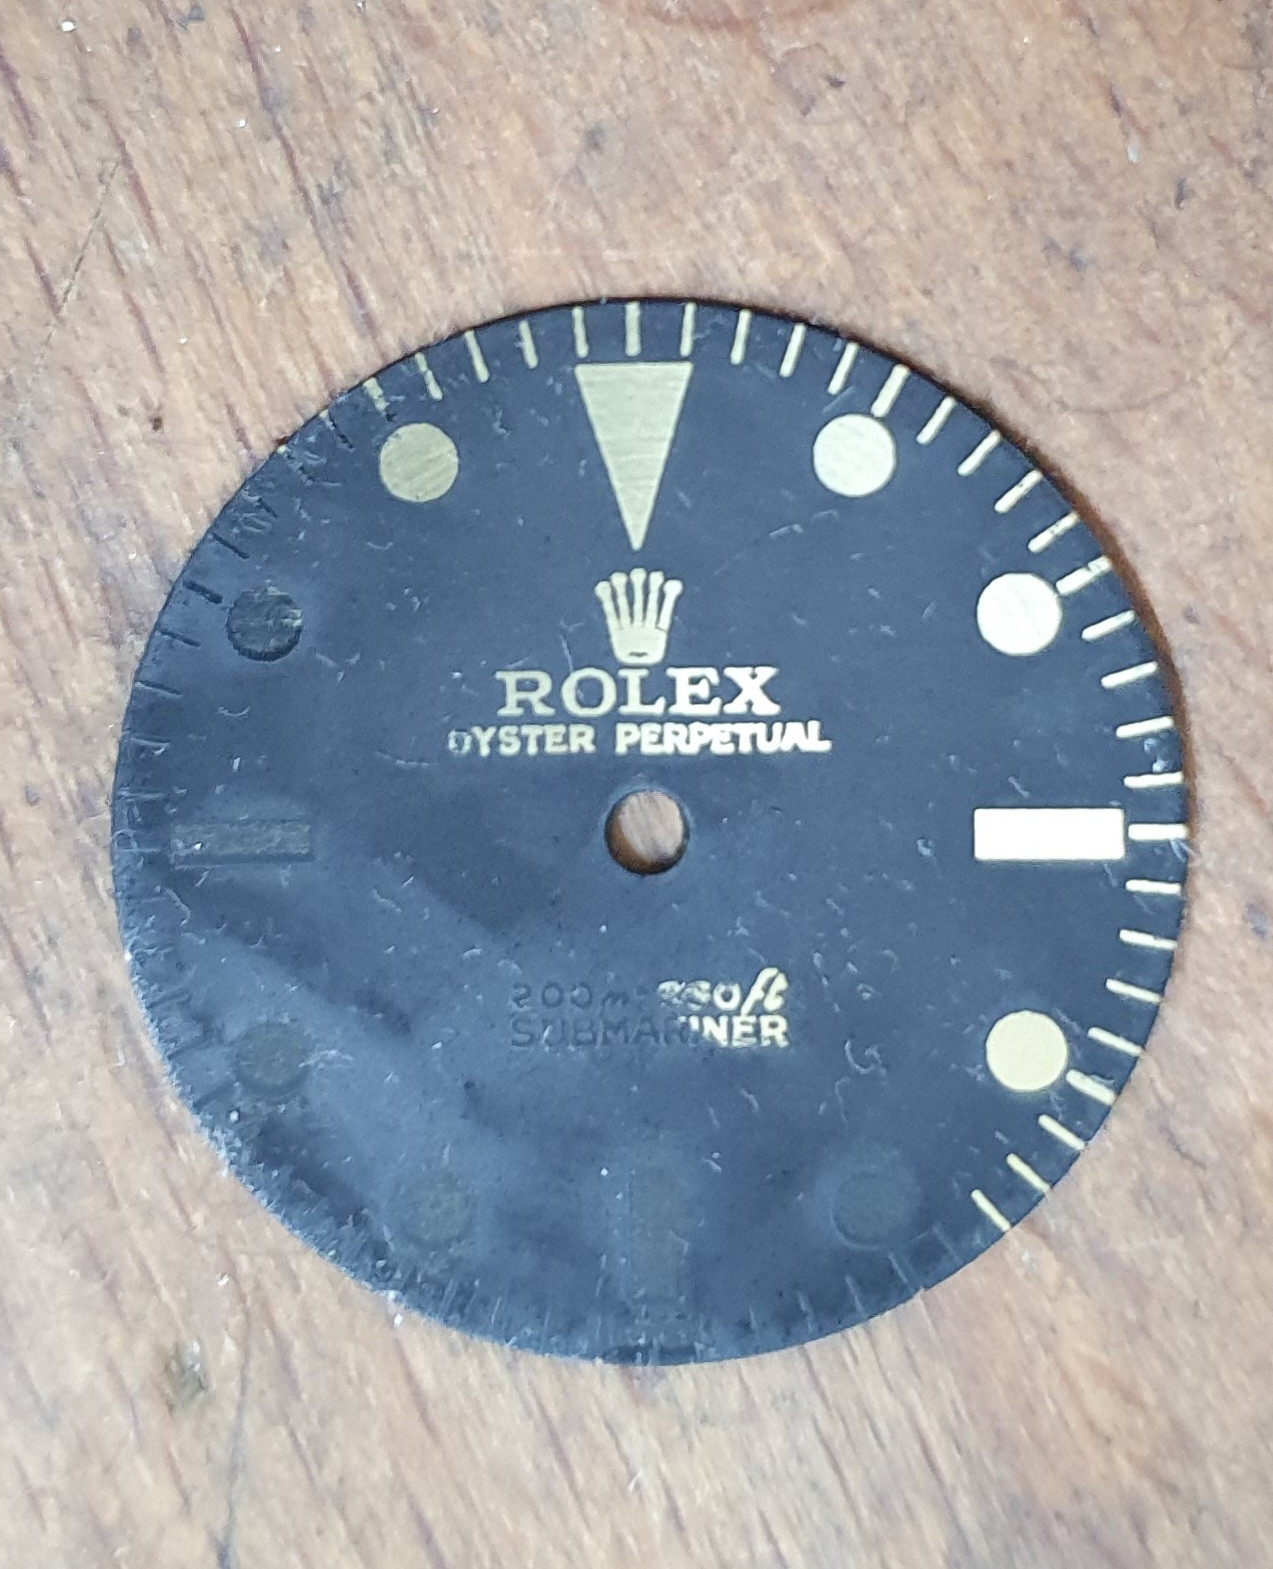
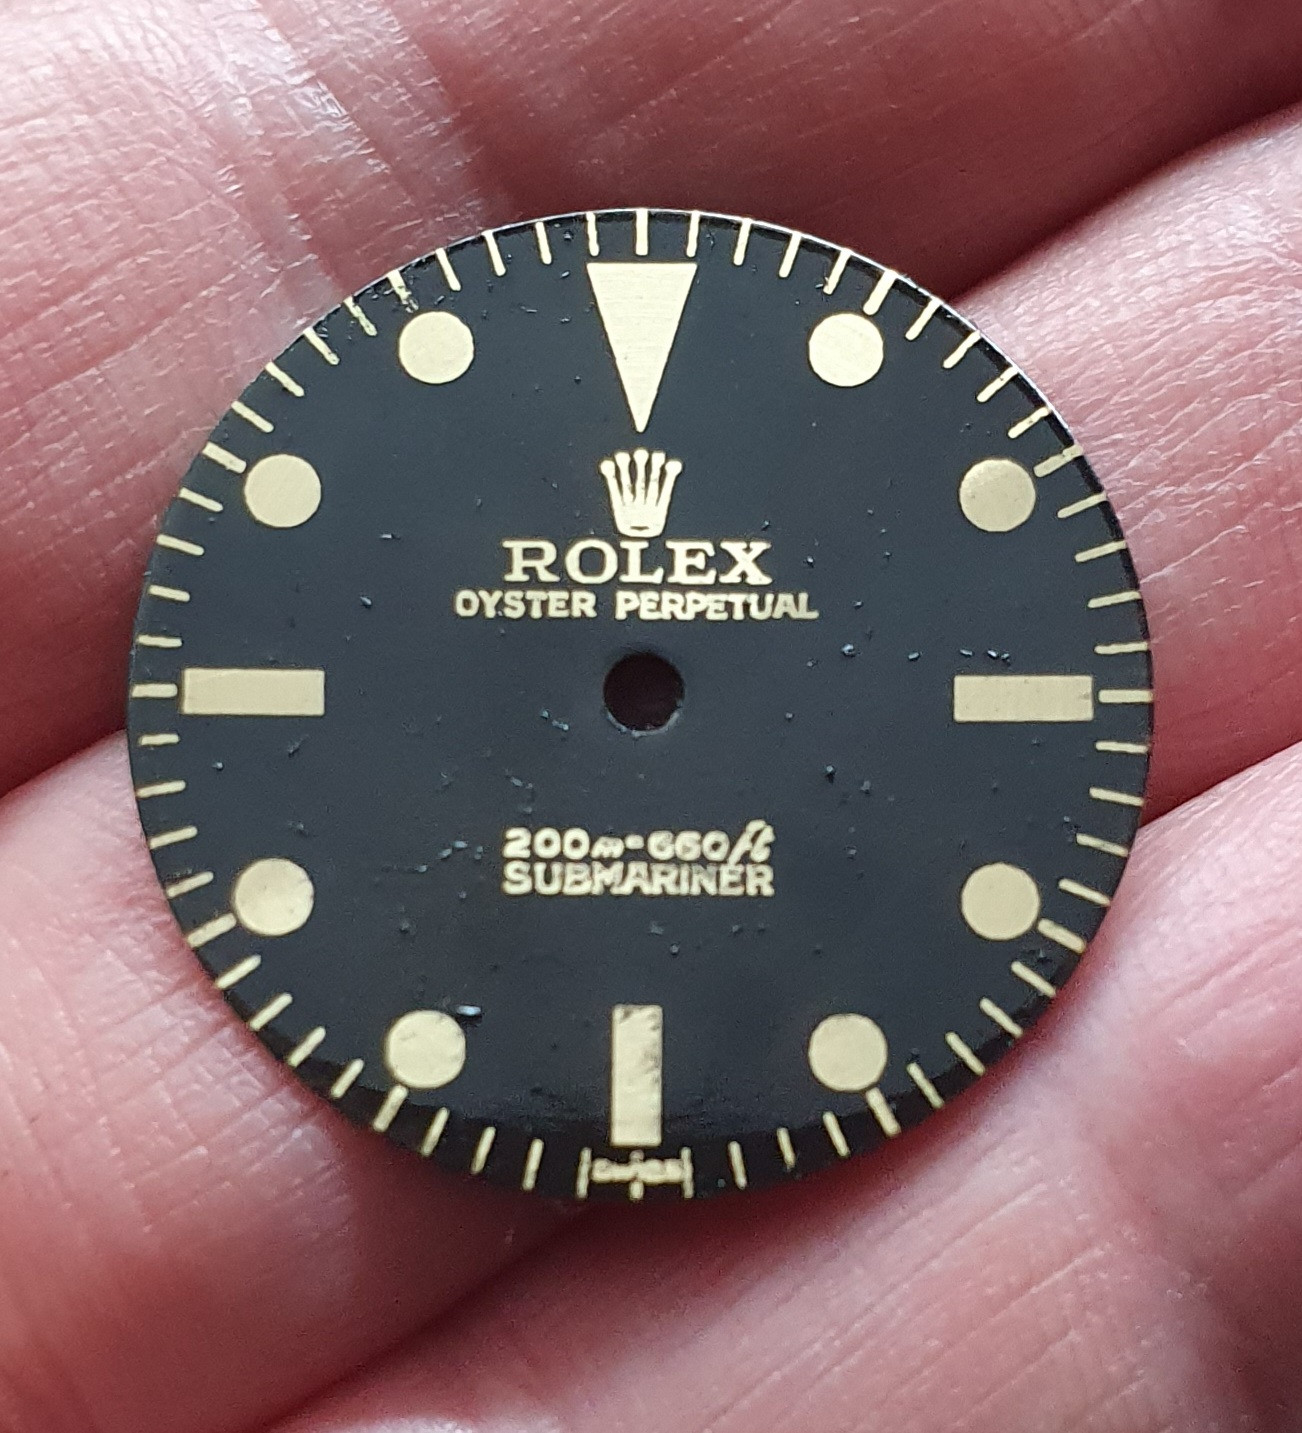
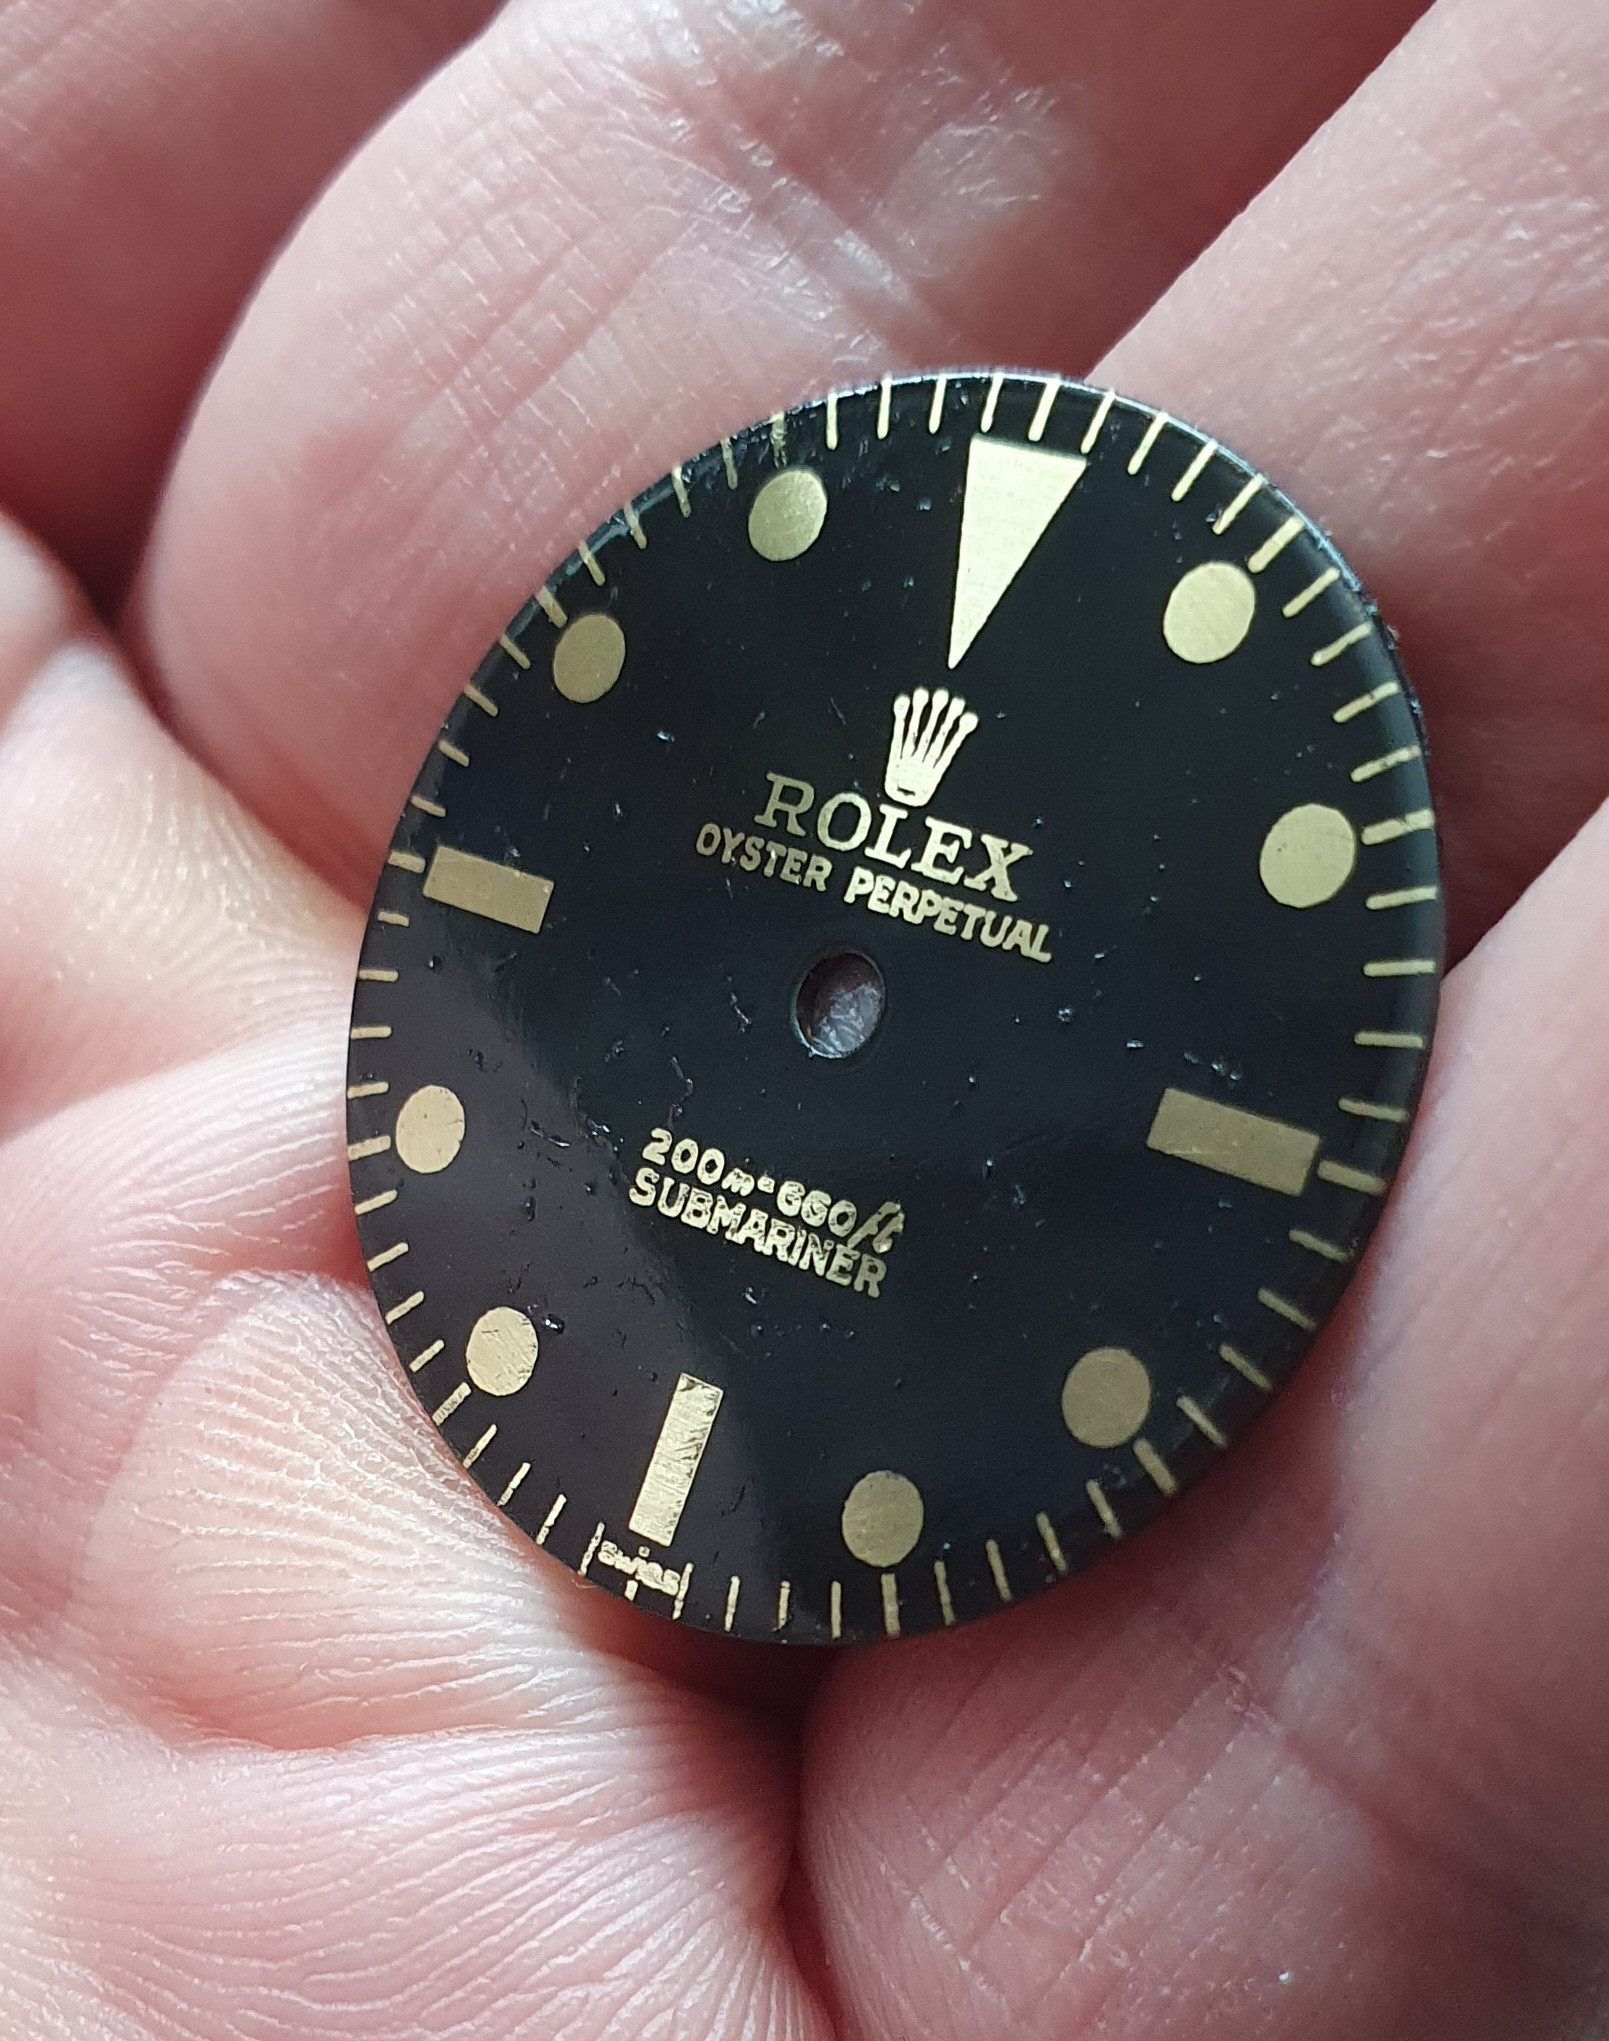
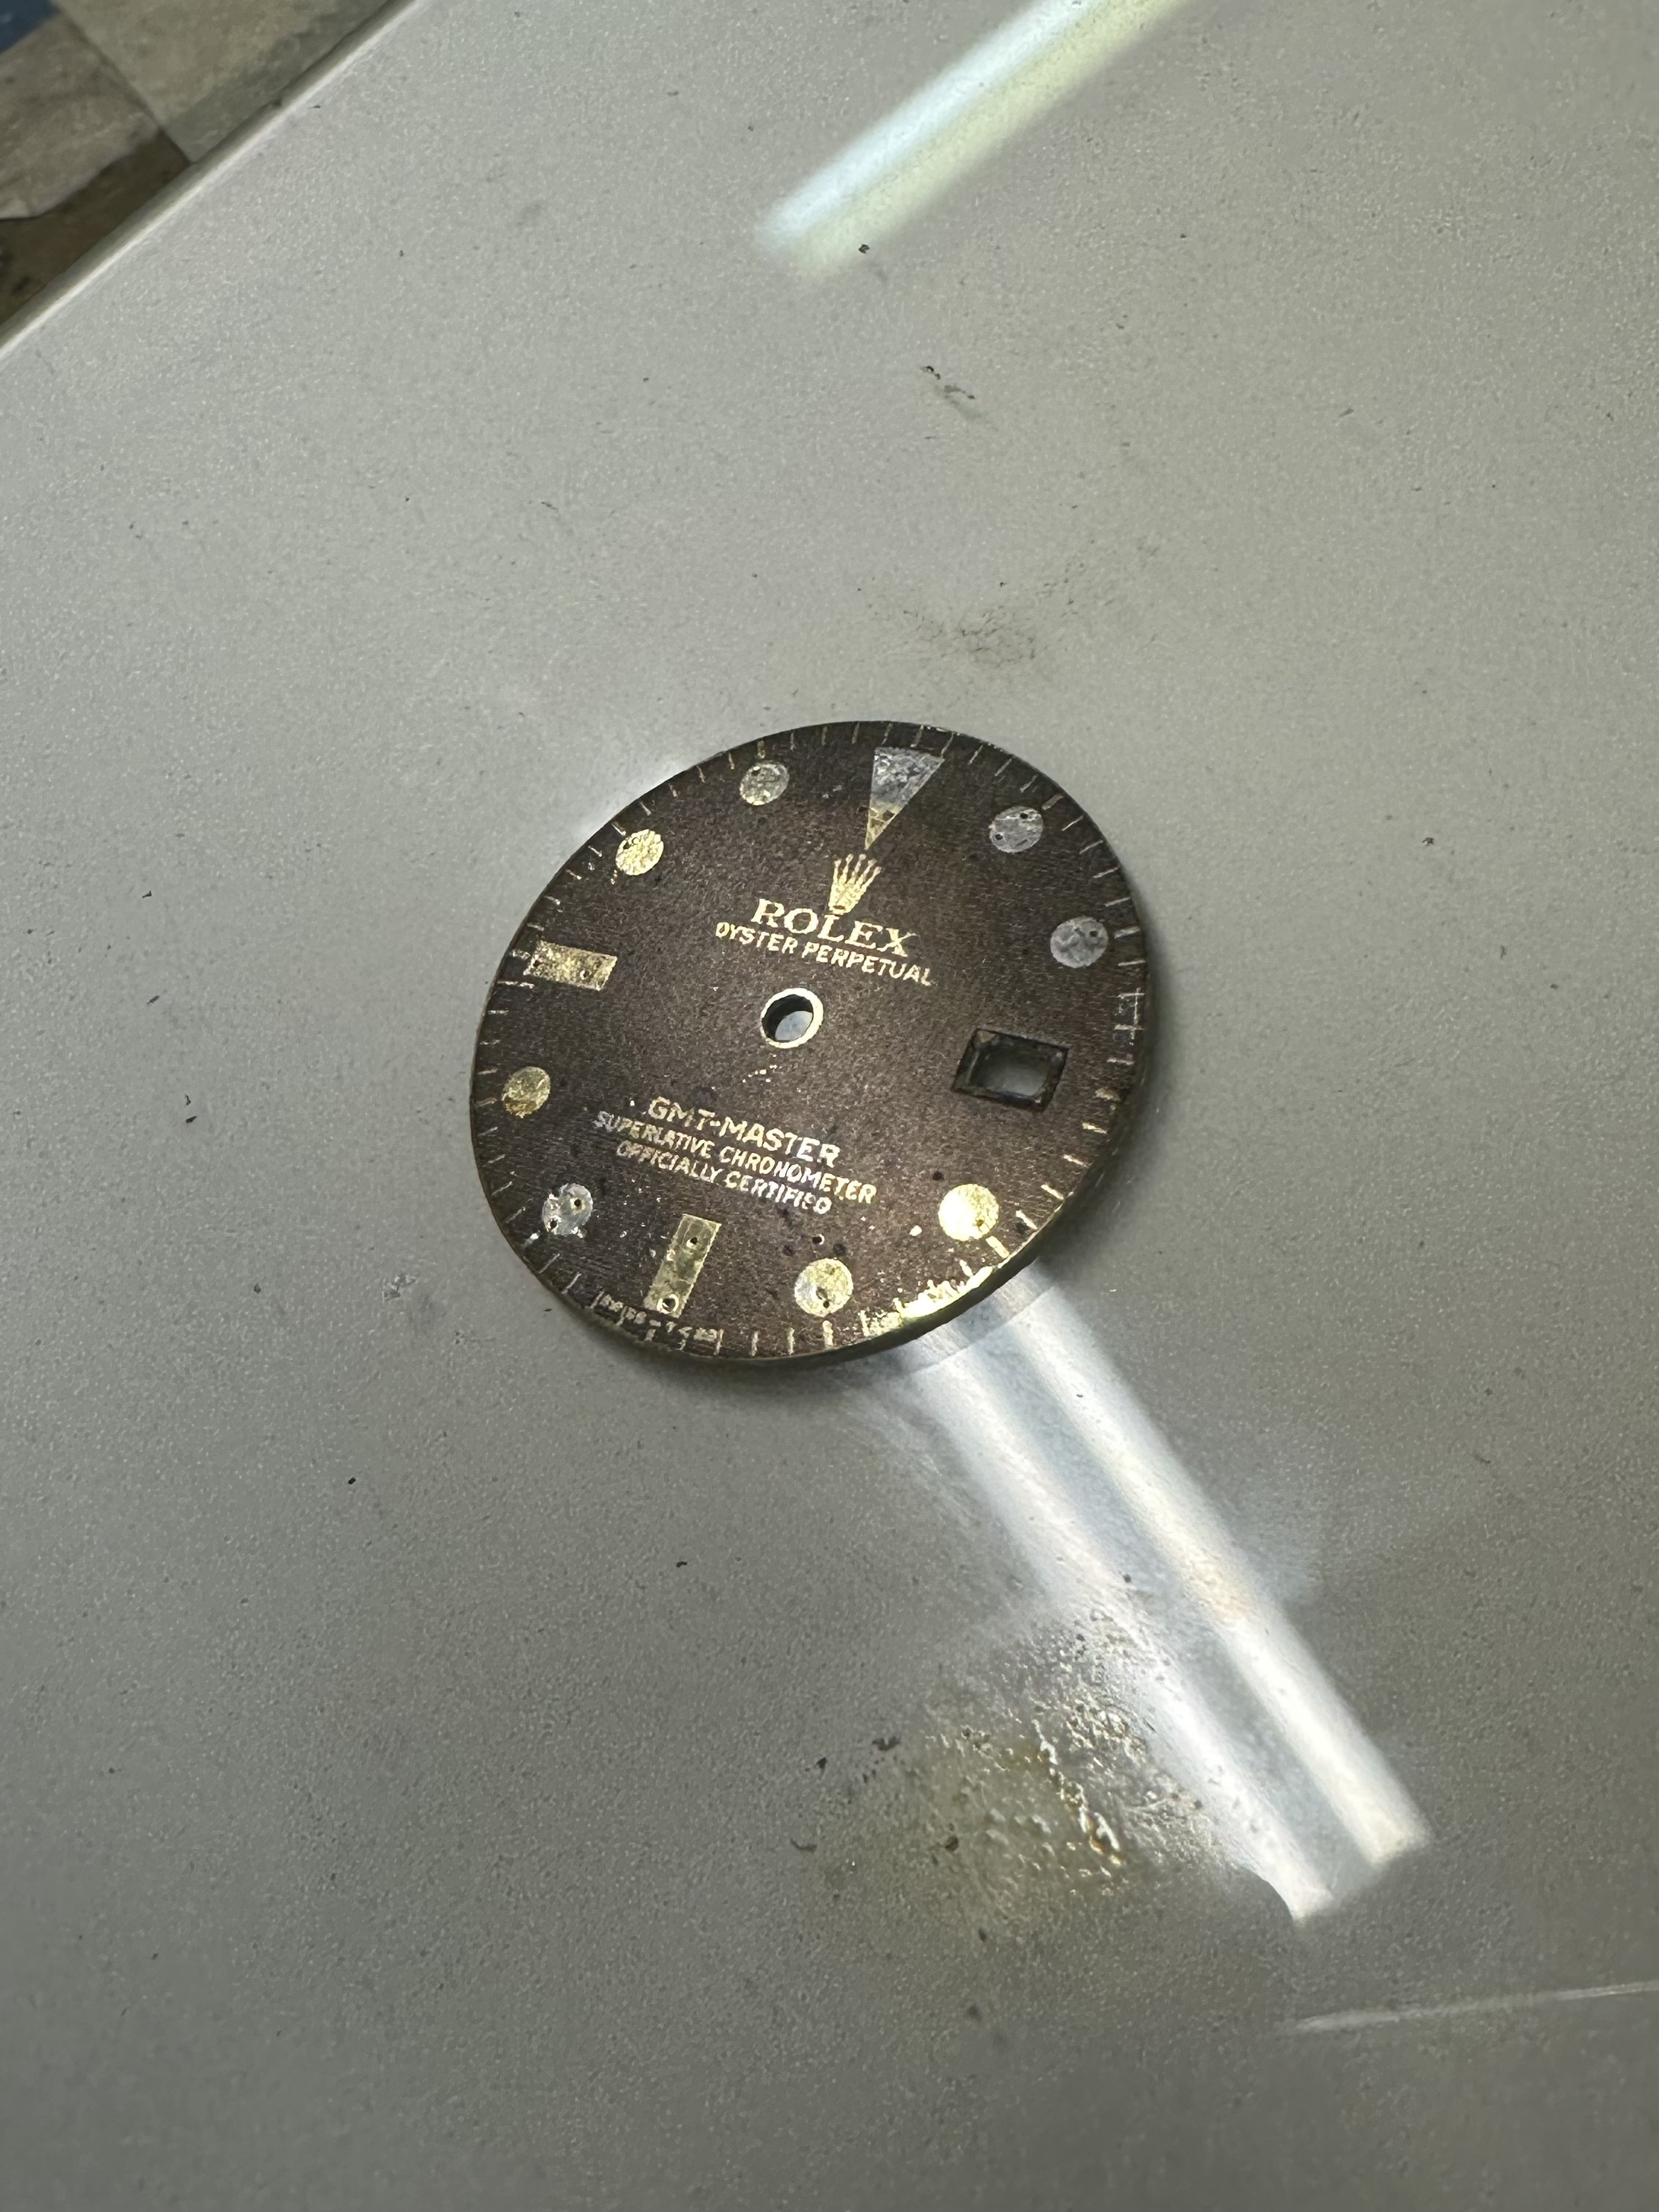
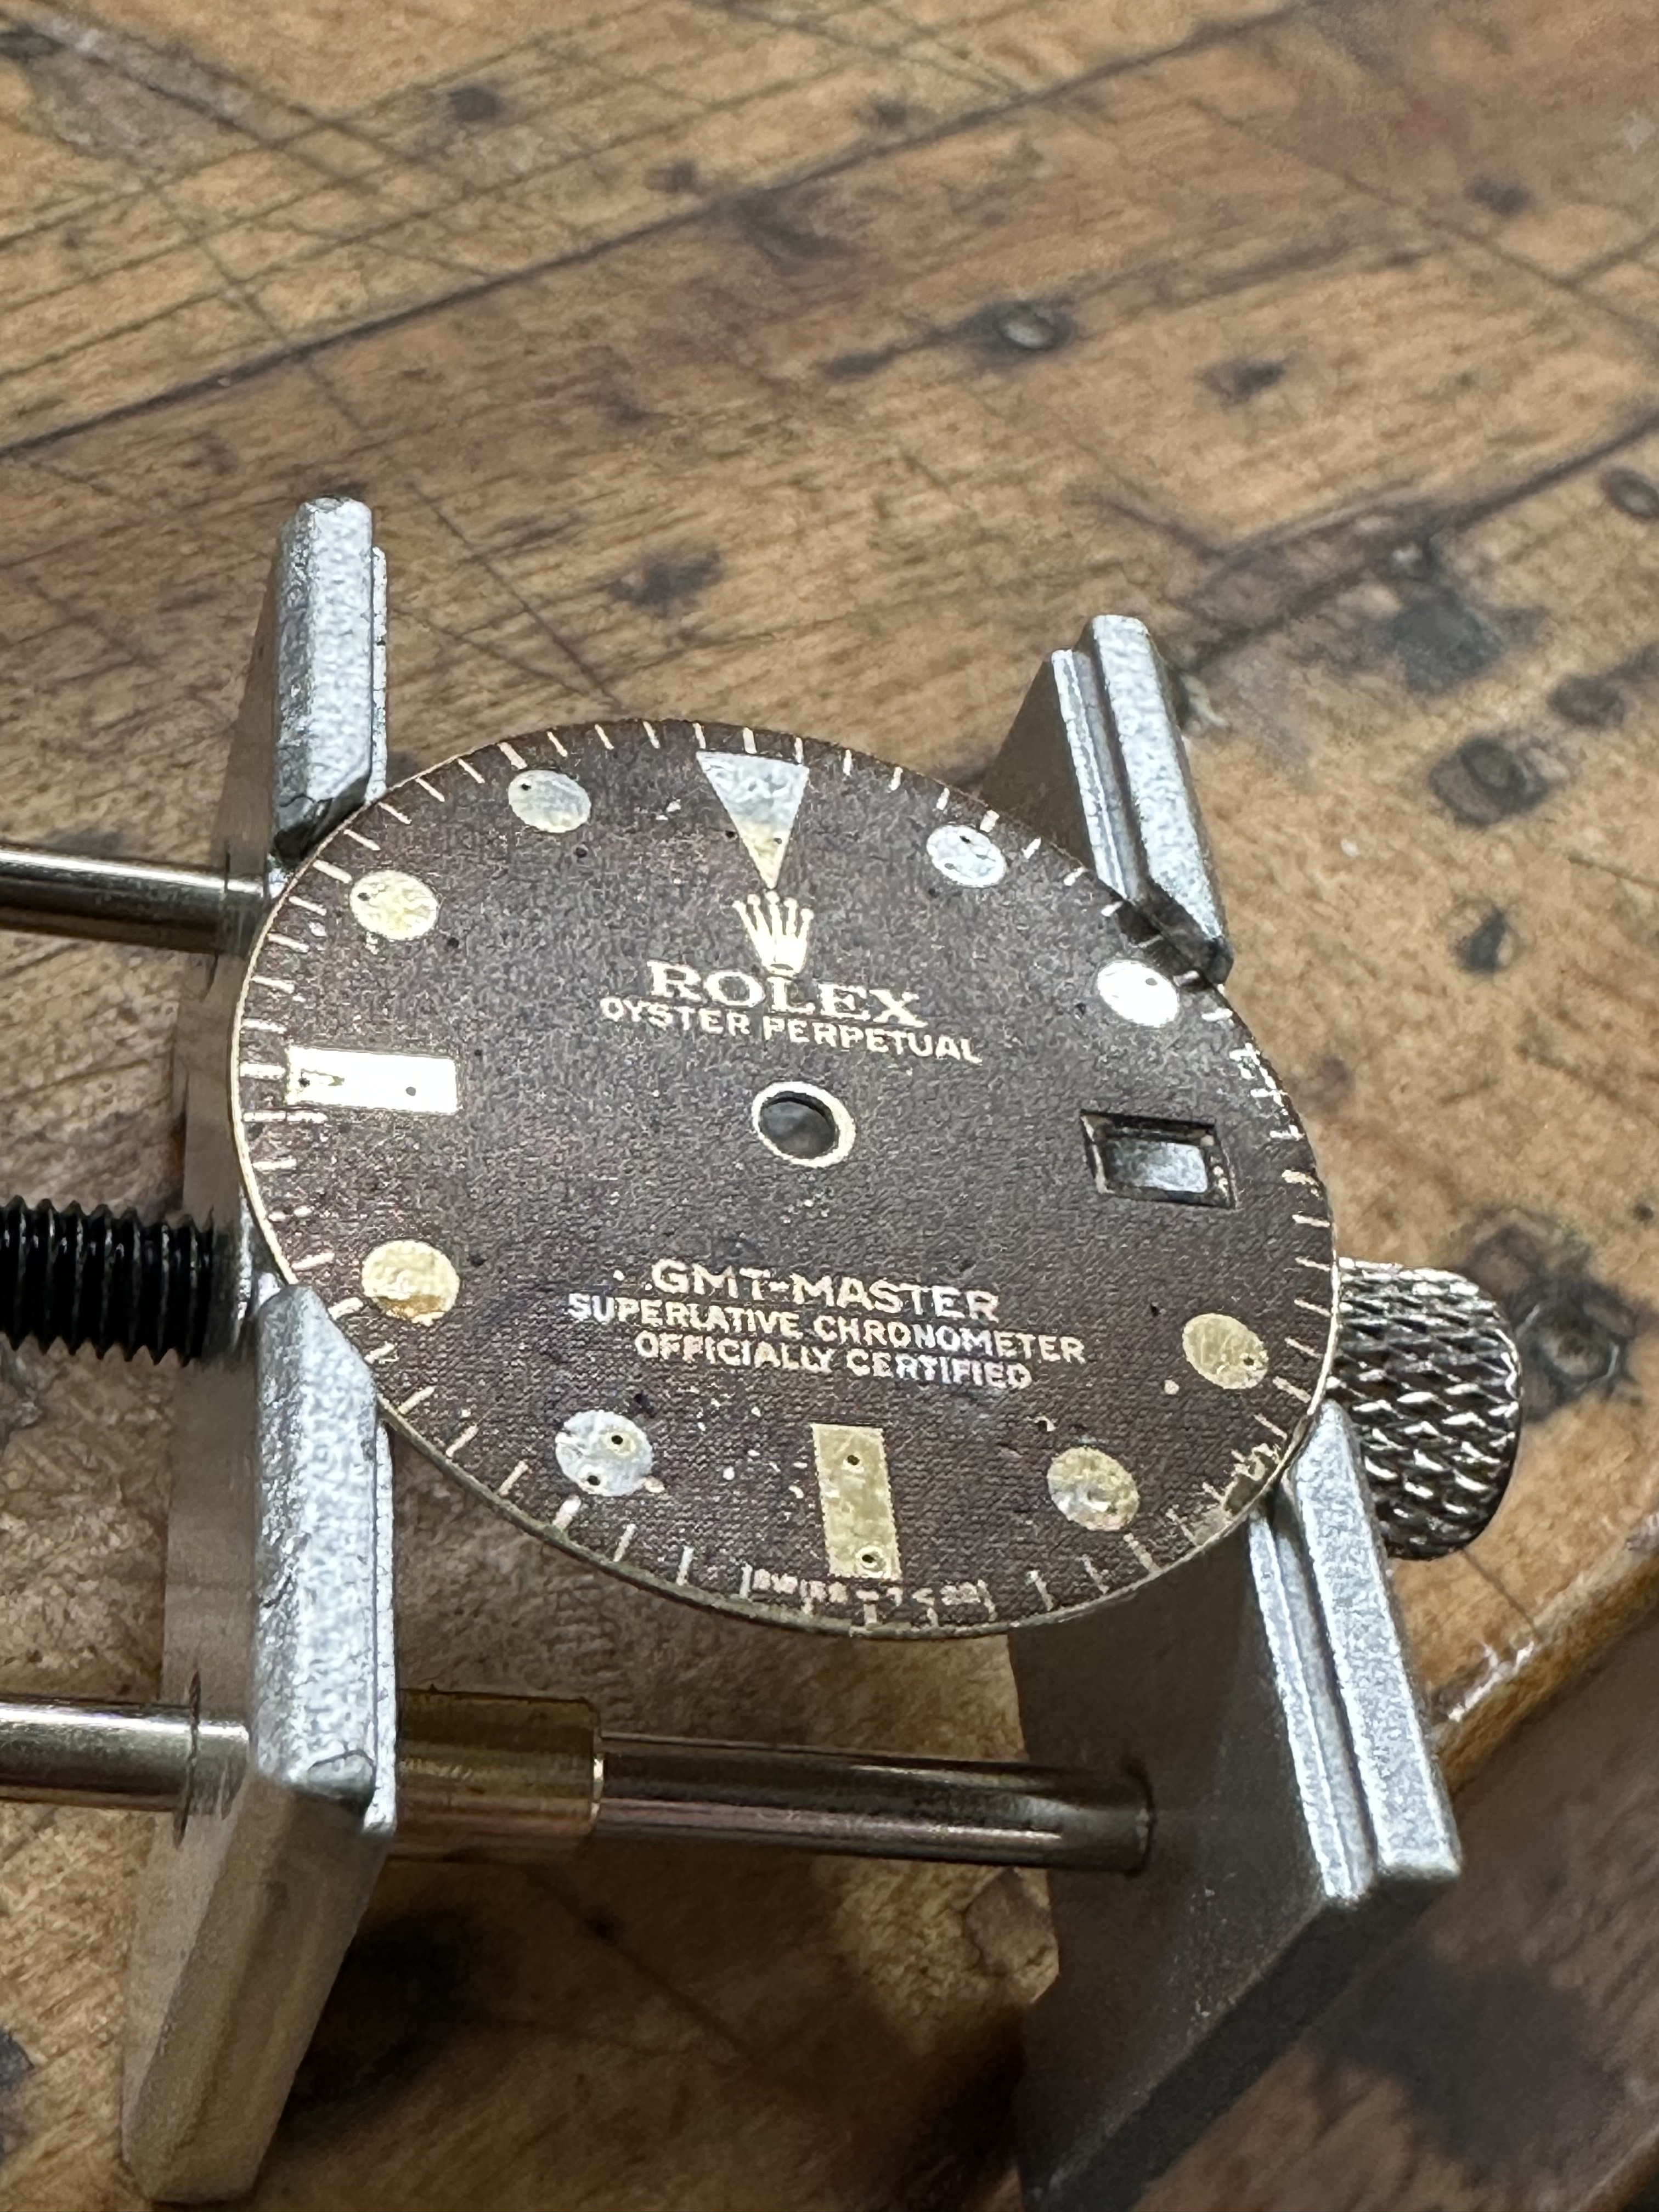
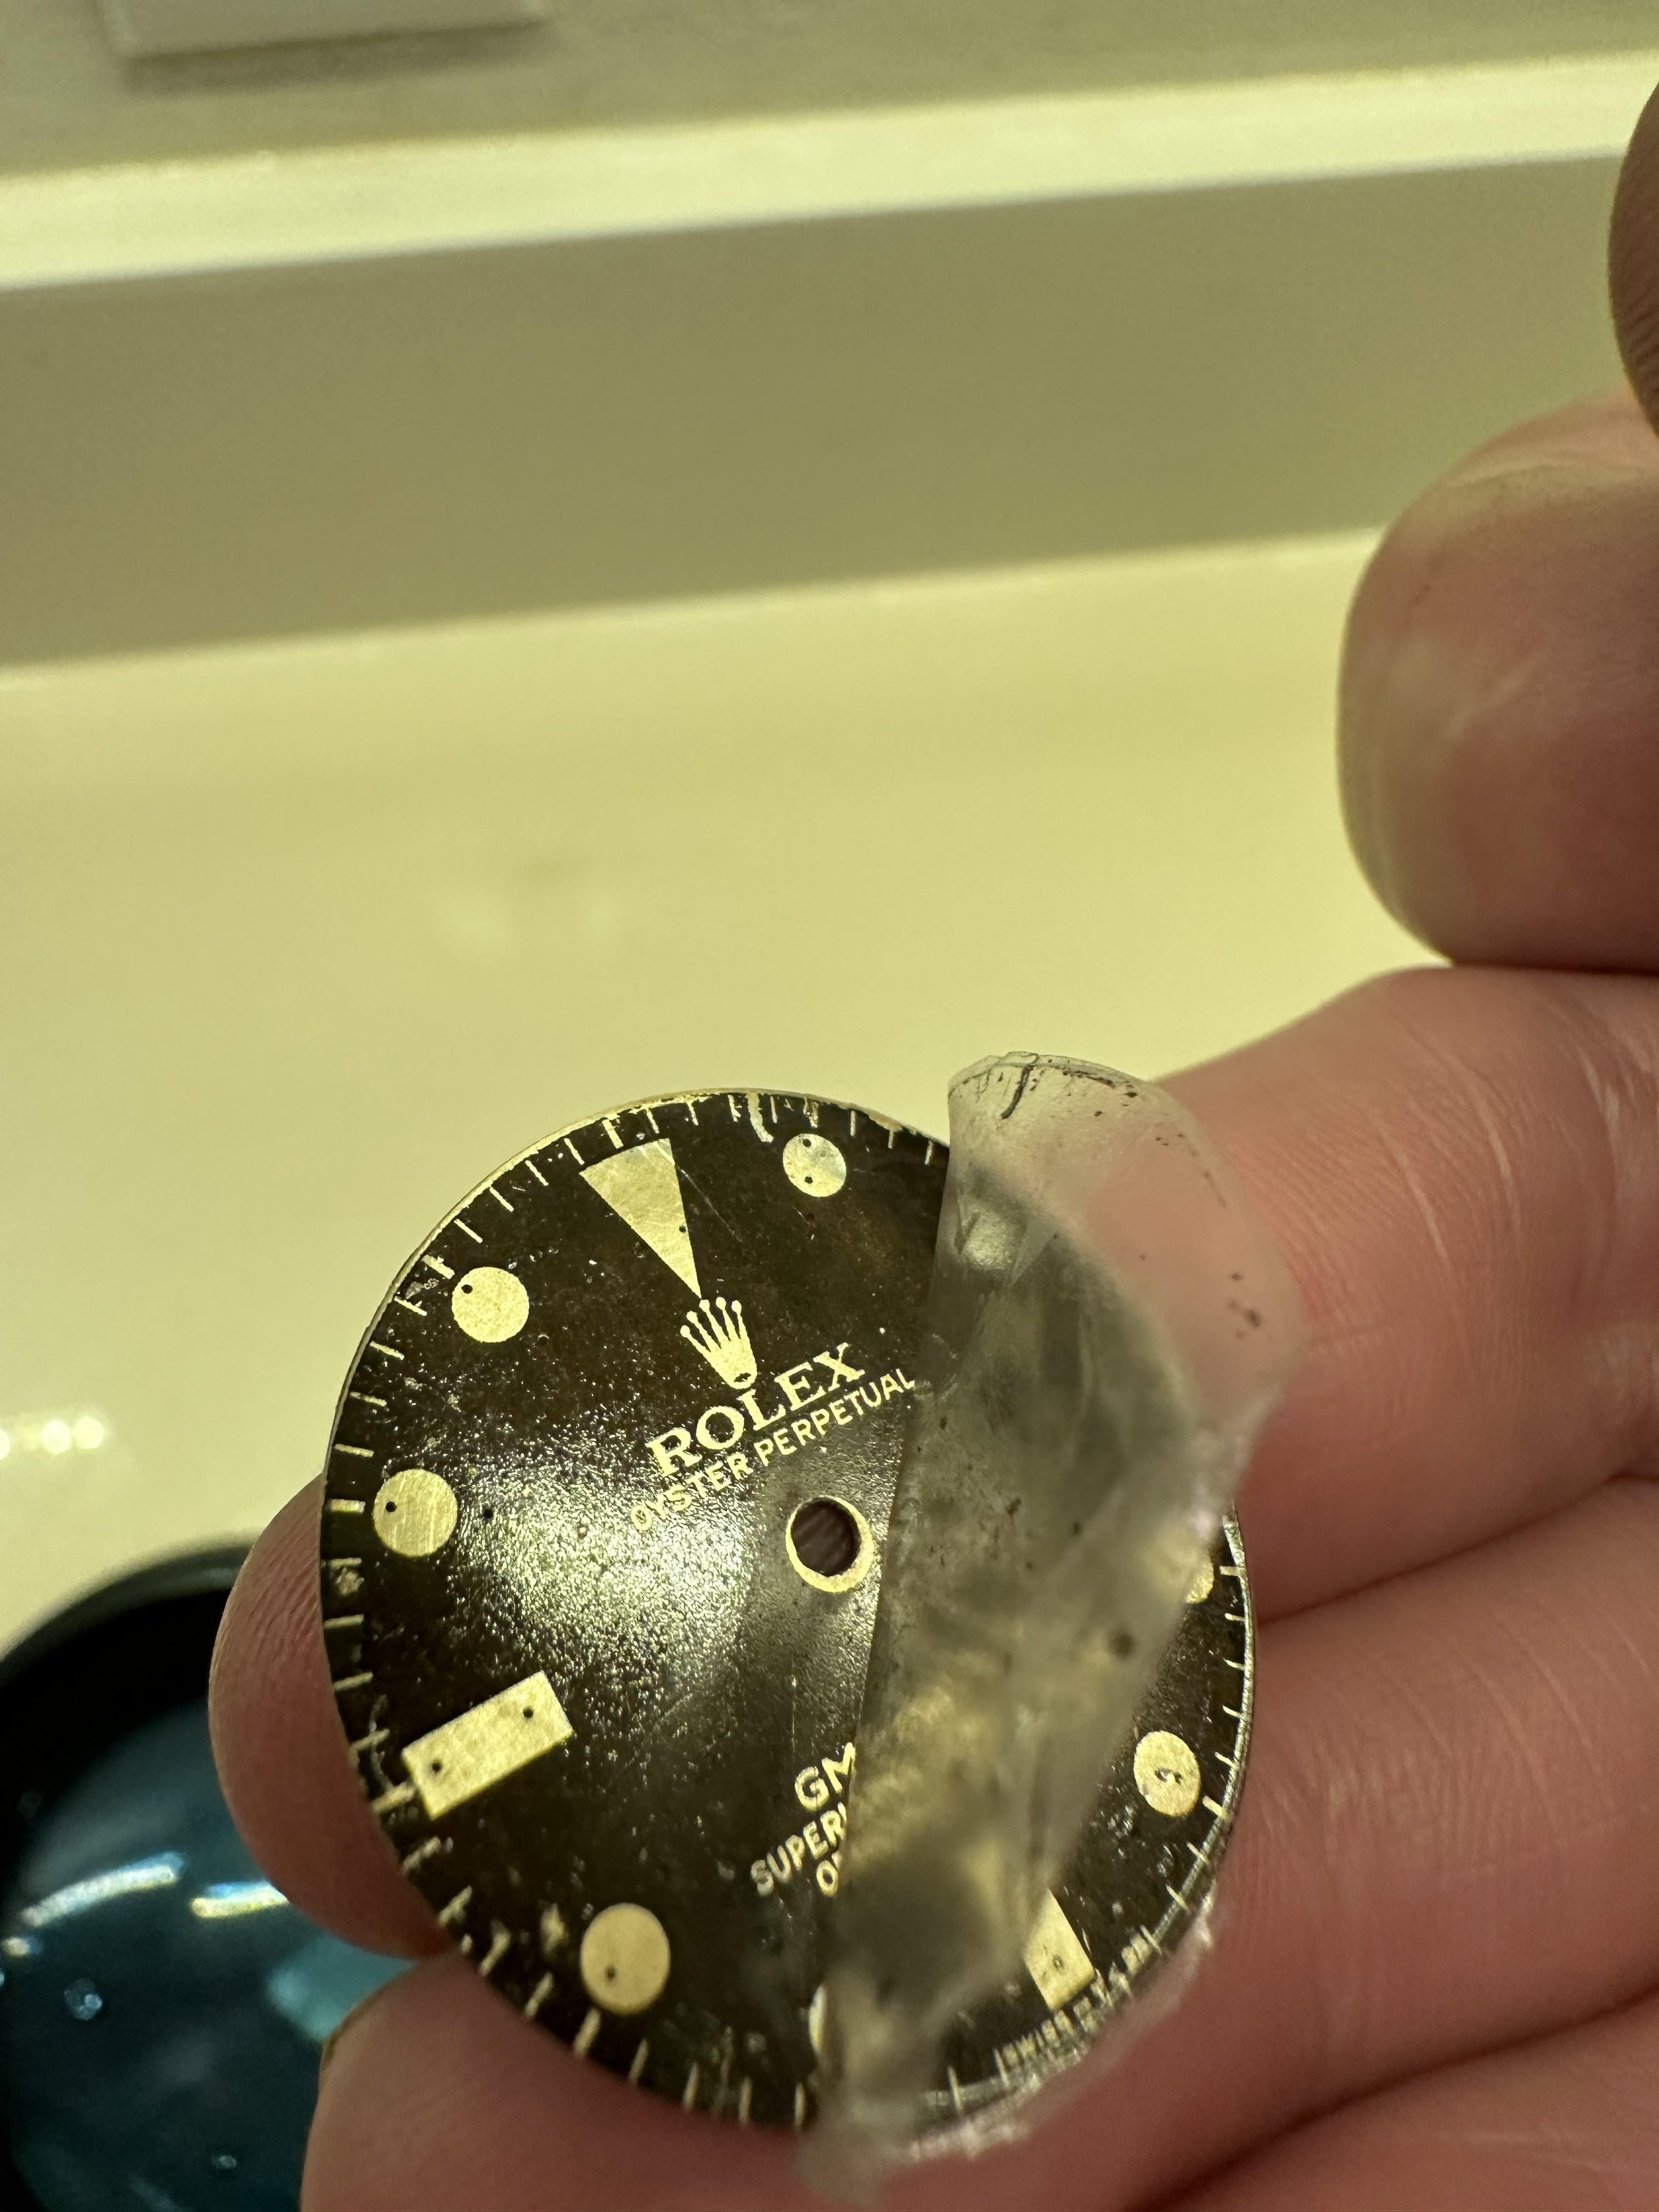
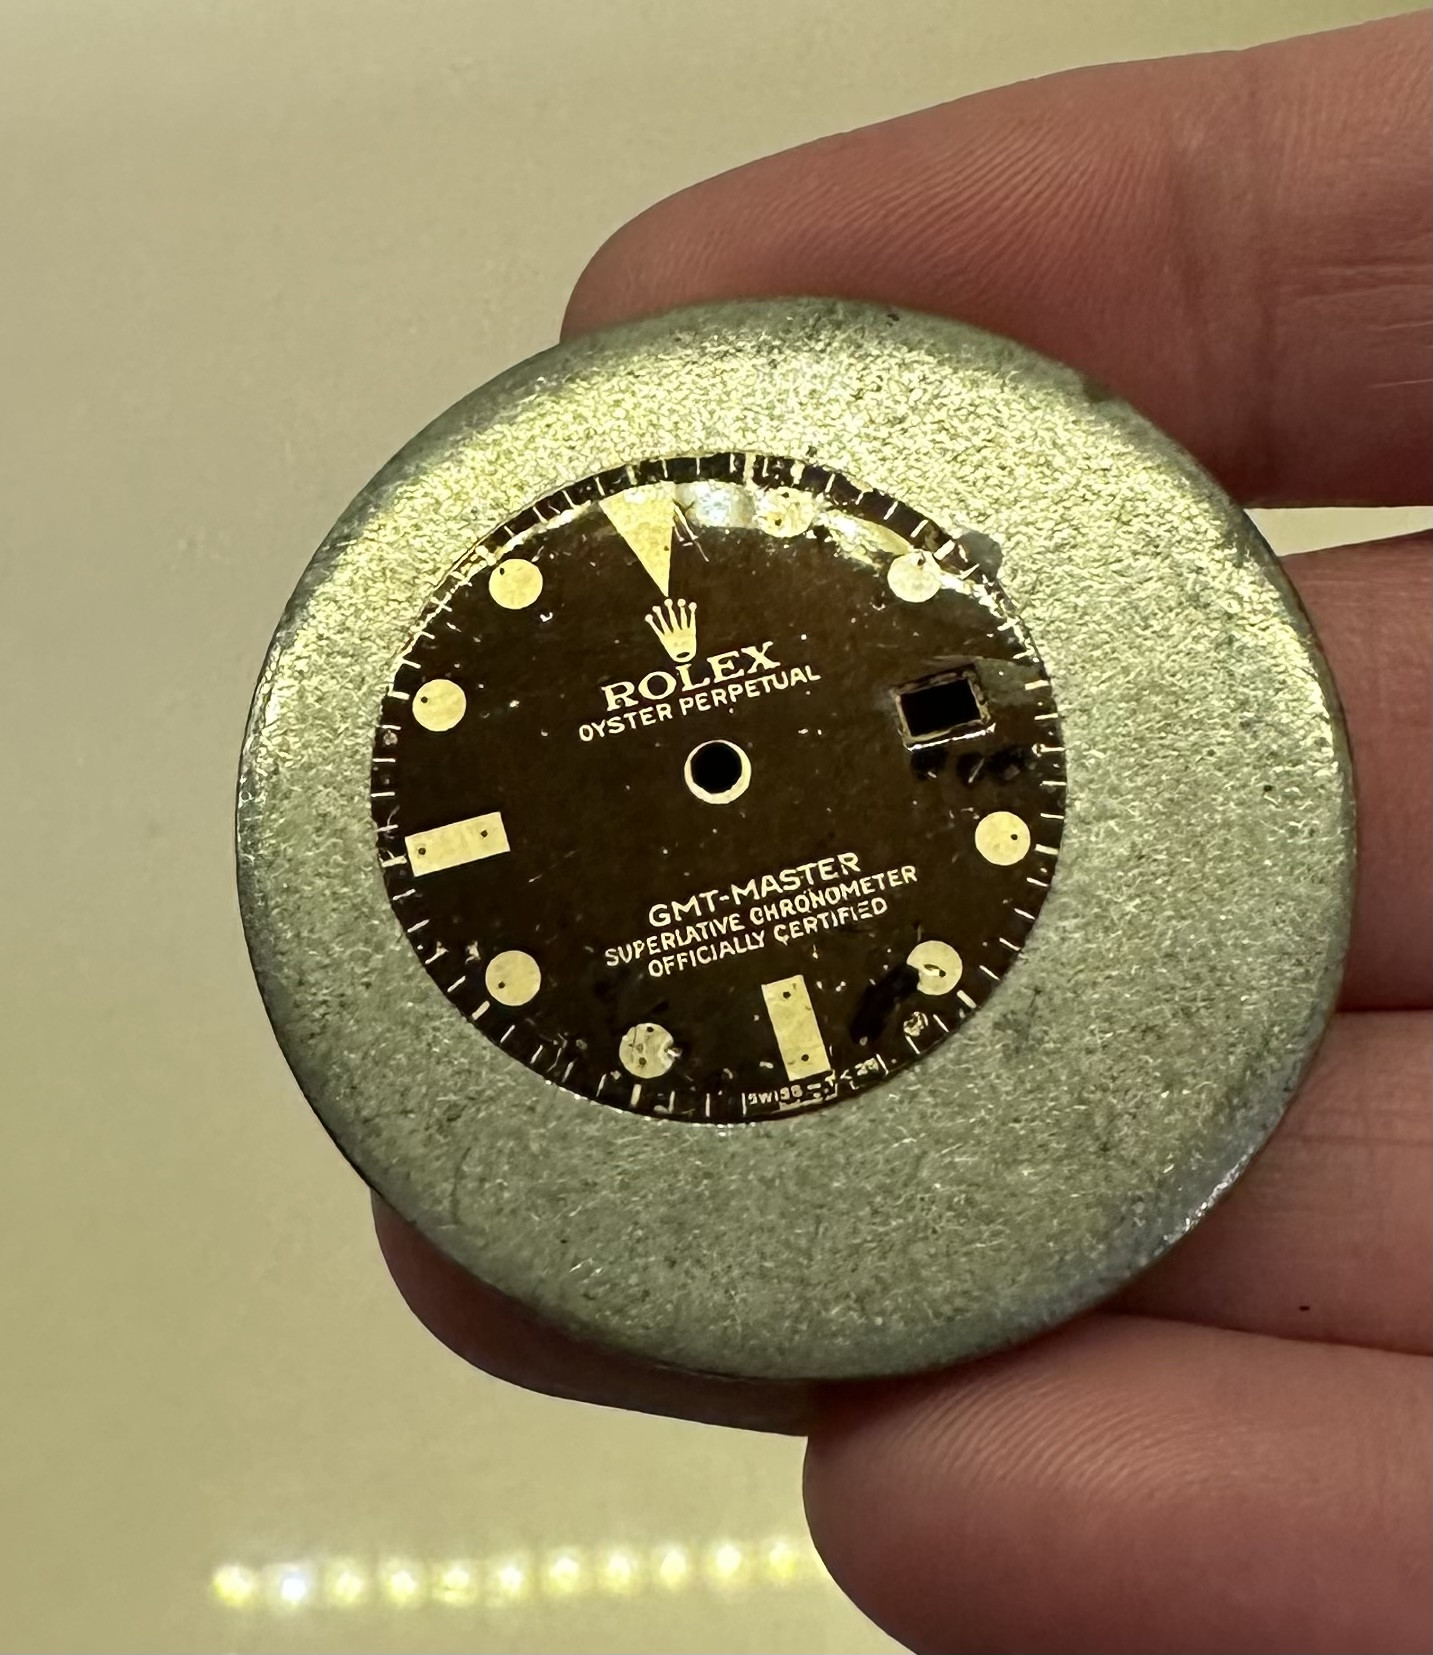
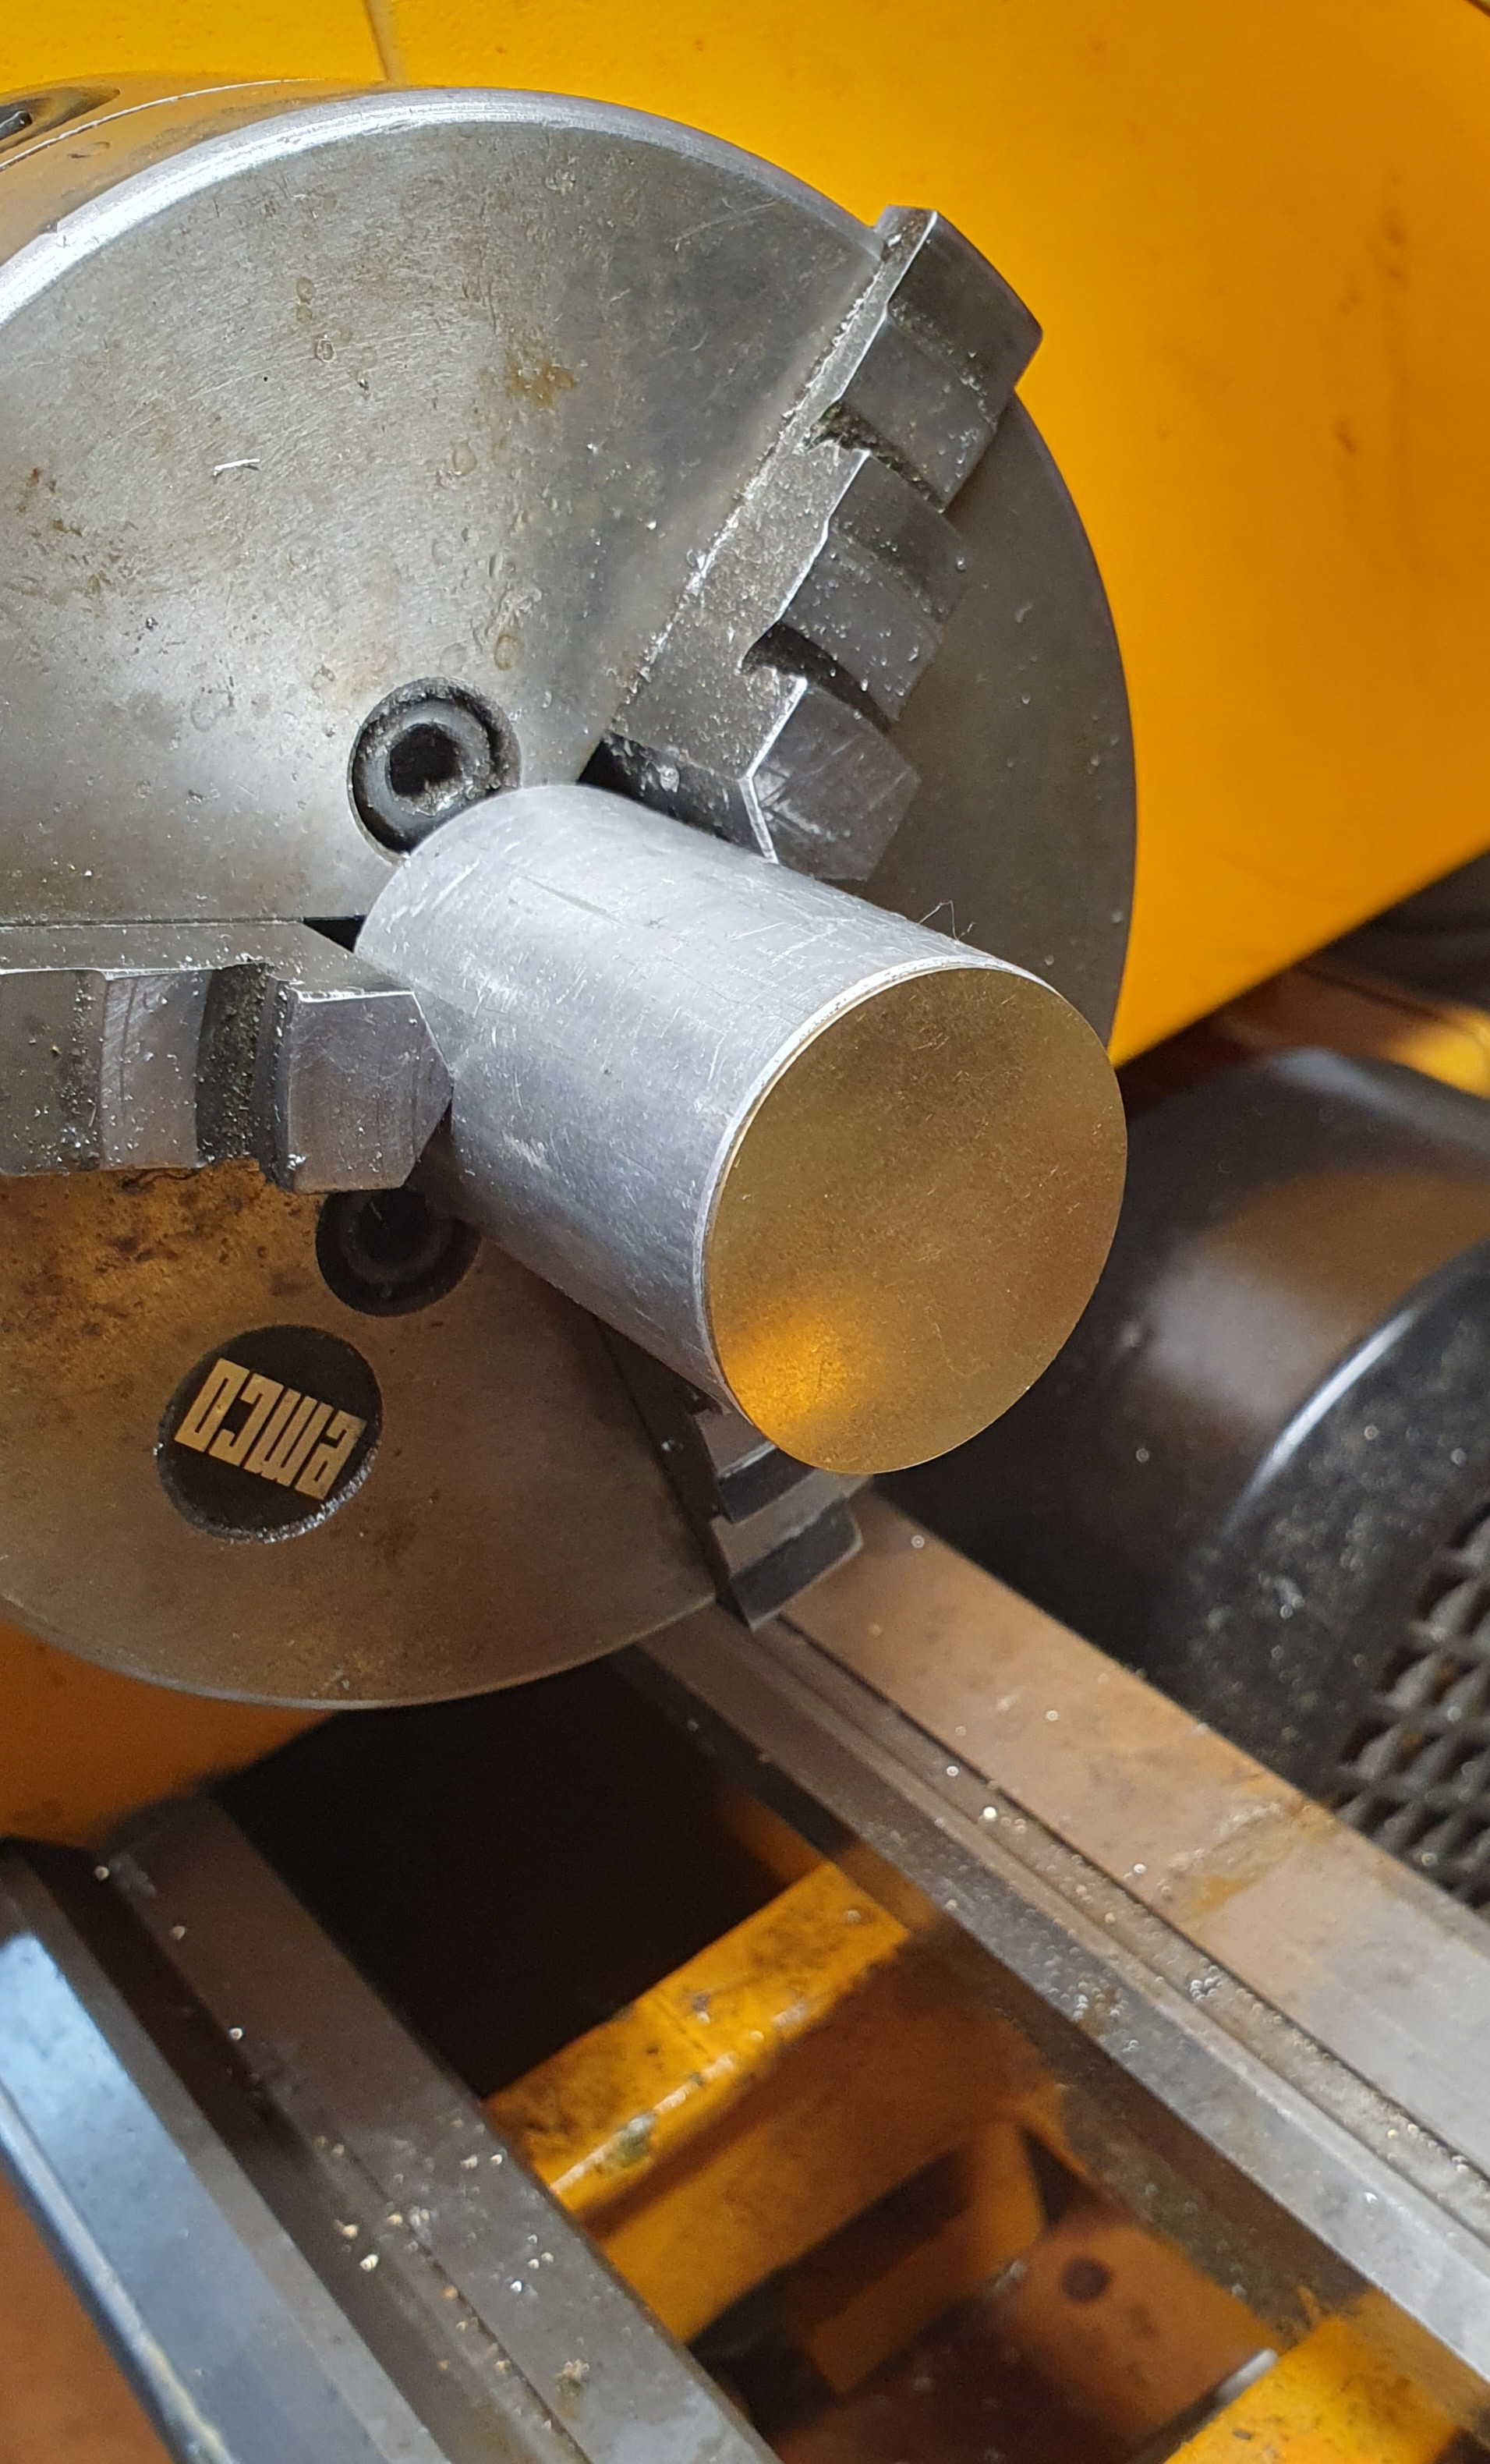
I polished the dial before at my lathe. I put double site tape at the back and stick it to a metal and rotate it. Then I used sandpaper from 280 ... 5000.
Again, thank you. I have sunnyscopa but don't want to waste it by doing wrong.