-
Tired of adverts on RWI? - Subscribe by clicking HERE and PMing Trailboss for instructions and they will magically go away!
Building a 5513 - Tutorial
- Thread starter Megahz1
- Start date
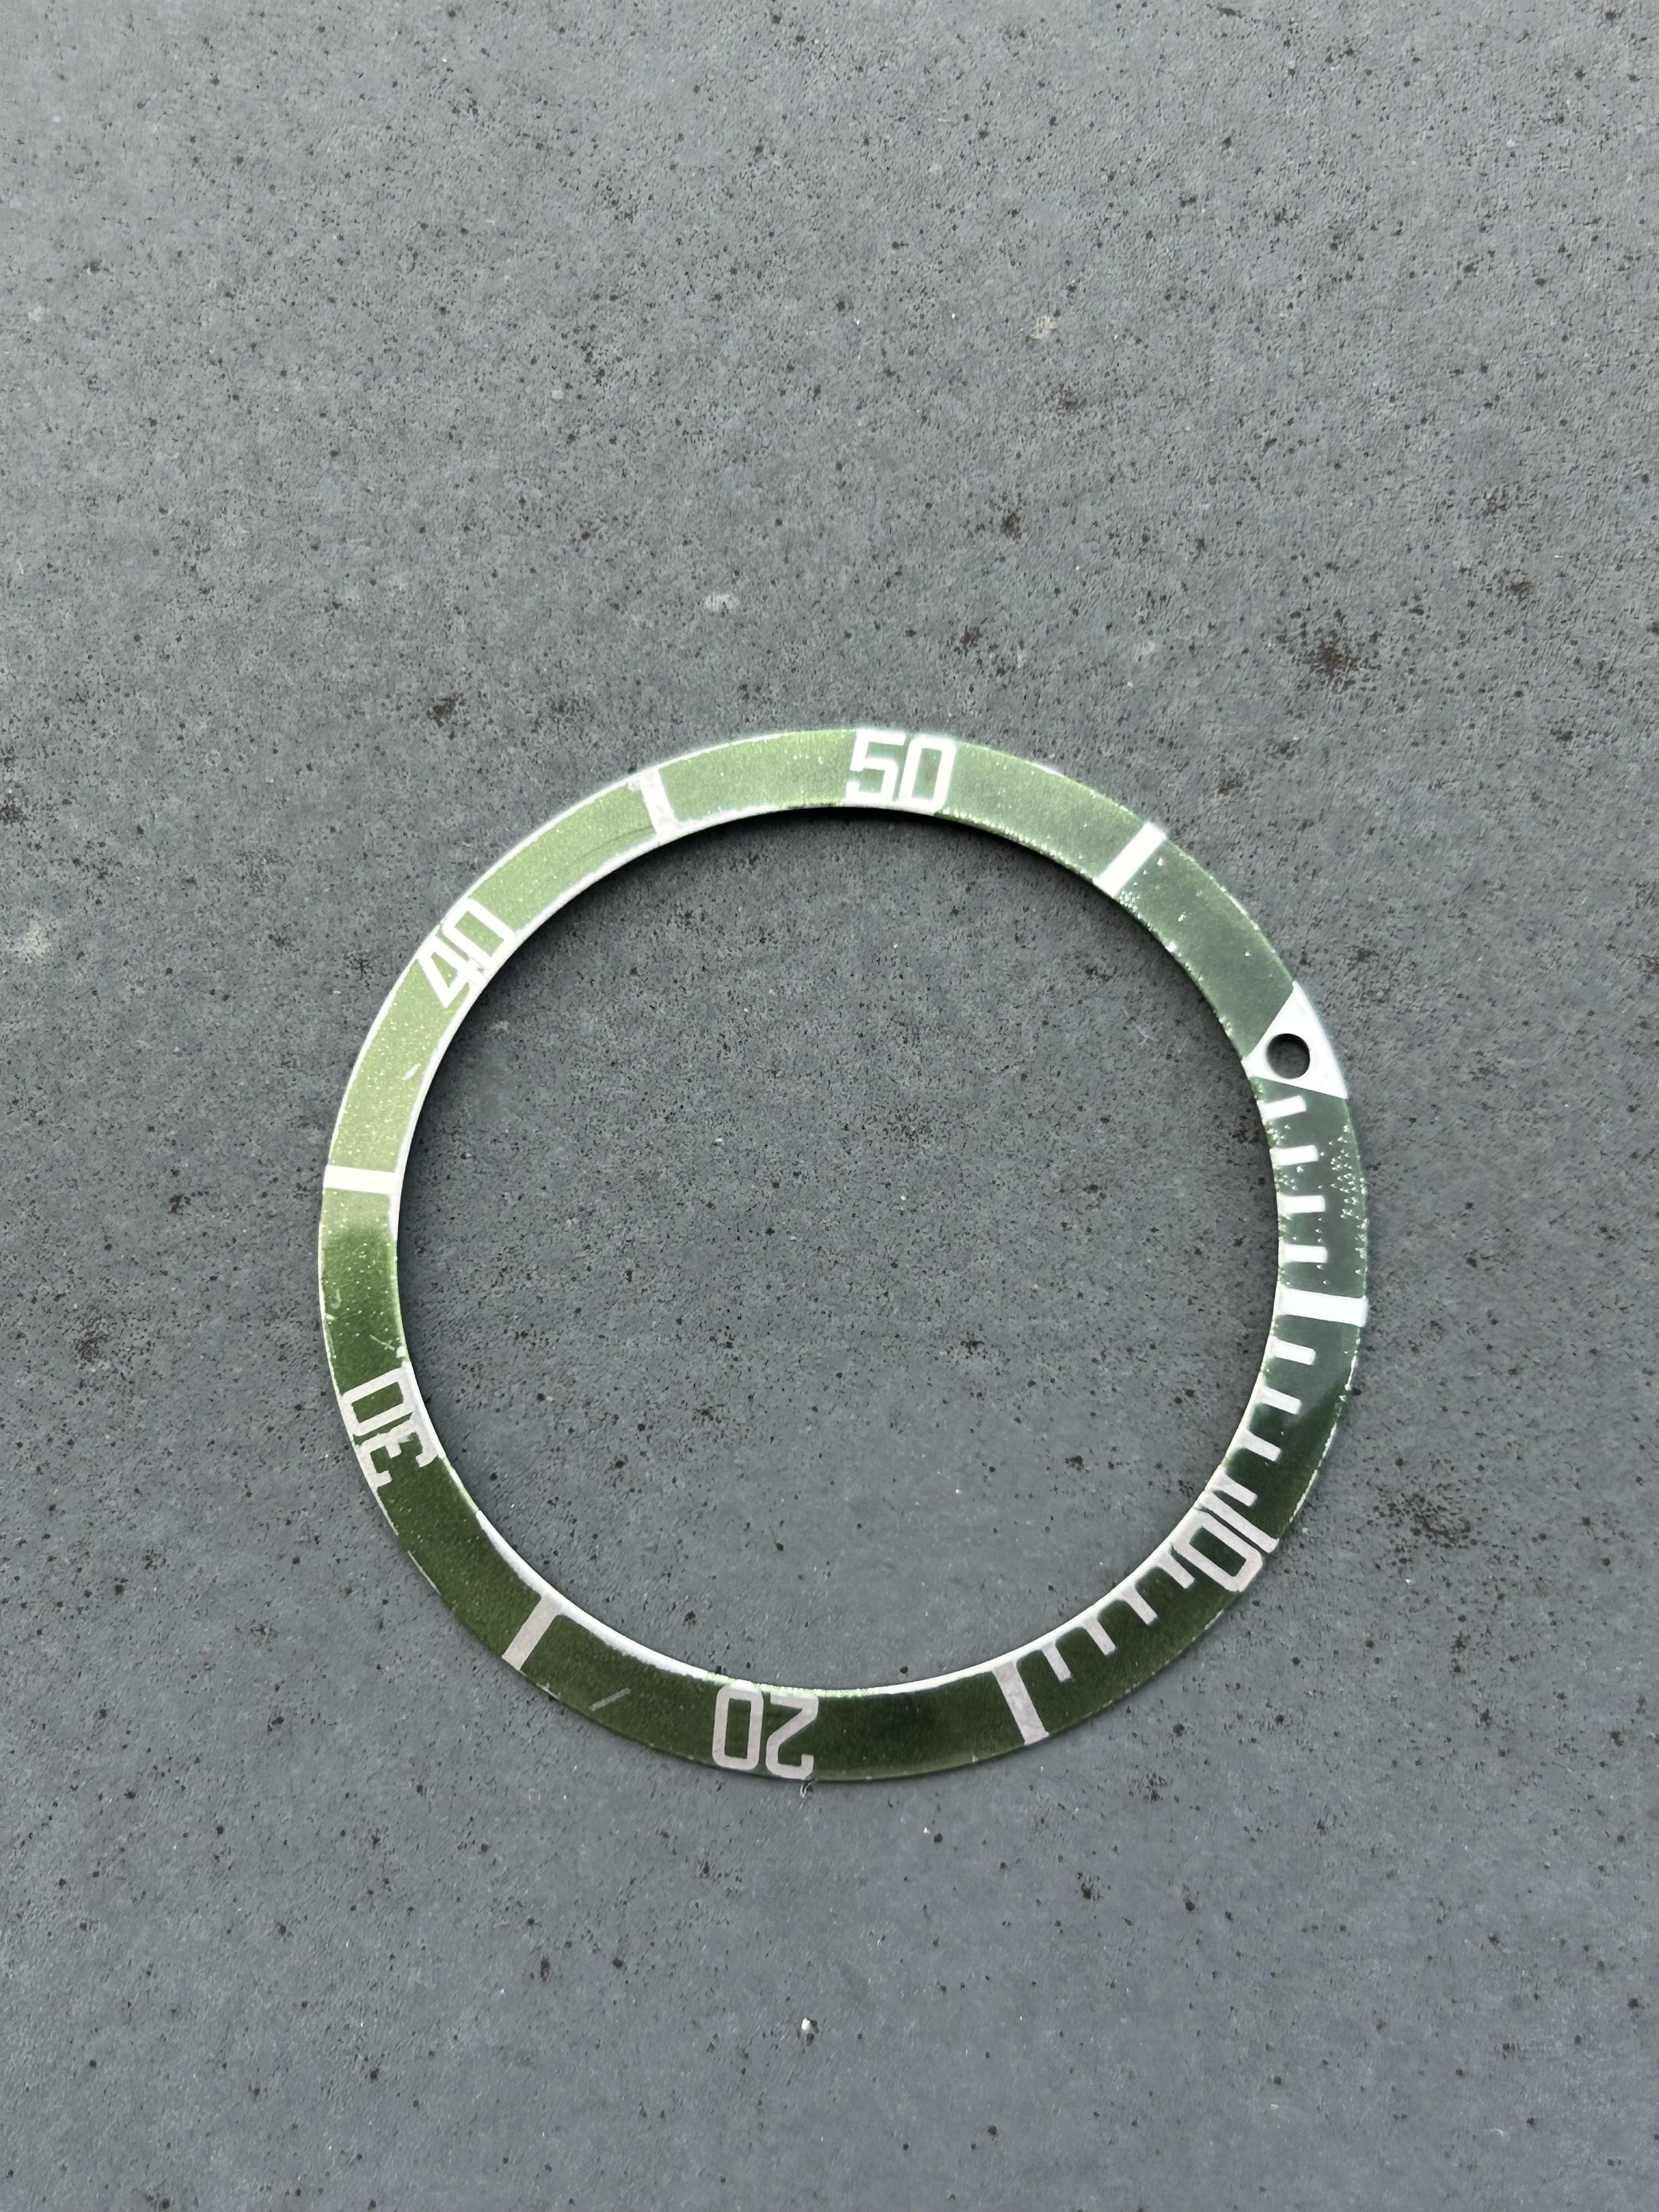
Wow I have never seen green before. It is pretty cool. I use Milton it is milder but does the trick in minutes. You need to keep an eye on it though or it will go too far. Our friends at Cousins have 5513 inserts to play with, you will get them quicker.
I don't like the green
cousins it is then
I am guessing that such inserts are close enough in look to what it should be?
cousins it is then
I am guessing that such inserts are close enough in look to what it should be?
They are decent not perfect, the pips are hit or miss, some have good ones some do not but for less than €15 including tax they are not bad.I am guessing that such inserts are close enough in look to what it should be?
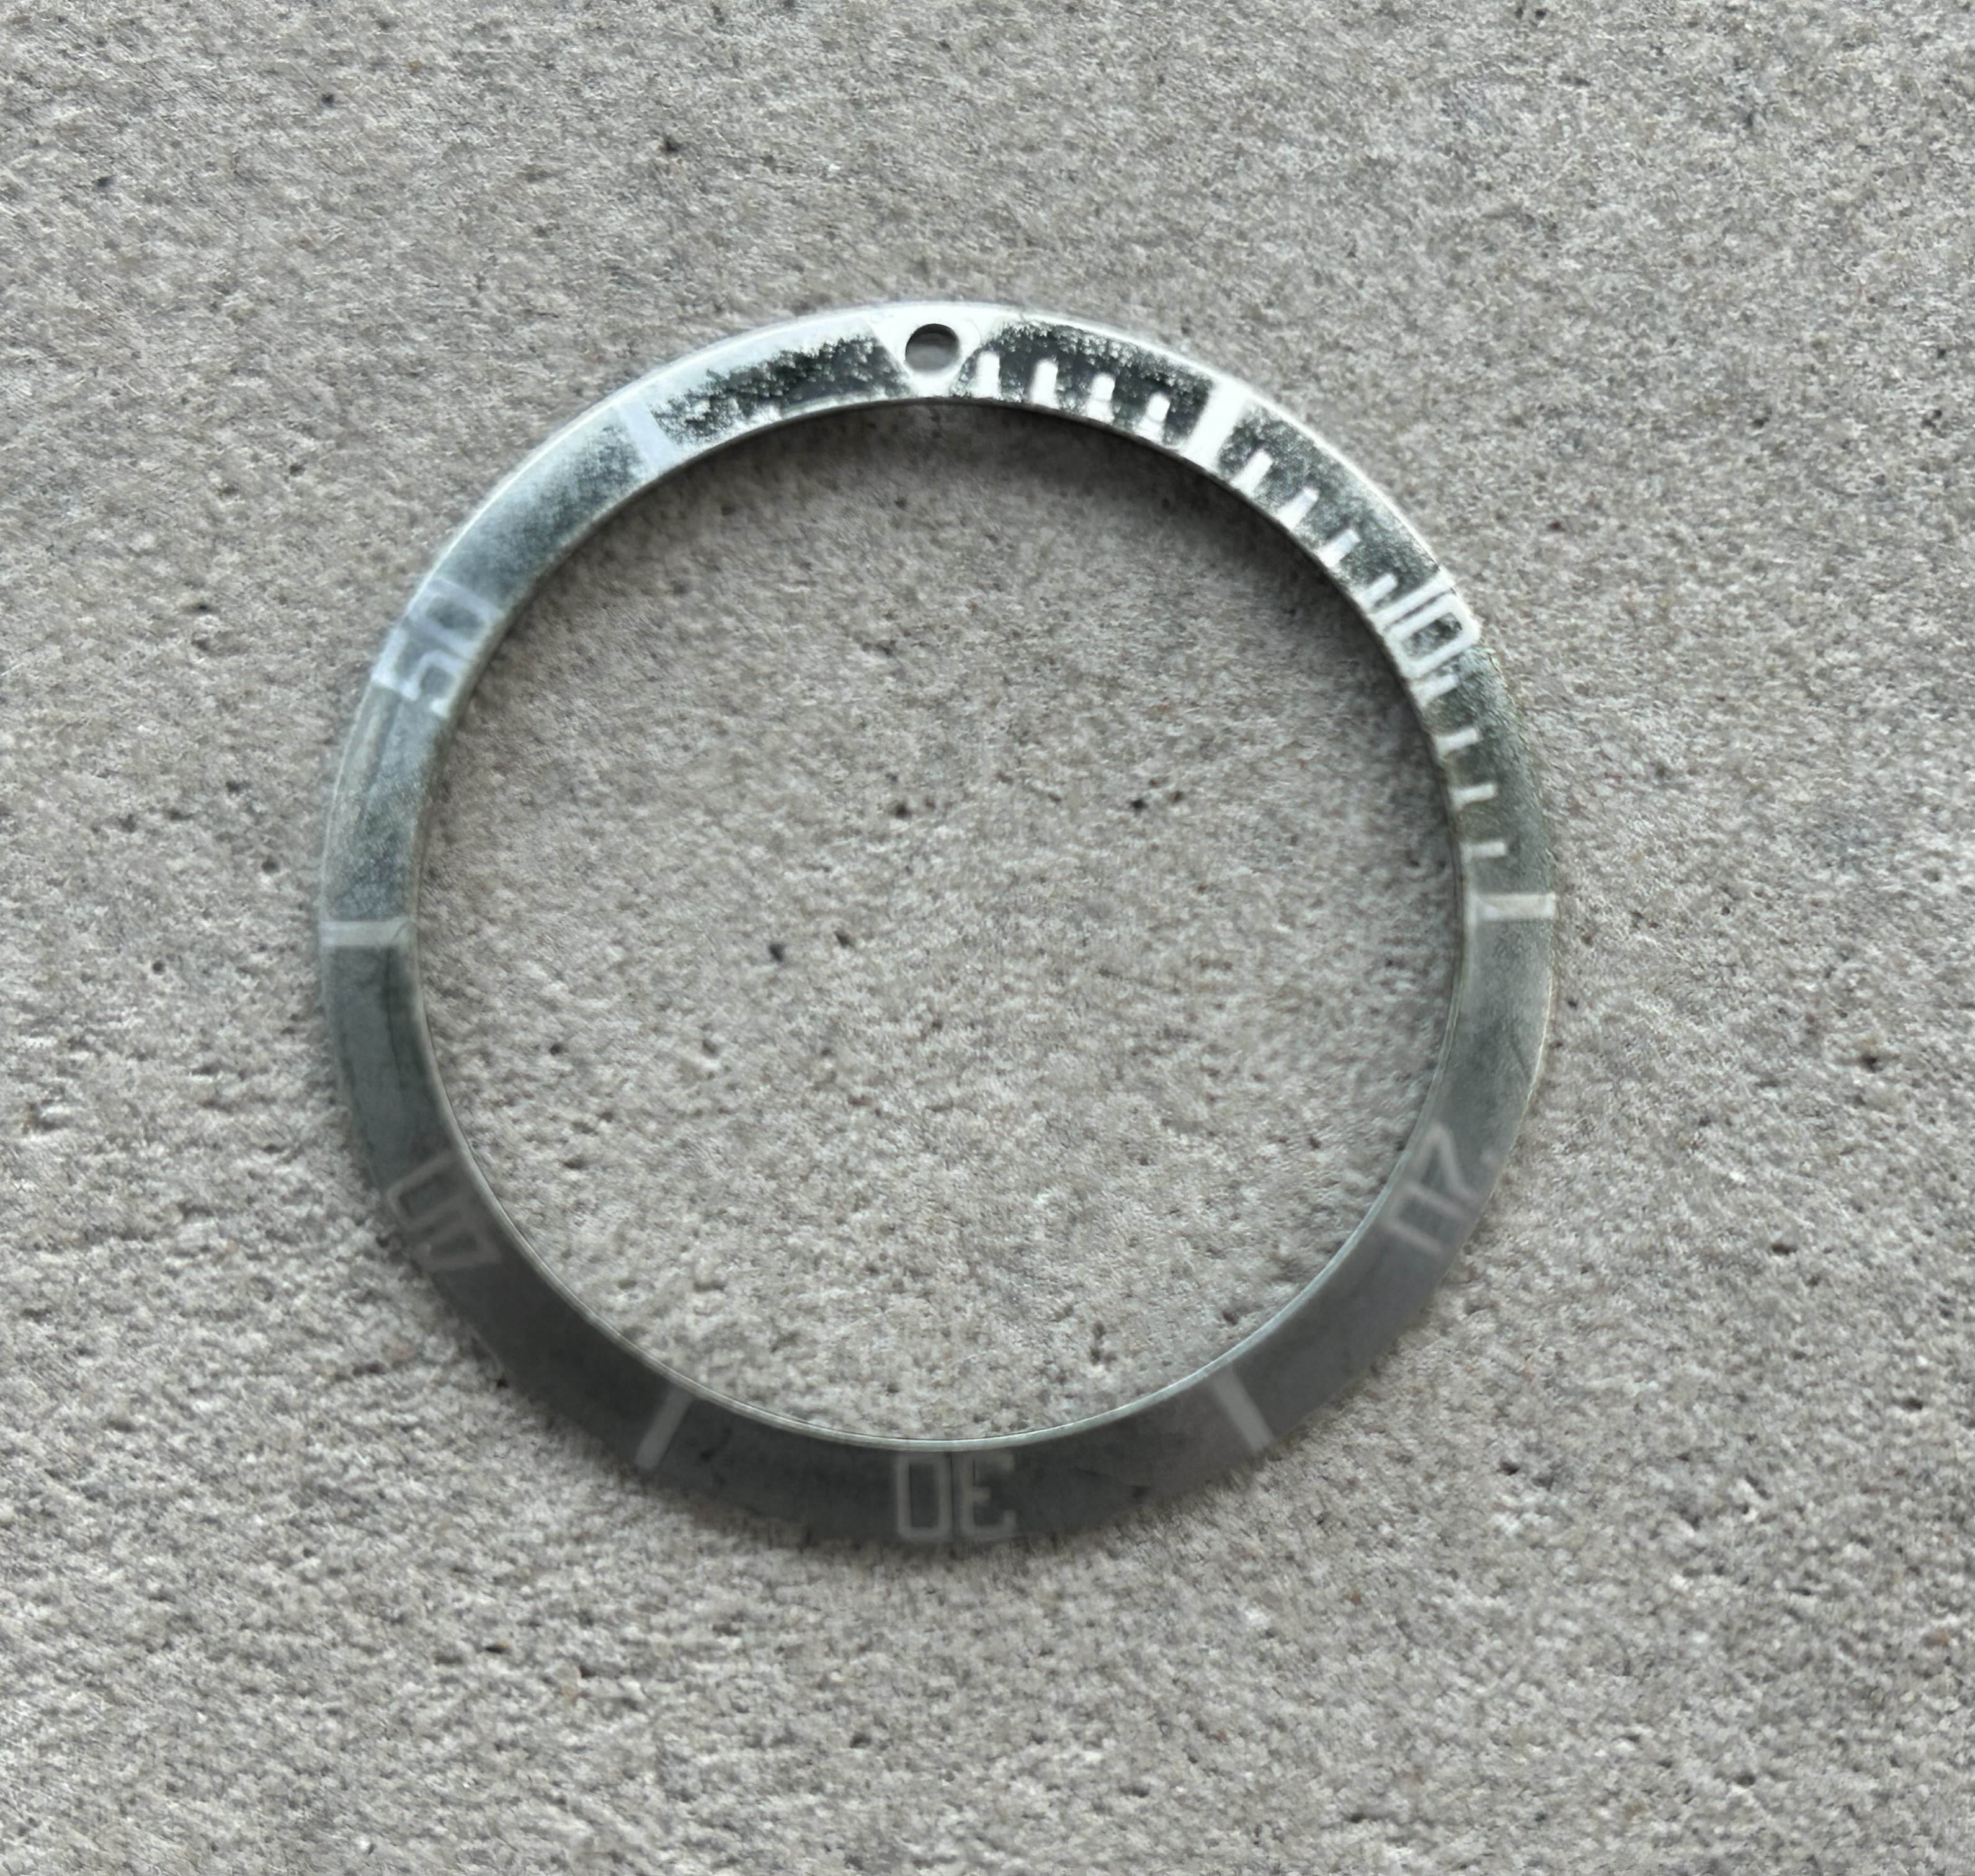
so an interesting thing happened overnight. The racing green became a fine powder that went away with washing and a little bit of thumb rubbing.
I now have a ghost bezel insert with faded black to gray, with the slightlest hint of green under sunlight. Indoors it looks black.
I left the thing 5 mins in the oven at 250º to simulate decades of sun exposure.
Also, the last 15 mins counter remains the mostly unghosted. Not bad at all.
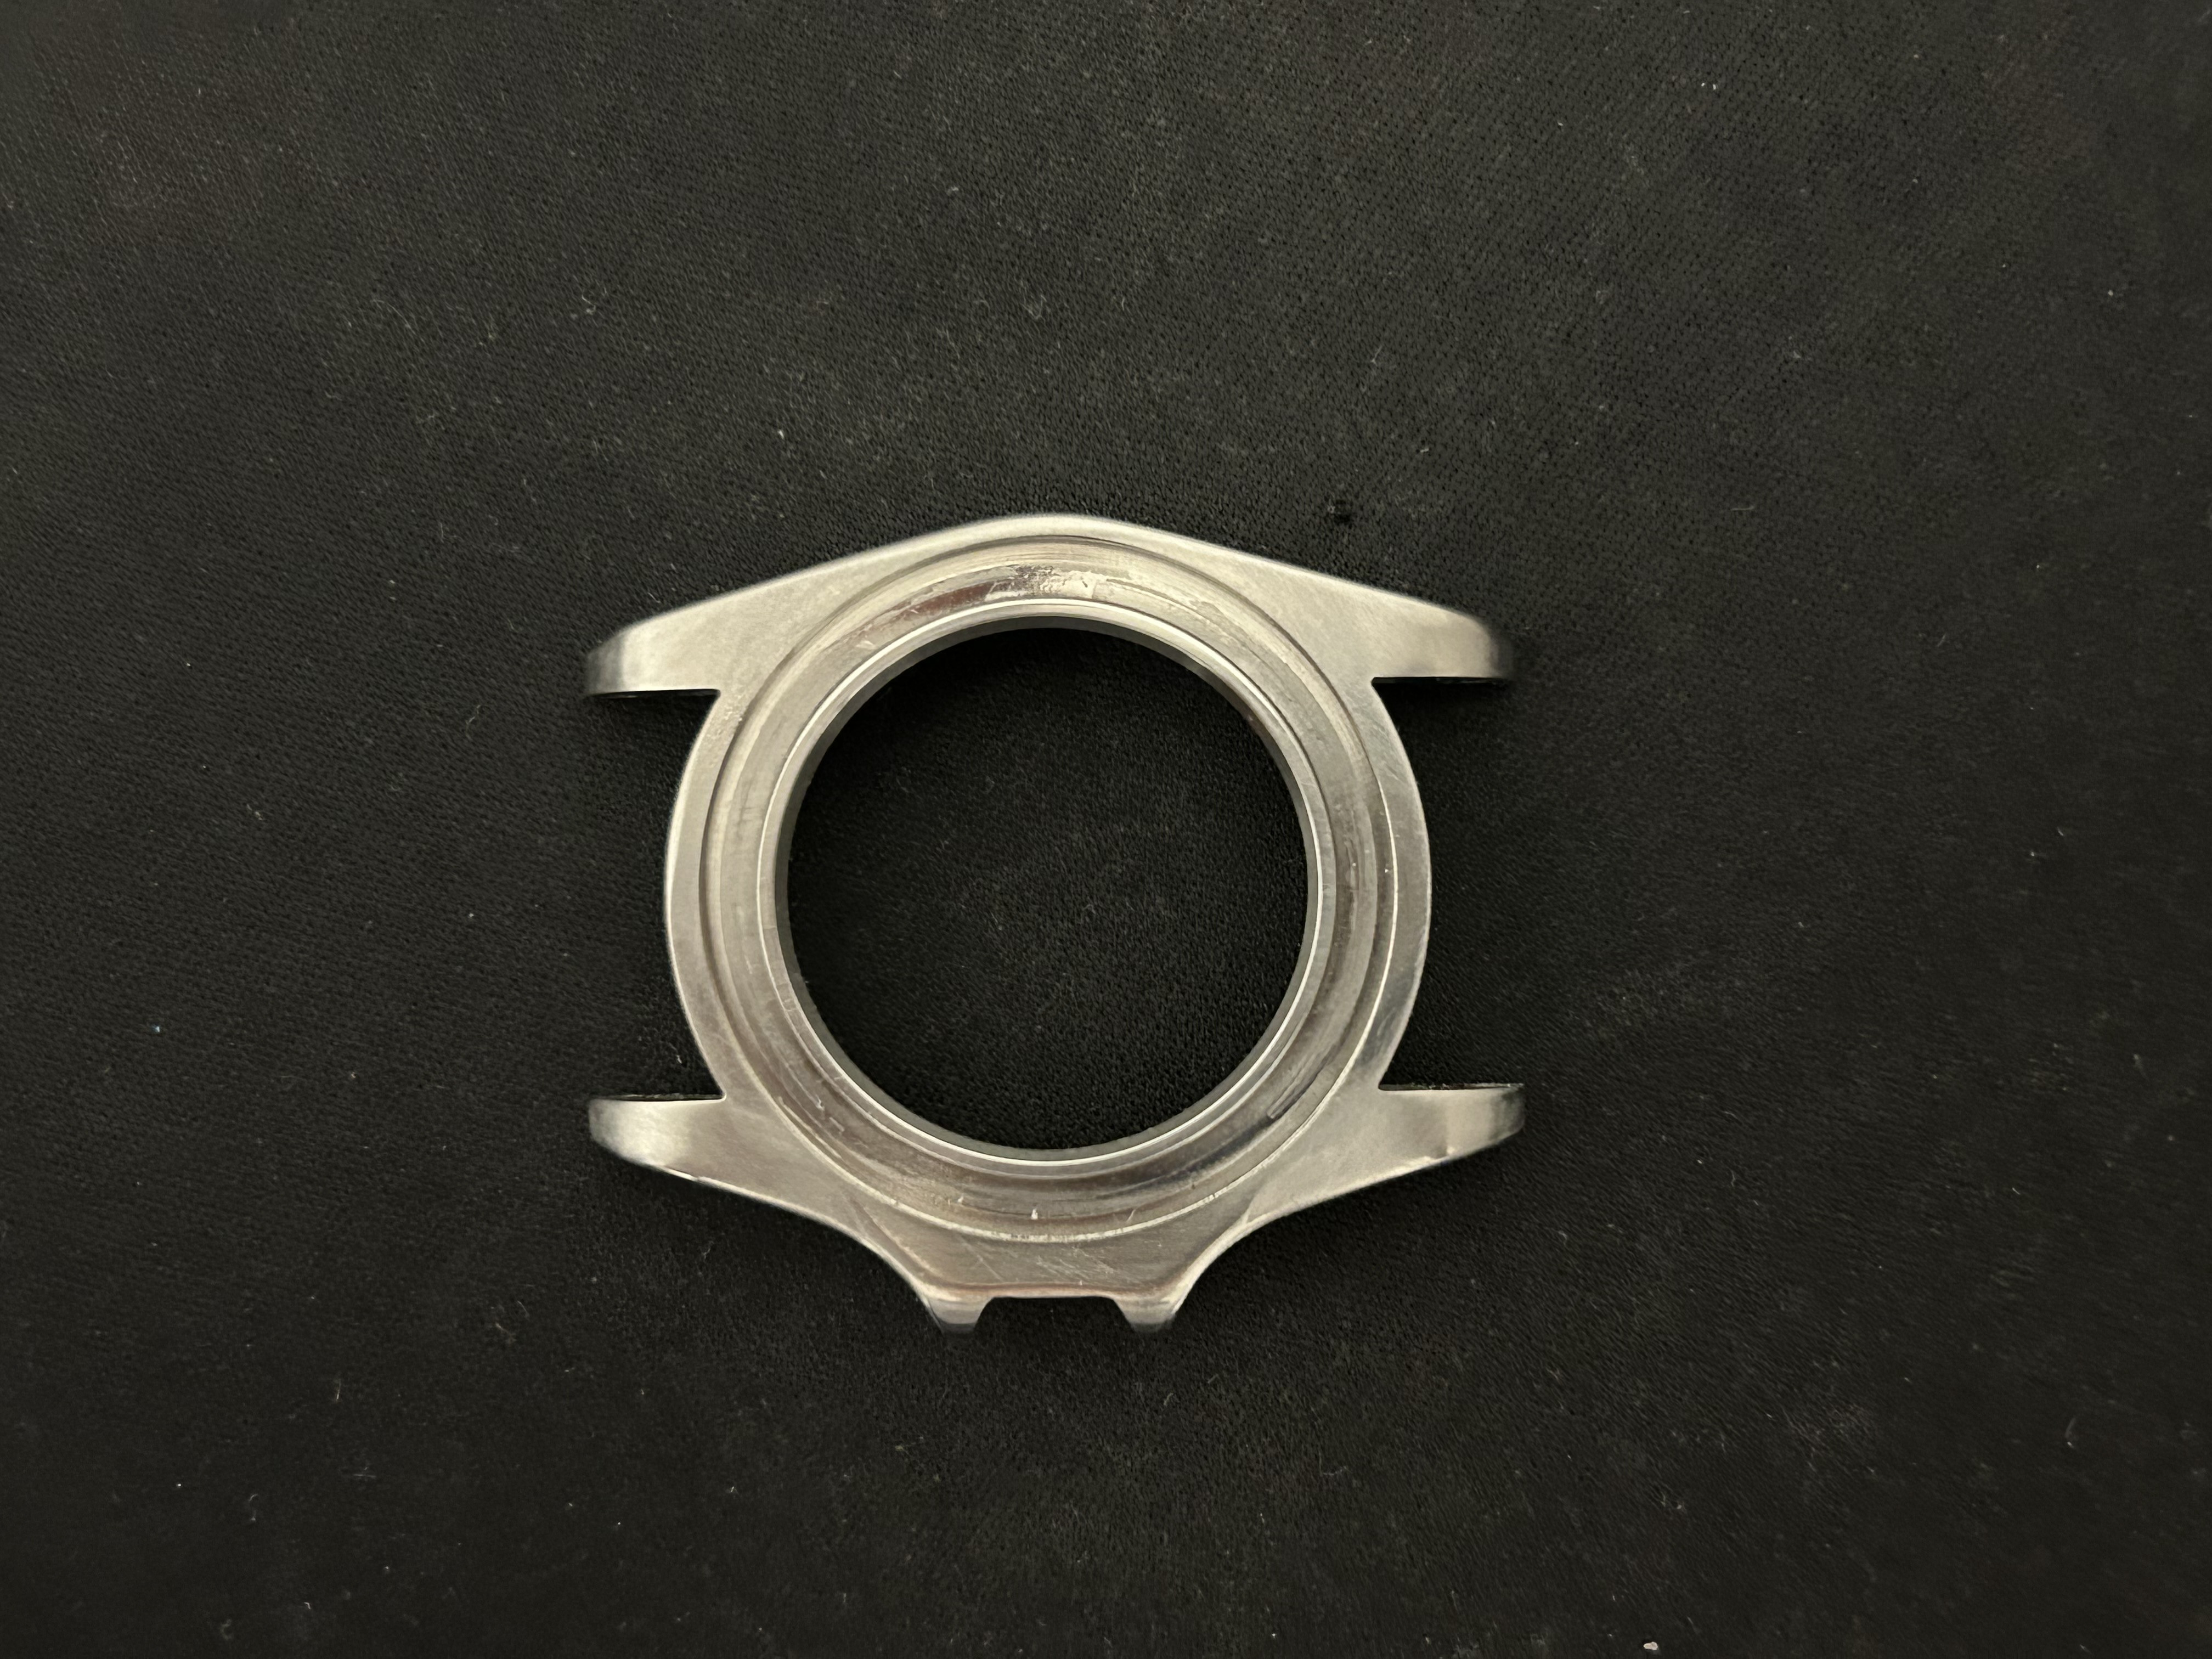
also, any tips for the brushing of the lugs?
I tried with a Emery stick 600grit but it's meh
scotchbrite?
I tried with a Emery stick 600grit but it's meh
scotchbrite?
@Karbon74 very weird result with the insert, but unfortunately not my cup of tea. I think it has something to do with the type of bleach used.
I would use lapping paper attached to a stick. I did not touch the top of the lugs in my build, but I heard Bergeon makes an abrasive block which works great for this:
https://www.cousinsuk.com/product/blocks-bergeon?code=P1404
I would use lapping paper attached to a stick. I did not touch the top of the lugs in my build, but I heard Bergeon makes an abrasive block which works great for this:
https://www.cousinsuk.com/product/blocks-bergeon?code=P1404
thanks. I did not want to touch the top either but I was clumsy and damaged the brushing while shaping@Karbon74 very weird result with the insert, but unfortunately not my cup of tea. I think it has something to do with the type of bleach used.
I would use lapping paper attached to a stick. I did not touch the top of the lugs in my build, but I heard Bergeon makes an abrasive block which works great for this:
https://www.cousinsuk.com/product/blocks-bergeon?code=P1404
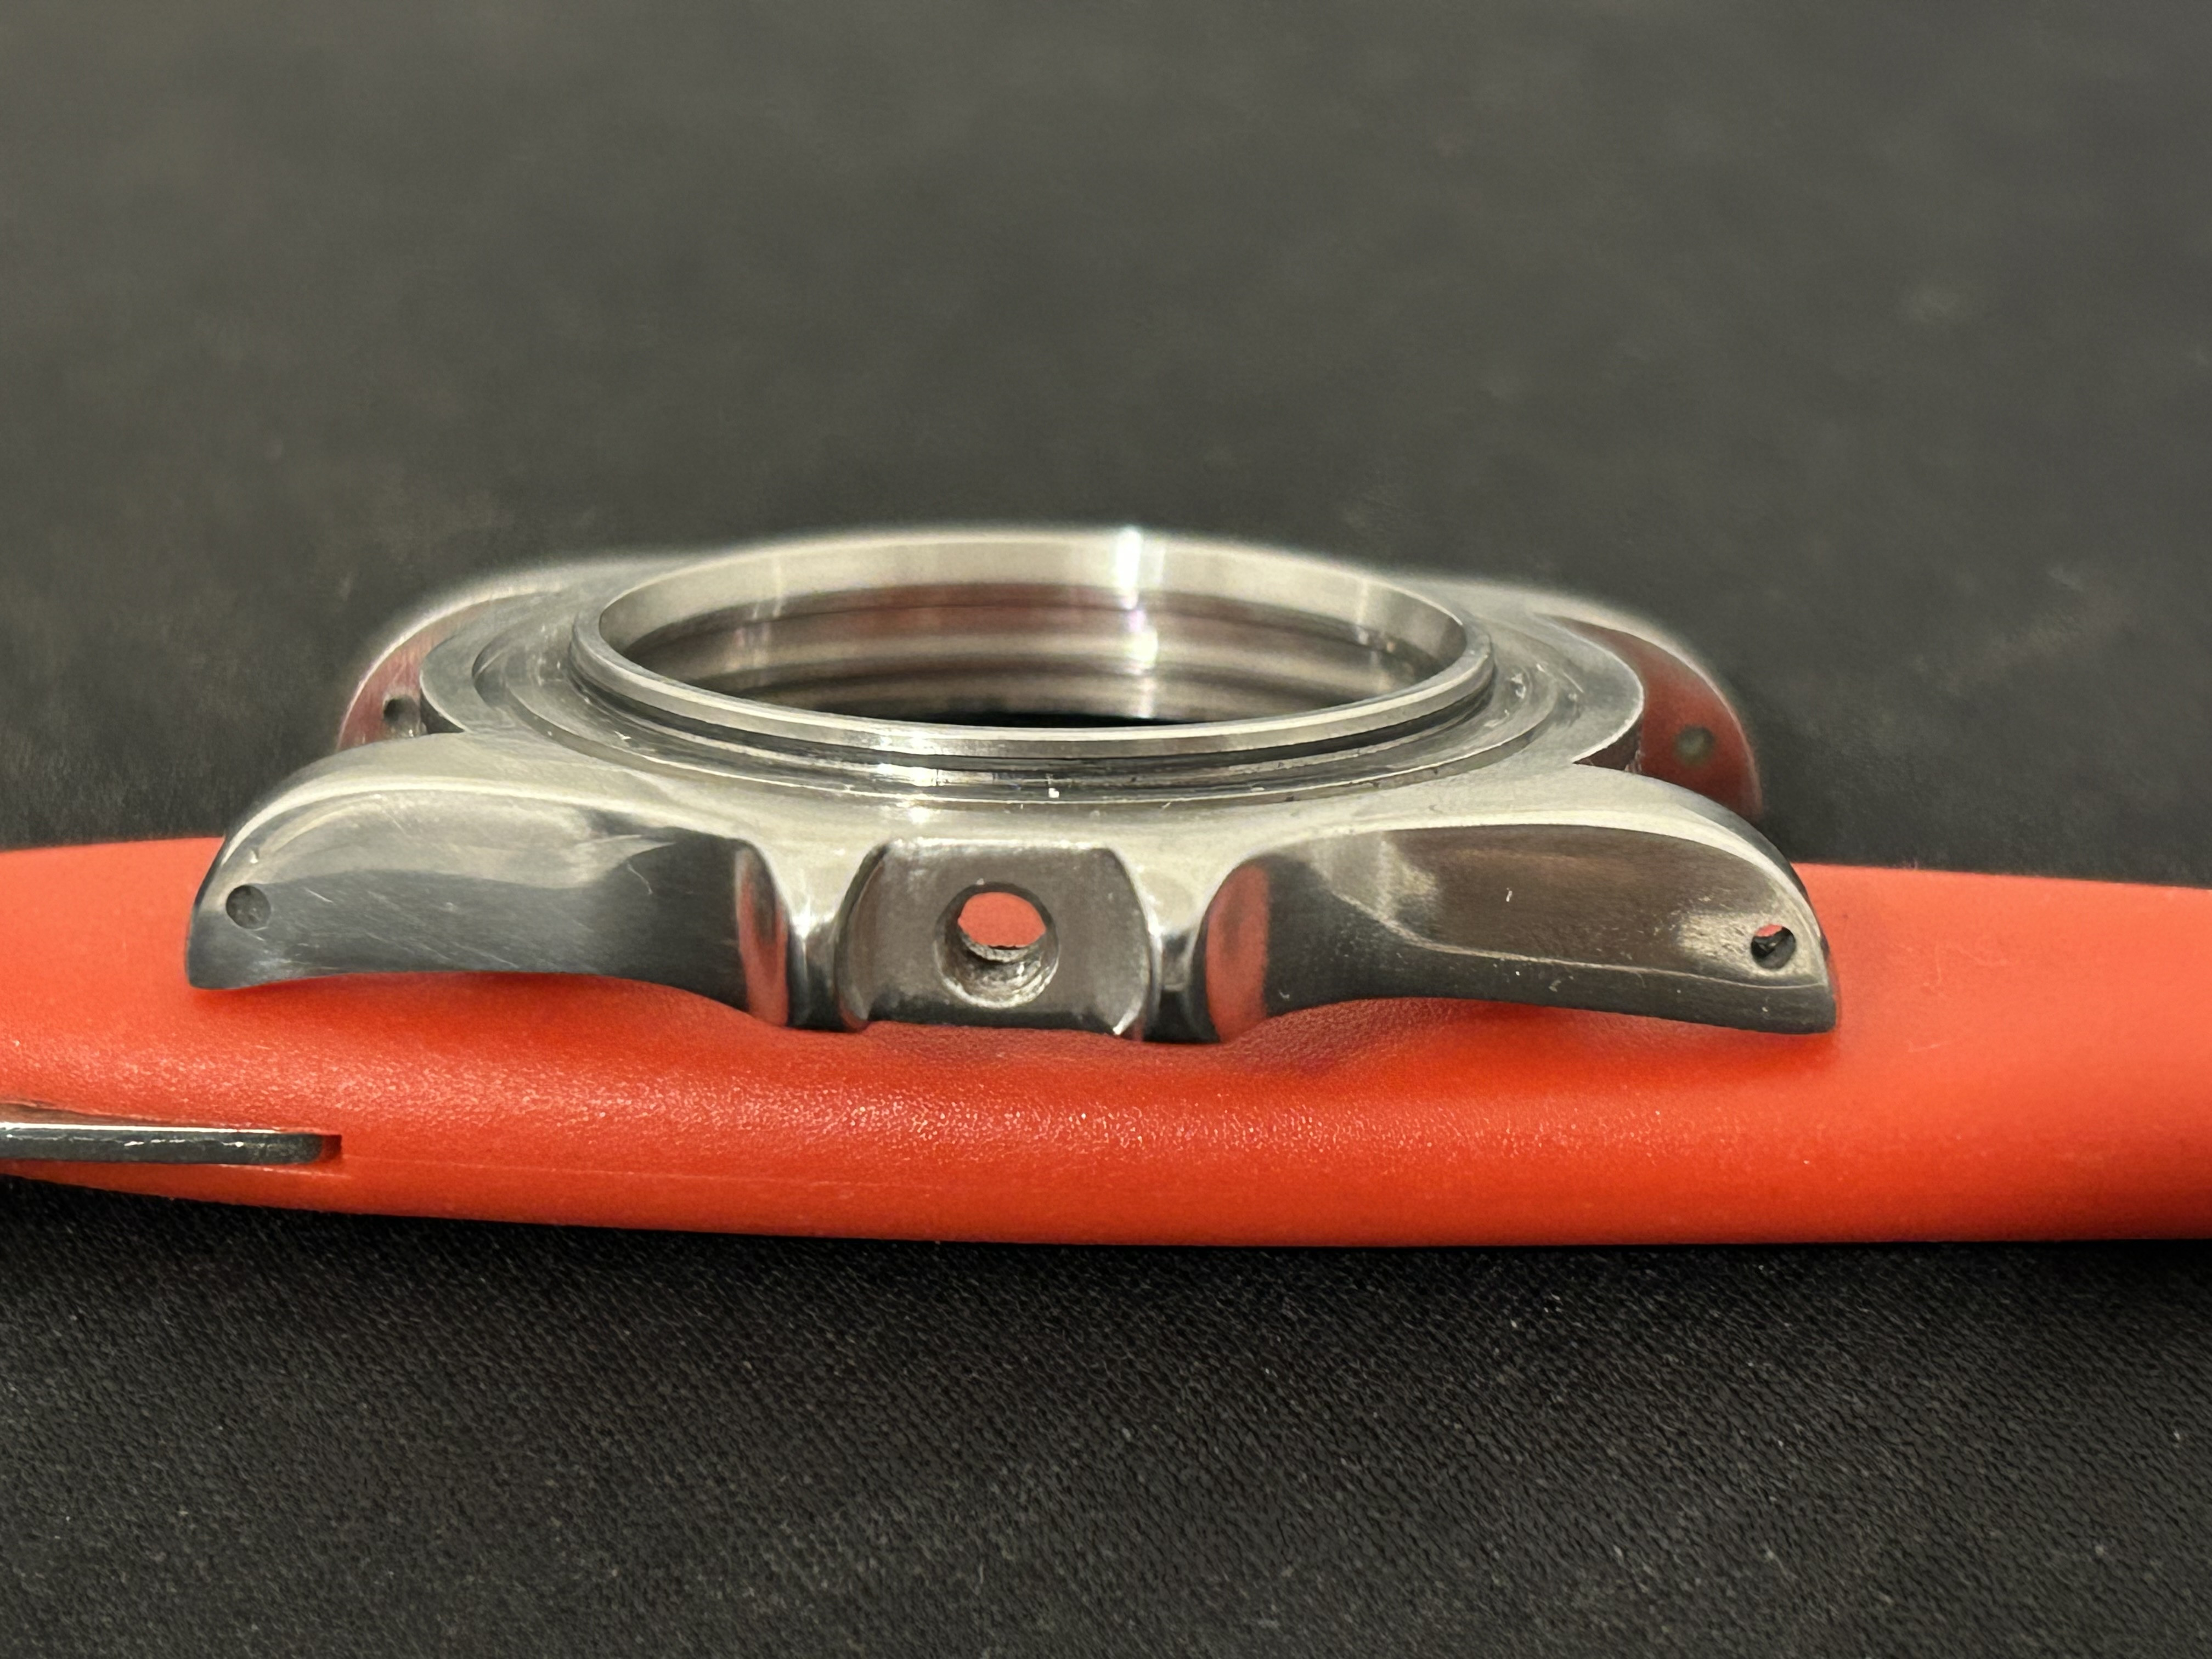
I followed your advice.To my my opinion these "shadows' will bother you soon. I would continue sanding with 800 up to 3000 grit until the uneven sections are gone.
One question: which tool did you use to remove the tube ? And did it come out without heating ?
I buffed until the shadows disappeared. I might have overdone it as it thinned some places more than I would have liked
Also I am now unwilling to rough up the case to a battered look as my original plan
So I will go for the overpolished look instead
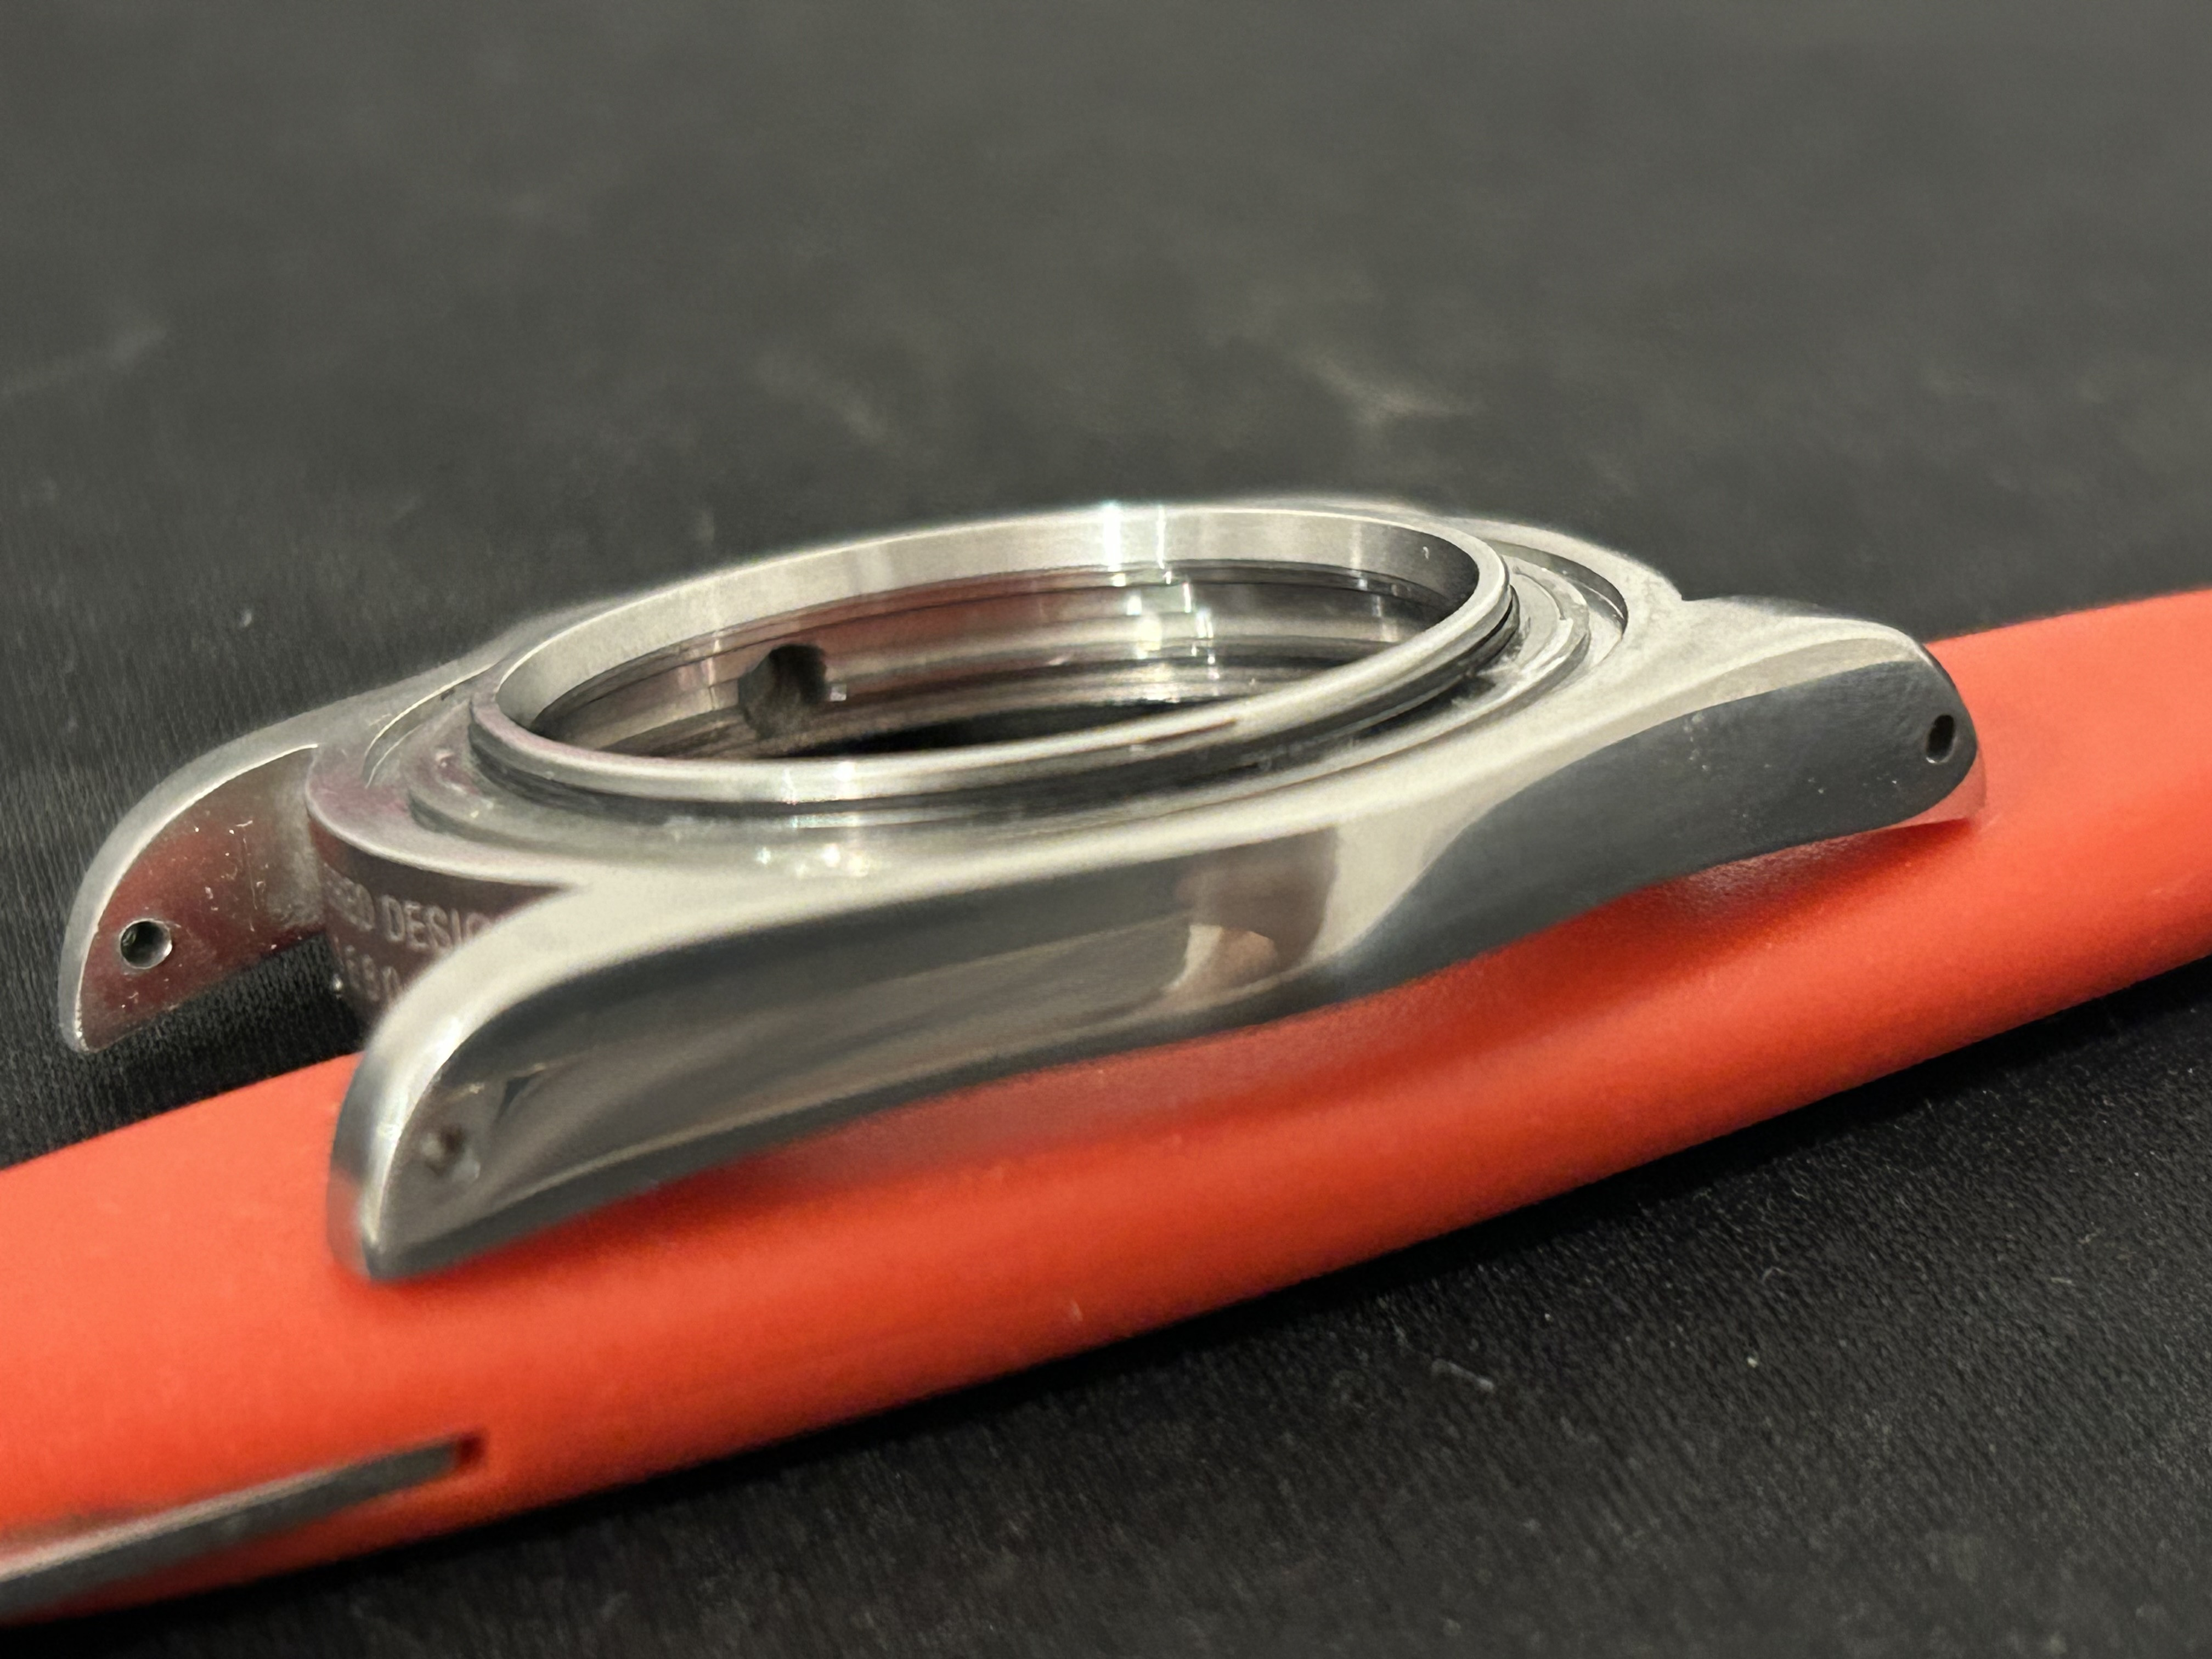
finally, I did the chamfers and lug brushing
used a scotchbrite. I tried with emery sticks but meh results.
Scotchbrite green is the best option, plus just a light 1000grit to smooth up the surface
man, I love this hobby
used a scotchbrite. I tried with emery sticks but meh results.
Scotchbrite green is the best option, plus just a light 1000grit to smooth up the surface
man, I love this hobby
Looks really good now. You did a great Job. Only the area arround the right side lughole seems a little rough on the picture.finally, I did the chamfers and lug brushing
used a scotchbrite. I tried with emery sticks but meh results.
Scotchbrite green is the best option, plus just a light 1000grit to smooth up the surface
man, I love this hobby
Last edited:
thanks my friendLooks really good now. You did a great Job. Only the area arround the right side lughole seems a little rough on the picture.
You've inspired me. Ordered (among other things) a 5513 from Raffles. Not sure what the advantages of Cartel vs Raffles is, but I wanted to play with building one, and I'm not patient enough to follow OP's build.
Any comparisons of Raffles cases/dials vs Cartel?
EDIT: Found a post online that says Raffles dials and bracelets are better OOTB, but JKF/Cartel cases have the advantage due to better bezels and crowns, although if the case is being reshaped, some of this is able to be overcome. Crystals aren't perfect on either, although Raffles might have a slight edge.
Looks like there's more potential for accuracy with the Cartel, since the bezel is kind of a dealbreaker, but either one is worth looking into, if you've got a mind to build a 5513.
This is worth a read if you're in the "research" stage of the game.

Raffle Dials parts - What can we do? (and what not)
Ok, some parts has arrived today. Sadly no Sub dials, they should come this week with another package, hopefully. Lets start with disassembly. Those cases have the infamous wire-spring retainer bezel. Mostly hated. But once you forget that its there, is all good. By the way, and to be honest, I p...
www.rwg.bz
Last edited:
From what I understand a cartel can fit gen spec parts. The bezel assembly from Raffles is different as it has a Vostok style friction spring. Not that I would ever put gen parts in it but it gives me more flexibility in sourcing parts.
I can give you my perspective. I was looking for the fun of taking the thing apart, and doing the case shaping, lug drilling, polishing etc. My goal was not the watch itself but the actual work Second goal was to have an excuse to buy more tools to play
Whether cartel or raffles, ootb you don't get a credible 5513. If you want the feel of a 40-60y old watch, you have to work it.
also, every mistake and hurdle is another problem to solve, another reason to engage here, soak knowledge and gain skill.
I can give you my perspective. I was looking for the fun of taking the thing apart, and doing the case shaping, lug drilling, polishing etc. My goal was not the watch itself but the actual work
Whether cartel or raffles, ootb you don't get a credible 5513. If you want the feel of a 40-60y old watch, you have to work it.
also, every mistake and hurdle is another problem to solve, another reason to engage here, soak knowledge and gain skill.
Yeah, I think we're kind of wired the same way. I love vintage watches, but just swiping a credit card doesn't scratch the itch...I want to make something, if that makes any sense.From what I understand a cartel can fit gen spec parts. The bezel assembly from Raffles is different as it has a Vostok style friction spring. Not that I would ever put gen parts in it but it gives me more flexibility in sourcing parts.
I can give you my perspective. I was looking for the fun of taking the thing apart, and doing the case shaping, lug drilling, polishing etc. My goal was not the watch itself but the actual workSecond goal was to have an excuse to buy more tools to play
Whether cartel or raffles, ootb you don't get a credible 5513. If you want the feel of a 40-60y old watch, you have to work it.
also, every mistake and hurdle is another problem to solve, another reason to engage here, soak knowledge and gain skill.
I didn't have the opportunity to buy a 5513 in 1965...because I wasn't born yet...but I can damn sure put 50 years of "vintage" on one, one way or another, lol.
I had a late production gen 5513 some time ago, but it never made my heart go pitter-pat like the patina'd ones do. TBH, if I still had it, I'd probably wear the one in OP's post before I wore my gen...it just looked too "new" for my tastes.
if you have a dremel and a workstation, you are basically set
It has been long since I had so much fun
It has been long since I had so much fun
Sure, but the paints and oils and powders and sprays start adding up, lol.if you have a dremel and a workstation, you are basically set
It has been long since I had so much fun
Actually looking on Amazon for some good lume now...
oh for the dial? you are going for a tropical?
I decided to use the mat varnish trick to do a textured old dial instead. I feel it's cleaner
 forum.replica-watch.info
I decided to use the mat varnish trick to do a textured old dial instead. I feel it's cleaner
Matt Dial Mod - DSSD
A while back I sold a DSSD here on RWI that I had modded with a Matt Dial. A few members asked if I would do a tutorial, which I did promise to do, so here it is (albeit slightly later than planned). Firstly, I am just going to show how to apply the matt coat to the dial rather than a step by...
Last edited:
I will try a dial ageing but there is a good chance that I buy a negative gilt dial from @manodeoro

