Hey Waspy,
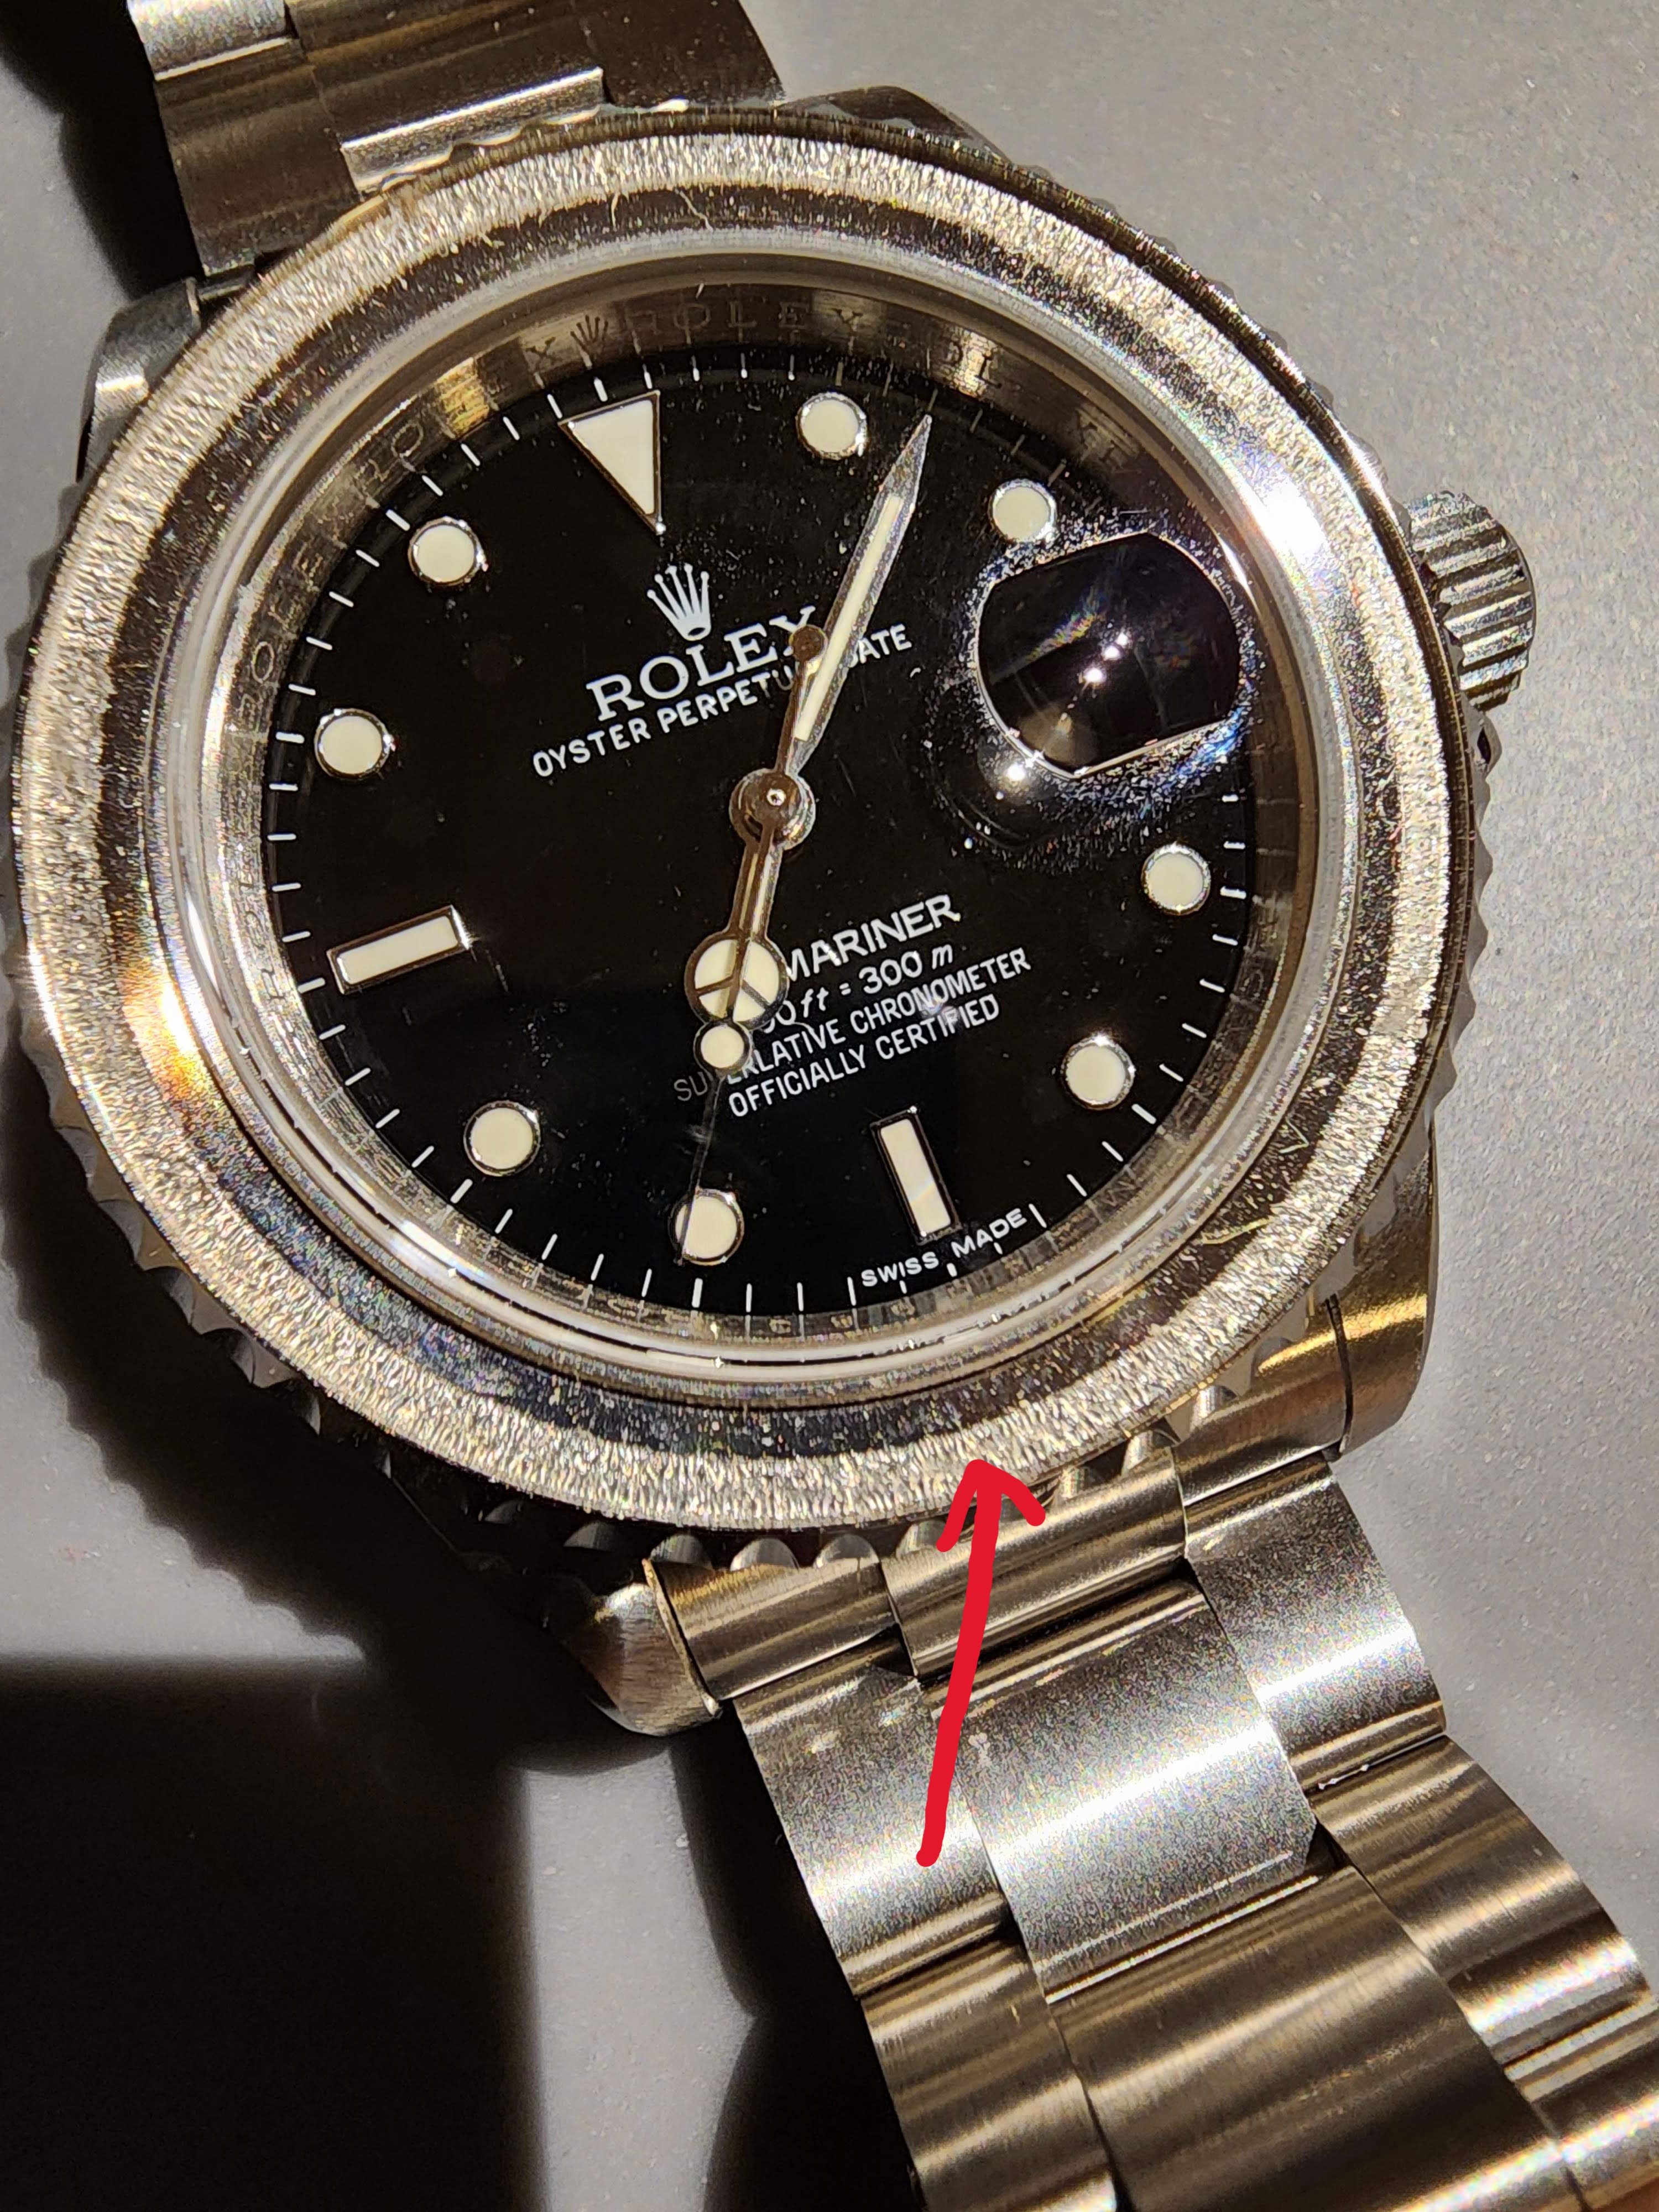
See my previous ports on this thread. I'm currently working through replacing the bezel insert but it's turning out to be a small project
")
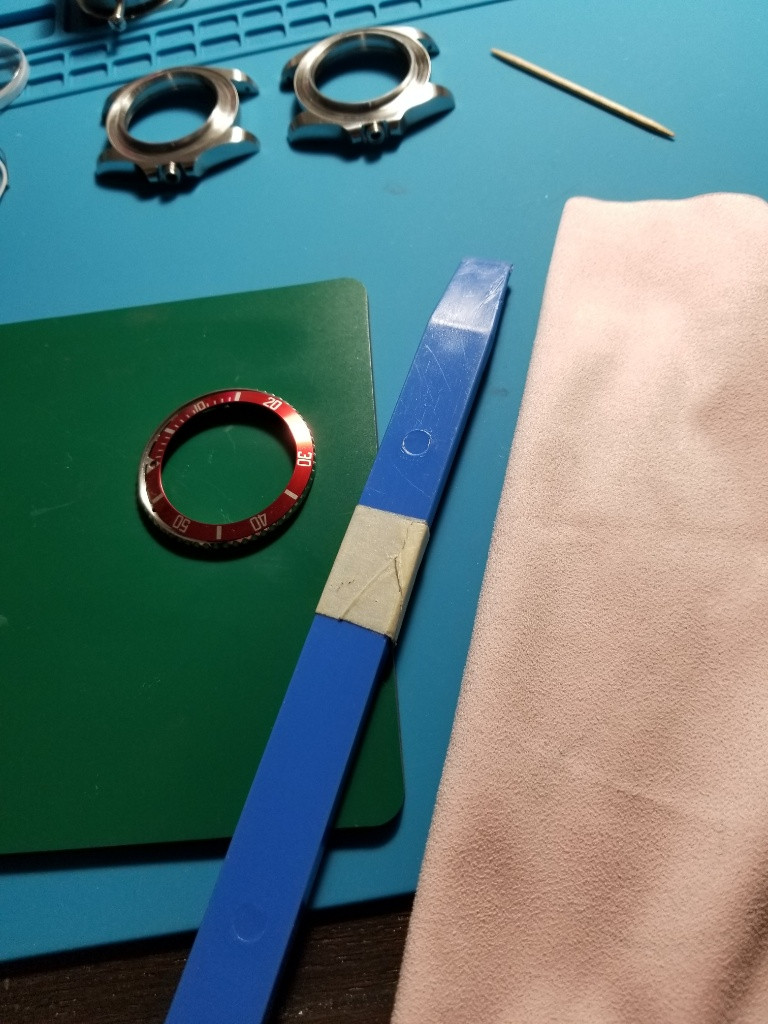
After I popped the bezel with the knife, it came off with the crystal attached to it. Apparently, this is common. Maybe if I had used a bezel removal tool instead of a knife this would have been avoided.
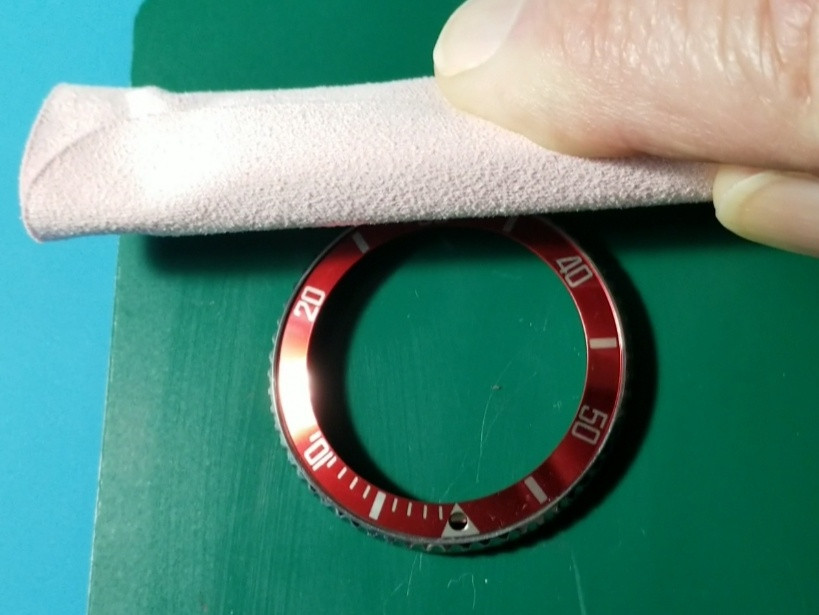
Next step was to separate the crystal from the bezel and then I was able able to remove the insert.
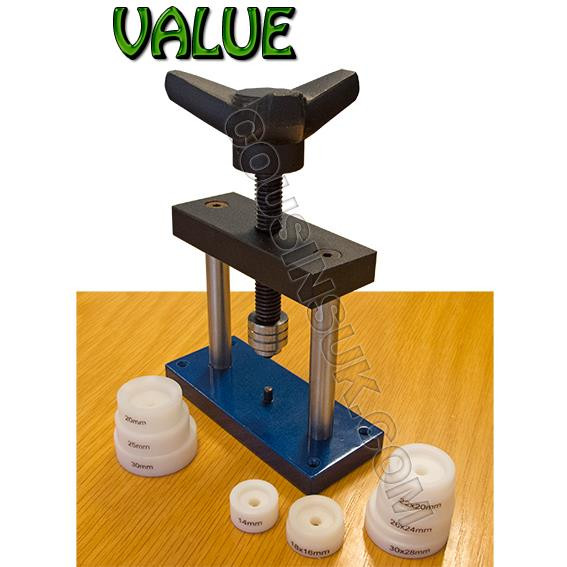
Now I have to reinstall the crystal on the case. To do that I have to disassemble the crystal + gasket + retaining ring sandwich and put it back together on the with gasket + crystal first, then press the retaining ring on top.
This is where I'm currently stuck because I need a custom die to separate the metal retaining ring from the crystal and gasket. I'm testing different solutions including a 3D printed die and a stainless steel bezel etc.
See
@KJ2020's posts on this thread and this guide
here for an idea of what's involved.
forum.replica-watch.info