I let myself be driven by the positive energy and have sent another better version to @dpd3672 . Now the typography should be right.

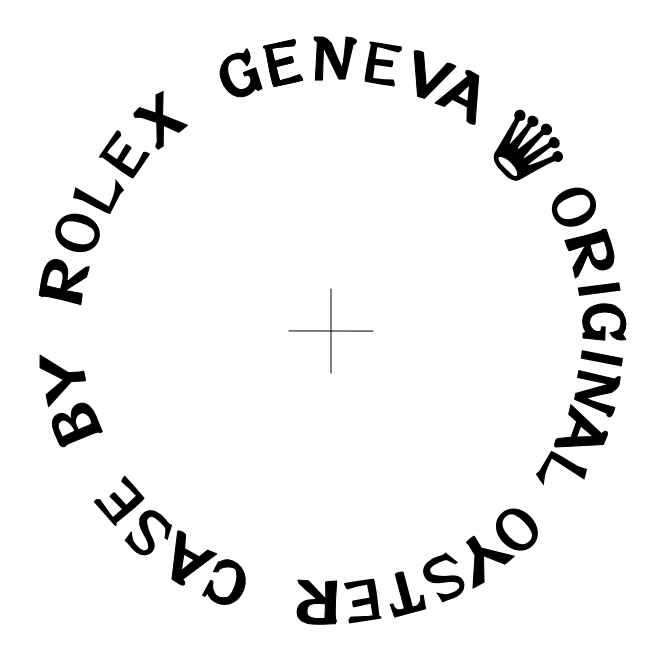
I let myself be driven by the positive energy and have sent another better version to @dpd3672 . Now the typography should be right.


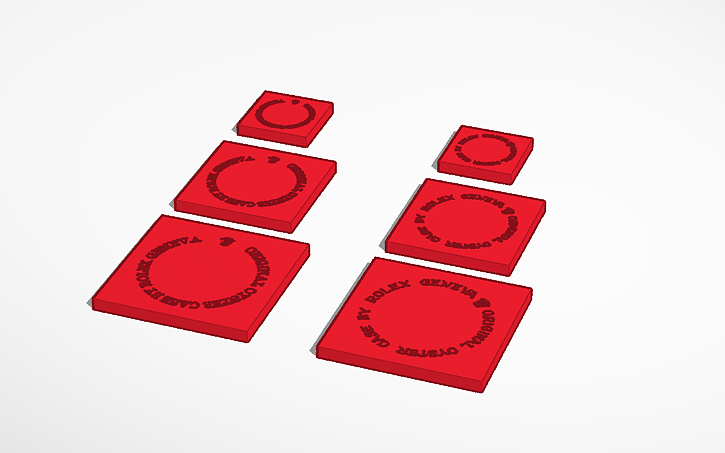
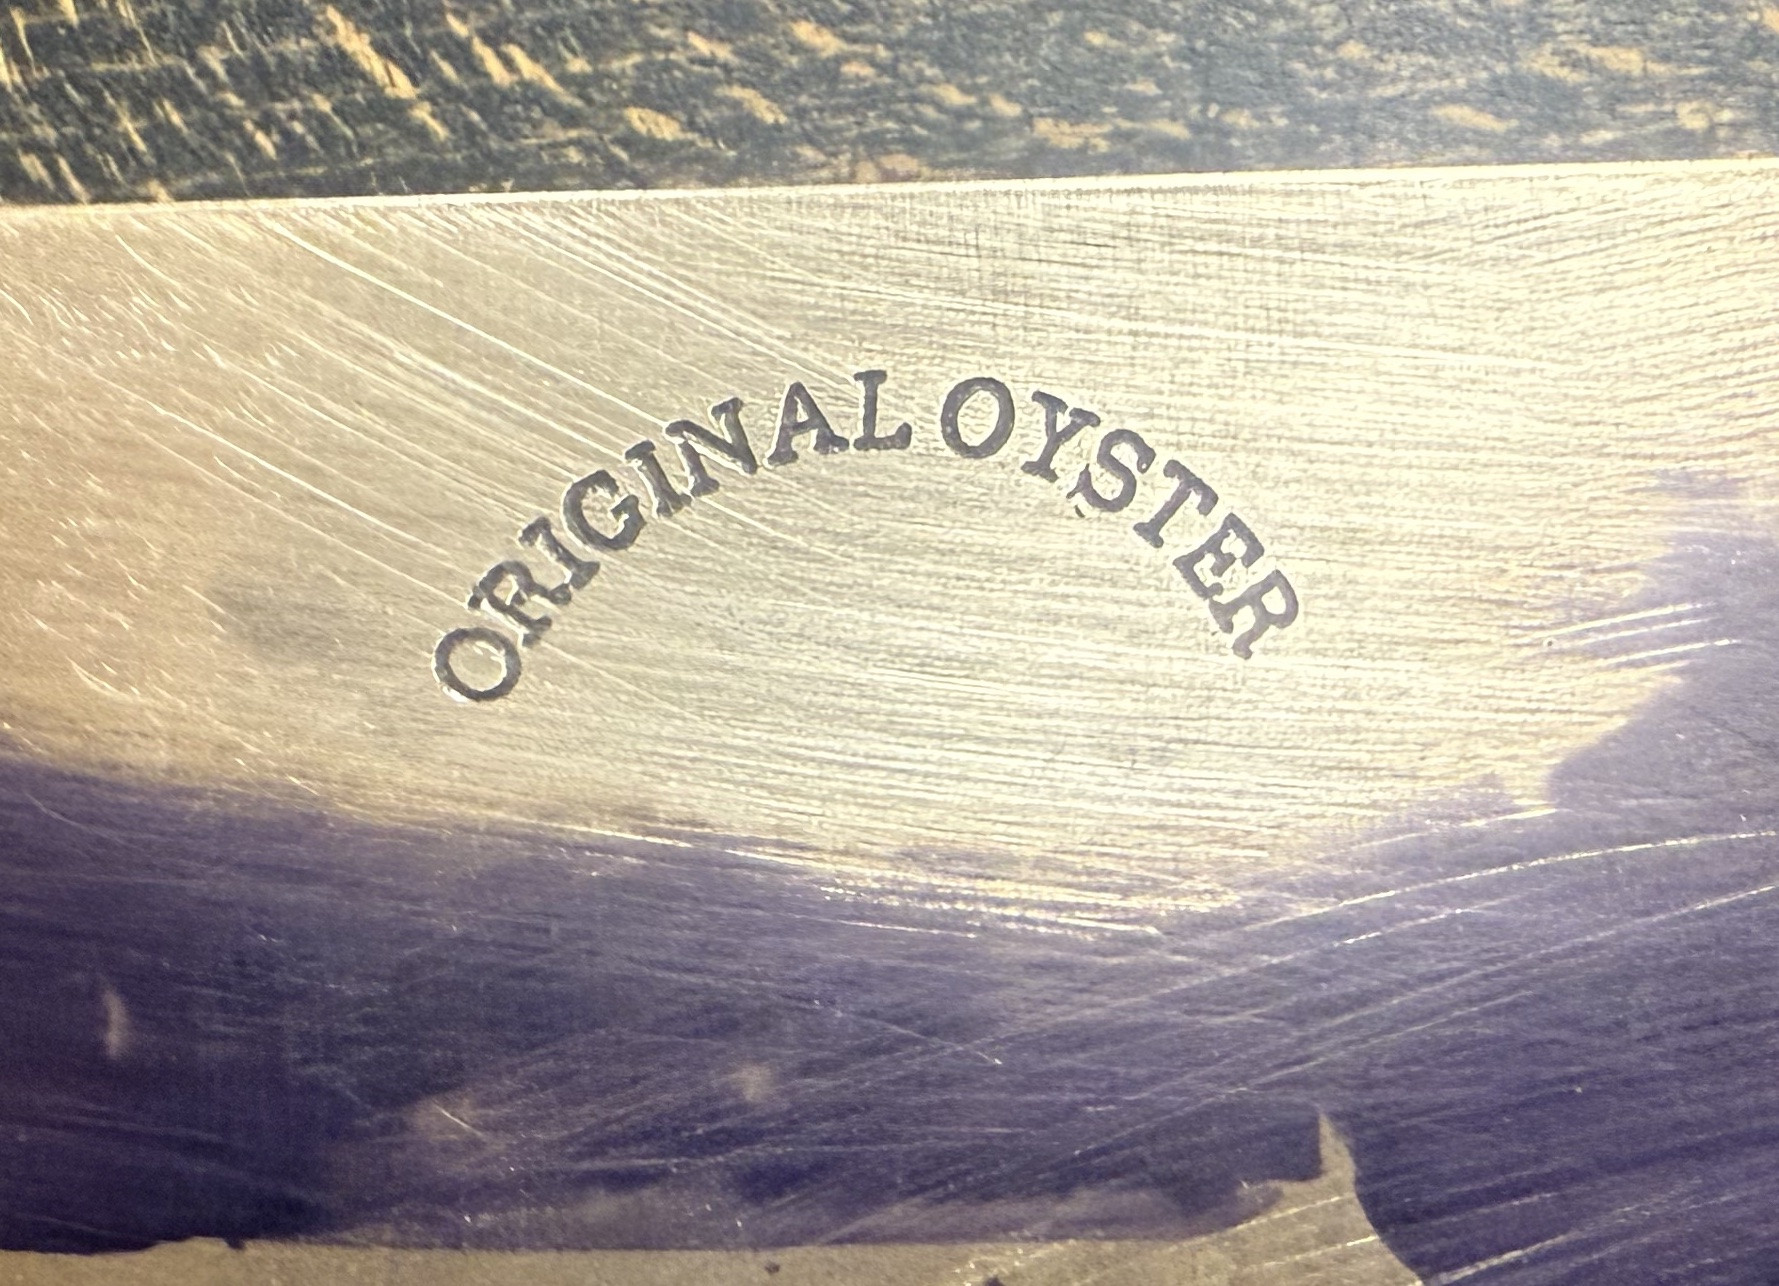
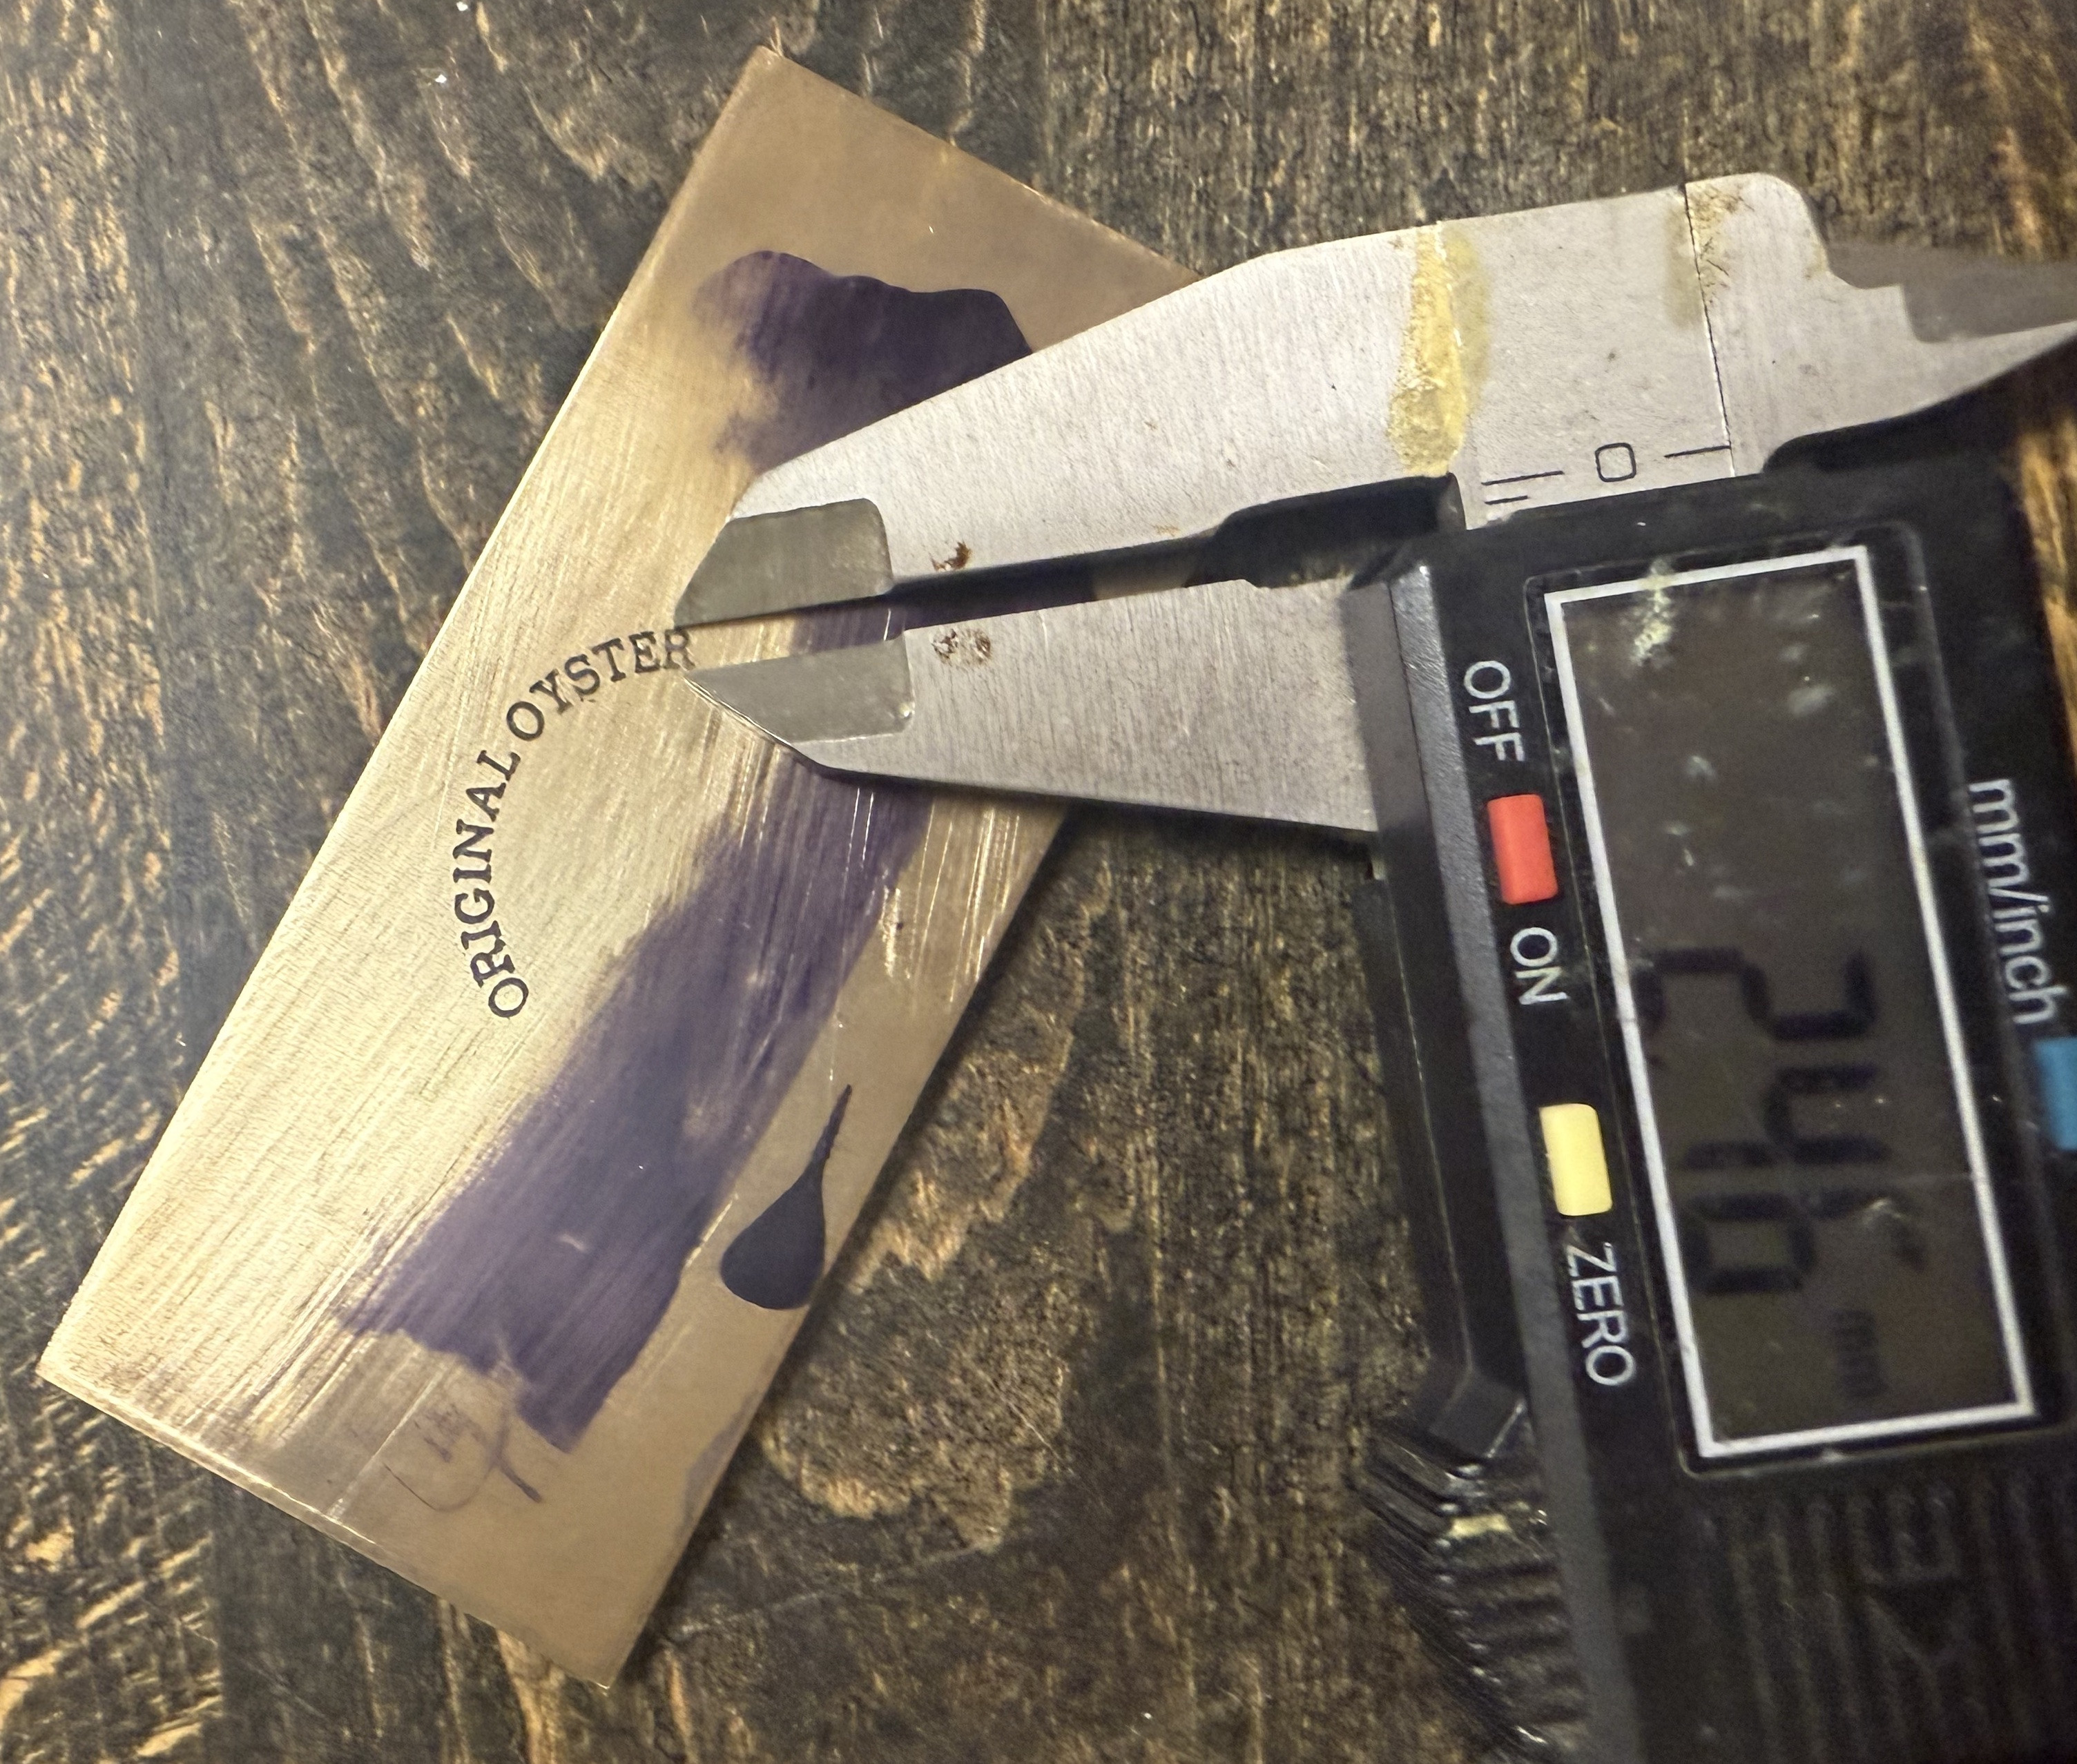
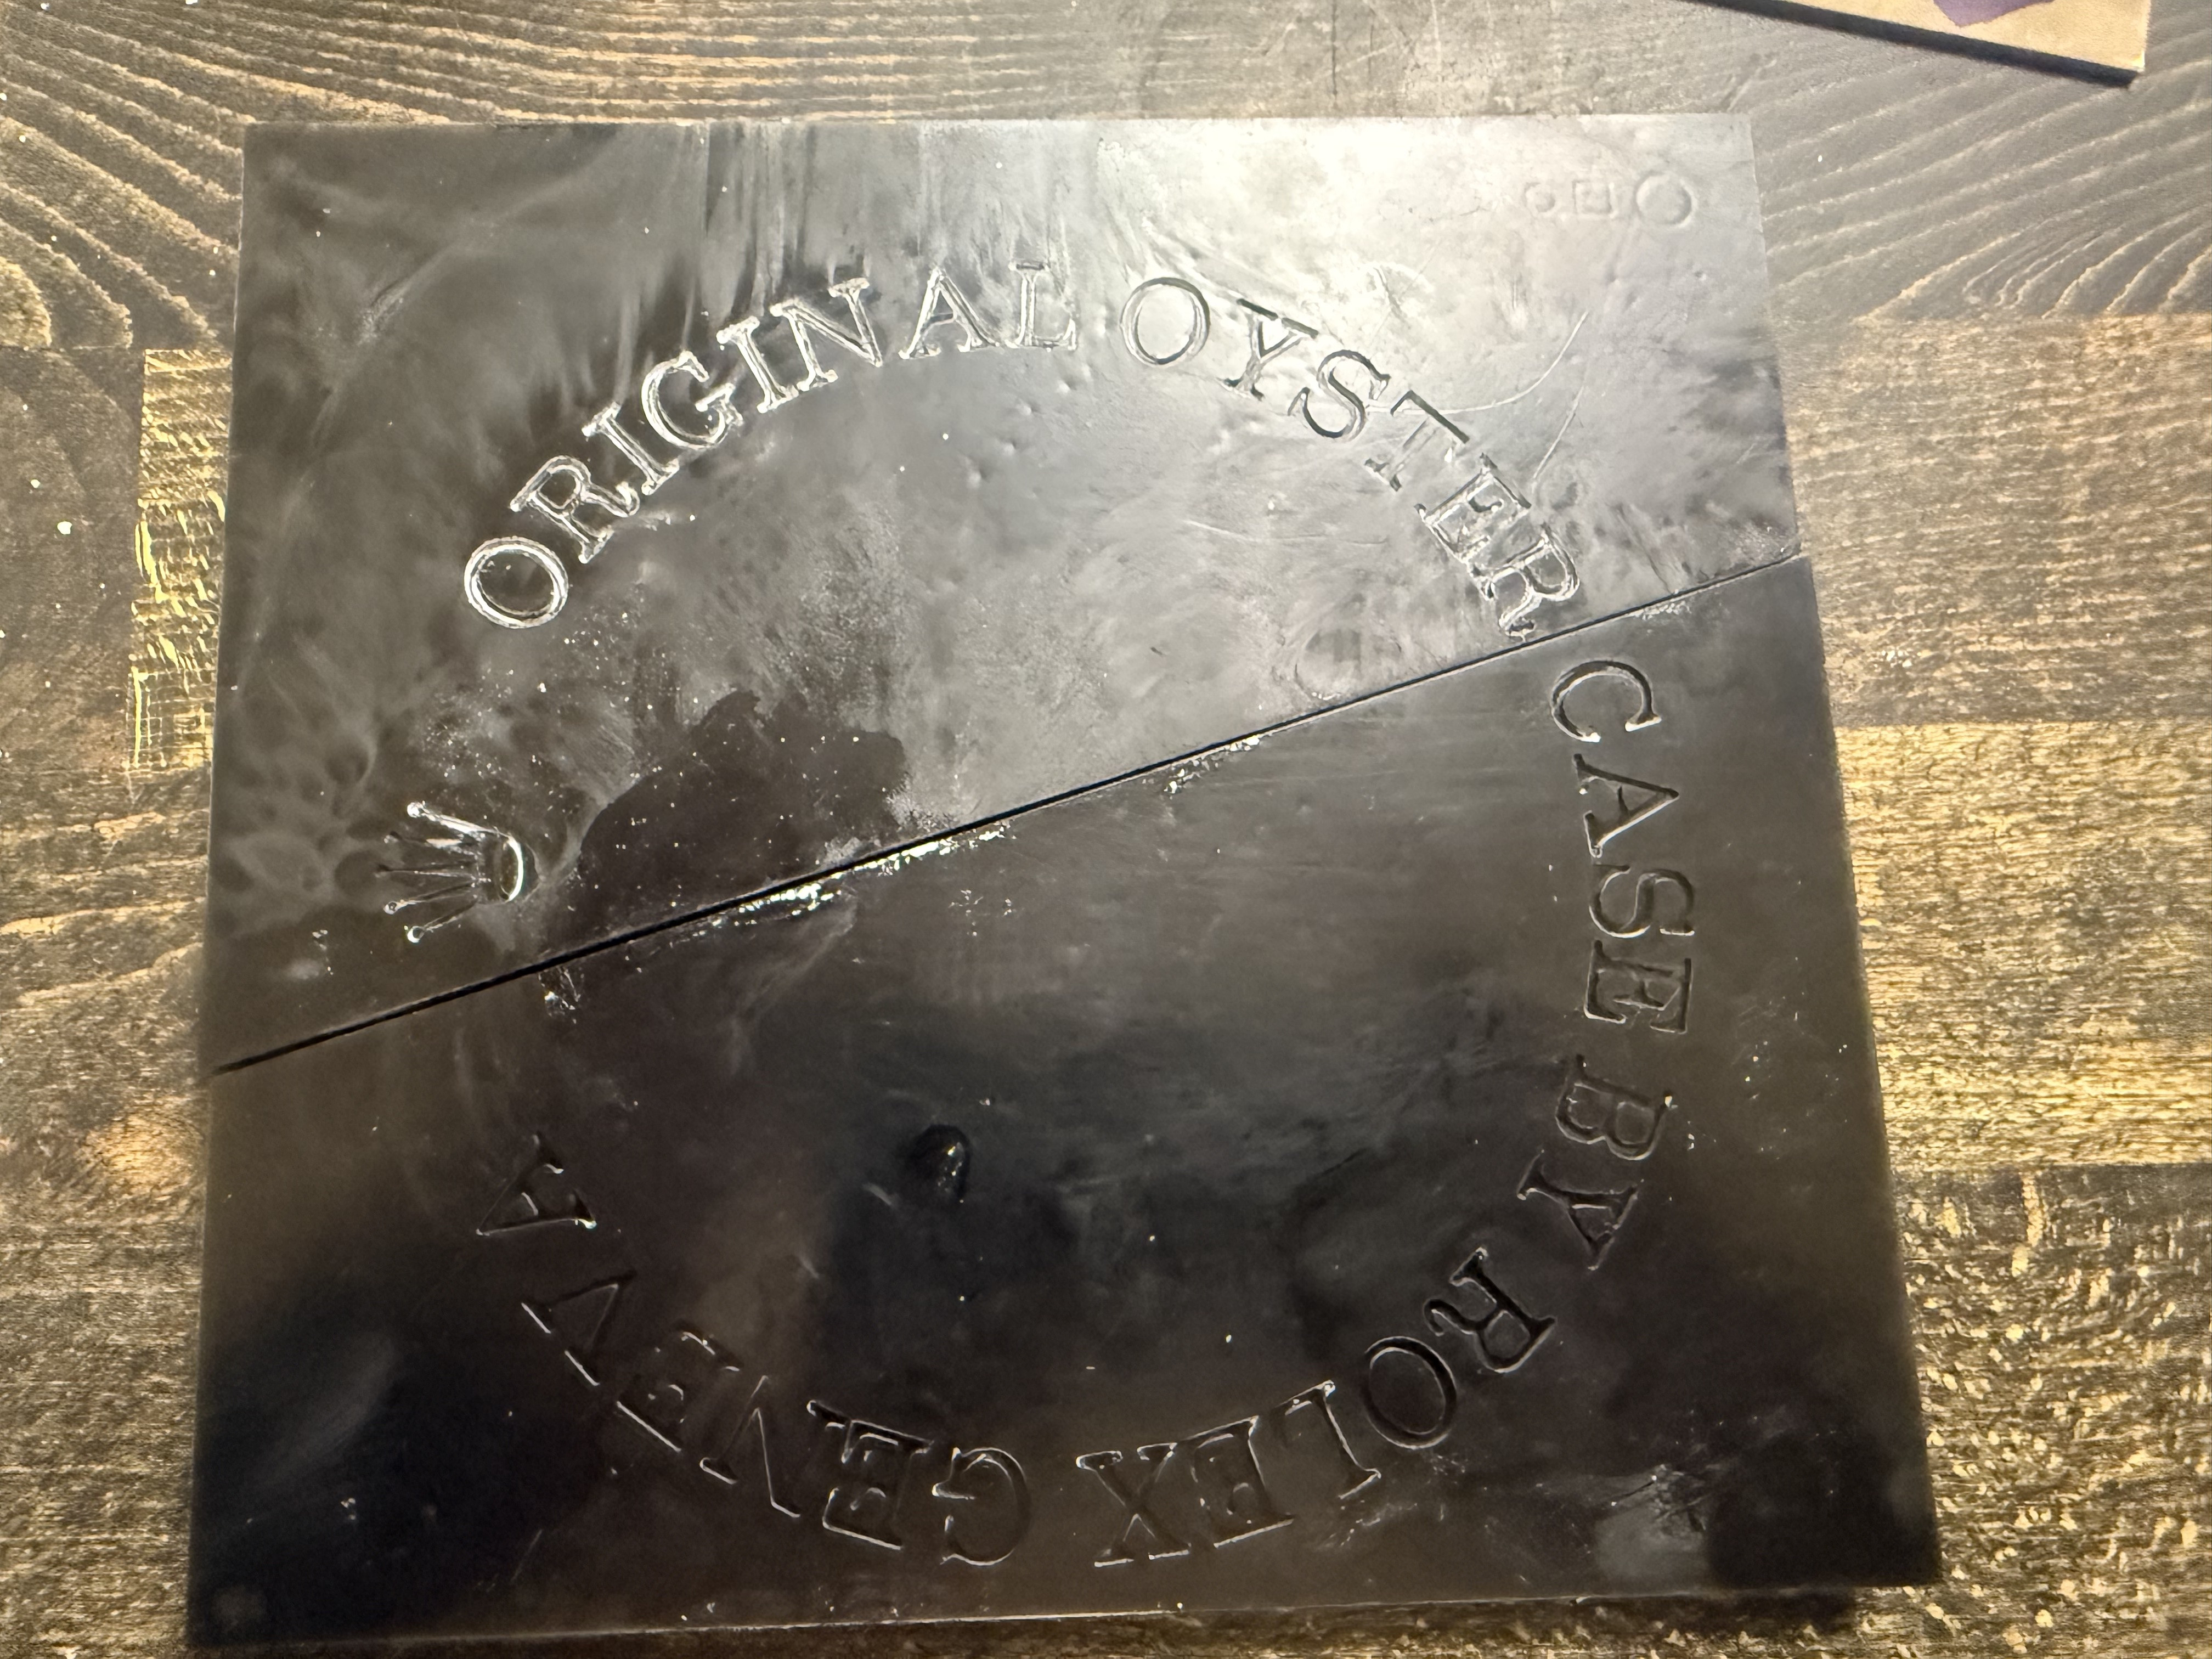
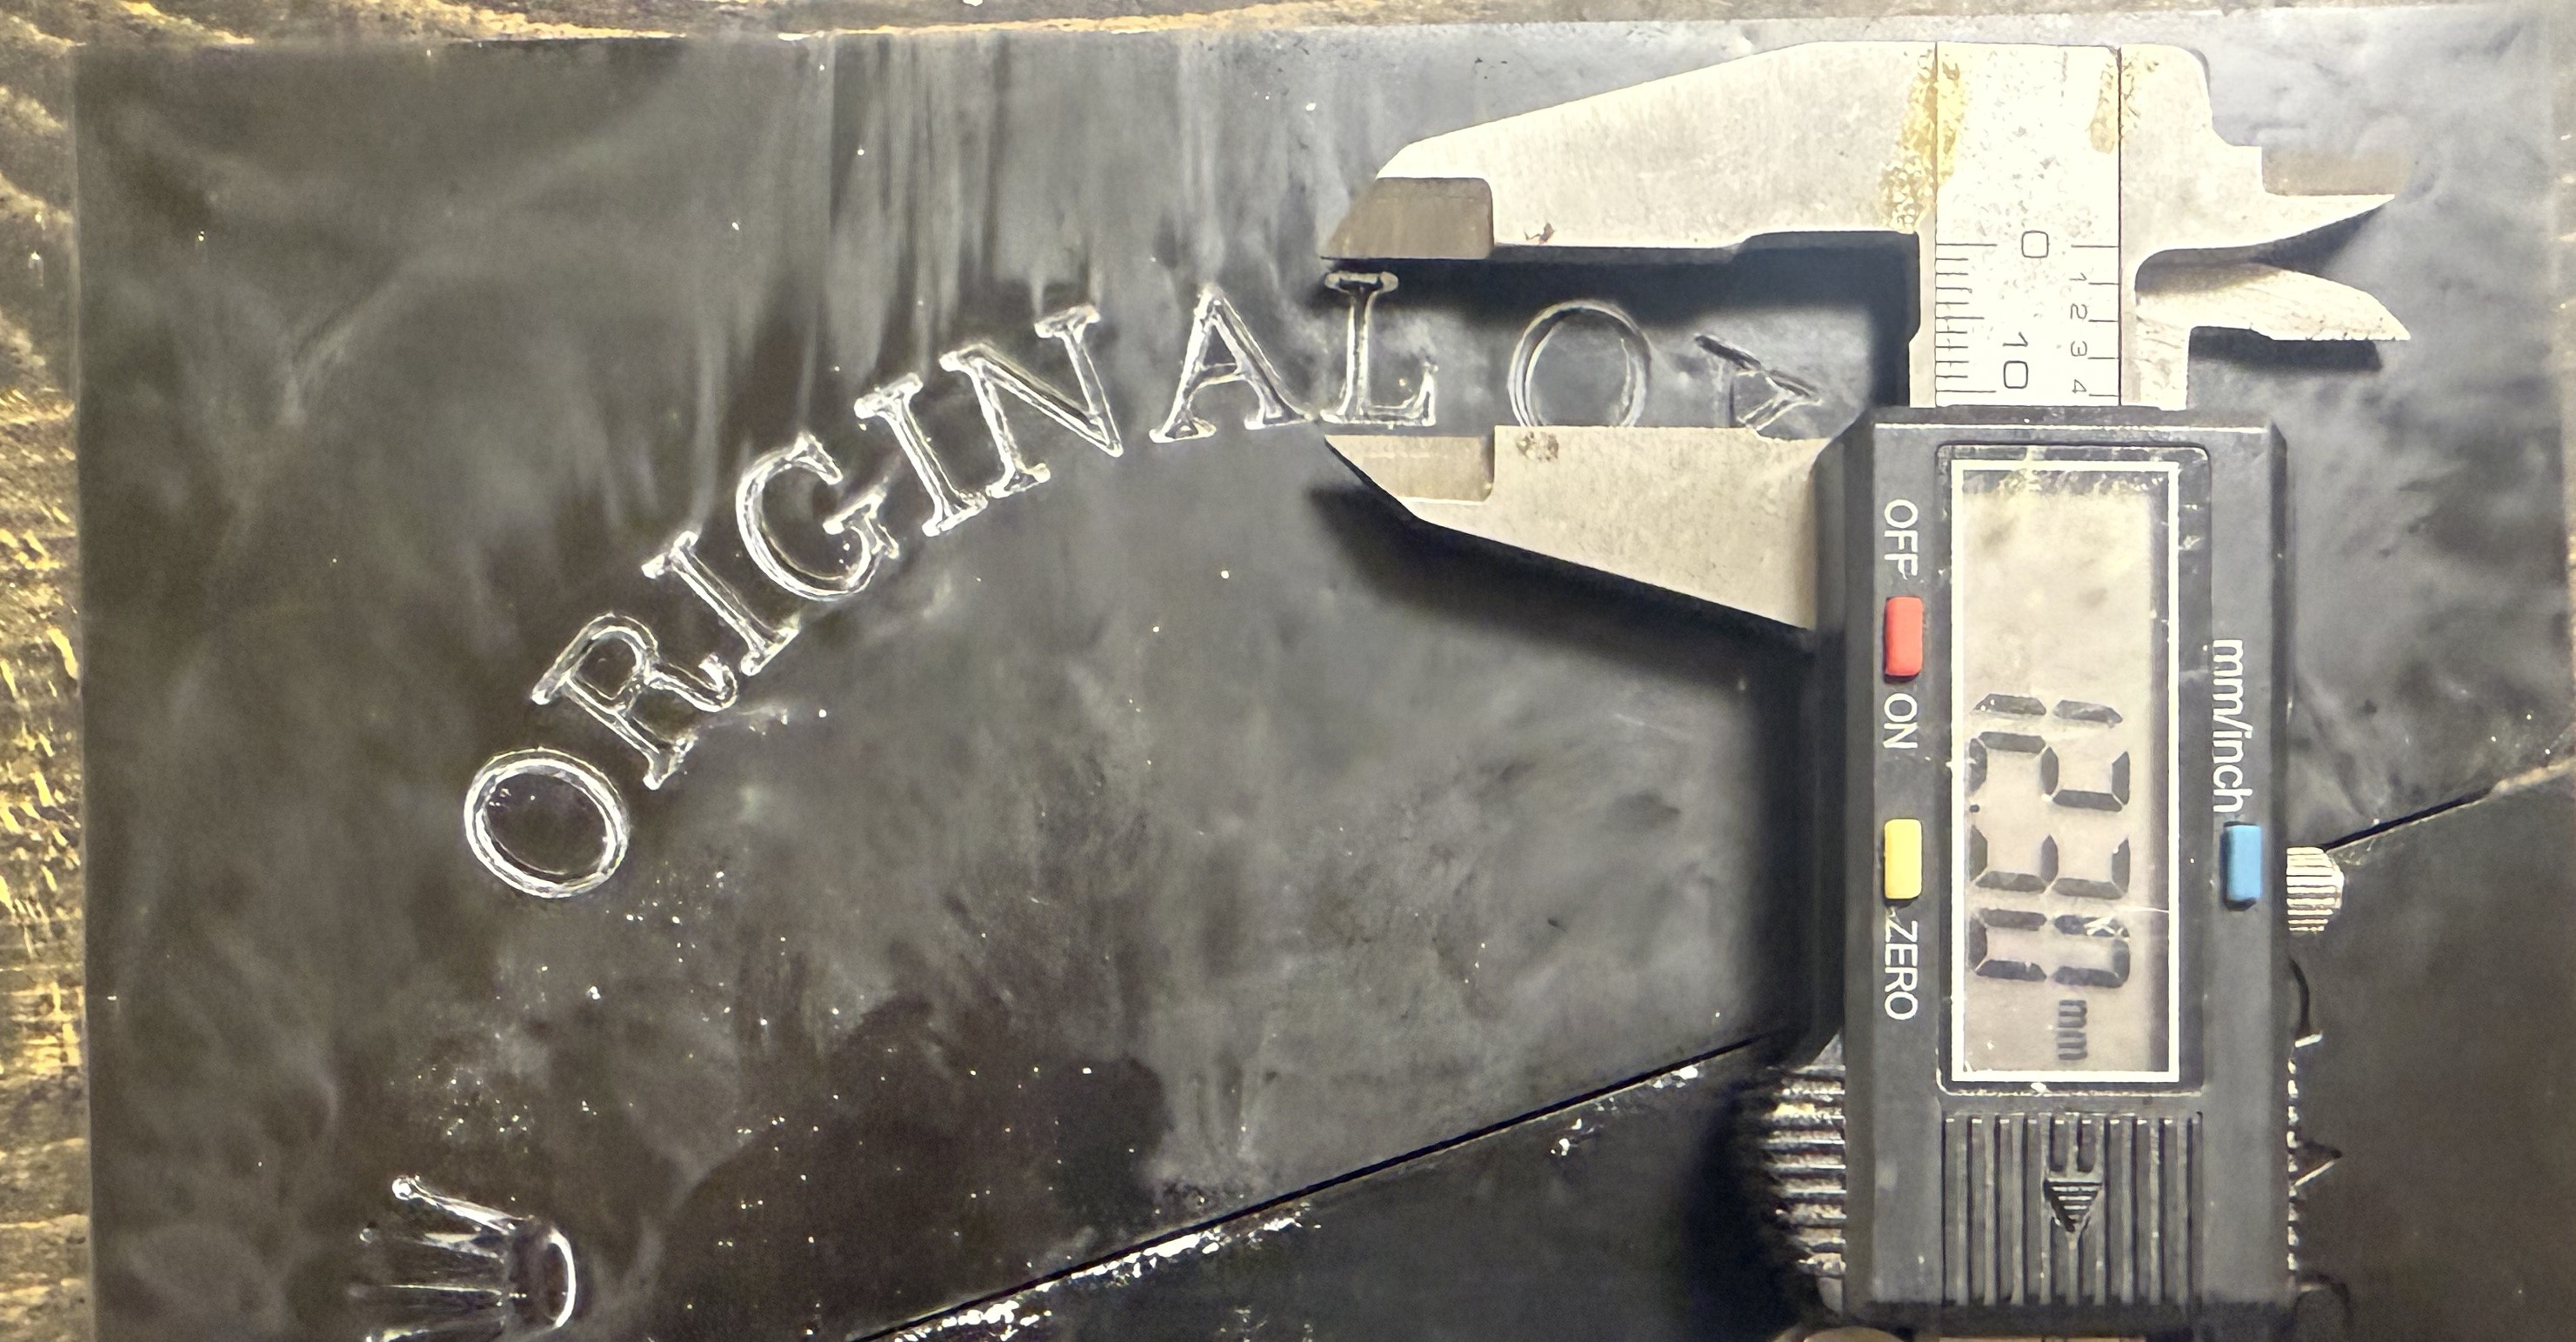
Looks great mate!Hi mates! Didn't have much time to execute our achievements of last weekend, but time enough to test a few provisorily templates! The following pics show - in my opinion - a promising result (for now just on brass for presentation purposes)... My suggestions:
- reduce the depth of the fonts for correct engraving to 0,2 mm and their size to 1,2;
- the template was splitter, because of my printers limits;
The template was a quick printout on standard resin. As soon as we have a complete flawless design, I'll print it with a different & much harder material;
Nevertheless, I think the New Hermes/Gravograph is the right method for vintage casebacks...
@Daso3333 helps me a lot with his unbelievable CAD-skills & experience on a final version... also thanks to @dpd3672 for leading me into this direction.
I hope, the next weekend gives me enough time to take hands on my first caseback!


This was the spindle one...Looks great mate!
This was done with an engraver that has a spindle? Or solely drag engraving?
That is true! Does anyone know a source for a flat caseback? Aliexpress?
I have a machine shop, but super busy with other projects and this would require some fixturing depending on the process. PM me and I'll see what I can do. You need to provide an image of your desired result. Most flats on modern casebacks are precision ground, not cnc milled. If you wanted to make my life easy, I could mill it flat, throw it on the grinder to give it effect, and let you do the finishing for the aging. If the caseback is not supposed to true flat, but have a slight concave arc, that would require turning and fixturing to hold it in a chuck. A pain in the ass to perform workholding on something so thin.
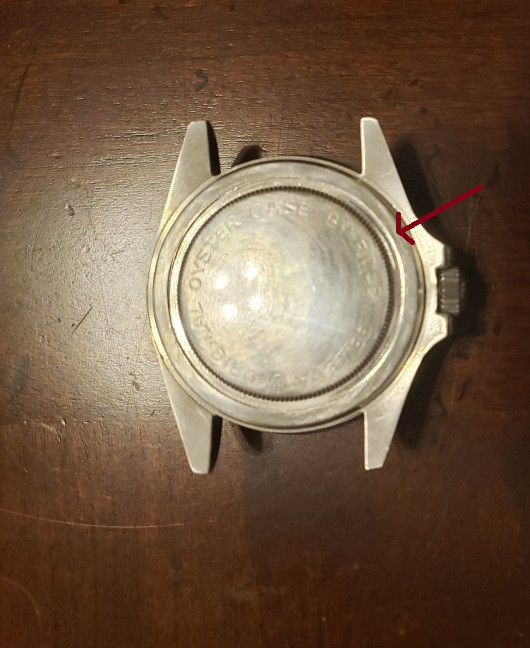
Here a gen image of the caseback. As far as I can see it is flat and polished. Once I've done this by using a lathe.I have a machine shop, but super busy with other projects and this would require some fixturing depending on the process. PM me and I'll see what I can do. You need to provide an image of your desired result. Most flats on modern casebacks are precision ground, not cnc milled. If you wanted to make my life easy, I could mill it flat, throw it on the grinder to give it effect, and let you do the finishing for the aging. If the caseback is not supposed to true flat, but have a slight concave arc, that would require turning and fixturing to hold it in a chuck. A pain in the ass to perform workholding on something so thin.
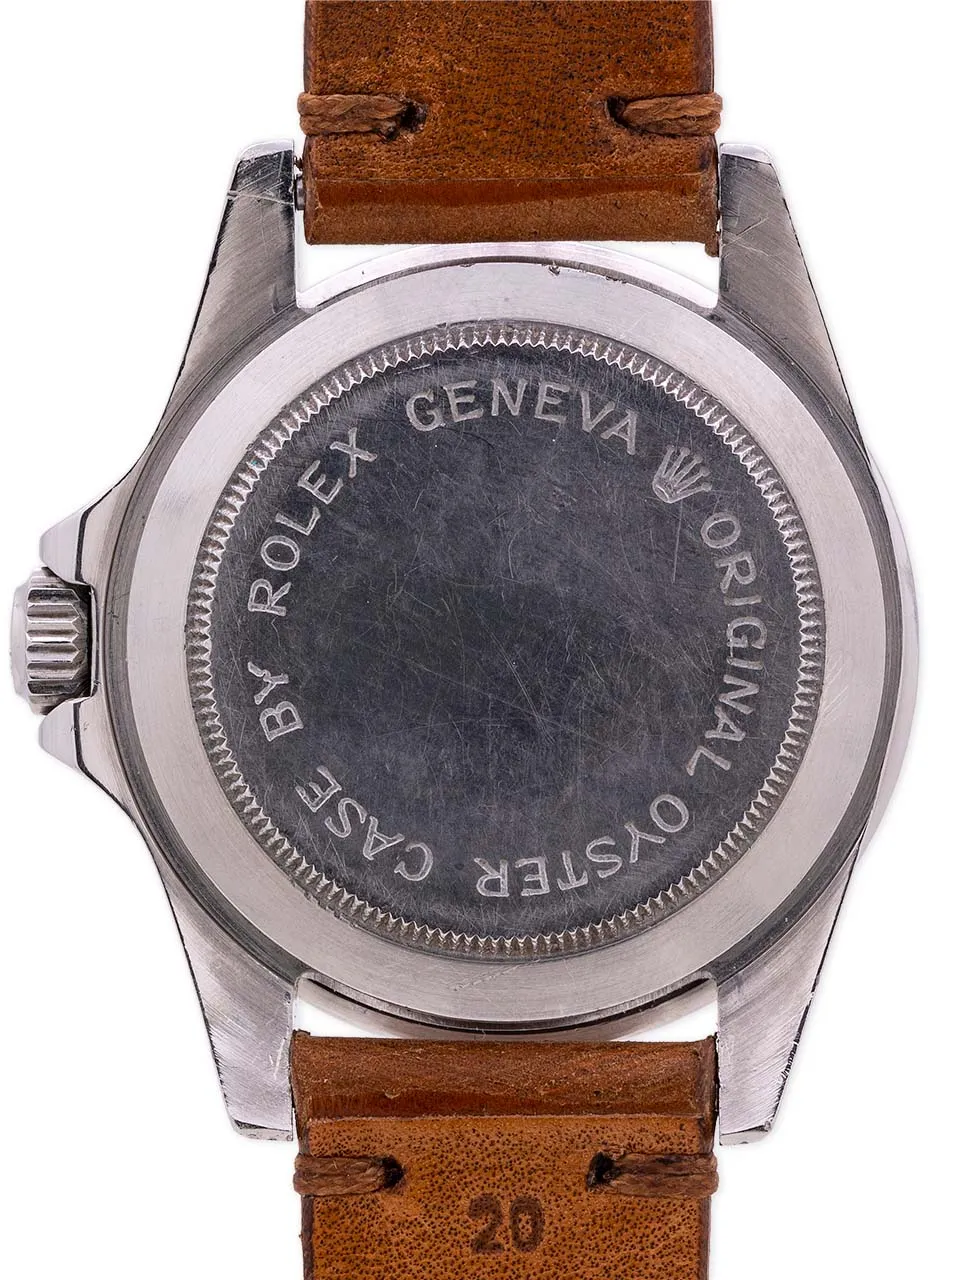
THX, @matzemedia! I saw your fonts too late as the jig was already in the printer! It was also more a tryout on size, depth & radius issues, as well as checking the capabilities of the Gravograph, than getting the gen result. But be aware, I'm already preparing the jig with your cool fonts@brekkvery nice result. The typo you used is not gen like. For the next try please use my last version.
That is true! Does anyone know a source for a flat caseback? Aliexpress?
I would definitely "mill it flat, throw it on the grinder to give it effect, and let one do the finishing." Flattening it is certainly the easiest part, as I've done it successfully a few times by doing it by eye for the first 90%, and then using something in lieu of a vise to make sure it's stable for that last 10% to make it truly flat.Where did you source your caseback? I could possibly just order one and flatten it. I'd rather make fixturing, etc to make this a repeatable process instead of a one off.
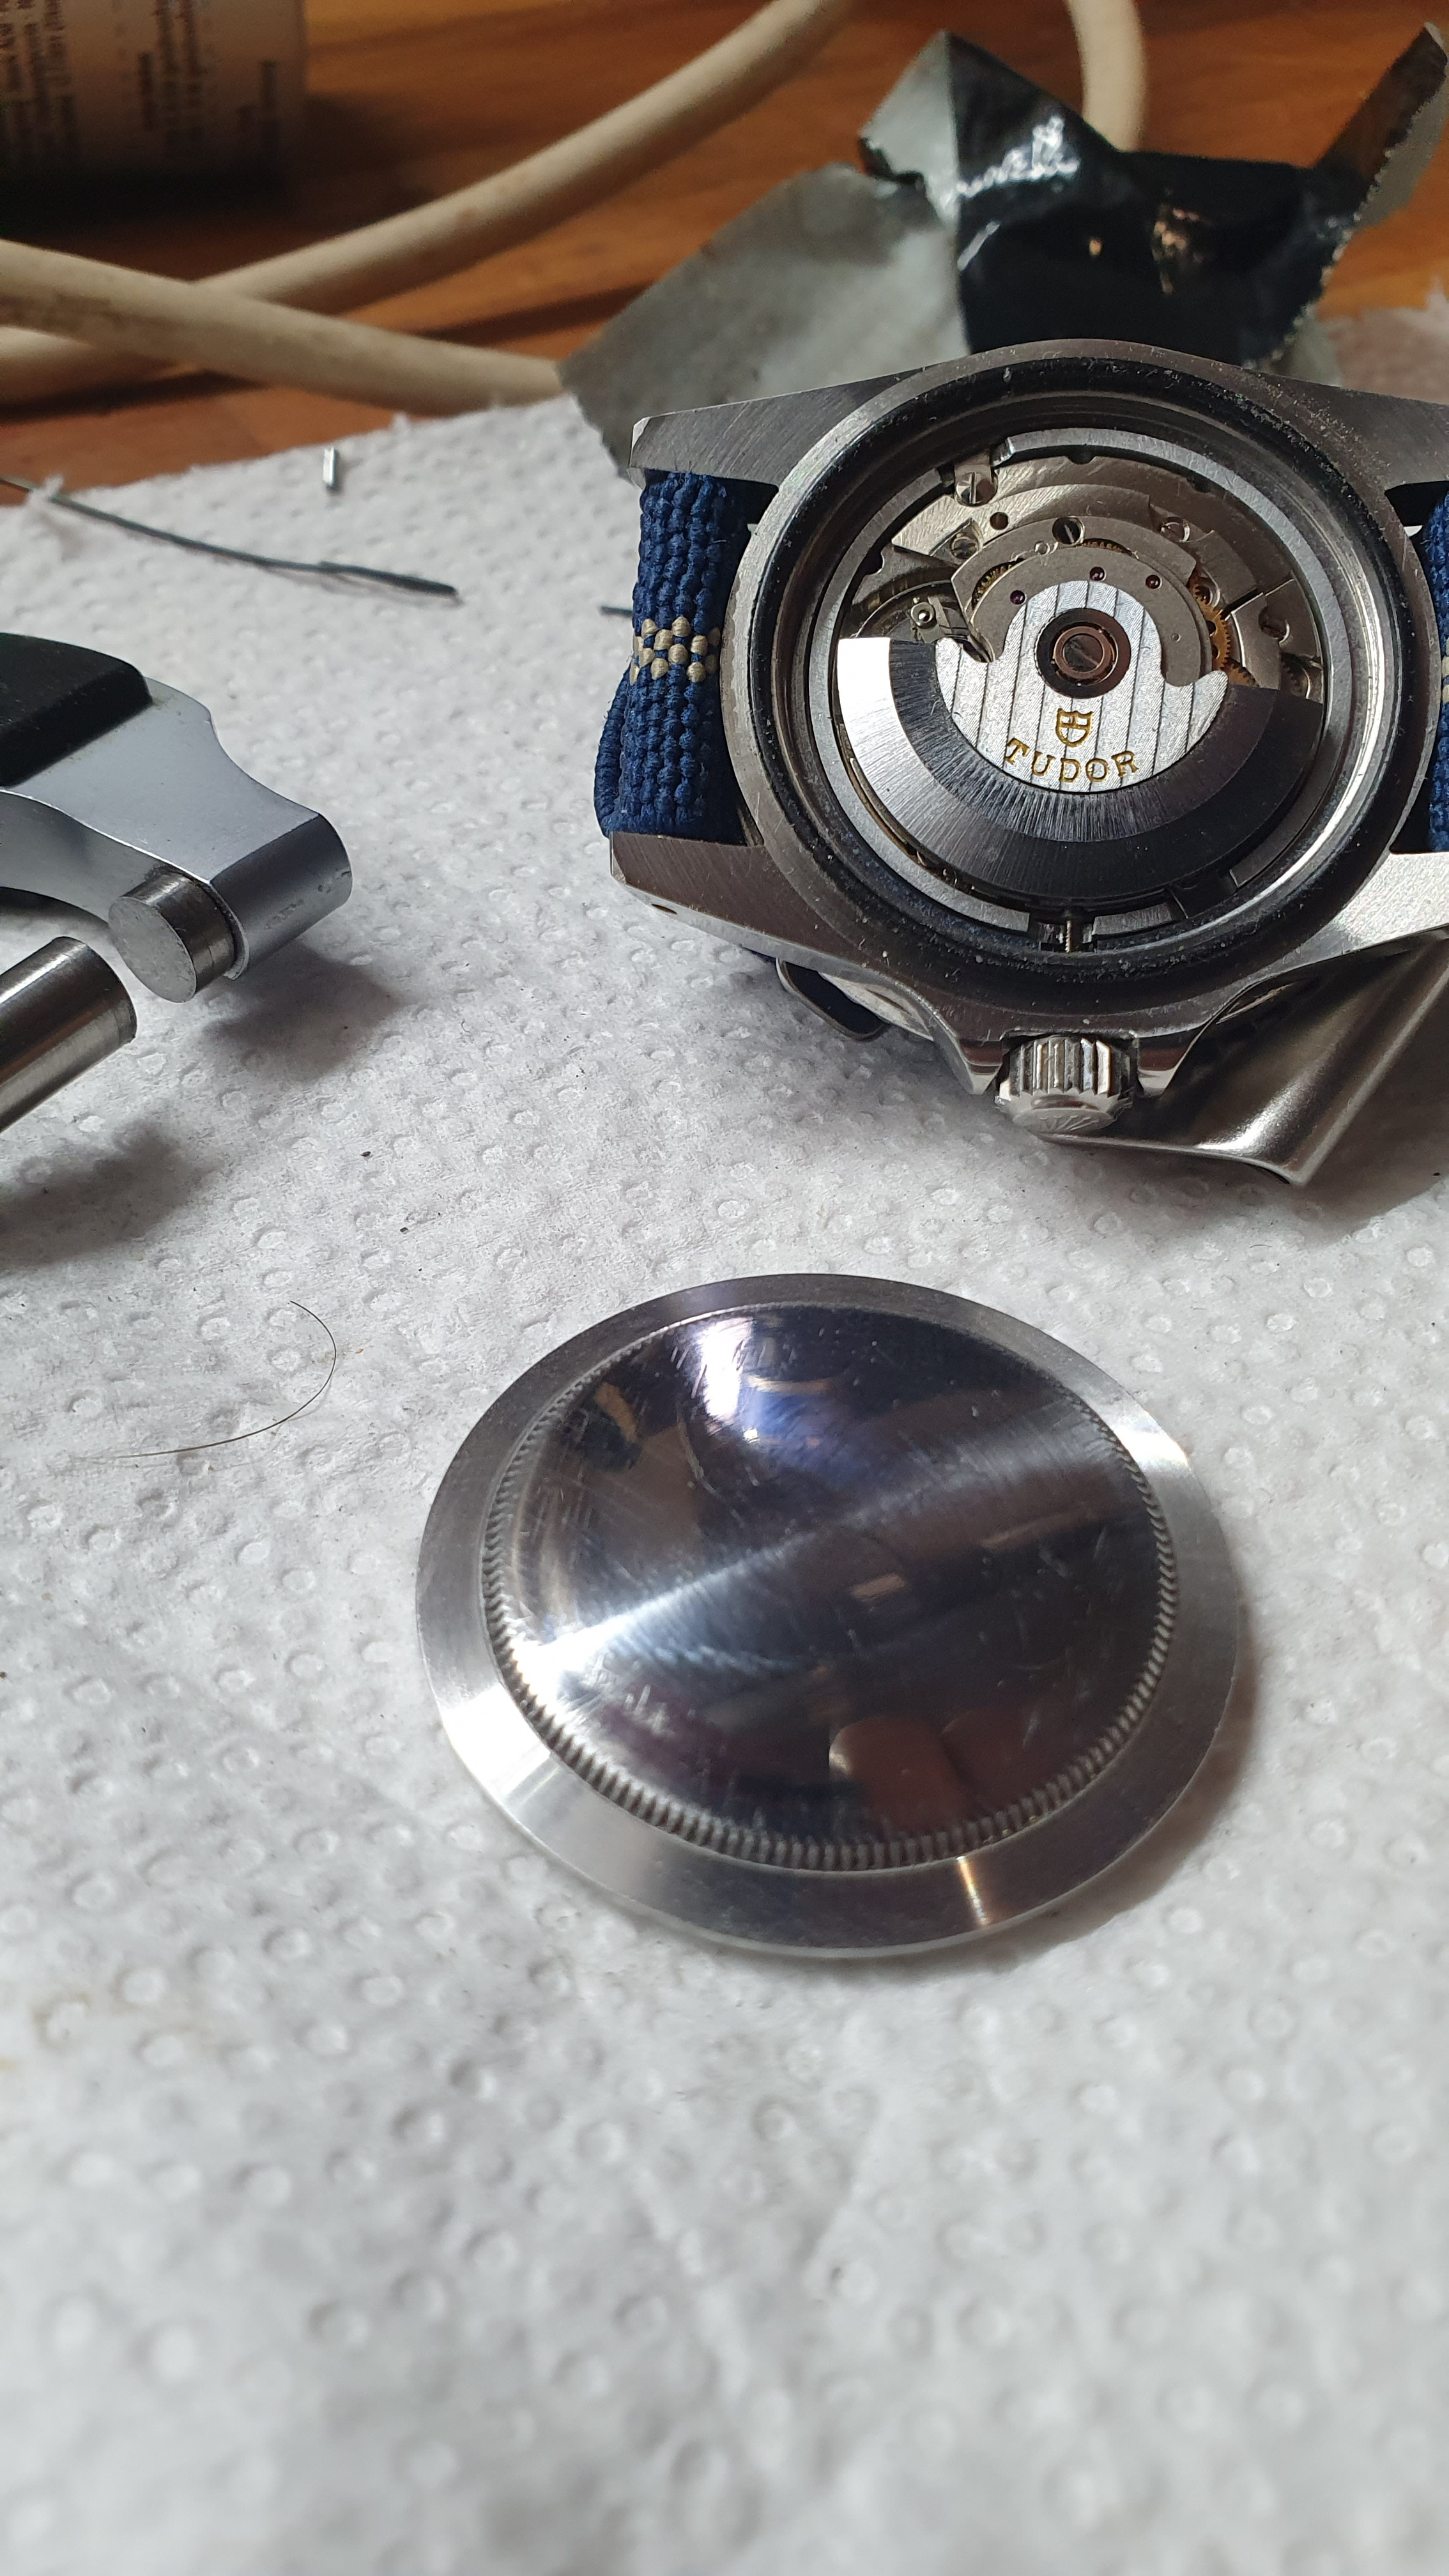
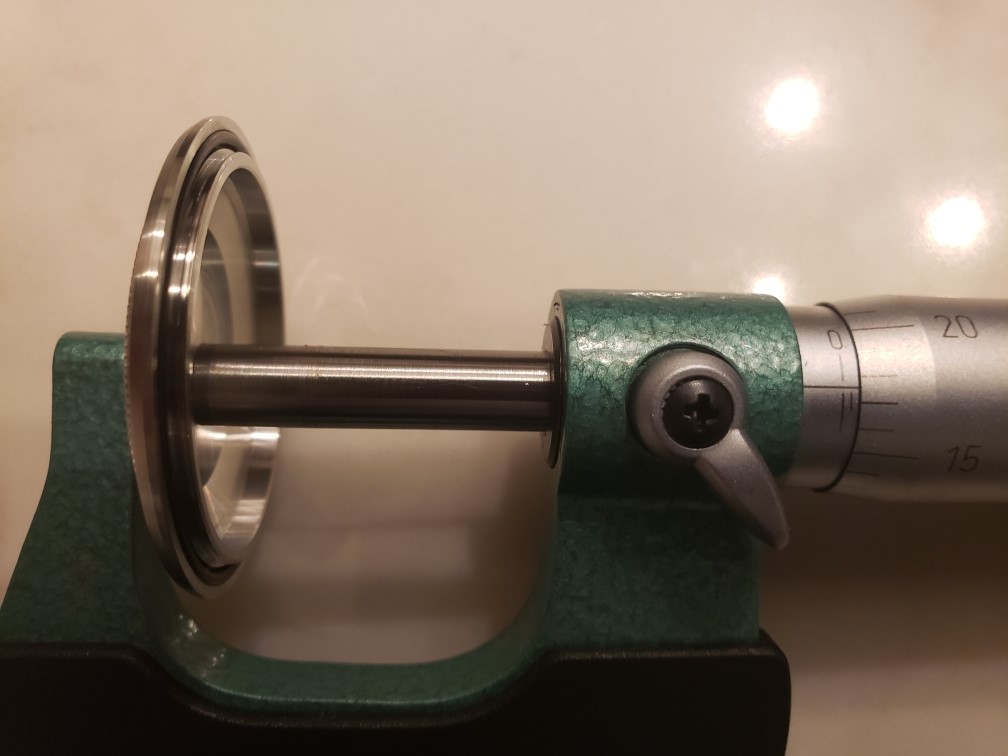
I can confirm you execution. After reading this thread I flatten a milk caseback and it almost ended in disaster. My first trie was using a lathe. As a result, the cutting tool bent the thinning material instead of removing it. Than I uses a file to grind it flat. The casback feels like a cola can and is just 0.5mm thick in the centre. Somehow you have to prevent it from bending when engraving. It is still a challenge!I would definitely "mill it flat, throw it on the grinder to give it effect, and let one do the finishing." Flattening it is certainly the easiest part, as I've done it successfully a few times by doing it by eye for the first 90%, and then using something in lieu of a vise to make sure it's stable for that last 10% to make it truly flat.
The problem I encountered the most was finding a caseback that can actually be flattened without losing too much stability. The average case back might be almost paper thin after flattening.
Only mentioning my experiences so y'all don't make the same mistakes I've already made. I don't know the best method, and I'm not recommending a specific one. But, don't overlook the final thickness after the fact. I have faith it can be done well with the right caseback and the knowledge on this thread. I'm confident to no end, but finding the right base caseback is necessary!
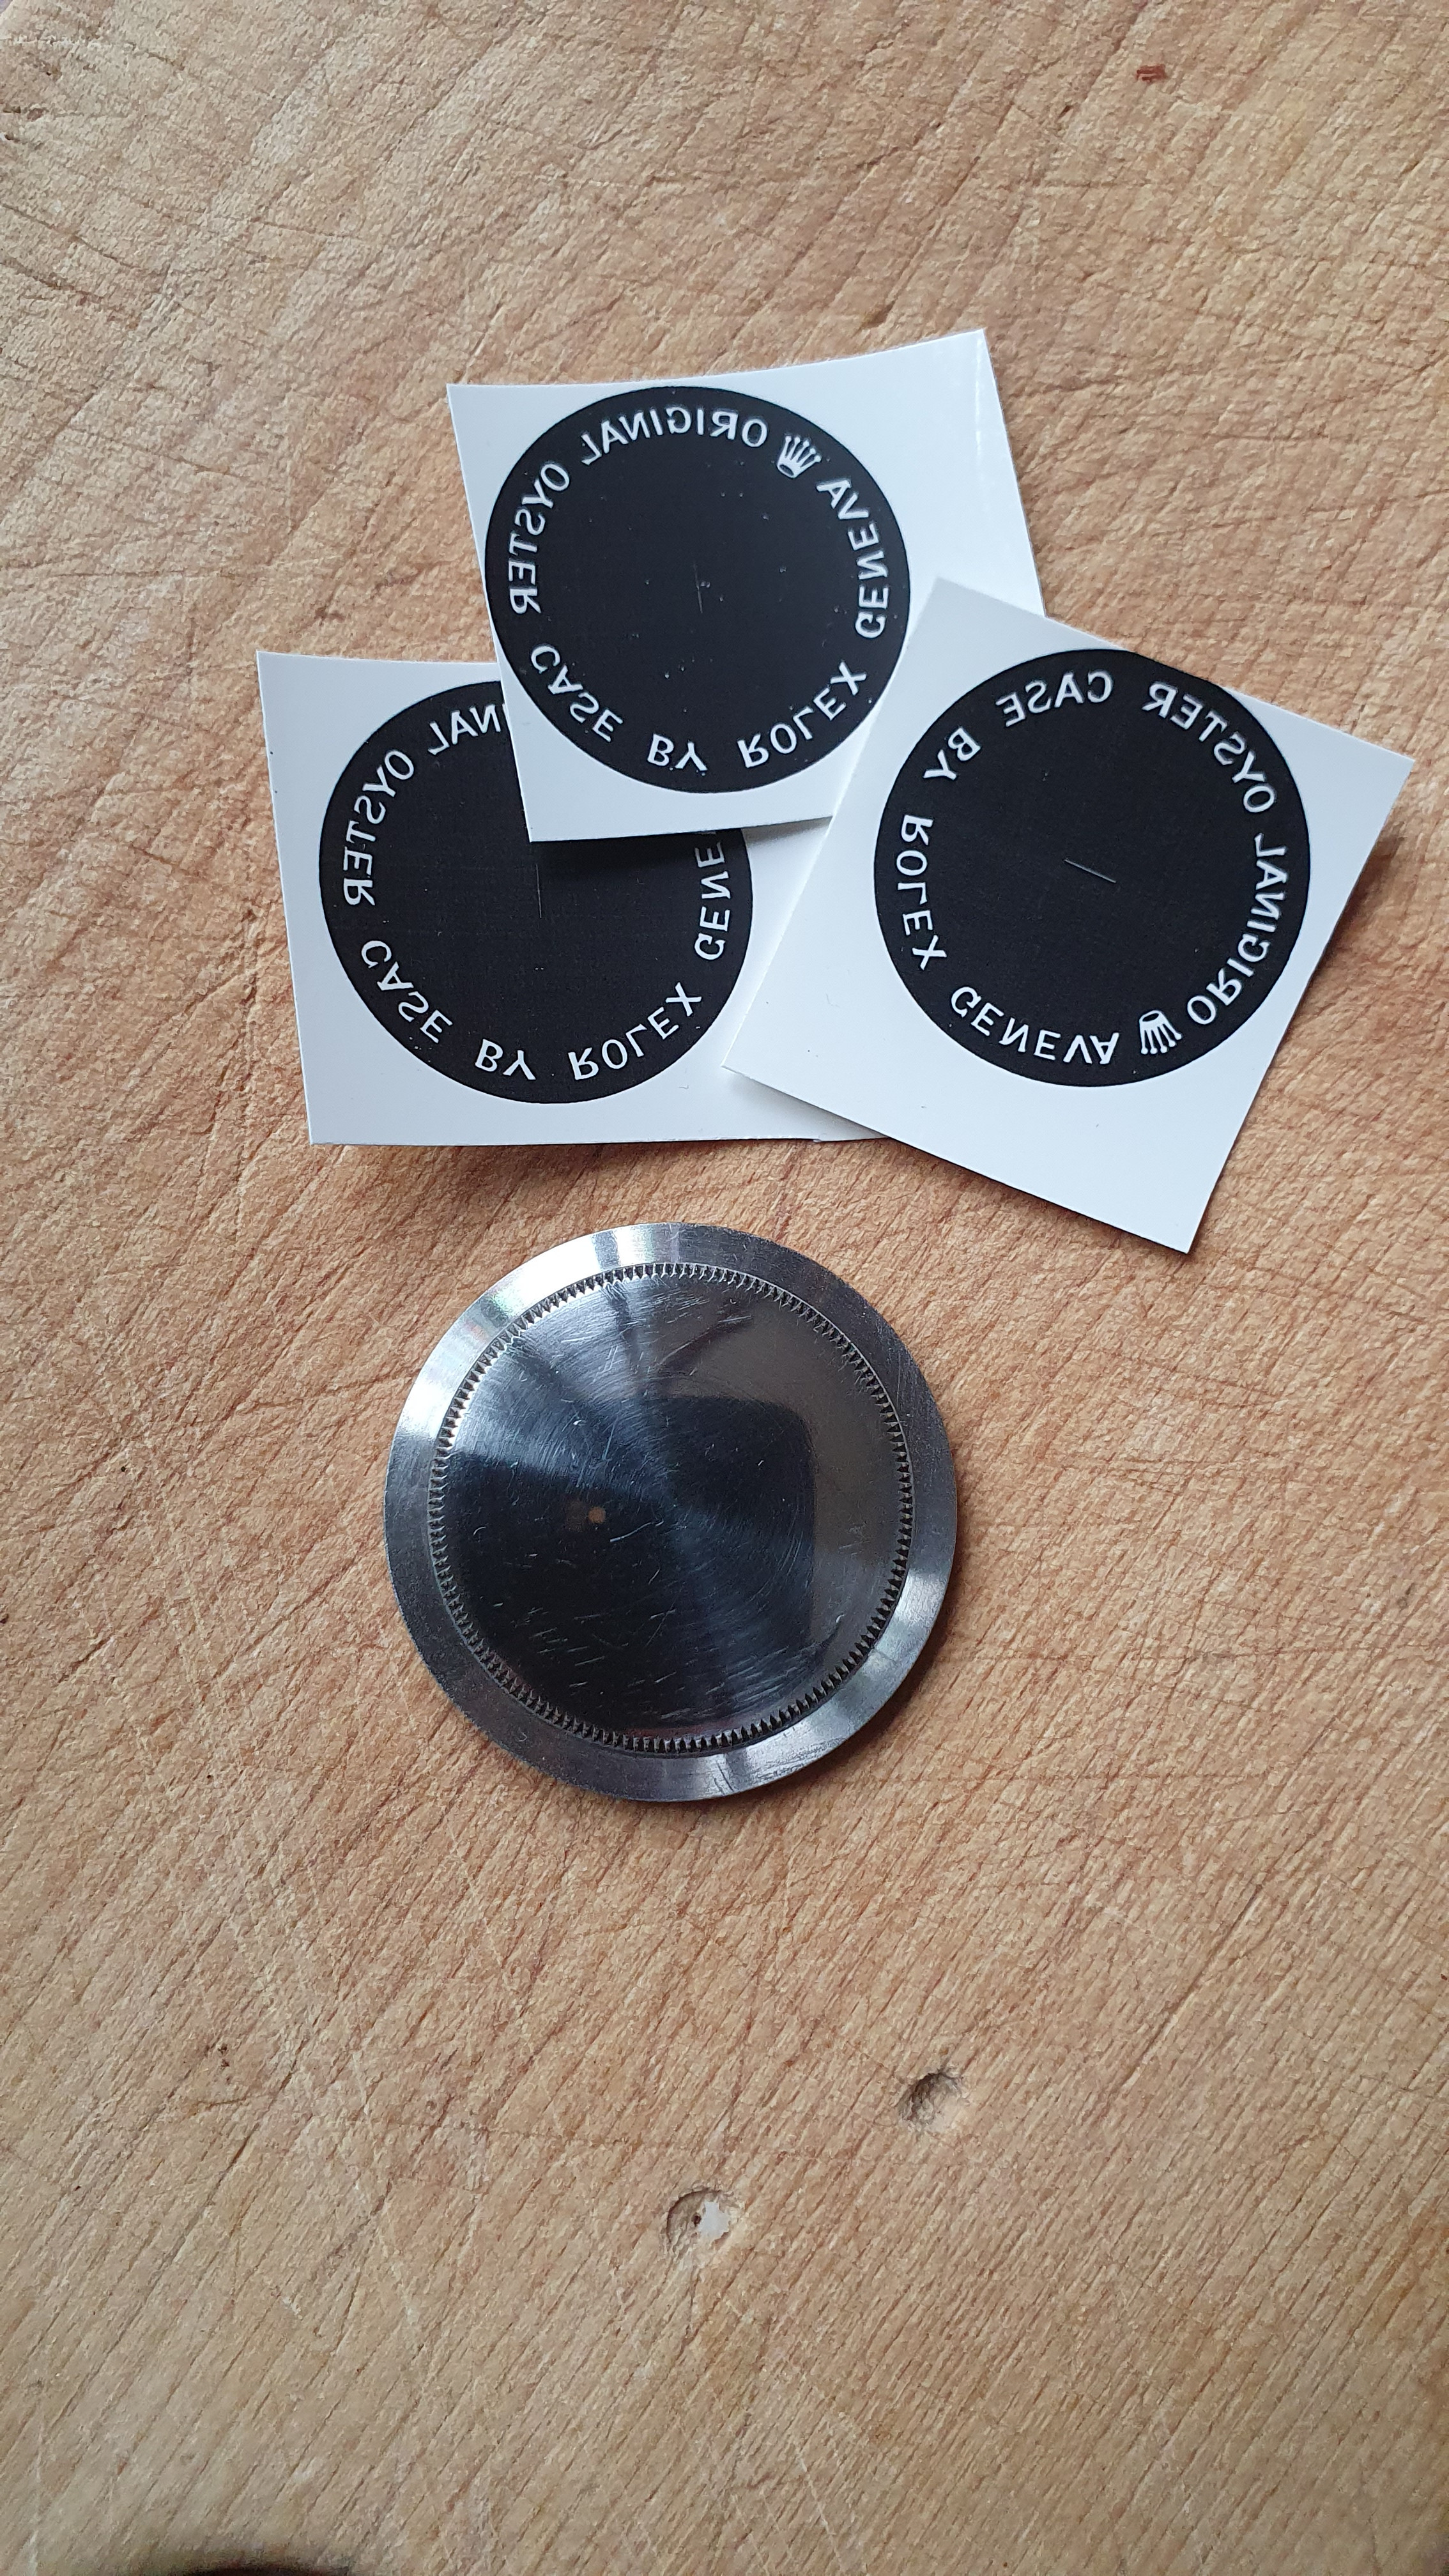
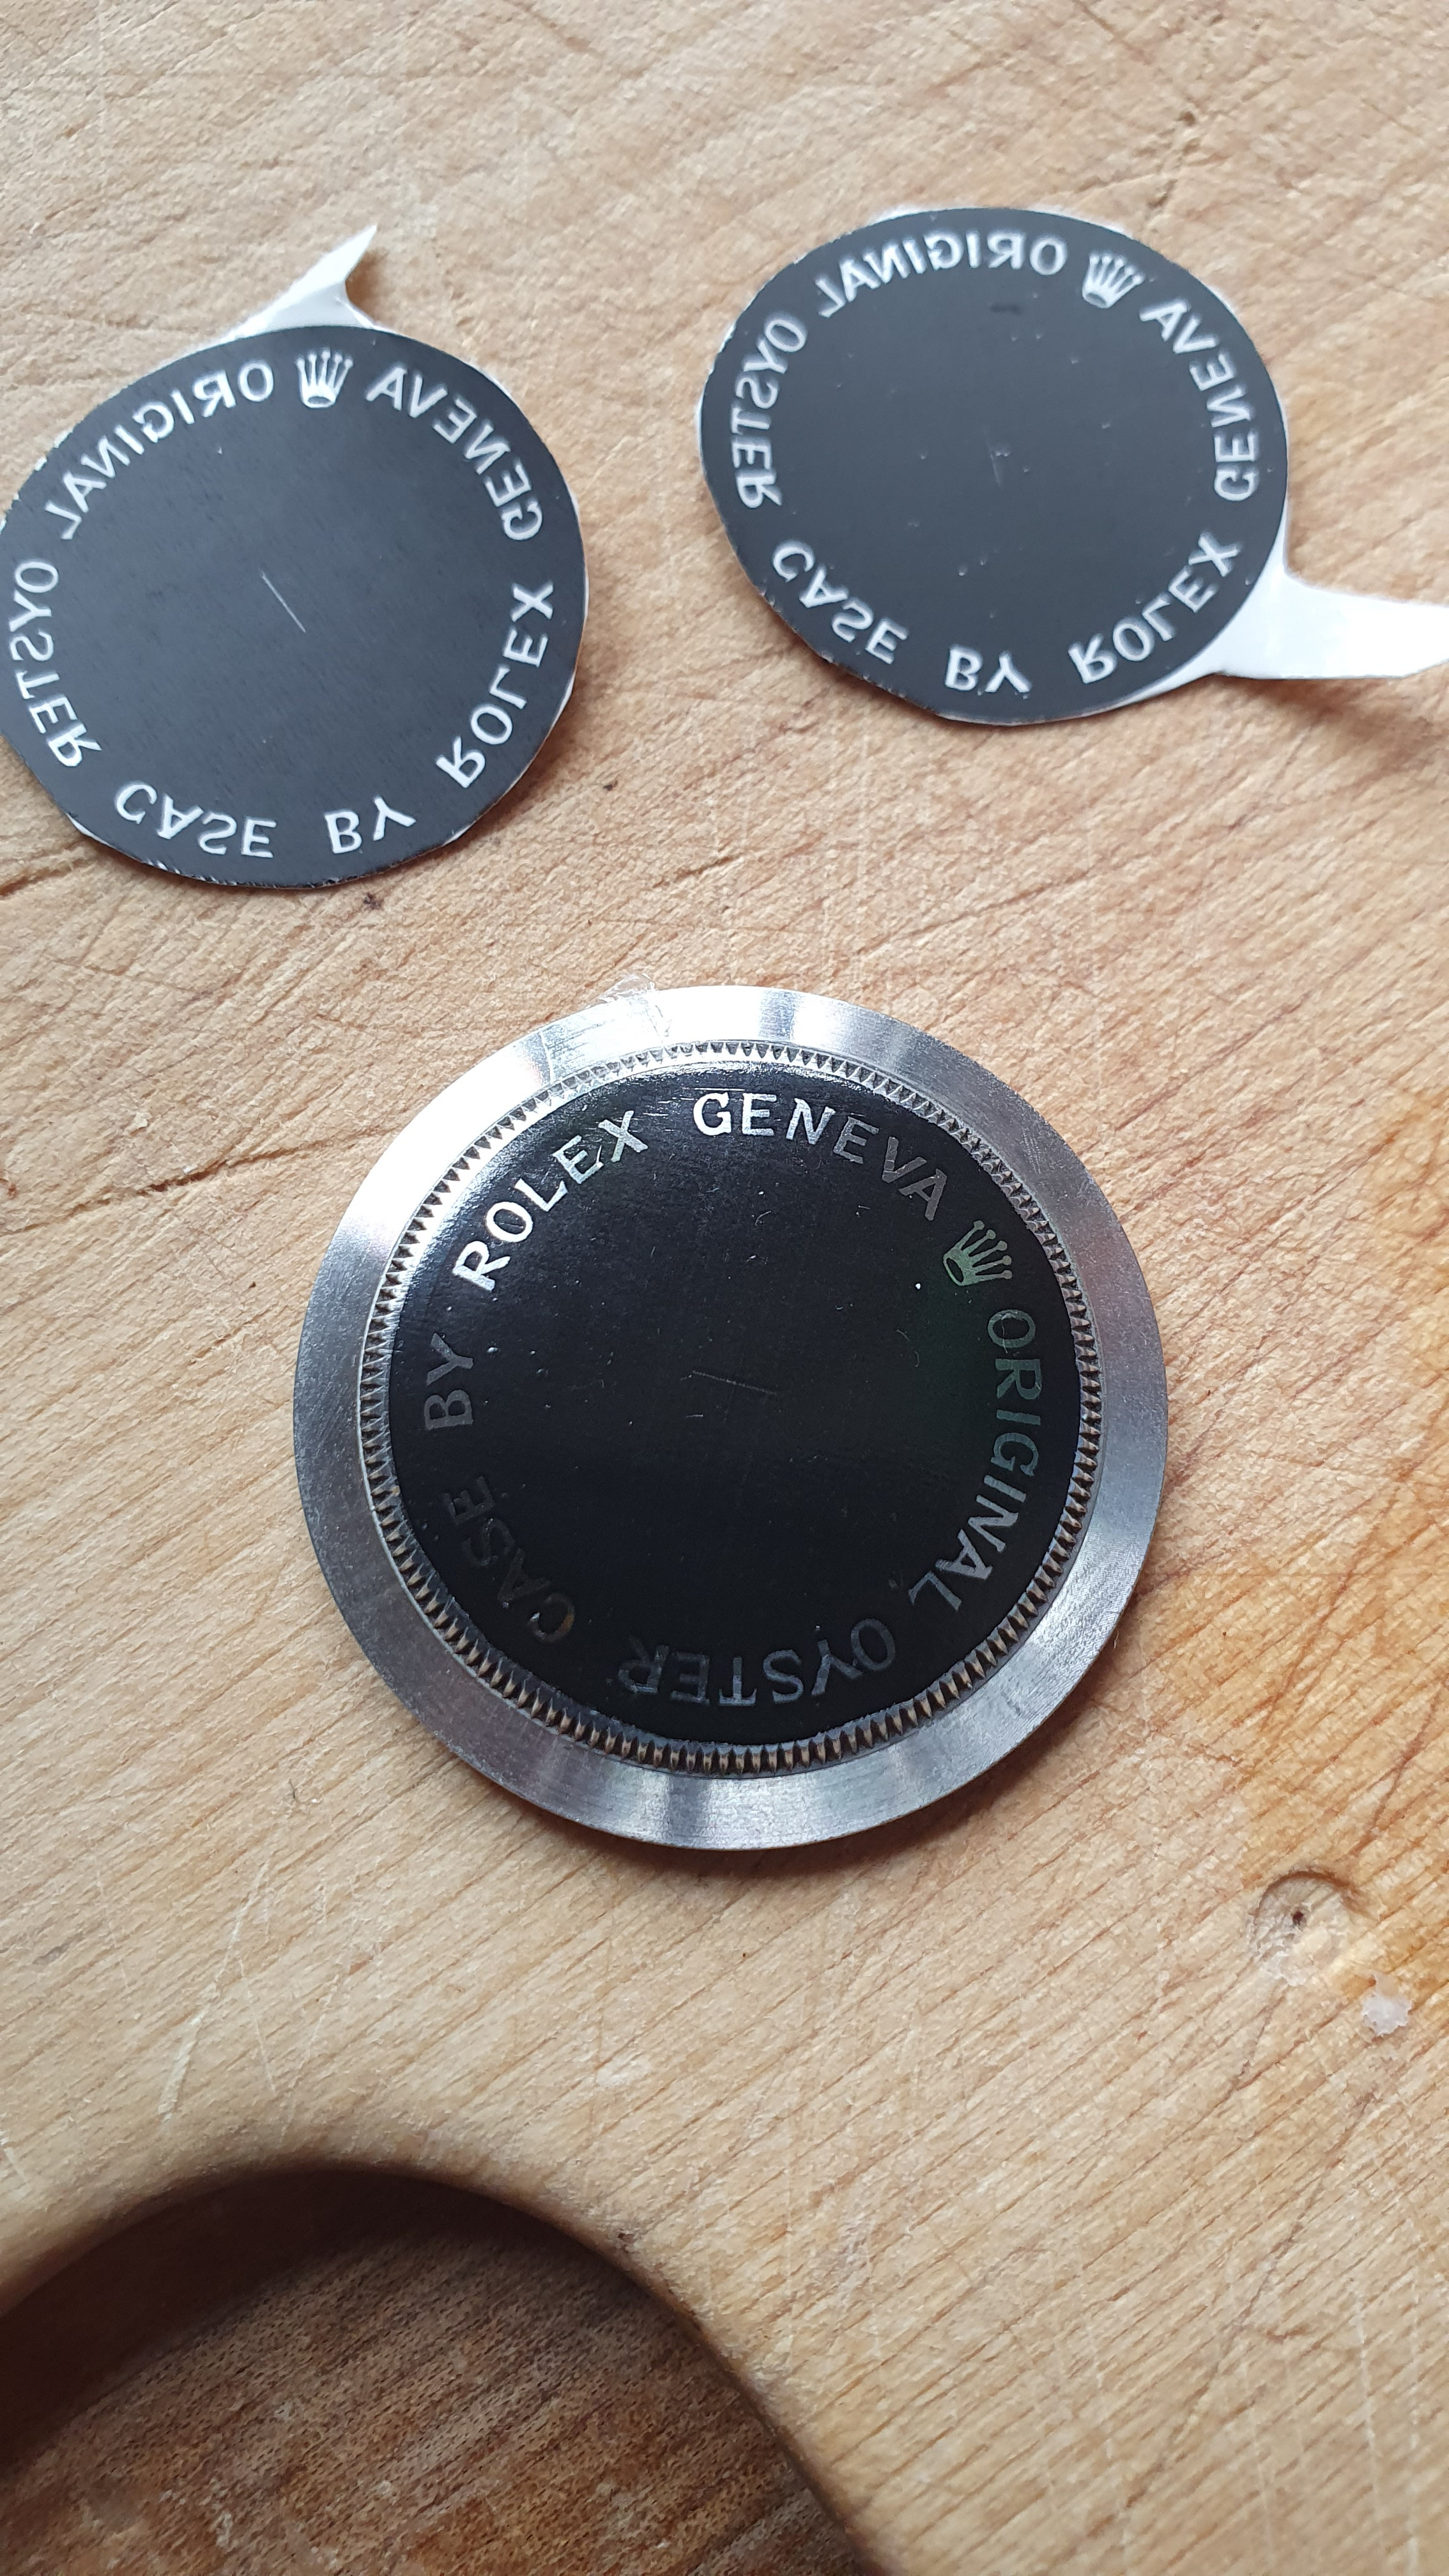

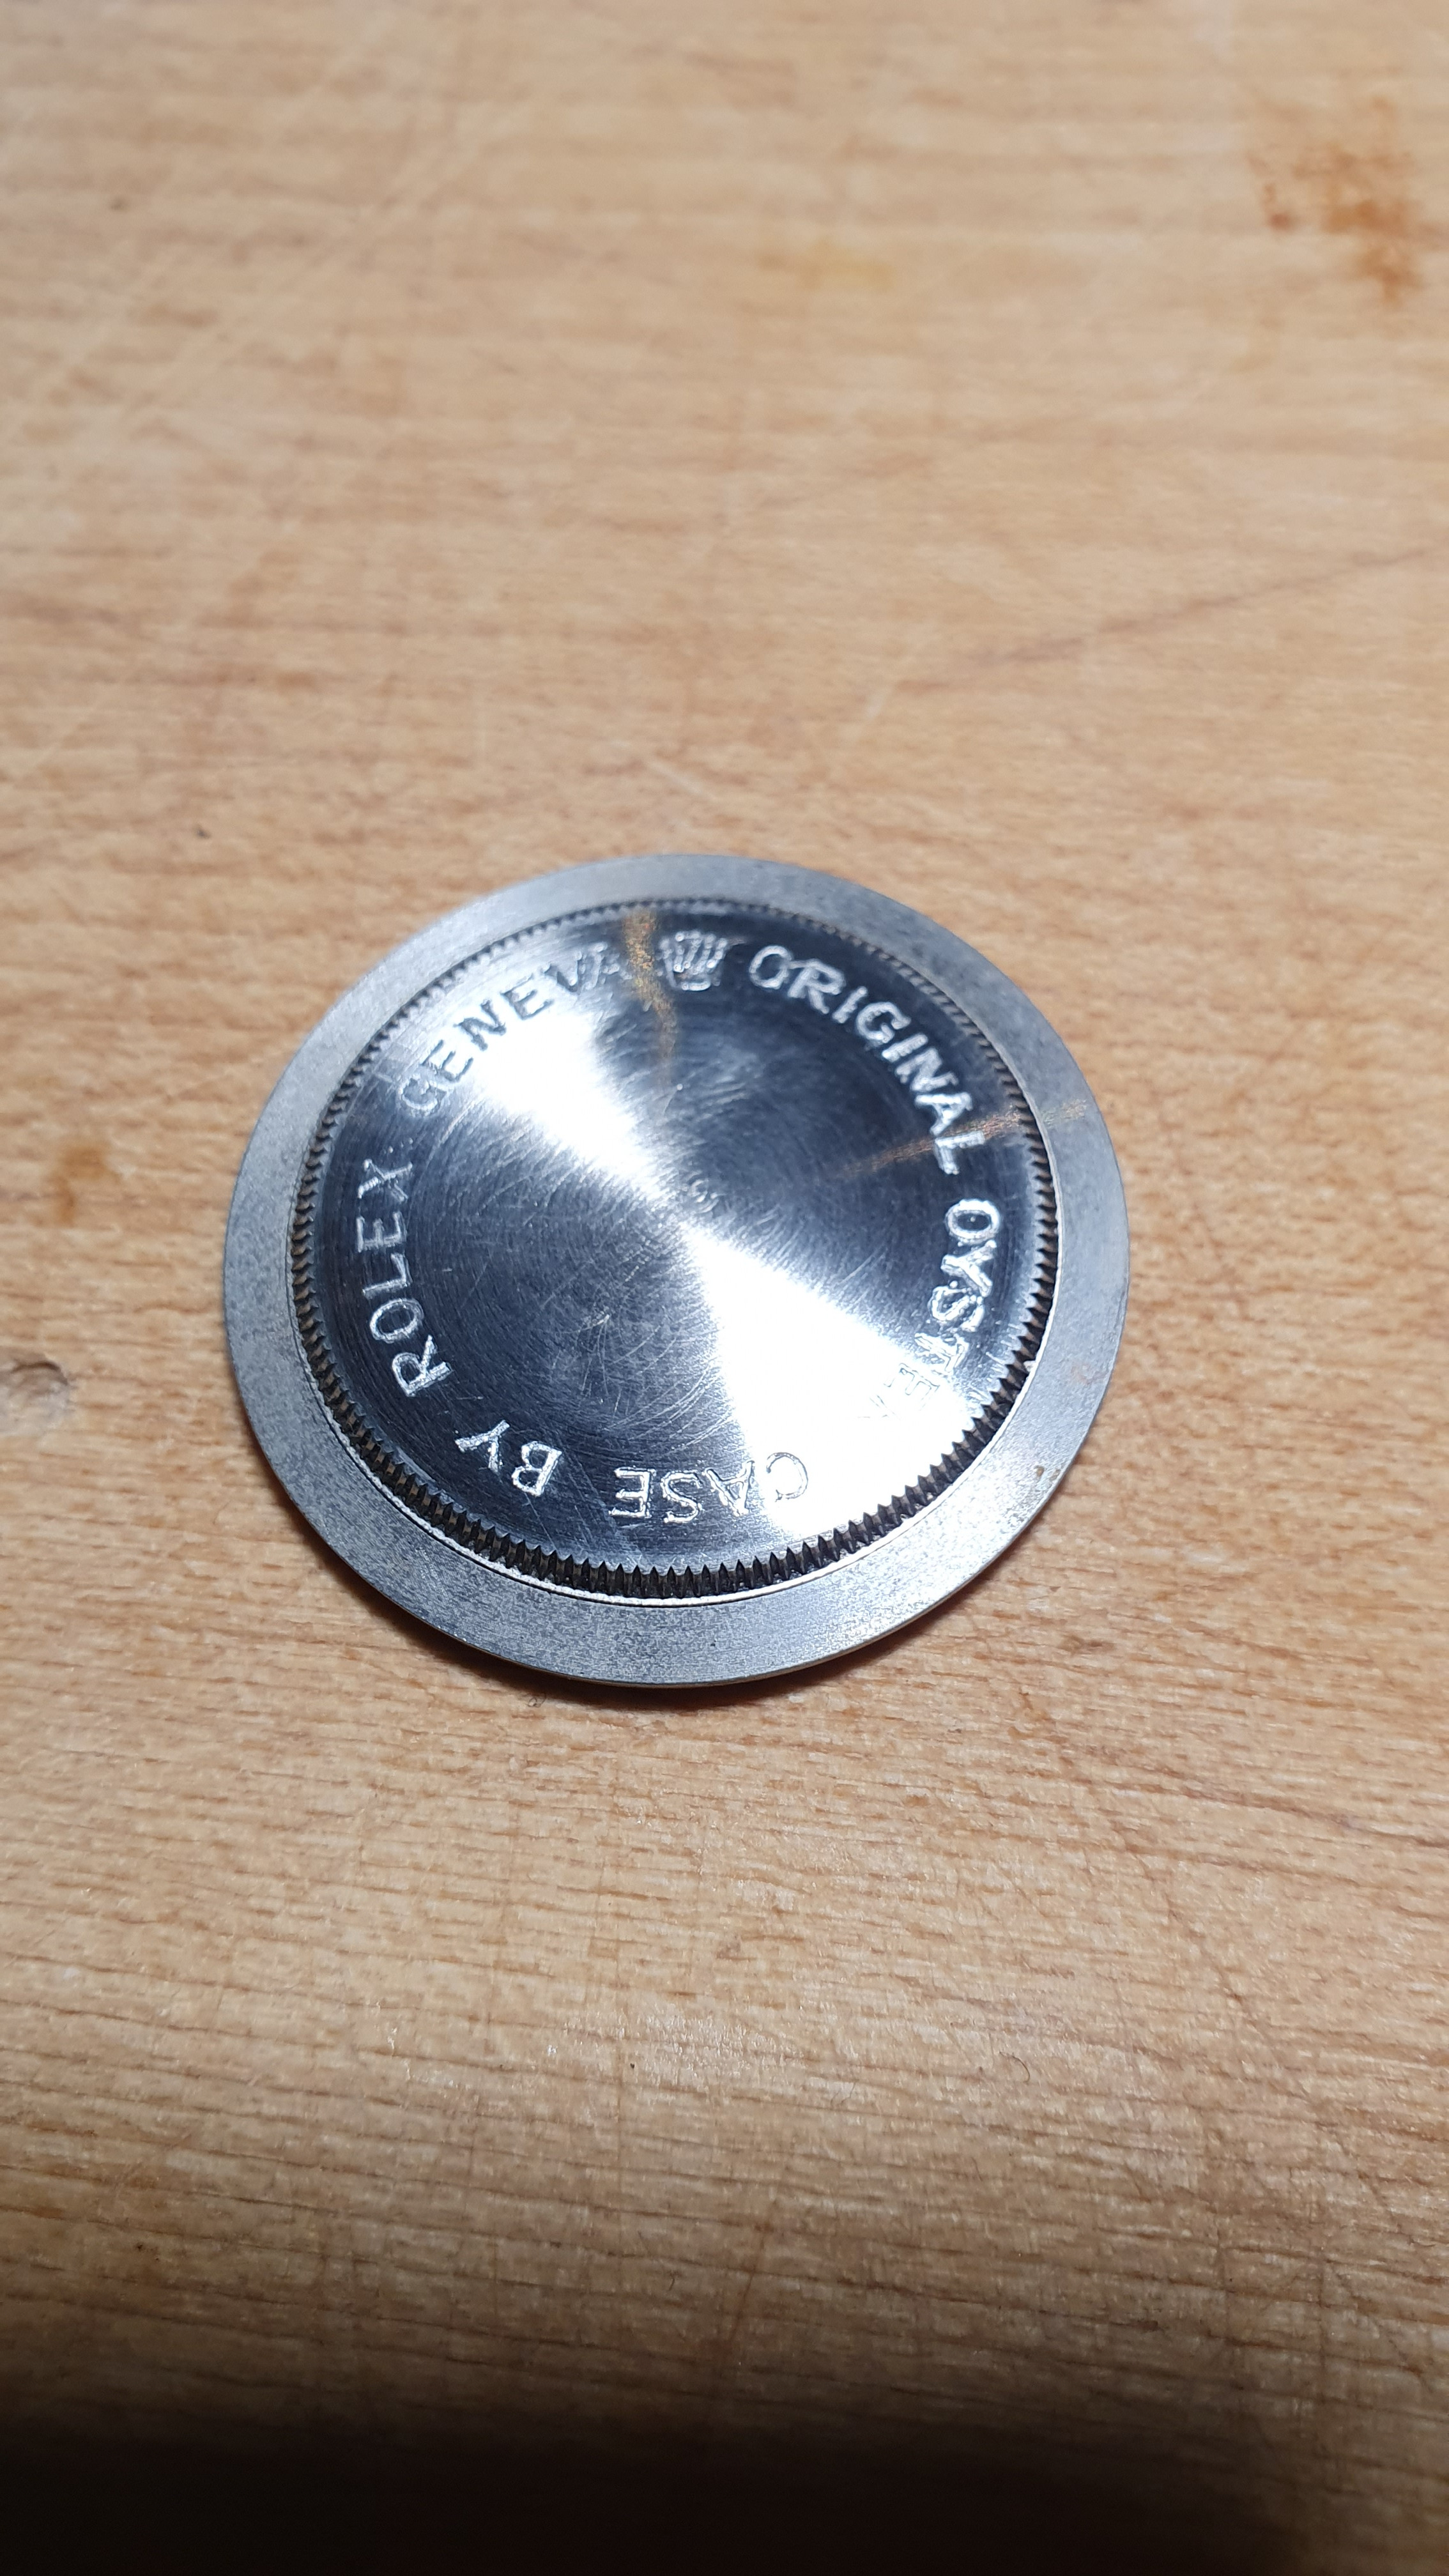
I said a few posts up that I believe the saltwater etching might give more accurate results with a Tudor caseback, since the letters are much thicker than a drag engraver is capable of...you seem to have proven that, lol.For all of you who are not able to use this super engraving machine, there is an alternate way to engrave the caseback (and other areas) by using the electric etching method. Therefor you need:
1. Print the theme inverse on a toner transfer film.
- 9V Battery
- 2x electric cable with clamp
- Q-tips
- laser printer
- toner transfer film
- salt water

2. Cut the transfer film in the right size and put it at the metal. Follow your transfer film instruction carefully.
3.(Optional) repeat step 2 to be sure you have a thick layer of toner on your metal.

4. But the two electric cable to the +/- of your battery. Connect the + to the metal you like to etch. And the - connection goes to your q-tip.
5. Mix a spoon of salt with 50ml water and soak the q-tip in it. Be sure, the connector of your cable and the wadding is wet.

6. Now etch your metal by moving the wet Q-tip carefully over your toner transfer film. I left it for about 30-40 seconds each letter. Take care: the vapours produced are toxic. Best done outside.
7. Finally, use Aceton to remove the toner from the metal.

Superb how to post, thank you! Been struggling to understand it!For all of you who are not able to use this super engraving machine, there is an alternate way to engrave the caseback (and other areas) by using the electric etching method. Therefor you need:
1. Print the theme inverse on a toner transfer film.
- 9V Battery
- 2x electric cable with clamp
- Q-tips
- laser printer
- toner transfer film
- salt water

2. Cut the transfer film in the right size and put it at the metal. Follow your transfer film instruction carefully.
3.(Optional) repeat step 2 to be sure you have a thick layer of toner on your metal.

4. But the two electric cable to the +/- of your battery. Connect the + to the metal you like to etch. And the - connection goes to your q-tip.
5. Mix a spoon of salt with 50ml water and soak the q-tip in it. Be sure, the connector of your cable and the wadding is wet.

6. Now etch your metal by moving the wet Q-tip carefully over your toner transfer film. I left it for about 30-40 seconds each letter. Take care: the vapours produced are toxic. Best done outside.
7. Finally, use Aceton to remove the toner from the metal.

Thx for sharing this awesome & detailed content, @matzemedia!!! ...as I had no time left to touch a single piece on my workbench last weekend, I found now another important task for the next one coming...For all of you who are not able to use this super engraving machine, there is an alternate way to engrave the caseback (and other areas) by using the electric etching method. Therefor you need:
1. Print the theme inverse on a toner transfer film.
- 9V Battery
- 2x electric cable with clamp
- Q-tips
- laser printer
- toner transfer film
- salt water

2. Cut the transfer film in the right size and put it at the metal. Follow your transfer film instruction carefully.
3.(Optional) repeat step 2 to be sure you have a thick layer of toner on your metal.

4. But the two electric cable to the +/- of your battery. Connect the + to the metal you like to etch. And the - connection goes to your q-tip.
5. Mix a spoon of salt with 50ml water and soak the q-tip in it. Be sure, the connector of your cable and the wadding is wet.

6. Now etch your metal by moving the wet Q-tip carefully over your toner transfer film. I left it for about 30-40 seconds each letter. Take care: the vapours produced are toxic. Best done outside.
7. Finally, use Aceton to remove the toner from the metal.

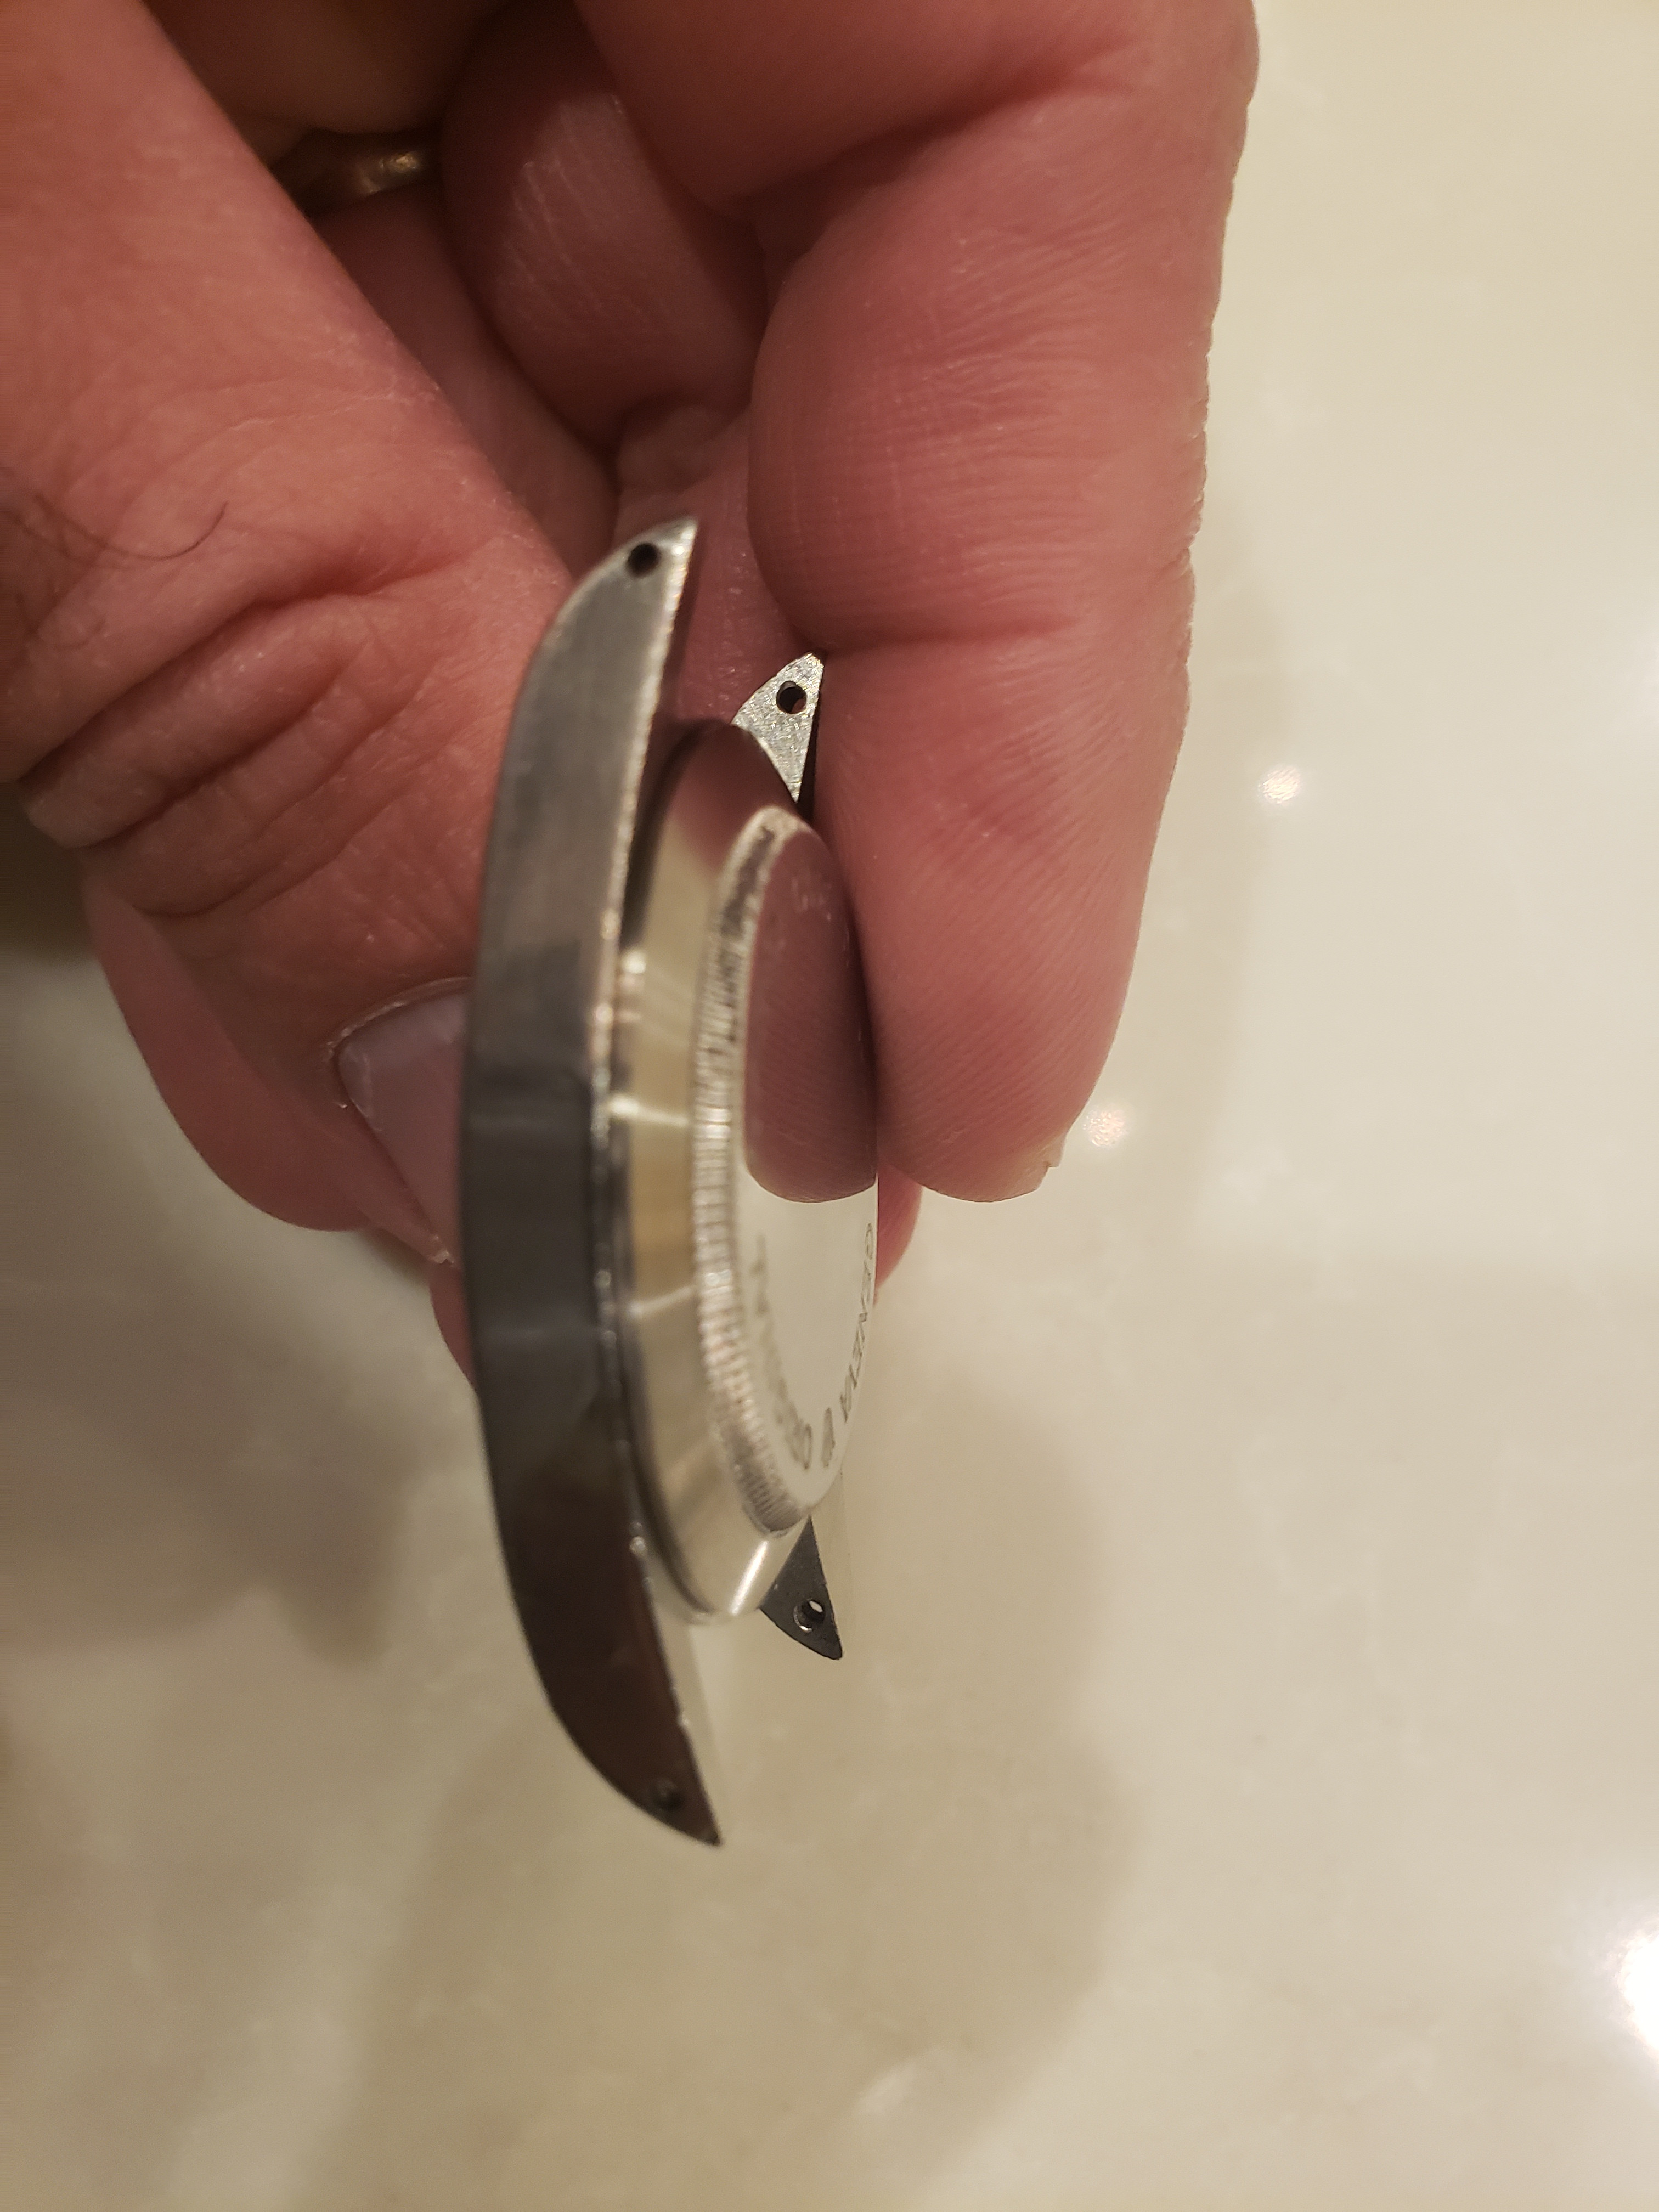
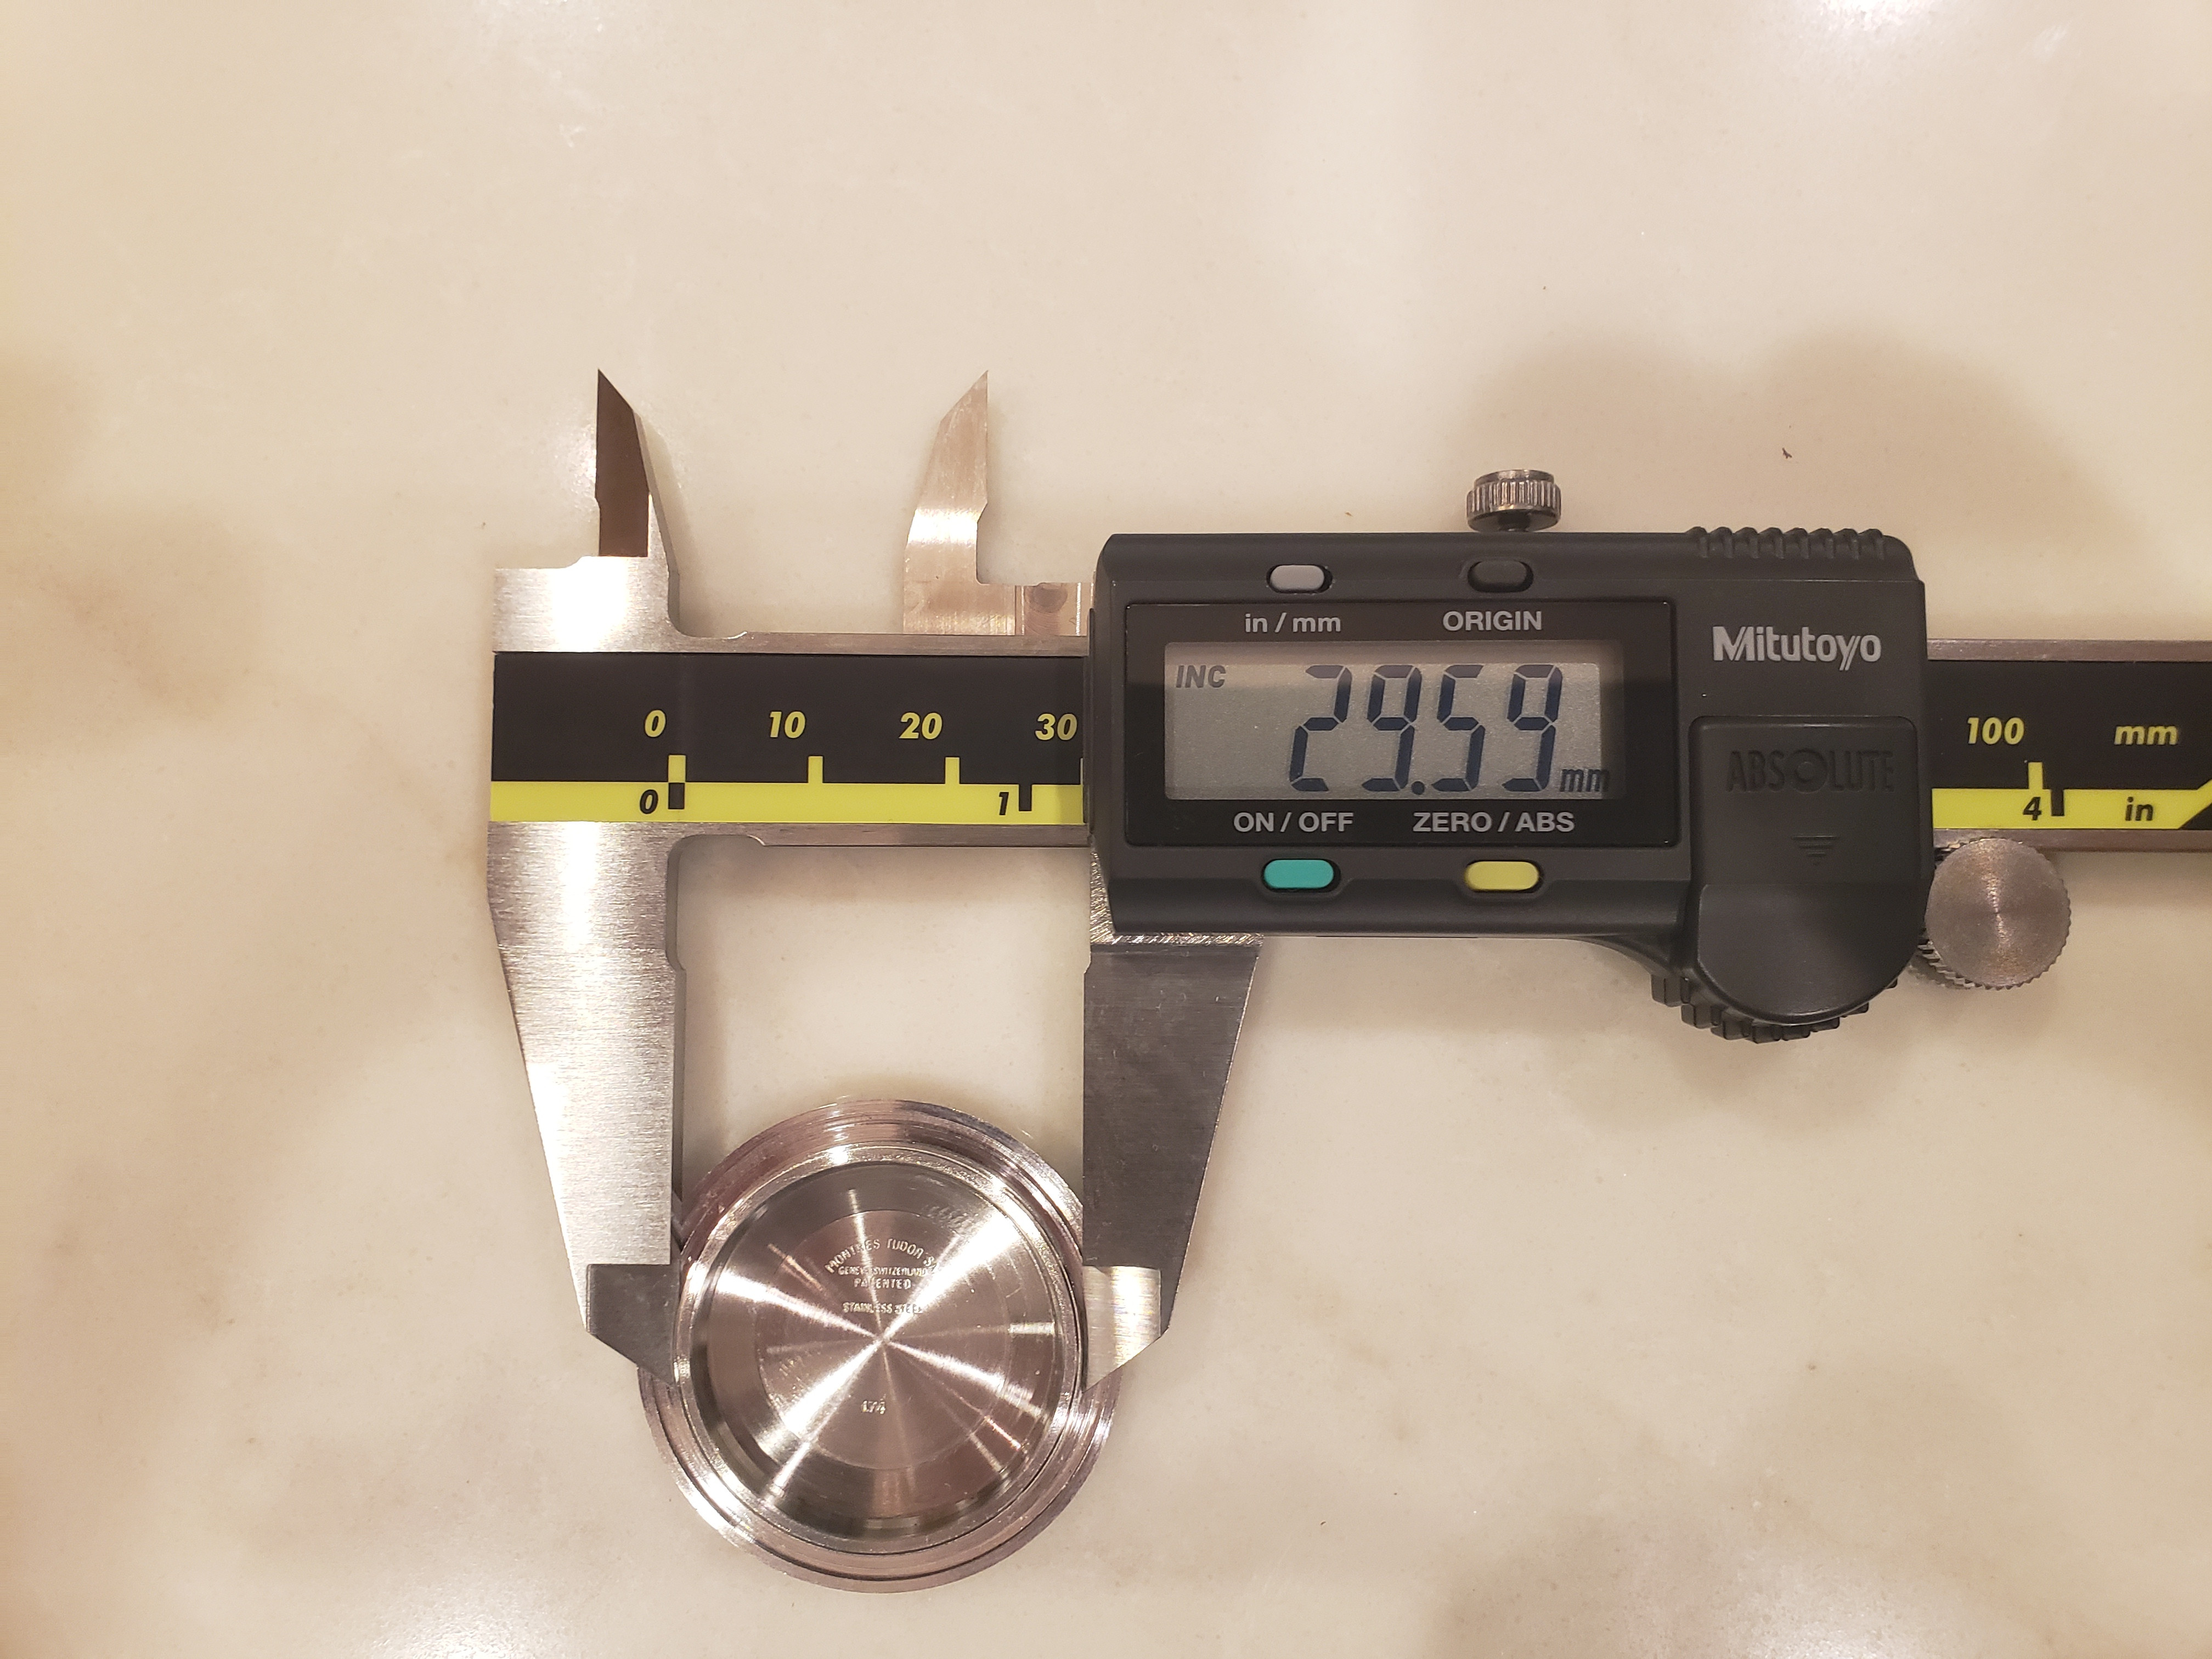
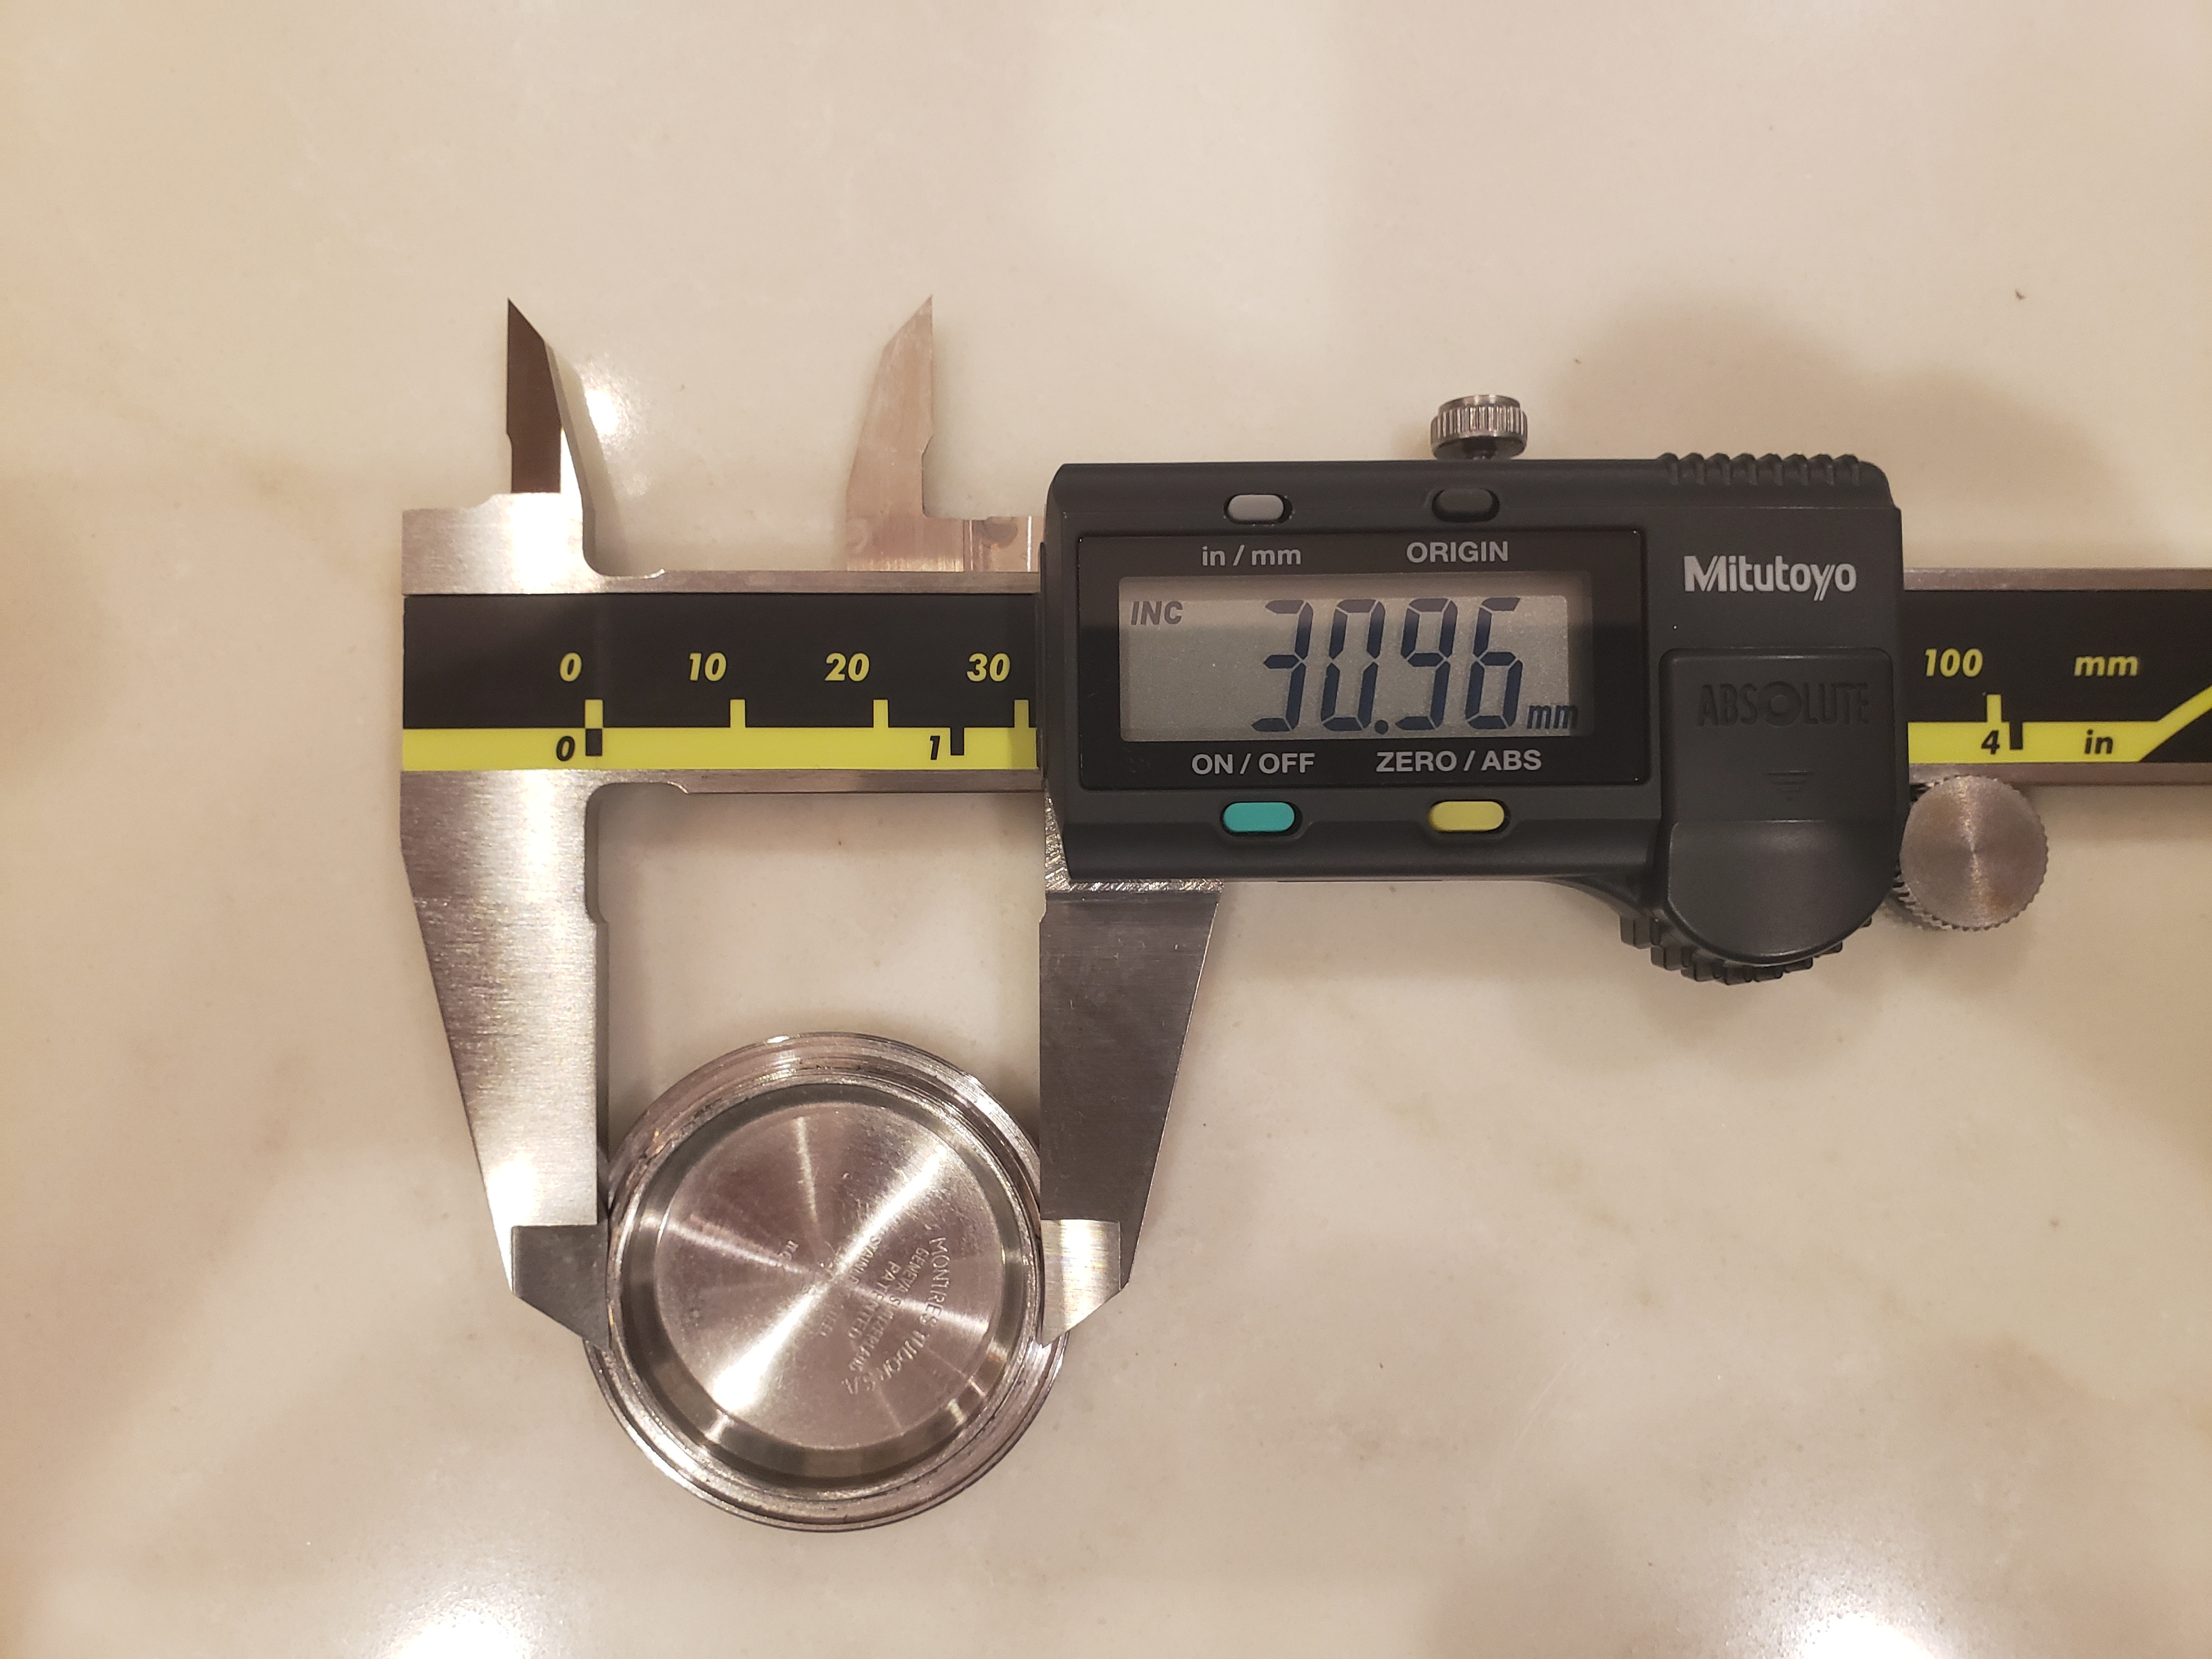
Old crowns case?I contacted bivintage and they told me they have Tudor 7928 casebacks that fit a Rolex case. I ordered one and it fits the Old Crowns case! No need for sanding, engraving, etc. This is it on another 5513 case.
Using this caseback you could build a Tudor 7928 and using the HR caseback you can build a 7016/7021 using an Old Crowns case.


