-
Tired of adverts on RWI? - Subscribe by clicking HERE and PMing Trailboss for instructions and they will magically go away!
You are using an out of date browser. It may not display this or other websites correctly.
You should upgrade or use an alternative browser.
You should upgrade or use an alternative browser.
How to make a true gilt dial on the cheap - Tropical or Black
- Thread starter chrome72
- Start date
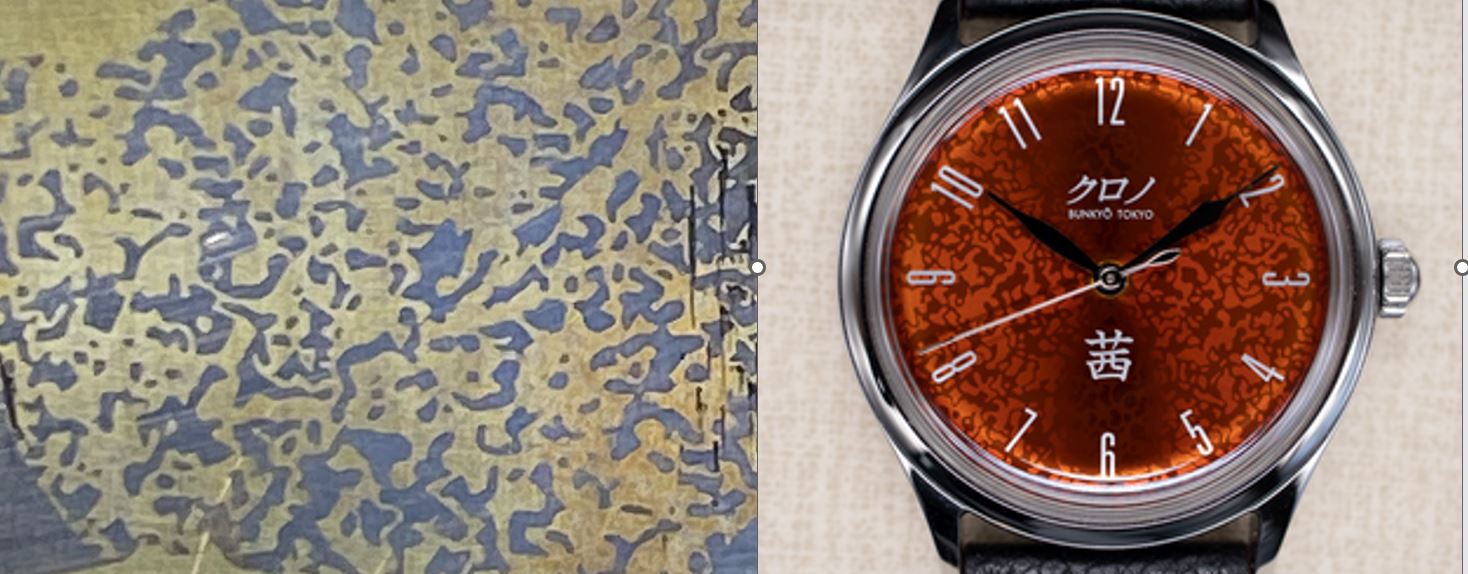
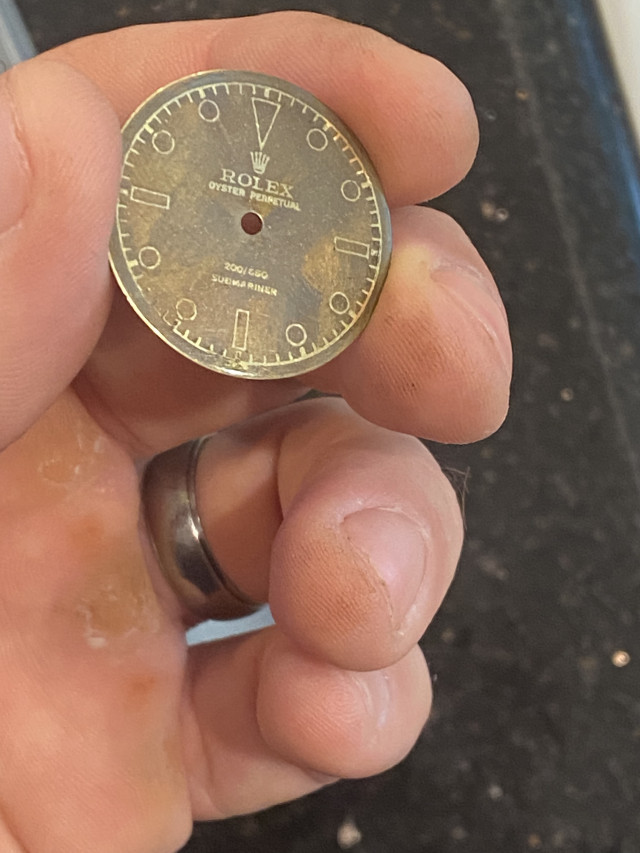
This watch has caught my eye and investigating it it’s made the same way I’m making my dials. Add a resist mask then apply an acid. The resist mask in this case is removed and the dial exposed briefly to the acid. That way you get brown reds and oranges. It’s on my list of dials to make now.
https://kuronotokyo.com/pages/grand-akane-茜
https://kuronotokyo.com/pages/grand-akane-茜

the lacquer on this is some special lacquer from a tree in Japan. Reading up on it it sounds similar in properties to nitrocellulose lacquer (it ages and changes over time). That’s considered a flaw in the west but appreciated in the East. After you lacquer it you could apply UV DTF decals for the numbers and logo. Imagine a hardy temp tattoo but on top of the lacquer and it could be any color. Got some coming in a few weeks for testing.
Using the same method as I have talked about, I am also going to make a version of a watch called Kurono Grand Akane. Little test to make sure the pattern was an appropriate size and I only had an acid on me that turns brass brown. Will need to be using copper and a different acid which will turn the copper red after something like 8 hours of boiling. The end result will be similar to a gilt dial....the bare polished copper shining next to a duller yet still shiny red copper.
Anyone know where I can source copper dial blanks???
I am still at my other dials. I am always tinkering and switched back to a heat press and figured out the magic settings of it for crisp transfers (240 F, max pressure, 30 seconds). Trying to sort out my artwork. I printed and successfully transferred this and its 1.5 pt aka .53mm and essentially no deformation of the toner so I believe my settings are nailed in.
EstebanMcQueen
Getting To Know The Place
- 14/3/22
- 68
- 34
- 18
This is so cool, I’m always stunned by the dedication. Love it sir. Thank for taking the time to also share in it in here.
Dedication…more like banging my head against a wall many times hahaThis is so cool, I’m always stunned by the dedication. Love it sir. Thank for taking the time to also share in it in here.
Here is where I am
-Couldn't get good alignment of text on dial since the artwork....SOLVED by using aligning arrows. The transfer paper covers the dial so its really hard to know what the heck you are doing sometimes. I figured out if you do it upside down you can get better alignment.
-Couldn't get consistent transferring of the art onto the polished brass....SOLVED (2 methods...one is if you have a dial with no dial feet, one is if you have dial feet)
-Couldn't do dials with dial feet....SOLVED by making my own little jig and switching methods to a chemical transfer (you can see below)
-I kept bothering @p0pperini about editing files and I felt bad...SOLVED. I learned how to use digital editing software and now I can mostly fly like a bird.
Here is a different way of making the resist mask...again, no pad printer but using chemicals you likely have around the house.
Step 1: get your artwork. You can print it mirror image on CHEAP GLOSSY MAGAZINE PAPER if you have a good 1,200 DPI printer at home, or you can go find a good commercial printer to print your artwork. Staples in the USA has unknowingly been helping me do these.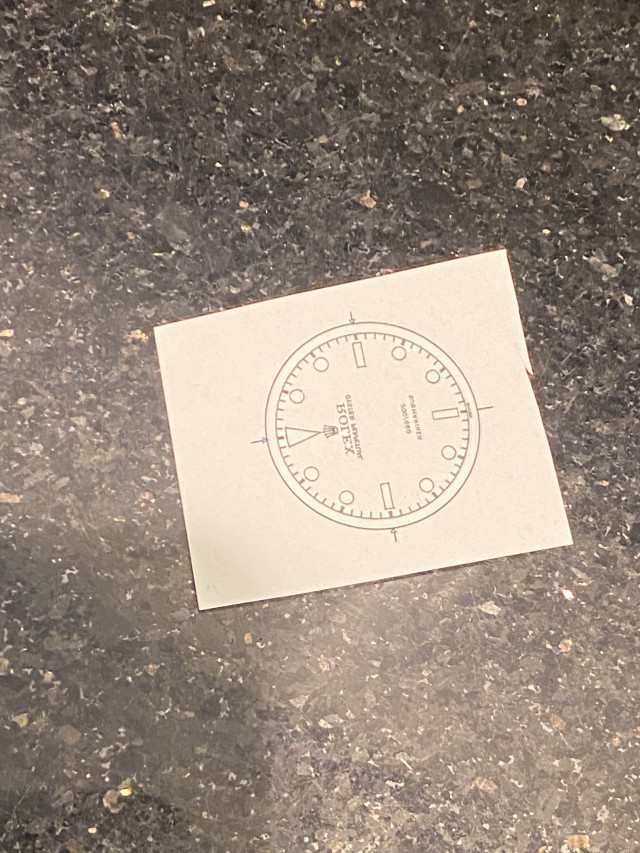
Step 2: Put artwork FACEUP, put your dial in and align it. This is where the arrow heads come in handy as you can't tell if you have gone over with just a straight alignment line as well. Tape the dial to the artwork!
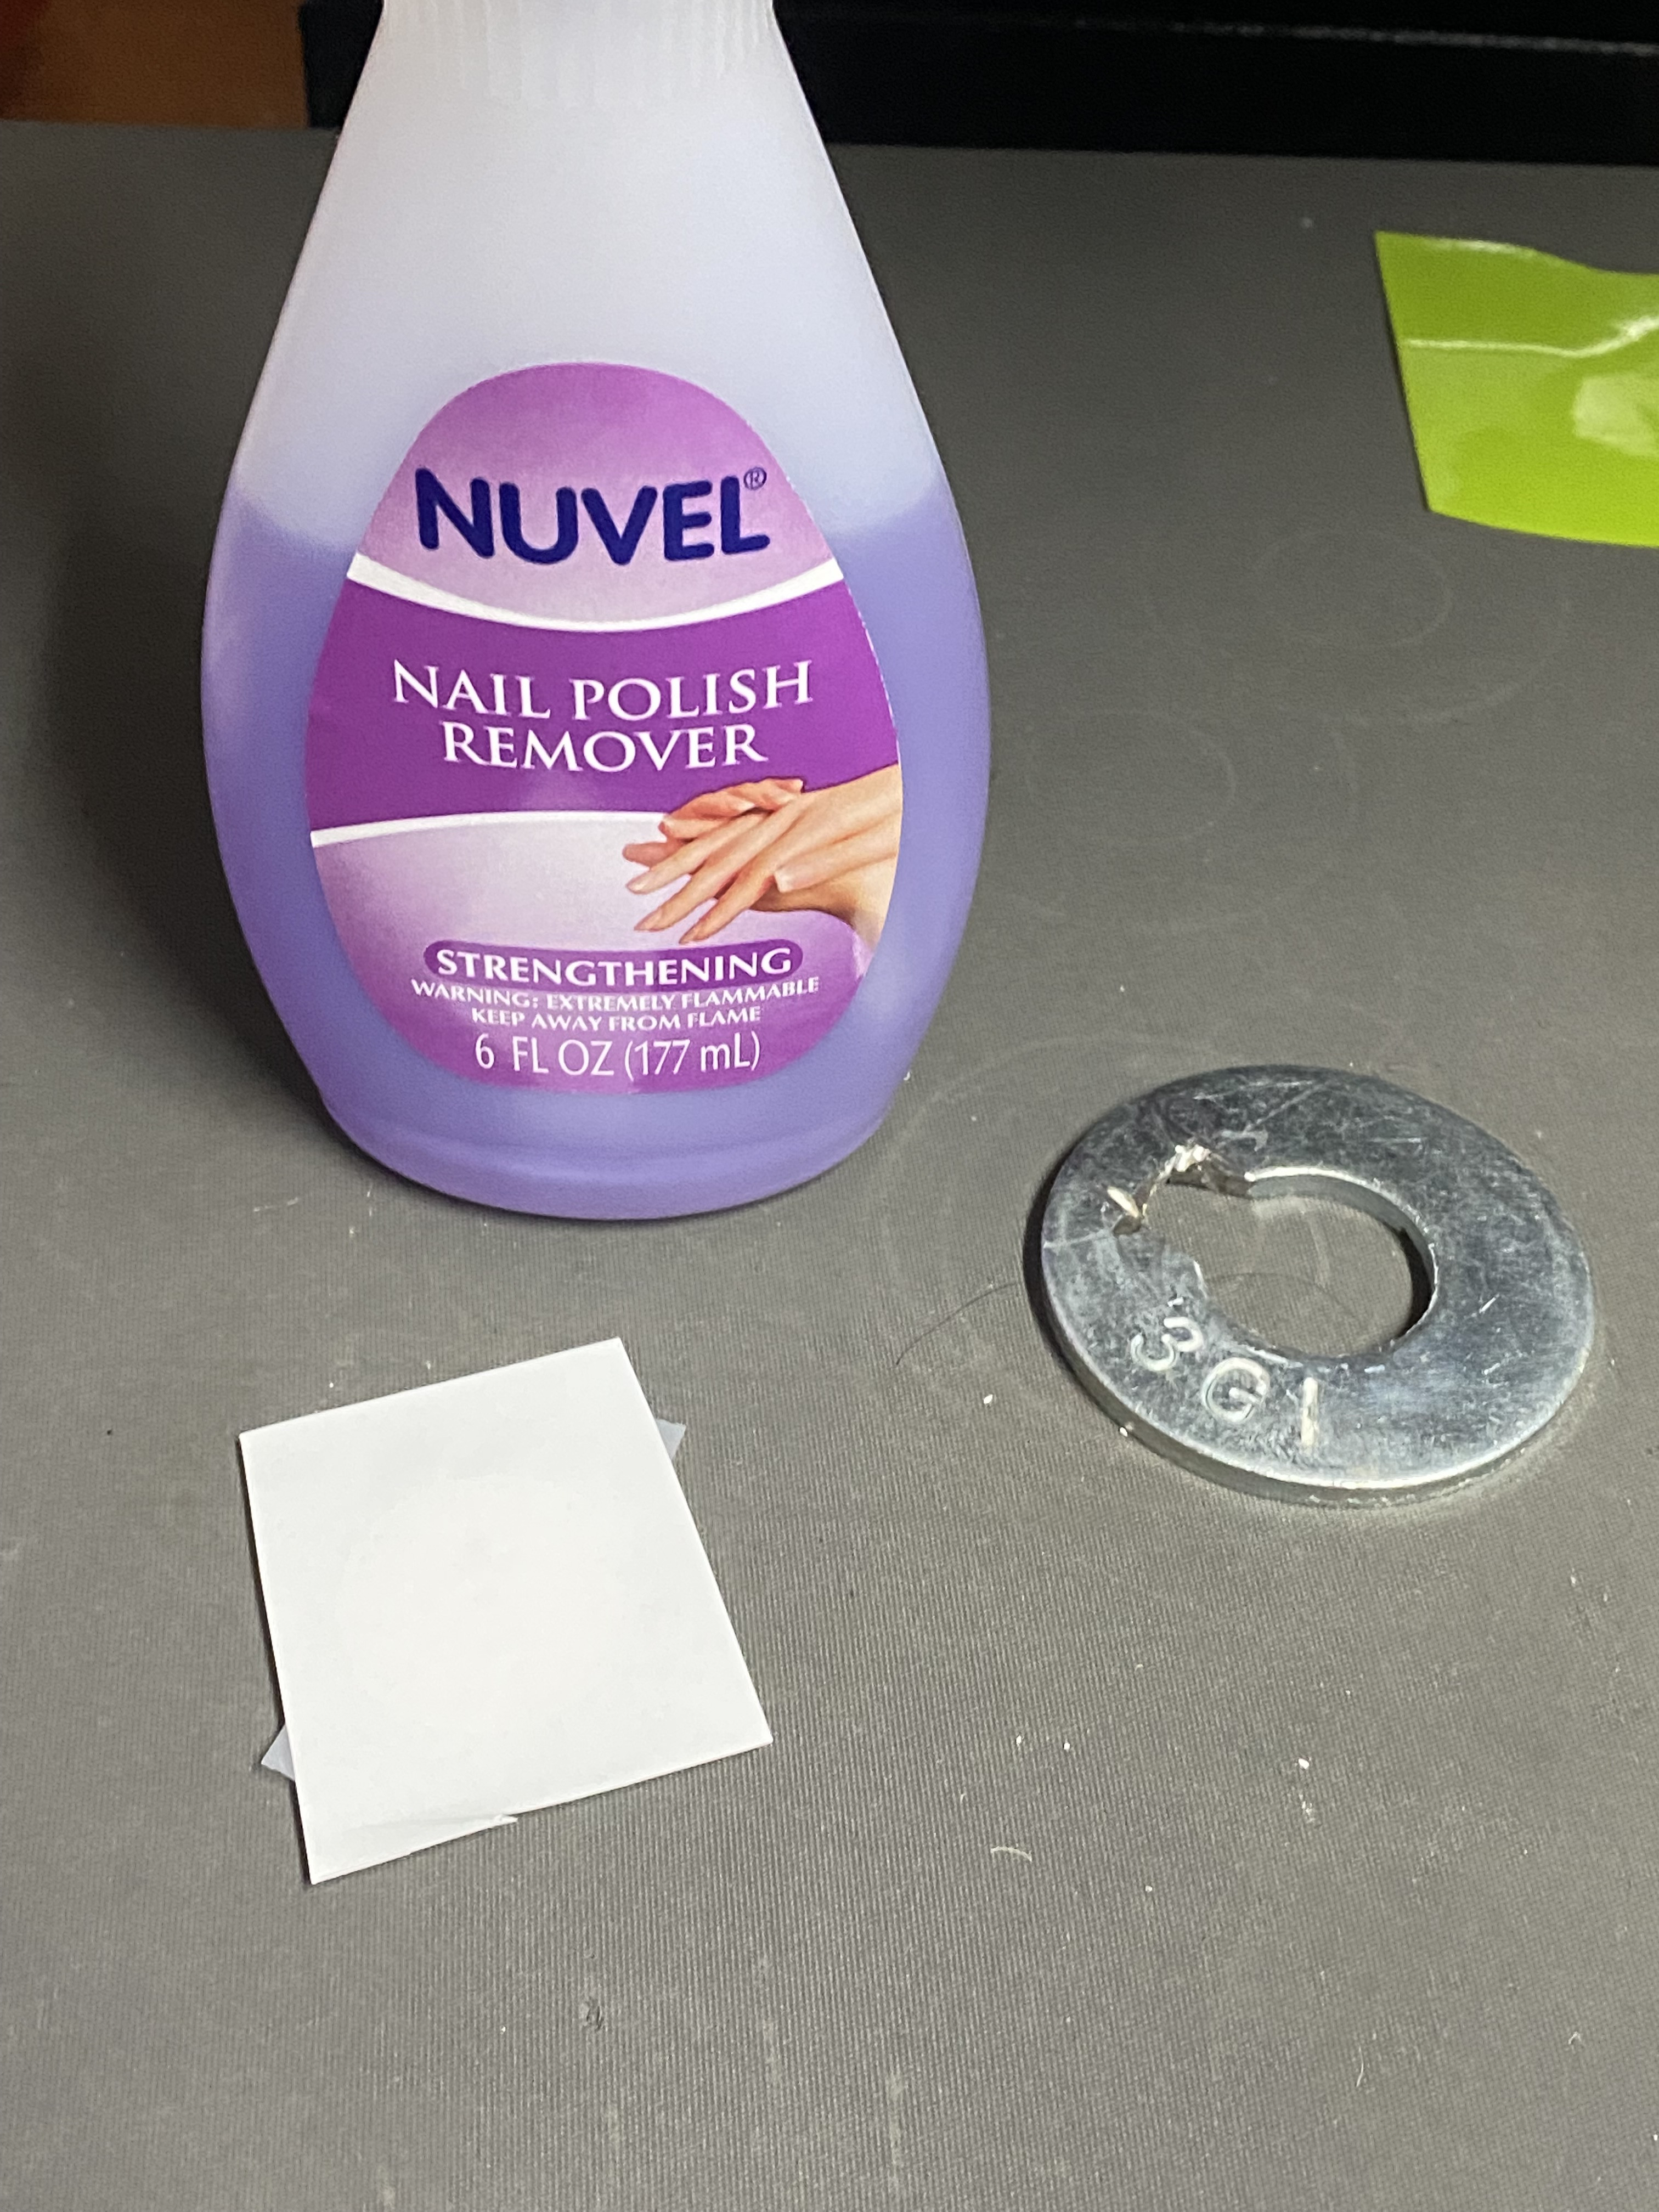
Step 3: IF you want to use a dial with dial feet, you will need to figure out some kind of ring that allows for the dial feet to be in the middle AND the dial to rest on top. I used a 1.5" washer and used my dremel to cut out a notch to allow for my dial feet to fit. If you don't need dial feet, you can just lay the dial ontop of something thing/hard.
Step 4: Here you can see that I am using a chemical which is....nail polish remover. It is acetone based but its not 100% acetone. I am pretty sure based on my past tinkerings that its close to 75% acetone. You can make your own chemical by mixing a solvent and isopropyl alcohol or even water and figure out which ratio makes the toner tacky but doesn't spread easily. I got mine at a grocery store for $2.
Step 5: Put dial/artwork combo so that the artwork is on top and facing down. You will then give the enter dial area a good amount of the solvent (or whatever chemical mixture you make). Not so much that the solvent pools and not so little that you can't see the artwork through the paper.
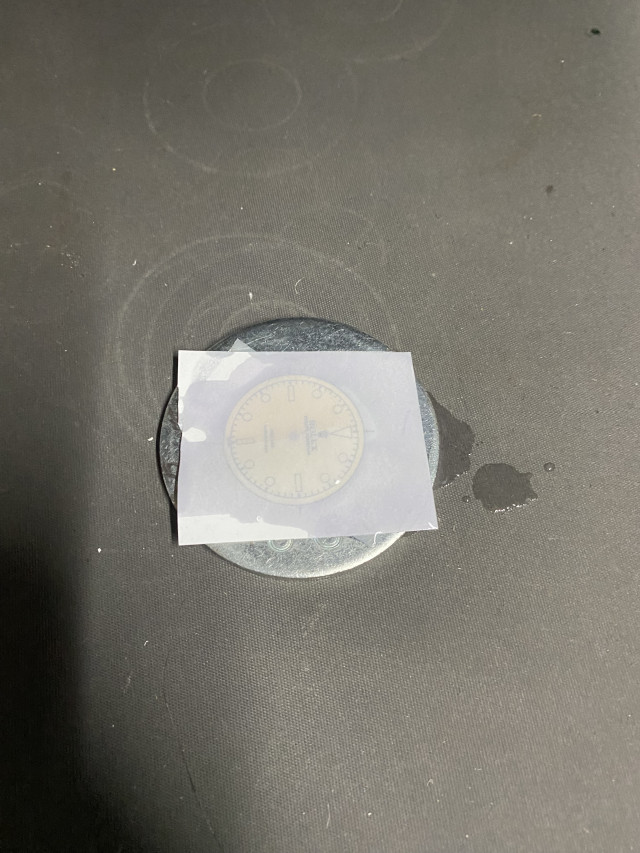
Step 6: Let the solvent sit for 20 seconds. Place a folded up paper towel over the soaked dial and apply even pressure. I used a t shirt heat press and have the pressure at near its lowest. I am guessing its 5 lbs of pressure or less. Let that pressure sit on the dial for 1-2 minutes.
Step 7: Take the pressure and the paper towel off and let the solvent dry till you can't smell the solvent anymore. Nail polish remover has other stuff in it so there is a smell...just not the solvent.
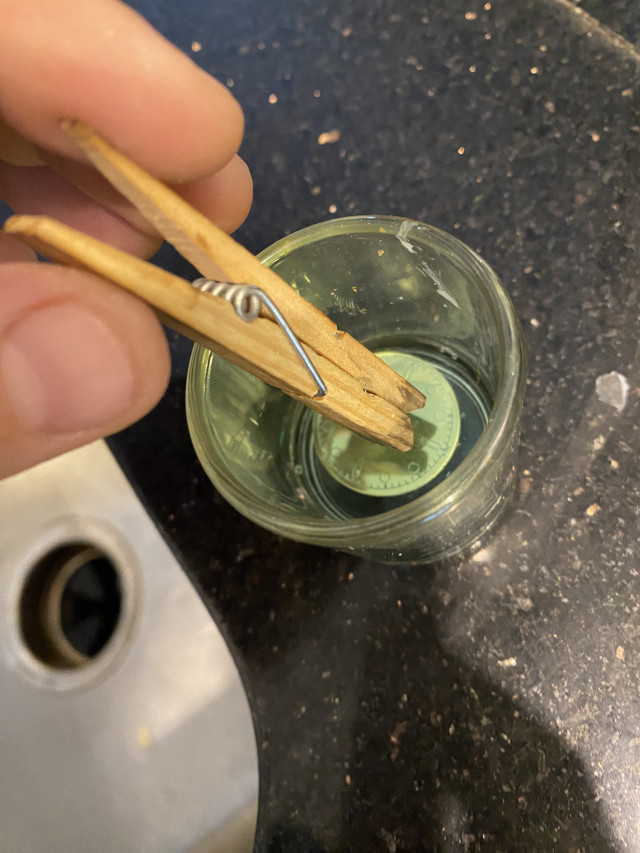
Step 8: Drop the dial into a bowl of water and let sit for a minute or so. The paper should become soaked and loosen from the toner. You can lightly peel off the paper revealing the toner. There might be some of the paper stuck so very lightly rub it with soapy water. You will want to make sure your dial has no oil or dirt on it so have clean hands or use gloves.
Step 9: Dip your dial into your oxidizer (I am using Sculpt Neavou's M38. I really like it and can get light browns, to chocolate browns, to dark browns, to almost black). Let sit till you achieve the color you want then immediately rinse off with water.
Step 10: Air dry. Then use a qtip or paper towel soaked in acetone and wipe away the toner. You should be left with a nice gilt dial.
In the video below, you can see shades of black on the dial...once a gloss is on there it evens out the color.
-Couldn't get good alignment of text on dial since the artwork....SOLVED by using aligning arrows. The transfer paper covers the dial so its really hard to know what the heck you are doing sometimes. I figured out if you do it upside down you can get better alignment.
-Couldn't get consistent transferring of the art onto the polished brass....SOLVED (2 methods...one is if you have a dial with no dial feet, one is if you have dial feet)
-Couldn't do dials with dial feet....SOLVED by making my own little jig and switching methods to a chemical transfer (you can see below)
-I kept bothering @p0pperini about editing files and I felt bad...SOLVED. I learned how to use digital editing software and now I can mostly fly like a bird.
Here is a different way of making the resist mask...again, no pad printer but using chemicals you likely have around the house.
Step 1: get your artwork. You can print it mirror image on CHEAP GLOSSY MAGAZINE PAPER if you have a good 1,200 DPI printer at home, or you can go find a good commercial printer to print your artwork. Staples in the USA has unknowingly been helping me do these.
Step 2: Put artwork FACEUP, put your dial in and align it. This is where the arrow heads come in handy as you can't tell if you have gone over with just a straight alignment line as well. Tape the dial to the artwork!
Step 3: IF you want to use a dial with dial feet, you will need to figure out some kind of ring that allows for the dial feet to be in the middle AND the dial to rest on top. I used a 1.5" washer and used my dremel to cut out a notch to allow for my dial feet to fit. If you don't need dial feet, you can just lay the dial ontop of something thing/hard.
Step 4: Here you can see that I am using a chemical which is....nail polish remover. It is acetone based but its not 100% acetone. I am pretty sure based on my past tinkerings that its close to 75% acetone. You can make your own chemical by mixing a solvent and isopropyl alcohol or even water and figure out which ratio makes the toner tacky but doesn't spread easily. I got mine at a grocery store for $2.

Step 5: Put dial/artwork combo so that the artwork is on top and facing down. You will then give the enter dial area a good amount of the solvent (or whatever chemical mixture you make). Not so much that the solvent pools and not so little that you can't see the artwork through the paper.
Step 6: Let the solvent sit for 20 seconds. Place a folded up paper towel over the soaked dial and apply even pressure. I used a t shirt heat press and have the pressure at near its lowest. I am guessing its 5 lbs of pressure or less. Let that pressure sit on the dial for 1-2 minutes.
Step 7: Take the pressure and the paper towel off and let the solvent dry till you can't smell the solvent anymore. Nail polish remover has other stuff in it so there is a smell...just not the solvent.
Step 8: Drop the dial into a bowl of water and let sit for a minute or so. The paper should become soaked and loosen from the toner. You can lightly peel off the paper revealing the toner. There might be some of the paper stuck so very lightly rub it with soapy water. You will want to make sure your dial has no oil or dirt on it so have clean hands or use gloves.
Step 9: Dip your dial into your oxidizer (I am using Sculpt Neavou's M38. I really like it and can get light browns, to chocolate browns, to dark browns, to almost black). Let sit till you achieve the color you want then immediately rinse off with water.
Step 10: Air dry. Then use a qtip or paper towel soaked in acetone and wipe away the toner. You should be left with a nice gilt dial.
In the video below, you can see shades of black on the dial...once a gloss is on there it evens out the color.

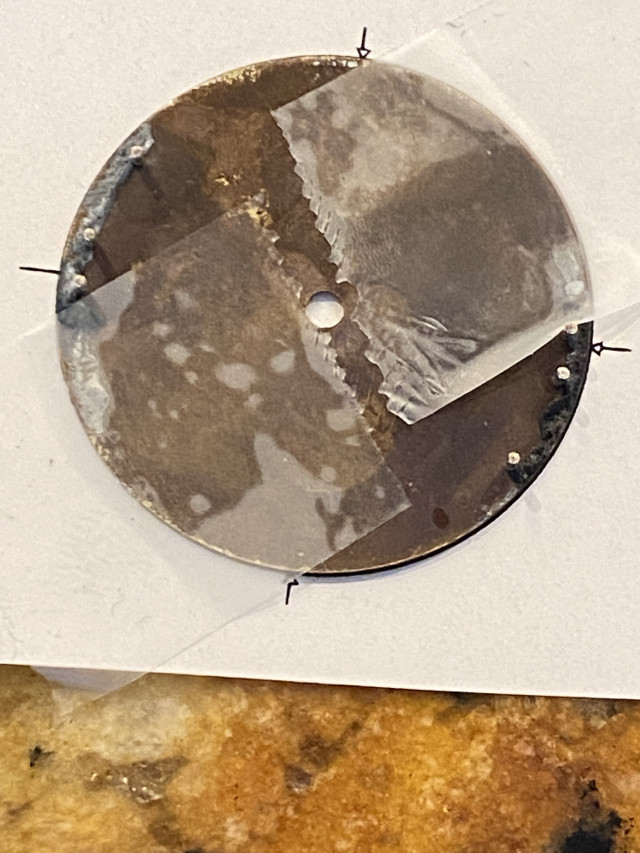
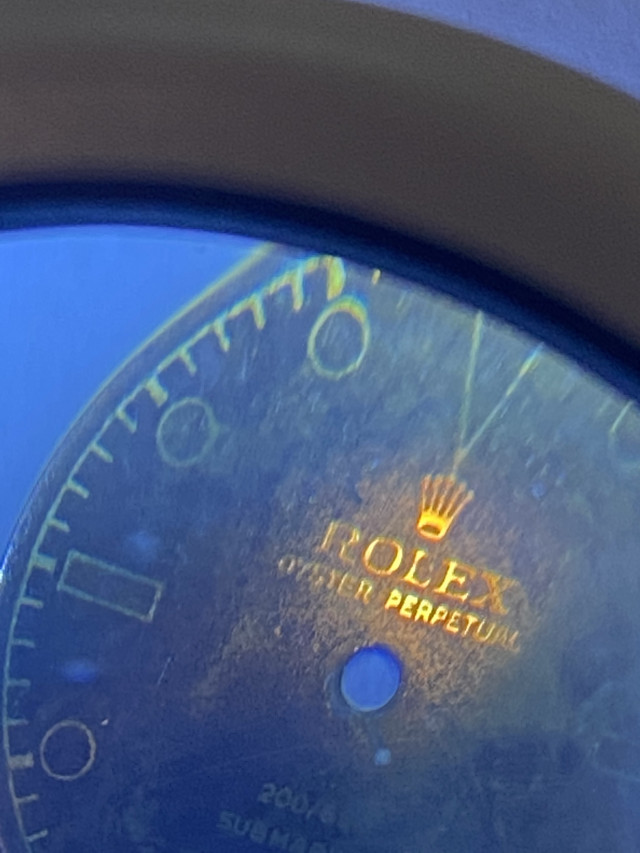
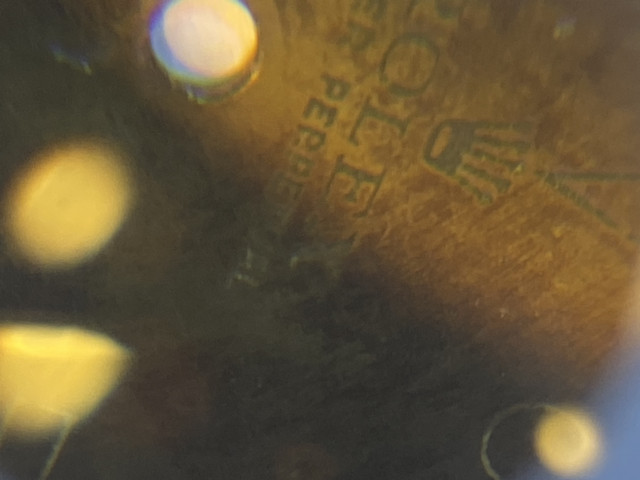
Liking the gradients of the tropical color on this one. I need to get a bit higher resolution printer. This one was printed at 600x600 dpi and has some squiggles due to the lower resolution and the details. Those squiggles are picked up in the transfer process leading to it looking great at a say 6” away but under magnification you can see the flaws of the low dpi.
This is of another dial I made. Here are my best attempts at zooming with a magnifier. You can see these can look quite nice.
Want to throw this out there. You can take the regular gilt dial templates found in rwi and other forums and use these same methods to make a gilt dial. The toner from the laser jet which is black would transfer and the text and chapter ring etc would print blank. You would have a black and gilt dial. I just wanted to electroplate and tropicalize so needed to do an extra few steps.
Here is a page of templates
All you need now is a laser printer, cheap glossy magazine paper, nail polish remover and water! Try it out on some scrap metal laying around.
Here is a page of templates
All you need now is a laser printer, cheap glossy magazine paper, nail polish remover and water! Try it out on some scrap metal laying around.
At staples it’s the 32# glossy paper. There is a 80# one that works too. The 32# is thinner so is more likely to peel off easier in water. They have an online portal where you can upload docs to be printed. It’s in the special paper. A single black and white page is like $.40 or so.This is excellent. @chrome72 When you have these printed at Staples, which paper do you choose? Is it literally called “glossy magazine paper” or do you supply your own paper?
Really any thin glossy paper will do. Like literally tear out a page from a magazine and tape that to a piece of paper and print onto the magazine paper.At staples it’s the 32# glossy paper. There is a 80# one that works too. The 32# is thinner so is more likely to peel off easier in water. They have an online portal where you can upload docs to be printed. It’s in the special paper. A single black and white page is like $.40 or so.
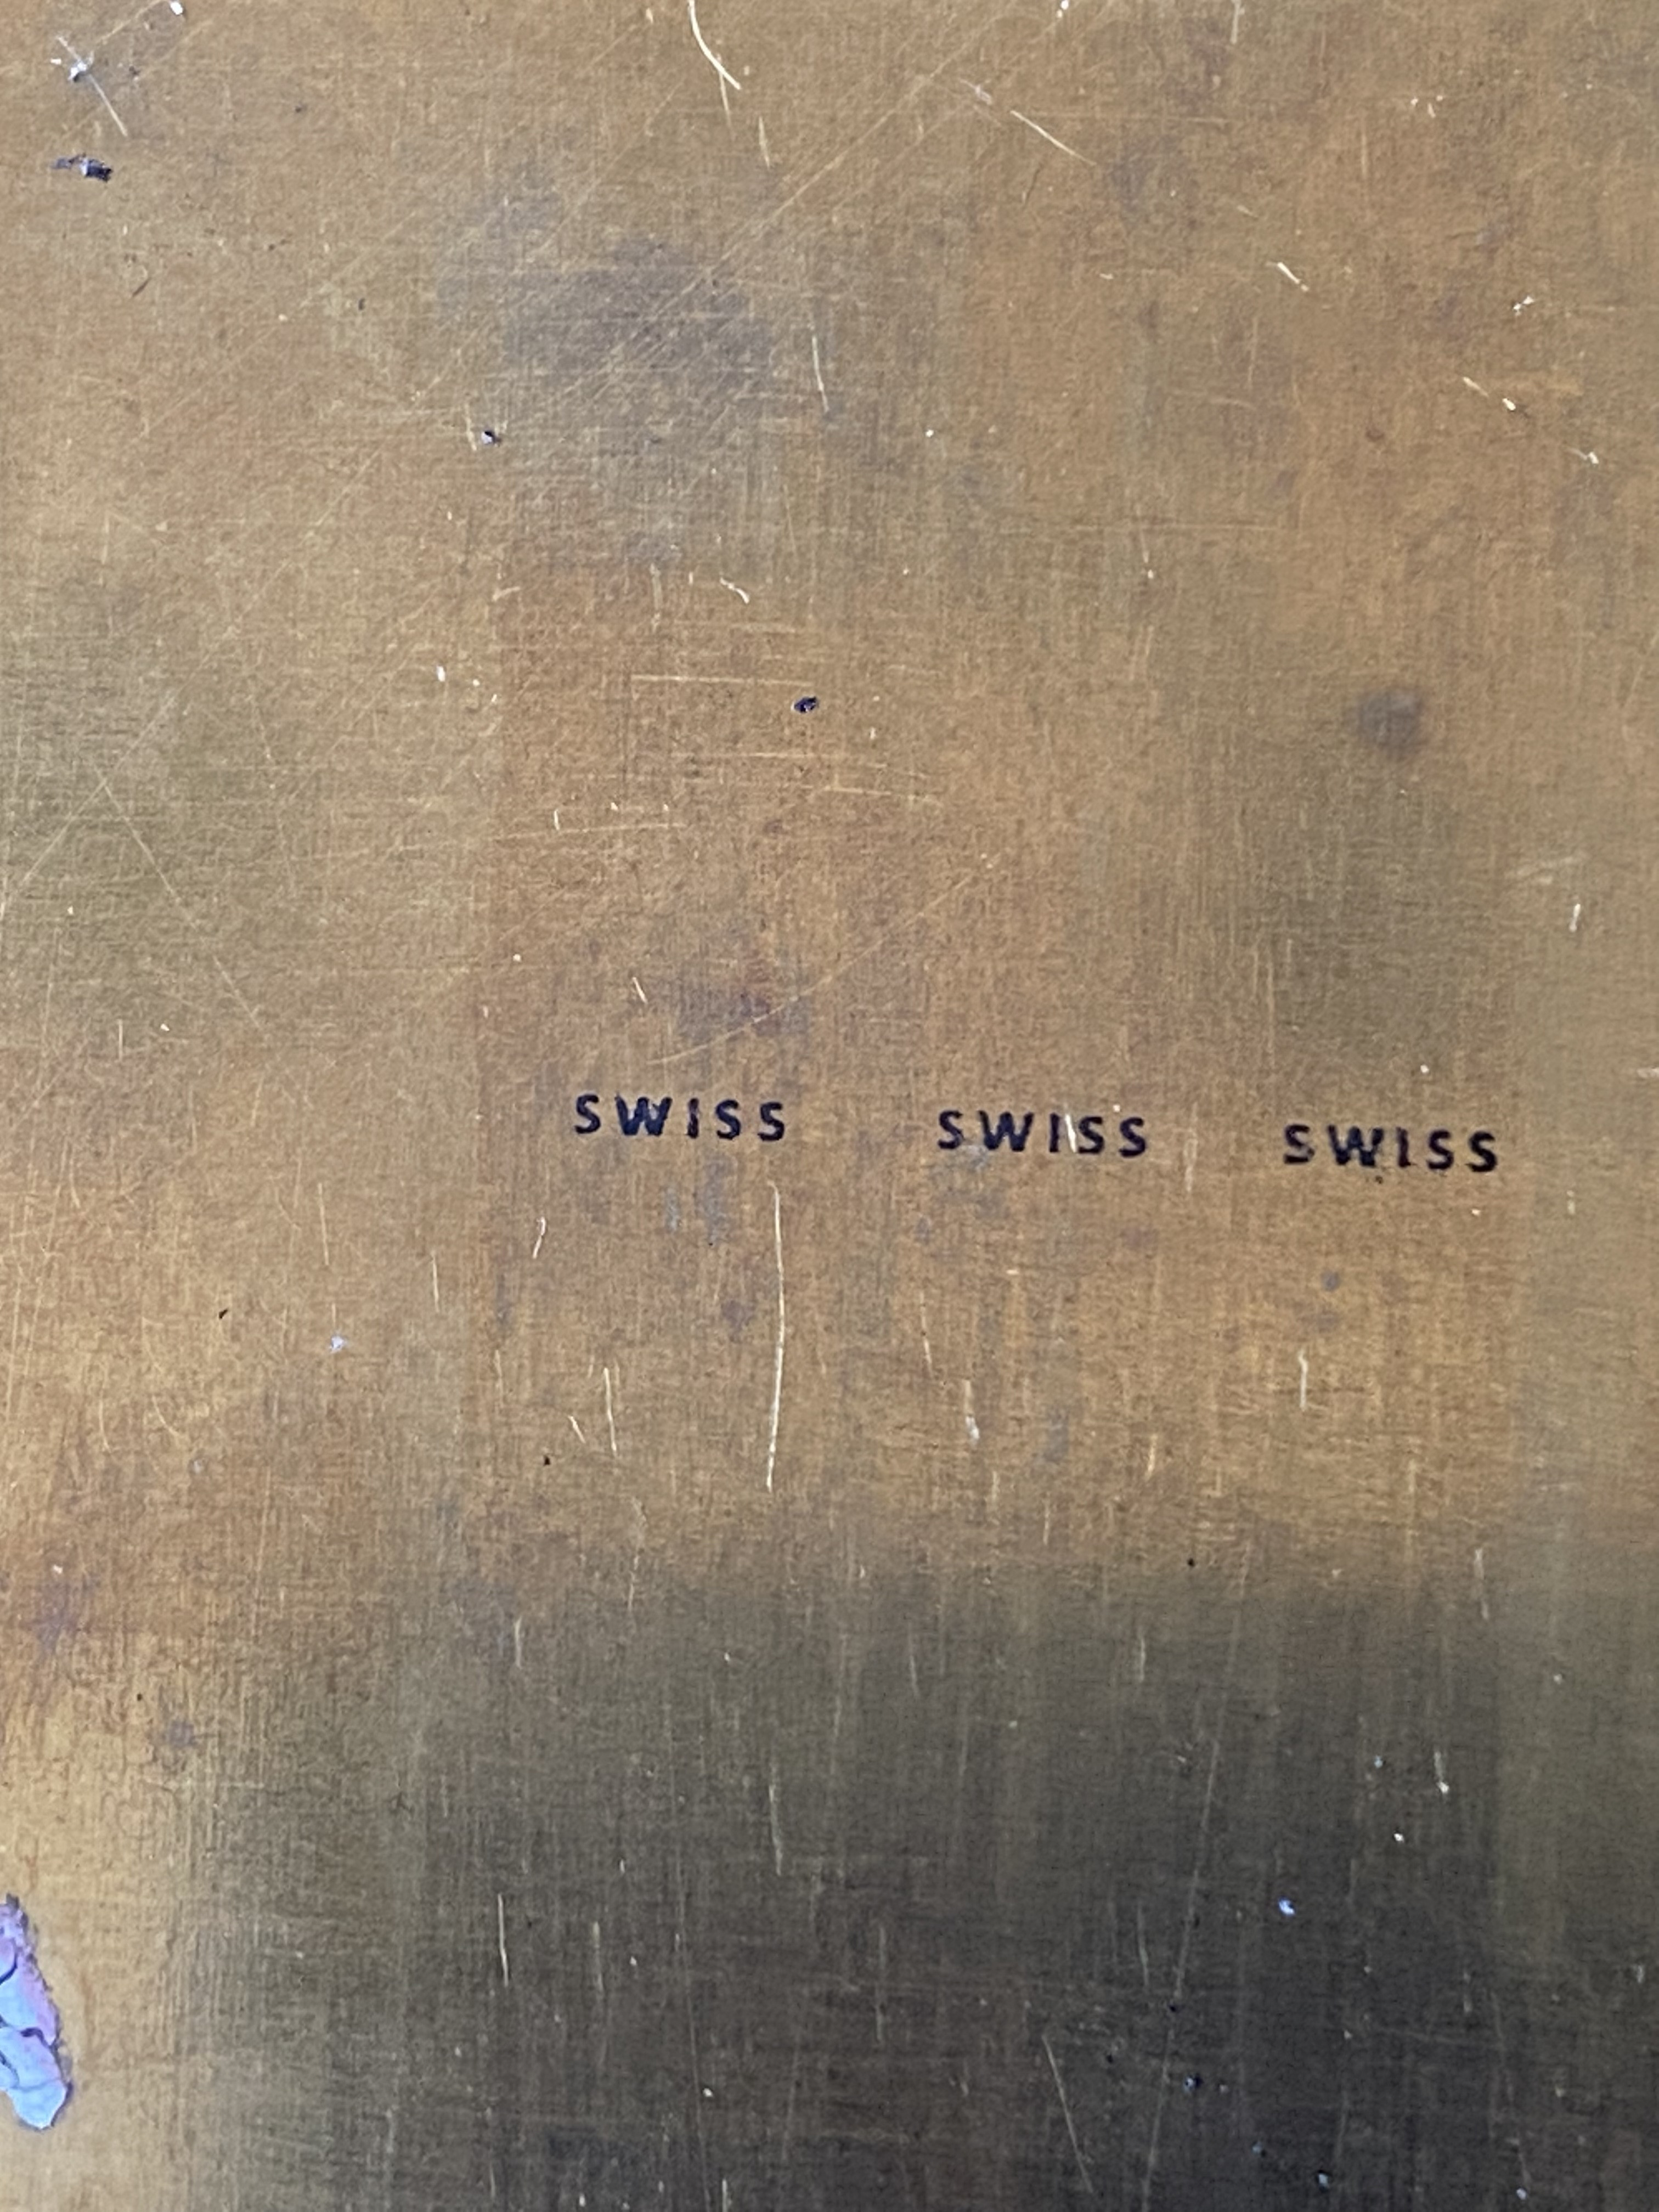
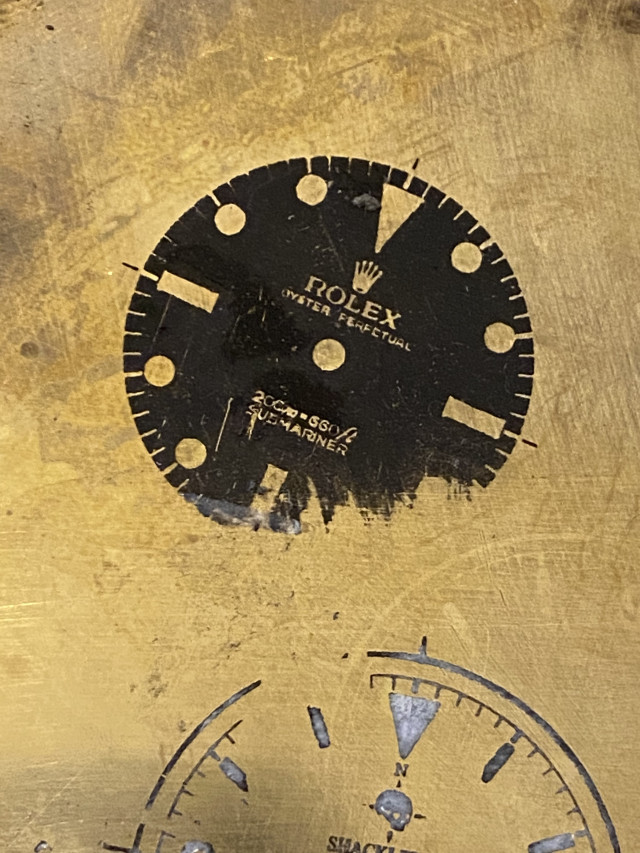
Here is an example (a bad one) of just using the regular templates on brass so you end up with only toner and brass. My brass is no polished and I tried this out awhile back on my test piece of metal and it’s seen scratches and partial removal but you get the idea. Find the right ratio of solvent to dilutant (ie isopropyl alcohol or even water) and you won’t smudge the toner and have crisp text and logo.
Just send any vendor who sells a 28.5mm dial ask them for just bare brass dials. They should be able to source them. You can also just cut out thin sheet of brass and file away the edges. You can buy .4mm brass sheets off Amazon for $10 or so. Brass is soft and cuts easily.What’s the best current source for cheap brass dial blanks? The AliExpress link earlier in this thread is dead.