• Tired of adverts on RWI? - Subscribe by clicking HERE and PMing Trailboss for instructions and they will magically go away!

Decal printed dial

chrome72

Renowned Member
7/12/17
512
419
63
Houston TX Baby
In the vain of replicating a gilt dial. I posted a in my opinion easy to do true gilt dial tutorial. I think if you can do a decal you should be able to do my method of gilt dial. No special paper even needed.


janneau

You're Saying I Can Sell?
18/1/22
61
111
33
Removed the crown guards and and turned and filed the bezel to make a 6538-ish case
65382.jpg
 

janneau

You're Saying I Can Sell?
18/1/22
61
111
33
The print on waterslide paper is slightly raised, so a seperate print of just the honeycomb, with spaces cut out over where the text and indicies are could be overlaid on top of an already printed Exp dial that had been lacquered and sanded flat. The problem would lining the transfer exactly on top of the original print to avoid going over the text and indicies.
 

manodeoro

Section Moderator
Supporter
Section Moderator
Certified
13/10/16
3,830
2,148
113
The print on waterslide paper is slightly raised, so a seperate print of just the honeycomb, with spaces cut out over where the text and indicies are could be overlaid on top of an already printed Exp dial that had been lacquered and sanded flat. The problem would lining the transfer exactly on top of the original print to avoid going over the text and indicies.

you are right and the principle is there ... but the devil is in the details ...
I started on the same theoretical basis almost 2 years ago and I discovered, little by little and with successive failures, that it is a little more complicated than that ... much more to be 100% honest ...
I had to do dozens and dozens of tests to develop a more or less reproducible process, with a whole bunch of "little secrets" (that I prefer to keep secret) that allowed me to get this result ...

3iecDE.jpg
 

manodeoro

Section Moderator
Supporter
Section Moderator
Certified
13/10/16
3,830
2,148
113
One important thing we don't think about but should be wary of... water :rolleyes:
Some time ago I had a huge water damage above my workshop and a lot of my work in progress was reduced to nothing ... I had to start a lot of things from scratch.
Fortunately I store the watches that are entrusted to me, for repair or modification, in a separate room that did not get wet so I only lost time.
At the time it happened I had a friend's gen vintage Explorer for service ... I'll let you imagine the mess I would have been in if it had been in the workshop :eek:


3iiIpc.png
 
Last edited:

Procurator

Strawcruncher
Certified
15/1/20
2,716
6,174
113
SEA
Thats a flood allright.. The water almost looks photoshopped. Almost.
Im sorry something like this happened to you, I know first hand how devastating it can be and how you are just left there standing hopeless.

If u don't mind me asking - wtf happened??
 

manodeoro

Section Moderator
Supporter
Section Moderator
Certified
13/10/16
3,830
2,148
113
Thats a flood allright.. The water almost looks photoshopped. Almost.
Im sorry something like this happened to you, I know first hand how devastating it can be and how you are just left there standing hopeless.

If u don't mind me asking - wtf happened??
Fortunately the pic is a Photoshop and not my apartment ...
What happened is that the owner's underfloor heating pipe above mine broke and I was off with my wife for a long 4 days weekend.
When we came back our apartment was totally flooded, water was running from the ceiling ... a real disaster.
 
  • Wow
Reactions: Wark and 369mafia

sungam

Horology Curious
11/4/23
11
4
3
Sweden
Hi!

I got started ghosting this thread about a year ago while venturing into my watch interest, and WOW guys what results you get!
I did some dials with the regular waterslide method for some hobby projects. Then I started buying vintage watches and learning to service them instead, but have now come full circle with a bit of more knowledge and wanted to soon try a replica. I am know learning more about case shaping etc and doing a private project / homage while learning.

Now when I wanted to go "professional" I ventured into making negative gilt dials with the film free method - for some more depth and what I imagine for easier luming.
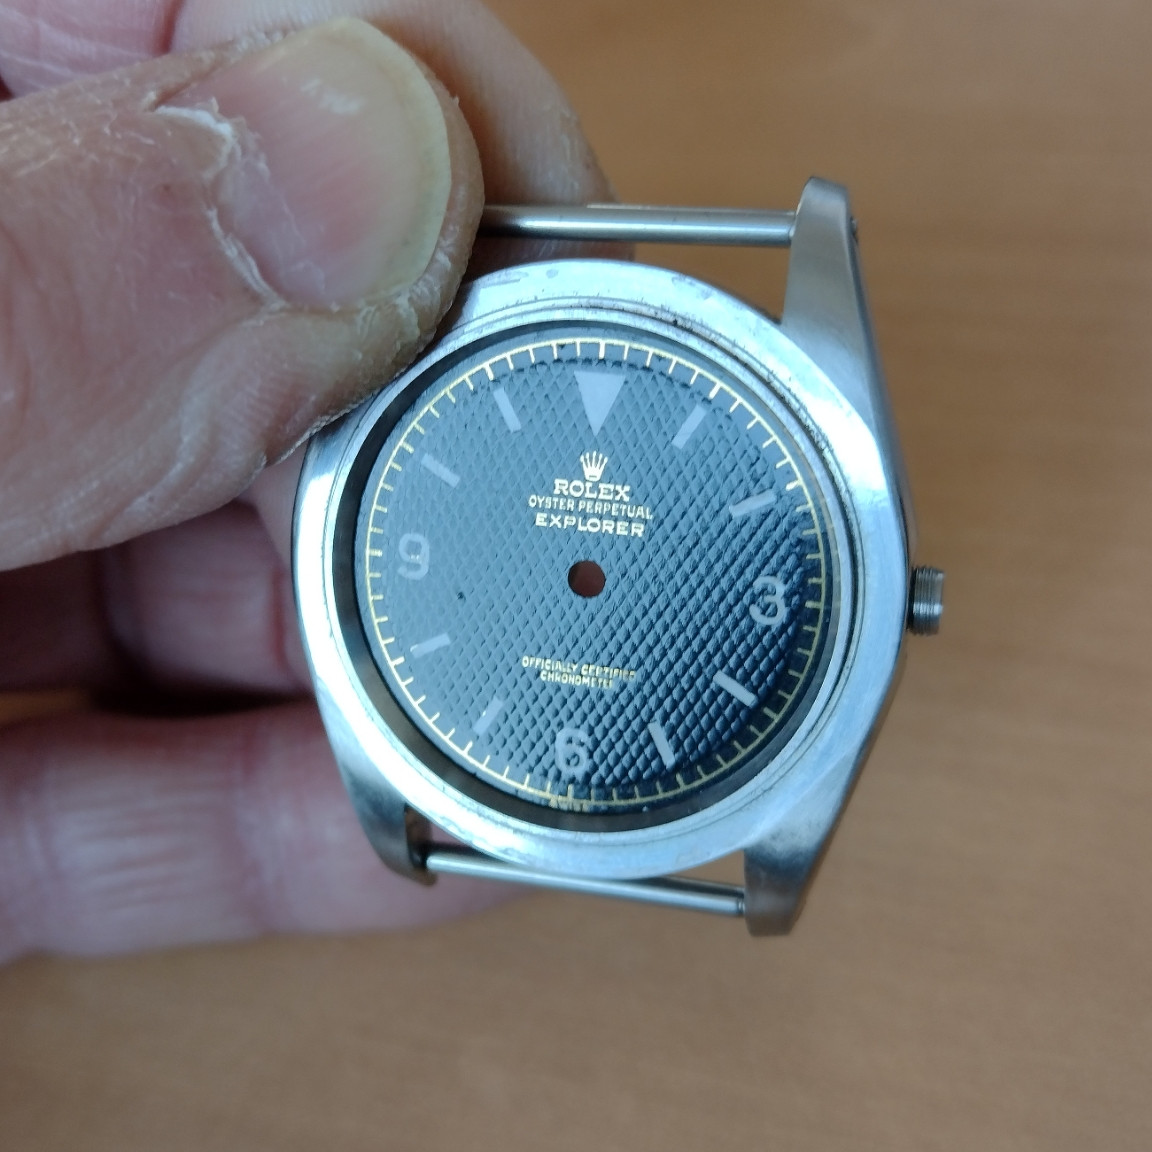
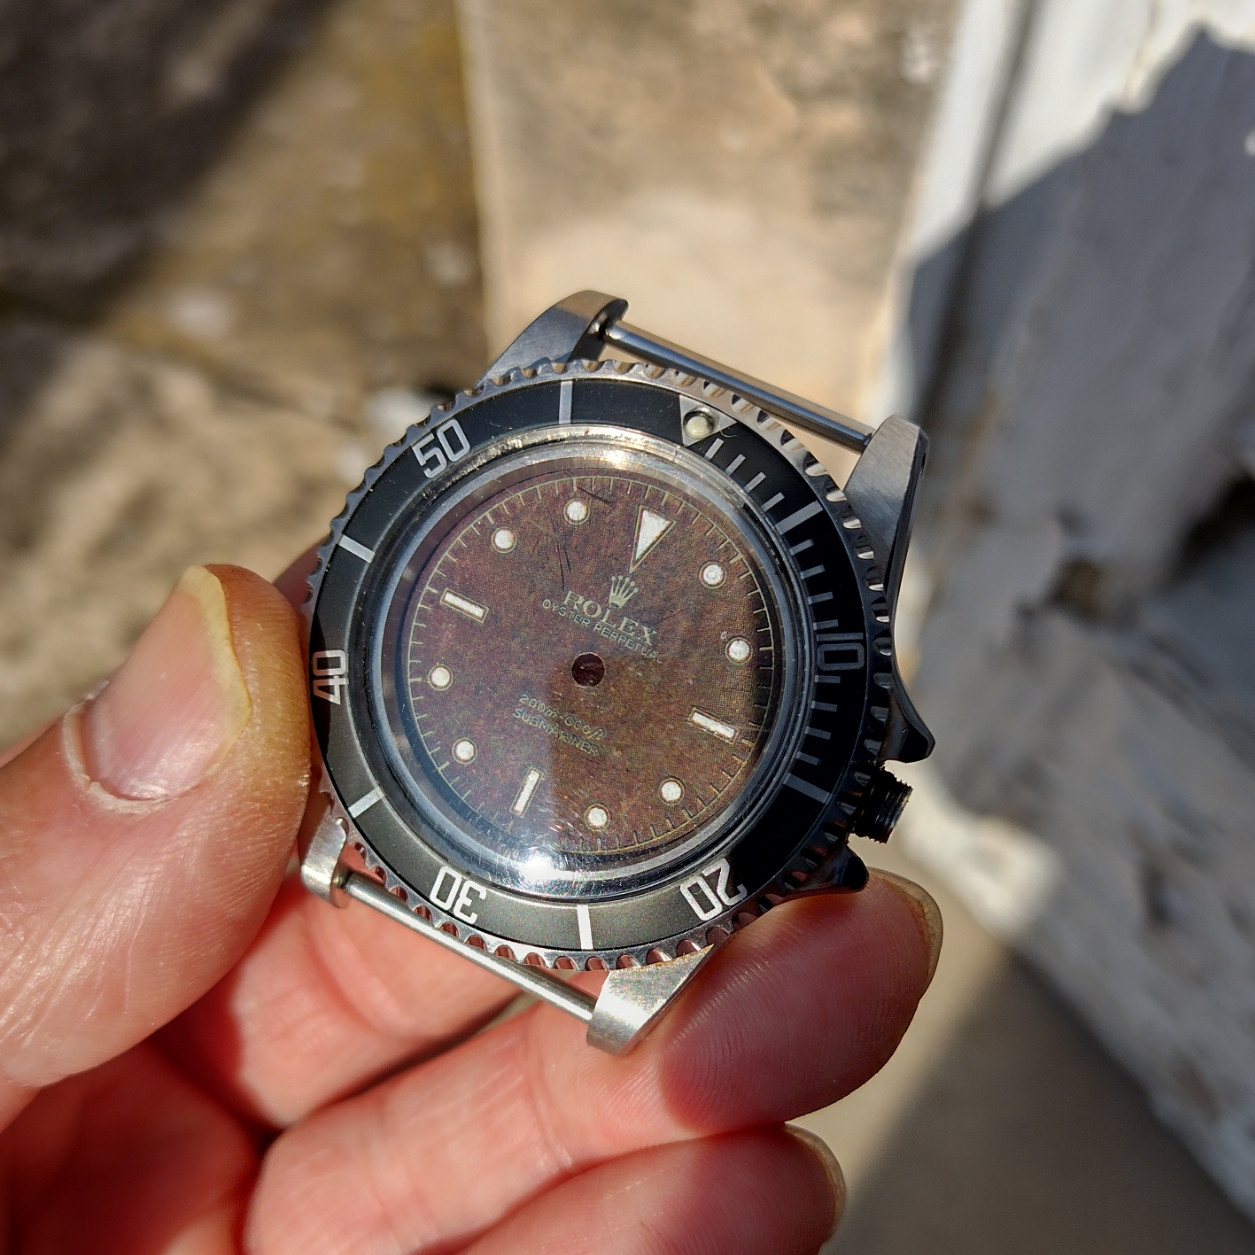
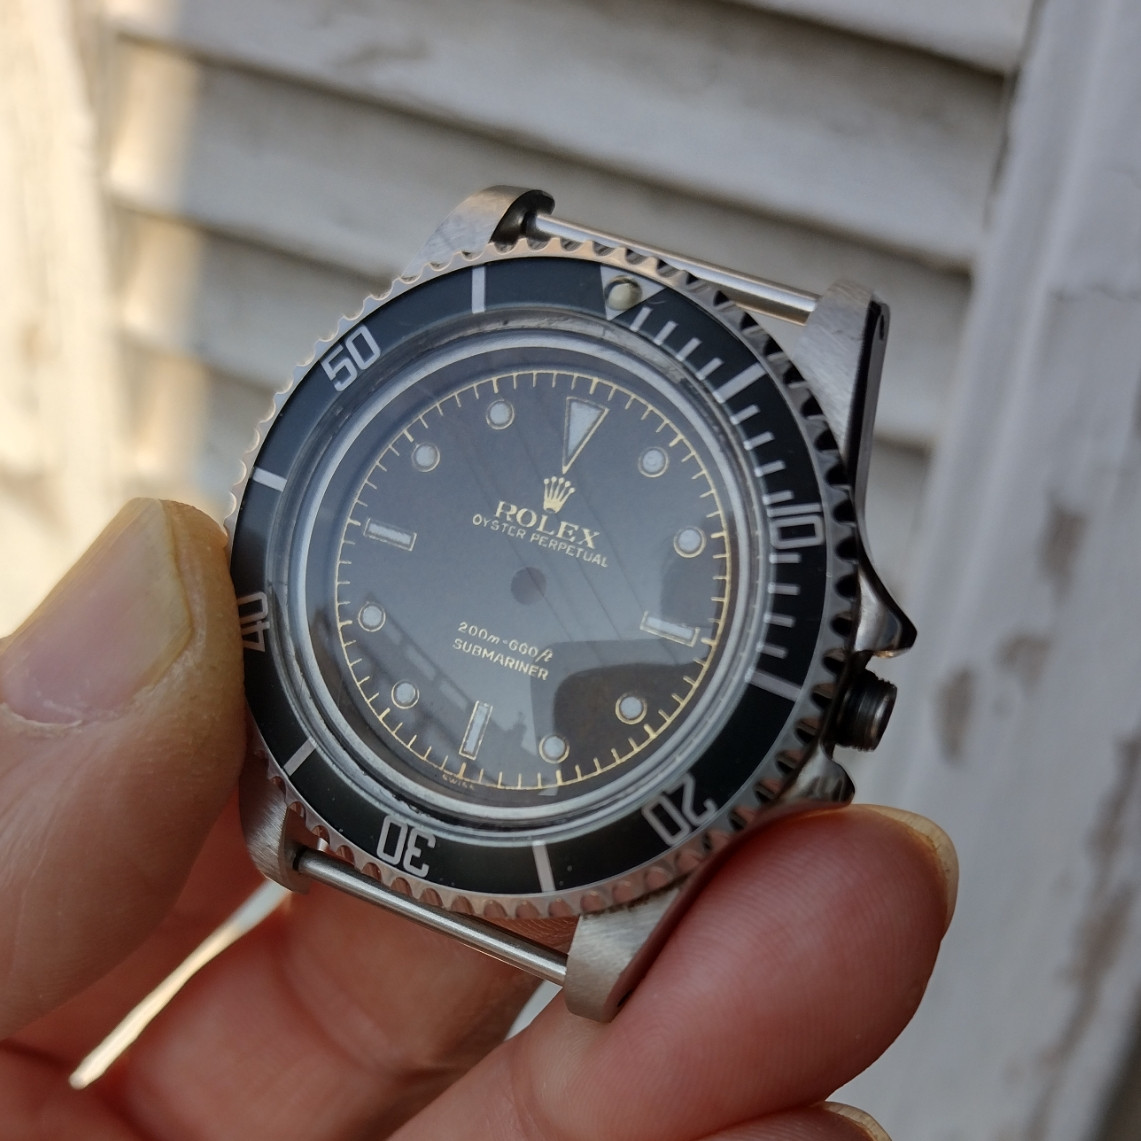
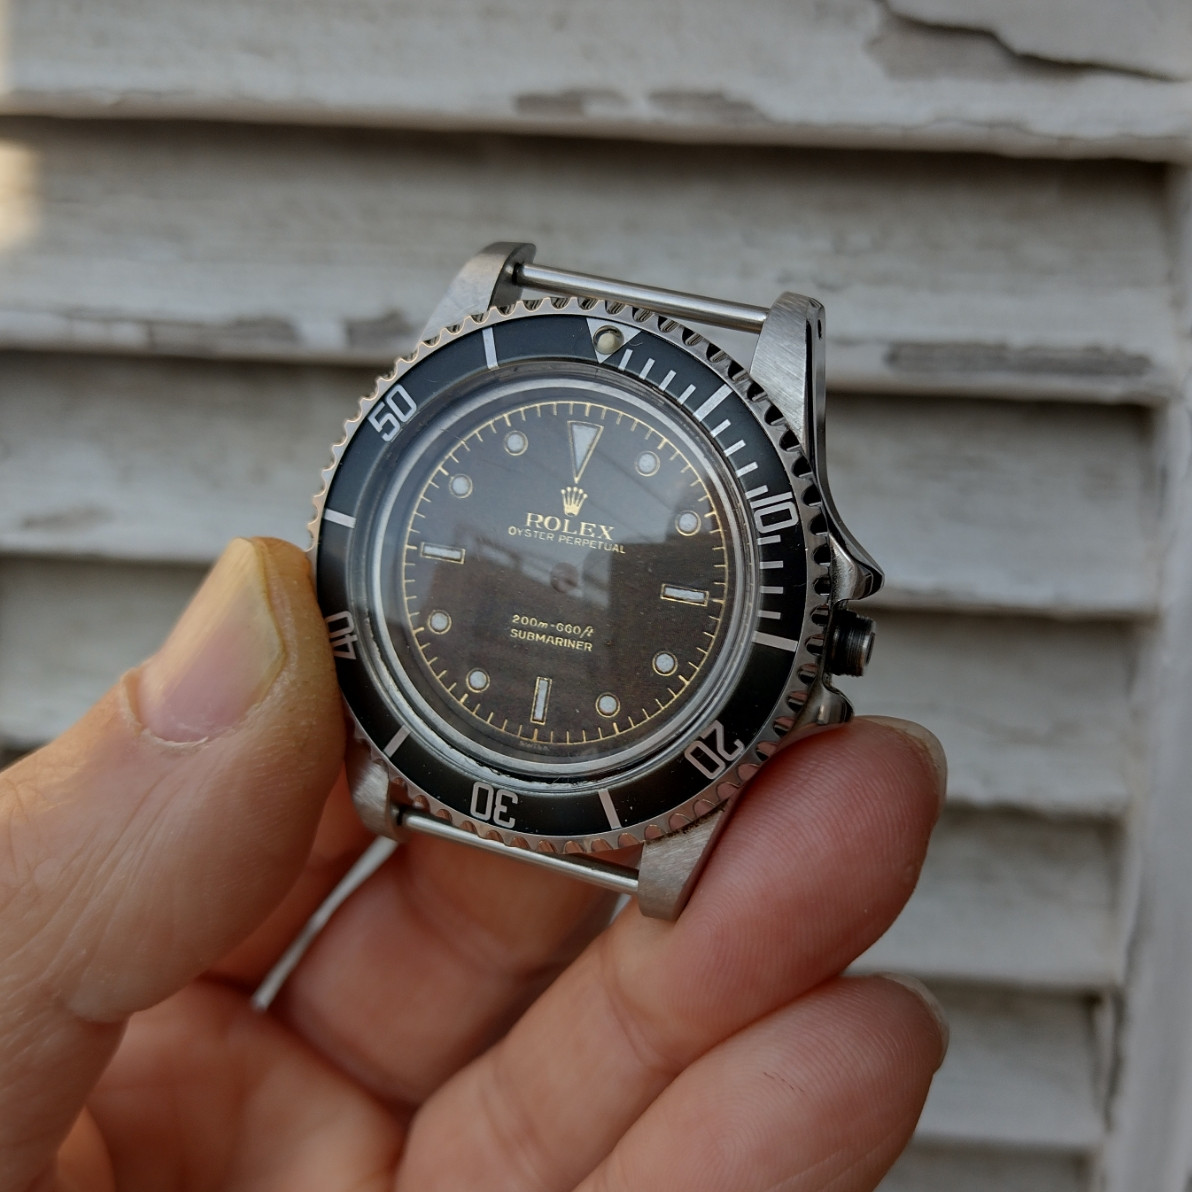
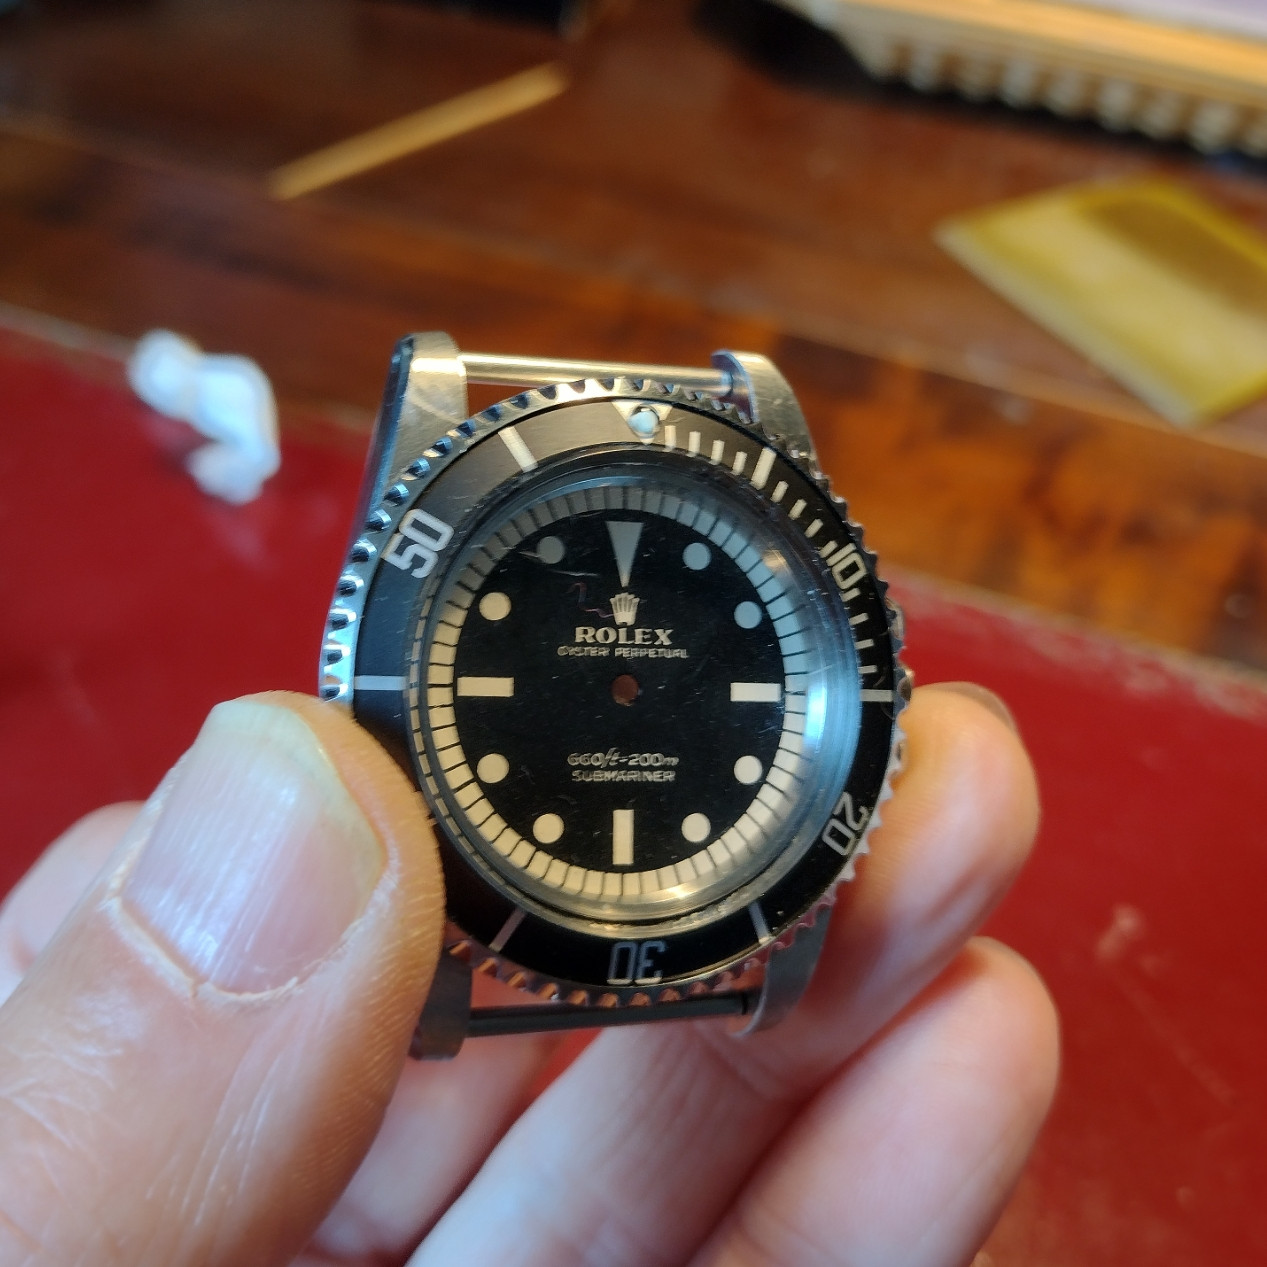
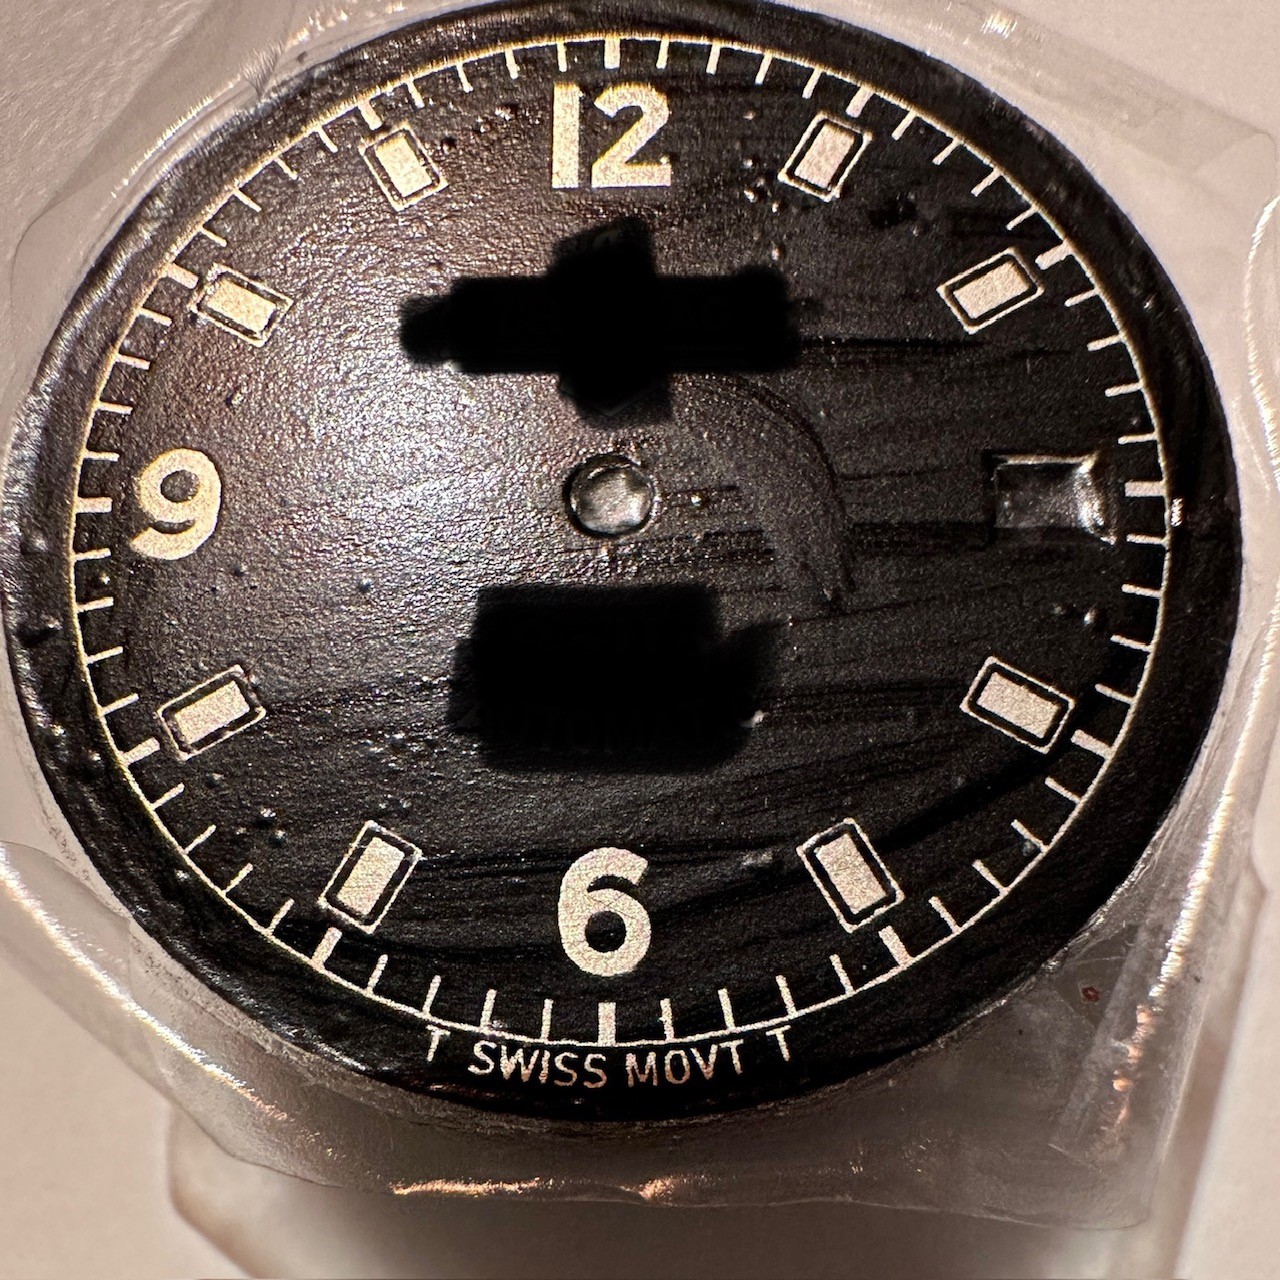
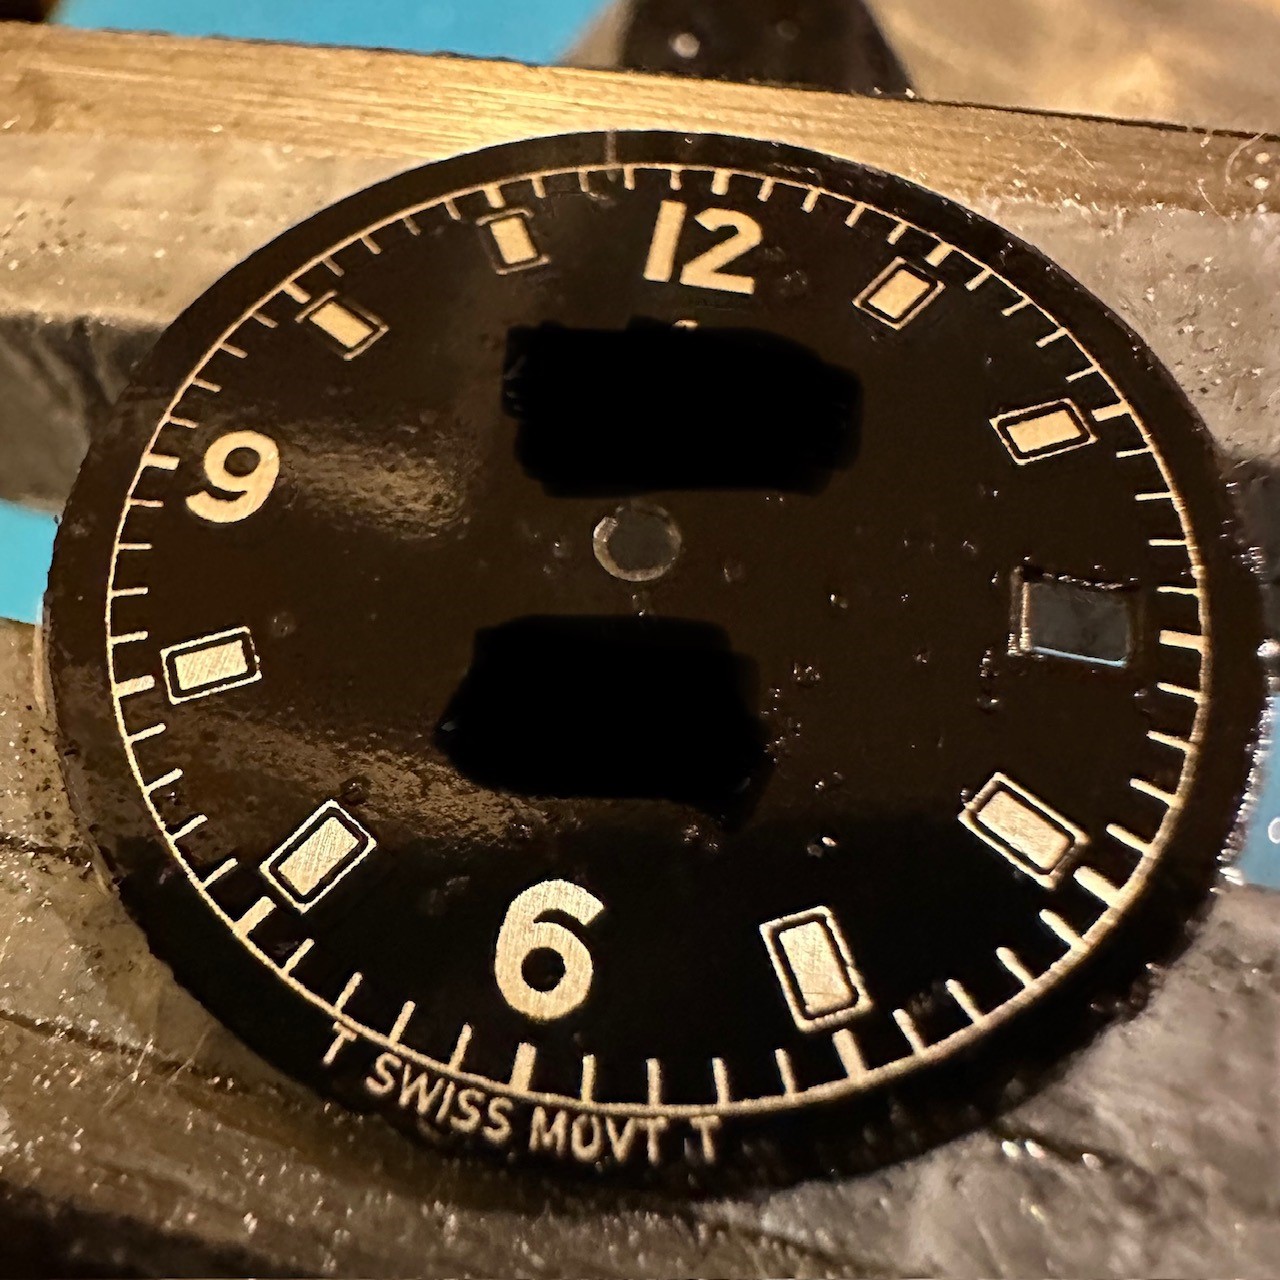
Results are so/so (see below)

I was wondering if any of the proffesionals here would want to share their process again, and / or include any updates since I guess you guys have learned a lot since I last saw a "guide" here in the thread?
What is the current best method :)

I have found that the best results I get for the first cure to get as much adhesion to the dial is to use "Decal fix" on top of the film (some bottle I bought from Amazon for the regular waterslide decals). Without it my ink comes off much more easily when i remove the film.
I use the Sunnyscopa paper and cure them in the oven at first 100C and then 200C for about 15 min each.
But I do get some small bubbles even though I have used quite a stiff spatula as a squegee and the film sits smooth before I put it in the oven.

Am I maybe using too much glue?
If I dont put on alot of glue I find that it is really hard to move around the decal to align it. It sticks directly. But maybe I should use more water instead? Do you use water on top of the decal to "soak" it in that case? Or between the decal and dial?
Or can I direclty apply more layers and then sand the dials to remove these spots?

Problem is I bought 2824 dials from Ebay and I dont have so many and the feet are coming off after all my experimenting. So I want to start off with some good instructions before I ruin any more dials :) And spend more money and wait 4 more weeks..

I bought what I thought was brass dials at first, gold colored, but when I cleaned them with acetone the gold just came off to reveal a aluminium dial. So I was a bit bummed by that - but after many decal trials I noticed the aluminium color was also rubbing off in the edges - so it was just plated and underneath after some sanding there was brass :)