• Tired of adverts on RWI? - Subscribe by clicking HERE and PMing Trailboss for instructions and they will magically go away!

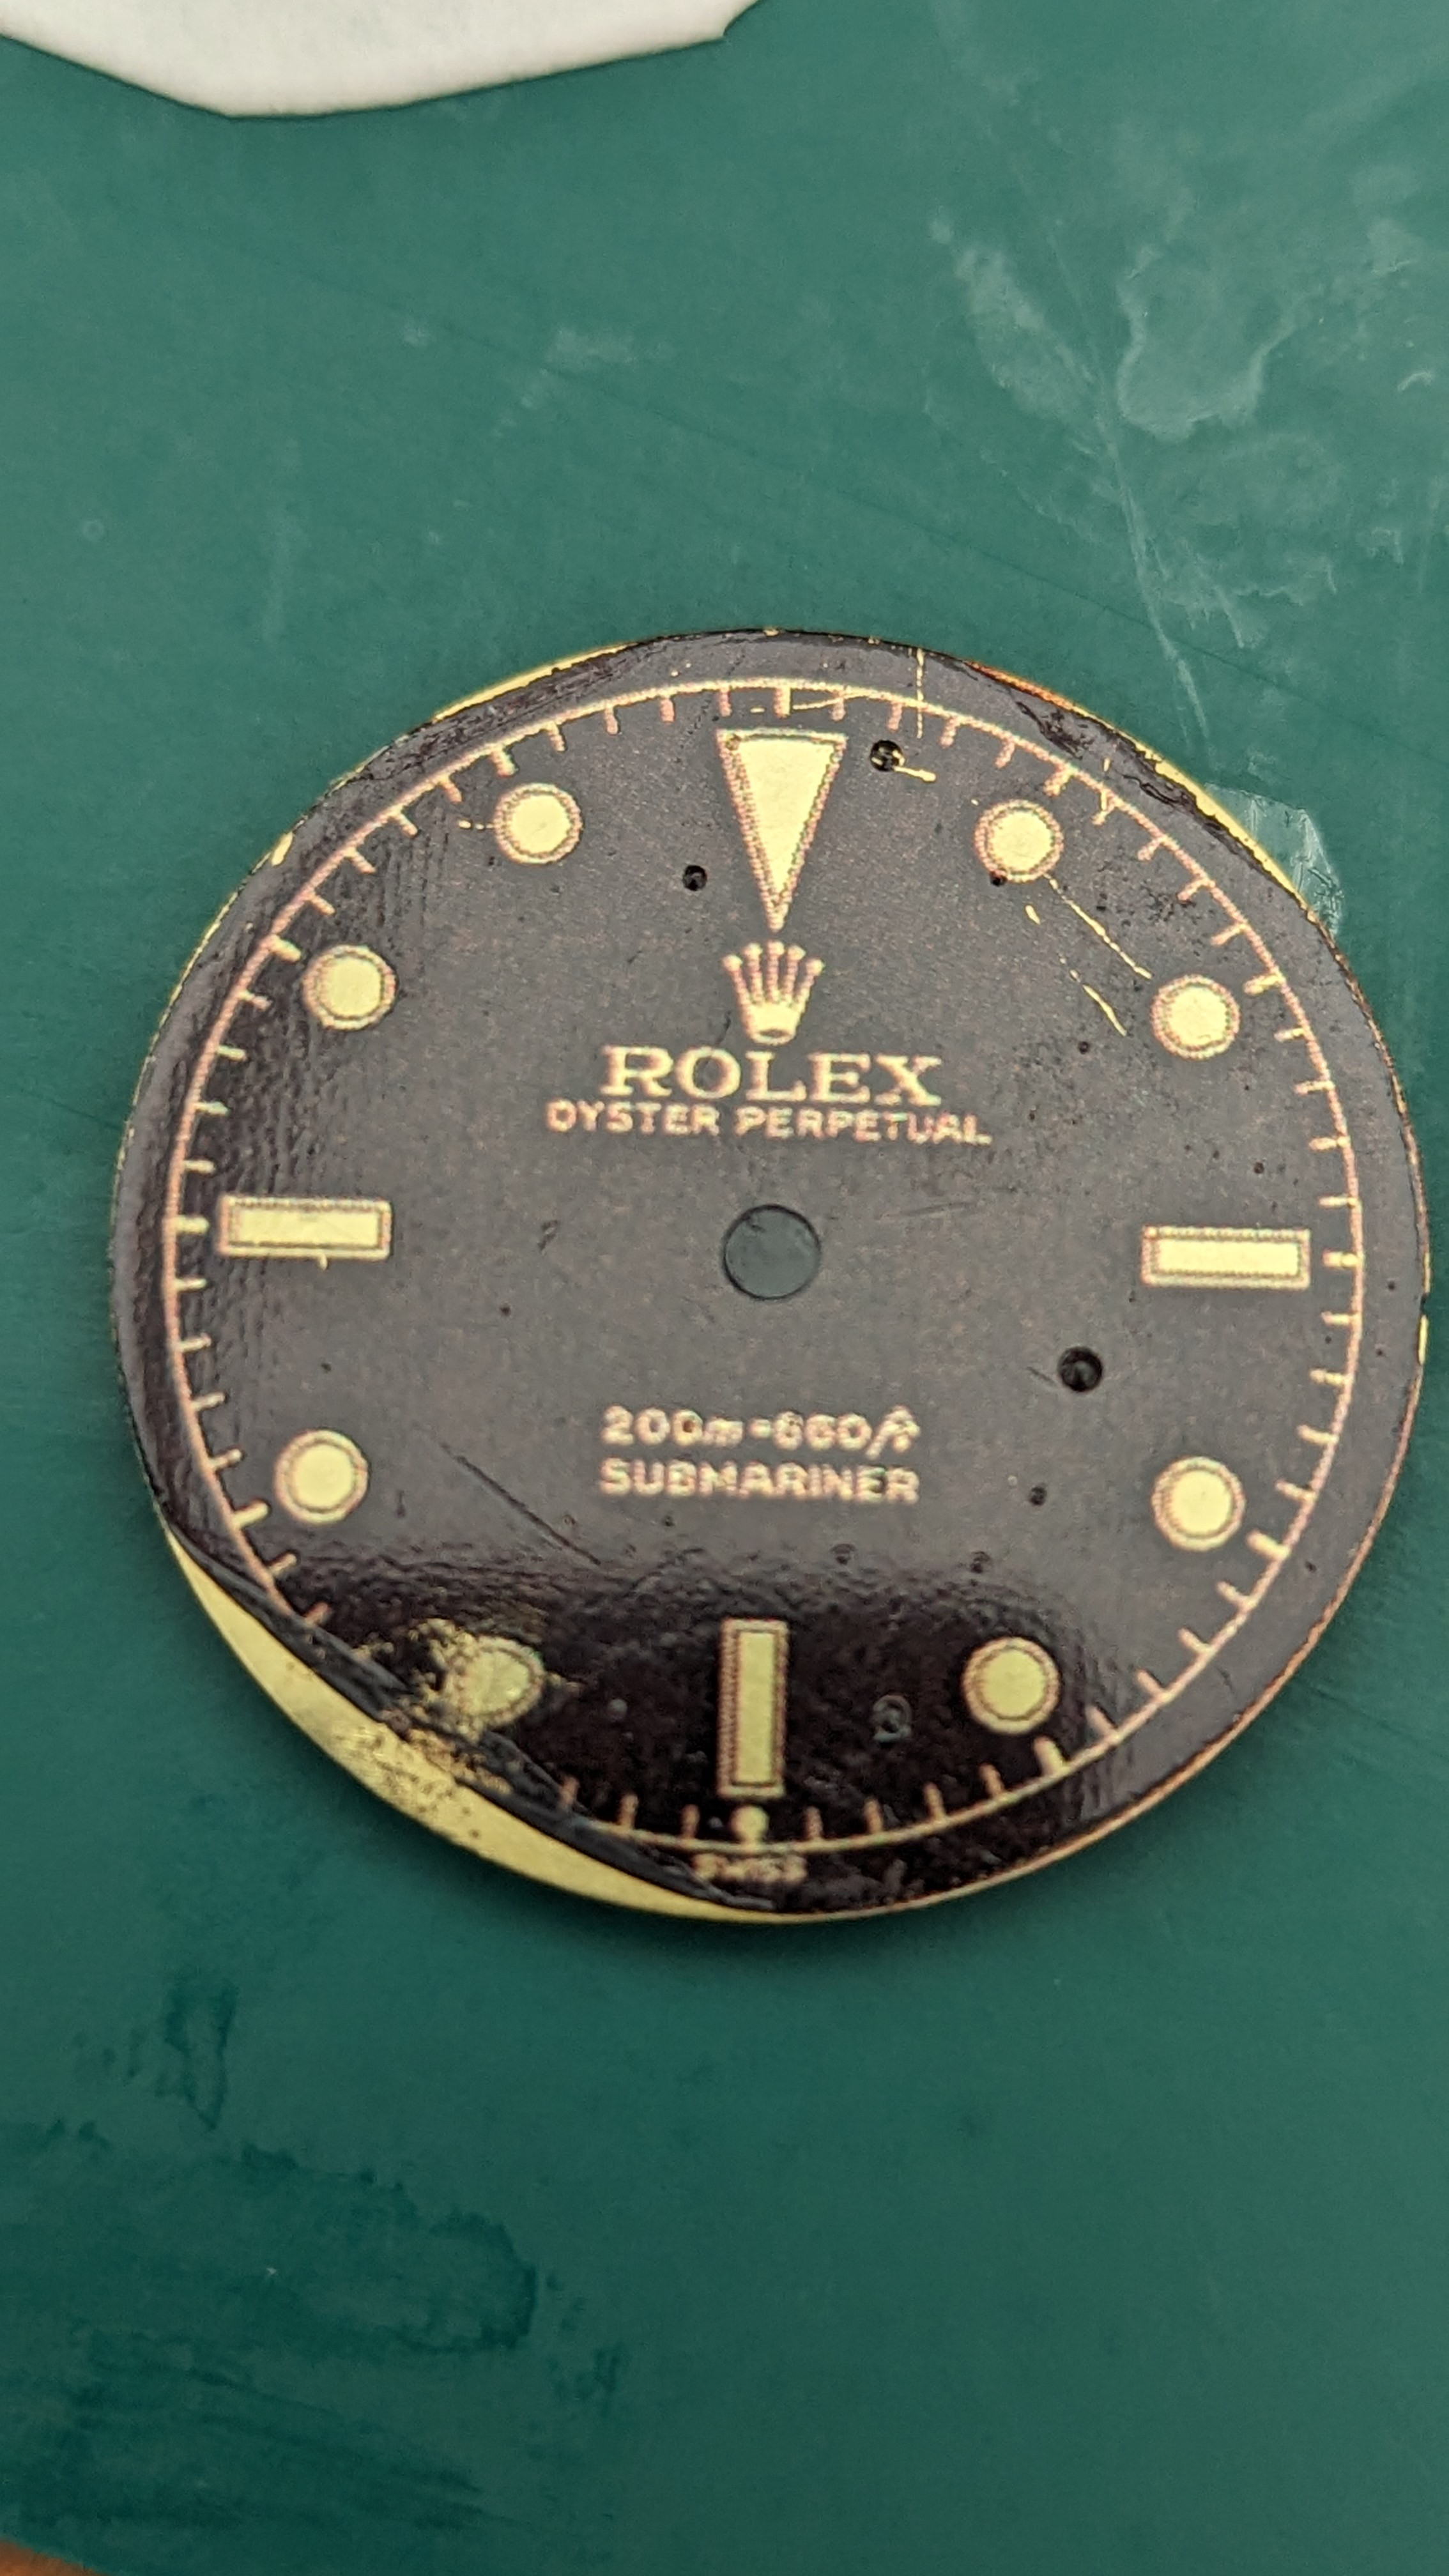
Decal printed dial

janneau

Getting To Know The Place
18/1/22
82
164
33
Was thinking of doing a very budget 6542 build and came across these cases on ebay that fit a NH34 GMT movement for $30
gmt1.jpg


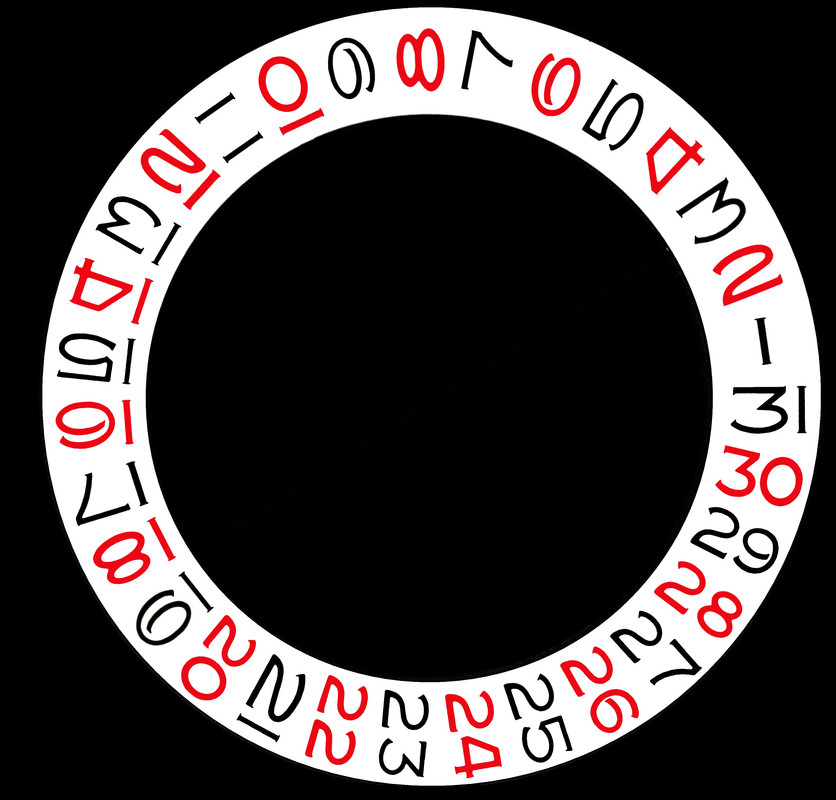
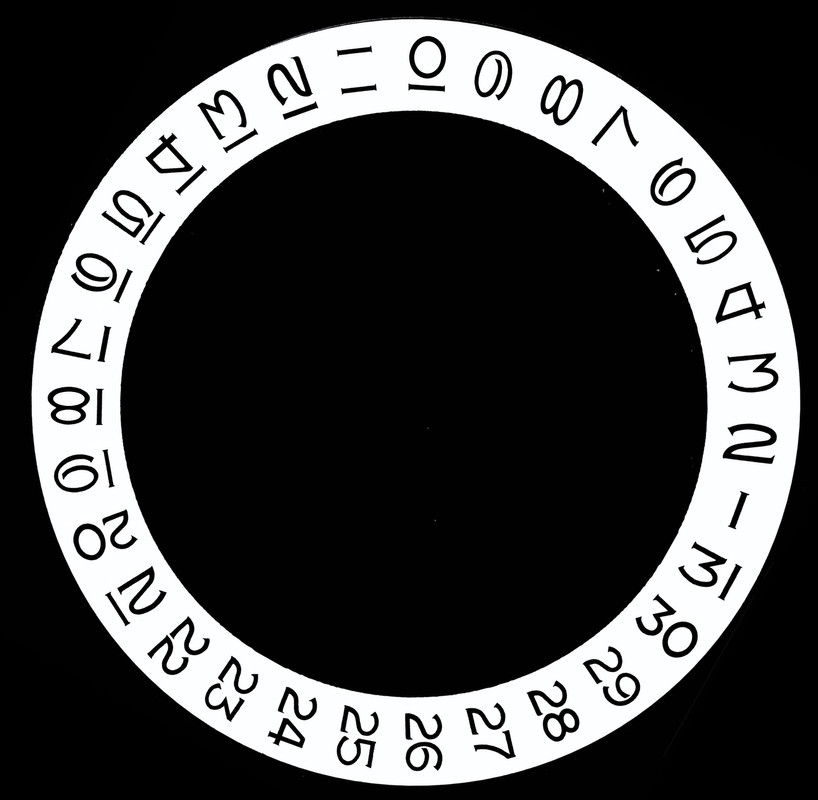
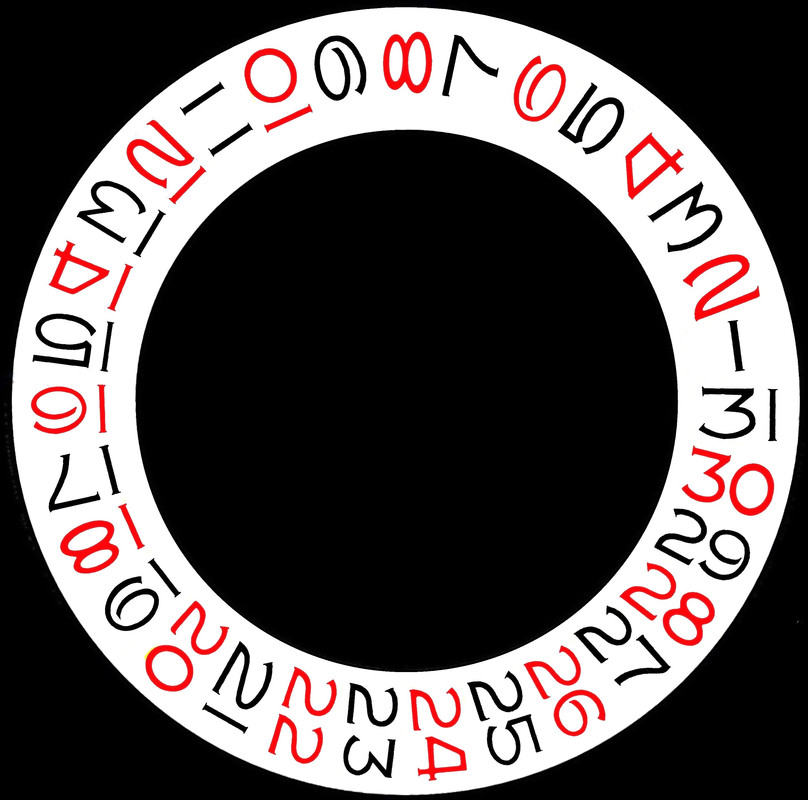
I didn't want to go to the trouble of getting a new crystal with correct magnifier position and could not find a roulette overlay in the original dial size so I knocked this up for the original NH datewheel
dateo2.jpg
 

aphmars13

Renowned Member
Supporter
Certified
4/10/22
795
1,247
93
South of France
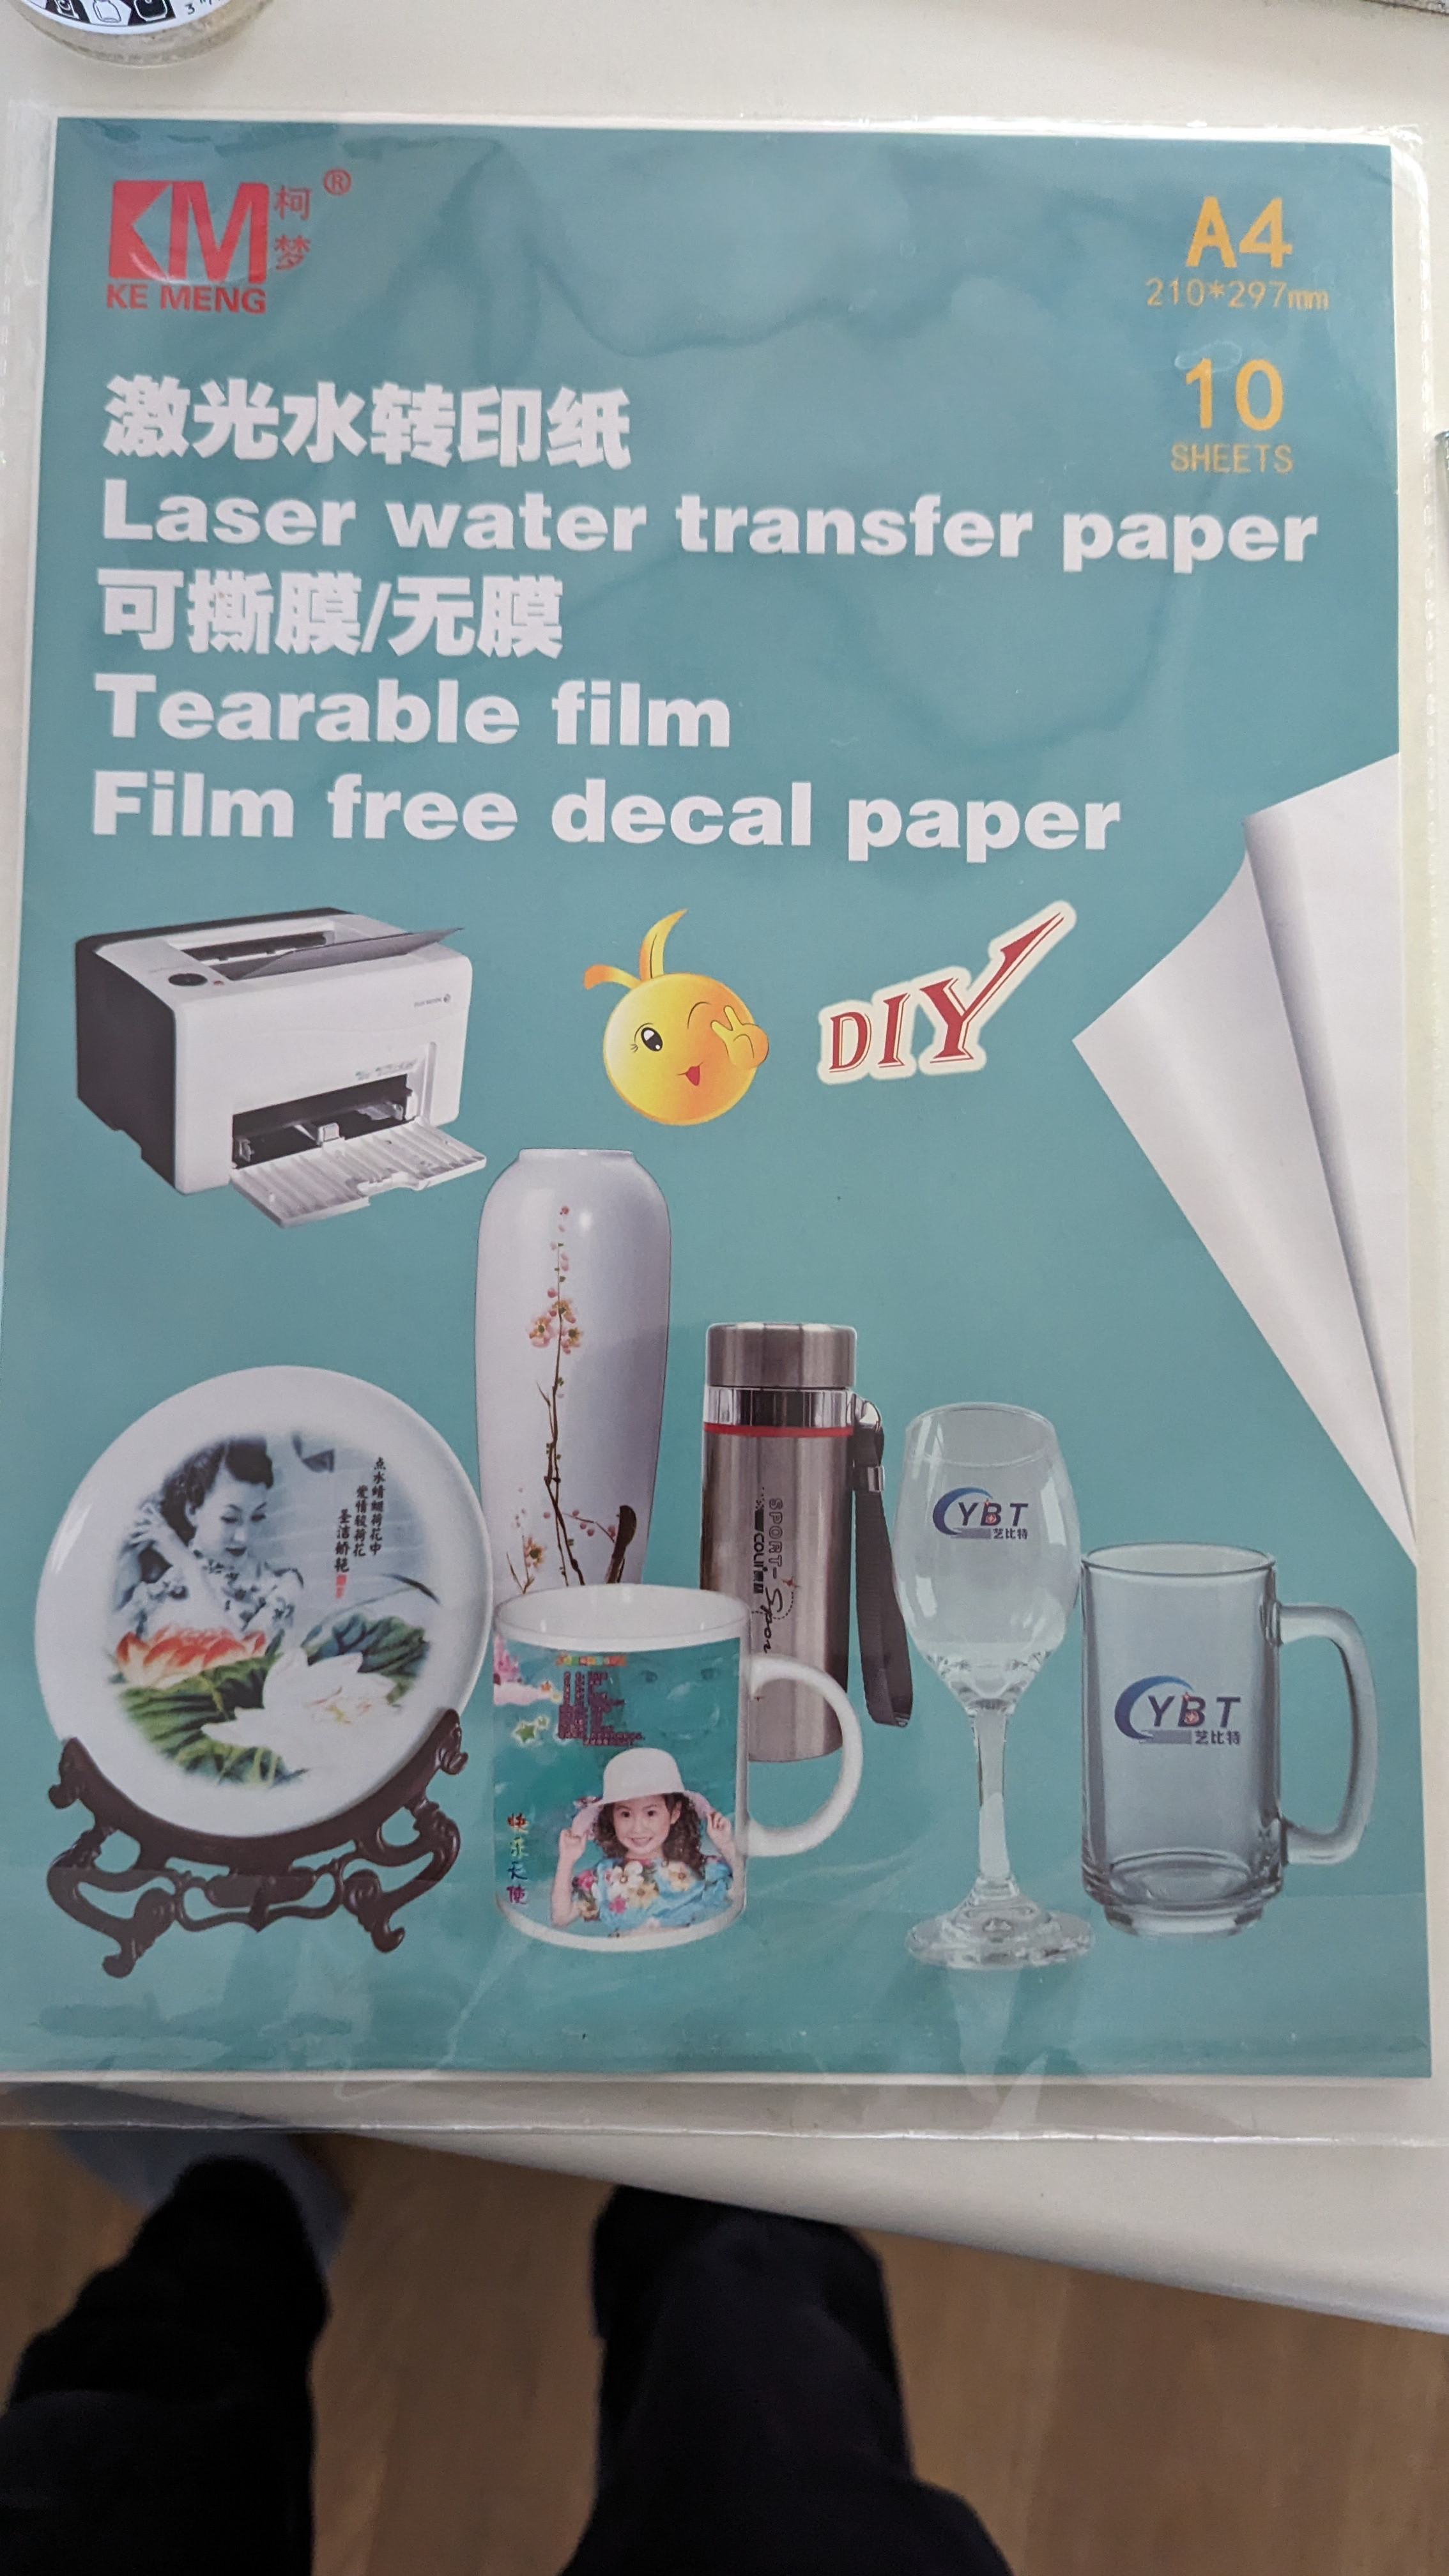
I did my first tests..... I think it's going to take some time before I can make a dial. Even if this thread shows the way, it will take a lot of practice. I found a paper on Temu... and did a test without glue laying properly the decal is a proof.....😭😭


aphmars13

Renowned Member
Supporter
Certified
4/10/22
795
1,247
93
South of France
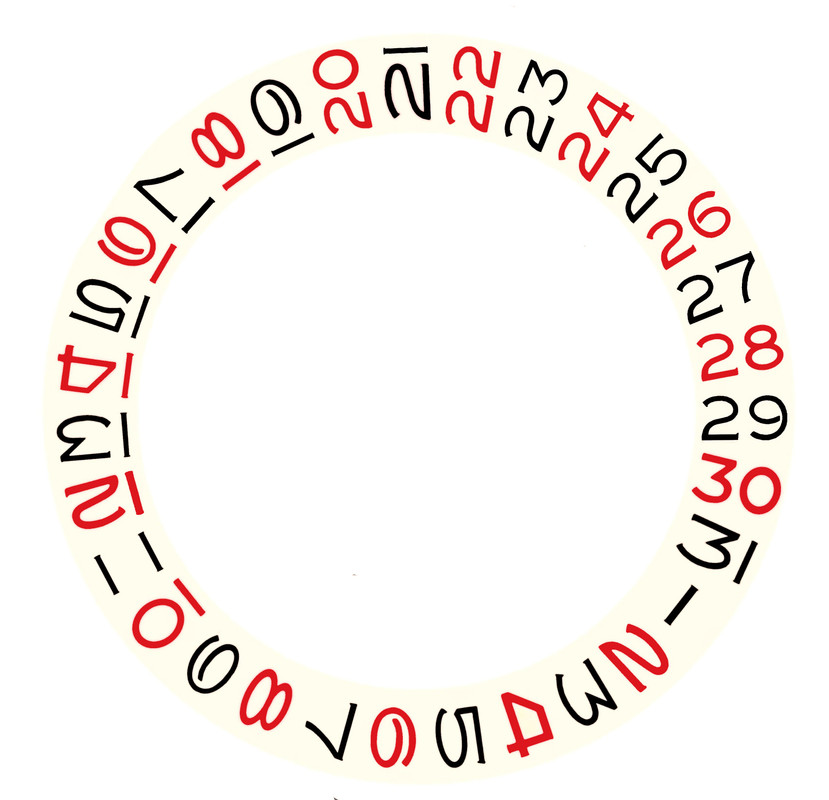
Is there a trick to improve printing? I do this in 1200 dpi with the software afinity publisher the printer is a Ricoh c3000 copier. I use the shared drive files found on this thread. There's some pixelization that I don't like.
If there is a trick to apply and flatten the decal I'm interested to know it.
 
  • Like
Reactions: Hec

WatchN3RD

I supported. Doesn't make me an expert!
Gold Patron
24/7/18
523
591
93
@chrome72 I have copper and brass blanks. Did you ever find a proper tool to cut date windows with a 95%+ success rate? I know there are (round) hole punchers, and I have a million drill bits. But, is there anything available for a one-and-done rectangular date window?
 
  • Like
Reactions: aphmars13

WatchN3RD

I supported. Doesn't make me an expert!
Gold Patron
24/7/18
523
591
93
Is there a trick to improve printing? I do this in 1200 dpi with the software afinity publisher the printer is a Ricoh c3000 copier. I use the shared drive files found on this thread. There's some pixelization that I don't like.
If there is a trick to apply and flatten the decal I'm interested to know it.
I'm searching for the same printing answer. I believe it's best to have an SVG/Vector file with points and lines the printer can follow vs. a rasterized flat image. But I don't know enough. I've only come to that conclusion reading about optimal printing. I don't know if it holds true for images this small; however, it would be great to get another unknown checked off the list.
 
  • Like
Reactions: aphmars13

chrome72

Renowned Member
7/12/17
639
561
93
Houston TX Baby
@chrome72 I have copper and brass blanks. Did you ever find a proper tool to cut date windows with a 95%+ success rate? I know there are (round) hole punchers, and I have a million drill bits. But, is there anything available for a one-and-done rectangular date window?
Date windows are done via a punch/stamping machine. To replicate it at home you can punch with a Jewelers punch and then use a jewelry saw and a set of files. It would take some time.
 
  • Like
Reactions: aphmars13

chrome72

Renowned Member
7/12/17
639
561
93
Houston TX Baby
I'm searching for the same printing answer. I believe it's best to have an SVG/Vector file with points and lines the printer can follow vs. a rasterized flat image. But I don't know enough. I've only come to that conclusion reading about optimal printing. I don't know if it holds true for images this small; however, it would be great to get another unknown checked off the list.
I think it doesn’t matter with images this small. I have vector art and the .45mm “SWIS” text at the bottom of the dial prints out the same ae
@chrome72 I have copper and brass blanks. Did you ever find a proper tool to cut date windows with a 95%+ success rate? I know there are (round) hole punchers, and I have a million drill bits. But, is there anything available for a one-and-done rectangular date window?
you could also get a steel punch designed via Etsy that is used for metal. It would have to be a rectangle with angles to achieve both the rectangular hole and the beveled angles. You would have to figure out a way to punch it so it doesn’t deform the brass much. When pressing/stamping metal has to go somewhere. I was told this is possible by the stamp designers. Would just need practice with the right hitting technique and positioning
 

chrome72

Renowned Member
7/12/17
639
561
93
Houston TX Baby
I'm searching for the same printing answer. I believe it's best to have an SVG/Vector file with points and lines the printer can follow vs. a rasterized flat image. But I don't know enough. I've only come to that conclusion reading about optimal printing. I don't know if it holds true for images this small; however, it would be great to get another unknown checked off the list.
I am not sure it matters. There is a lot more than just hit print. There is the driver of the printer. There are various settings. There is the paper type. When comparing apples to apples, I have Staples print out at 600 dpi the same dial but 1 is vectorized and 1 is a high res jpeg. Sometimes the vector prints better. Sometimes the jpeg prints better. This is the same for other dial designs too. There are limitations on printers too. Home printers while they may say "I print 1,200 dpi", you could get night and day differences from a higher end printer at say Staples which also prints 1,200 dpi.

I have spent too much time with a magnifying glass and prints, checking the serifs on the fonts. I would say in my opinion it doesn't matter at this scale if its vectorized or not. Its more the printer itself that matters and what driver/software is has.
 

matzemedia

Active Member
Certified
22/4/21
348
683
93
Germany
Is there a trick to improve printing? I do this in 1200 dpi with the software afinity publisher the printer is a Ricoh c3000 copier. I use the shared drive files found on this thread. There's some pixelization that I don't like.
If there is a trick to apply and flatten the decal I'm interested to know it.

I'm searching for the same printing answer. I believe it's best to have an SVG/Vector file with points and lines the printer can follow vs. a rasterized flat image. But I don't know enough. I've only come to that conclusion reading about optimal printing. I don't know if it holds true for images this small; however, it would be great to get another unknown checked off the list.


I also got the problem, to get nice prints with my printer. When I use affinity designer I tried to switch the document settings to Grey/16 and printed in Black & White. That is the basic you have to do, to reduce color problems.

But the best result I've got when I export the image to PDF (with 600dpi) and use the default Mac preview to print. I hope that helps you too.
 

GenuineFool

Known Member
Supporter
Certified
I am not sure it matters. There is a lot more than just hit print. There is the driver of the printer. There are various settings. There is the paper type. When comparing apples to apples, I have Staples print out at 600 dpi the same dial but 1 is vectorized and 1 is a high res jpeg. Sometimes the vector prints better. Sometimes the jpeg prints better. This is the same for other dial designs too. There are limitations on printers too. Home printers while they may say "I print 1,200 dpi", you could get night and day differences from a higher end printer at say Staples which also prints 1,200 dpi.

I have spent too much time with a magnifying glass and prints, checking the serifs on the fonts. I would say in my opinion it doesn't matter at this scale if its vectorized or not. Its more the printer itself that matters and what driver/software is has.

I concur with this. I have tried multiple laser printers (two at home, one at Staples) and my photo inkjet printer. The best you can reasonably hope for is semi-legible text. The SCOC text on a 1016 dial is about 0.5 mm tall, which at 600 dpi is 23 dots tall, and at 1200 dpi is 47 dots tall. In theory. Practice tells us that the dots are not applied in a precise grid, and 1200 dpi is a stretch from all the printers I've tried, even if truly 1200 dpi (the second number in N x N dpi, e.g., 2400 x 1200; something like 2400 x 600 is really only 600 dpi). I've tried Adobe Photoshop (raster files) and Illustrator (vector files), PNG and AI and PDF. Heavy scrutiny under magnification points me towards printing a PNG with Photoshop on an inkjet printer; that is the best for my setup and YMMV. Yes, if you have access to a truly high end printer you can probably do better. But if I can read the text that is what I will settle for at this point.

I hope this helps set realistic expectations for anyone going this route. Don't be discouraged, just know what you will get in the end.
 

chrome72

Renowned Member
7/12/17
639
561
93
Houston TX Baby
I concur with this. I have tried multiple laser printers (two at home, one at Staples) and my photo inkjet printer. The best you can reasonably hope for is semi-legible text. The SCOC text on a 1016 dial is about 0.5 mm tall, which at 600 dpi is 23 dots tall, and at 1200 dpi is 47 dots tall. In theory. Practice tells us that the dots are not applied in a precise grid, and 1200 dpi is a stretch from all the printers I've tried, even if truly 1200 dpi (the second number in N x N dpi, e.g., 2400 x 1200; something like 2400 x 600 is really only 600 dpi). I've tried Adobe Photoshop (raster files) and Illustrator (vector files), PNG and AI and PDF. Heavy scrutiny under magnification points me towards printing a PNG with Photoshop on an inkjet printer; that is the best for my setup and YMMV. Yes, if you have access to a truly high end printer you can probably do better. But if I can read the text that is what I will settle for at this point.

I hope this helps set realistic expectations for anyone going this route. Don't be discouraged, just know what you will get in the end.
I find .45mm text on the “SWISS” at the bottom of the dials prints out pretty well at 600 dpi for my at home laser printer and commercial grade Staples laser printer. Readable with my bare eyes and quite well under magnification.

I too have spent time and money buying/tinkering with various laser printers.
 
  • Like
Reactions: aphmars13

GenuineFool

Known Member
Supporter
Certified
I find .45mm text on the “SWISS” at the bottom of the dials prints out pretty well at 600 dpi for my at home laser printer and commercial grade Staples laser printer. Readable with my bare eyes and quite well under magnification.

I too have spent time and money buying/tinkering with various laser printers.

I find the SWISS prints a little better than the SCOC text because the SWISS has wider letters and the stroke is thicker. But even at 1200 dpi on my inkjet printer I barely discern serifs on SWISS. I do think others here are getting slightly better results than me, and it is probably the equipment. But drastically better? I'm not so sure. There are just limitations we have to accept with these methods.

And I should clarify: "semi-legible" in my earlier remarks was a generalization. I can get legible text that small, and know that you and others do as well. But for me that was after tinkering and testing. My initial attempts were truly "semi-legible". So perfection can't be expected. But good results can be achieved.

I do love how decal printing effectively democratizes not only custom dials, but custom gilt dials.
 

WatchN3RD

I supported. Doesn't make me an expert!
Gold Patron
24/7/18
523
591
93
I really appreciate these answers. There's no doubt the printer, driver, and other variables affect the quality, but it sounds like a vector/SVG is not mandatory. Checking off this box, and noting to try PNG!

As for 1200 x 600 only being an actual 600dpi, I agree. But with my OKI laser at 1200 x 600dpi, there was a tremendous improvement for me when I switched to rich black (with 4 colors printing at 1200 x 600dpi) instead of pure black only. Only mentioning for anyone else that is trying to print in Black and White and getting excessive pixels. I've really only been testing on my OKI 1200 x 600 color laser, but I also have a Xerox 1200 x 1200 color laser and an Epson Ecotank inkjet with "4800 x 1200 optimized dpi"...whatever that means.

That leads me to two final questions.
1) Has anyone noticed a difference between a 54mm image at 600dpi (printing at 50% size) vs a 27mm image at 100% that is 1200dpi? Technically, it should be the same result, but I could also imagine the "optimization software" might render a different result if it caused the printer algorithm to switch.
2) Assuming I could get the best results with my inkjet, would using an inkjet transparency over photoresist film produce a cleaner outcome than toner transfer? In other words, does typical photoresist film have its own maximum "resolution" that is worth an extra concern?
 

GenuineFool

Known Member
Supporter
Certified
That leads me to two final questions.
1) Has anyone noticed a difference between a 54mm image at 600dpi (printing at 50% size) vs a 27mm image at 100% that is 1200dpi? Technically, it should be the same result, but I could also imagine the "optimization software" might render a different result if it caused the printer algorithm to switch.
2) Assuming I could get the best results with my inkjet, would using an inkjet transparency over photoresist film produce a cleaner outcome than toner transfer? In other words, does typical photoresist film have its own maximum "resolution" that is worth an extra concern?

1) Yes. I tried something similar (2.5x the size, half the dpi), although not exact. 600 dpi is going to be easier for the printer to do. 1200 dpi is going to be the theoretical maximum resolution, which won't be obtained unless you have extremely high end and calibrated equipment. Here's your rabbit hole for the day:
https://imagexpert.com/dot-quality-the-most-important-inkjet-test-that-you-probably-arent-doing/
https://imagexpert.com/how-to-stop-satellites-from-ruining-your-print/

2) I can't help here with regard to resolution. However, with regard to process, I have found toner transfer a bit too finicky for me. I can't get consistent results, and the details suffer the most. I suppose with more work I could achieve results that I liked, as others on this forum have. I can't comment on photoresist, but the consistency of the process will matter.
 
  • Like
Reactions: WatchN3RD

chrome72

Renowned Member
7/12/17
639
561
93
Houston TX Baby
1) Yes. I tried something similar (2.5x the size, half the dpi), although not exact. 600 dpi is going to be easier for the printer to do. 1200 dpi is going to be the theoretical maximum resolution, which won't be obtained unless you have extremely high end and calibrated equipment. Here's your rabbit hole for the day:
https://imagexpert.com/dot-quality-the-most-important-inkjet-test-that-you-probably-arent-doing/
https://imagexpert.com/how-to-stop-satellites-from-ruining-your-print/

2) I can't help here with regard to resolution. However, with regard to process, I have found toner transfer a bit too finicky for me. I can't get consistent results, and the details suffer the most. I suppose with more work I could achieve results that I liked, as others on this forum have. I can't comment on photoresist, but the consistency of the process will matter.
Toner transfer can be wonky. There are 3 parts. Heat, pressure, time. Different toners get sticky at different temps (although I have found most get sticky around 220-240F). If a lower temp, you need a higher pressure. If higher temp you need lower pressure. Time can be the difference between perfect and splotchy. I crated a thread on this and I have been working with prints from Staples (its a big box store in the US). They use a xerox machine and i had the toner once, but I am thinking its meant for high yield commercial printers. I would think just about any of the large printing stores probably use a xerox machine and that toner if not something very very similar.

For the Staples print, I find 220F is the magic temp (using a laser thermometer), 57 PSI is the magic pressure (measured using an arduino pressure sensor strip), and the magic time is roughly 30 seconds. With that, I get everything as it was printed. No smudges, no deformations. Text as small as .45mm is super legible. You might be asking how do I get those settings? I use a scotch brand laminator (tl901x) that is like $20 off Amazon. I use the 3 mil setting (220F on this machine), and run it through about 5 passes. I use a .4mm brass sheet that i run through the laminator a few times so its nice and hot, then put the dial/artwork on the brass sheet and feed it through. This works great with their generic glossy paper. I am primarily using transparency film now as it helps me see alignment a bit better, and I use the 5 mil setting on the same machine which I modified with a new transistor to reach 240F.

There are many ways to skin the cat here but gotta figure out temp,pressure,time. 600 DPI seems to be great resolution for this too.