Worked like a charme, thanks again mate!
Nice and crisp. Only a really small play left, inlay also corrected.

Nice and crisp. Only a really small play left, inlay also corrected.
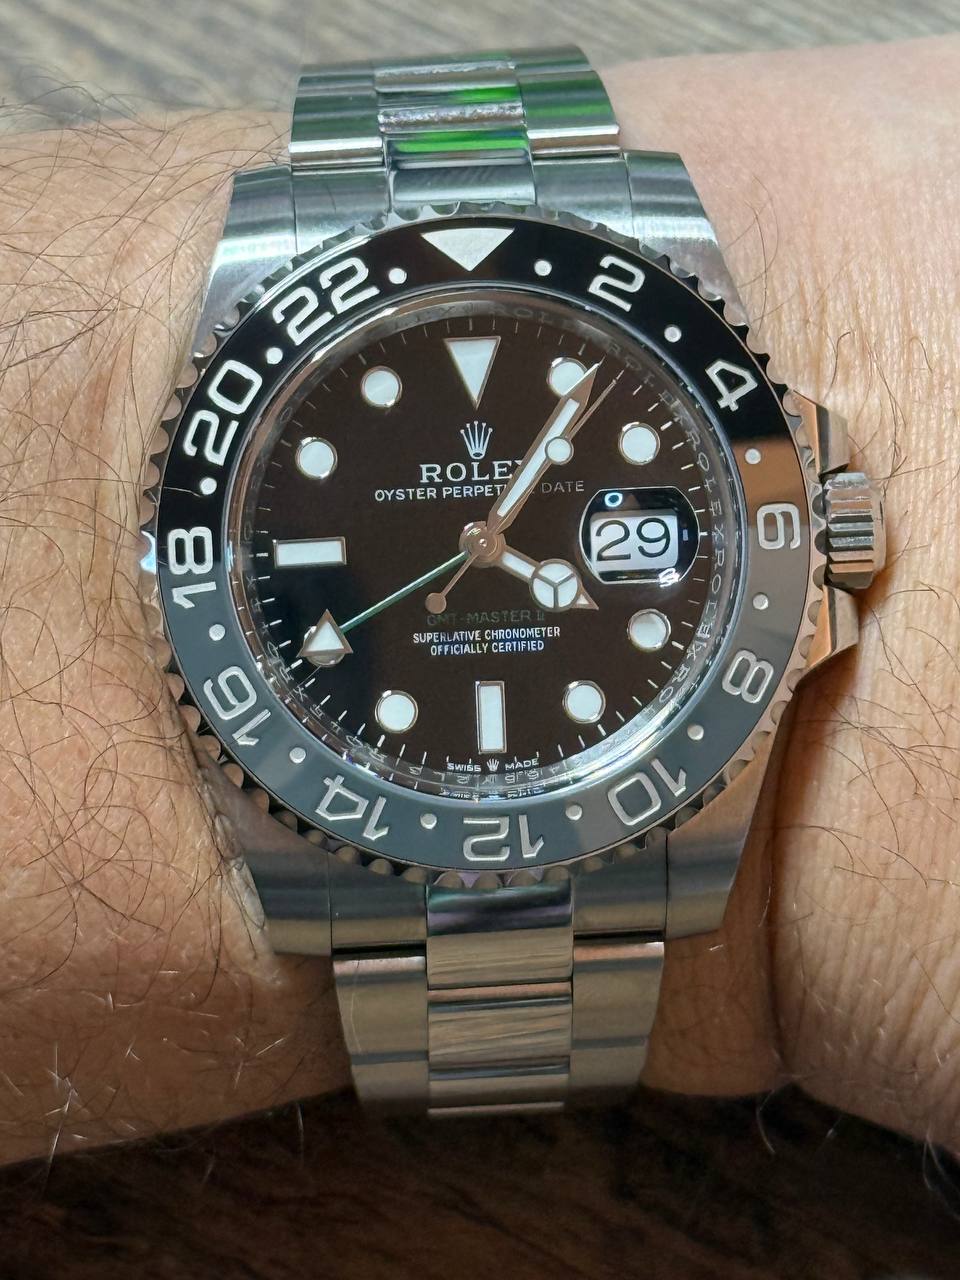
Looks great!Worked like a charme, thanks again mate!
Nice and crisp. Only a really small play left, inlay also corrected.

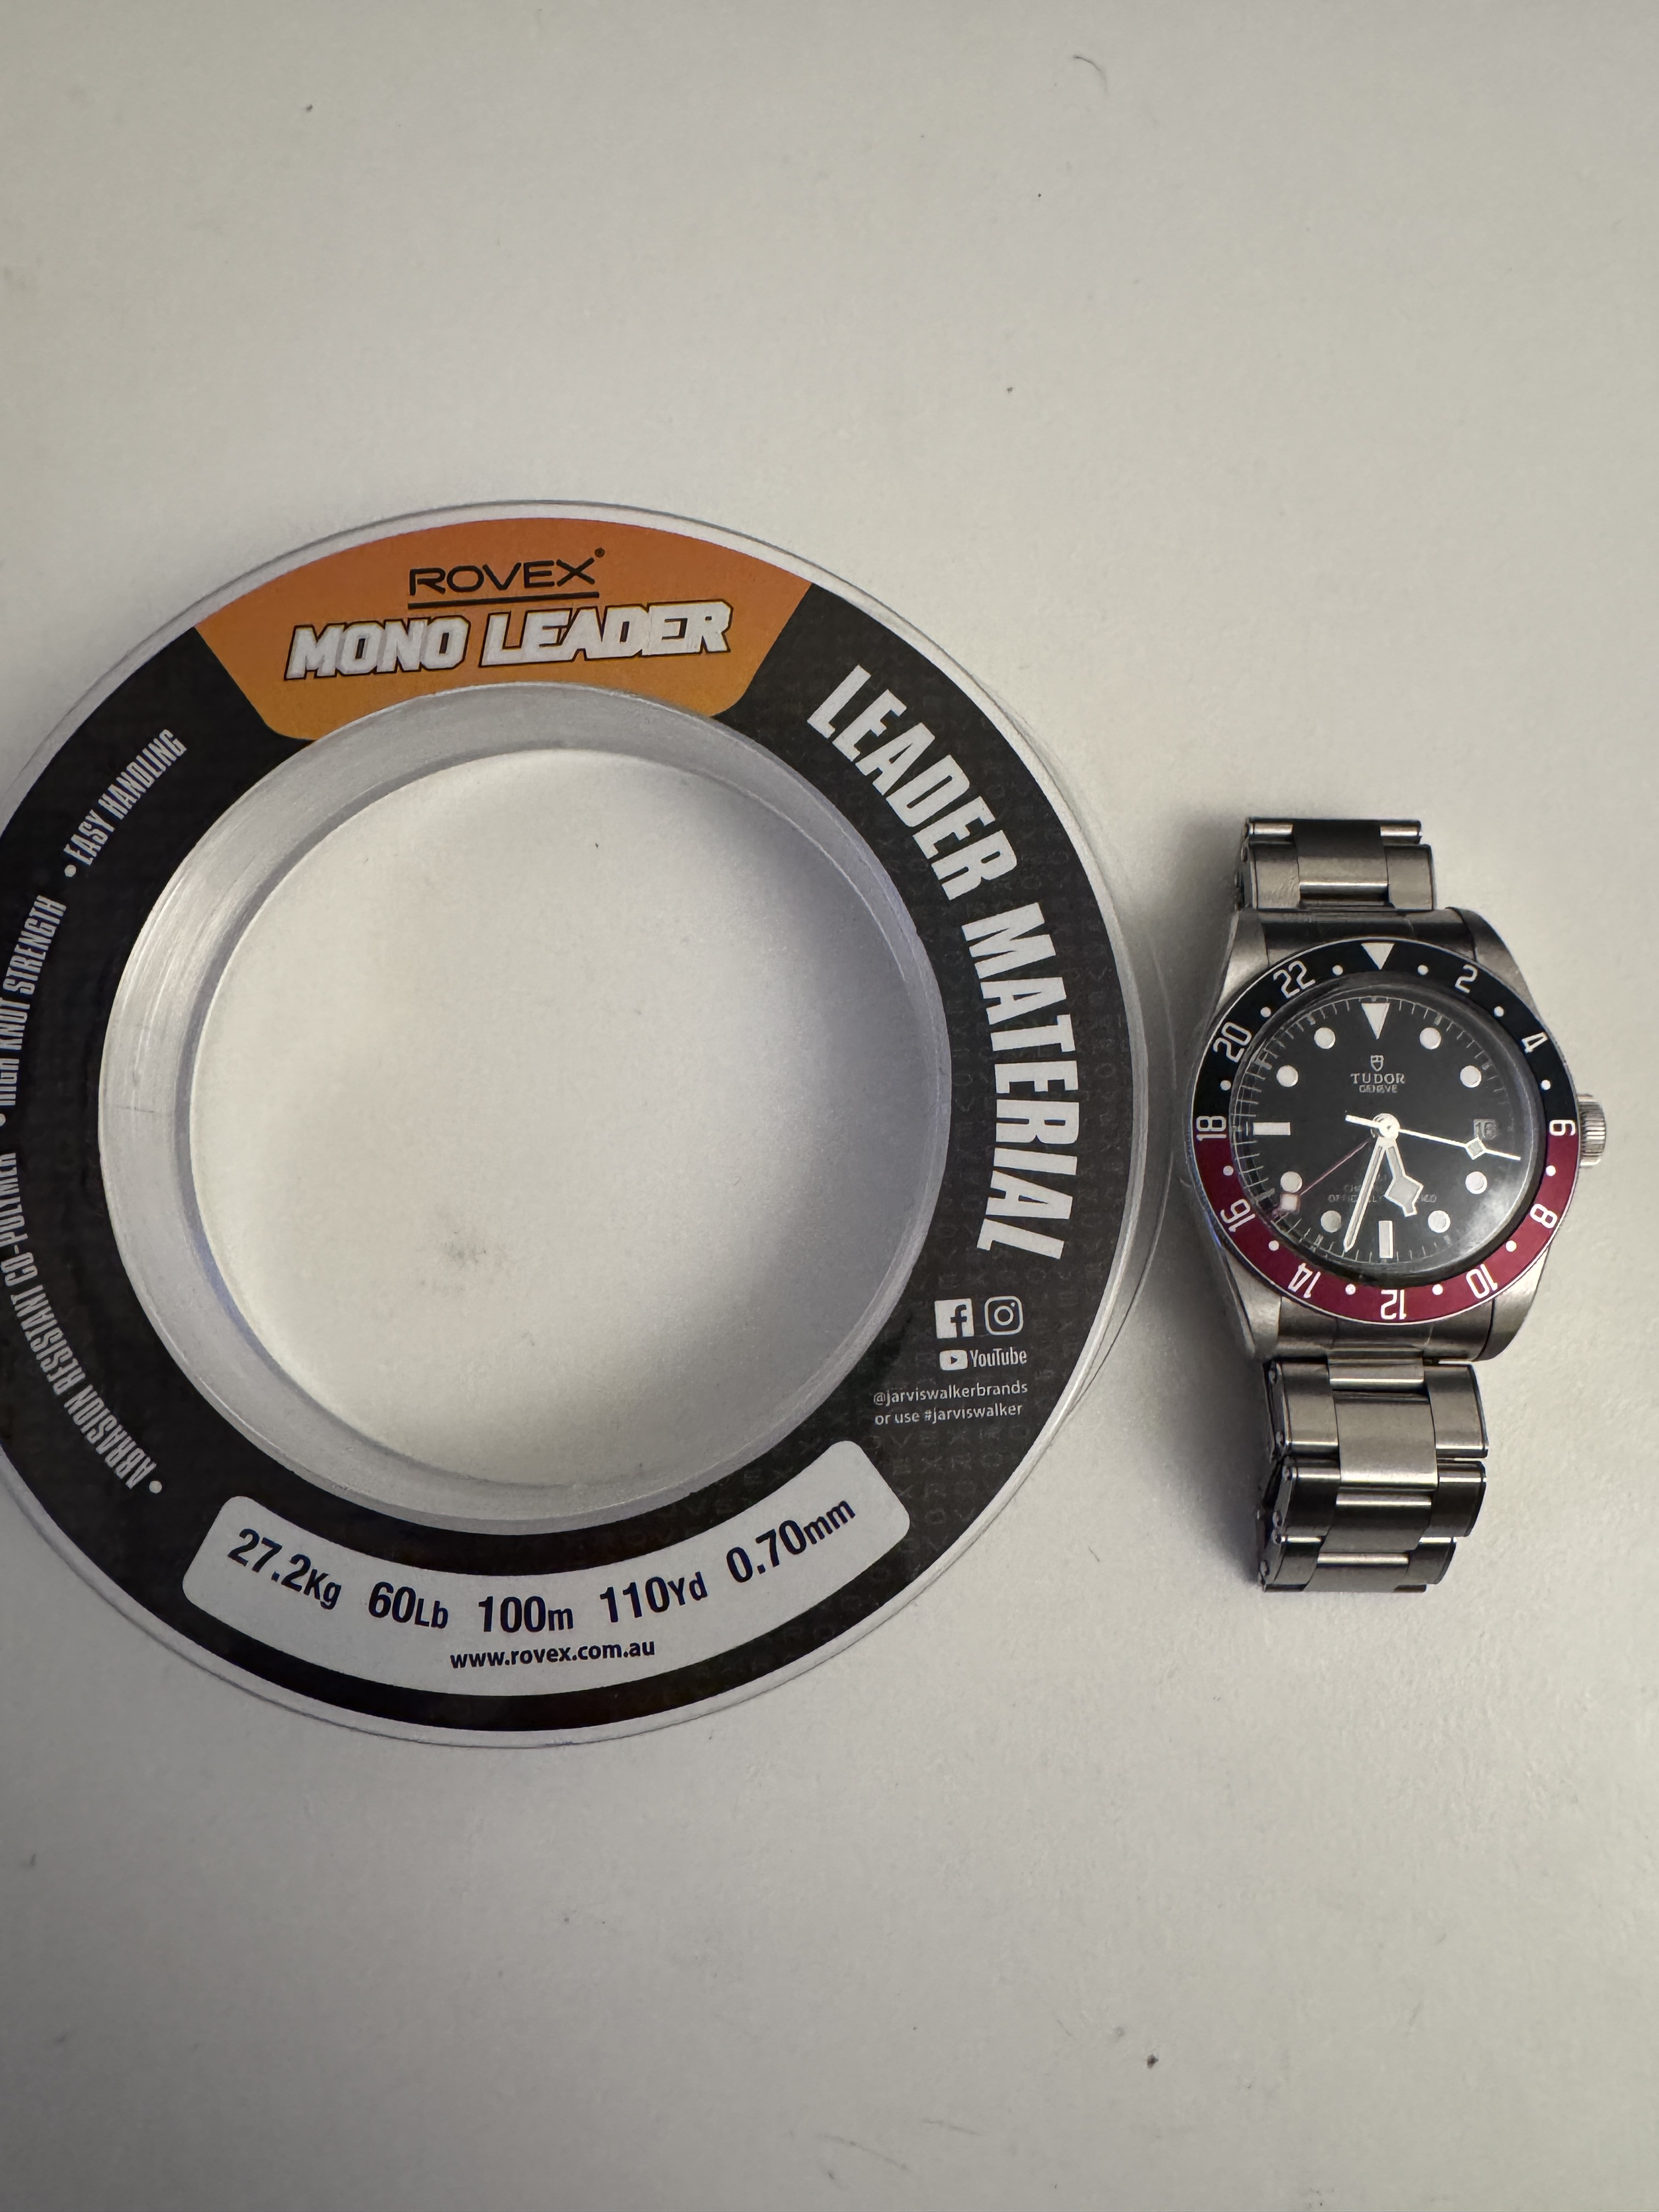
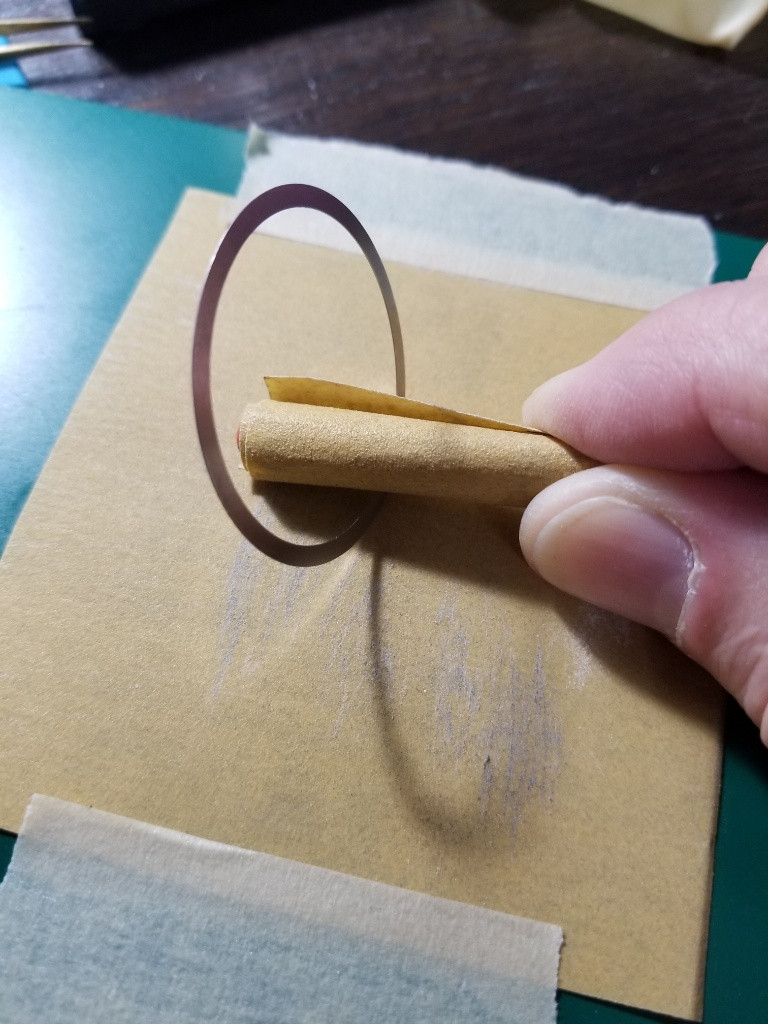
*edNo one has ask for it but here is a picture of the line i used for my Tudor gmt
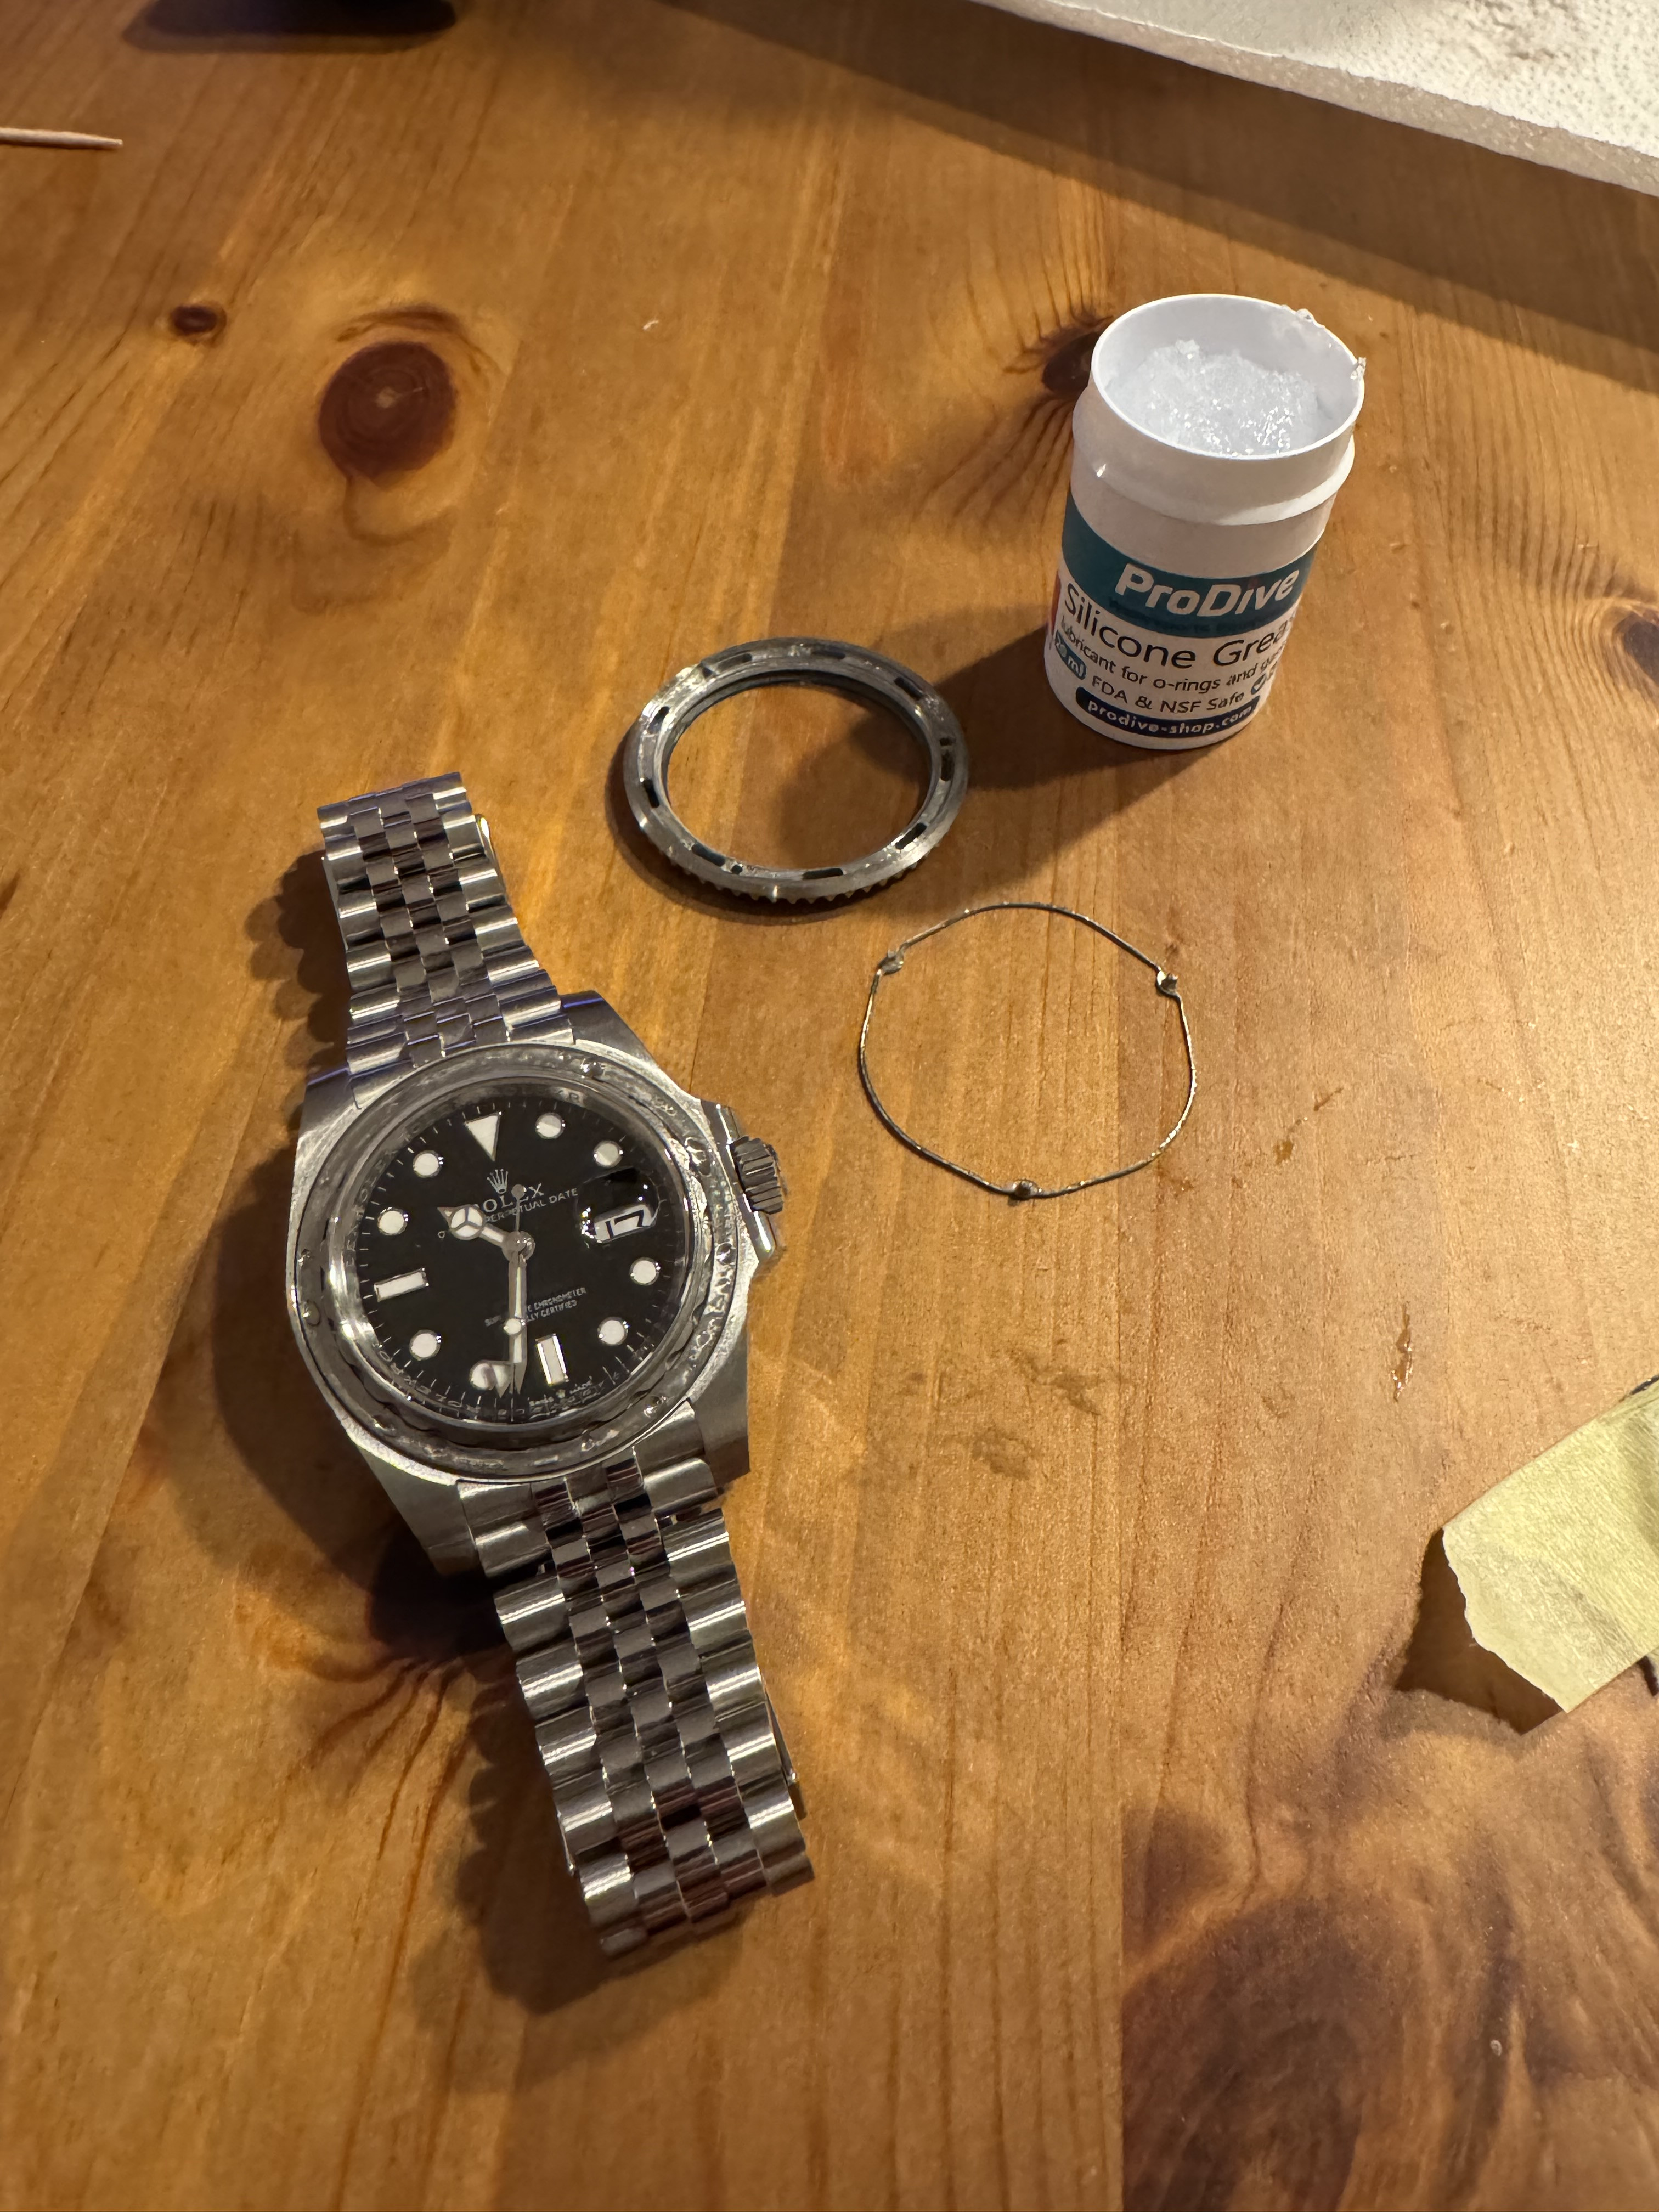
Hi mateI have a Problem now. I did exactly as said in the instructions. I genlty popped the bezel off and degreased most of the grease. I then applied this silicone grease and reapplied the bezel. But the bezel turns way too hard and harsh. The click spring and the other Parts Are Not damaged. Can anyone help?
Try carefully removing the bezel gasket (hytrel ring) and then install all the rest of the parts normally. If the bezel rotates freely, then you can suspect the bezel gasket and we will go from there.I have a Problem now. I did exactly as said in the instructions. I genlty popped the bezel off and degreased most of the grease. I then applied this silicone grease and reapplied the bezel. But the bezel turns way too hard and harsh. The click spring and the other Parts Are Not damaged. Can anyone help?
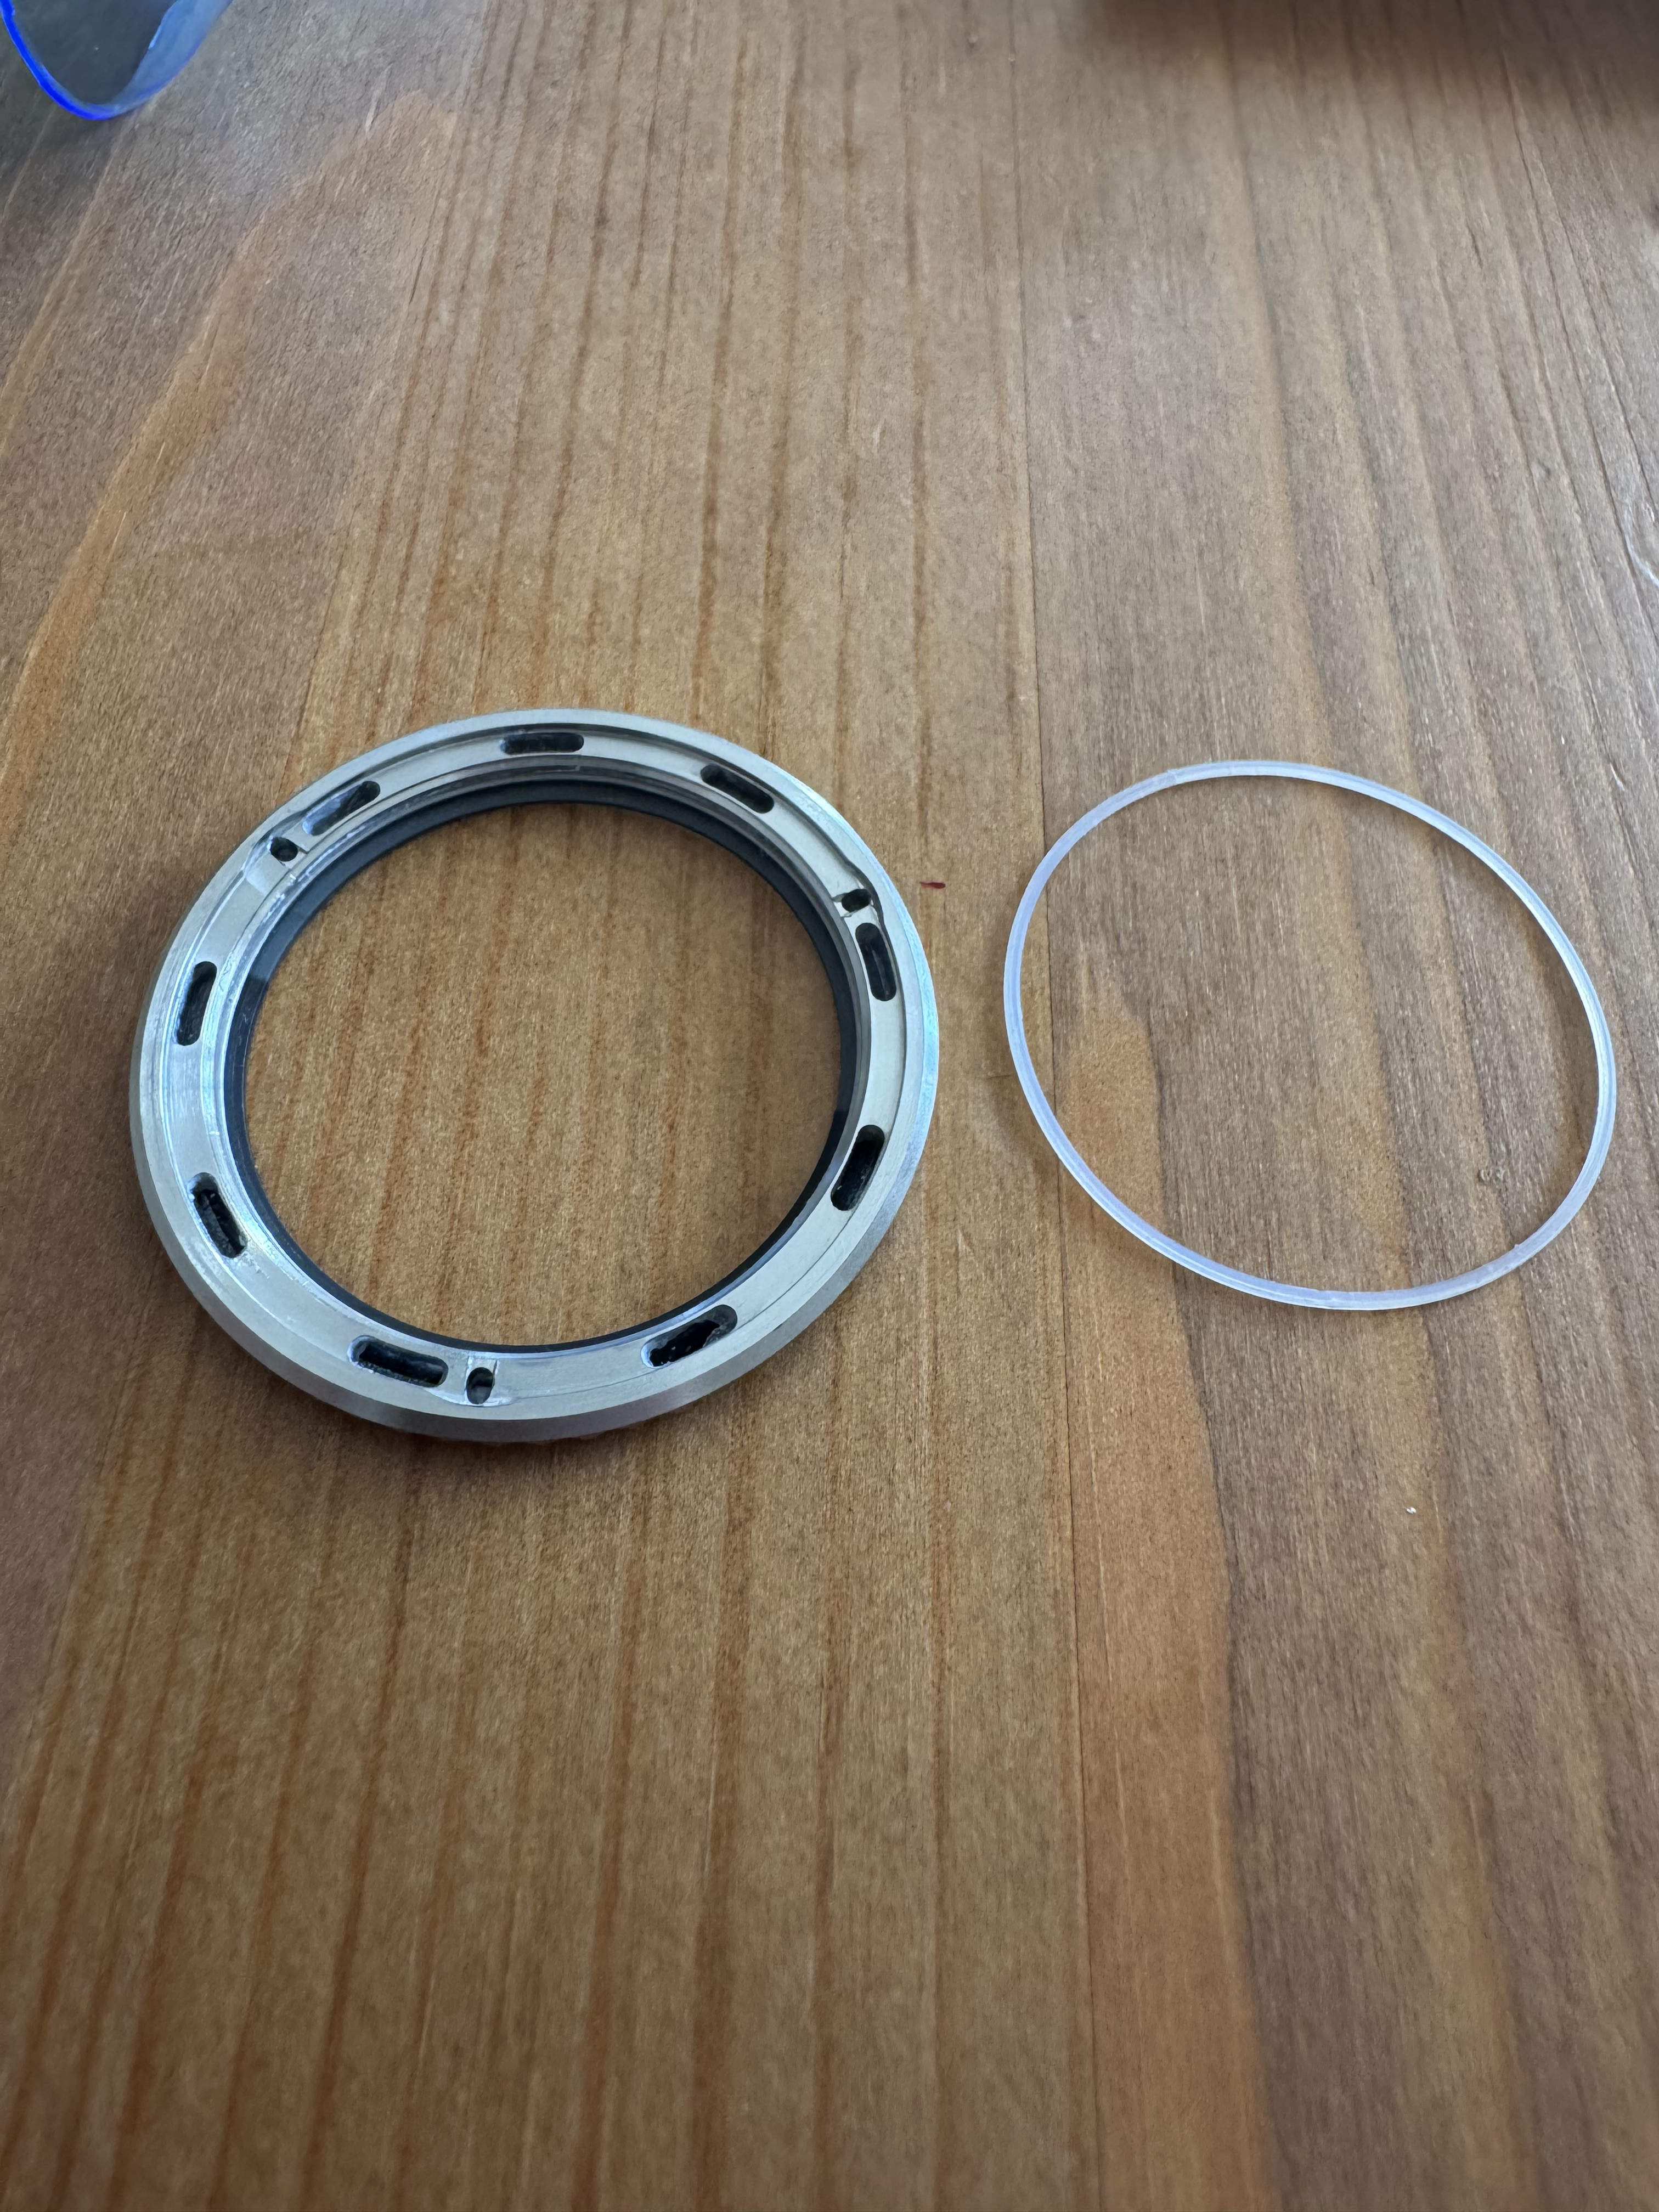
Its inserted under the bezel, S M A L L and THIN gasket ring, i can see it on youe photosDamn this community is great, thank you all so much! Tbh i cant Even find the hyrtel ring. I always thought the hyrtel ring was the „metal Ring Washer“. Where should the hyrtel ring be?


Thats What i thought but i cannot Remove it somehow. You think it is damaged?Its inserted under the bezel, S M A L L and THIN gasket ring, i can see it on youe photos
If you cannot tell if it is, it probably is. Its a very thin gasket and gets damaged most of rhe times. Remove with tweezers and insert fishing lineThats What i thought but i cannot Remove it somehow. You think it is damaged?
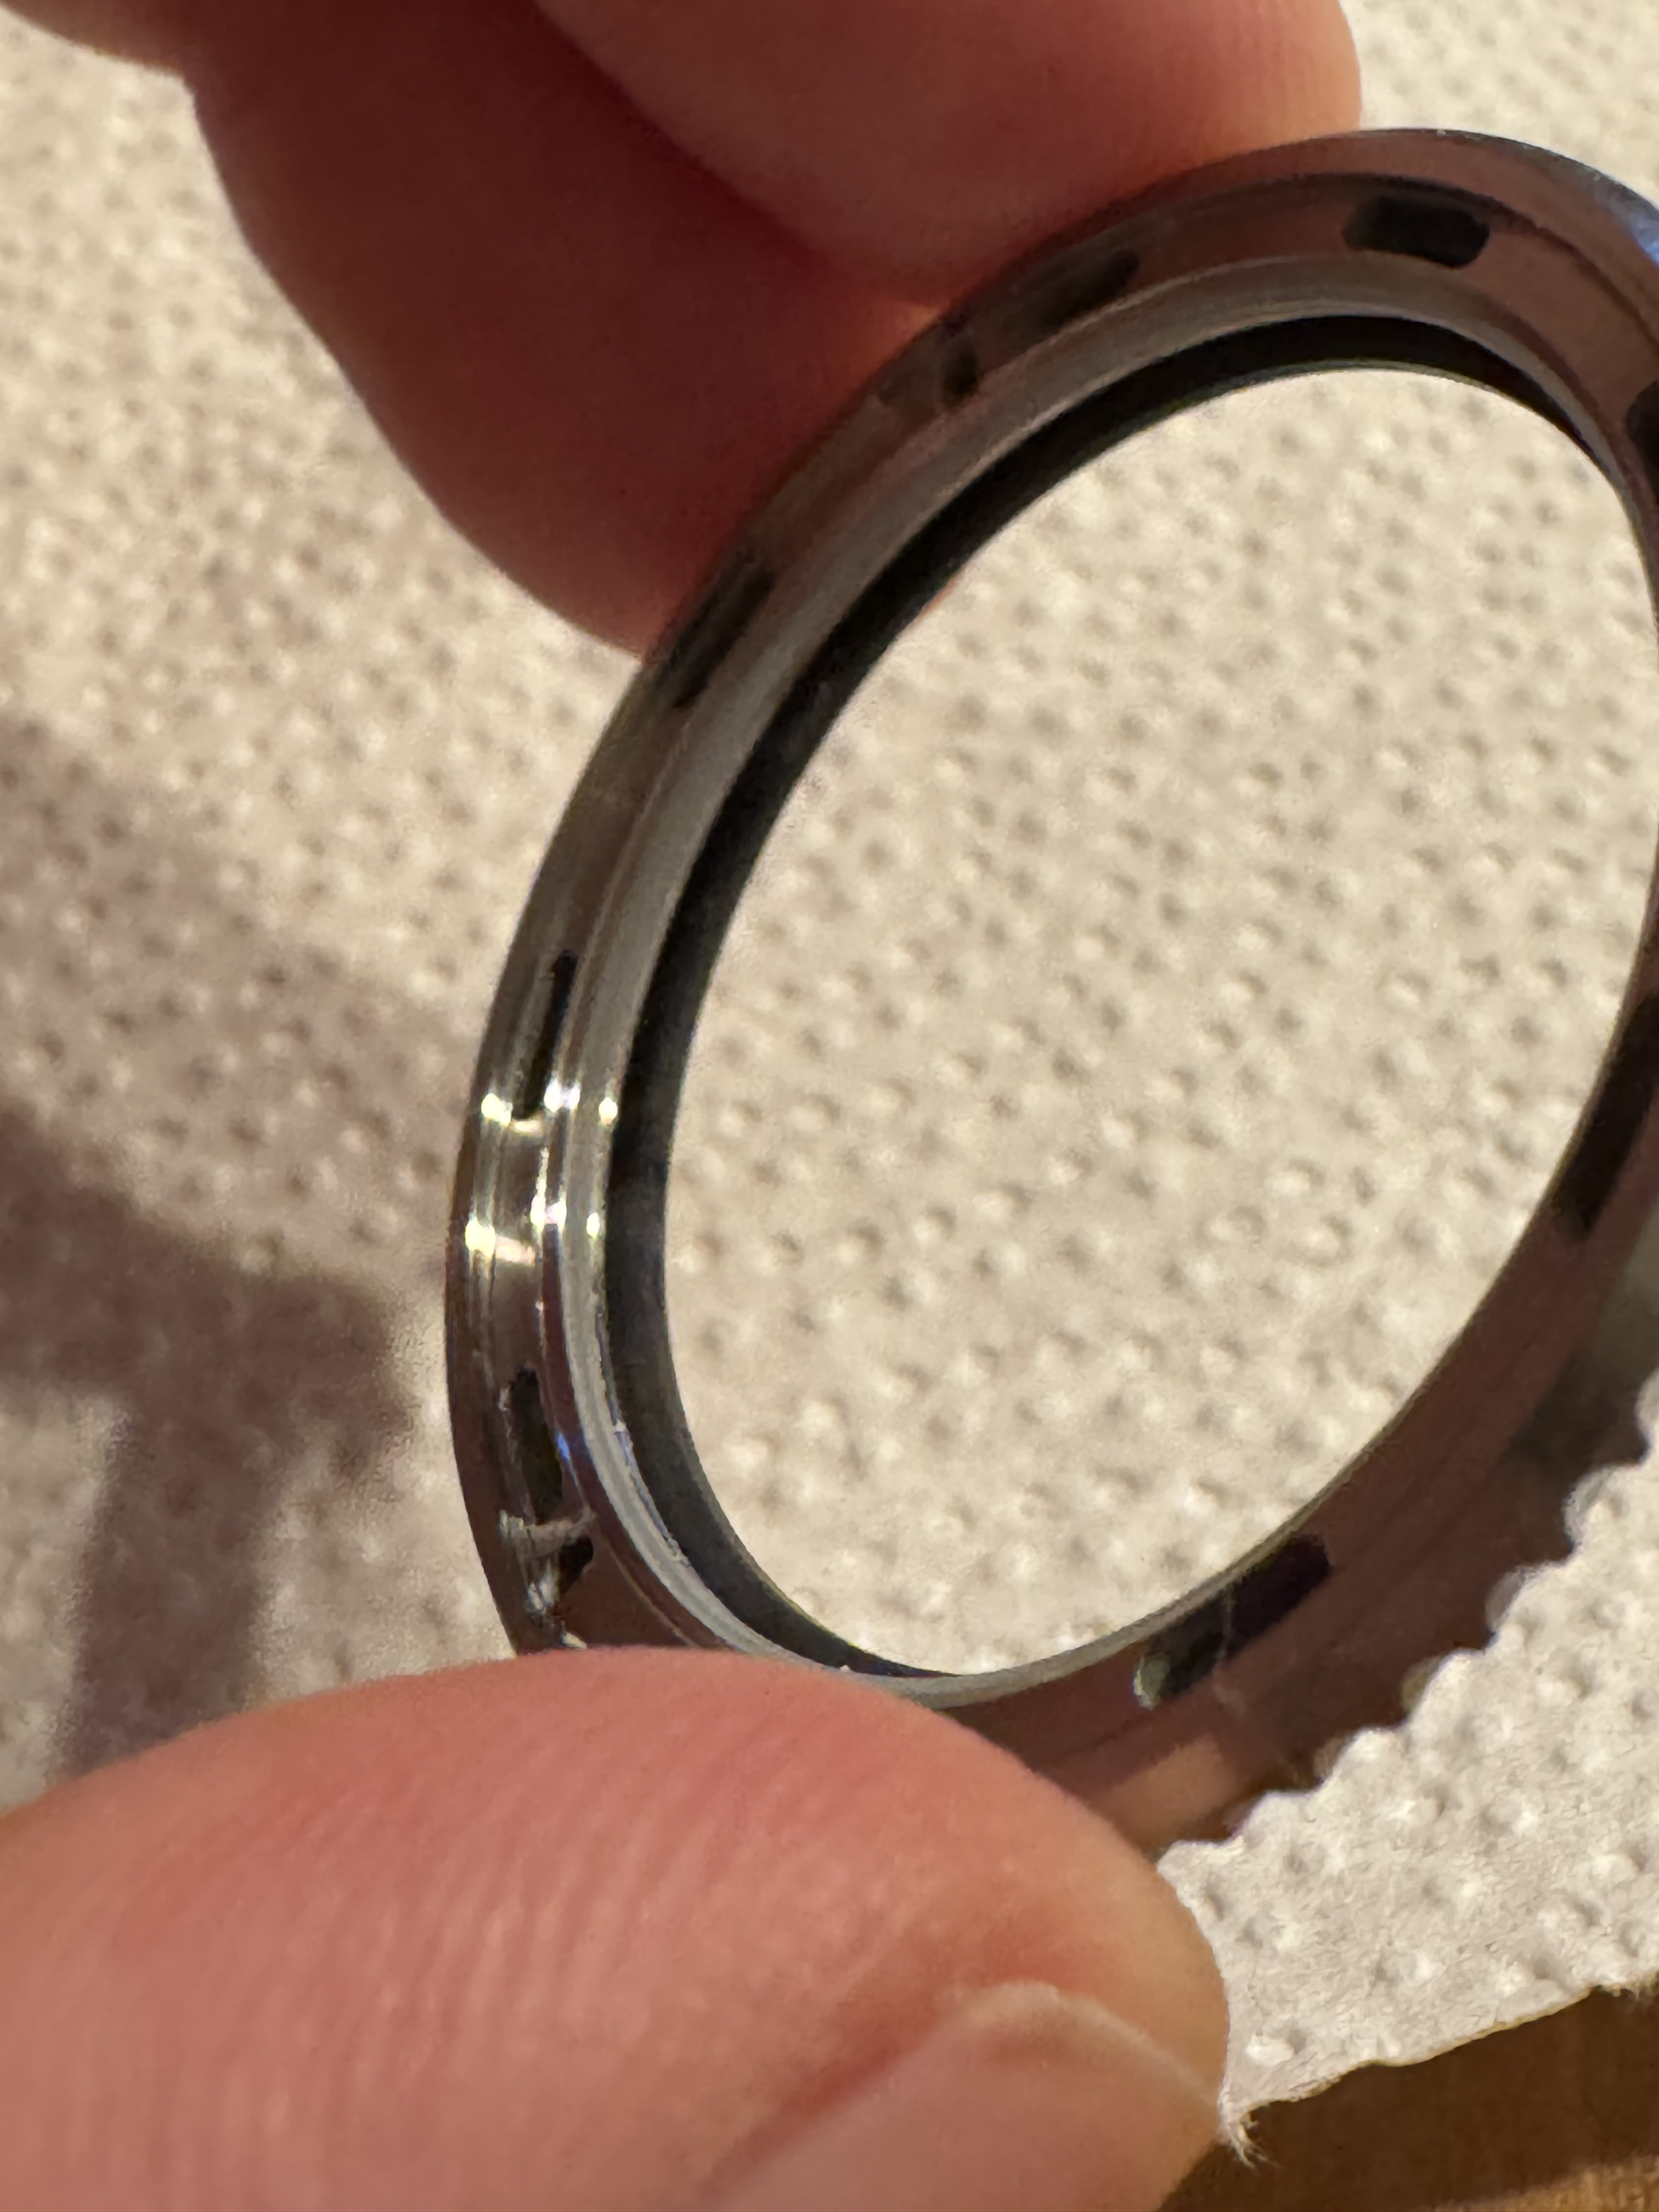
You may read the whole thread. All is detailed explained. Its enough that the gasket is minir squeezed to fail function after removing. Plus i dont see in this scale if its inserted the corect side or 180 falsI Now got the hyrtel out of the bezel. Does Not Look damaged, does it? Where exactly do i Need to Insert it? (Sorry for noob questions)
Re-read my last post. You've completed Step 1. Proceed with the rest of the suggestions. The hytrel ring goes back in the bezel groove from where you took it out but not until later in your troubleshooting. It does not look damaged and should be OK to reuse.I Now got the hyrtel out of the bezel. Does Not Look damaged, does it? Where exactly do i Need to Insert it? (Sorry for noob questions
Try carefully removing the bezel gasket (hytrel ring) and then install all the rest of the parts normally. If the bezel rotates freely, then you can suspect the bezel gasket and we will go from there.
If it still is tight, you've may have the click spring too tight. Sometimes a section of the spring between 2 pins can catch on a retaining ring tooth if it's too tight. Also make sure all the pins can move freely within their slots. I had one slot last week that needed some light sanding to open it up a little. It actually broke a pin off after it was caught up. I was able to epoxy the pin back into its base on the click ring.
To loosen the click ring a little, flatten out the curve between each set of 2 pins a bit. Then place the click on top of the washer and assess its shape. All 3 of the pin bases should snugly contact a scallop (indent between teeth) on the retaining ring but no part of the spring between the pins should contact any of the teeth.
Once you have optimal bends in the 3 parts of the spring between the pins, place the no gasket bezel on the click ring and test its rotation. If the rotation is tight, loosen the click ring more (flatten the curves between pins). If the rotation is loose, increase the curves between the pins. Keep adjusting til it gets closest to satisfactory. A good way to increase the curve between pins is to use a round object about 1/2" in diameter, like a round tool handle, a small vial, a dowel stick, etc. Place the round object inside the ring, inside a curve and gently bend the spring around the object. This will put a nice curved bend in it. Once you have satisfactory rotation, put the bezel gasket back in and reseat the bezel.
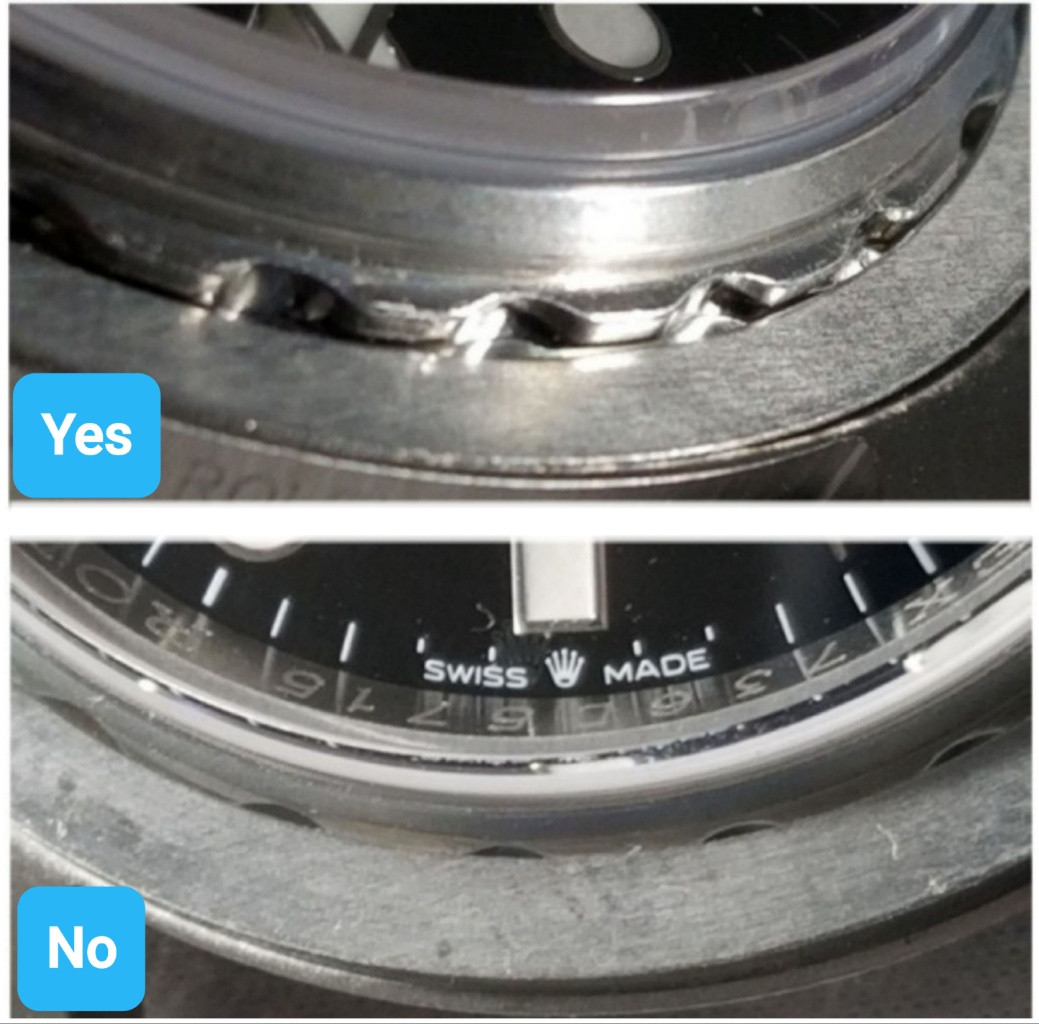
If all the click spring bending doesn't help, take a close look at your washer. There is a small step in the case surrounding the retaining ring teeth that part of the washer's inner perimeter can get stuck on making it sit higher at that location. The washer should fit entirely outside of that step so you may need to sand its interior and or its exterior so it fits entirely inside the case detent.
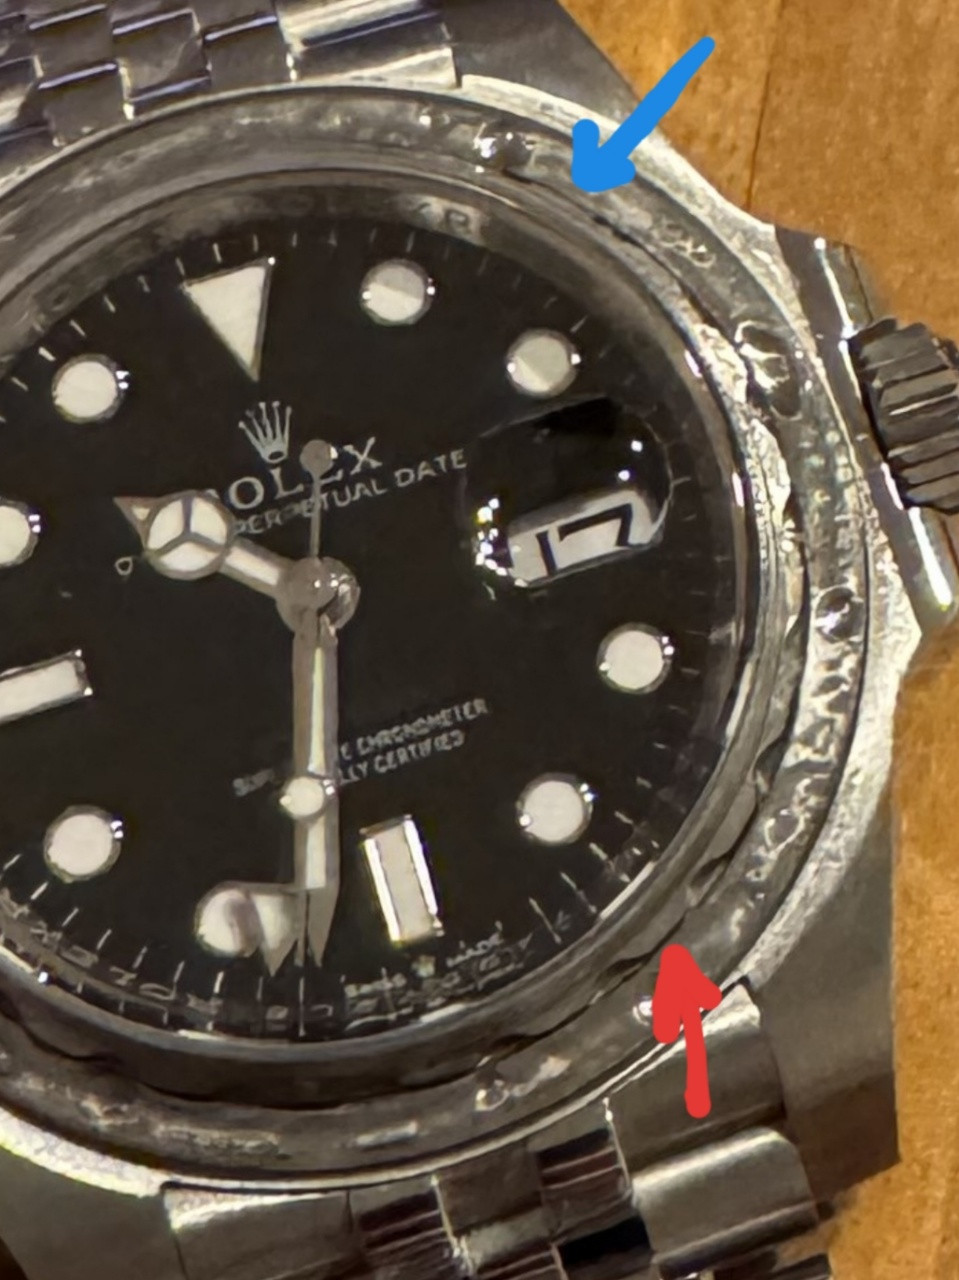
Red arrow looks OK, blue arrow not so much
Thank you very much! Here is the Update: I carefully removed the hyrtel ring and installed the bezel without it. I was able to move the bezel (still felt Rough when Moving), but the bezel had a lot more play an popped off super easy. Now i sanded down the immer diameter of the metal ring. I measured everything and Now my metal ring diameter is wide enough to sit flush in the Groove. I popped the bezel back on (with hyrtel ring) and in the beginning it felt better, but After a Full Rotation it got worse again and it was super hard to move the bezel. I am having a breakdown atmRe-read my last post. You've completed Step 1. Proceed with the rest of the suggestions. The hytrel ring goes back in the bezel groove from where you took it out but not until later in your troubleshooting. It does not look damaged and should be OK to reuse.
Did you assess the shape of the click ring and its fit around the retaining ring?Thank you very much! Here is the Update: I carefully removed the hyrtel ring and installed the bezel without it. I was able to move the bezel (still felt Rough when Moving), but the bezel had a lot more play an popped off super easy. Now i sanded down the immer diameter of the metal ring. I measured everything and Now my metal ring diameter is wide enough to sit flush in the Groove. I popped the bezel back on (with hyrtel ring) and in the beginning it felt better, but After a Full Rotation it got worse again and it was super hard to move the bezel. I am having a breakdown atm
Yes. The Click Ring fits perfectly in my opinion. The parts between the pins dont touch the bezel, i can spin freelyDid you assess the shape of the click ring and its fit around the retaining ring?