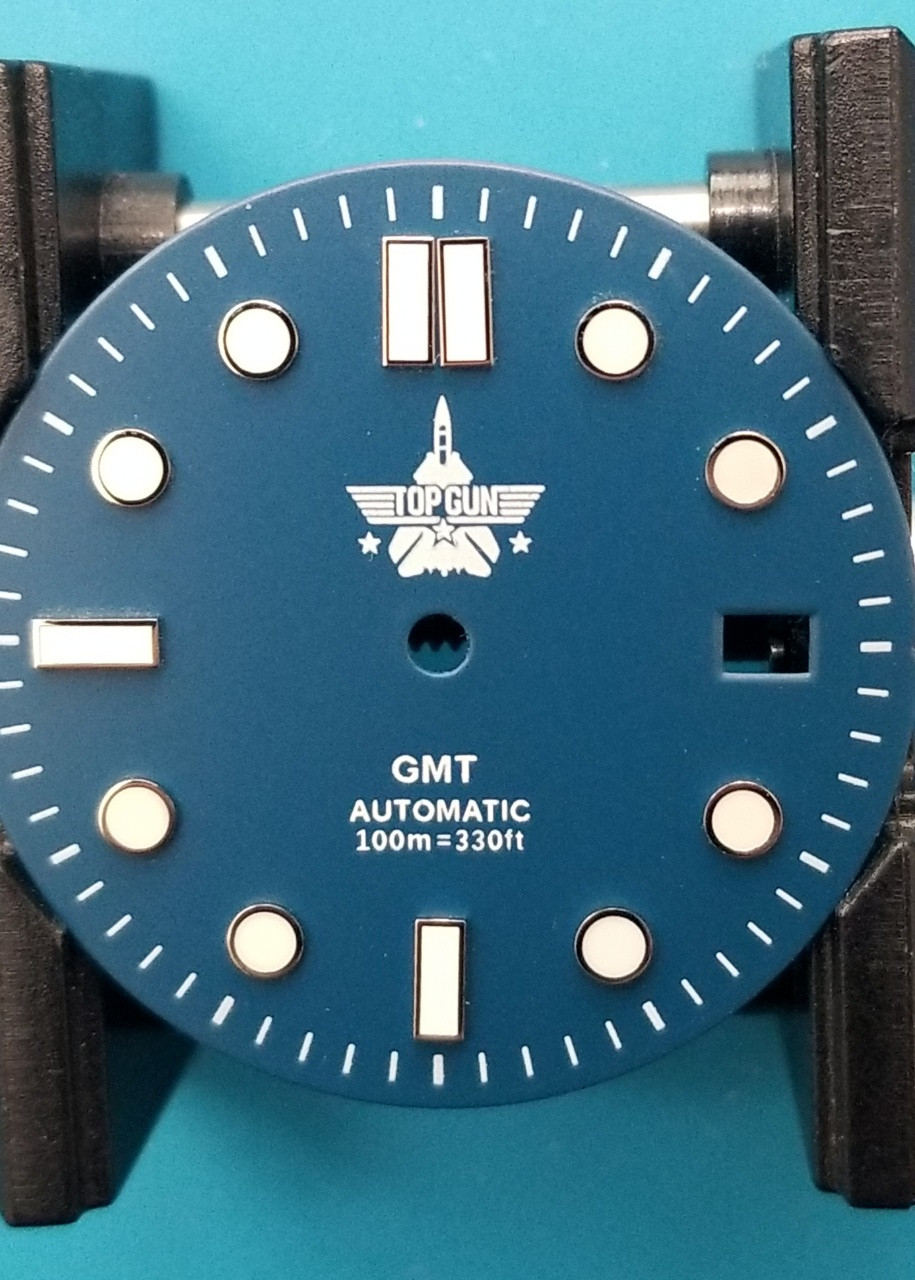
I had tried to do this 4 years ago with a Noob dial but it was just slightly too small.
So the dial ended up in an SD4K case, which was very good but I missed the original dial.
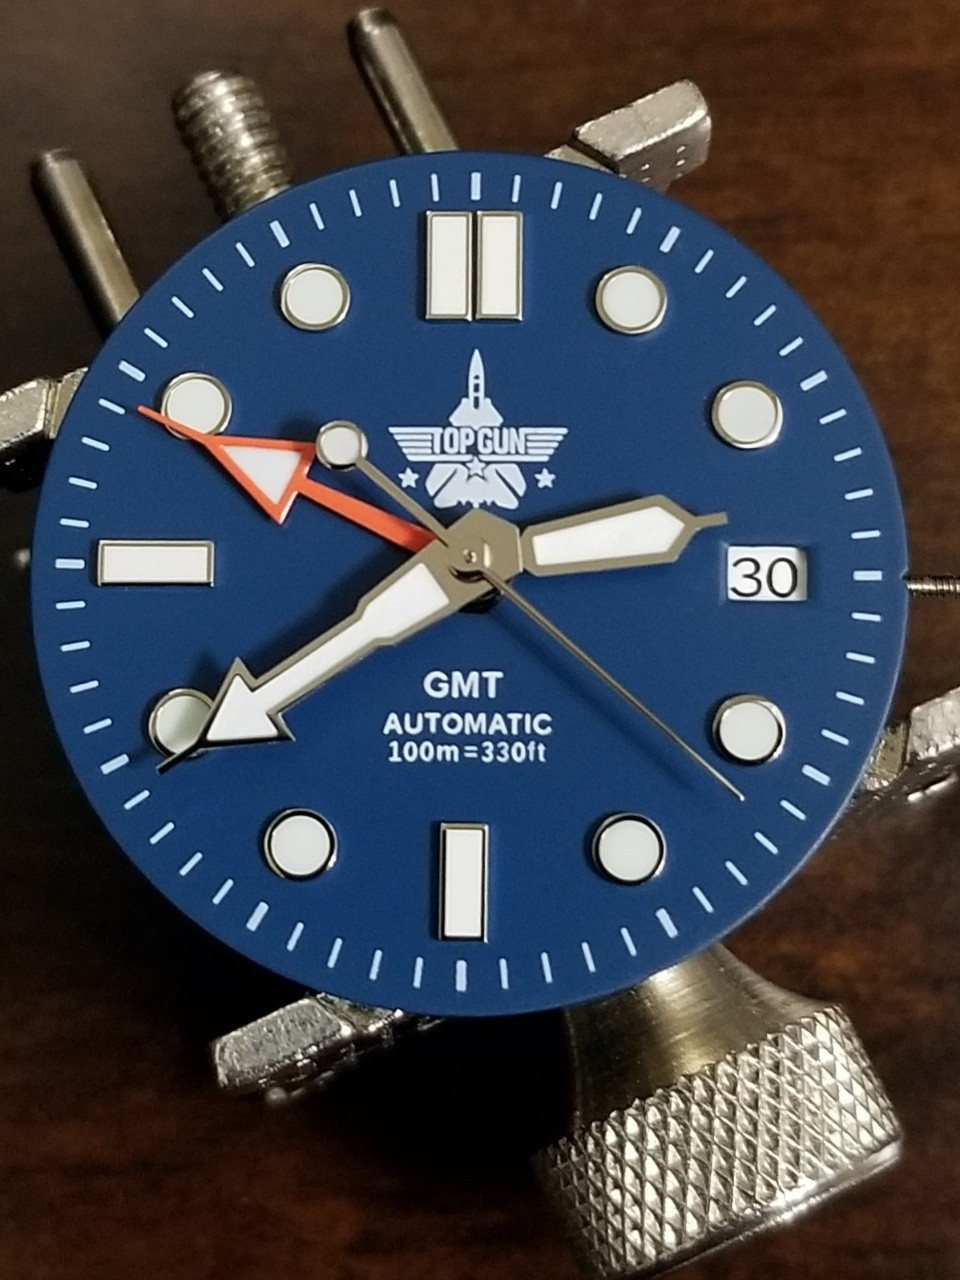
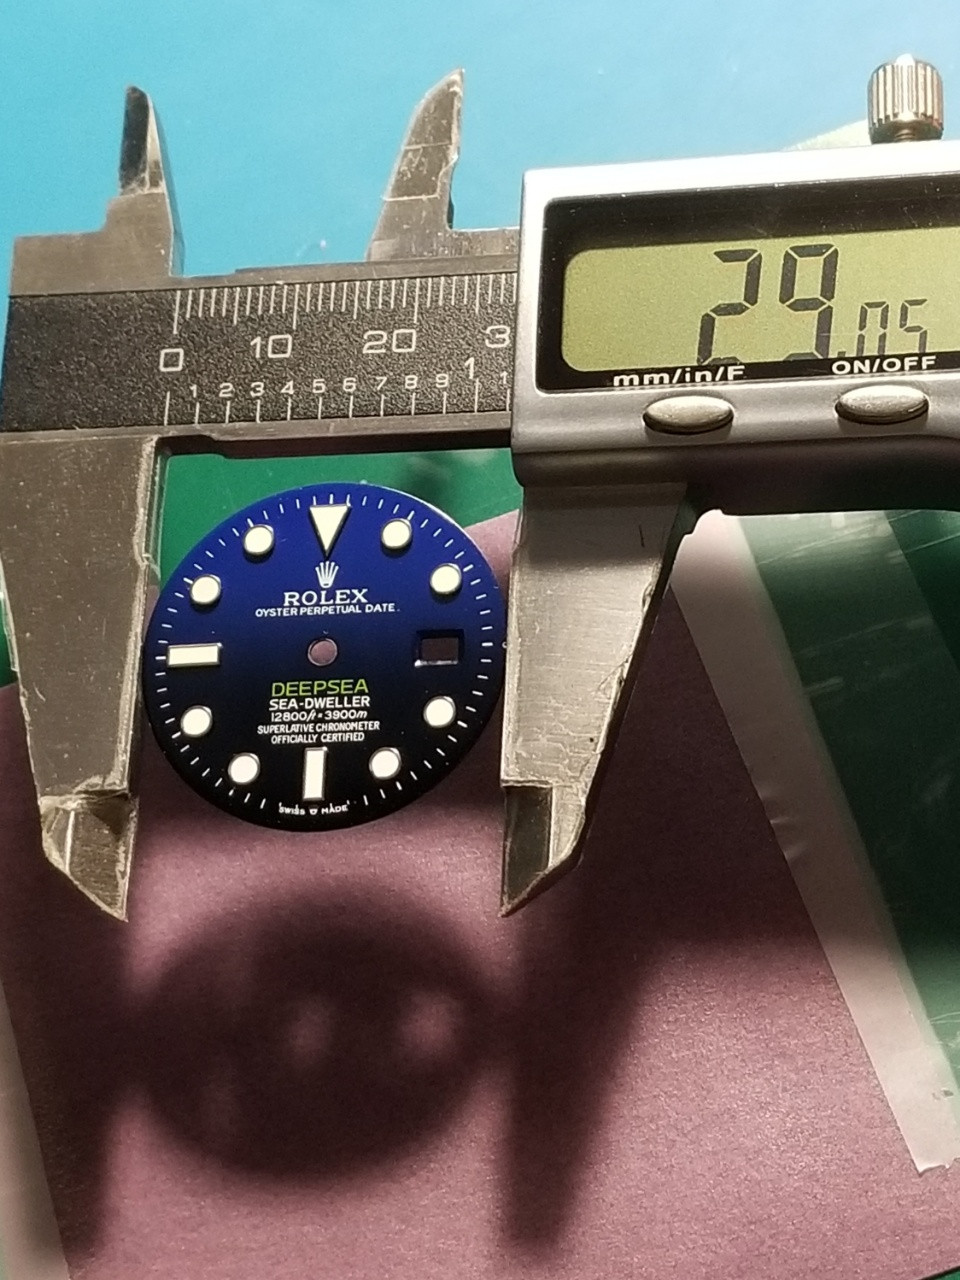
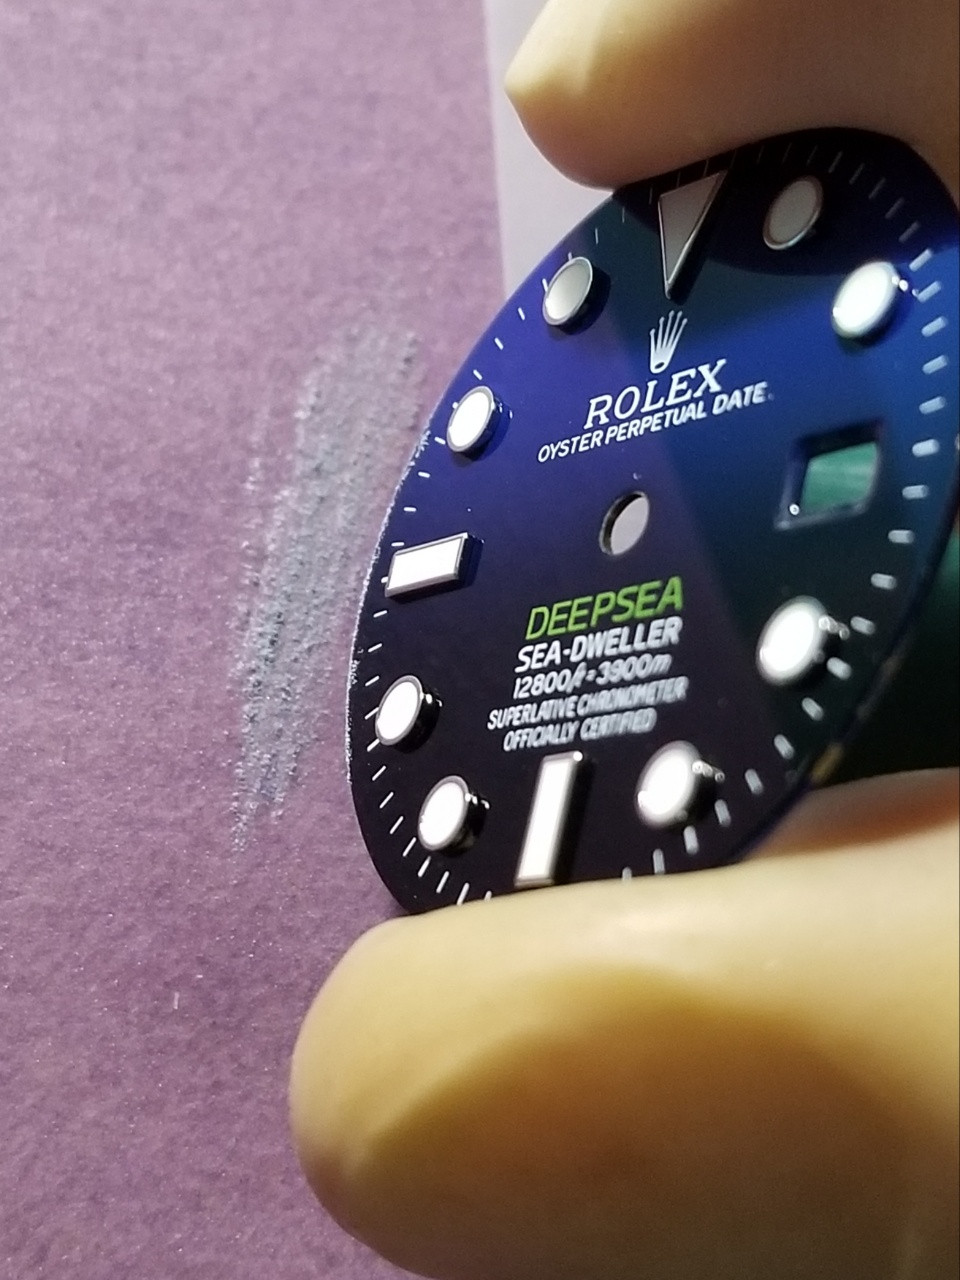
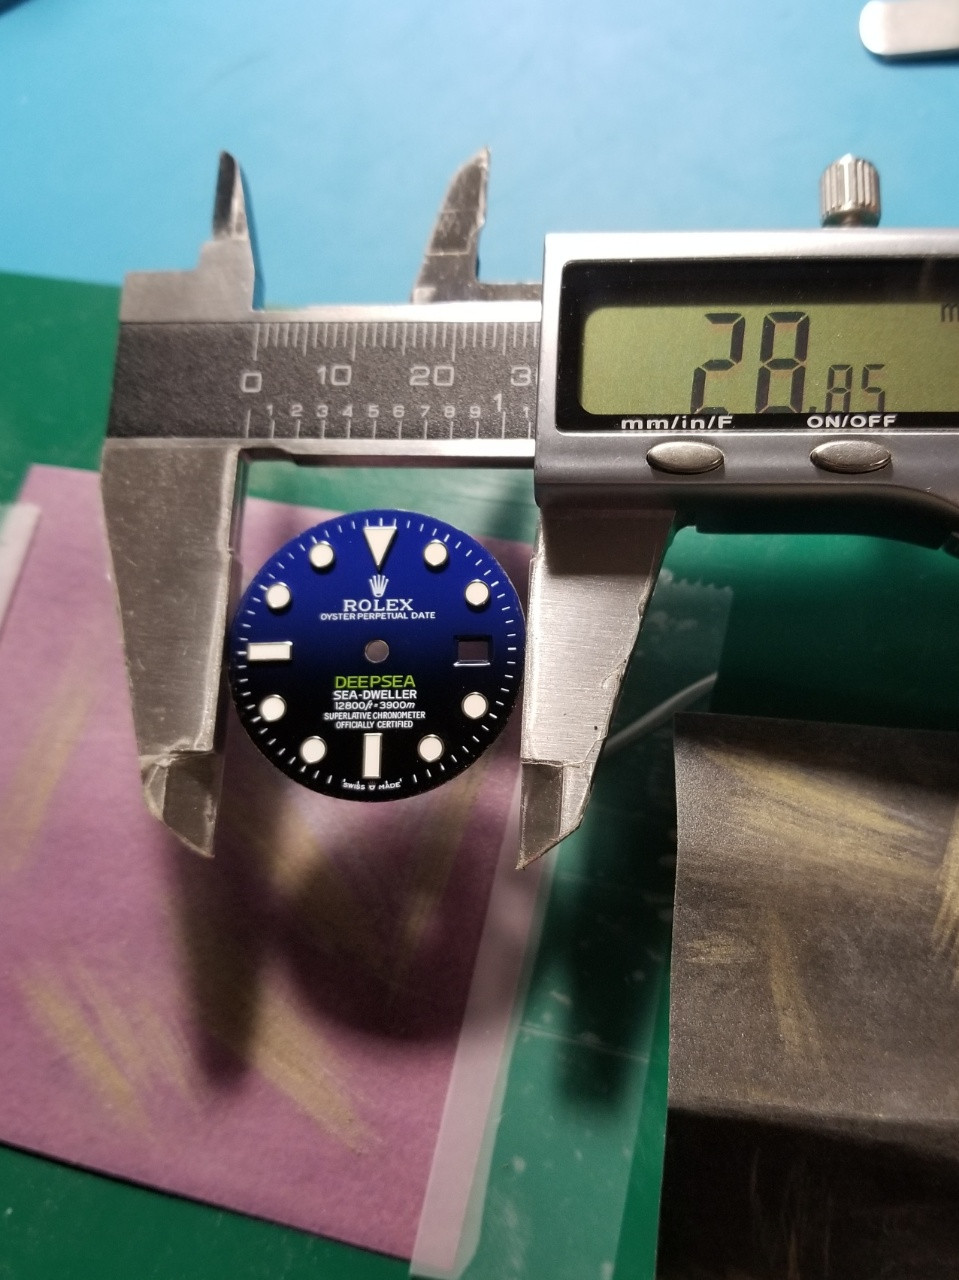
So I finally got an ARF dial, which was a larger diameter and tried again. It had to be shaved a little bit.
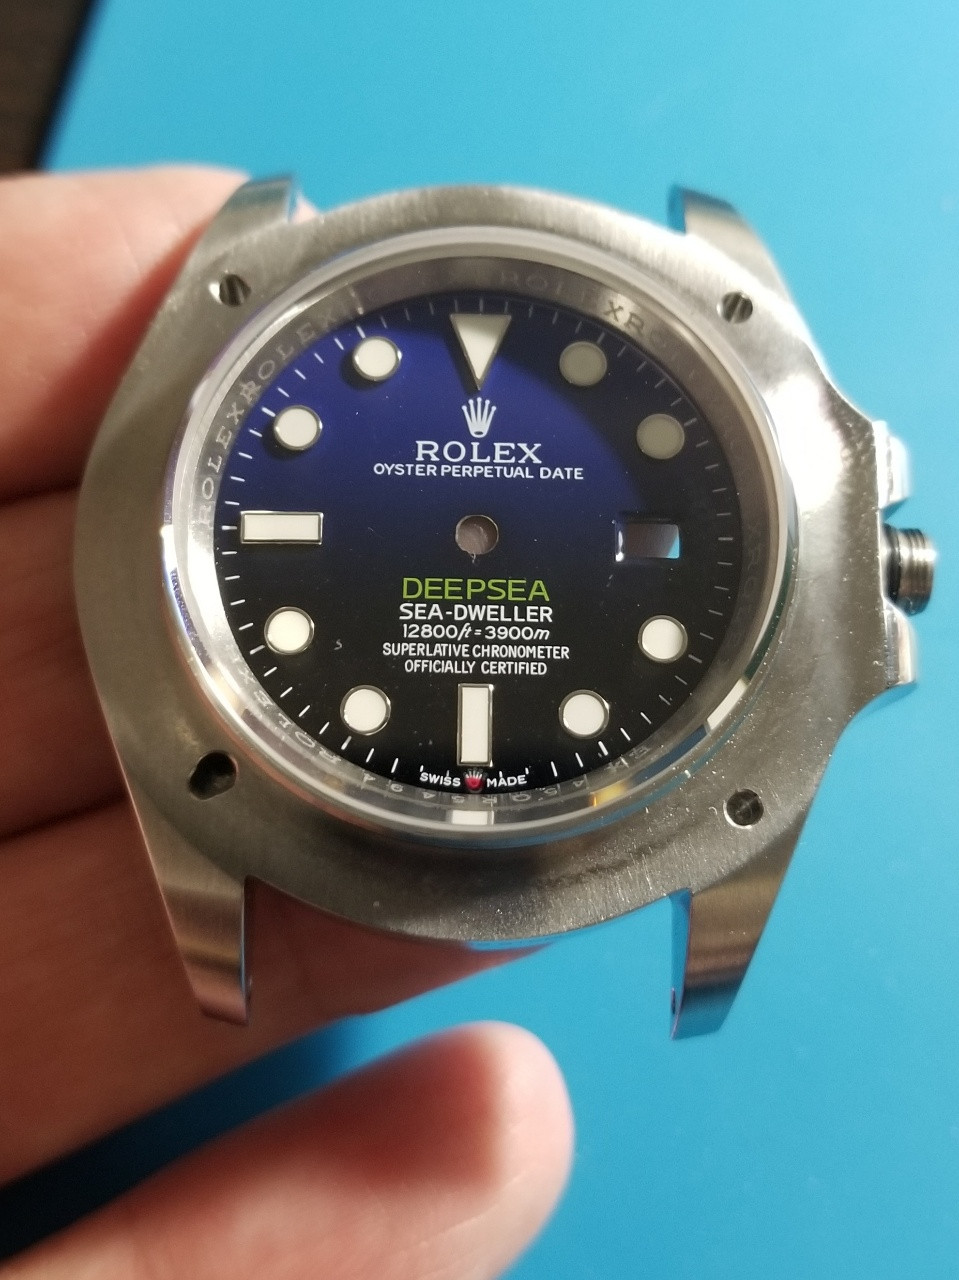
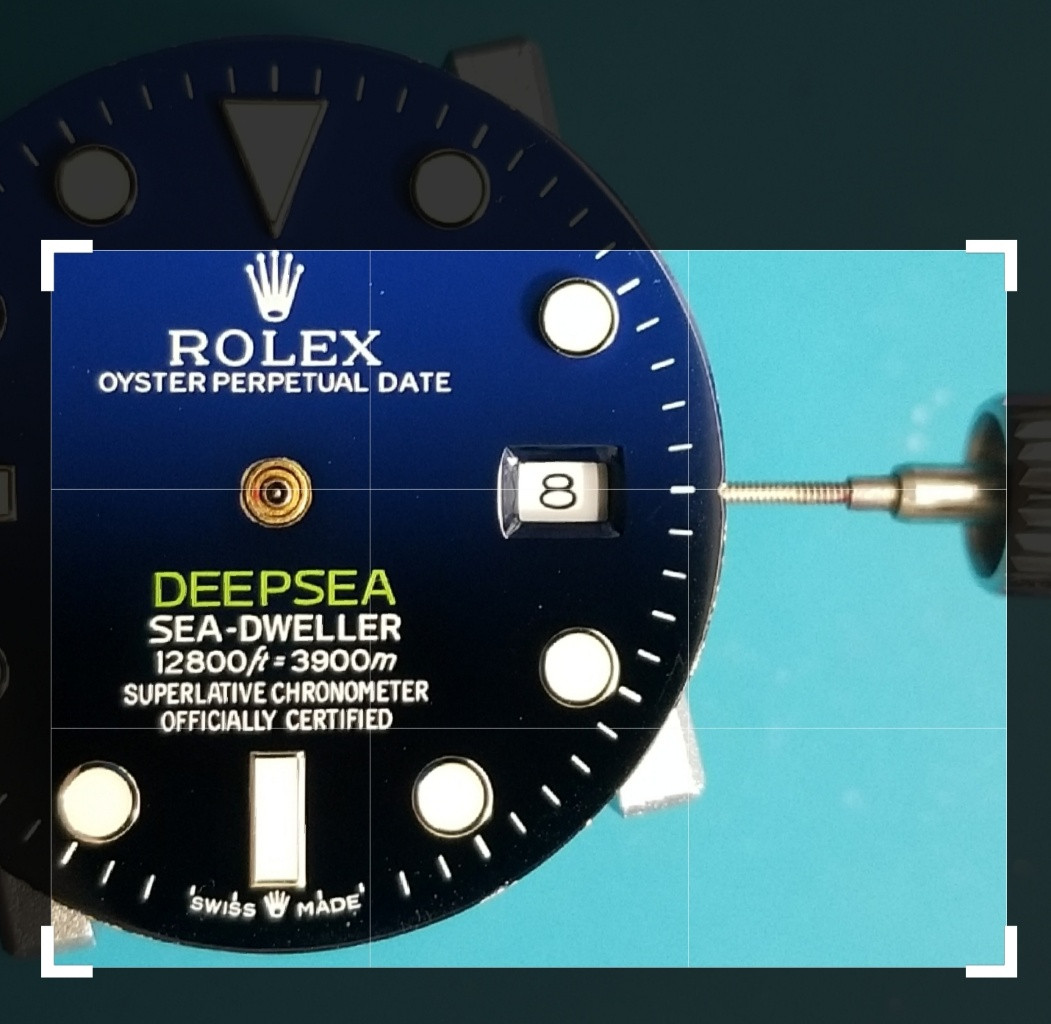
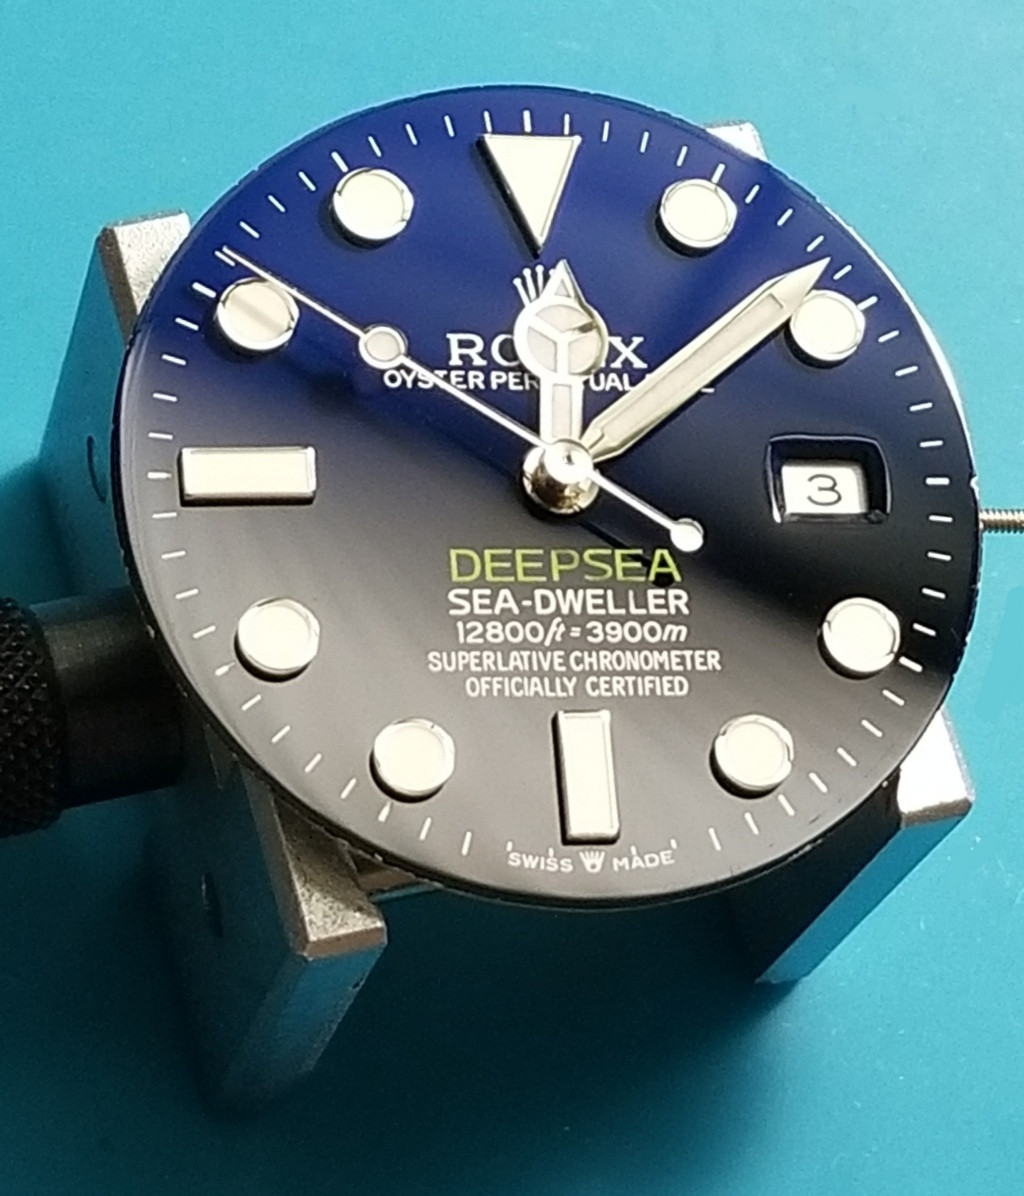
Test fit in the case
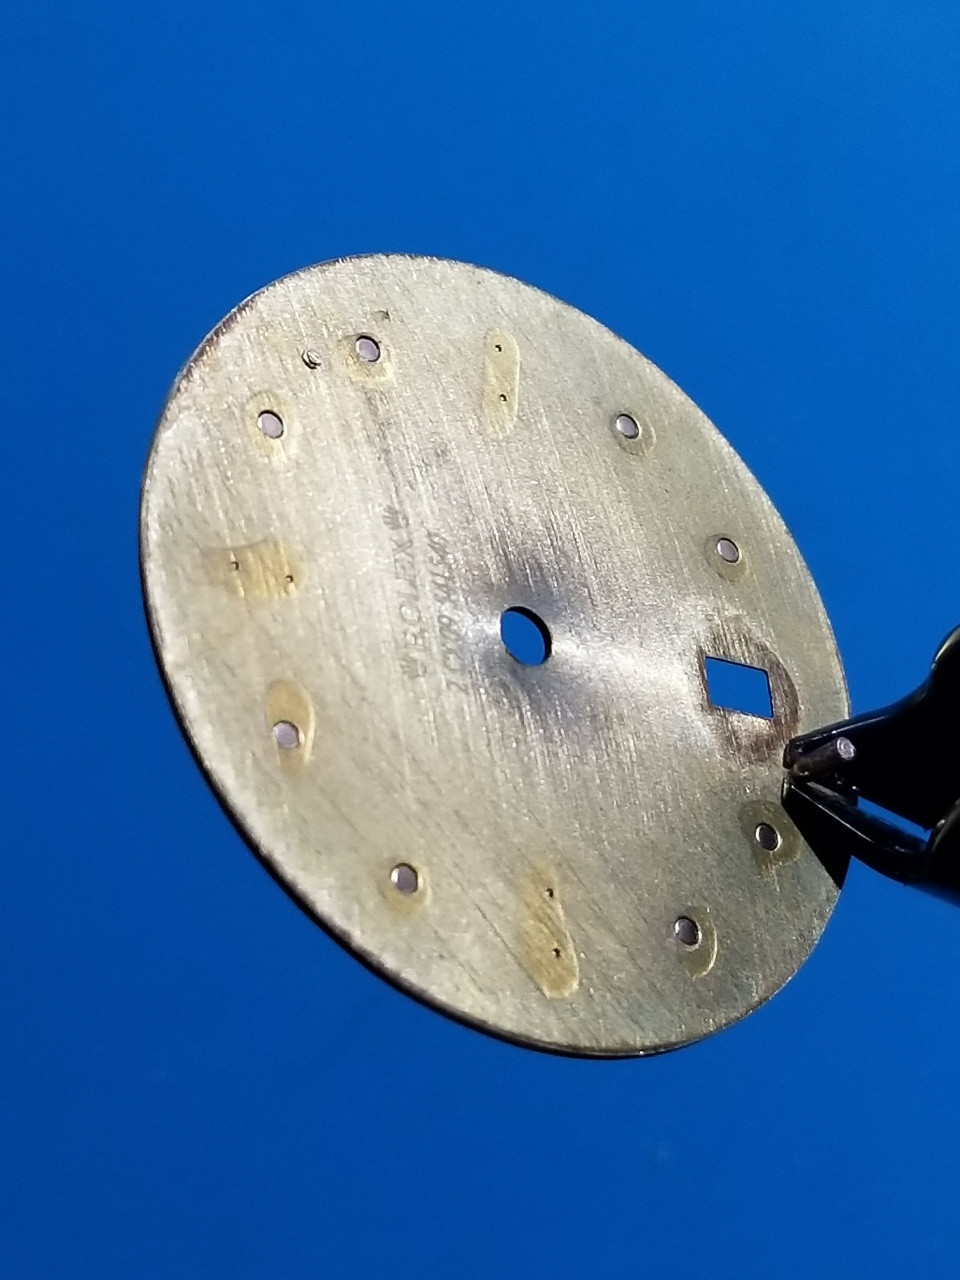
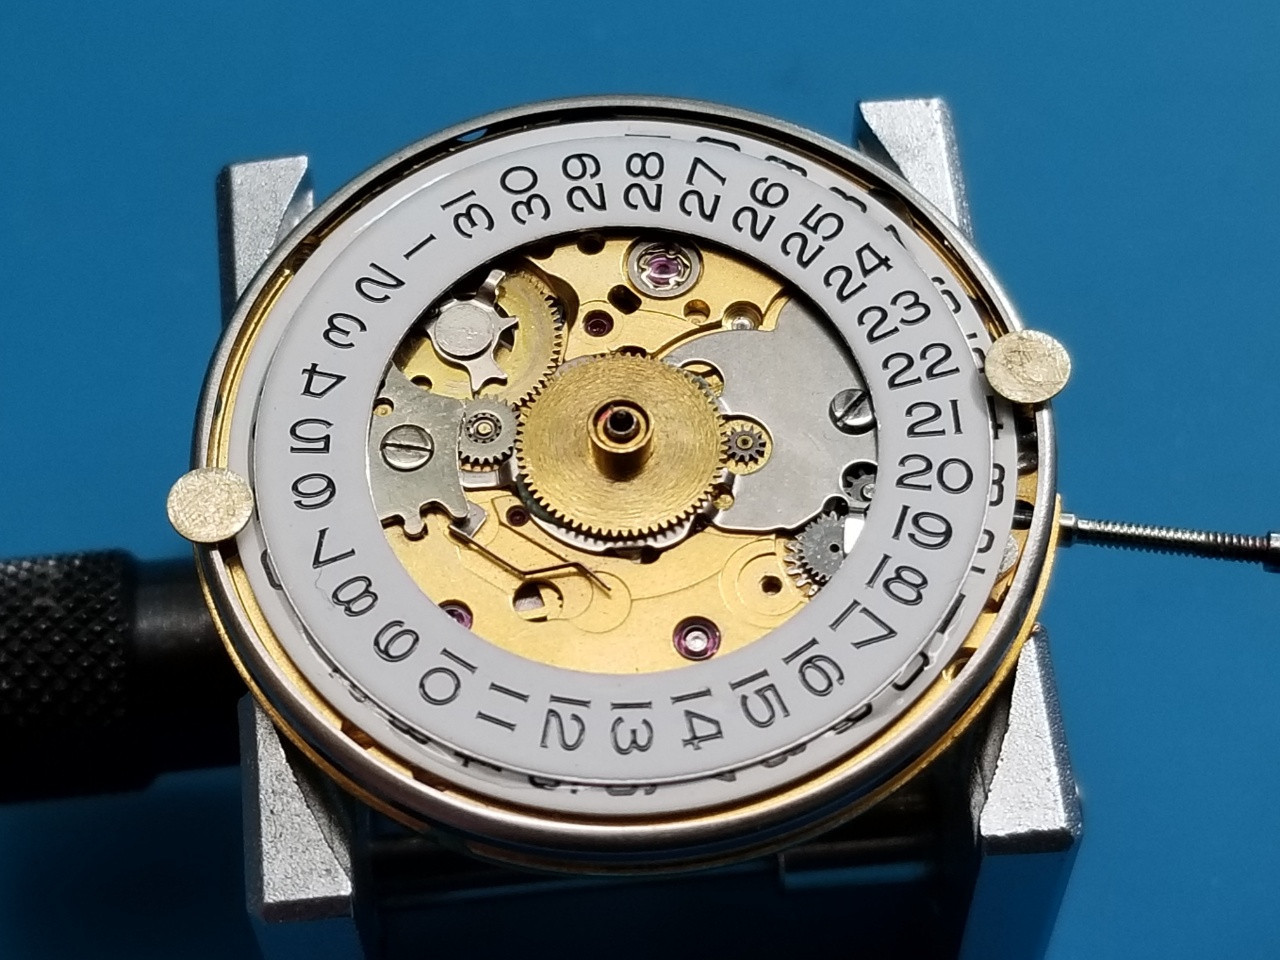
It's a 3135 dial going in a 2836 case so the feet had to be clipped and new ones glued on. I rely heavily on pics for alignment needs. That's a VS3135 DW with teeth grinded off used a DWO. Also note the use of a GMT hour wheel over the normal hour post. This greatly helps keep the dial in position for gluing the feet on.
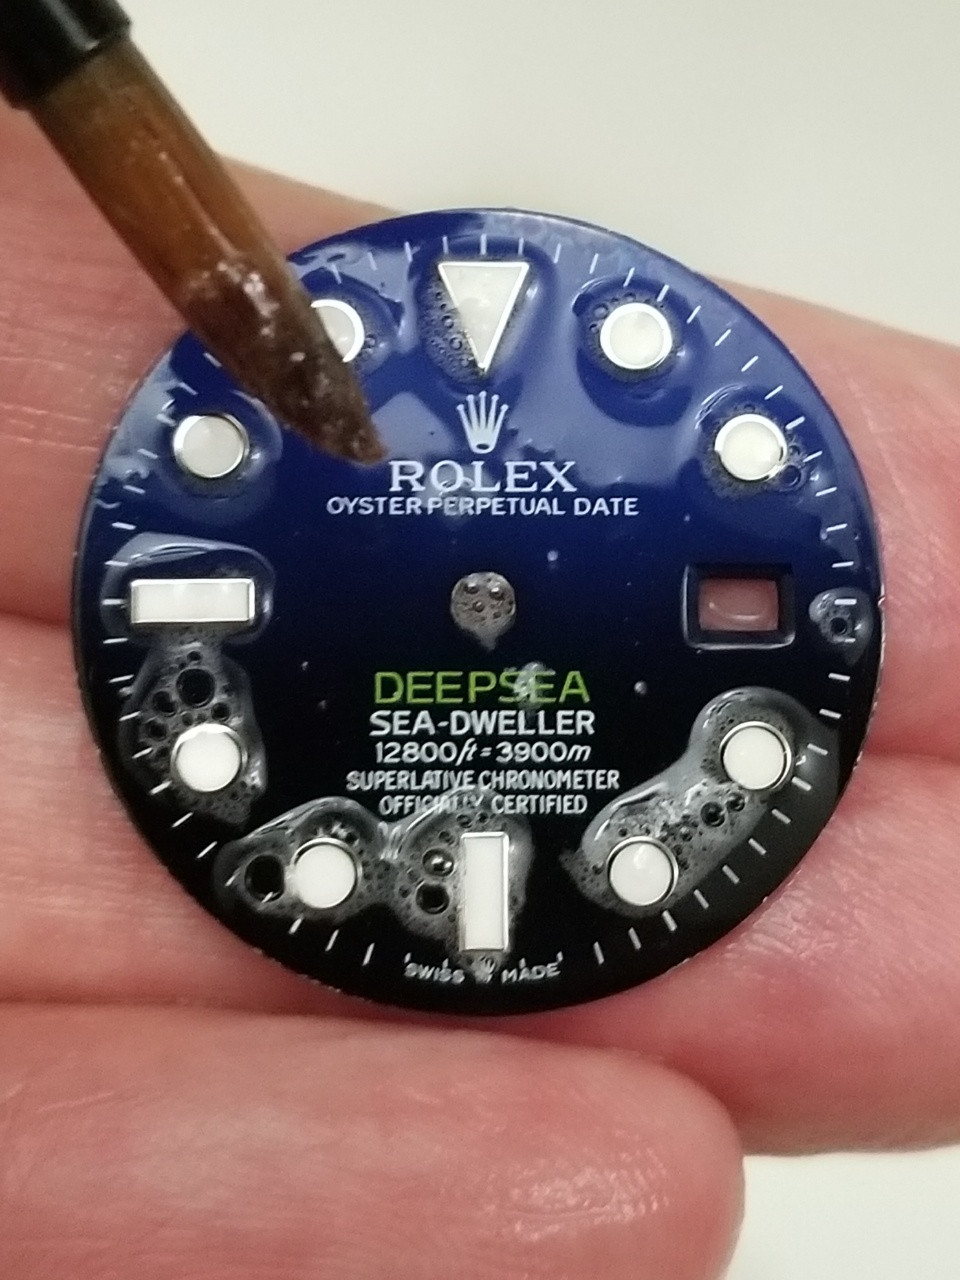
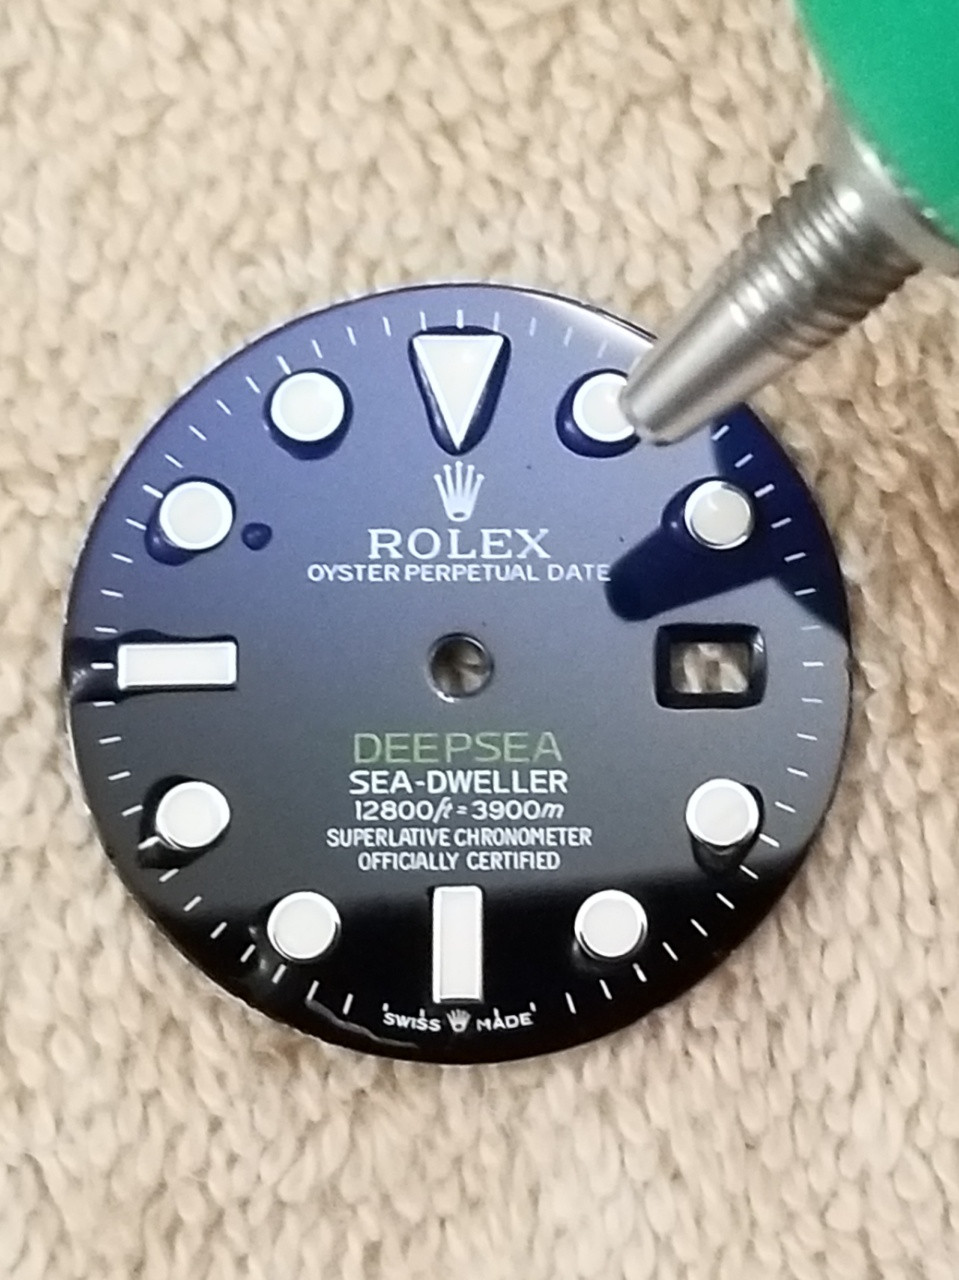
After all the shaving and gluing the dial gets a bath and a blow dry. This leaves it pristine.
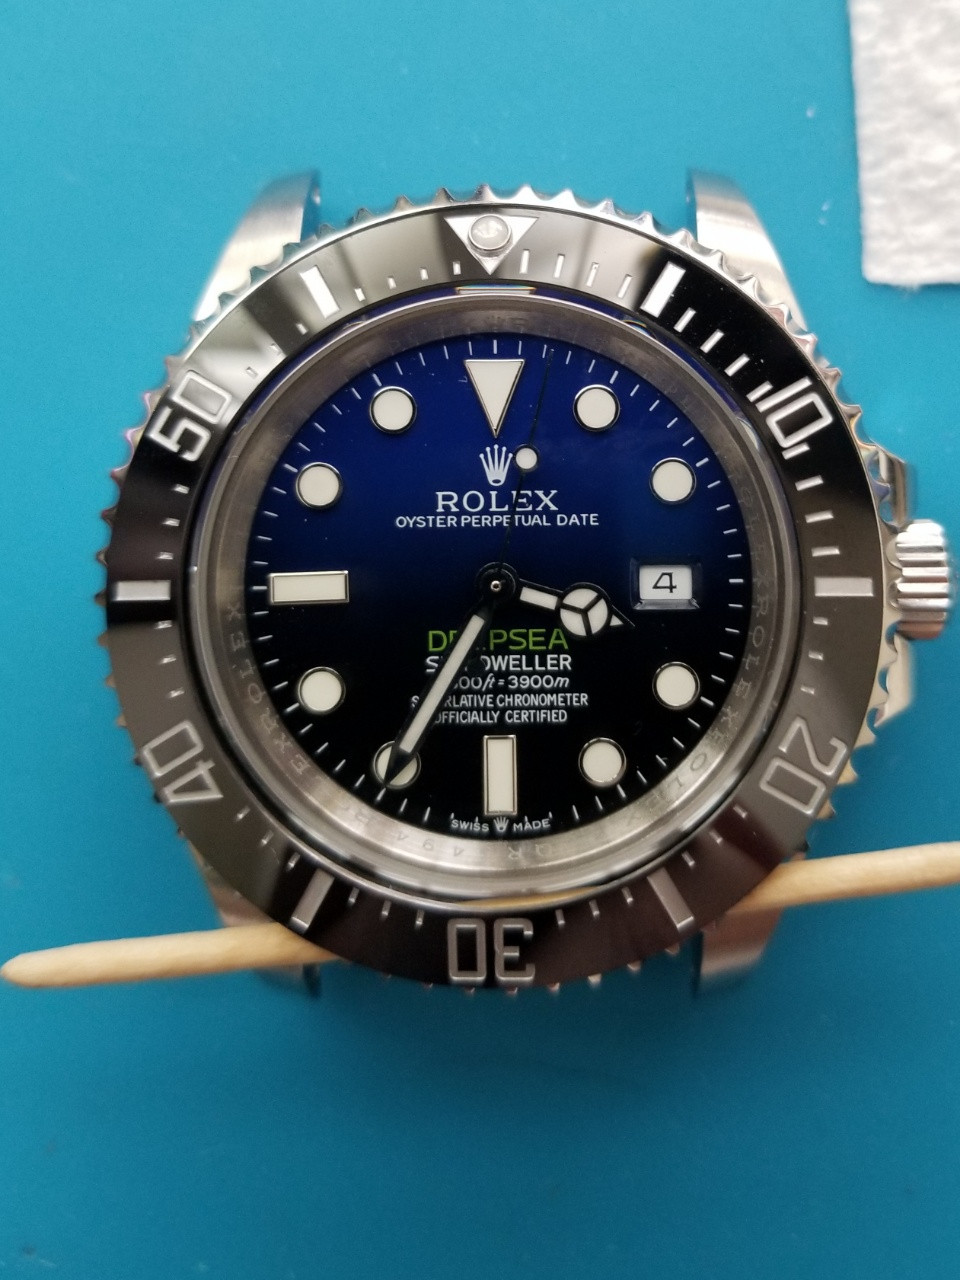
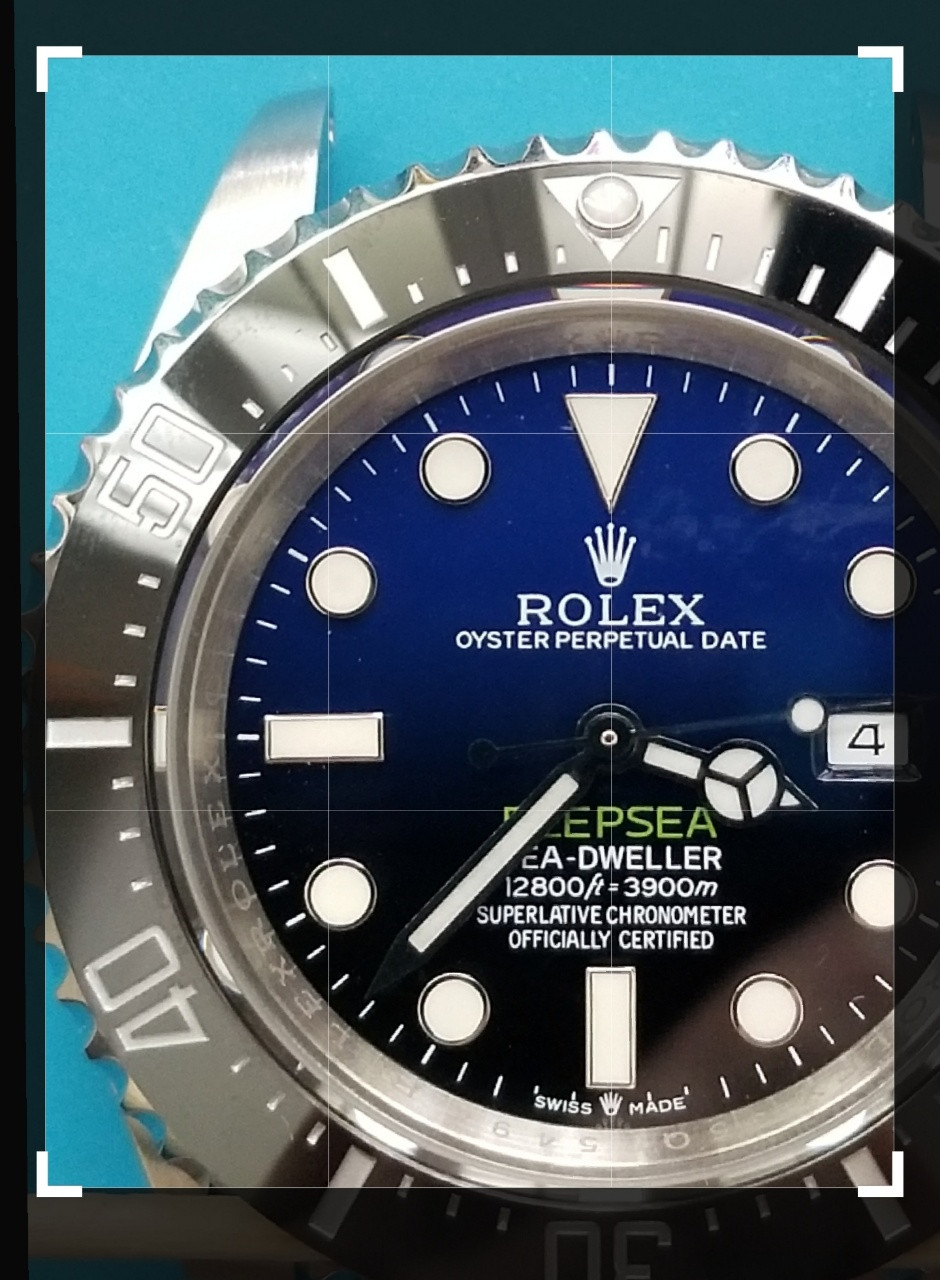
After the bezel is reinstalled and the tape ring in place, I put a toothpick under the insert so it won't stick off-center. Again using pics to get proper alignment.
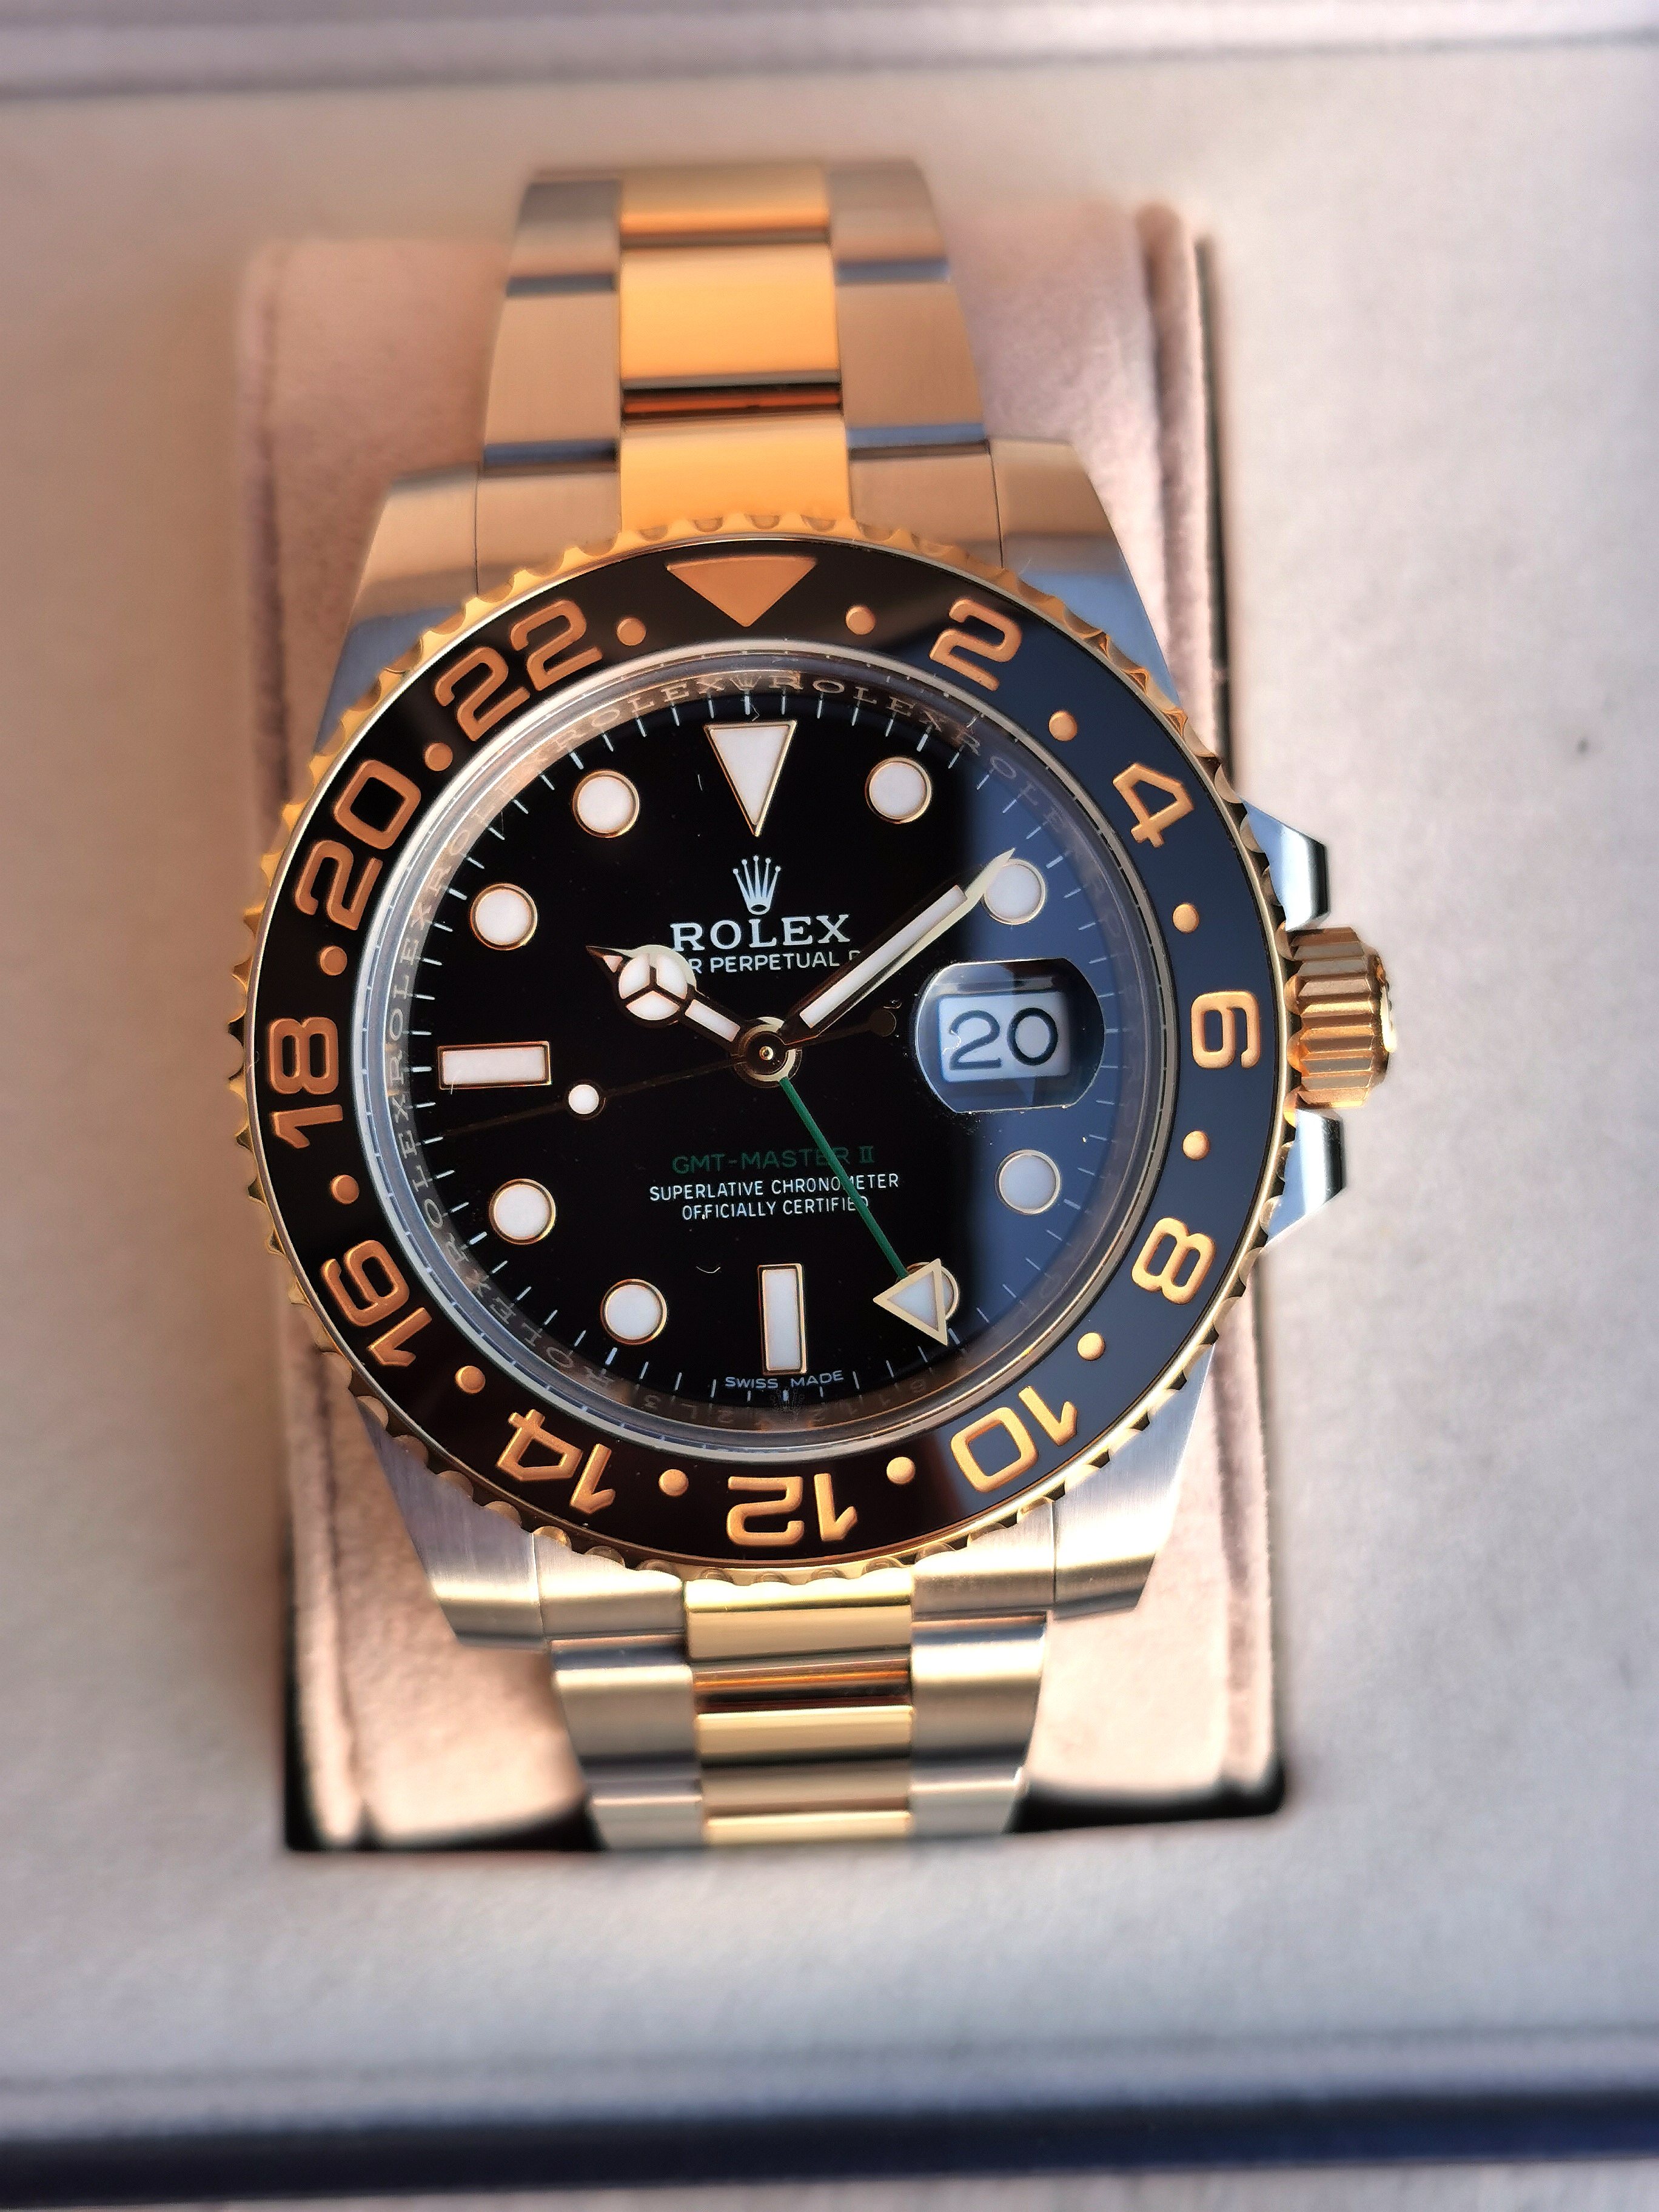
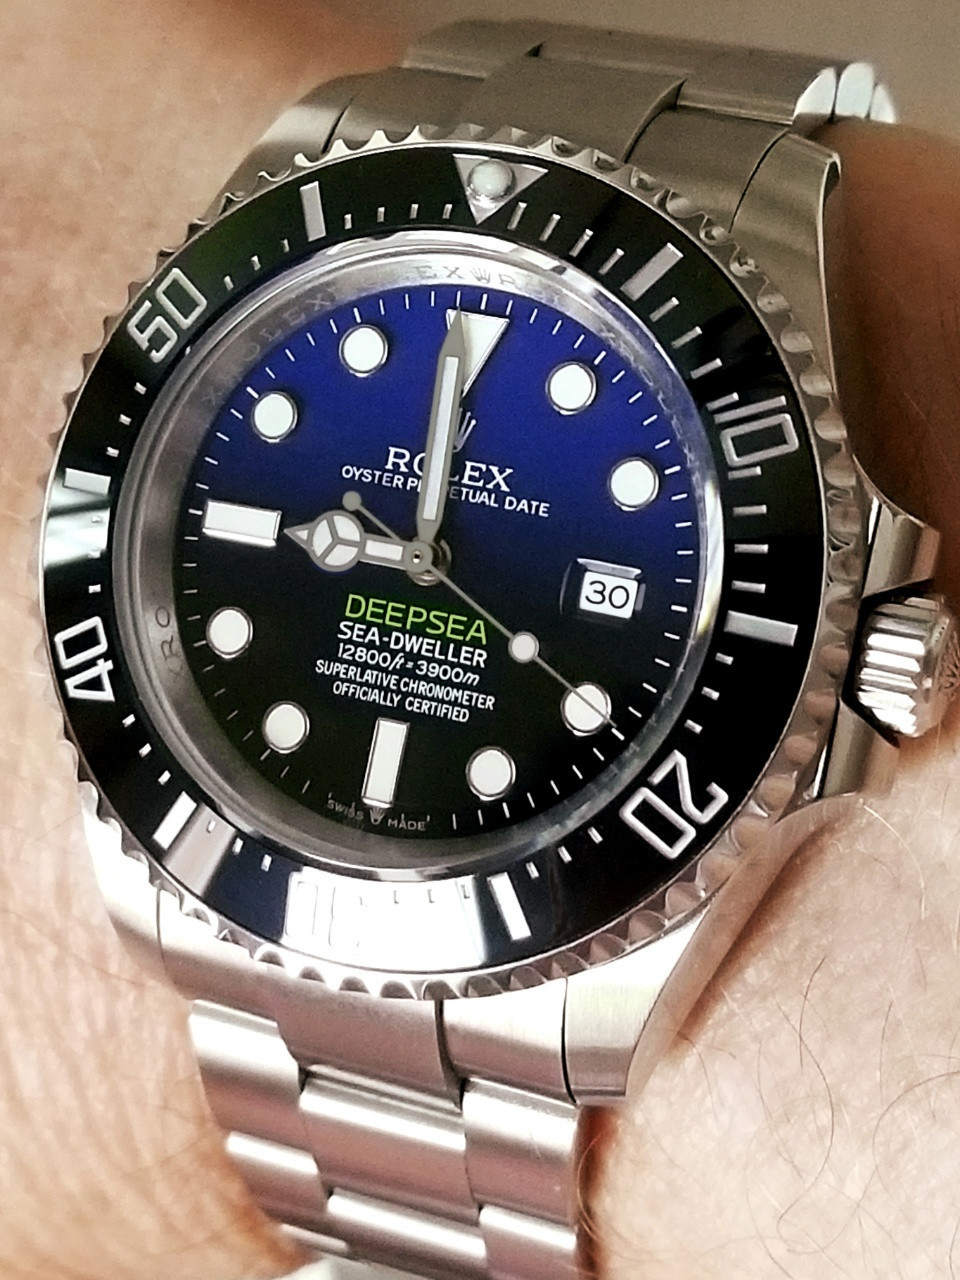
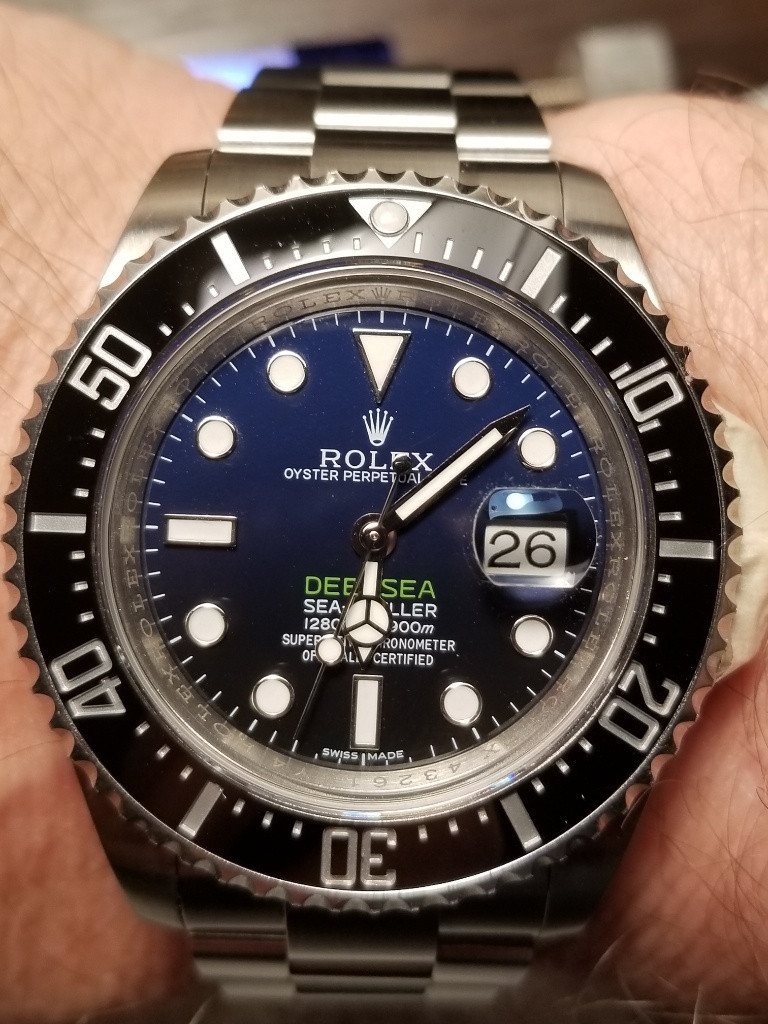
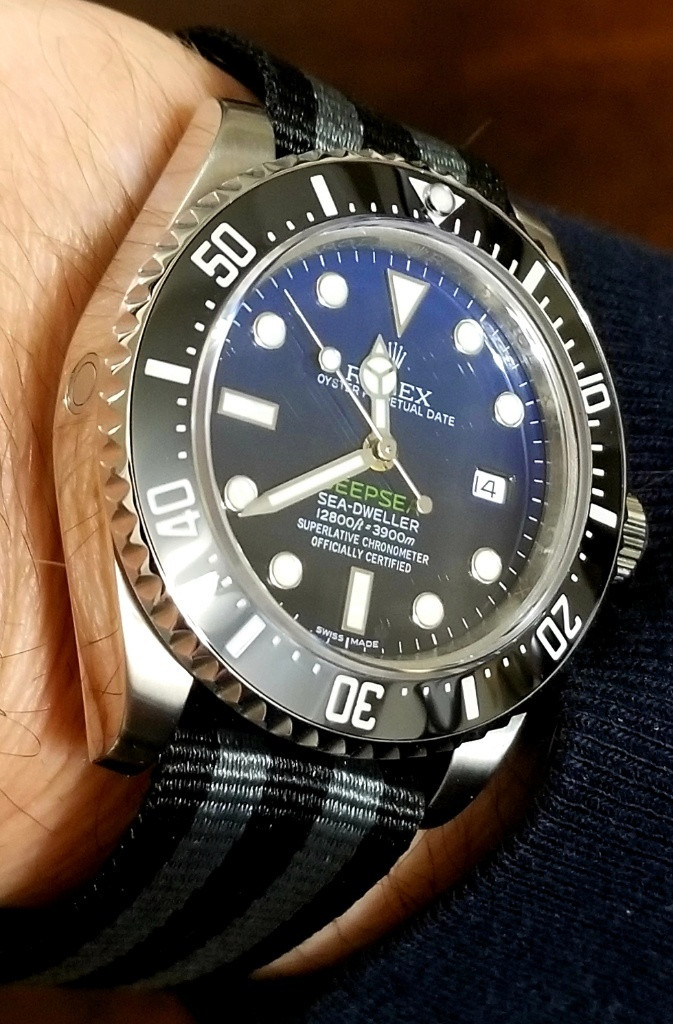
I just love these dials but I can't manage the 44mm case.
Cyclops was removed by heating under a lighter for 3-4 minutes and it scraped right off with a razor blade.
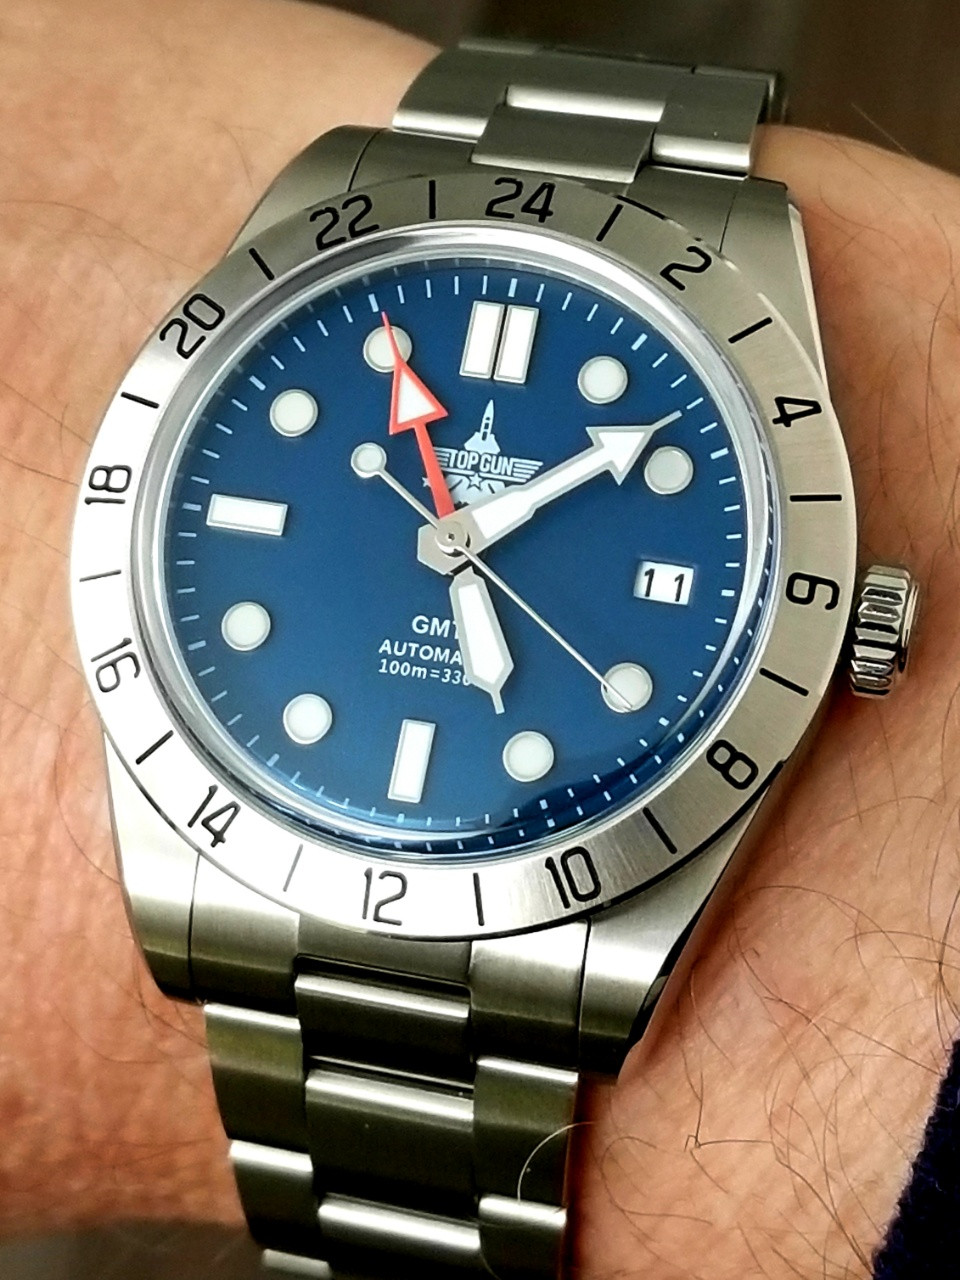
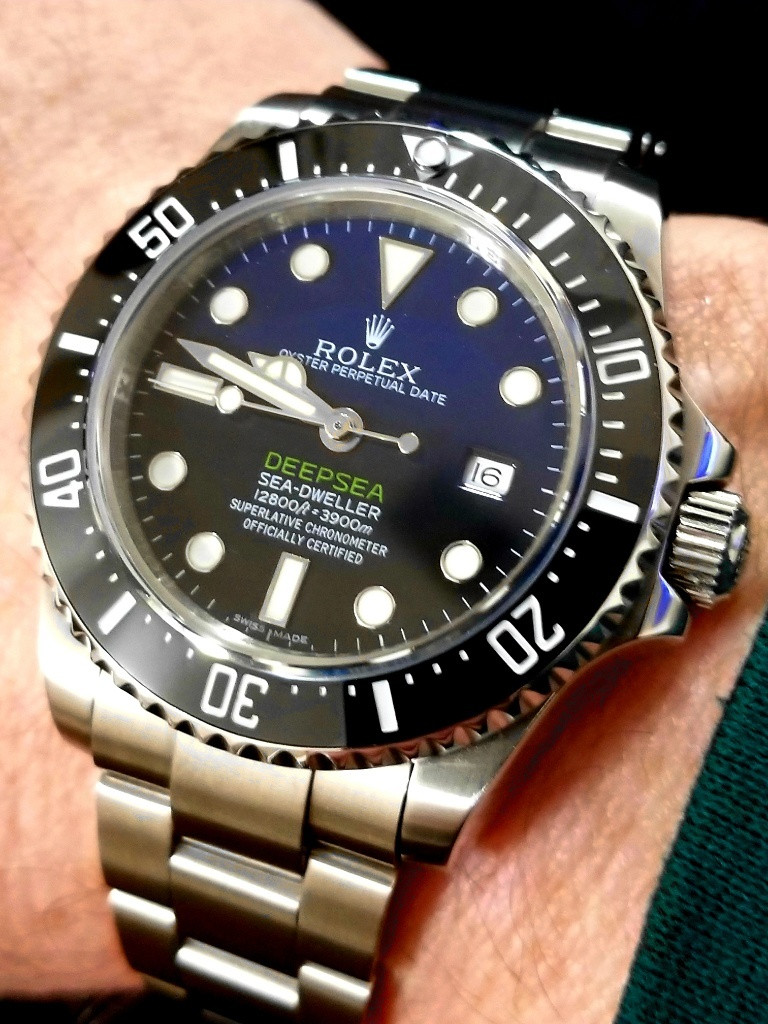
Finally, the one I wanted for so long!