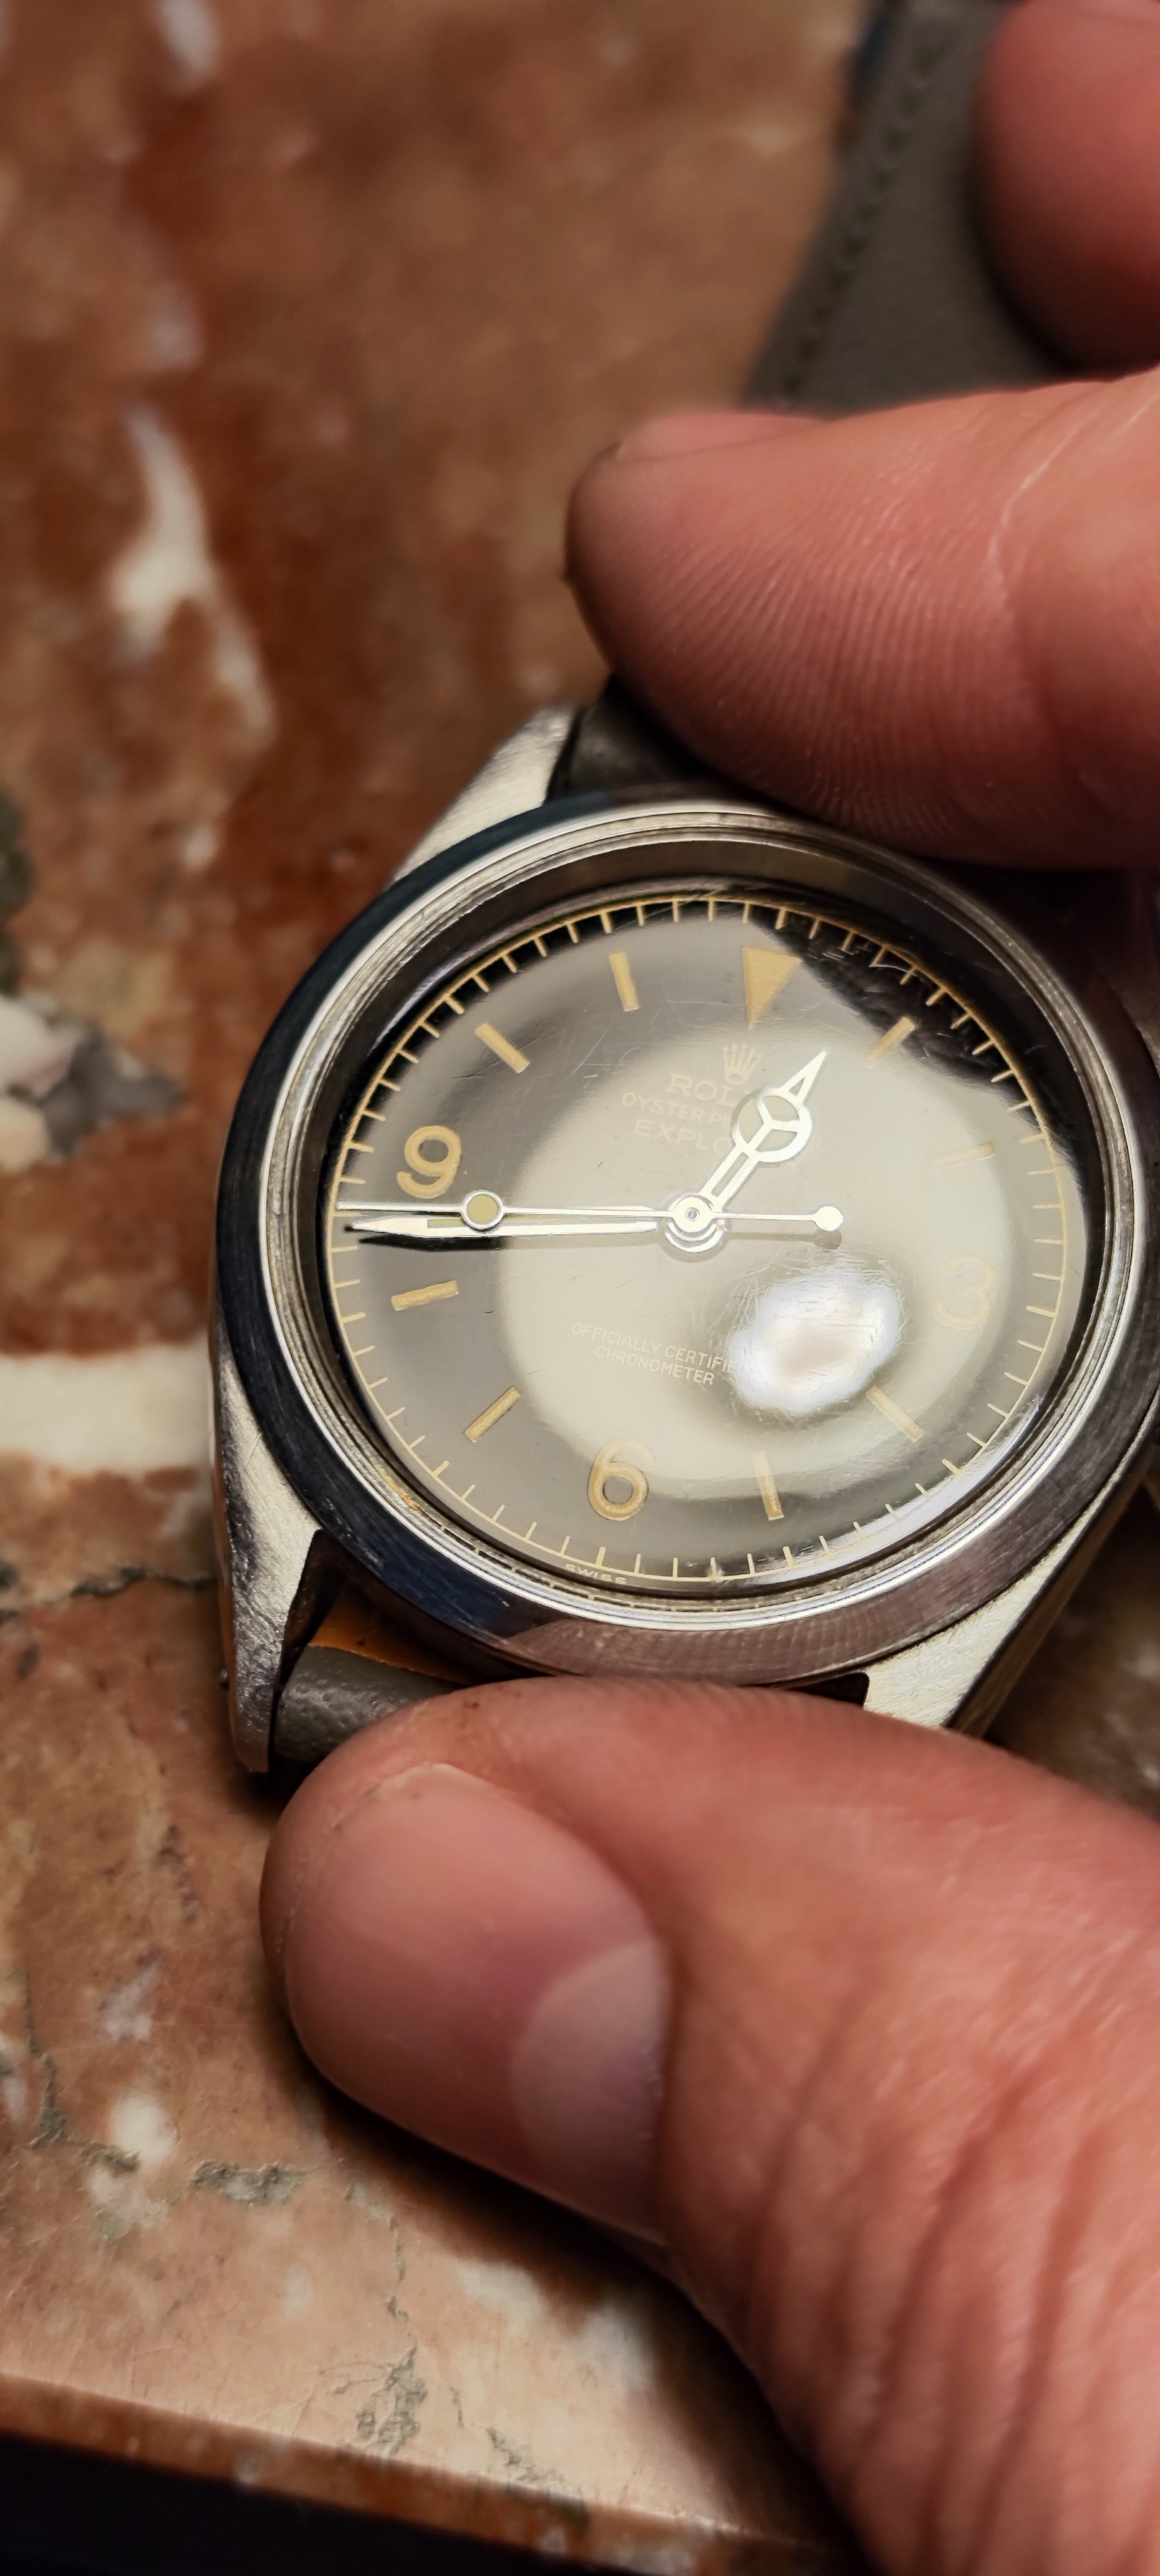
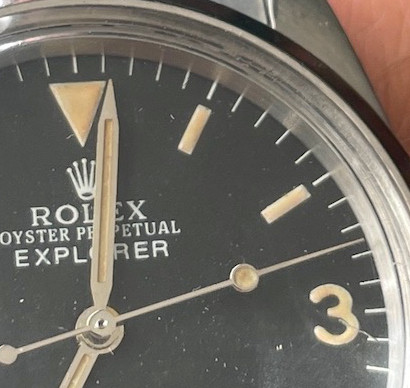
I might try light coat of brown over it after I rinse it.Like I said - don't be shy but at the same time don't be greedy. Apply colour - dry - rinse - repeat. No point in over-colouring in one pass as it just balls up, gathers and doesn't "go in". This one took about 6-8 seperate applications using the above MO.
And less is more - this is Tritium - it just doesn't go too yellow however long it's been sitting around in the dark unlike Radium that goes brown.
-
Tired of adverts on RWI? - Subscribe by clicking HERE and PMing Trailboss for instructions and they will magically go away!
You are using an out of date browser. It may not display this or other websites correctly.
You should upgrade or use an alternative browser.
You should upgrade or use an alternative browser.
The 1016: The Under Appreciated Thread
- Thread starter ebzen02
- Start date
Exp1971
Do not accept unsolicited offers
The Story of my Vintage Explorer Project.
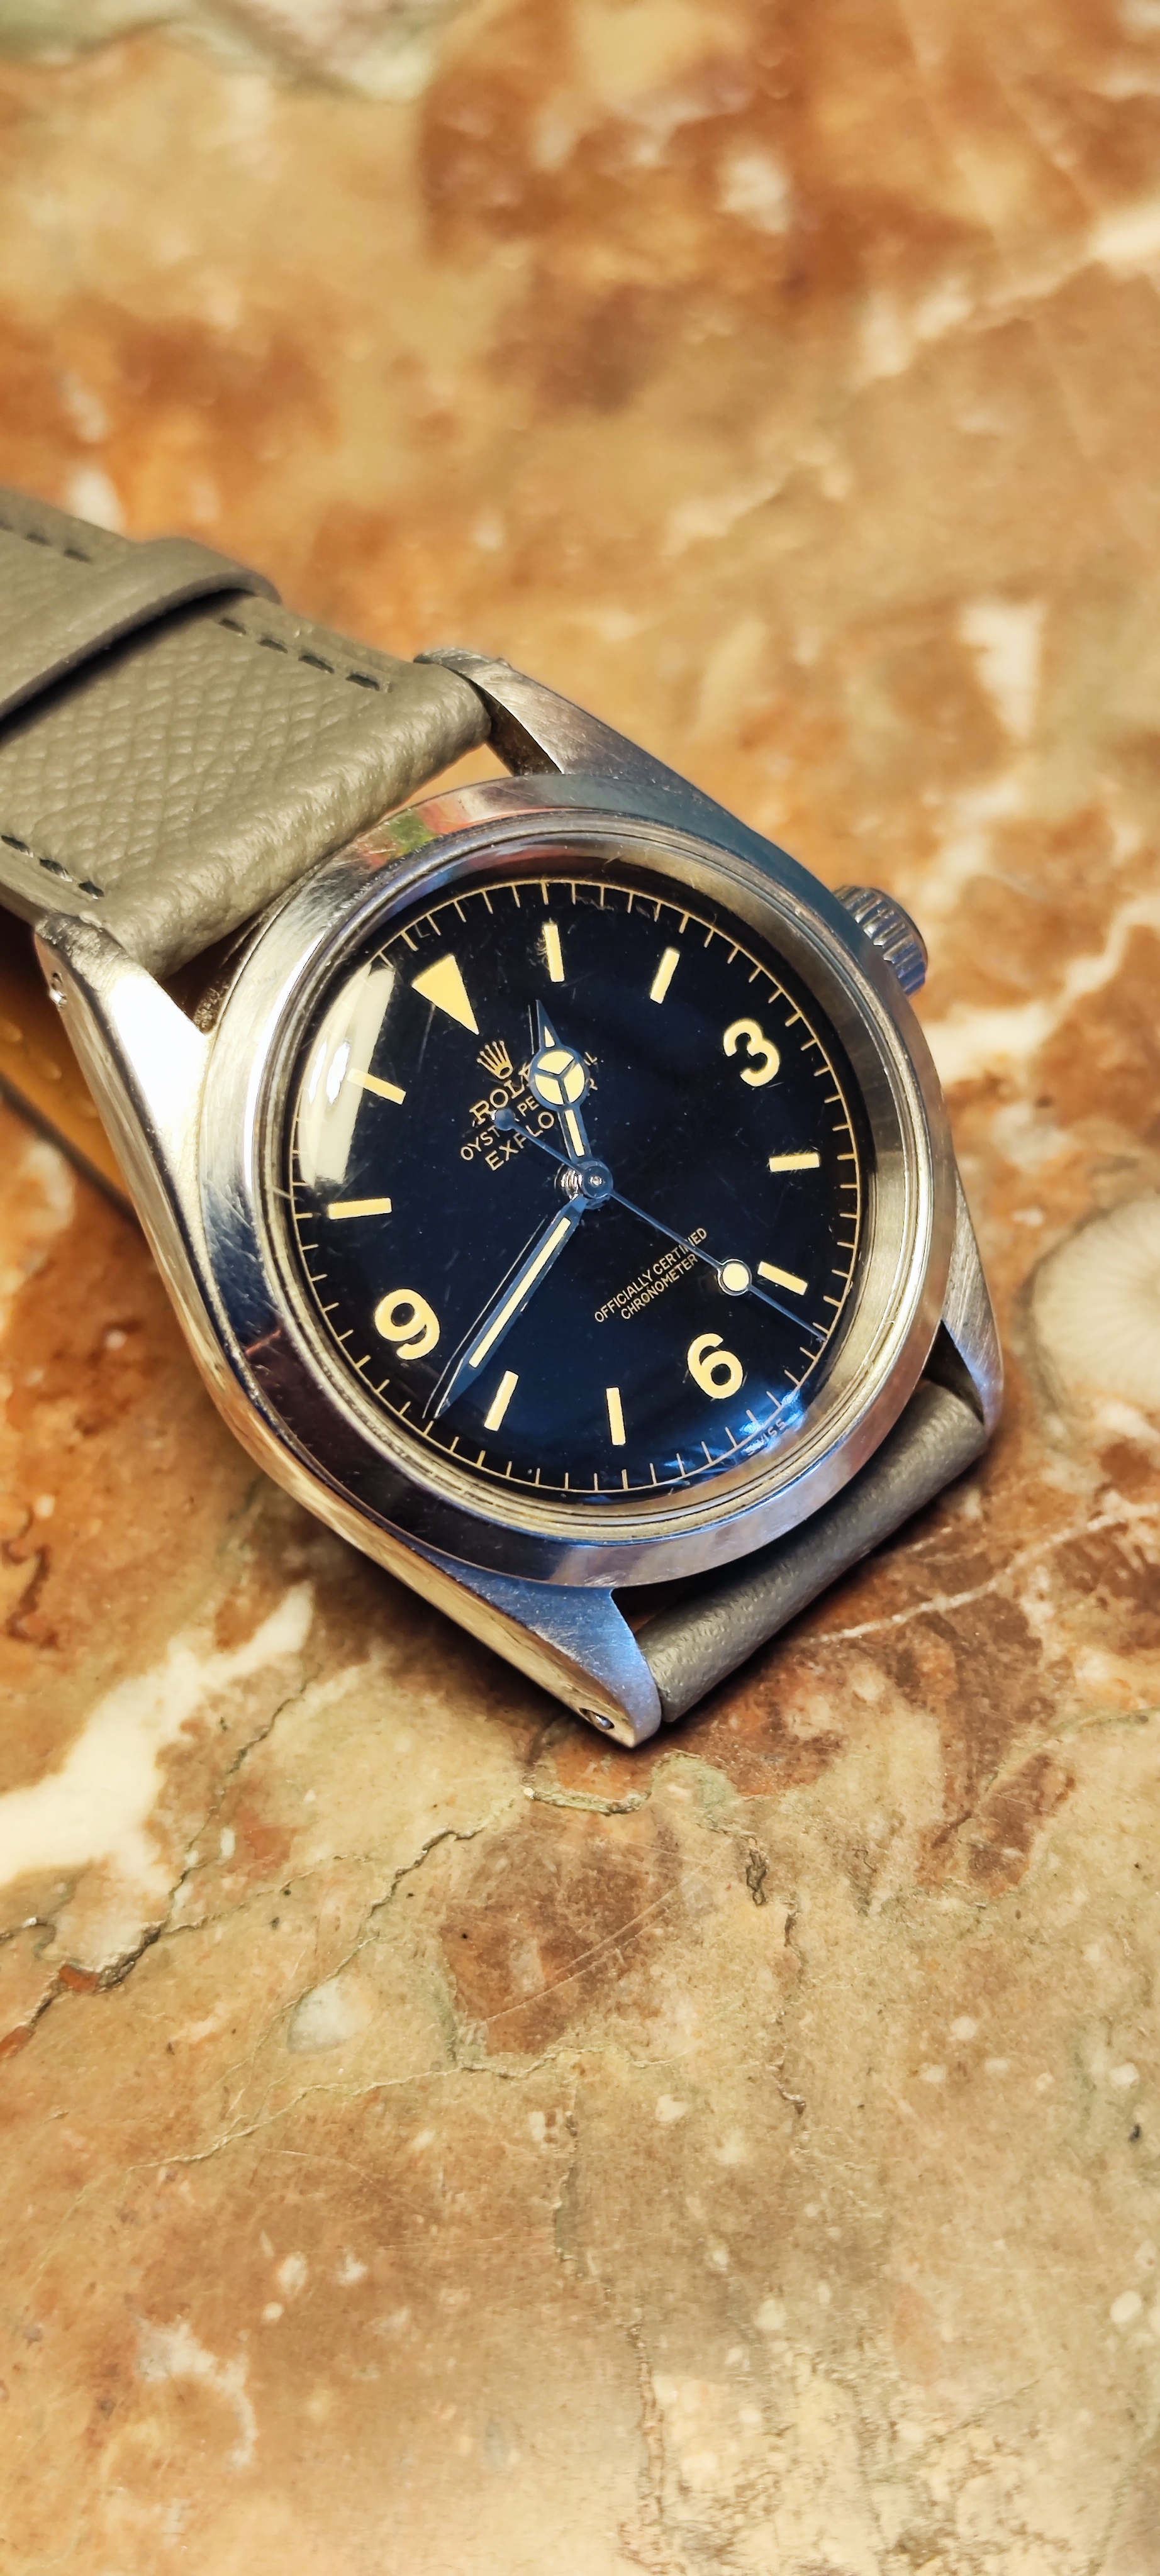
This story begins 20 years ago, when my son was born and I bought a Rolex Explorer 114270 for him that I planned to wear until he finishes school. He eventually did last year and after having it thoroughly serviced I passed the Explorer on to him that has been on his fathers wrist since he is alive, so that he can now put his own scratches onto it.
Problem: Now I needed a watch for myself. I thought, that maybe I could try to find a vintage Explorer from the early seventies that has similar mileage than myself being born 1971. That was a bit naive as I totally underestimated the prices of vintage Explorers. Since I wanted to stick with 36mm size, as I find this to be the perfect proportion for small to medium wrist sizes, I had two options: Either shell out a ridiculous amount of money for a genuine 1016 or make a project out of it trying to find the right parts and someone that can put it together for me.
This is when this forum comes in to play. I started communicating with forum member 369mafia and we decided to kick off the project together as a collaborative effort. Me trying to source the main parts here in Europe and him contributed his experience in what fits together and finally assembling the watch for me using some of the parts he already had in his workshop including a bezel and that very nice dial.
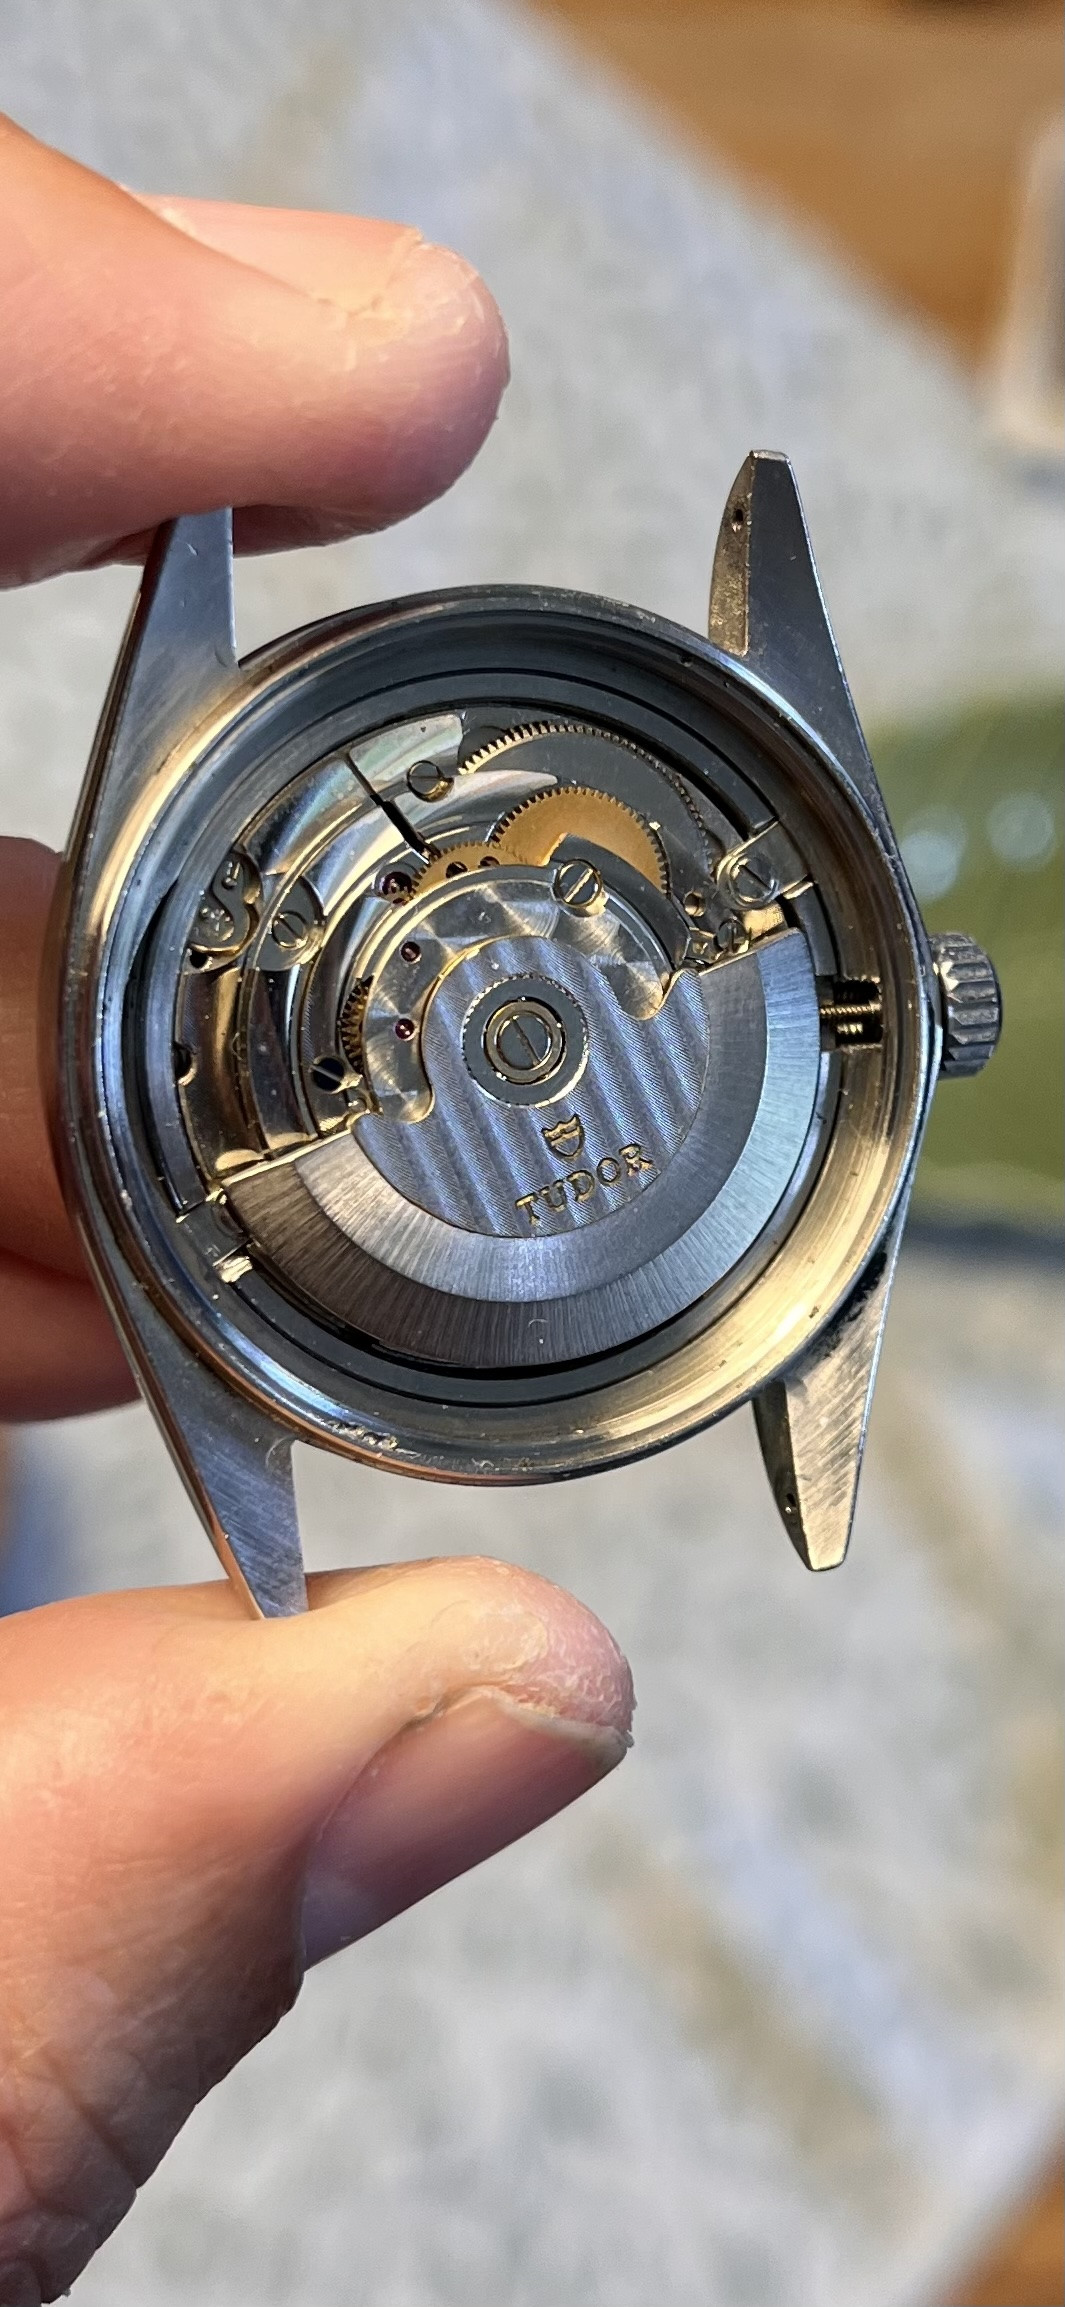
I wanted to stick to 36mm size and to the idea of using a vintage movement so ended up aquiring a Rolex Datejust case and a Swiss ETA2824 from 1972 that was also used in some Tudor models including the Oyster Prince. The caseback being from 1970 this already nicely averaged my target production date of 1971. So after sending the parts over, 369mafia started the assembly process sourcing hands and other small parts himself.
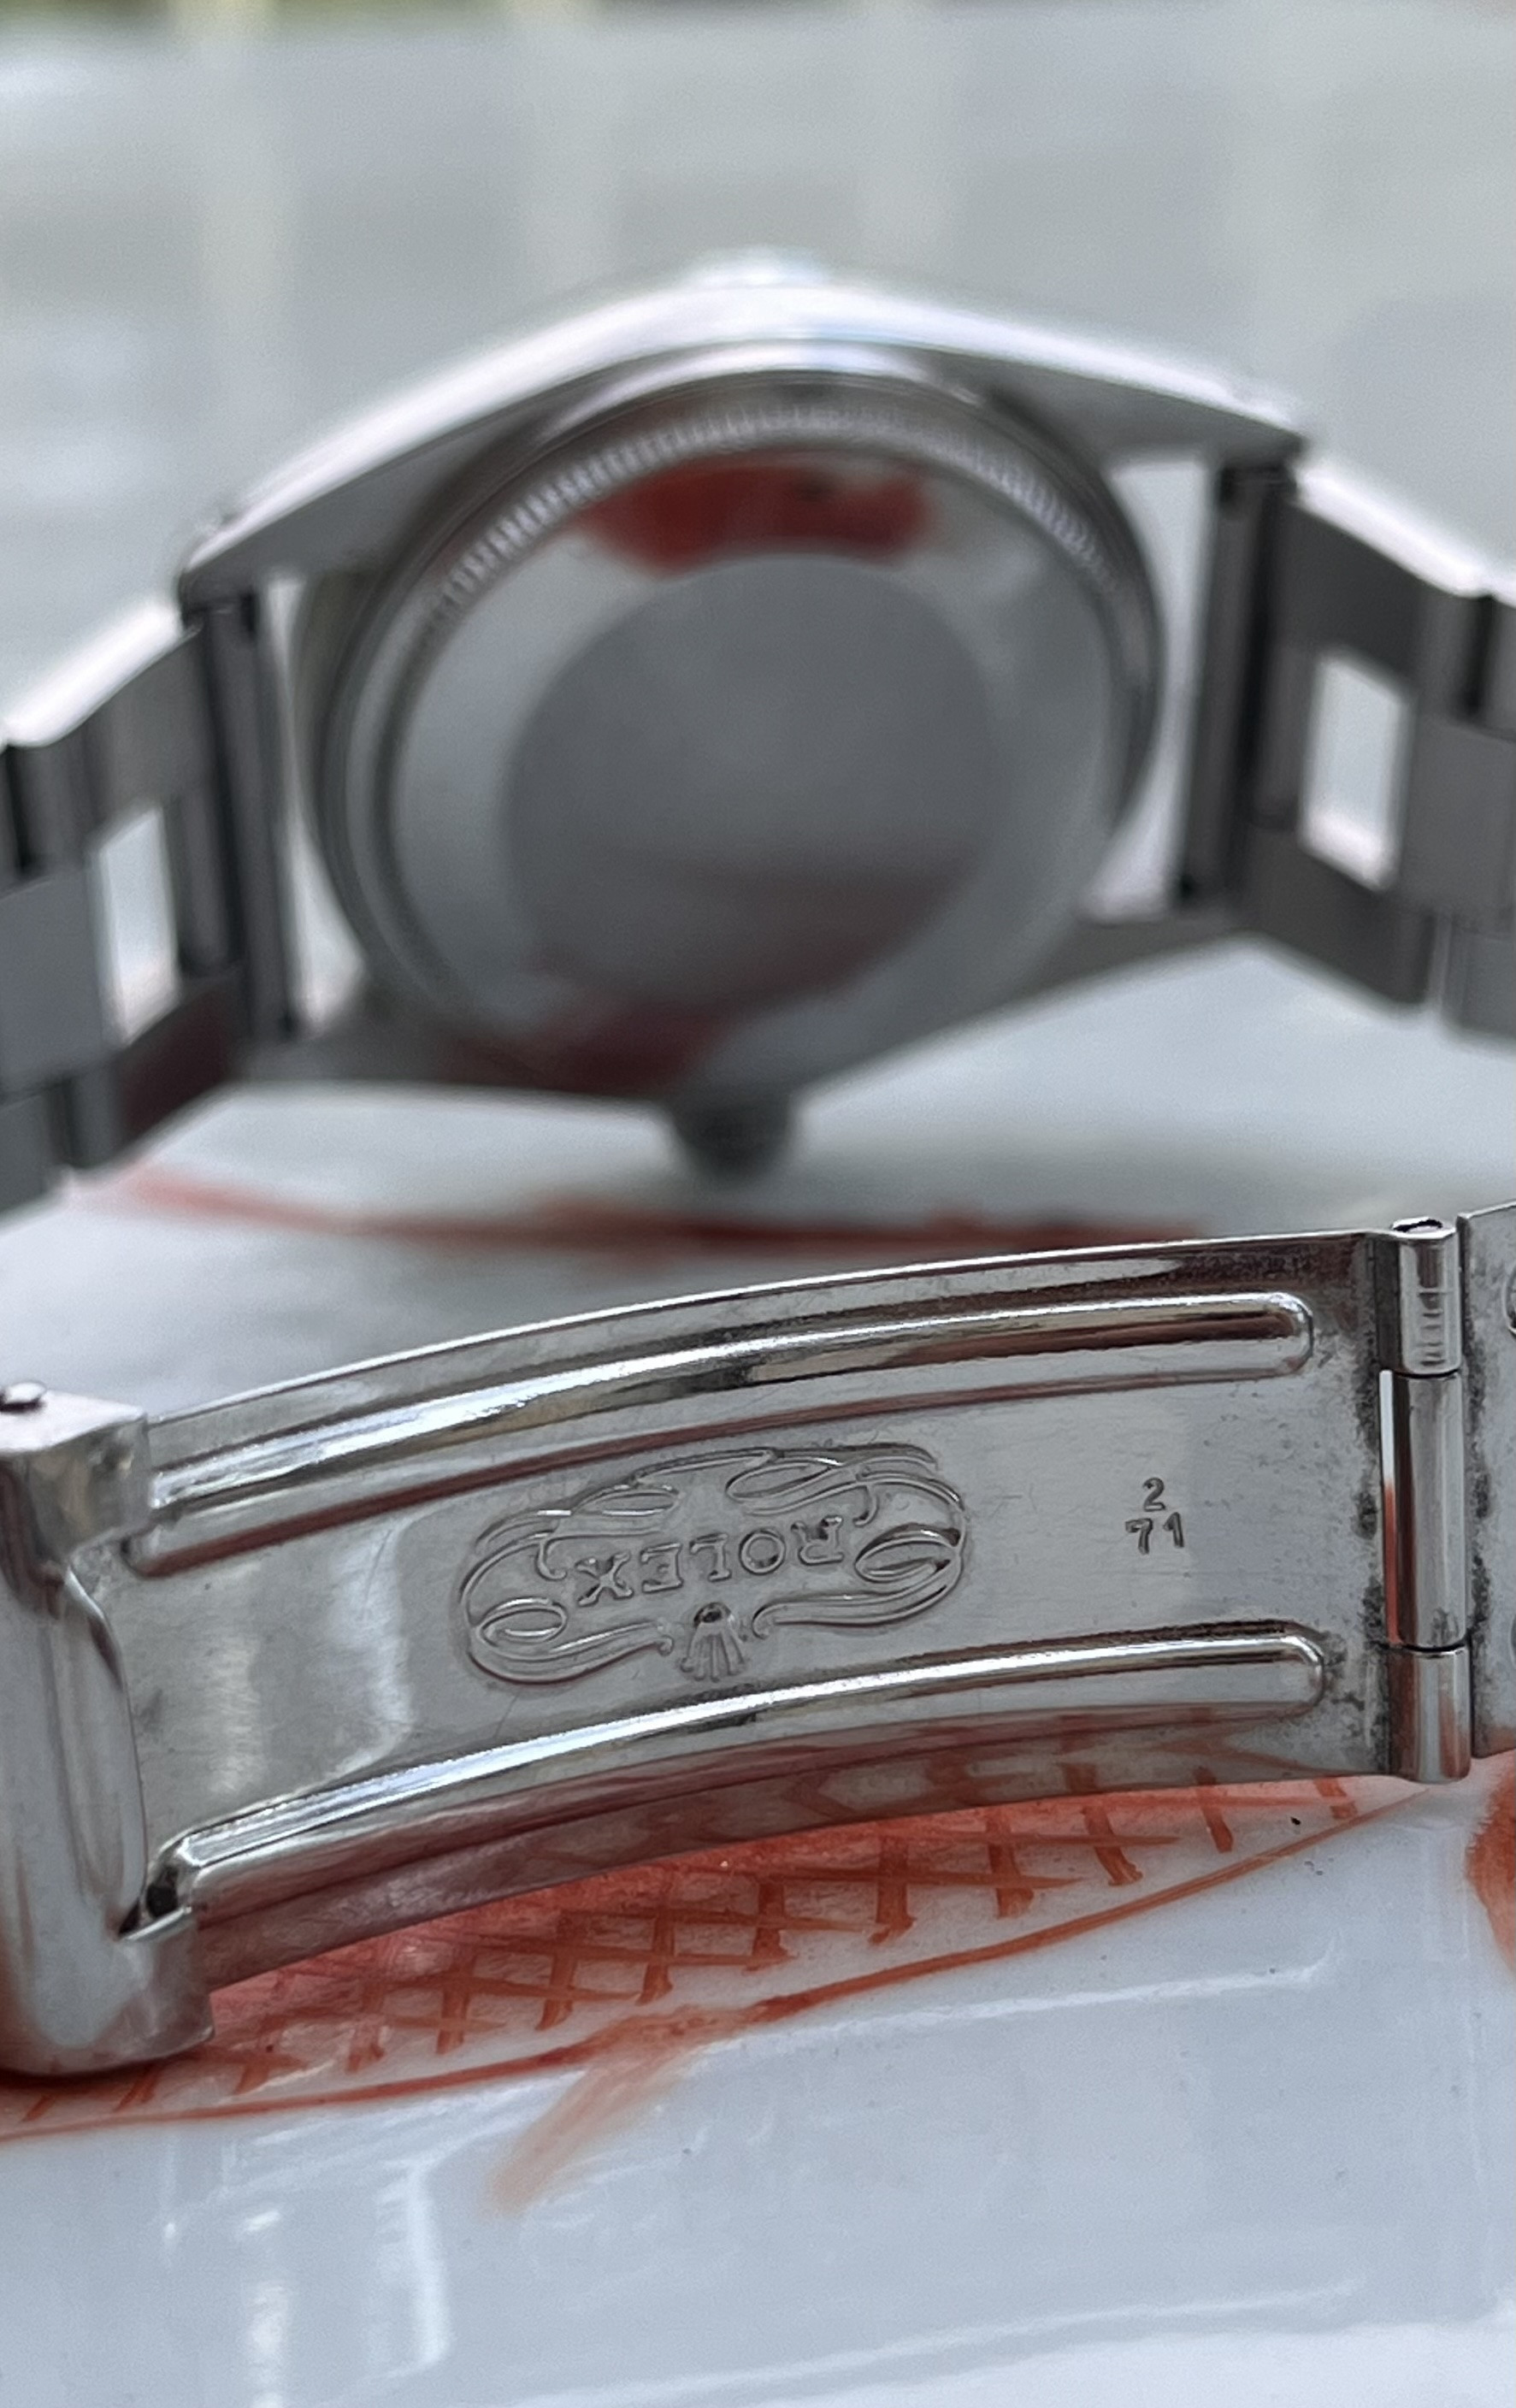
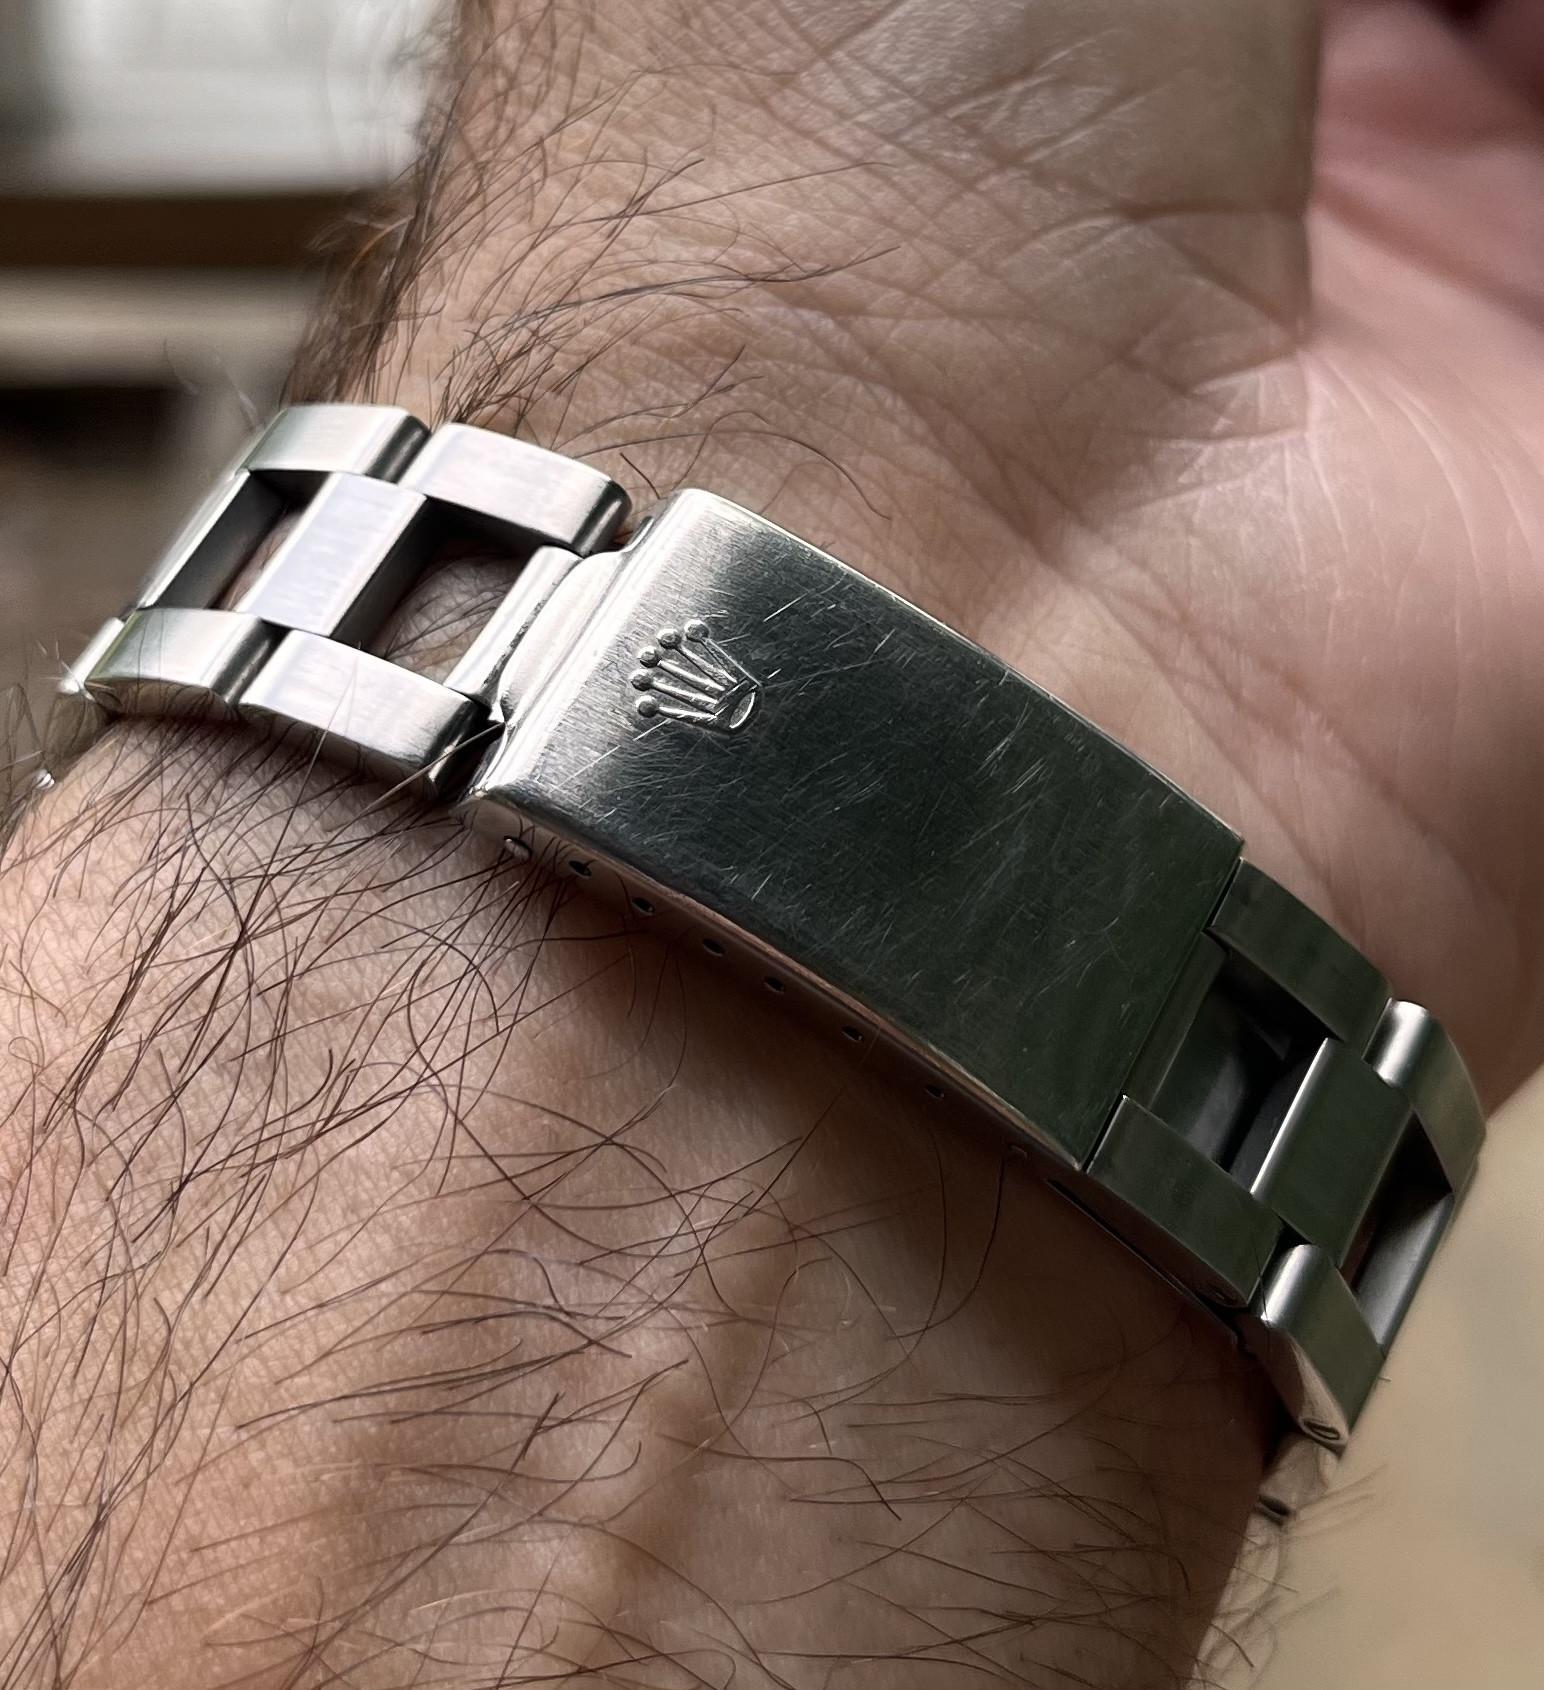
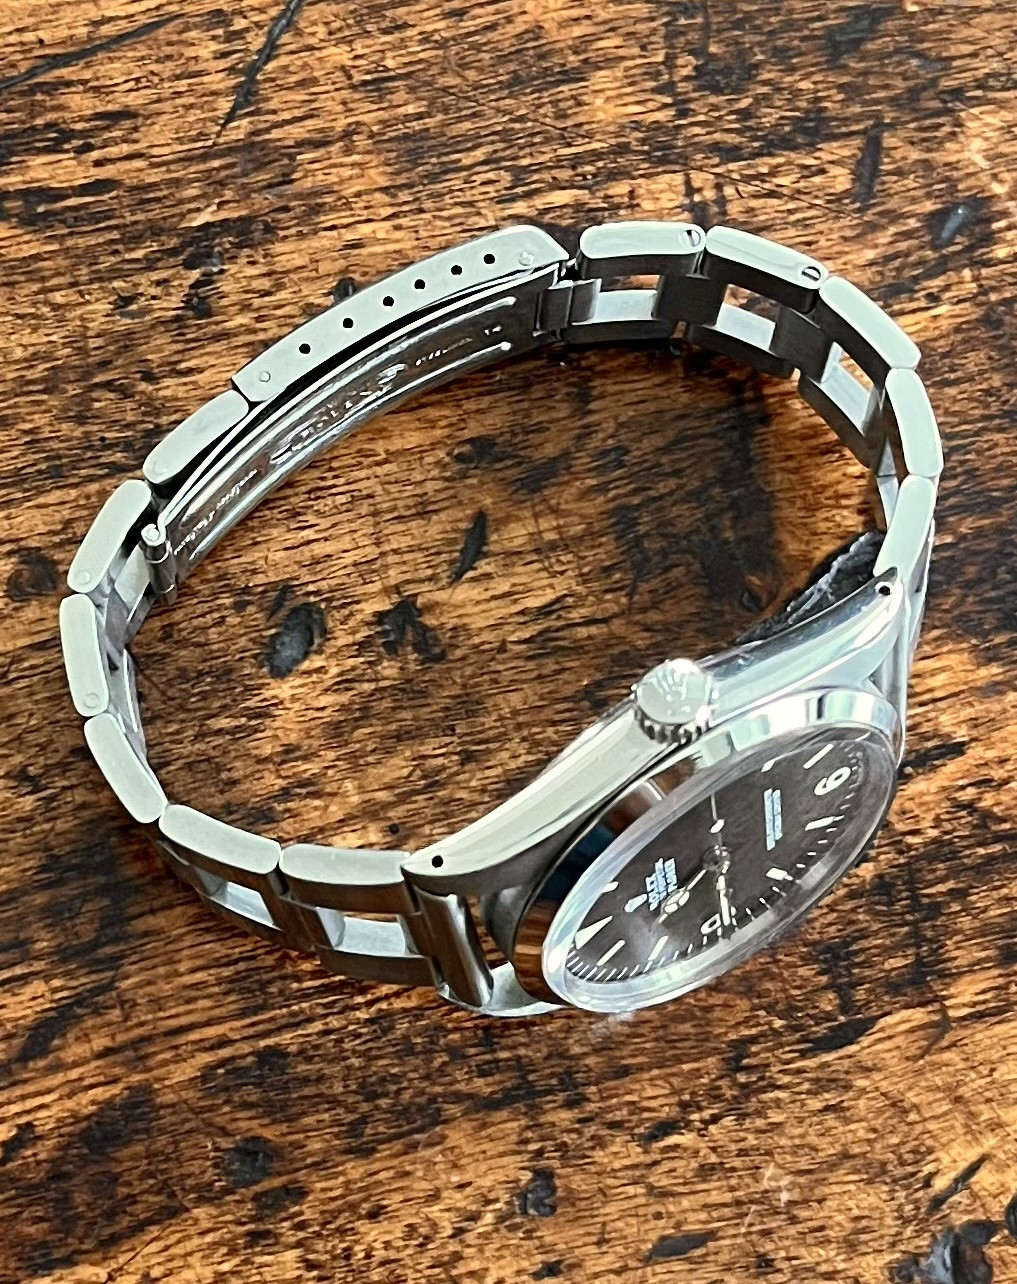
In the meanwhile I started work on my special take on a bracelet what I generally consider to be a very important part of a watch playing a significant role in how wearing a watch is experienced. Since I wanted a combination of early seventies retro style and bit of modern oyster bracelet comfort and solidity I came up with the following concept: I took a new US-brand Forstner "Ladder-bracelet" that is a re-interpretation of an iconic vintage bracelet that now Rolex-owned bracelet manufacturer Gay Freres originally made for the Zenith El Primero in the seventies. I customized it to take a nearly non-polished original Rolex buckle from - you might have guessed it -1971! Then I had it refinished by a certified Rolex workshop to Rolex standards here in Vienna. It now comes close to the quality and feel you would expect. I nice side effect of making it a bit slimmer at the buckle is that the screws are now flusher. The bracelet now looks much more refined than it originally was even though Forstner manufacture to a high quality standard. Somehow it now has this deep and soft shine that seems to come from using hands and skilled workmanship.
I could not wait for my watch to arrive so that I could mate it with that unusual bracelet. The wait was worth it. I could not stop admiring my completed project watch after receiving it. After wearing it for a month I noticed reliability issues, so I had the vintage movement overhauled completely by an ex-rolex watch smith. Finally I got it back fully waterproof and it is now running within 1 sec accuracy per day!
Before I present the photos of my watch I want to say a huge thank you to 369mafia for all the work he put into my project and the patience he had with my constantly changing stubborn ideas like me wanting to source period parts, etc ... Probably this project could have been realized much quicker, for less money and with less hassle but I wanted it exactly this way taking no shortcuts. In the end it was worth all the cost and effort. Thanks to 369mafia for respecting that! It was a joy to collaborate with him on this project and the result is not going to come off my wrist for a very long time...
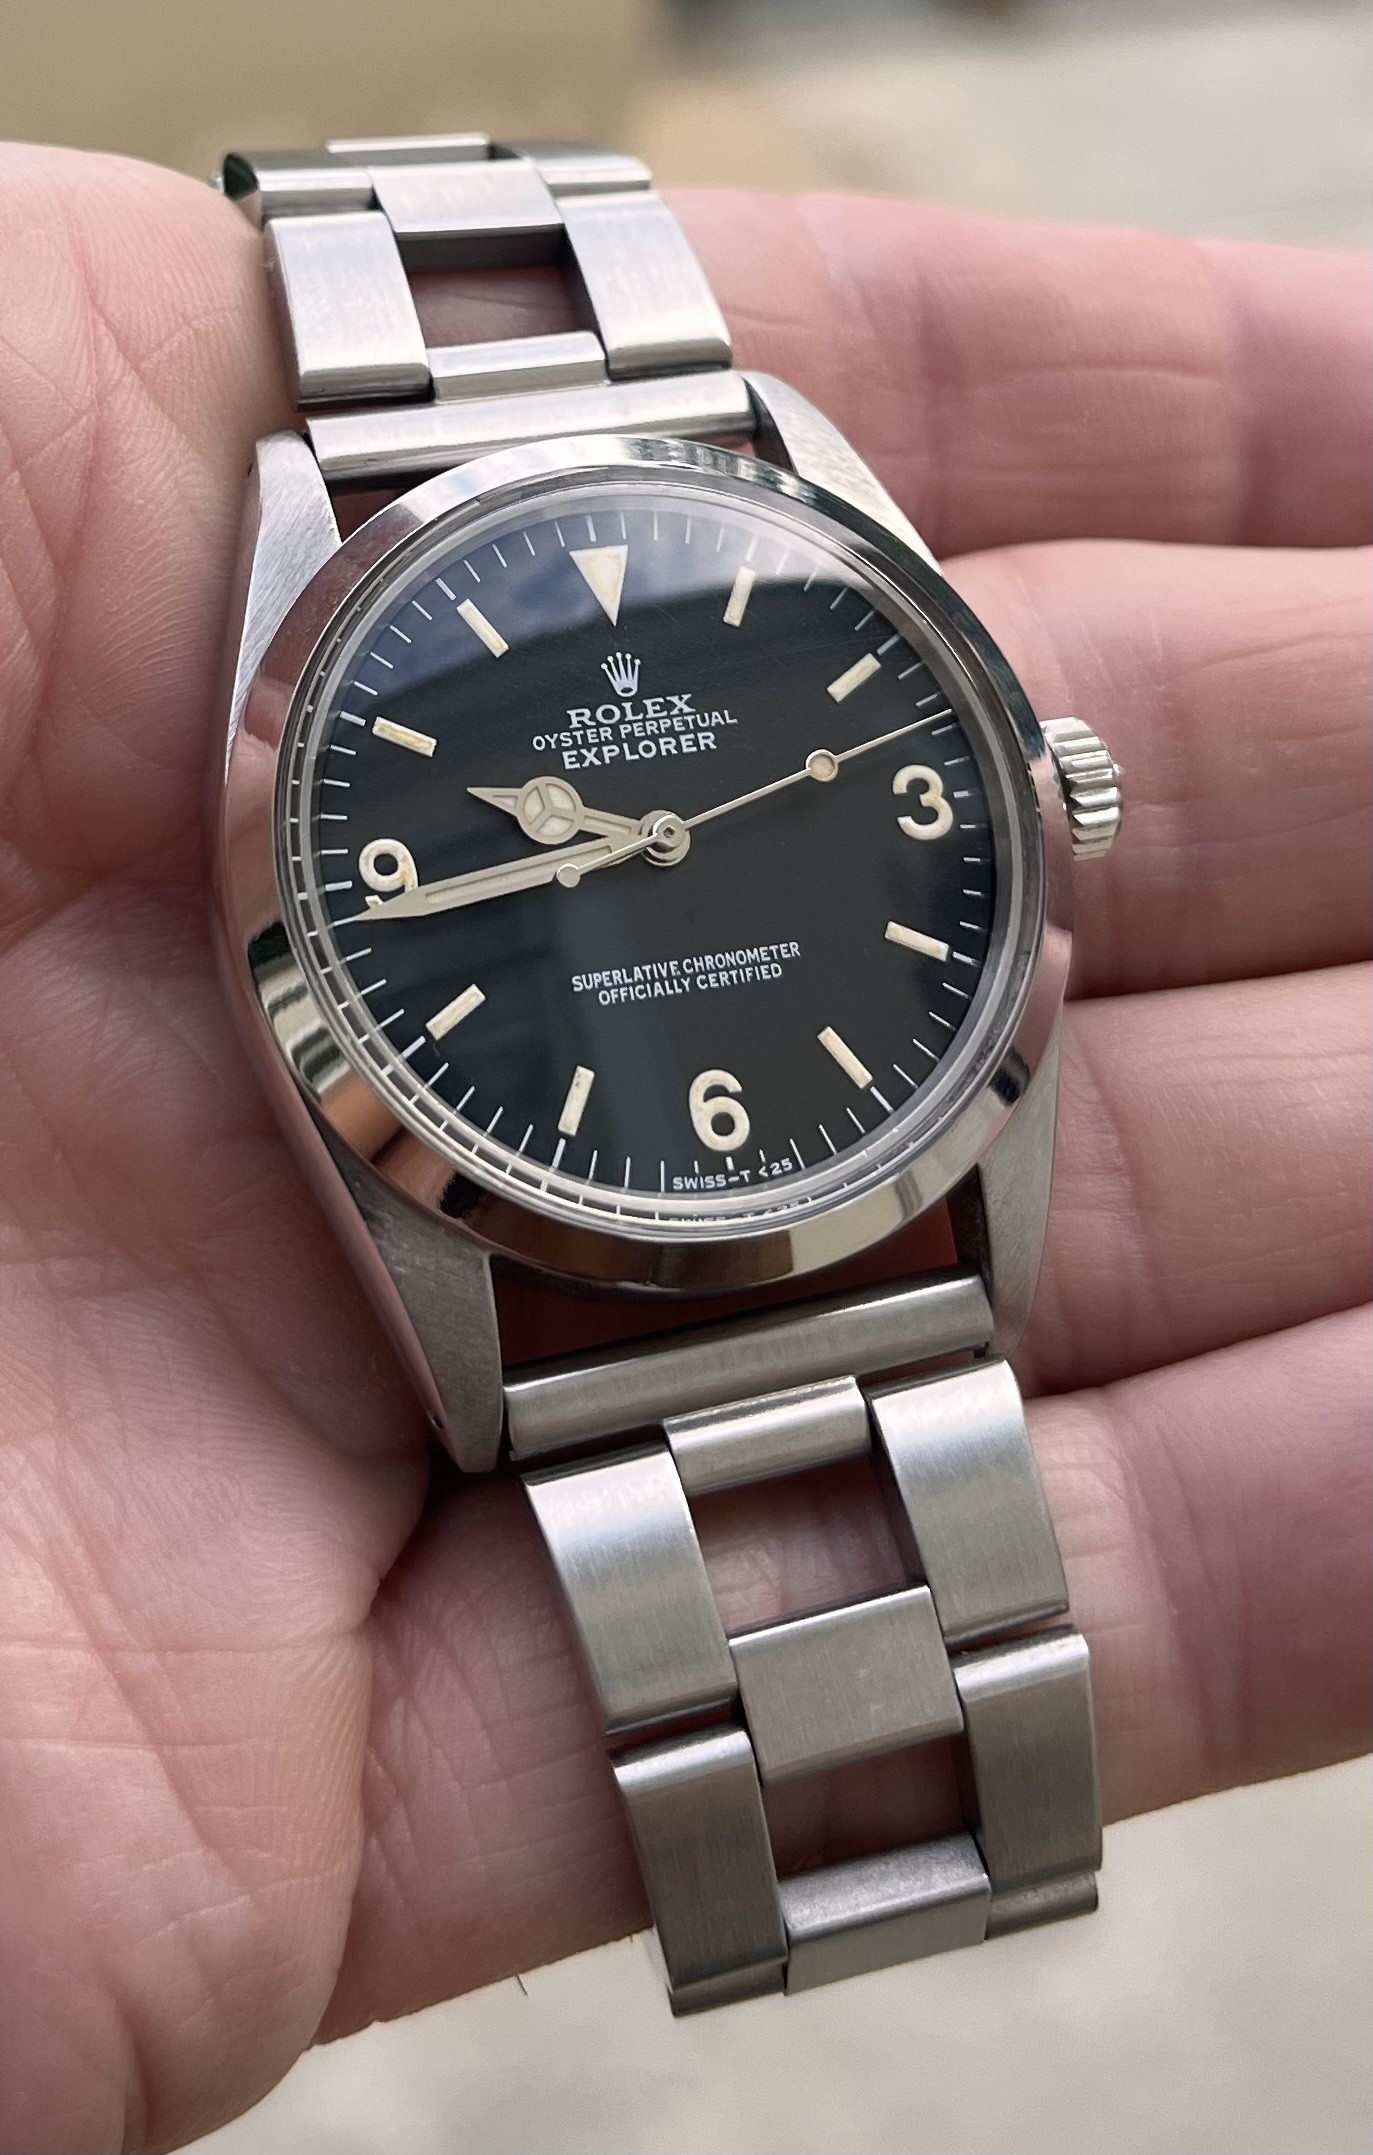
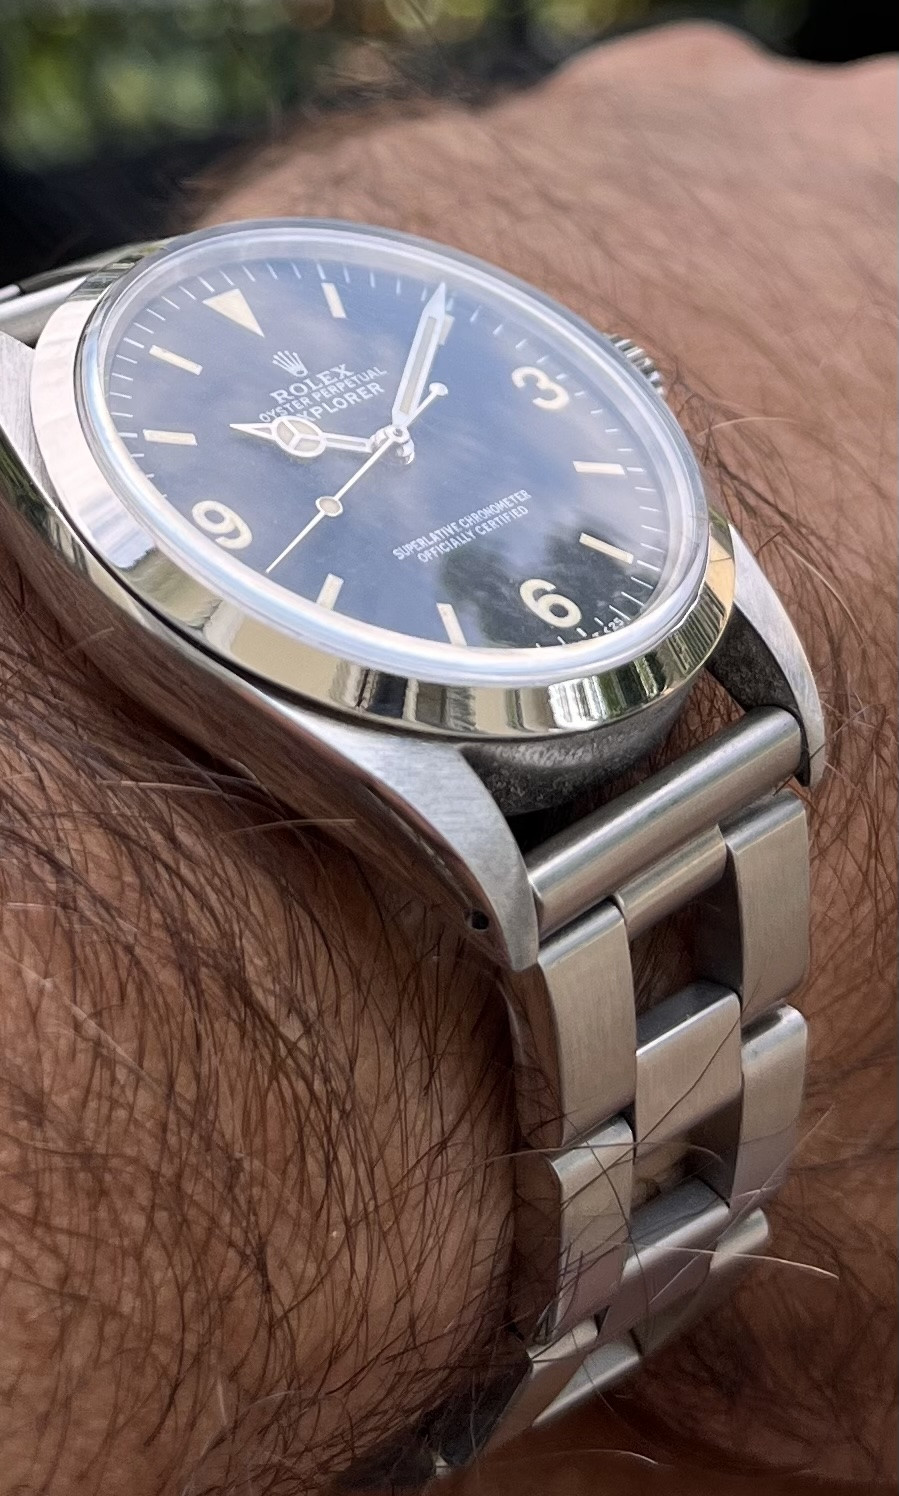
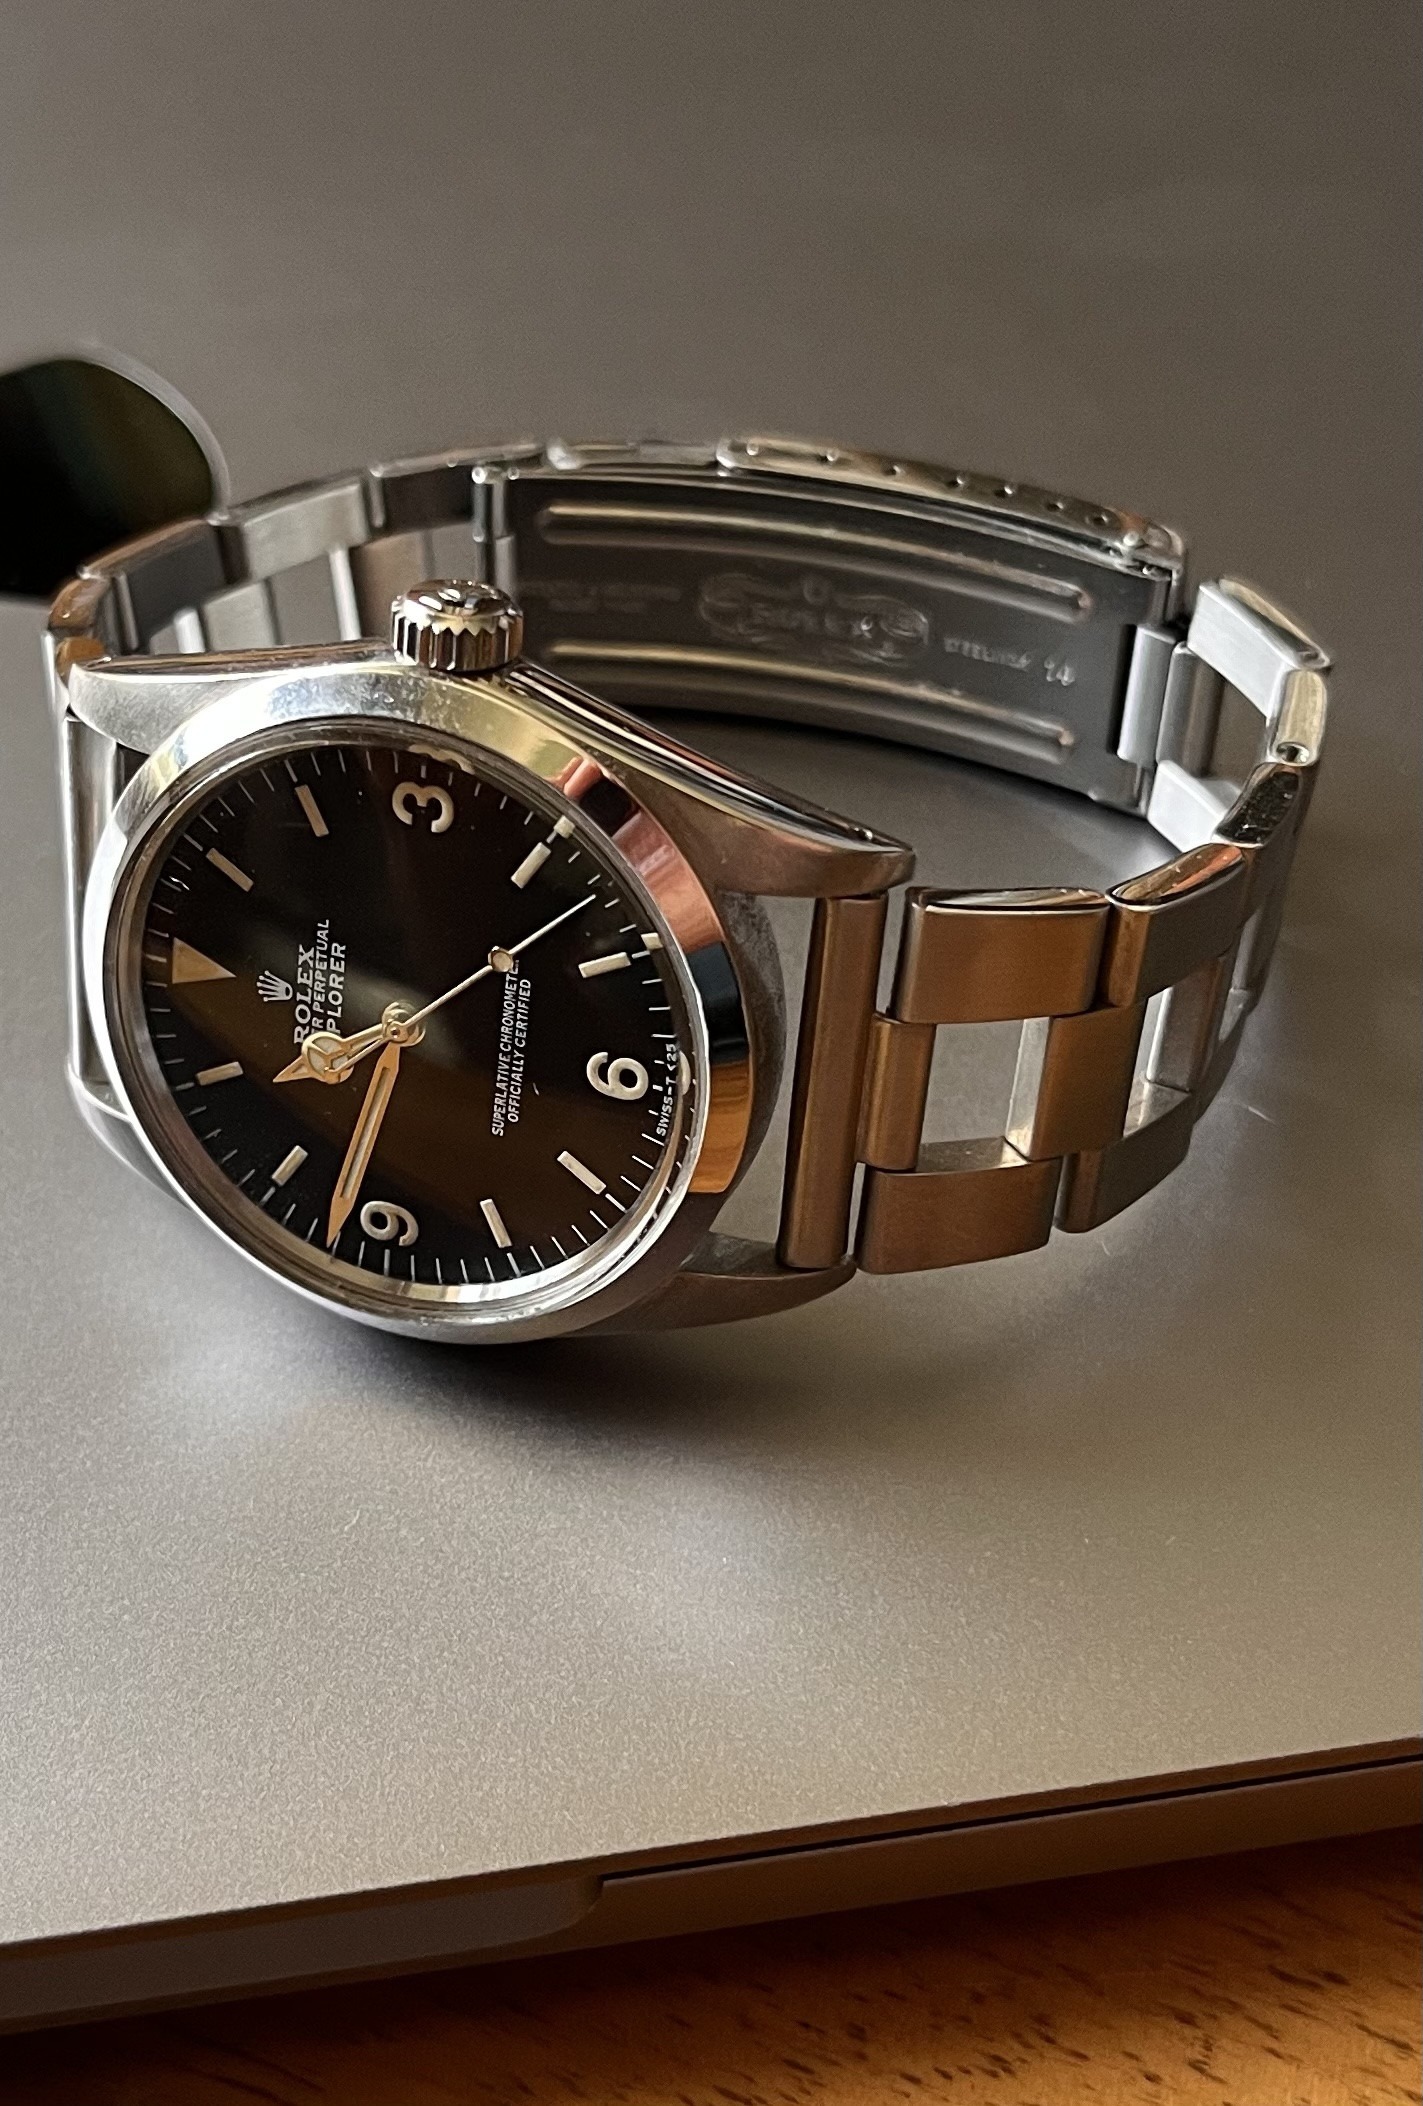
This story begins 20 years ago, when my son was born and I bought a Rolex Explorer 114270 for him that I planned to wear until he finishes school. He eventually did last year and after having it thoroughly serviced I passed the Explorer on to him that has been on his fathers wrist since he is alive, so that he can now put his own scratches onto it.
Problem: Now I needed a watch for myself. I thought, that maybe I could try to find a vintage Explorer from the early seventies that has similar mileage than myself being born 1971. That was a bit naive as I totally underestimated the prices of vintage Explorers. Since I wanted to stick with 36mm size, as I find this to be the perfect proportion for small to medium wrist sizes, I had two options: Either shell out a ridiculous amount of money for a genuine 1016 or make a project out of it trying to find the right parts and someone that can put it together for me.
This is when this forum comes in to play. I started communicating with forum member 369mafia and we decided to kick off the project together as a collaborative effort. Me trying to source the main parts here in Europe and him contributed his experience in what fits together and finally assembling the watch for me using some of the parts he already had in his workshop including a bezel and that very nice dial.
I wanted to stick to 36mm size and to the idea of using a vintage movement so ended up aquiring a Rolex Datejust case and a Swiss ETA2824 from 1972 that was also used in some Tudor models including the Oyster Prince. The caseback being from 1970 this already nicely averaged my target production date of 1971.
In the meanwhile I started work on my special take on a bracelet what I generally consider to be a very important part of a watch playing a significant role in how wearing a watch is experienced. Since I wanted a combination of early seventies retro style and bit of modern oyster bracelet comfort and solidity I came up with the following concept: I took a new US-brand Forstner "Ladder-bracelet" that is a re-interpretation of an iconic vintage bracelet that now Rolex-owned bracelet manufacturer Gay Freres originally made for the Zenith El Primero in the seventies. I customized it to take a nearly non-polished original Rolex buckle from - you might have guessed it -1971! Then I had it refinished by a certified Rolex workshop to Rolex standards here in Vienna. It now comes close to the quality and feel you would expect. I nice side effect of making it a bit slimmer at the buckle is that the screws are now flusher. The bracelet now looks much more refined than it originally was even though Forstner manufacture to a high quality standard. Somehow it now has this deep and soft shine that seems to come from using hands and skilled workmanship.
I could not wait for my watch to arrive so that I could mate it with that unusual bracelet. The wait was worth it. I could not stop admiring my completed project watch after receiving it. After wearing it for a month I noticed reliability issues, so I had the vintage movement overhauled completely by an ex-rolex watch smith. Finally I got it back fully waterproof and it is now running within 1 sec accuracy per day!
Before I present the photos of my watch I want to say a huge thank you to 369mafia for all the work he put into my project and the patience he had with my constantly changing stubborn ideas like me wanting to source period parts, etc ... Probably this project could have been realized much quicker, for less money and with less hassle but I wanted it exactly this way taking no shortcuts. In the end it was worth all the cost and effort. Thanks to 369mafia for respecting that! It was a joy to collaborate with him on this project and the result is not going to come off my wrist for a very long time...


@Exp1971 Thanks for sharing your story on a very cool project. IT was a pleasure and an honor to work with you on this build. Wear it in good health my friend!! Great pics too !!
automatico
Getting To Know The Place
- 5/10/11
- 93
- 175
- 33
Fine looking watch!
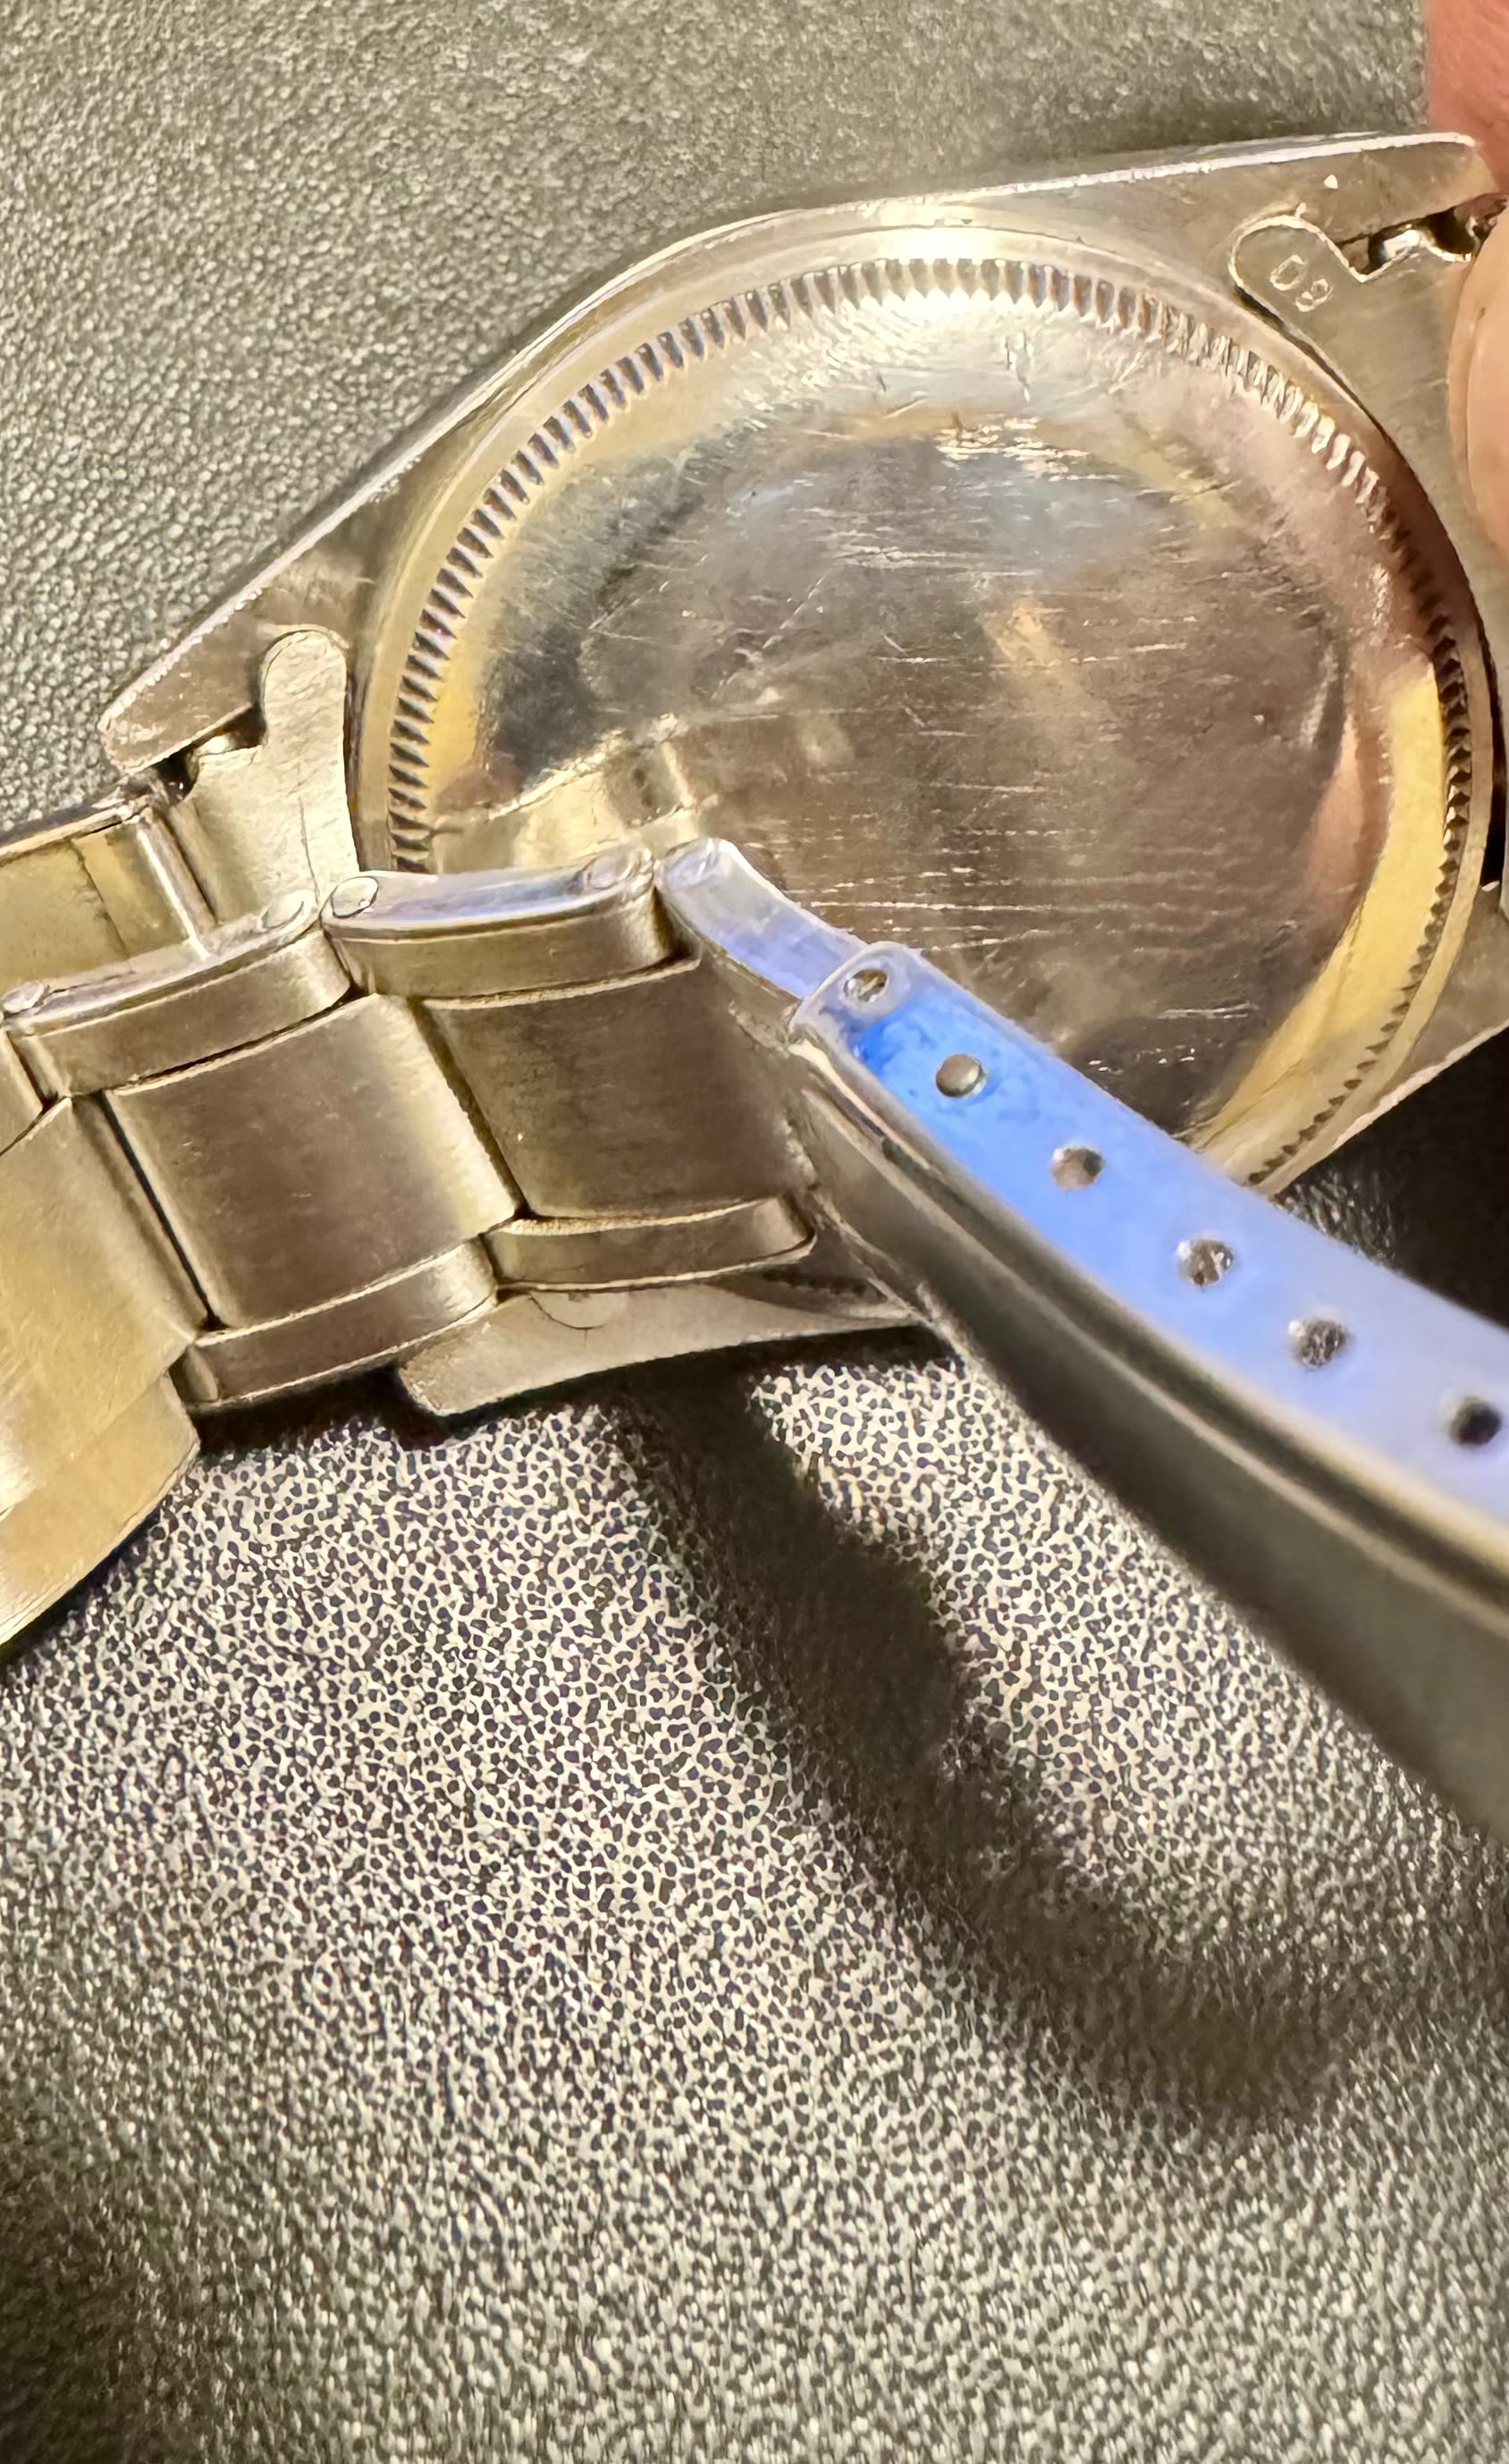
The genuine clasp is a worthwhile addition imho.
Why?
Because it has 7 adjustment holes where most replicas have only 6. An obvious tell, if only to a repfreak like me.
The genuine clasp is a worthwhile addition imho.
Why?
Because it has 7 adjustment holes where most replicas have only 6. An obvious tell, if only to a repfreak like me.
automatico
Getting To Know The Place
- 5/10/11
- 93
- 175
- 33
Lost Causes...
The '1016' above reminds me of my 'trials and tribulations' encountered while chasing the 'passable' 1016 replica for the past 15 or 20 years.
Passable = (might) pass as genuine to a keen observer, not a 'Certified Rolexpert'.
Many (most?) of my T&Ts have been lost causes.
Why?
Because when a 'passable' replica is finally finished...who cares about the small details that have been left out?
Just me probably.
Anyway...here is the story of one of my 'lost causes' that virtually no one cares about...sorta like the 6 hole clasp mentioned above.
I have quite a few regular (non F/L) oyster style bracelets, from $10 specials to some pretty good hollow center link models.
I have drilled out a few clasp caps for 7 holes but the vast majority of them do not have room for the extra hole because of the spacing of the original 6 holes.
So...what's the next Lost Cause?
Hollow center link bracelets...with BLIND screw holes on one side.
'Blind screw holes' = the threaded screw tip does not pass through the side of the link like oem links, the threaded hole is 'blind', like a 'no hole lug' on a case.
Hardly anyone will notice but it is a tell none the less.
What to do?
1...Fergedaboudit. The vast majority will agree.
2...Fix it (more or less). Another lost cause, aka ALC.
How to fix it?
Two ways:
1...Bore the link out, rethread the hole, and install a proper screw.
Catch 22...many screws have a shoulder (threads smaller than the screw body) that goes against a shoulder inside the threaded hole to prevent the screw from going too deep...very hard to duplicate.
2...Bore the hole all the way through the link, install the screw that came in the link, and press a slightly oversize 'plug' into the hole on the other side to take up the space.
Number 1 is the best solution but screws/drill bits/taps are expensive compared to plugs.
Plugs:
The blind side of the link is drilled out to 1.0mm, by drilling through the original threaded hole...anything much bigger can get into the screw threads on the bracelets I have. Some links have larger threads so a slightly larger hole can be drilled.
I use stainless steel 1.1mm rods to make the plugs. Now and then I may need to go to a rod slightly larger than 1.1mm because the 1.0mm drill bit can move around when drilling the hole in the link. Stainless steel rods can be found on eBay etc.
Example: eBay item number: 314142843454 Might need 1.2mm rods anyway if 1.1mm is too small and 1.2mm rods can be polished down.
Fyi...the rods may not be the exact diameter as advertised.
The process:
1...Run the original link screw down until the slotted top is even with the link's side, or snug it down, whichever comes first.
2...Find a piece of metal rod of some sort that is slightly smaller than 1.0mm (I use drill bits) and push it in the hole and mark it with a scribe, felt marker etc.
3...Very slightly taper the 1.1mm steel rod so it will start into the freshly drilled hole. Sometimes the rod will need to be polished down a bit,
I use Cratex type abrasive wheels in a Dremel tool with the rod placed in a pin vise.
4...Cut a section of rod off above the taper slightly longer than the mark on the measuring tool. The plug needs to be a little bit longer than necessary so it can be held in a pin vise in case the OD needs to be polished down a bit.
Start it in the hole in the link and press or squeeze it in the link until it bottoms out. I use 'Robogrip' type pliers with the serrations on the jaws ground away and the jaw surfaces smoothed out. I also apply tape of some sort to the jaws to help prevent scratches.
The info above gives the basic idea of how I do this but the 'Real Fun' is yet to come...
The 'Real Fun' comes after the plugs are pressed into the links.
It starts when the plug ends need to be ground and finished flat and even with the side of the link (or a little bit higher to allow for finishing)..without ruining the side of the link.
How?
I use a Harbor Freight disc sander with 1000 grit stick-on sandpaper. After it is evened out, it still needs to be polished. Another small hassle.
A piece of sandpaper laying on a small sheet of glass will work in place of a disc sander but you will need a device of some sort to keep the link side at a 90 degree angle to the sandpaper. Not as easy as it sounds.
I use an aluminum case mounting device like this:
eBay item number: 144305130257
With the stands and tension spring removed, using wood 'popsicle' sticks to pad the jaws. Slow but sure.
Keep the screws in the links they came with if they are a good fit. Swap them around if not a good fit and see if they work better.
All the above is boring for sure but it works and it might help someone who has one of these bracelets and wants to improve it a little bit.
Practice on a low $$ bracelet first with blind screws and solid mid links to get the hang of it.
Typos are free.
Hi from Canada where I am still
Missing my bench a lot
I was thinking about my latest 1016 build home
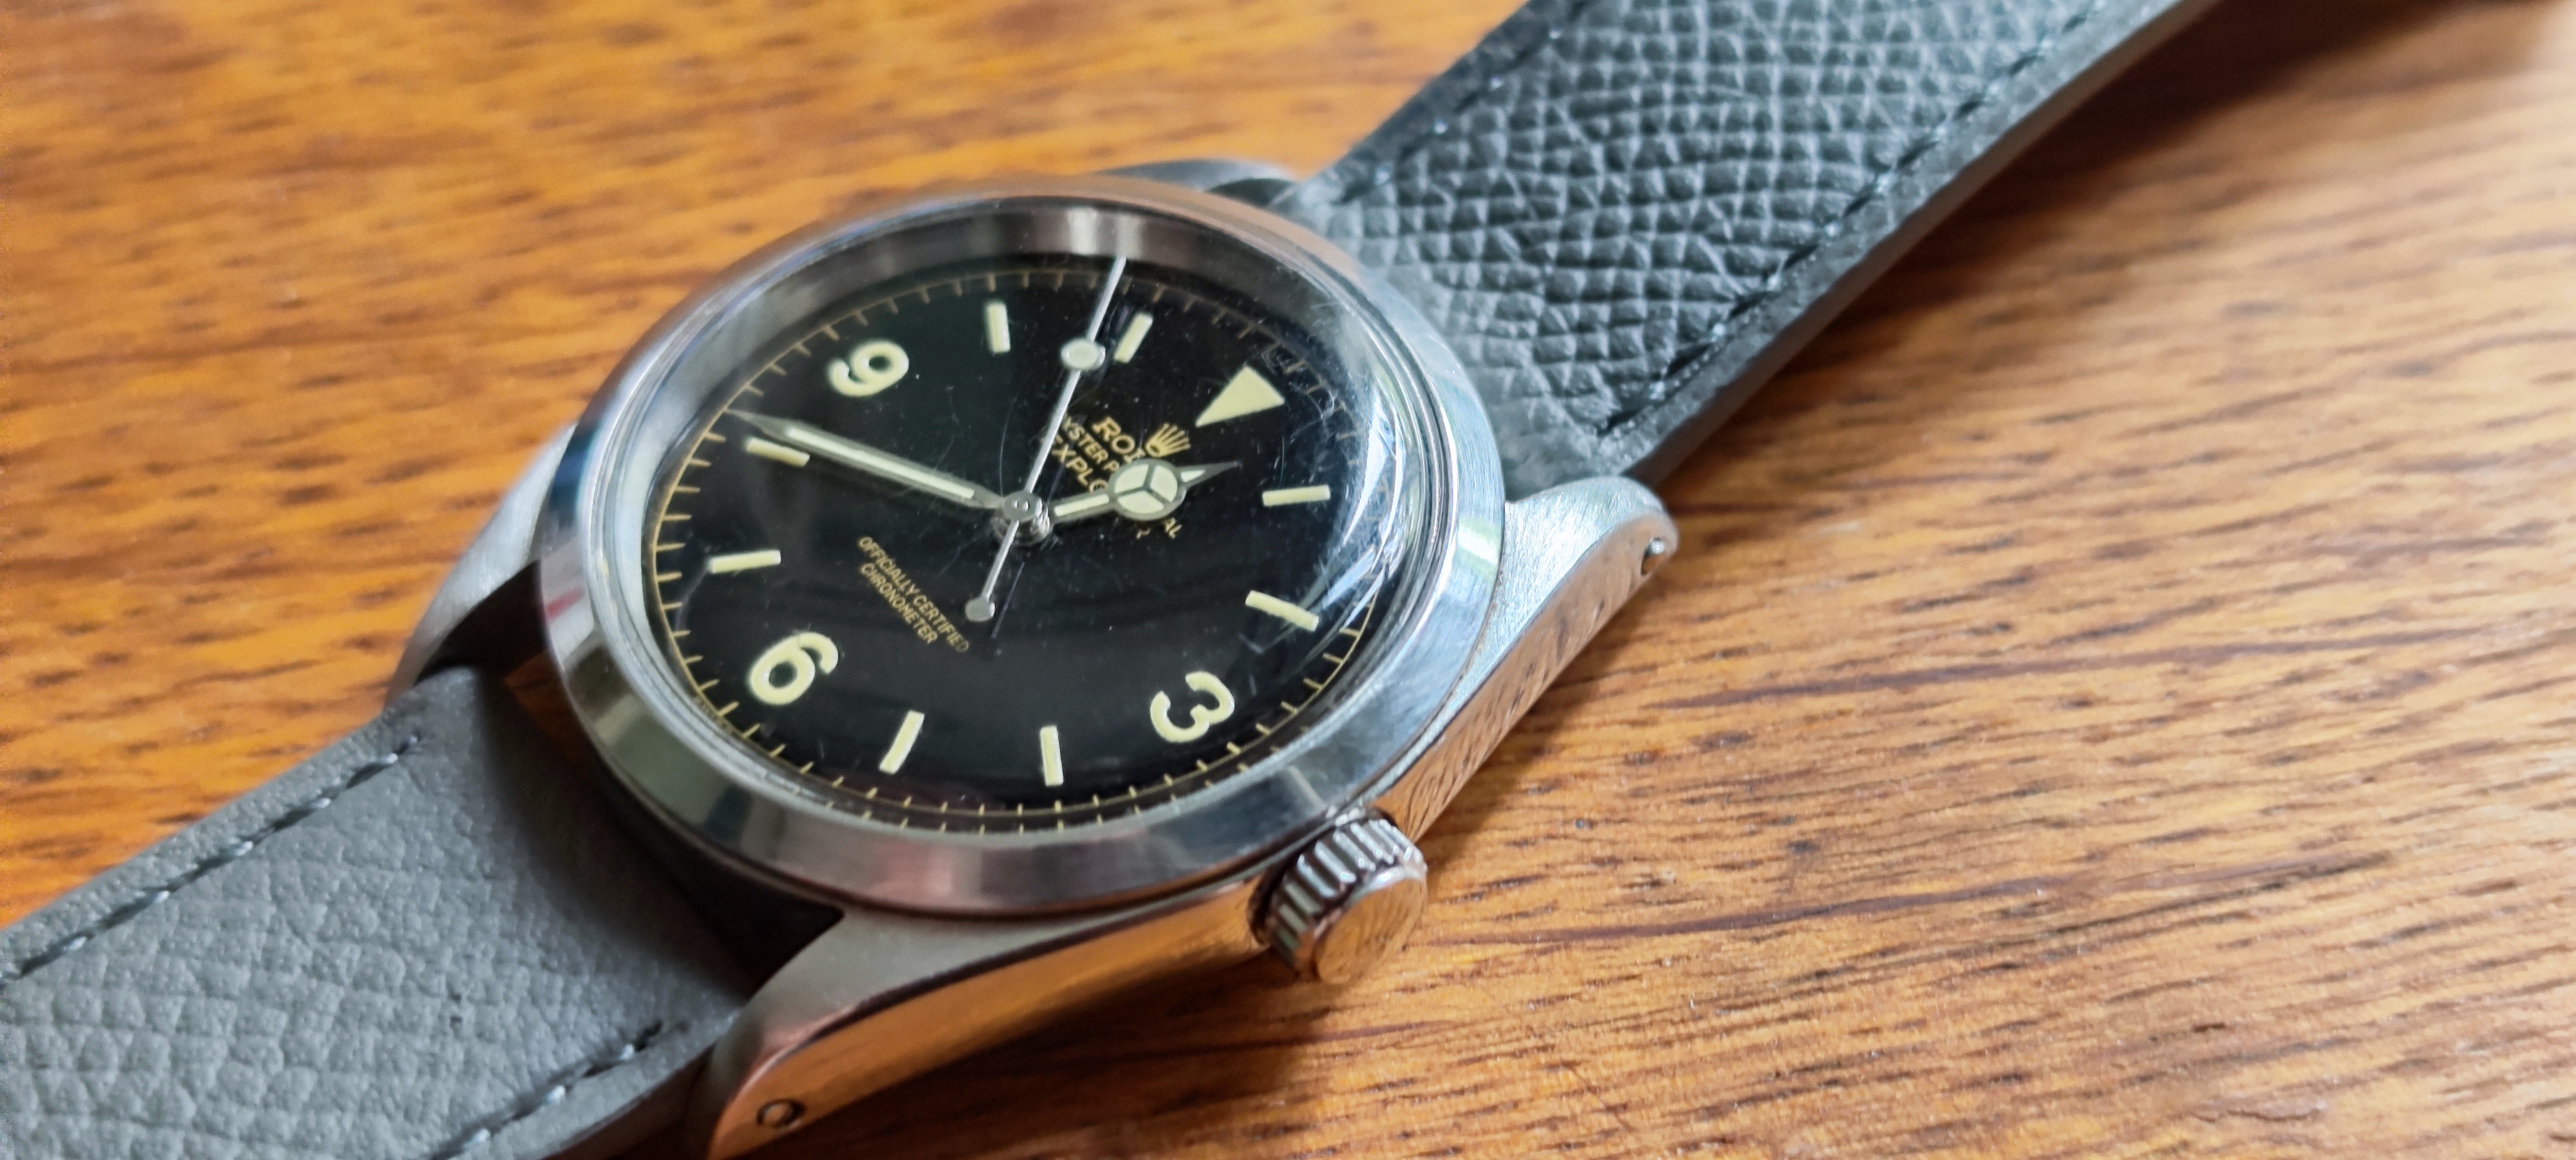
For some reason, the hour hand is very close to the dial. It looks to me that I might have gotten a movement with a short hour wheel
The hand moves no problem.
Any idea why such a thing could happen, beyond of course the obvious hour wheel?
I am thinking of buying an hour wheel but I don’t know what’s the standard height
Thanks !
maybe the dial wasn't seated flush against the movement ?Hi from Canada where I am still
Missing my bench a lot
I was thinking about my latest 1016 build home
For some reason, the hour hand is very close to the dial. It looks to me that I might have gotten a movement with a short hour wheel
The hand moves no problem.
Any idea why such a thing could happen, beyond of course the obvious hour wheel?
I am thinking of buying an hour wheel but I don’t know what’s the standard height
Thanks !
Bonjour au Montreal!!
What movement did you use?Hi from Canada where I am still
Missing my bench a lot
I was thinking about my latest 1016 build home
For some reason, the hour hand is very close to the dial. It looks to me that I might have gotten a movement with a short hour wheel
The hand moves no problem.
Any idea why such a thing could happen, beyond of course the obvious hour wheel?
I am thinking of buying an hour wheel but I don’t know what’s the standard height
Thanks !
2824What movement did you use?
A Seagull ST2130 to be precise
Last edited:
Hum, I'd be looking to make sure I've seated the dial feet correctly. The hour hand is set low - so is the minute, but there should be sufficient clearance there without having to resort to getting a High-Hand (H4) Pinion.2824
A Seagull ST2130 to be precise
Pardon our interruption...
www.ebay.co.uk
Hum, I'd be looking to make sure I've seated the dial feet correctly. The hour hand is set low - so is the minute, but there should be sufficient clearance there without having to resort to getting a High-Hand (H4) Pinion.
Pardon our interruption...
www.ebay.co.uk
I will check when back home
Thanks !!!
nomorebigideas
Getting To Know The Place
- 8/4/24
- 39
- 42
- 18
Where did you find thar handset? I've got Cousins' on mine 6610; they're not bad but, as usual, the seconds hand is isn't a lollipop version, the hour hand is too long, and the minute too short.
Project 6350, case, hands and dial all Raffles, replaced plexy with T21 and bezel with one from 1016 lover ( great one IMO)
enlarged the holes on the lugs to 1.3, aged the case and dial a little, replaced the crown with Athaya tube and crown and used a top quality riveted bracelet from Vietnam ( cost more than the whole project ...!!) lastly I replaced the case back with one I had semi-bubbleback, from a previous project ( taken on aliexpress) overall I'm quite happy, your opinion?
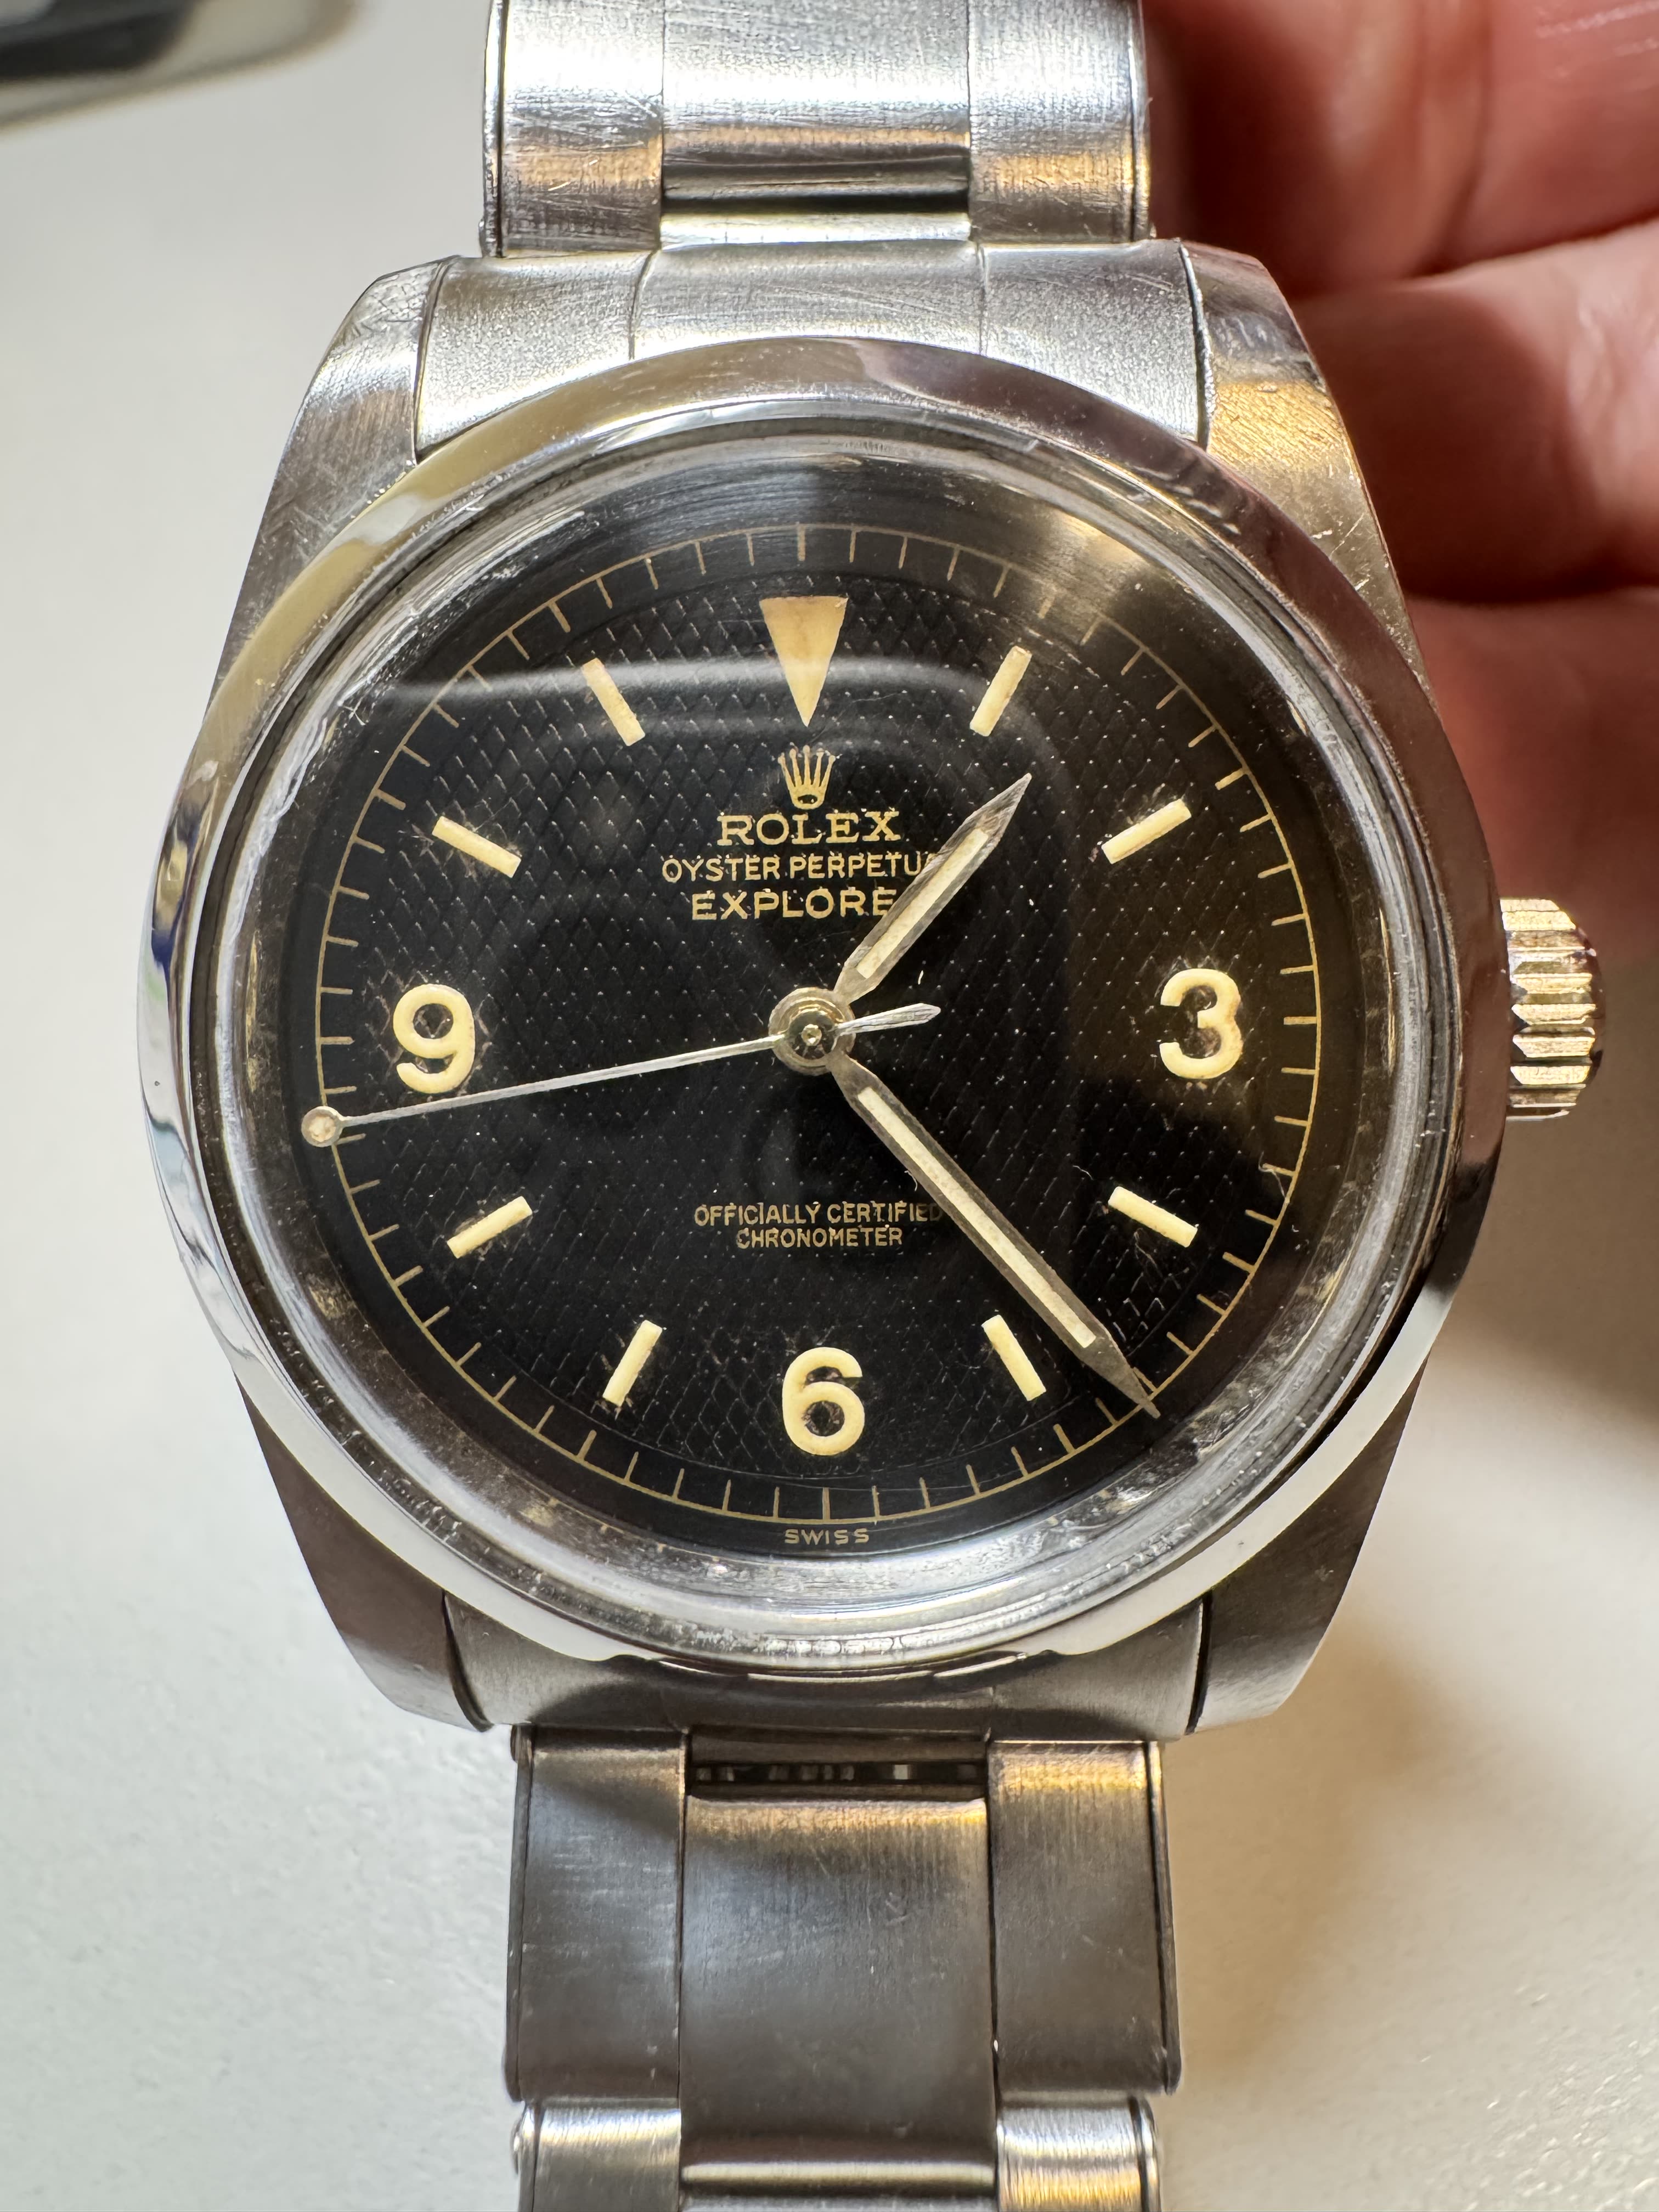
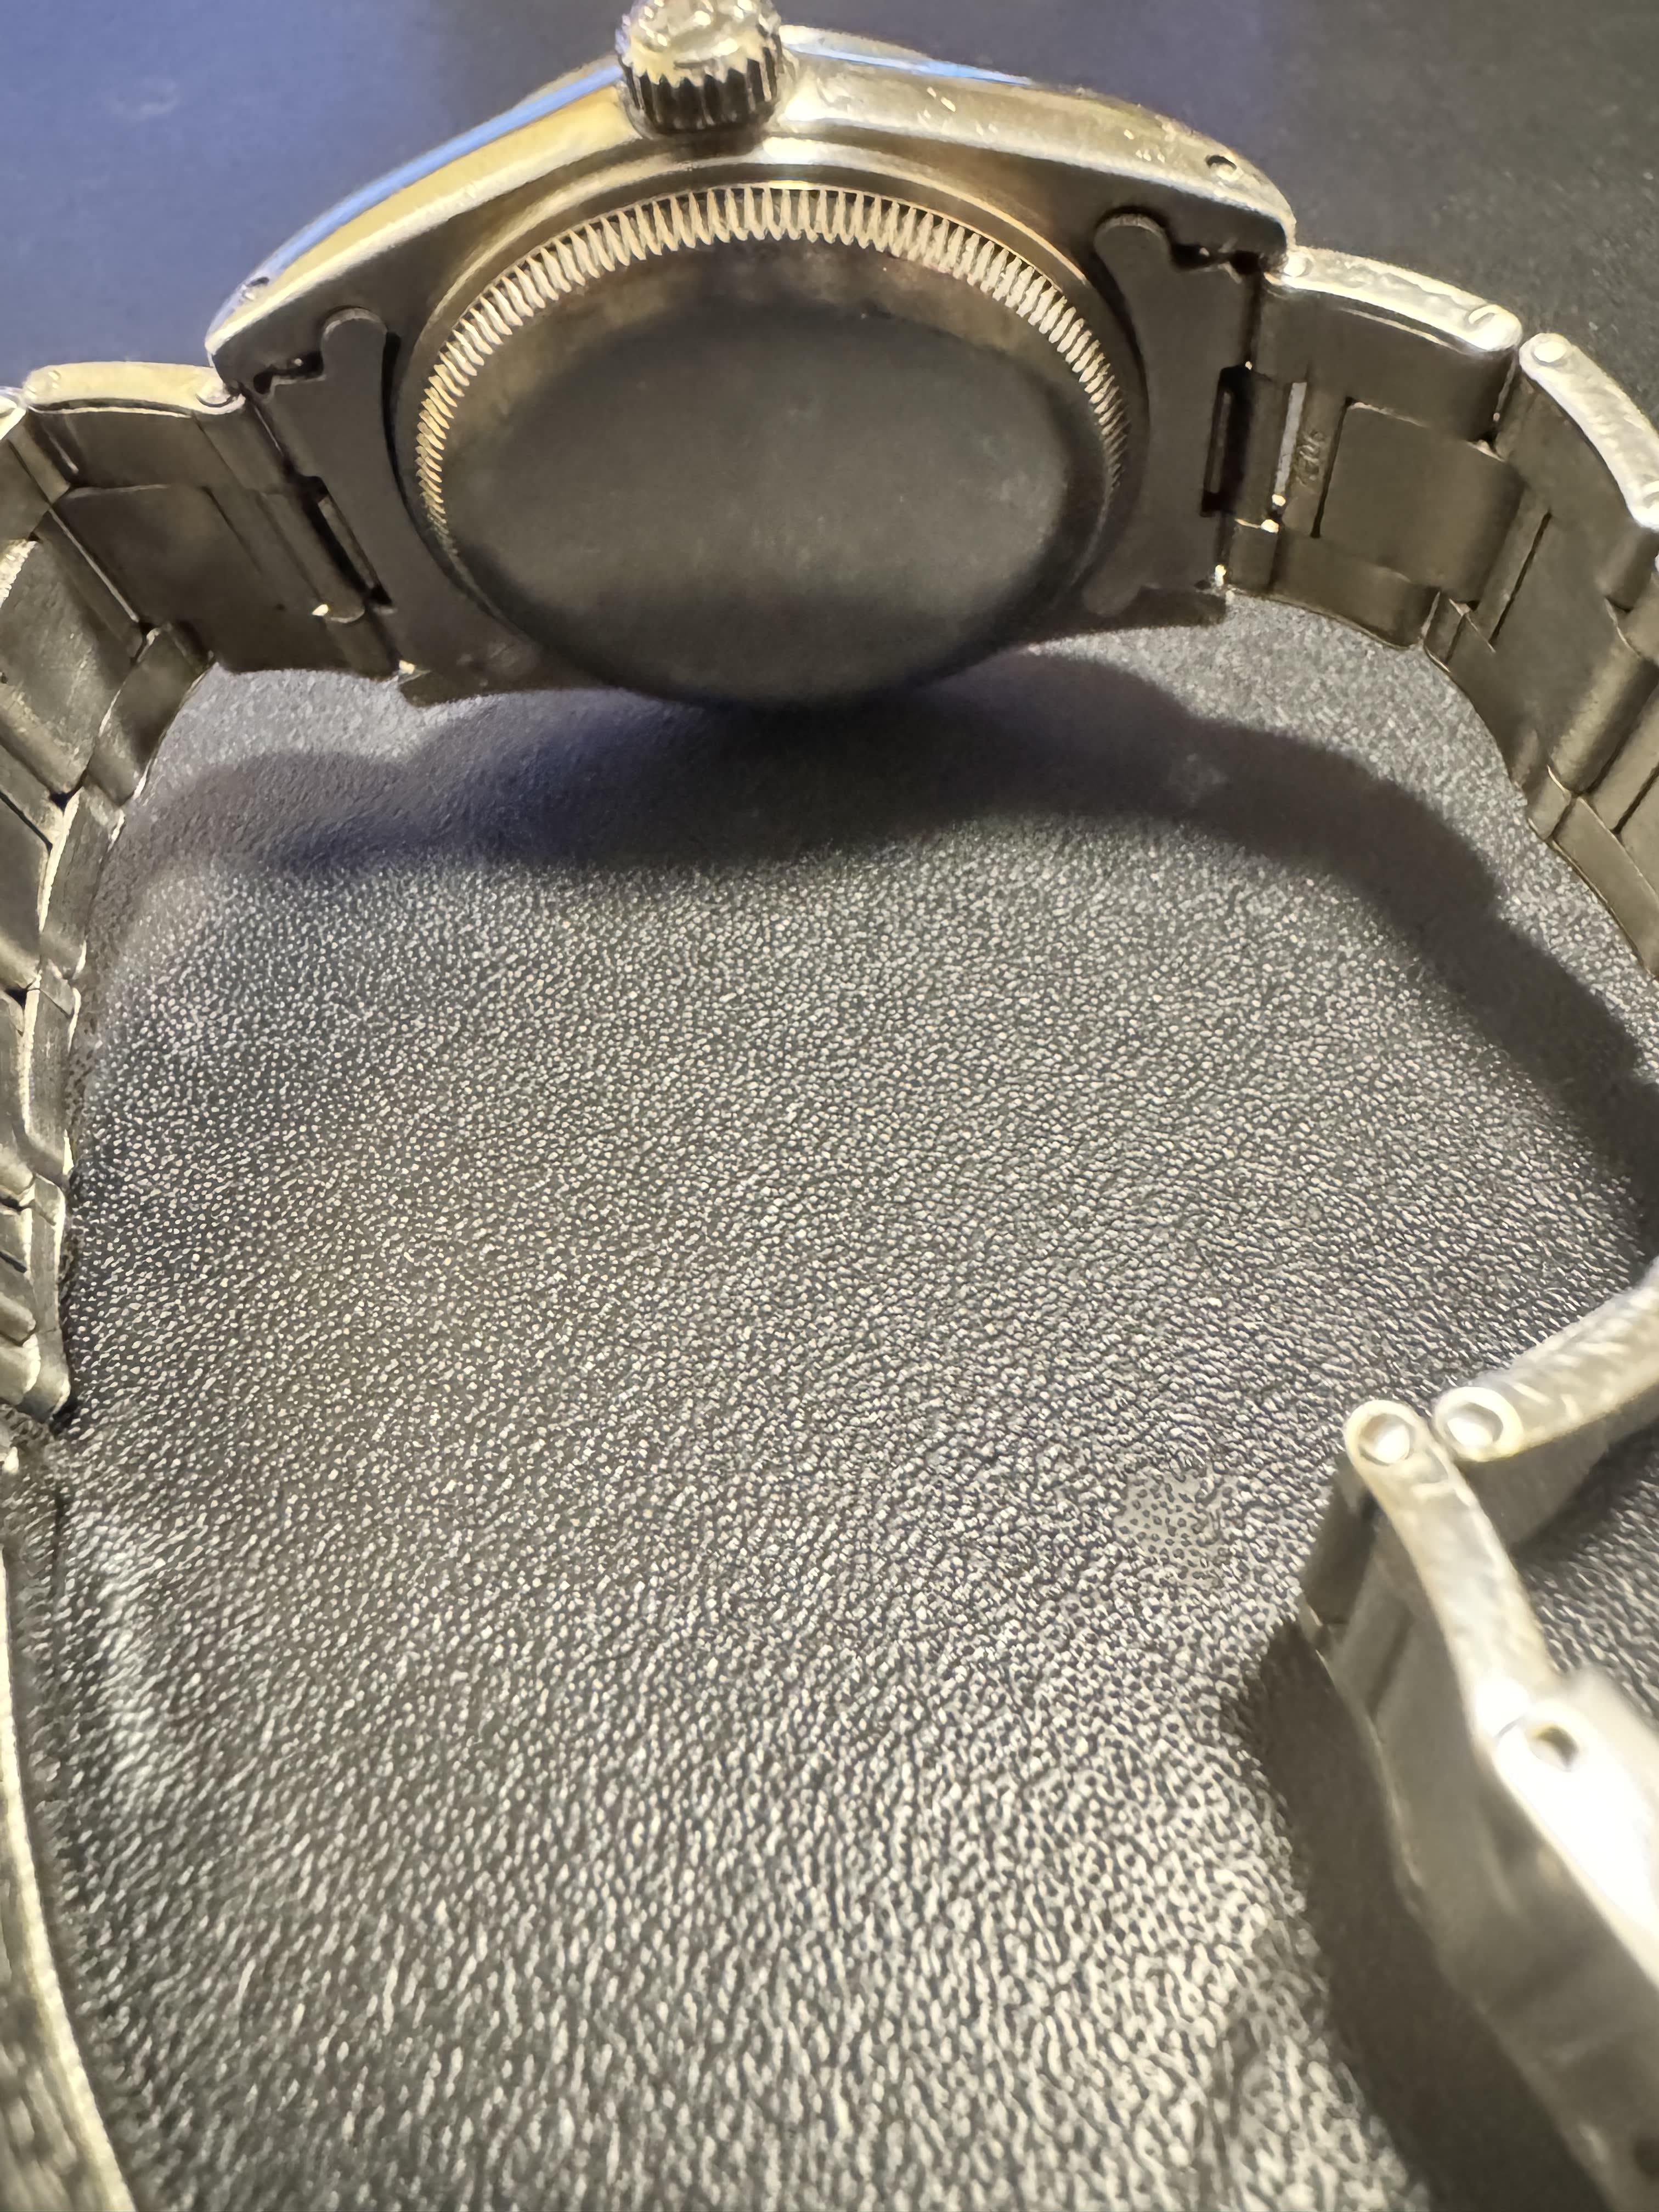
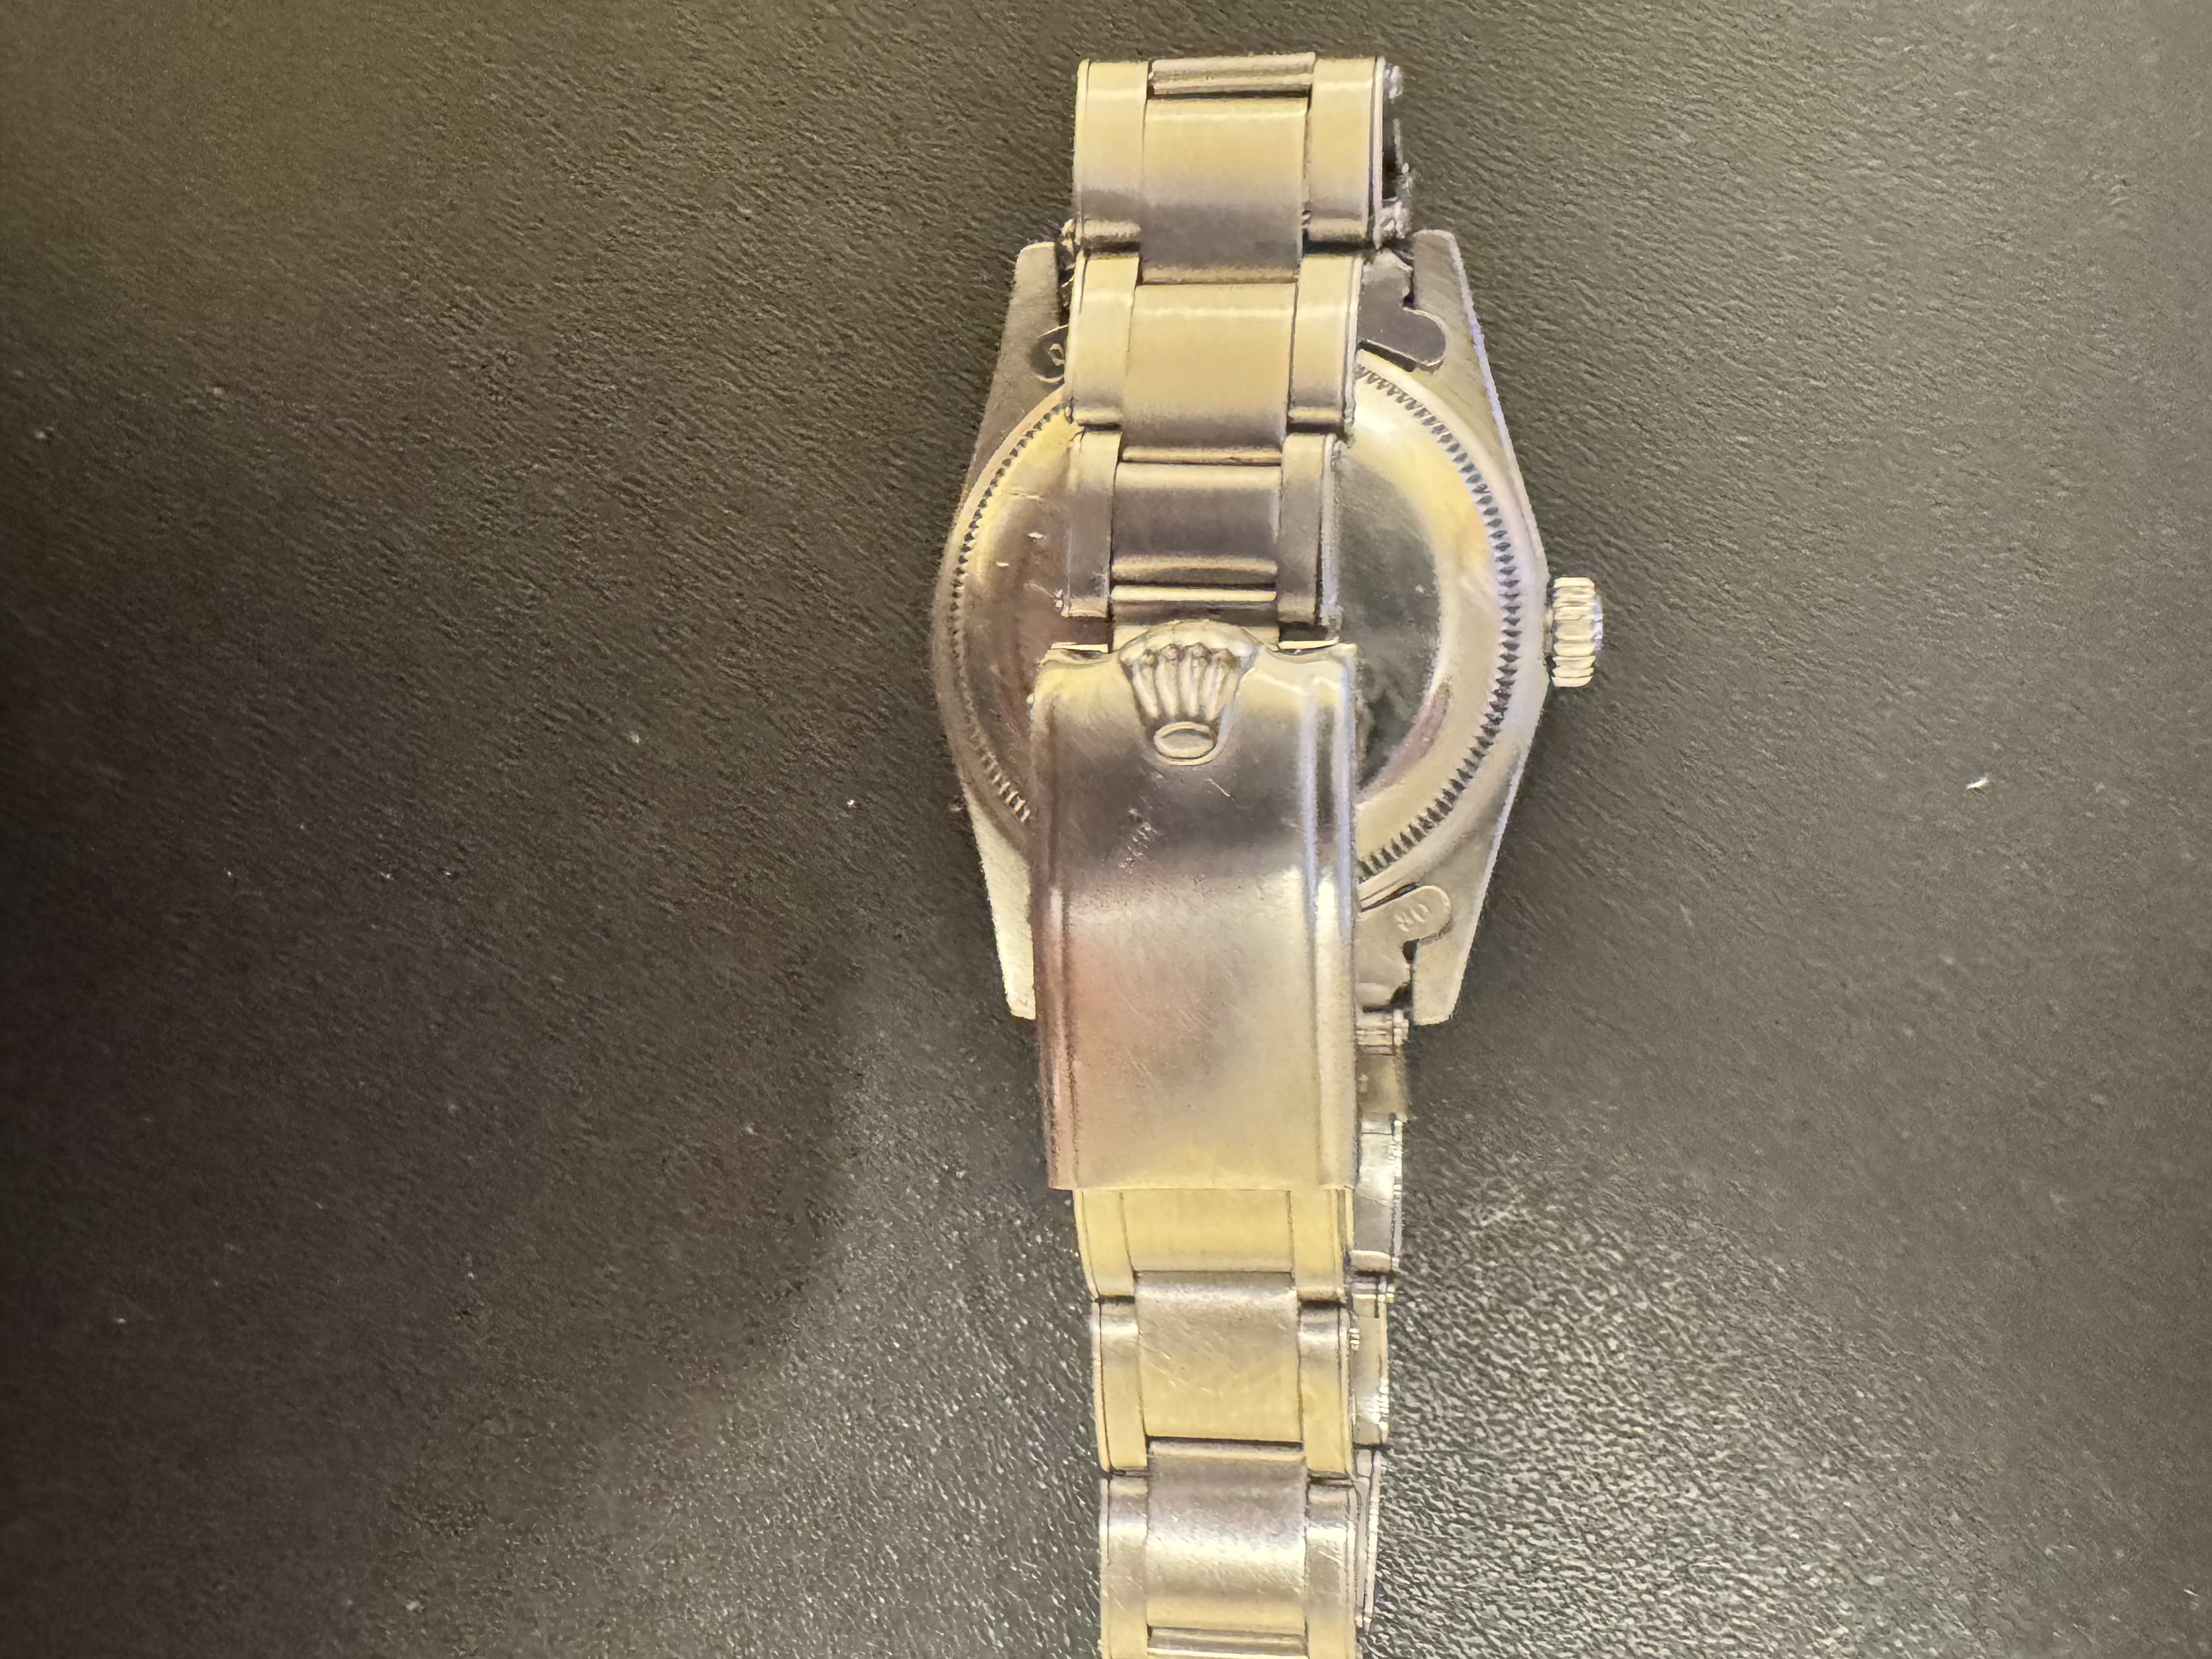
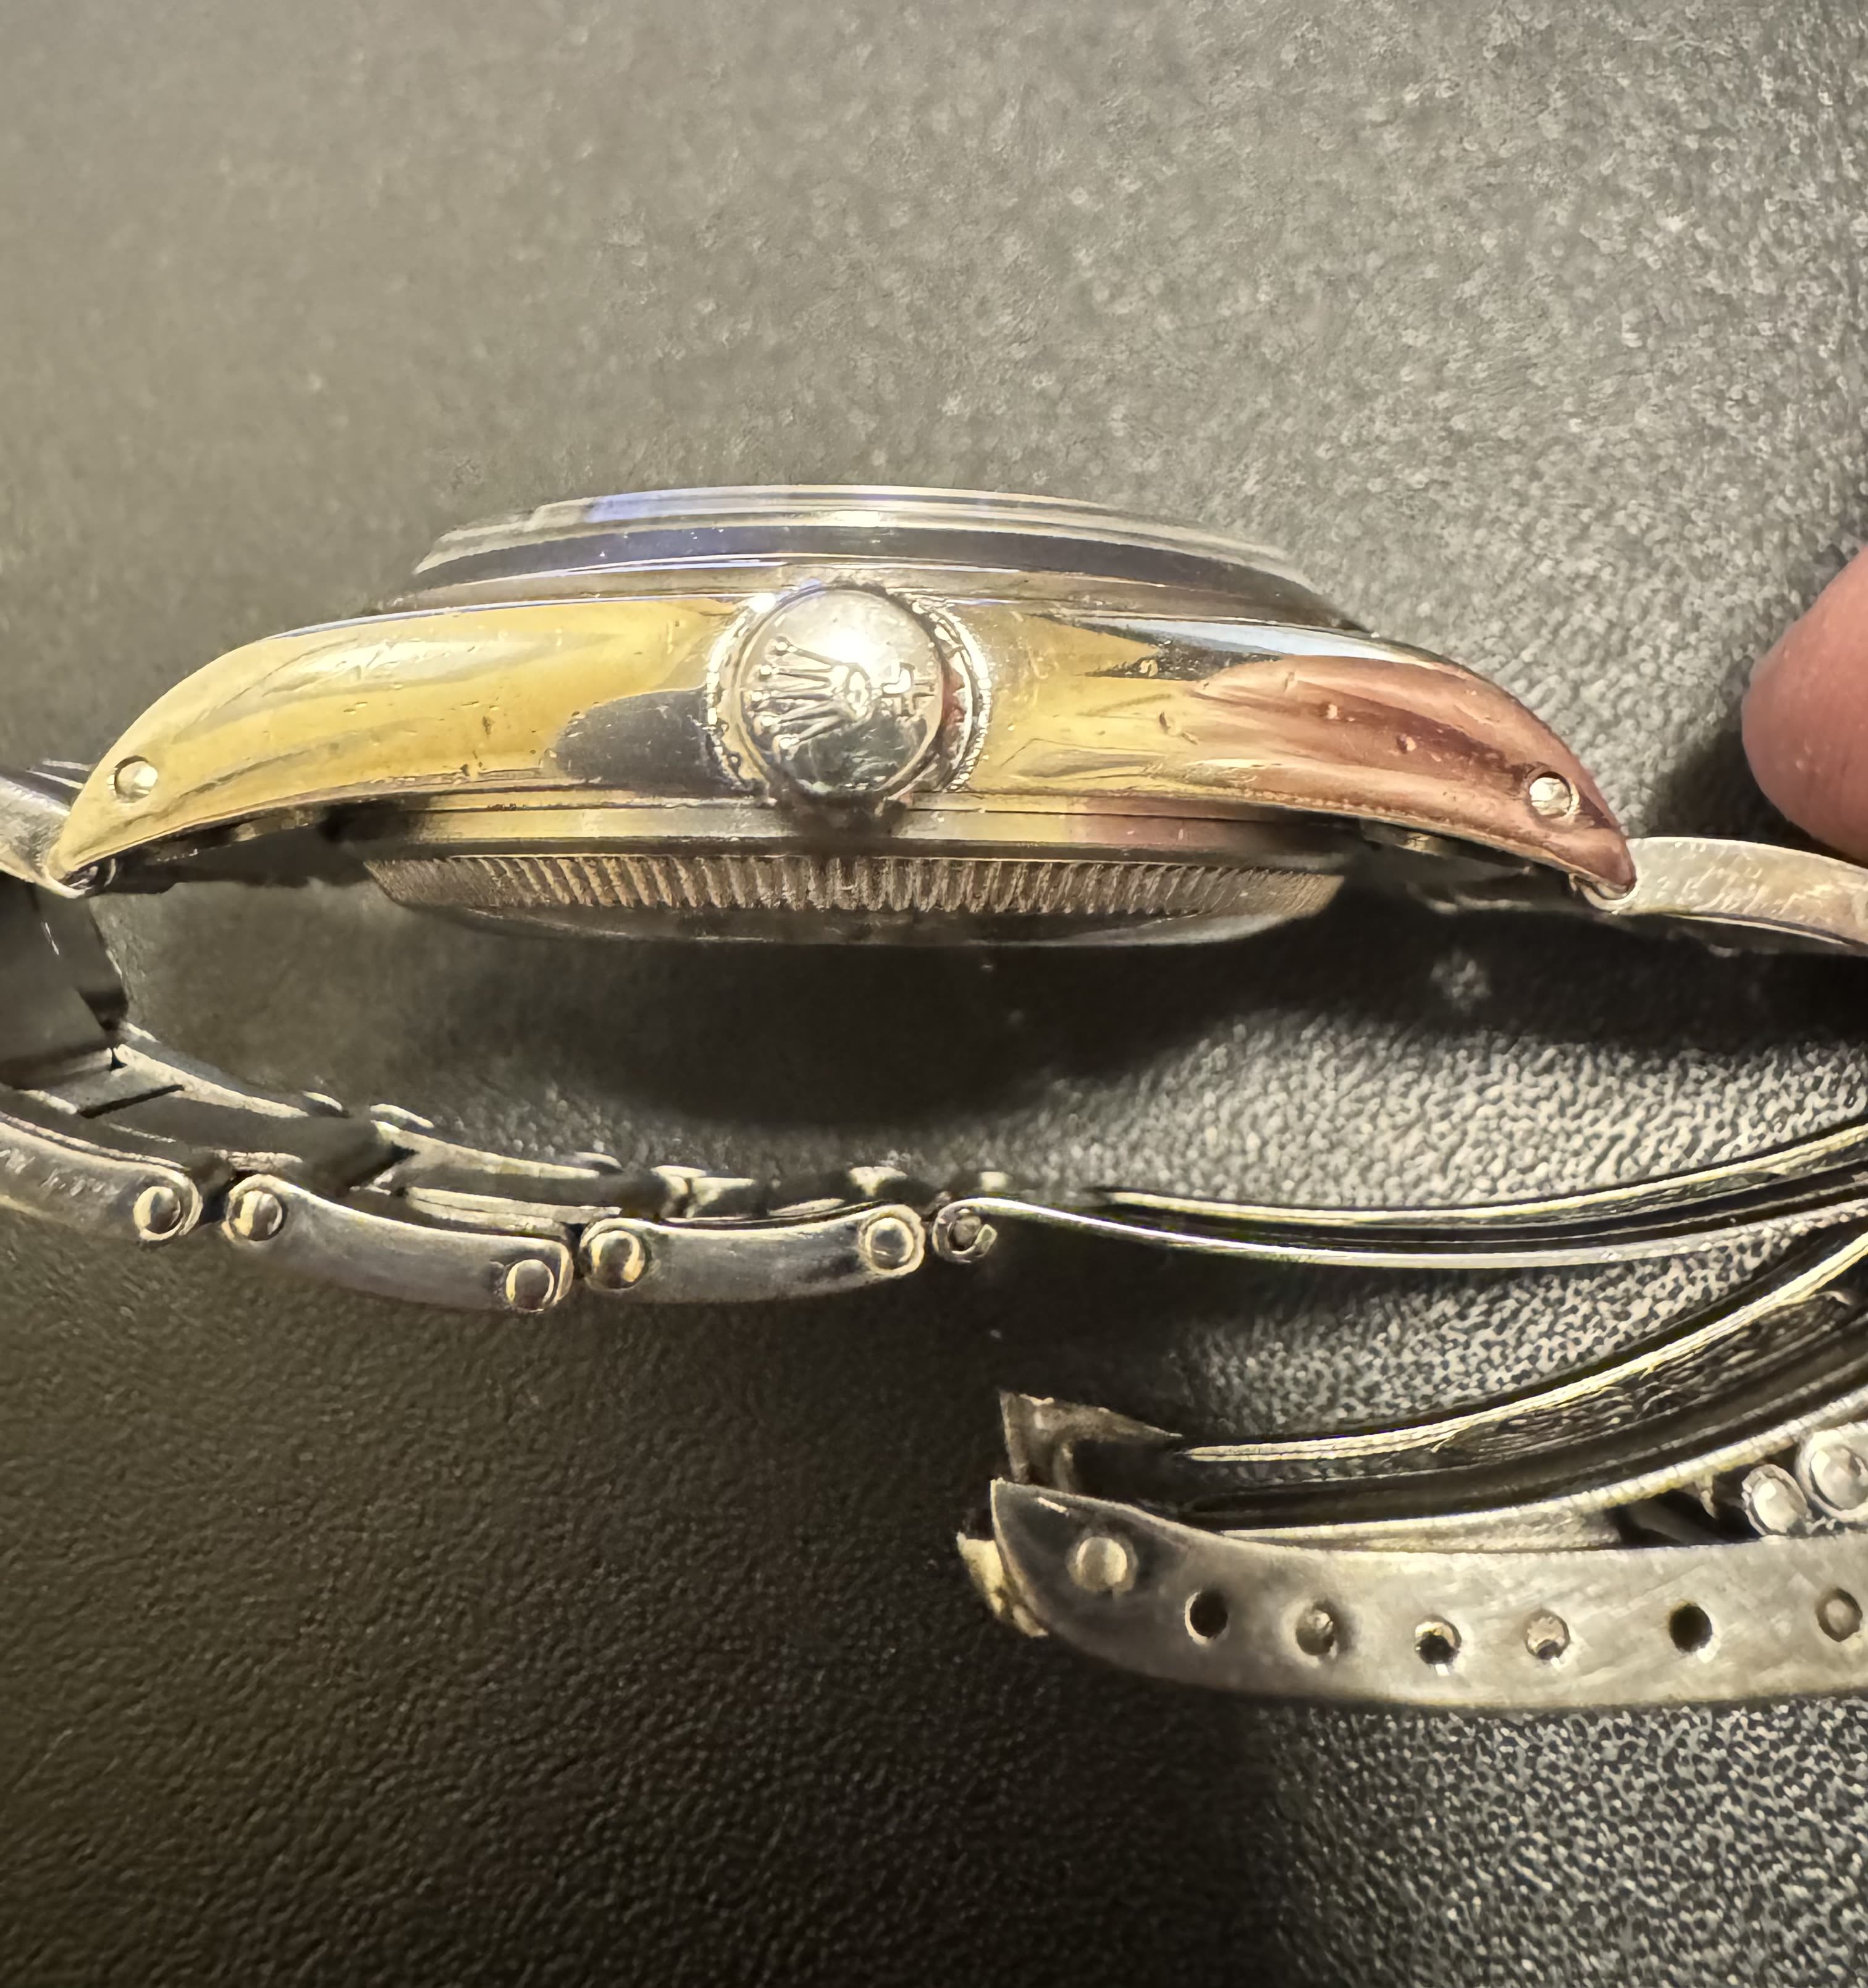
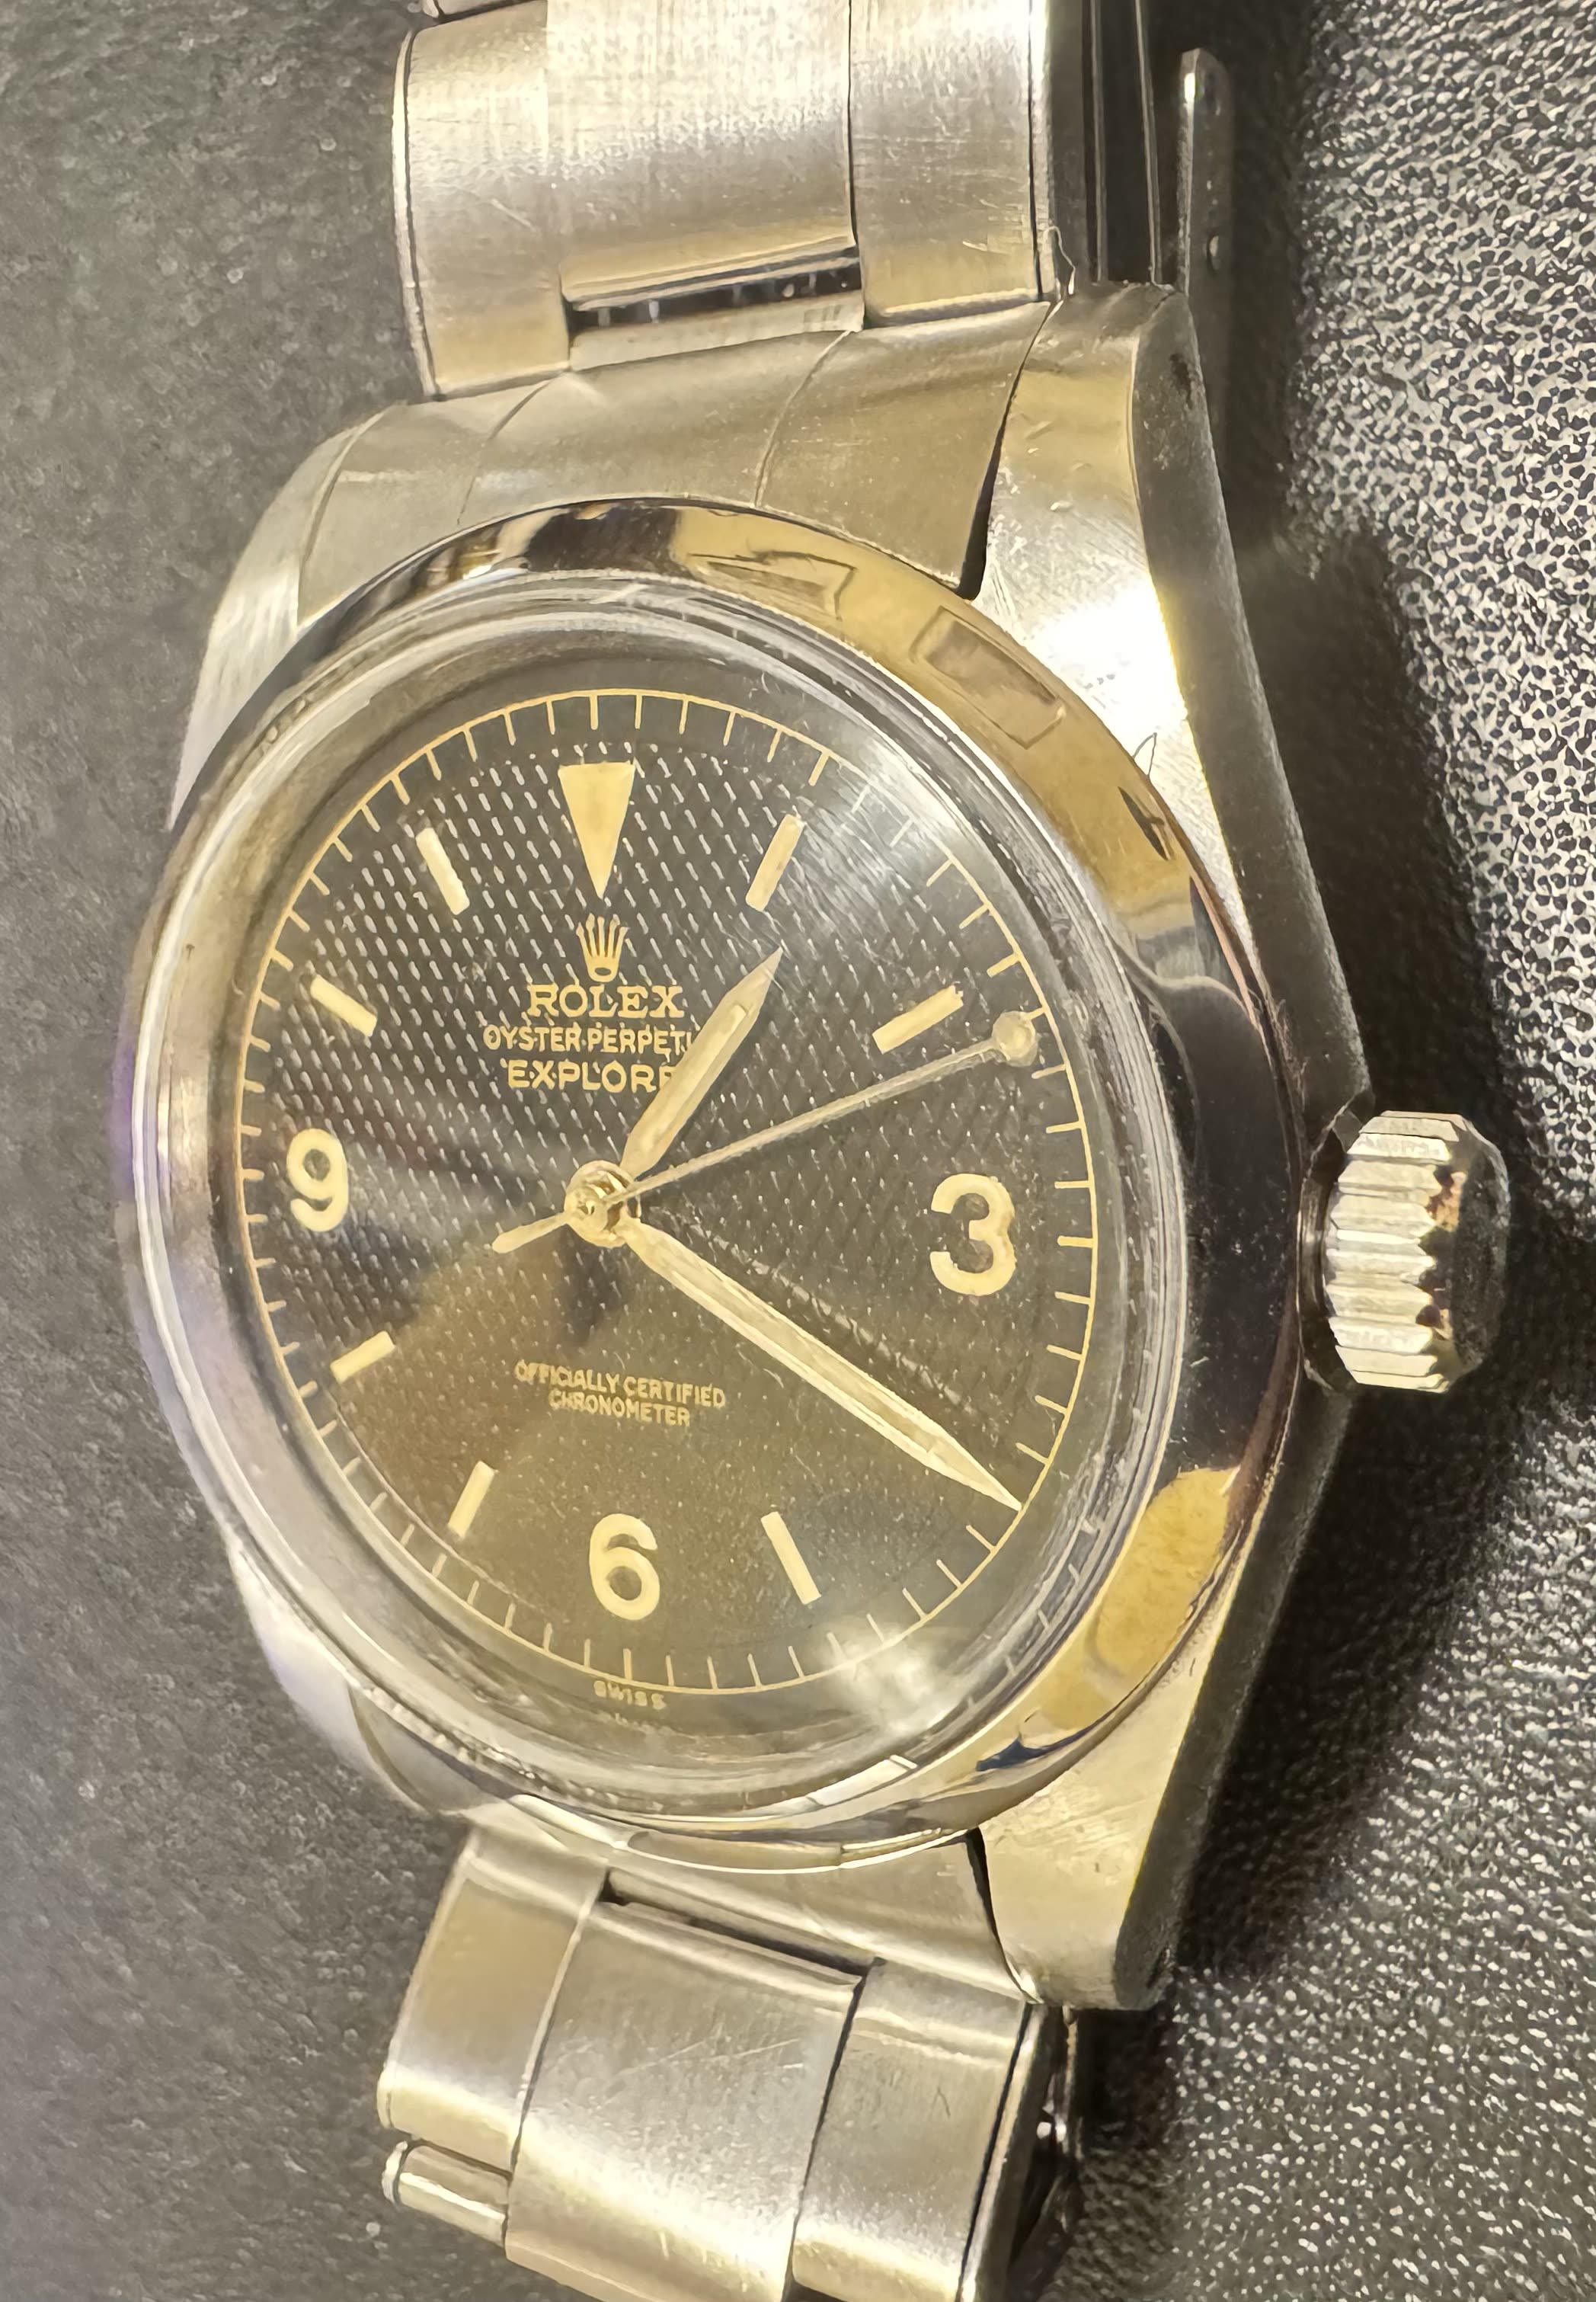
enlarged the holes on the lugs to 1.3, aged the case and dial a little, replaced the crown with Athaya tube and crown and used a top quality riveted bracelet from Vietnam ( cost more than the whole project ...!!) lastly I replaced the case back with one I had semi-bubbleback, from a previous project ( taken on aliexpress) overall I'm quite happy, your opinion?


Good ageing on the case and bracelet. I'd be tempted to beat the bezel up a bit more so that it falls in line with the general look of wear and tear.
Nice... you have done all of the essential work. These tend to get better the more you age and abuse them, thoughProject 6350, case, hands and dial all Raffles, replaced plexy with T21 and bezel with one from 1016 lover ( great one IMO)
enlarged the holes on the lugs to 1.3, aged the case and dial a little, replaced the crown with Athaya tube and crown and used a top quality riveted bracelet from Vietnam ( cost more than the whole project ...!!) lastly I replaced the case back with one I had semi-bubbleback, from a previous project ( taken on aliexpress) overall I'm quite happy, your opinion?


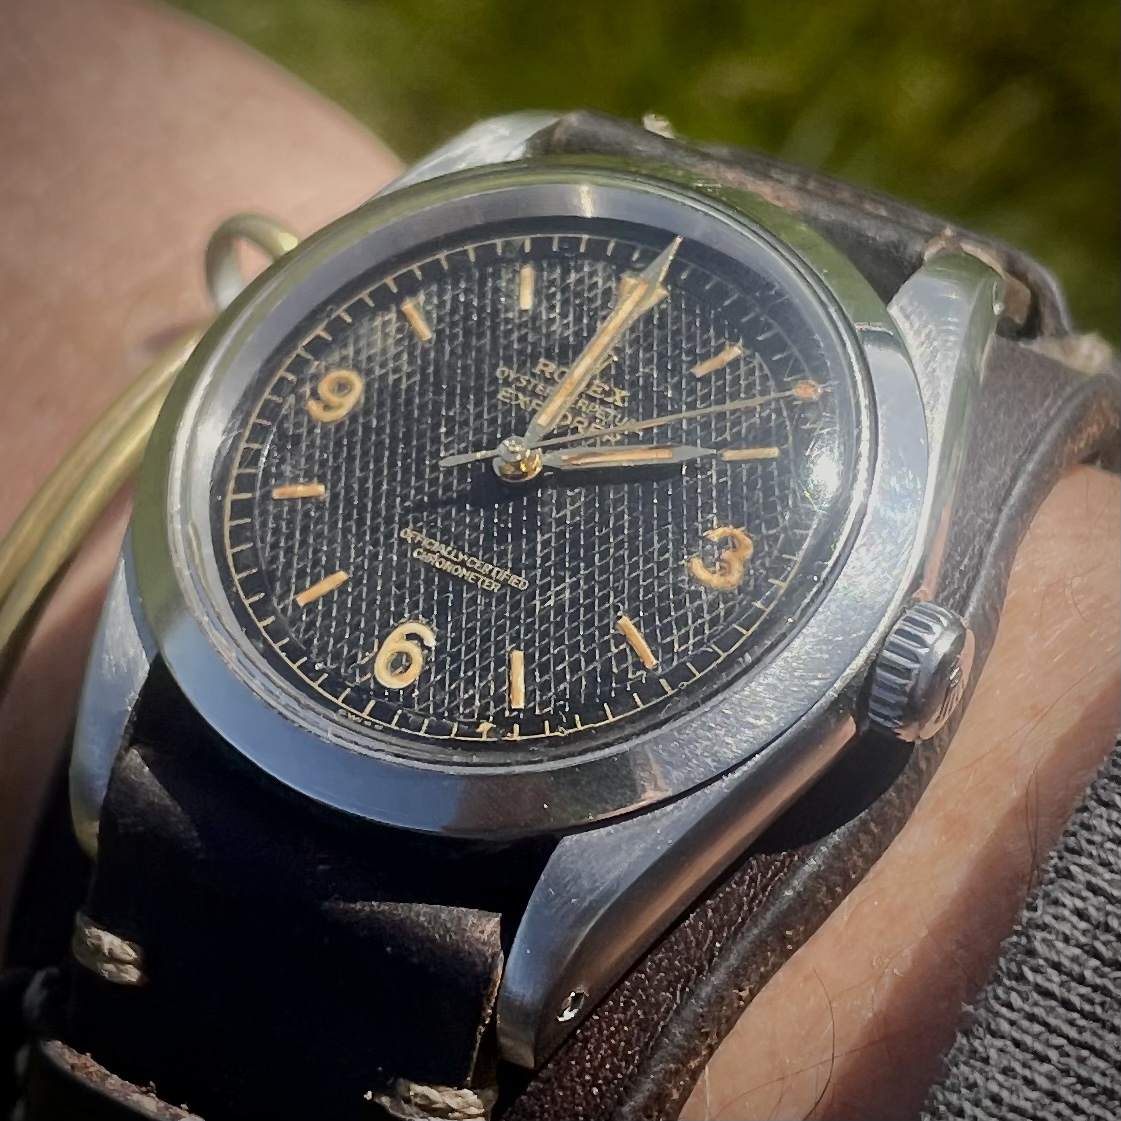
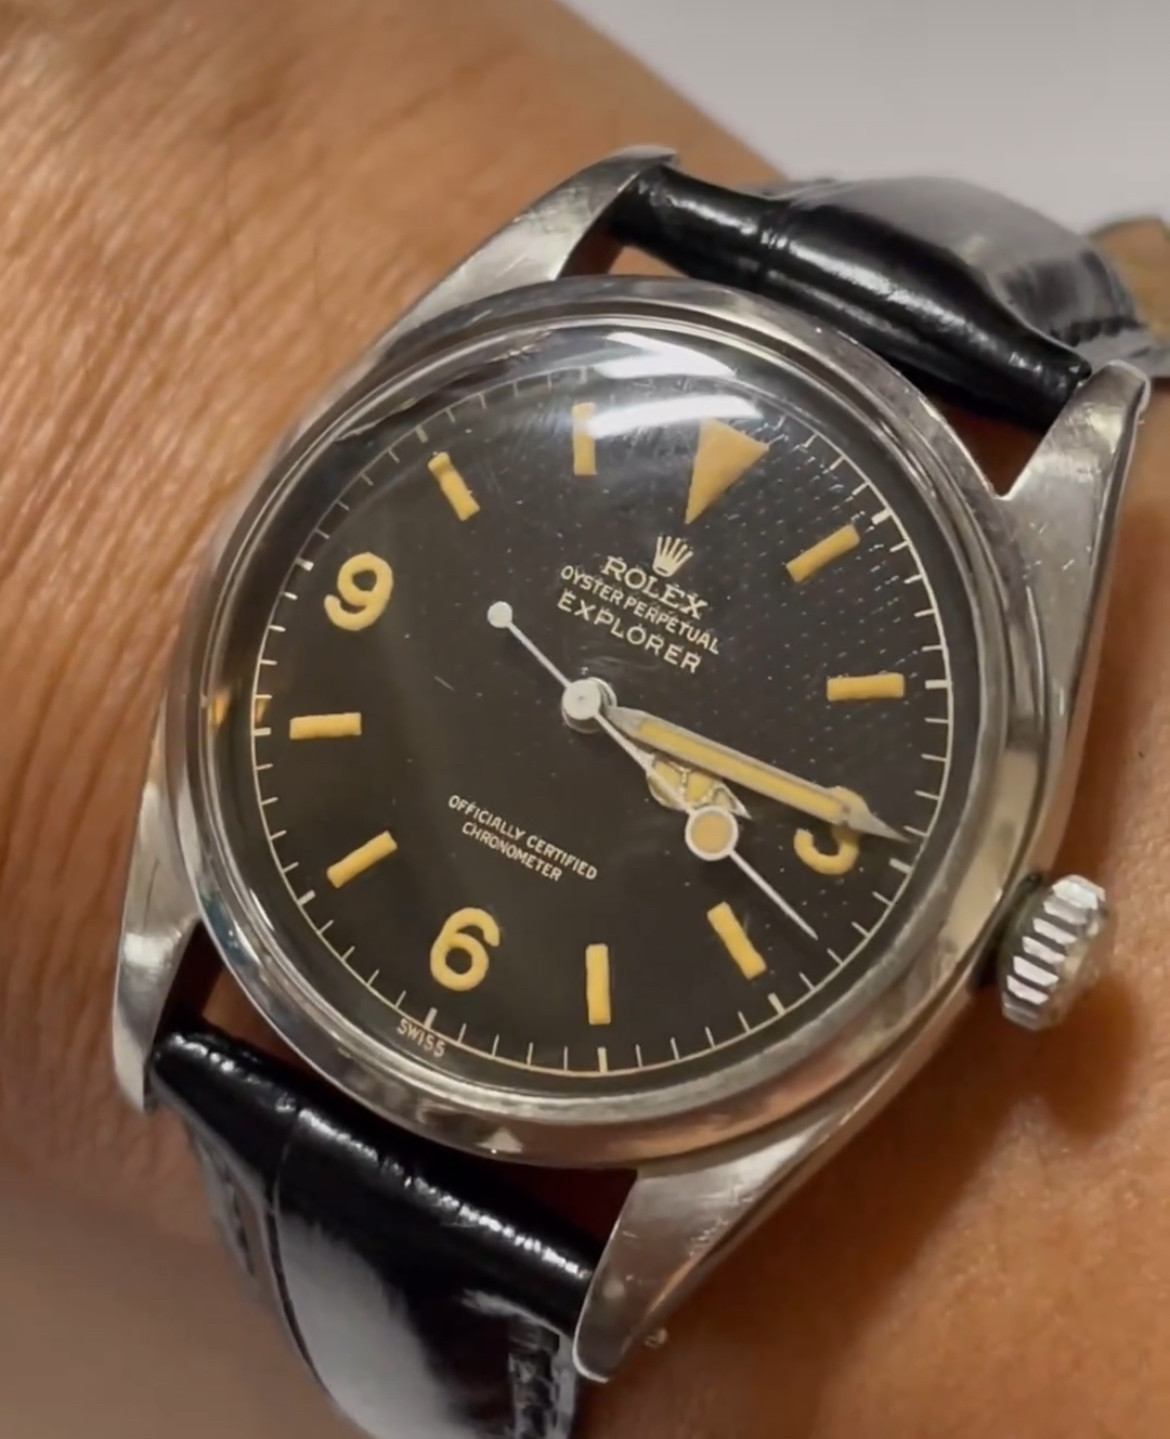
Dang. That minute hand is a beast! Was hoping you could tell me where you bought it. It screams 1960s.Not mine. Saw that on Kuared’s insta

