• Tired of adverts on RWI? - Subscribe by clicking HERE and PMing Trailboss for instructions and they will magically go away!

The 1016: The Under Appreciated Thread

Karbon74

Pika Factory
Patron
Certified
5/5/23
10,563
20,809
113
EU - Kalos Region
Thanks @Action_Jensen and @1016_idiot_savant !

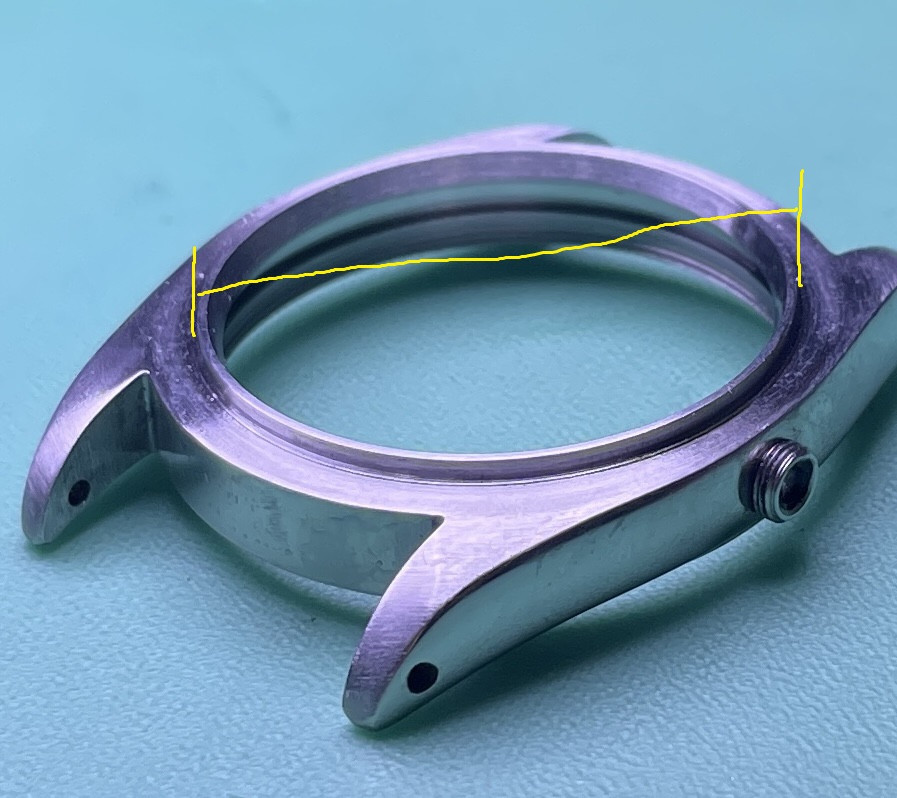
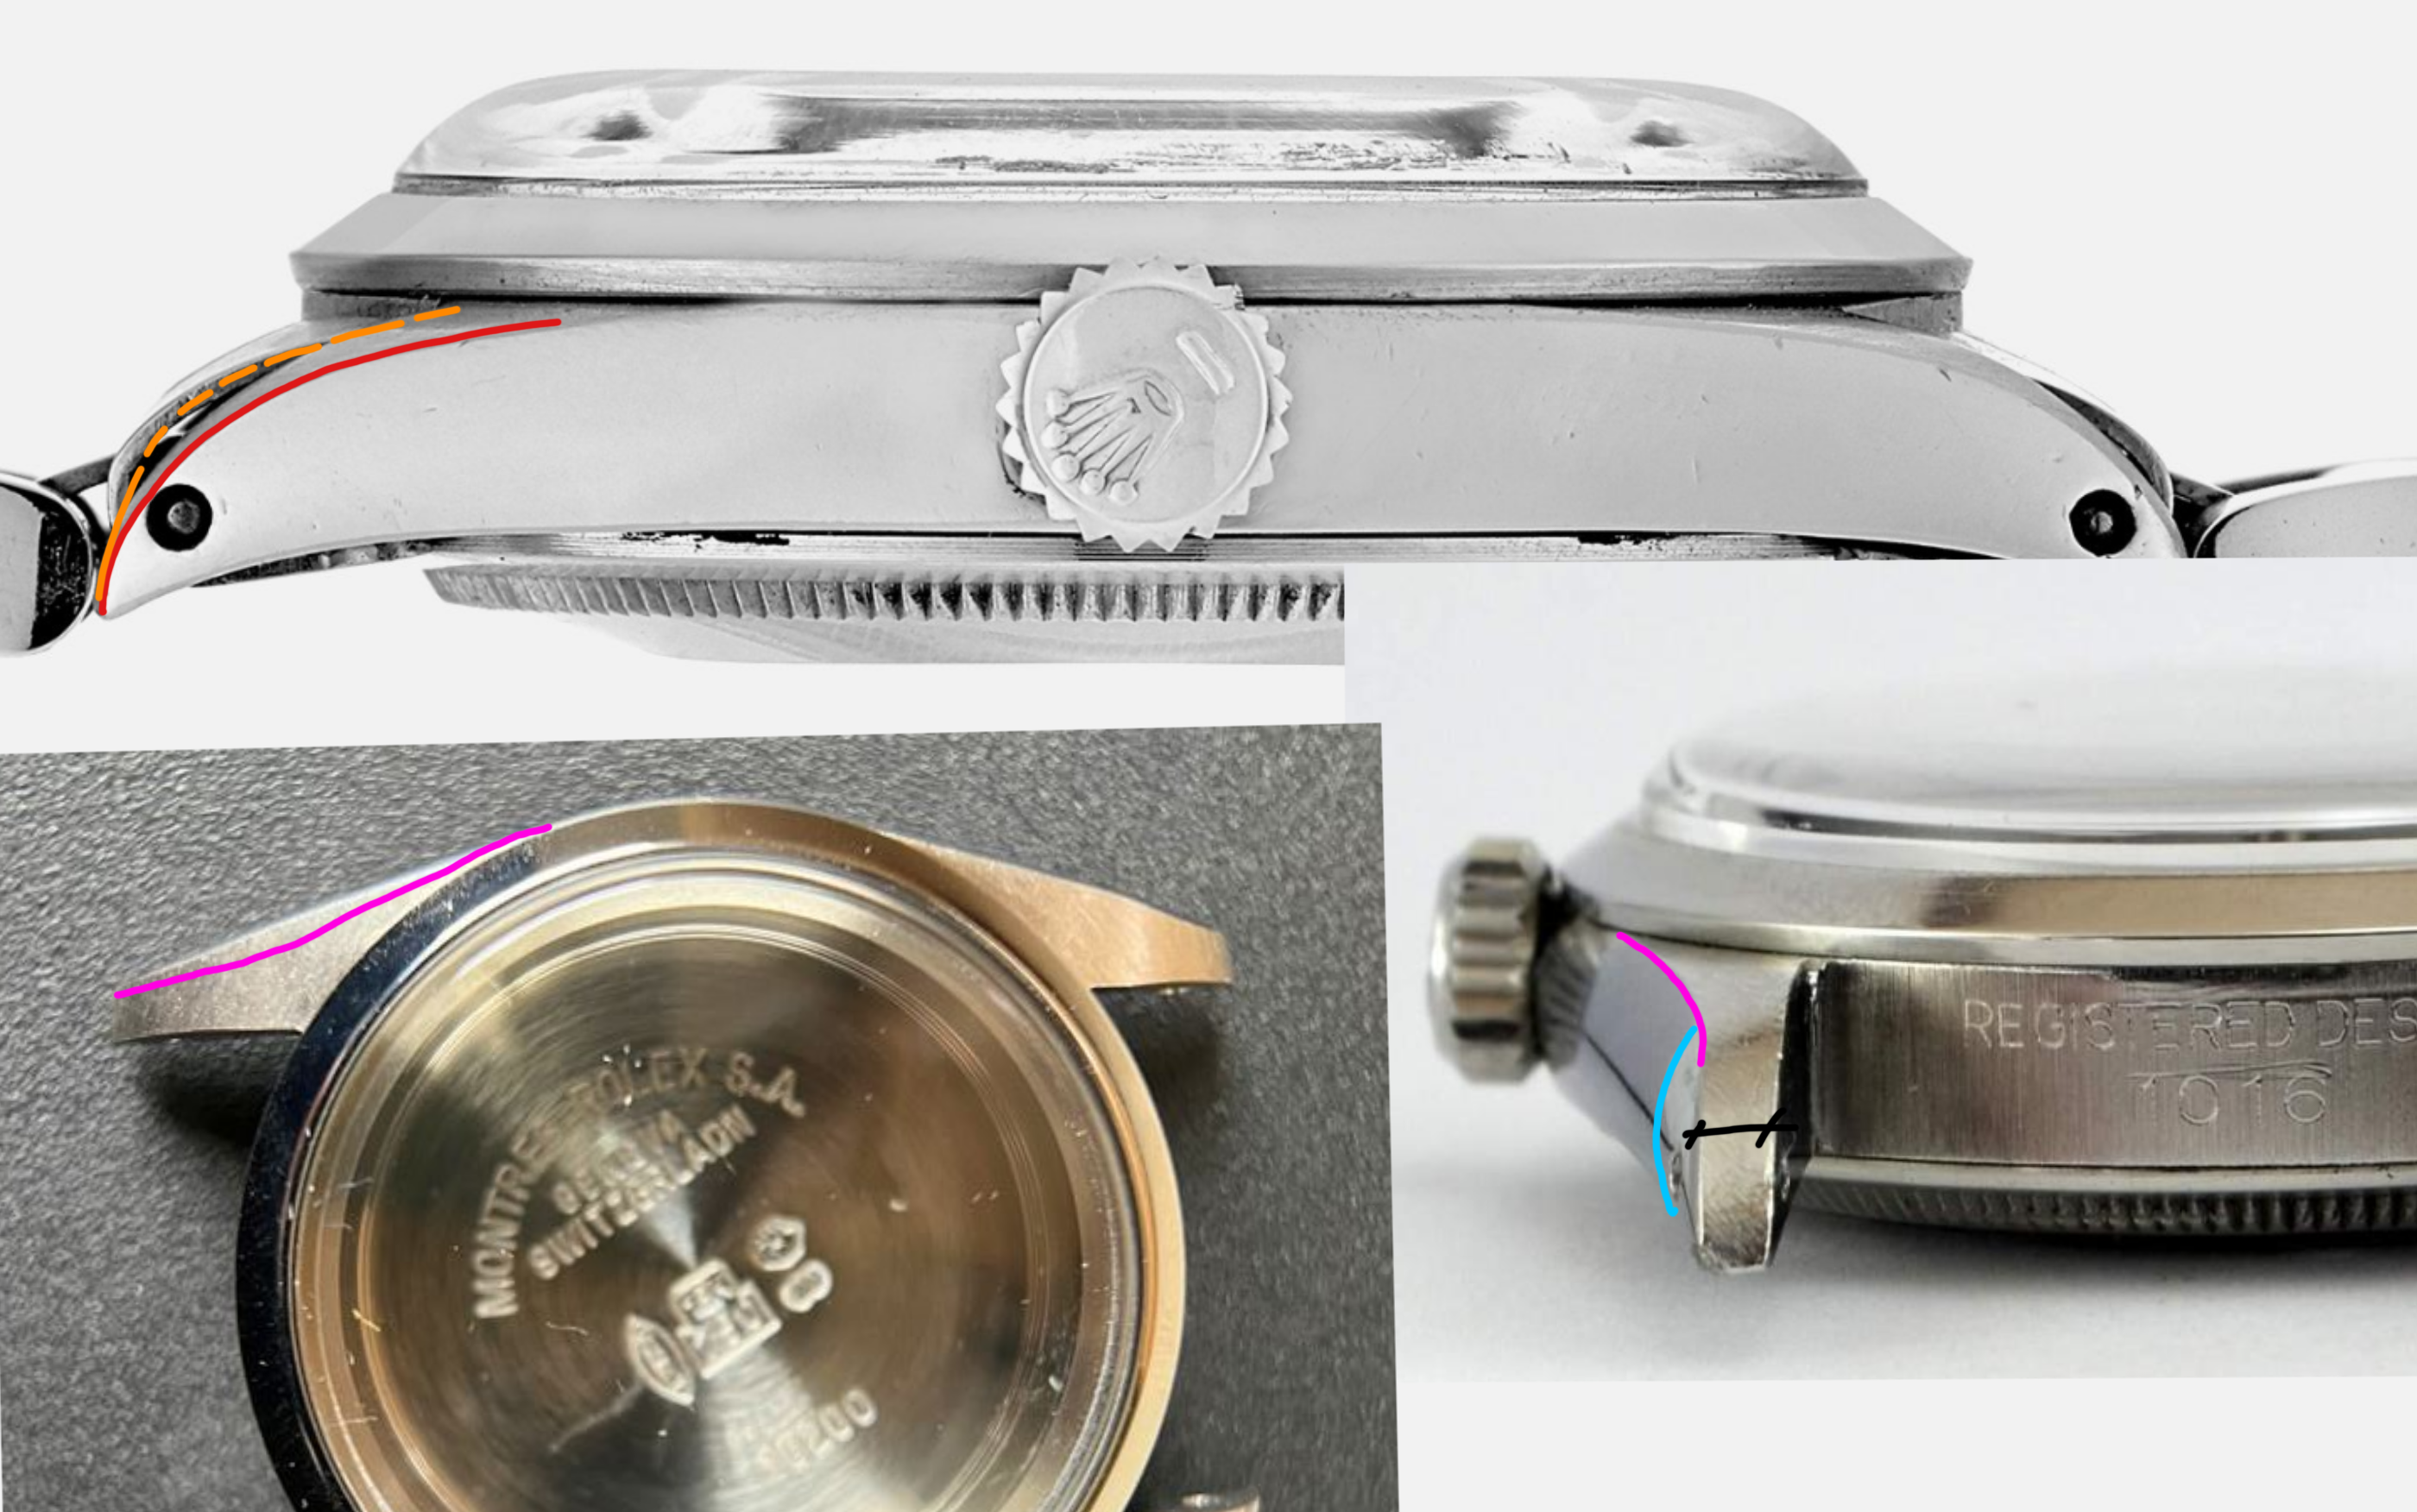
if I understood correctly, i should start at the top of the lugs (red line), and then try to slim down the lug flanks (purple) trying to give a little belly (blue).
you need to have the mid case completely naked before you do case work. also remove the tube

Use masking tape to cover up the inside of the midcase

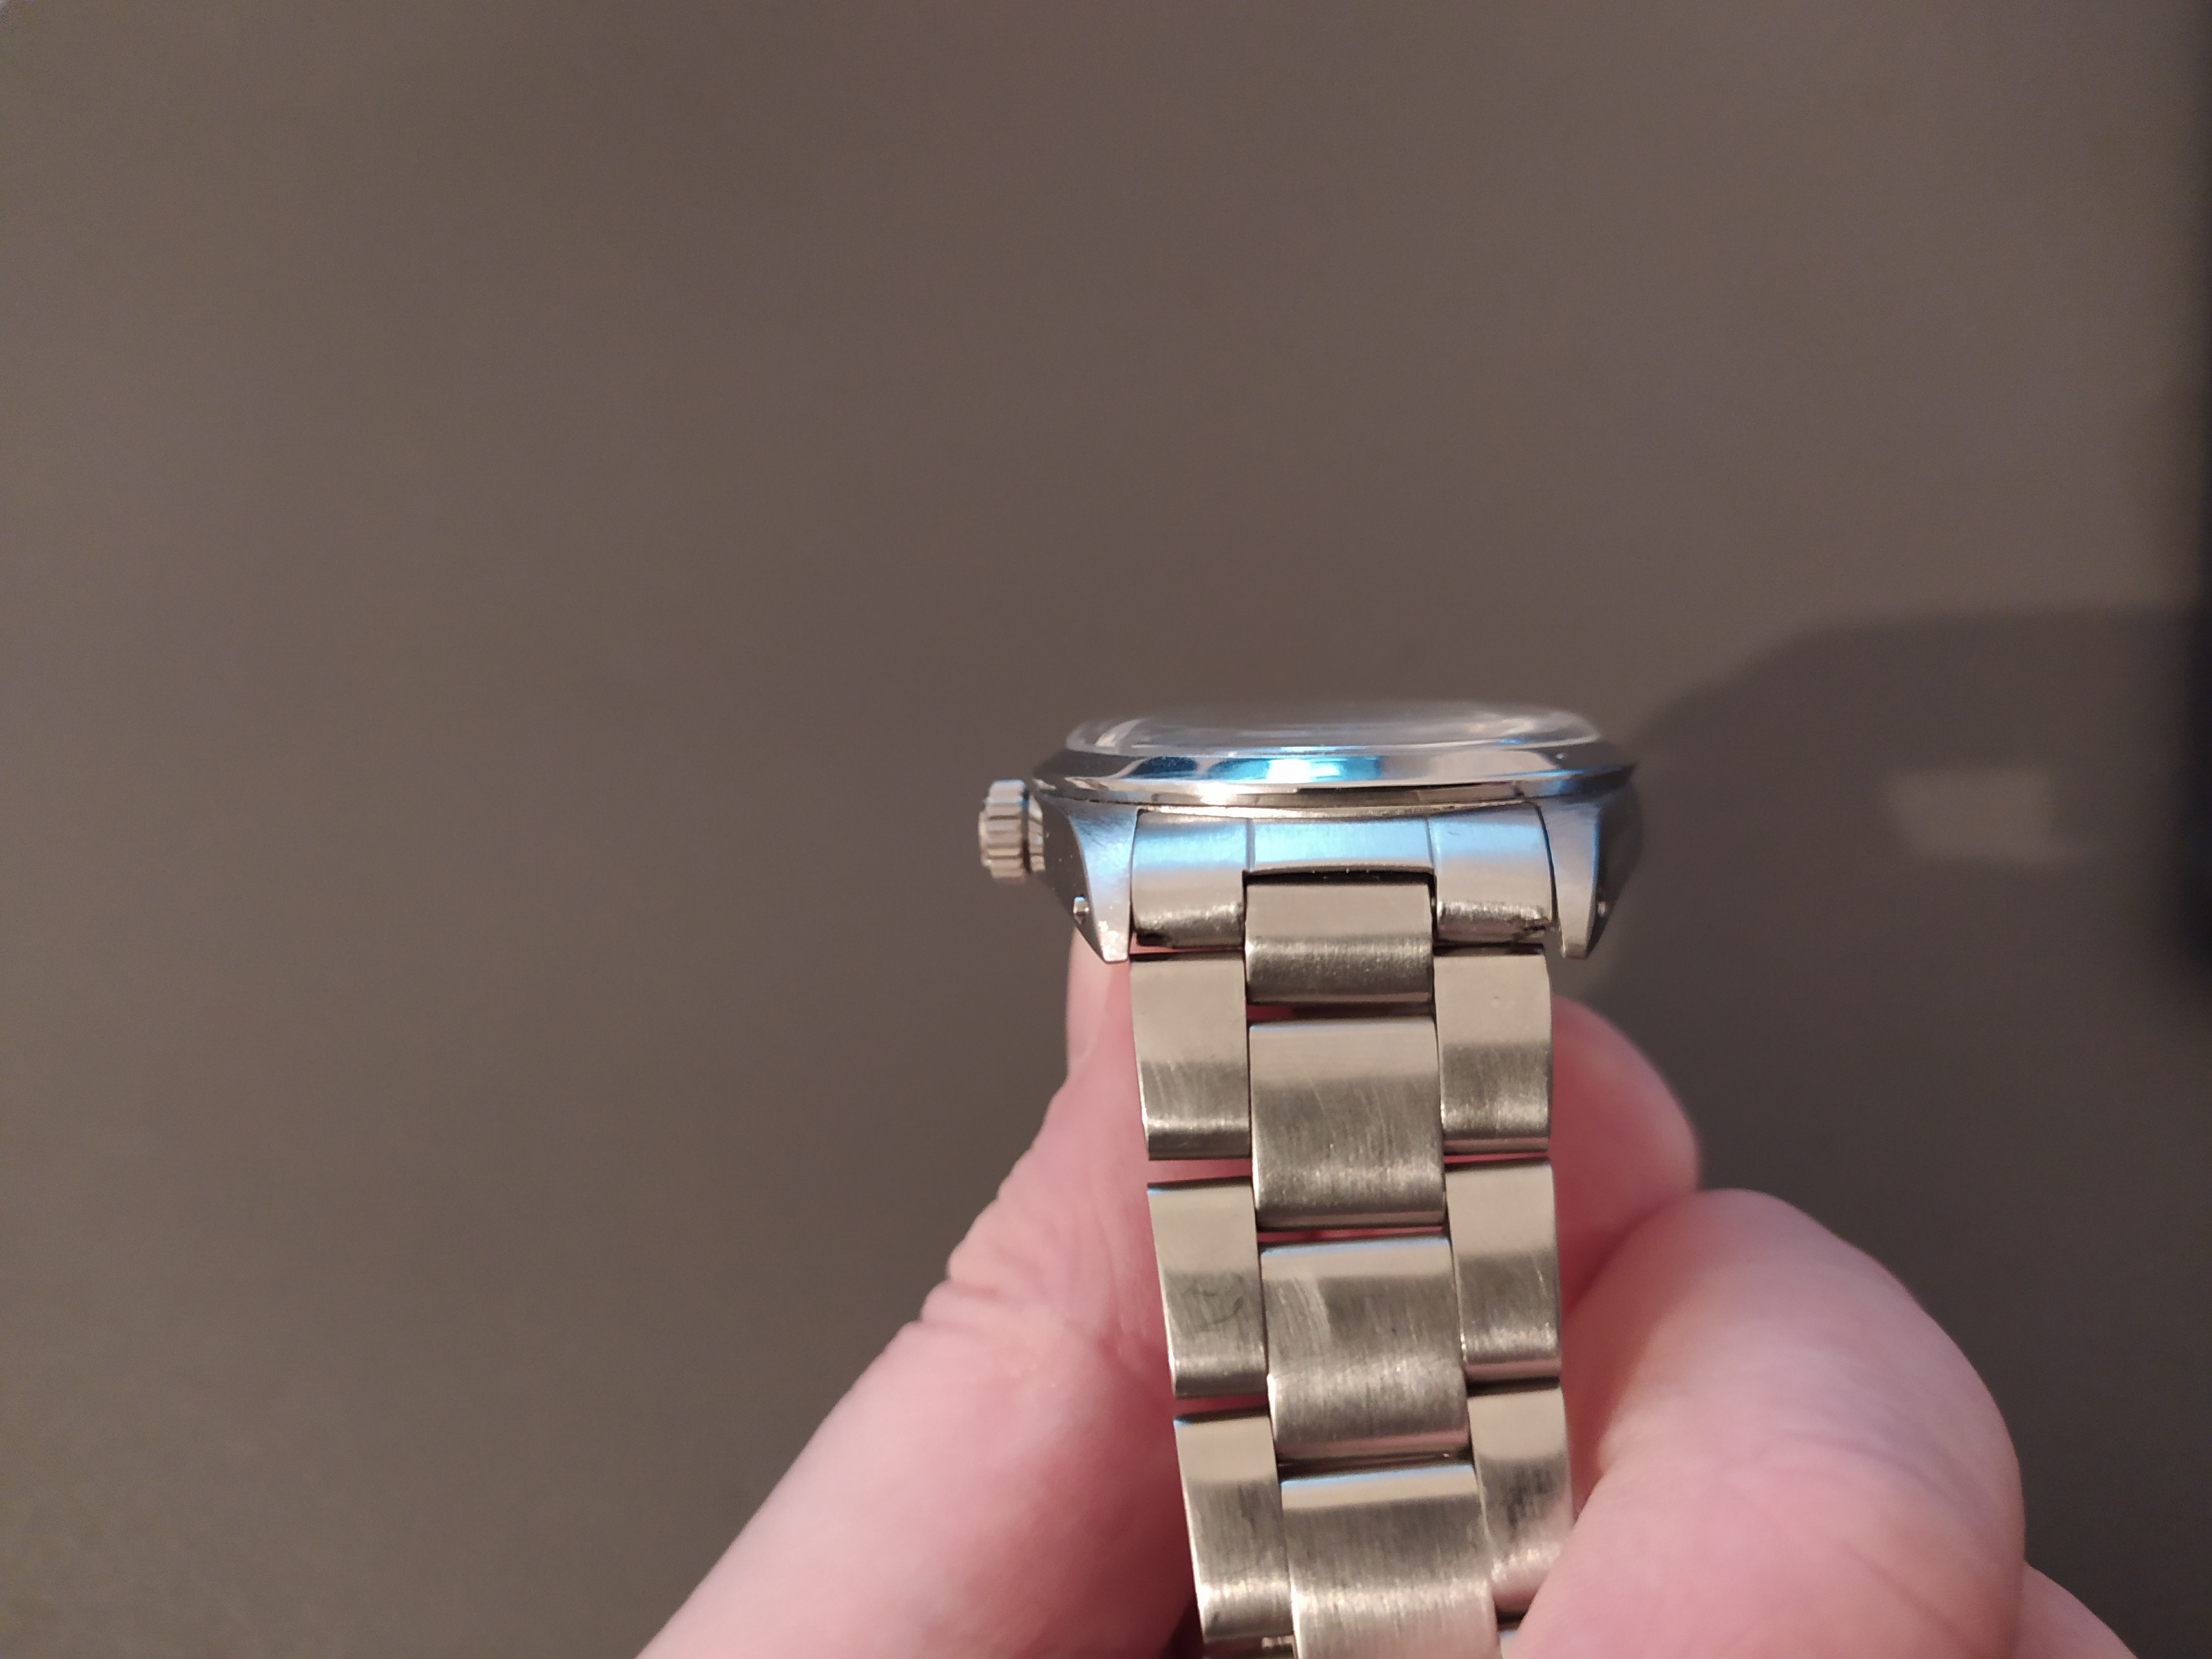
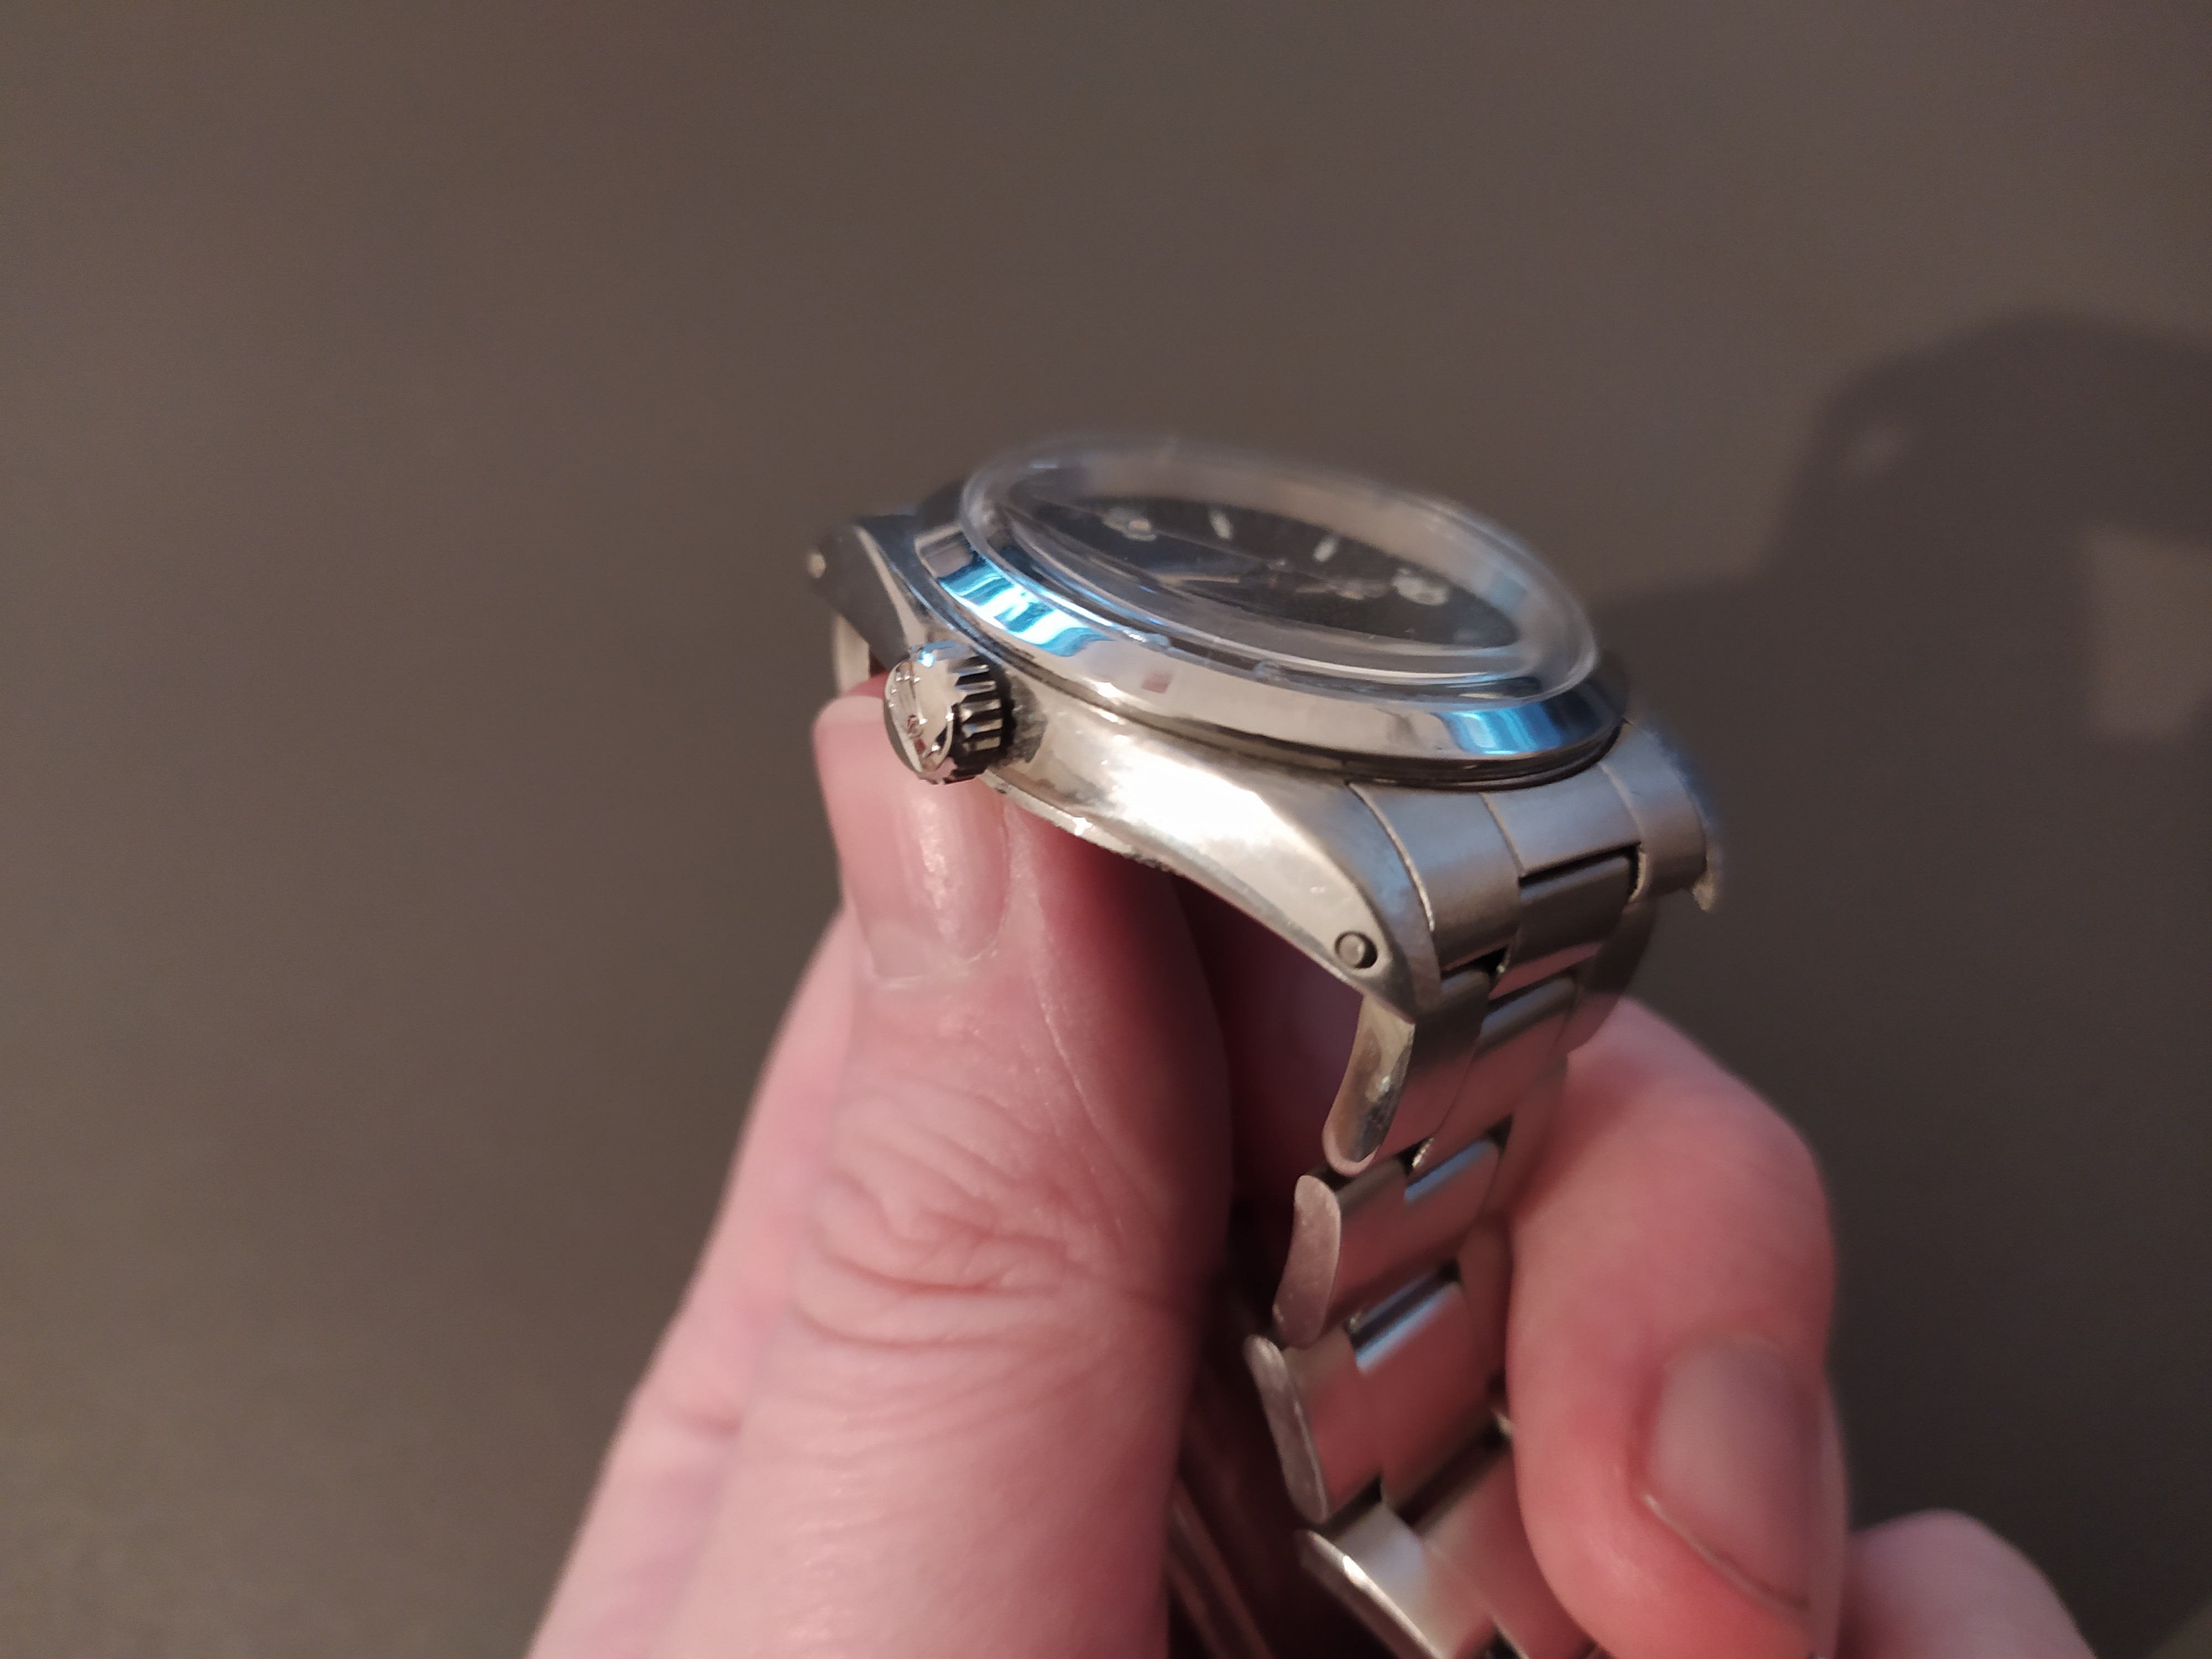
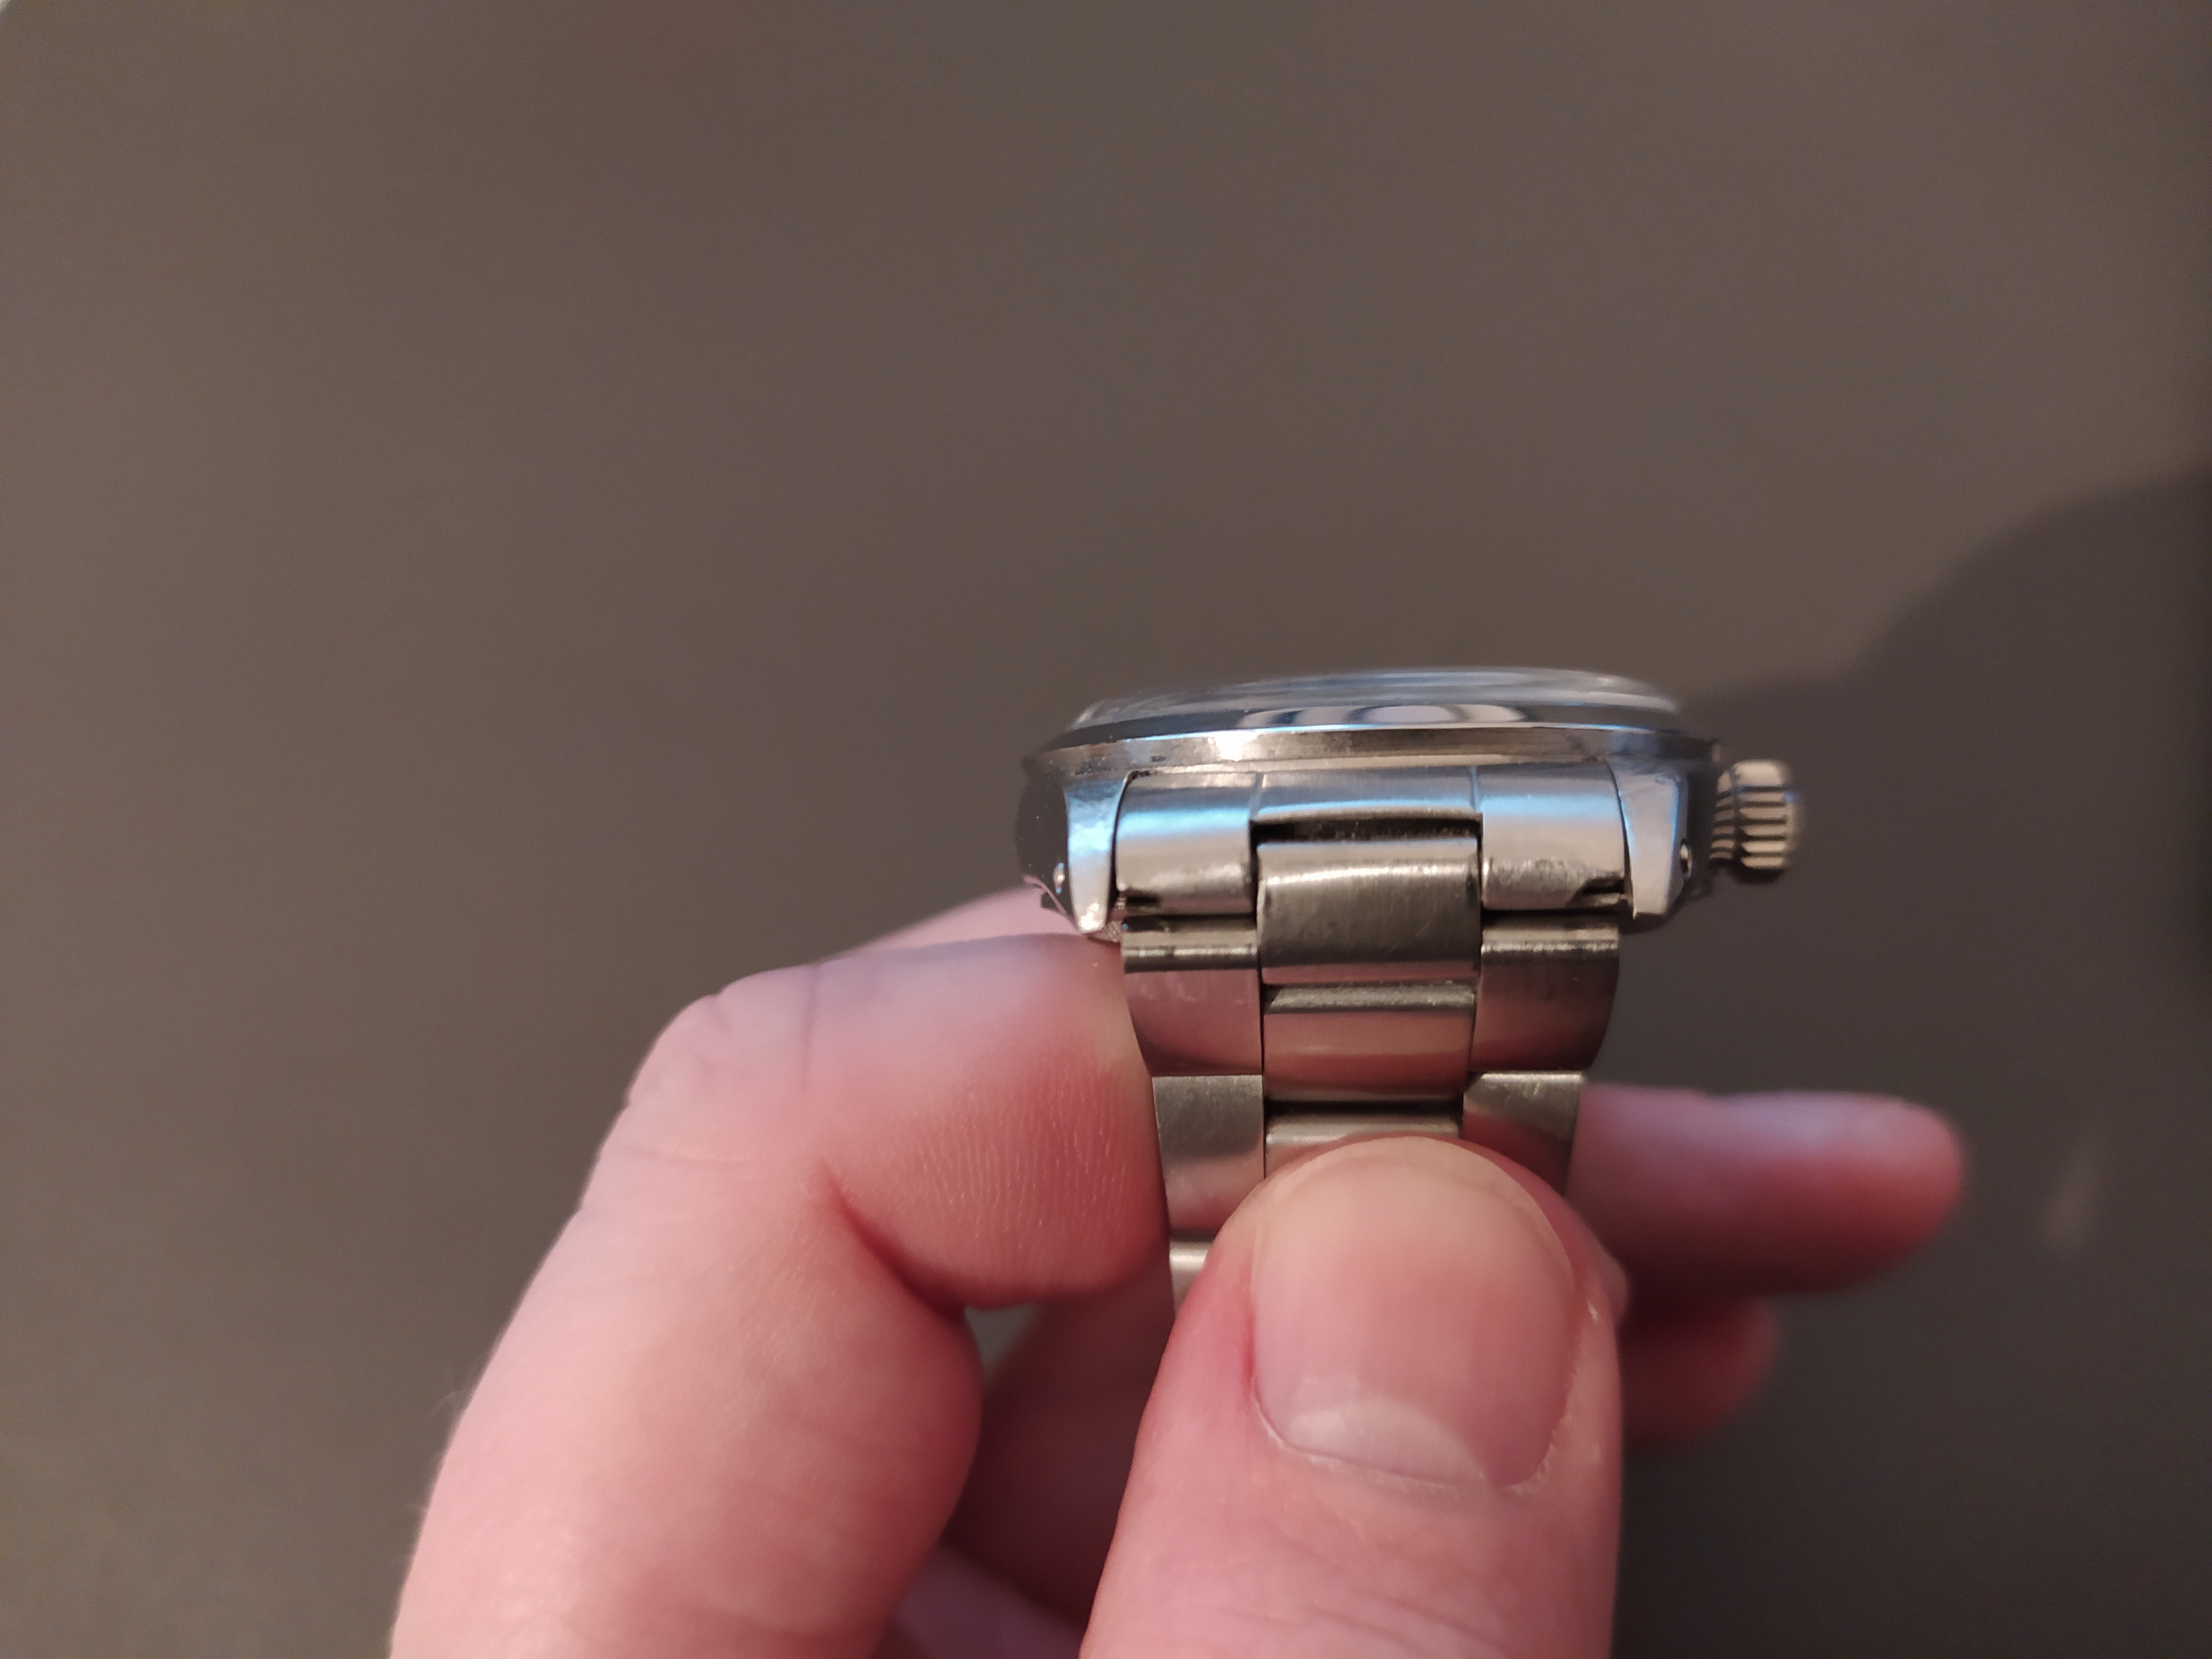
Also, I would advise not to touch the upper surface of the lugs if this is your first rodeo. Getting the curvature right, identical and symmetrical on all four lugs is not trivial

Then you will also have to get the brushing right.

Simply slimming the lugs from the sides is enough. The swell is hard to do as it's subtle


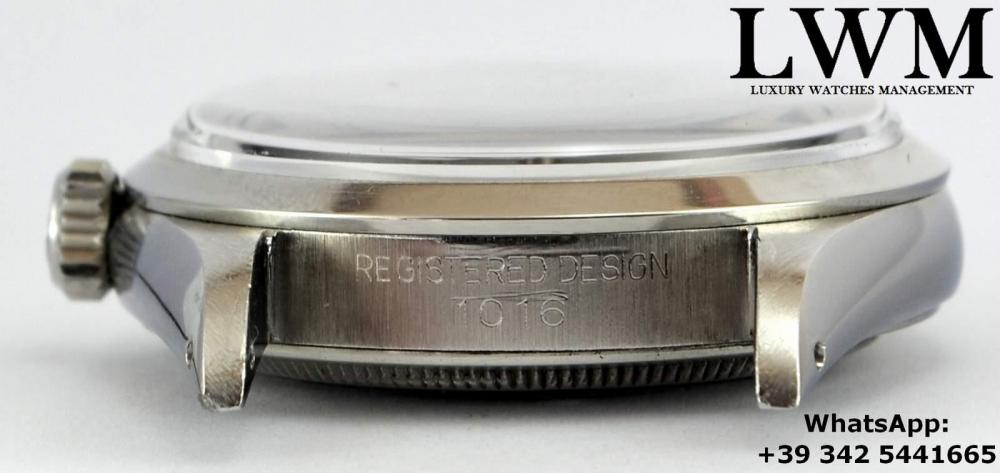
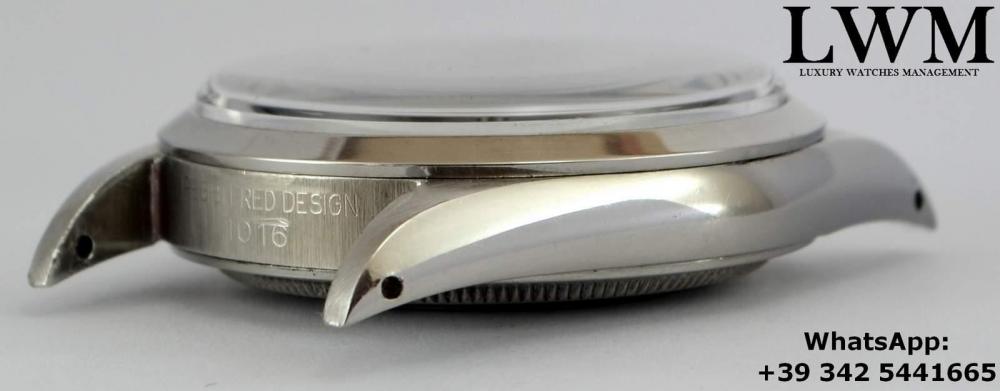
what's that case with the engravings btw?
 

Action_Jensen

Known Member
20/4/21
161
252
63
That is what i would do, yes. Very nice drawing! I personally think the lugs get pretty flat towards the tips (in that case your blue line would be somewat straighter but then again: what happens to watches over the time of 50-70 years? You can do what you like best but your drawings are a realy good starting point for other beginners as well in my opinion (y)

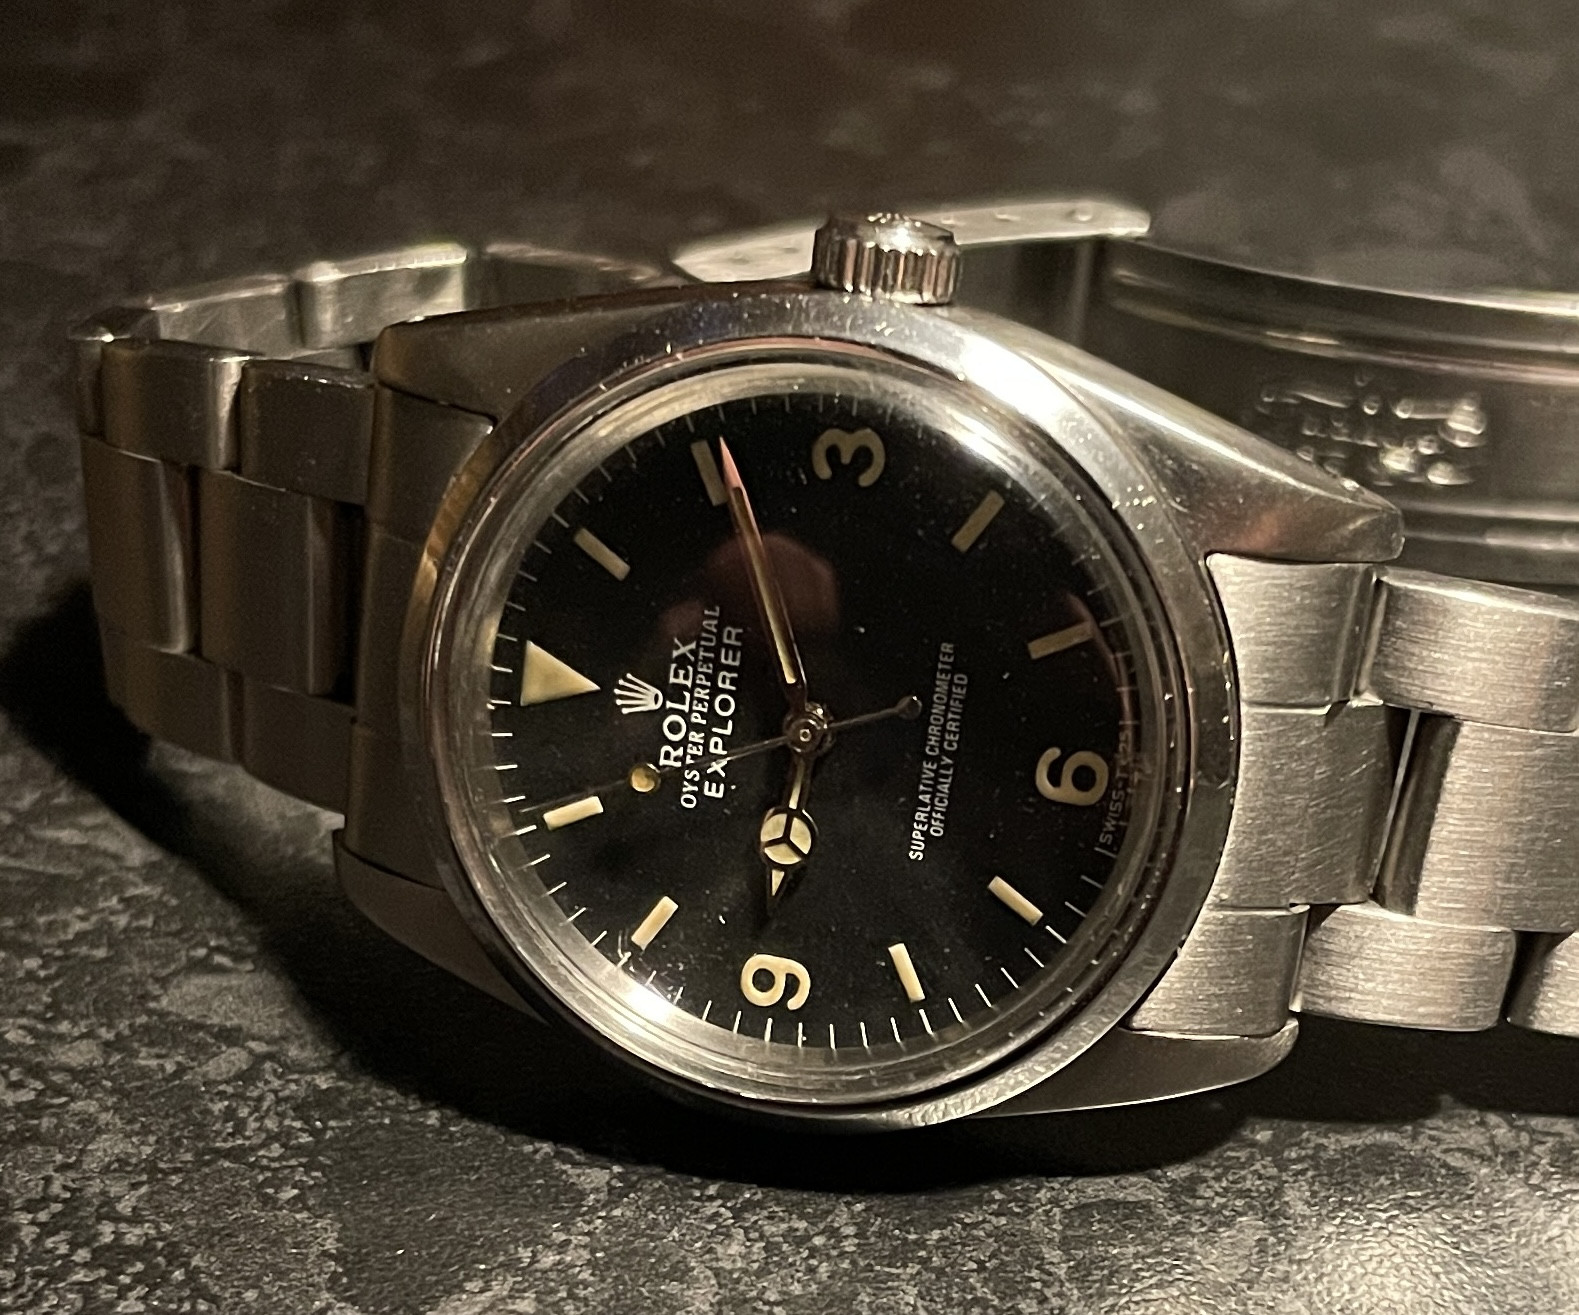
Some nice pictures here :)

Also some examples of my daily beater. It is quite thin at the ends mind you and right now i saw the lugs are uneven but i like it that way (thin, maybe ill even tehm out at some point ;-)


316lad

Renowned Member
8/8/23
917
1,817
93
UK
you need to have the mid case completely naked before you do case work. also remove the tube

Use masking tape to cover up the inside of the midcase

Also, I would advise not to touch the upper surface of the lugs if this is your first rodeo. Getting the curvature right, identical and symmetrical on all four lugs is not trivial

Then you will also have to get the brushing right.

Simply slimming the lugs from the sides is enough. The swell is hard to do as it's subtle


what's that case with the engravings btw?
On the subject of reducing the height of the lugs of the Raffles case to better match the 1016 one of the safest ways is to use the spining sandpaper method.

Cut an aperture in some card and some 240 Grit wet and dry paper and place them togther. Ensure the holes in both are just larger than the rehaut but not too large.
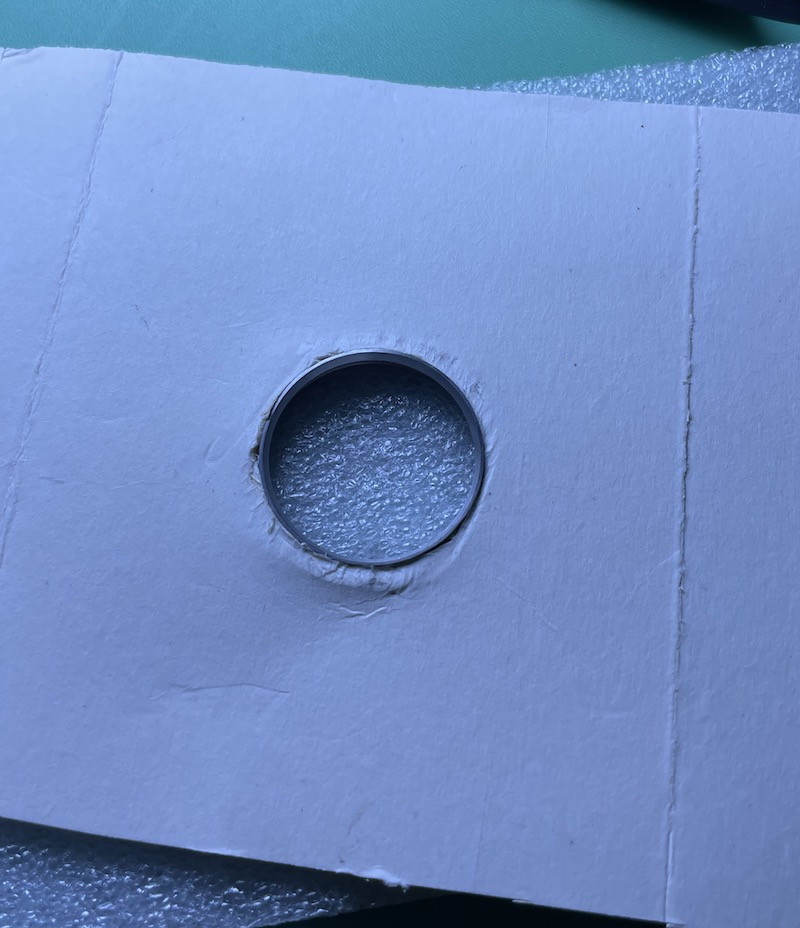


Place the case - after cleaning it thouroughly to avoid clogging - face down on the sandpaper and ensure the holes are correct size and the case fits snugly in to them. There should be minimum sideshake (sorry!) Basically make sure it's tight in there and isn't going to jump out mid-spin and damage the top of the rehaut.
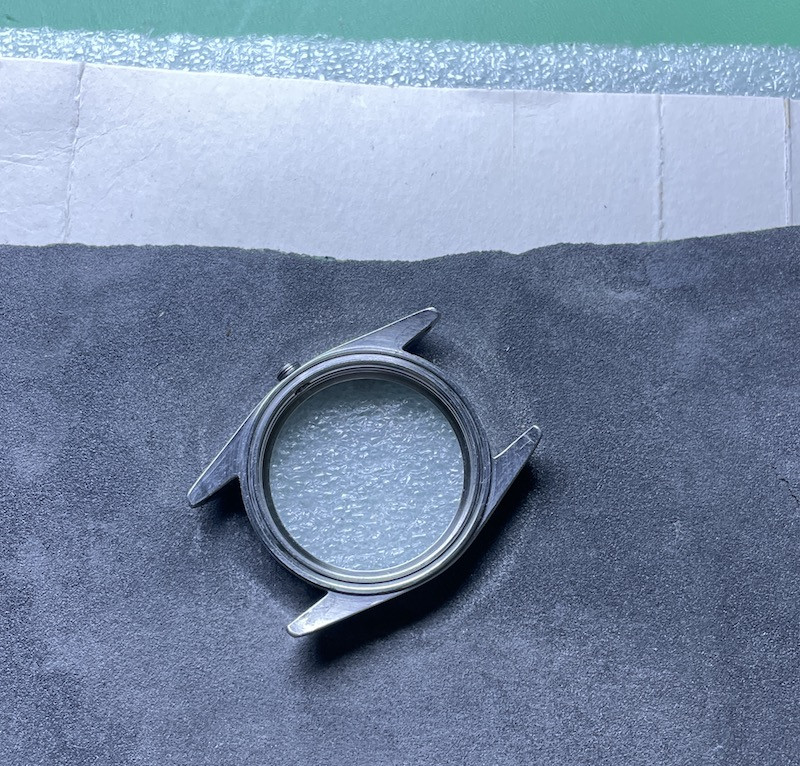


Stand standing up and over at the bench and apply finger and thumb downward pressure on the case trying to keep the case spiining as levelly as possible.

Give it a few spins and inspect the work. Keep going until you start to see what you want.
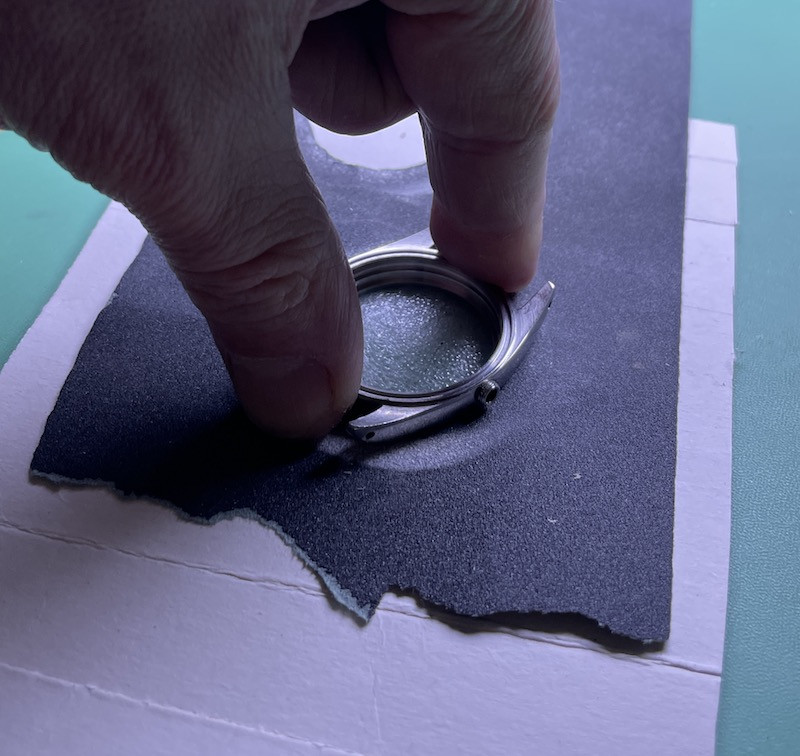


In the first spin I use some foam - approx 5mm thick to allow the sandpaper to "give" a little and mould around the fall off of the lugs ensuring uniform sanding of the whole lug.
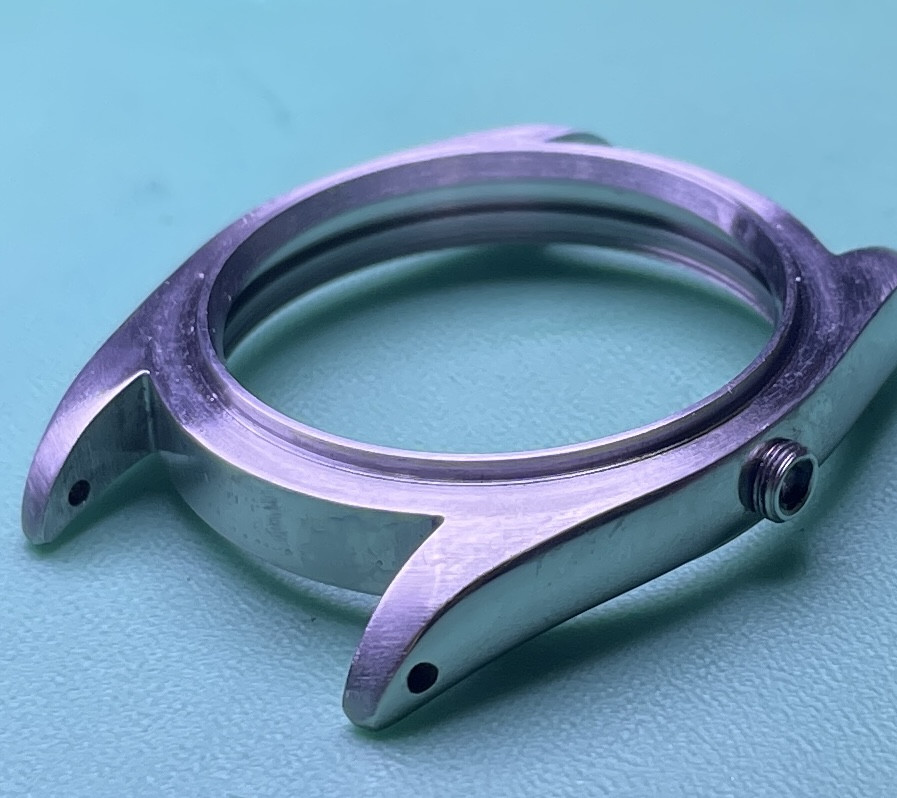
When I'm satisfied with meat-removal I'll then replace that thicker foam with a piece thinner - about 2 mm - this is what finishes the top of the lugs nice and flat as if lathed - or that's the idea.
 

dpd3672

Putting the "whore" in "horology" since 2023
Patron
Certified
29/5/23
1,783
2,916
113
USA
On the subject of reducing the height of the lugs of the Raffles case to better match the 1016 one of the safest ways is to use the spining sandpaper method.

Cut an aperture in some card and some 240 Grit wet and dry paper and place them togther. Ensure the holes in both are just larger than the rehaut but not too large.


Place the case - after cleaning it thouroughly to avoid clogging - face down on the sandpaper and ensure the holes are correct size and the case fits snugly in to them. There should be minimum sideshake (sorry!) Basically make sure it's tight in there and isn't going to jump out mid-spin and damage the top of the rehaut.


Stand standing up and over at the bench and apply finger and thumb downward pressure on the case trying to keep the case spiining as levelly as possible.

Give it a few spins and inspect the work. Keep going until you start to see what you want.


In the first spin I use some foam - approx 5mm thick to allow the sandpaper to "give" a little and mould around the fall off of the lugs ensuring uniform sanding of the whole lug.
When I'm satisfied with meat-removal I'll then replace that thicker foam with a piece thinner - about 2 mm - this is what finishes the top of the lugs nice and flat as if lathed - or that's the idea.

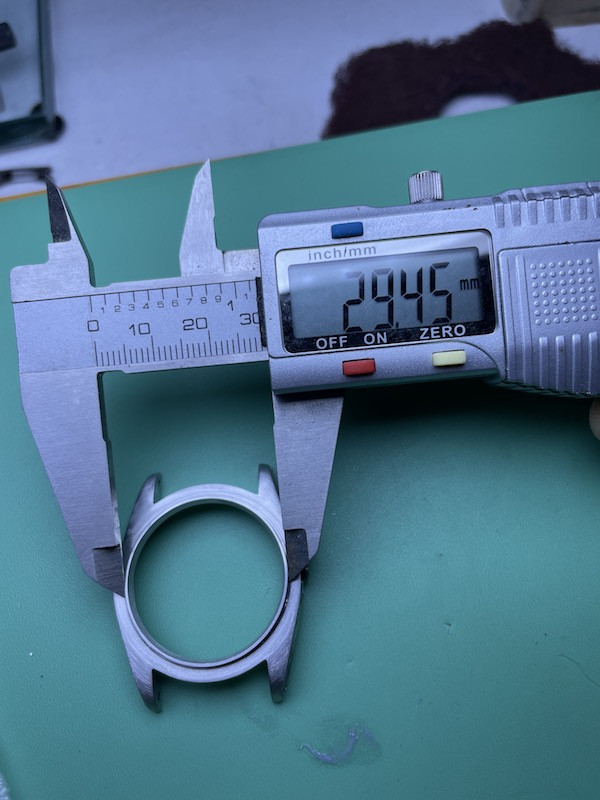
If you can give me some measurements of the outside diameter of the opening, I'll create and upload a jig for this. Then all you'd need to do is place the sandpaper over the jig and insert the case into the hole.

I'm at work, so don't have a case handy.


  • Like
Reactions: keisuke_z

316lad

Renowned Member
8/8/23
917
1,817
93
UK
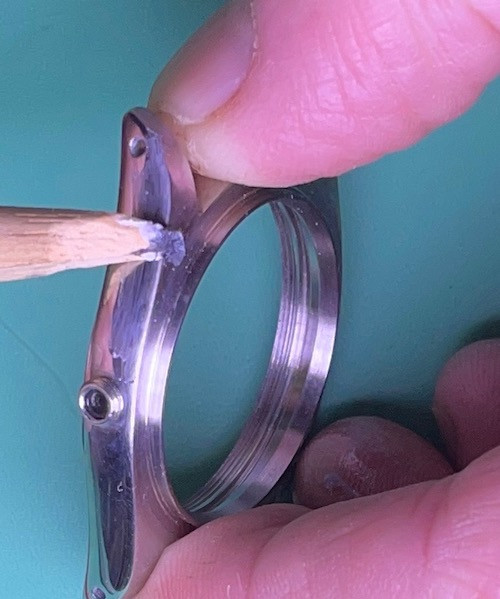
To finish up - use some pegwood and a little polish to tidy the sides of the lugs if the paper has cought at all and made a scratch or two.
If you used the right amount of downward pressure whilst spinning them this will be minimal and certainly not something you'll need to attack with anything harsher.


316lad

Renowned Member
8/8/23
917
1,817
93
UK
If you can give me some measurements of the outside diameter of the opening, I'll create and upload a jig for this. Then all you'd need to do is place the sandpaper over the jig and insert the case into the hole.

I'm at work, so don't have a case handy.


Fantastic idea.

I'd allow 2mm over to be safe - that will be enough to positively locate the rehaut but keep the sandapaper clear of the immediate flat area at the base - where the acrylic locates, etc.


dpd3672

Putting the "whore" in "horology" since 2023
Patron
Certified
29/5/23
1,783
2,916
113
USA
Fantastic idea.

I'd allow 2mm over to be safe - that will be enough to positively locate the rehaut but keep the sandapaper clear of the immediate flat area at the base - where the acrylic locates, etc.

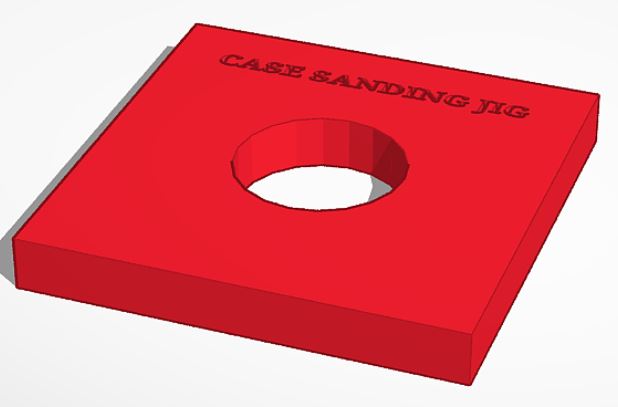
I made the opening 31mm. 3D printing tolerances will probably make it slightly smaller (it's not actually a "round" opening, but a polygon, so a little sanding of the inside diamter should make for a more precise fit).


316lad

Renowned Member
8/8/23
917
1,817
93
UK
I made the opening 31mm. 3D printing tolerances will probably make it slightly smaller (it's not actually a "round" opening, but a polygon, so a little sanding of the inside diamter should make for a more precise fit).


That looks great. The only thing I can think of is - I use the foam pads underneath the card and sandpaper to act as a cushion to press the lugs in to so the paper contours around the profile of the lugs.
I use a fat bit - about 5mm to start and then a thinner 2mm piece to finish.
I'm worried that a dead-flat jig would make sanding those contours difficult without the use of excess pressure.

Hope that makes sense.
 

316lad

Renowned Member
8/8/23
917
1,817
93
UK
That looks great. The only thing I can think of is - I use the foam pads underneath the card and sandpaper to act as a cushion to press the lugs in to so the paper contours around the profile of the lugs.
I use a fat bit - about 5mm to start and then a thinner 2mm piece to finish.
I'm worried that a dead-flat jig would make sanding those contours difficult without the use of excess pressure.

Hope that makes sense.
Having said tht I've just realised that using the foam pads is still possible and that your excellent jig provides a "Fail-safe" method of retatining the rehaut in place whilst carrying out the whole operation.

Sorry, I've been a bit slow all day today. Great work DPD!!!
 

dpd3672

Putting the "whore" in "horology" since 2023
Patron
Certified
29/5/23
1,783
2,916
113
USA
Having said tht I've just realised that using the foam pads is still possible and that your excellent jig provides a "Fail-safe" method of retatining the rehaut in place whilst carrying out the whole operation.

Sorry, I've been a bit slow all day today. Great work DPD!!!
Damn, I was already working on a solution, lol. Foam tape!
Although that would still work. I use it sometimes on jigs when I don't want to mar a surface, and when .0001mm tolerances aren't exactly required.
Just the stuff from the hardware store, like for weatherstripping doors and windows. It's cheap, firm but flexible, and comes in various thicknesses and widths.

Something like these:


Maybe print up a couple jigs, and dedicate each one to a specific thickness of foam, so they could be permanently set up.
 

Karbon74

Pika Factory
Patron
Certified
5/5/23
10,563
20,809
113
EU - Kalos Region
The problems to solve are :
- protect the lip of the rehaut
- keep the case centered

I was thinking of the inverse approach, that mimics the dial shaving technique.

-A "bottle cap" that covers the rehaut and stops midway of the sidewall
-A hole in the middle of the bottle cap to provide the pivot center
-A rounded bolt through the hole with two nuts holding the cap and provided height adjustment, and the round head the pivot point

Then you can use your initial "hole in sandpaper" technique
 

316lad

Renowned Member
8/8/23
917
1,817
93
UK
Damn, I was already working on a solution, lol. Foam tape!
Although that would still work. I use it sometimes on jigs when I don't want to mar a surface, and when .0001mm tolerances aren't exactly required.
Just the stuff from the hardware store, like for weatherstripping doors and windows. It's cheap, firm but flexible, and comes in various thicknesses and widths.

Something like these:


Maybe print up a couple jigs, and dedicate each one to a specific thickness of foam, so they could be permanently set up.
That would work - I use a couple of sheets of packing foam that I have - remember - we're not cutting a hole in the foam - it's there to "seat" the rehaut as the case is spun.
 

dpd3672

Putting the "whore" in "horology" since 2023
Patron
Certified
29/5/23
1,783
2,916
113
USA
The problems to solve are :
- protect the lip of the rehaut
- keep the case centered

I was thinking of the inverse approach, that mimics the dial shaving technique.

-A "bottle cap" that covers the rehaut and stops midway of the sidewall
-A hole in the middle of the bottle cap to provide the pivot center
-A rounded bolt through the hole with two nuts holding the cap and provided height adjustment, and the round head the pivot point

Then you can use your initial "hole in sandpaper" technique
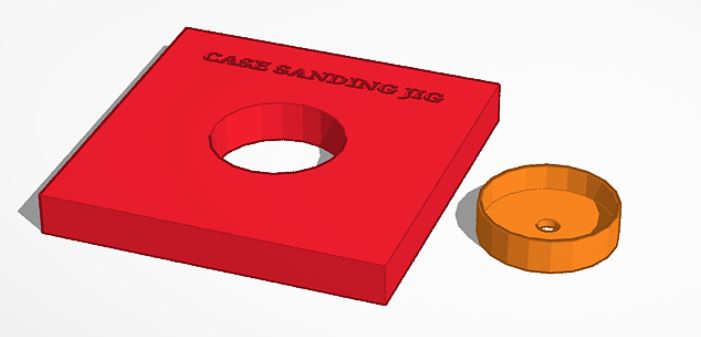
Not sure I'm following, but I added a "bottle cap" to the design. Am I understanding right, or am I way off?
The "Bottlecap" is 31mm OD and 30mm ID, so it should protect the rehaut from damage.


Last edited: