@bondidave Also I chatted with a pcb bird manufacturer. They use UV laser etching on photosensitive film and can get super minute details that don’t get etched away while in acid. It’s how they get fast, reliable super small details on the computer boards.I wanted to shift away from pad printing.
that’s awesome. Glad others are tinkering. Would like to see some pics because that indeed is a lot of words
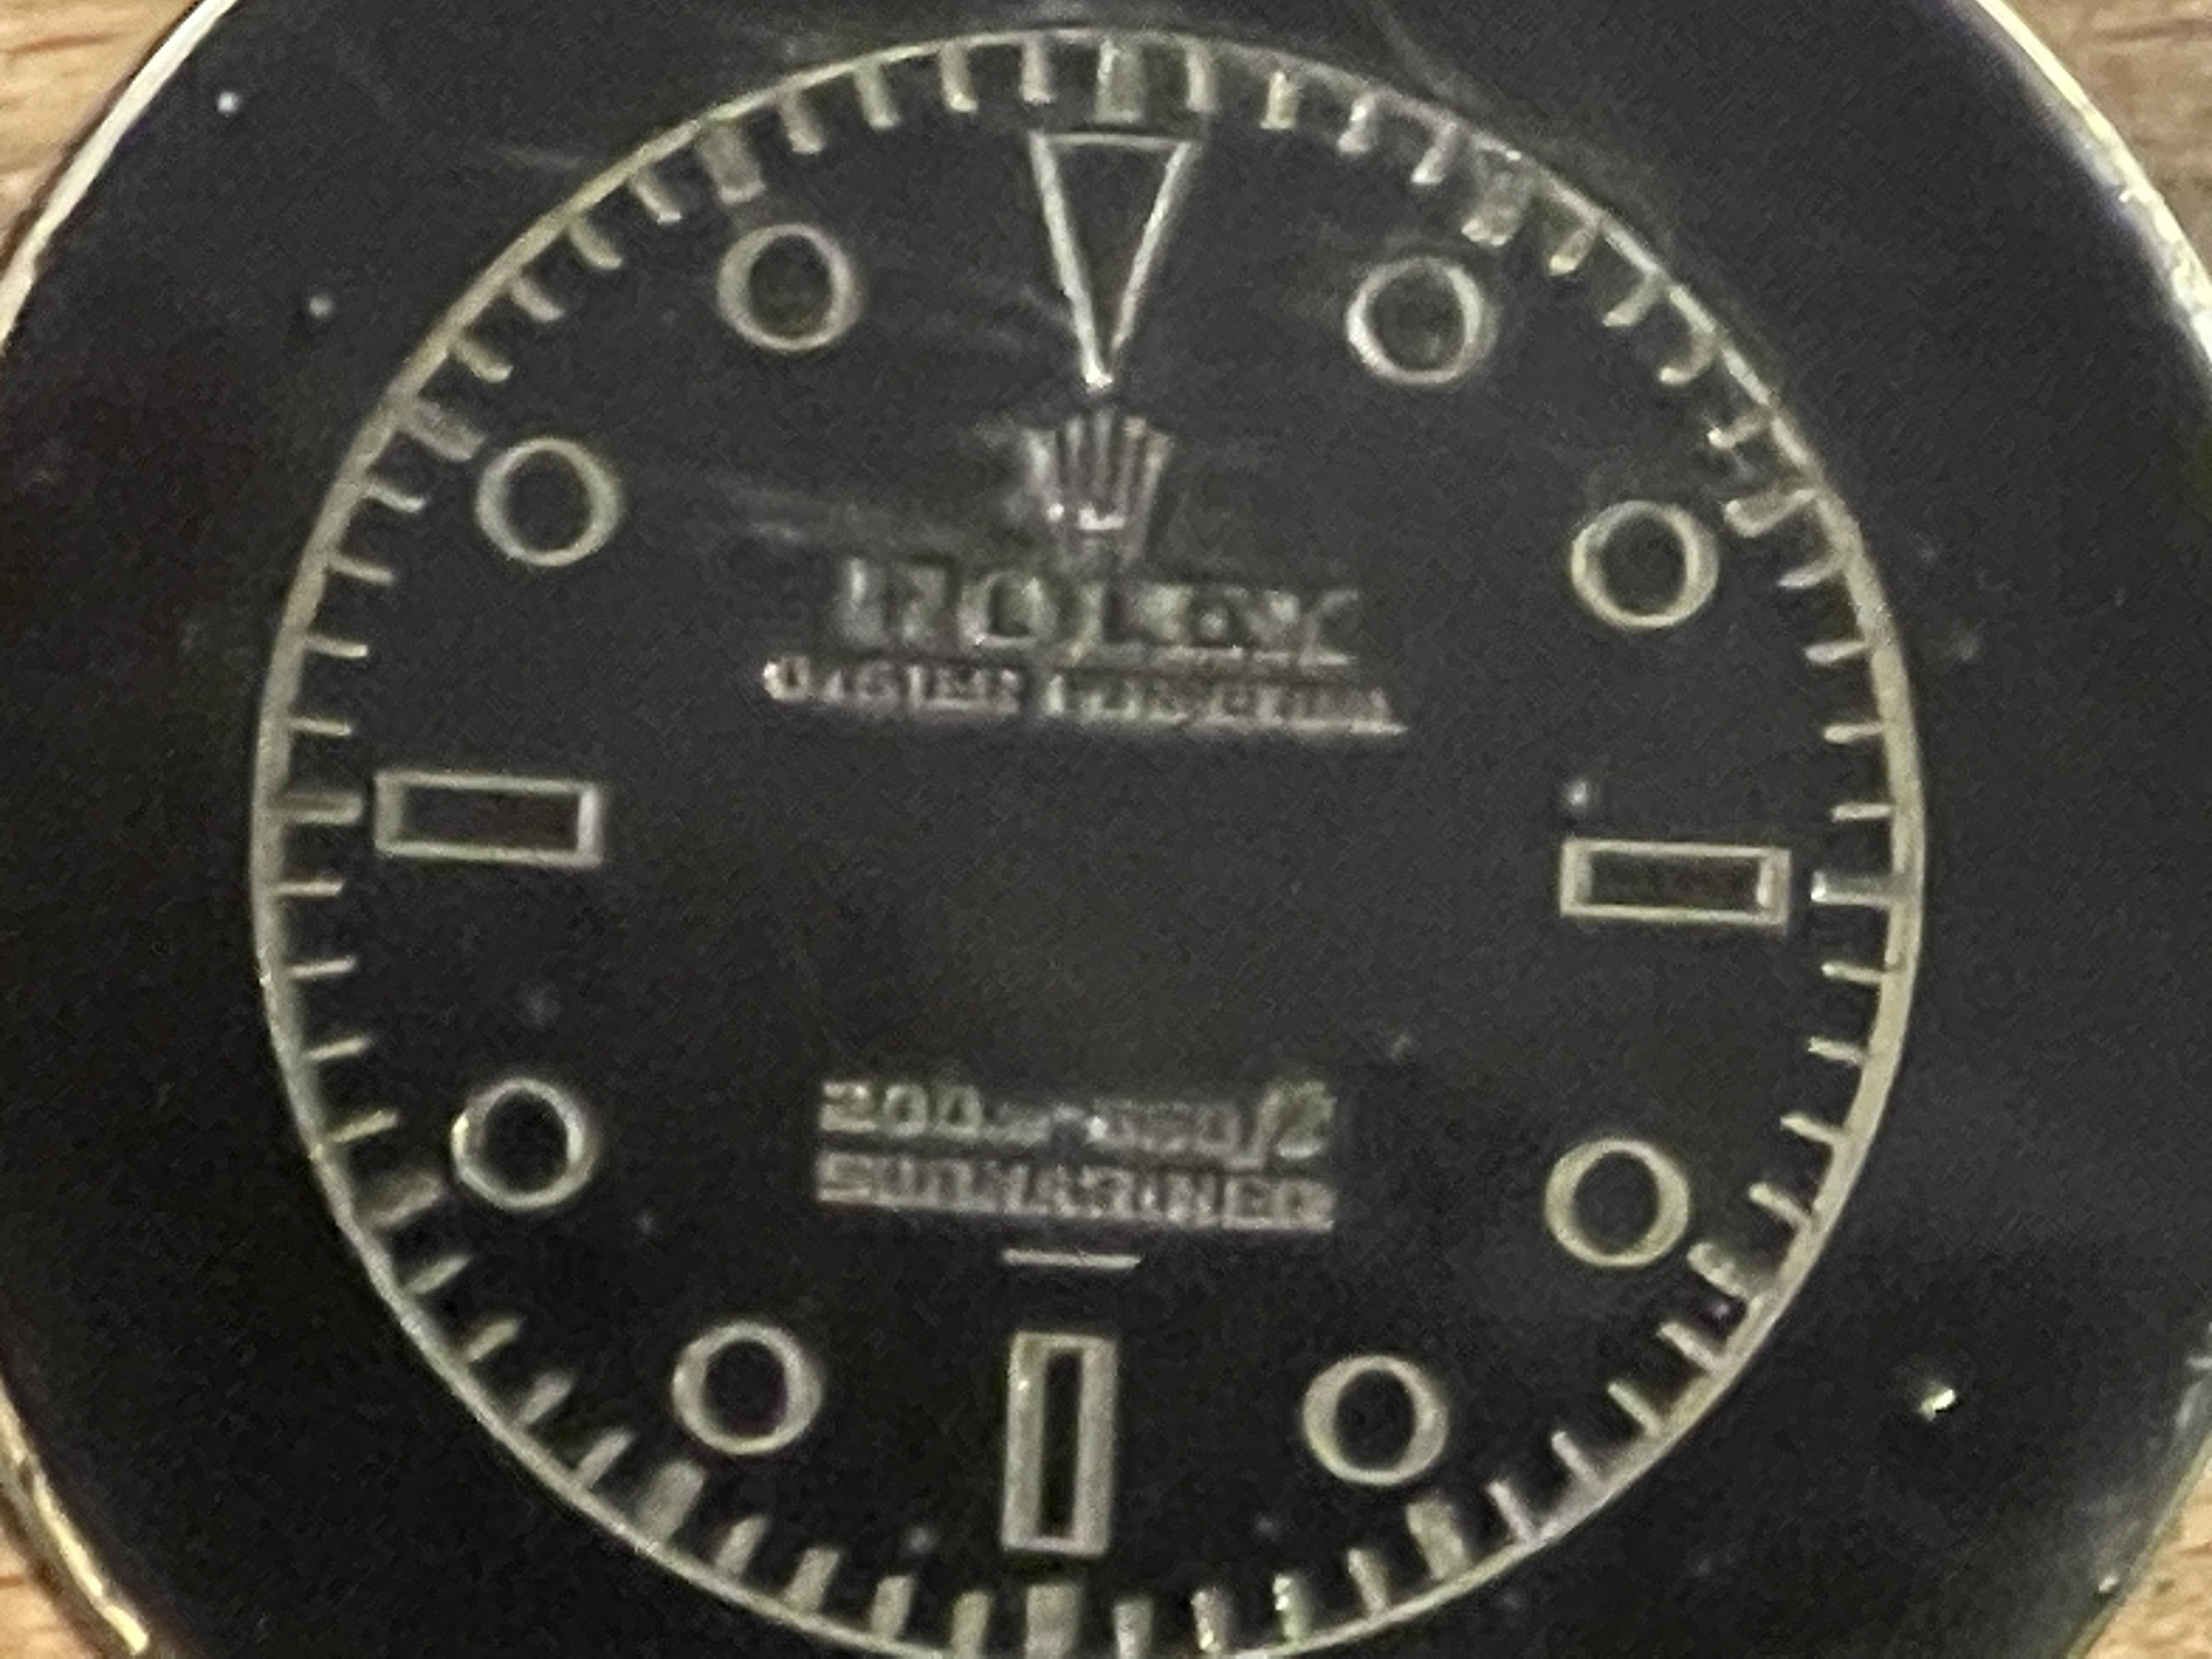
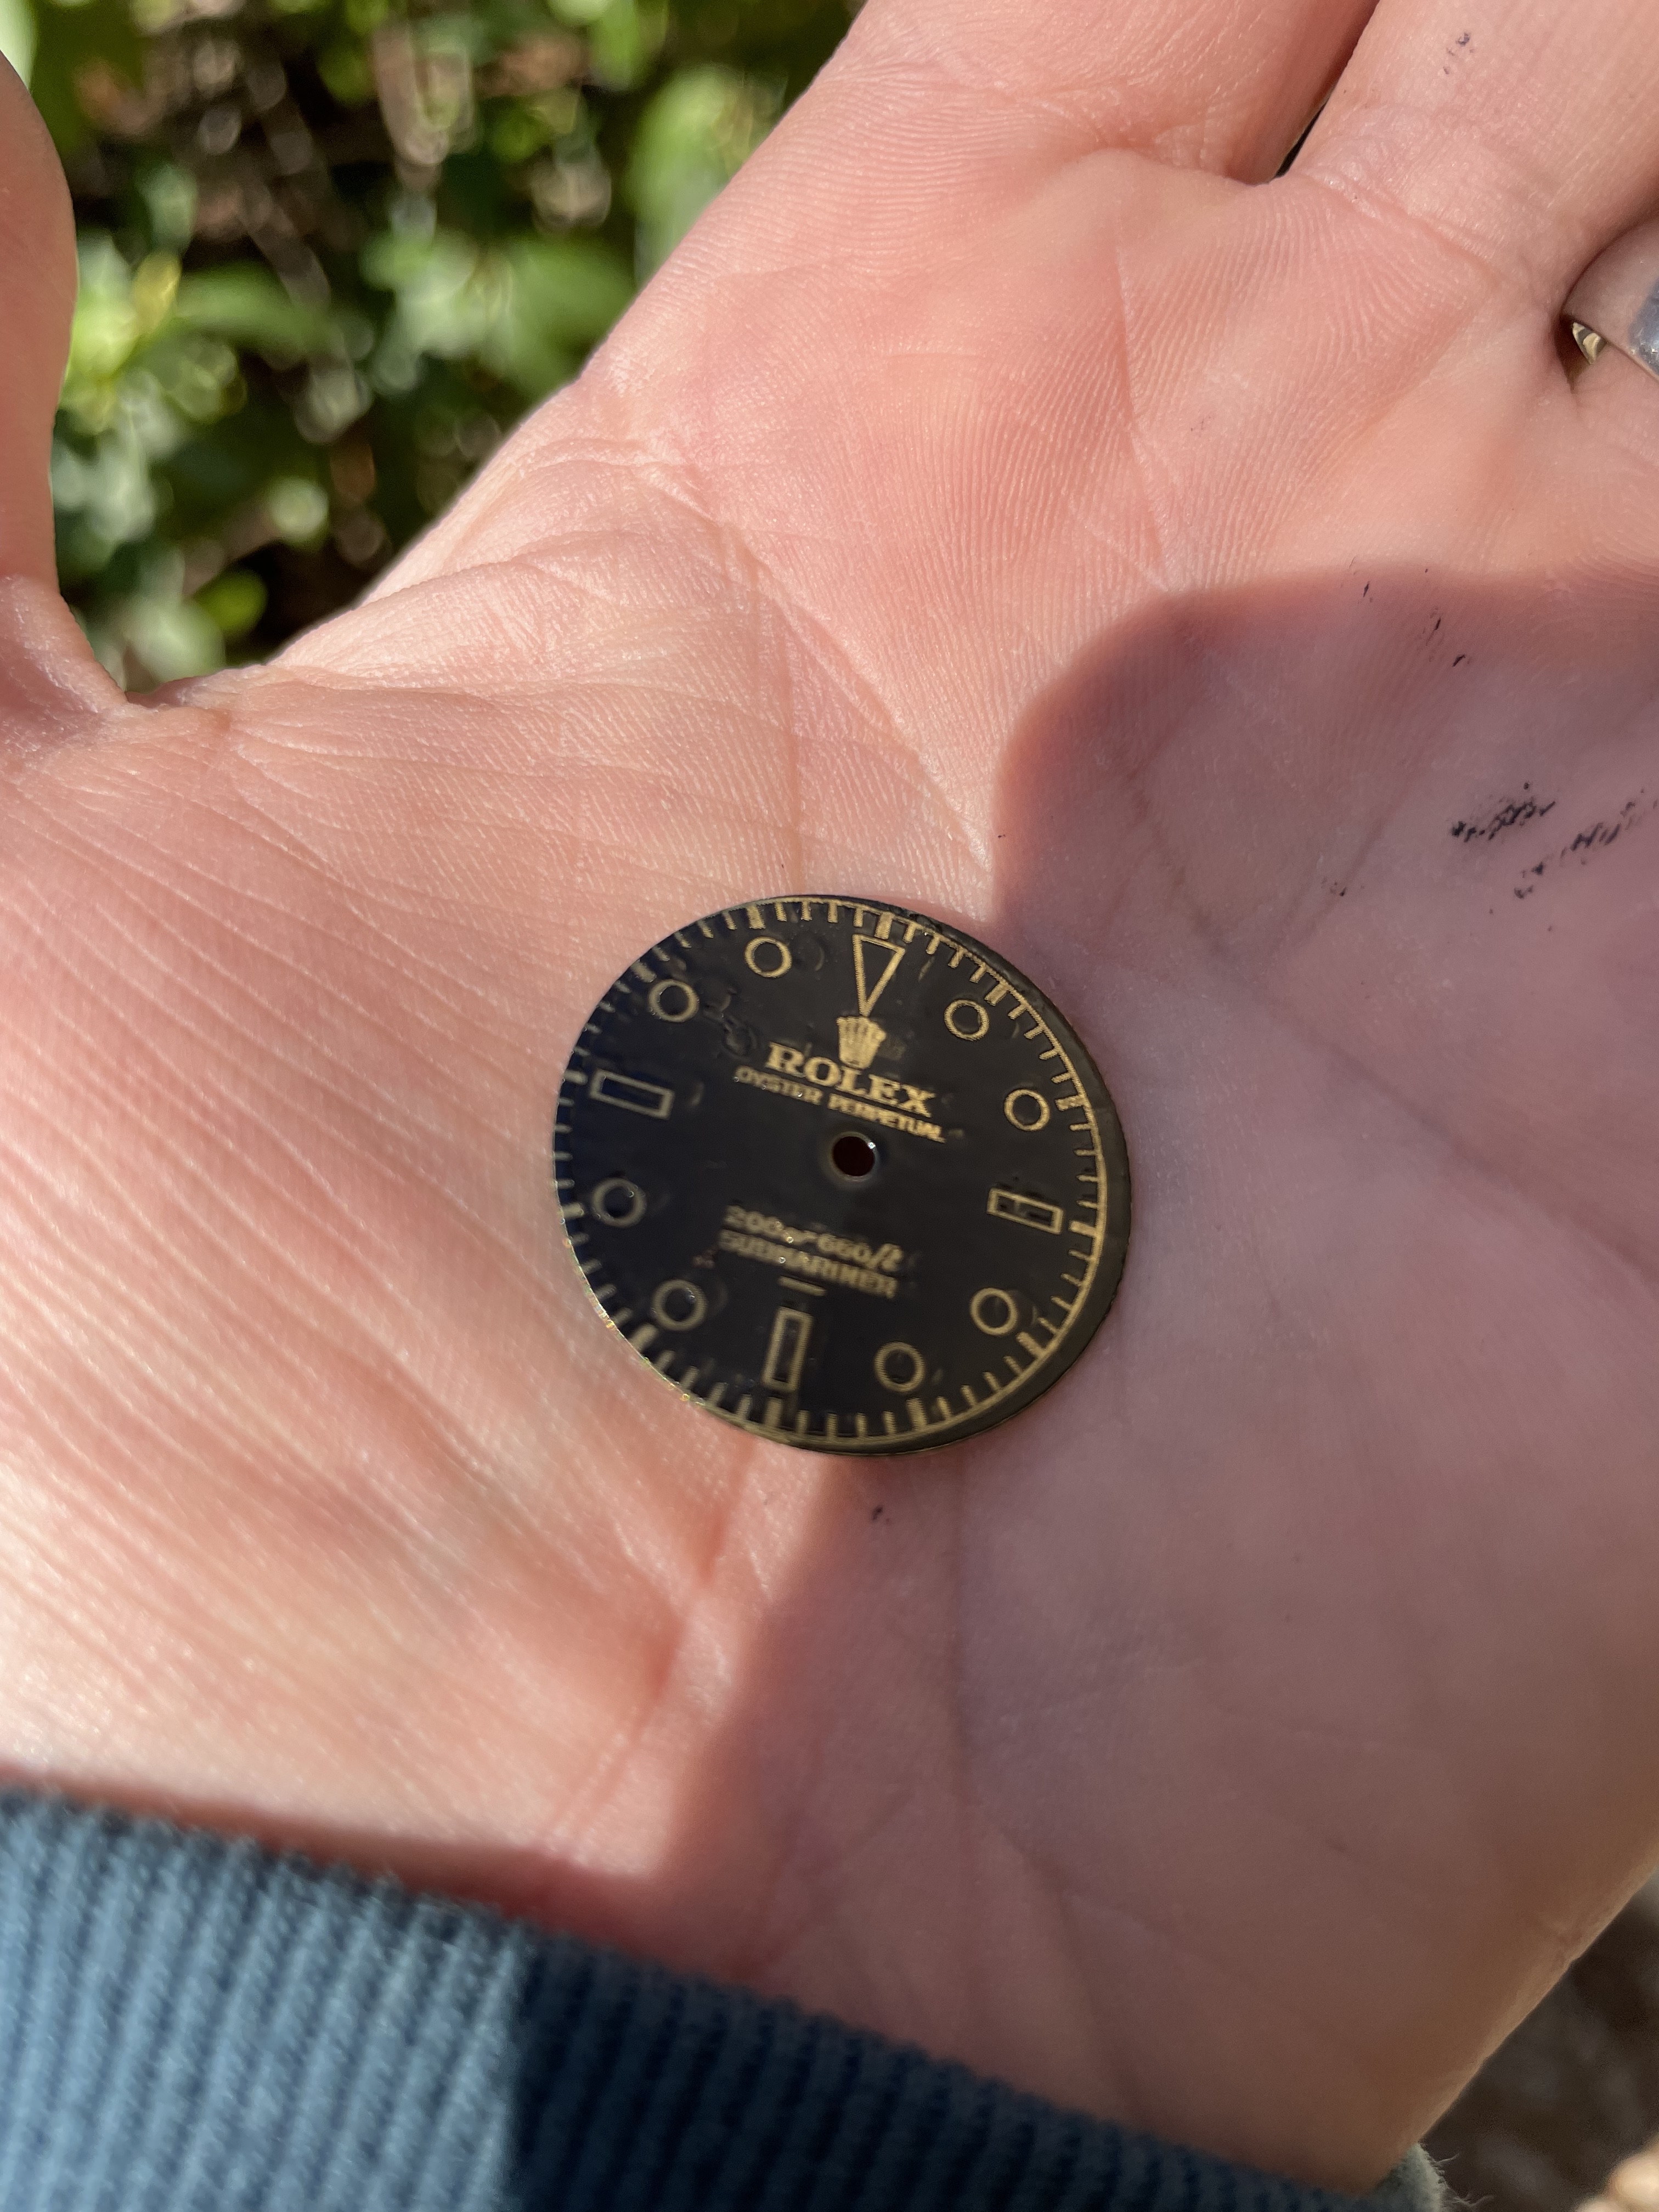
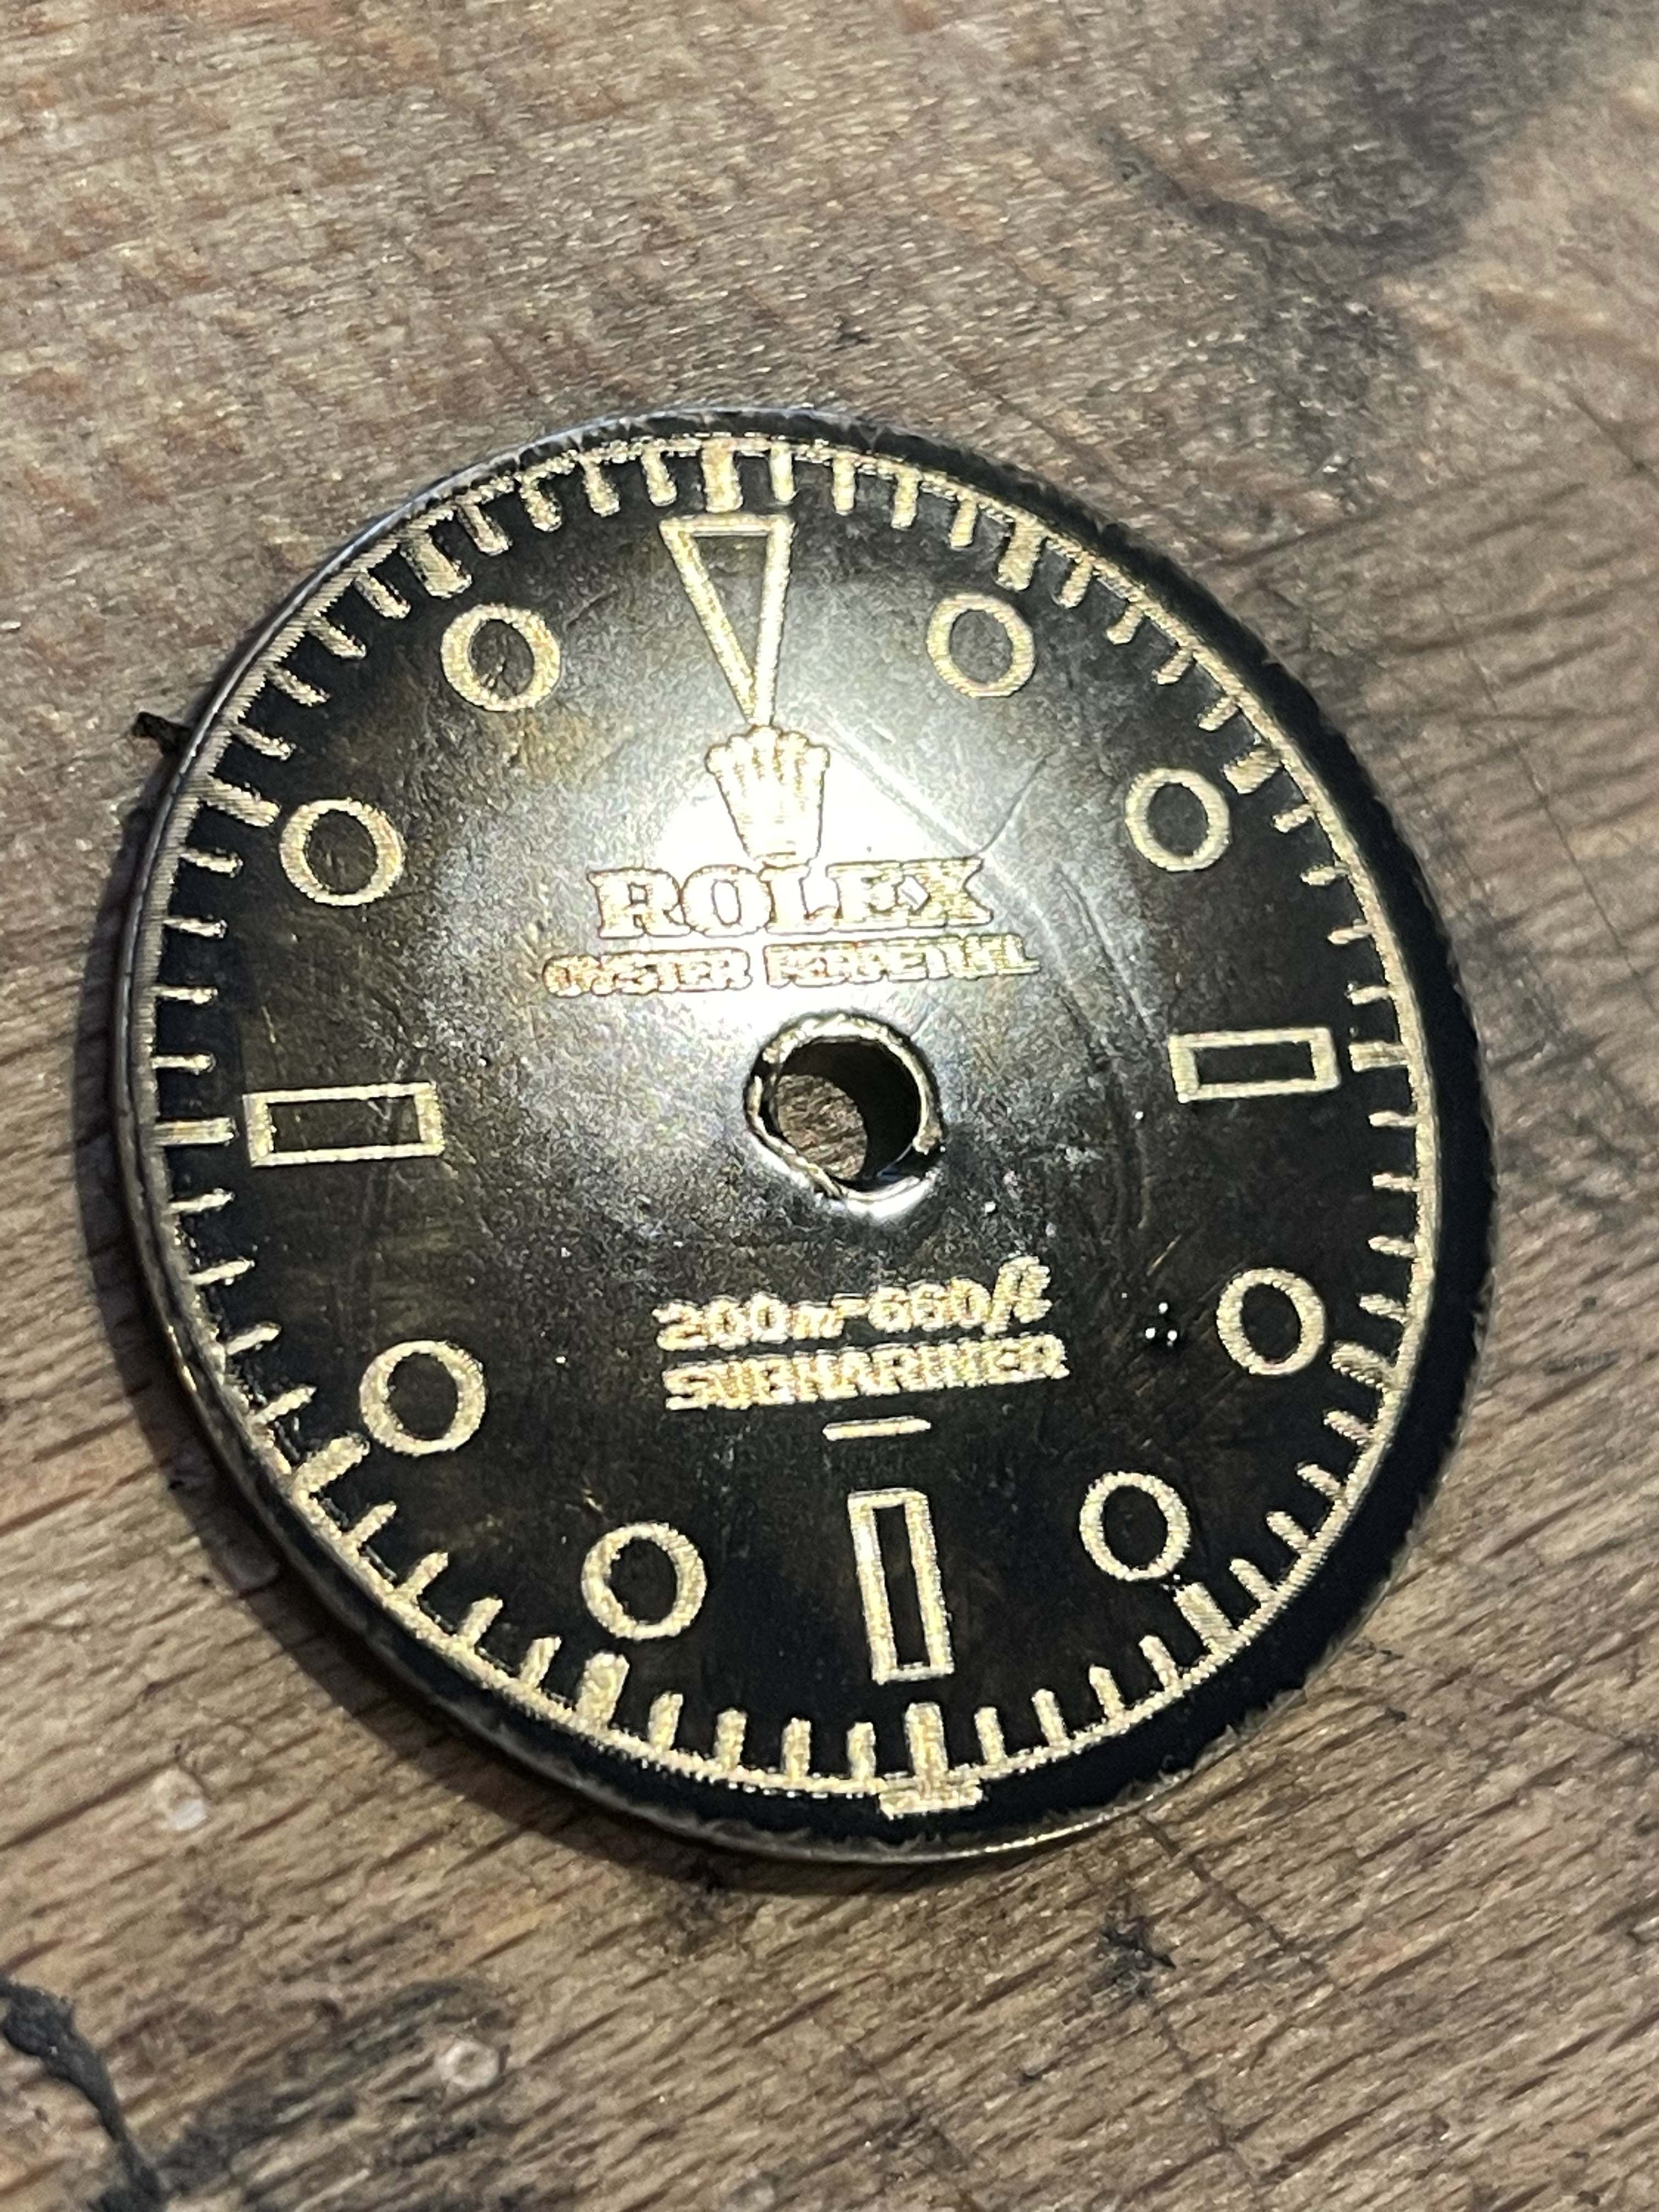
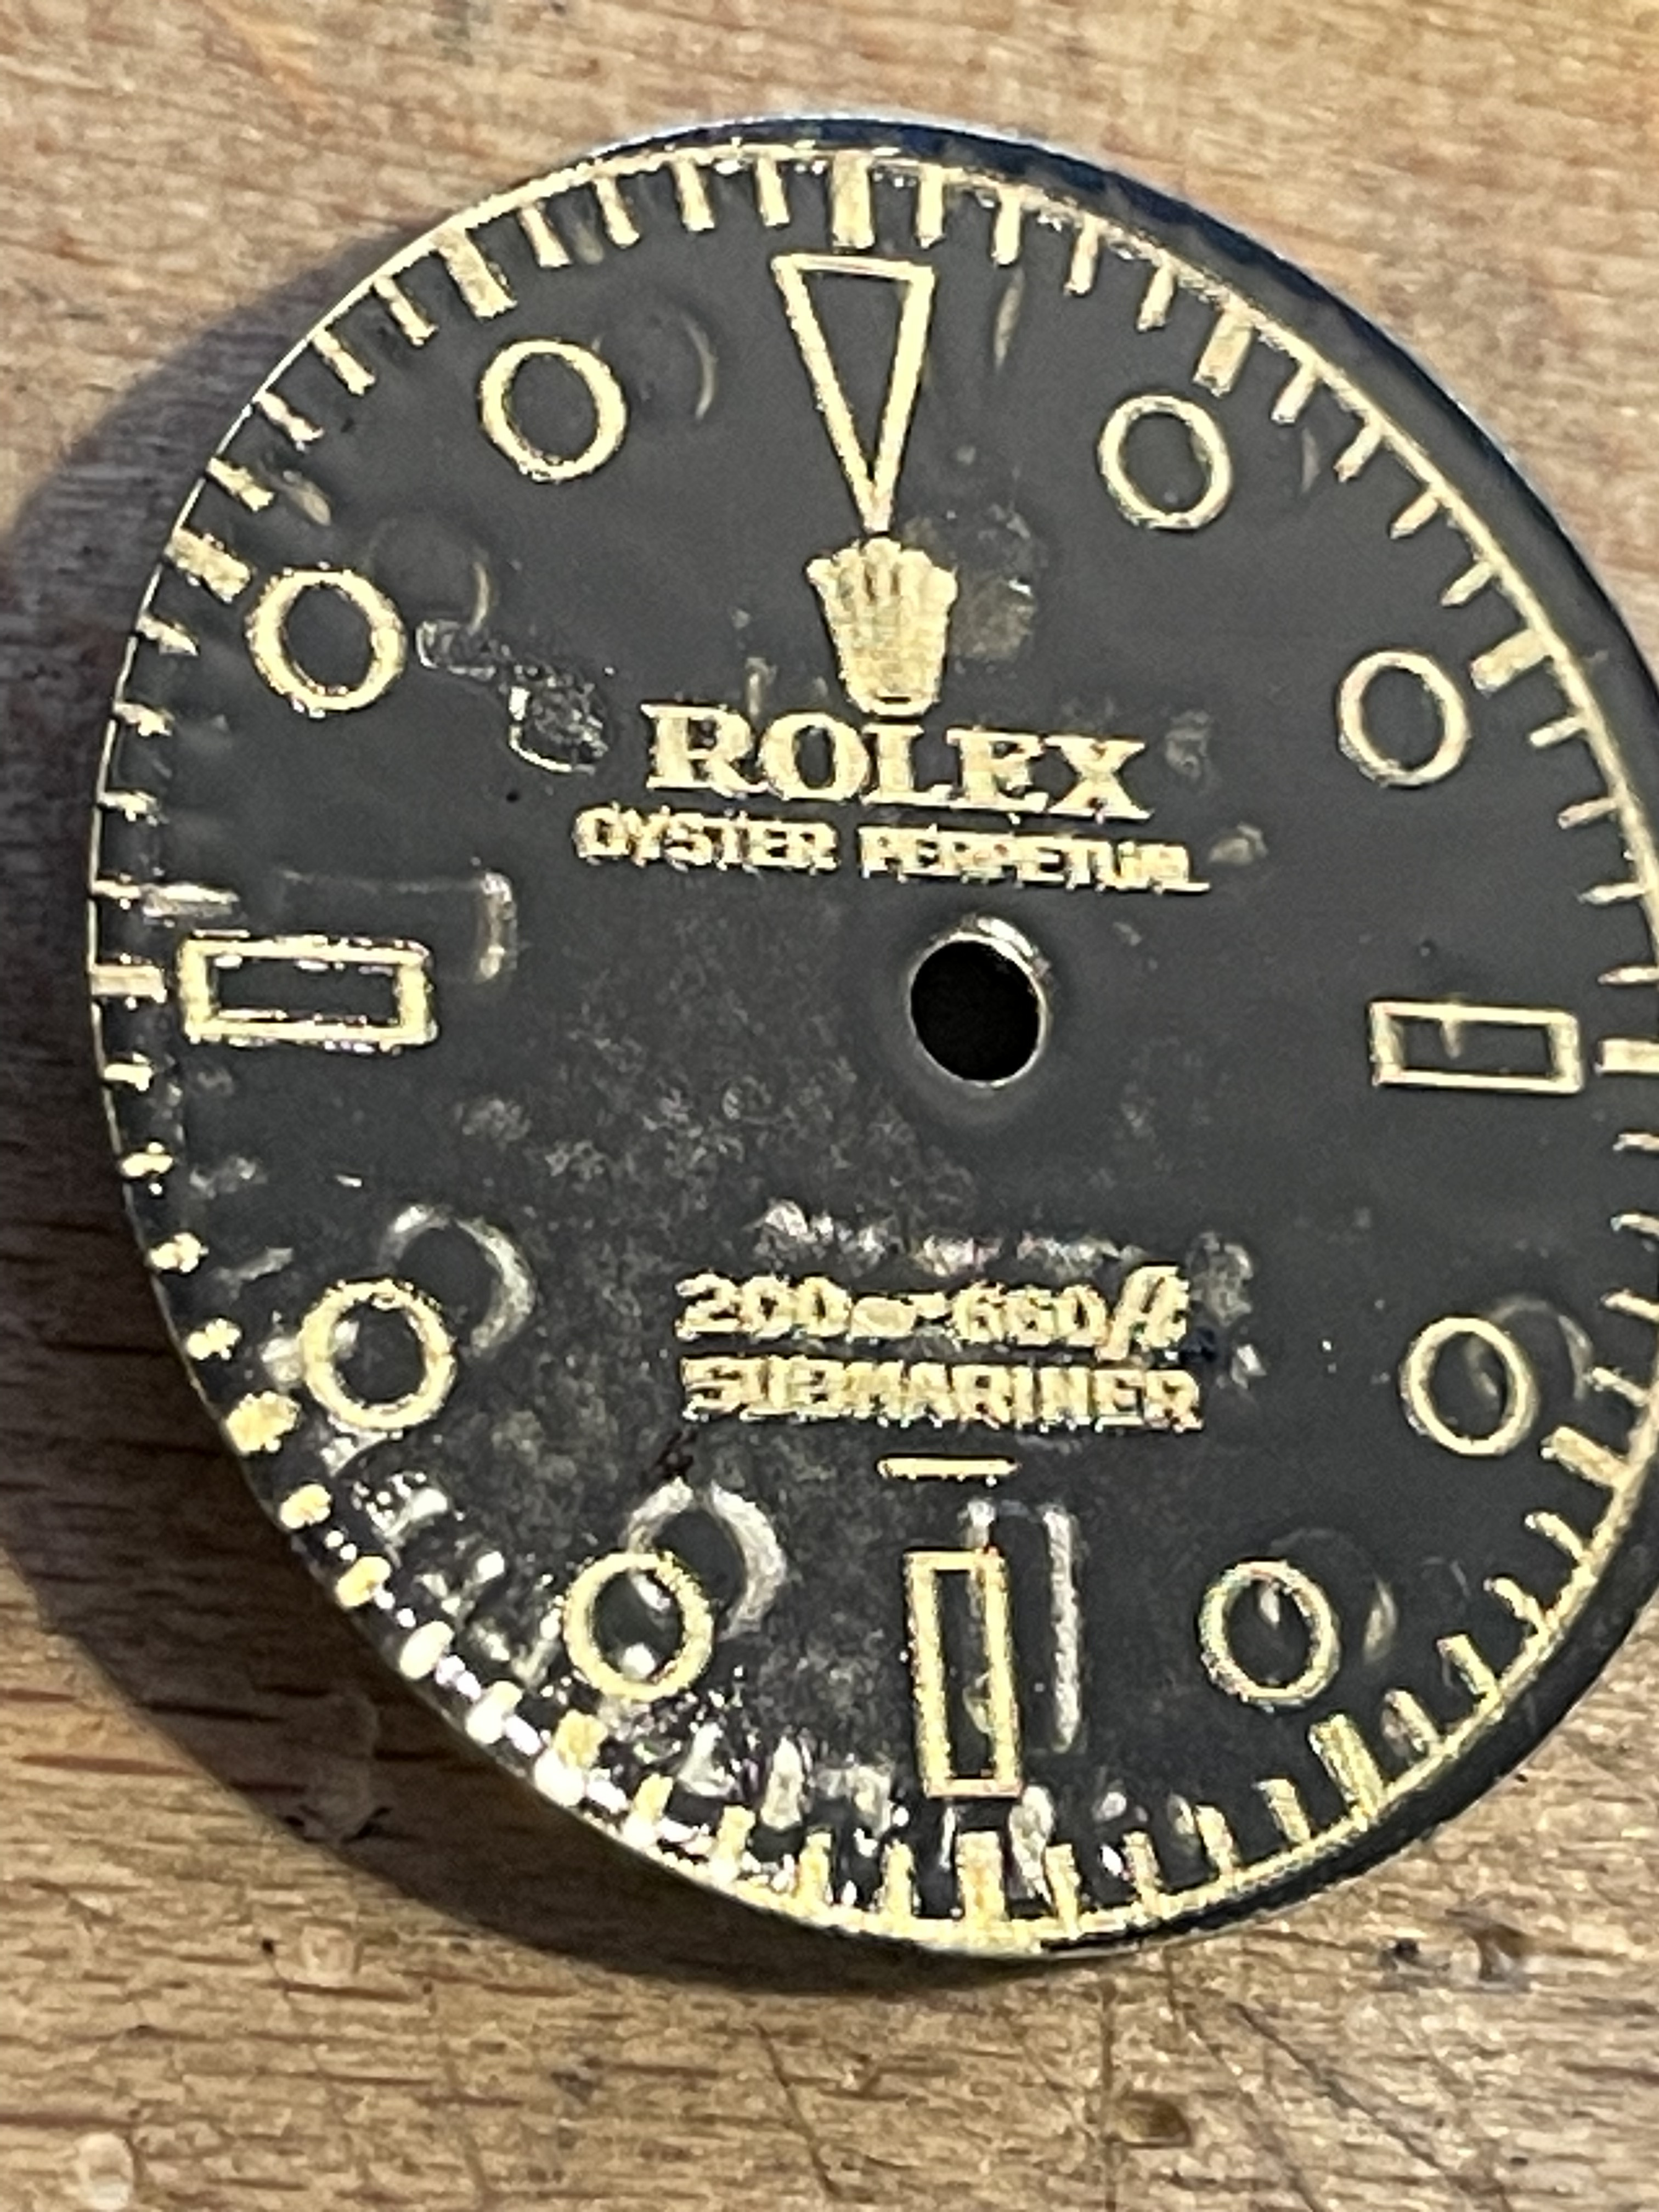
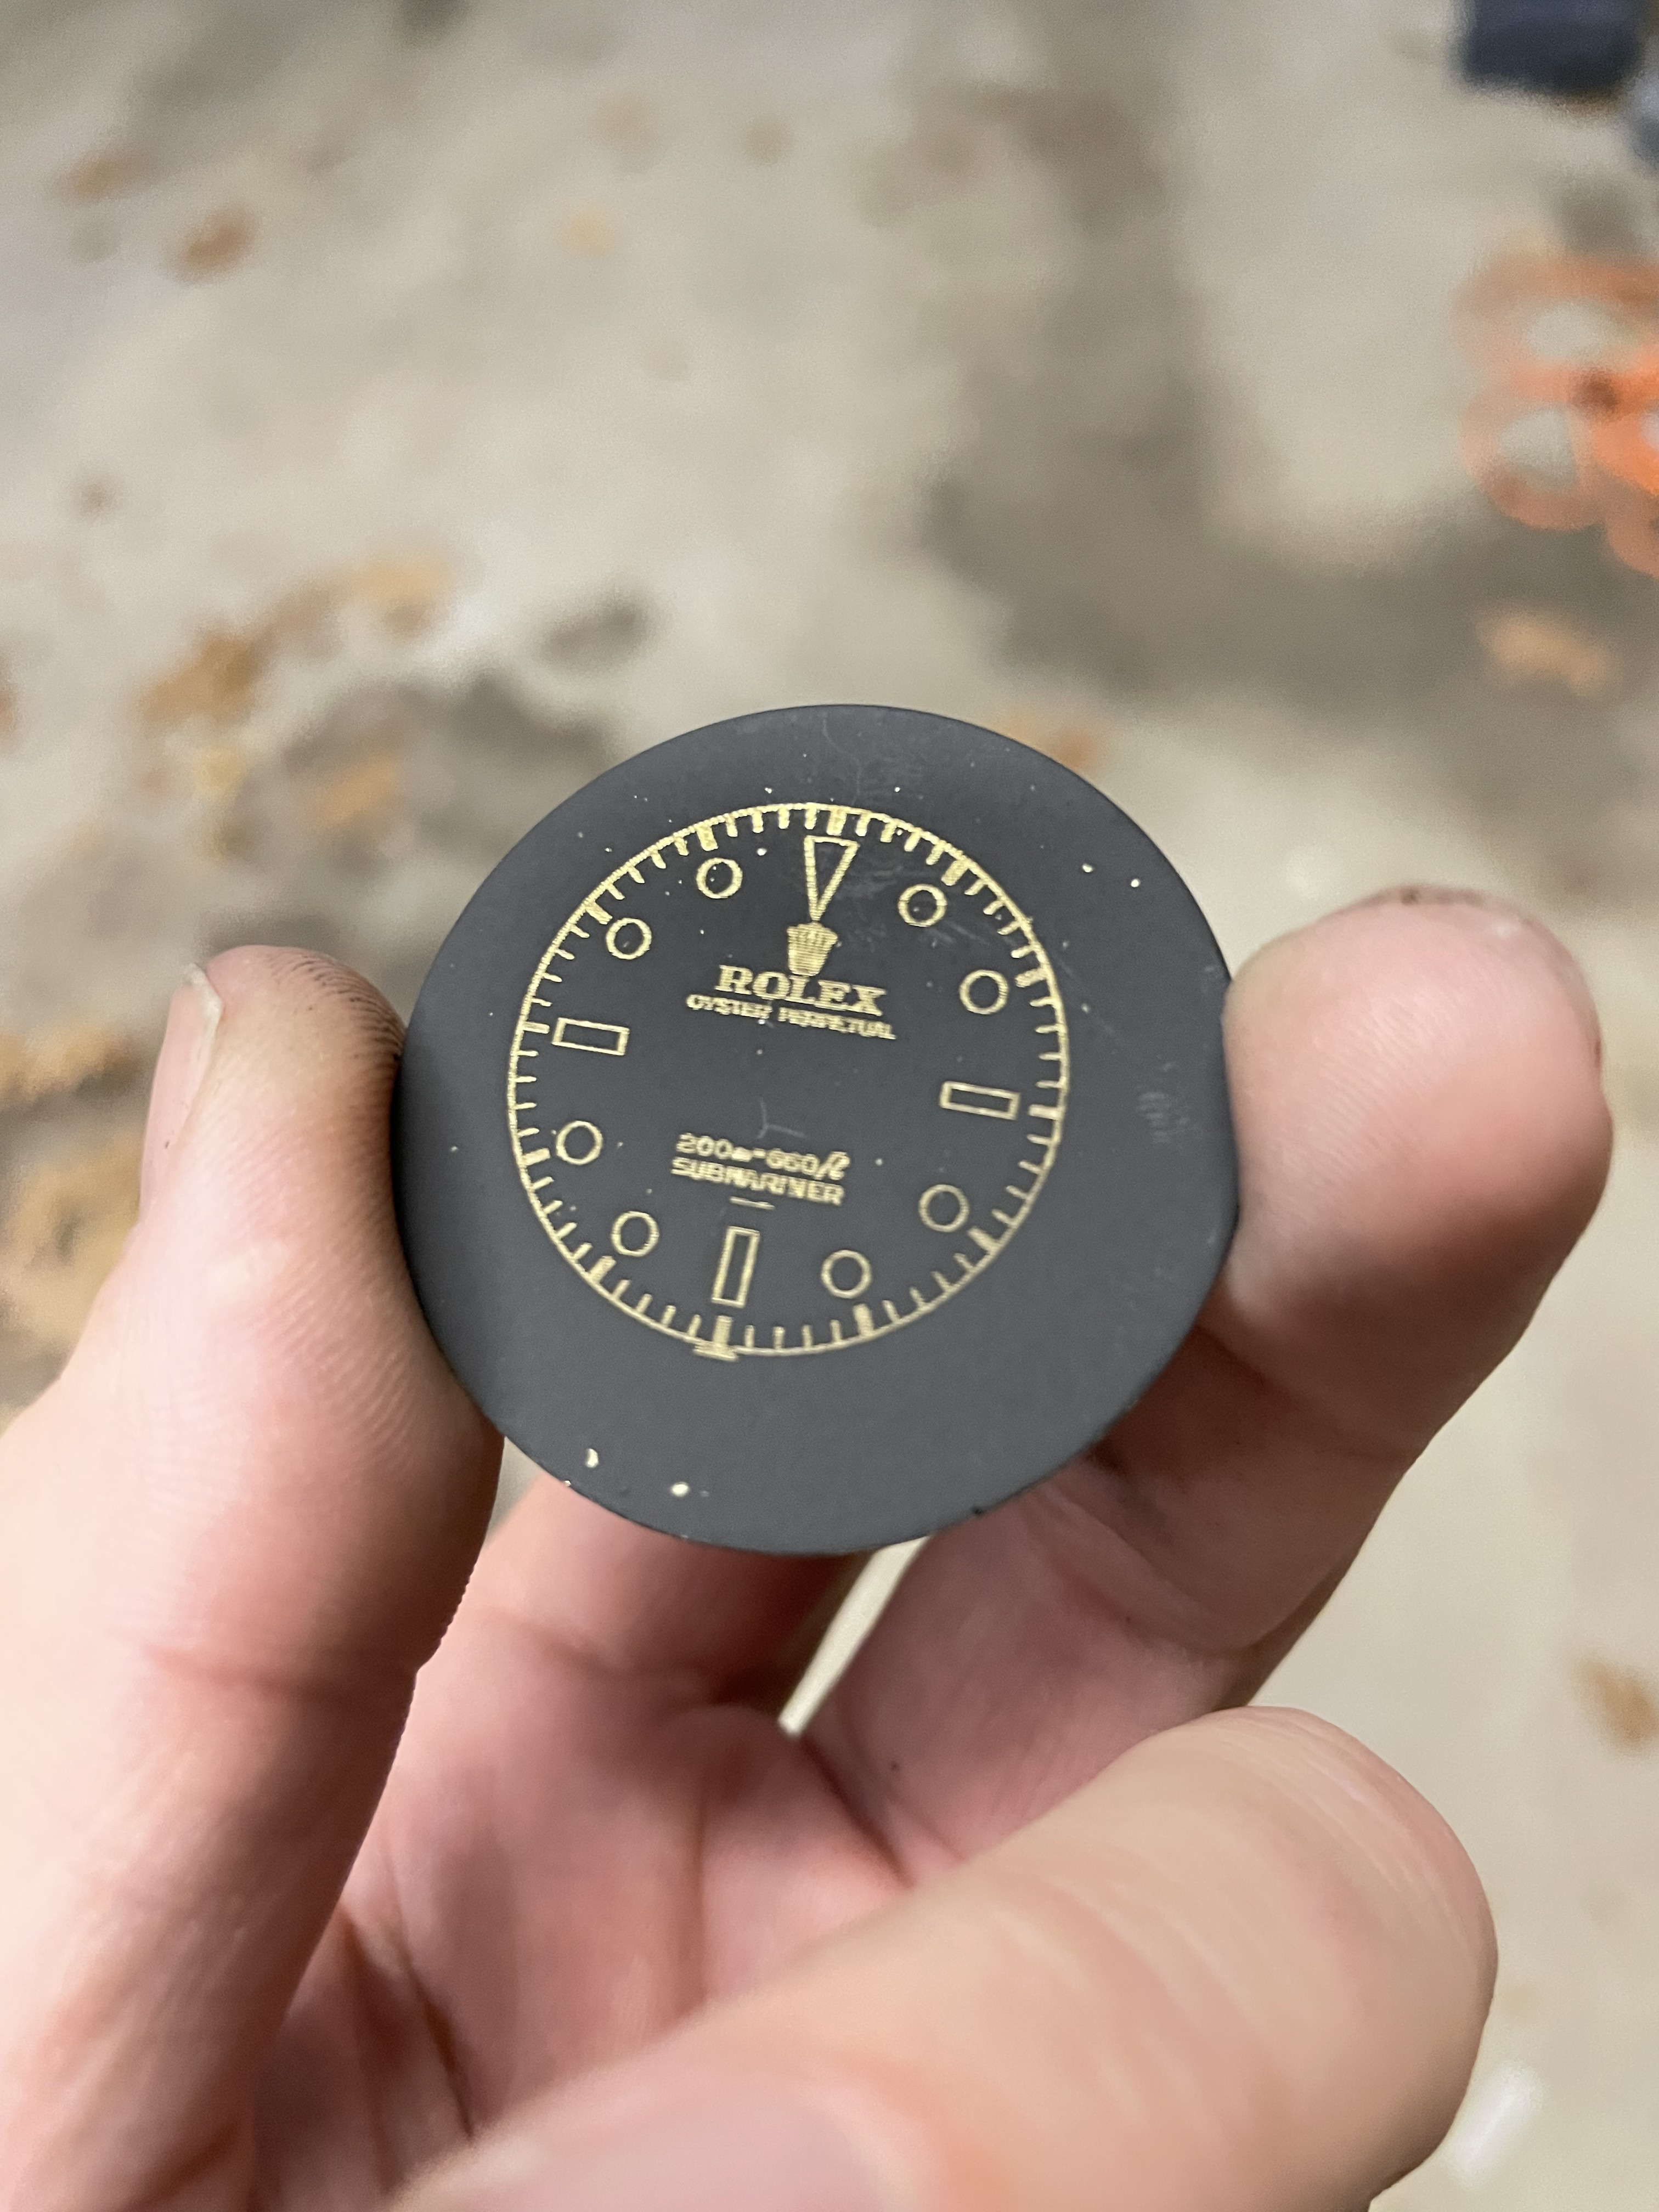
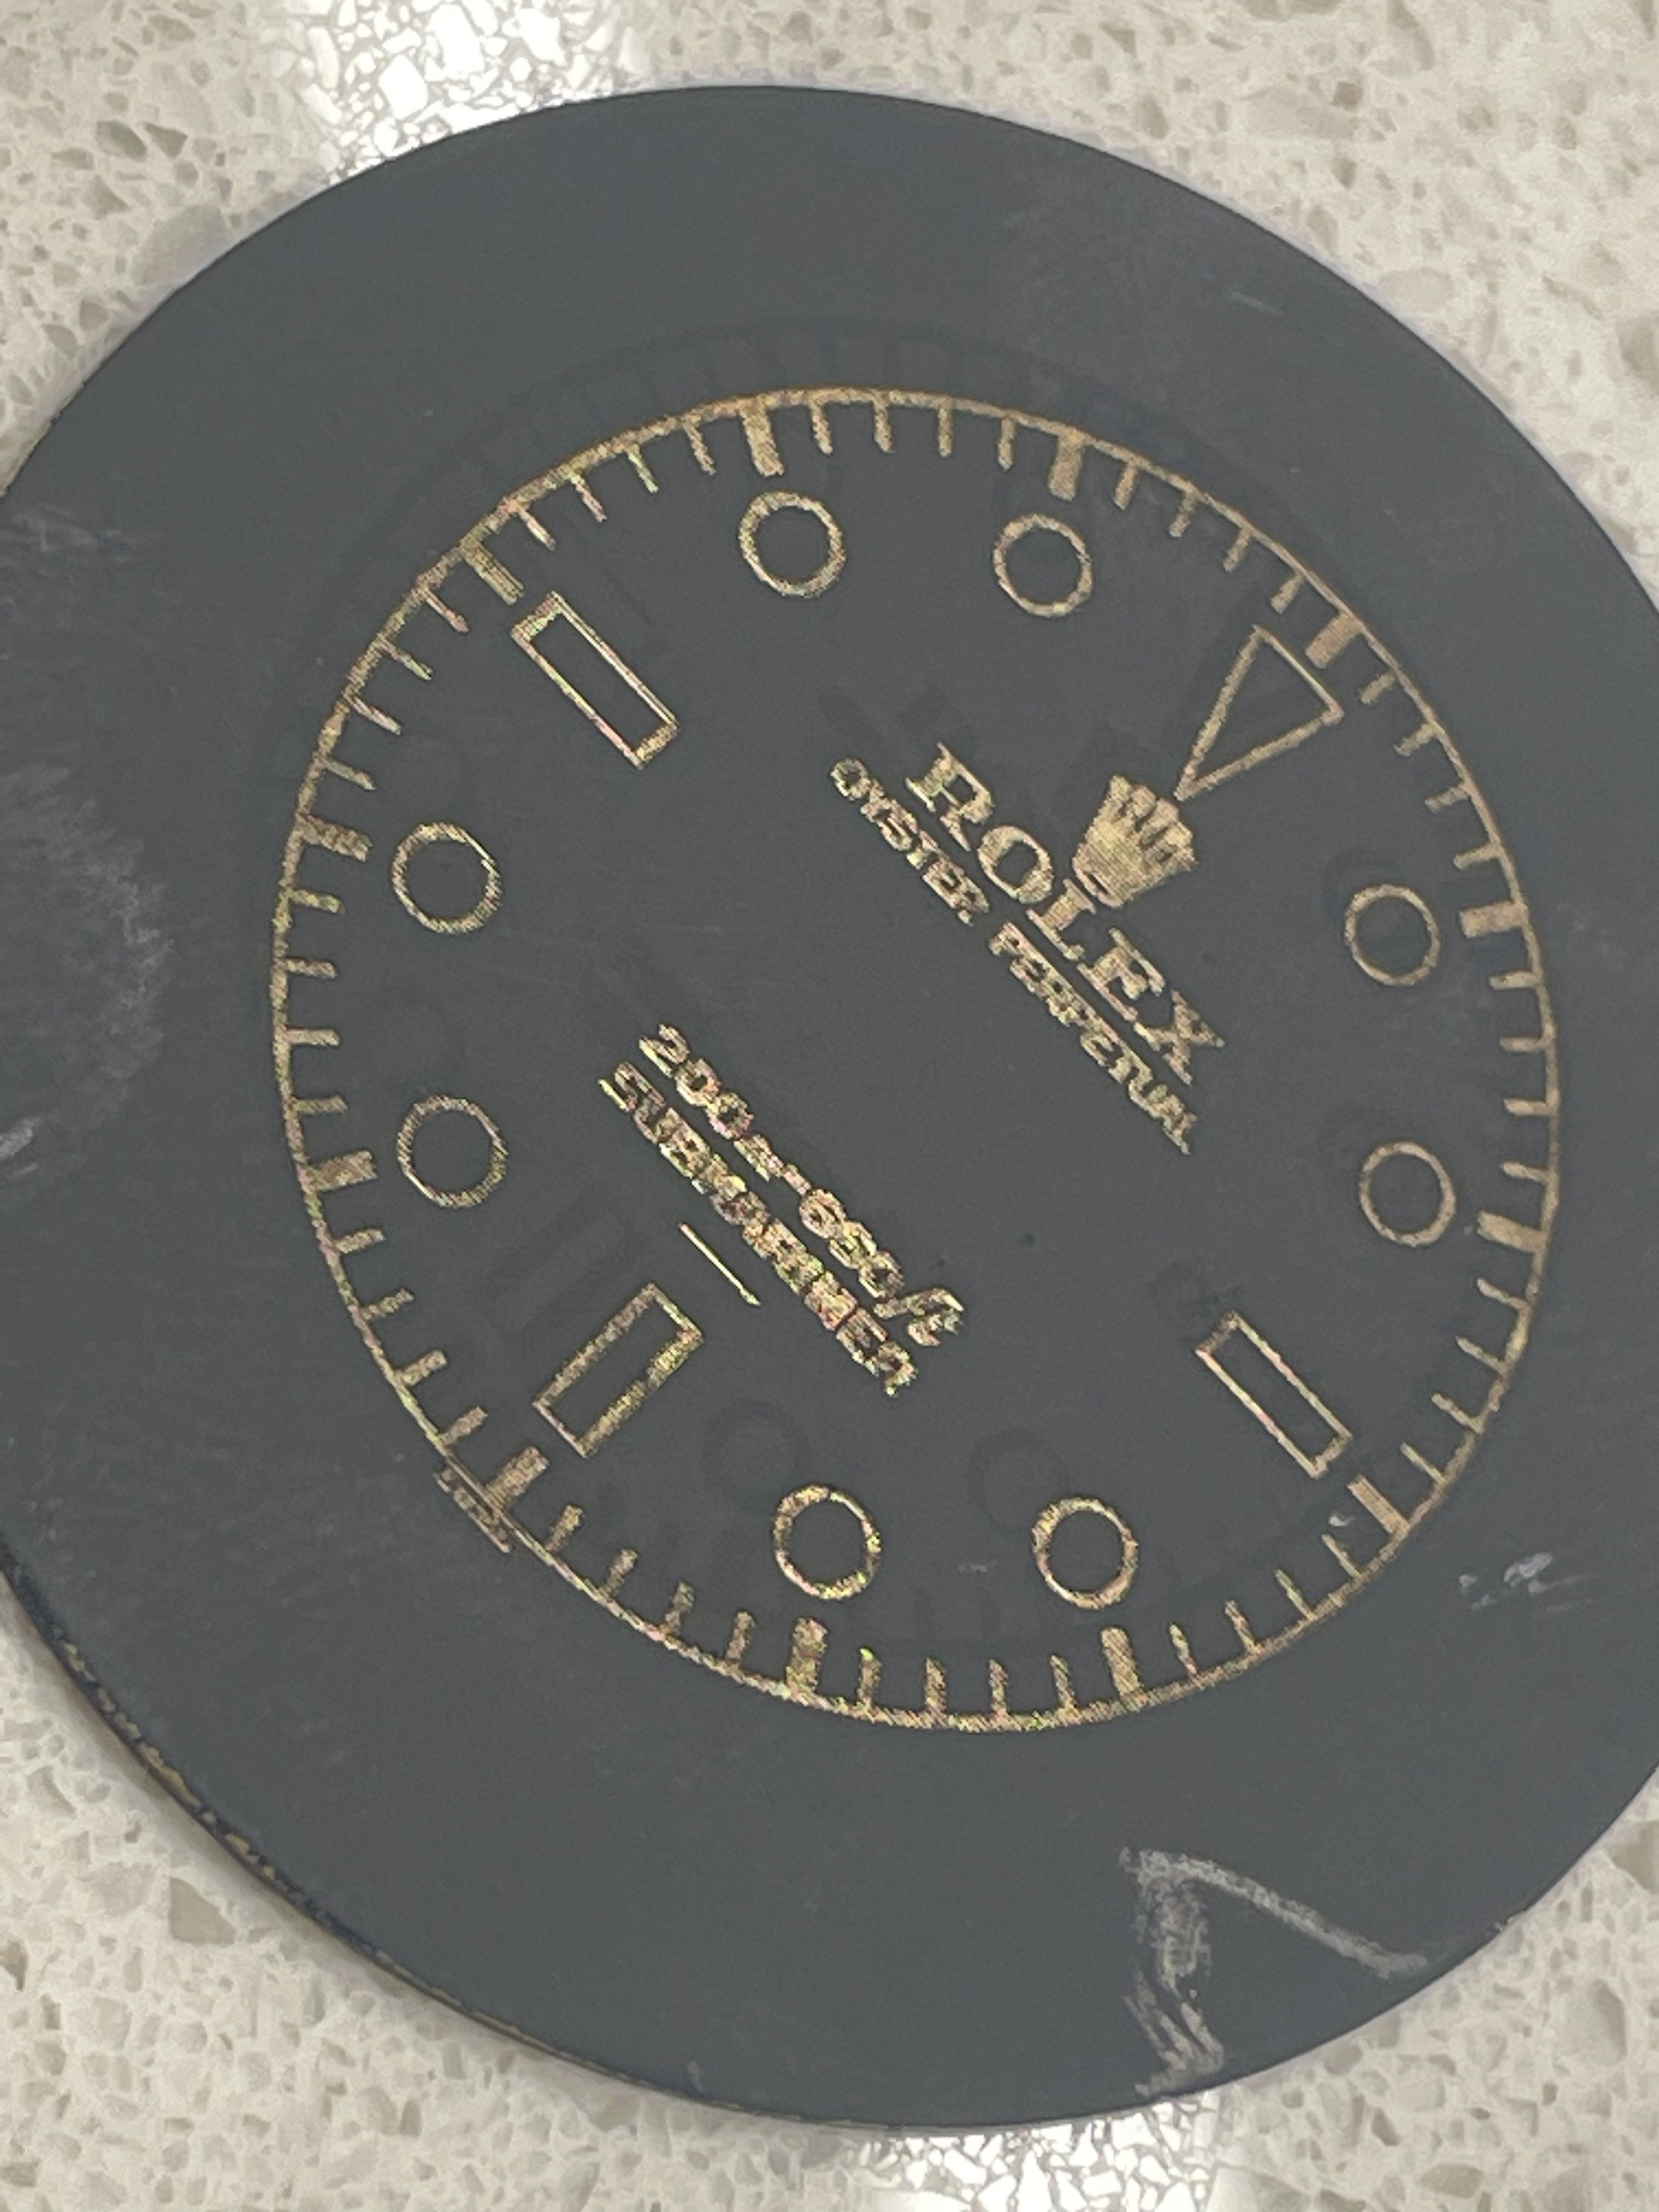
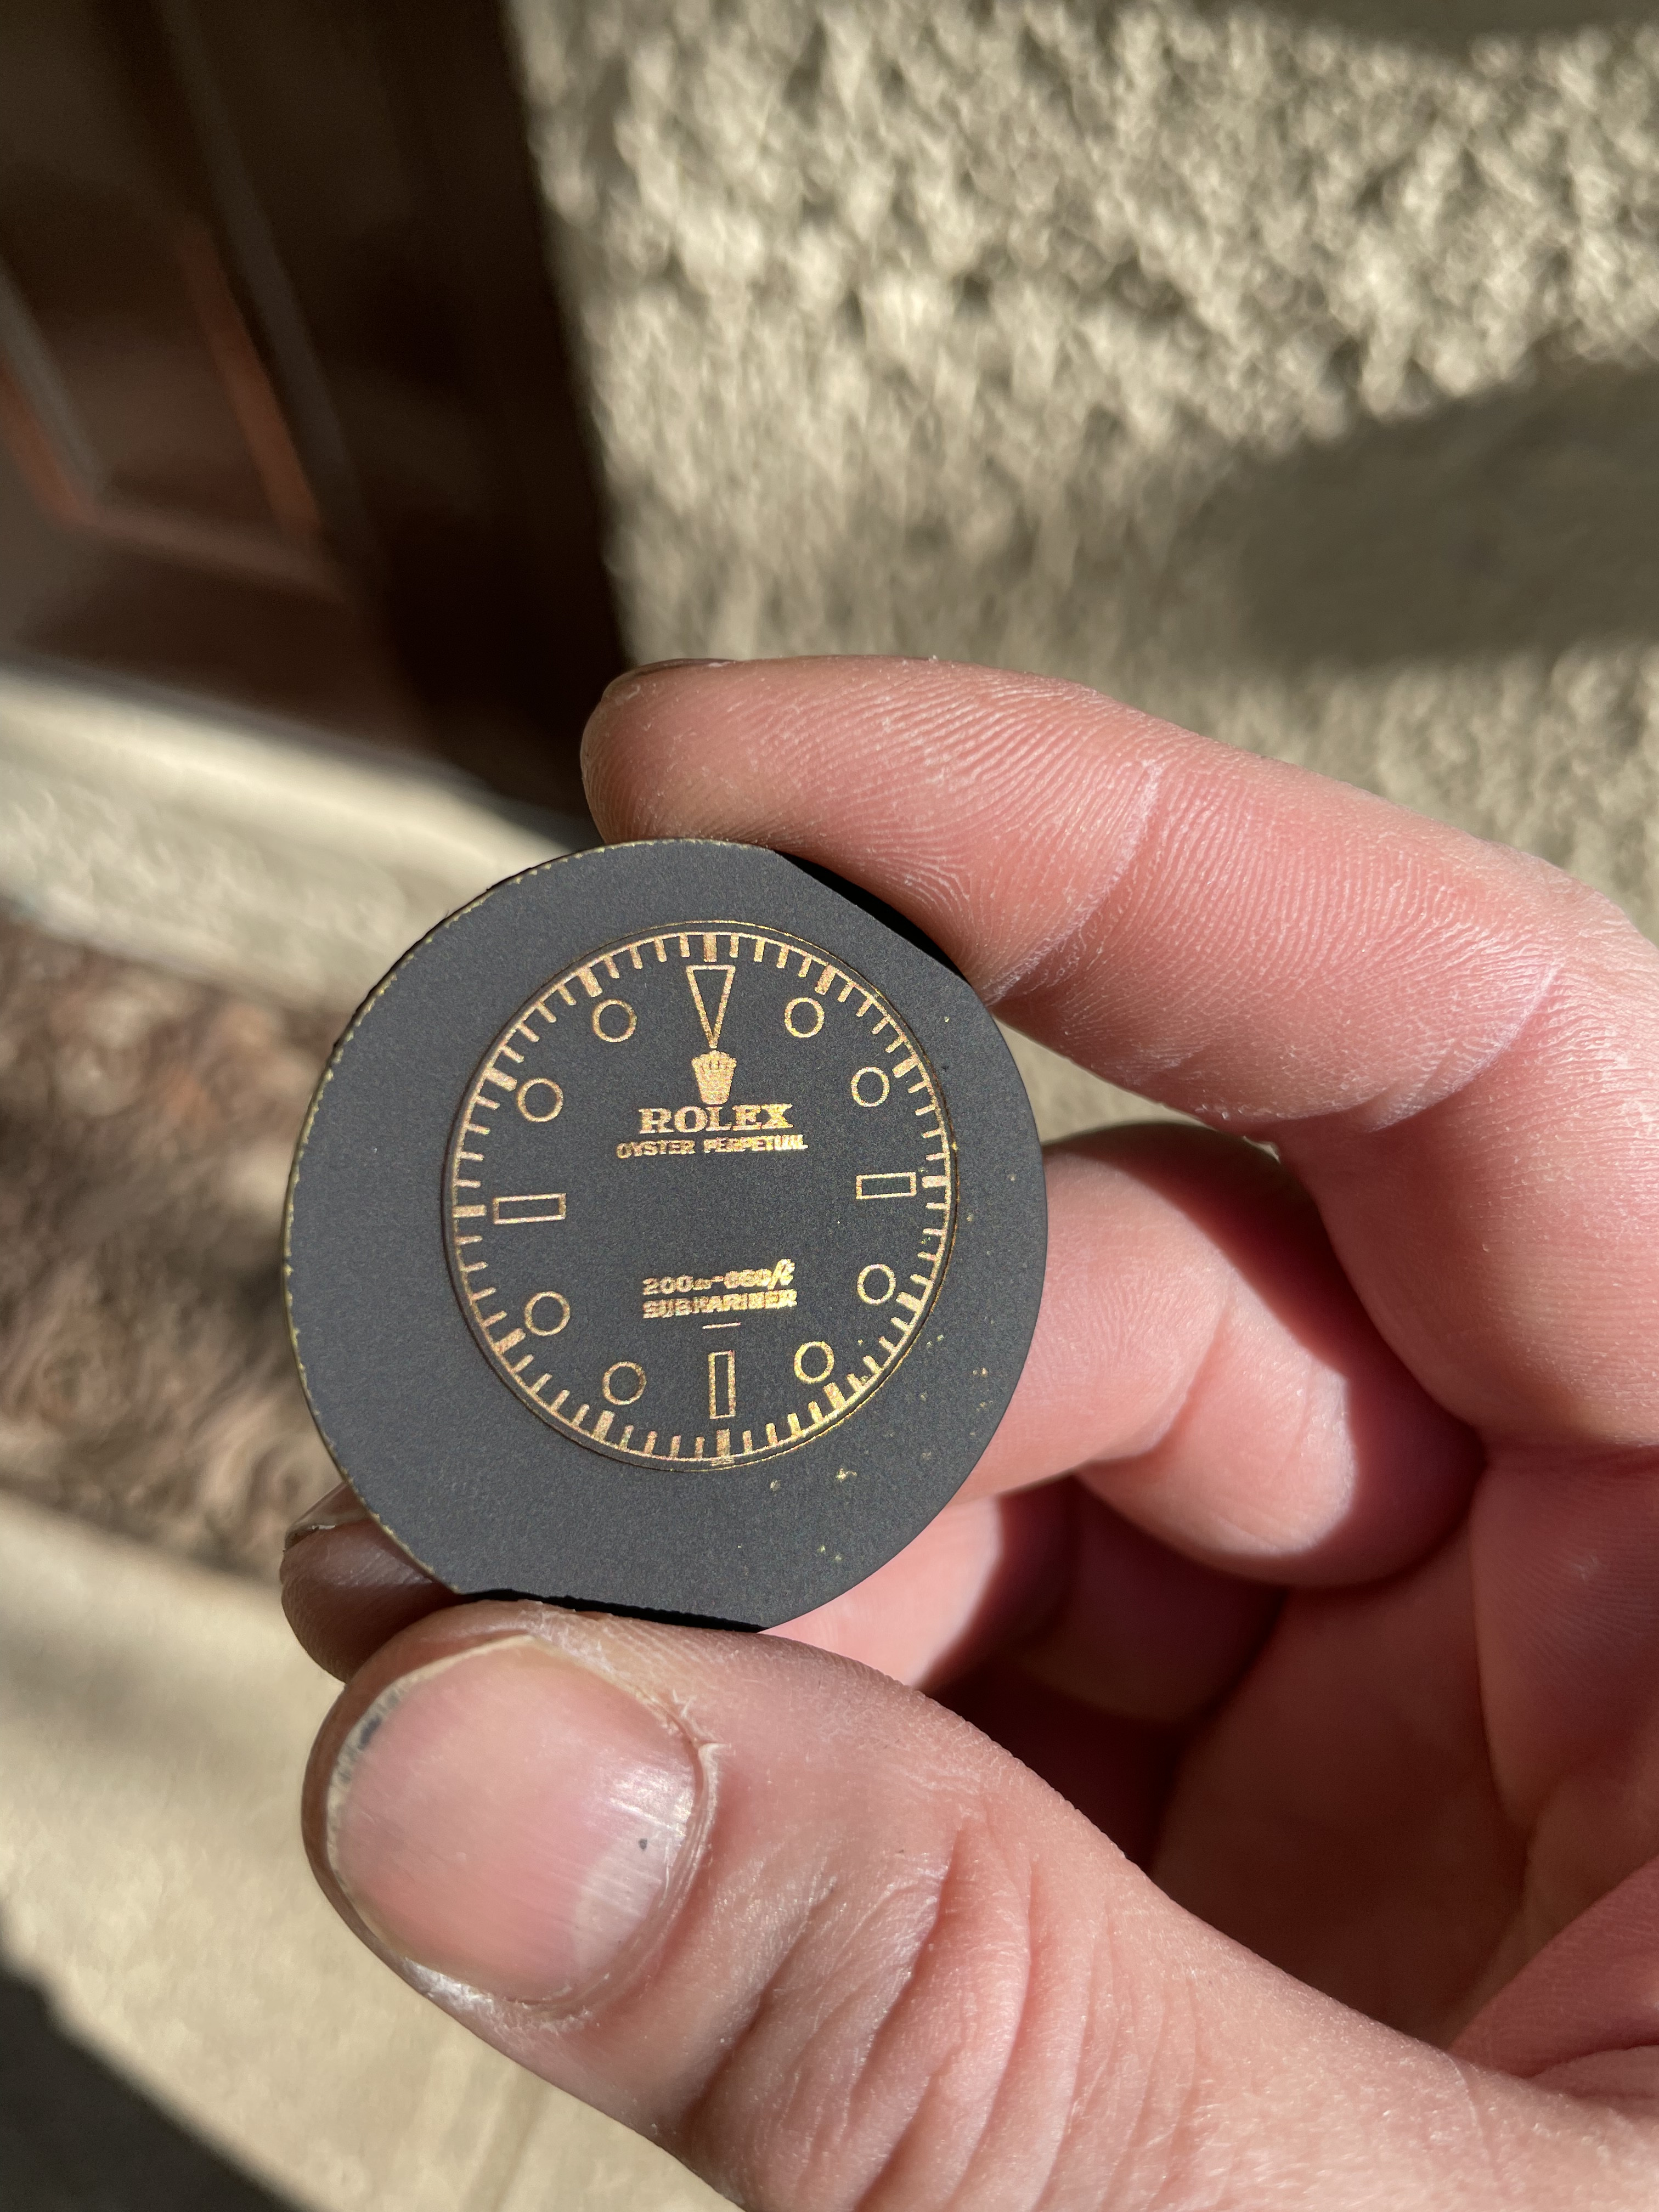
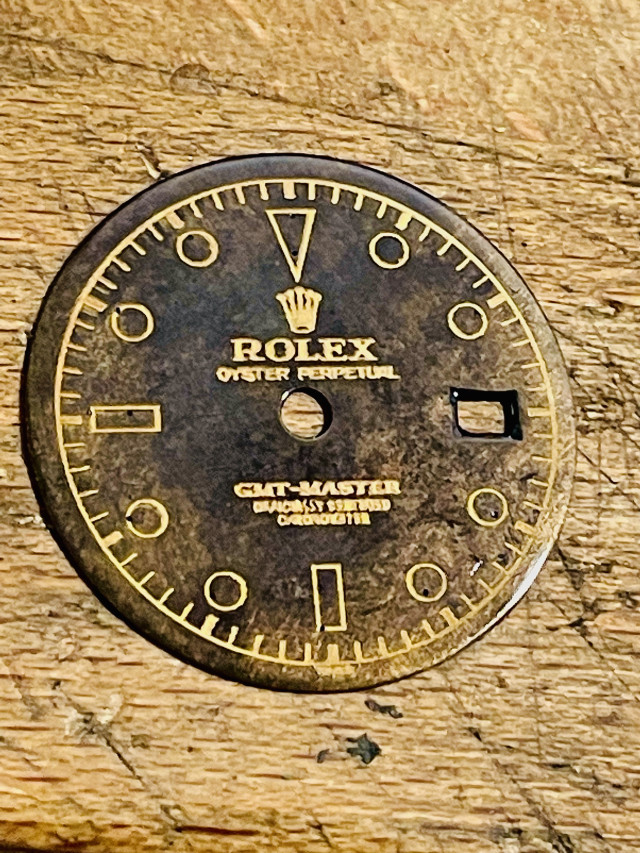
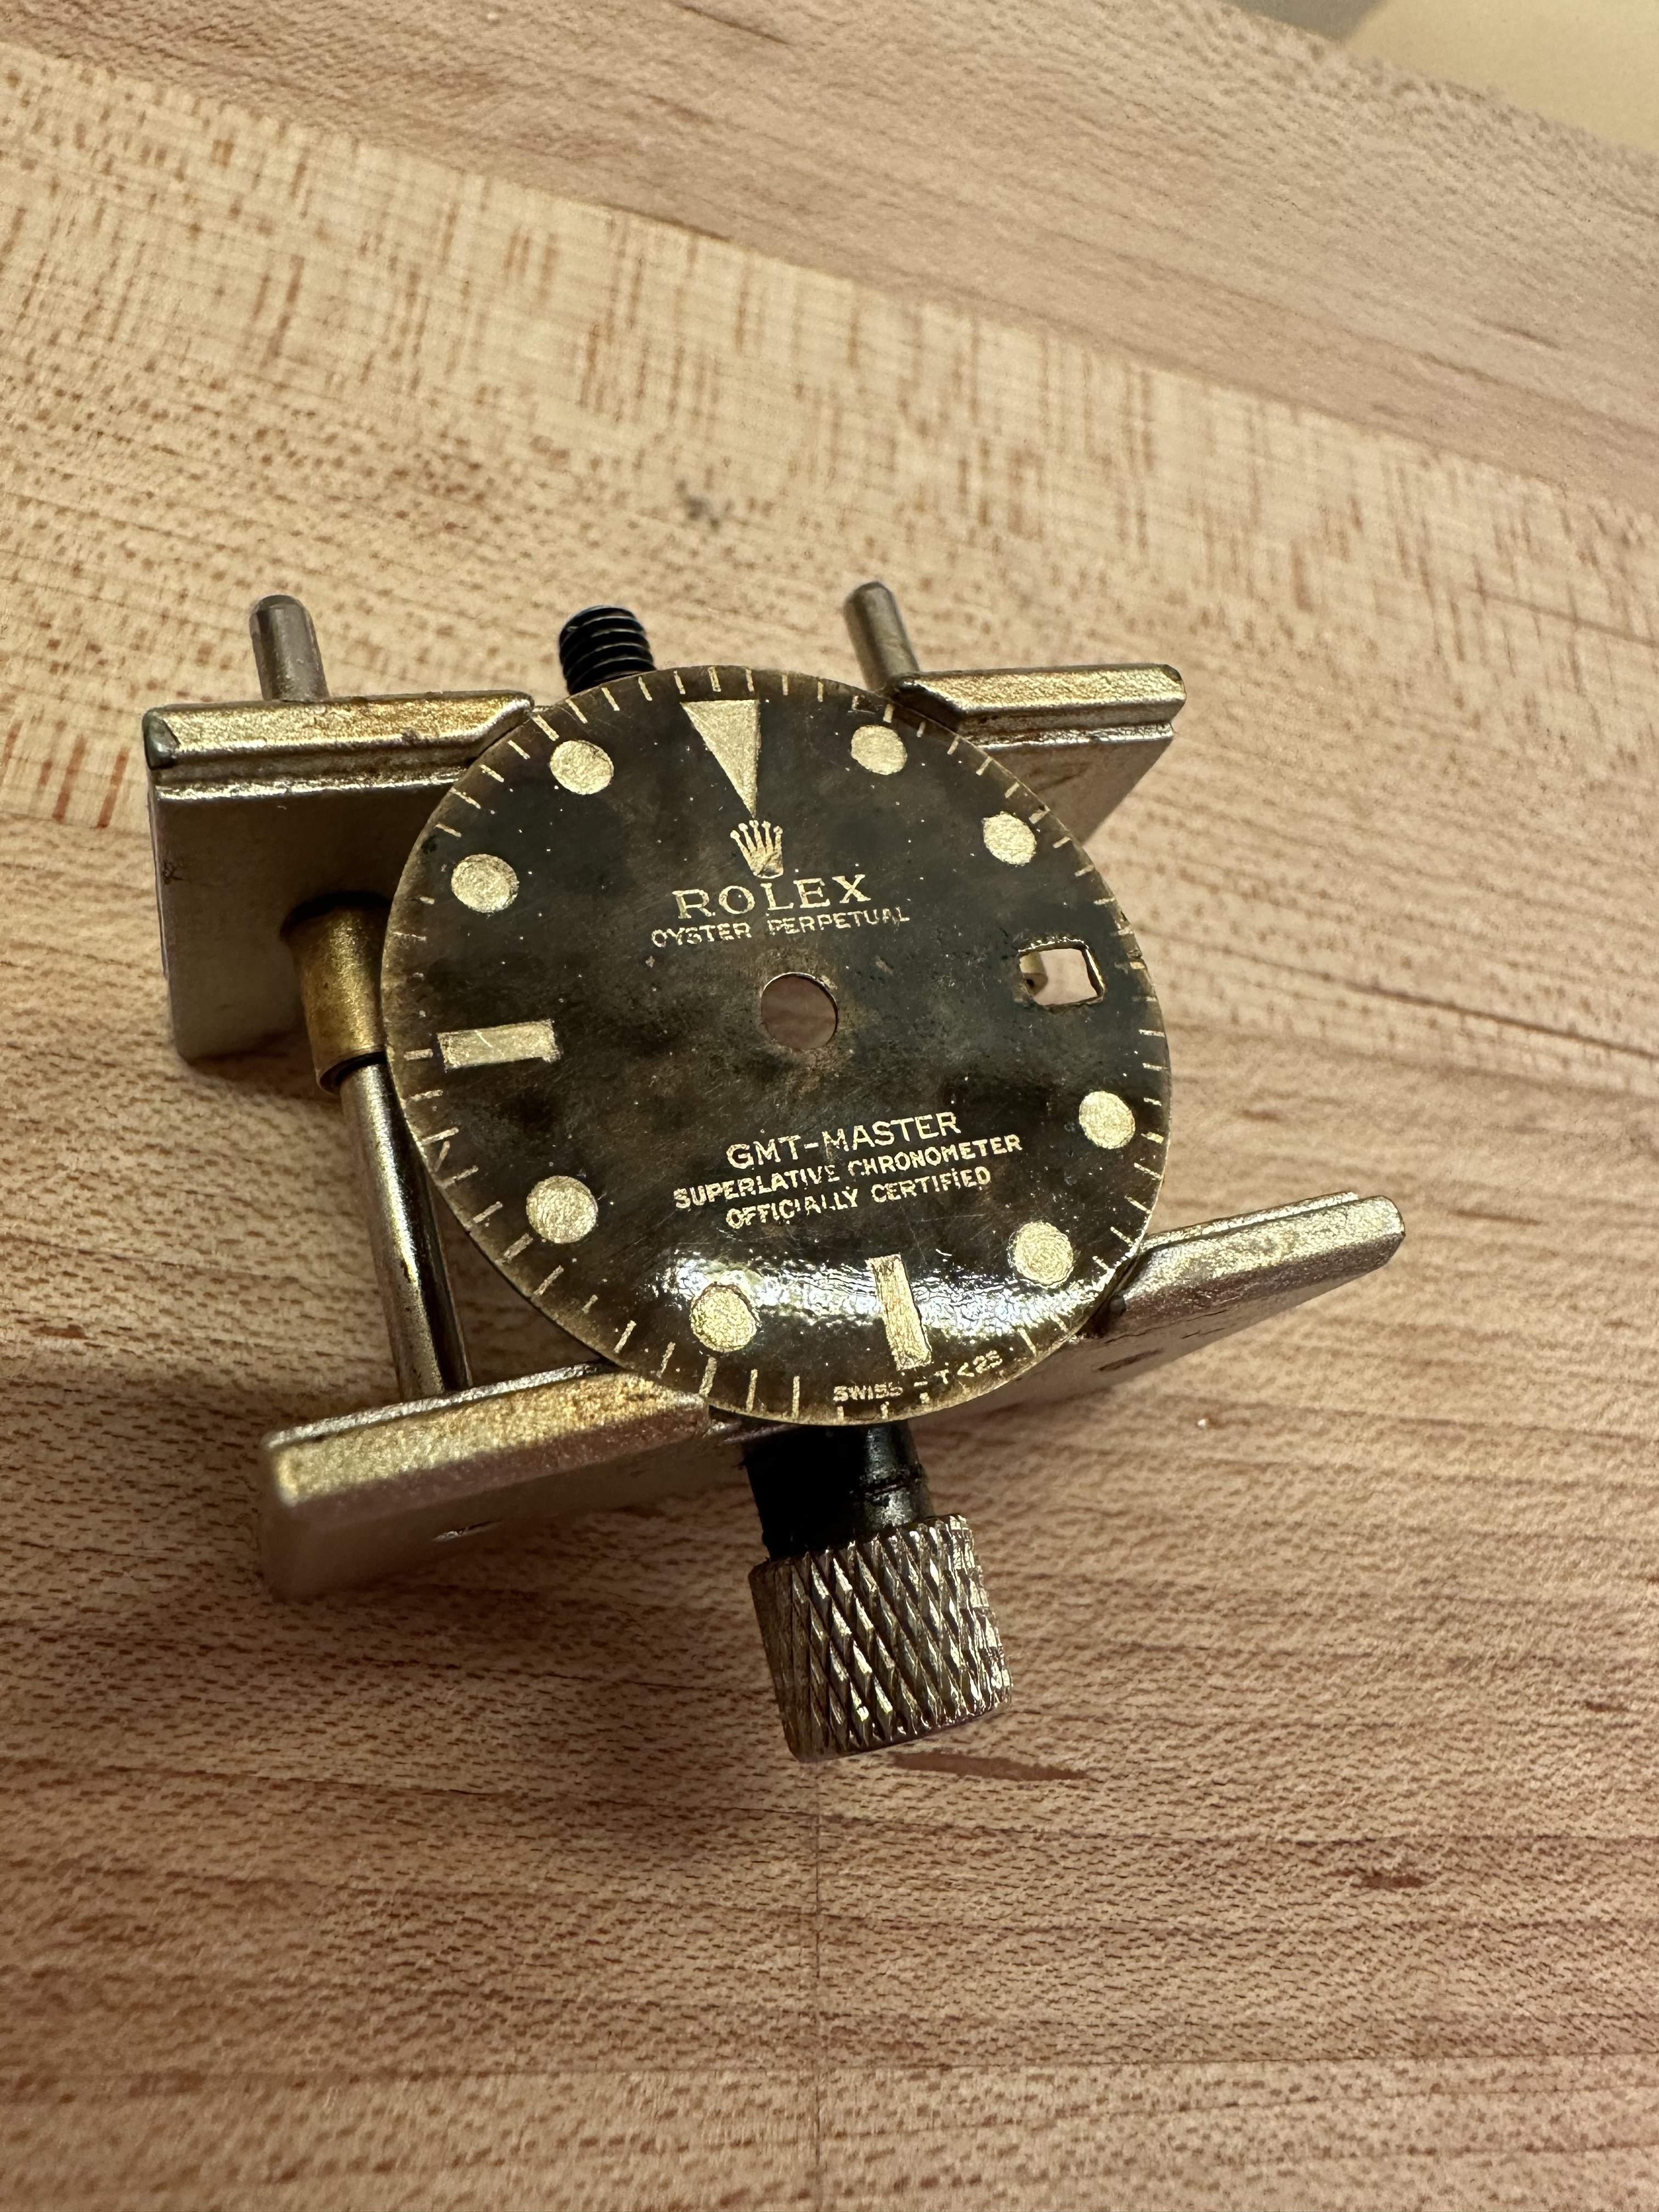
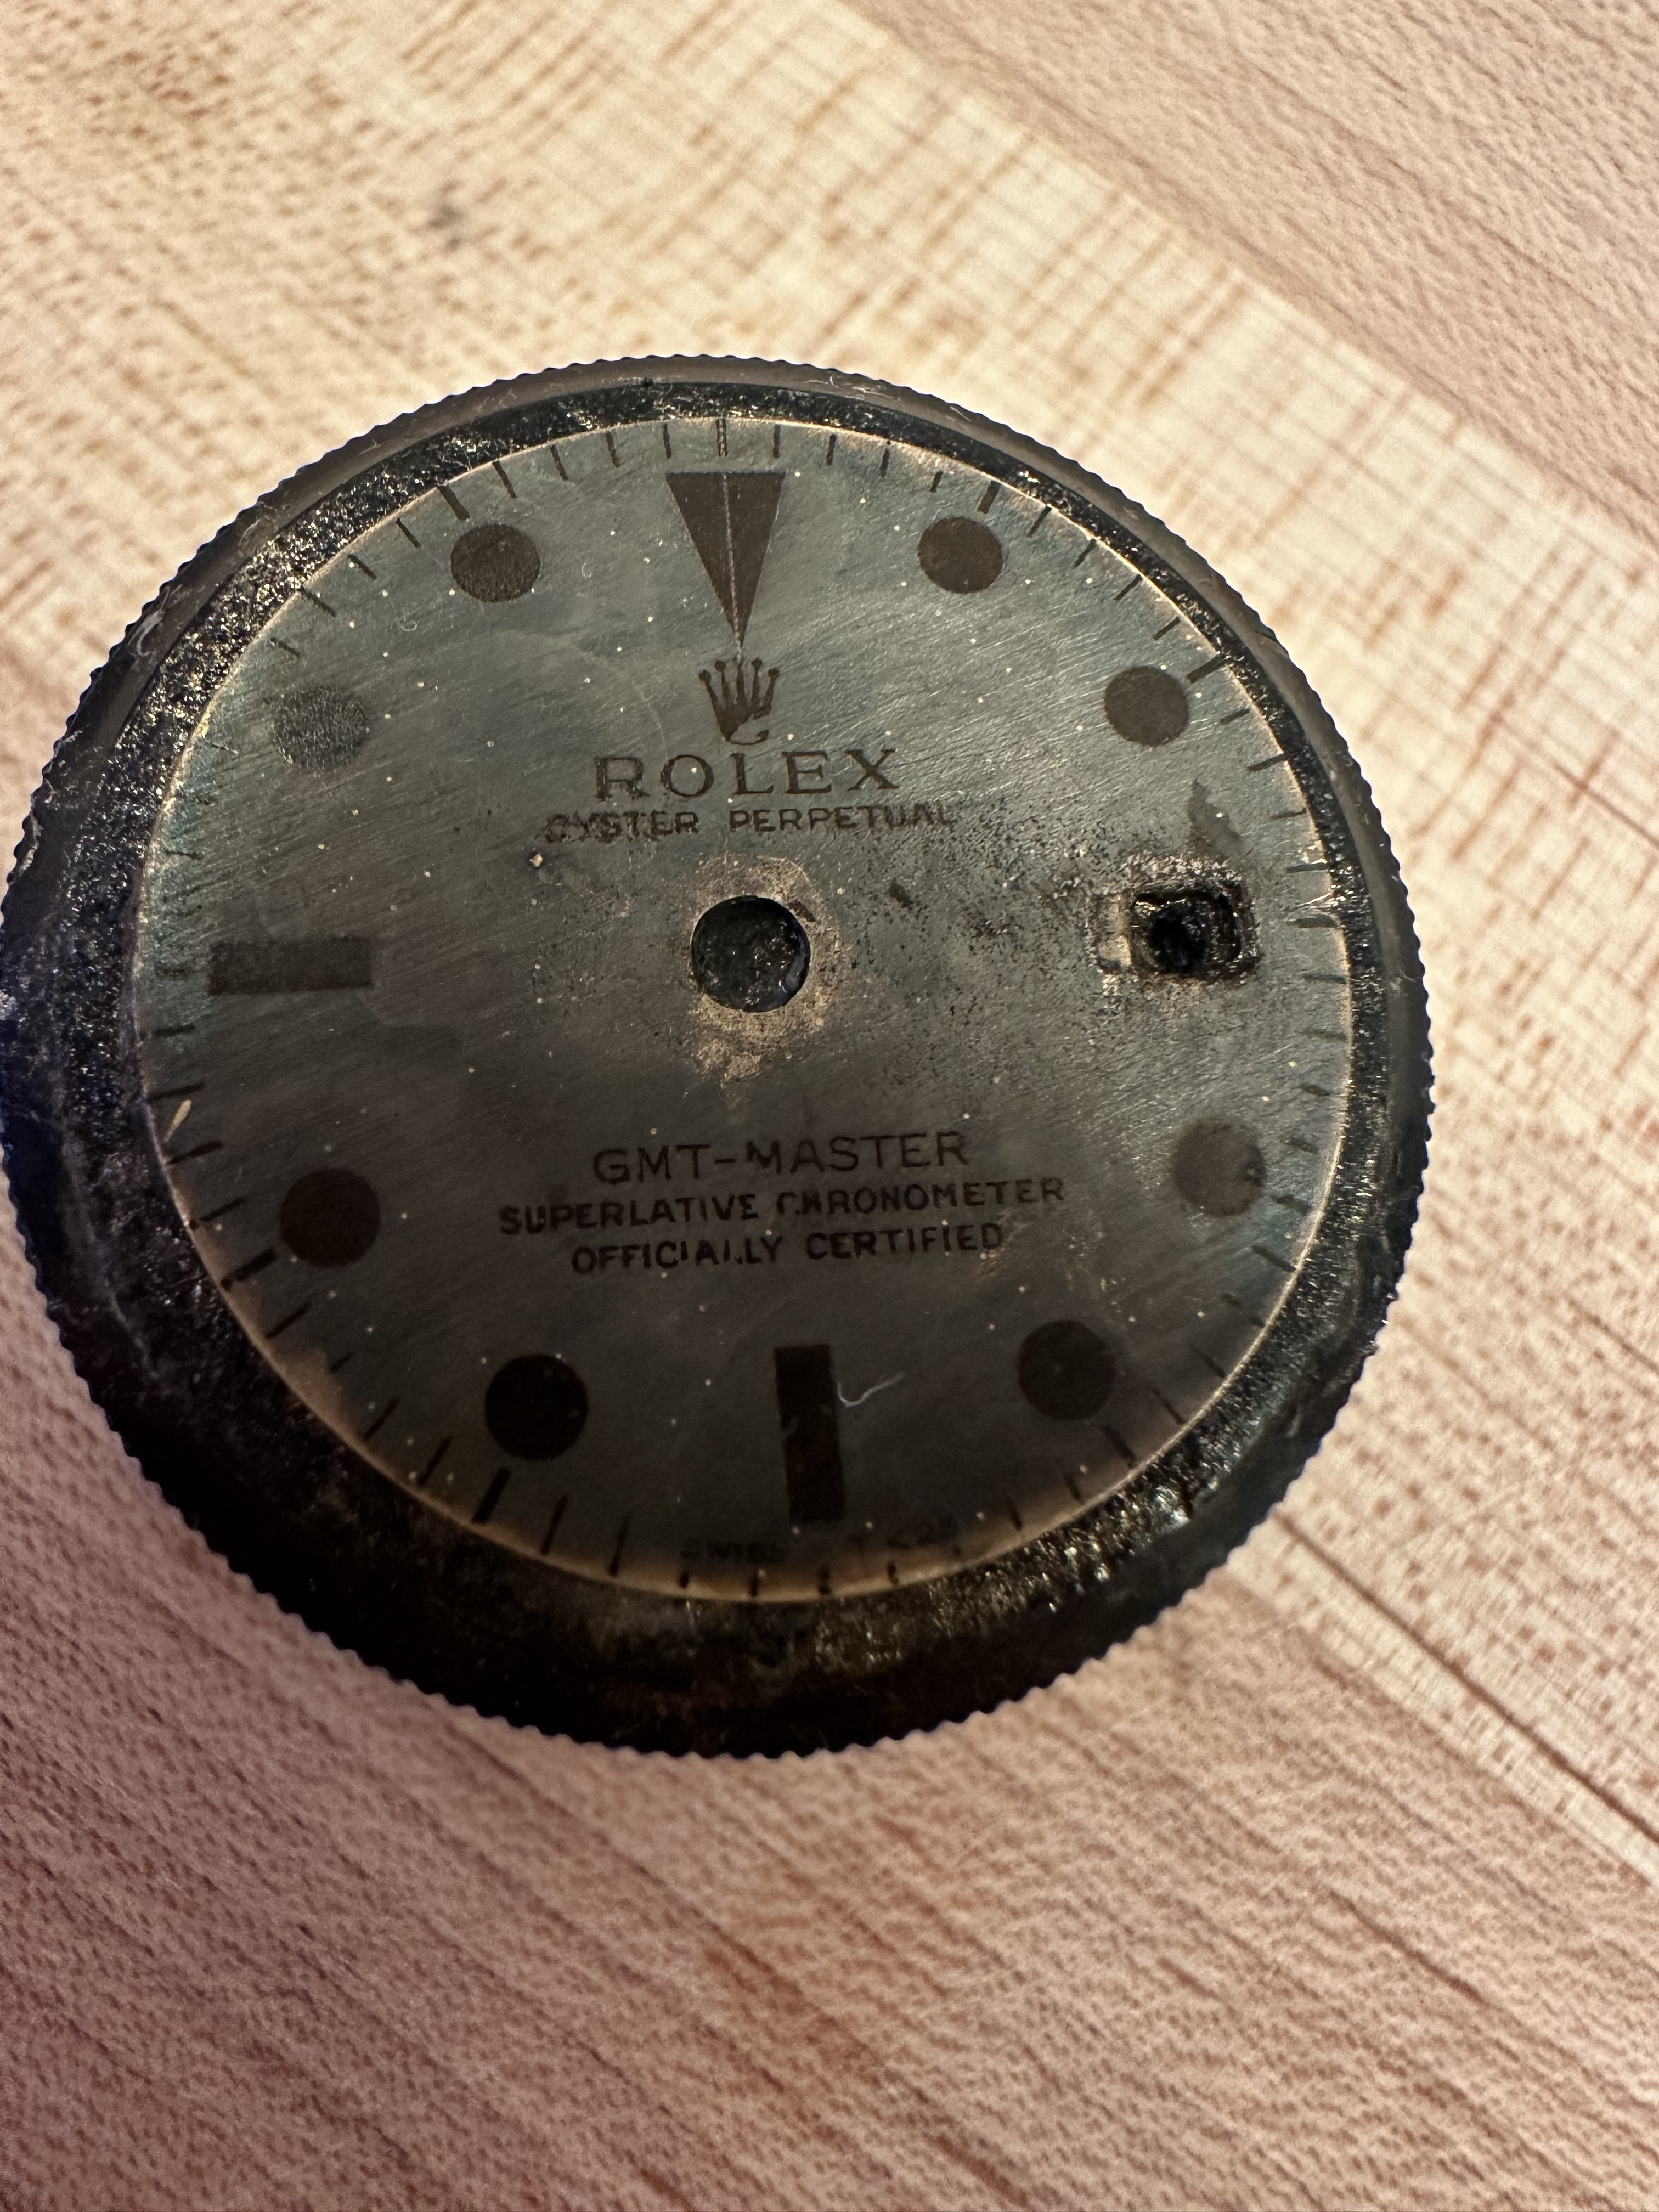
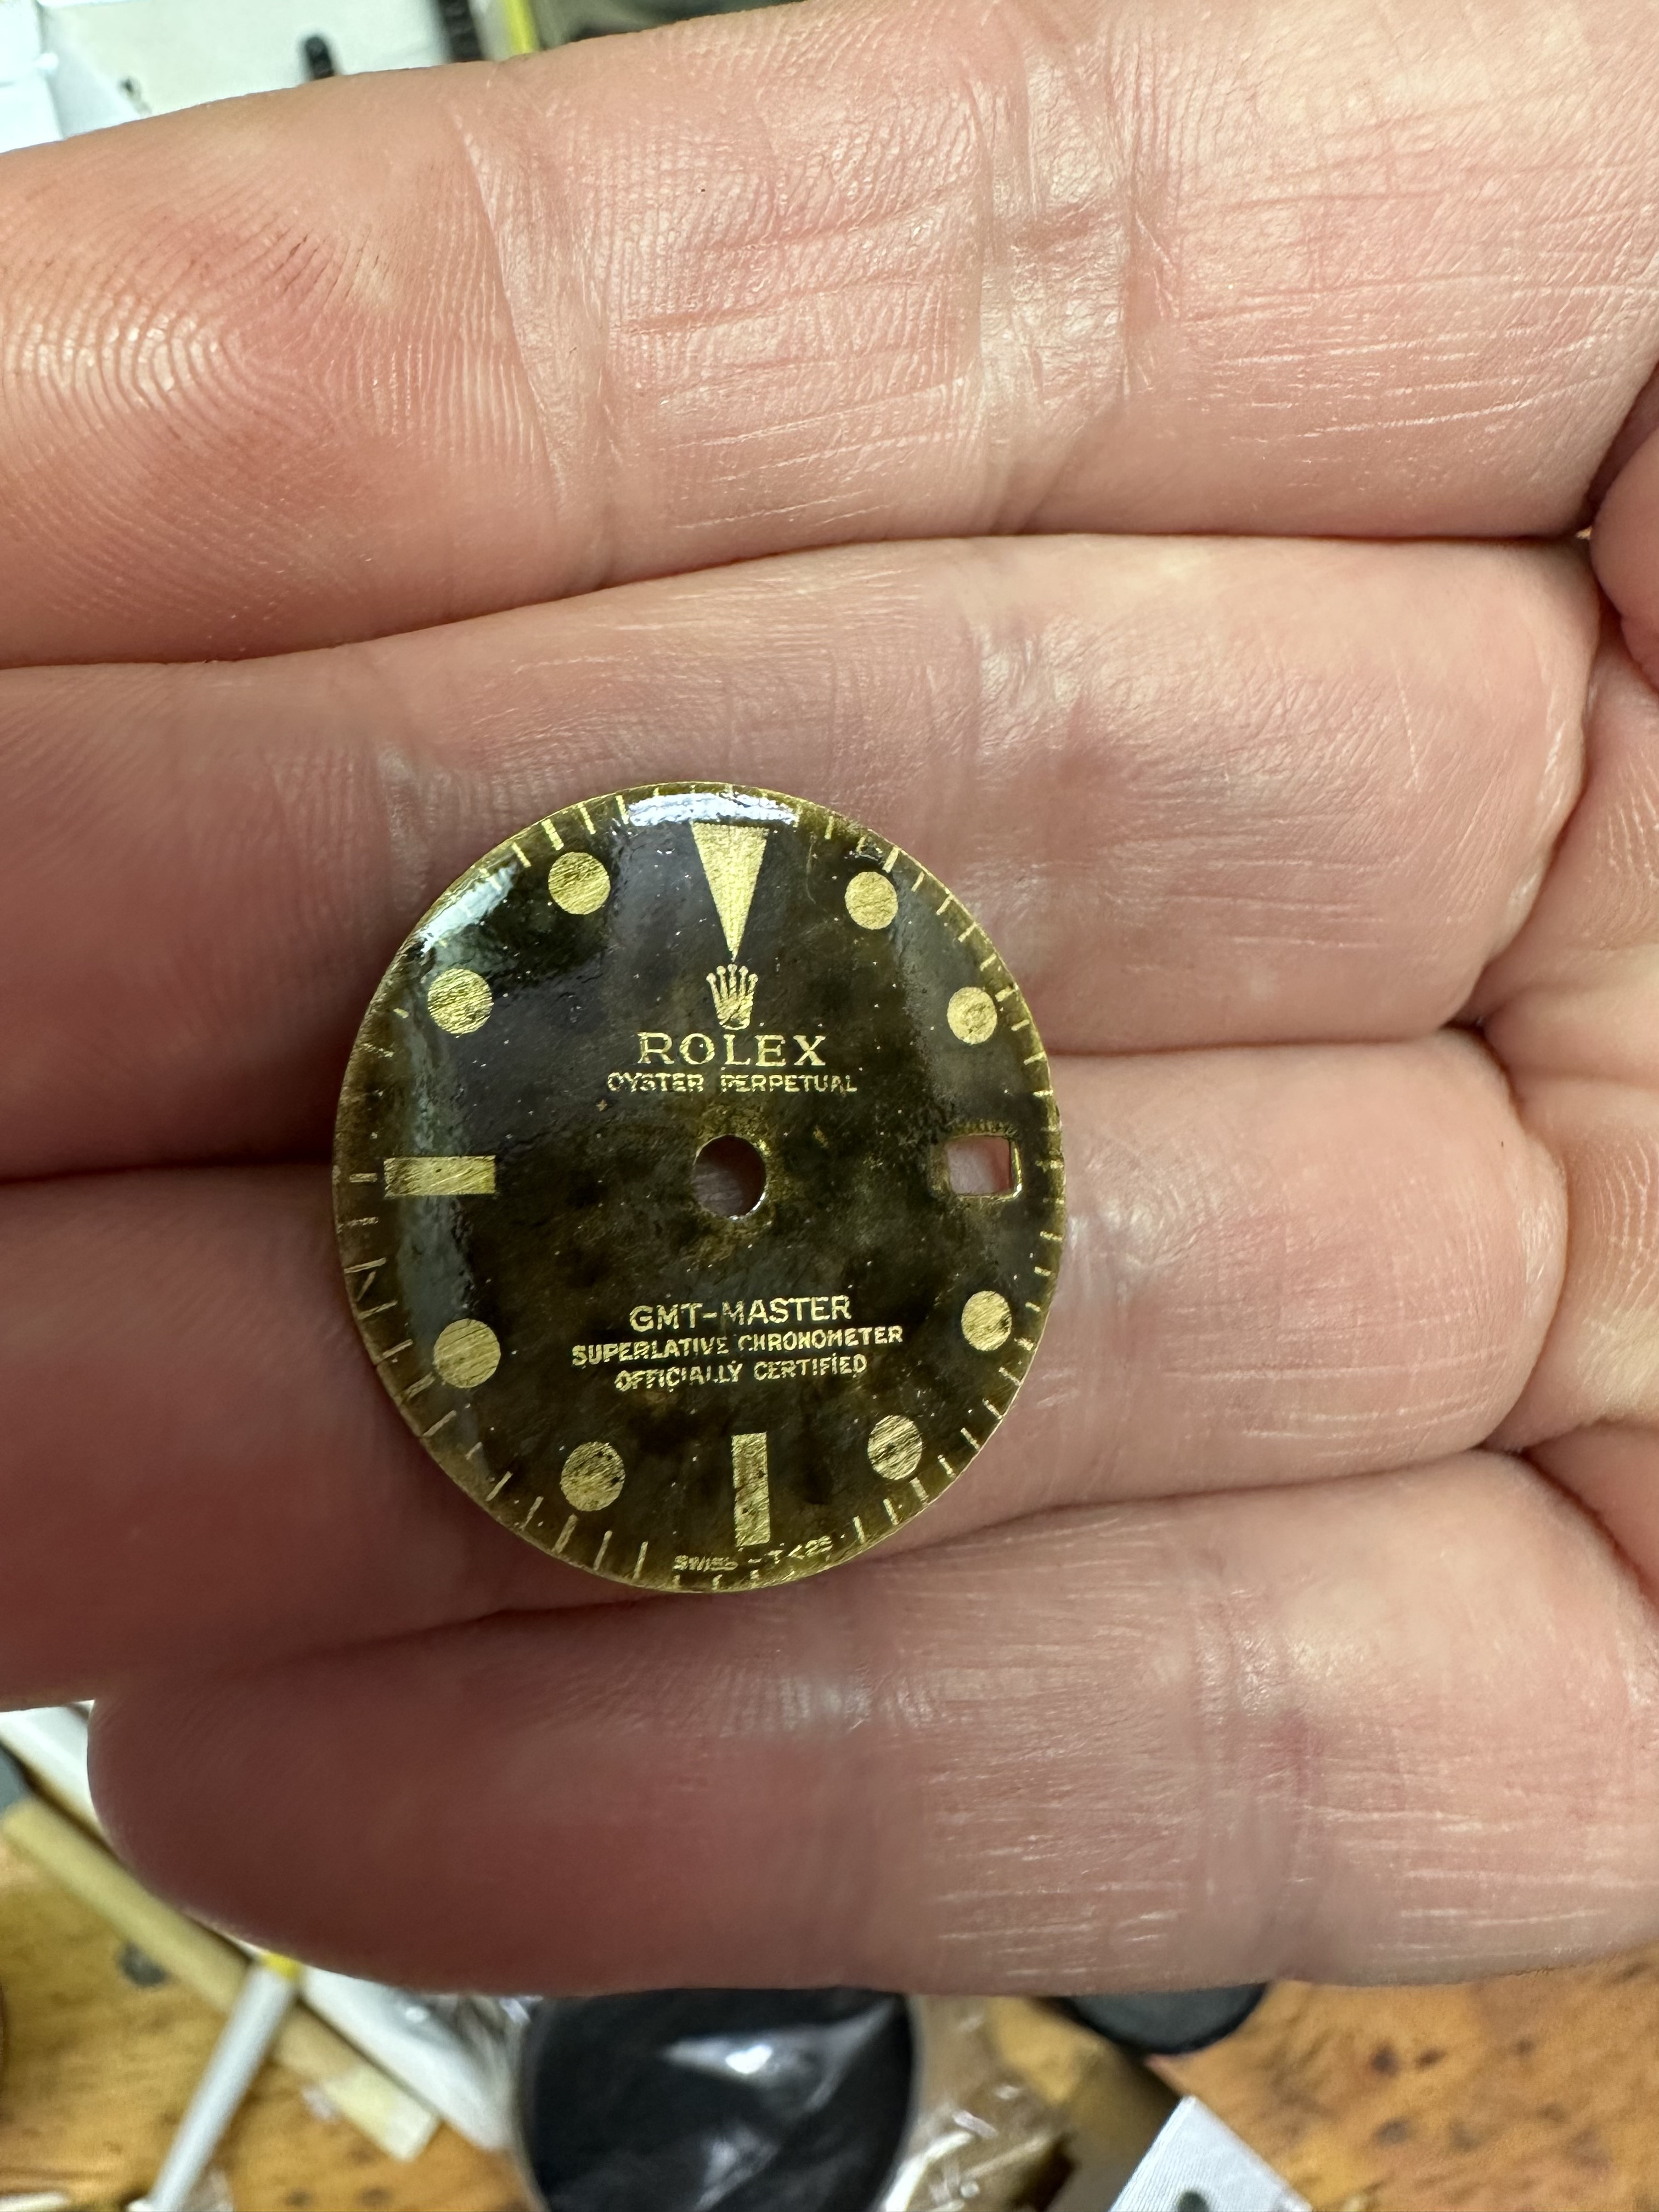
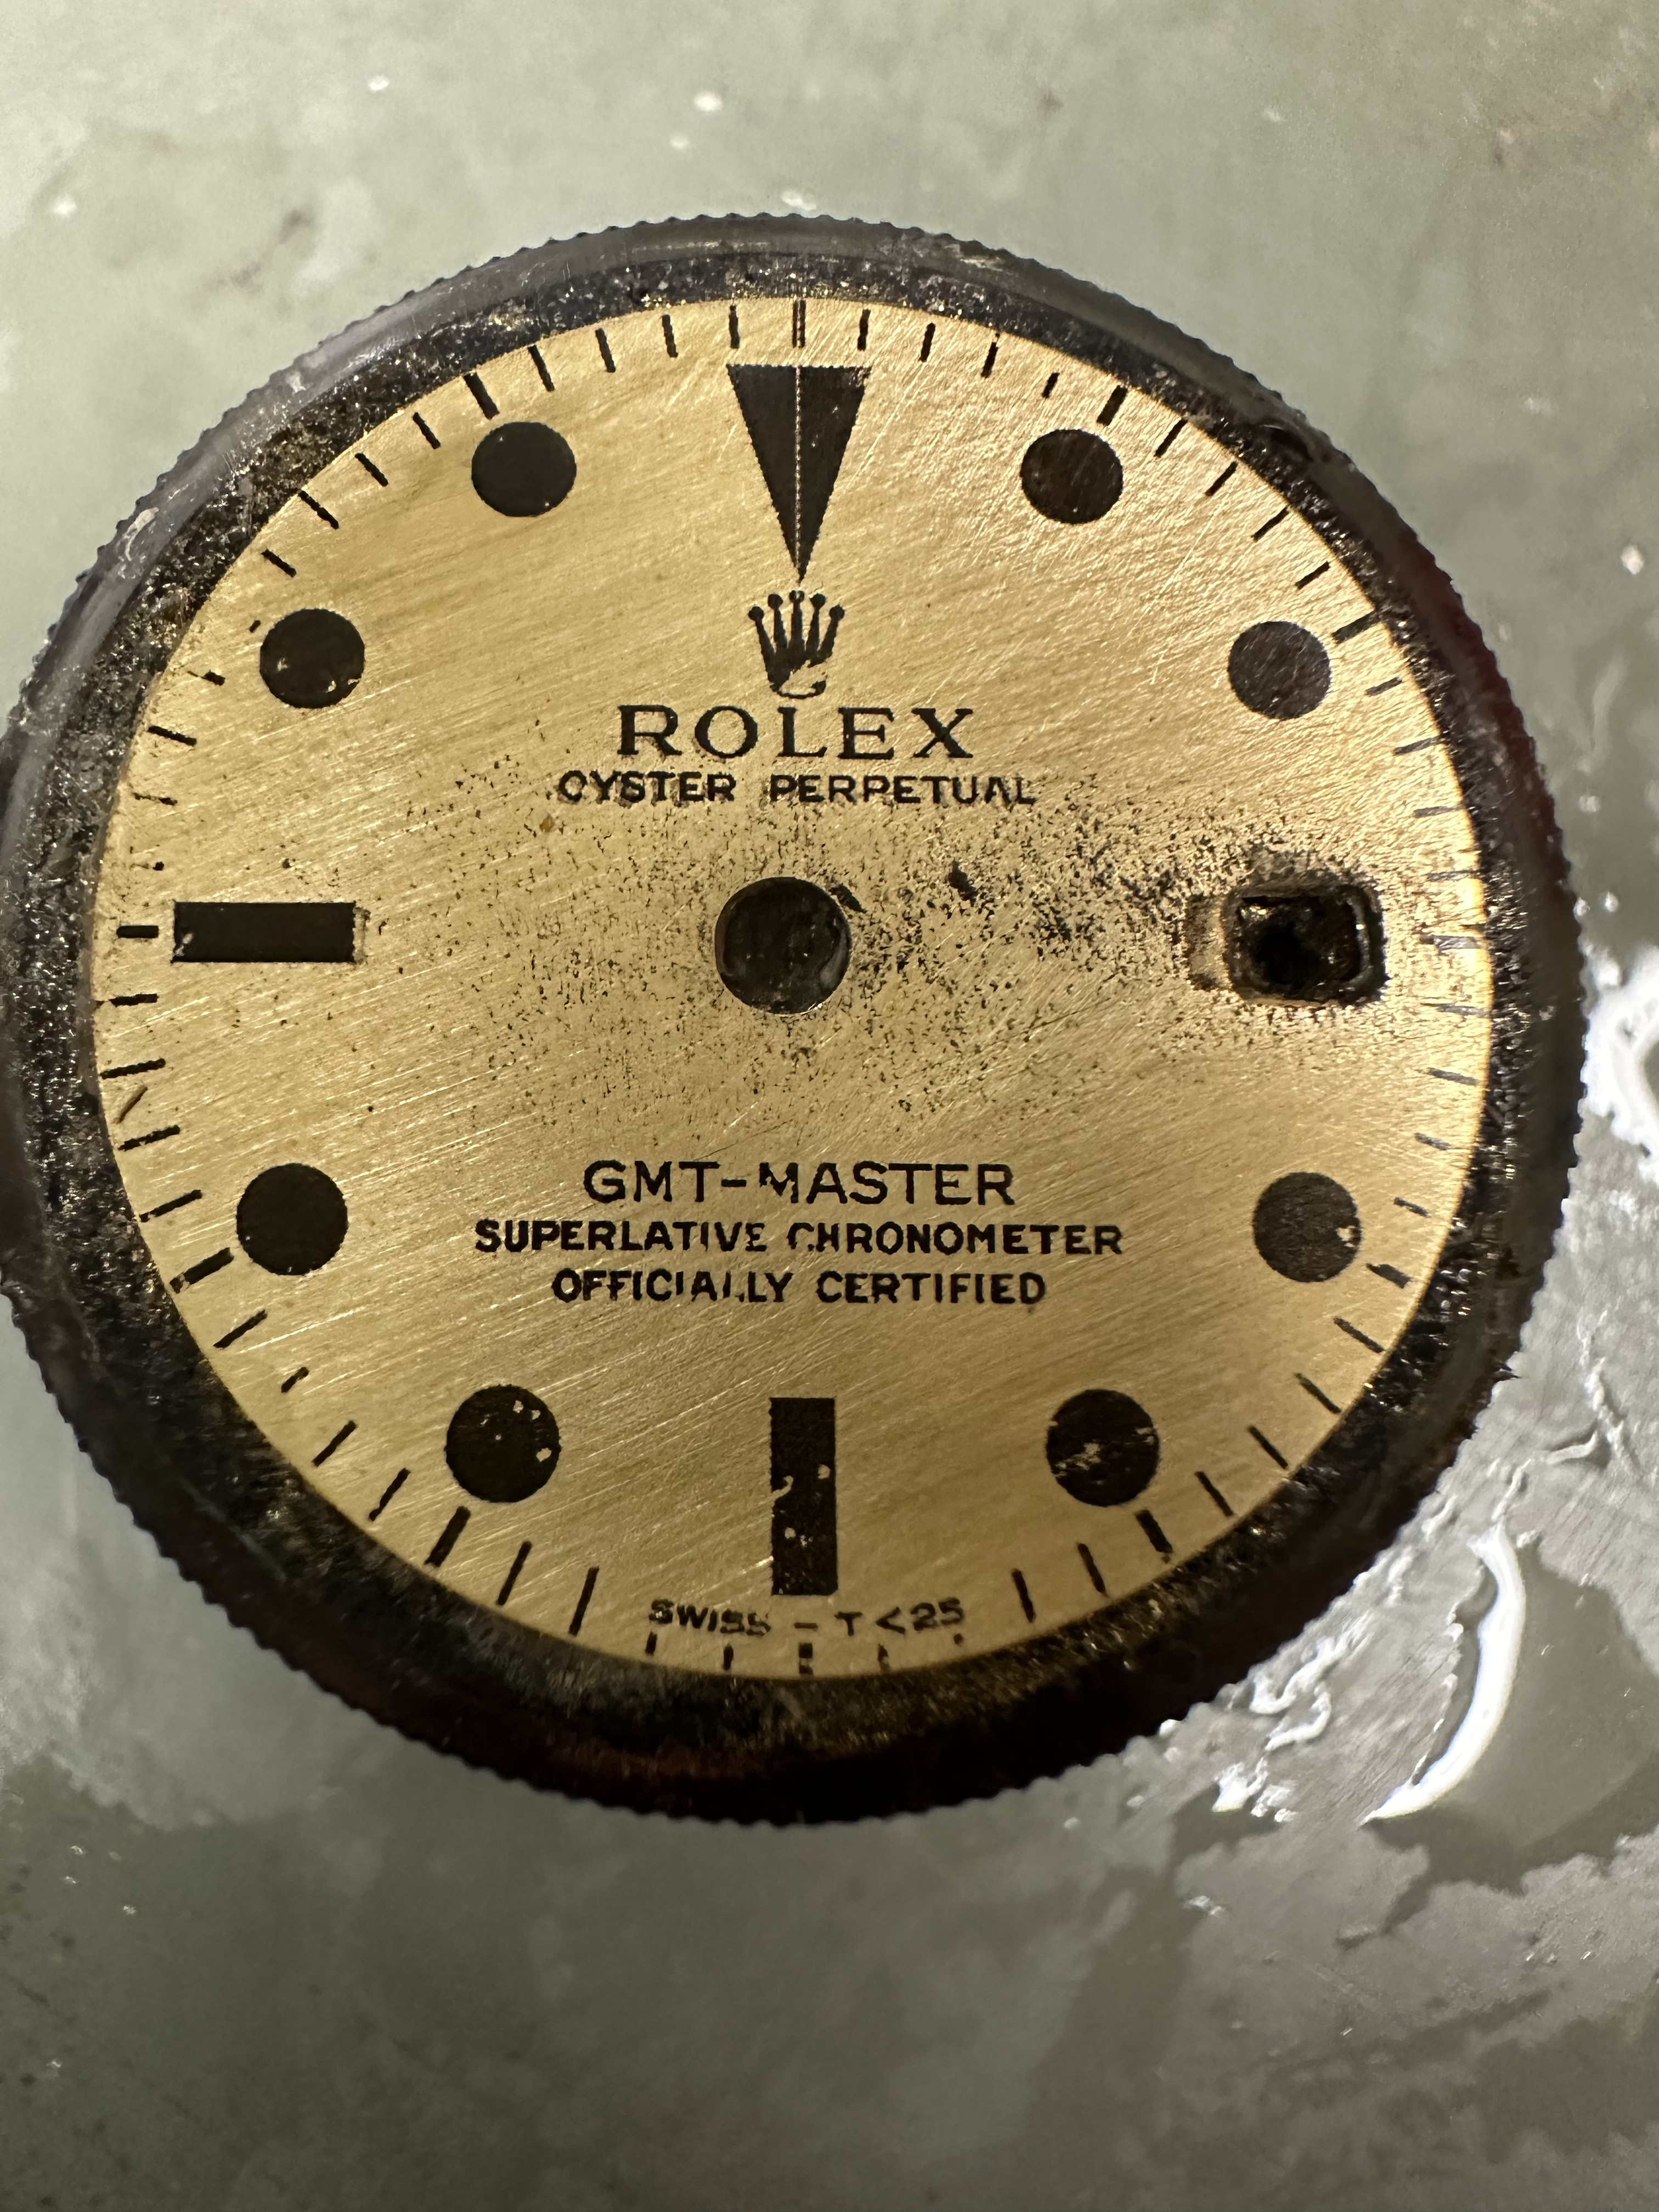
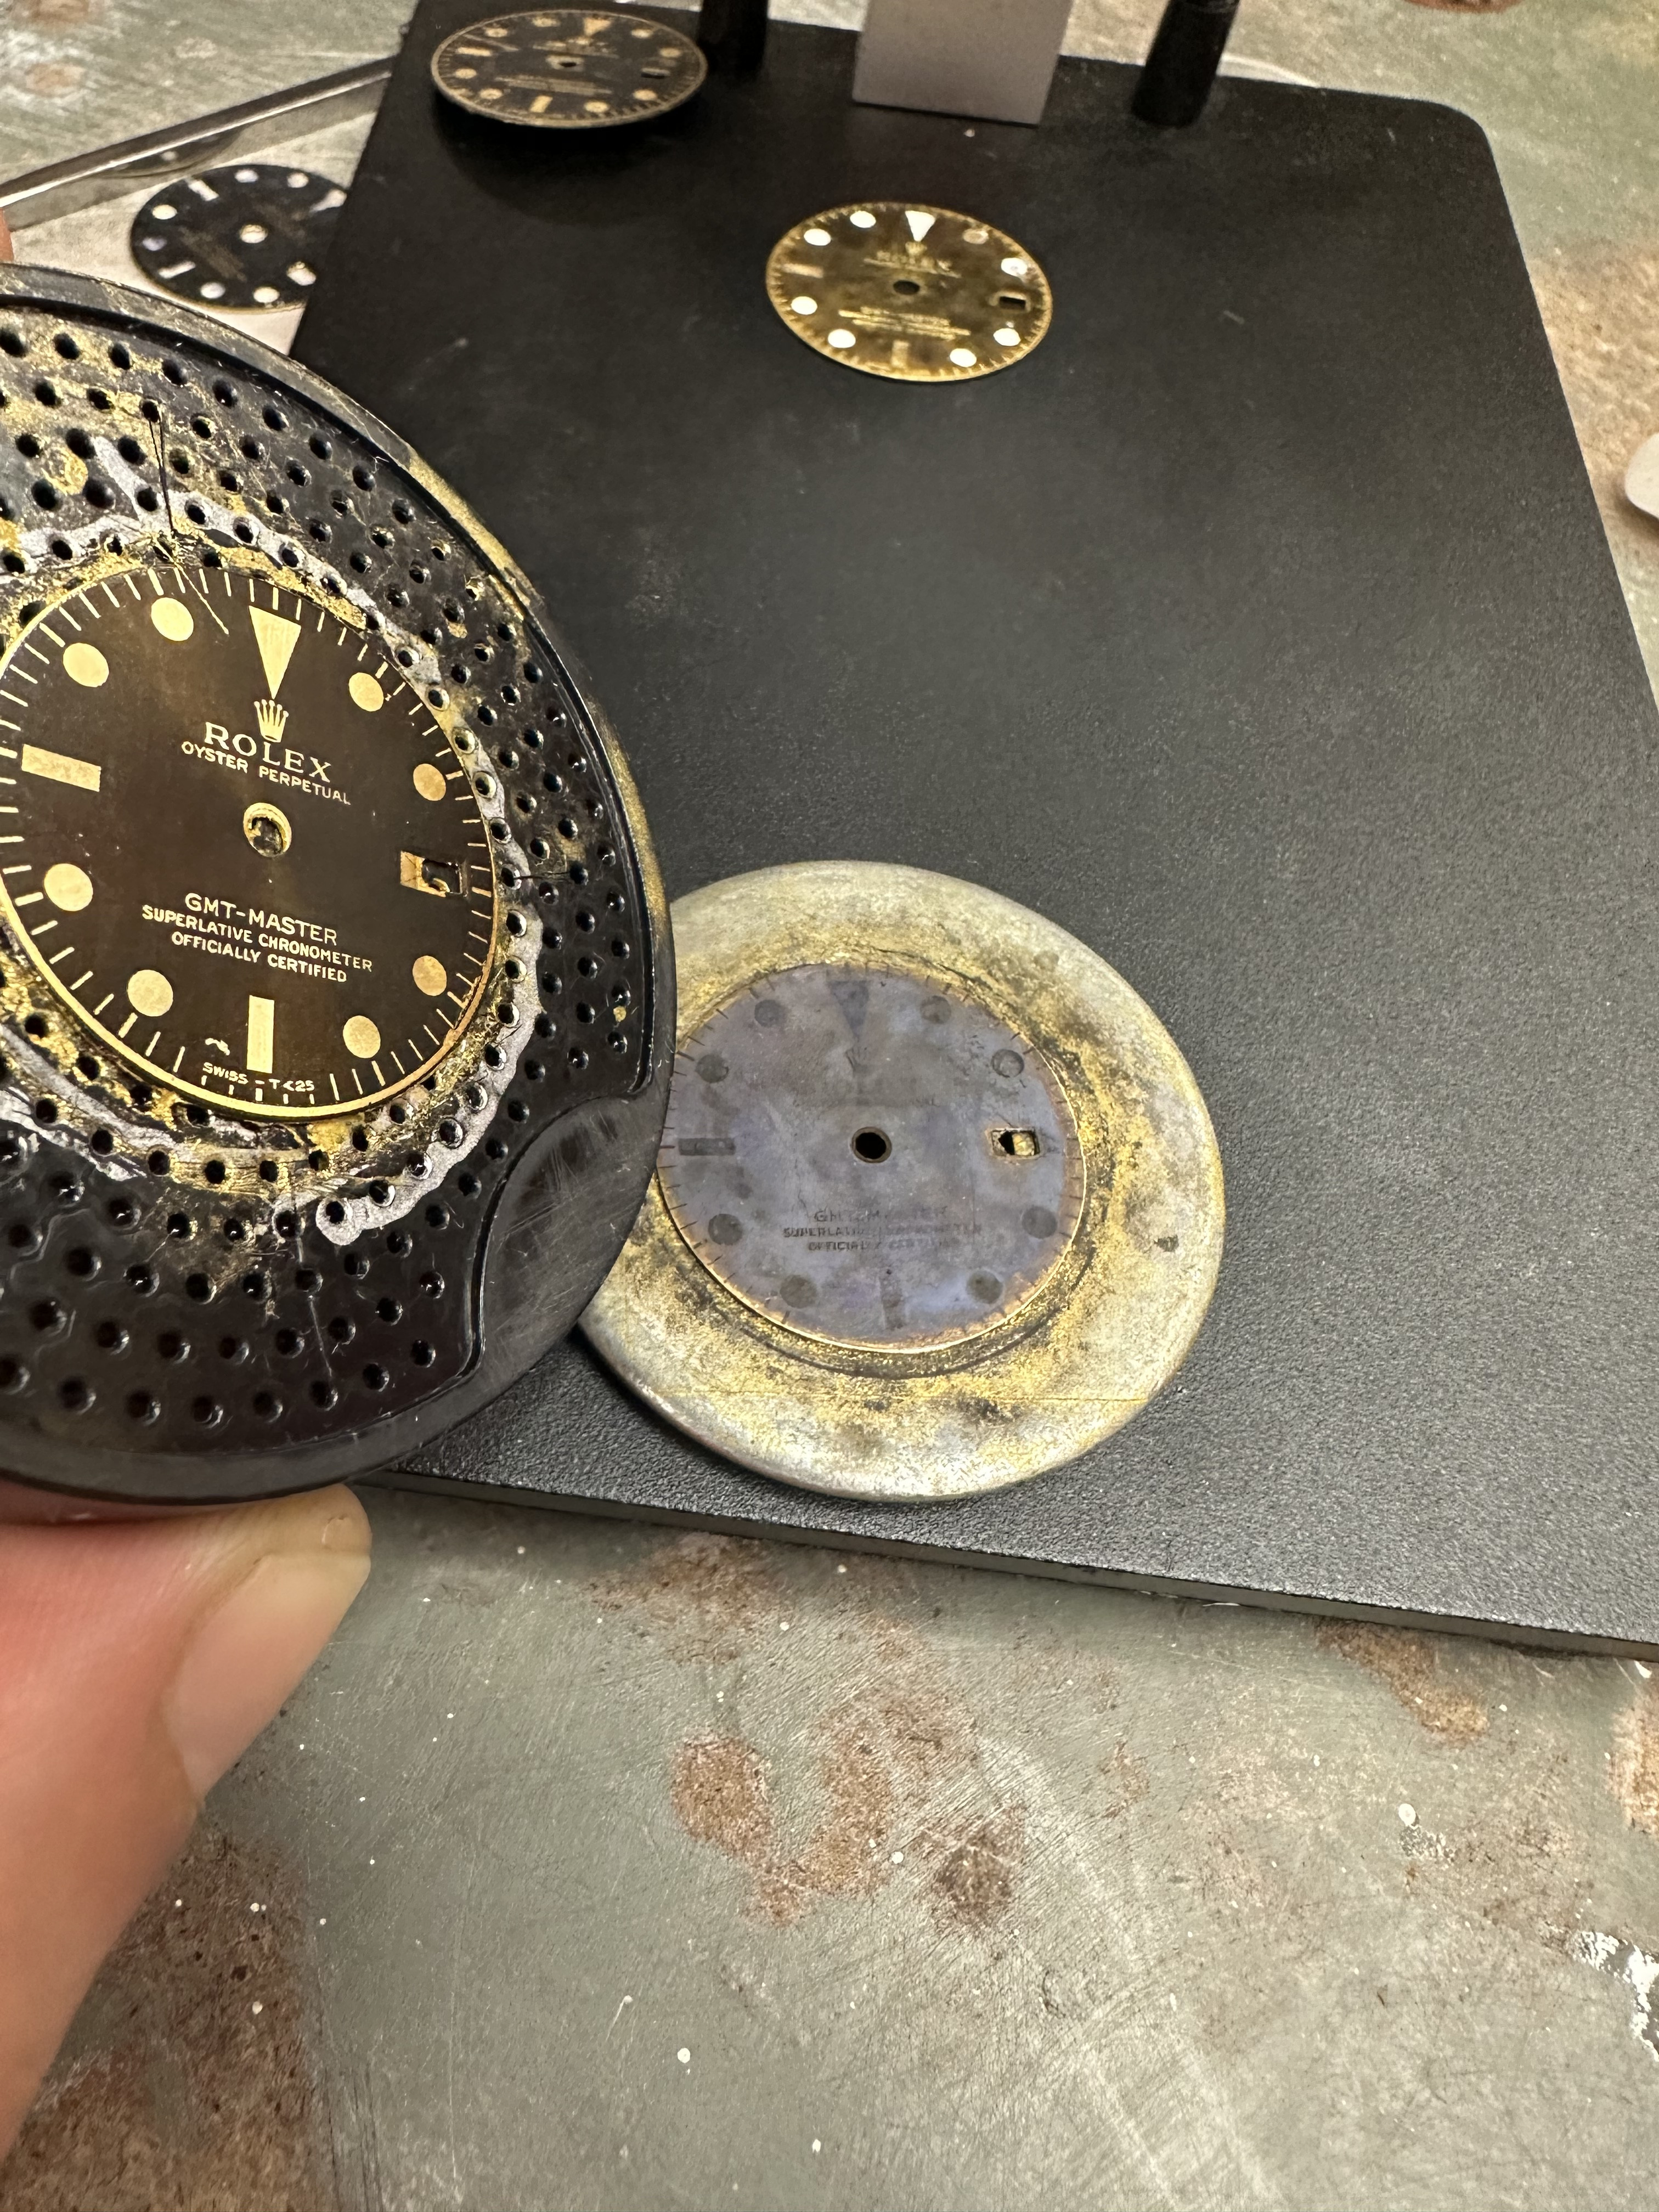
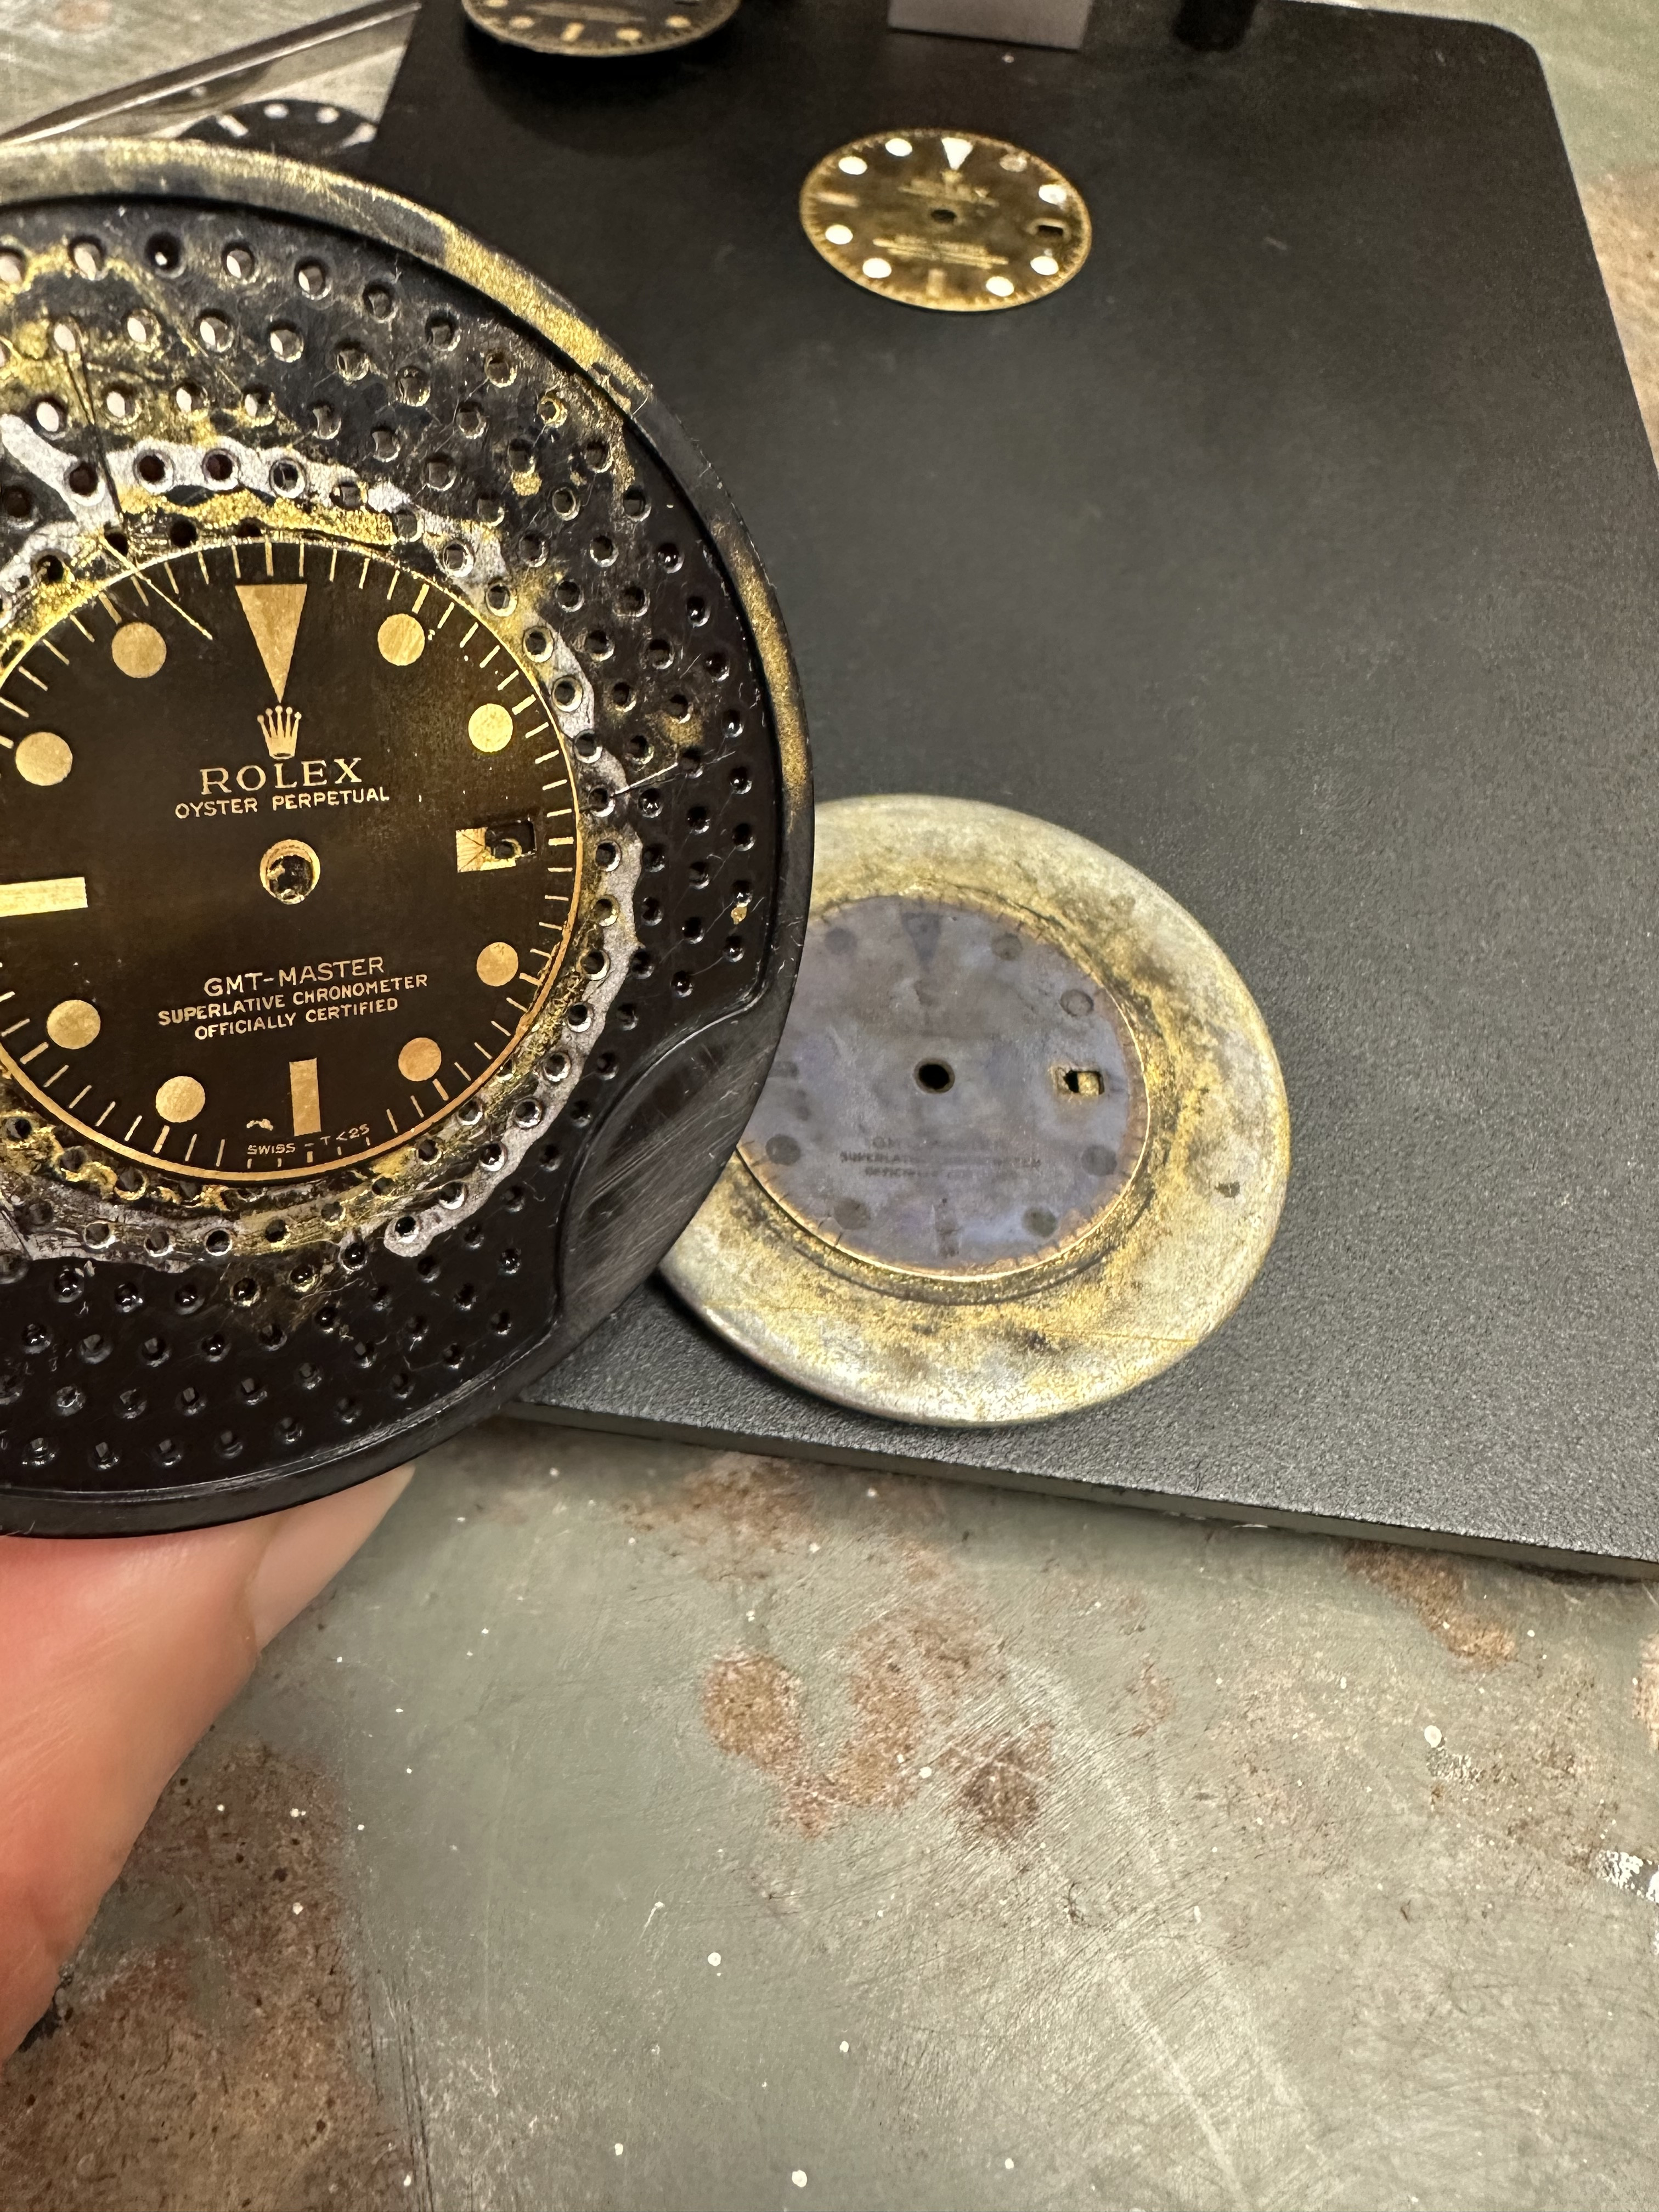
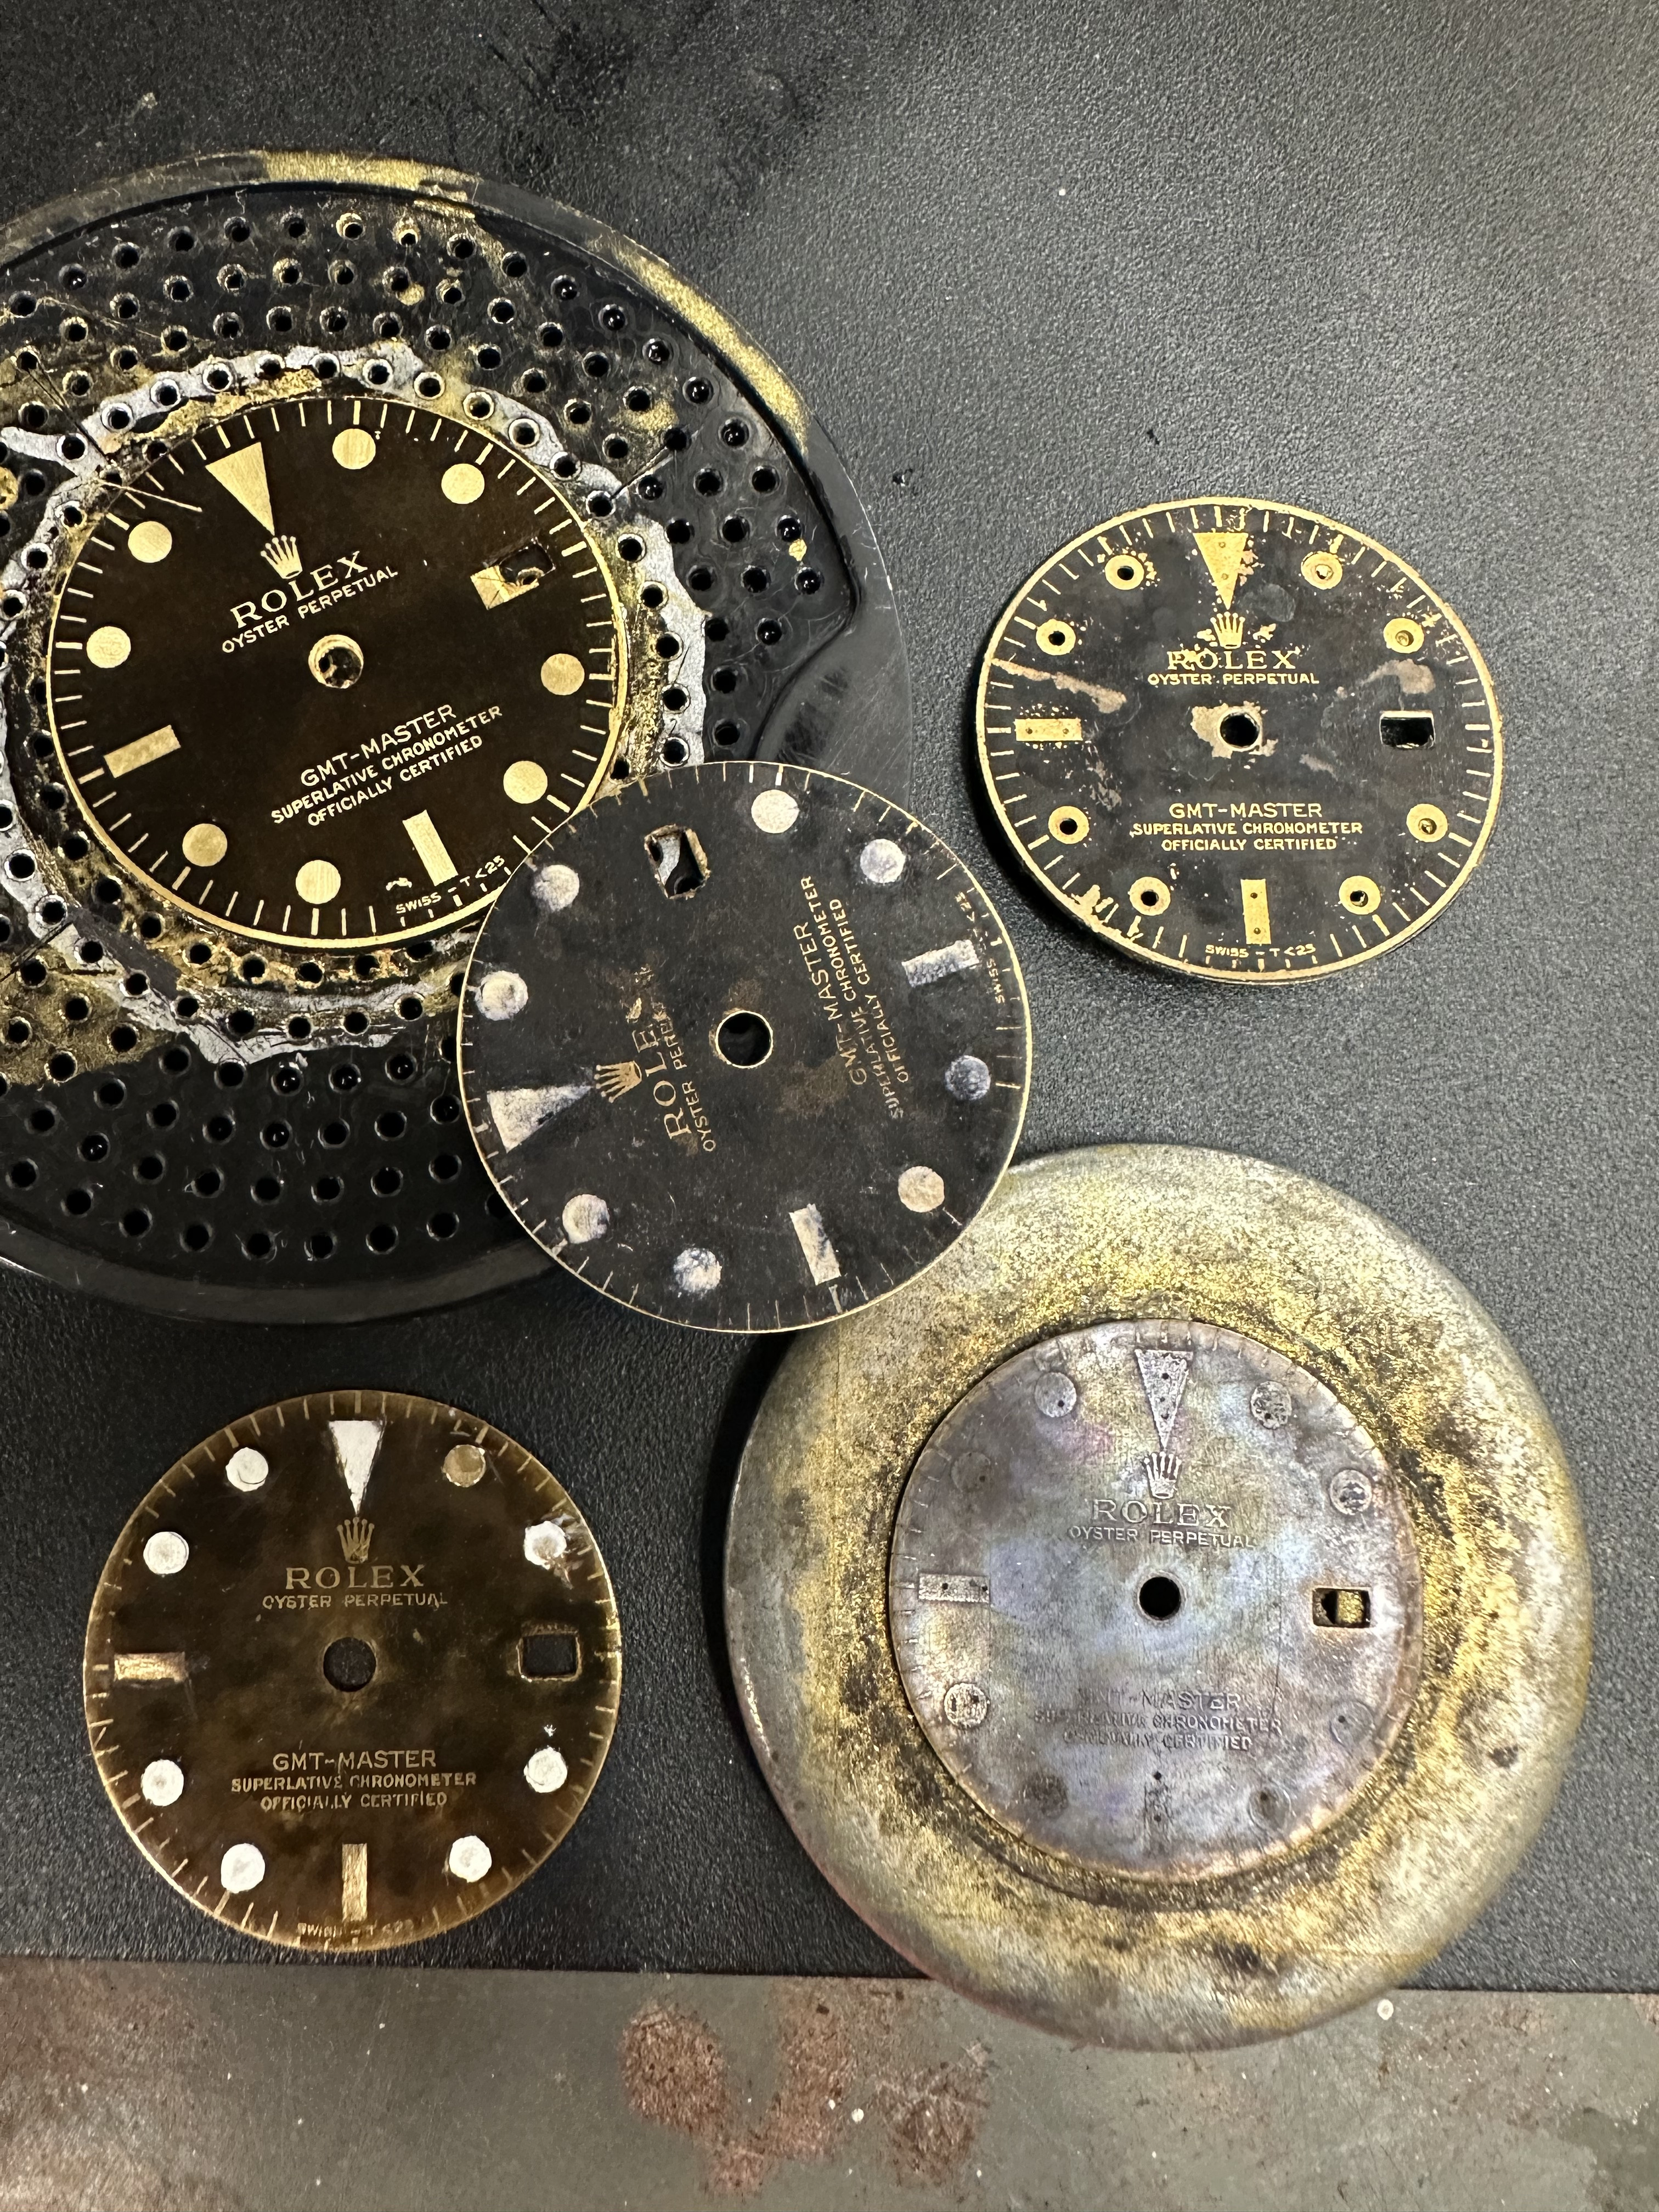
I had posted to a few forums about laser engraving a mask for electroresist and for making the cool pan am gmts but in gilt, like what MKII did for their Key West gmt. The xtool is would do it but like you said it’s like $700. The sculpfun s9 could do it too since it has a dot size of something like .05mm I believe. Those are like $230 and go on sale especially with the newer model that just came out. You could use the laser too to mark casebacks.

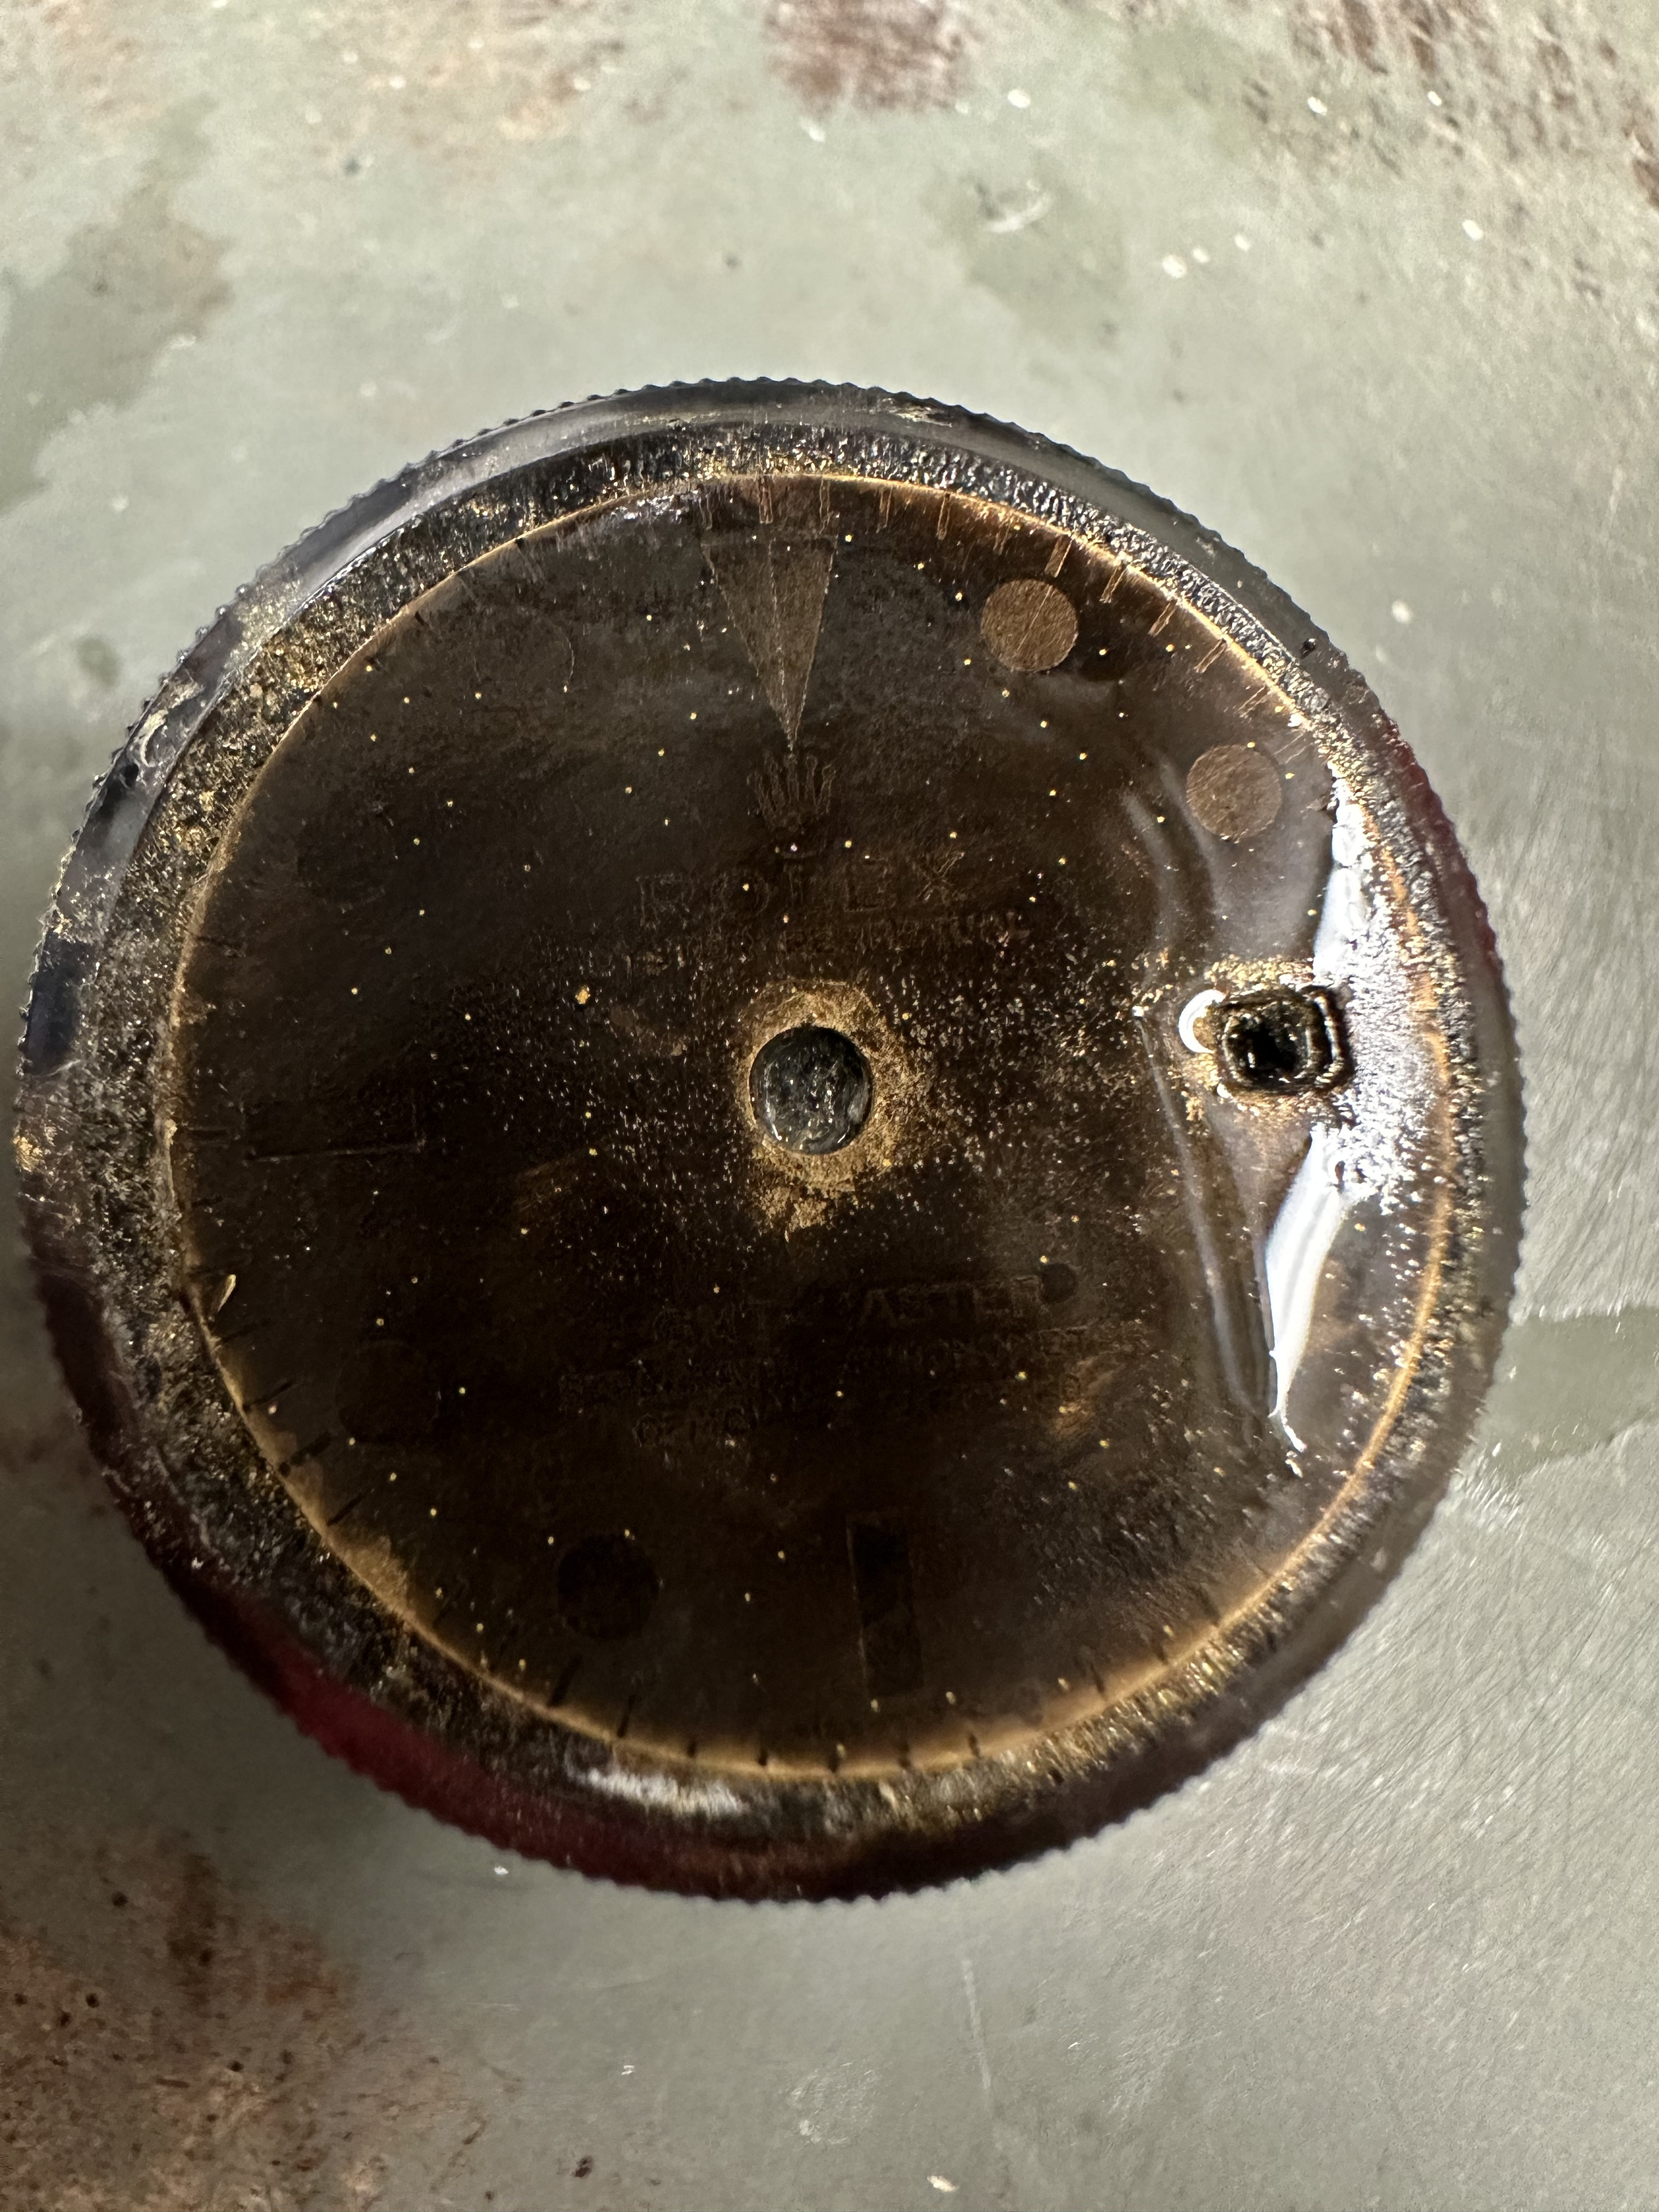
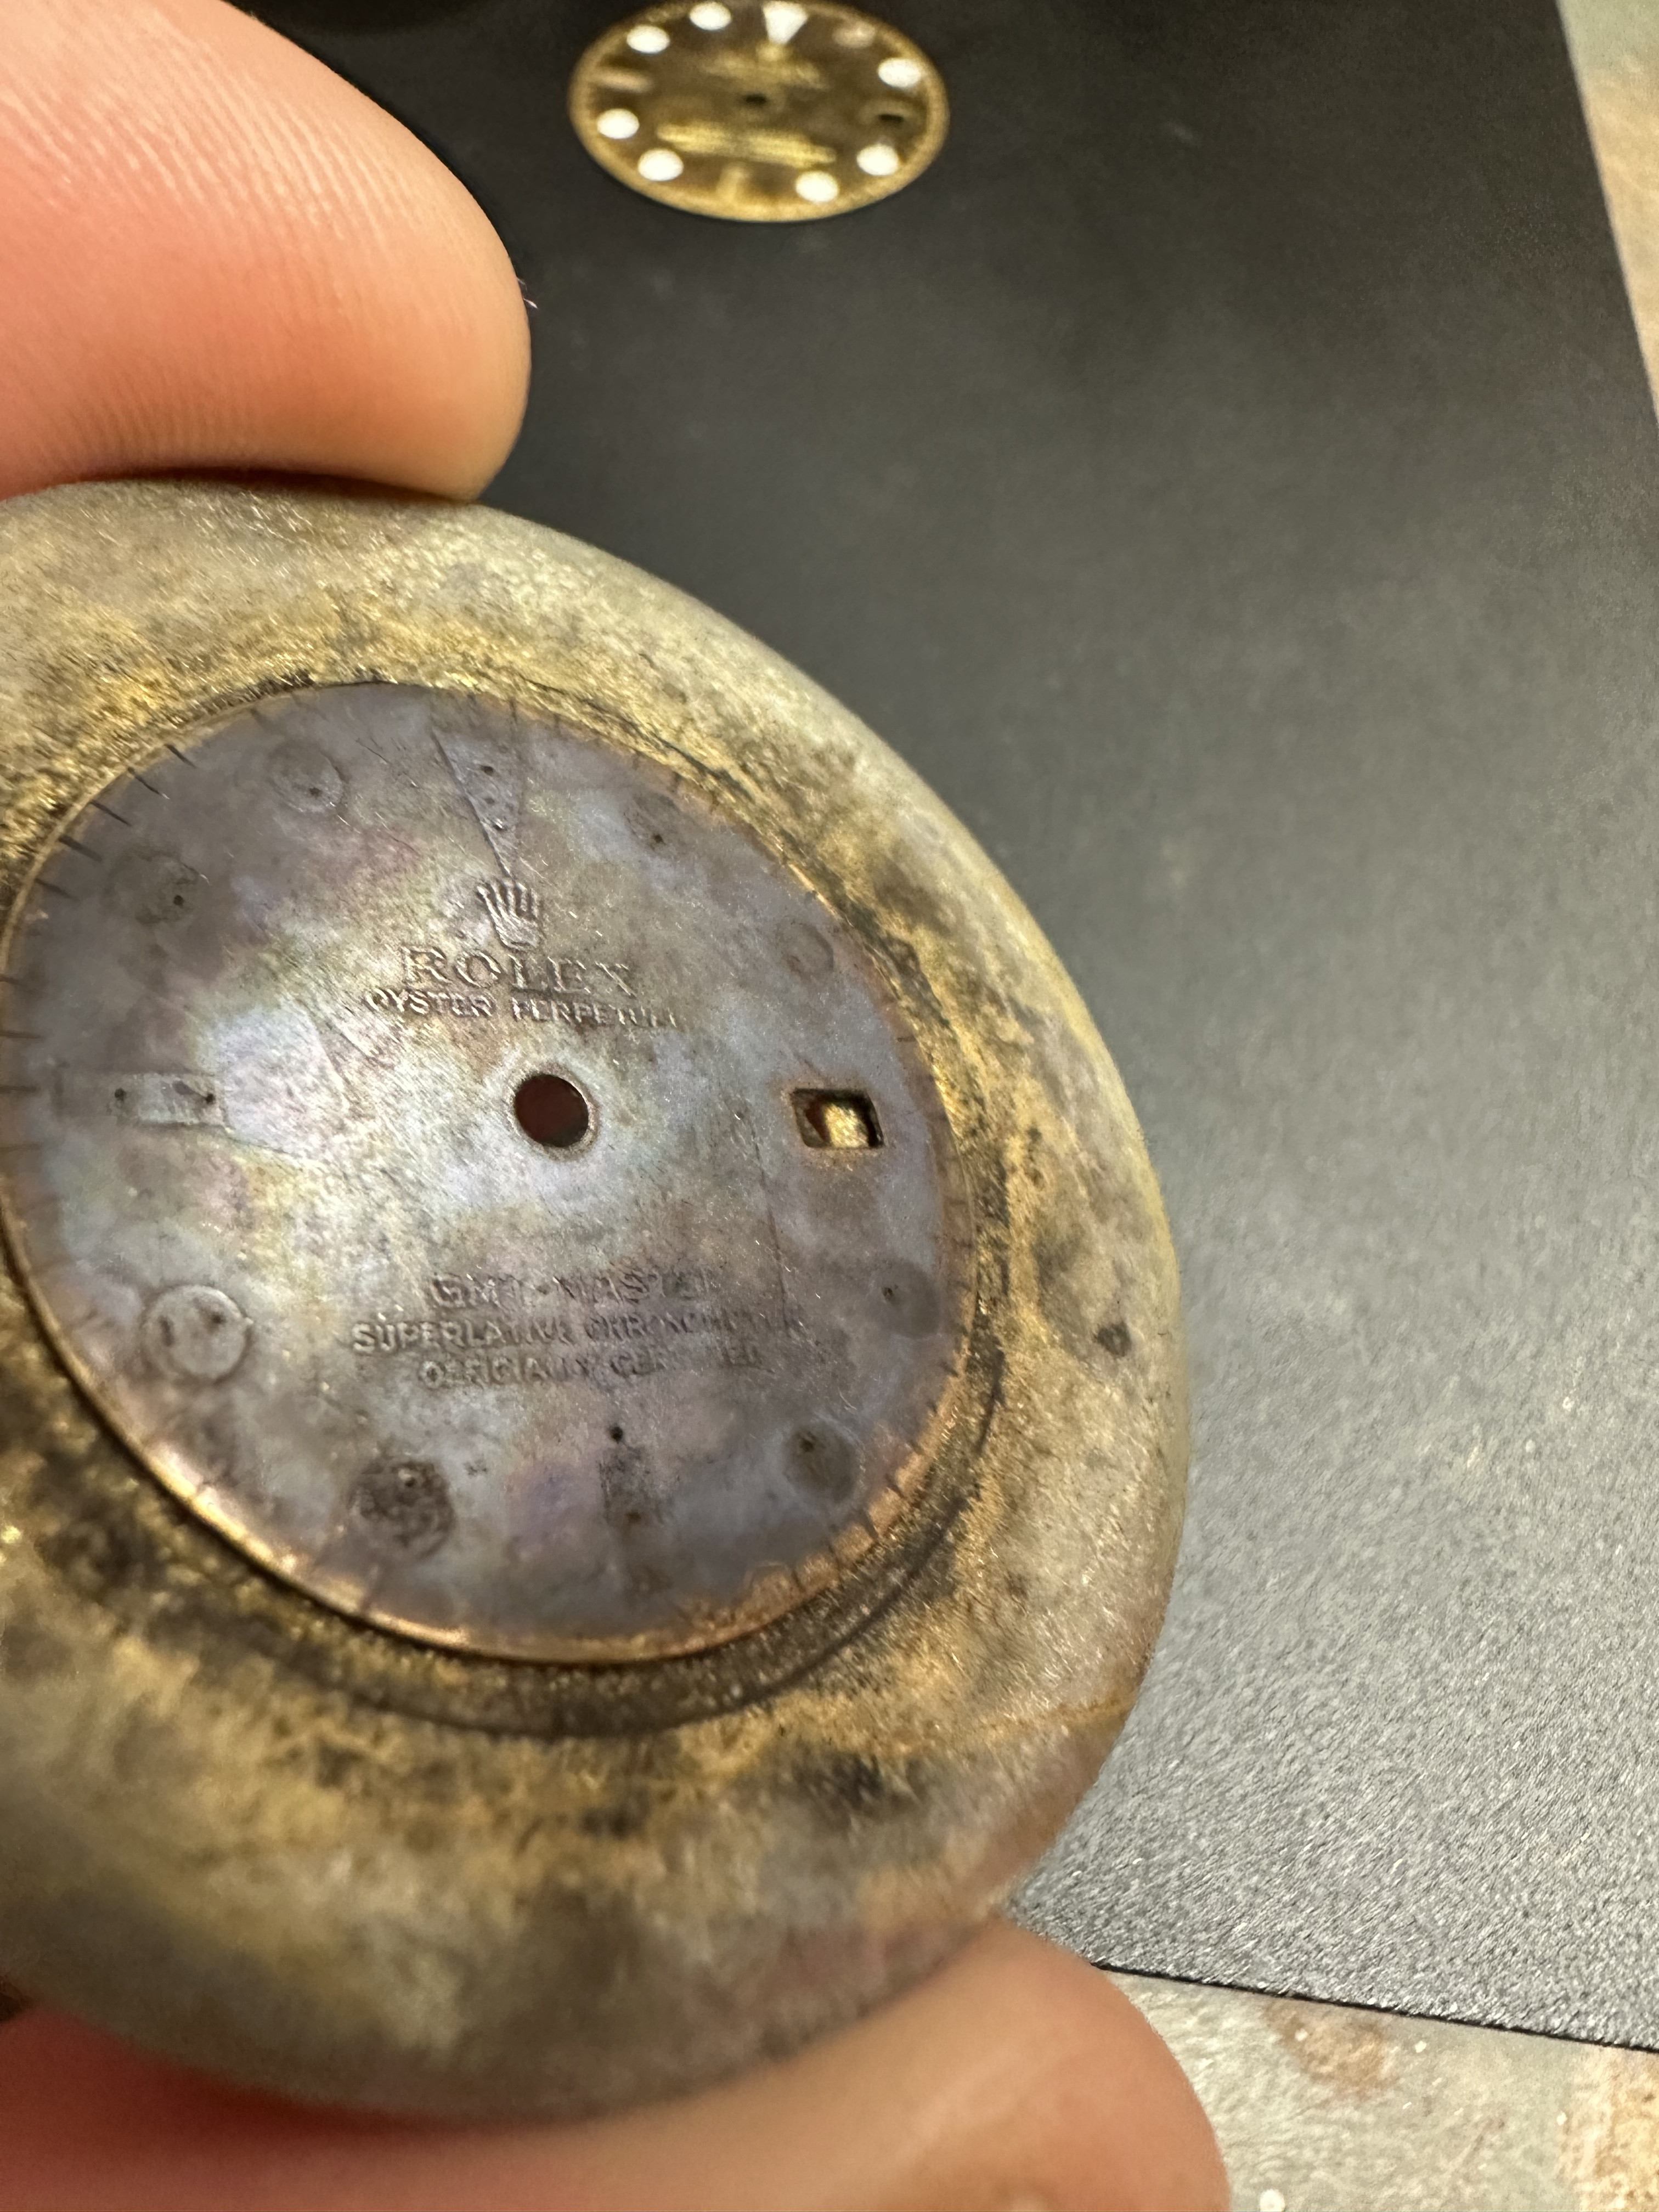
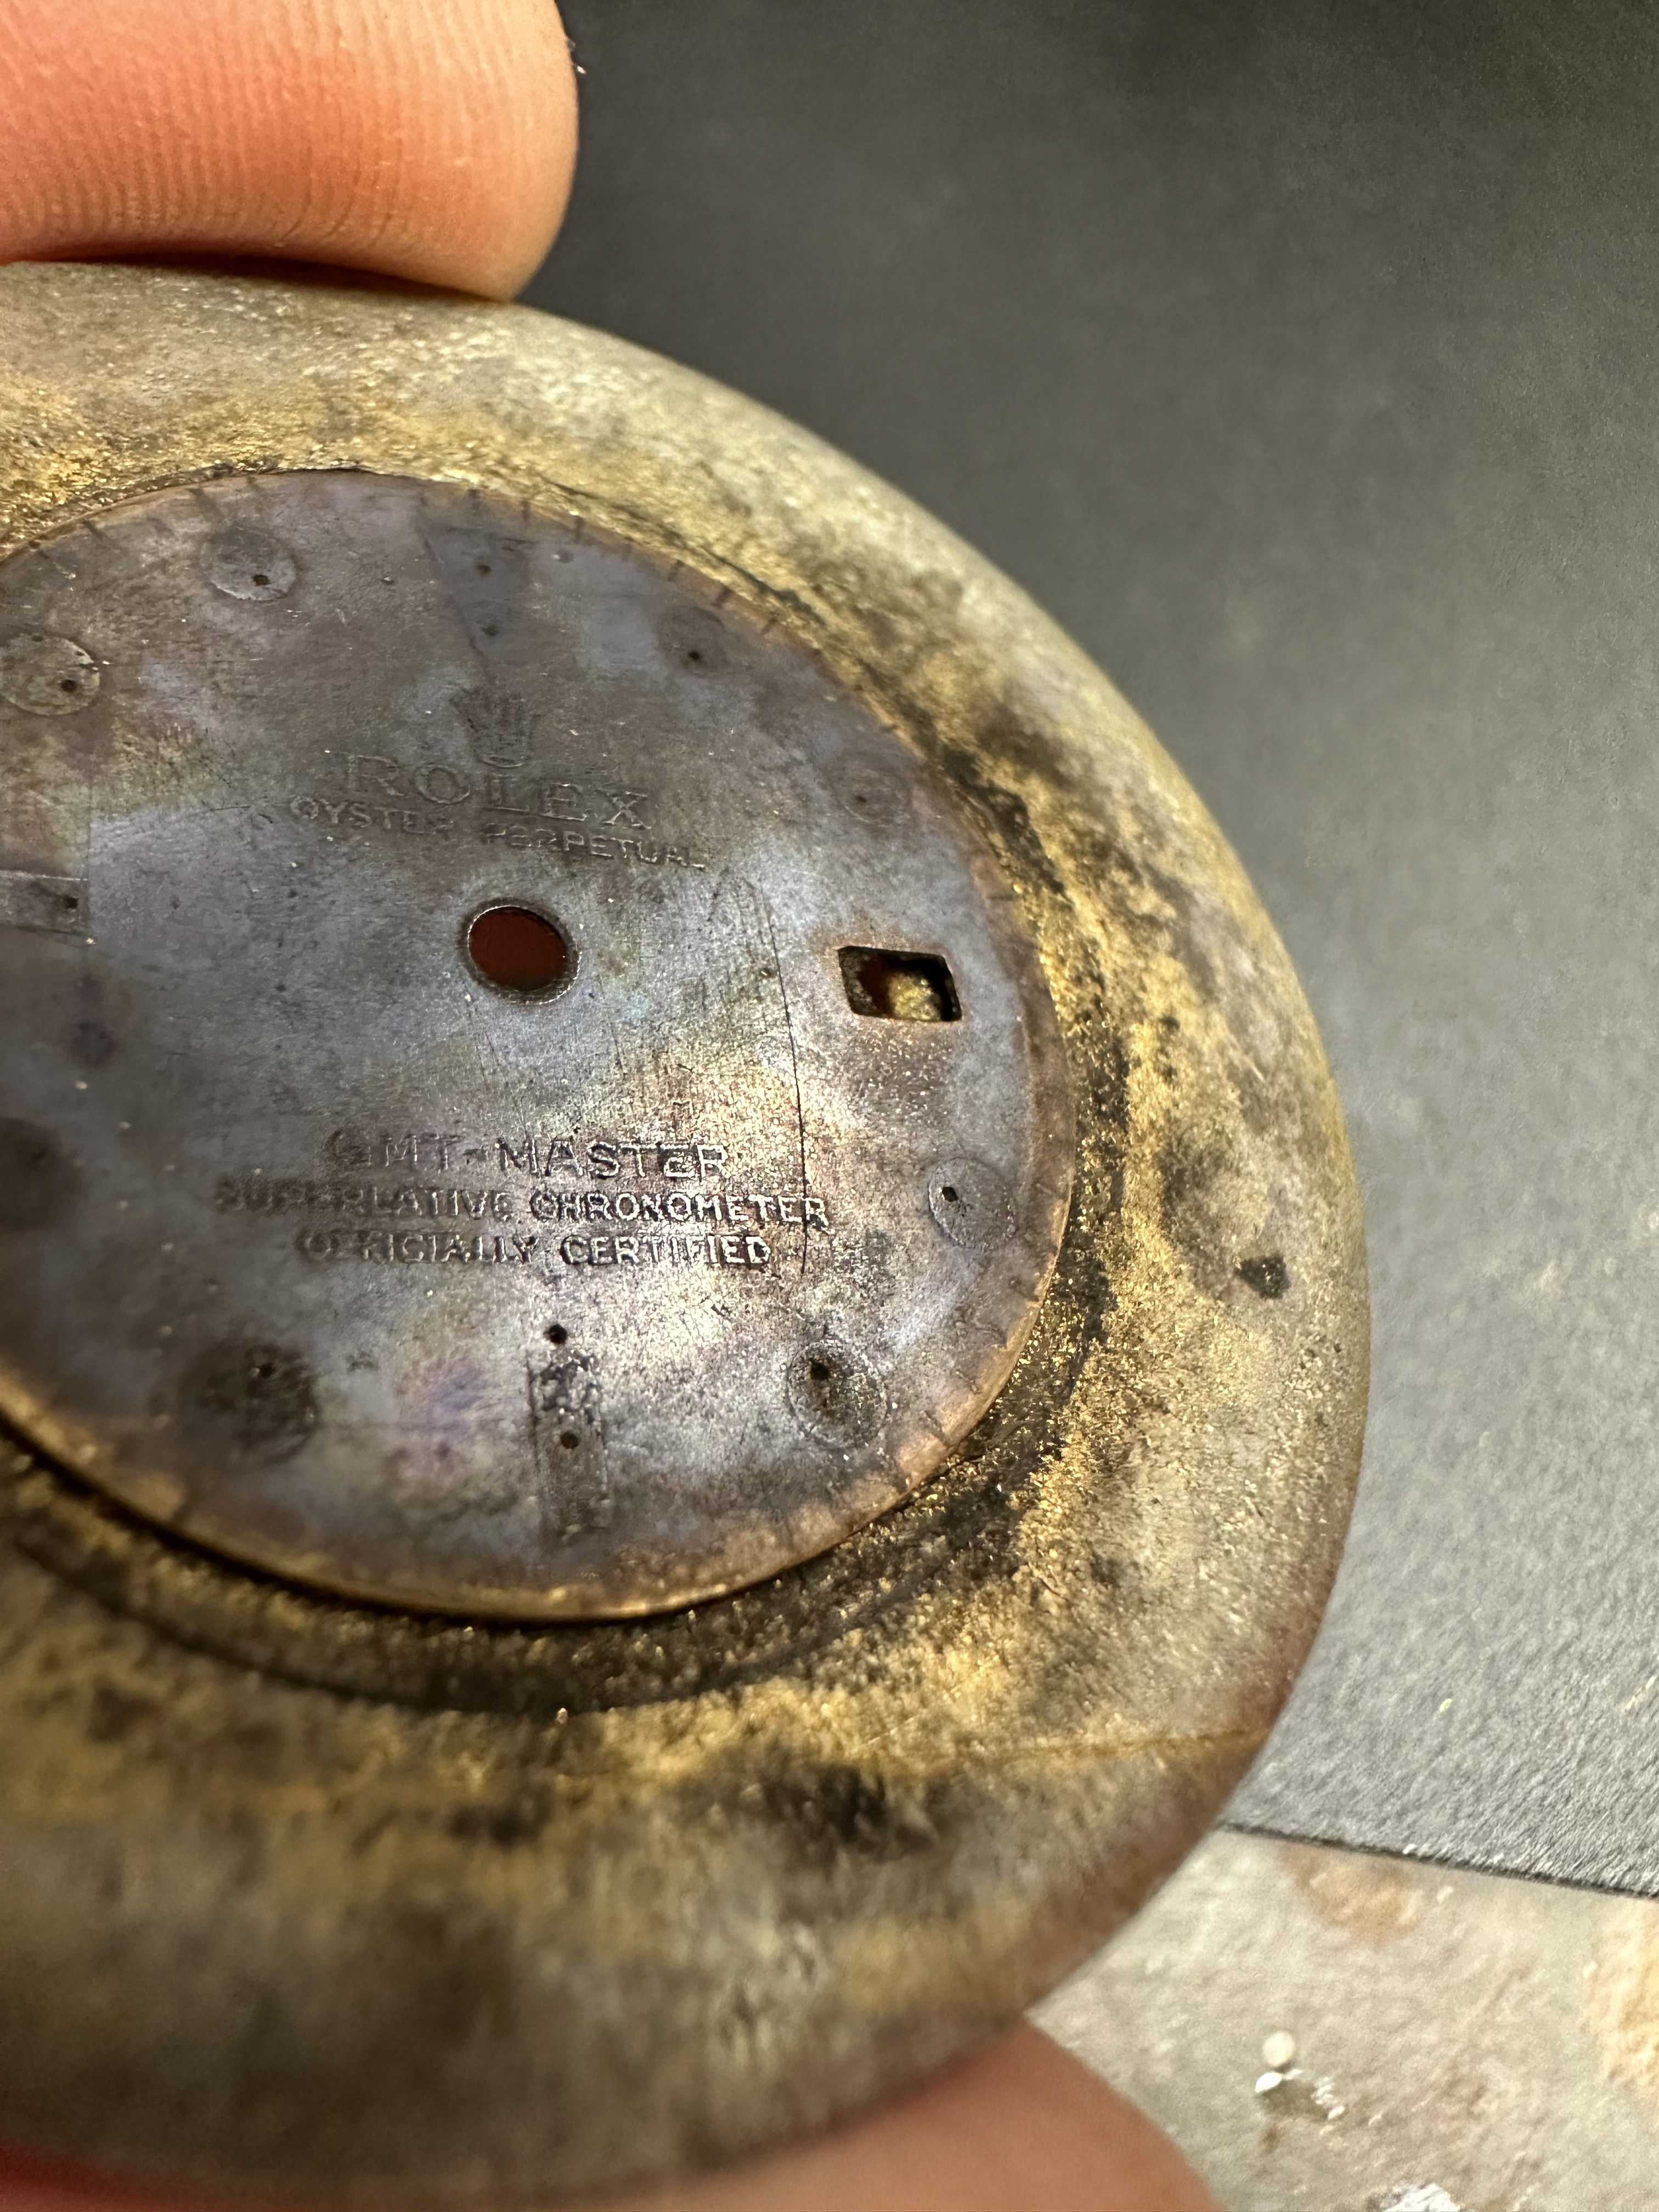
The xtool has a IR module which I think you mentioned. I have seen it zap away rust. I am guessing it will zap away oxidation too. If that’s the case you could straight up oxidize a dial then etch away the details. Are you in Australia since you are bondi? If you are us based I can send you some test dials.