• Tired of adverts on RWI? - Subscribe by clicking HERE and PMing Trailboss for instructions and they will magically go away!

Dogwood's Watchmaking Journey

dogwood

I'm Pretty Popular
Patron
Section Moderator
Certified
7/9/21
2,322
4,884
113
Canada
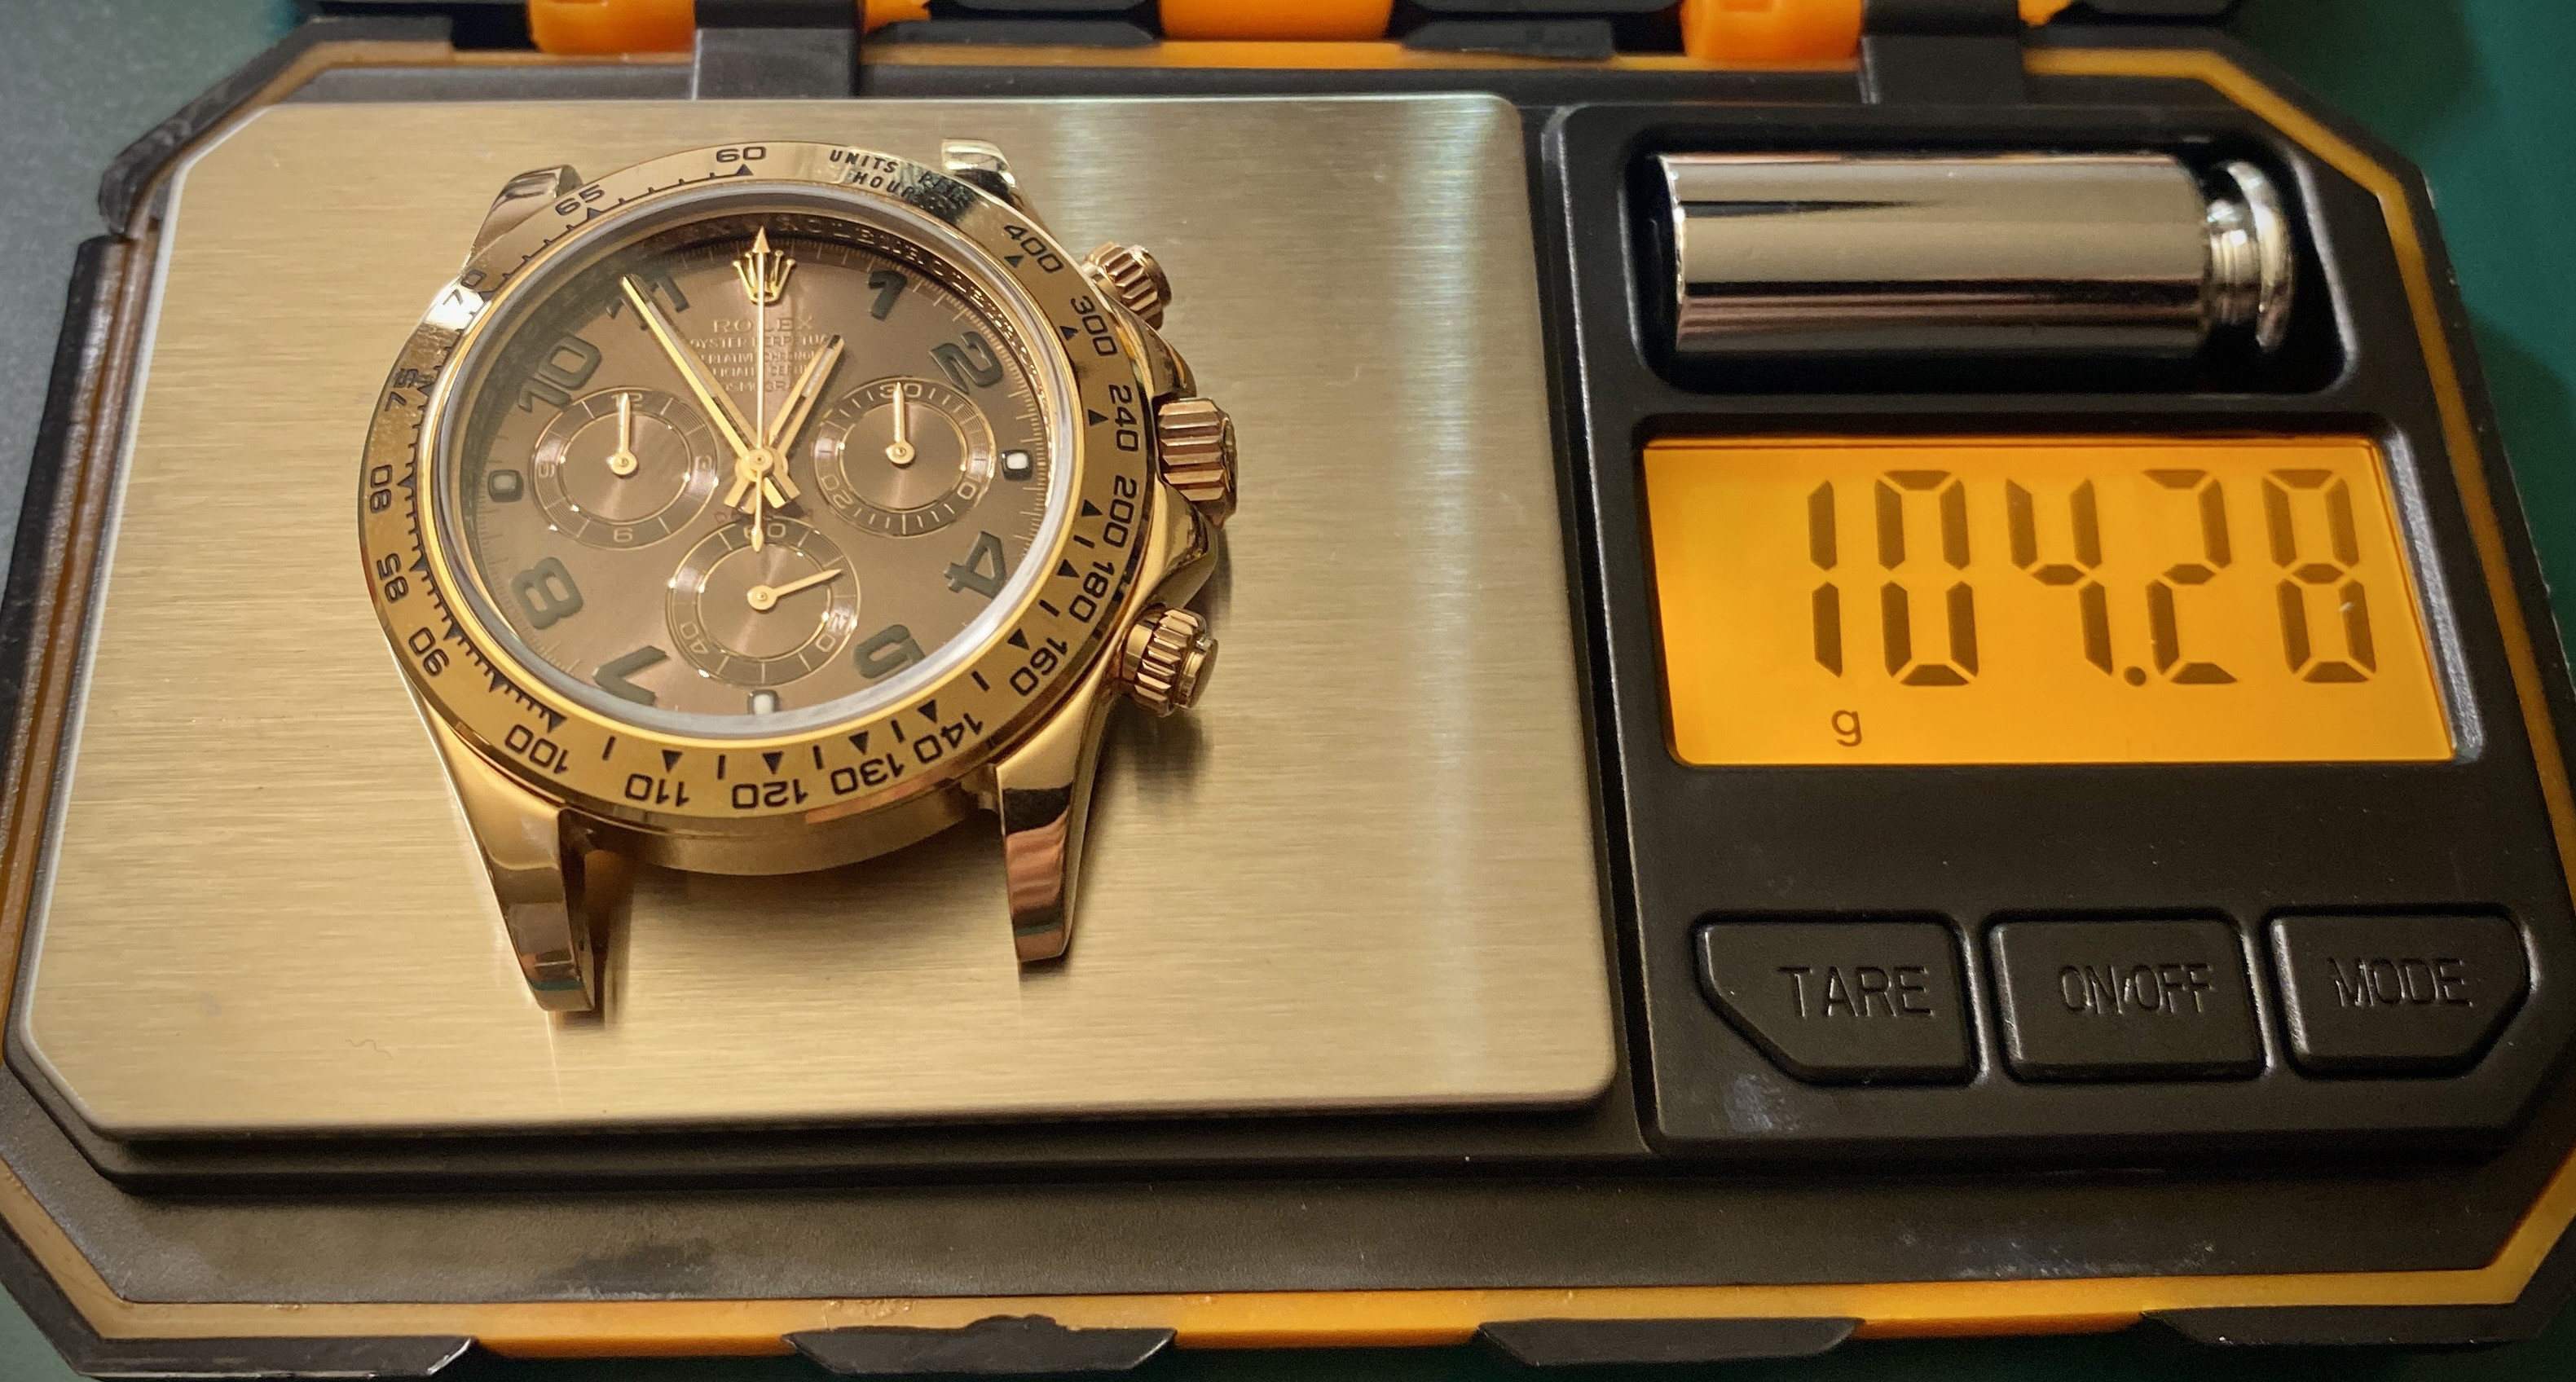
I was working on a tungsten Daytona this evening and thought I’d share some pics. The donor watch in this case is a CF Daytona which tips the scales at 143g.
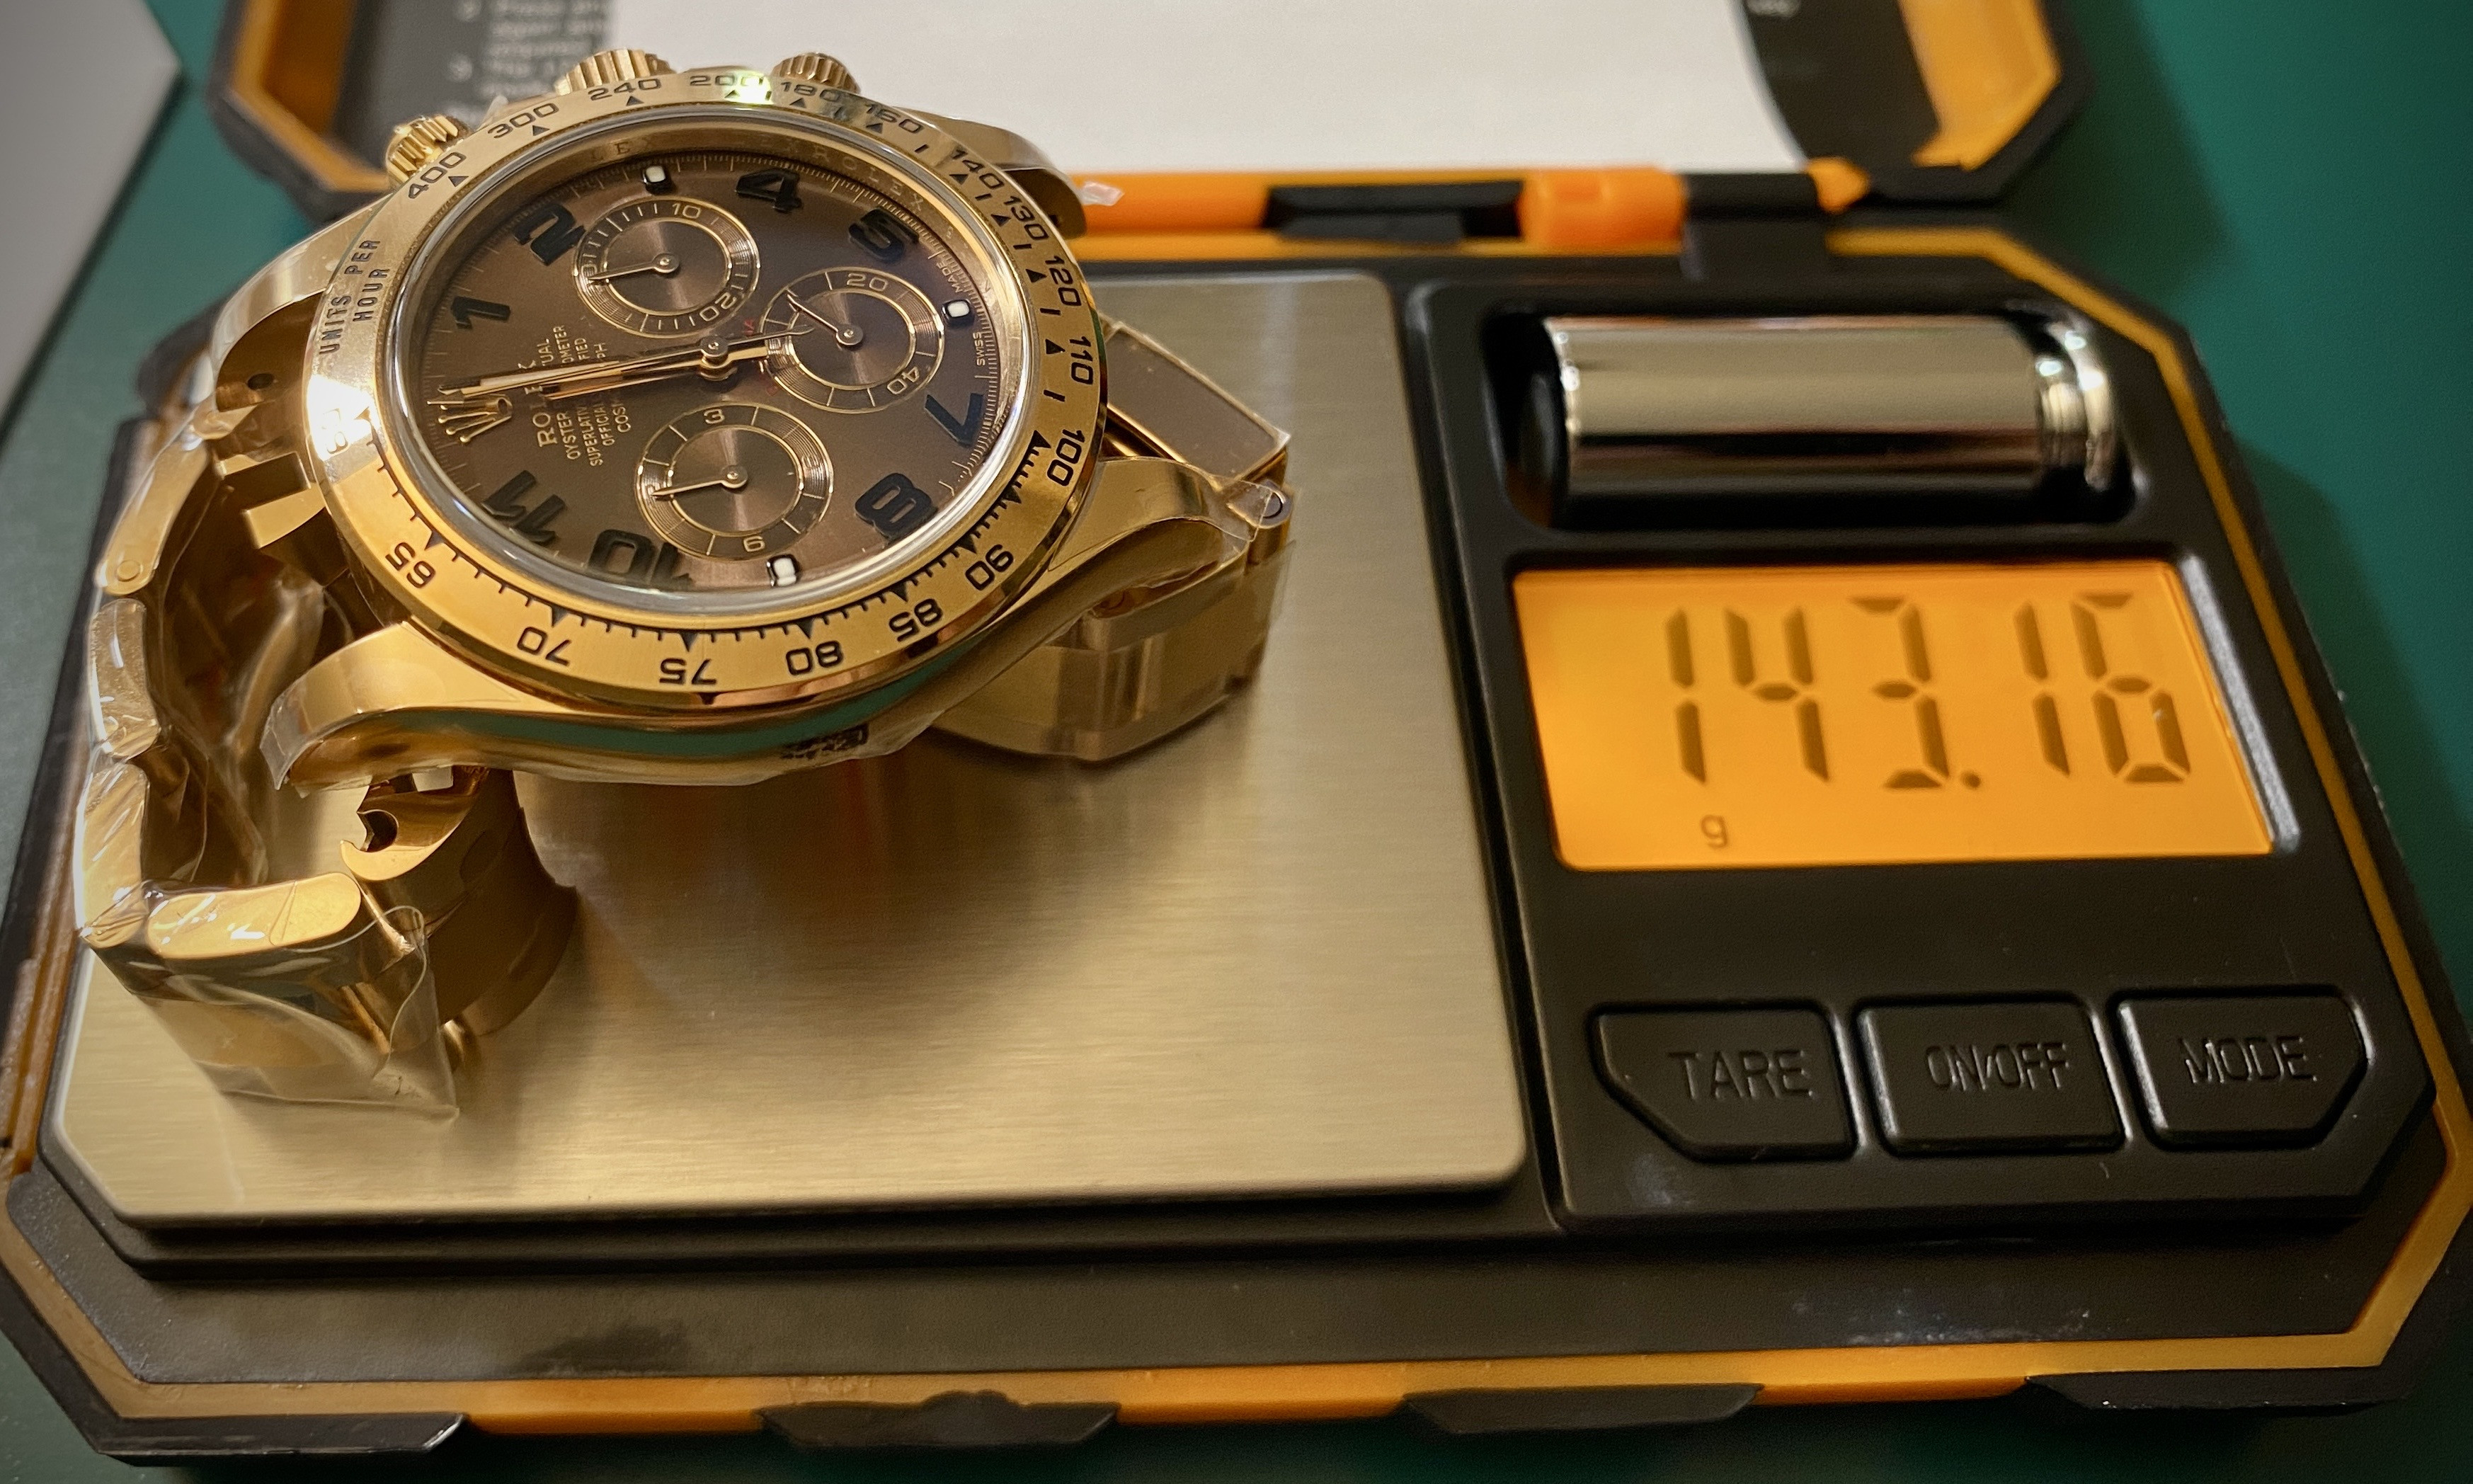


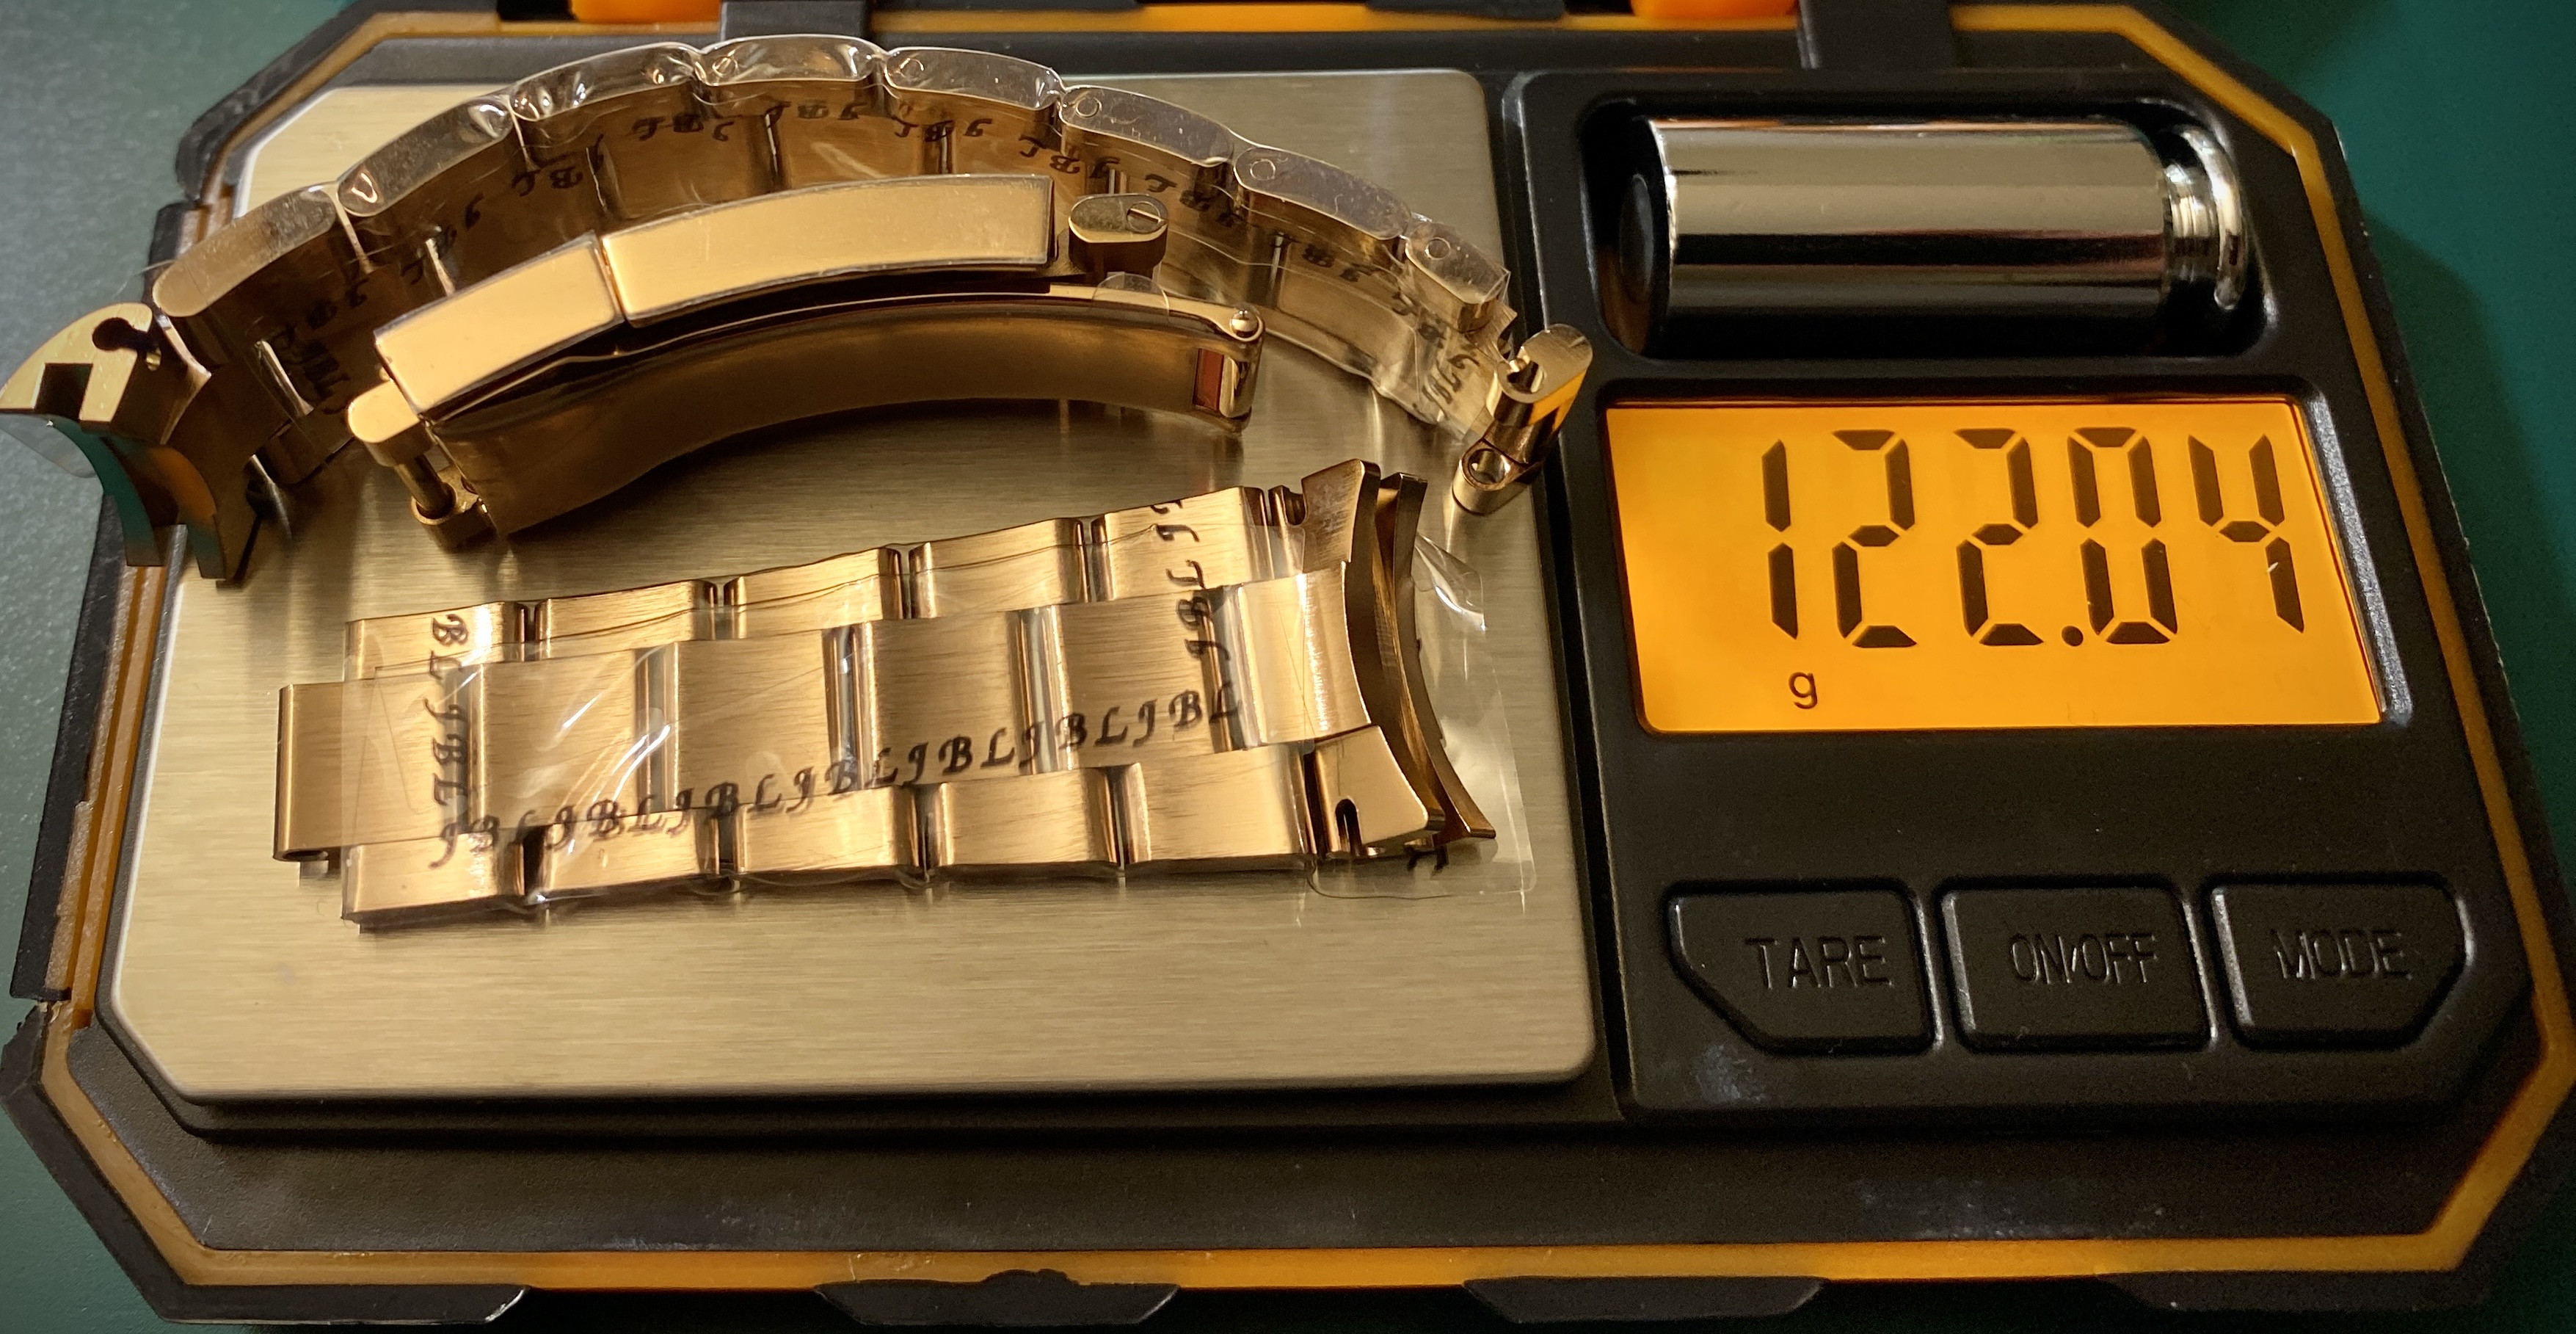
After transferring over the movement and installing the crystal and bezel, the new watch weighs 226g. (NB: my scale maxes out at 200g, so I had to weigh the bracelet and movement separately).

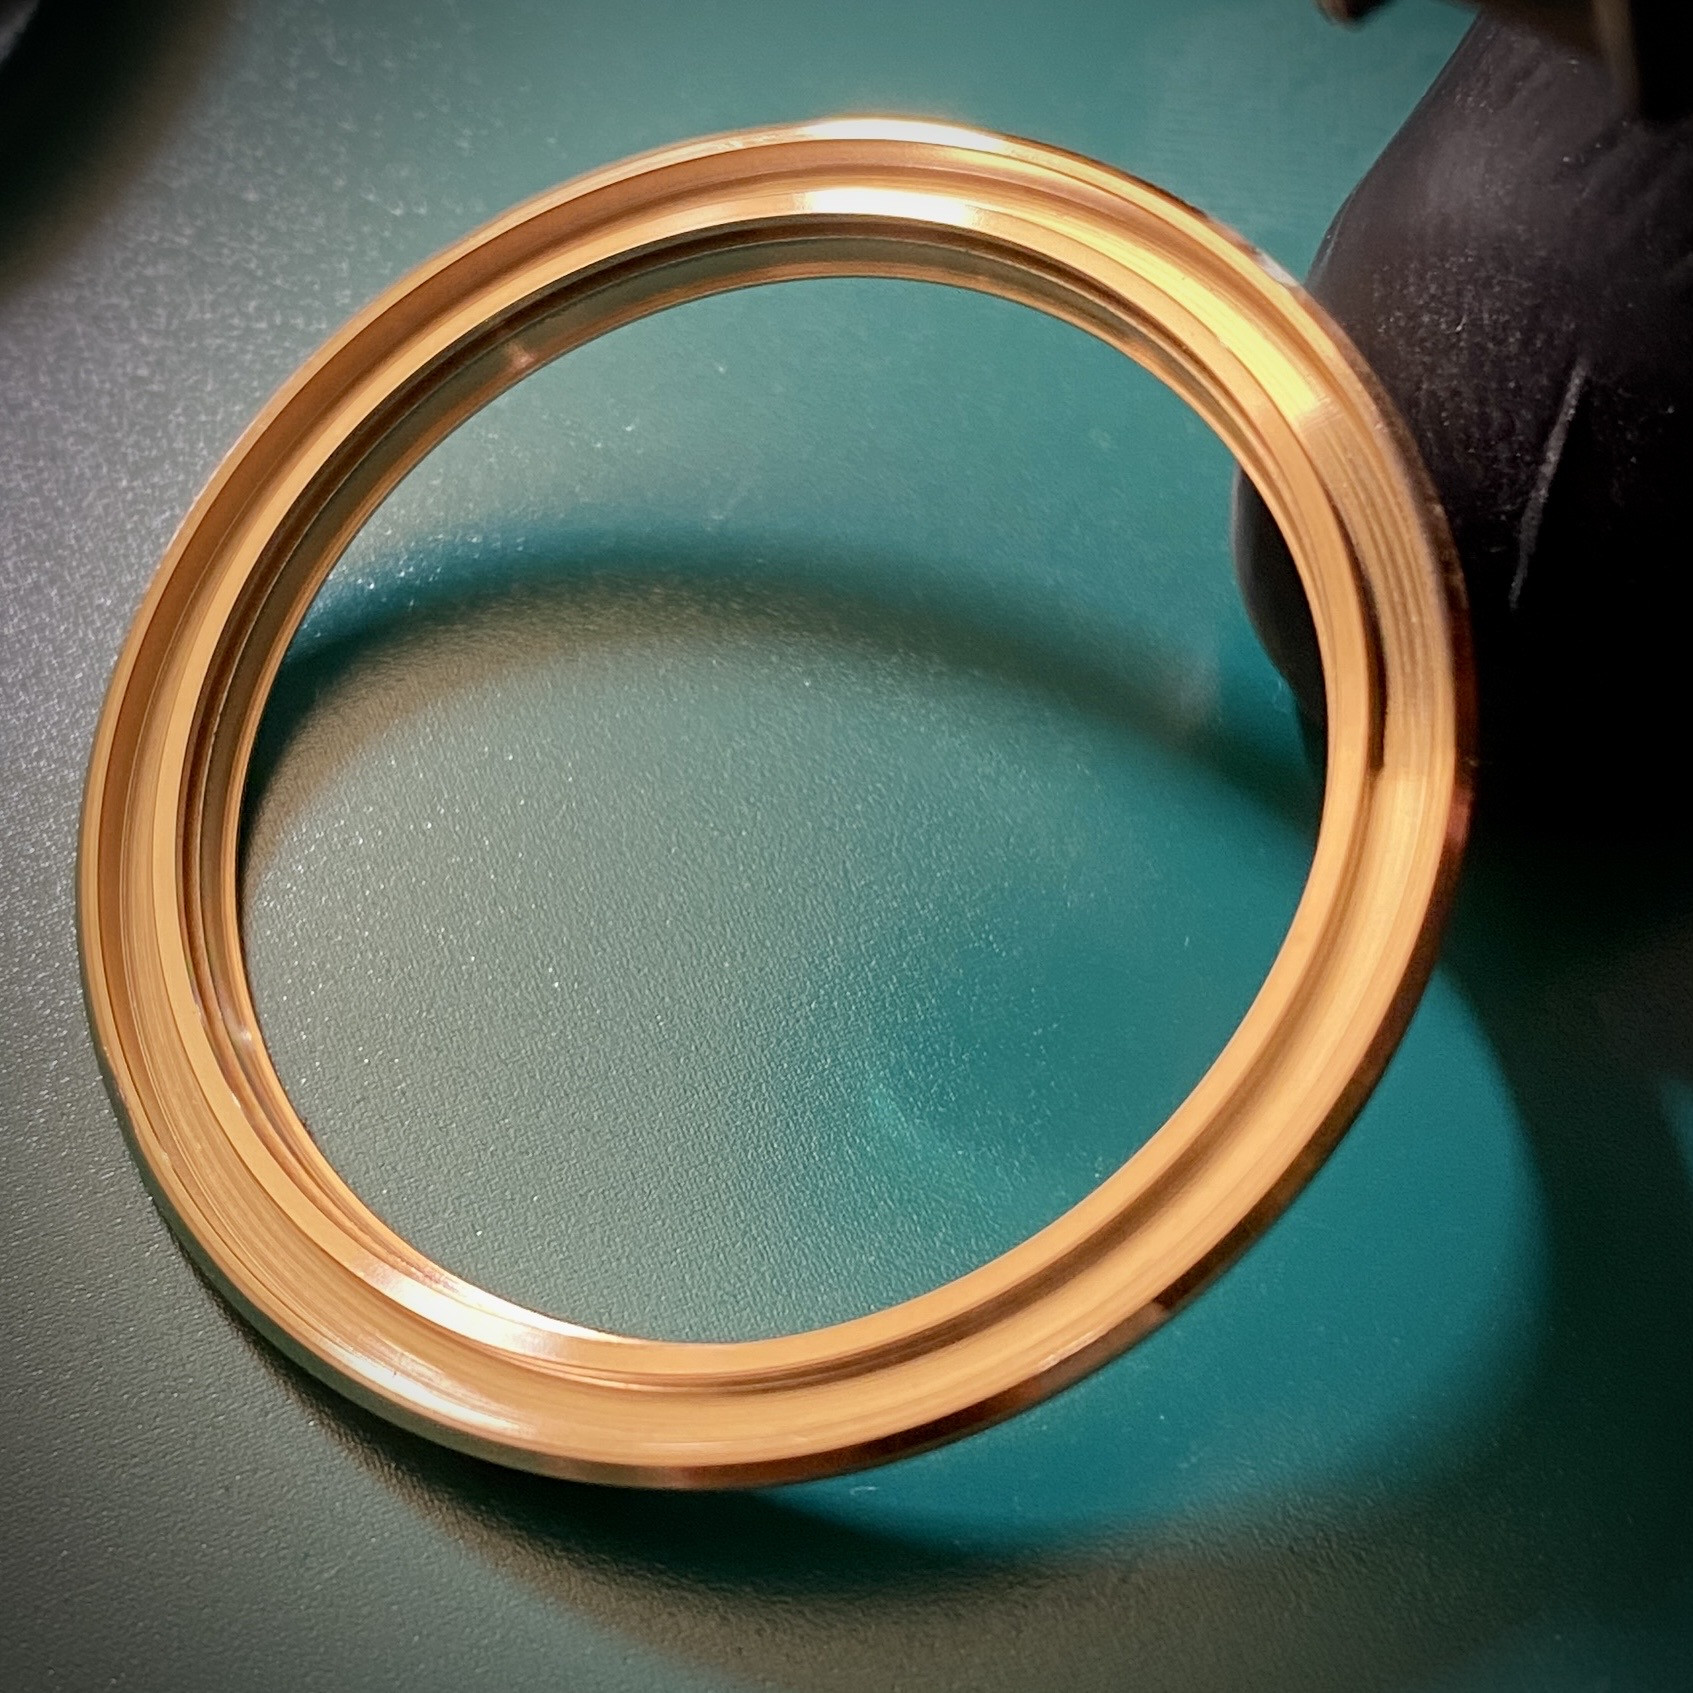
And I’m using the old CF bezel which has an interesting hollow channel machined in the back. I haven’t worked on enough metal bezel Daytonas to know if this is standard or not. My first thought was that the channel could be used to house a tungsten copper weighted slug to further increase the weight of the watch.


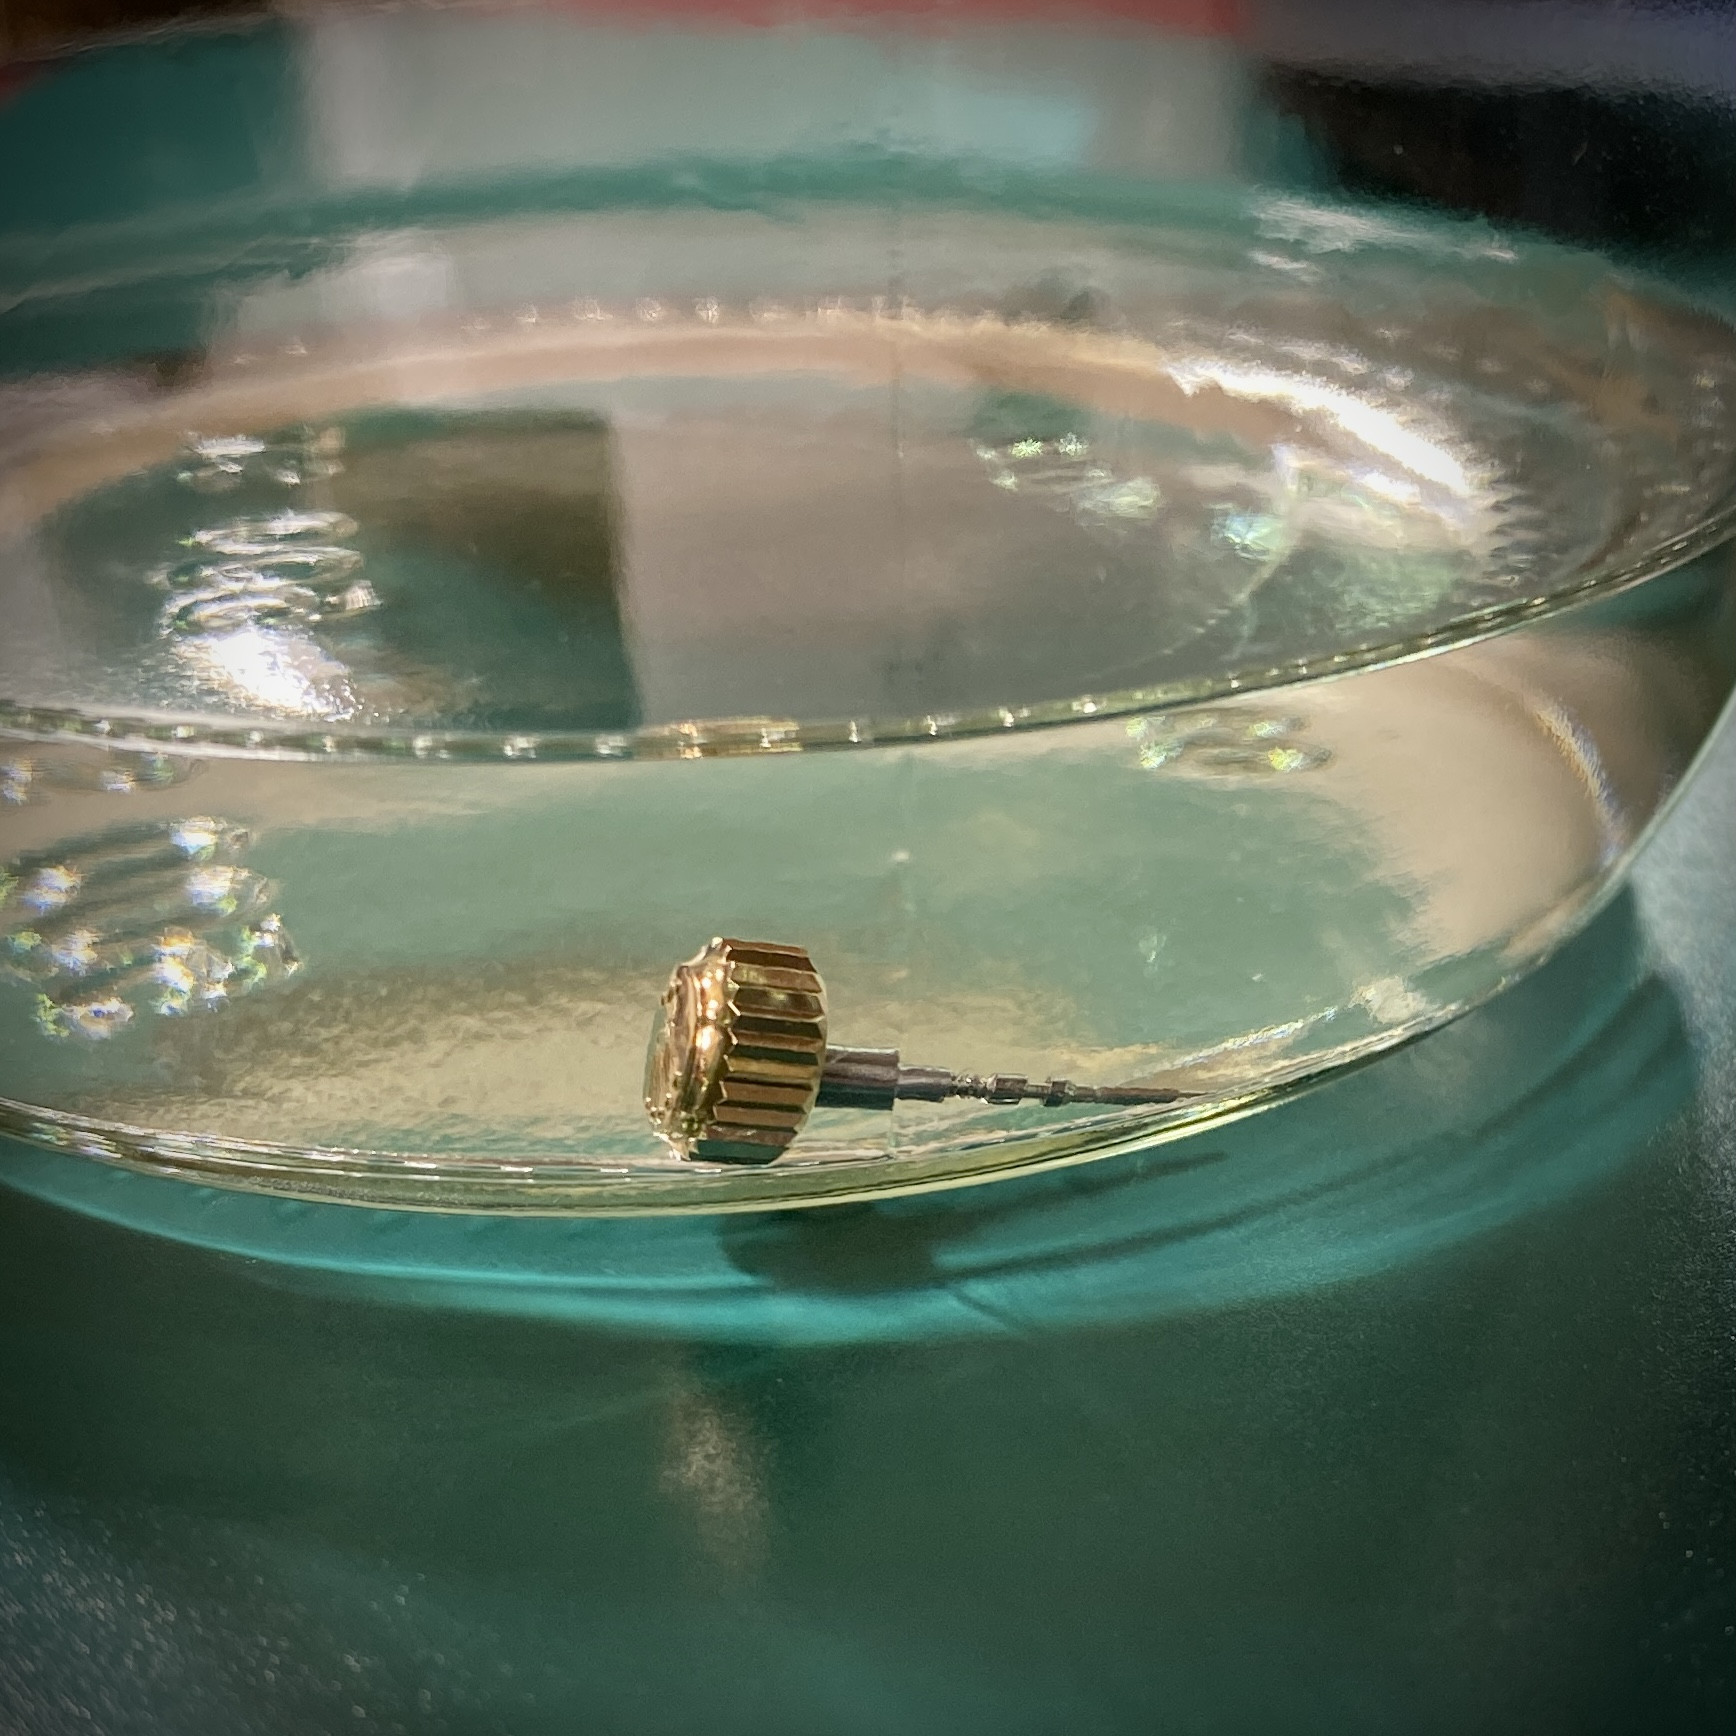
Unfortunately I wasn’t able to finish the build since the movement stem was (what looked like) epoxy glued into the crown. There was clear glue visible on the stem threads. A little bit of loctite is required to keep the stem and crown from coming apart, but loctite is designed to release; epoxy is not. I’m soaking the stem
And crown in acetone overnight to see if that helps separate the parts.
 

dogwood

I'm Pretty Popular
Patron
Section Moderator
Certified
7/9/21
2,322
4,884
113
Canada
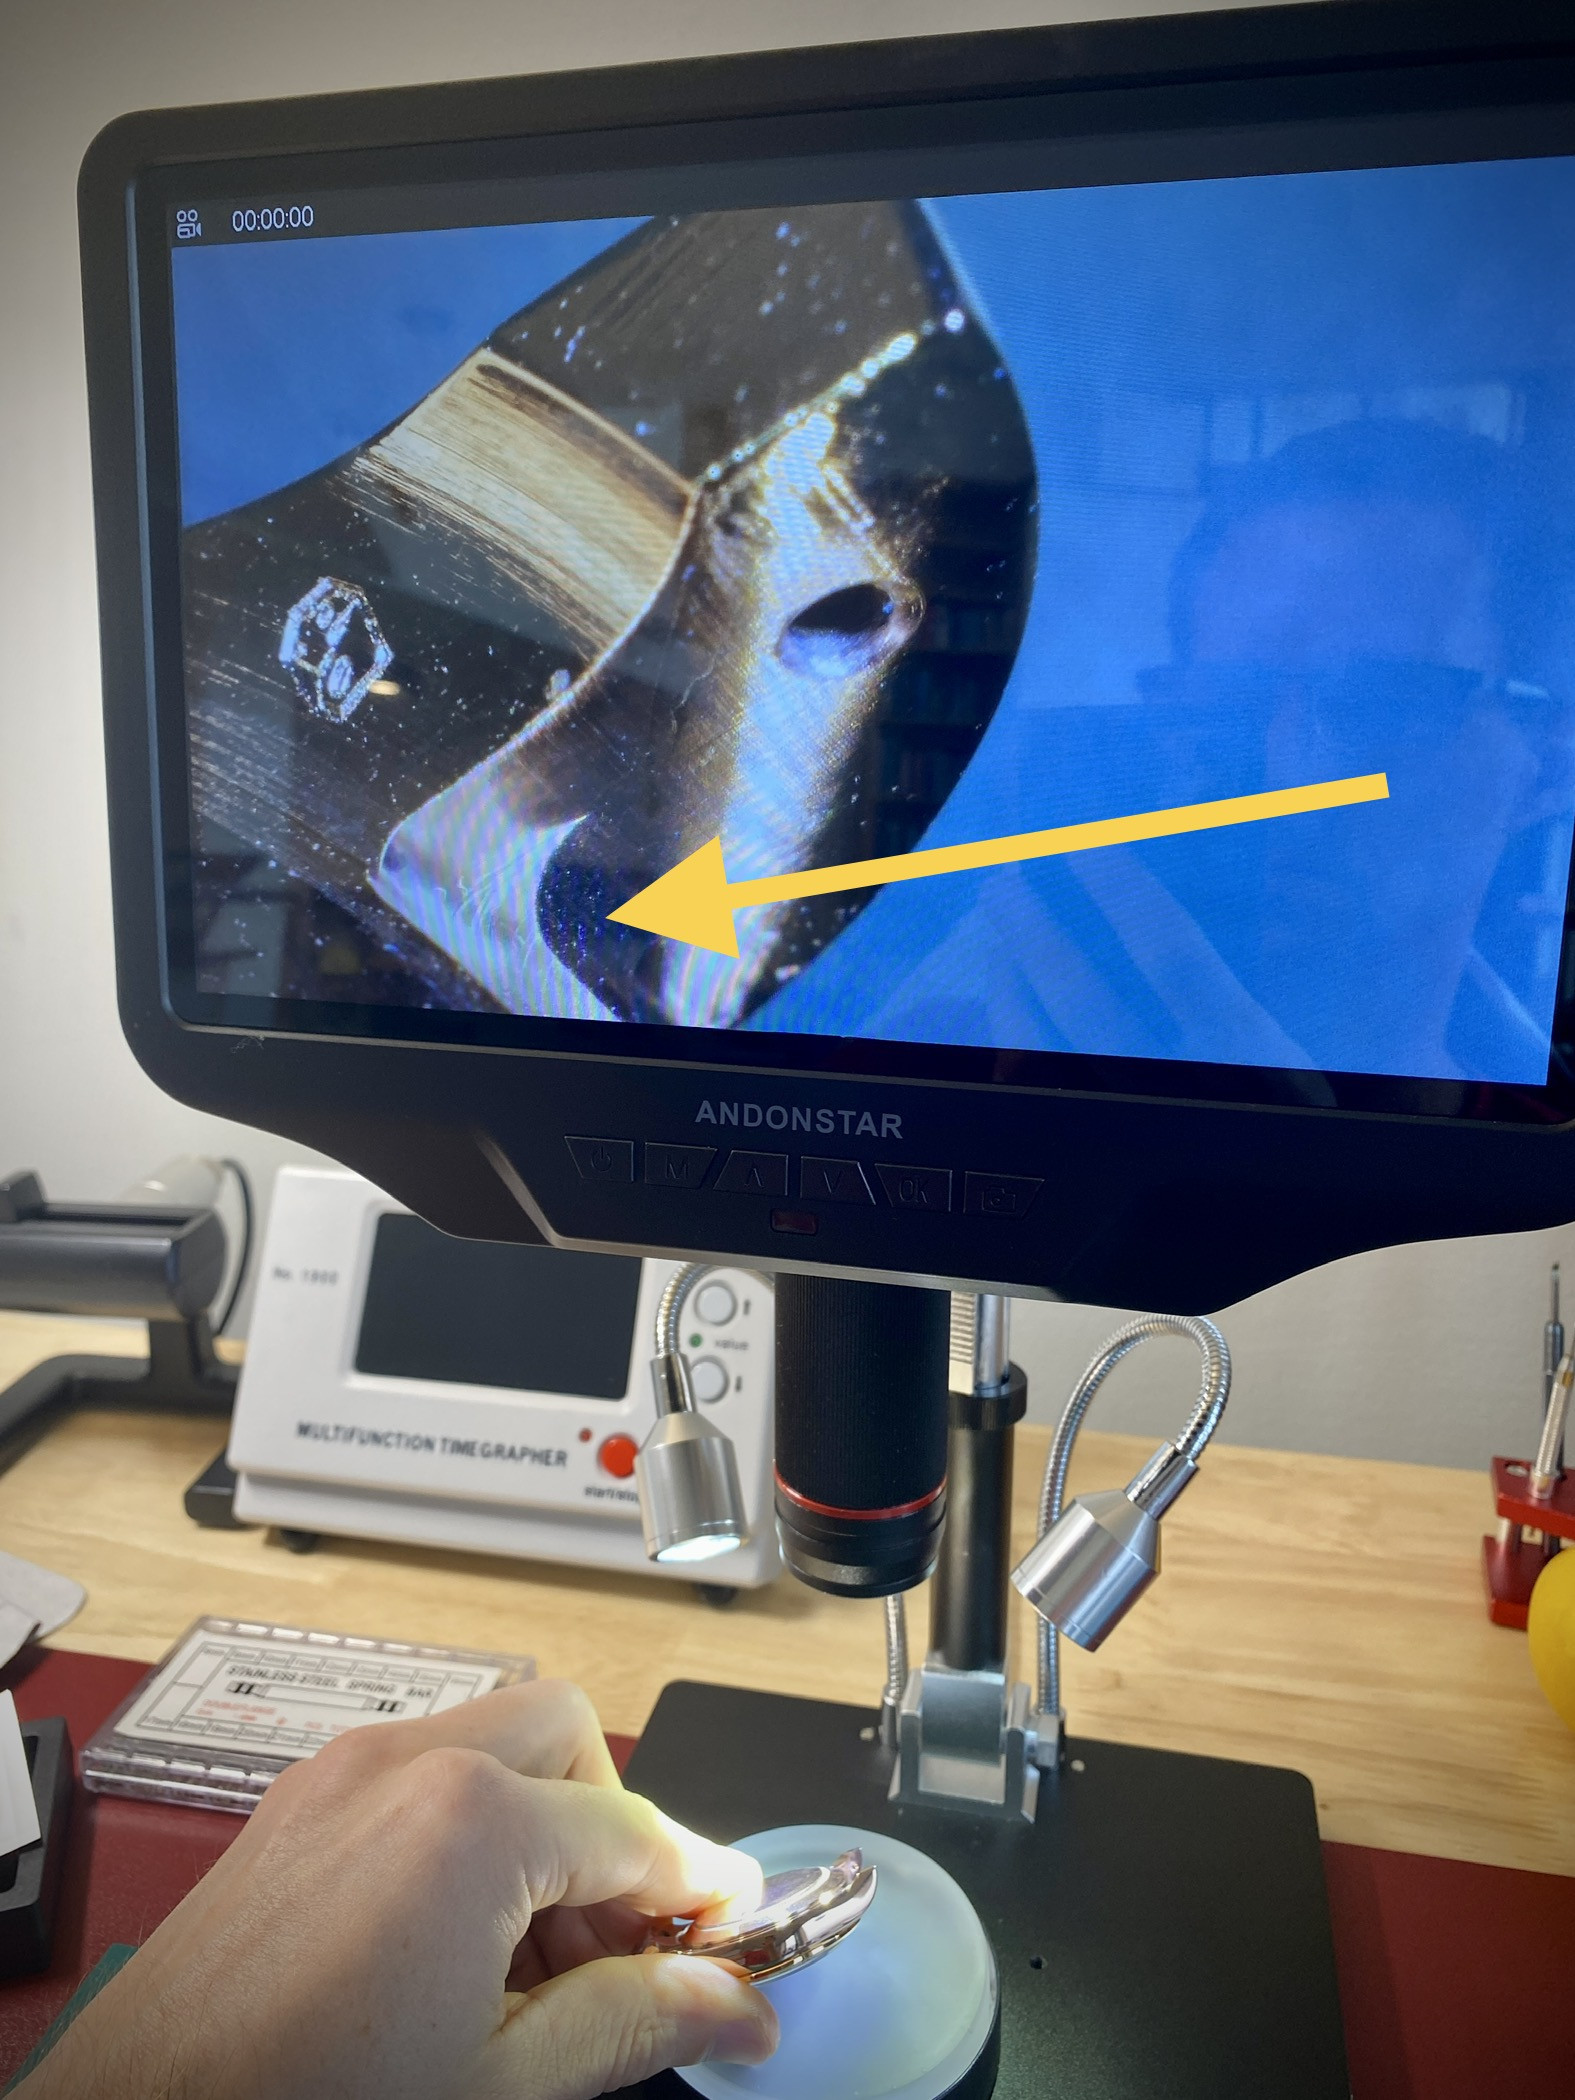
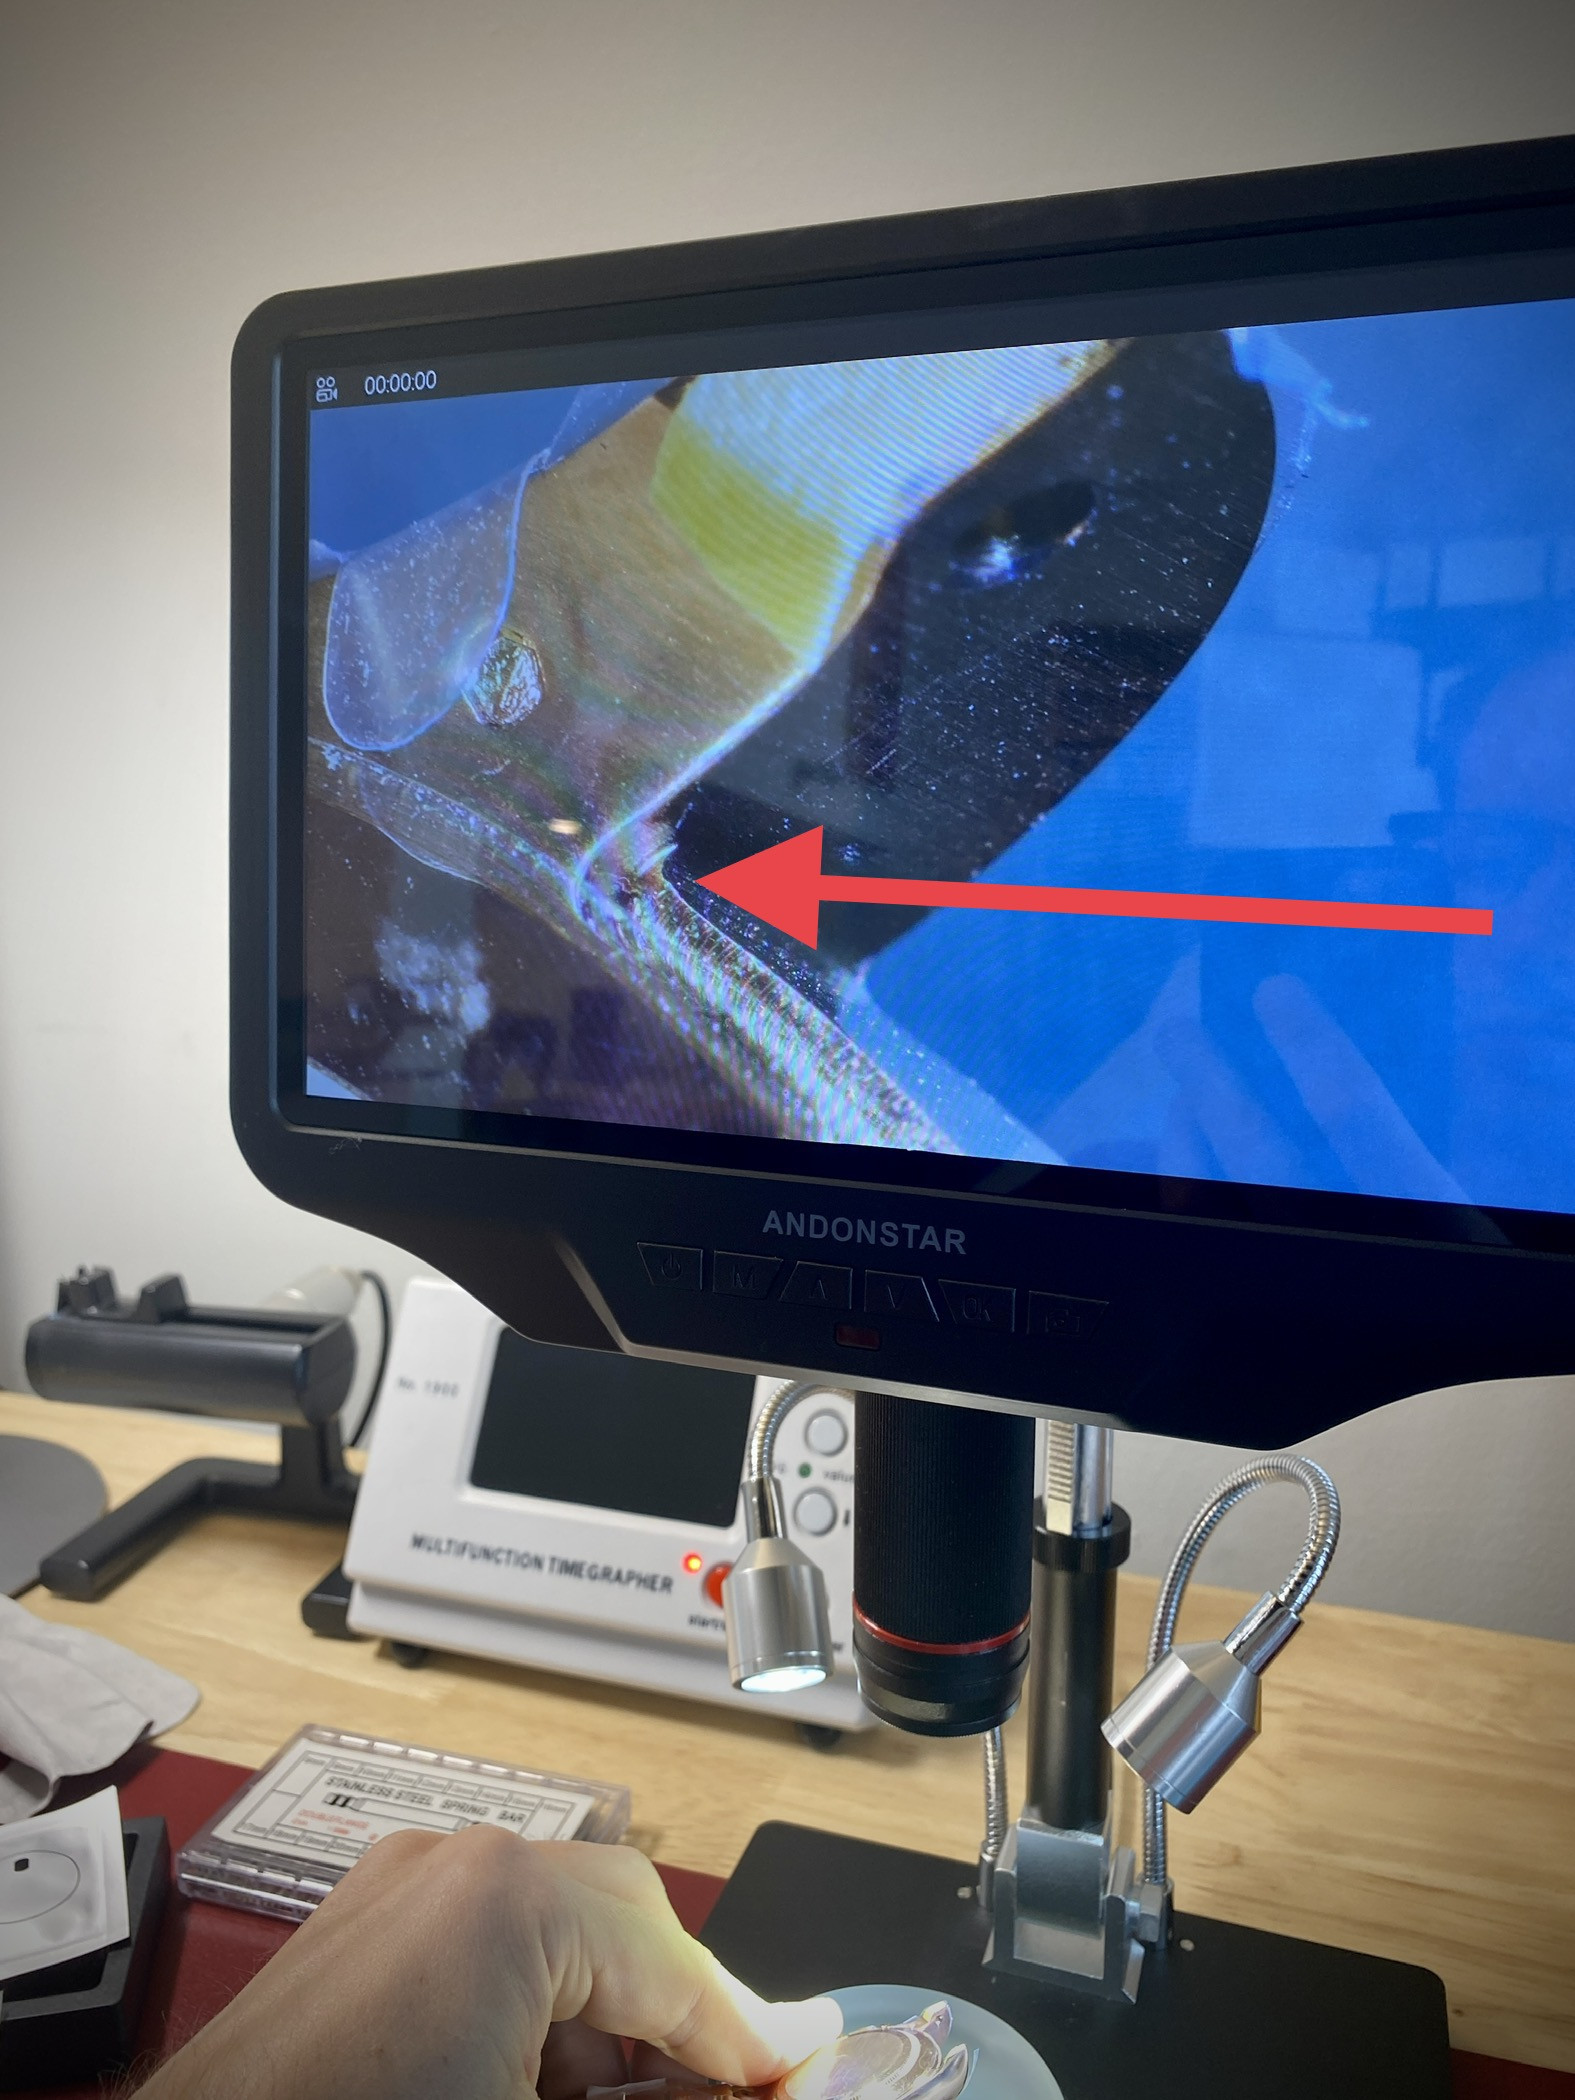
When I was finishing up the Tungsten Daytona this morning I noticed an interesting difference between the CF case (plated SS) and the tungsten case. The Tungsten case had a much larger radius (yellow) on one of the milling operations between the lugs compared to the CF case (red). This made fitting the bracelet onto the case slightly more tricky since the SEL couldn’t slide in from as many angles. This probably has something to do with the difficulty of machining tungsten… my guess is that tungsten requires a stronger tool hence the larger radius.

 
Last edited:

SuperLory

Well-Known Repist
22/10/15
8,451
5,034
113
hey @dogwood that inset in the bezel is to hold a rubber gasket. It's there in the PM bezels. That chocolate dial is so yummy
 

dogwood

I'm Pretty Popular
Patron
Section Moderator
Certified
7/9/21
2,322
4,884
113
Canada
hey @dogwood that inset in the bezel is to hold a rubber gasket. It's there in the PM bezels. That chocolate dial is so yummy
Interesting. Odd that CF didn’t include the gasket but did bother to cut the groove.
 

xZeroCoolx

Active Member
Gold Patron
Certified
22/10/22
204
292
63
US
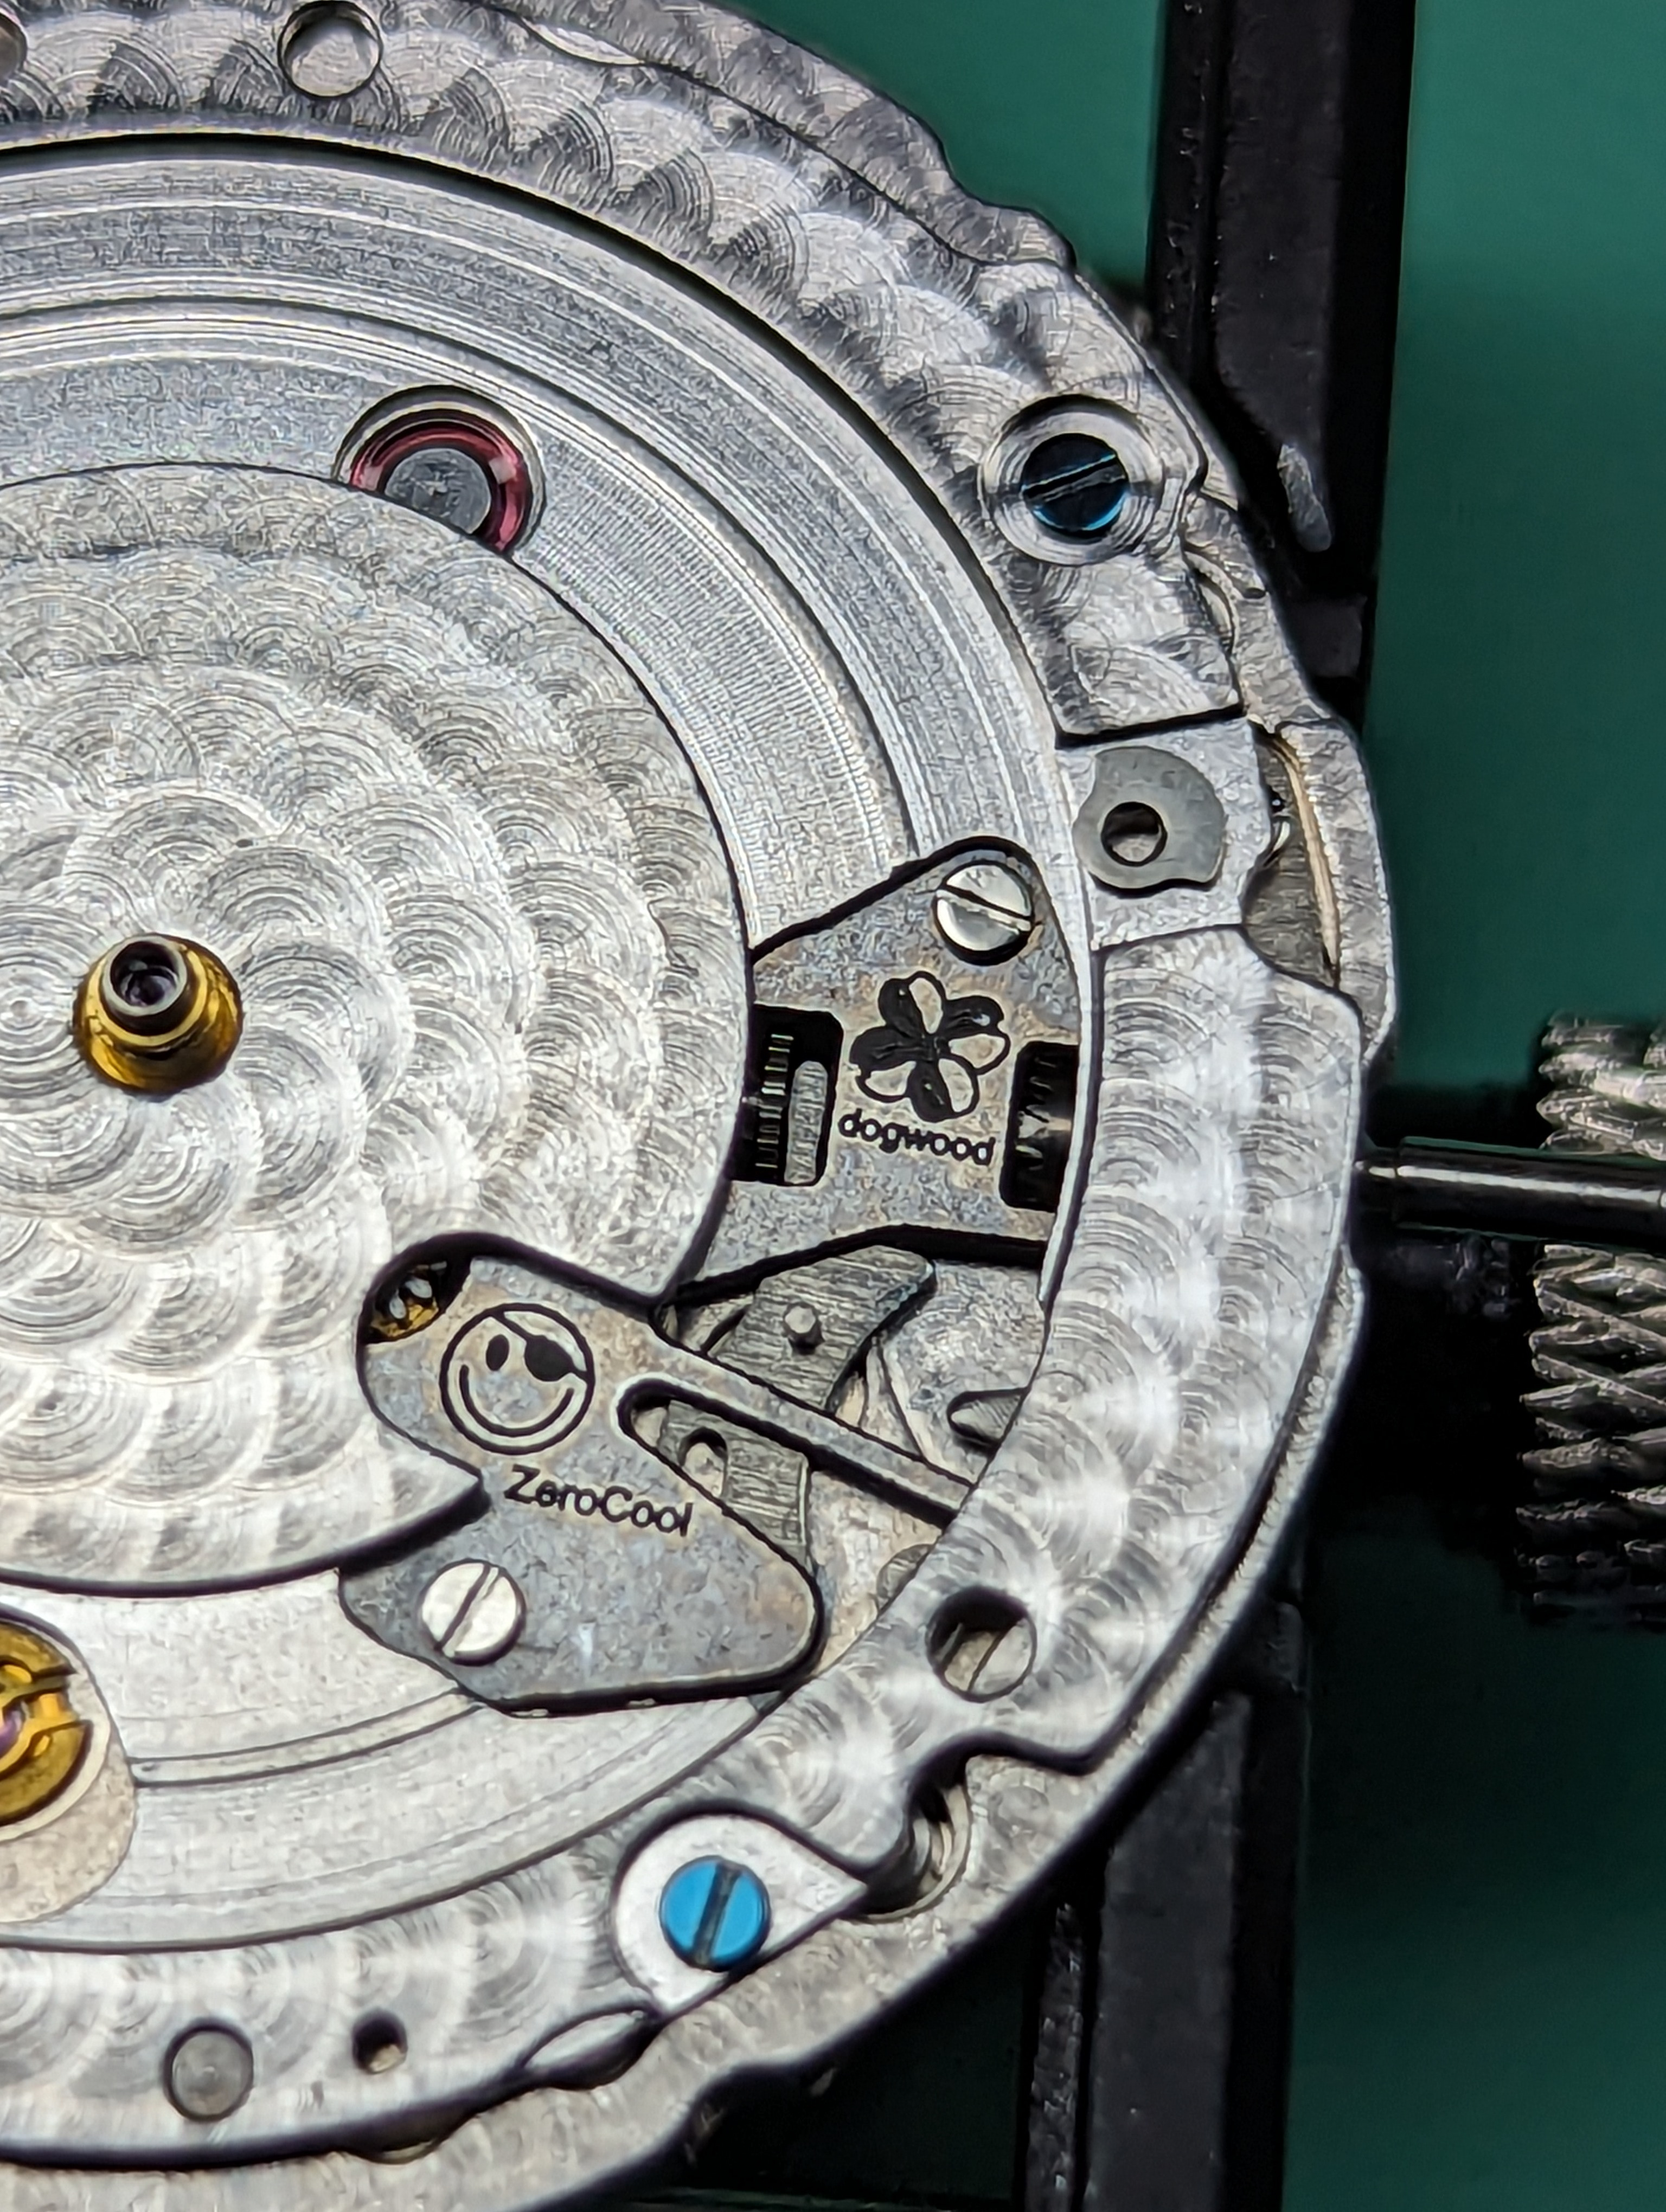
Just a quick update on the setting lever spring. I think we got it but I will let @dogwood update when he gets back. In the meantime here is a little teaser.


HkgWAo.jpeg


I got the alignment right this time 😁
 

dogwood

I'm Pretty Popular
Patron
Section Moderator
Certified
7/9/21
2,322
4,884
113
Canada
Just a quick update on the setting lever spring. I think we got it but I will let @dogwood update when he gets back. In the meantime here is a little teaser.


HkgWAo.jpeg


I got the alignment right this time 😁
I’m really looking forward to testing the newest (final 🤞) version. I’m in Chile until Nov 20th.

Vancouver’s November is very rainy and dark, and ski season doesn’t really start until December, so a November trip to somewhere sunny is essential.


Only 50 (total) hours of direct sunshine in Vancouver in November implies less than 2 hours of sun per day. So that’s why I’m visiting San Pedro de Atacama (the driest non polar desert on earth).
 
  • Wow
Reactions: Karbon74

Solution6

Watchmaker
Vendor (Watch Repair)
Patron
Certified
14/8/19
535
589
93
London, UK
I was working on a tungsten Daytona this evening and thought I’d share some pics. The donor watch in this case is a CF Daytona which tips the scales at 143g.


After transferring over the movement and installing the crystal and bezel, the new watch weighs 226g. (NB: my scale maxes out at 200g, so I had to weigh the bracelet and movement separately).


And I’m using the old CF bezel which has an interesting hollow channel machined in the back. I haven’t worked on enough metal bezel Daytonas to know if this is standard or not. My first thought was that the channel could be used to house a tungsten copper weighted slug to further increase the weight of the watch.


Unfortunately I wasn’t able to finish the build since the movement stem was (what looked like) epoxy glued into the crown. There was clear glue visible on the stem threads. A little bit of loctite is required to keep the stem and crown from coming apart, but loctite is designed to release; epoxy is not. I’m soaking the stem
And crown in acetone overnight to see if that helps separate the parts.

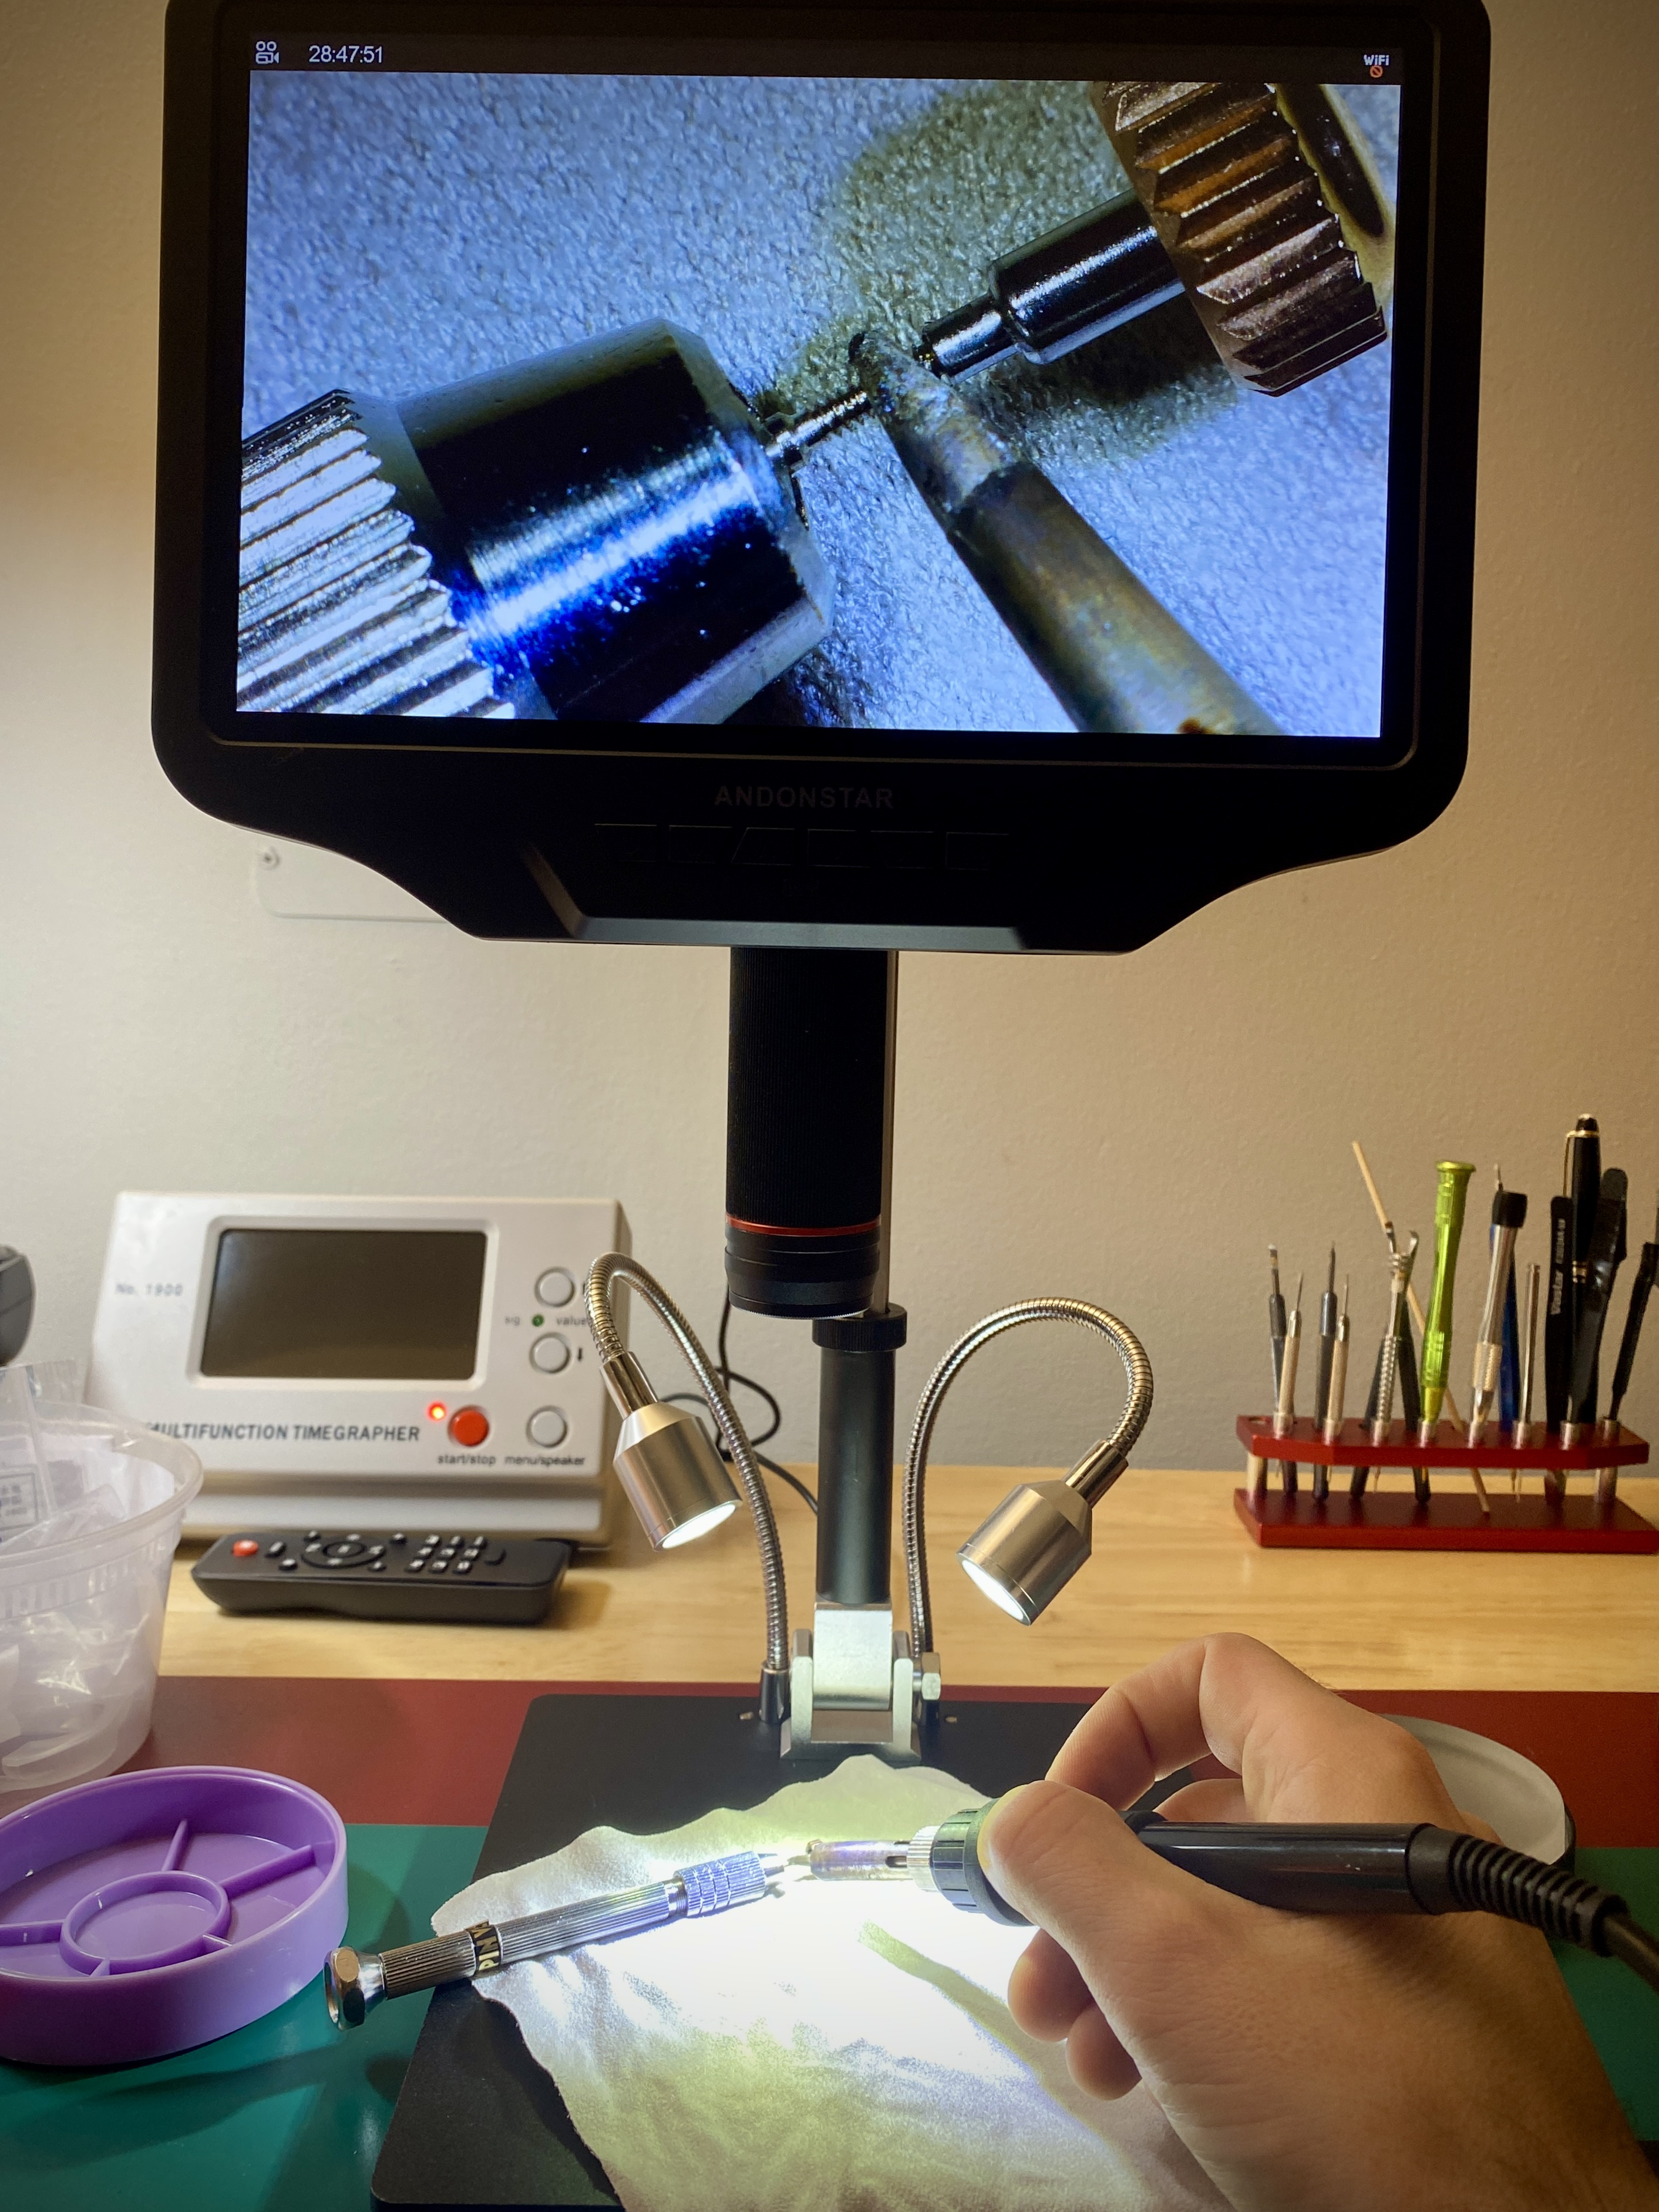
A quicker way for this is to use a soldering iron, if you have one. Hold the stem in a vice and hold the soldering iron head onto the clutch/stem point. A minute or so always does the trick. Then use protection (all the assembly will get hot) and unscrew the crown.
 

dogwood

I'm Pretty Popular
Patron
Section Moderator
Certified
7/9/21
2,322
4,884
113
Canada
A quicker way for this is to use a soldering iron, if you have one. Hold the stem in a vice and hold the soldering iron head onto the clutch/stem point. A minute or so always does the trick. Then use protection (all the assembly will get hot) and unscrew the crown.
Thanks for the tip. I’ve tried using a lighter, but you’re quite right, a soldering iron would be a much better way of breaking a loctite bond. My worry is that CF might be using epoxy rather than loctite to secure their stems into their crowns. The residue of glue I saw on the stem threads next to the clutch looked like the translucent yellow/amber of two part epoxy, not the blue of loctite. Regardless, I’ll be sure to try a soldering iron on the next stubborn stem I find.
 

Solution6

Watchmaker
Vendor (Watch Repair)
Patron
Certified
14/8/19
535
589
93
London, UK
Thanks for the tip. I’ve tried using a lighter, but you’re quite right, a soldering iron would be a much better way of breaking a loctite bond. My worry is that CF might be using epoxy rather than loctite to secure their stems into their crowns. The residue of glue I saw on the stem threads next to the clutch looked like the translucent yellow/amber of two part epoxy, not the blue of loctite. Regardless, I’ll be sure to try a soldering iron on the next stubborn stem I find.
100% this dislodges all types of bond.

(And apologies for jumping on your post).
 

dogwood

I'm Pretty Popular
Patron
Section Moderator
Certified
7/9/21
2,322
4,884
113
Canada
100% this dislodges all types of bond.

(And apologies for jumping on your post).
Thanks for clarifying. That’s really good to know. I didn’t know that heat breaks down epoxy — but that makes sense since the curing process is exothermic.

And thank you for posting the tip. I’m still very much at the beginning of my journey. So, every day that I learn something new about watchmaking is a good day!
 

Theodorius

Getting To Know The Place
20/6/23
42
77
18
EU
The residue of glue I saw on the stem threads next to the clutch looked like the translucent yellow/amber of two part epoxy, not the blue of loctite.
This has also been my observation as well. It is not the well known blue Loctite as we know on the phones et c.
I didn’t know that heat breaks down epoxy
Yes the heat breaks the 2 component epoxy with few exceptions like JB Weld which can easy deal with 300°C.
The most basic resins can stand up against temperatures 150°C for short periods of time. Using a soldering iron and a drop of solder on the tip at 420°C the epoxy will begin to distort after one minute.
 
  • Like
Reactions: dogwood

dogwood

I'm Pretty Popular
Patron
Section Moderator
Certified
7/9/21
2,322
4,884
113
Canada
I was successful in using the soldering iron trick to break down the glue that factories now seem to be using to bond stems and crowns. About a minute with the soldering iron set to 450C and the glue gave way. It sucks that factories aren’t using loctite on these threads instead of whatever glue they’re using. But at least I have a reliable method to free stems now.


dogwood

I'm Pretty Popular
Patron
Section Moderator
Certified
7/9/21
2,322
4,884
113
Canada
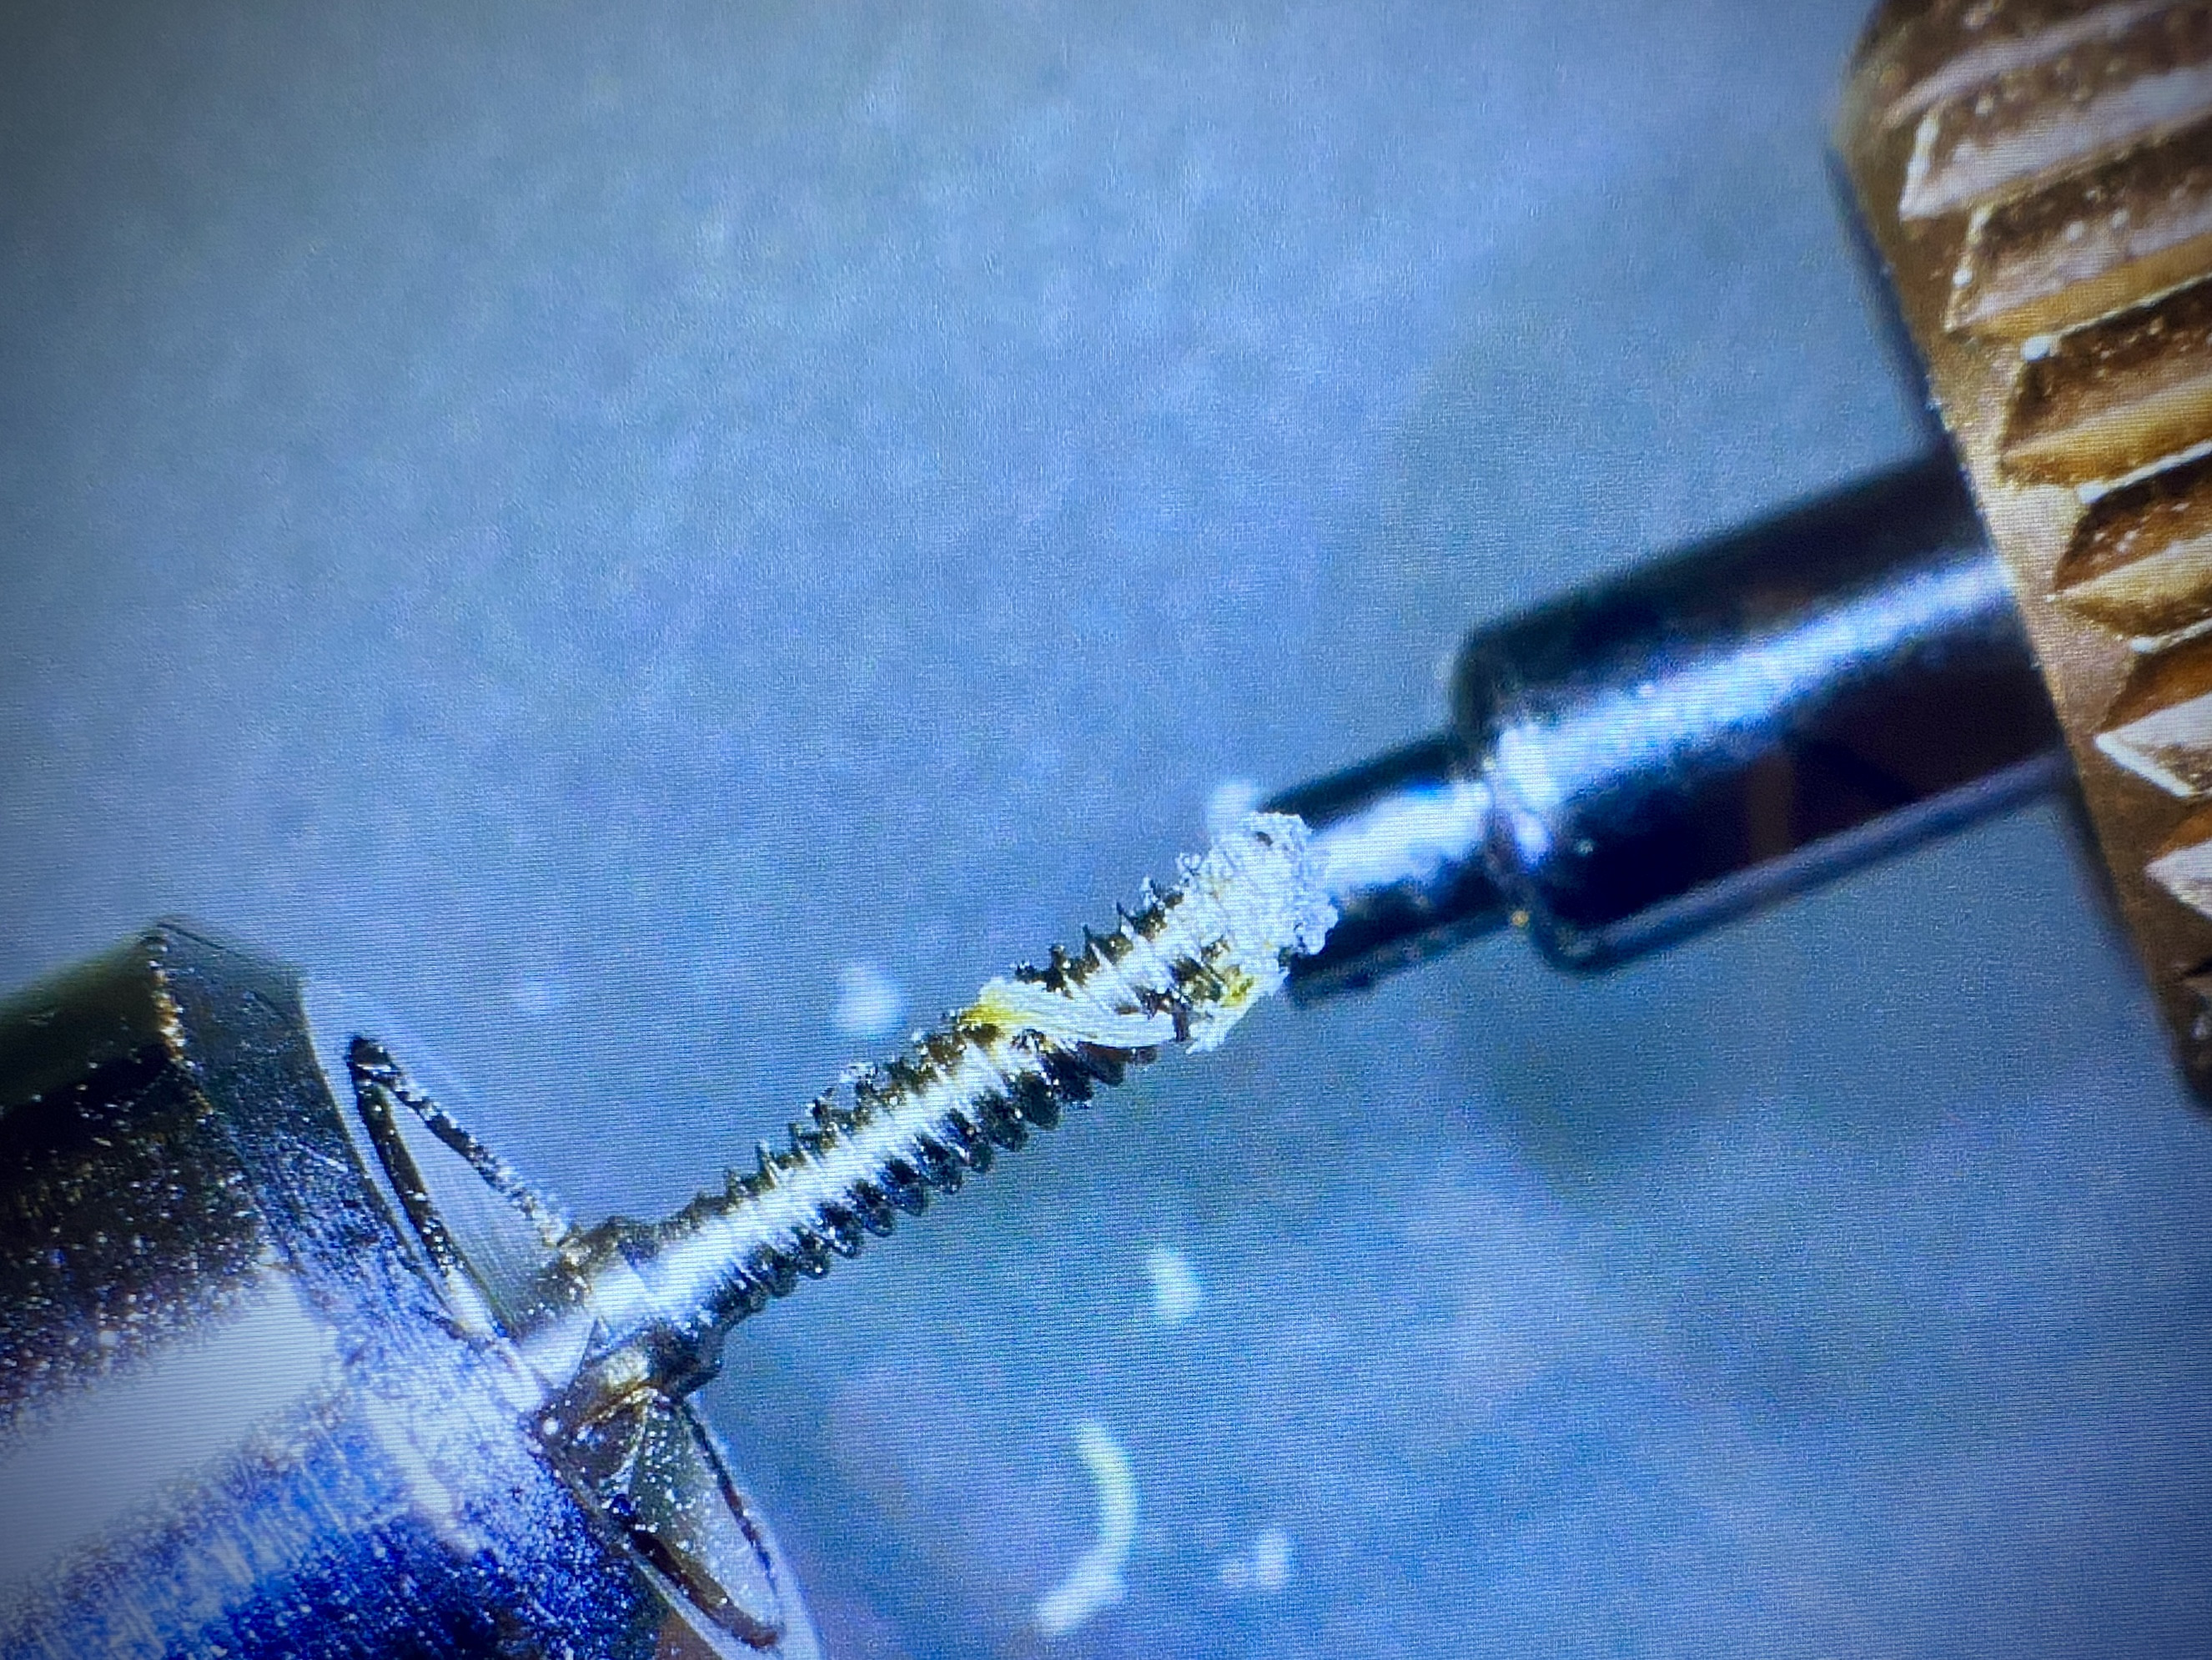
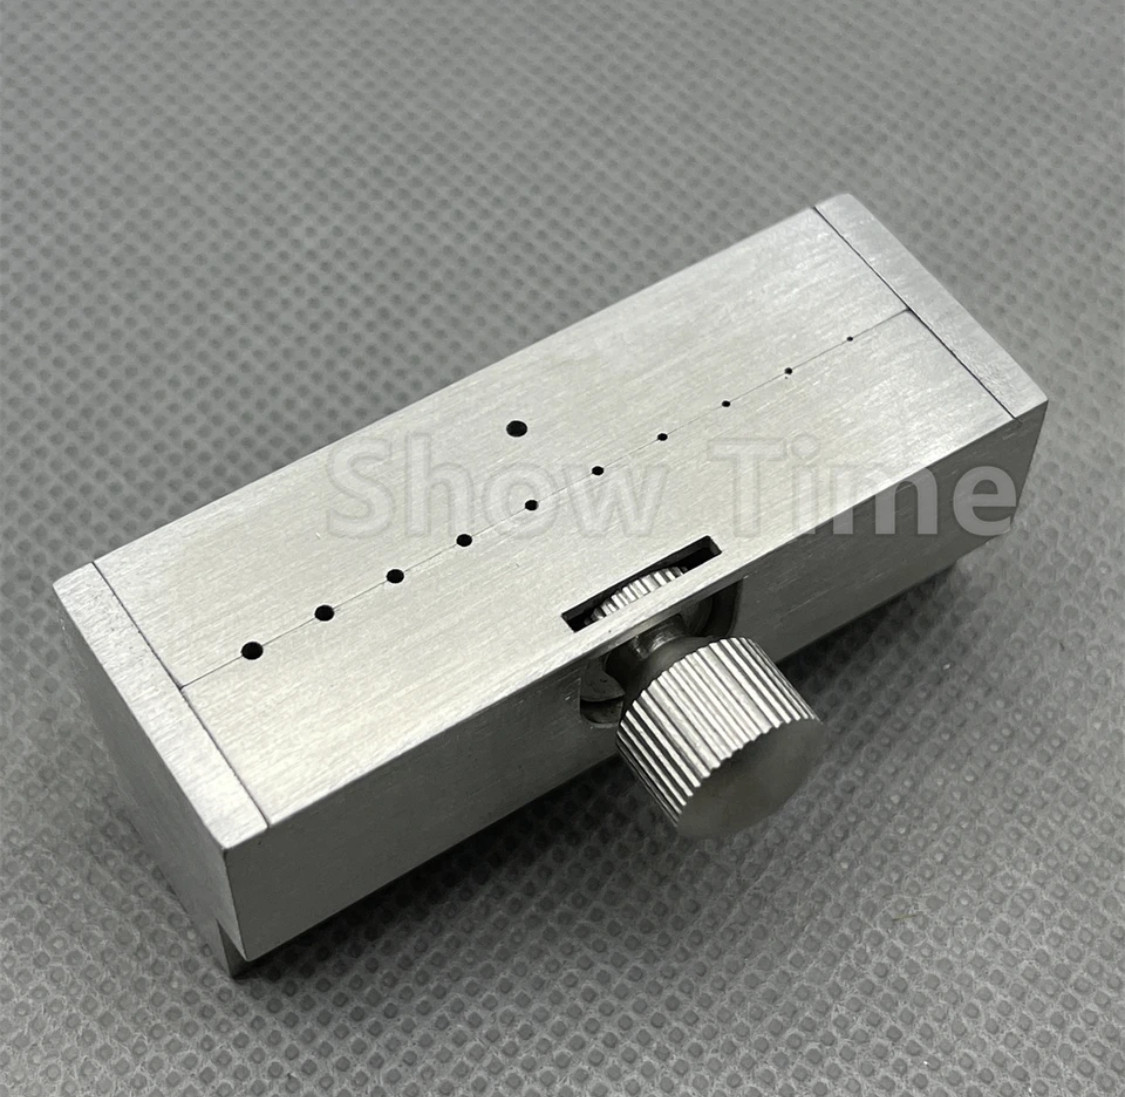
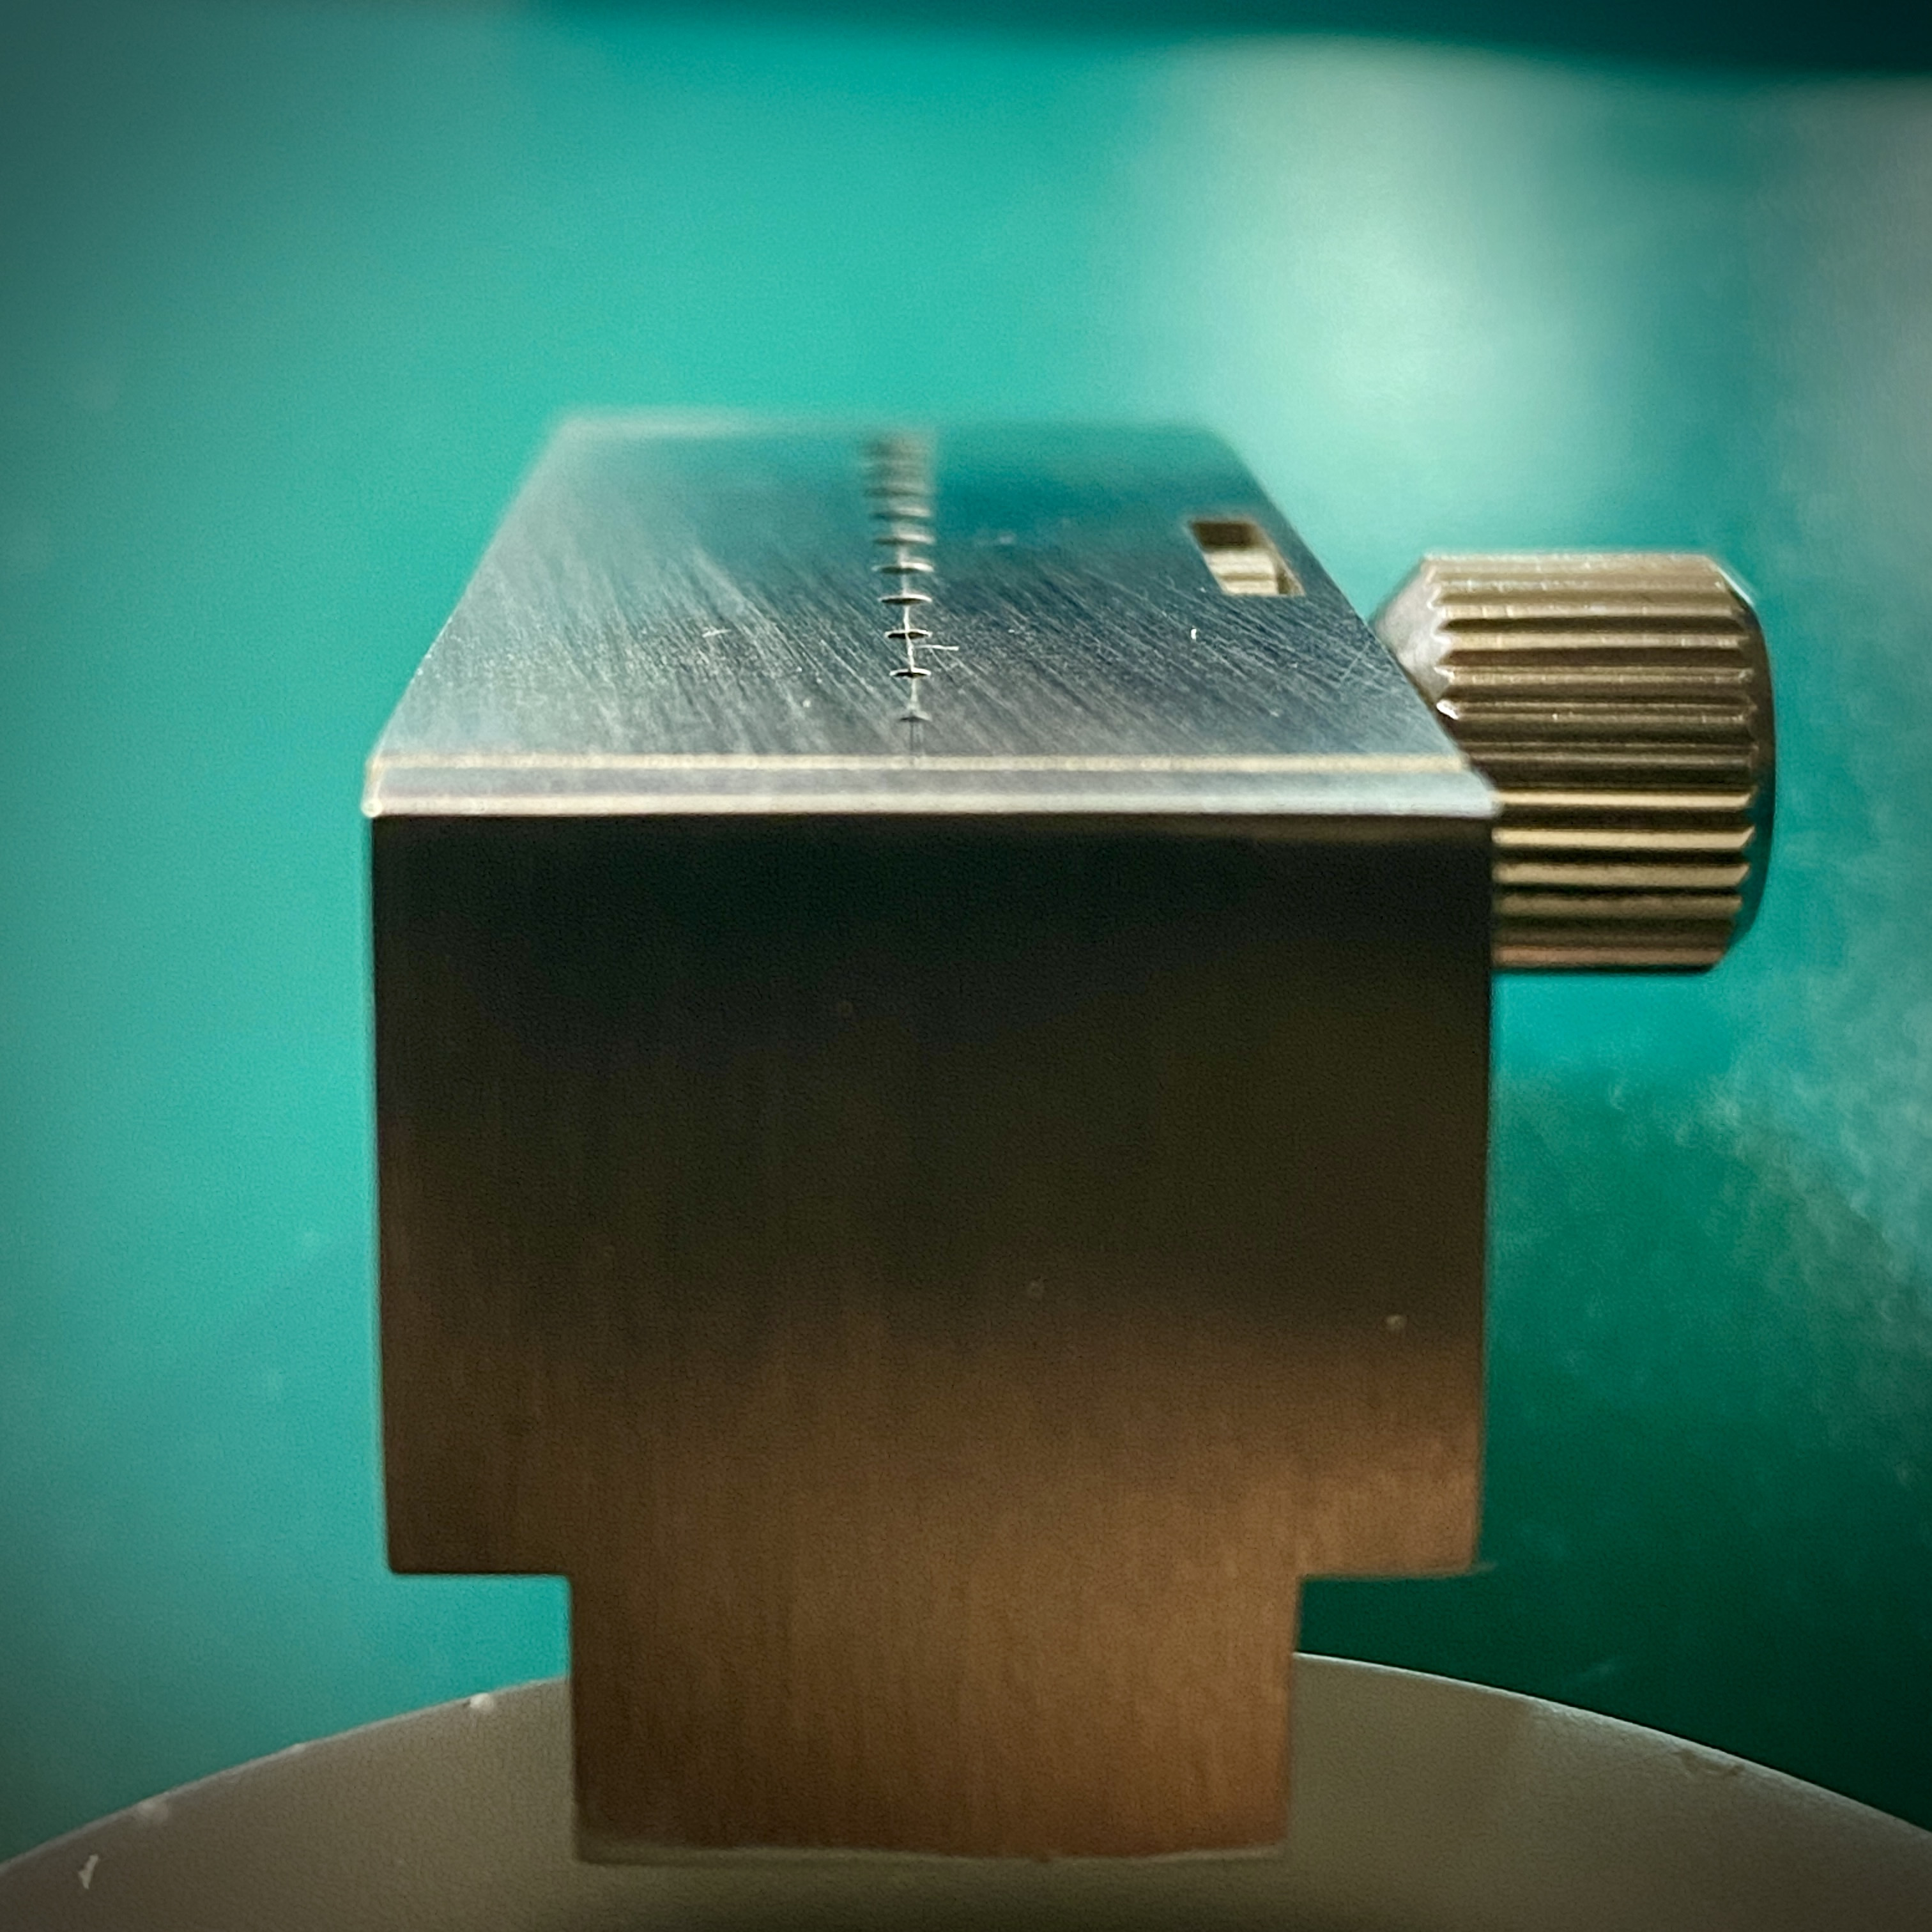
A little while ago I bought one of these hand vise blocks from AliExpress. These are great for holding hands and even tightening hand collars / tubes if the hands are loose.


These cost about C$50 but like many Chinese made tools, they have a poor quality finish. That’s understandable, the guy making this tool is never going to use it. So while we might be quick to criticize the maker for not “going the extra mile”, if we’re being honest the maker probably has no idea what “the extra mile” would even be. To him, this is just another random shape of metal that came off his CNC machine.

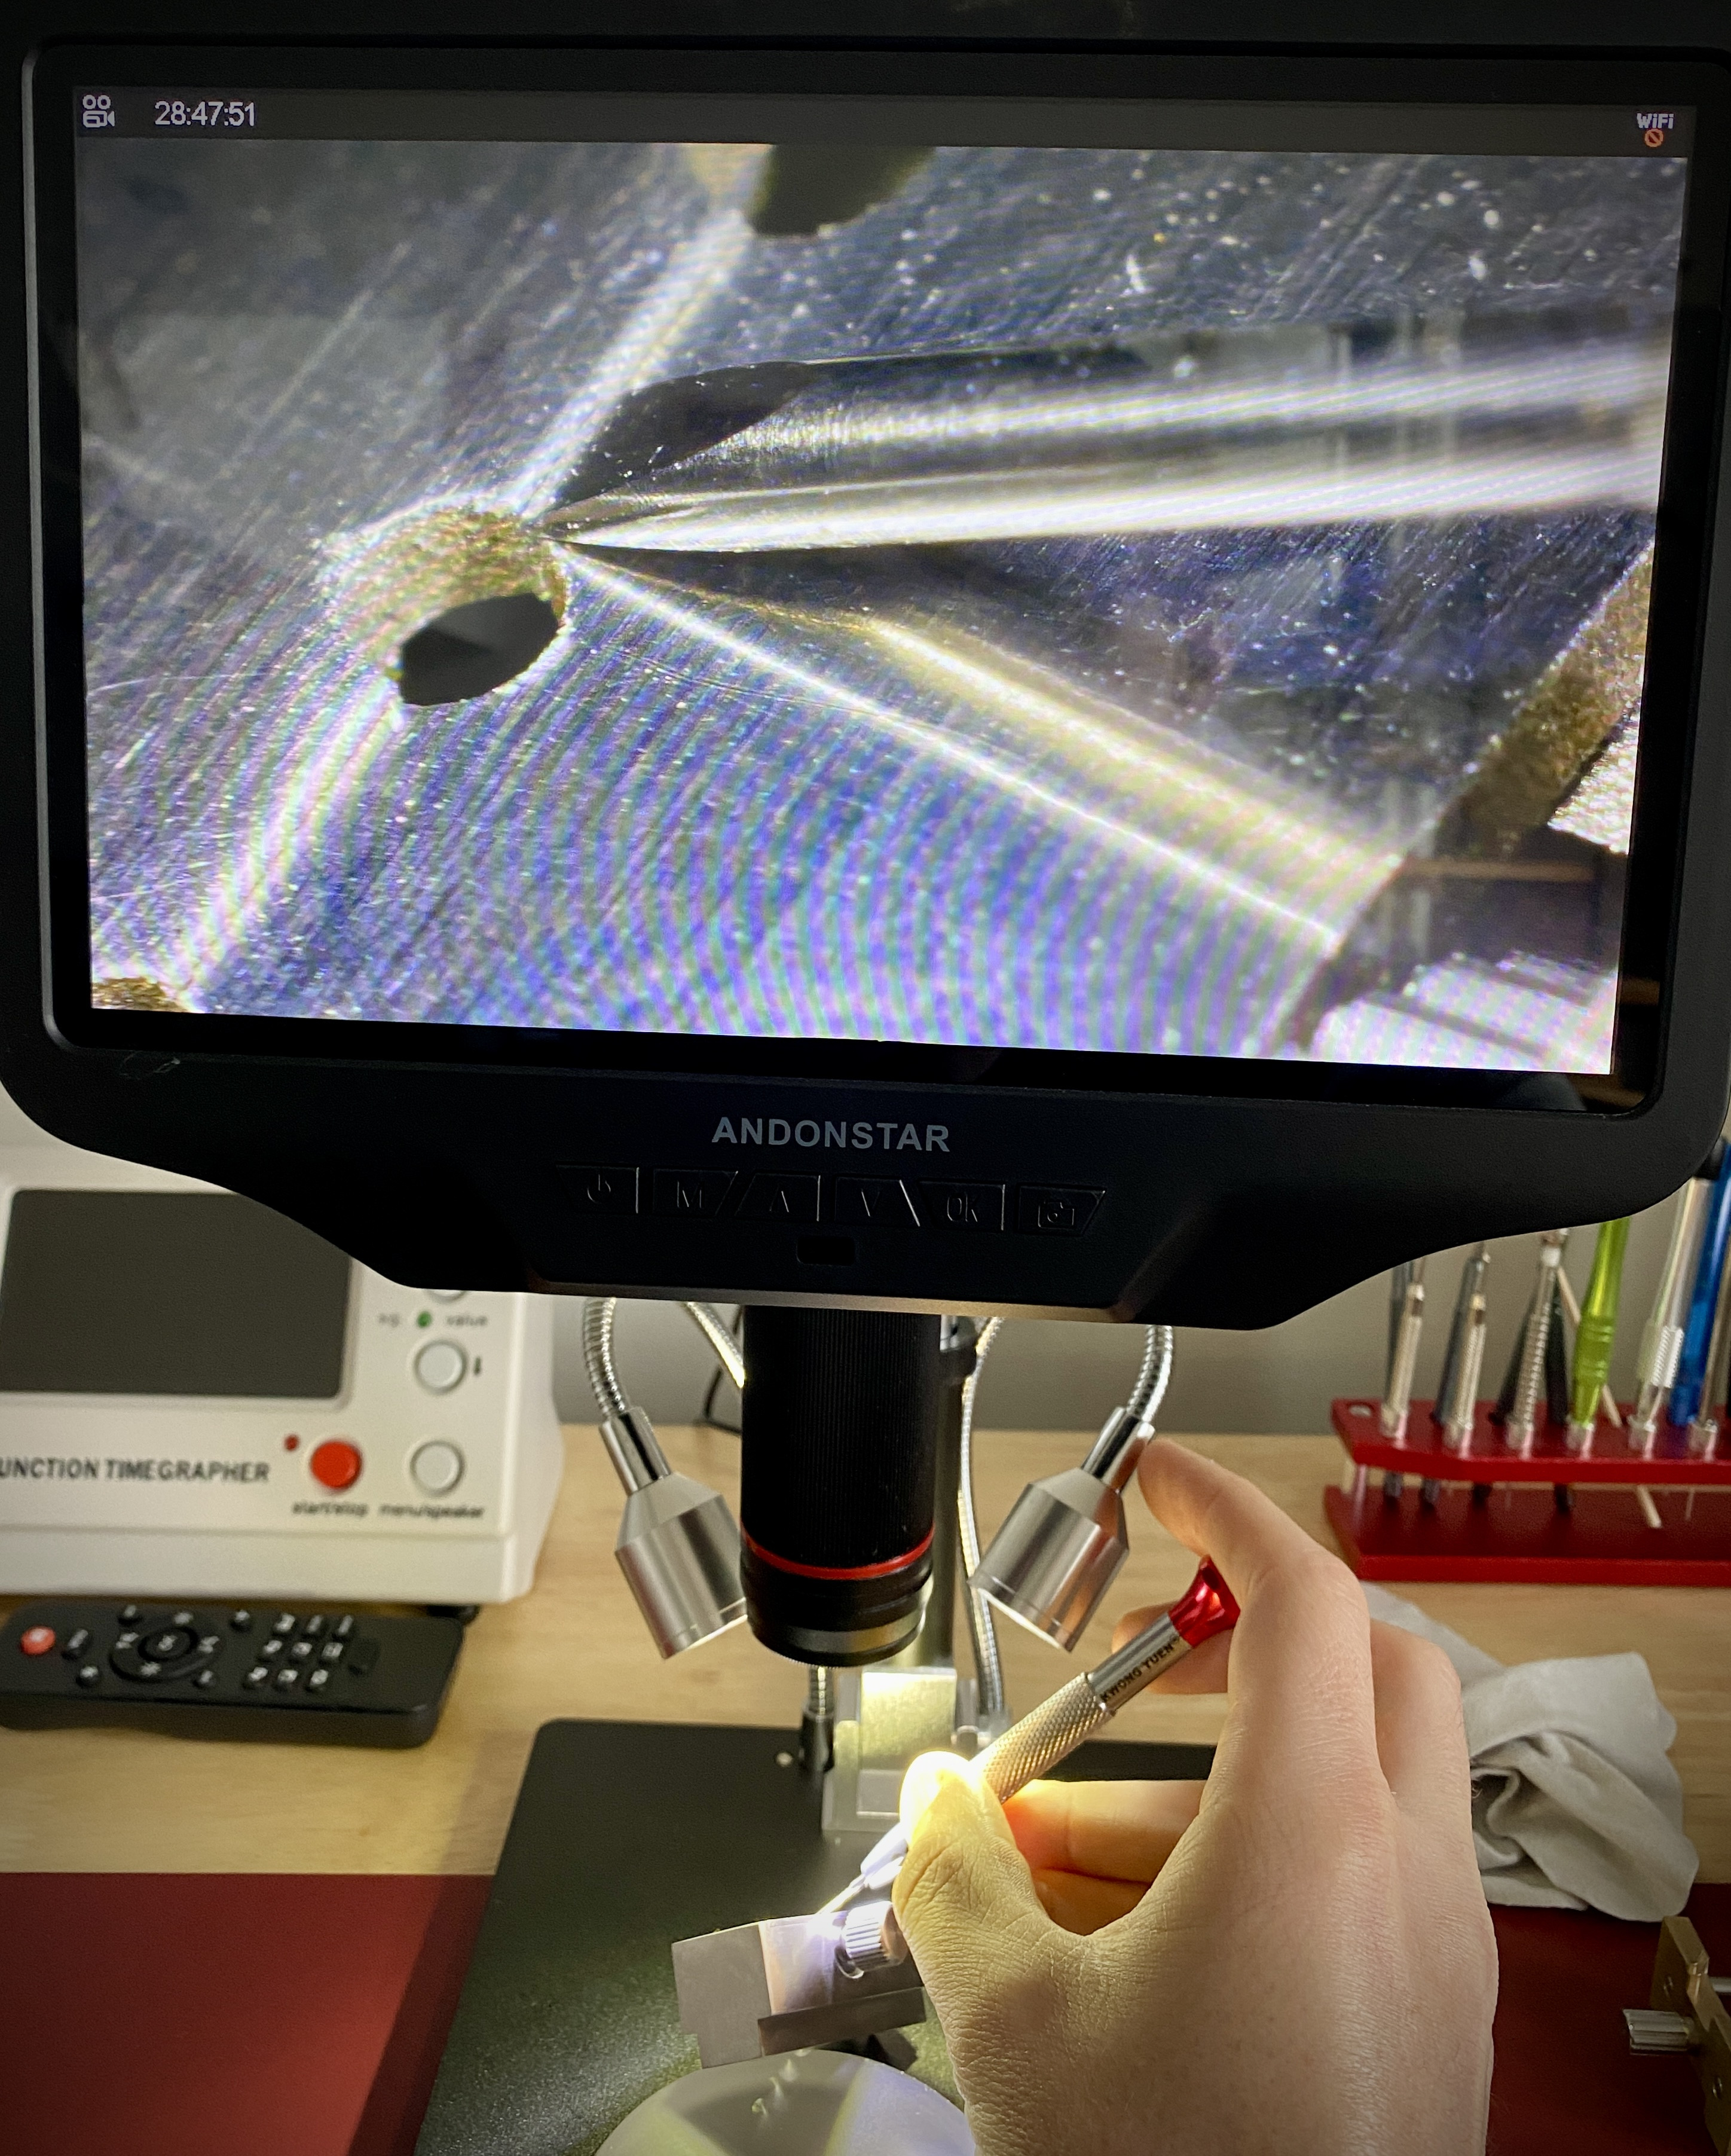
In my particular case, the poor quality finishing was the fact that the top edges of the vise weren’t co-planar.


This makes holding a hand with a short collar quite challenging. Fortunately, I have a grinding stone and plenty of spare time.


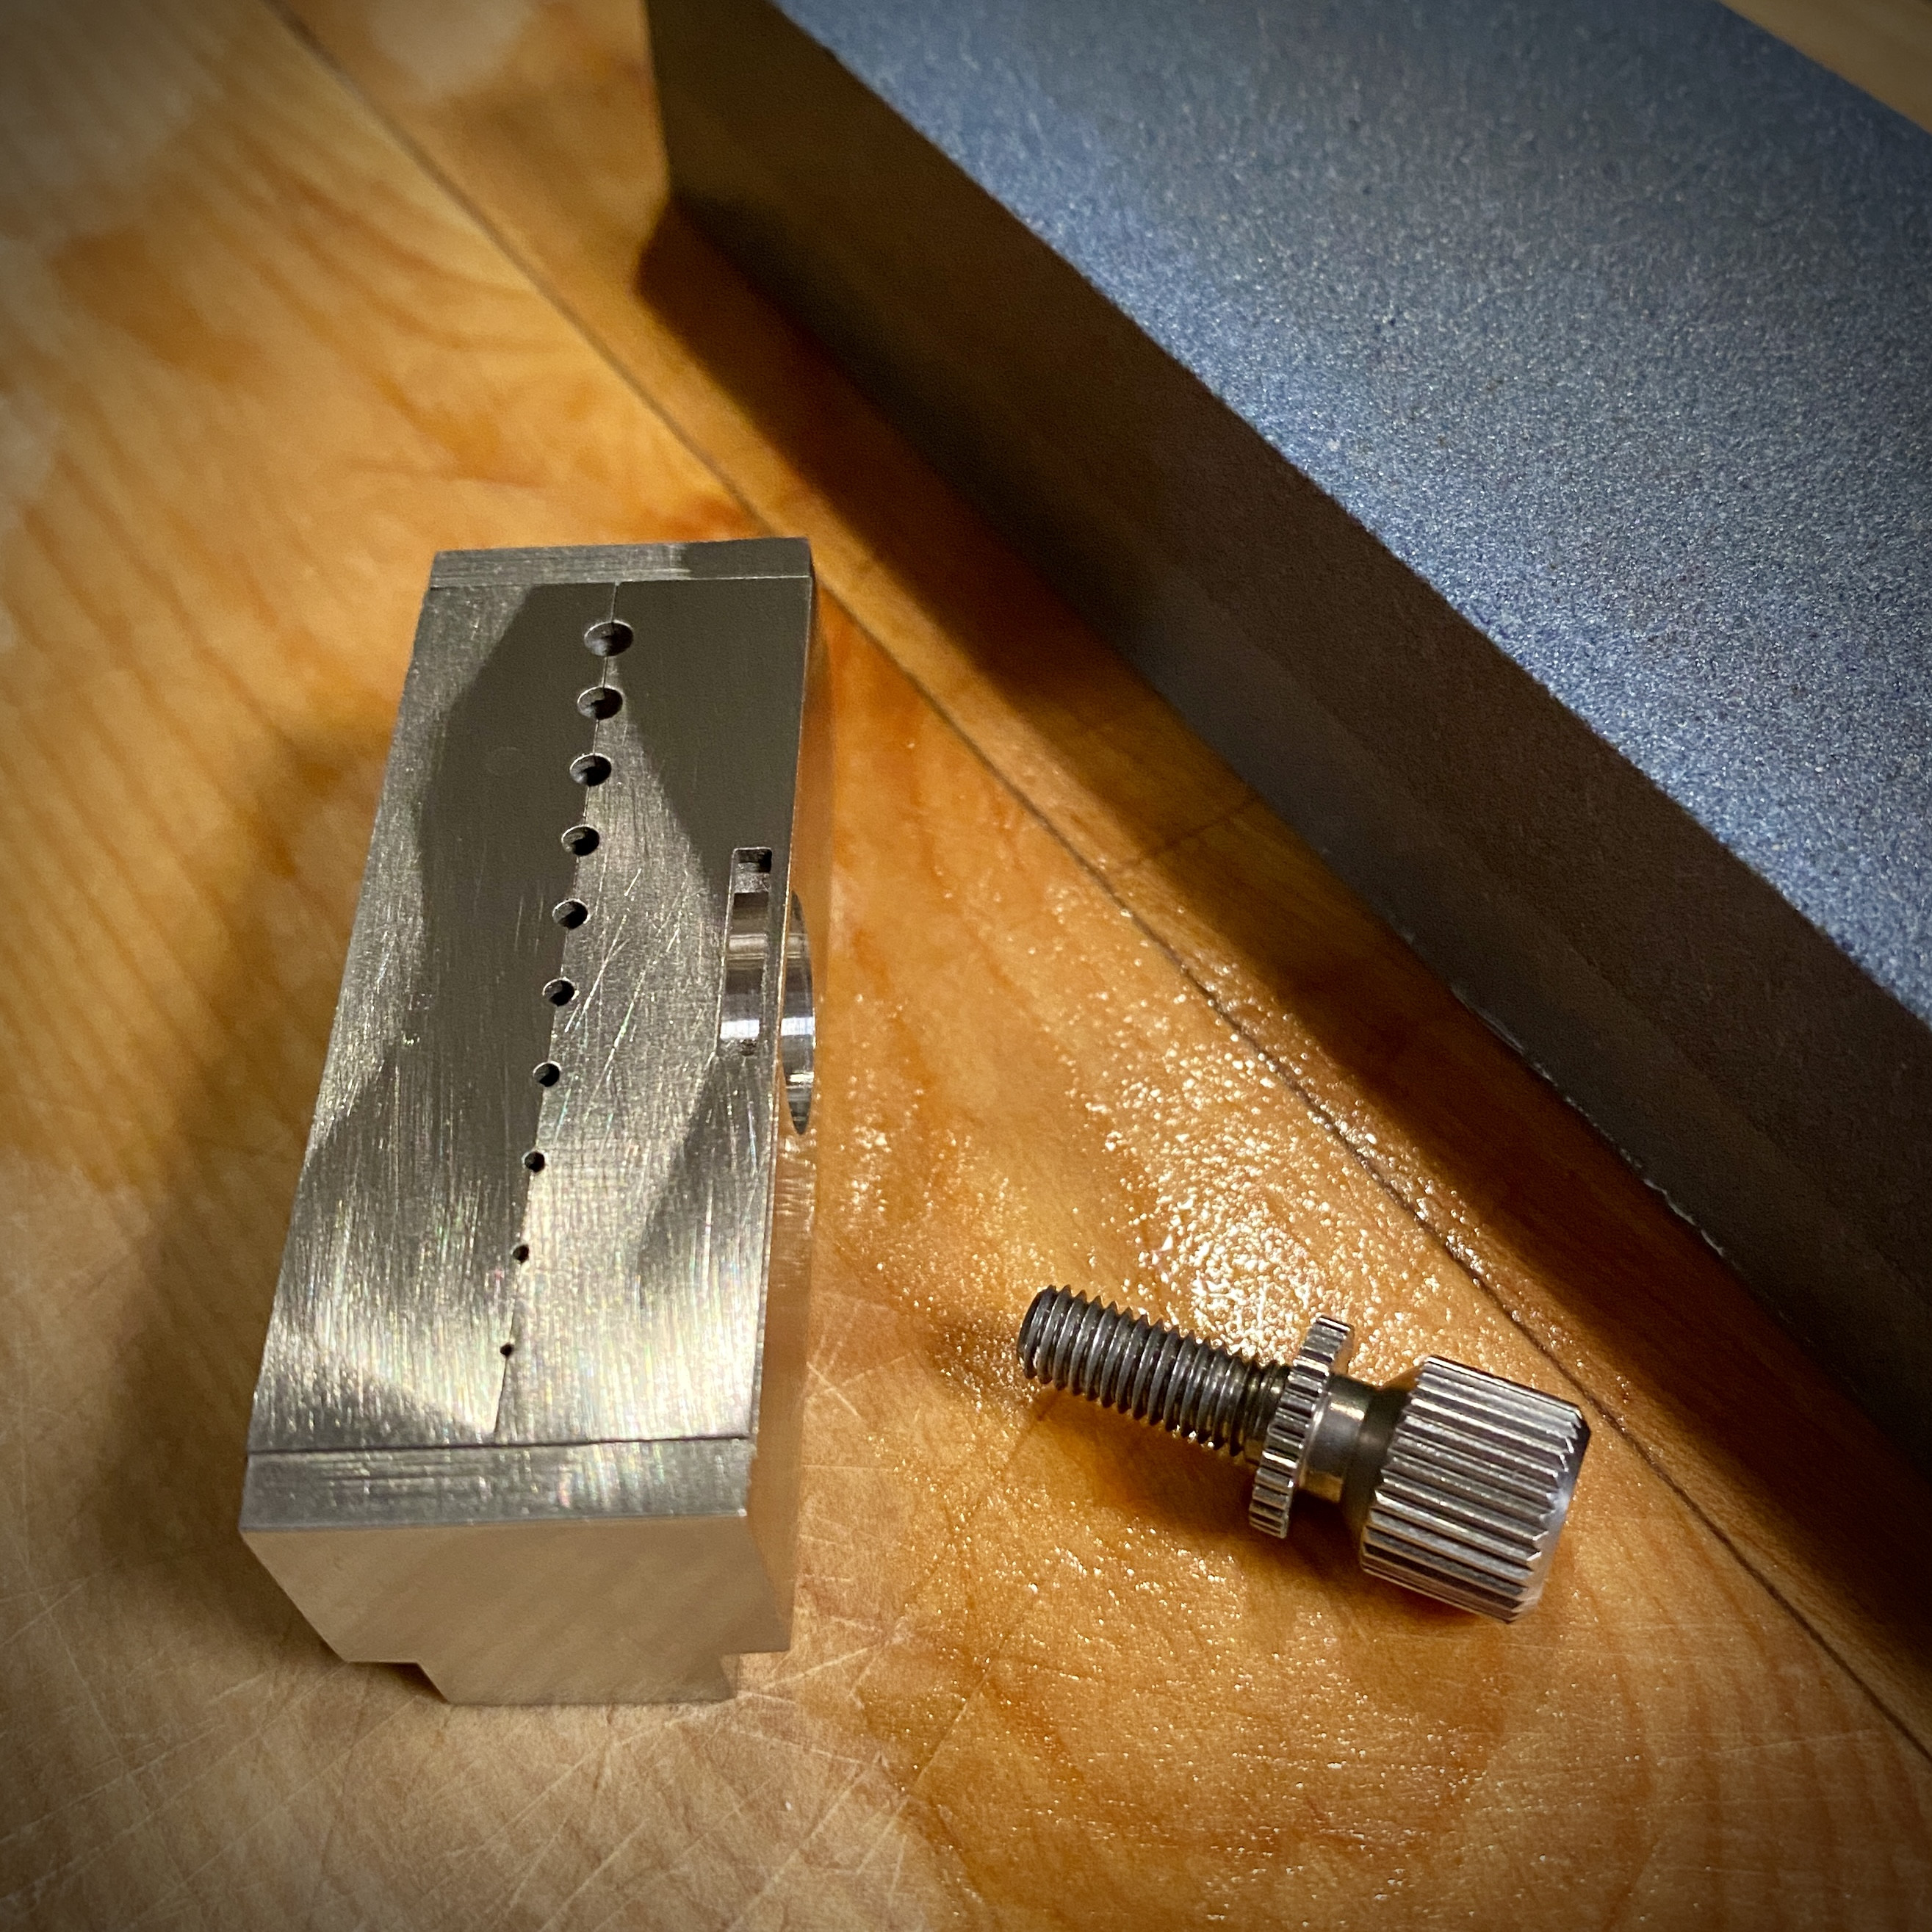
You can see in the pic above the high spots which are getting ground down…


After about an hour of hand grinding (and switching to 120 grit wet sandpaper on a flat surface to remove material faster), this is what it looks like: nice and co-planar.
 
Last edited:

dogwood

I'm Pretty Popular
Patron
Section Moderator
Certified
7/9/21
2,322
4,884
113
Canada
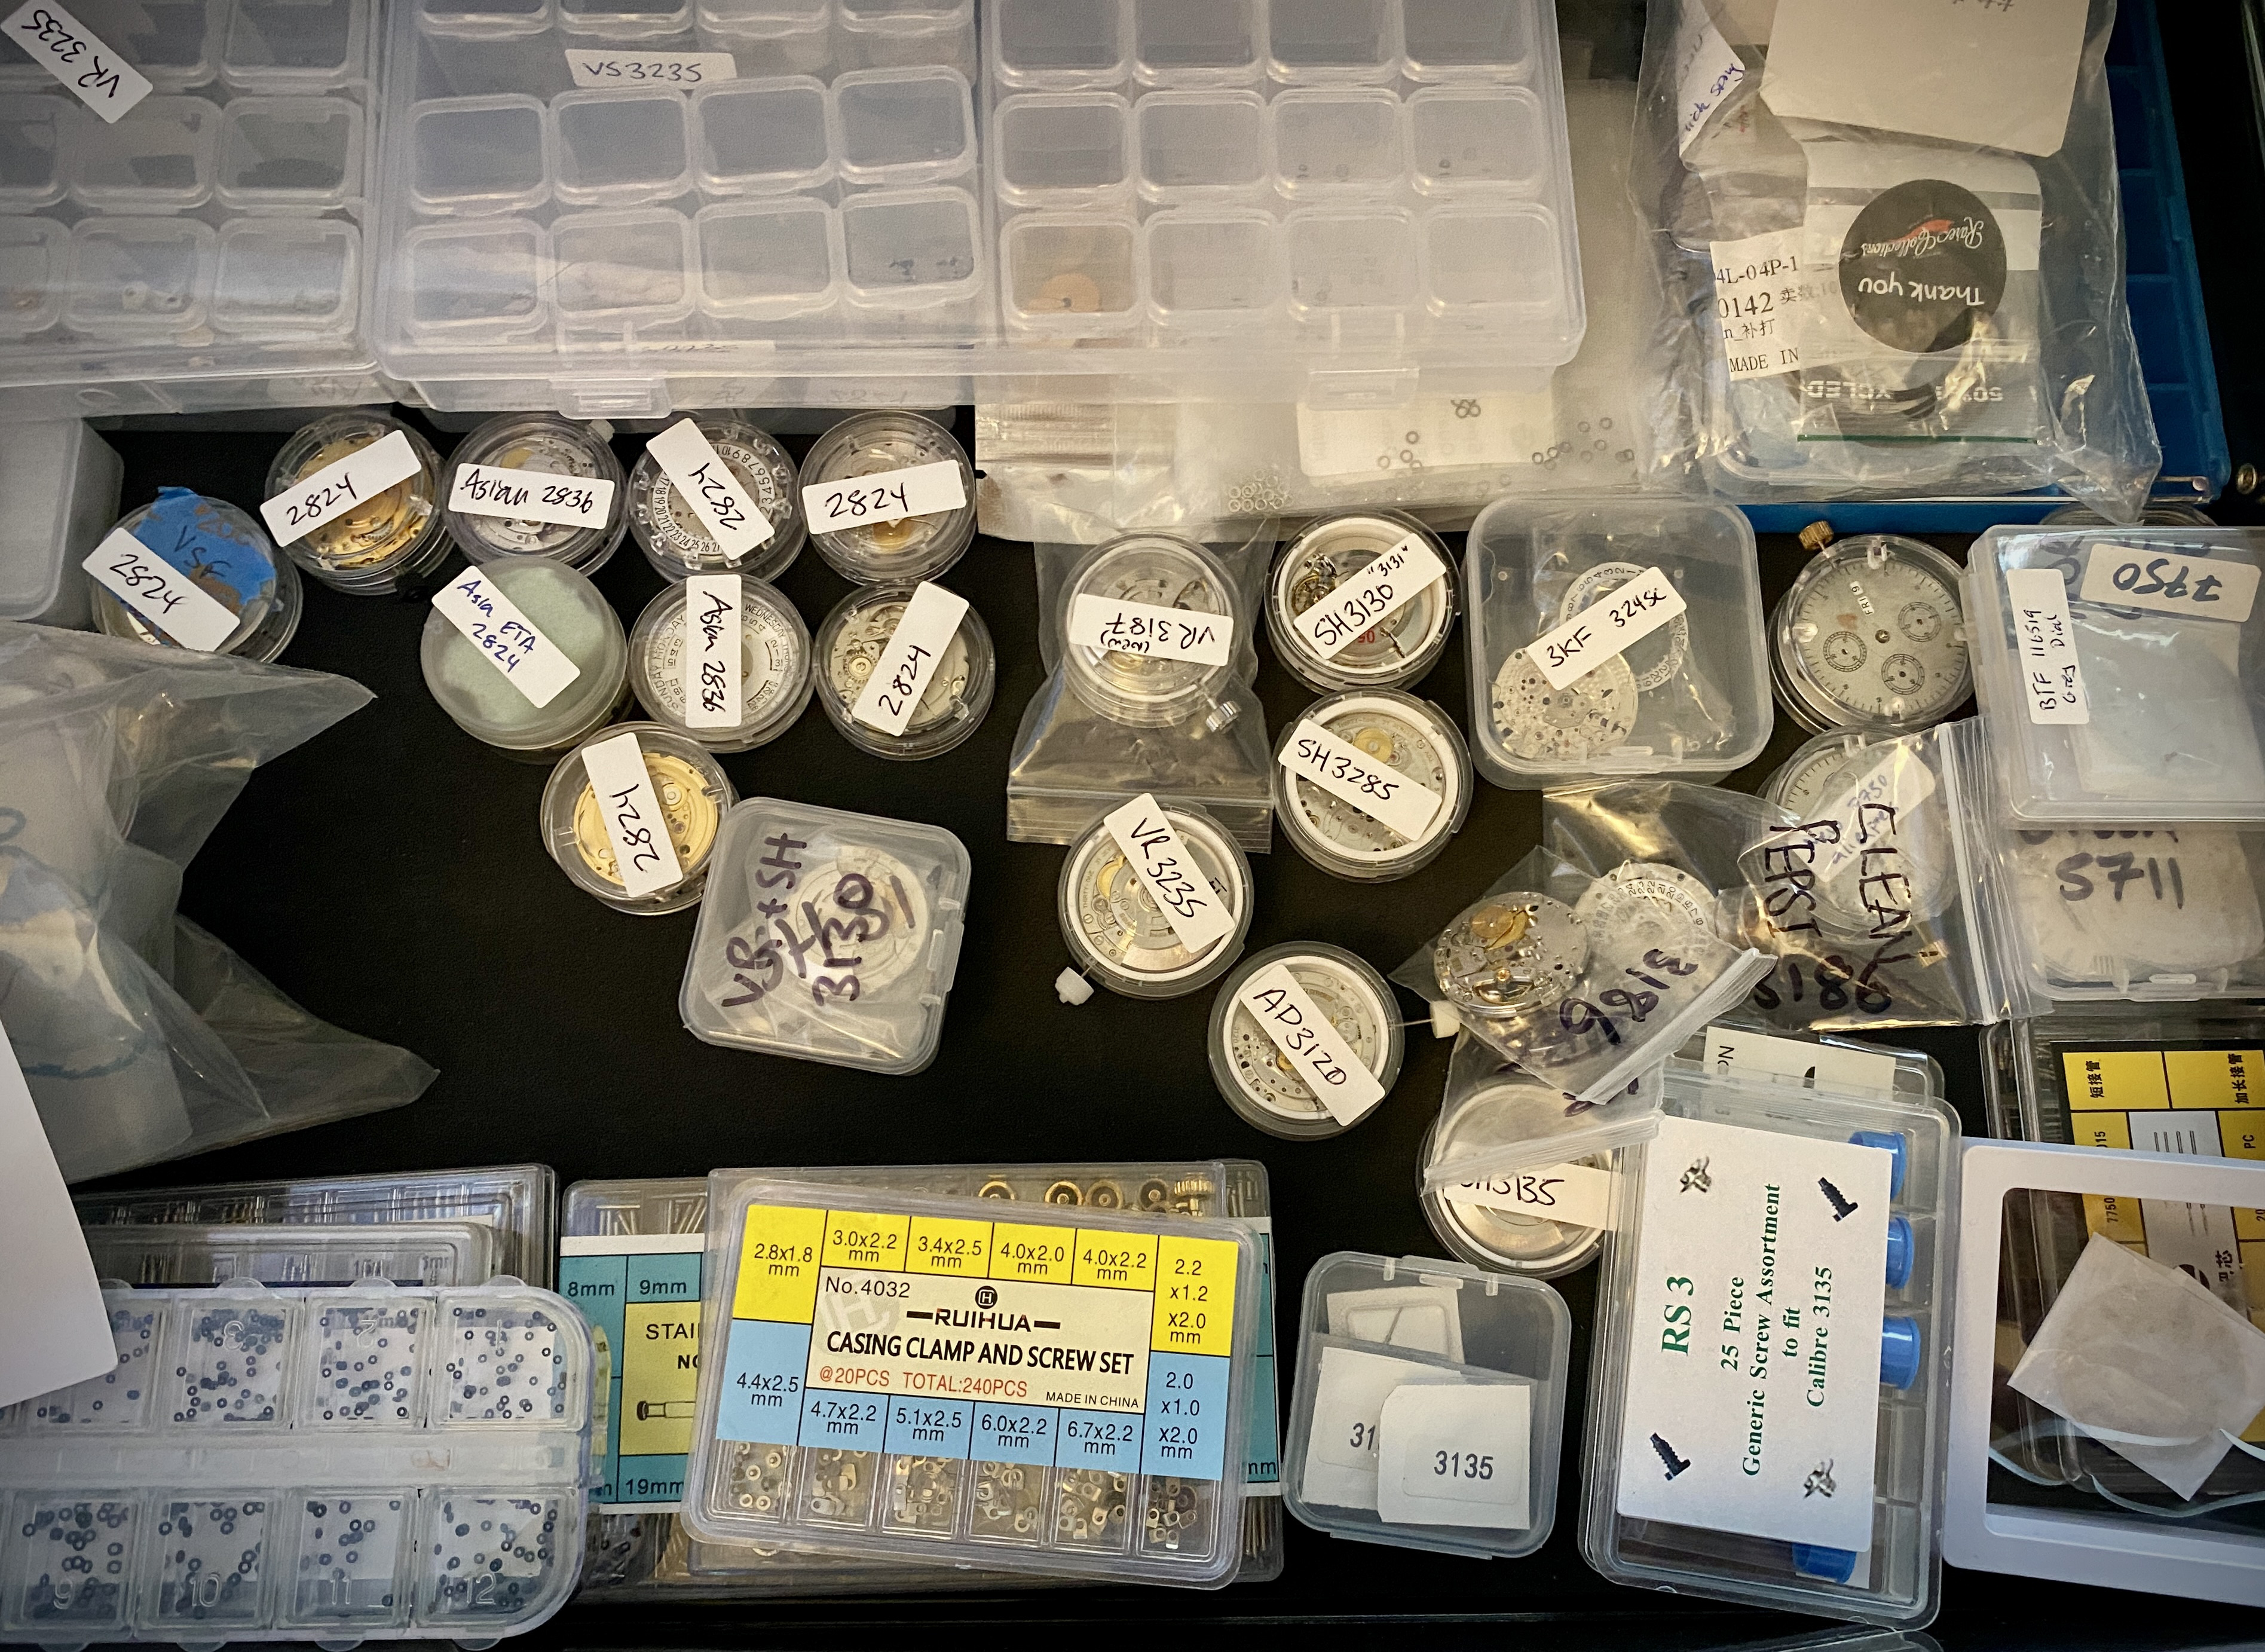
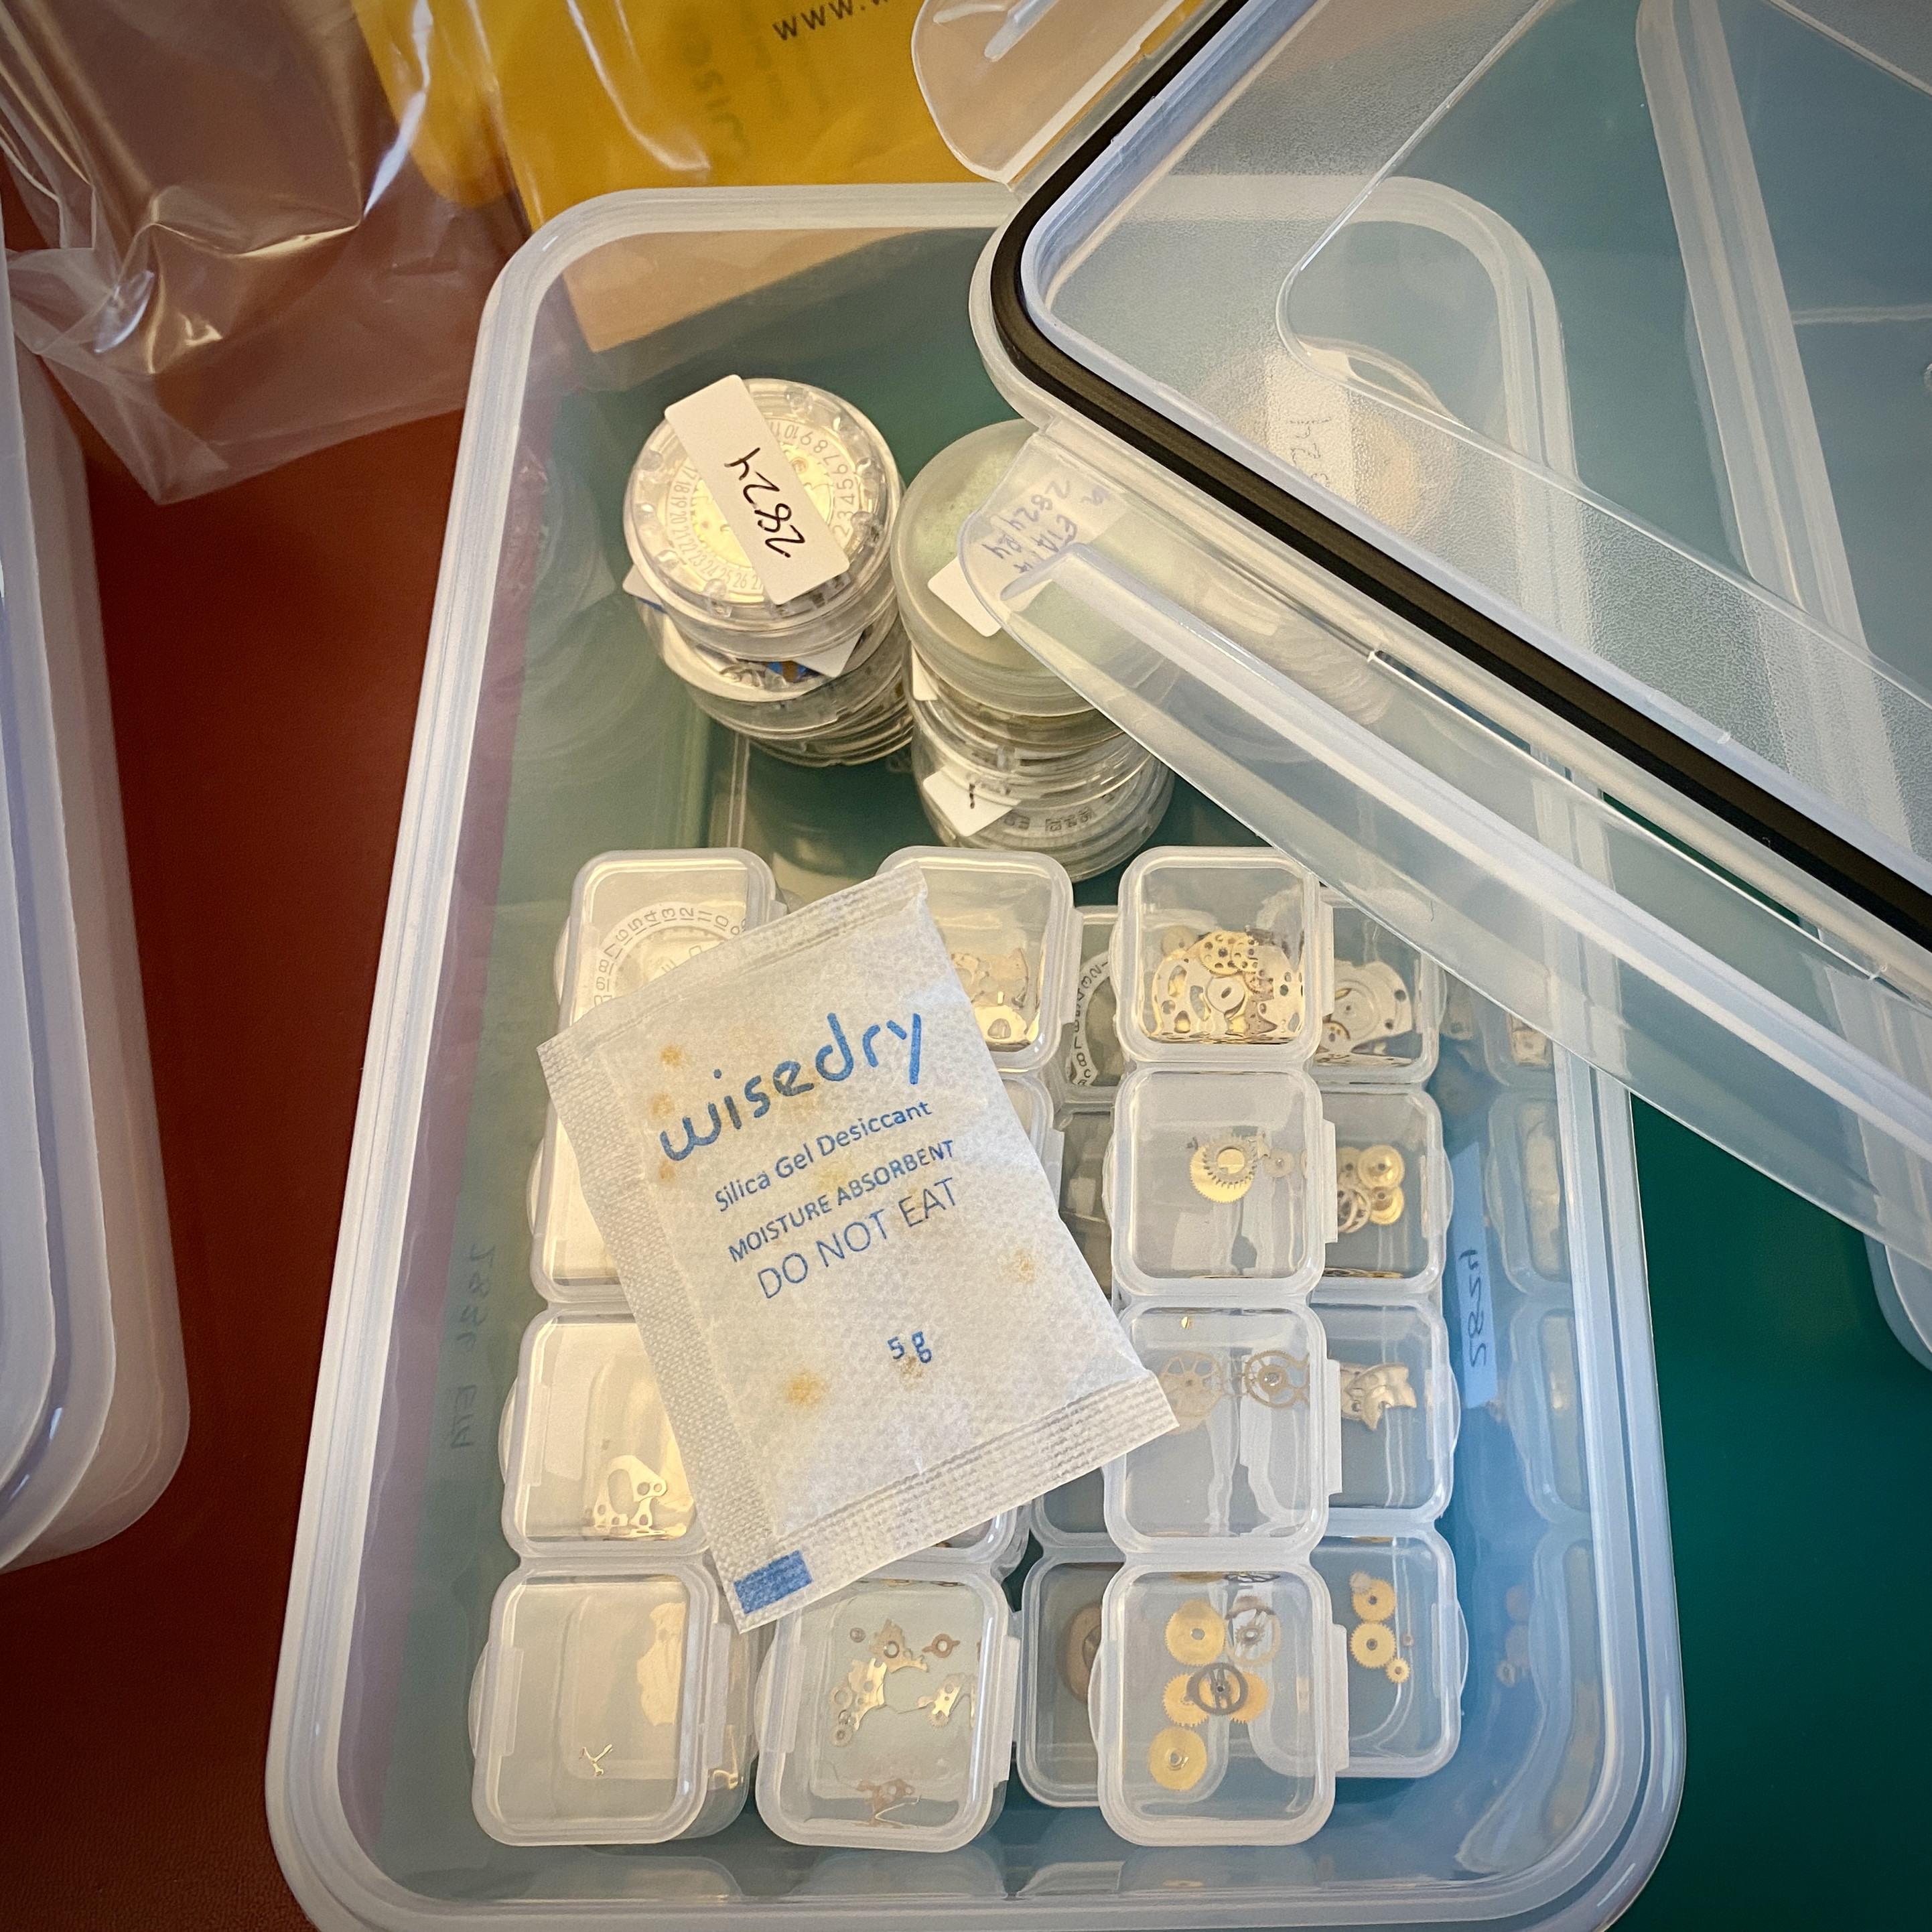
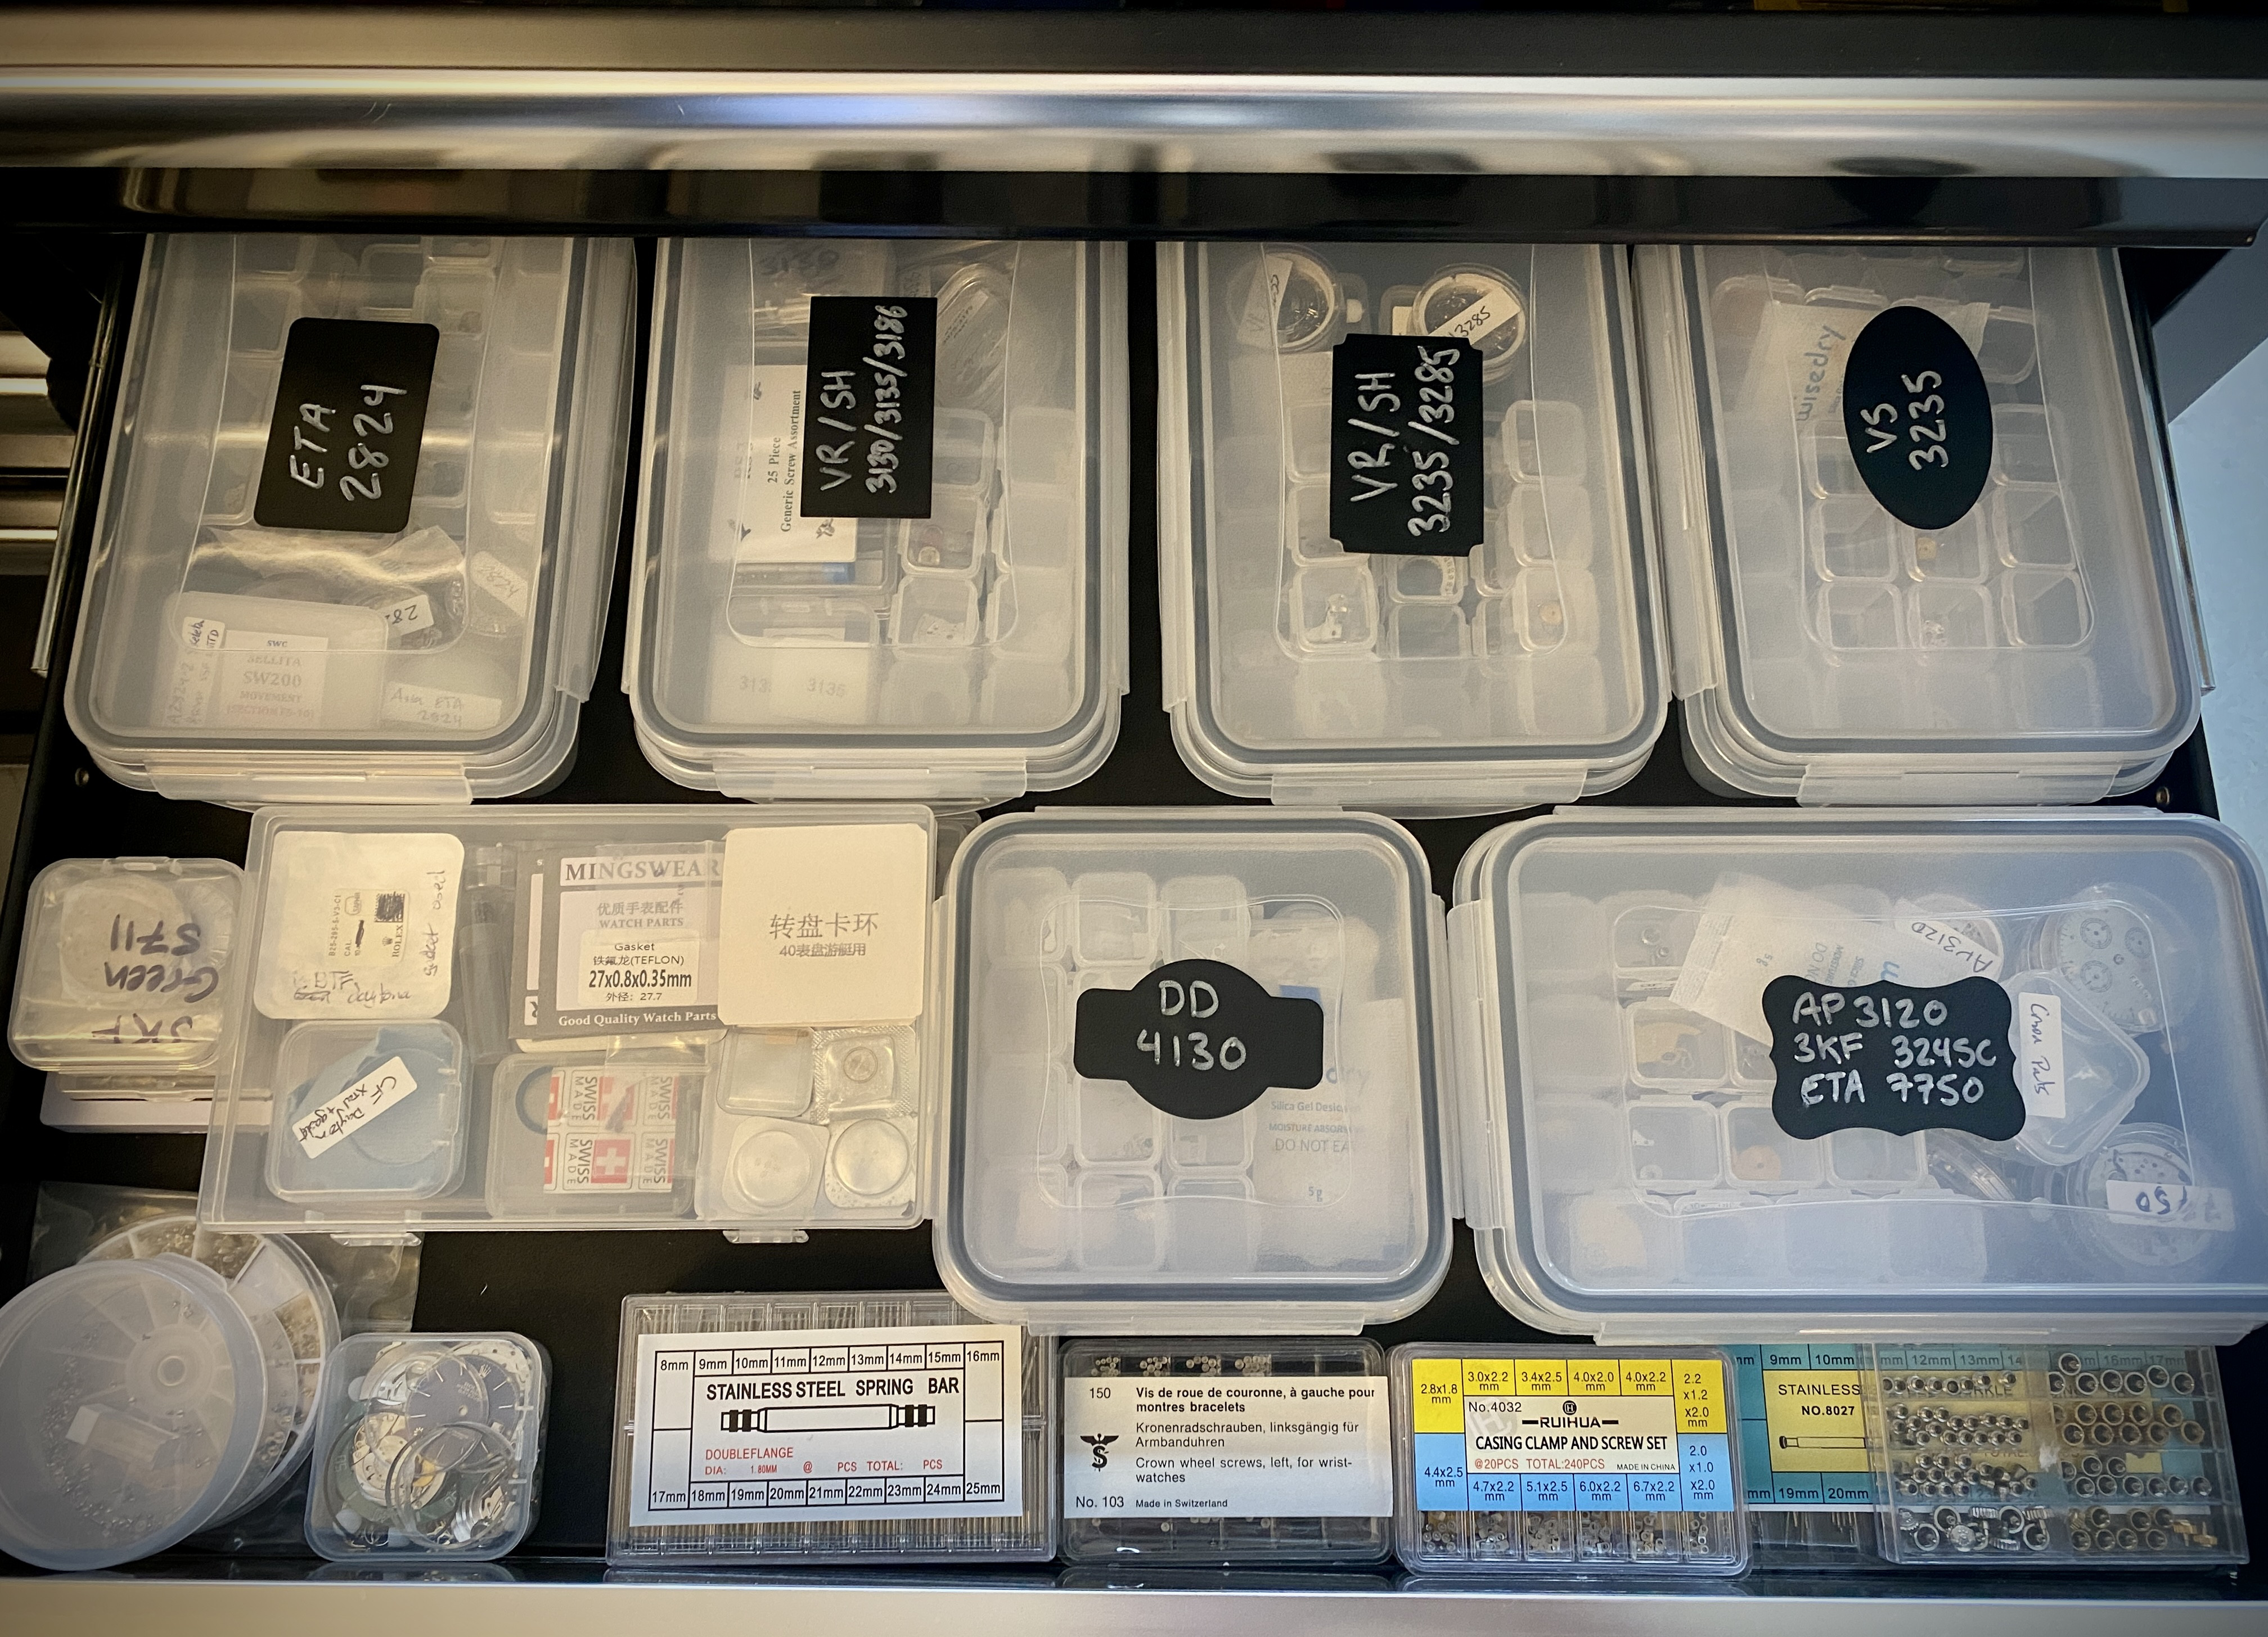
After yesterday’s tool improvement / maintenance, I decided it was time to clean up my parts drawer.


Which things were generally well labeled, they weren’t that organized. Also, I live in Vancouver which has long damp winters. I figured it would be a good idea to store my spare parts / movements in air tight containers with a desiccant to ward off moisture and corrosion.


The rubber gasket on the lids of these containers makes a nice seal. Hopefully this will prevent any issues. And as a benefit, things are more organized now.


dogwood

I'm Pretty Popular
Patron
Section Moderator
Certified
7/9/21
2,322
4,884
113
Canada
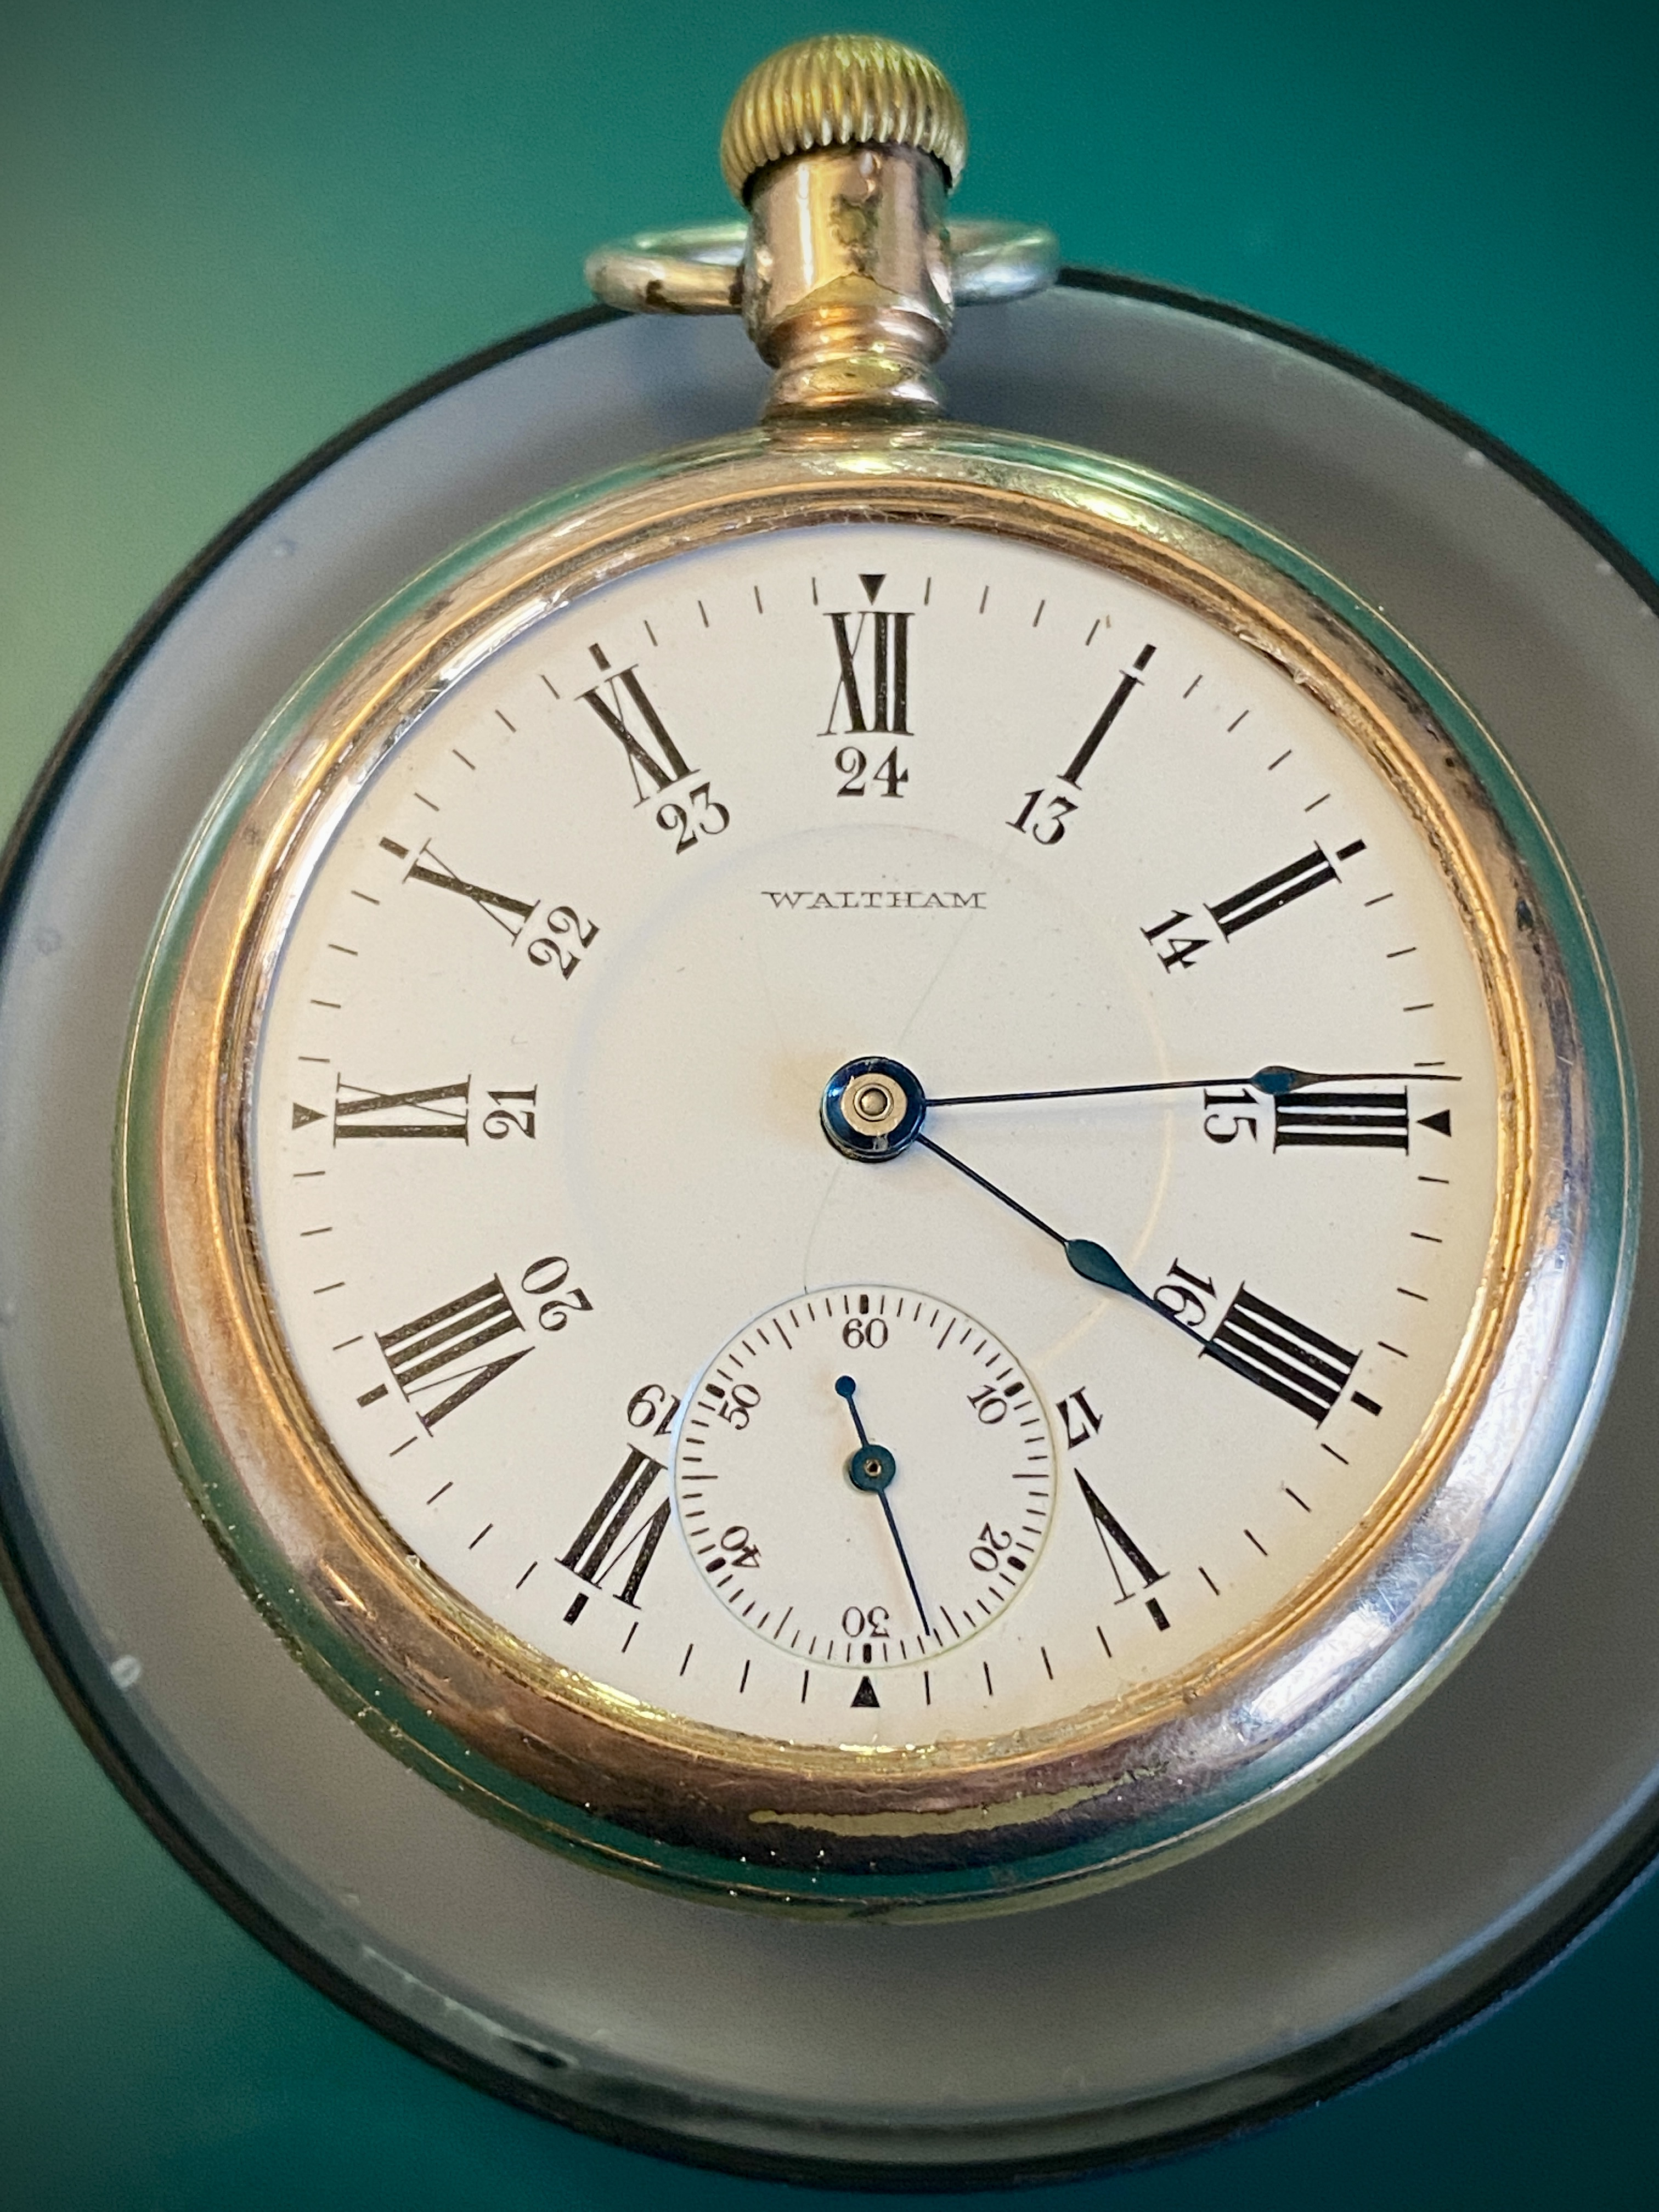
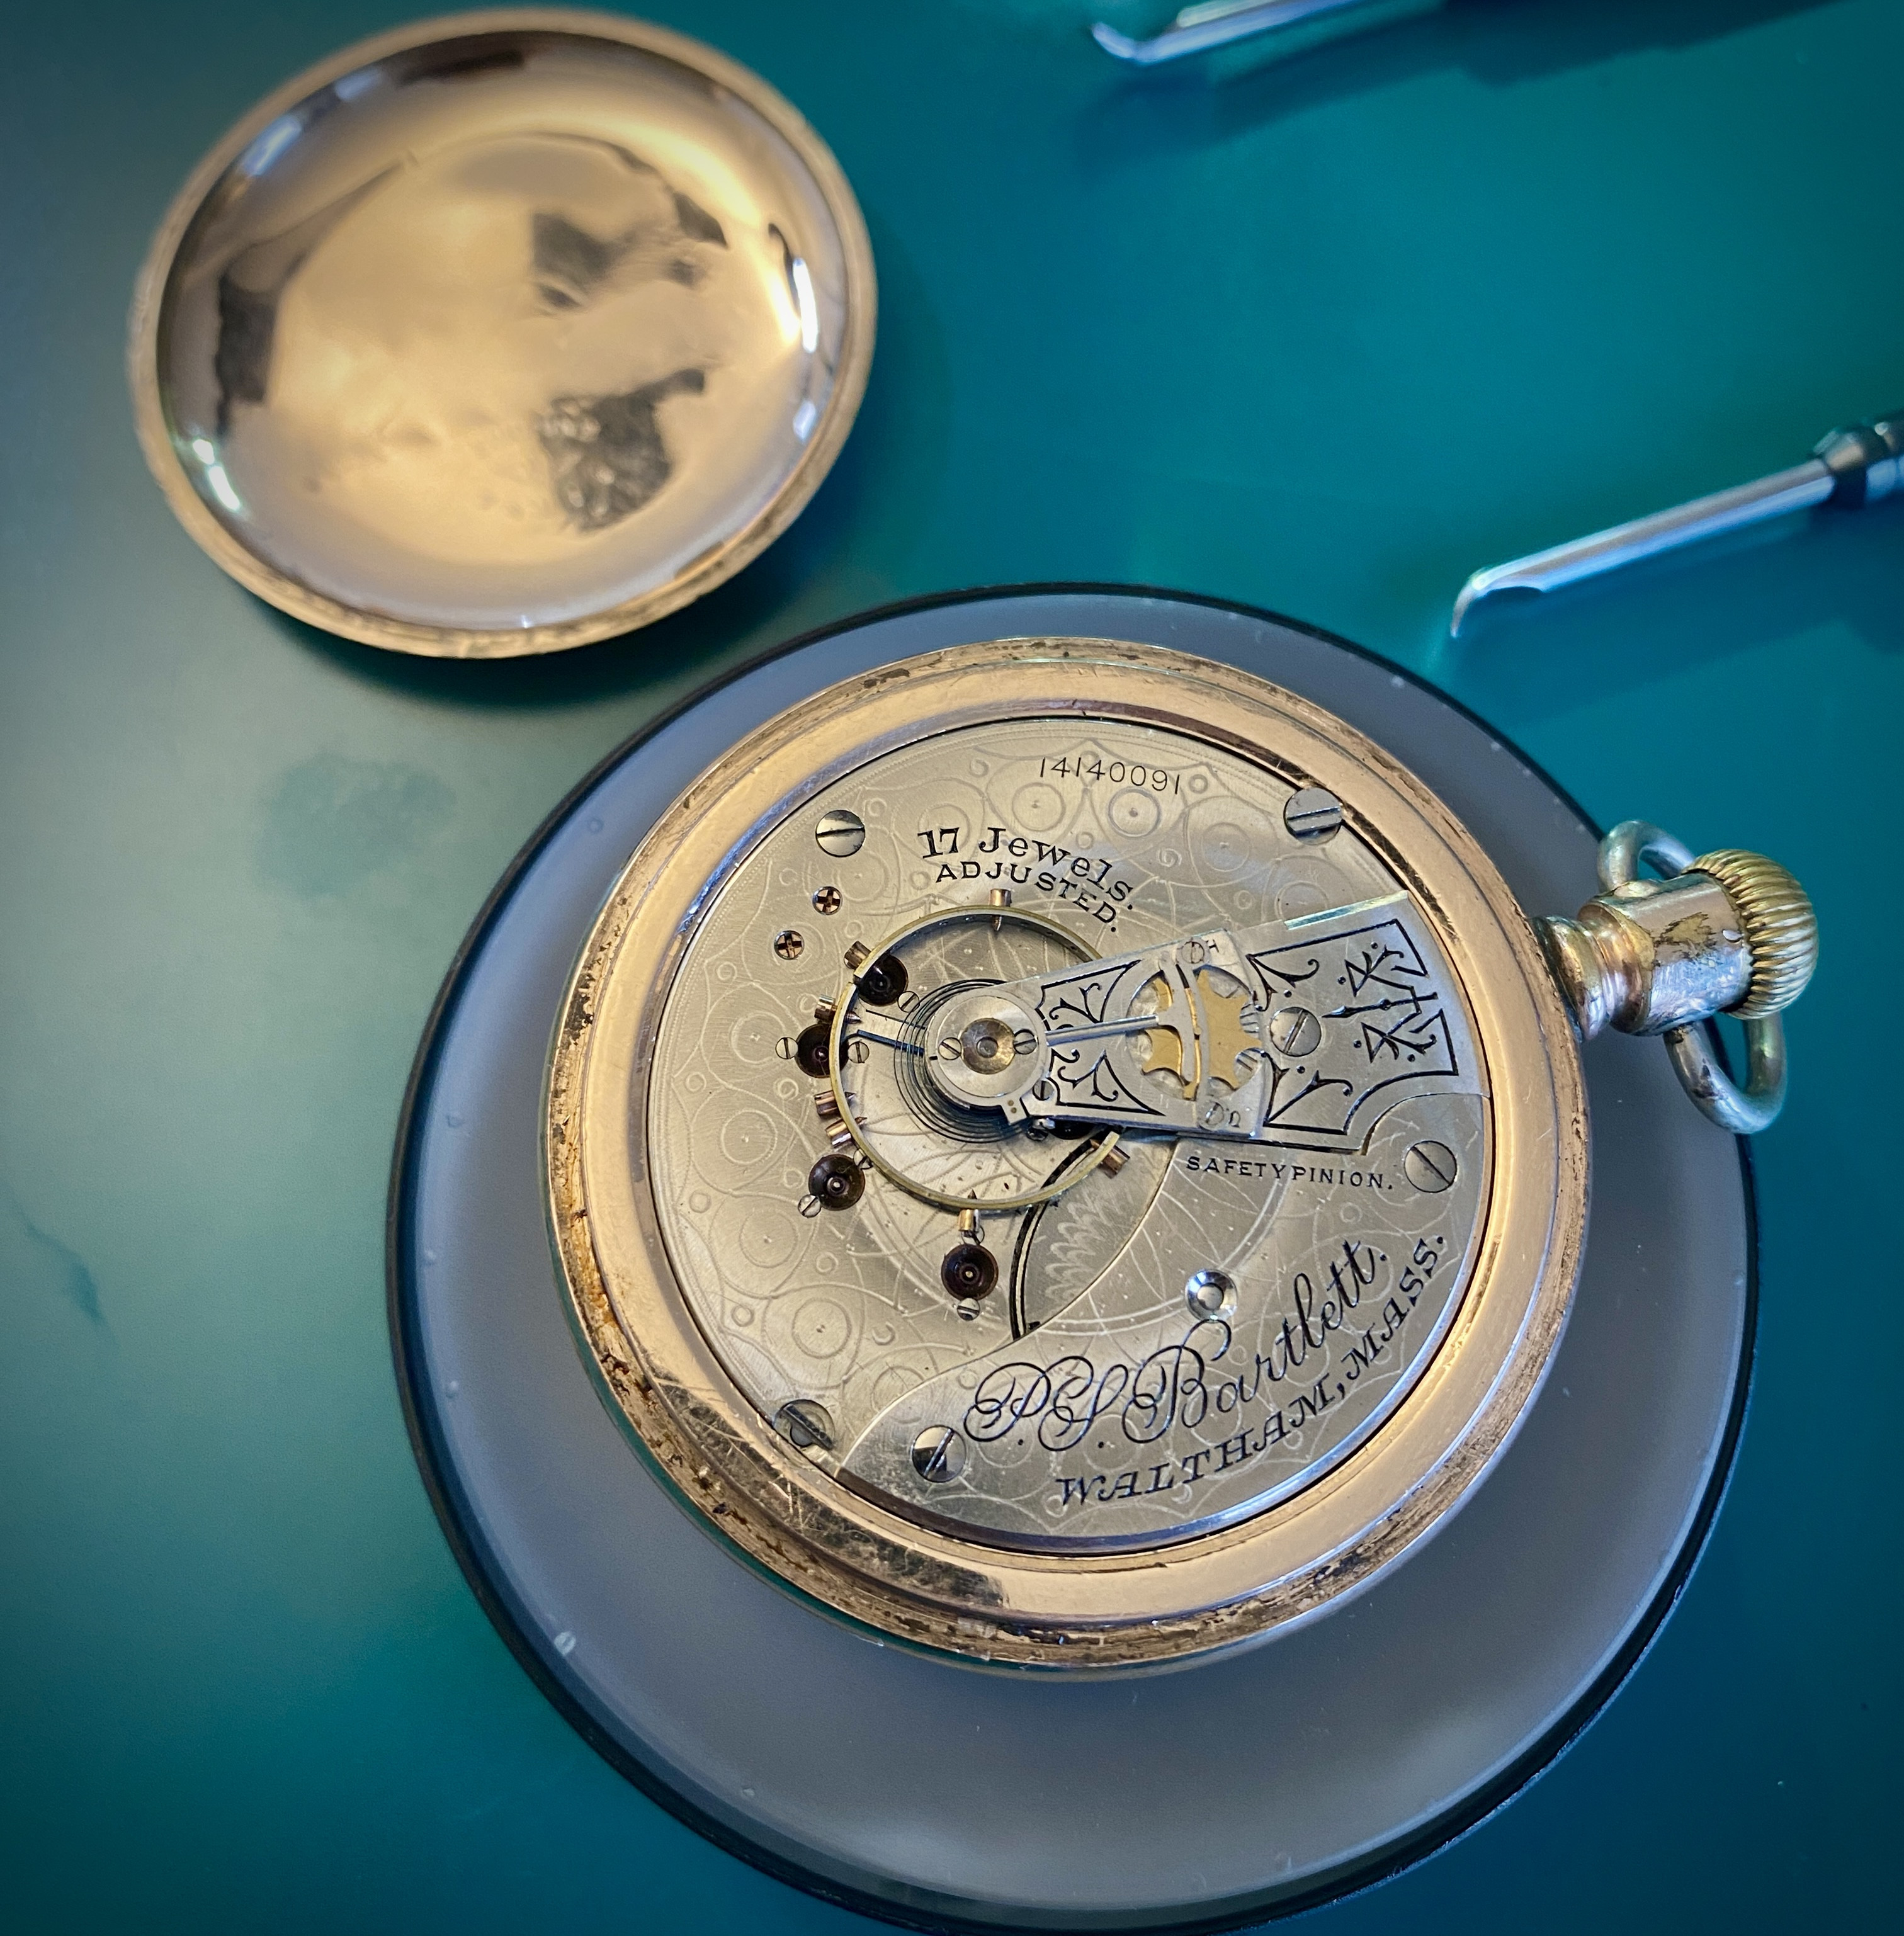
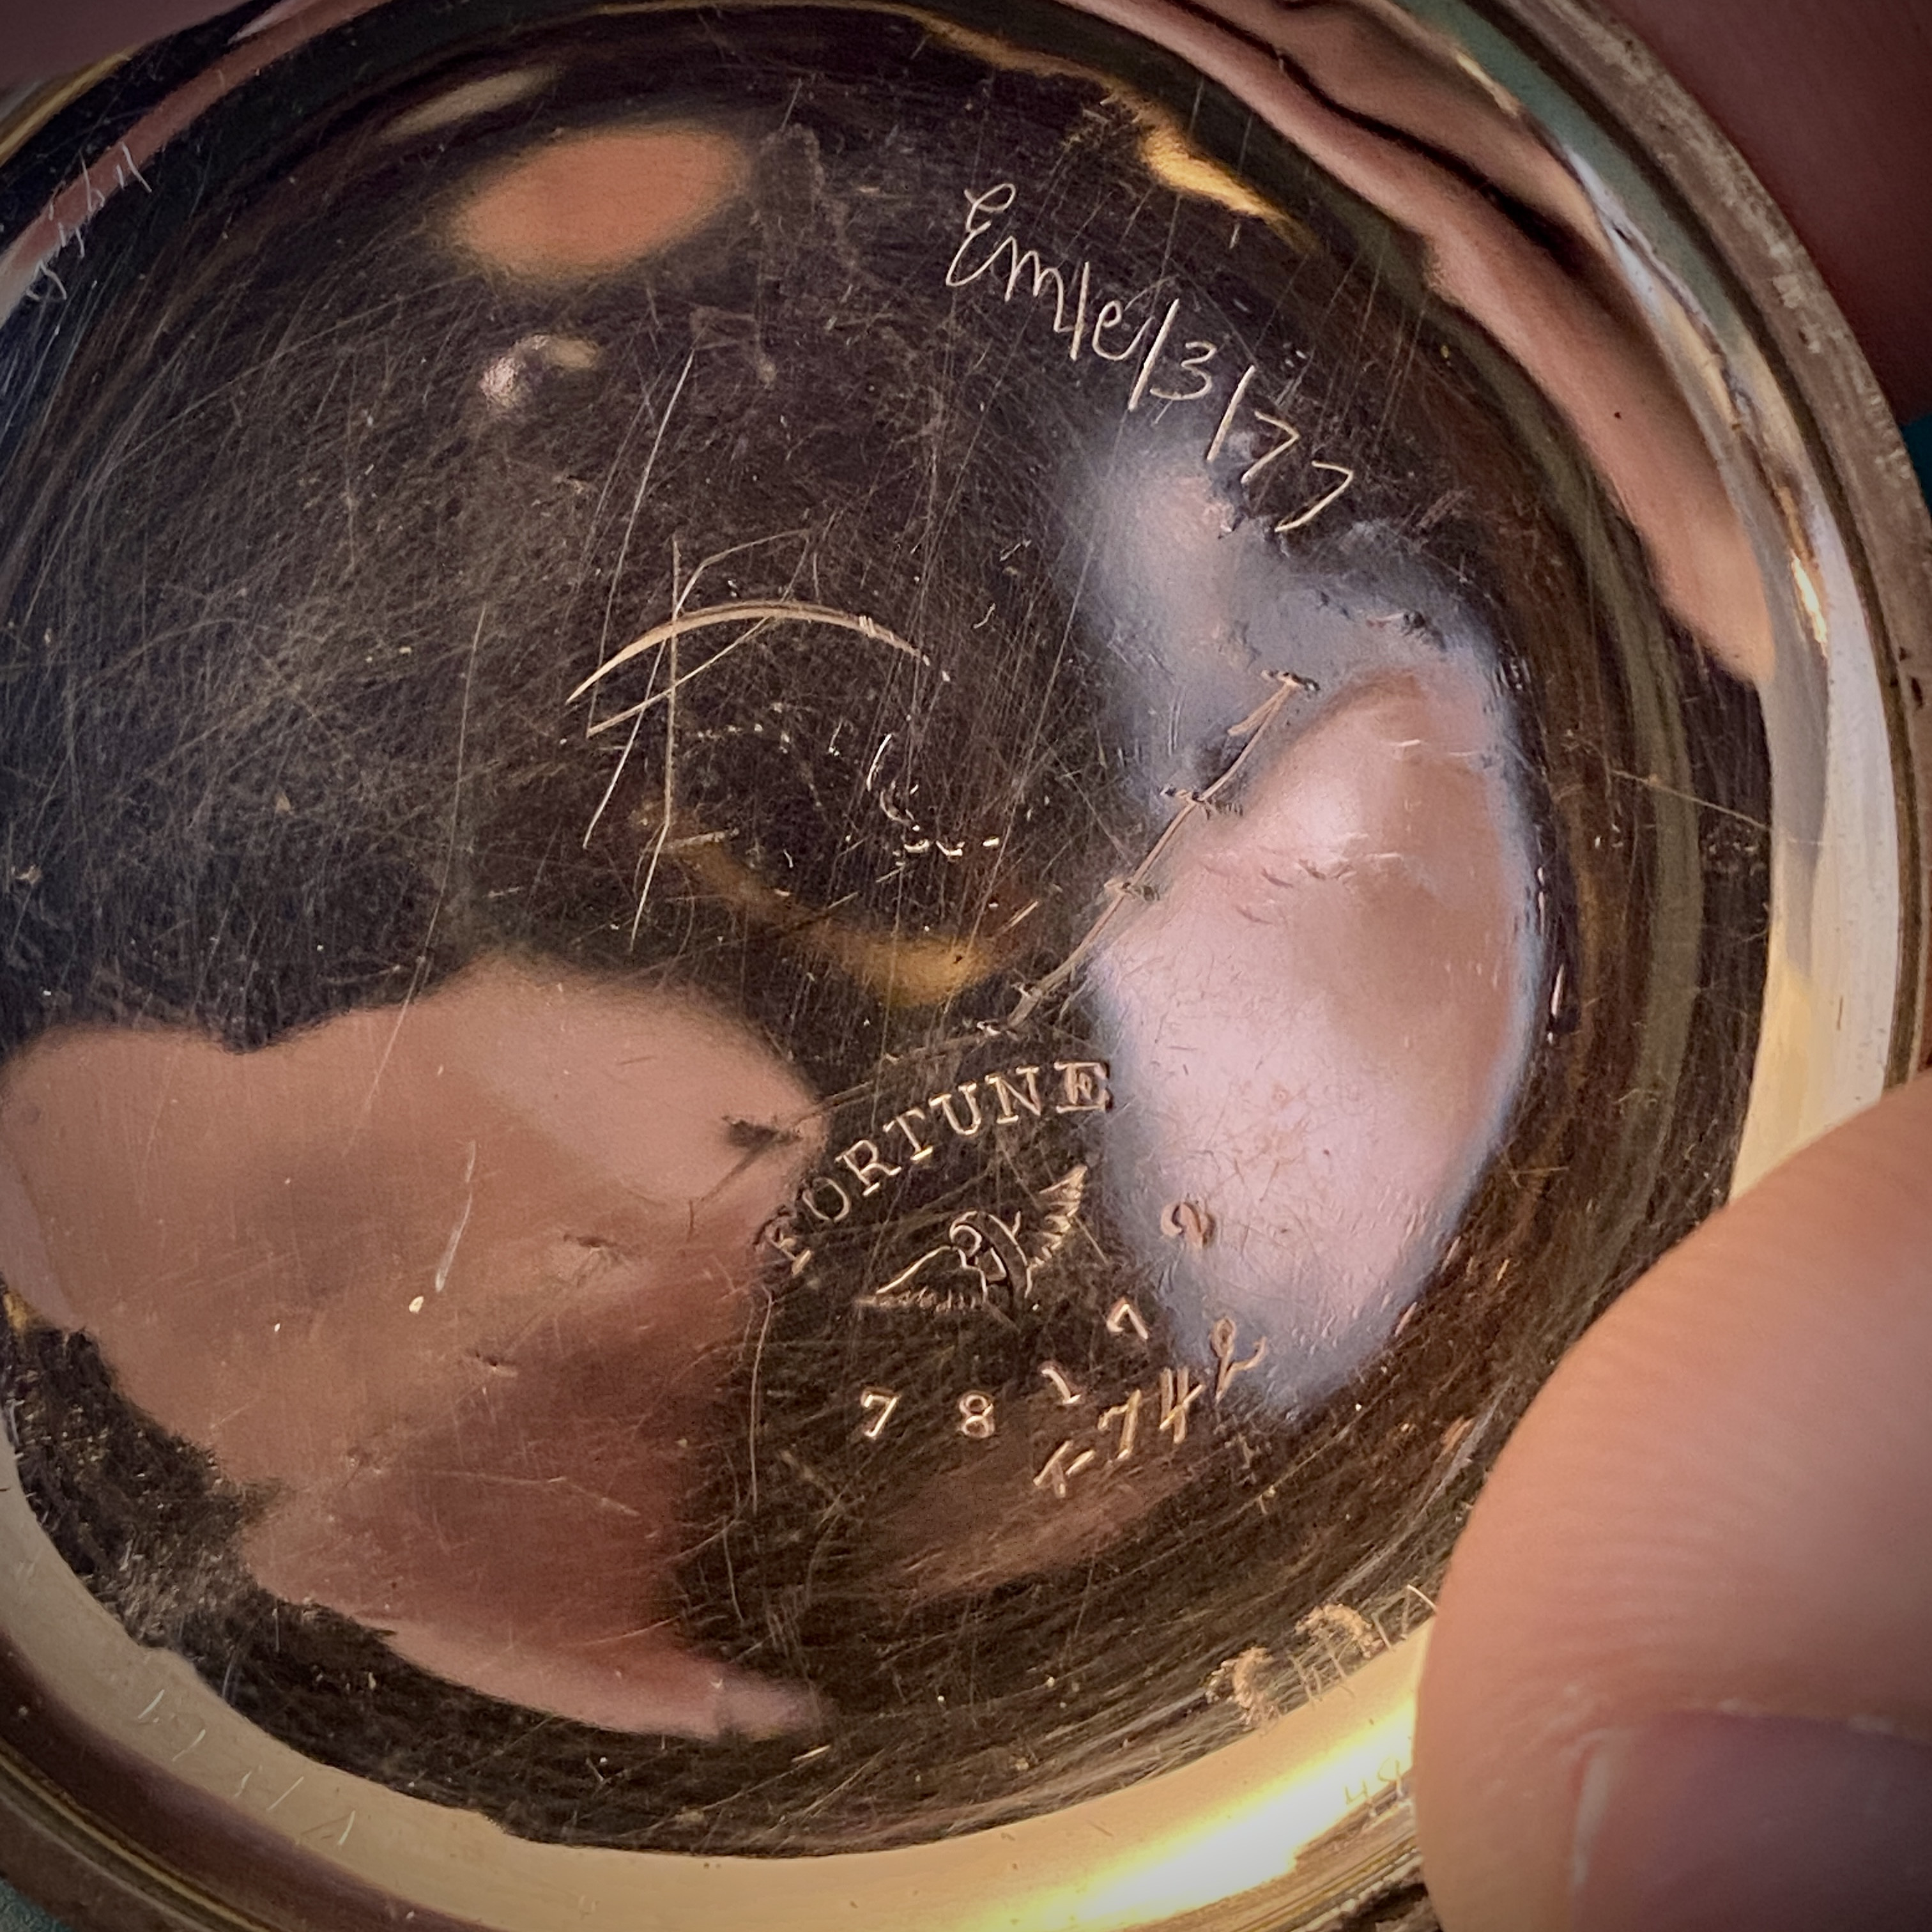
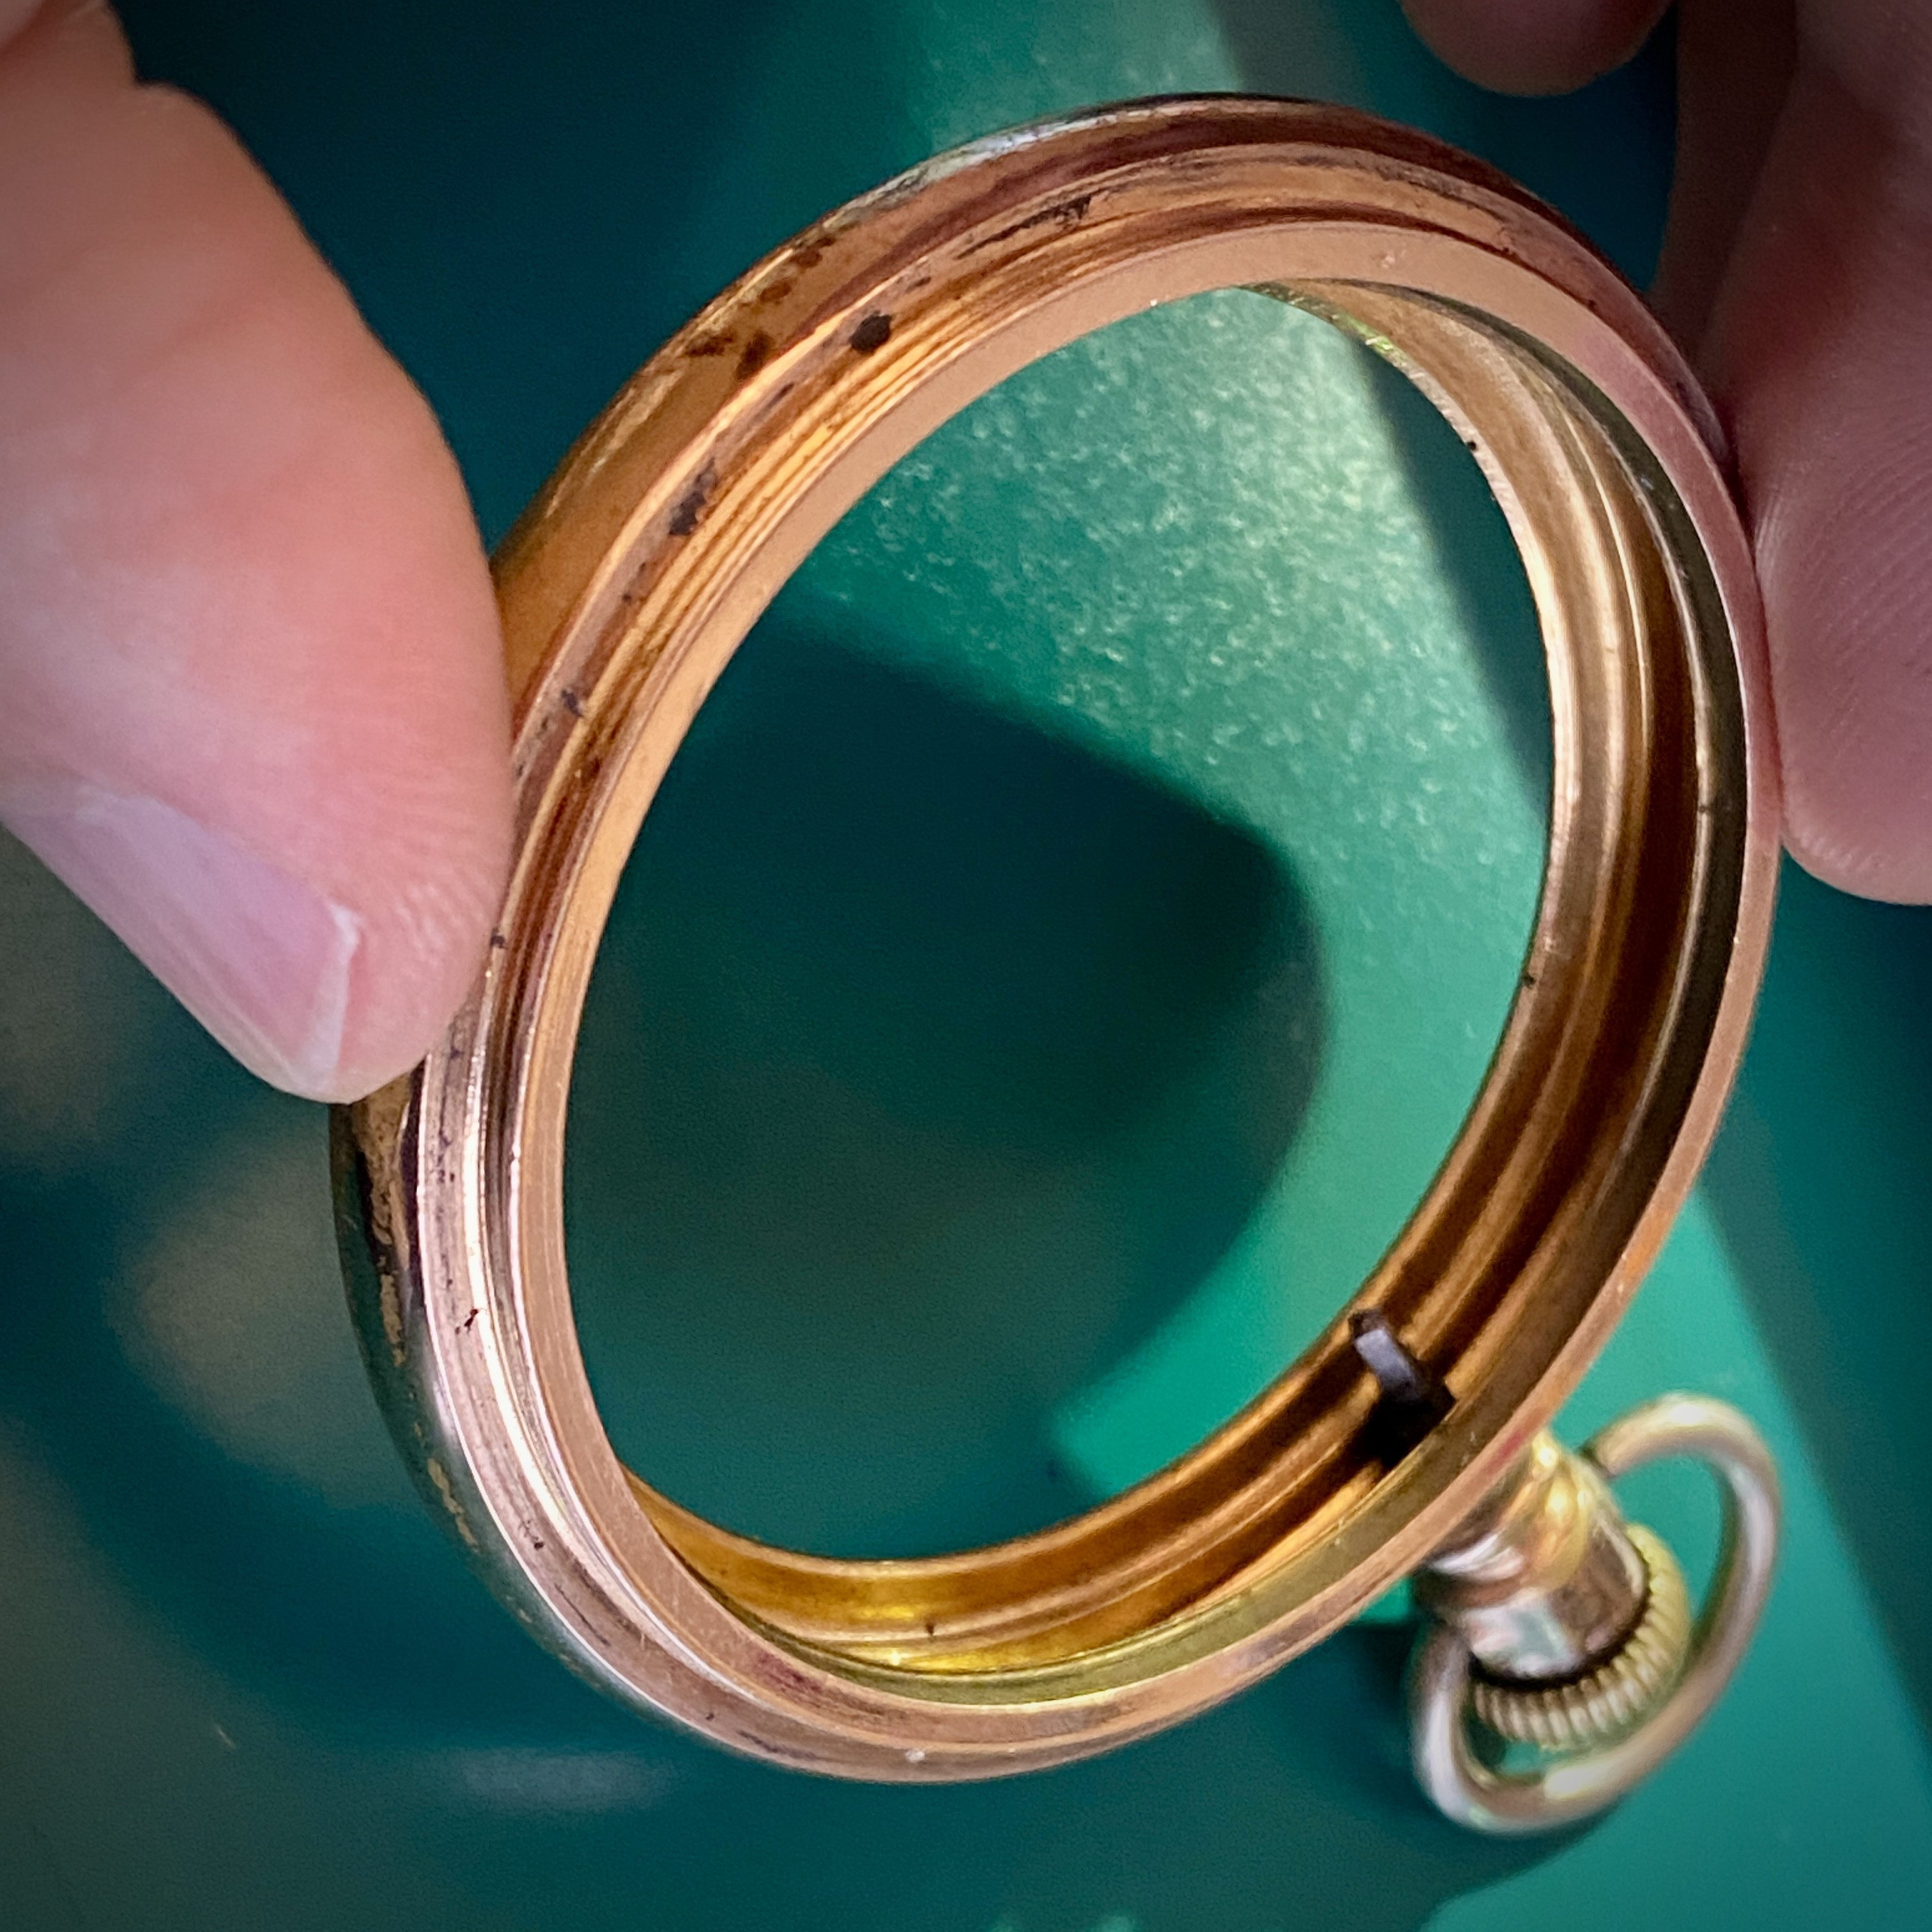
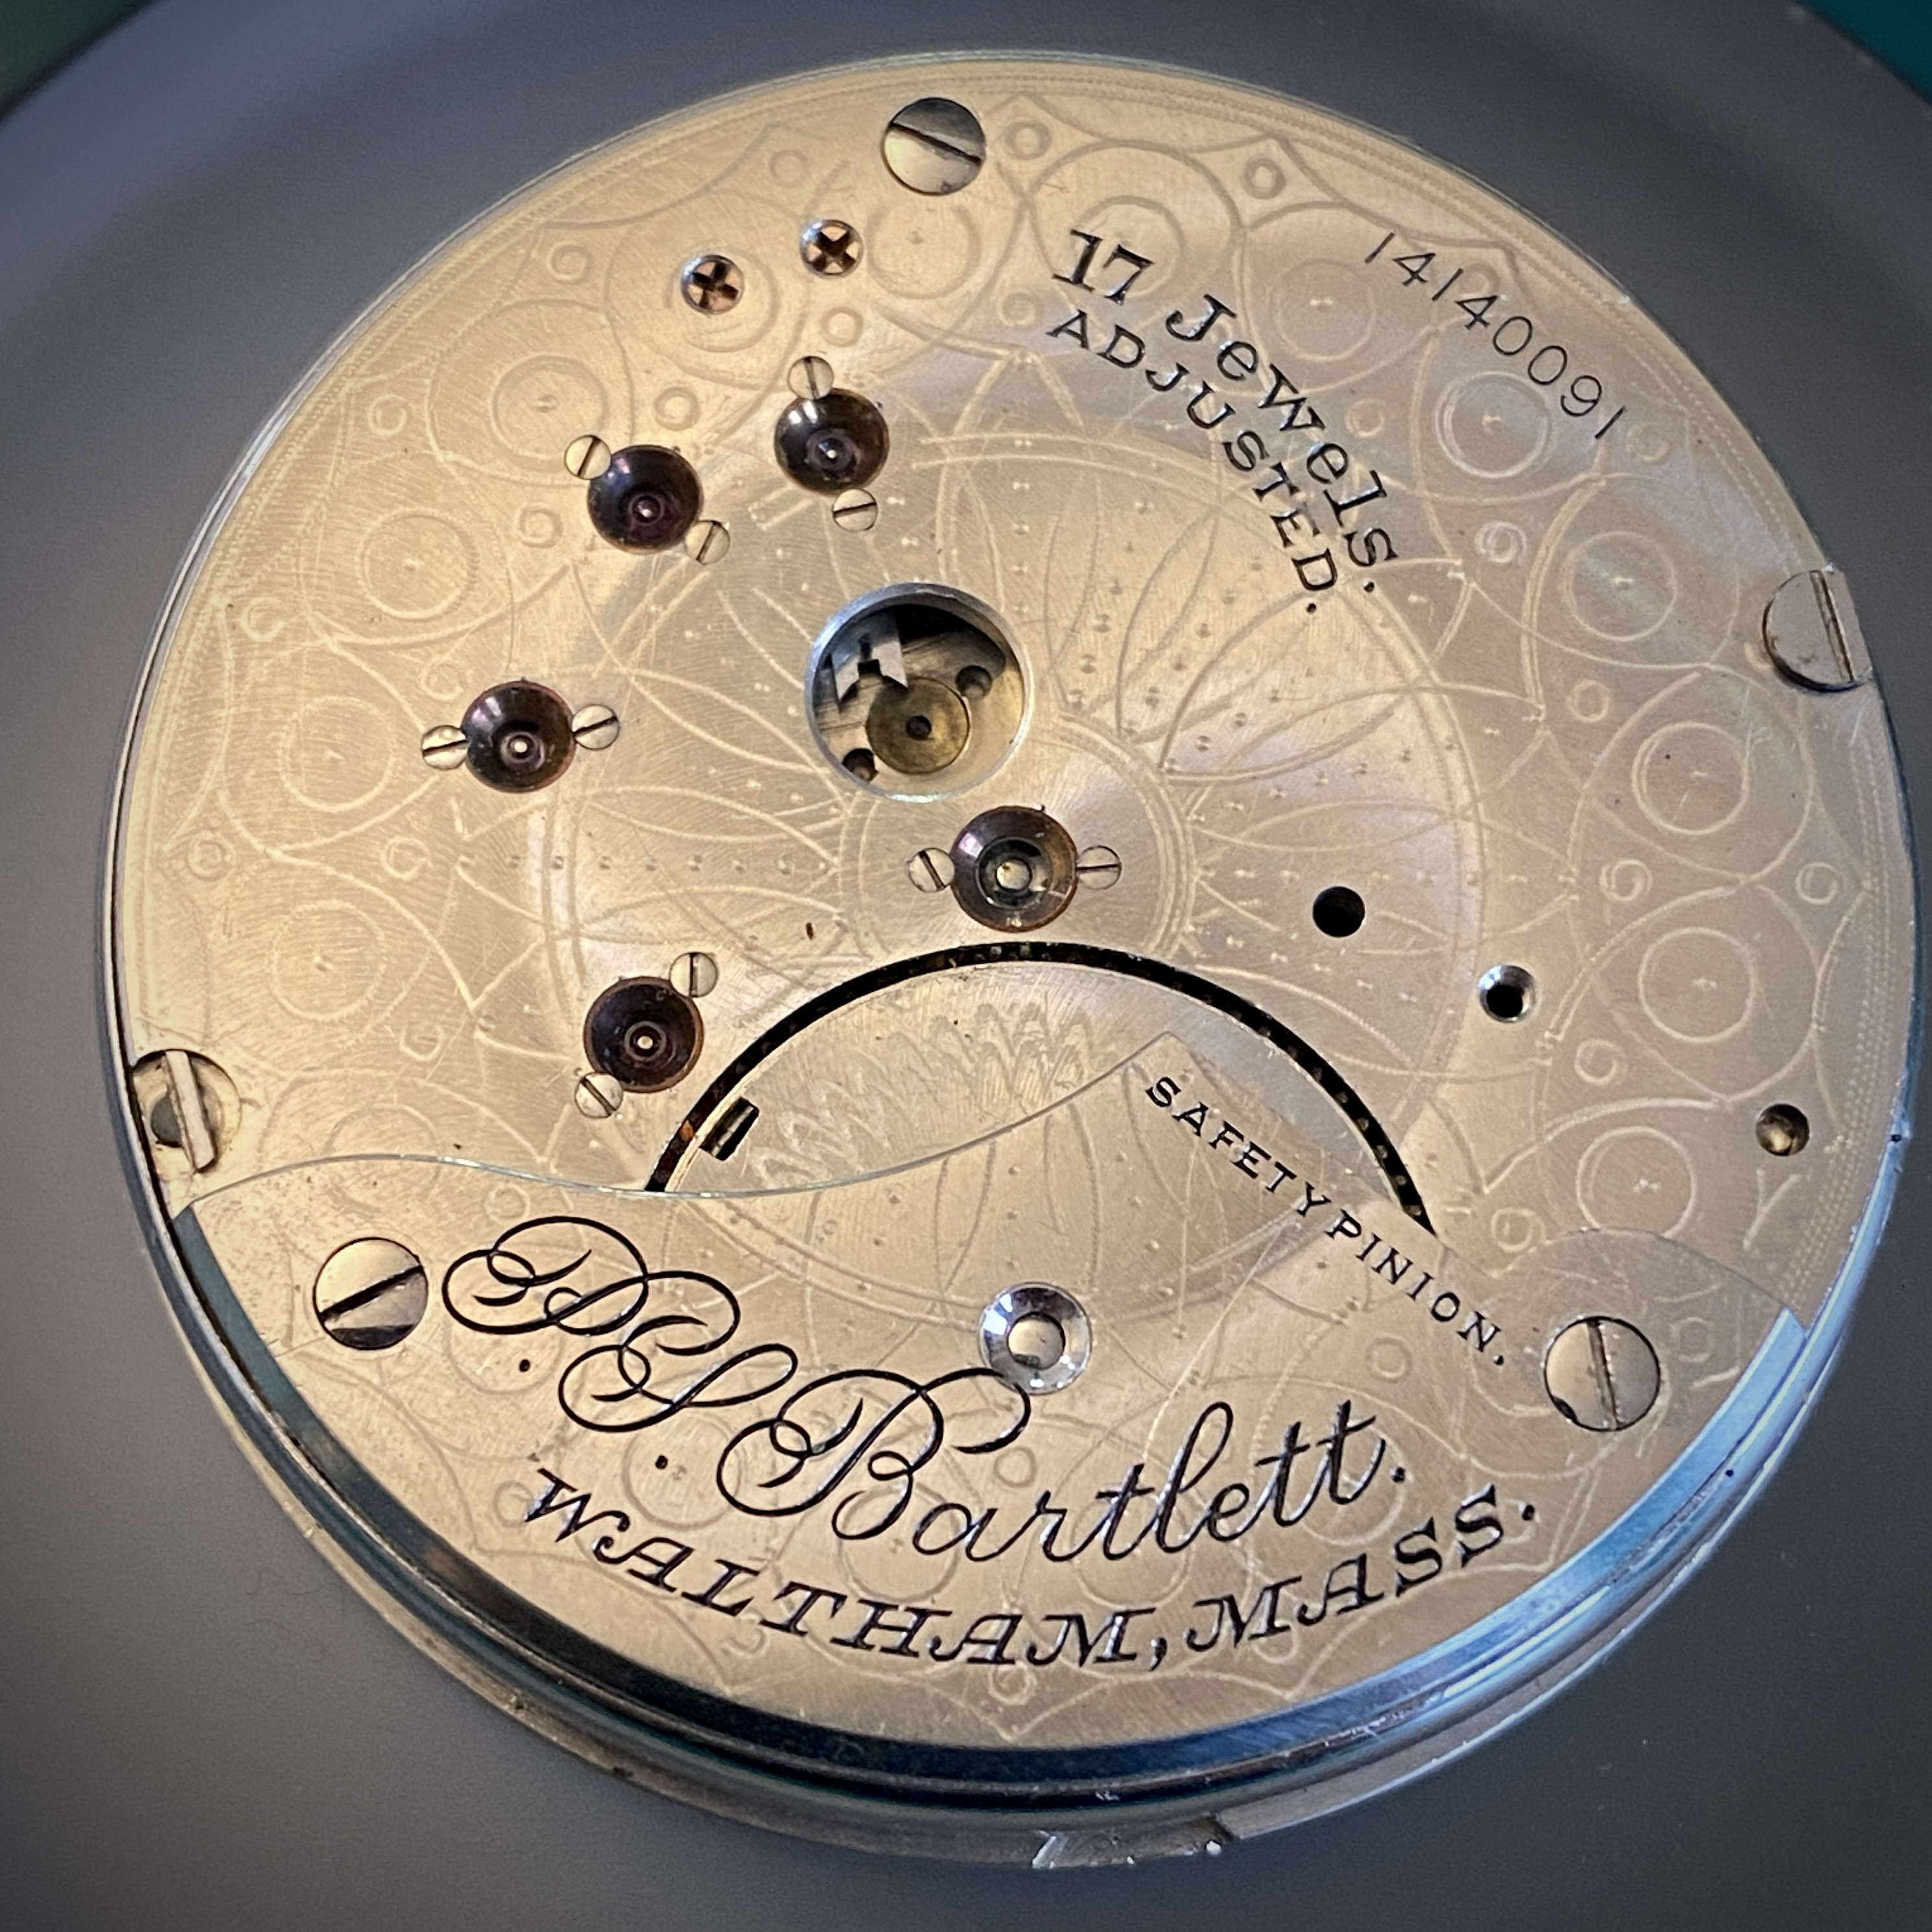
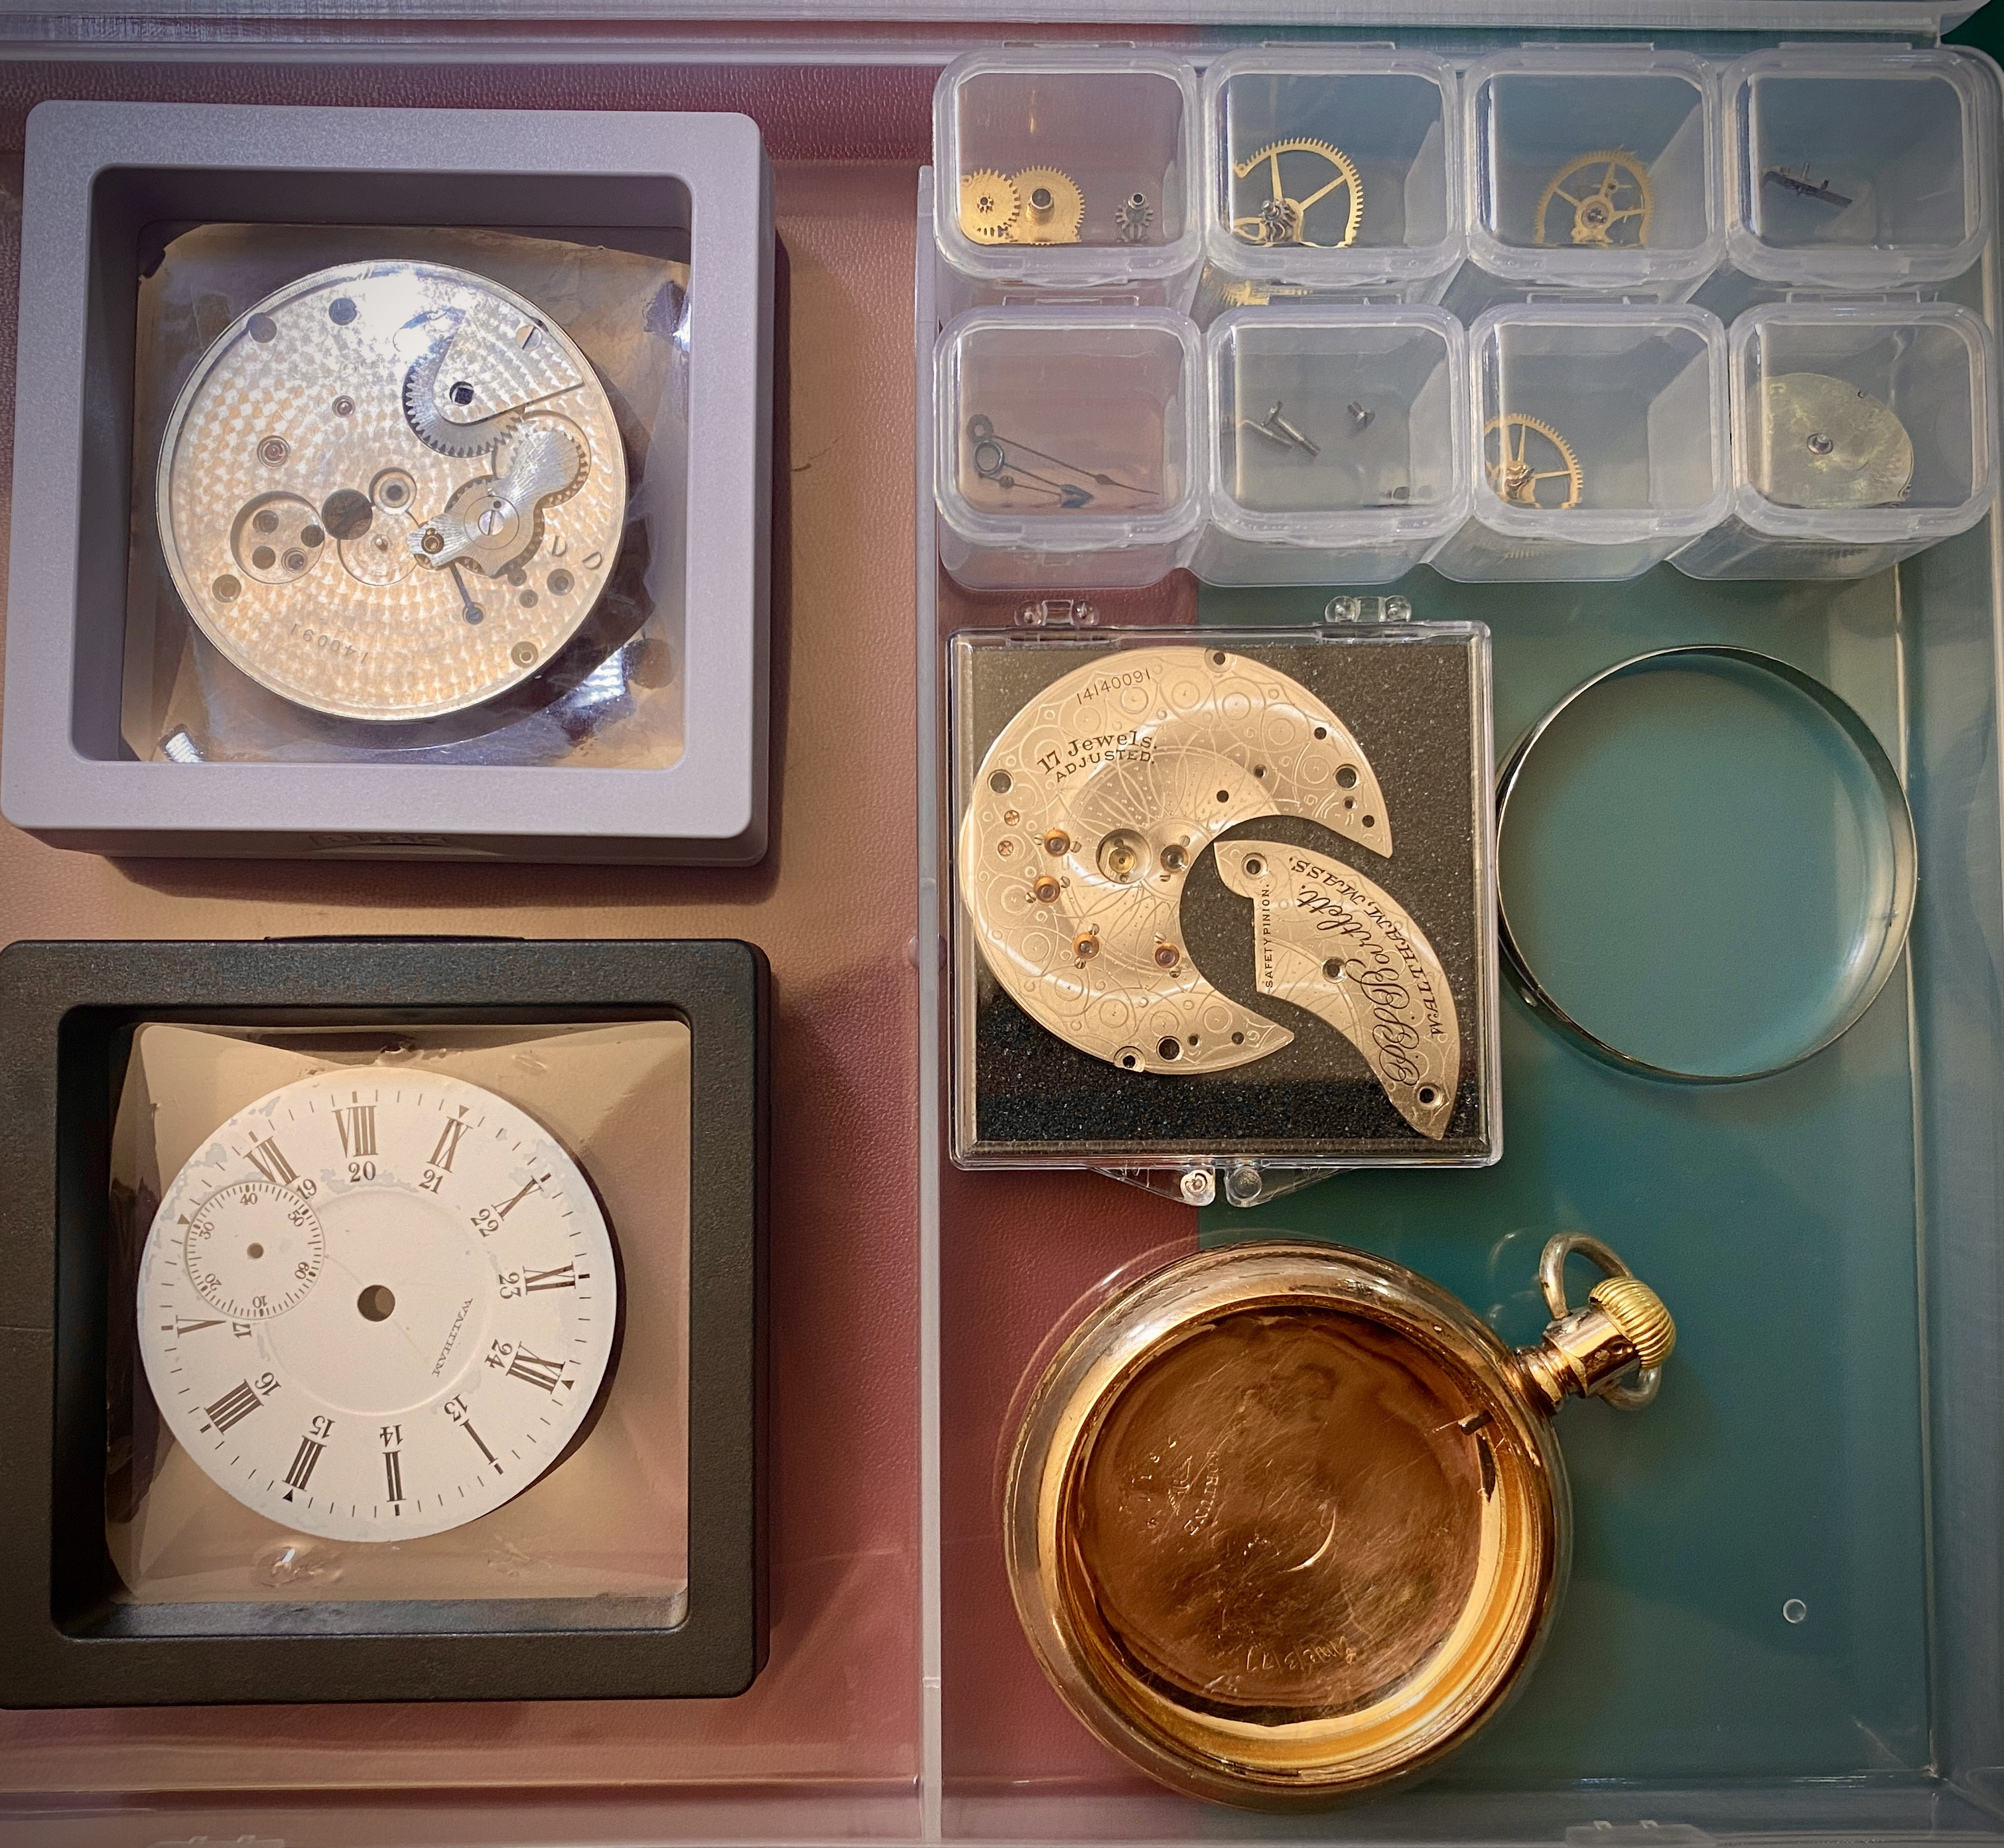
Last weekend I was home visiting my parents, and I walked over to my father's friend Bob's place to get a tour of Bob's machine shop. Bob has a plethora of machine tools including a very nice watchmaker's lathe... but as Bob was showing me around his shop he mentioned that he had a few old railroad pocket watches, one of which had taken a fall and wasn't working anymore. He offered it to give it to me if I'd take a look at maybe fixing it. And just like that, I applied the N+1 formula to the number of watchmaking projects I have on my bench.

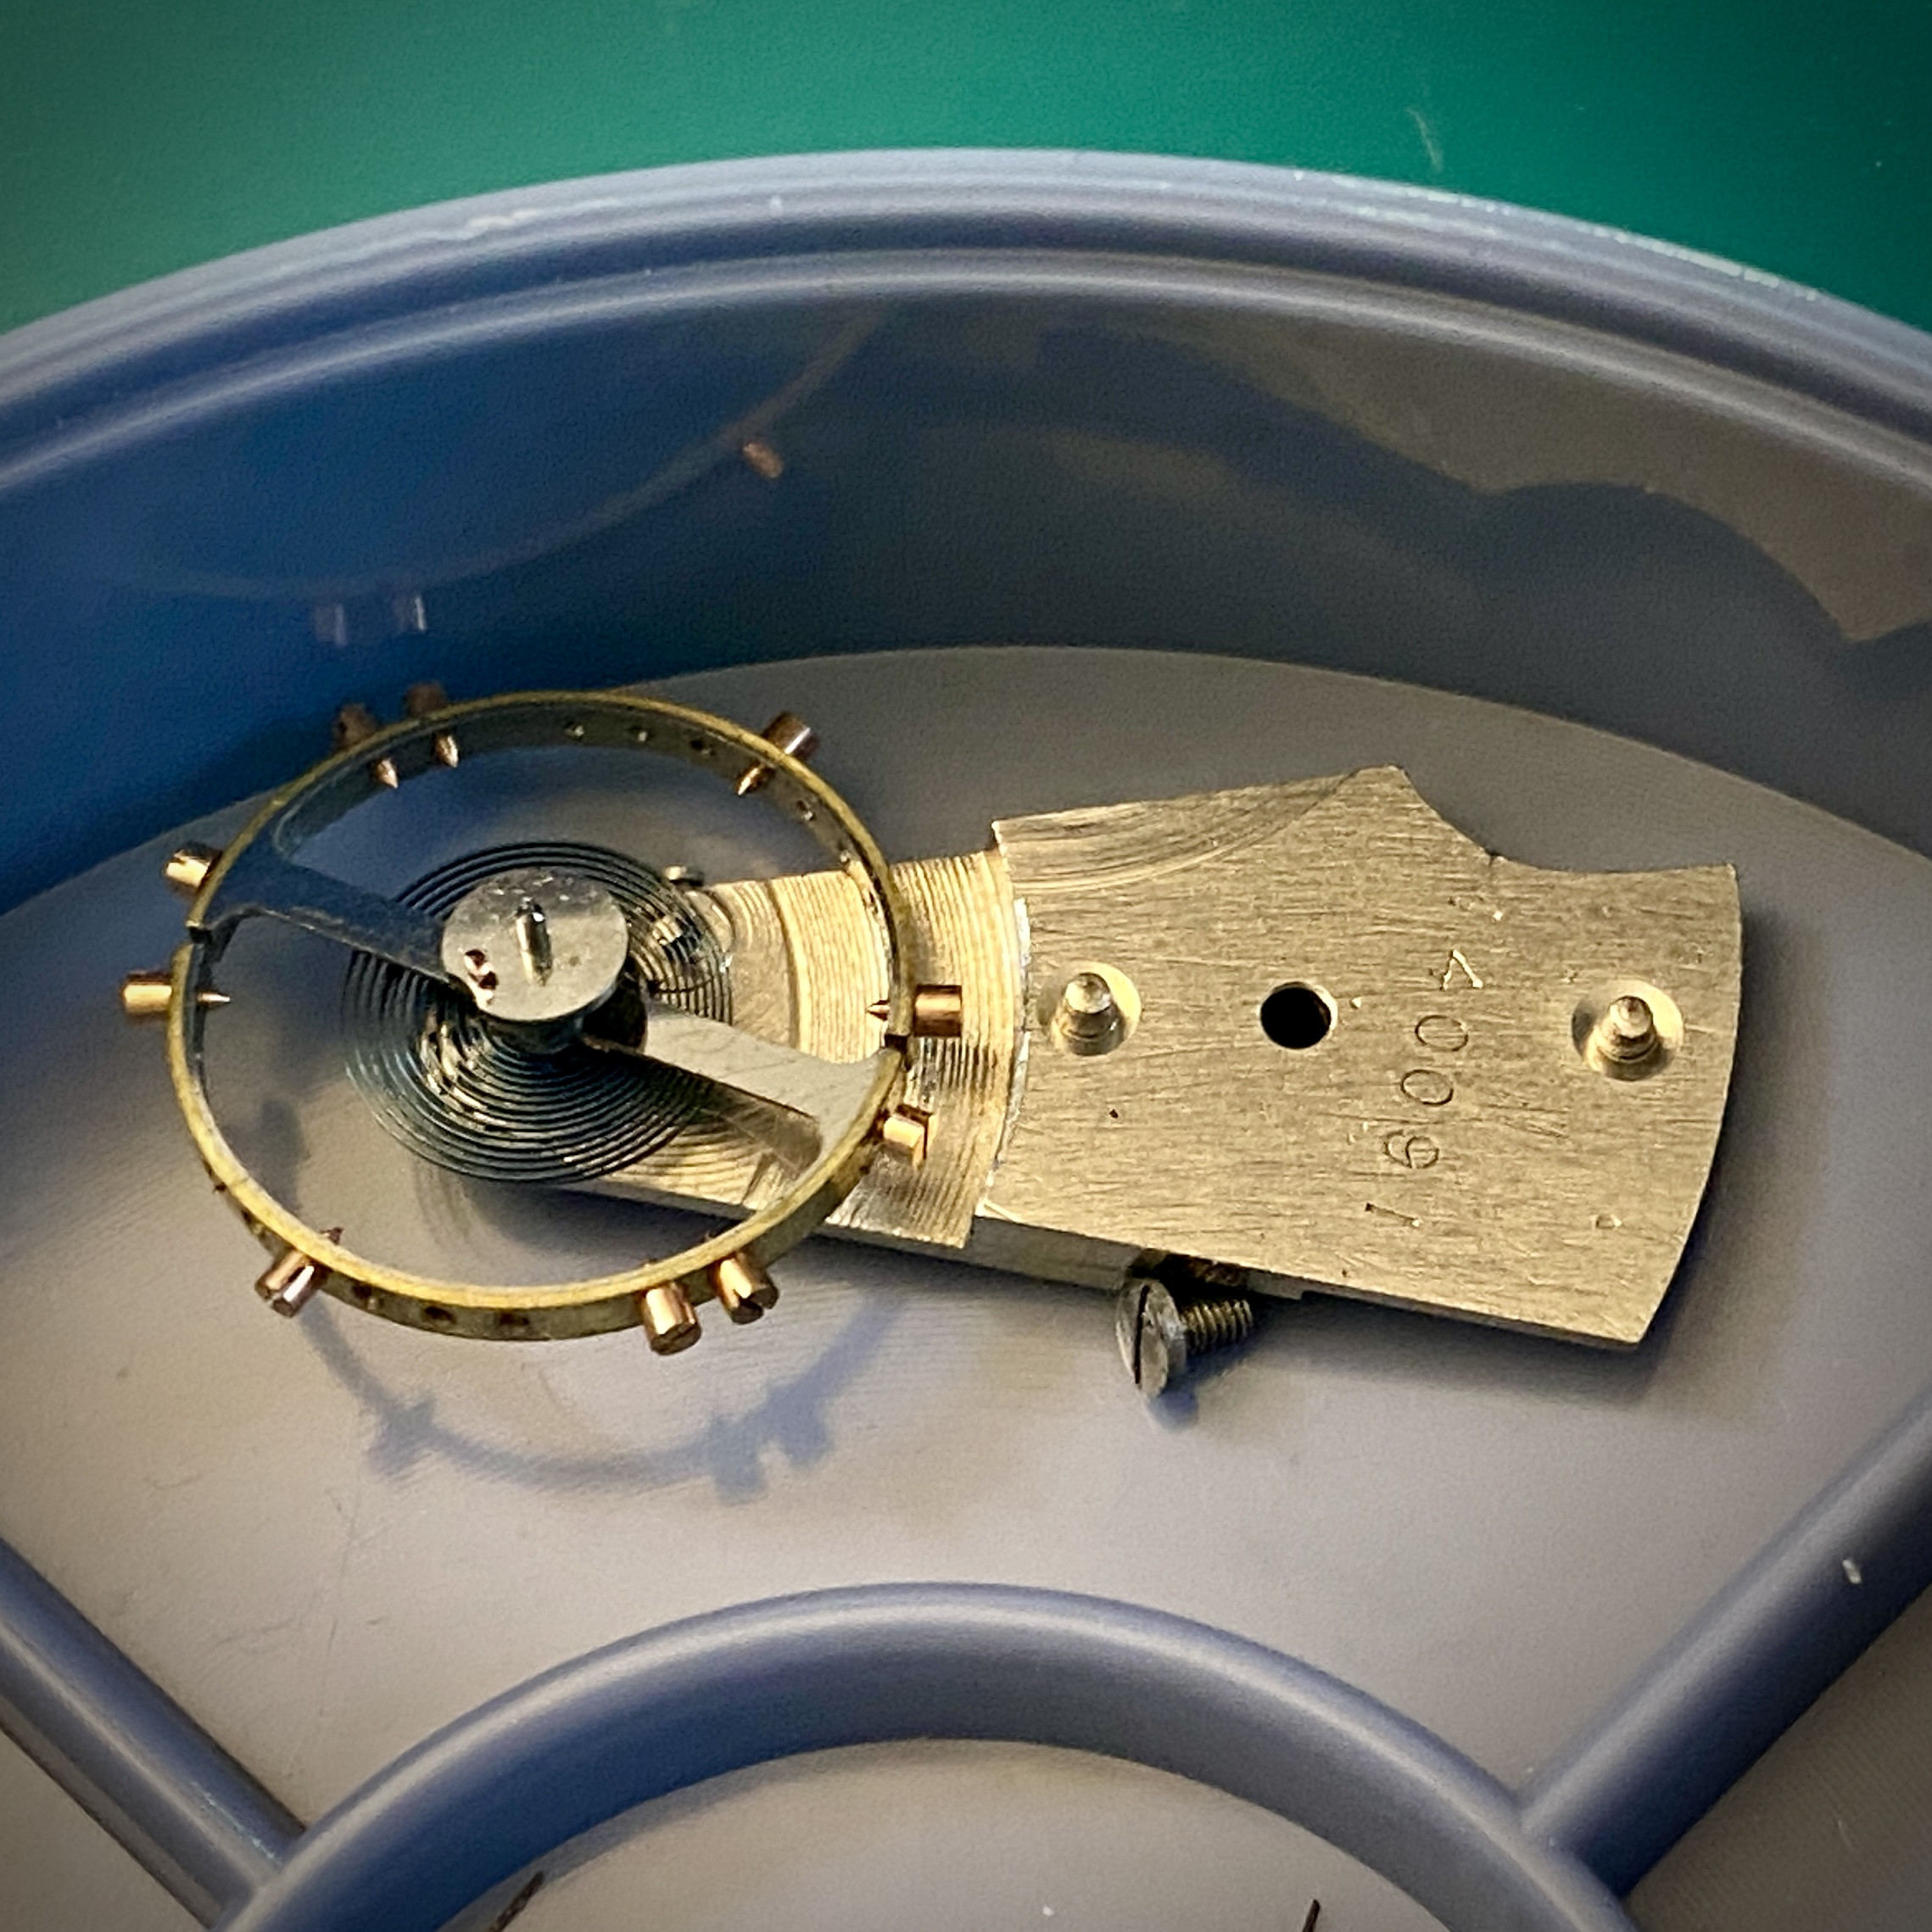
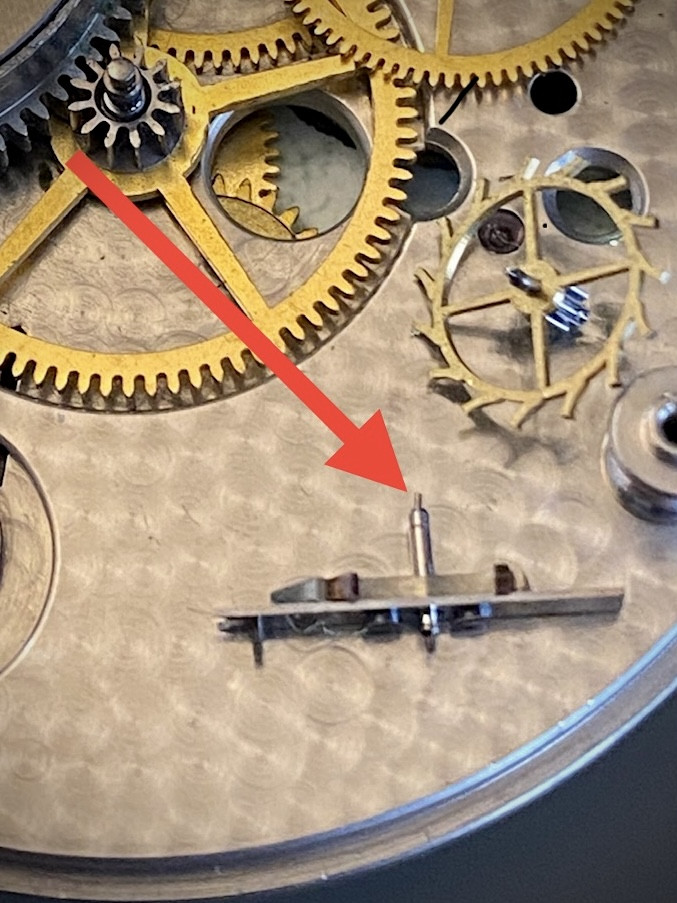
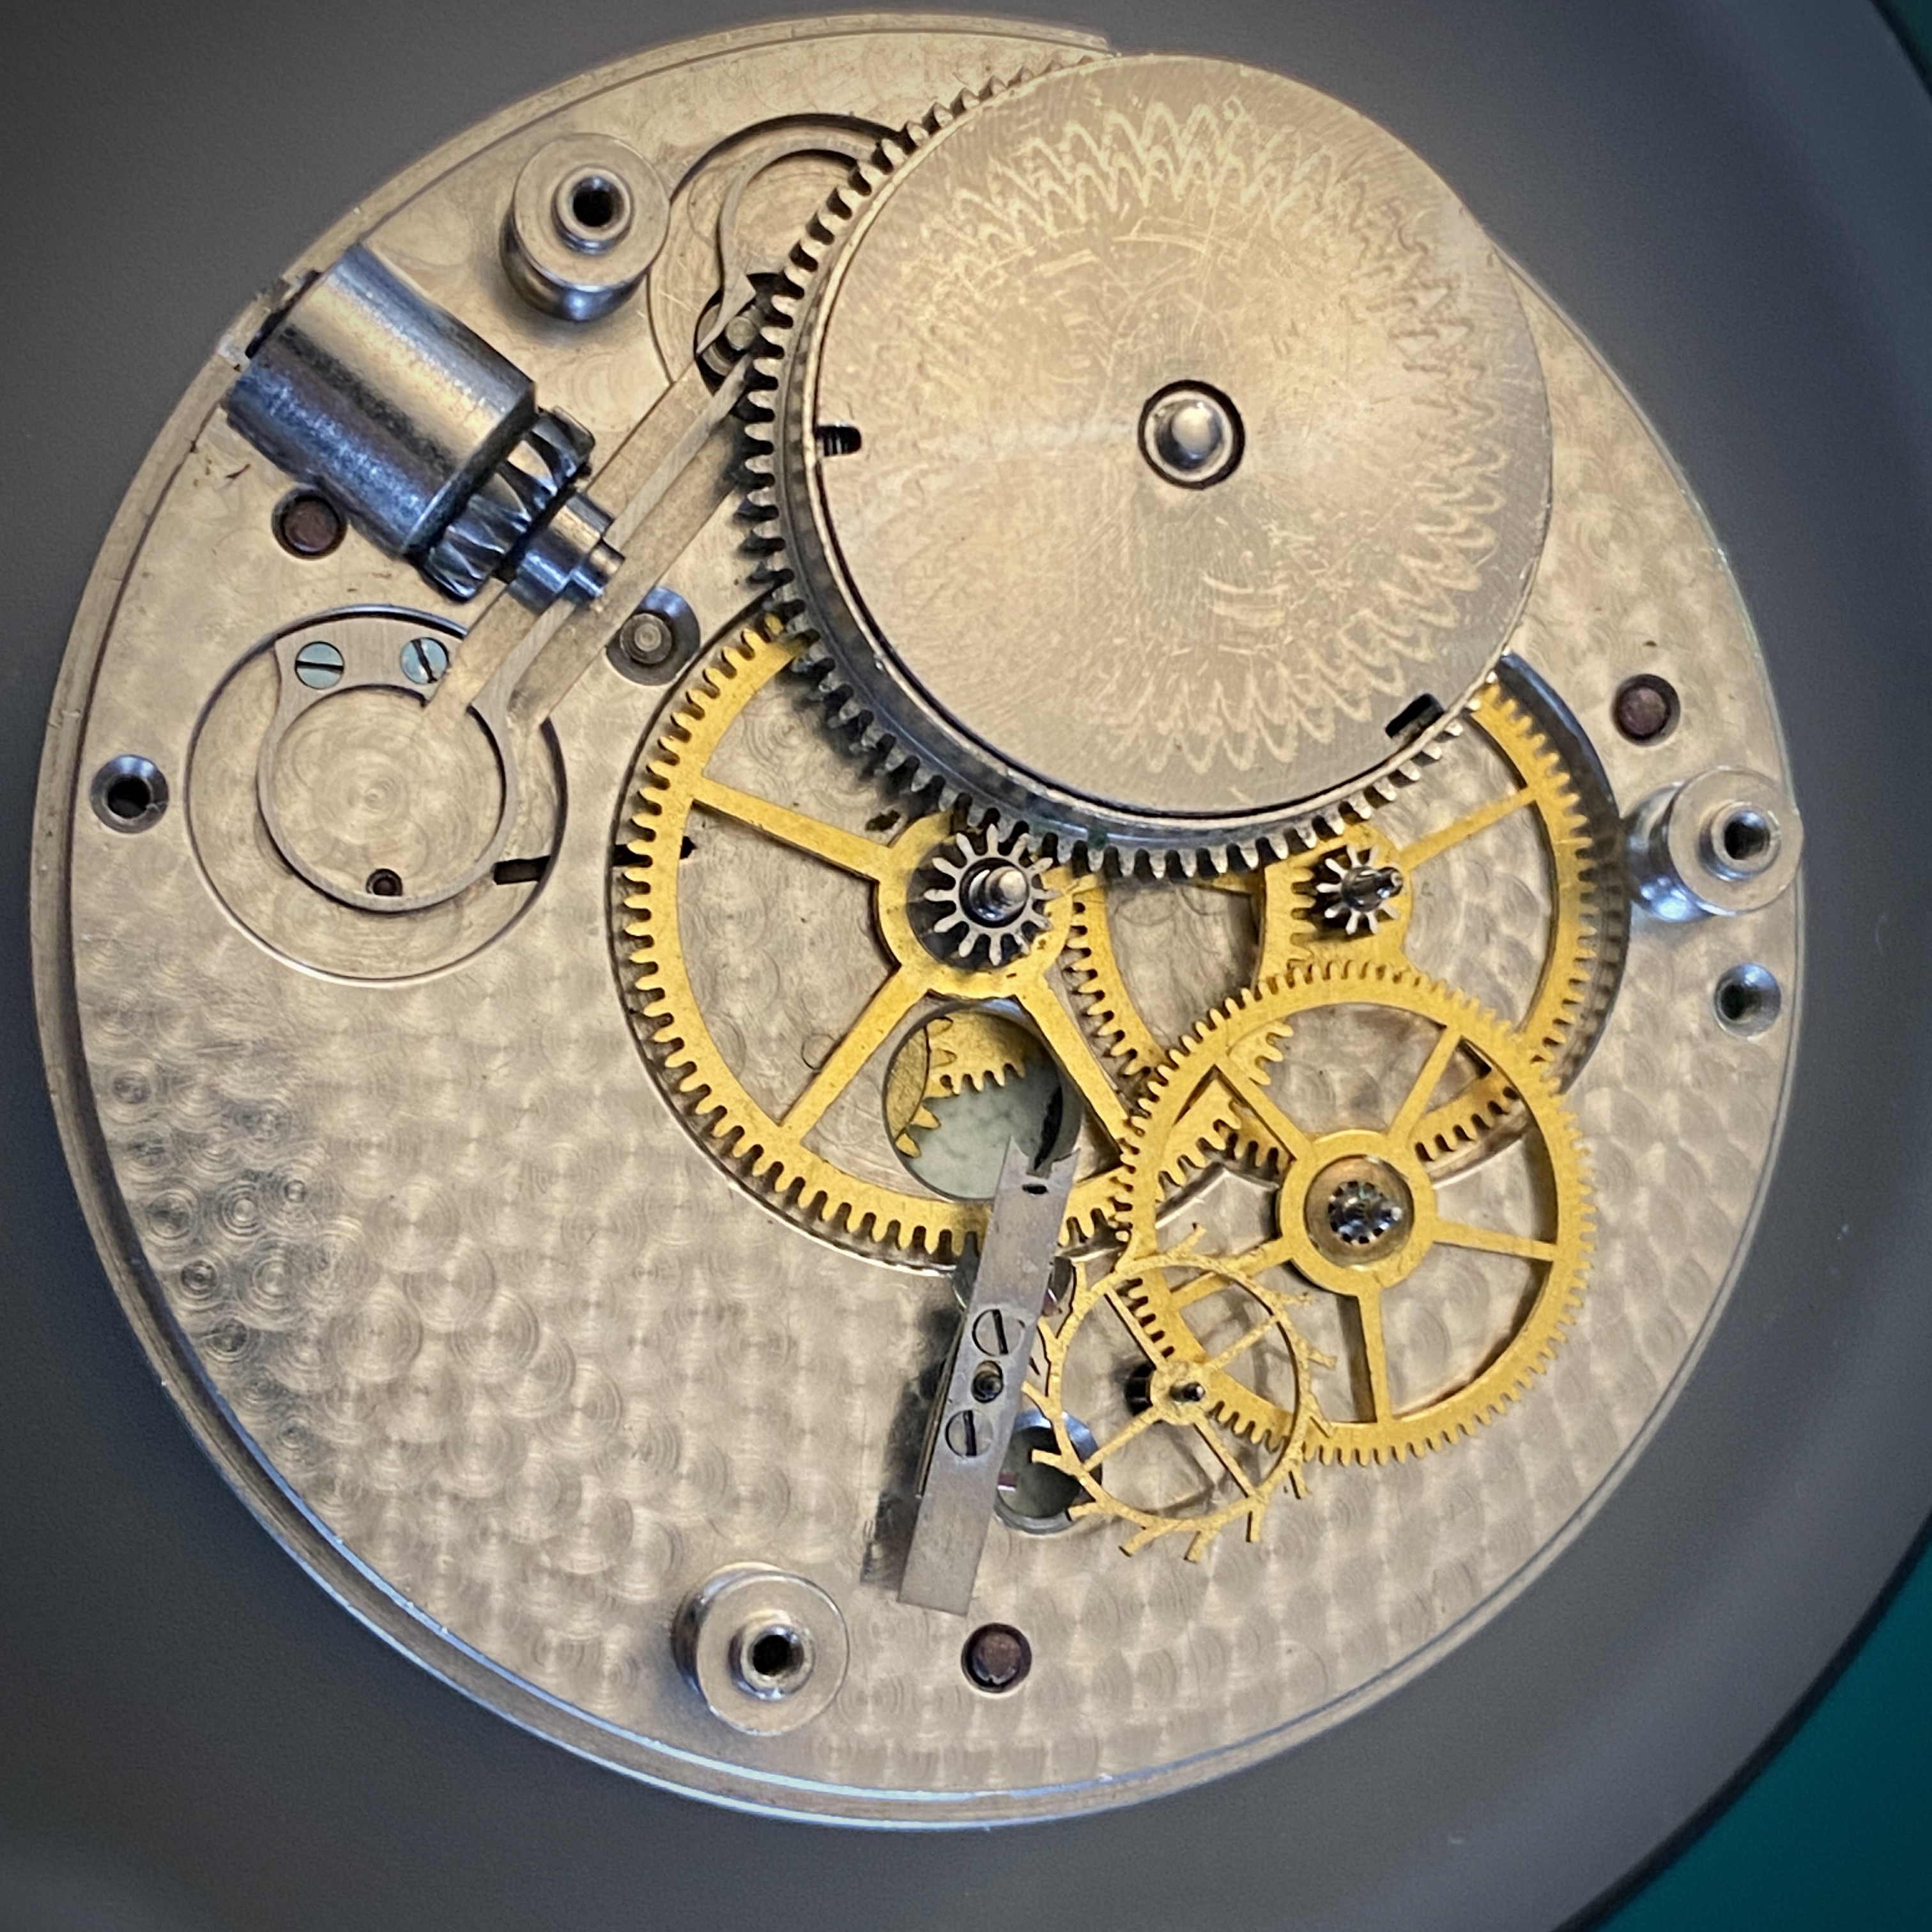
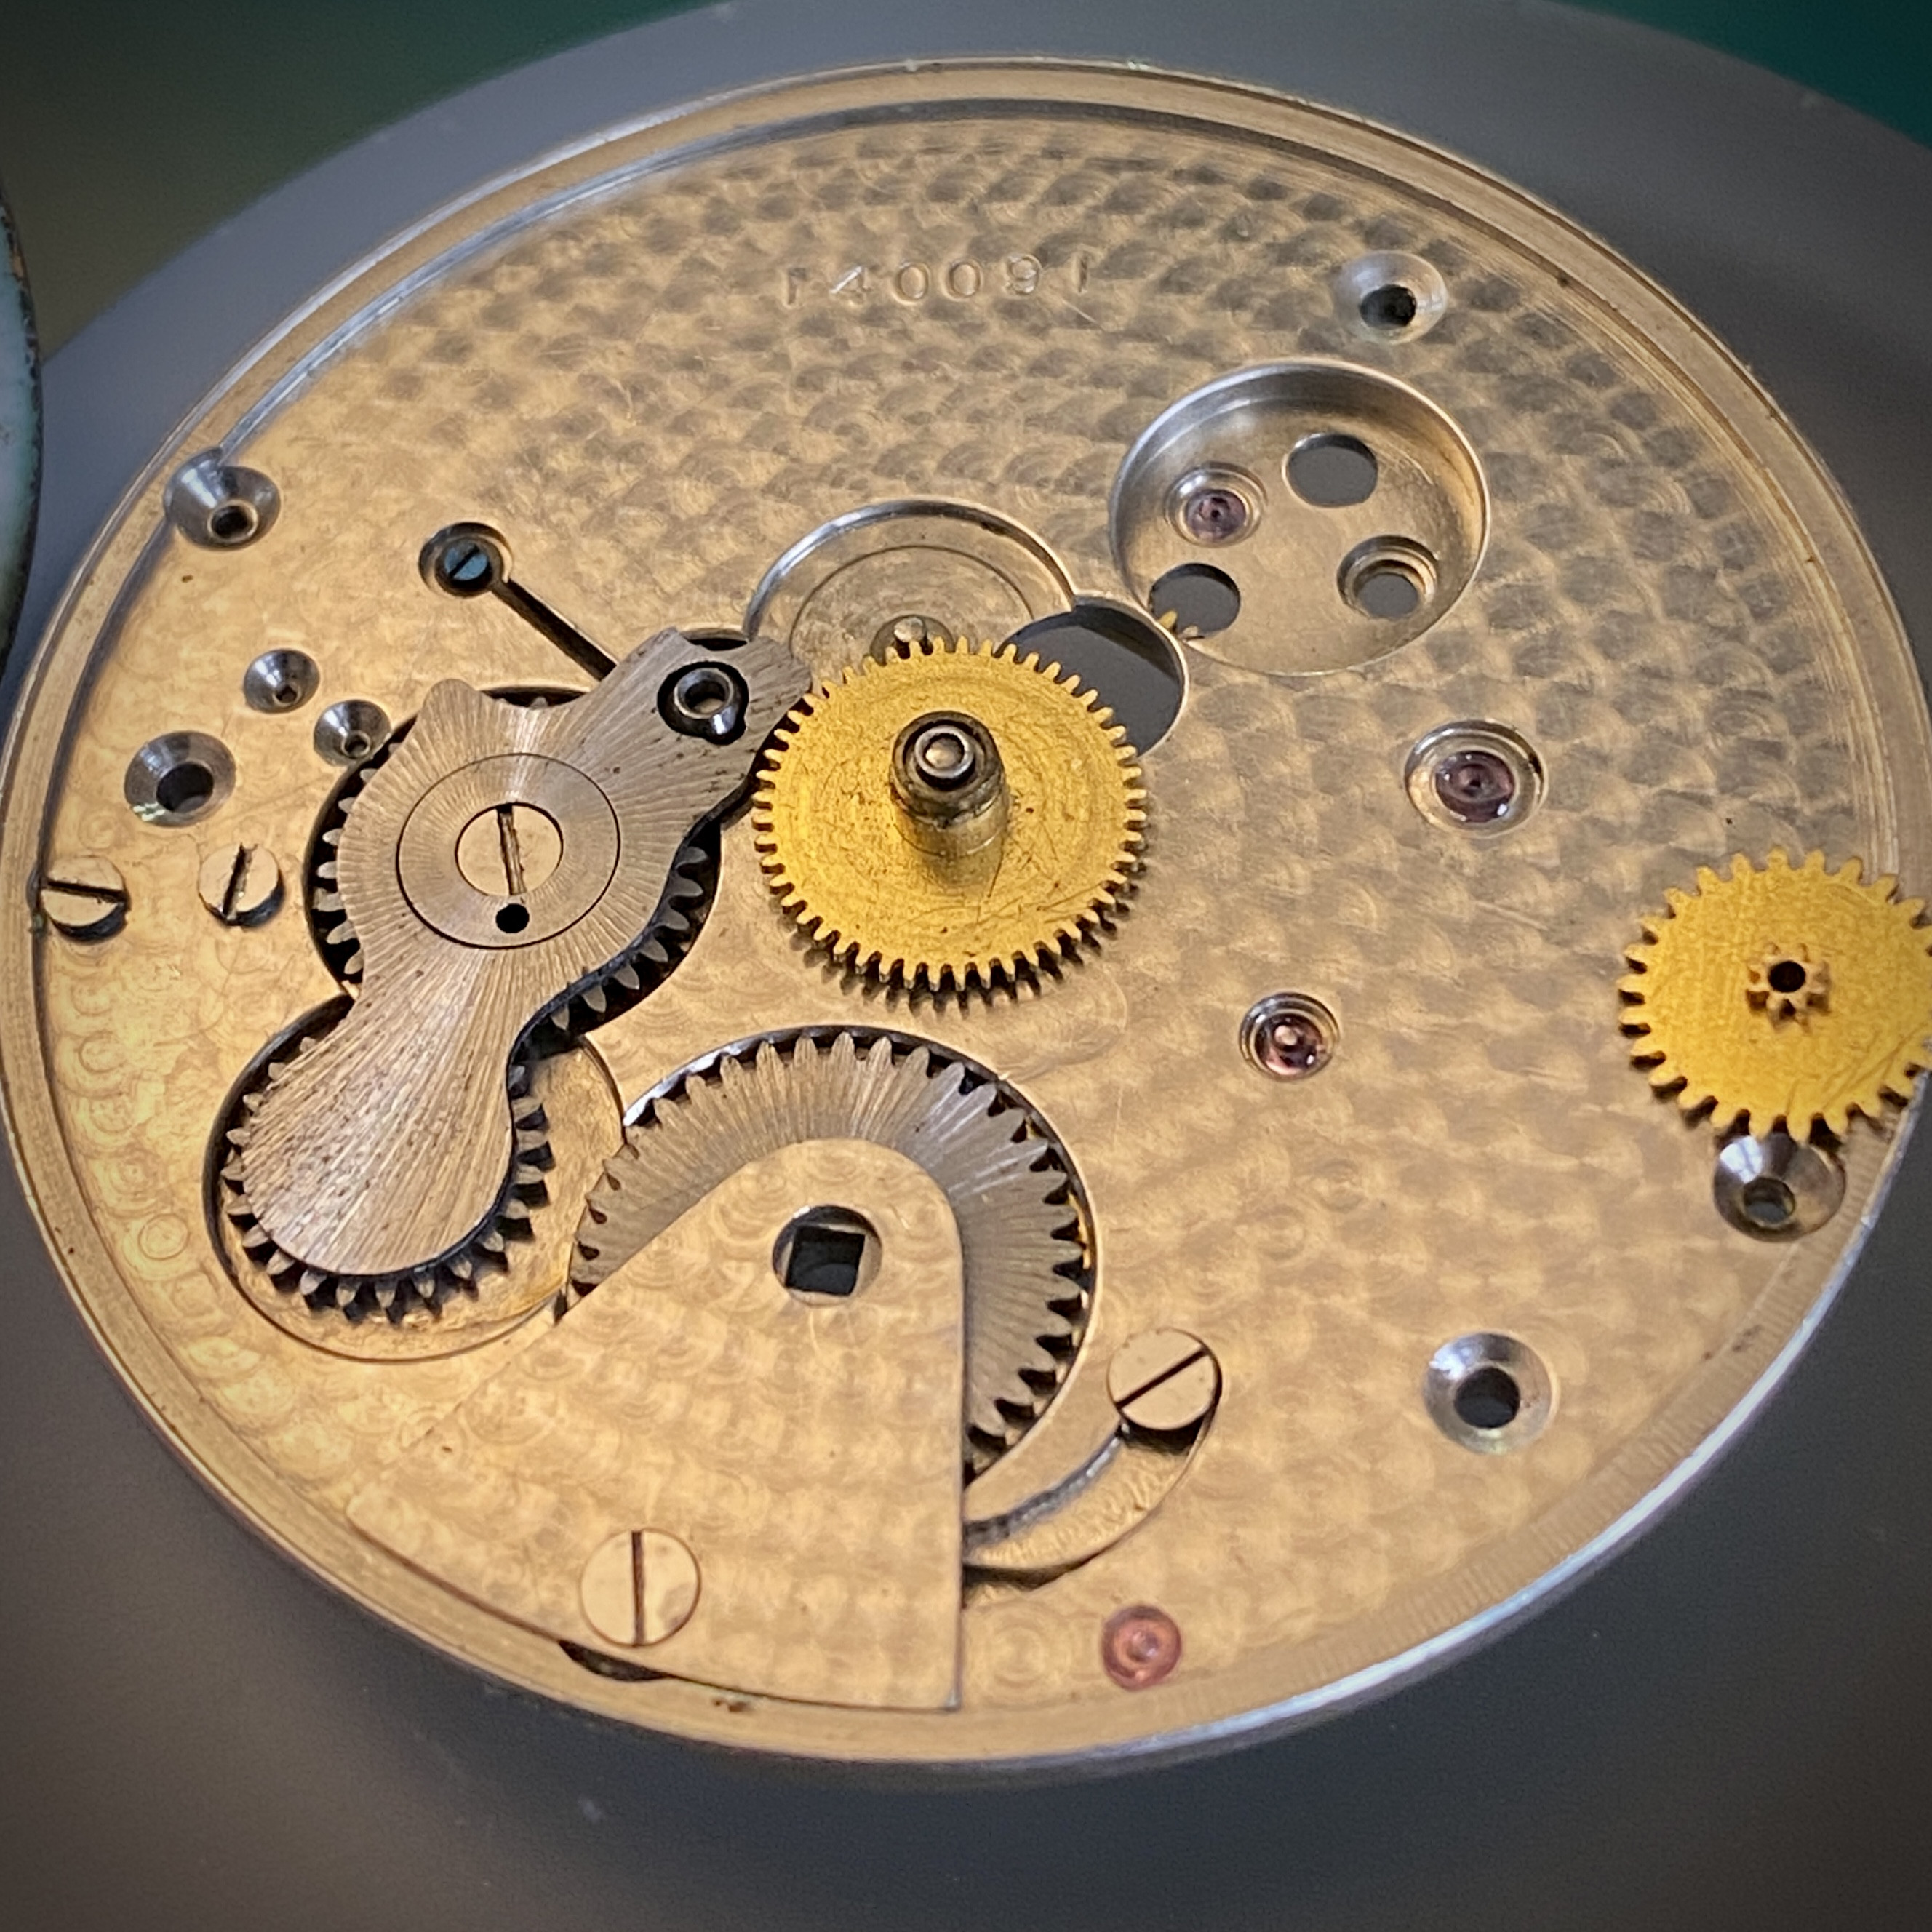
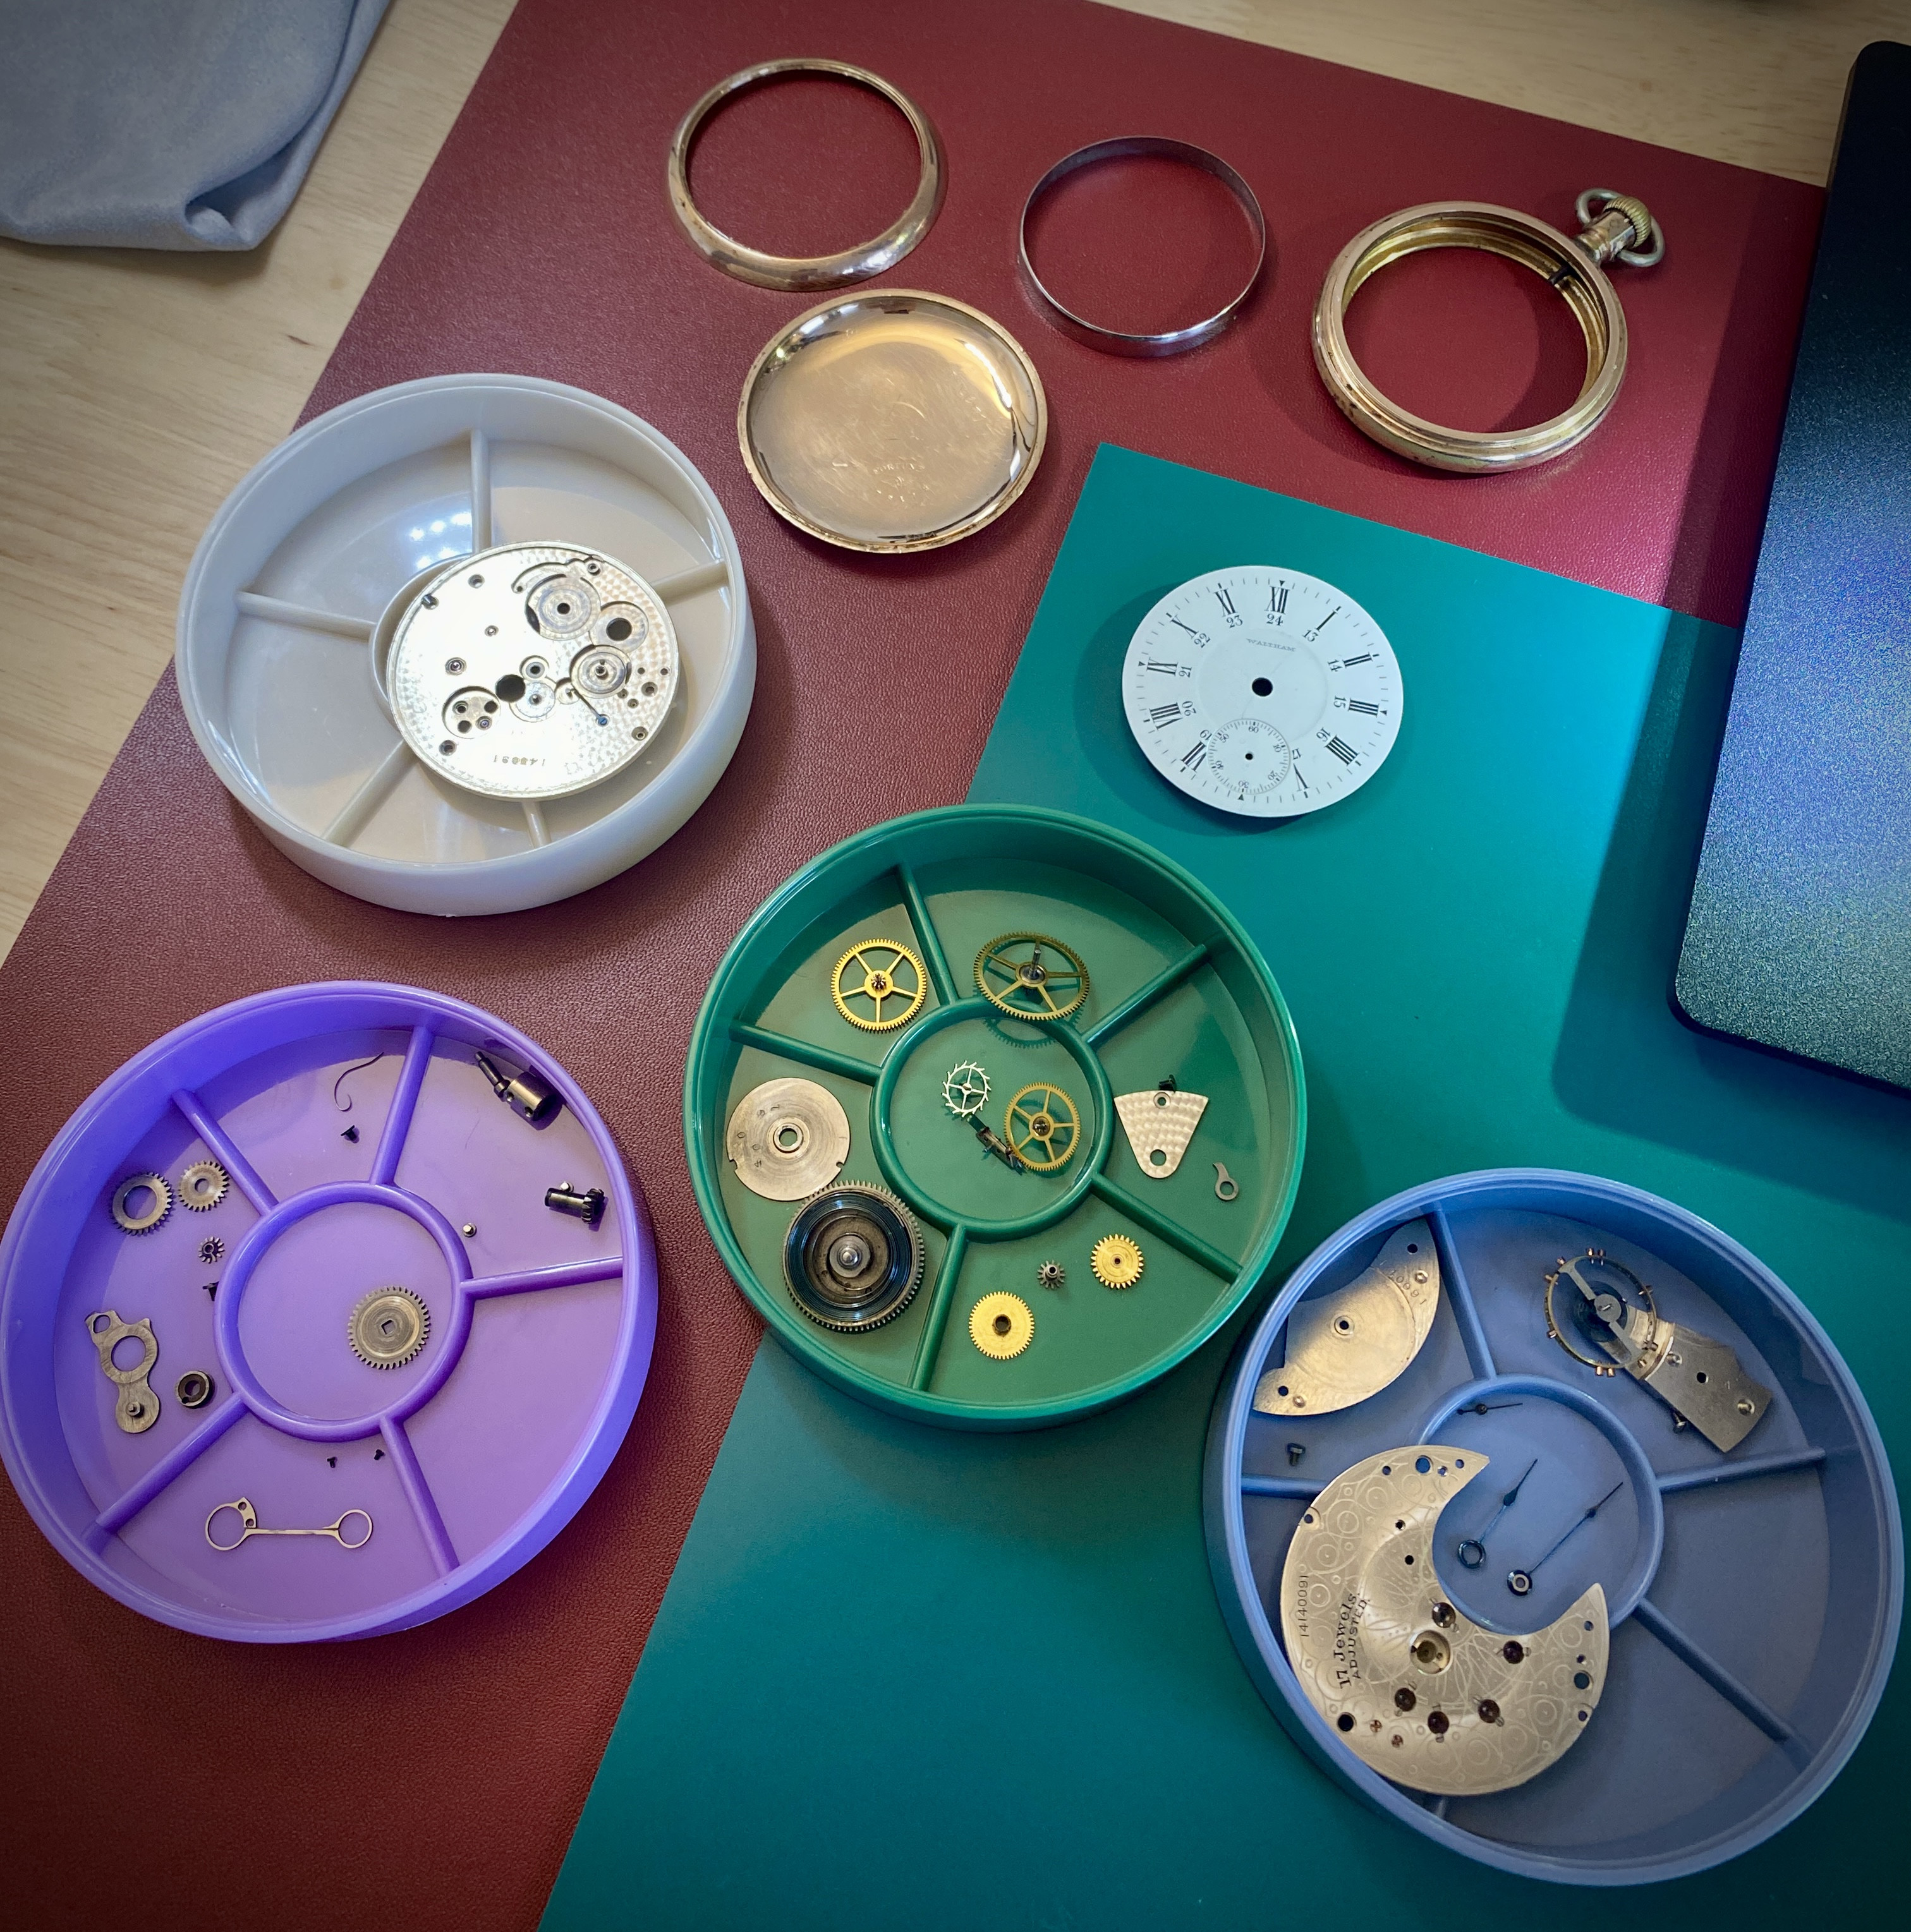
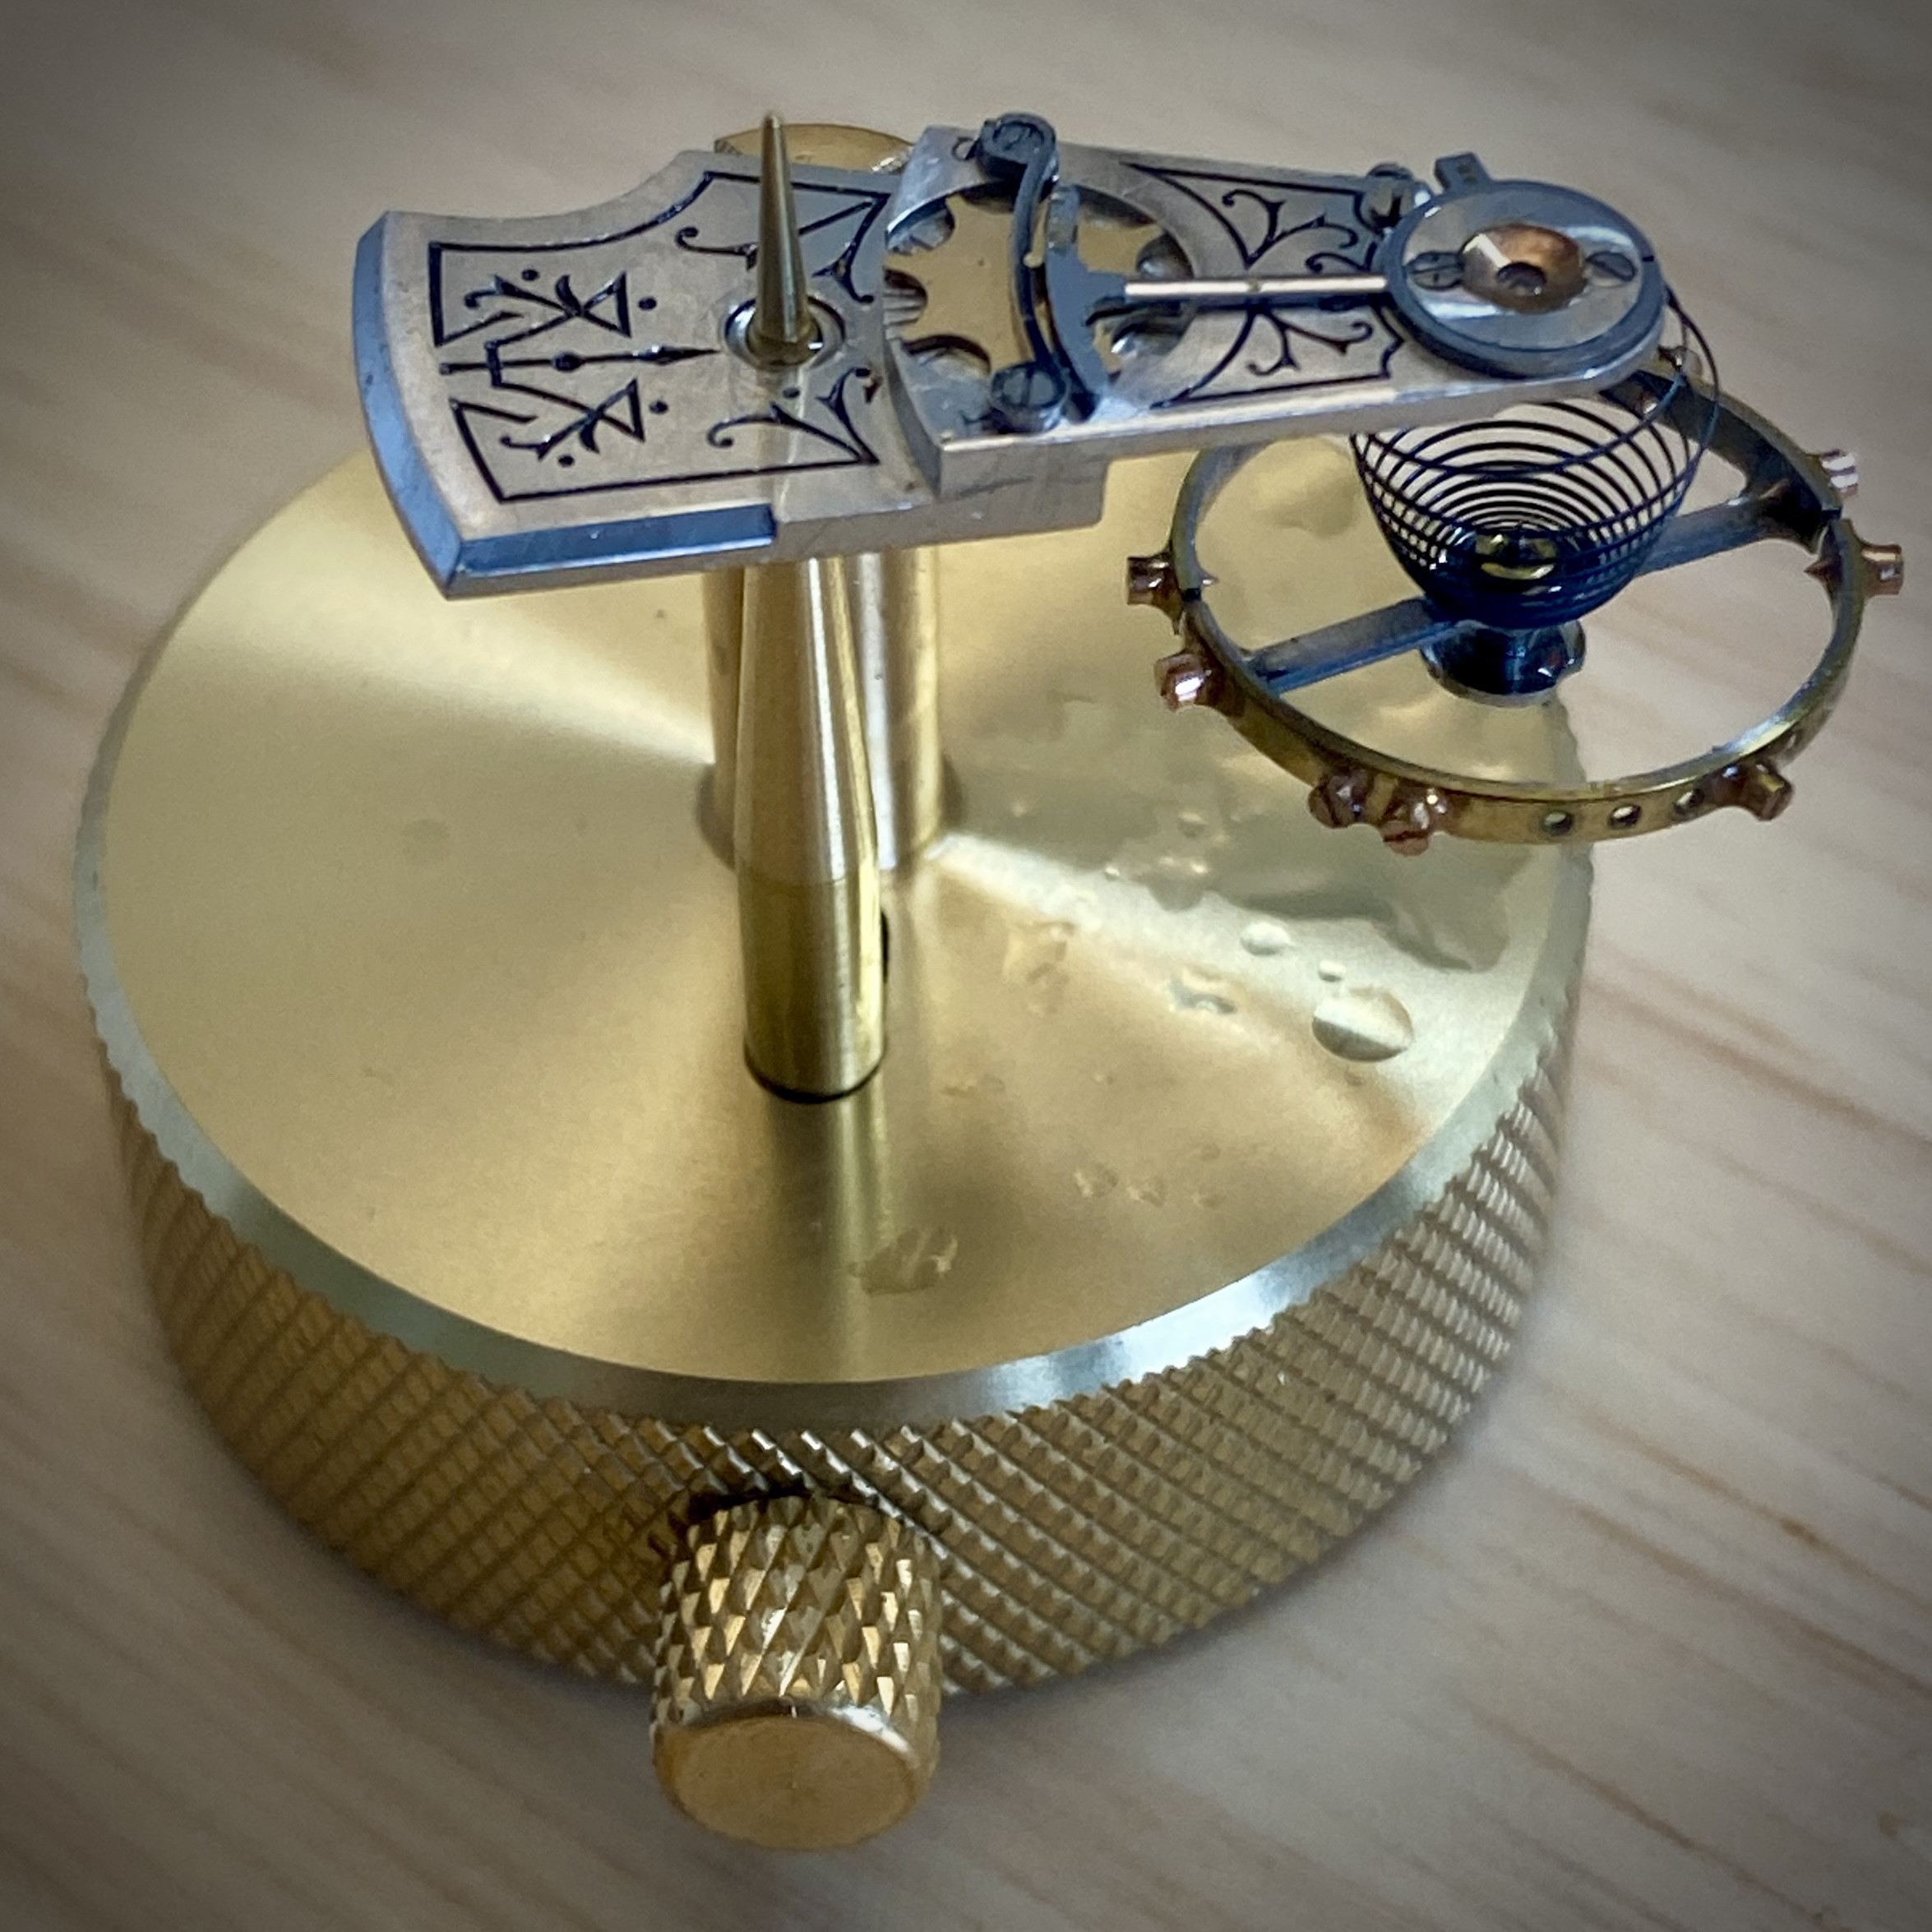
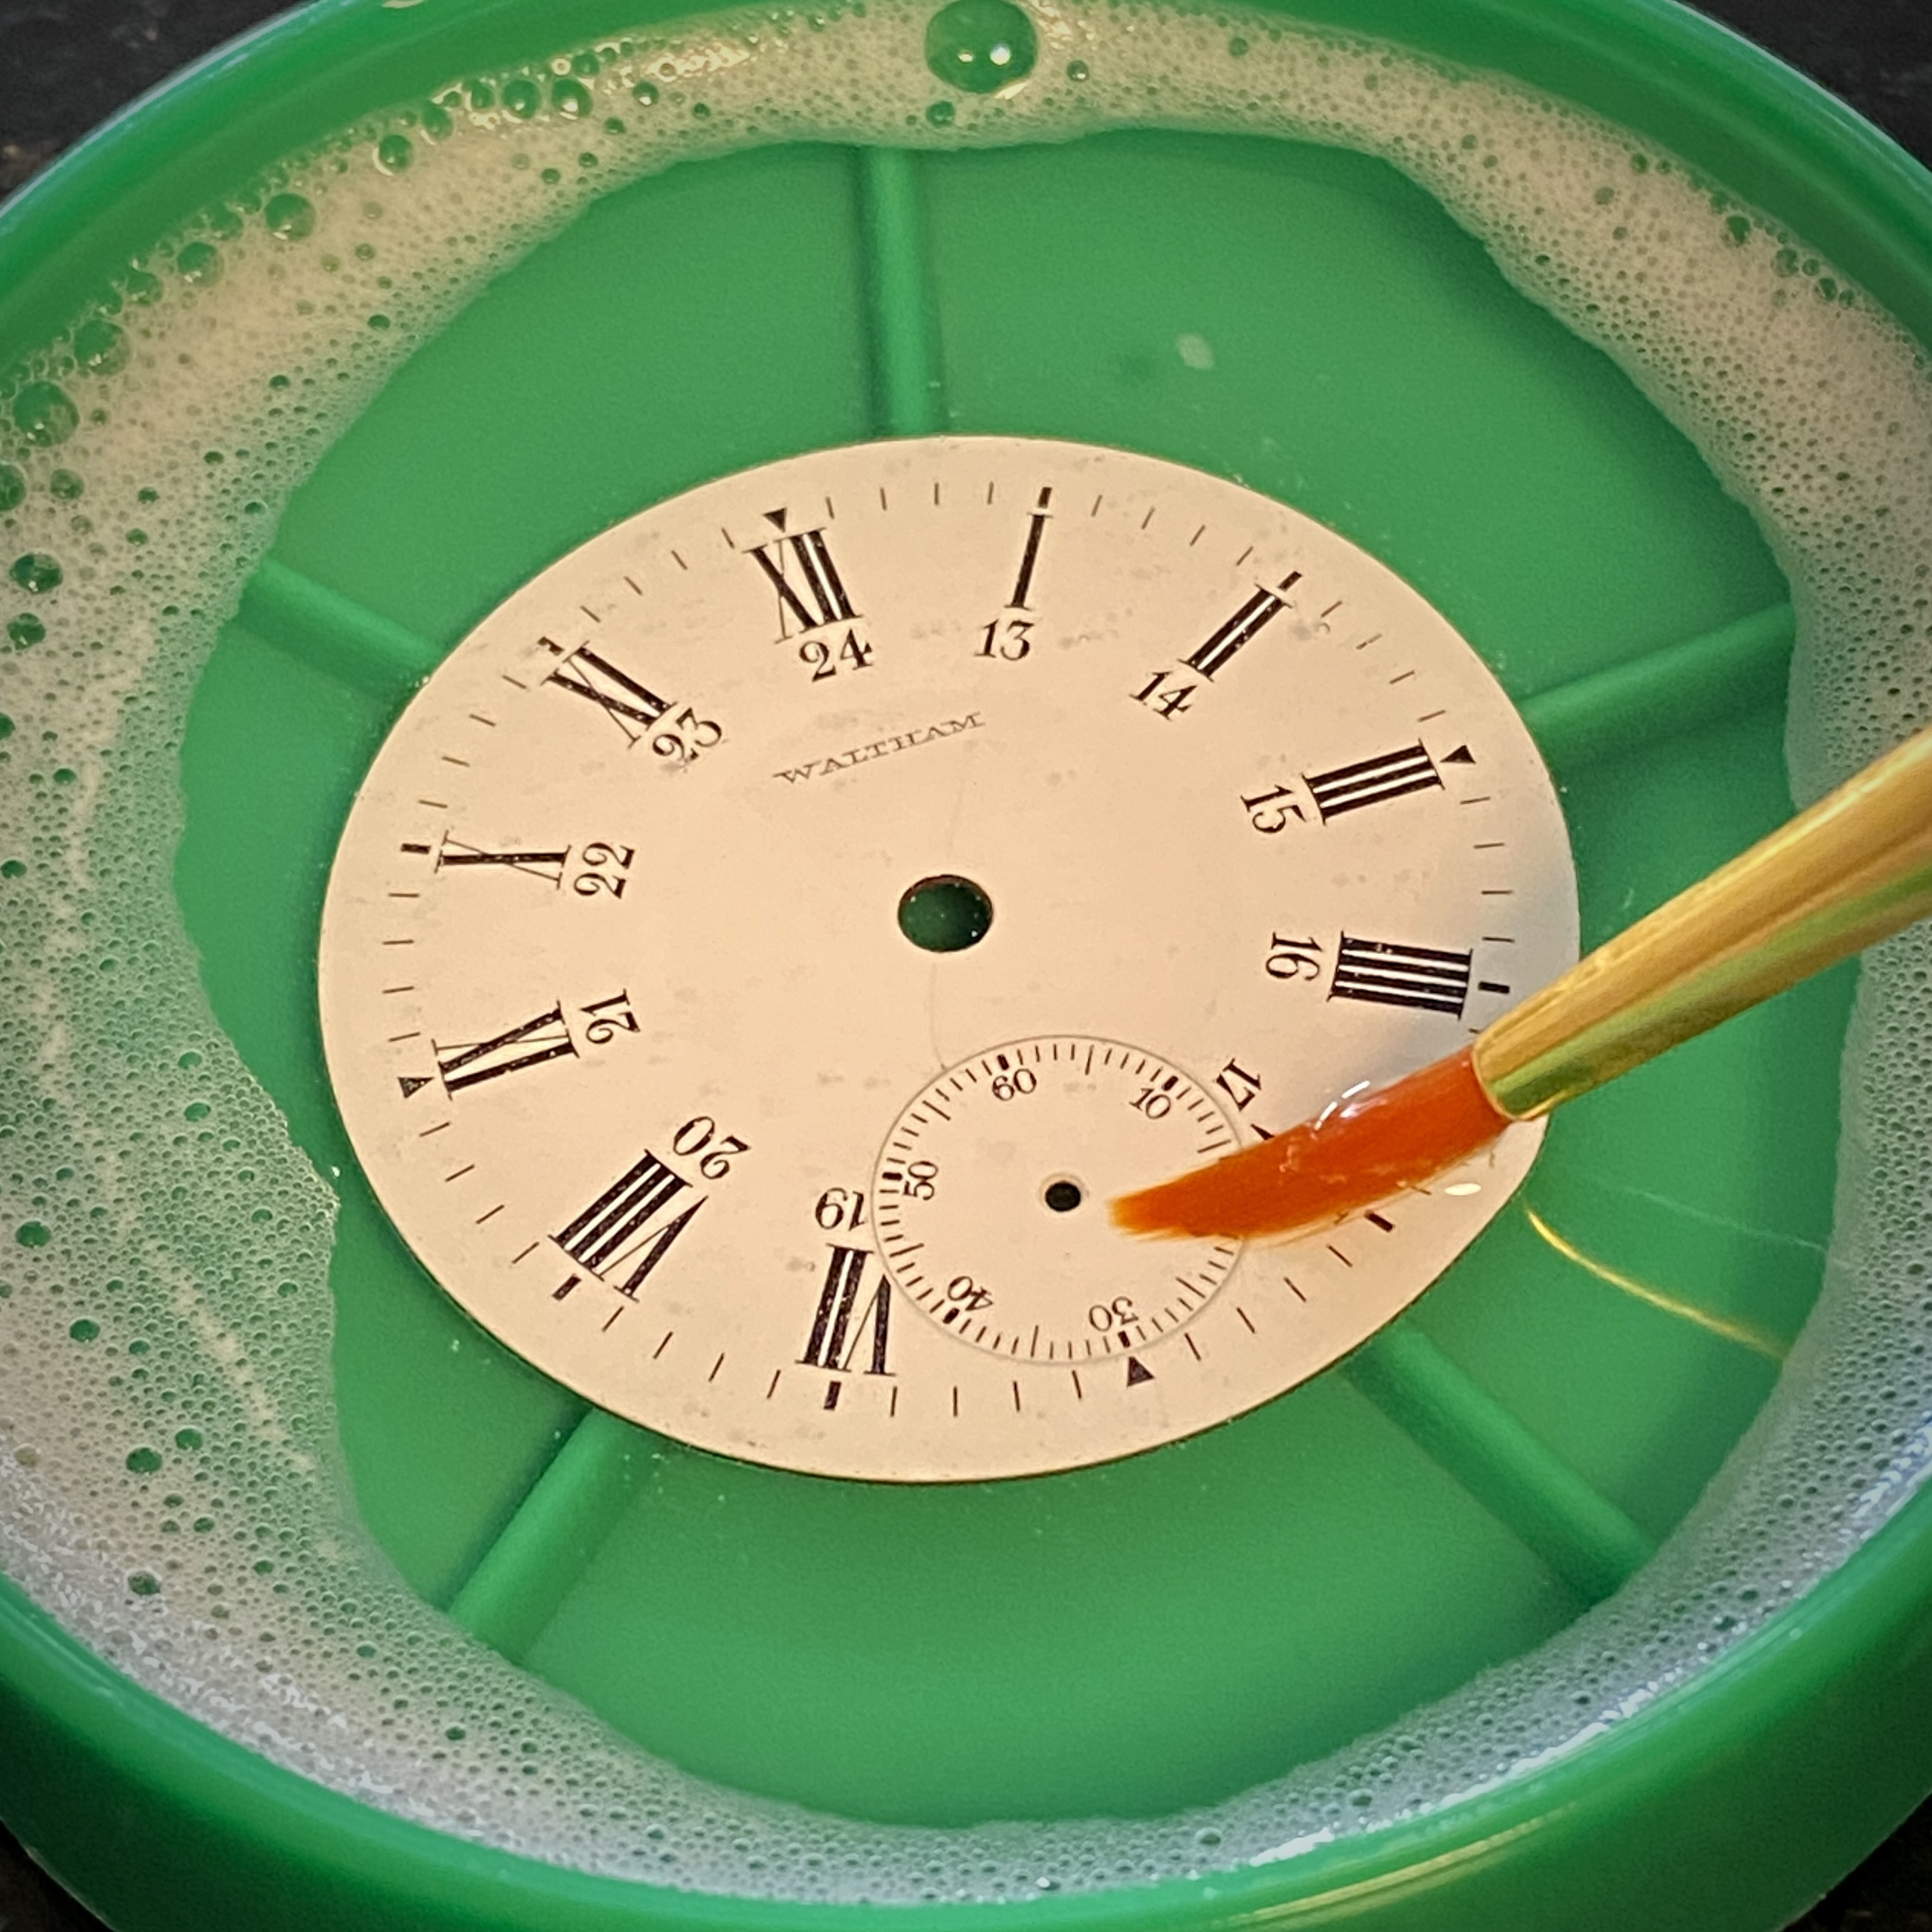
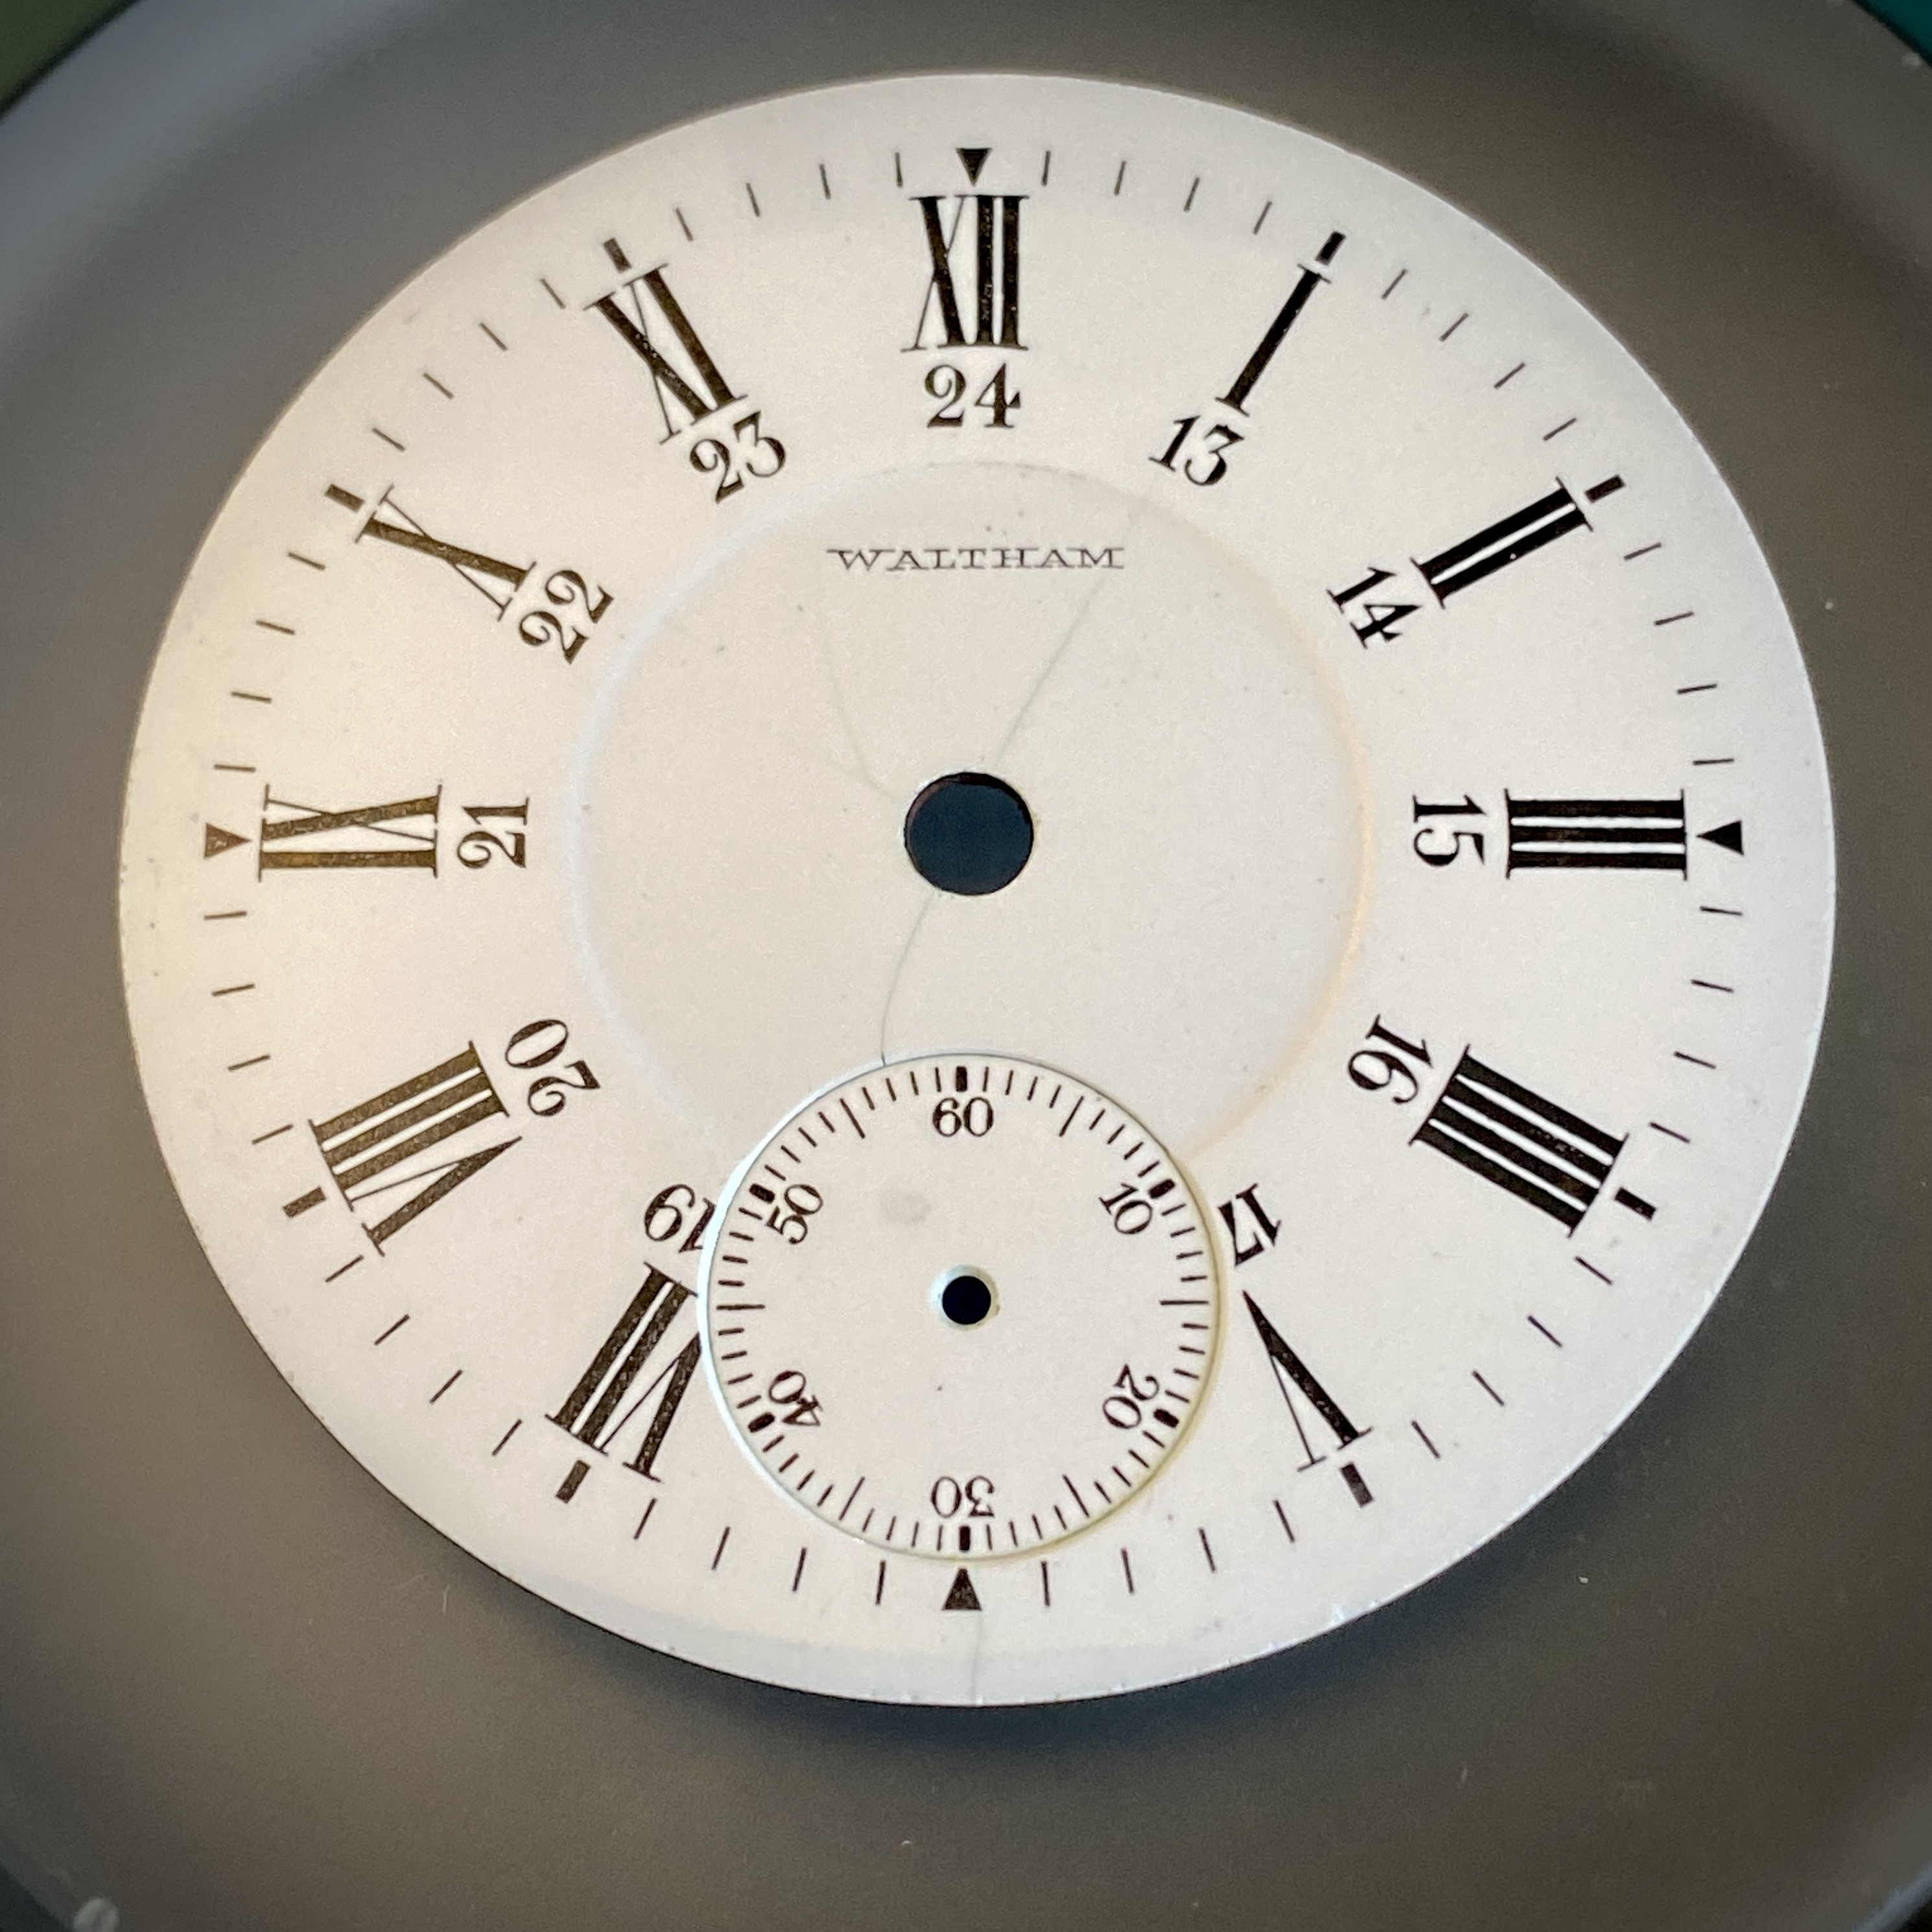
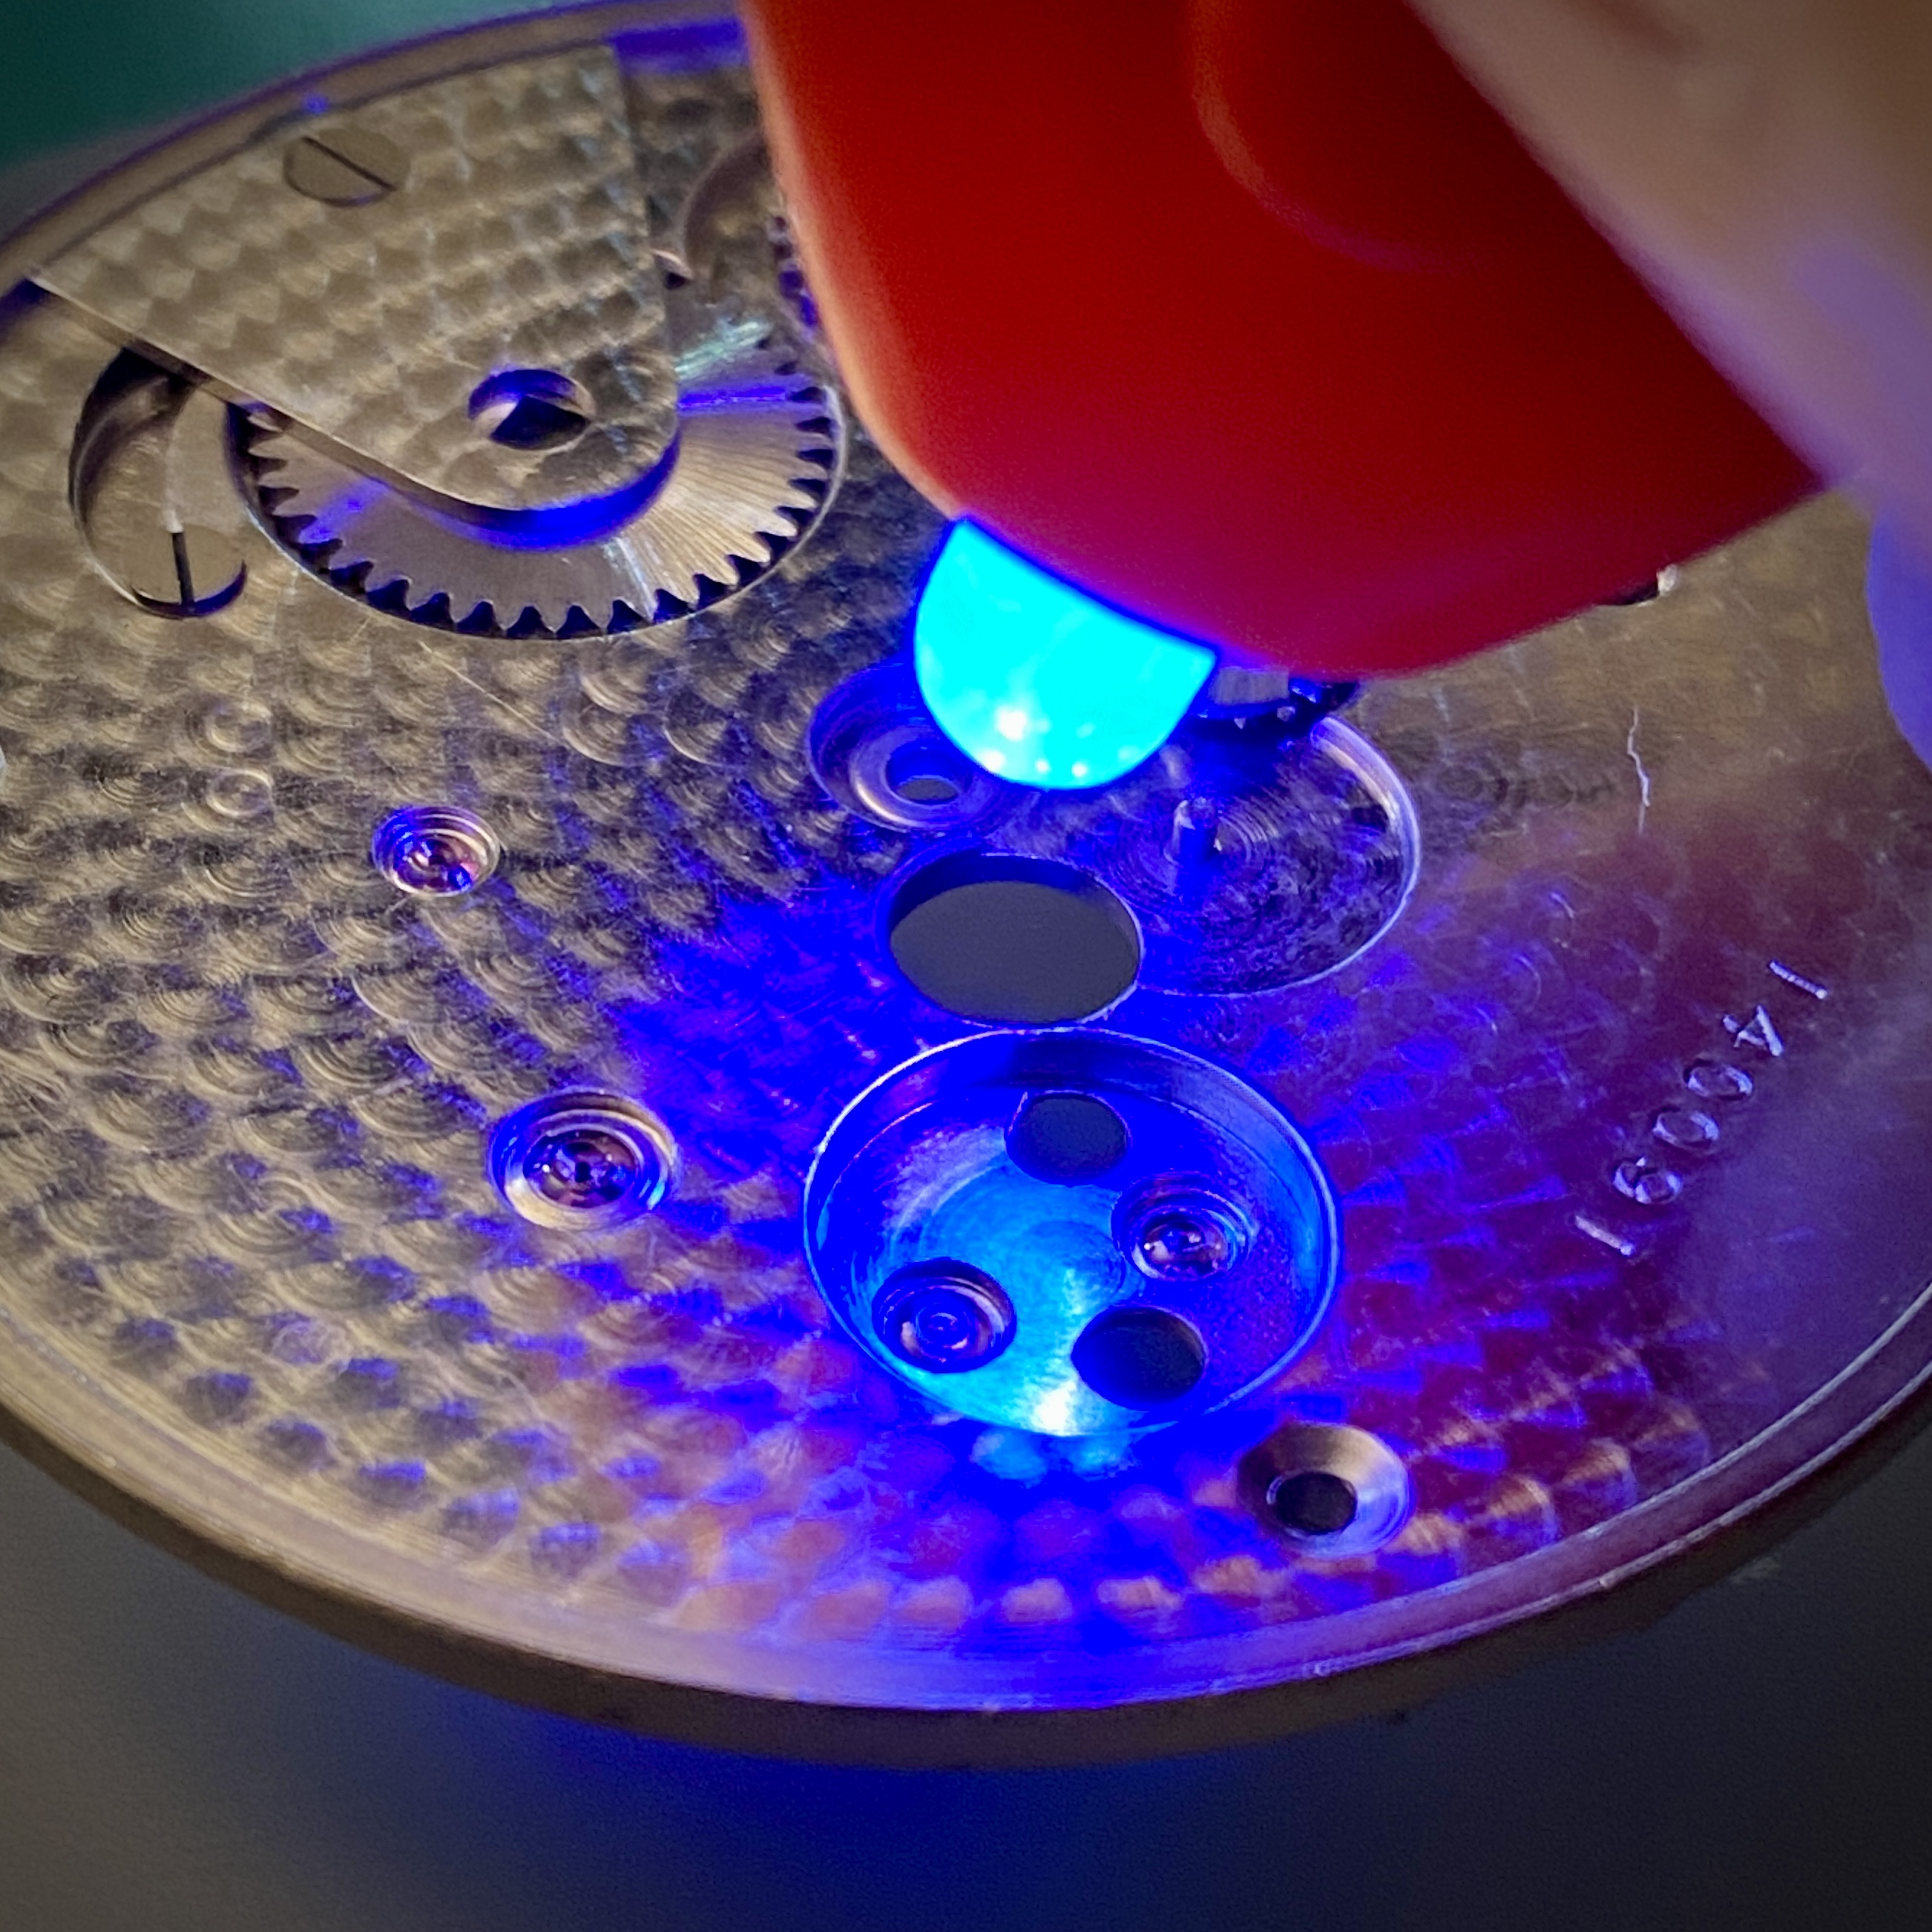
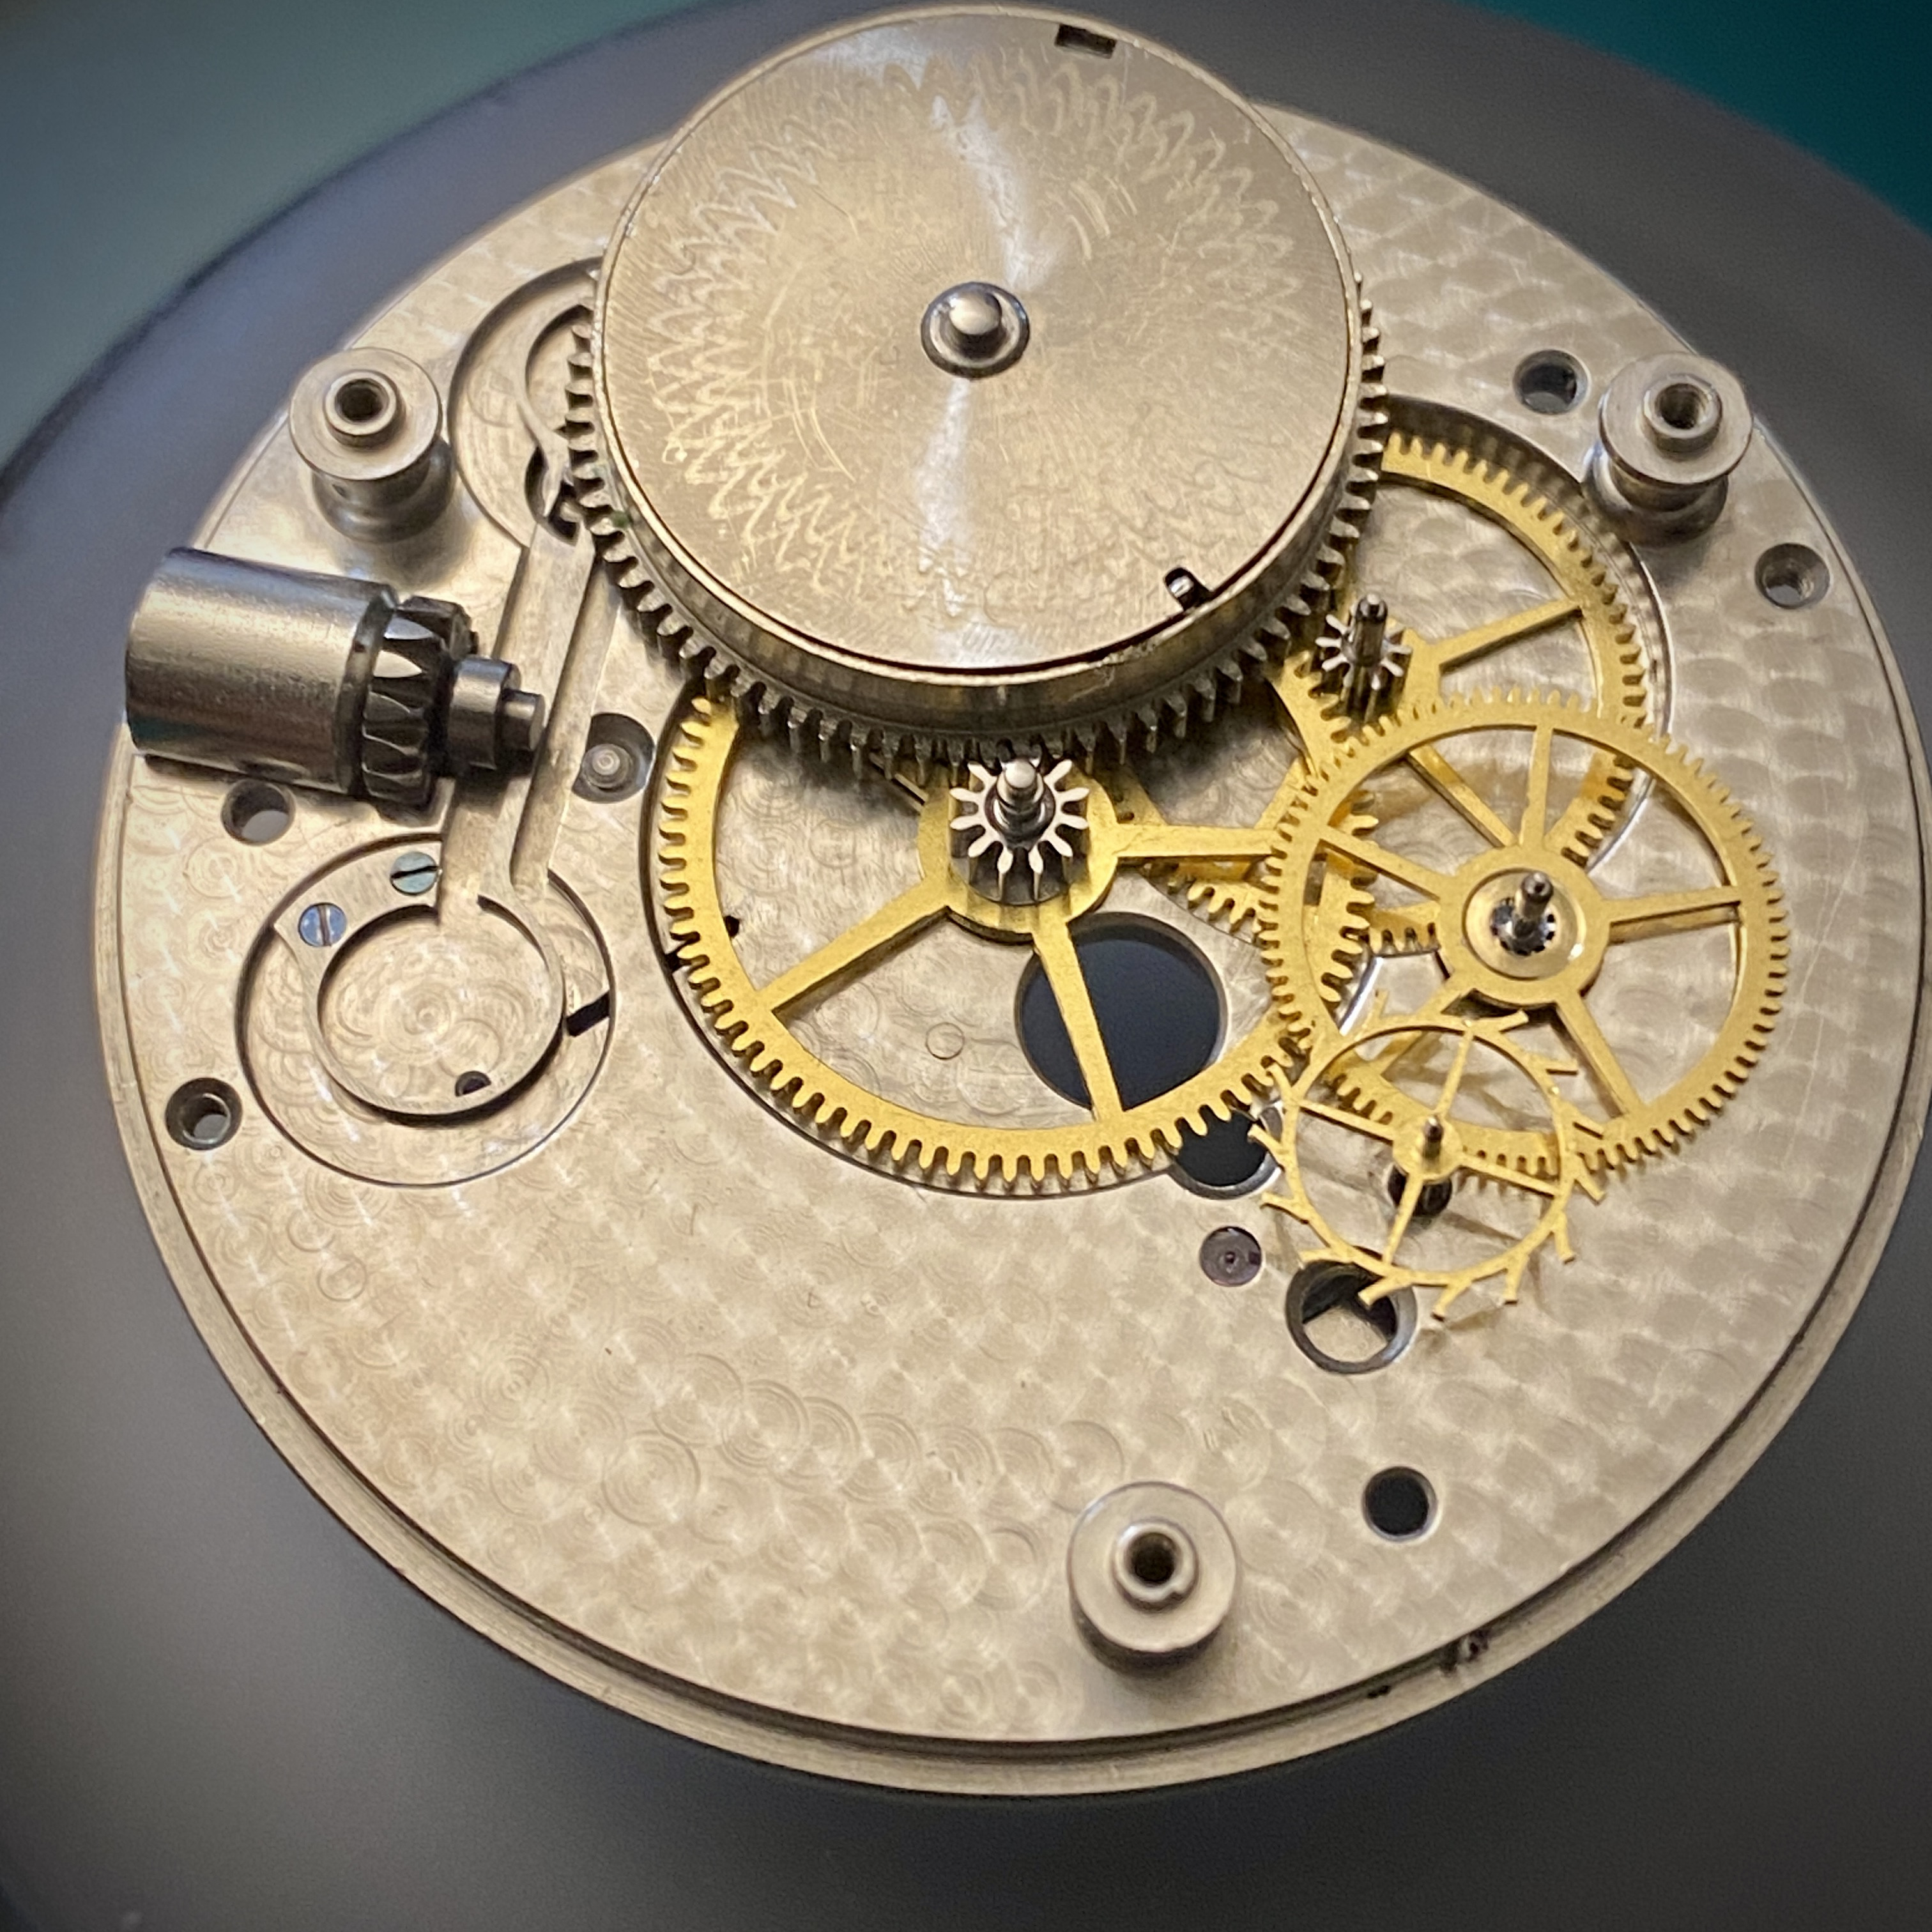
The watch itself is a Waltham pocket watch, but the movement isn't like any caliber I've worked on before. Rather than there being a main plate, it's almost as though there are two plates that sandwich together the train wheels. It reminds me somewhat of the way that mantlepiece clocks are built. Regardless, it was a fun project. Unfortunately the fall that the watch took dislodged one of the jewels, and had broken one of the pivots on the pallet fork. The jewel was easy enough to repair, I used UV Epoxy rather than trying my hand at burnishing the jewel into place since 1) I've never done that, and 2) I don't have the tools. Unfortunately I don't think I'm going to be able to repair the pallet fork. I think this might be a case of having to find a replacement part for a vintage caliber -- no easy task. But finding obscure parts is one thing that the internet is quite good for (or so I've heard).

Anyway, here are some pics from the disassembly and cleaning.


dogwood

I'm Pretty Popular
Patron
Section Moderator
Certified
7/9/21
2,322
4,884
113
Canada
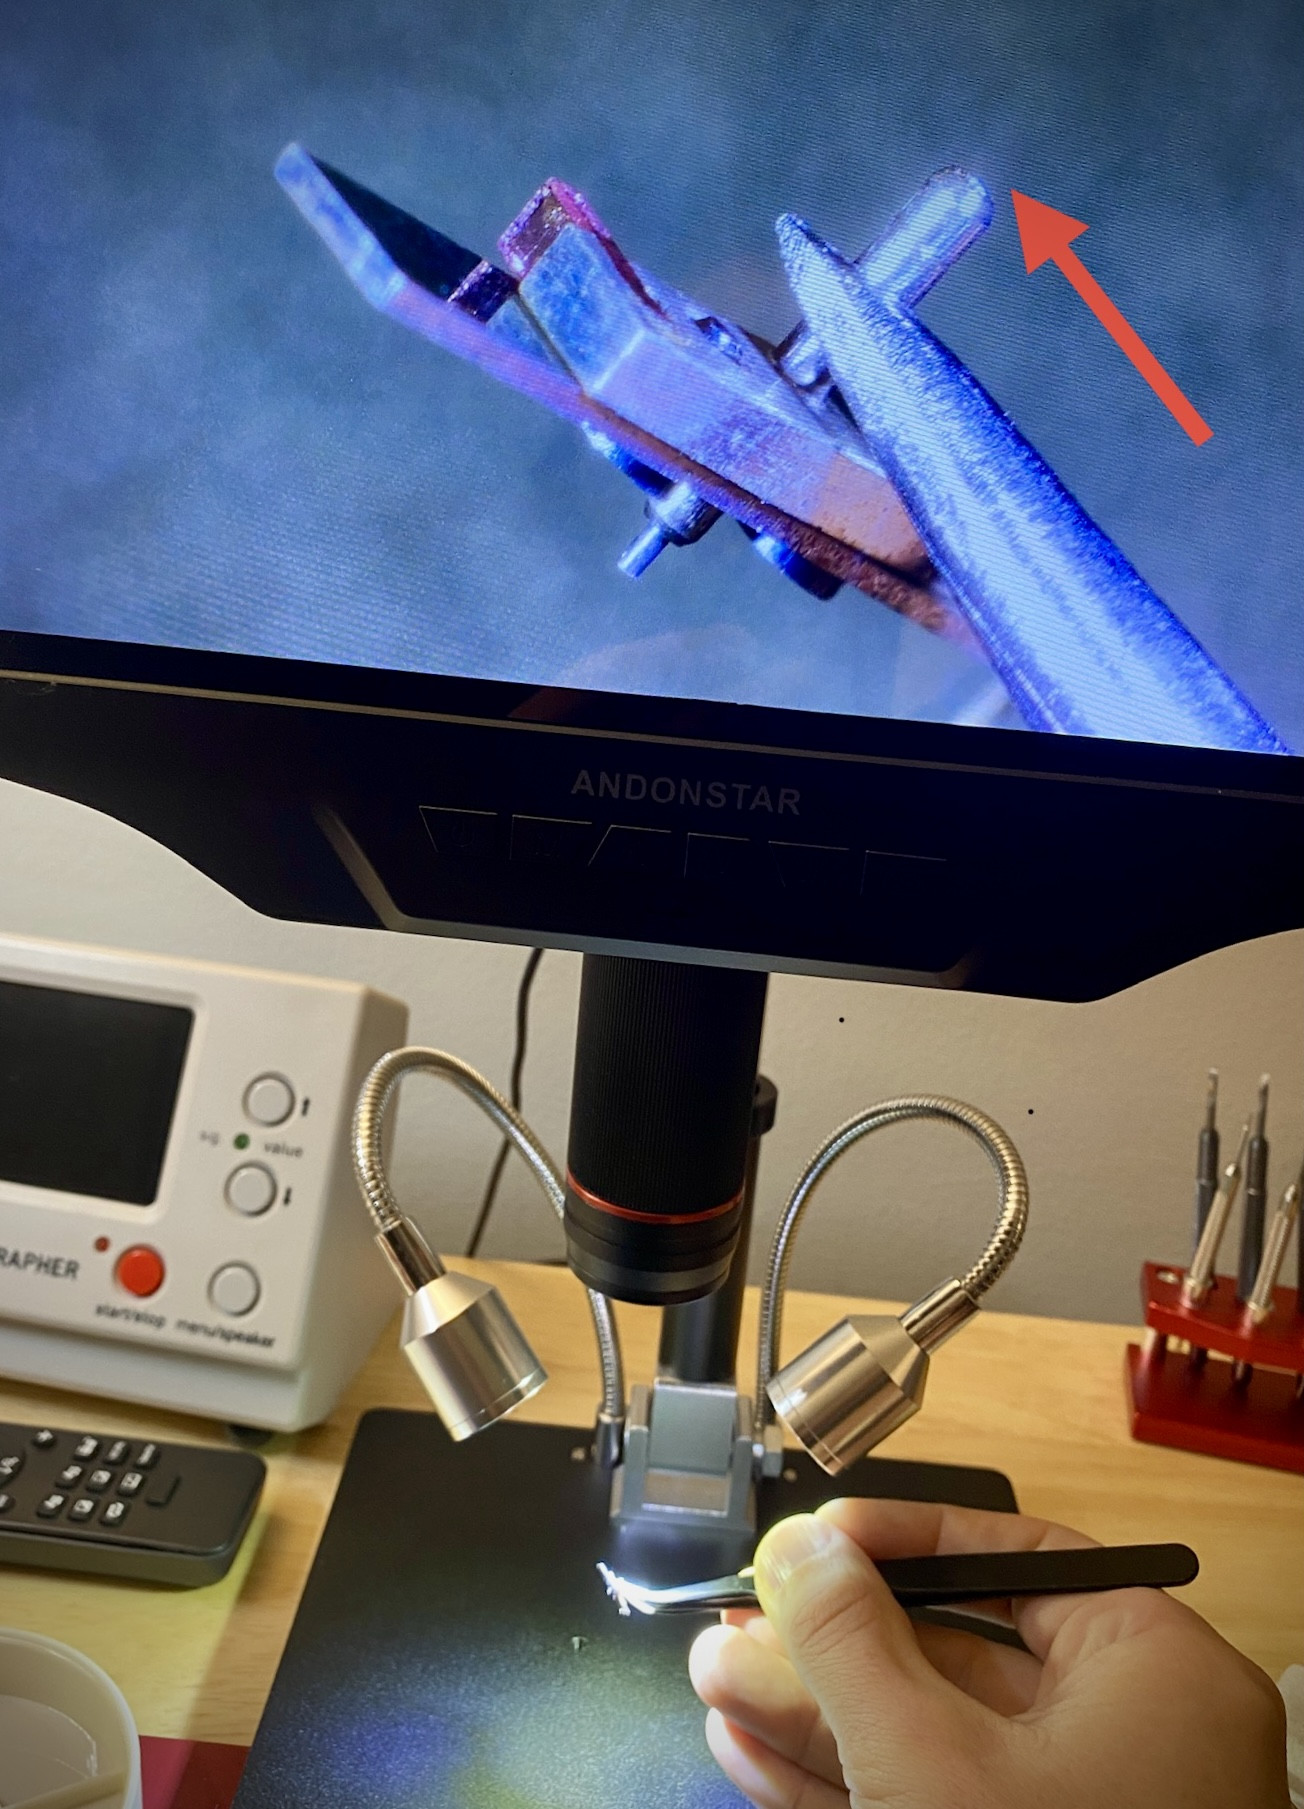
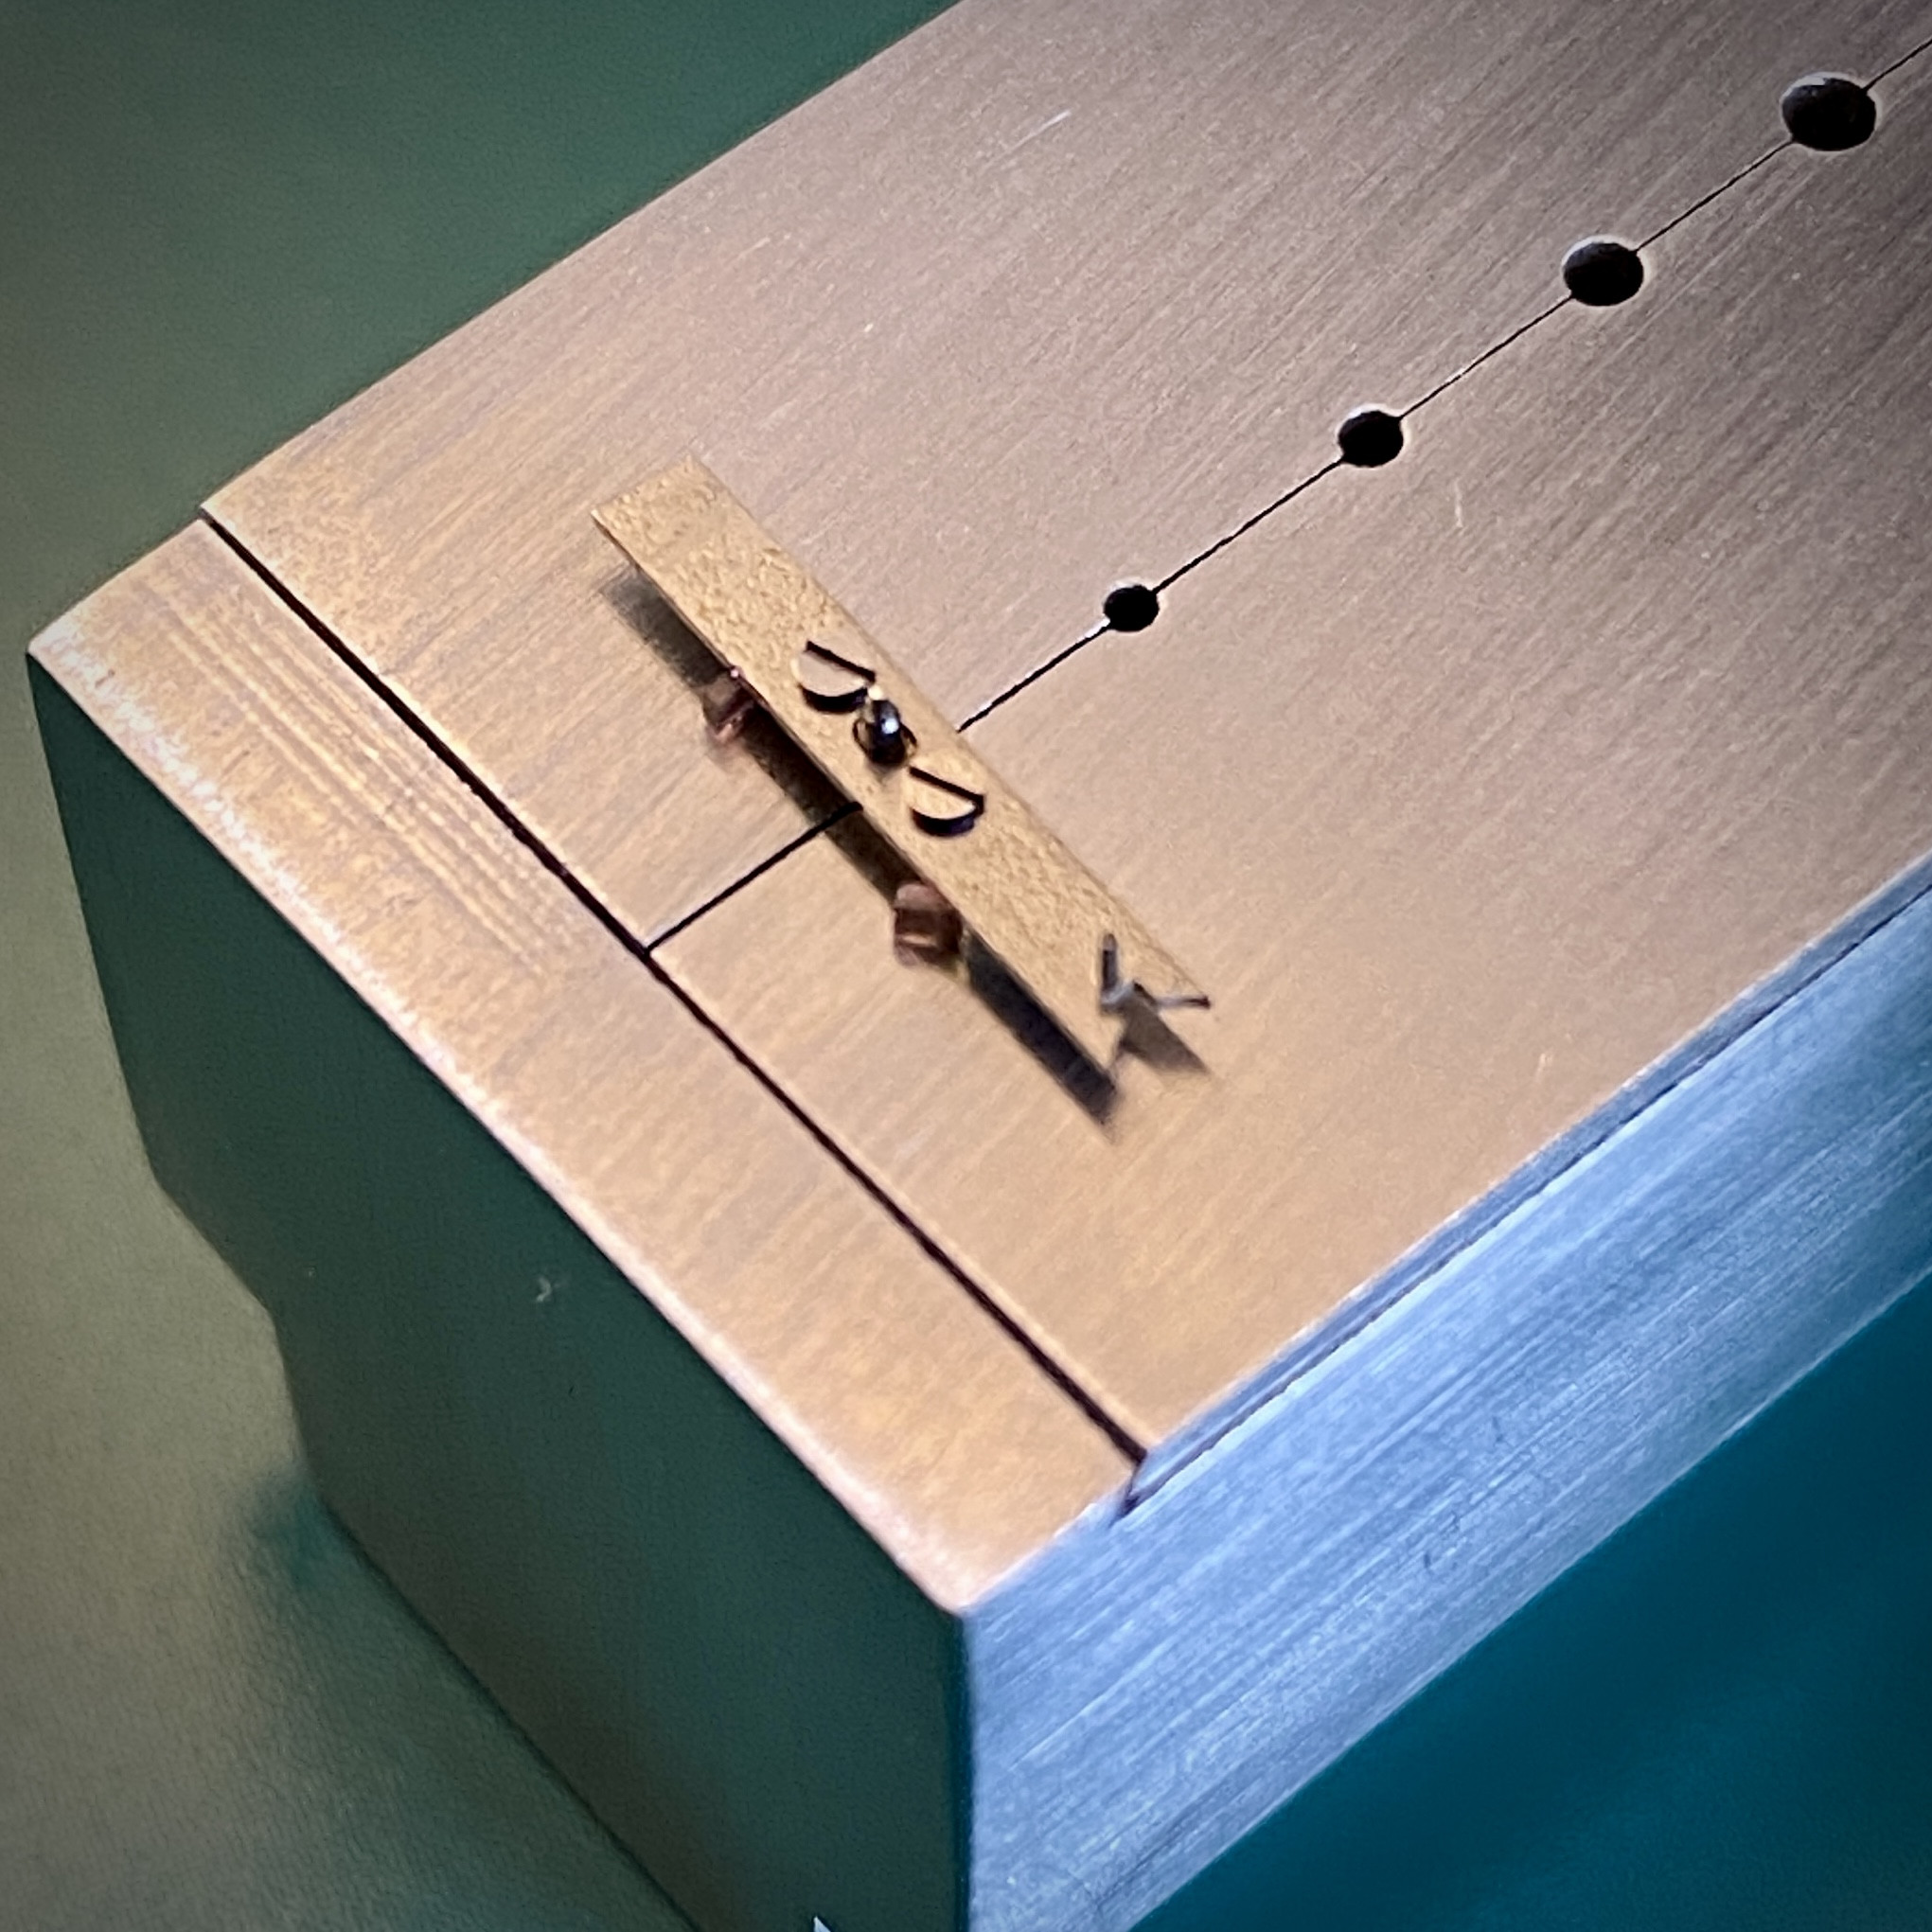
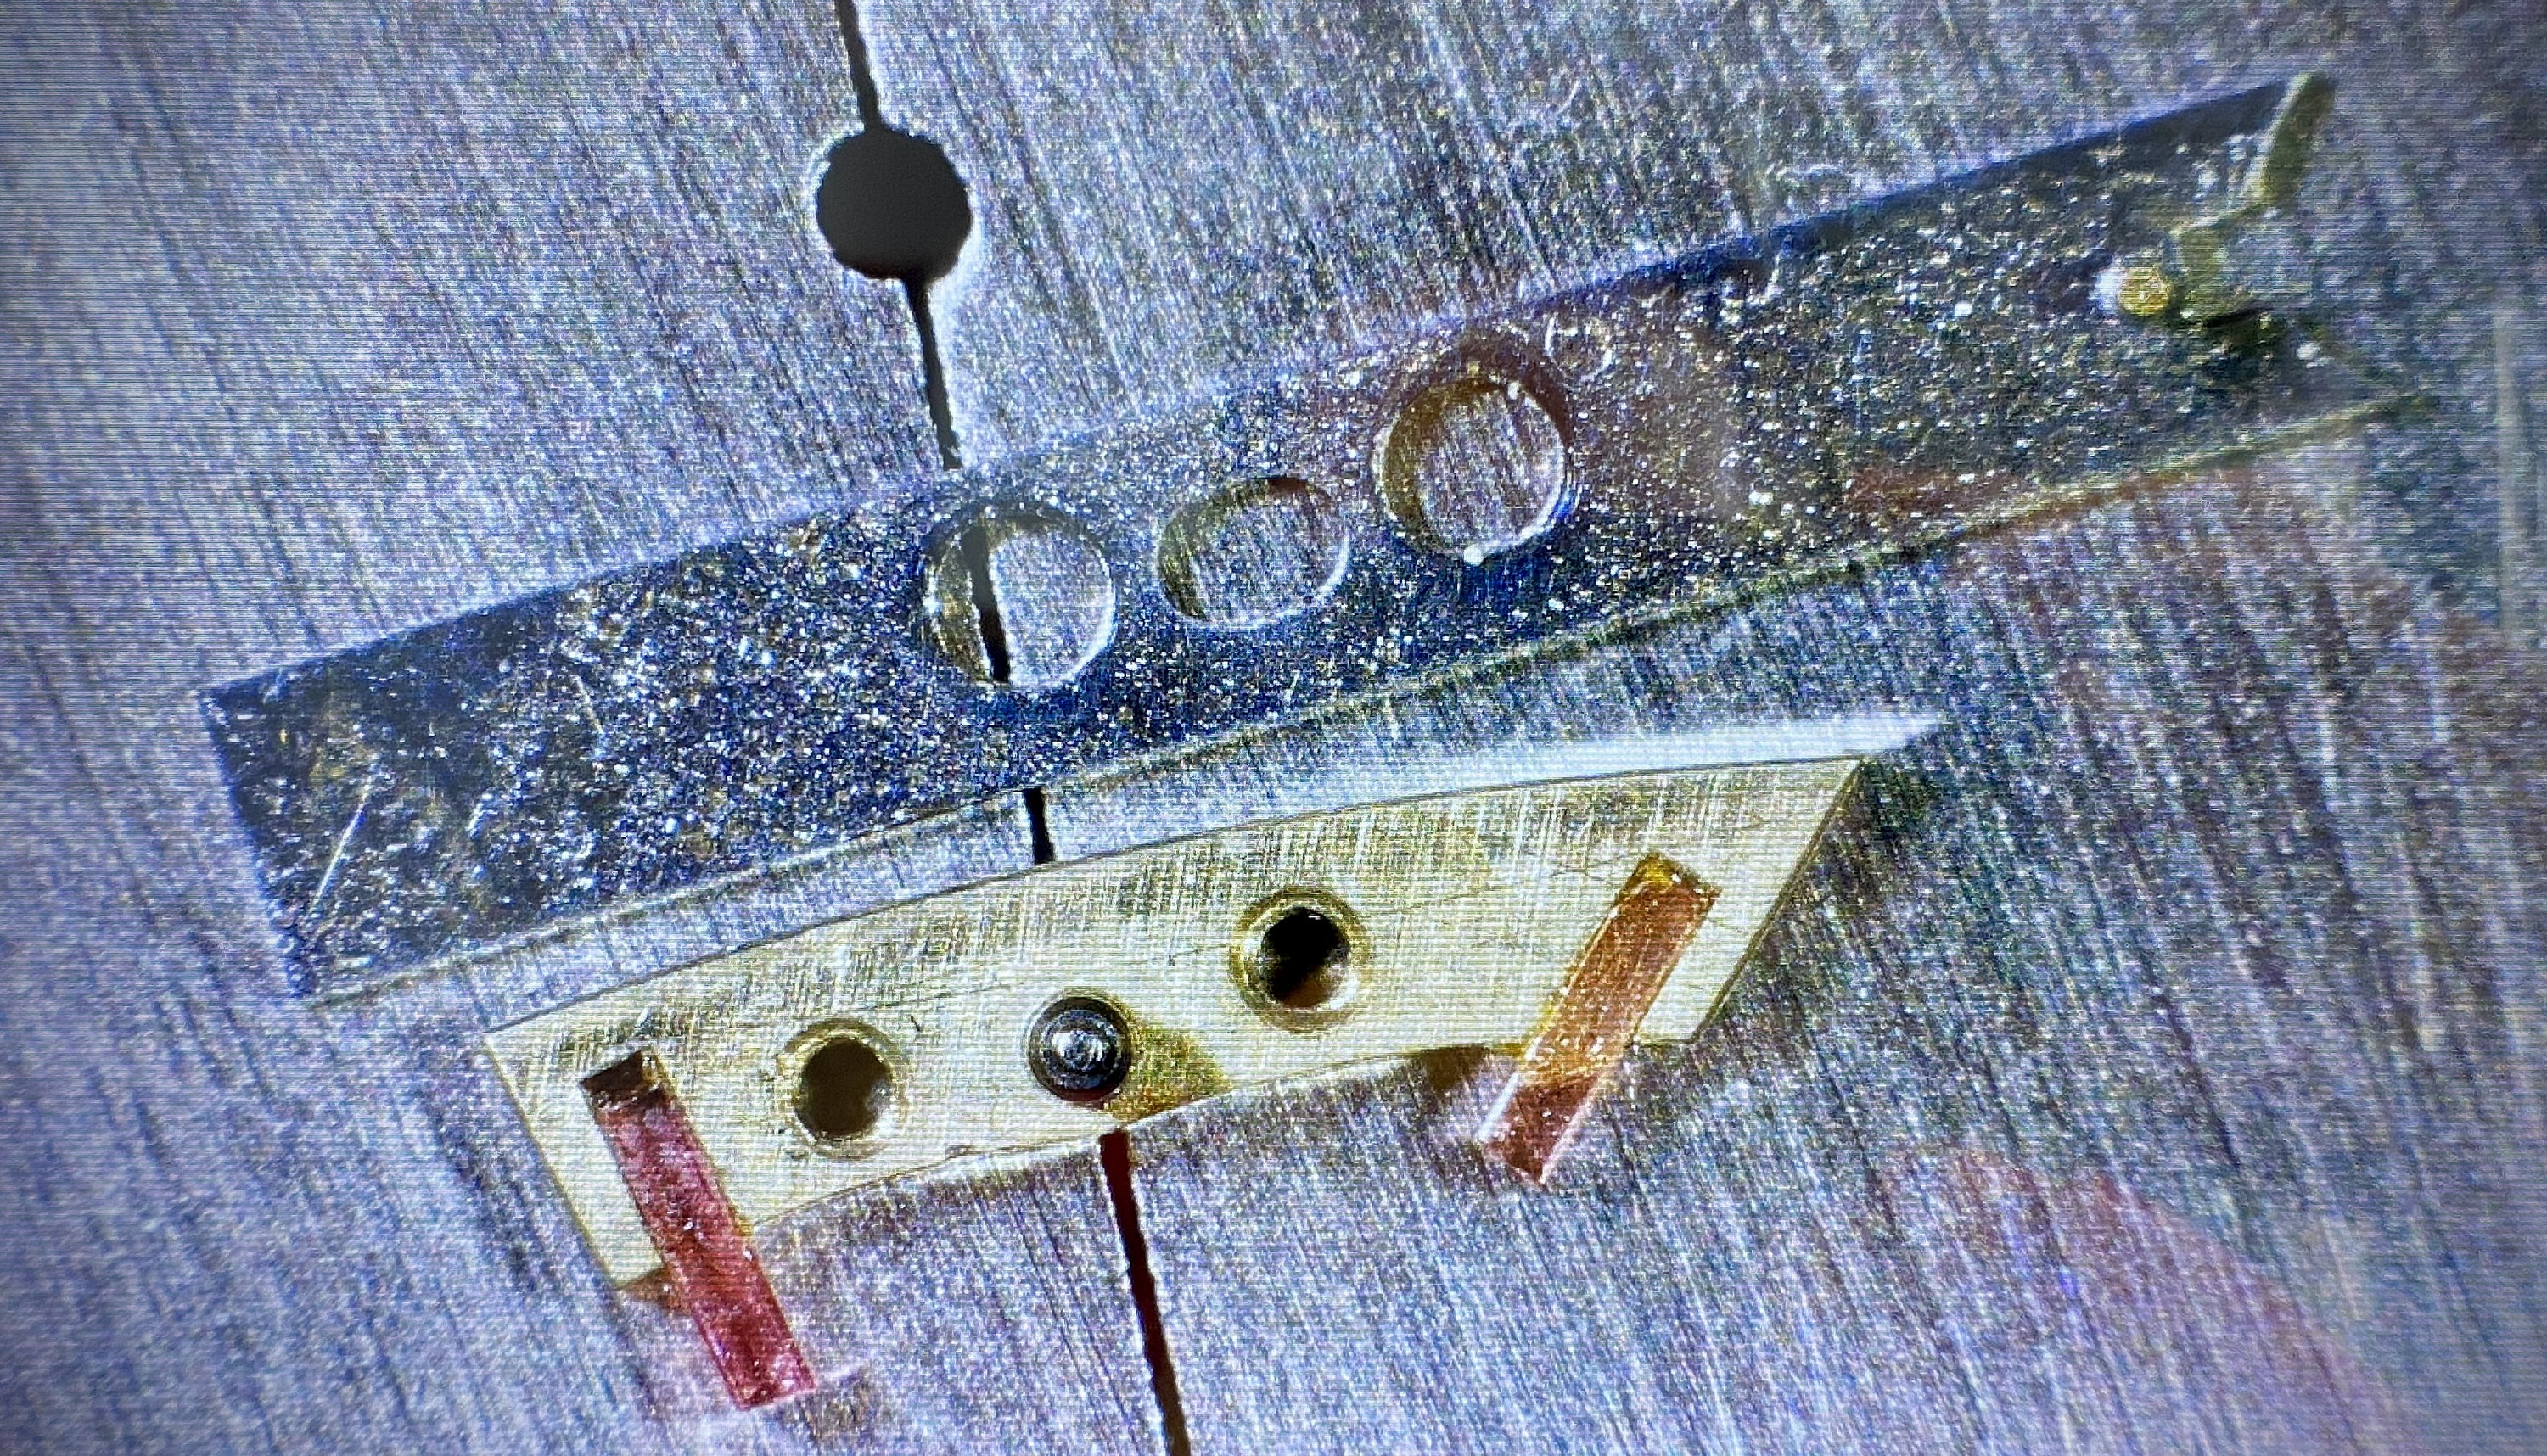
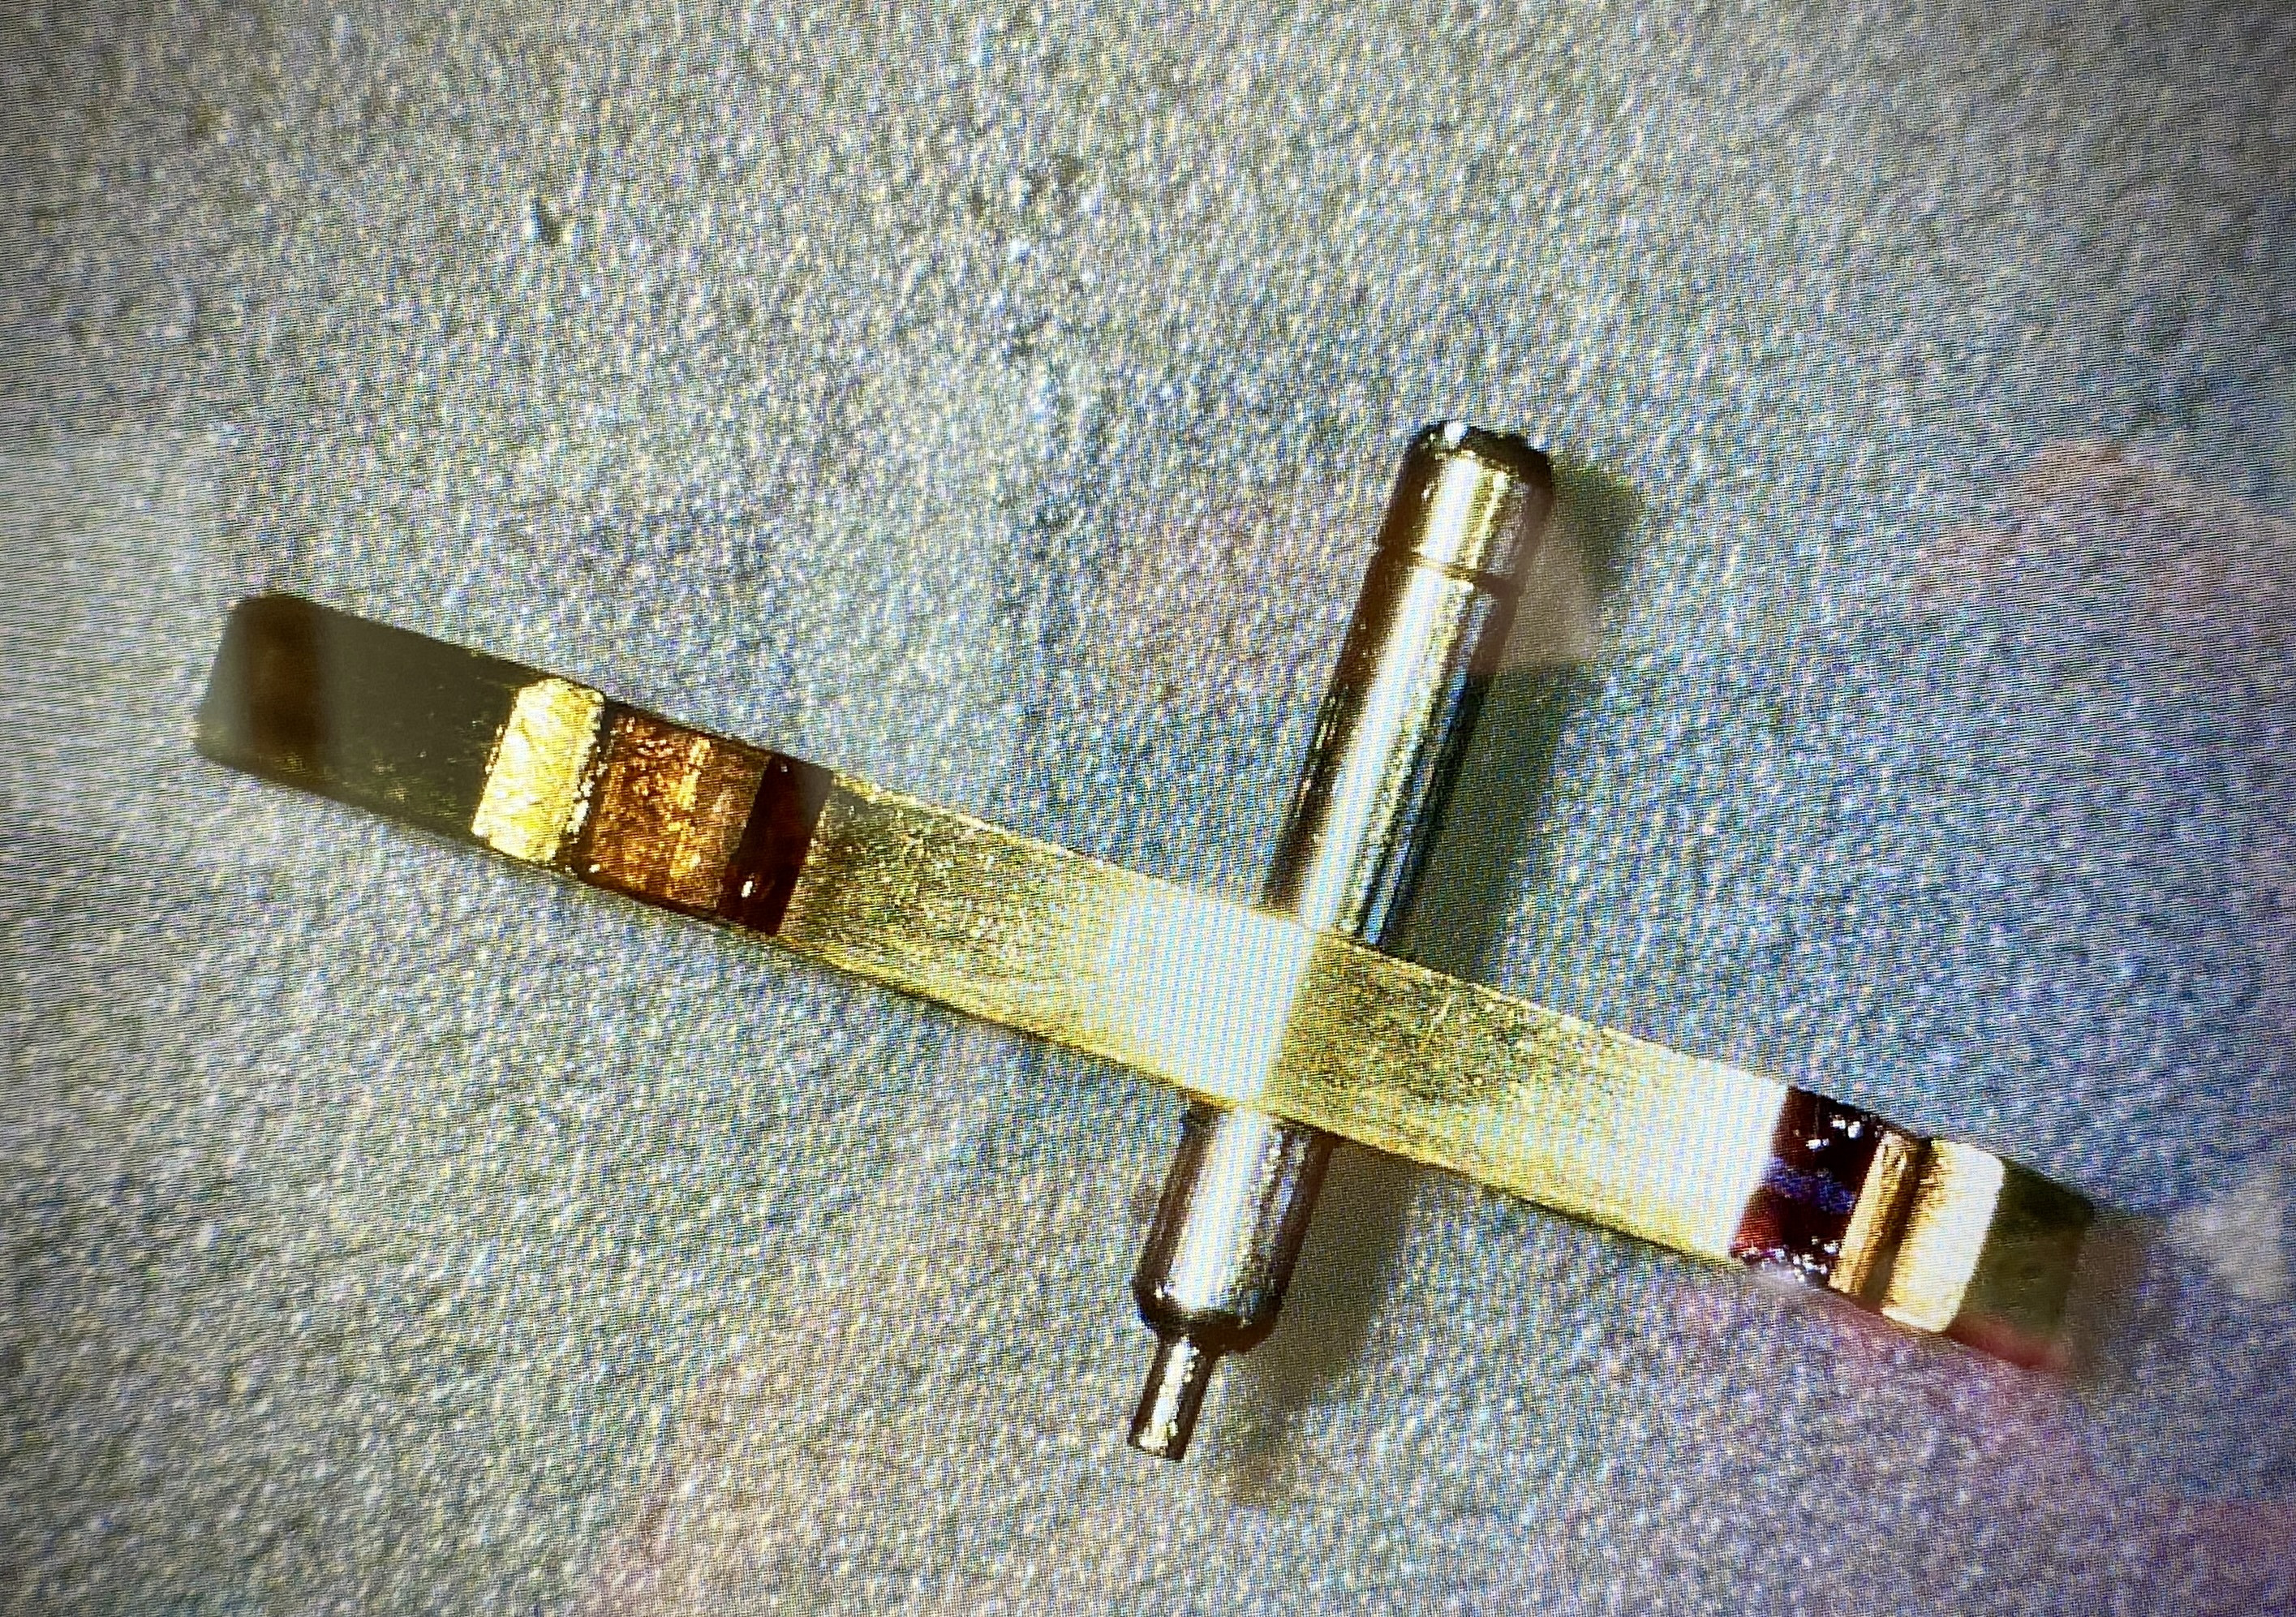
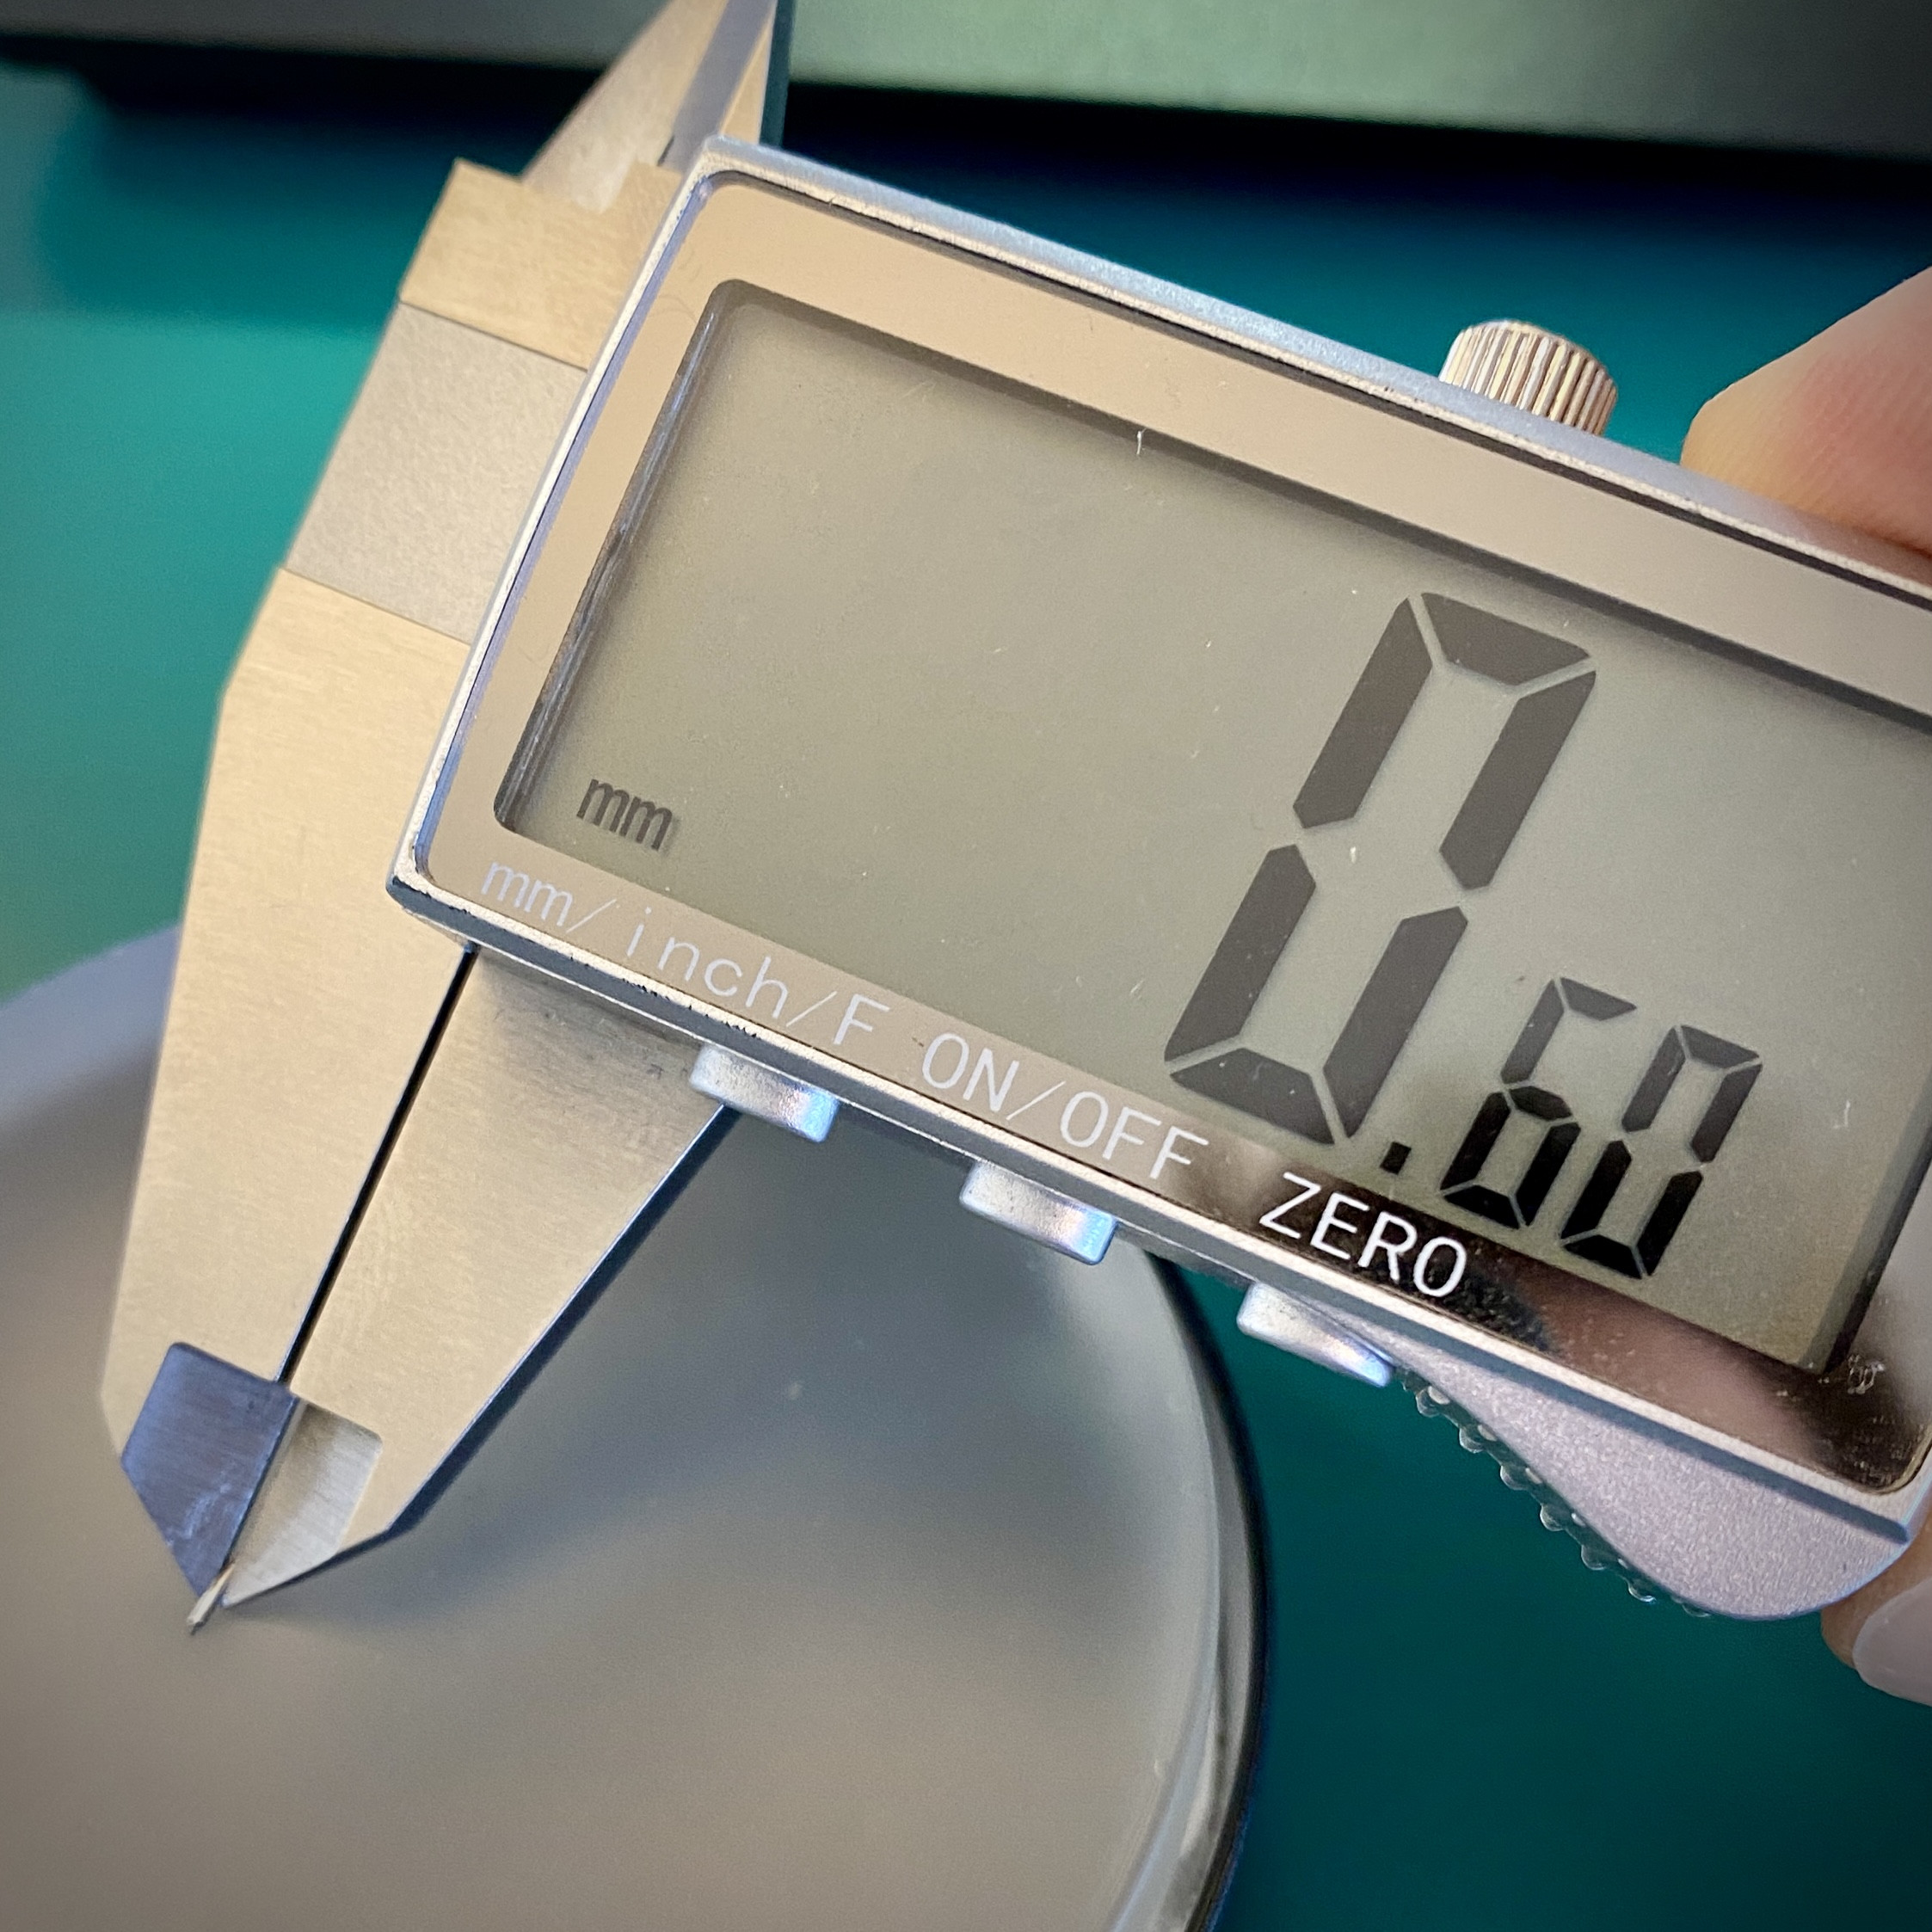
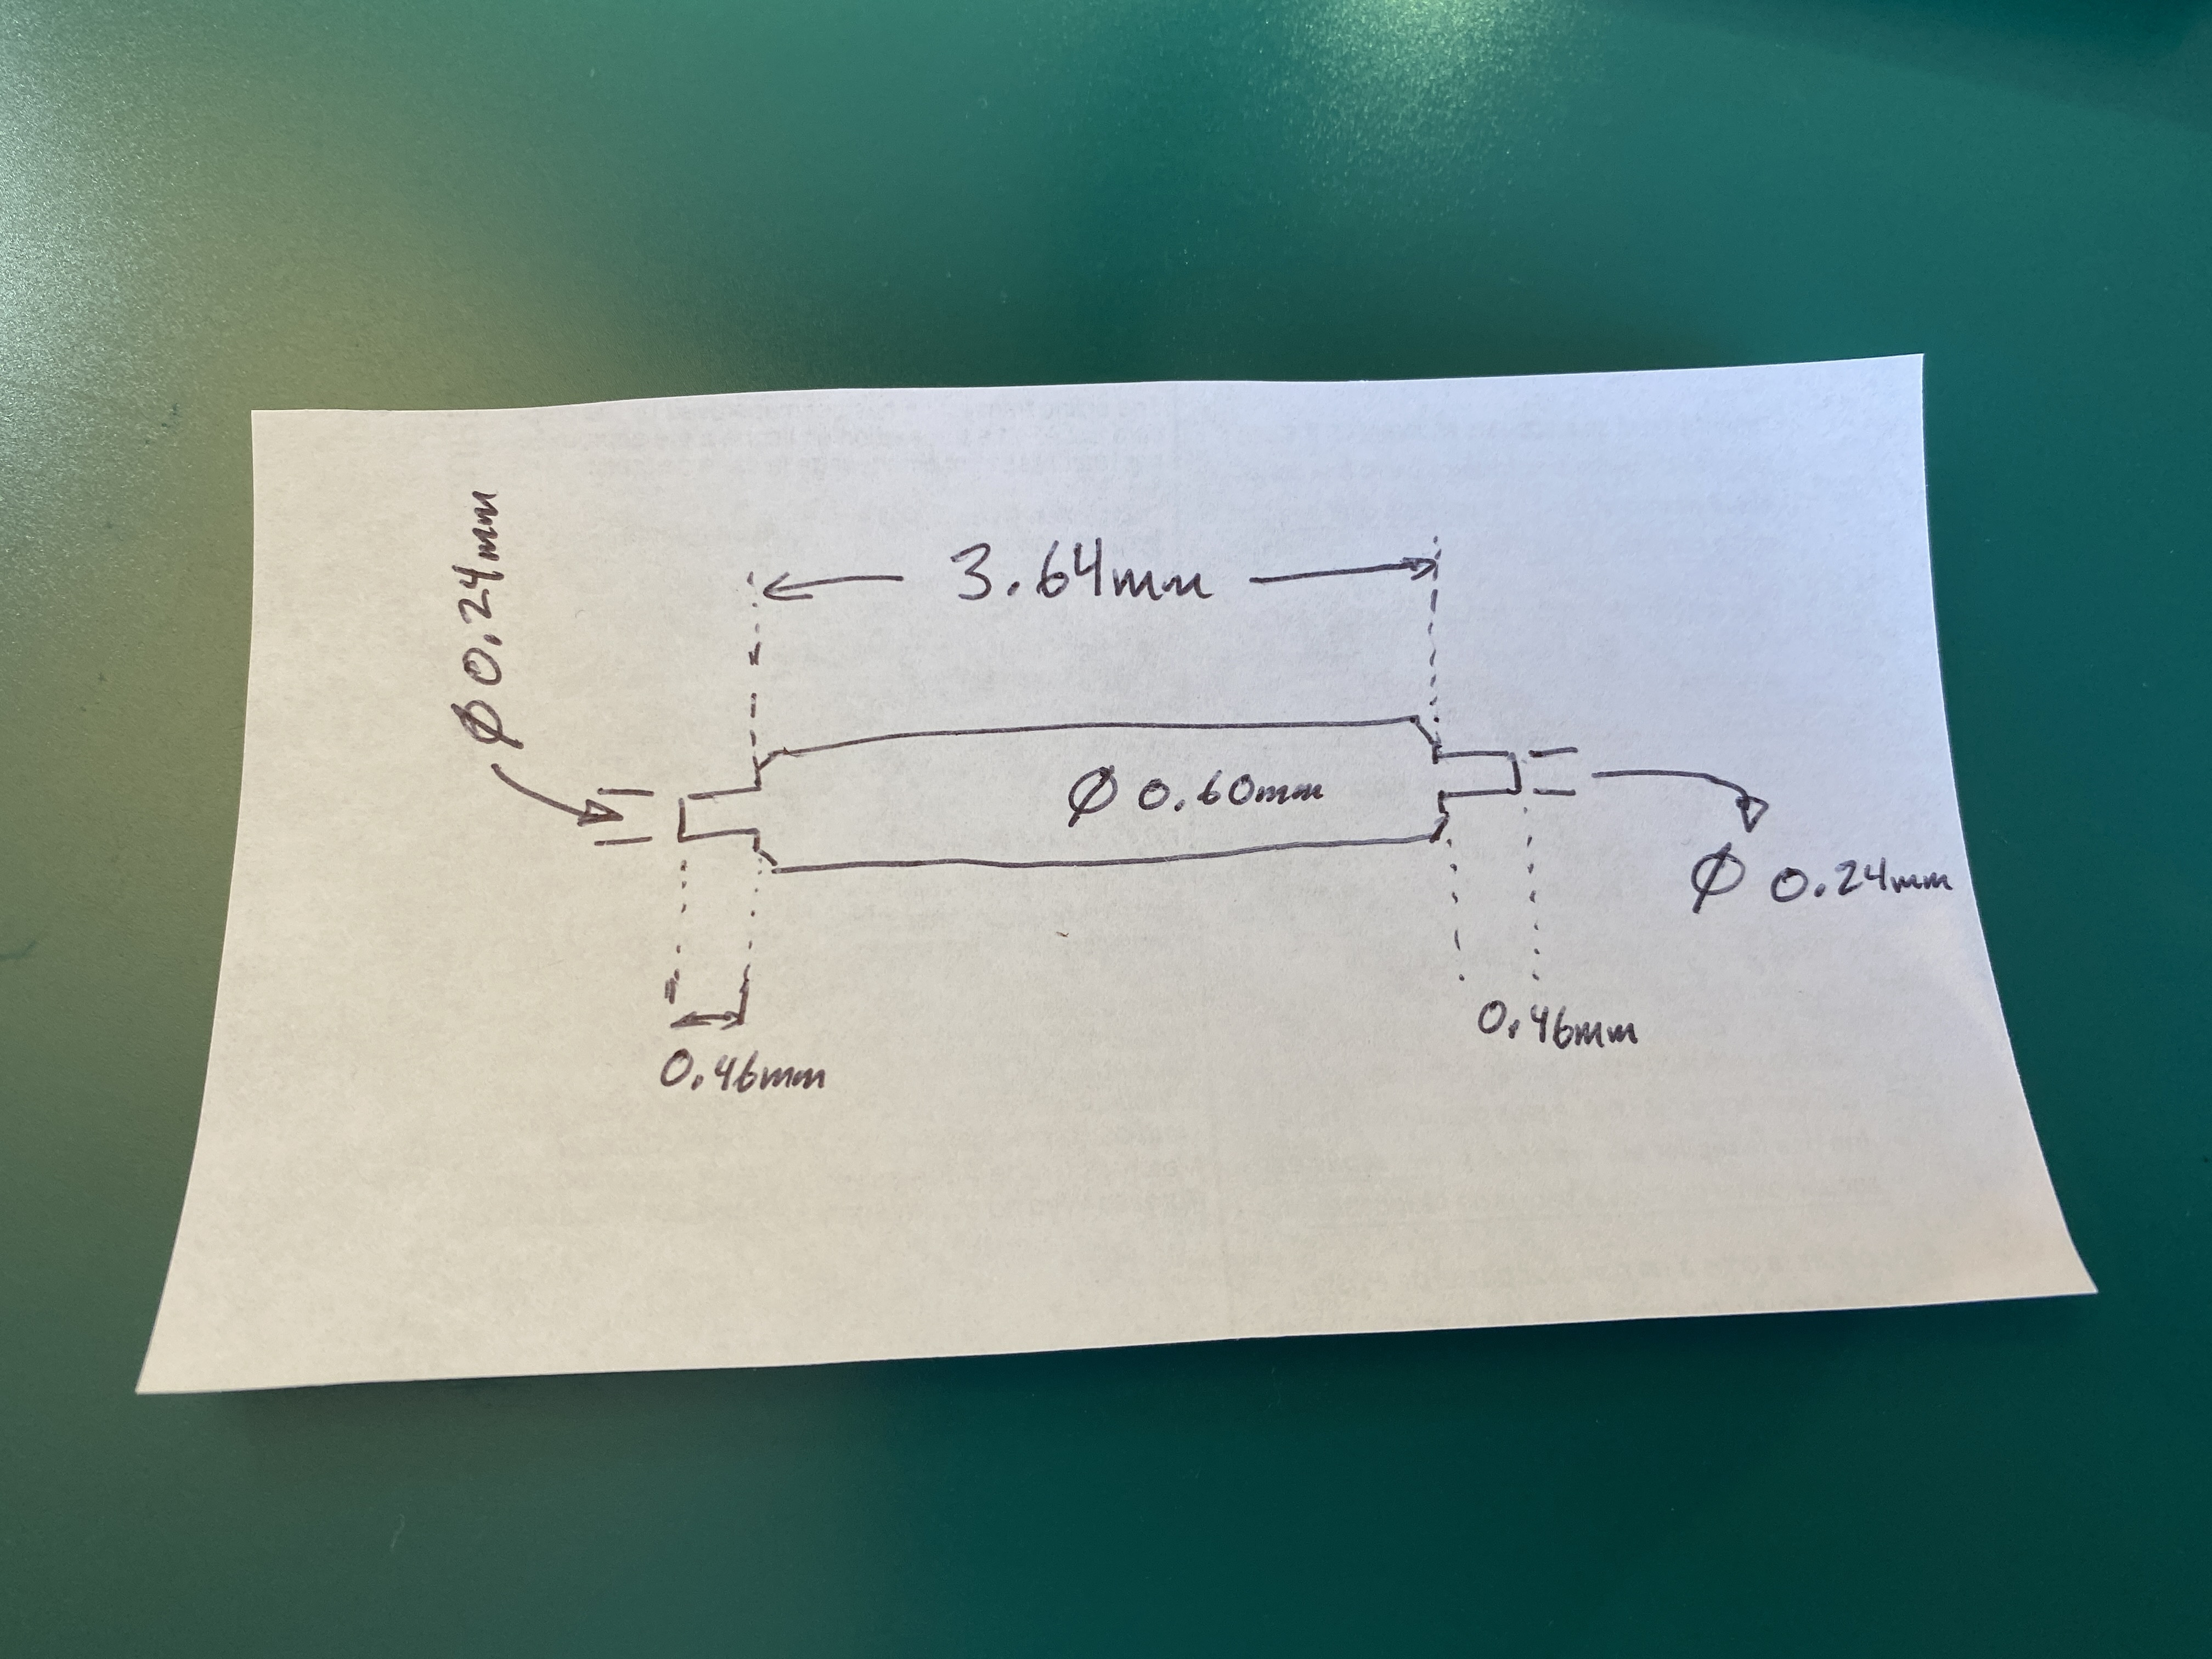
So I got to thinking last night that the Waltham pallet fork is actually an assembly of three parts: the pallet stone holder, the balance wheel fork, and the arbor. Only the arbor is broken, so I figured maybe I should see about disassembling the part to get some measurements of the arbor.


It’s possible this is something that could be made on a jeweler’s lathe by grinding down some 0.60mm round stock.
 

dogwood

I'm Pretty Popular
Patron
Section Moderator
Certified
7/9/21
2,322
4,884
113
Canada
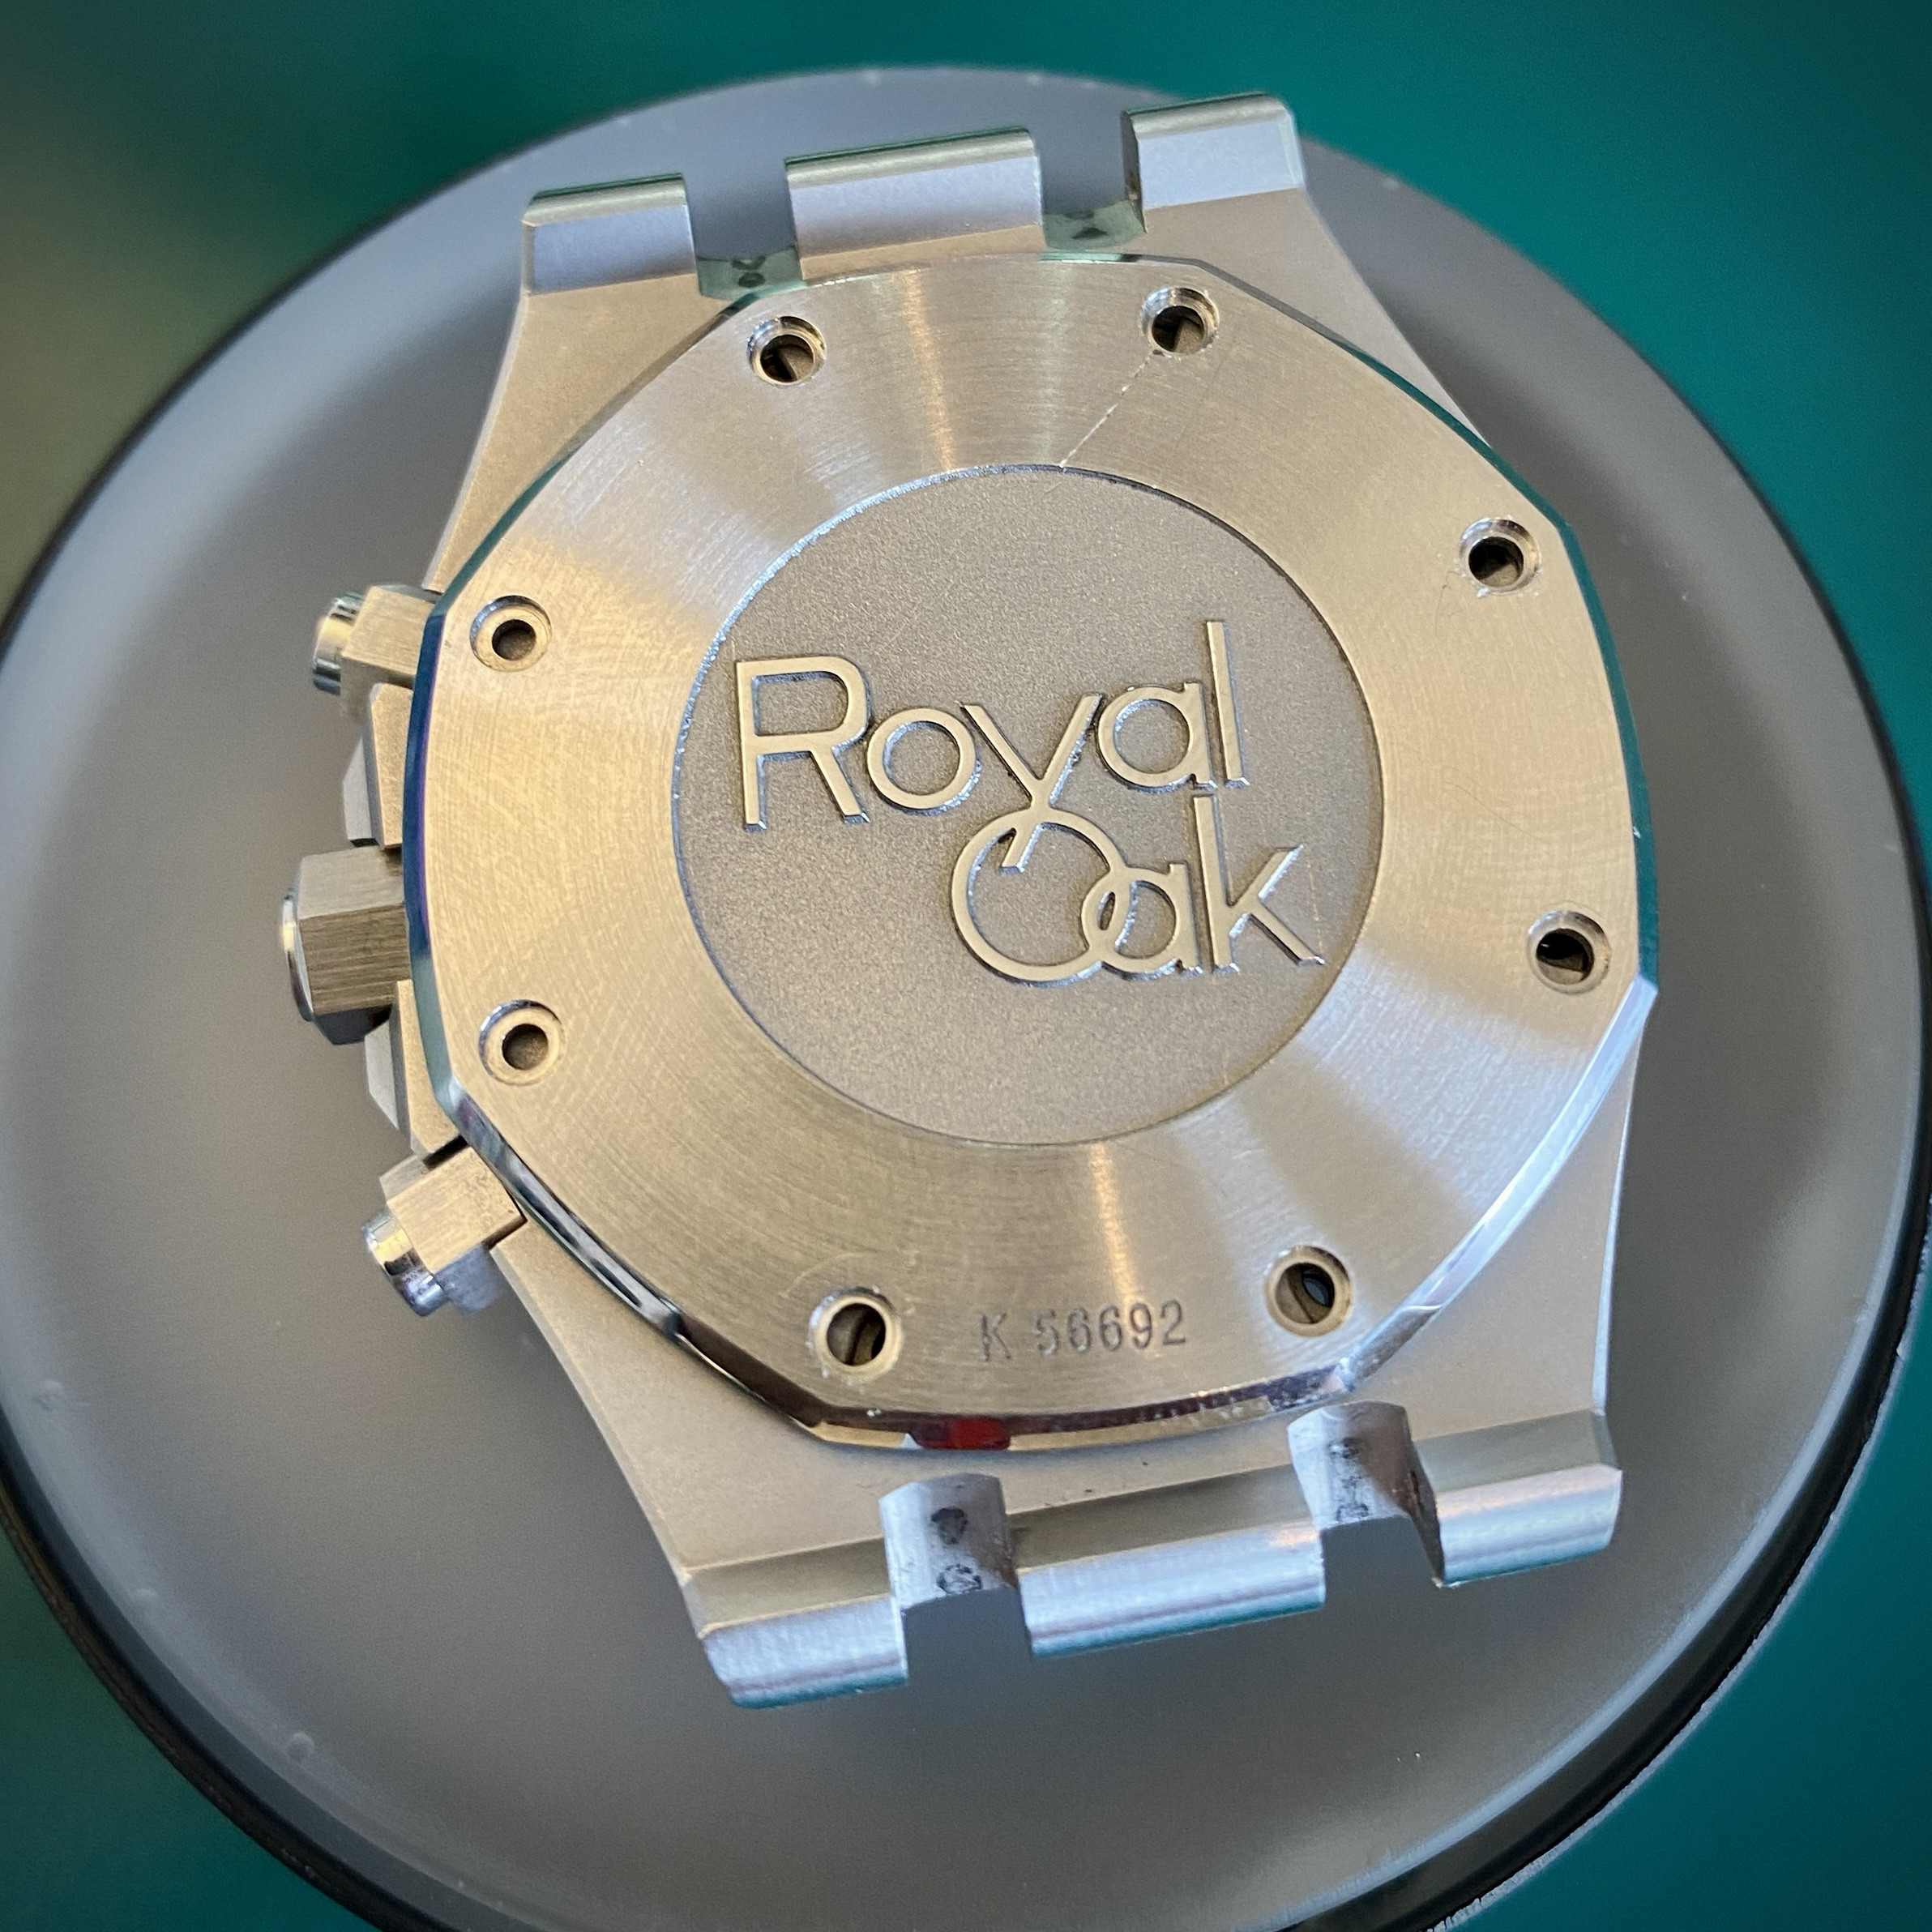
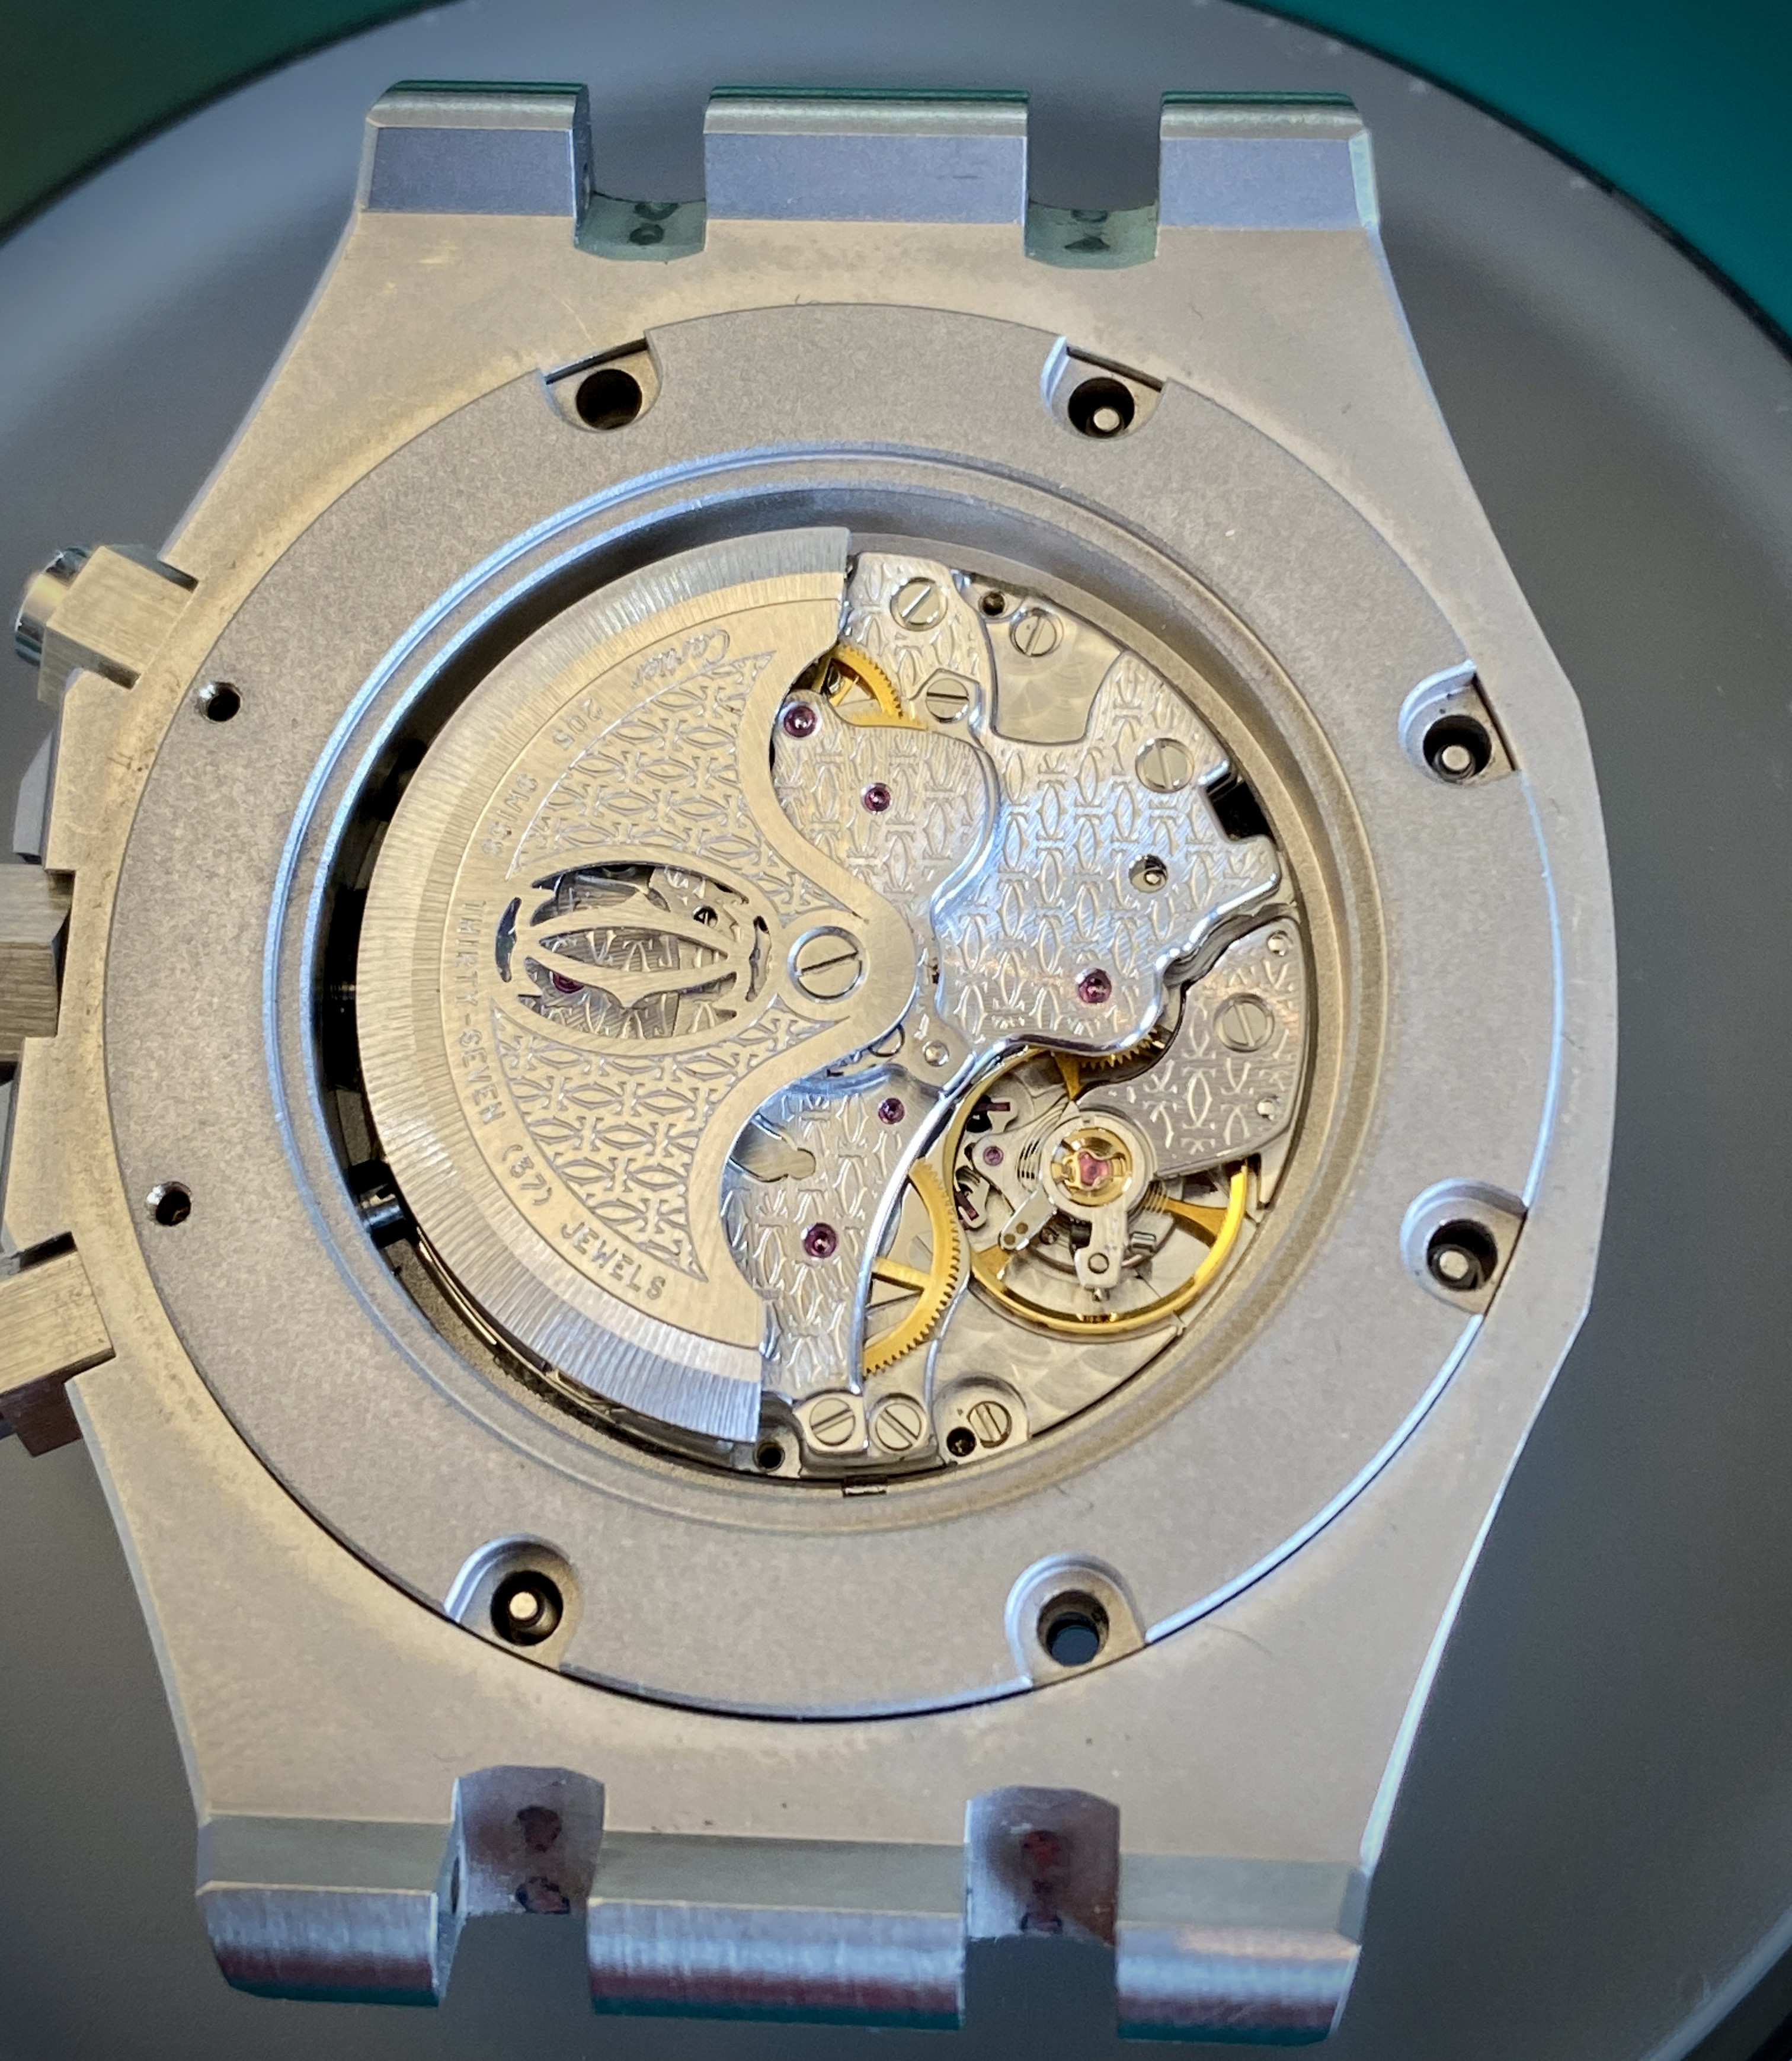
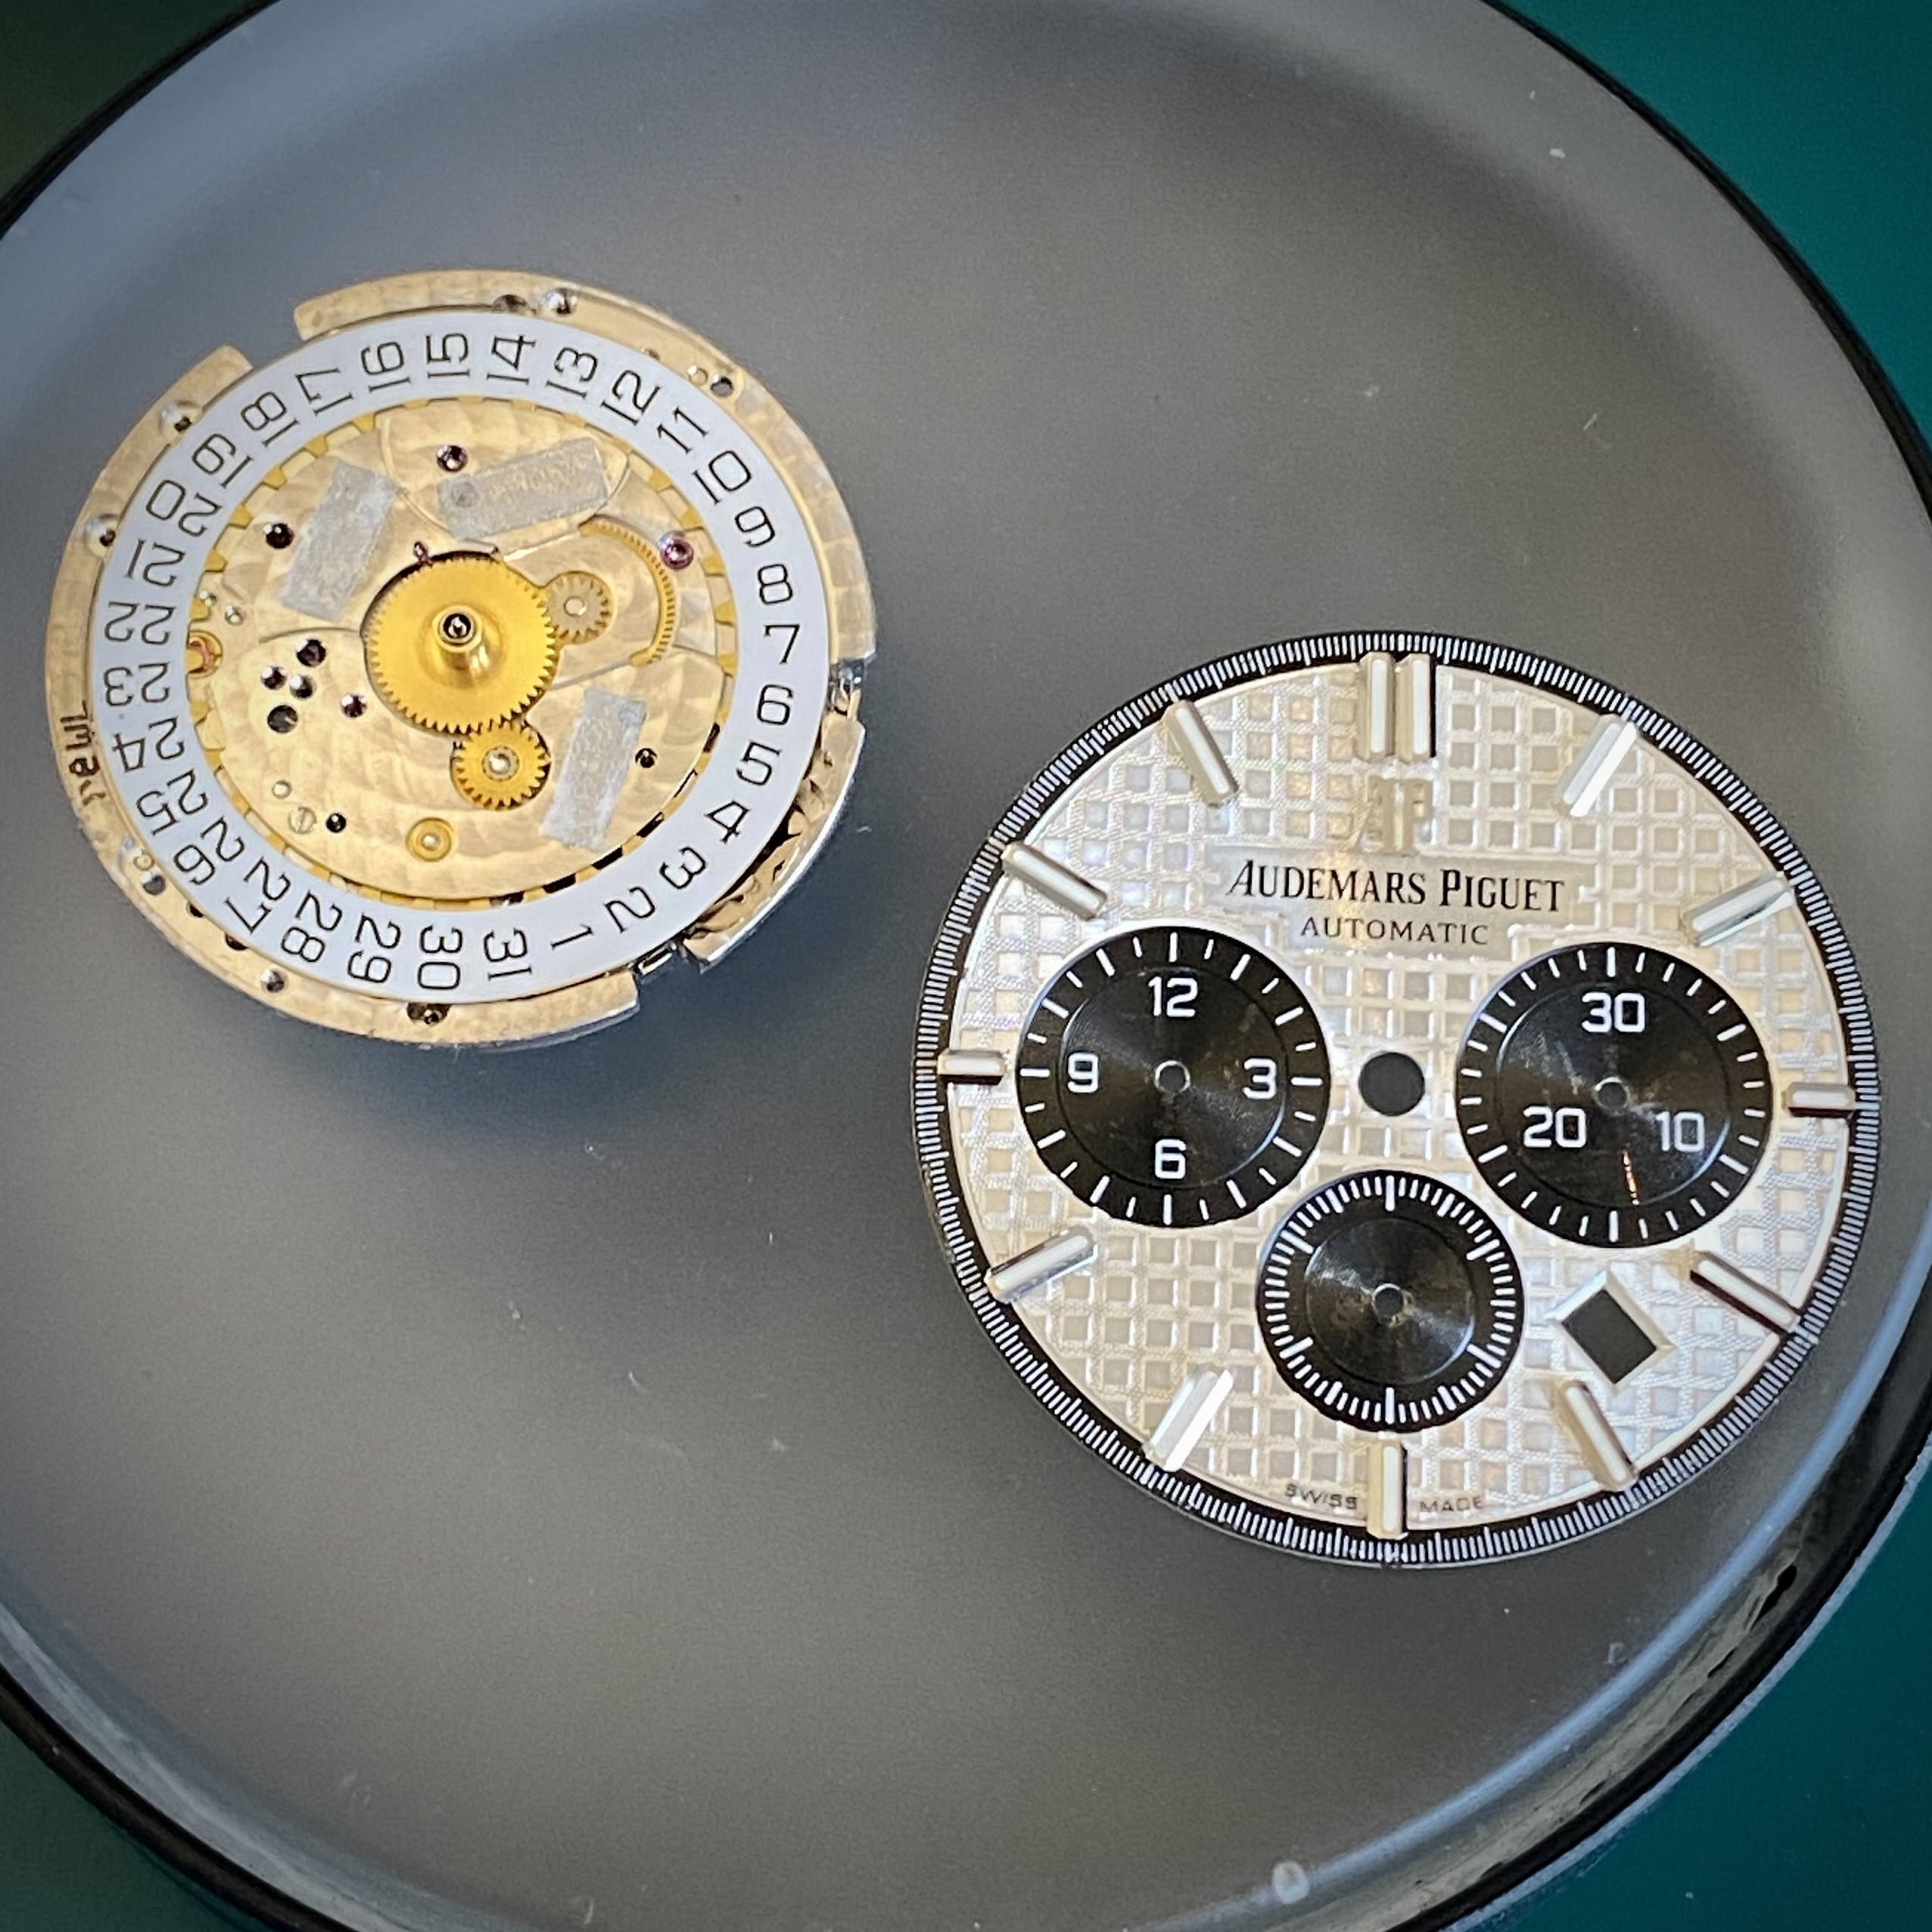
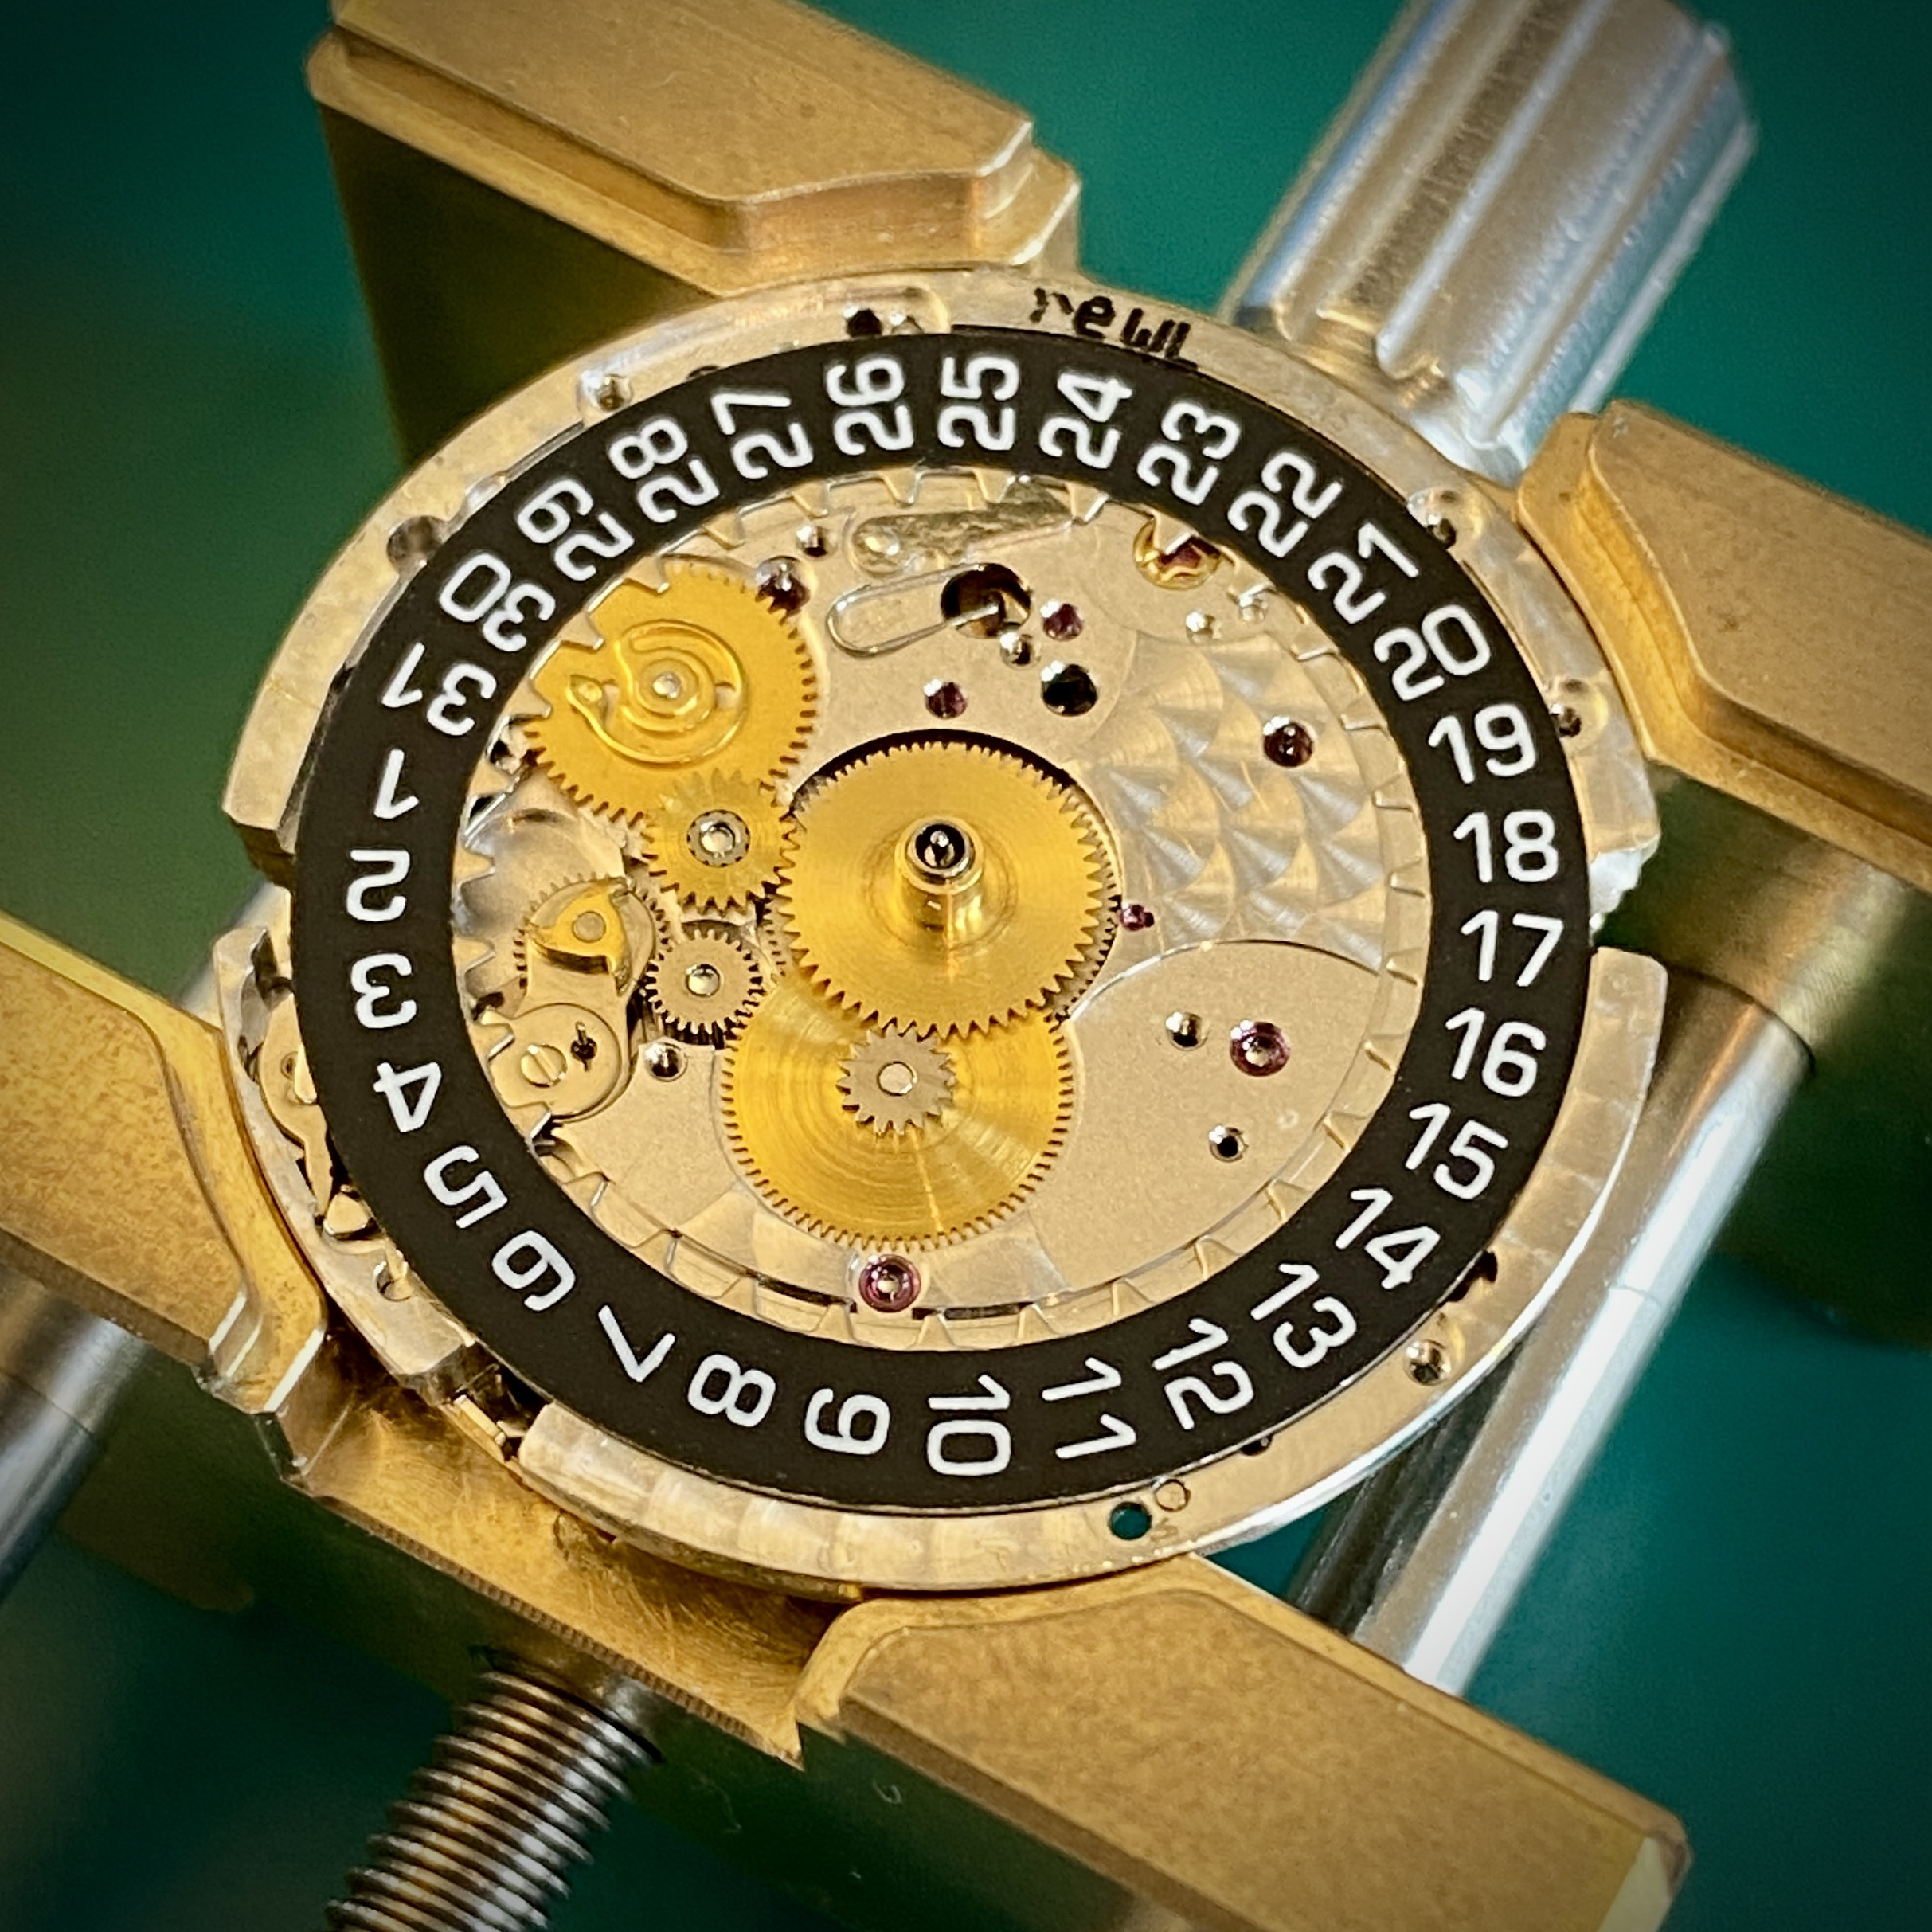
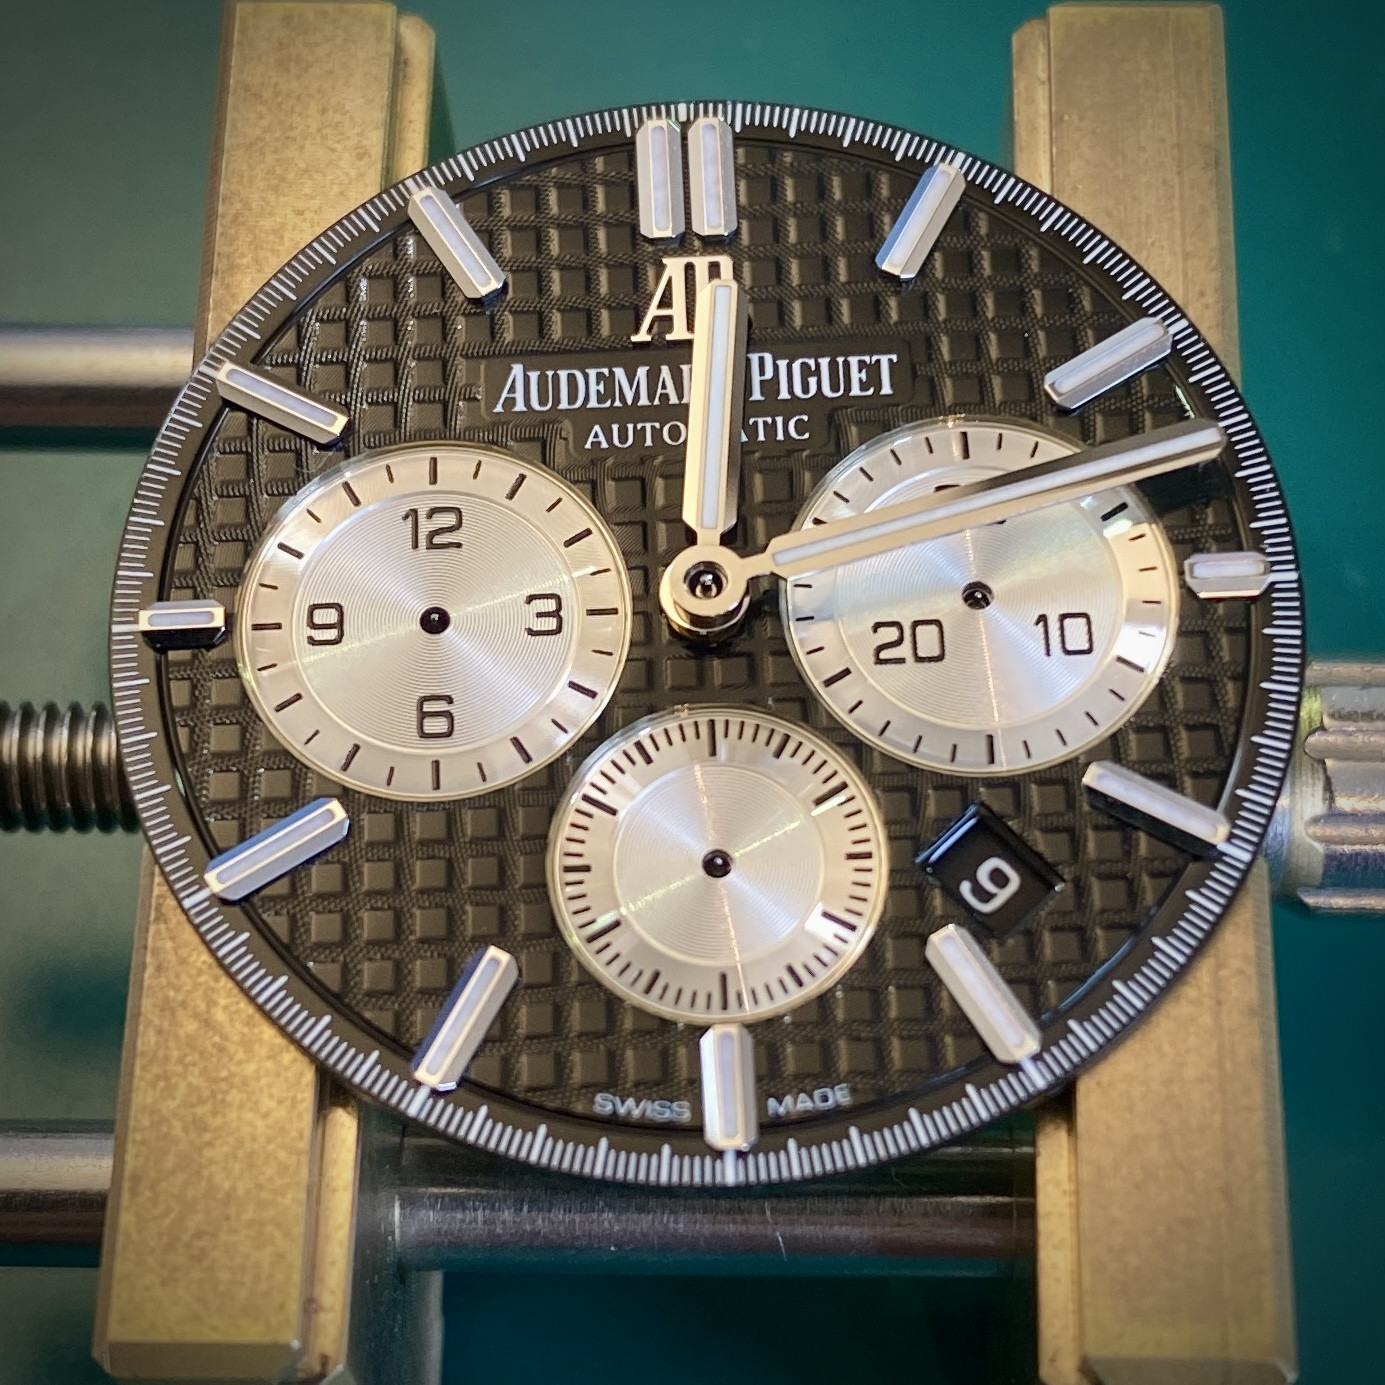
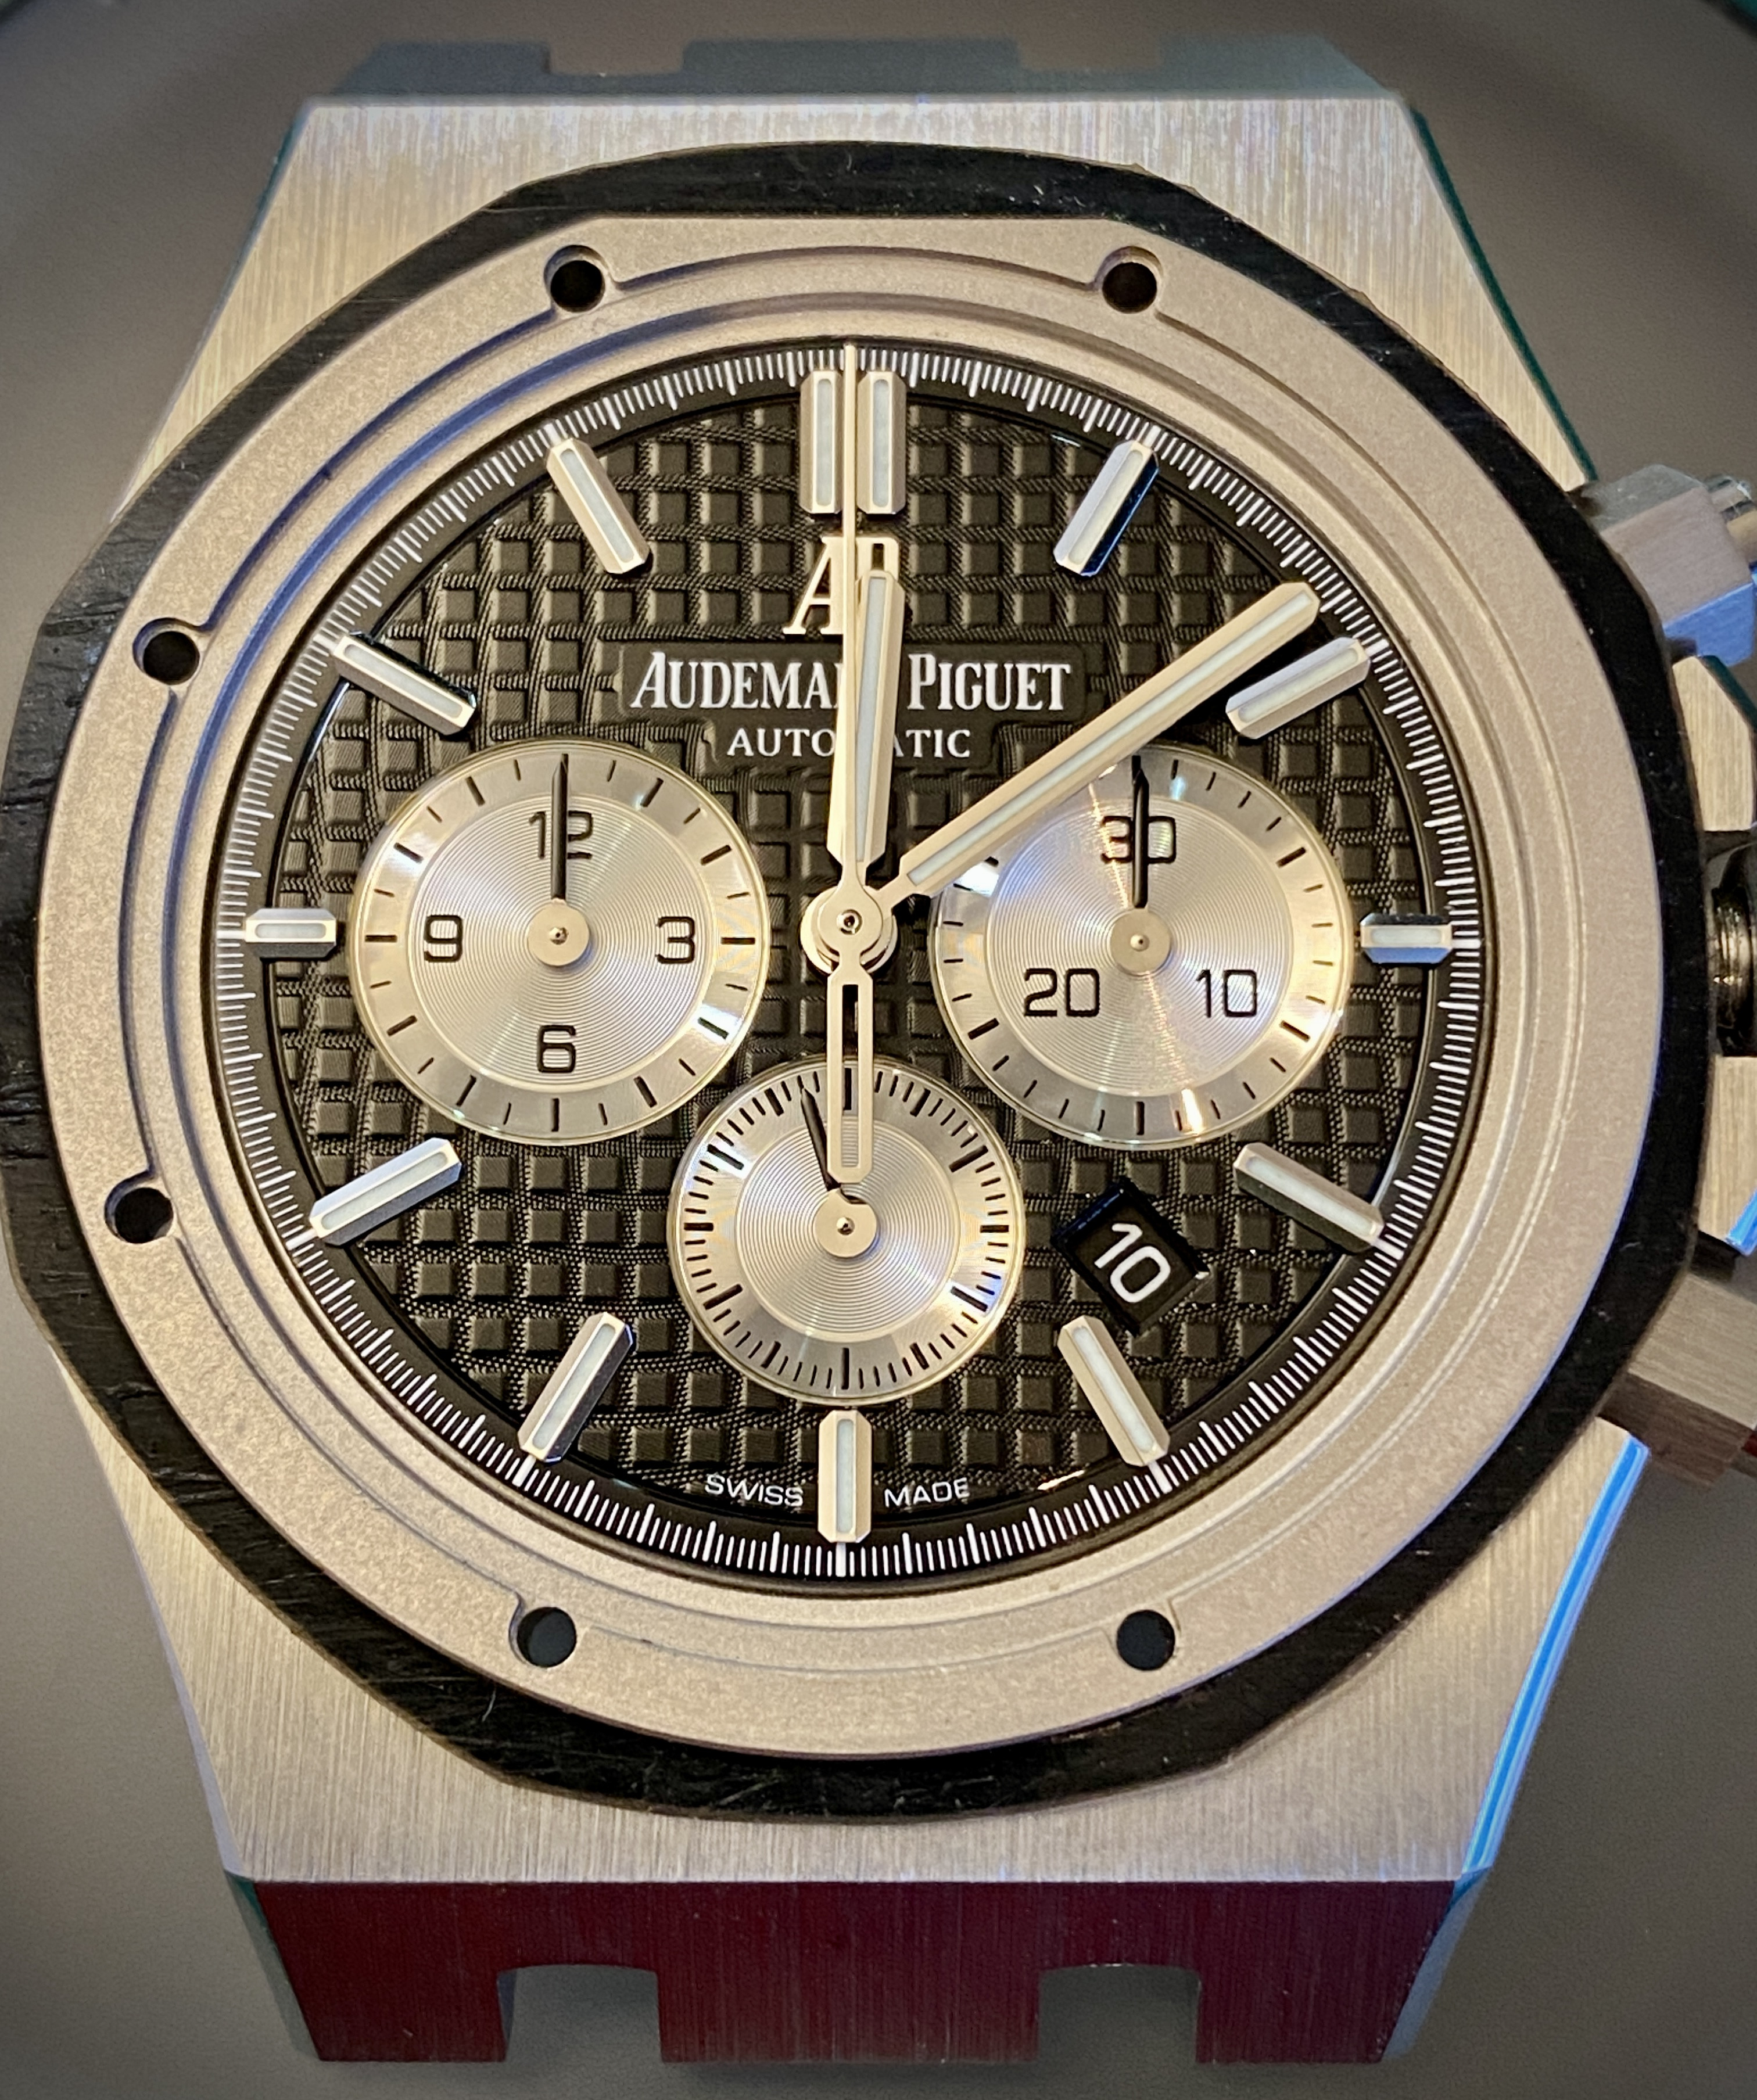
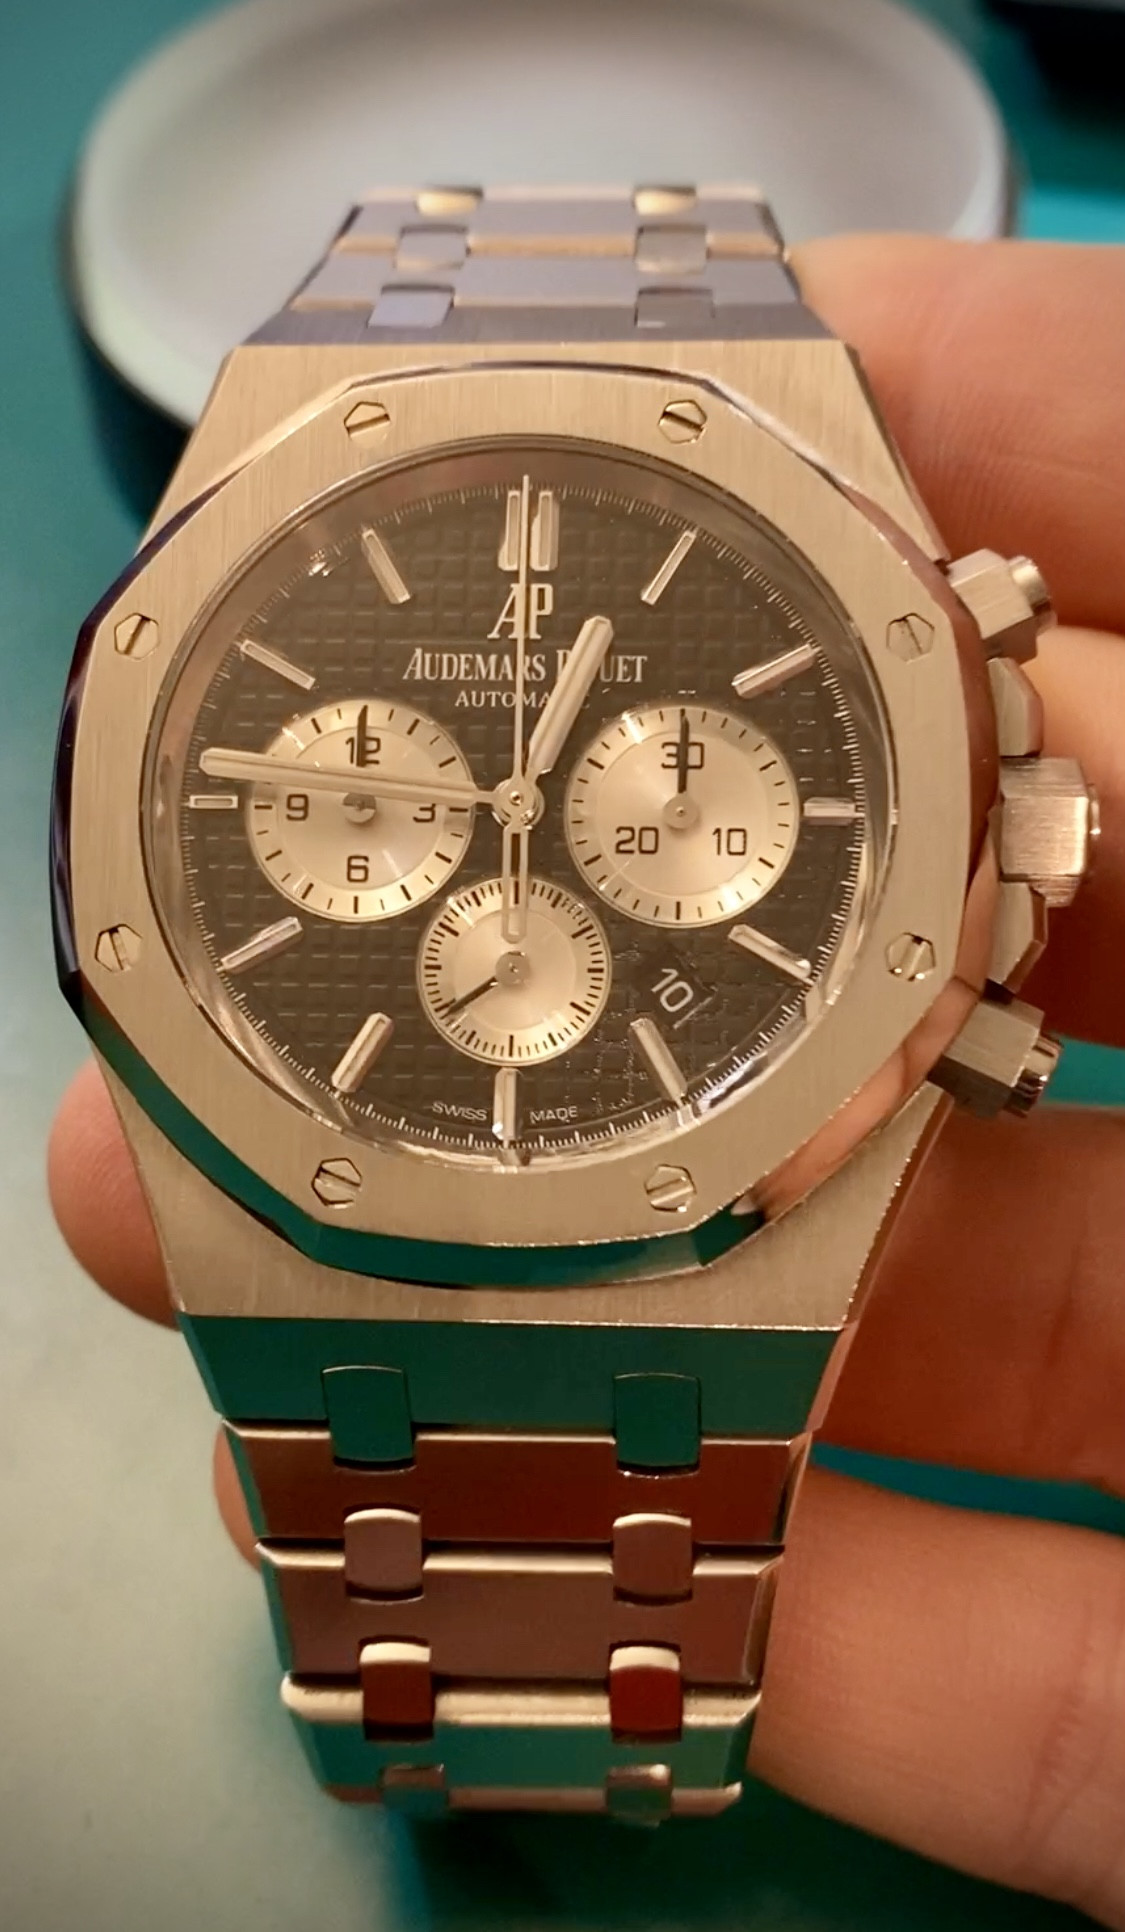
I got to work on a very fun build today for @Prizon — an AP chrono build. @Prizon semy me all the parts for assembly:
  1. Gen Cartier FP 1185 movement (same movement that’s used in the gen AP with the exception of the engraving).
  2. Gen dial
  3. Gen datwheel
  4. Gen hands
  5. Custom cnc case
This this is just beautiful. I’ve never seen a gen AP dial in person, but now that I have, I concur with what @legend says: there’s something different and special about a gen AP dial.

Here are some pics of the build.


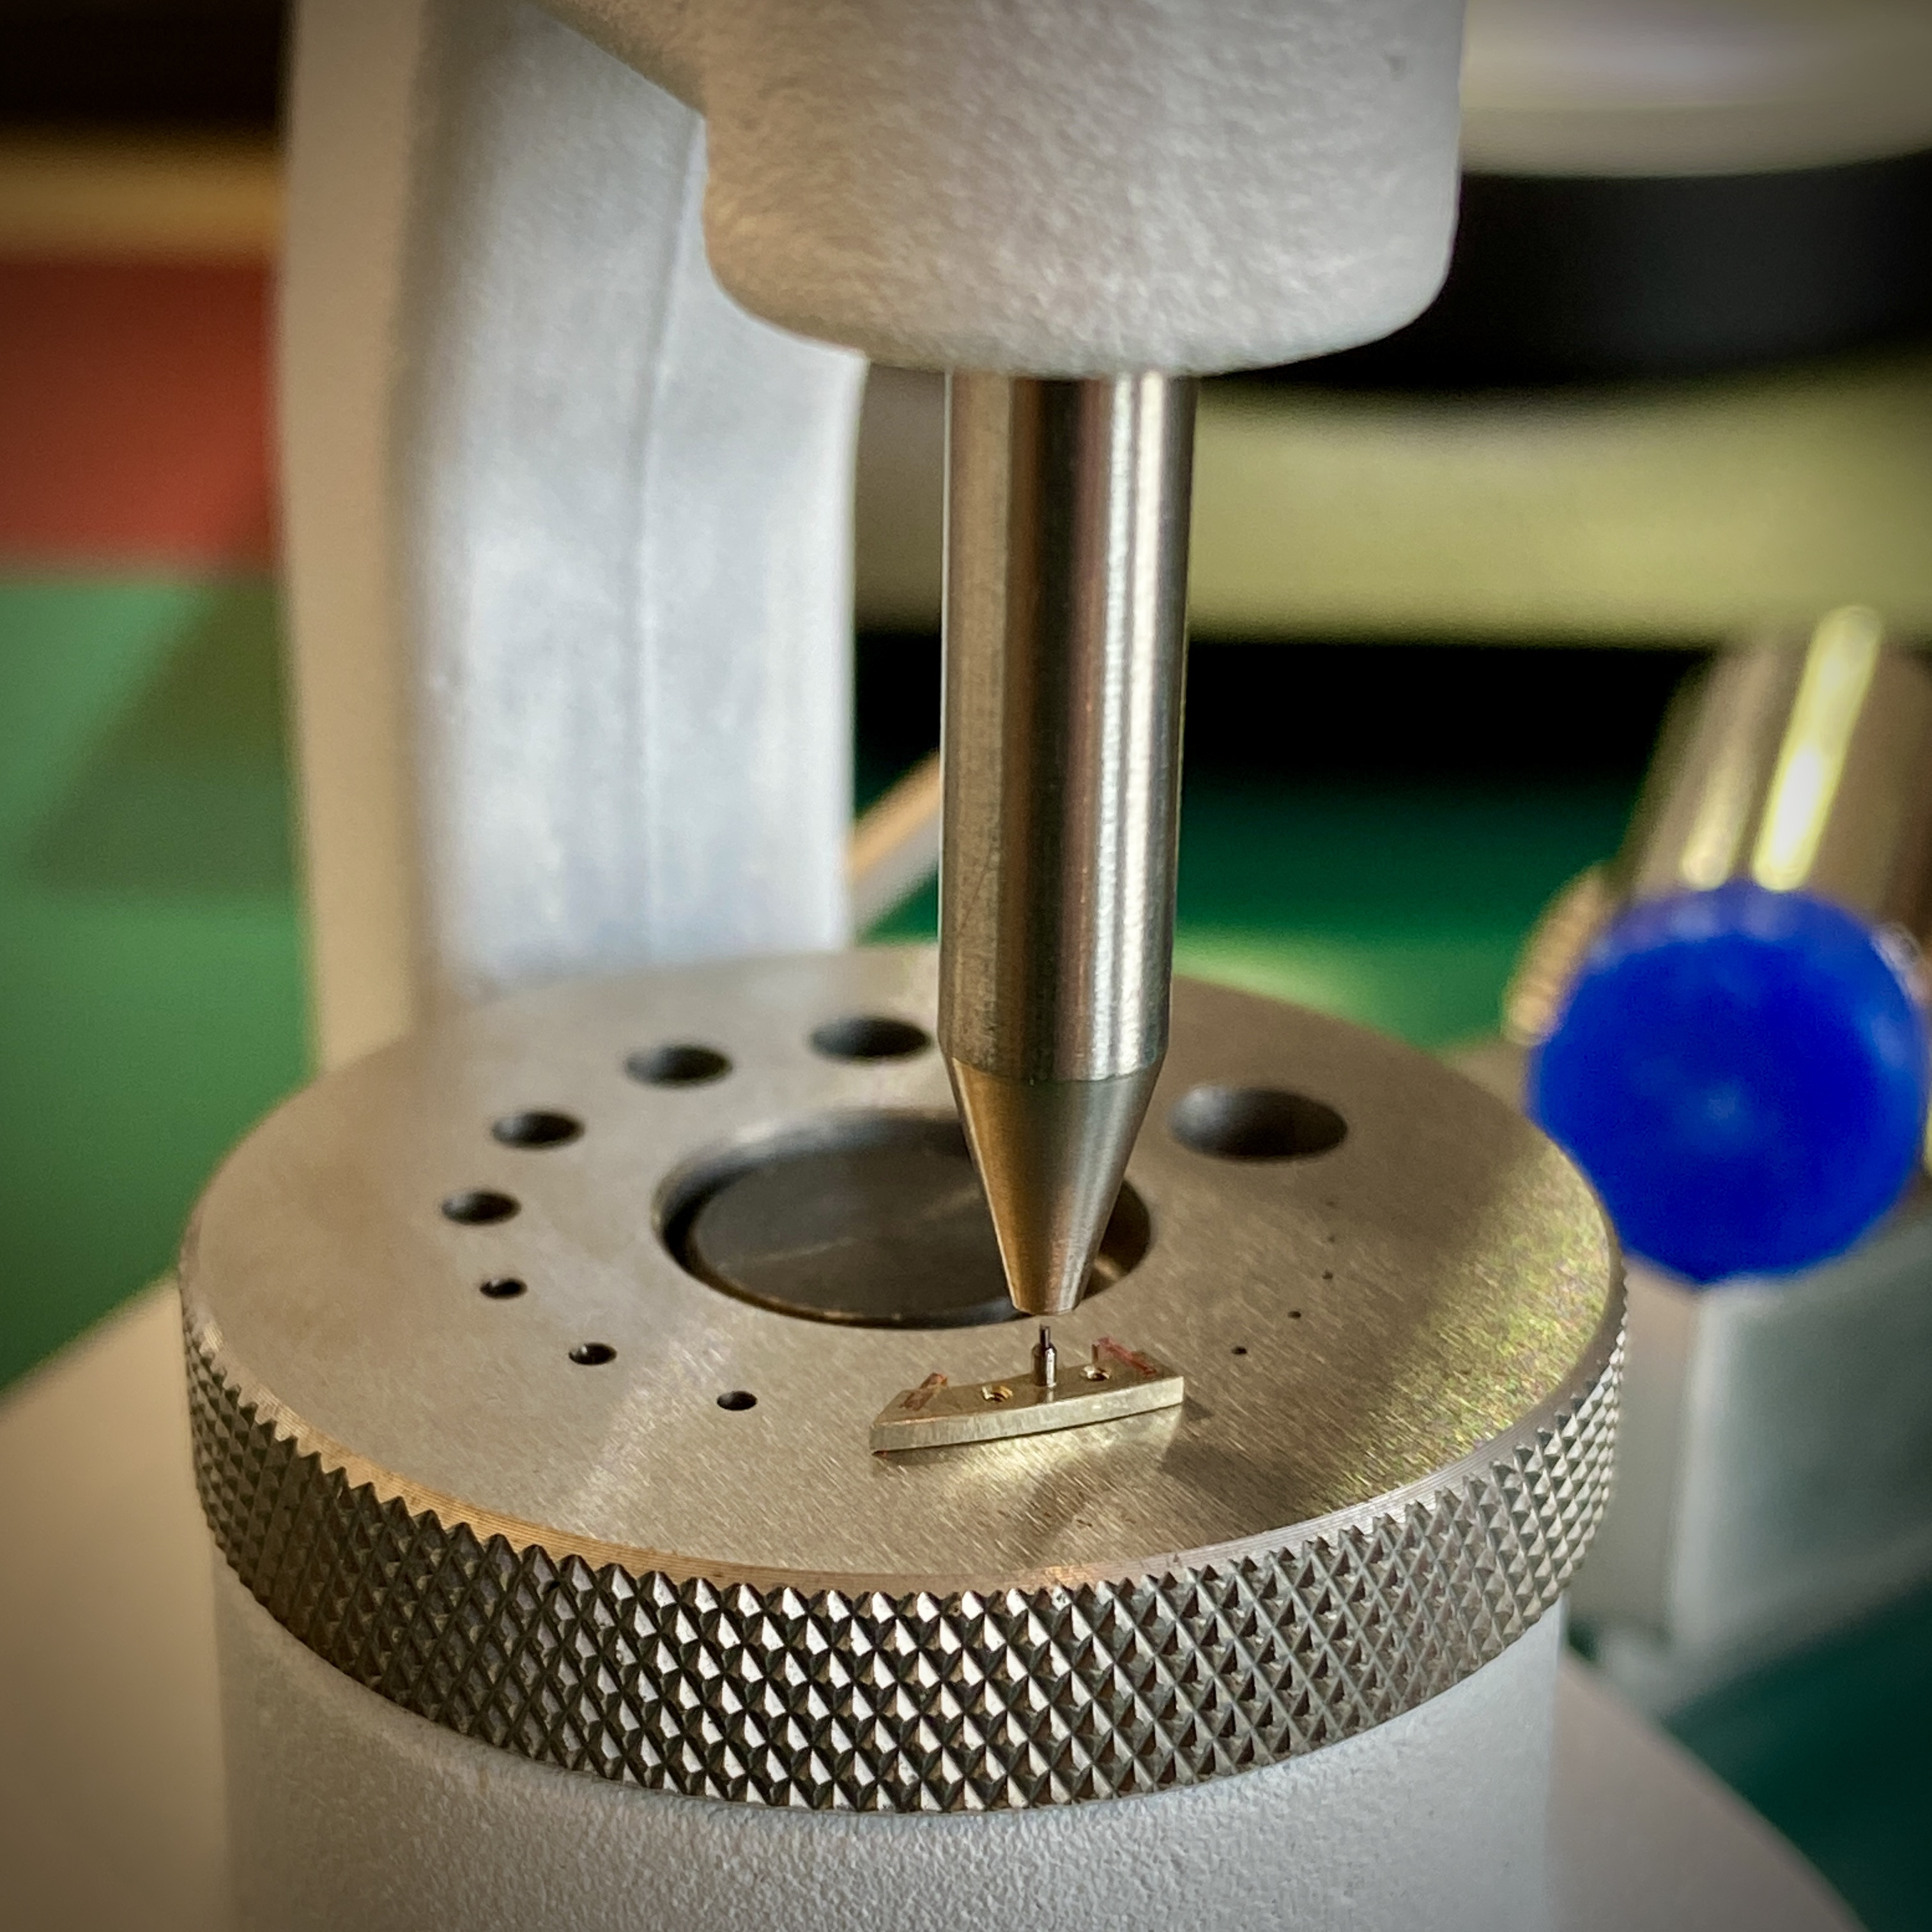
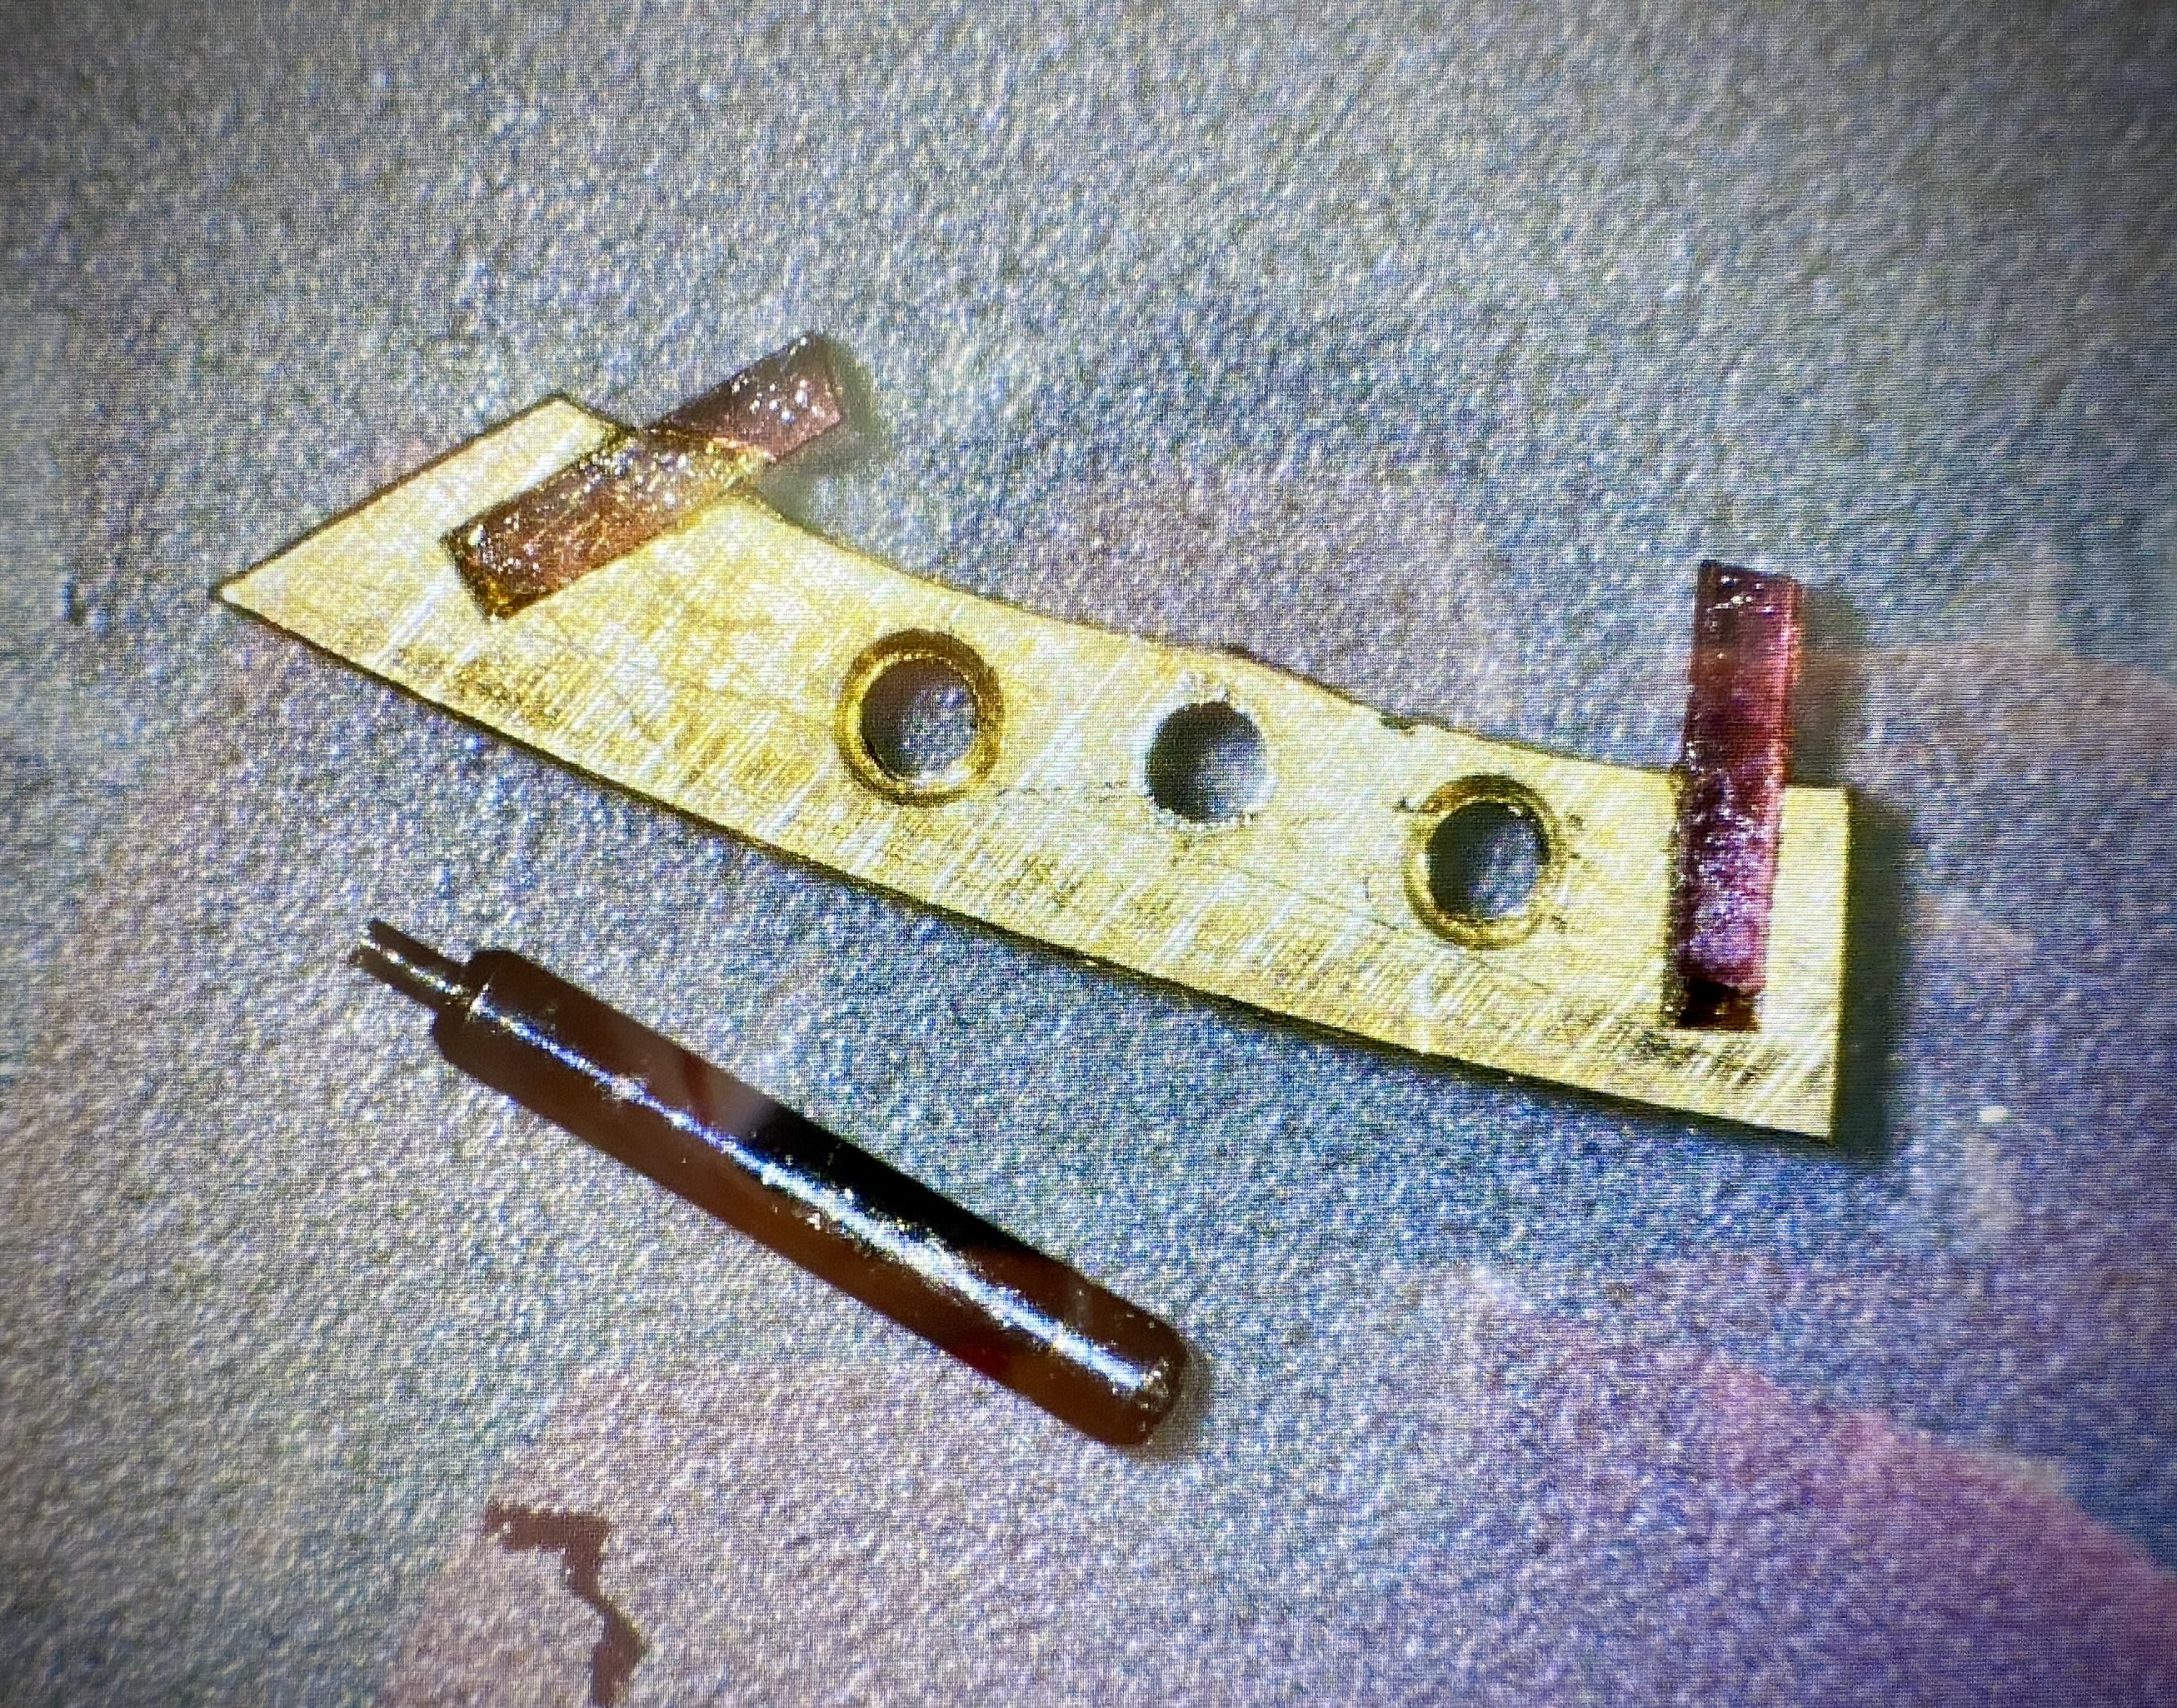
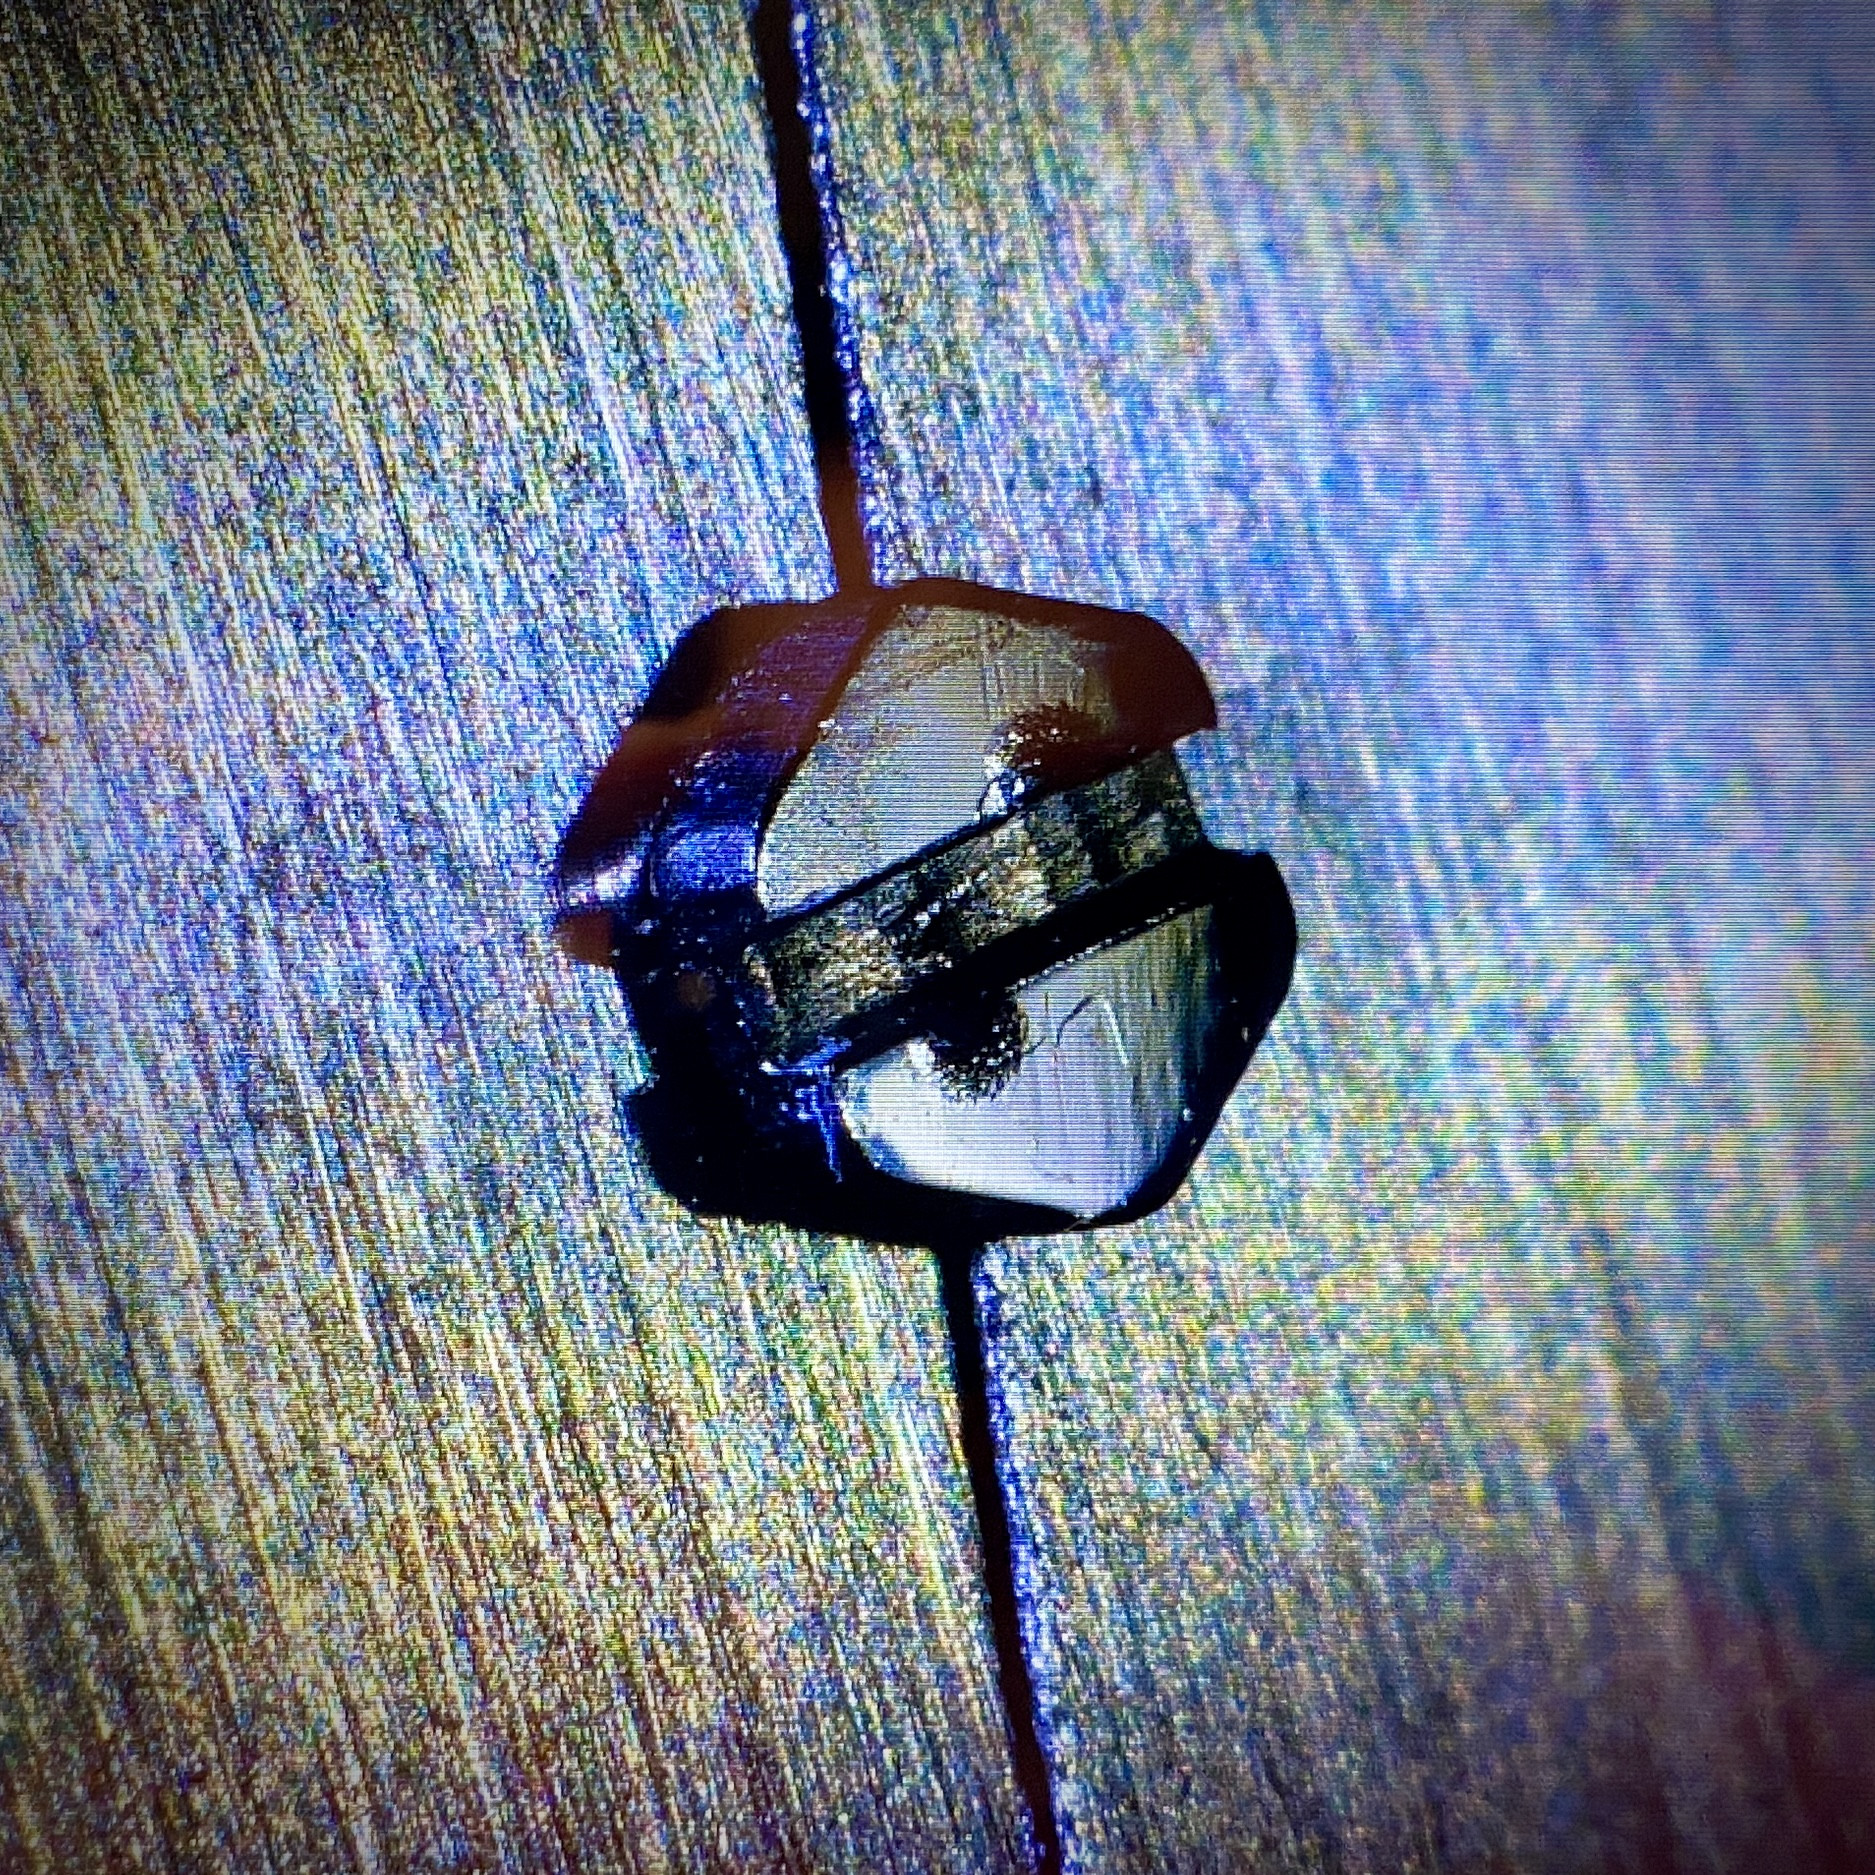
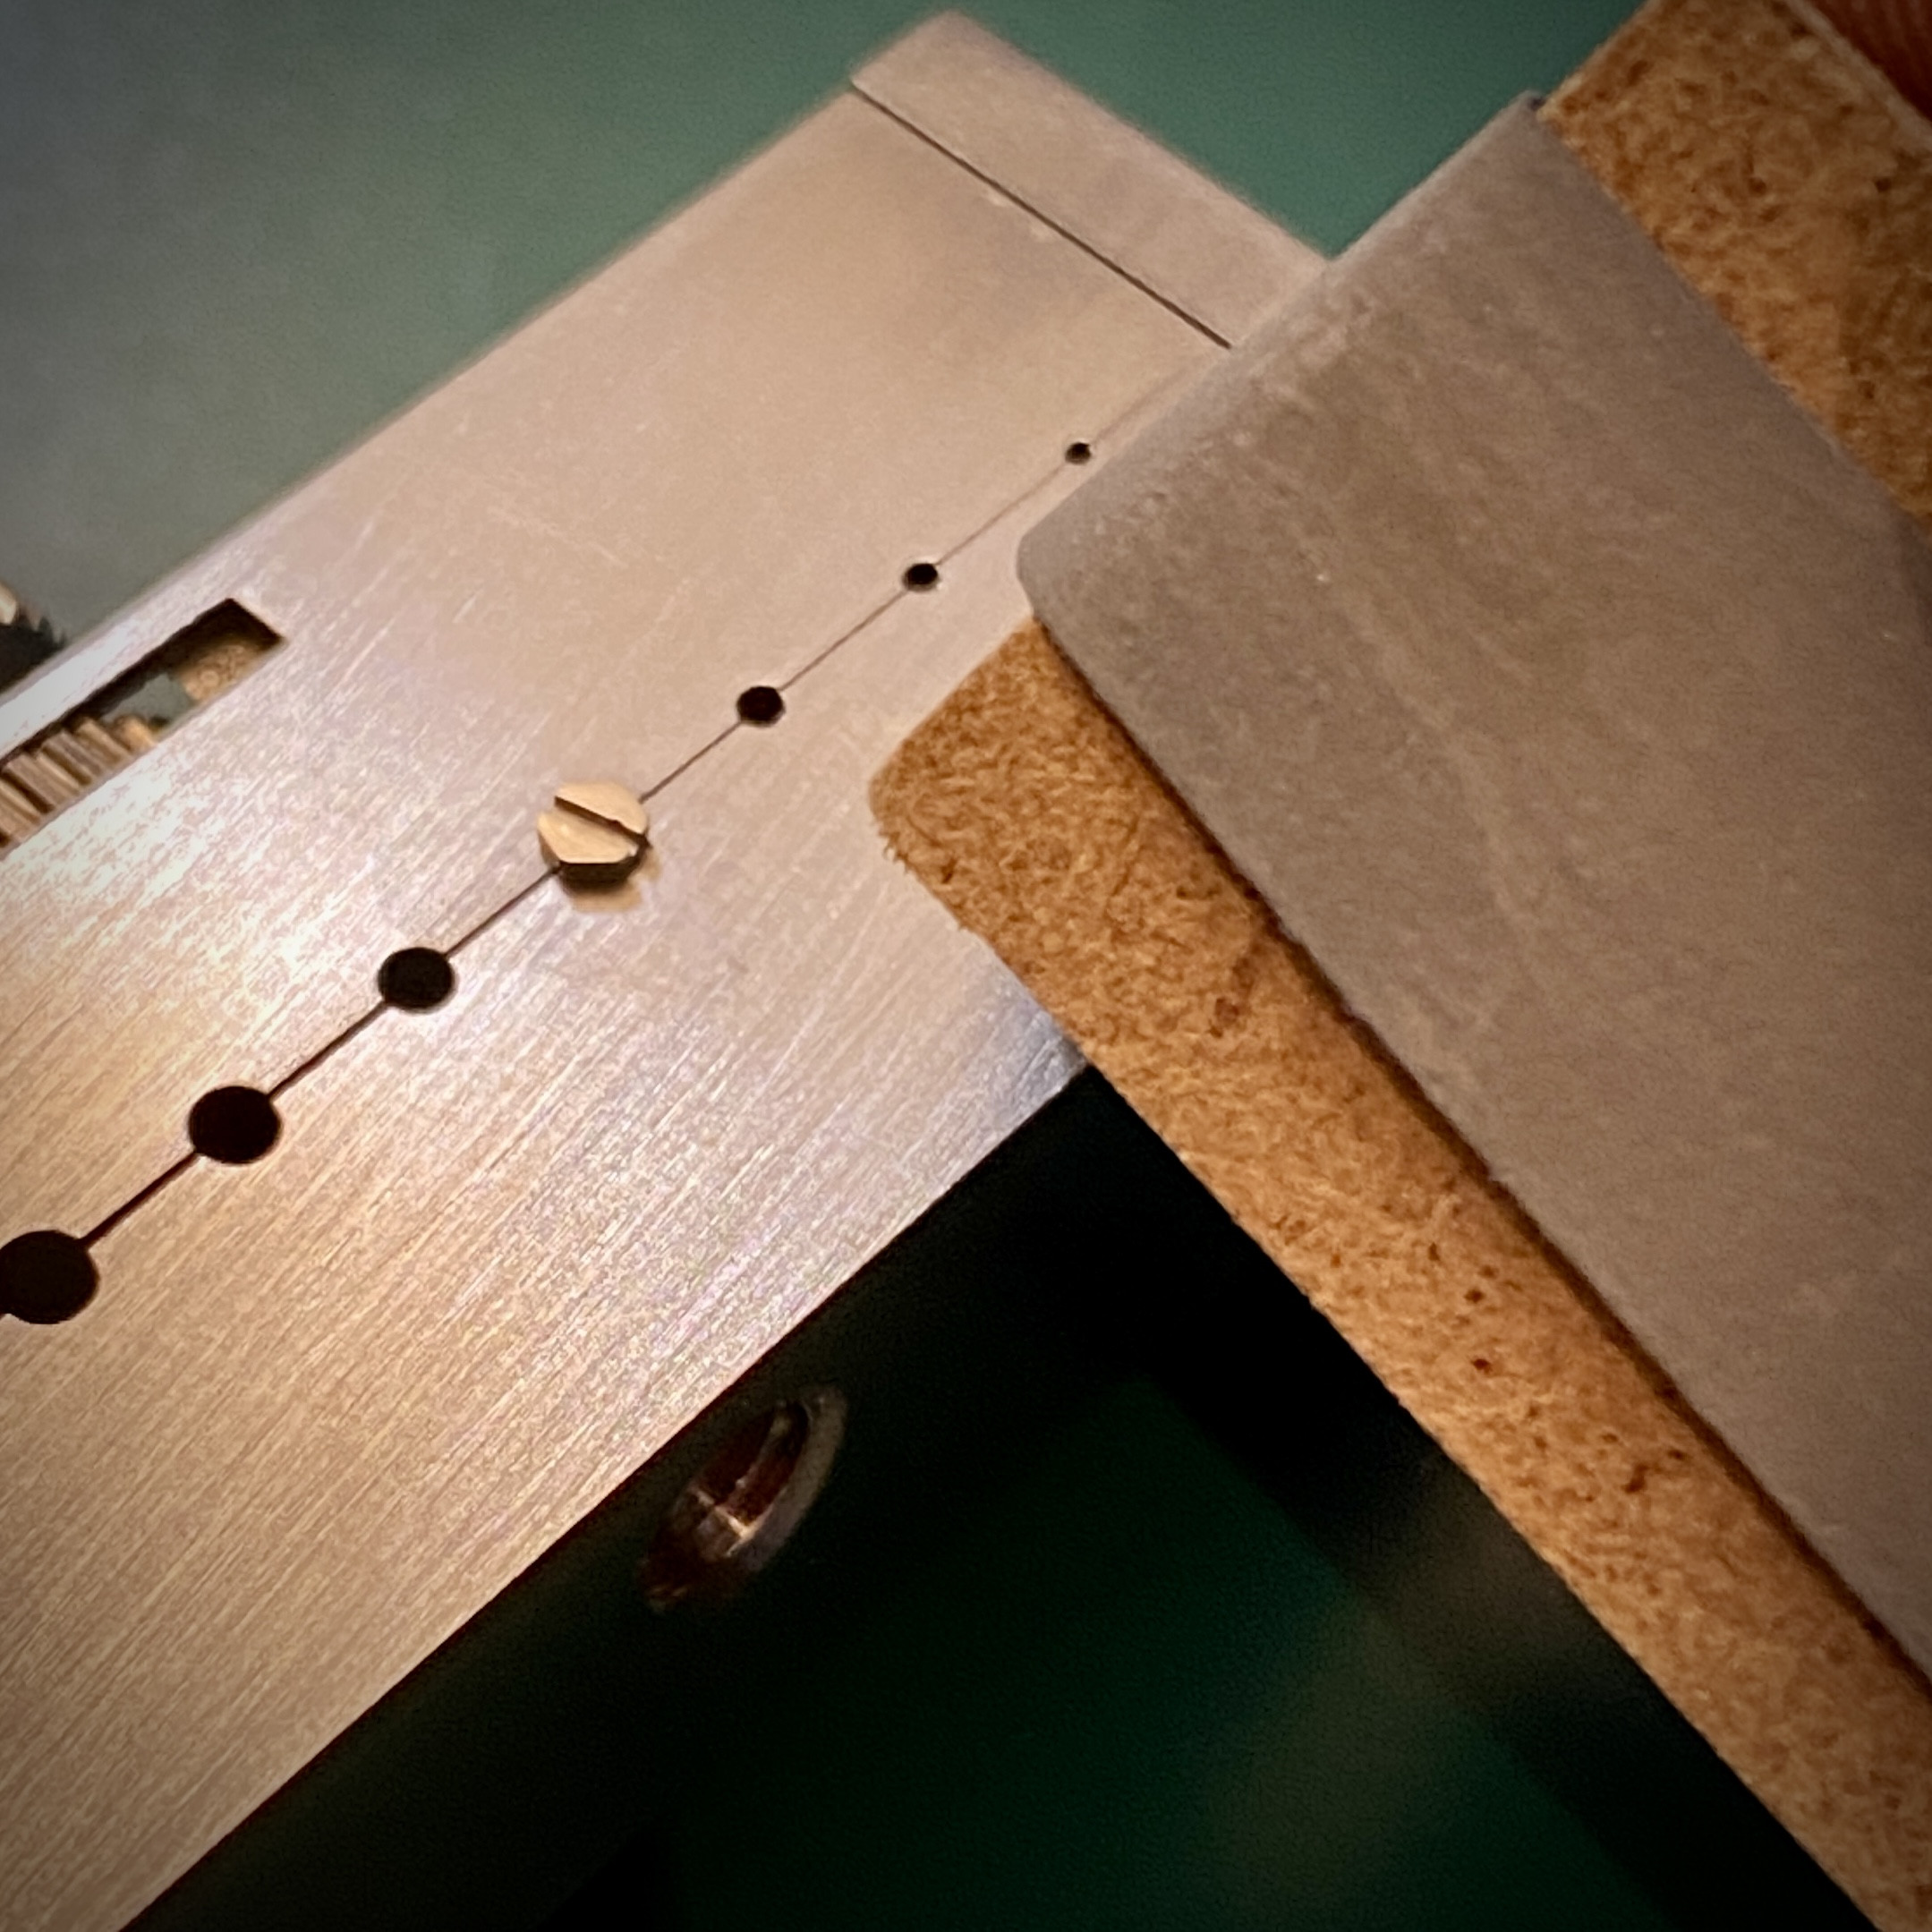
One of the bezel screw was marred up, so I refinished the head with 1200 grit sand paper to remove the burr and then polished it to a mirror finish on the wheel.

This was a super fun build. Wear it in good health Prizon.
 

legend

The RWI Dragon
Staff member
Global Moderator
Certified
20/9/10
60,988
76,949
113
Where I need to be.
I got to work on a very fun build today for @Prizon — an AP chrono build. @Prizon semy me all the parts for assembly:
  1. Gen Cartier FP 1185 movement (same movement that’s used in the gen AP with the exception of the engraving).
  2. Gen dial
  3. Gen datwheel
  4. Gen hands
  5. Custom cnc case
This this is just beautiful. I’ve never seen a gen AP dial in person, but now that I have, I concur with what @legend says: there’s something different and special about a gen AP dial.

Here are some pics of the build.


One of the bezel screw was marred up, so I refinished the head with 1200 grit sand paper to remove the burr and then polished it to a mirror finish on the wheel.

This was a super fun build. Wear it in good health Prizon.
@Prizon is a known troublemaker so I hope you had an easier time with him than I did dogwood! :LOL: 🤣

But seriously thank you for sharing the pics and I think you are right there is something about a gen AP dial which can never be replicated perfectly. Love your photography too.
 

ward1991

Luminor-Based
Patron
Certified
24/7/13
3,057
2,467
113
Rust Belt
That's awesome and very impressive, seems like a short time to get to a full service! Hoping to do my first full service soon. Need a few more tools methinks. I've done alot of modding/building and smithin' on dial side and rotor side mainly on 28xx as I find them easiest to deal with. But something is urging me service a 6497 first! Bigger is easier, no?
 
  • Like
Reactions: dogwood