-
Tired of adverts on RWI? - Subscribe by clicking HERE and PMing Trailboss for instructions and they will magically go away!
You are using an out of date browser. It may not display this or other websites correctly.
You should upgrade or use an alternative browser.
You should upgrade or use an alternative browser.
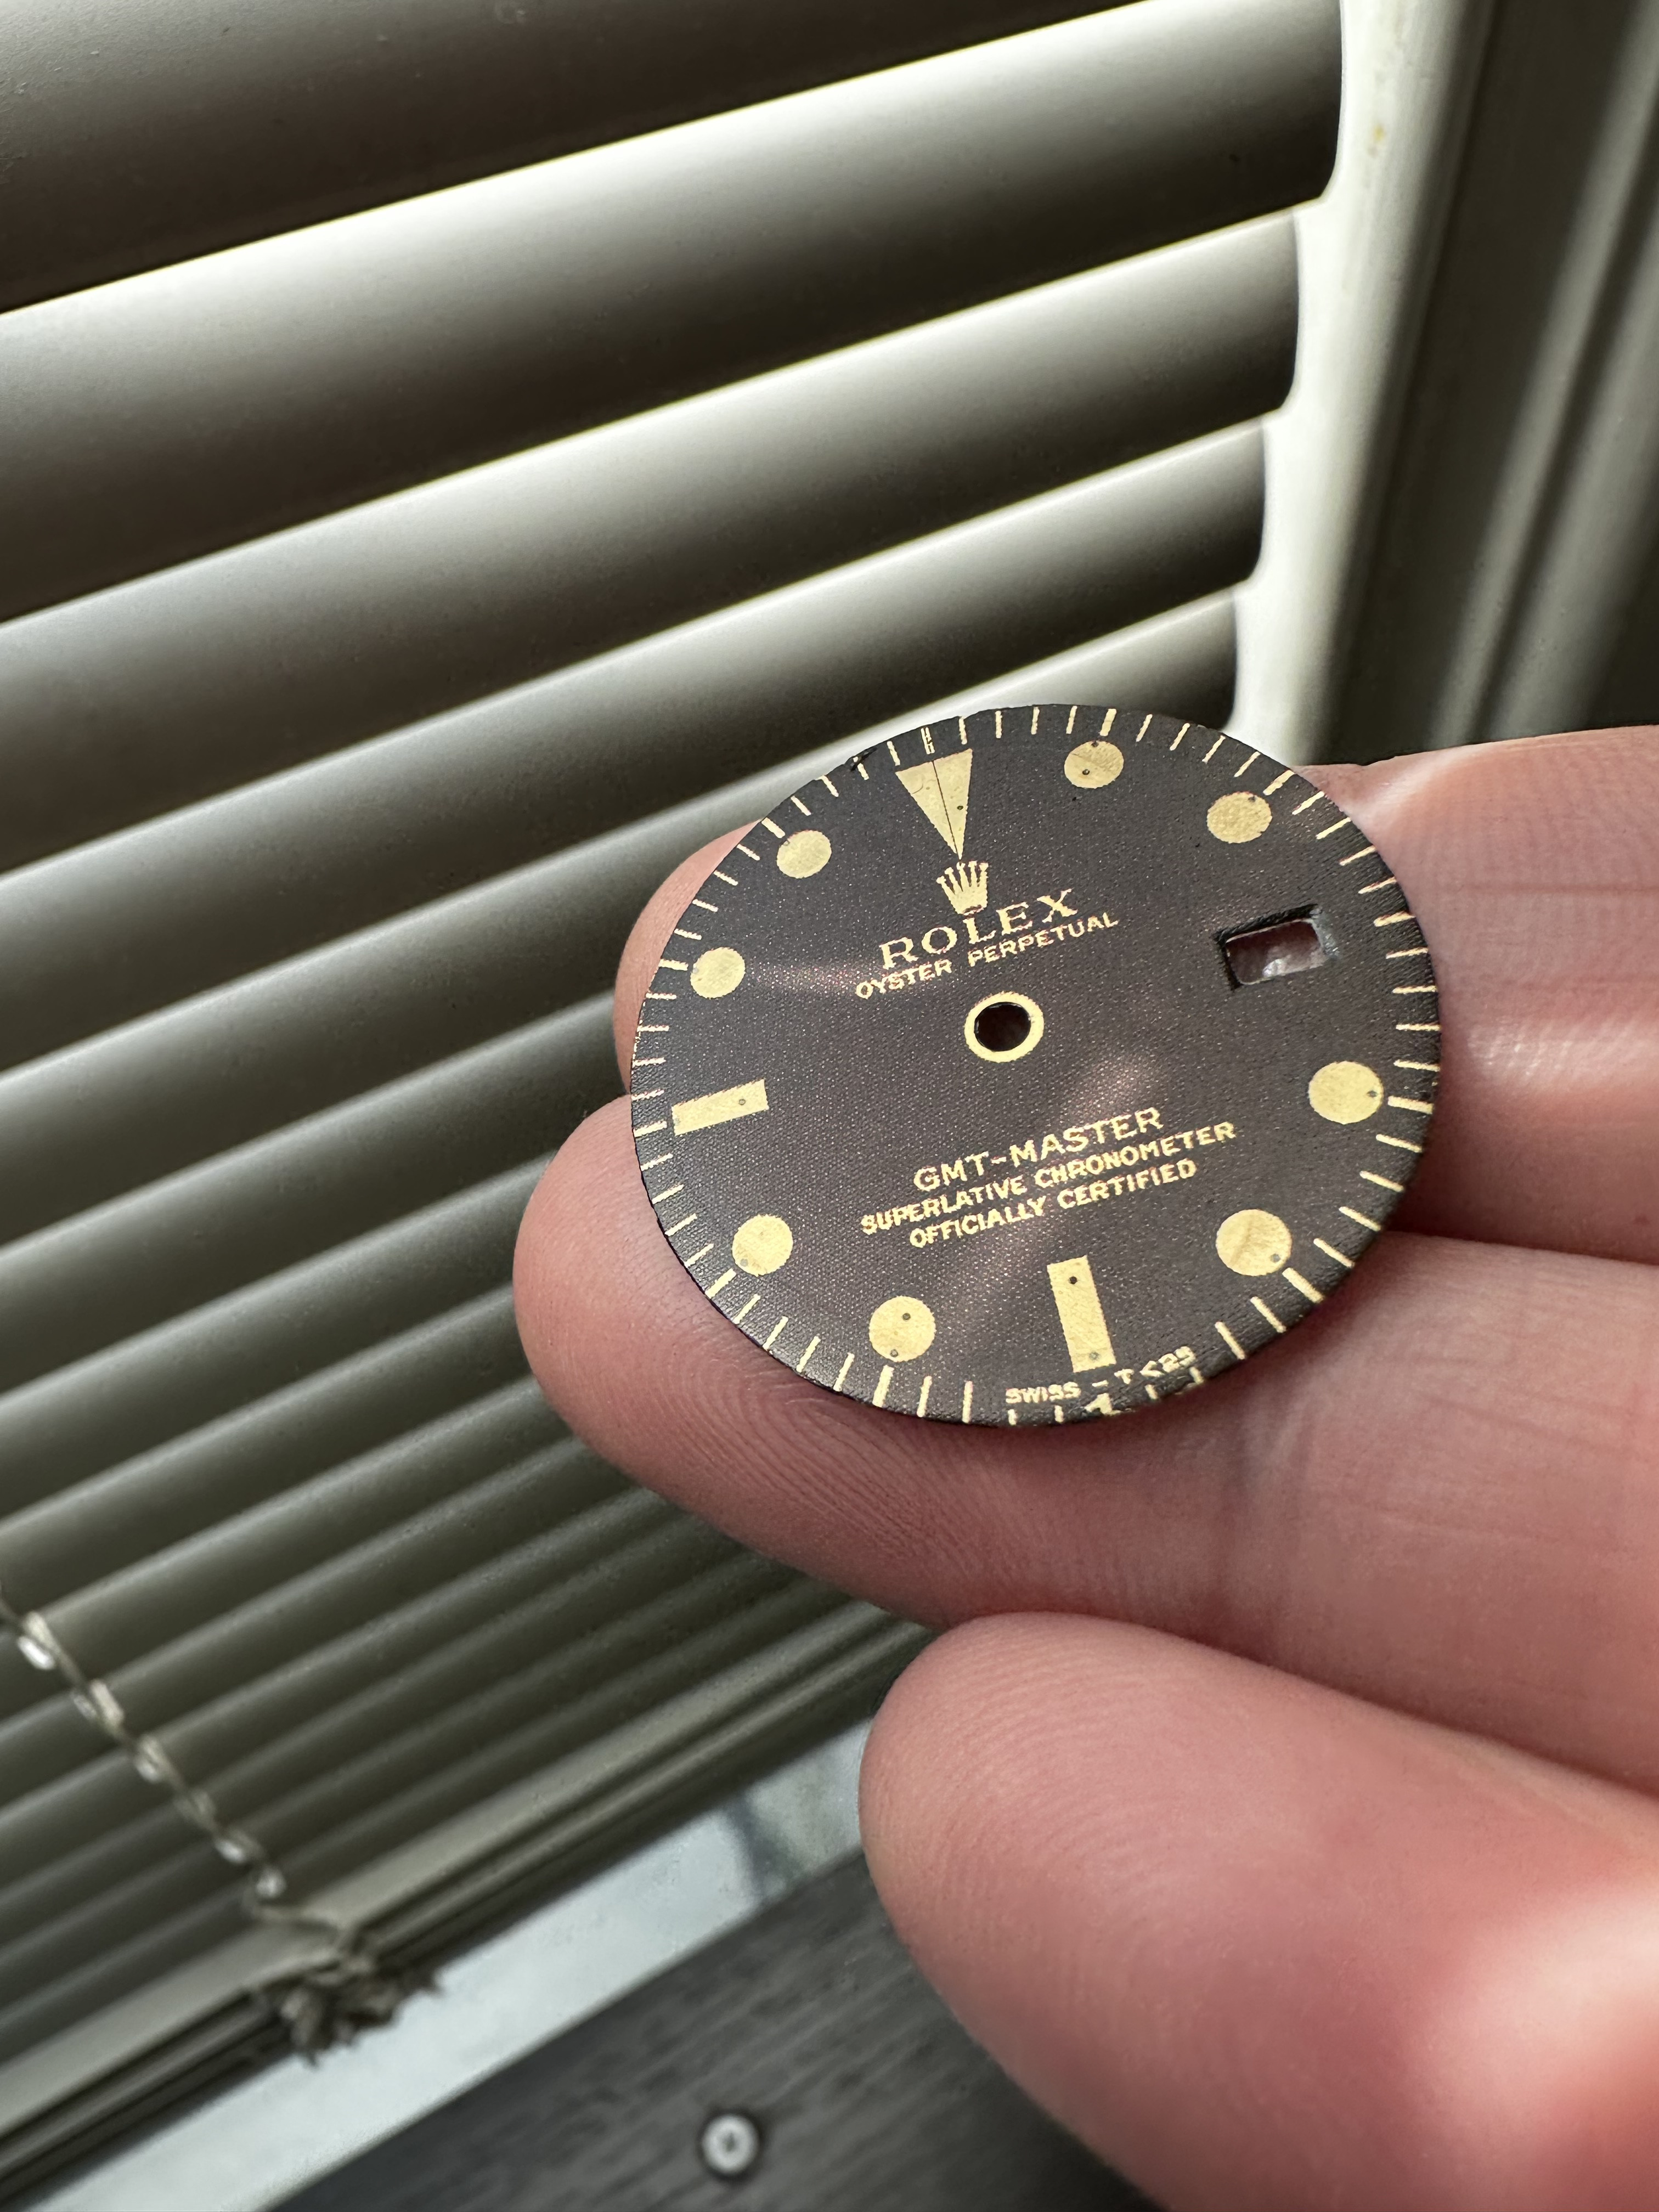
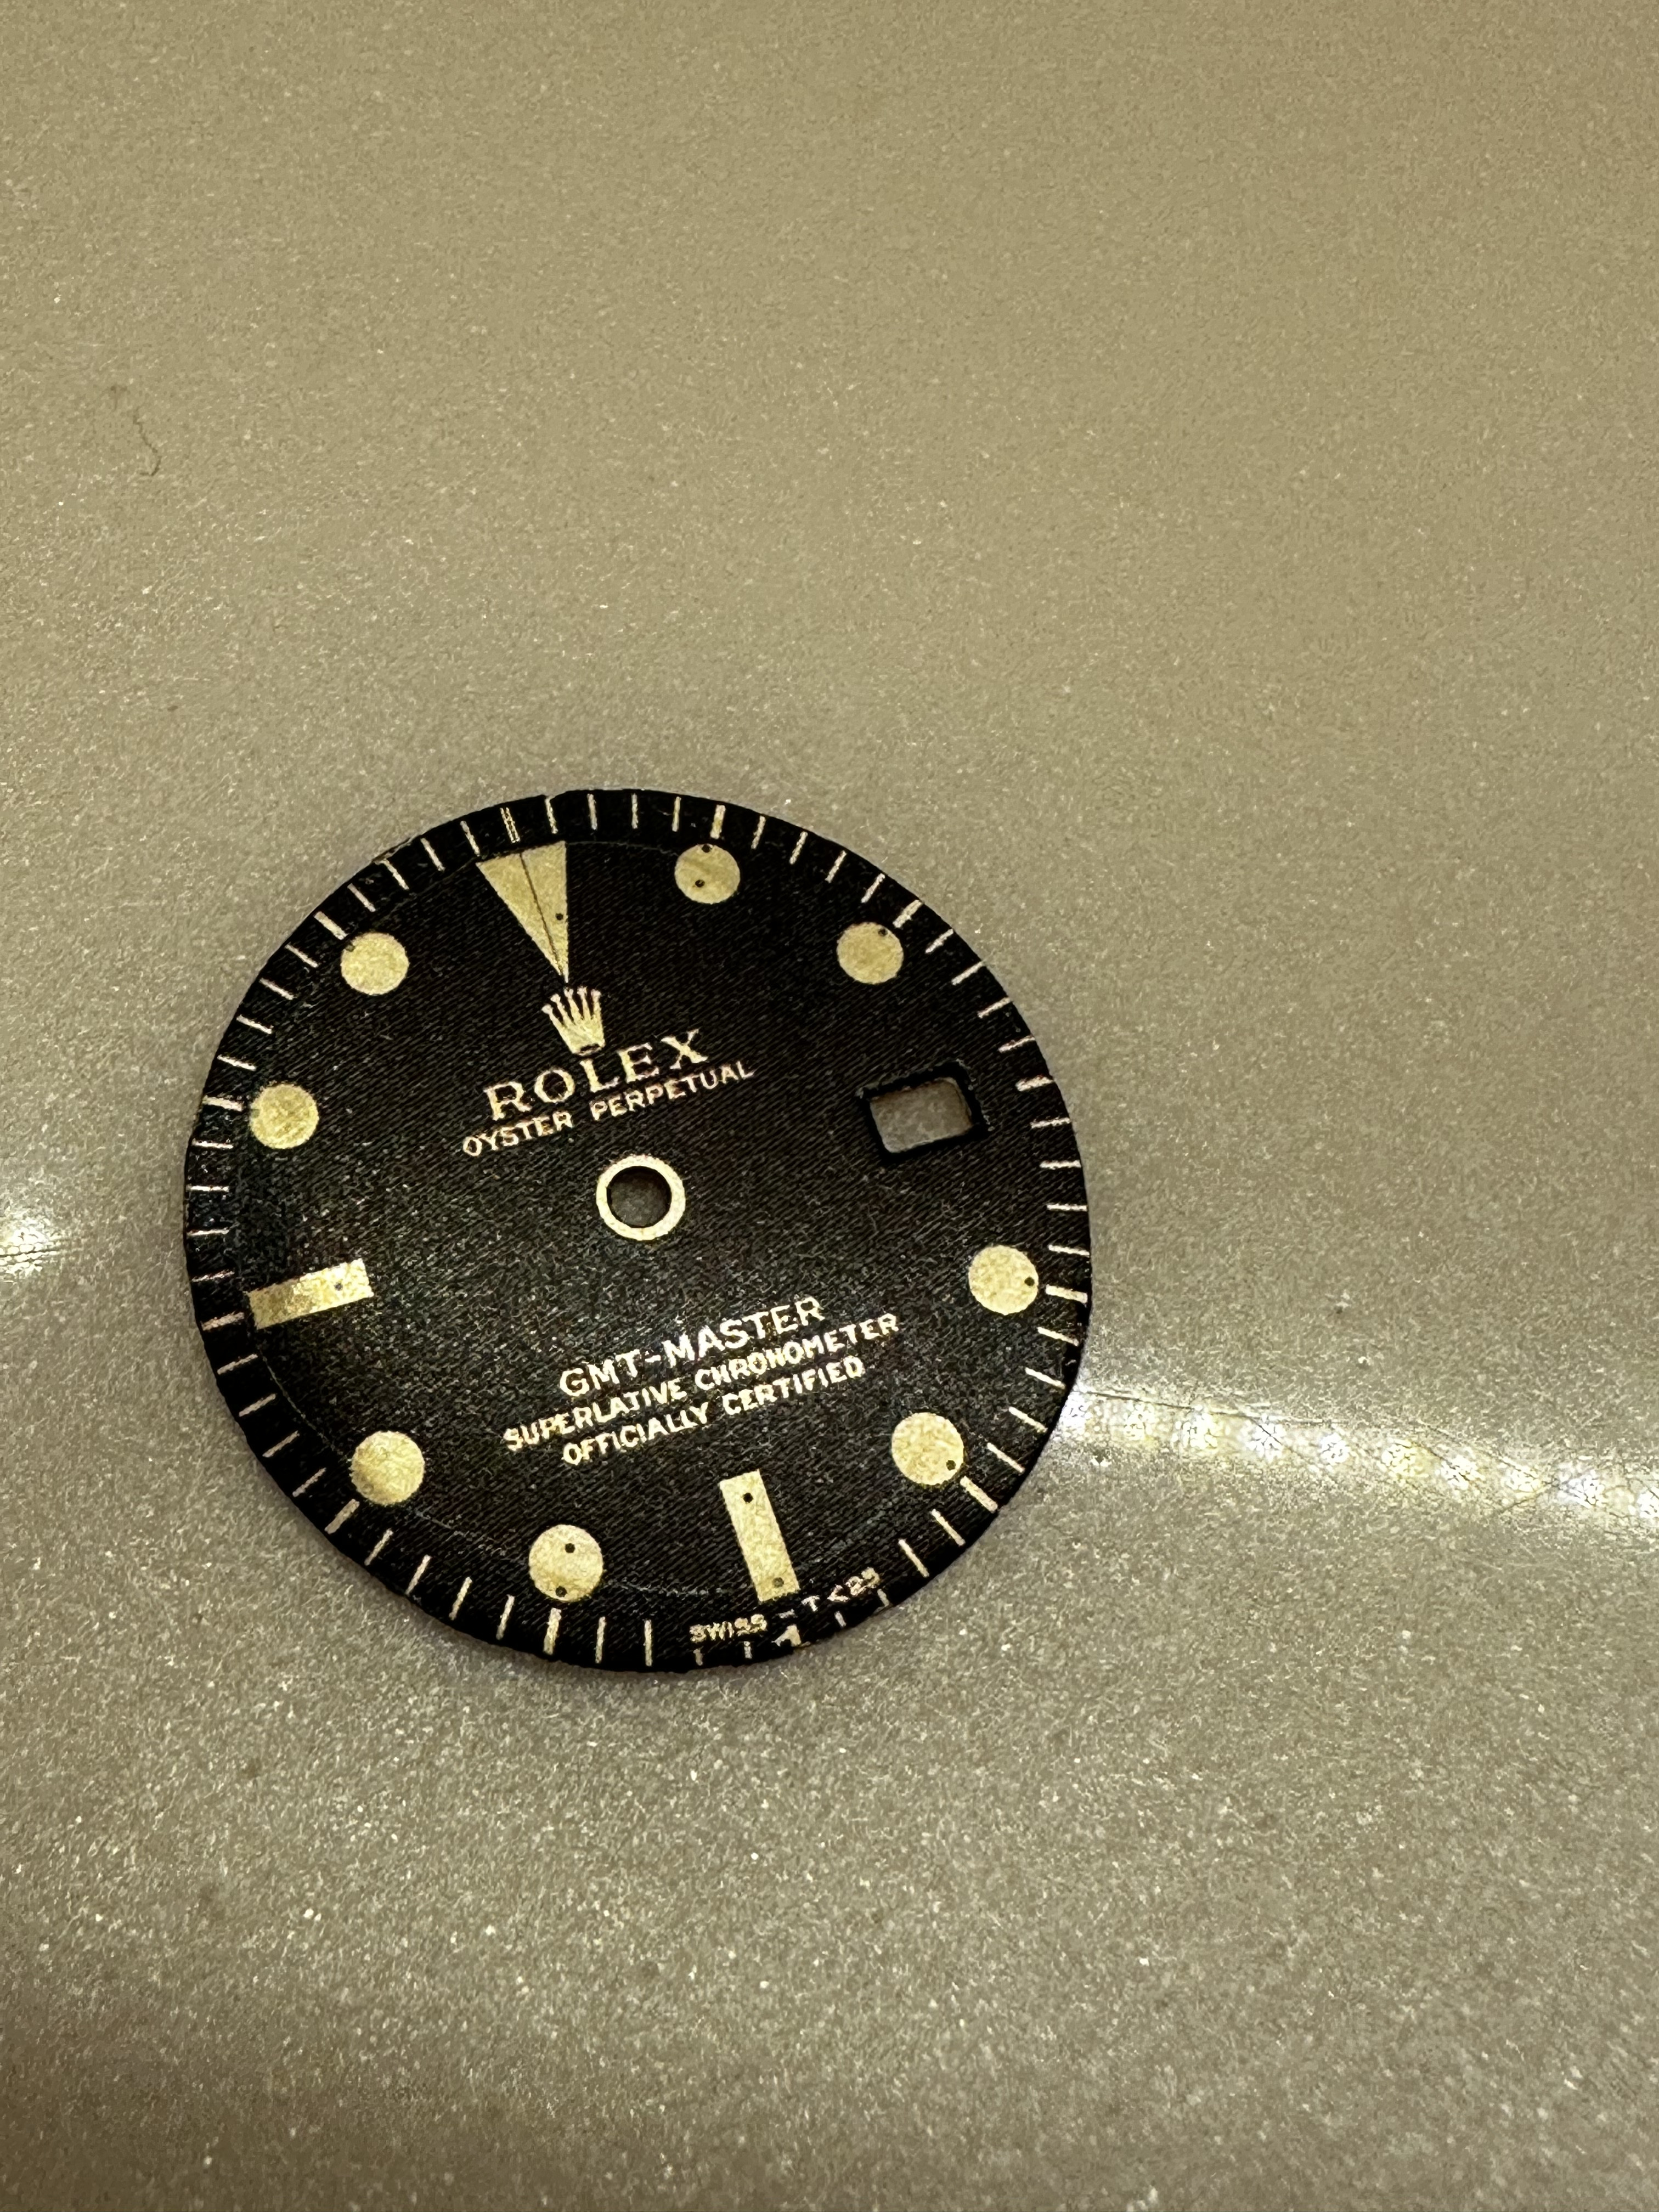
Decal printed dial
- Thread starter Bart Cordell
- Start date
Well I could put a sunburst effect on the dial plate prior to paint.Would be interested to see it and it's a fantastic colour! Are you able to achieve any sort of sunburst effect, airbrushing?
then using a semi transparent candy paint where you build up the color with more coats while retaining the pattern underneath I think would give it the right look. then apply the text via decal and then seal with a clear coat which should give it some depth
the print out in gold print (or as close as you can get with an ink jet printer. only the text
apply decal over dial plate to seal in air brushed colors
giving the dial a gloss finish from the decal
re apply indices and install back onto watch.
It could work. Piercing holes in the decal for the indices might be a little tedious to do carefully, but not terrible. Going through a layer of lacquer on top of that would make it more annoying, but I think it could be done. The gold color from an inkjet would be OK, but you might need to fake a metallic look in Photoshop/image editor. (Note that unless you have a white ink tank for your inkjet, which is a possibility, you have to consider your color choices if trying to fake a metallic look since white = no ink = transparent on waterslide decals.) A simple test would be printing on inkjet transparencies (while you wait for your order of decal paper to arrive) and you'll get a sense of what it will look like. The waterslide decal process is quite simple and you shouldn't have any problem. Maybe practice on a few spare dials first, but it took me only a few to get it all figured out.
A second option would be to just print the entire dial as a waterslide decal. Just like a gilt dial, but instead of black print your blue colors. You would probably lose the sunburst effect, but I don't know how well it would be preserved with airbrush paint. (Would you need metallic paint?) Then just apply the indices.
A third option, with its own learning curve, would be silk screening the text on the dial with actual metallic paint. That's what at least one Vietnam maker does. It's also why the SCOC text on Explorer dials from Raffles etc. is larger than gen. Silk screening doesn't let you get small enough on the Explorer dial, but I think the text on a bluesy is large enough that you could. You'd have real metallic gold paint with depth.
A related option, depending on the budget, would be to paint a few dial blanks and send them to a Vietnamese supplier to custom print the text for you. It would be more expensive, but you avoid having to learn how to silk screen.
But you should be able to do it with a decal.
those blues/aqua greens could be gotten by acids on the bare brass. Seeing as how the pattern in the dial isn't uniform, you could probably do a pretty good job at replicating something very close for the base color.

 metalandmettle.wordpress.com
I am not sure if that is gilt or not, but once you have the color you like, you could apply toner transfer to it by running the dial/art through a laminator. Once you have your art on the dial, you could then apply a gold foil over the dial with transferred art, and run that through a laminator, peel off and the foil will stick to the toner.
I am sure there are more matt gold foils out there that wont be as bright. Downside, is you would lose dial feet unless you find a heat press and dial in the righ temp/time/pressure.
Thats my 2 cents!
green and blue patinas – metal+mettle
Posts about green and blue patinas written by metalandmettle
I am not sure if that is gilt or not, but once you have the color you like, you could apply toner transfer to it by running the dial/art through a laminator. Once you have your art on the dial, you could then apply a gold foil over the dial with transferred art, and run that through a laminator, peel off and the foil will stick to the toner.
I am sure there are more matt gold foils out there that wont be as bright. Downside, is you would lose dial feet unless you find a heat press and dial in the righ temp/time/pressure.
Thats my 2 cents!
It could work. Piercing holes in the decal for the indices might be a little tedious to do carefully, but not terrible. Going through a layer of lacquer on top of that would make it more annoying, but I think it could be done. The gold color from an inkjet would be OK, but you might need to fake a metallic look in Photoshop/image editor. (Note that unless you have a white ink tank for your inkjet, which is a possibility, you have to consider your color choices if trying to fake a metallic look since white = no ink = transparent on waterslide decals.) A simple test would be printing on inkjet transparencies (while you wait for your order of decal paper to arrive) and you'll get a sense of what it will look like. The waterslide decal process is quite simple and you shouldn't have any problem. Maybe practice on a few spare dials first, but it took me only a few to get it all figured out.
A second option would be to just print the entire dial as a waterslide decal. Just like a gilt dial, but instead of black print your blue colors. You would probably lose the sunburst effect, but I don't know how well it would be preserved with airbrush paint. (Would you need metallic paint?) Then just apply the indices.
A third option, with its own learning curve, would be silk screening the text on the dial with actual metallic paint. That's what at least one Vietnam maker does. It's also why the SCOC text on Explorer dials from Raffles etc. is larger than gen. Silk screening doesn't let you get small enough on the Explorer dial, but I think the text on a bluesy is large enough that you could. You'd have real metallic gold paint with depth.
A related option, depending on the budget, would be to paint a few dial blanks and send them to a Vietnamese supplier to custom print the text for you. It would be more expensive, but you avoid having to learn how to silk screen.
But you should be able to do it with a decal.
I would not need metallic paint as the air brush paint is transparent so the metal plate will provide the metallic effect from behind,
If this dial was black text it would be very easy to achieve but with the gilt text it adds an element of complexity , however the text could be off color I think since it would be blemished somewhat from the tropical effects and paint degradation on the dial (in gen land) .
I think this idea would work and if I nail it...I think they are going to of quite interest to the gold bluesy crowd... I know I will probably build myself one for sure too if this works
those blues/aqua greens could be gotten by acids on the bare brass. Seeing as how the pattern in the dial isn't uniform, you could probably do a pretty good job at replicating something very close for the base color.

green and blue patinas – metal+mettle
Posts about green and blue patinas written by metalandmettlemetalandmettle.wordpress.com
I am not sure if that is gilt or not, but once you have the color you like, you could apply toner transfer to it by running the dial/art through a laminator. Once you have your art on the dial, you could then apply a gold foil over the dial with transferred art, and run that through a laminator, peel off and the foil will stick to the toner.
I am sure there are more matt gold foils out there that wont be as bright. Downside, is you would lose dial feet unless you find a heat press and dial in the righ temp/time/pressure.
Thats my 2 cents!
I thought of that too , using the acids and film free decals. however the learning curve seems to be a lot steeper
I do like the idea of the lamination I think that would be great, especially over the acid treated plate.
what would be easier using a gilt plate and doing the film free decal technique and blue acids or using the foil laminator ??
Do you have a link to the jeweler's punch? I know I can drill a hole and spend 4 hours trying to file out the correct rectangle for the date window. Perhaps a link to the vendor that makes this punch? Again, I have the tools, and I can punch a hole. I need a specific punch for the date window though.Date windows are done via a punch/stamping machine. To replicate it at home you can punch with a Jewelers punch and then use a jewelry saw and a set of files. It would take some time.
You would have to design your own and have it made. It would just be a rectangle that is flared out you could have someone on Etsy actually make it for $25 or so.Do you have a link to the jeweler's punch? I know I can drill a hole and spend 4 hours trying to file out the correct rectangle for the date window. Perhaps a link to the vendor that makes this punch? Again, I have the tools, and I can punch a hole. I need a specific punch for the date window though.
think this but with a rectangle. If you were to go this route it might be easier to stamp it in a sheet of brass then cut the circle out with snips and smooth out the cut. It might be hard to get alignment on an already made dial.
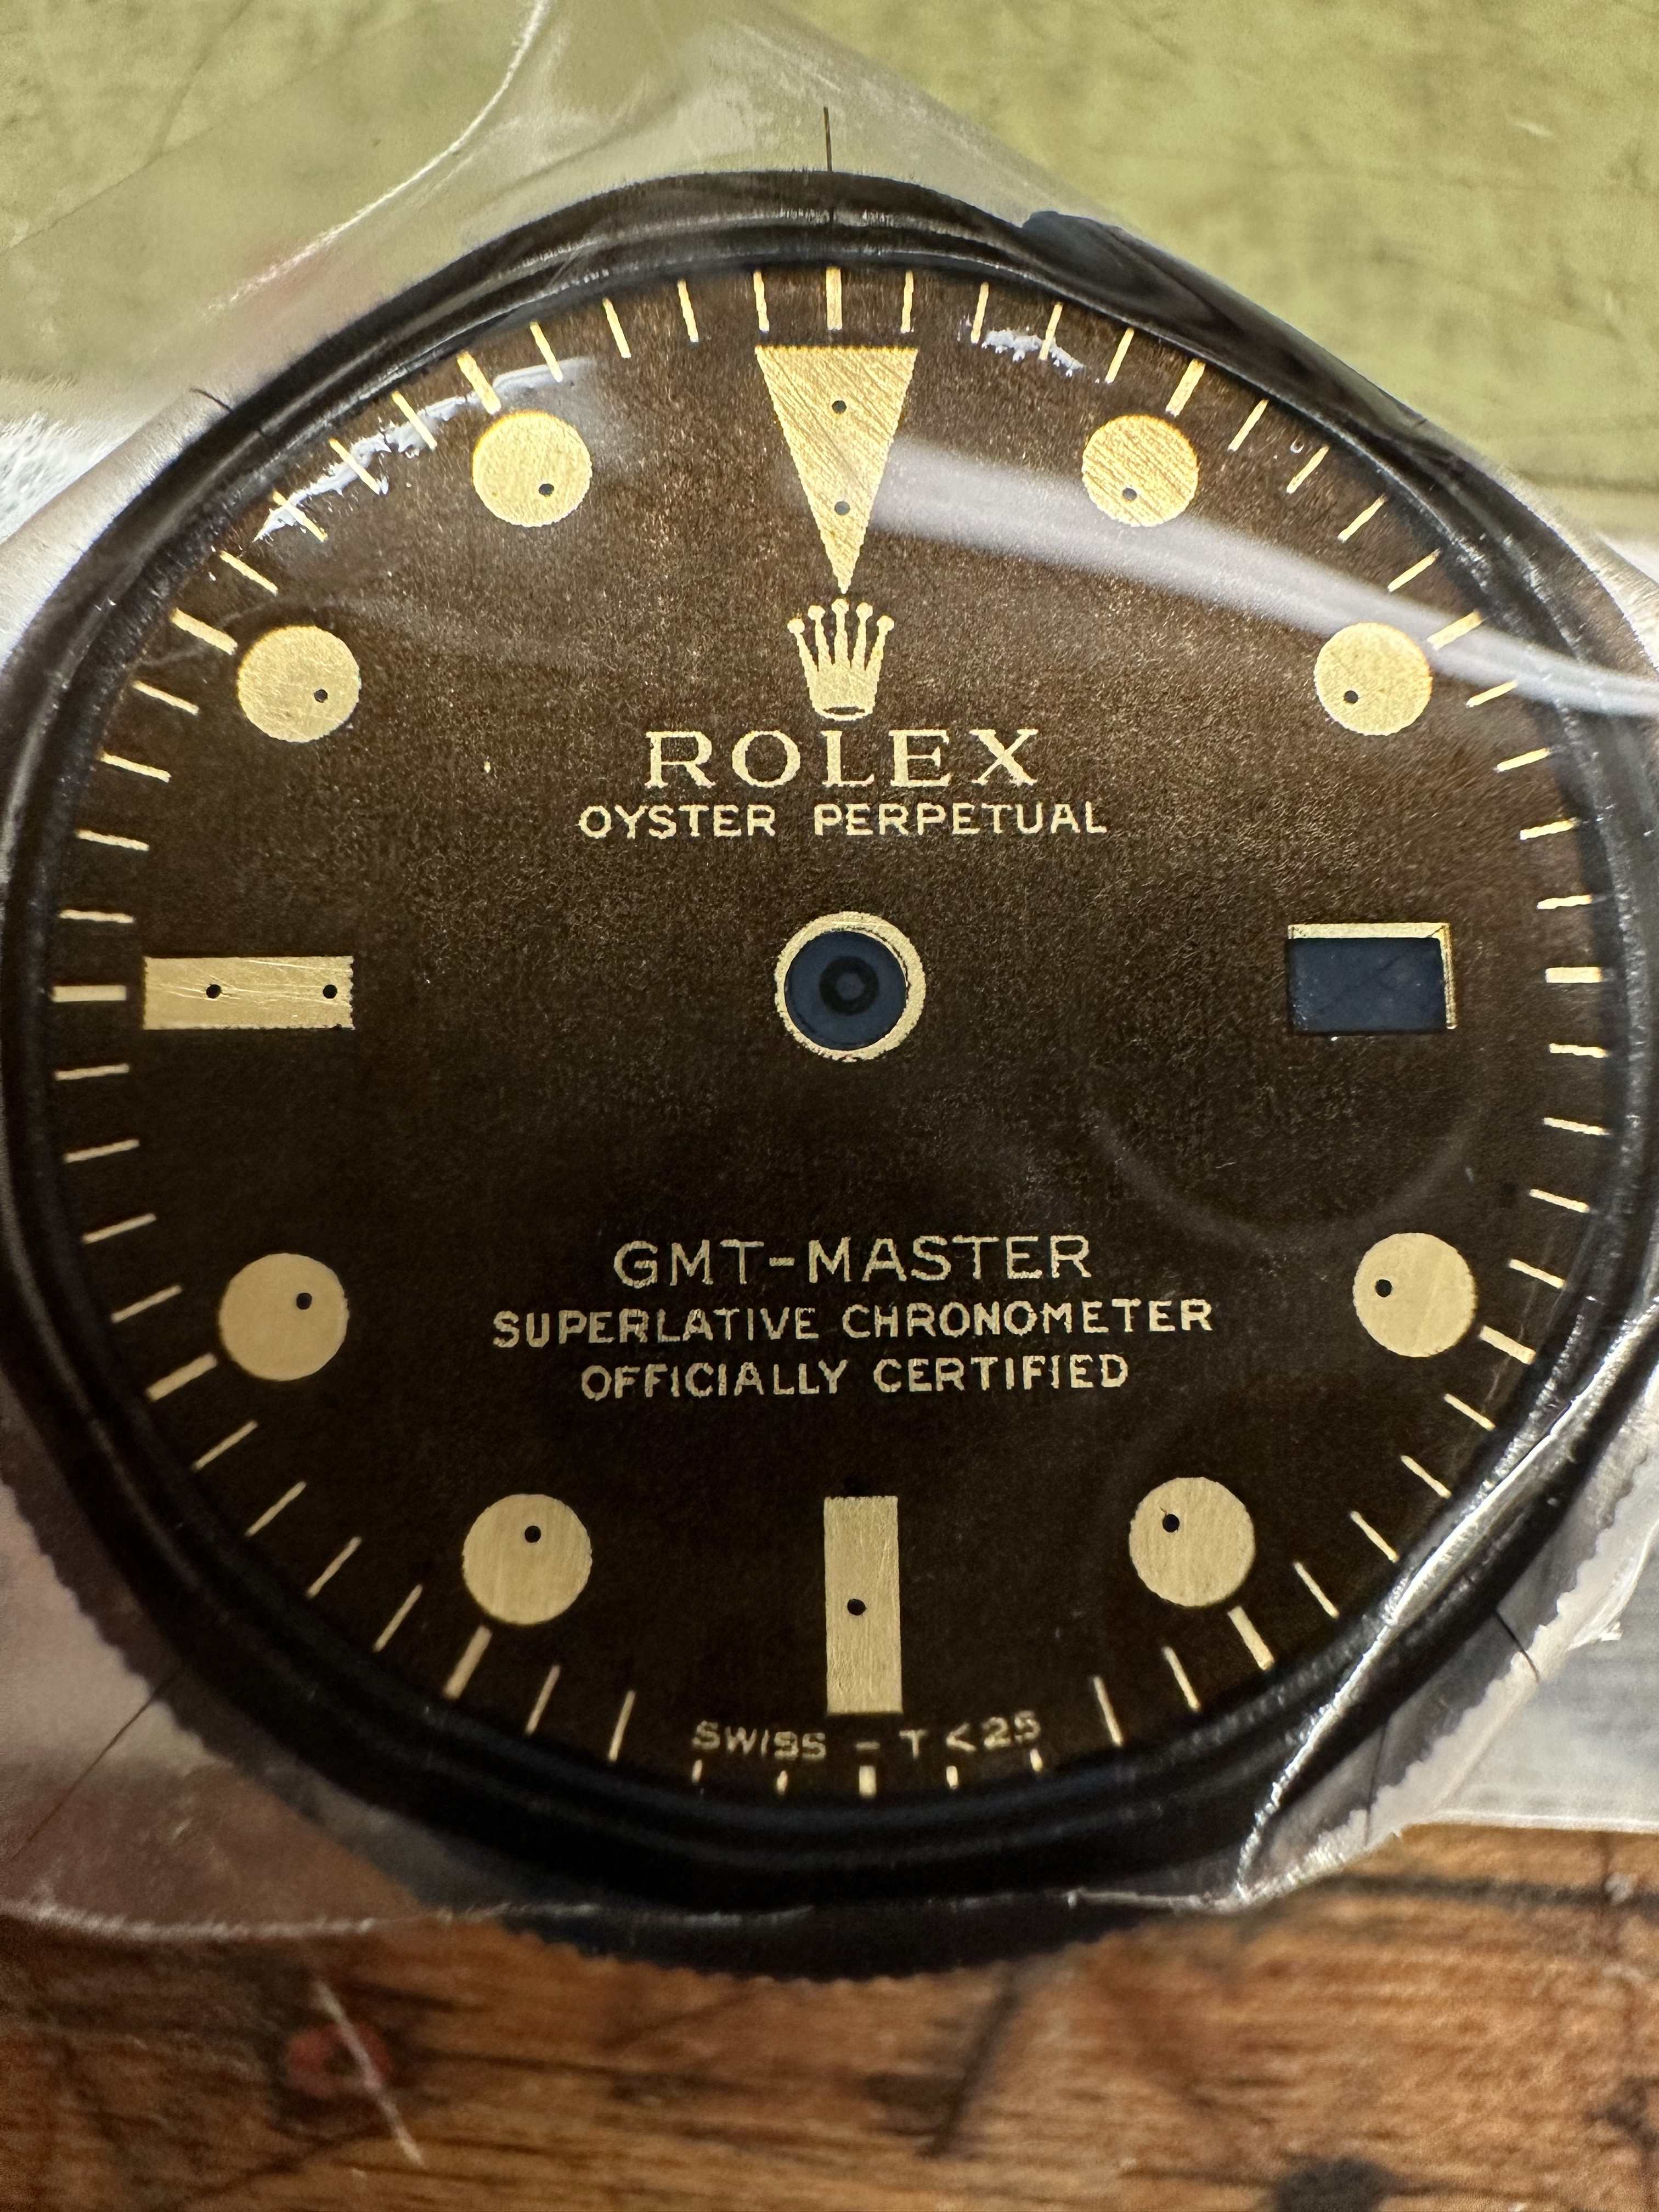
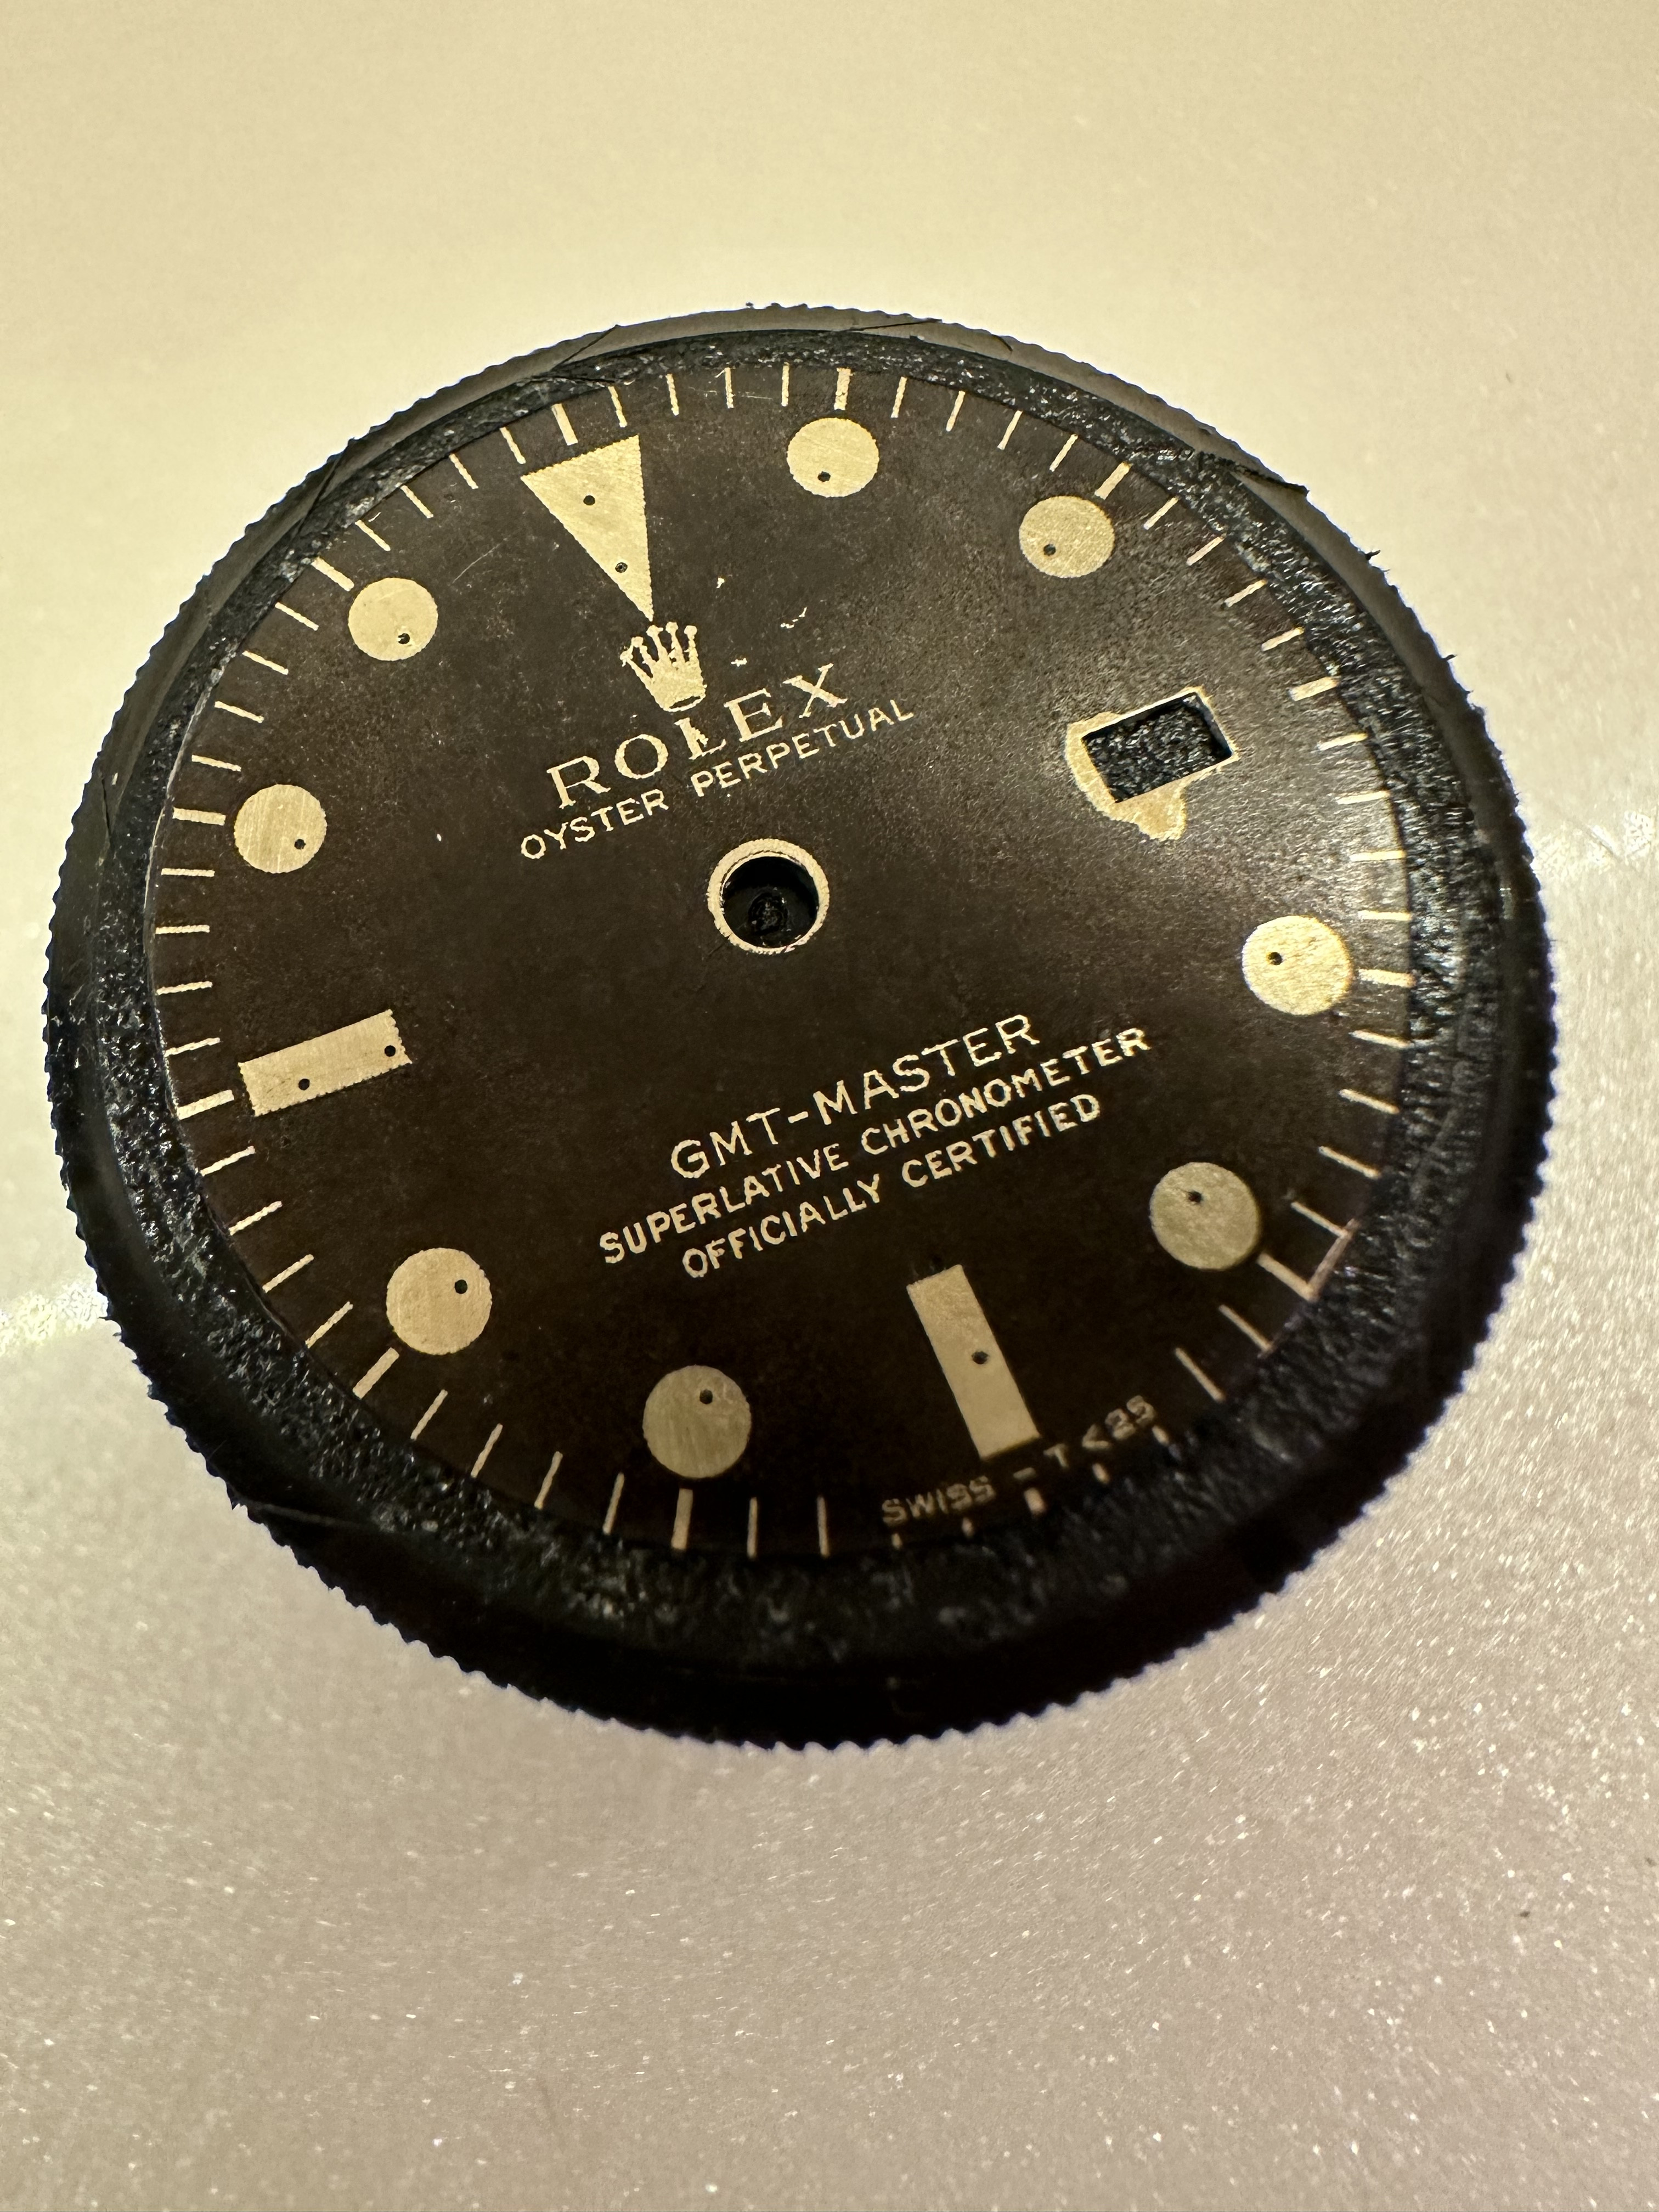
Unfortunately, wasn't able to smooth the toner enough to get rid of the texture. It seems I used the wrong paper setting that used enough toner for a 3D print. Redid another one with a paper setting right above the minimum. Also used a hairdryer to set it this time. It seemed to slide around more than I realized but came out okay aside from the date window. Of course I dropped it putting it in the toaster oven and scratched it around the L! I'm hoping it's good enough to salvage, but I'll see when I give it a coat of lacquer.
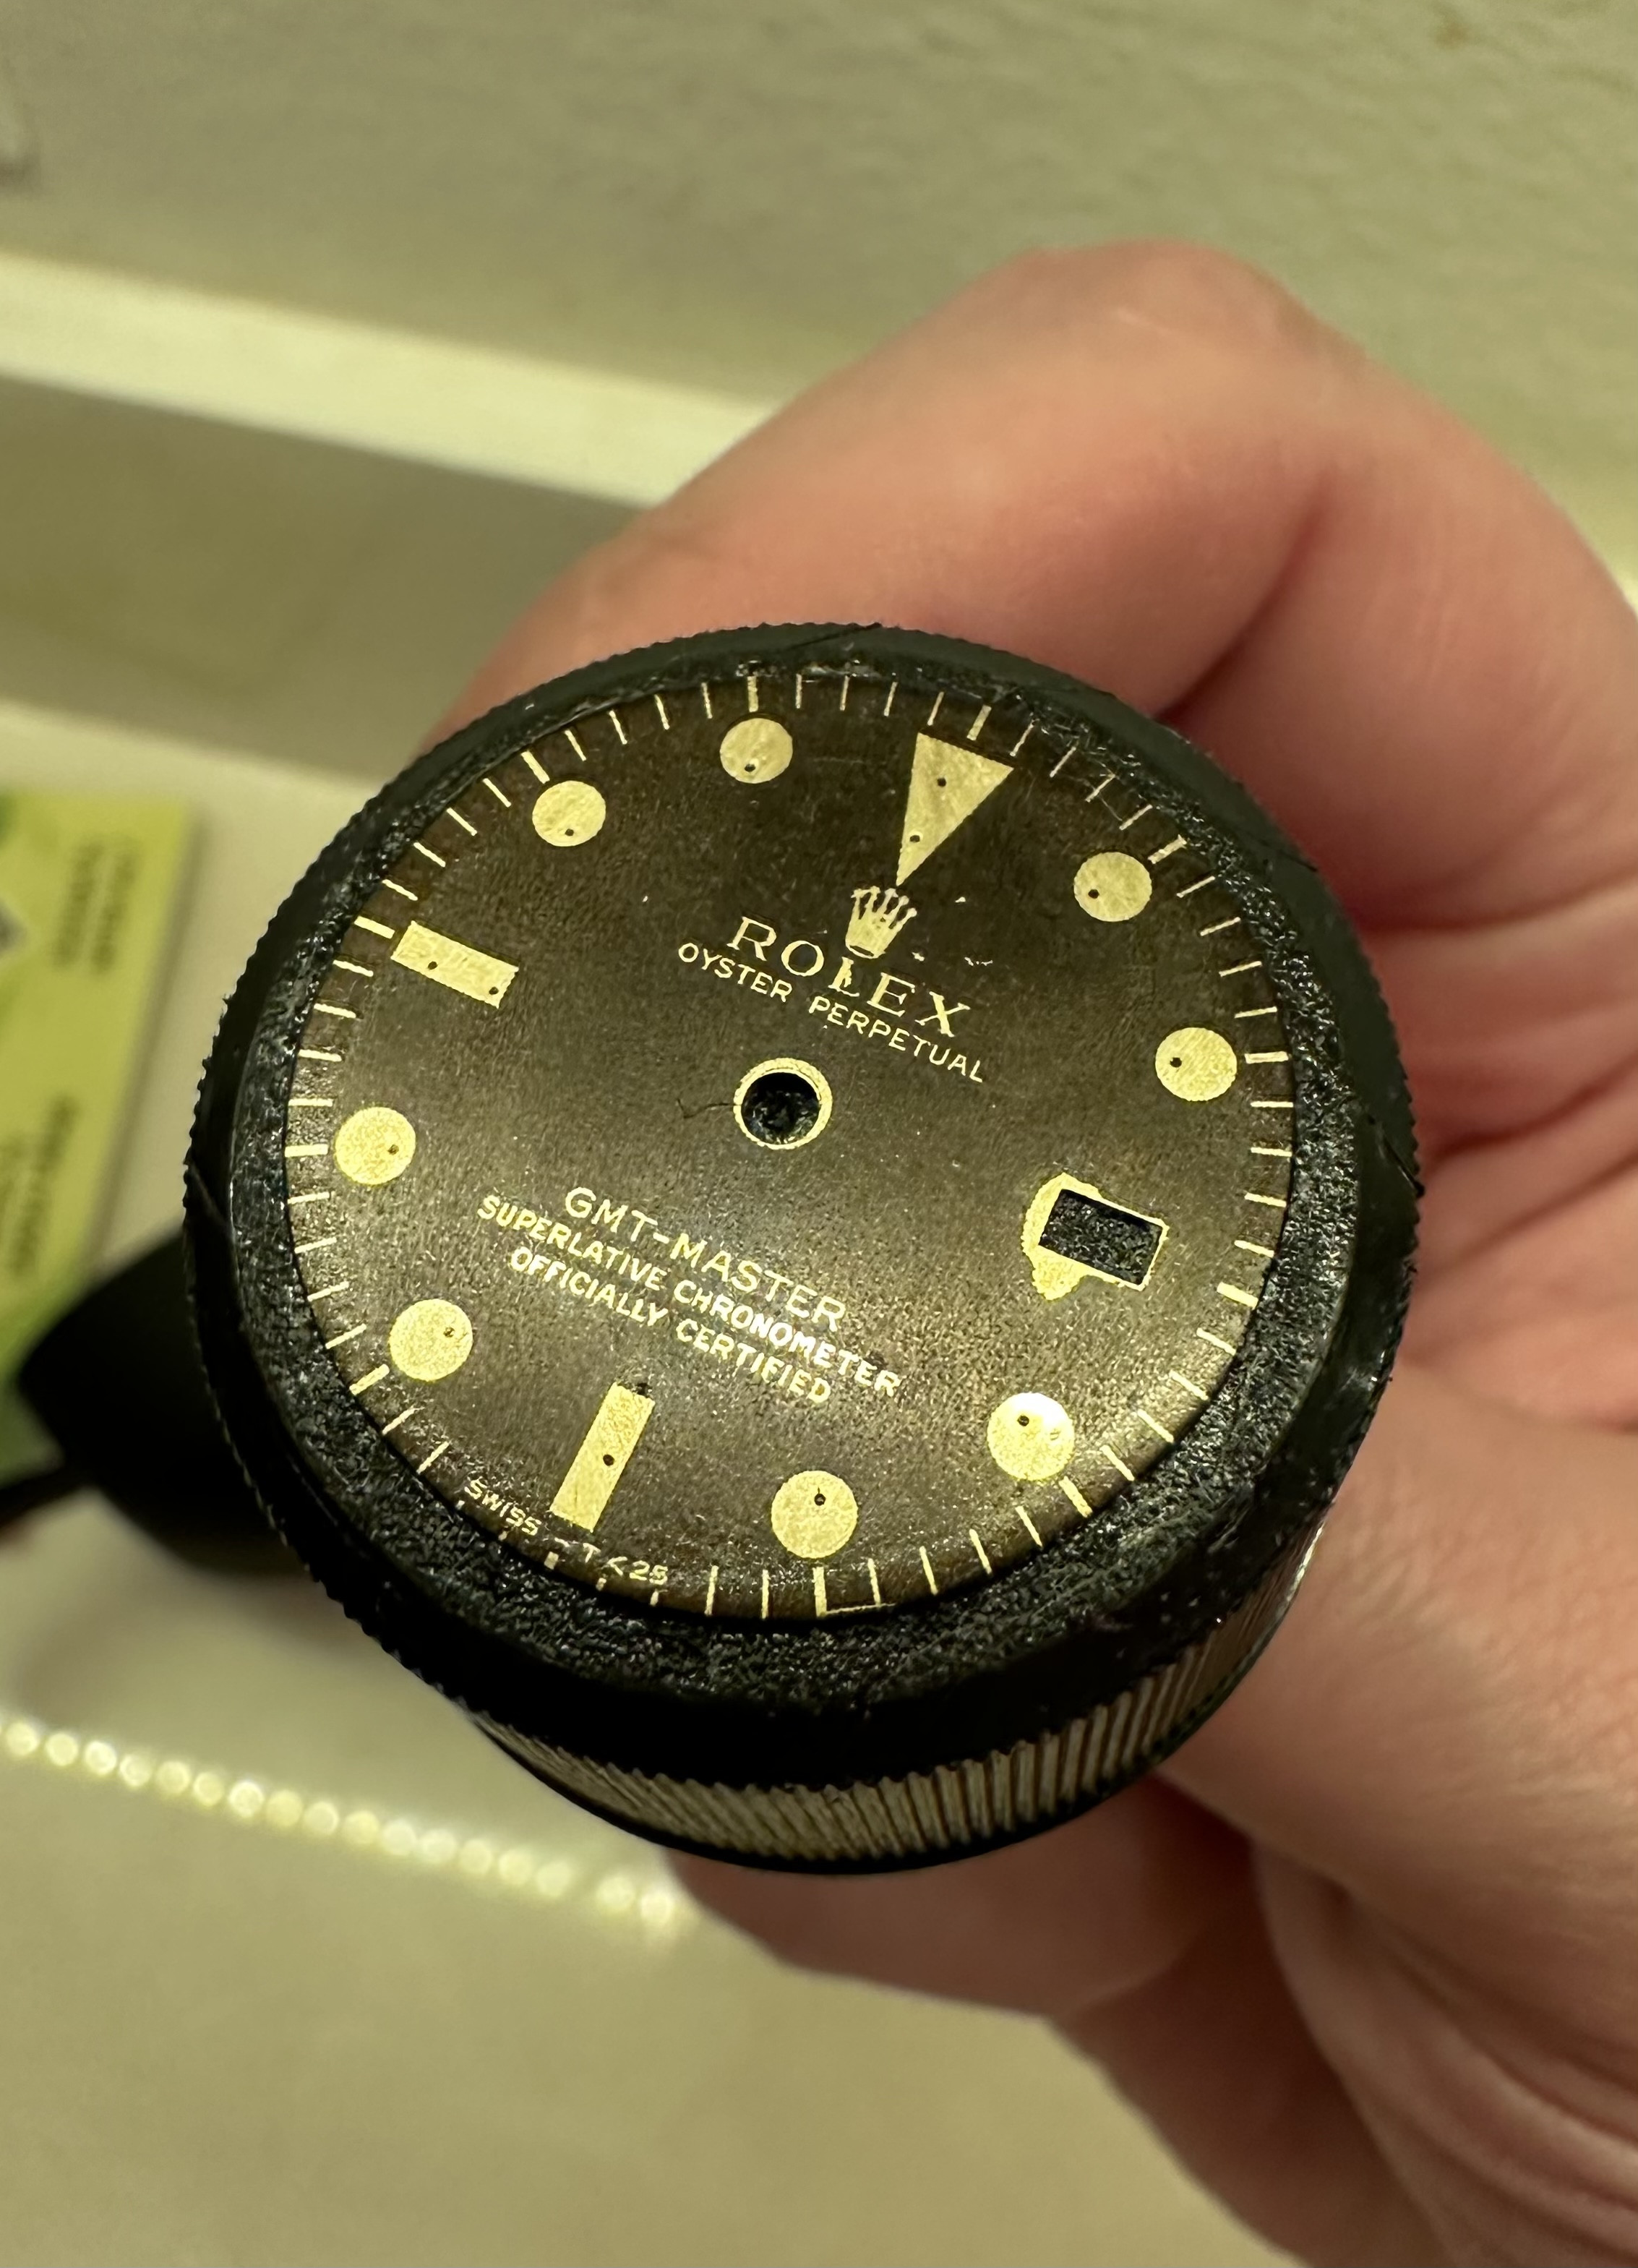
DrGran
Active Member
Given the T<25. Is anyone still adding tritium to these? If so very diluted to indicate decay with age.
I'm simply not willing to open a gallon of 2K automotive clear coat for a single, and ALMOST good dial, so I continue shooting myself in the foot and using rattle can, over the counter clear coats. Besides their often disappointing finish, I've noticed the solvents in many alter the finish of the brass, resulting in a muted gilt.
In other words, the brass goes from shiny and having a "pop" to foggy and blending in.
Obviously, I ruined another dial!!! But I was reading that some actually liked shellac as a base coat for lacquer or other one-part clears over brass because it was sometimes great at assisting with adhesion.
So with another dial down the drain, what is there to do? Obviously, the only option is try to and make it extra tropical and test some shellac. For how crappy it turned out, it actually looks pretty good in person. It definitely needs to be polished, but I can say that the shellac has allowed the brass to keep its "pop."
Just wanted to share the results, as I assume most here are using rattle can clear coats.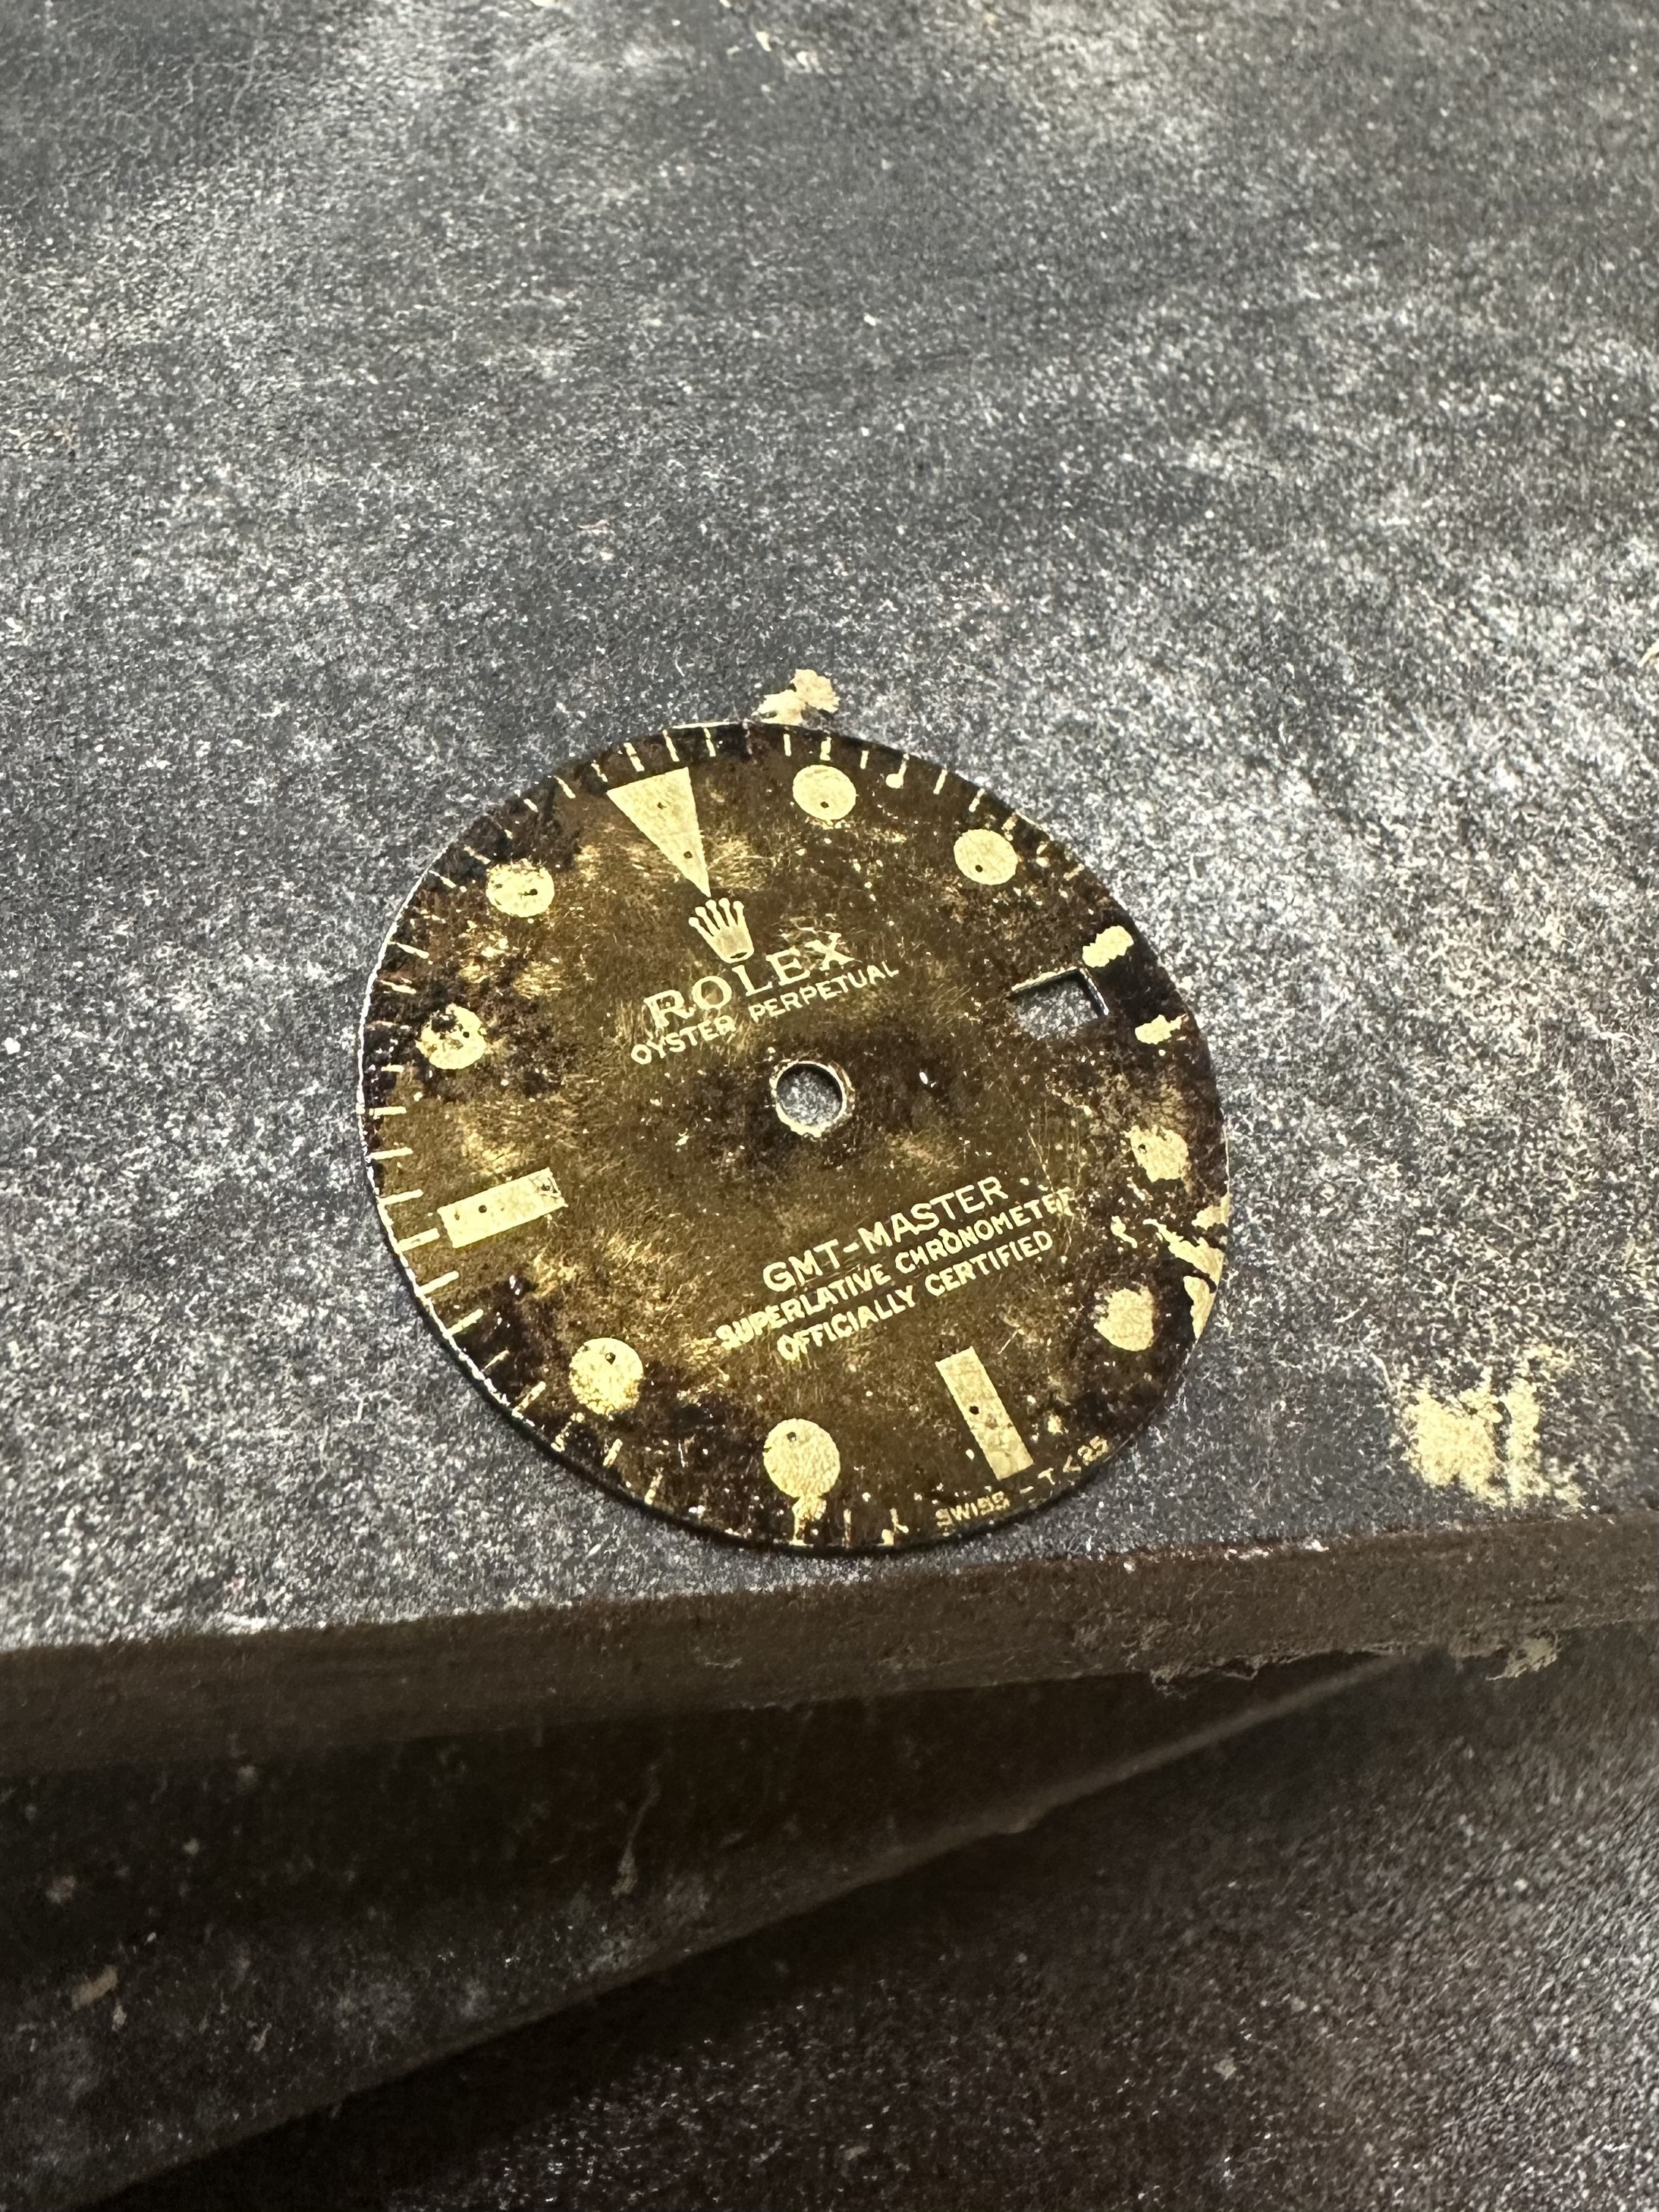
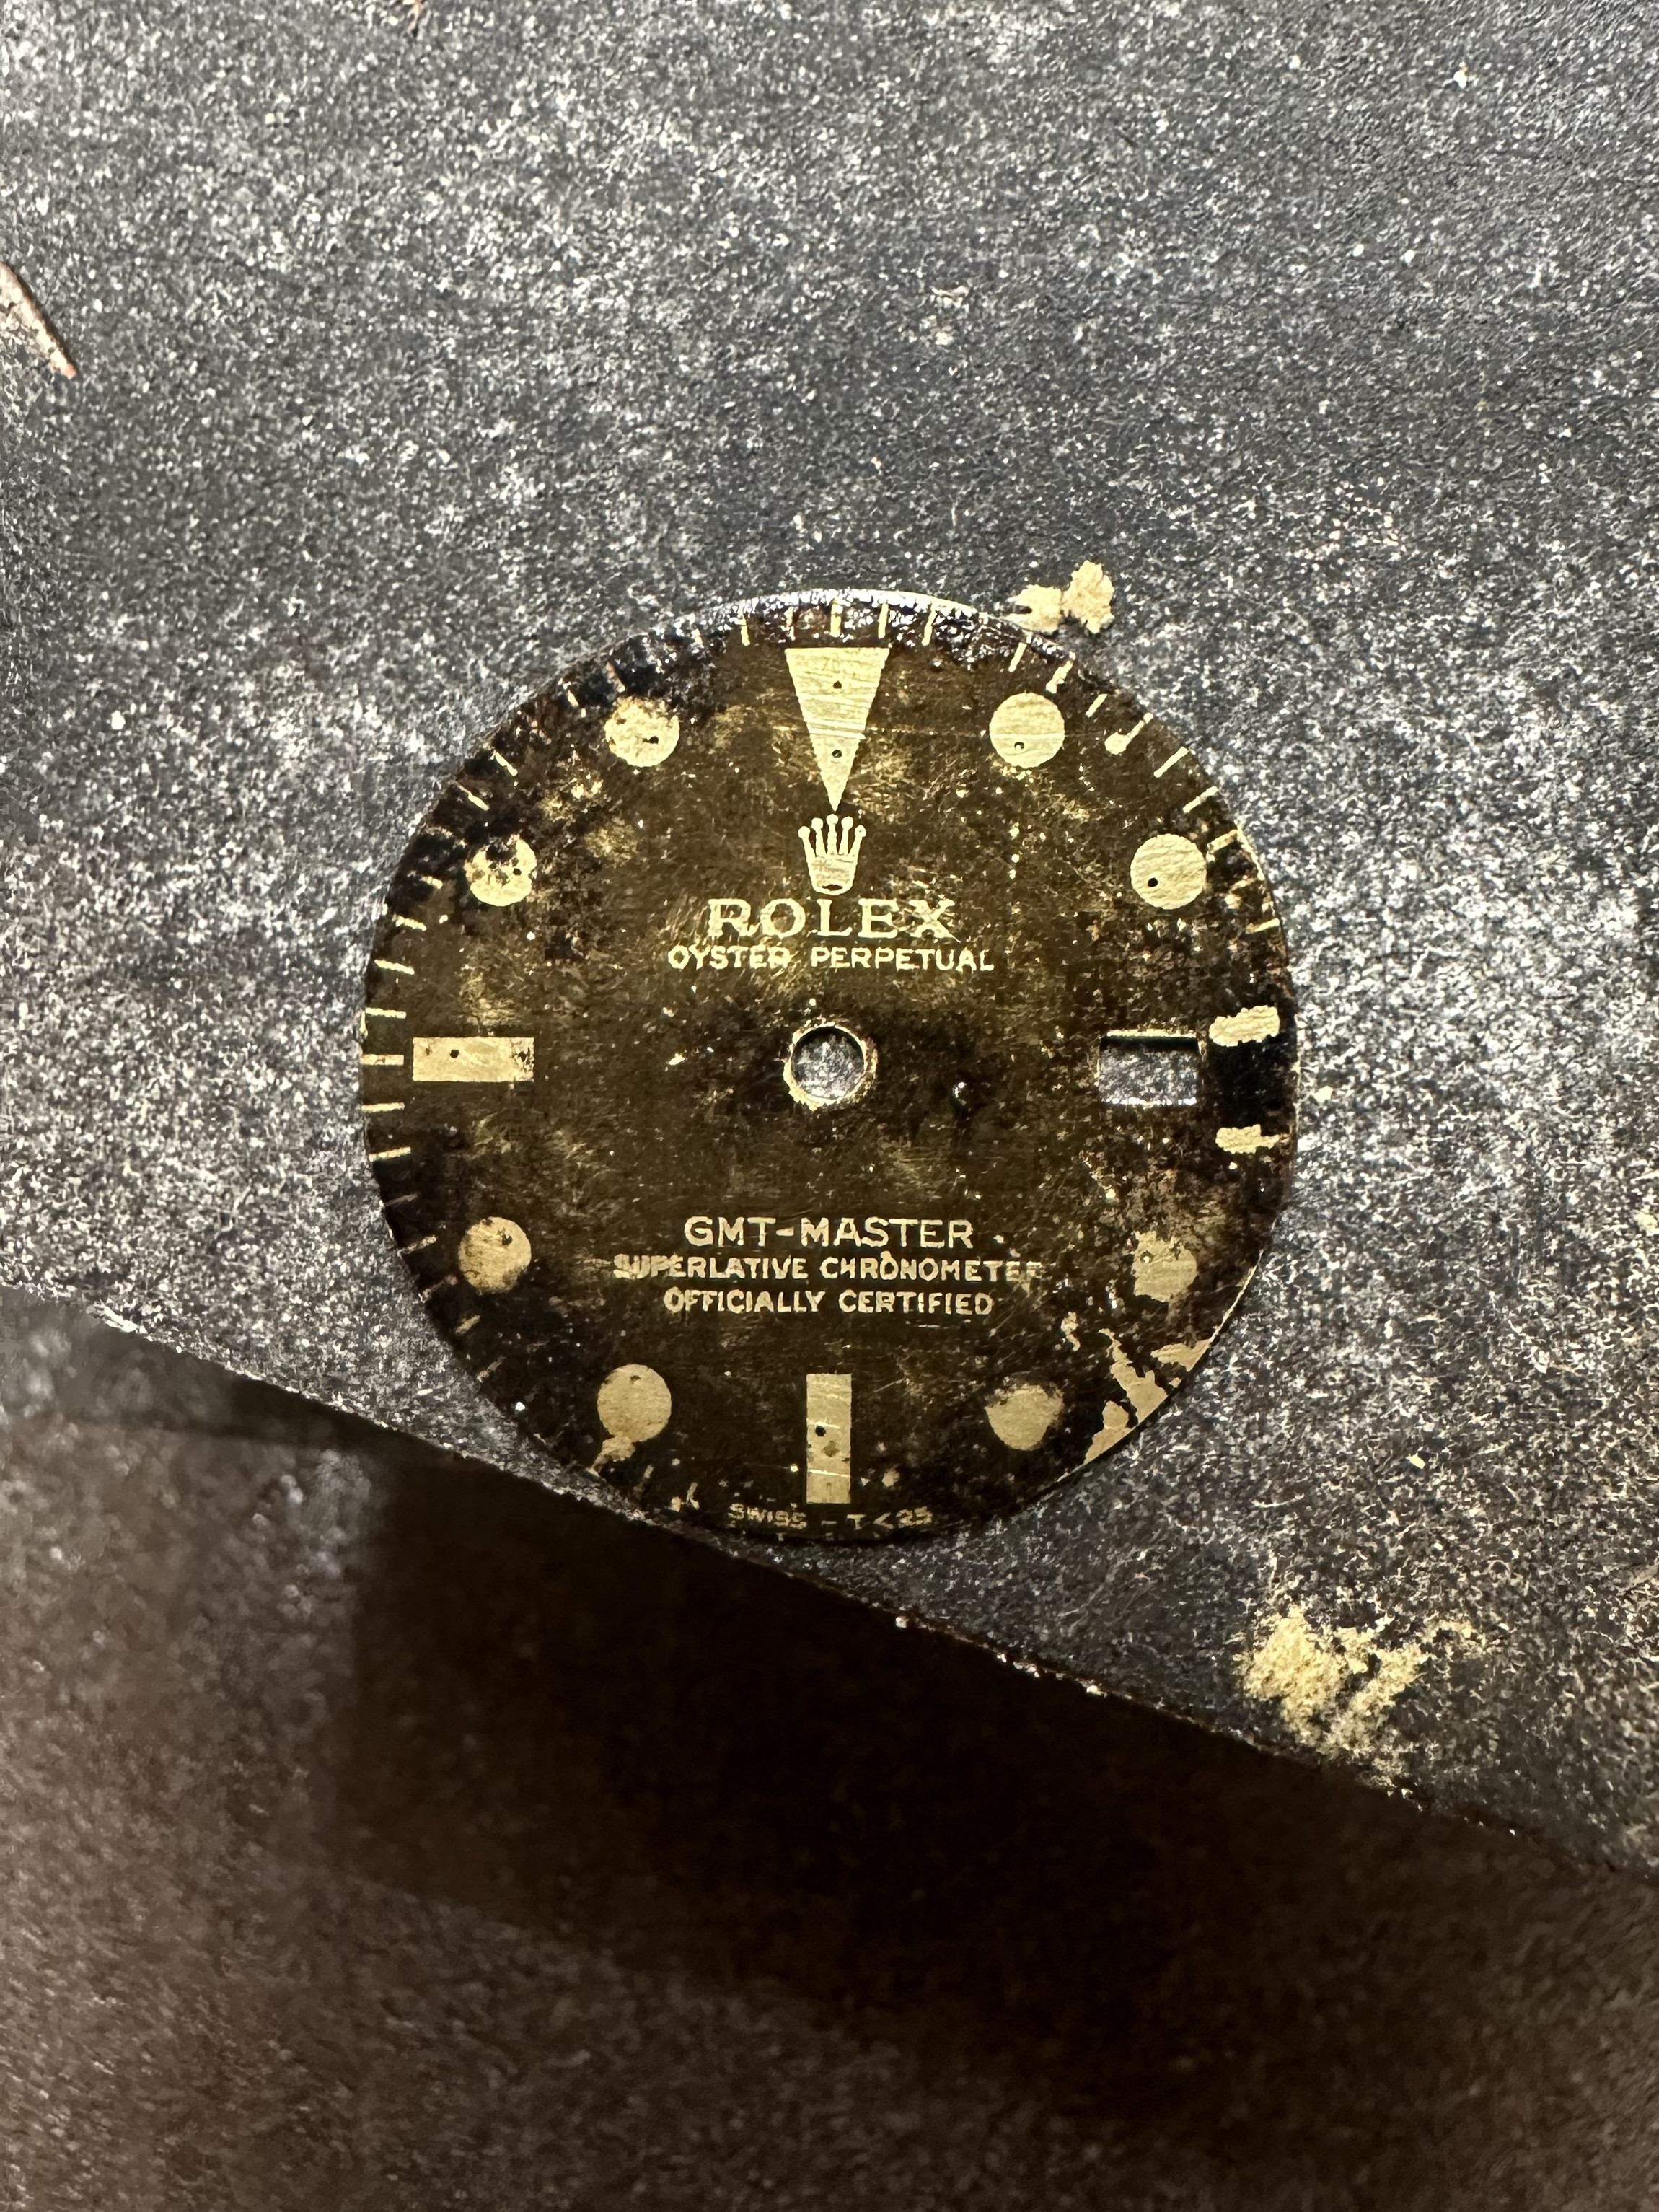
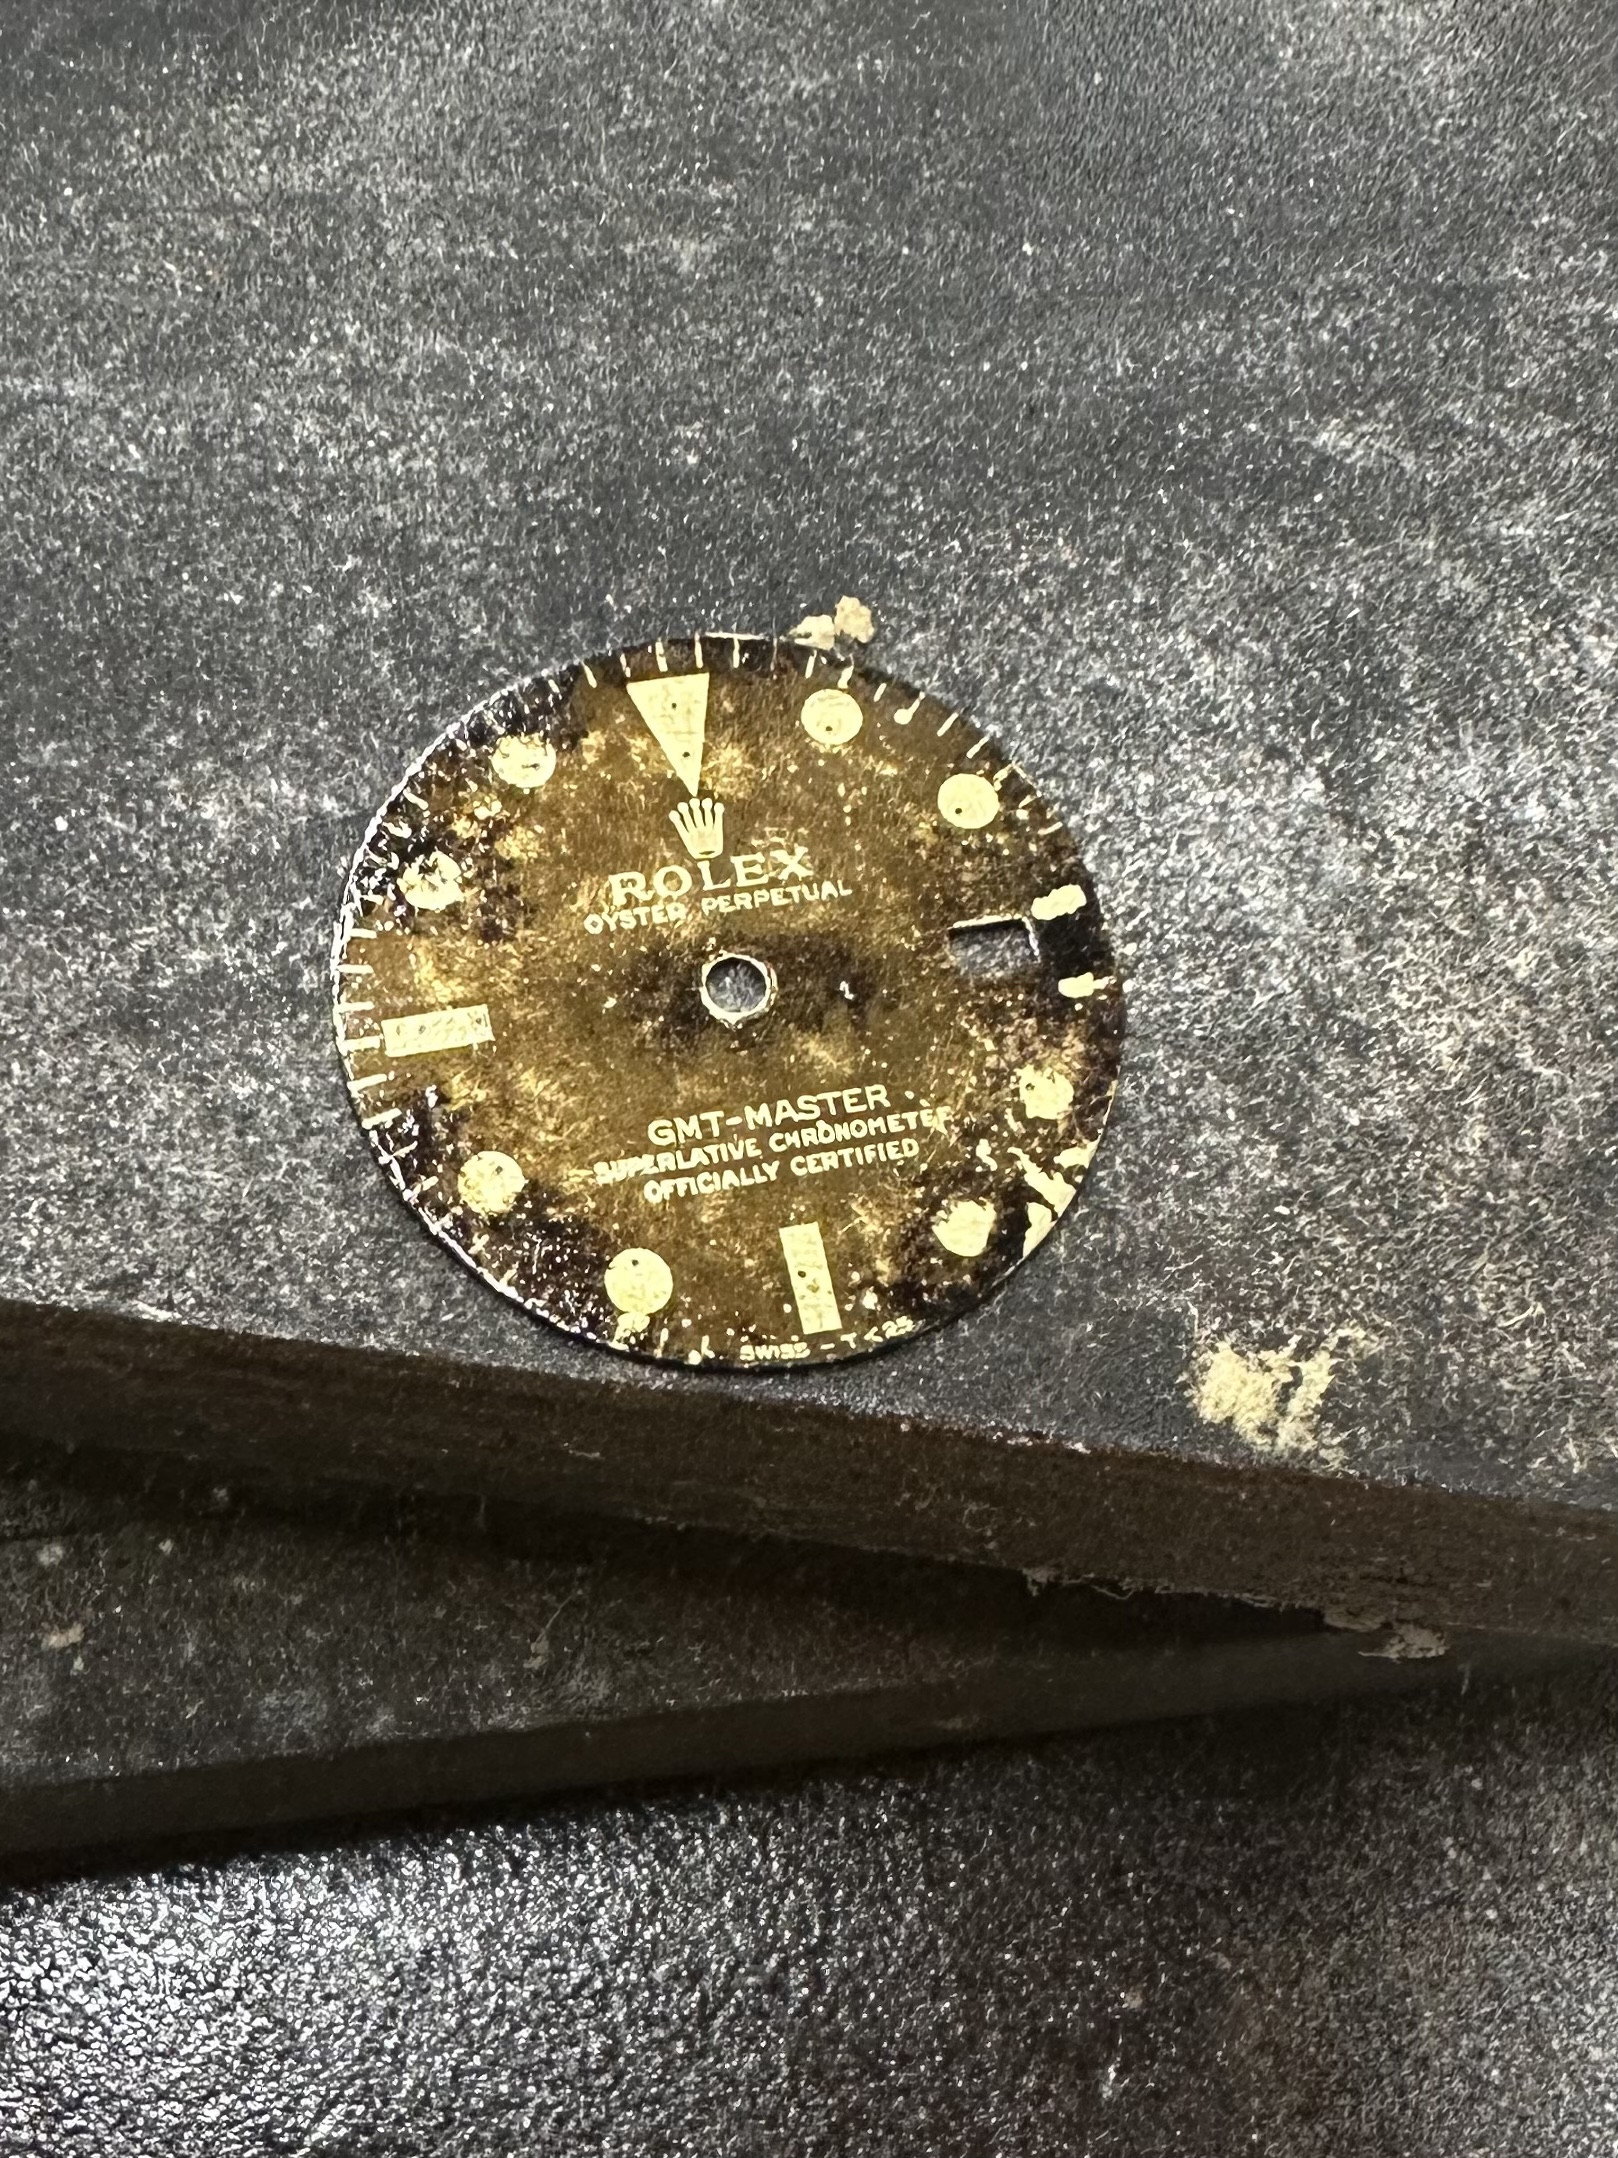


Here is the shellac coated dial next to a tarnished uncoated dial. It's a great example of what I mean by "pop." The gilt pops and almost jumps out. In other words, it's great for not losing the sparkle or 3D effects of gilt and tropical dials.
I'm not trying to sell anyone on using shellac, but I did want to share the results in case anyone was getting muted shimmers of light after clear coating. Especially since rattle cans are usually a mystery!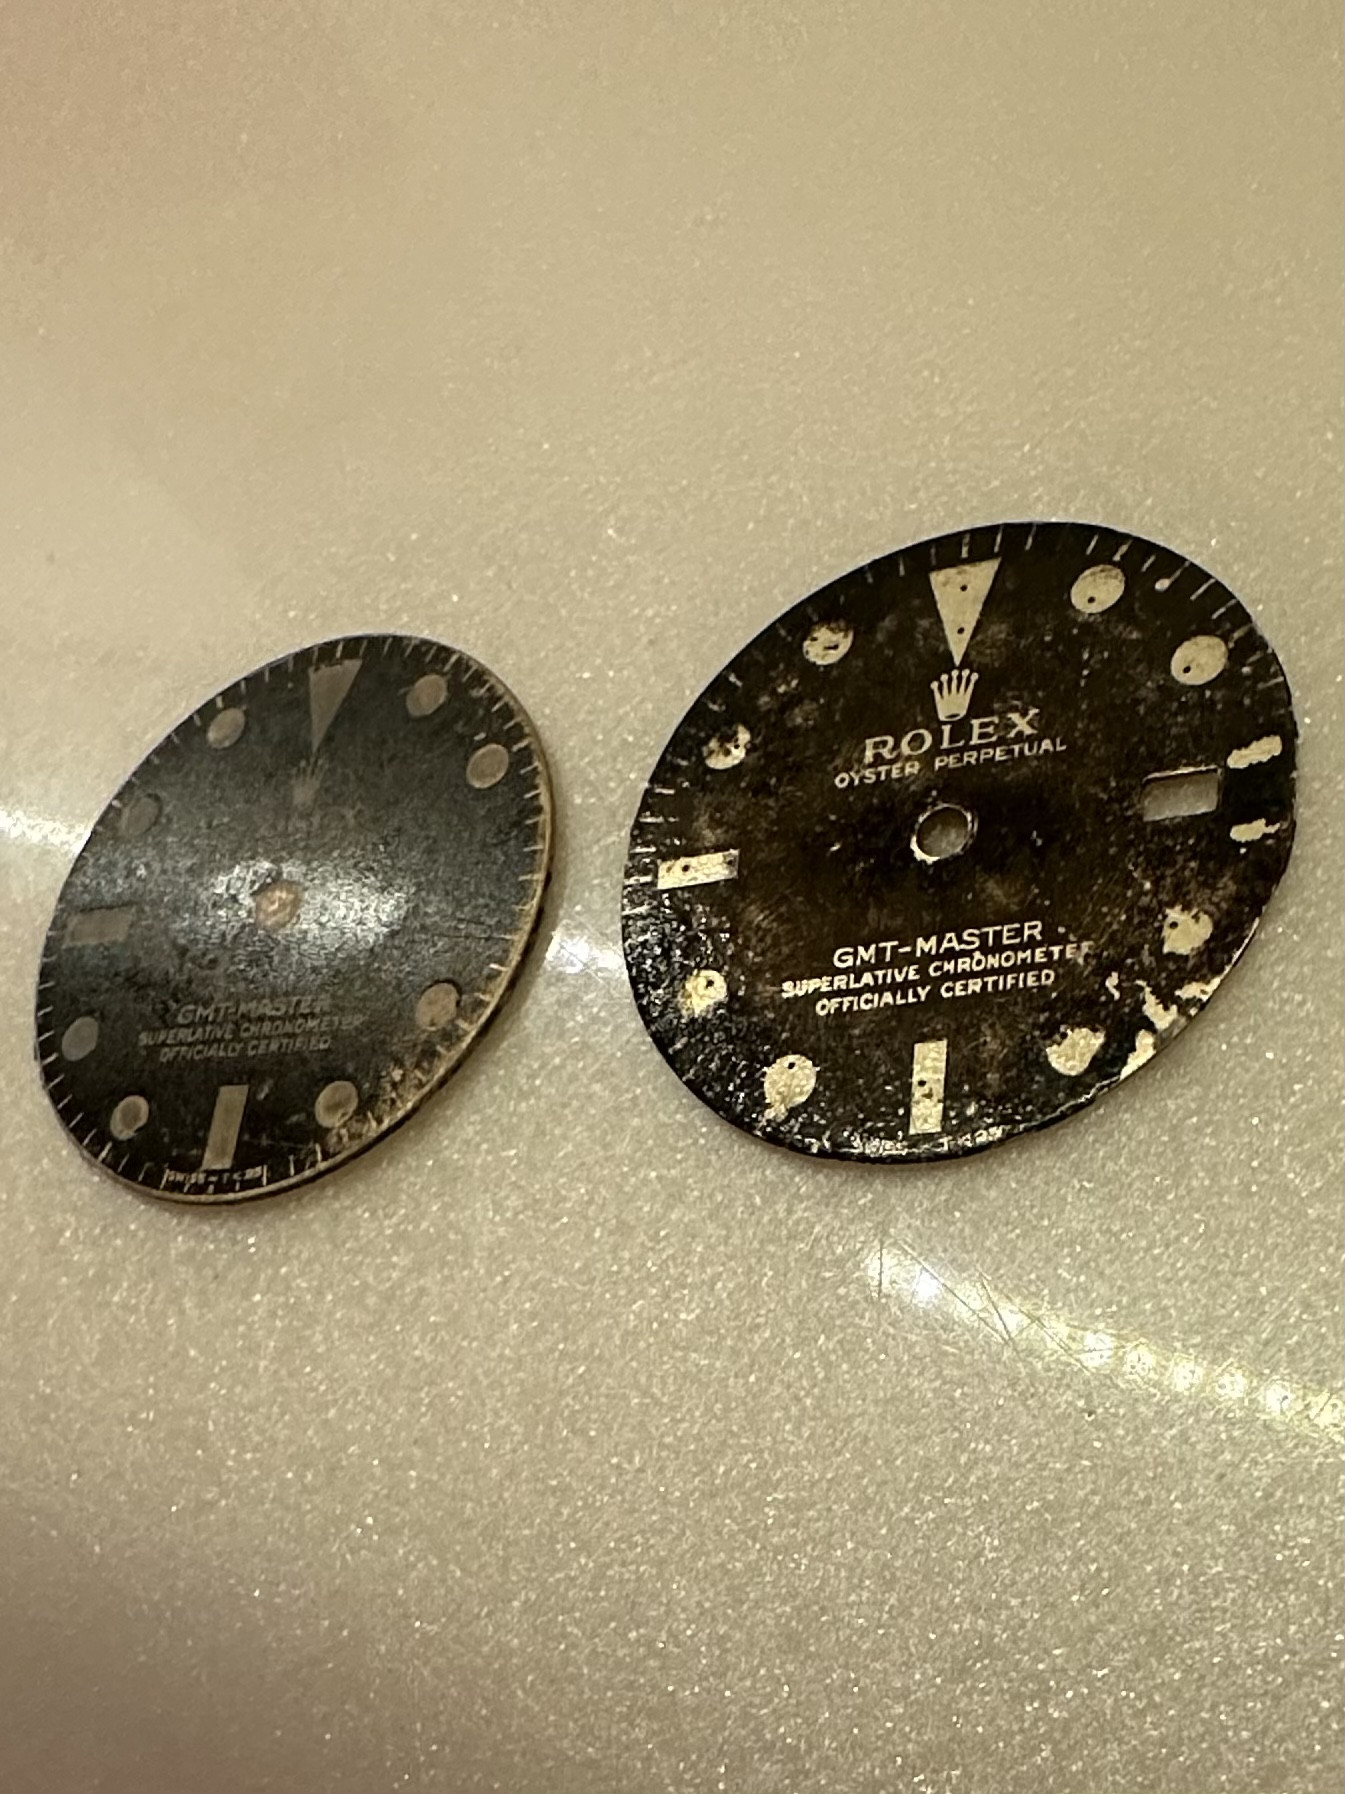
I'm not trying to sell anyone on using shellac, but I did want to share the results in case anyone was getting muted shimmers of light after clear coating. Especially since rattle cans are usually a mystery!

When you all polish your blanks do you see microscopic scratch lines when using magnification? I am using a metal polish and a dremel with cotton polishing head. From the naked eye it’s flawless but under magnification I see micro scratches. If I used sand paper and went all the way to 3k grit would I still see that under magnification?
For example this page has some good close up shots of the gilt. Im not seeing scratches. It’s almost like sparkly instead.
My micro scratches only show up in certain angles. It could be all the pics online of the real deal are just the best angles.
My micro scratches only show up in certain angles. It could be all the pics online of the real deal are just the best angles.
Just to be clear, you mean micro scratches in the metal itself? The shellac coated dial I posted was like 90% orange peel. Thats the only reason I ask.
Wet and dry sandpaper is great, but using it wet has a lot more tooth. 3000 dry, or a fine-ish polish with a dremel sounds pretty close to enough, but that ultimately depends on the finish. Some finish hide flaws, while others bring them out.
I guess what I mean is, a glossy finish will show more flaws than a flat finish, but a thicker coating of clear can add depth -- which makes for a mirror like shine which also shows tiny imperfections that still reflect light. I'm not concerned about 3000 dry scratches, personally.
I think you need those minor scratches to reflect the light properly. The high-resolution pictures online are using a manual camera with controlled reflections, light boxes, etc. If they didn't, I don't think they could take macro pictures of shiny surfaces. (Just my opinion, but @kilowattore should know.) Amazing builds and amazing photos.For example this page has some good close up shots of the gilt. Im not seeing scratches. It’s almost like sparkly instead.
My micro scratches only show up in certain angles. It could be all the pics online of the real deal are just the best angles.
@WatchN3RD the scratches are in the brass itself. I think I am probably over thinking this. They are in absolutely no way visible with the naked eye and only visible with a magnifying glass. I can’t even get my iPhone to capture them. Looking more this morning, some angles on my polished brass does have that sparkly look like I mentioned in the post above. Other times you can see the microscopic scratches but only at certain angles and under magnification. I think I should probably just not worry about it
I am using mothers mag polish and a dremel. Reading up for a sec mothers mag doesn’t list the grit but it’s estimated around 4K. I also use an aluminum block under the brass while polishing to absorb heat so the brass doesn’t deform. That way I can polish a bare dial in 30 secs
I am using mothers mag polish and a dremel. Reading up for a sec mothers mag doesn’t list the grit but it’s estimated around 4K. I also use an aluminum block under the brass while polishing to absorb heat so the brass doesn’t deform. That way I can polish a bare dial in 30 secs
I suppose the level of polish on a bare brass dial depends on what you are trying to achieve. I can't comment on whether it makes a big difference, or how it compares to a gen 50s/60s gilt dial (haven't seen on in person), but I haven't bothered trying to polish the blanks I am working with. Why?

- They already look very shiny to me
- Magnification to the level of observing scratches will expose all the printing flaws and inaccuracies, never mind completely different technique than pad printing and galvanic printing, which is a bigger tell
- I don't want to have issues with decals (or any method) not adhering properly to a dial because it is microscopically smooth
- The aging and cracks in lacquer (see the example you linked) creates more imperfections than scratches would, and would likely impact the shininess as much or more than scratches in the brass
- Gen gilt dials also have corrosion on the brass, which likely reduces shininess, yet they are still shiny


