• Tired of adverts on RWI? - Subscribe by clicking HERE and PMing Trailboss for instructions and they will magically go away!

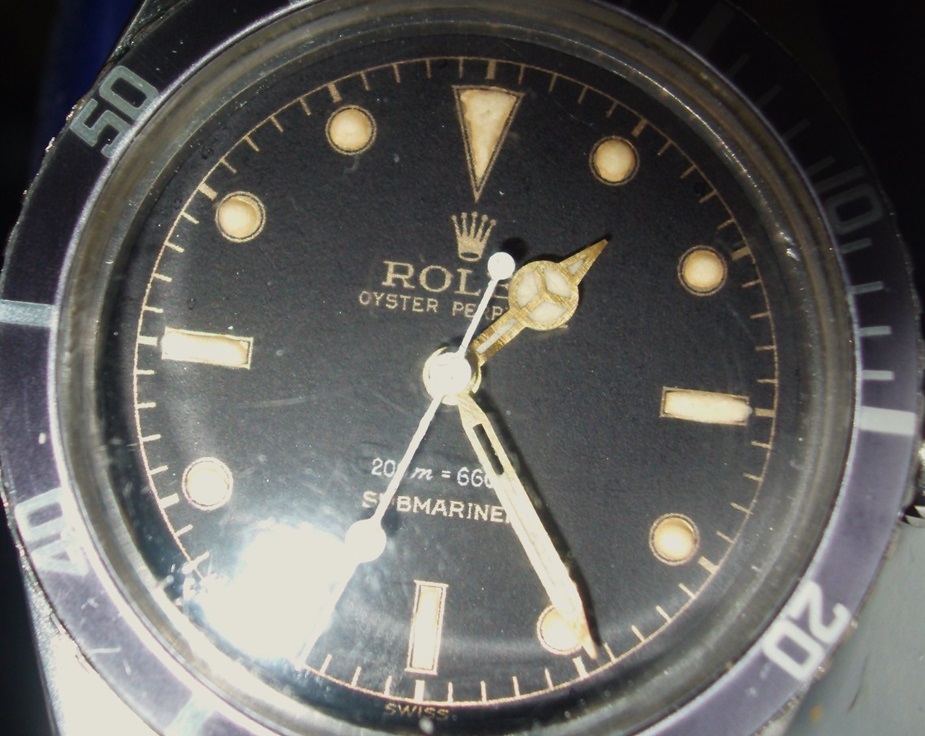
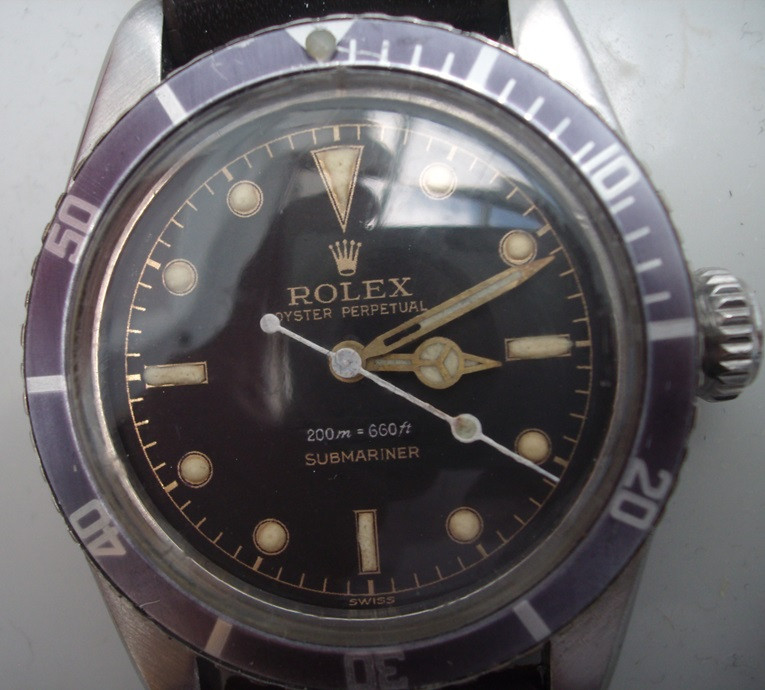
Decal printed dial

GenuineFool

Known Member
Supporter
Certified
That toner transfer looks pretty cool with the different shades. And that does not have coating of clear yet?

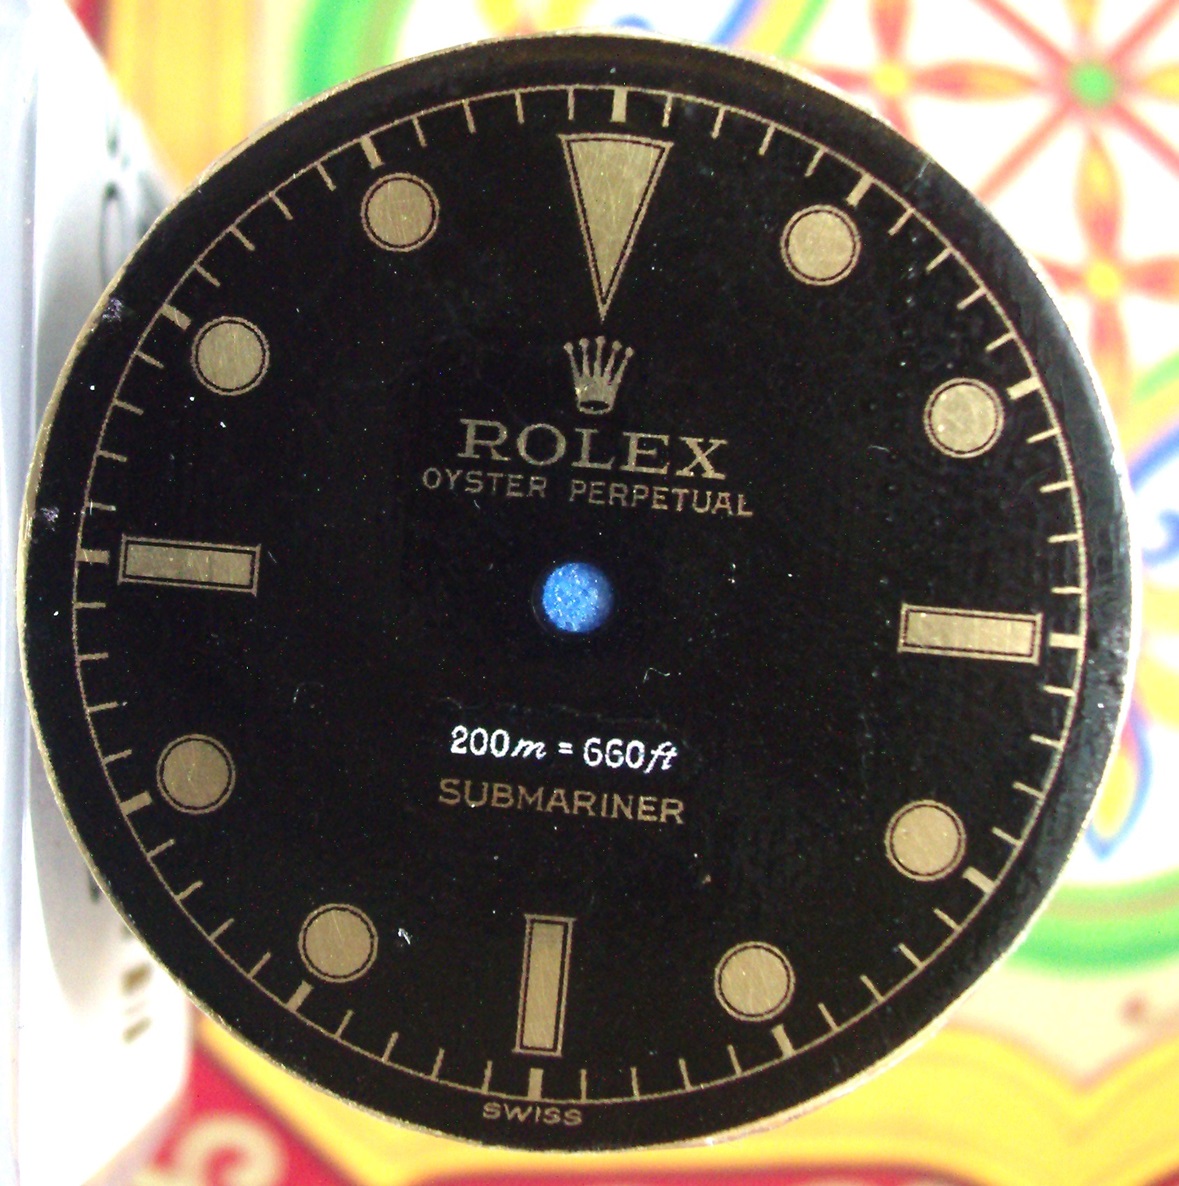
Correct. No coating on the toner transfer dial. The finer details (e.g., COSC text) didn’t transfer well, so I only let the brass black proceed for maybe 20 minutes. A more thoroughly prepped surface and acrylic coating would probably even it out and darken it, but retain the variation.
 
  • Like
Reactions: 369mafia

WatchN3RD

I supported. Doesn't make me an expert!
Gold Patron
24/7/18
553
634
93
Correct. No coating on the toner transfer dial. The finer details (e.g., COSC text) didn’t transfer well, so I only let the brass black proceed for maybe 20 minutes. A more thoroughly prepped surface and acrylic coating would probably even it out and darken it, but retain the variation.
I'm right there with you! I responded to @chrome72 's thread with my last transfer attempt update instead of here, but it's pretty frustrating vs. a simple decal. It's just that your toner transfer really has all those amazing shades a decal can't produce. I absolutely agree that an acrylic or solvent coating would even things out and bring out some holographic reflections with those tones too. Last question, what brand or type of transer did you use? My attempts with Sunnyscopa are more akin to playing high stakes roulette. It's unreasonably unpredictable in my experience.
 
  • Like
Reactions: GenuineFool

GenuineFool

Known Member
Supporter
Certified
It's just that your toner transfer really has all those amazing shades a decal can't produce. I absolutely agree that an acrylic or solvent coating would even things out and bring out some holographic reflections with those tones too. Last question, what brand or type of transer did you use?

Apologies, I might not have been completely clear in my explanation. I printed an inverse dial image on a laser printer, so only the chapter ring, markers, text etc. on glossy paper from Staples. I then did a toner transfer with acetone onto a blank brass dial. The dial was then treated with a blackening agent, like patina in a bottle, with the toner acting as a mask. After about 20 minutes I pulled it out, rinsed it in water, and used a cotton swab with acetone to lightly rub off the toner. So the dark part of the dial is blackened brass and the gilt is where the toner was, mimicking the original process but not using galvanization.

I agree that the shading is interesting and if the transfer were better I would have let it darken a lot more. But it was an experiment to see what type of result I could get.
 
  • Like
Reactions: 369mafia

WatchN3RD

I supported. Doesn't make me an expert!
Gold Patron
24/7/18
553
634
93
Sorry to imply my confusion was there. I thought you did one dial via toner transfer and the other using using a decal. I wasn't concerned if you were doing toner transfer for the negative or positive of the image. Just curious what you used to transfer the toner. Was it just regular printer paper and acetone?
I'm only transferring the black as a positive to hone in on the transfer process. I know it's backwards, per se.
 

GenuineFool

Known Member
Supporter
Certified
Sorry to imply my confusion was there. I thought you did one dial via toner transfer and the other using using a decal. I wasn't concerned if you were doing toner transfer for the negative or positive of the image. Just curious what you used to transfer the toner. Was it just regular printer paper and acetone?
I'm only transferring the black as a positive to hone in on the transfer process. I know it's backwards, per se.

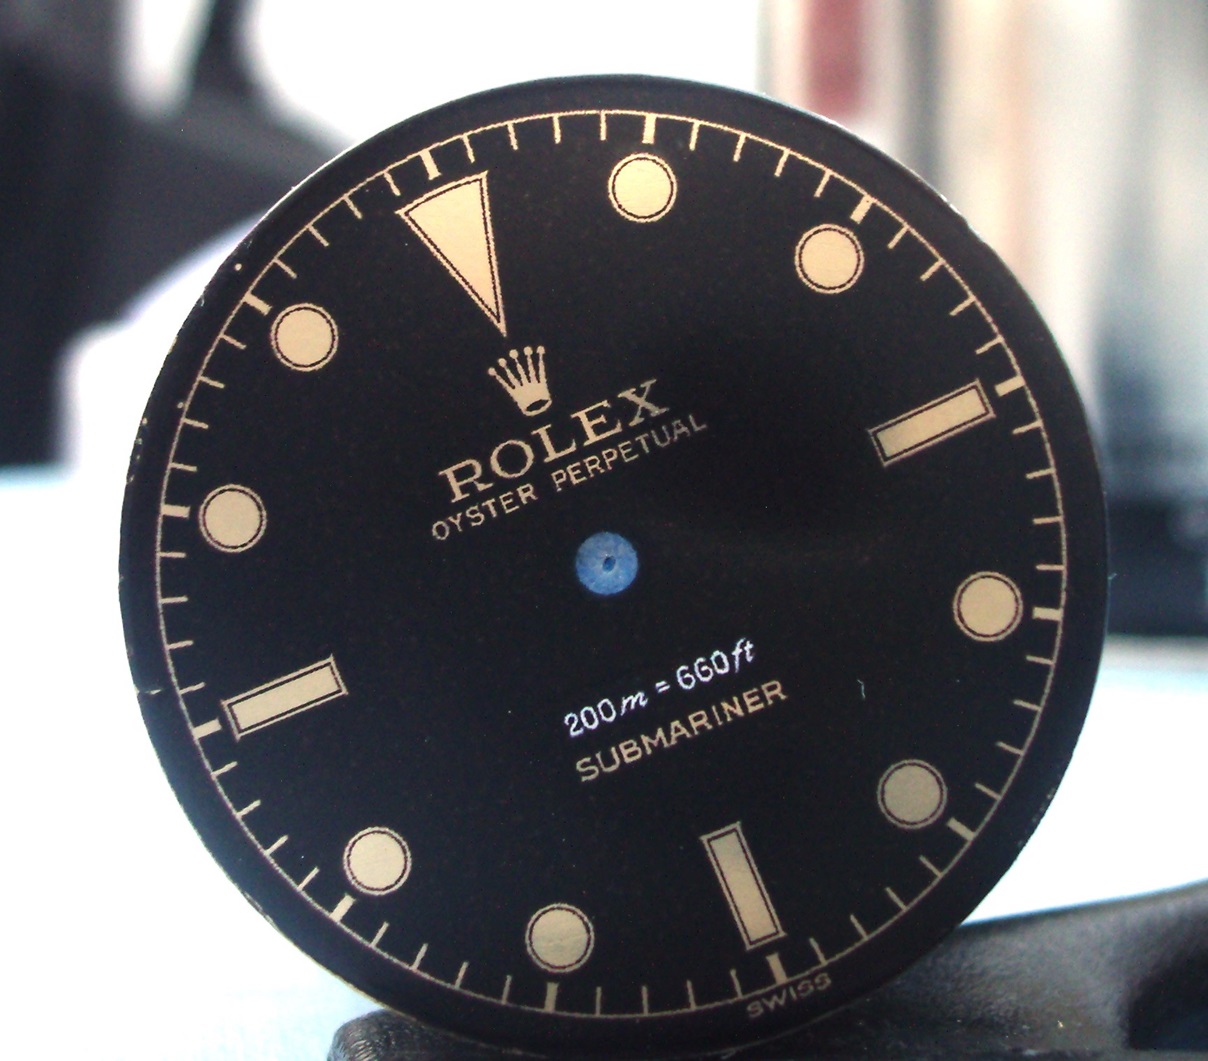
Yes, I did one dial with a decal in the above comparison. I only included the toner transfer dial because it had bare brass, to compare the color against the tinted nitrocellulose on the decal dial.

Someone in the other thread ("How to make a true gilt dial on the cheap") mentioned getting their laser prints done at Staples on the thin glossy paper or even using glossy magazine pages. I tried printing it at Staples, but they used their thick glossy paper. Don't know the exact brand, but it's thick like photo paper. I did the transfer with an acetone based nail polish. The results were OK, but the print resolution wasn't high enough in my opinion. After removing the paper and trying to remove any traces of the glossy coat that were stuck (especially in the COSC text, possibly due to the wrong paper by Staples?), I then put it into a small jar with some Sculpt Nouveau Antique Black M-20 for 20 minutes or so. After that, I washed it thoroughly with water, dried it, then used the acetone again to remove the toner with a cotton swab.

Hope that helps.
 
  • Like
Reactions: janneau

chrome72

Renowned Member
7/12/17
639
562
93
Houston TX Baby
I chatted with a watch restorer about getting a glossy lacquered finish. I suspect that to get the glossy finish, Rolex was not building up layers of lacquer and then either hand/machine polishing to get the finish, as that would be very time intensive and a little mistake means either trashing the dial (its cheap for them to trash it vs stripping it and starting over). The restorer showed me how she uses Zapon (its nitrocellulose) diluted with a solvent and then airbrushed on to get flawless glossy finish, no polishing needed. You can find her on instagram @arcstampfli. she has some cool posts about restoring old dials.
 

matzemedia

Active Member
Certified
22/4/21
381
745
93
Germany
I chatted with a watch restorer about getting a glossy lacquered finish. I suspect that to get the glossy finish, Rolex was not building up layers of lacquer and then either hand/machine polishing to get the finish, as that would be very time intensive and a little mistake means either trashing the dial (its cheap for them to trash it vs stripping it and starting over). The restorer showed me how she uses Zapon (its nitrocellulose) diluted with a solvent and then airbrushed on to get flawless glossy finish, no polishing needed. You can find her on instagram @arcstampfli. she has some cool posts about restoring old dials.
Wau! She is really doing a nice job!
 

WatchN3RD

I supported. Doesn't make me an expert!
Gold Patron
24/7/18
553
634
93
Interesting. So she's doing a simple thin "flow coat" and skipping any previous layers usually done to add depth. That seems overly simplistic, but if it works, simple is great. Lacquer is a thinner coating, so it should not be hard to spray a thin wet coat if you're not forced to use a rattle can. Perhaps the thin coating is why the negative relief is often easily visible too.

Did she say which Zapon product she used? Their products are mostly for gilding, gold leaf, etc., so I'm curious what product and reducer she used. They have a few different lacquers available.
 

janneau

Getting To Know The Place
18/1/22
82
164
33
I tried a white depth dial.
First I laid the transfer, cut an outline round the depth text with a scalpel and removed the transfer. I then carved out a lozenge shape and filled it with white acrylic paint which was slightly higher than the dial, waited for it to dry, then sanded it level. with the dial face.
I then laid the transfer over the dial, lining up the depth rating text with the white inlay.


There's still a very slight indent, but the final layer of clear should fill that.
 

WatchN3RD

I supported. Doesn't make me an expert!
Gold Patron
24/7/18
553
634
93
Had another attempt at the above dial, but used a matt clear lacquer (Rusto) this time. Quite a nice finish


Shame about the cruddy lume job though
The lume actually looks pretty decent from your picture. It's not on par with the obvious fake, overly puffy lume on some Vietnamese vendors, but whose is?
And while your sanding looked perfect from the other picture, and a perfect gloss is usually the ideal, it shows every detail of every flaw. I think it looks great with the matte.

Award for best gloss finish still goes to @matzemedia though.
 

janneau

Getting To Know The Place
18/1/22
82
164
33
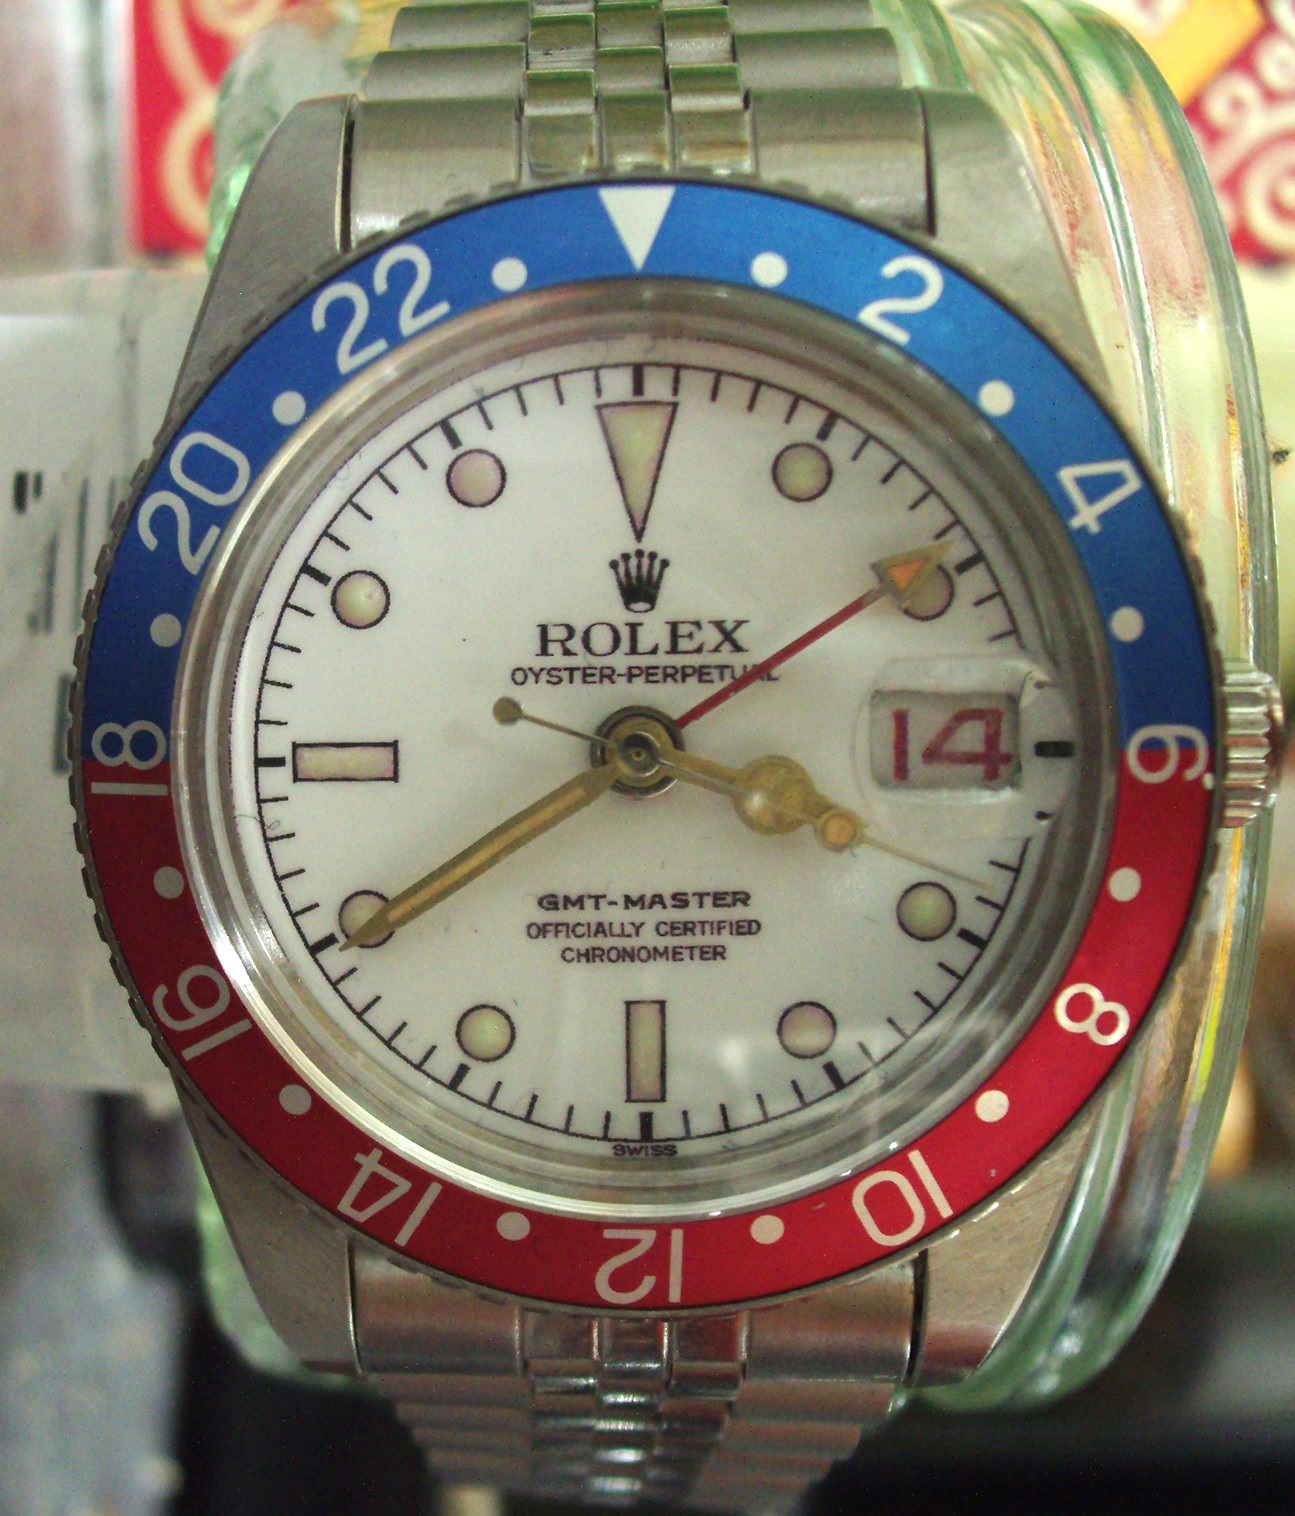
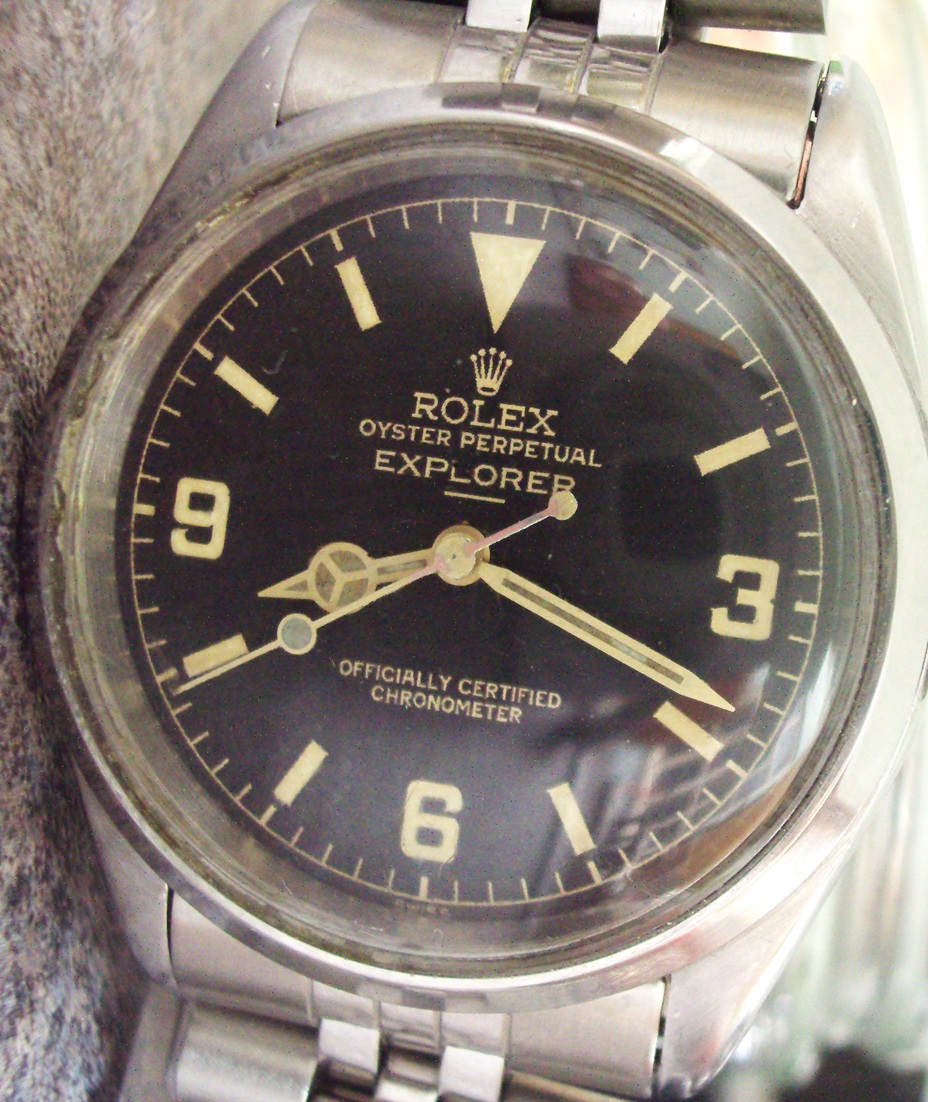
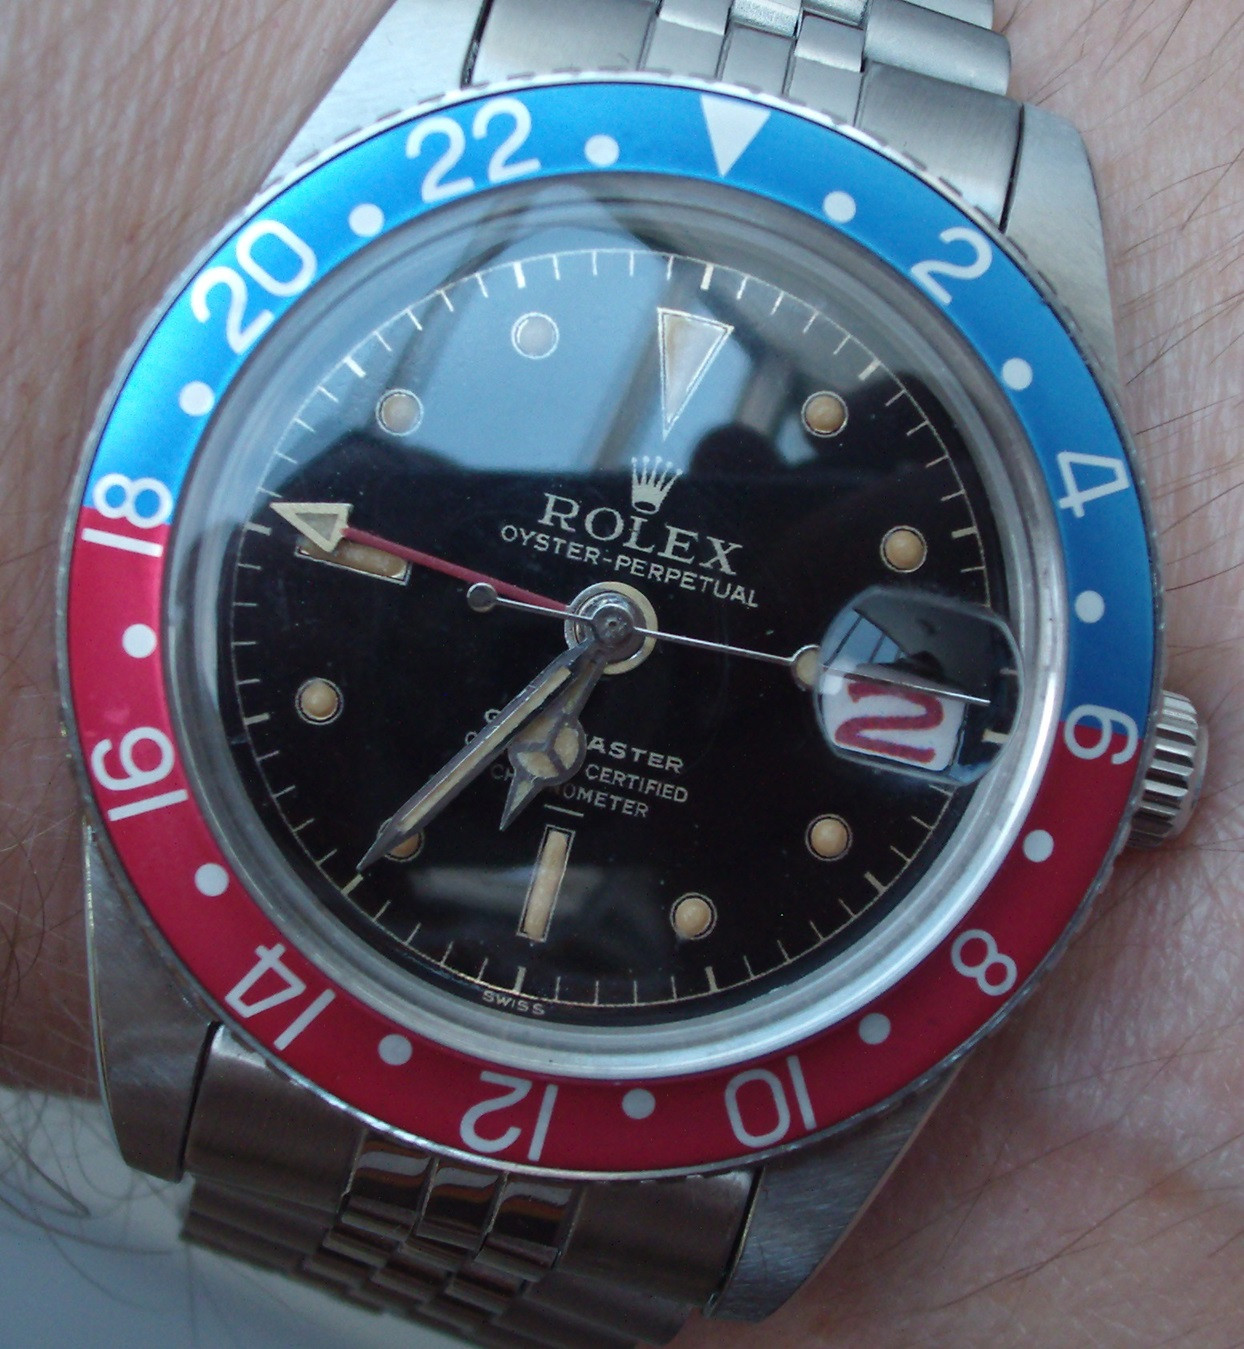
I re-did the gilt gloss 6542 dial and swapped out the albino dial again. The white dial didn't look right without the bakelite insert, and as it's a budget builld, an aluminum 'recall' insert on a black dial feels more apt.


369mafia

Resident Explorer Expert
Patron
Certified
7/7/15
3,571
6,441
113
Canada
Hey Guys,

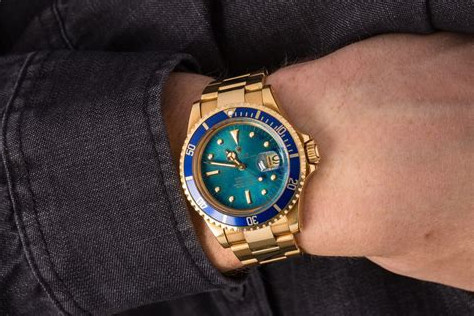
I was approached with a challenge the other day and Ive slept on it and I think I have a plan , but wanted to see what you guys thought and if I missed any snags as I have not done any decal dials to date .

To build this. tropical and all.... :love: :love: preferably a nipple dial.


my thoughts were to buy a gold bluesy sub from a TD

Remove dial
remove indices.
strip and polish dial plate to base metal.
apply air brush paints in an aquamarine violet blueish . this colour makes me thirsty . all nice colours should make you thirsty.

the print out in gold print (or as close as you can get with an ink jet printer. only the text
apply decal over dial plate to seal in air brushed colors
giving the dial a gloss finish from the decal
re apply indices and install back onto watch.

It may not look gen but it will give off the same vibes and appearance I think especially with the polished plate and semi transparent air brush paints allowing the sun to dance off the polished metal underneath.


Thoughts? what am I missing here..?
 

Singapore9

Renowned Member
Patron
9/8/10
877
748
93
Would be interested to see it and it's a fantastic colour! Are you able to achieve any sort of sunburst effect, airbrushing?