- 13/10/16
- 3,919
- 2,426
- 113
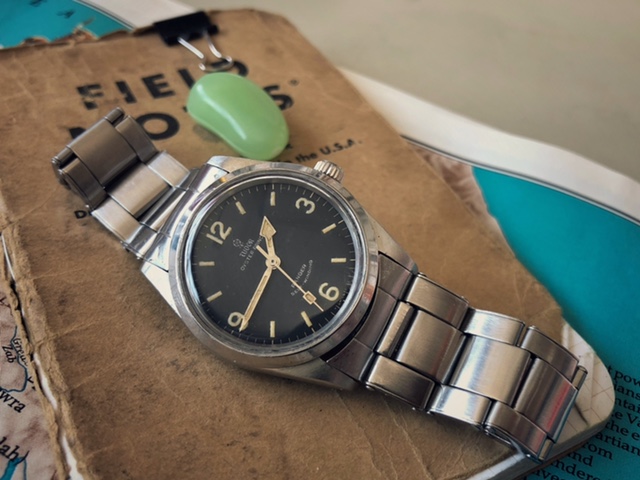
End of January a nice member here ... fellow countryman ... and a friend too I hope ... PMed me to get some help on how he could mod and age a Cartel 6538.
I did my best to give good advices about how to drill and chamfer lugs, swap the handset for a better one, etc ...
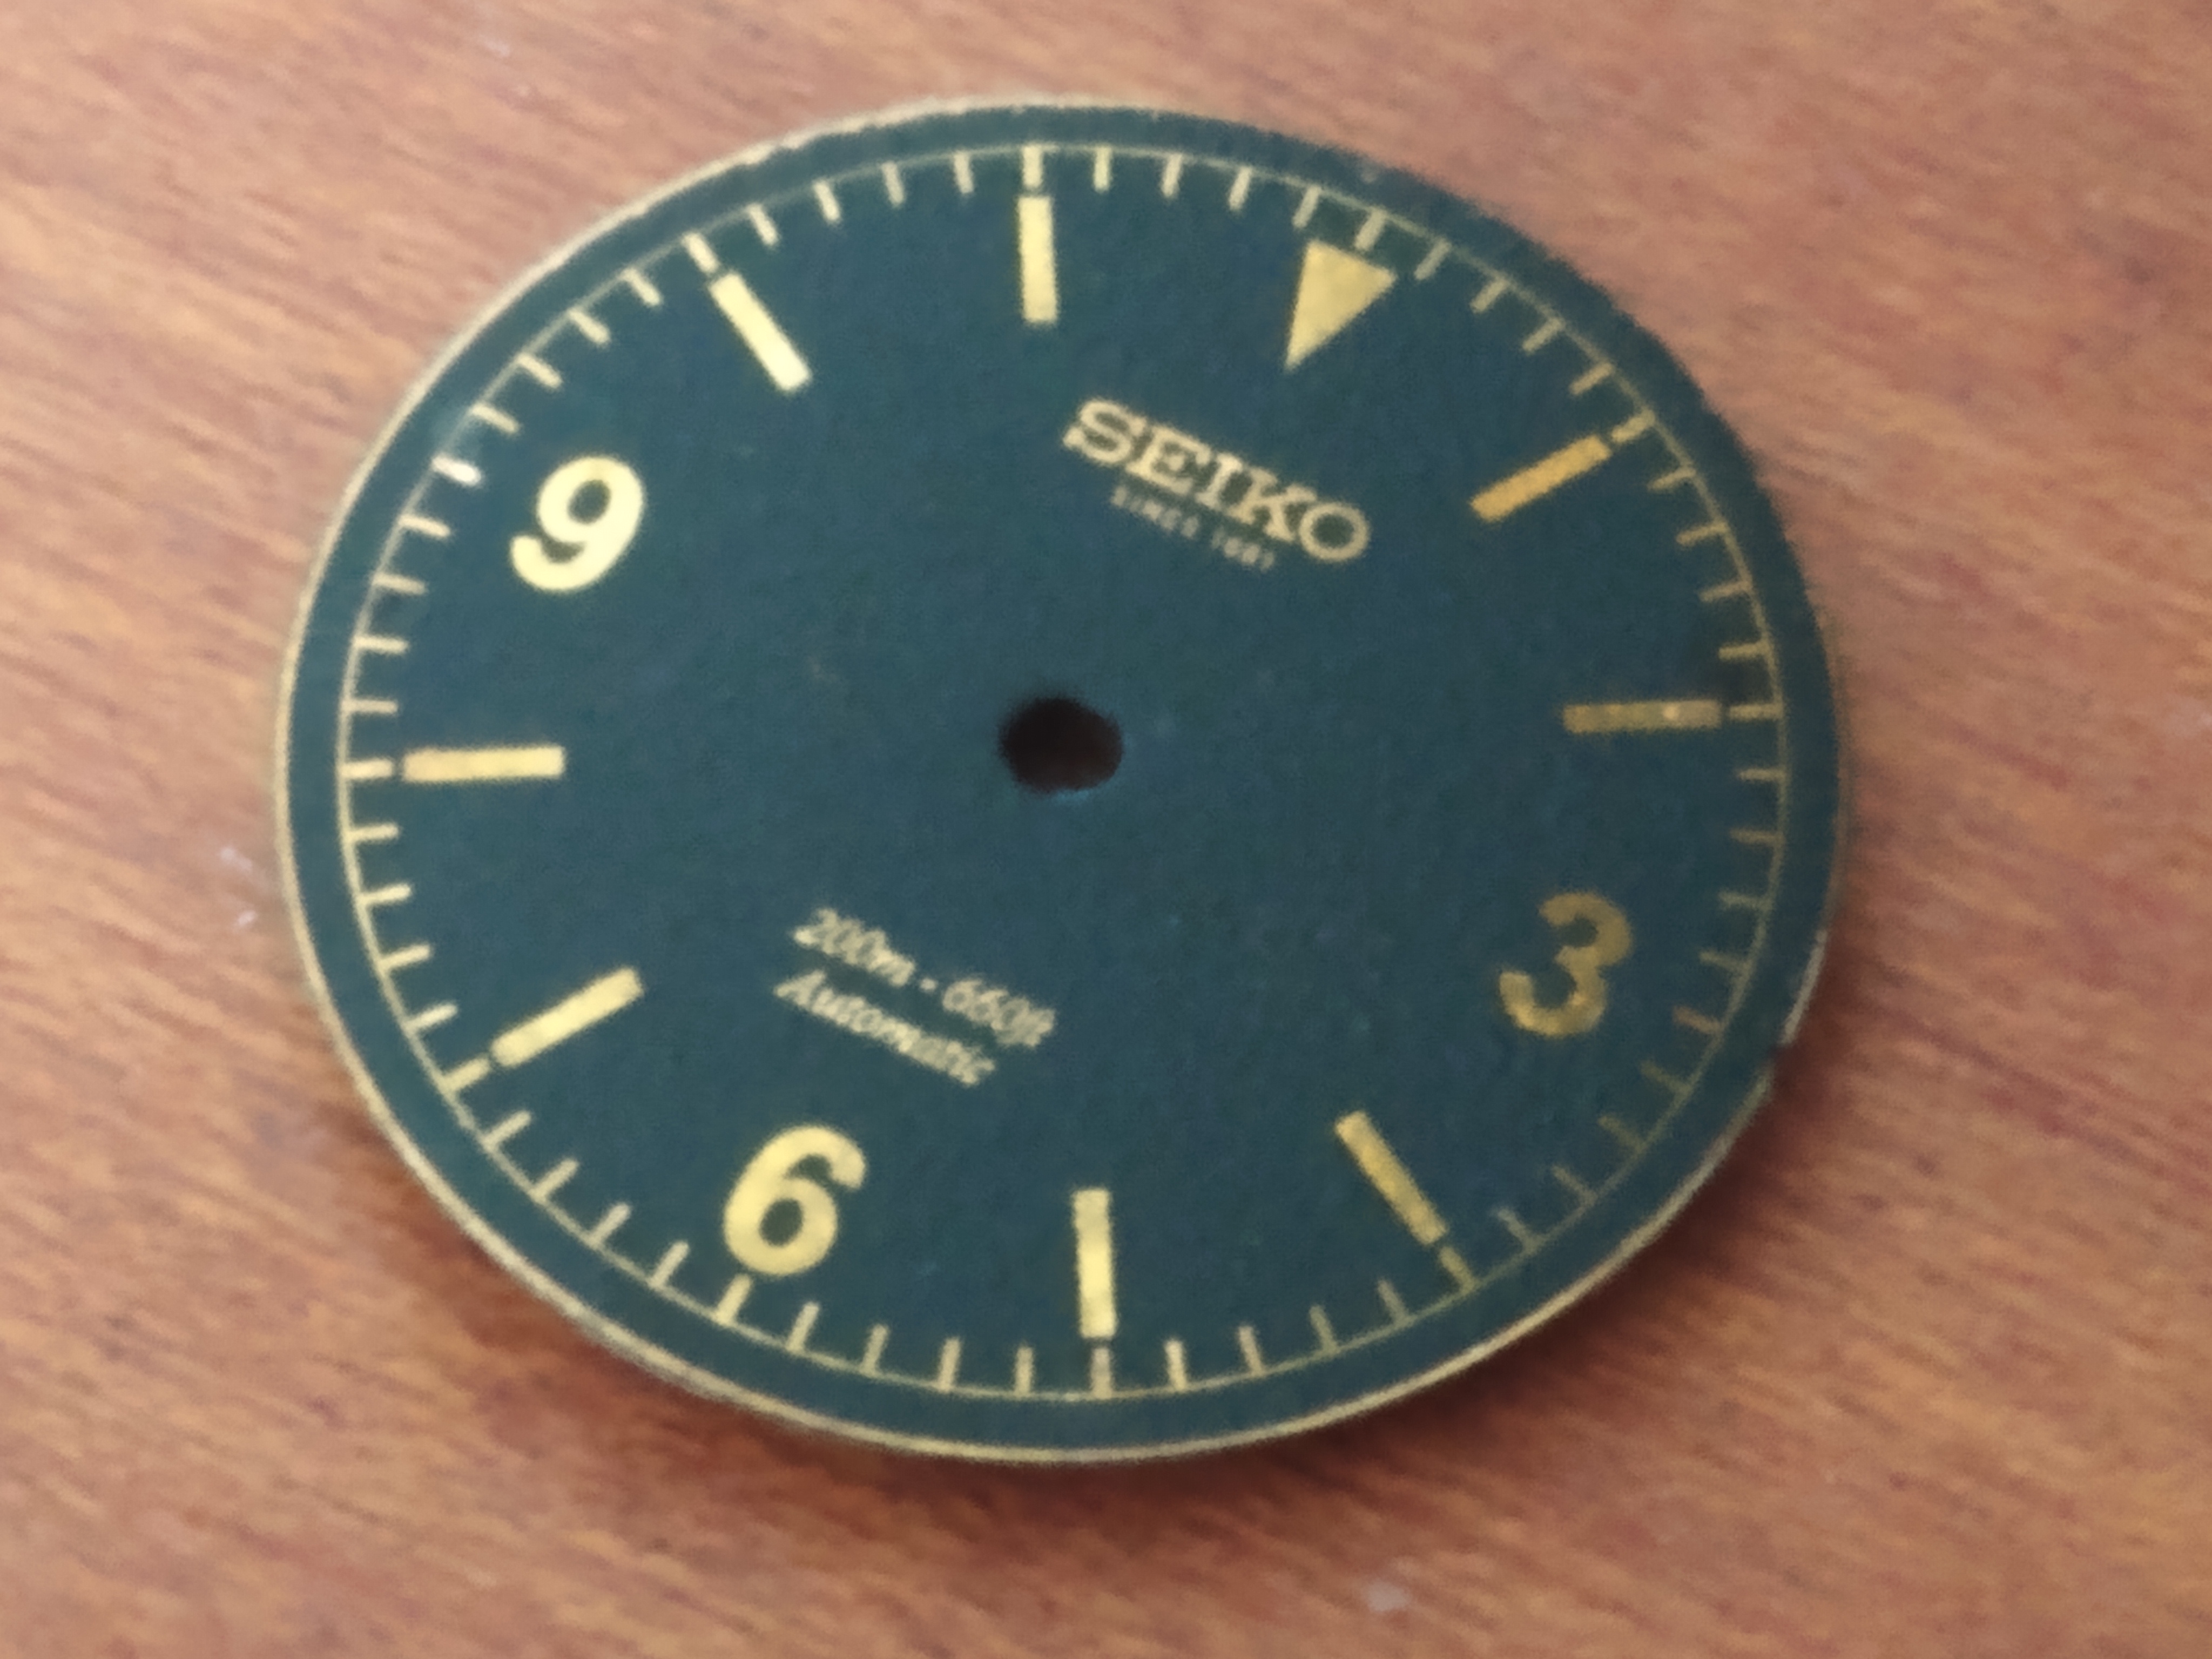
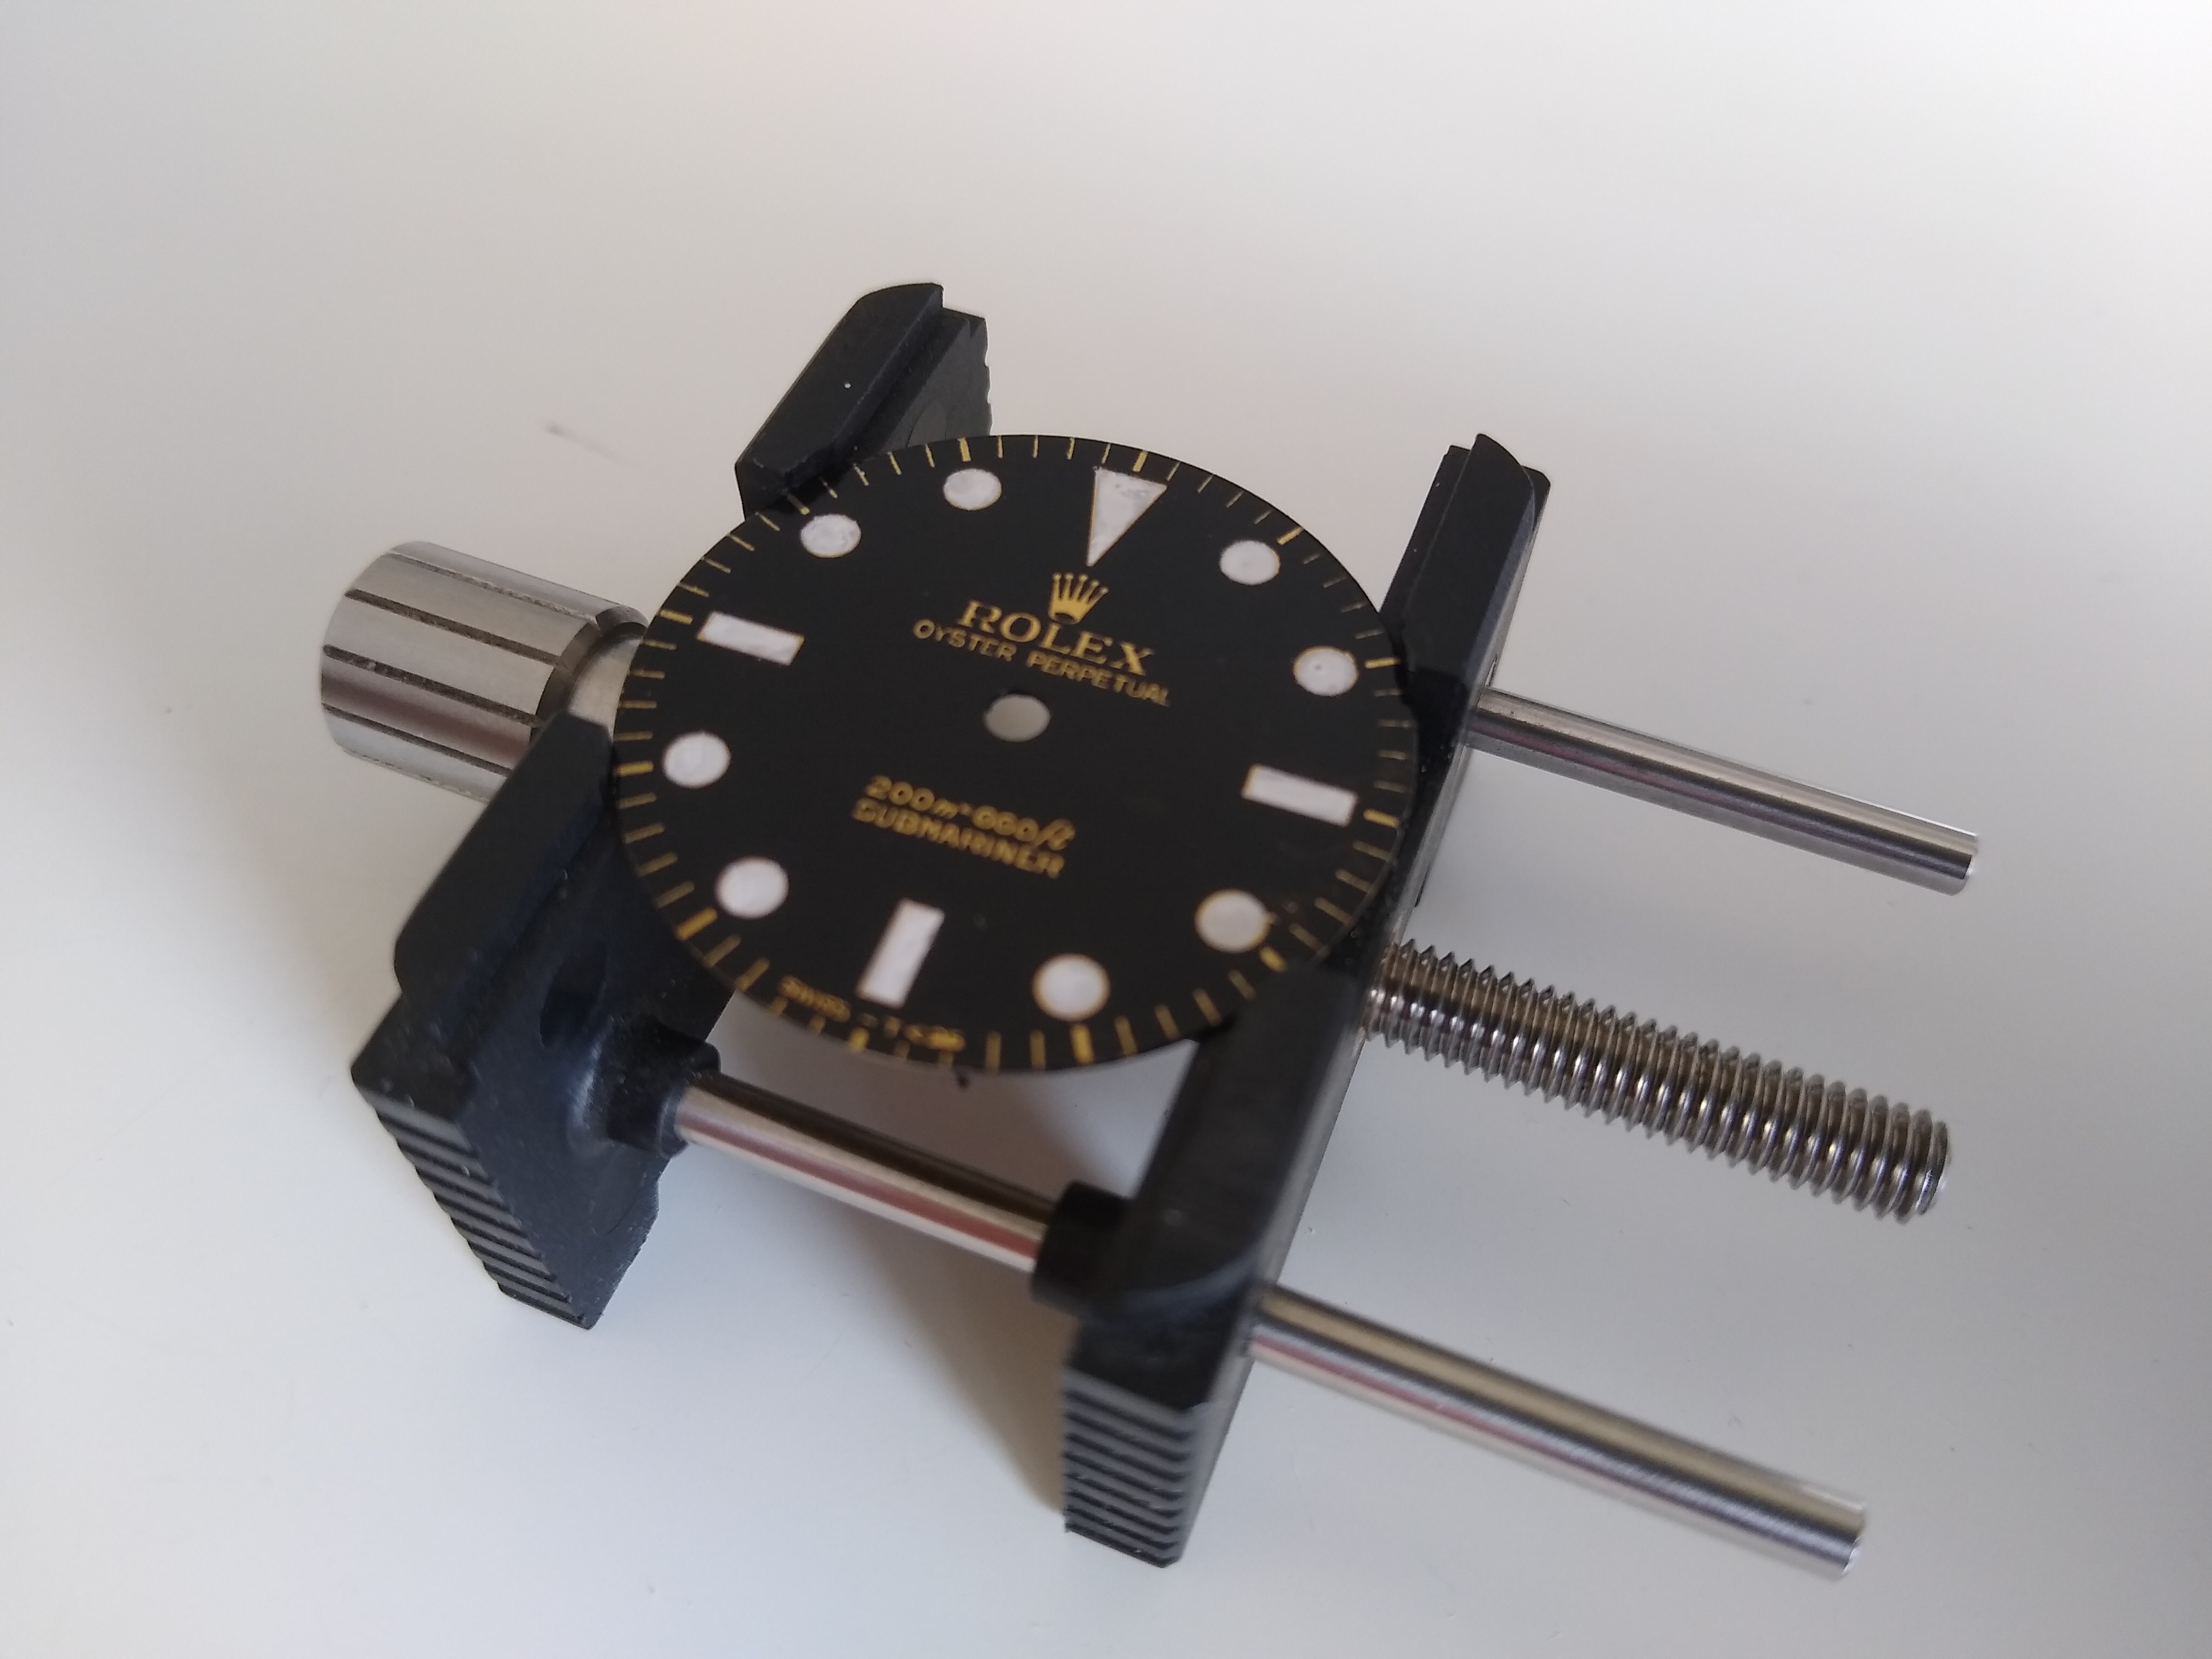
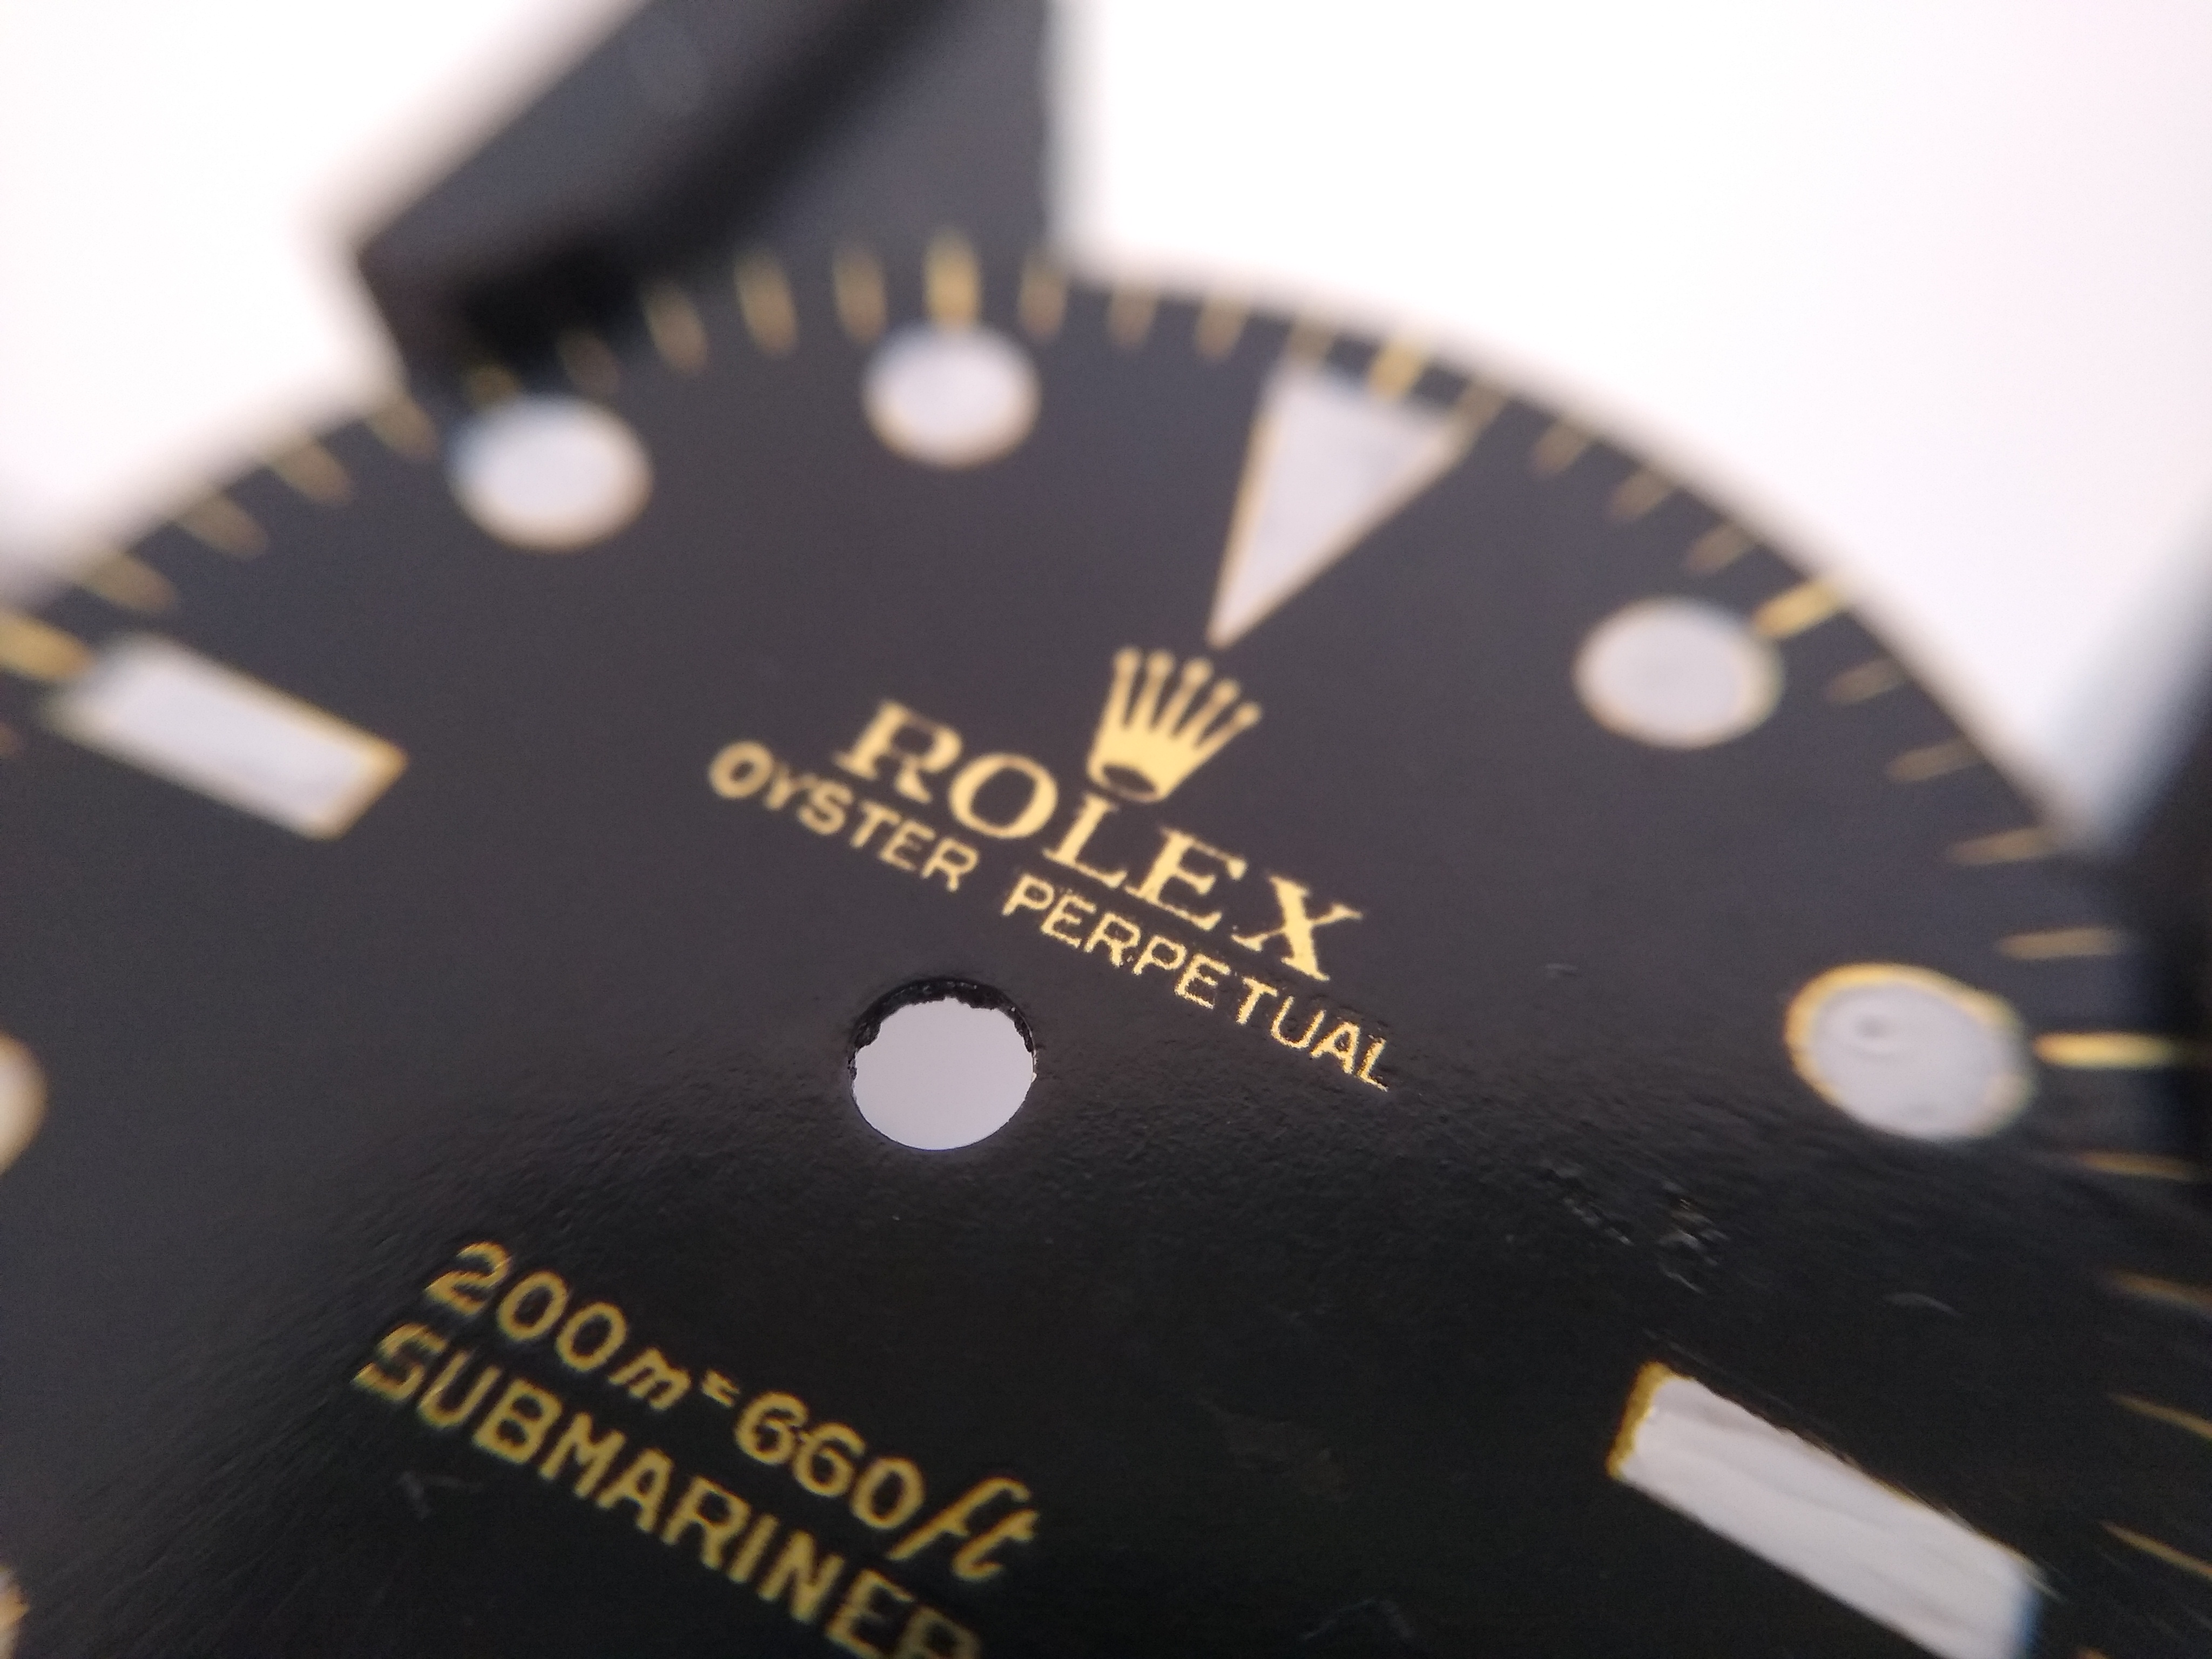
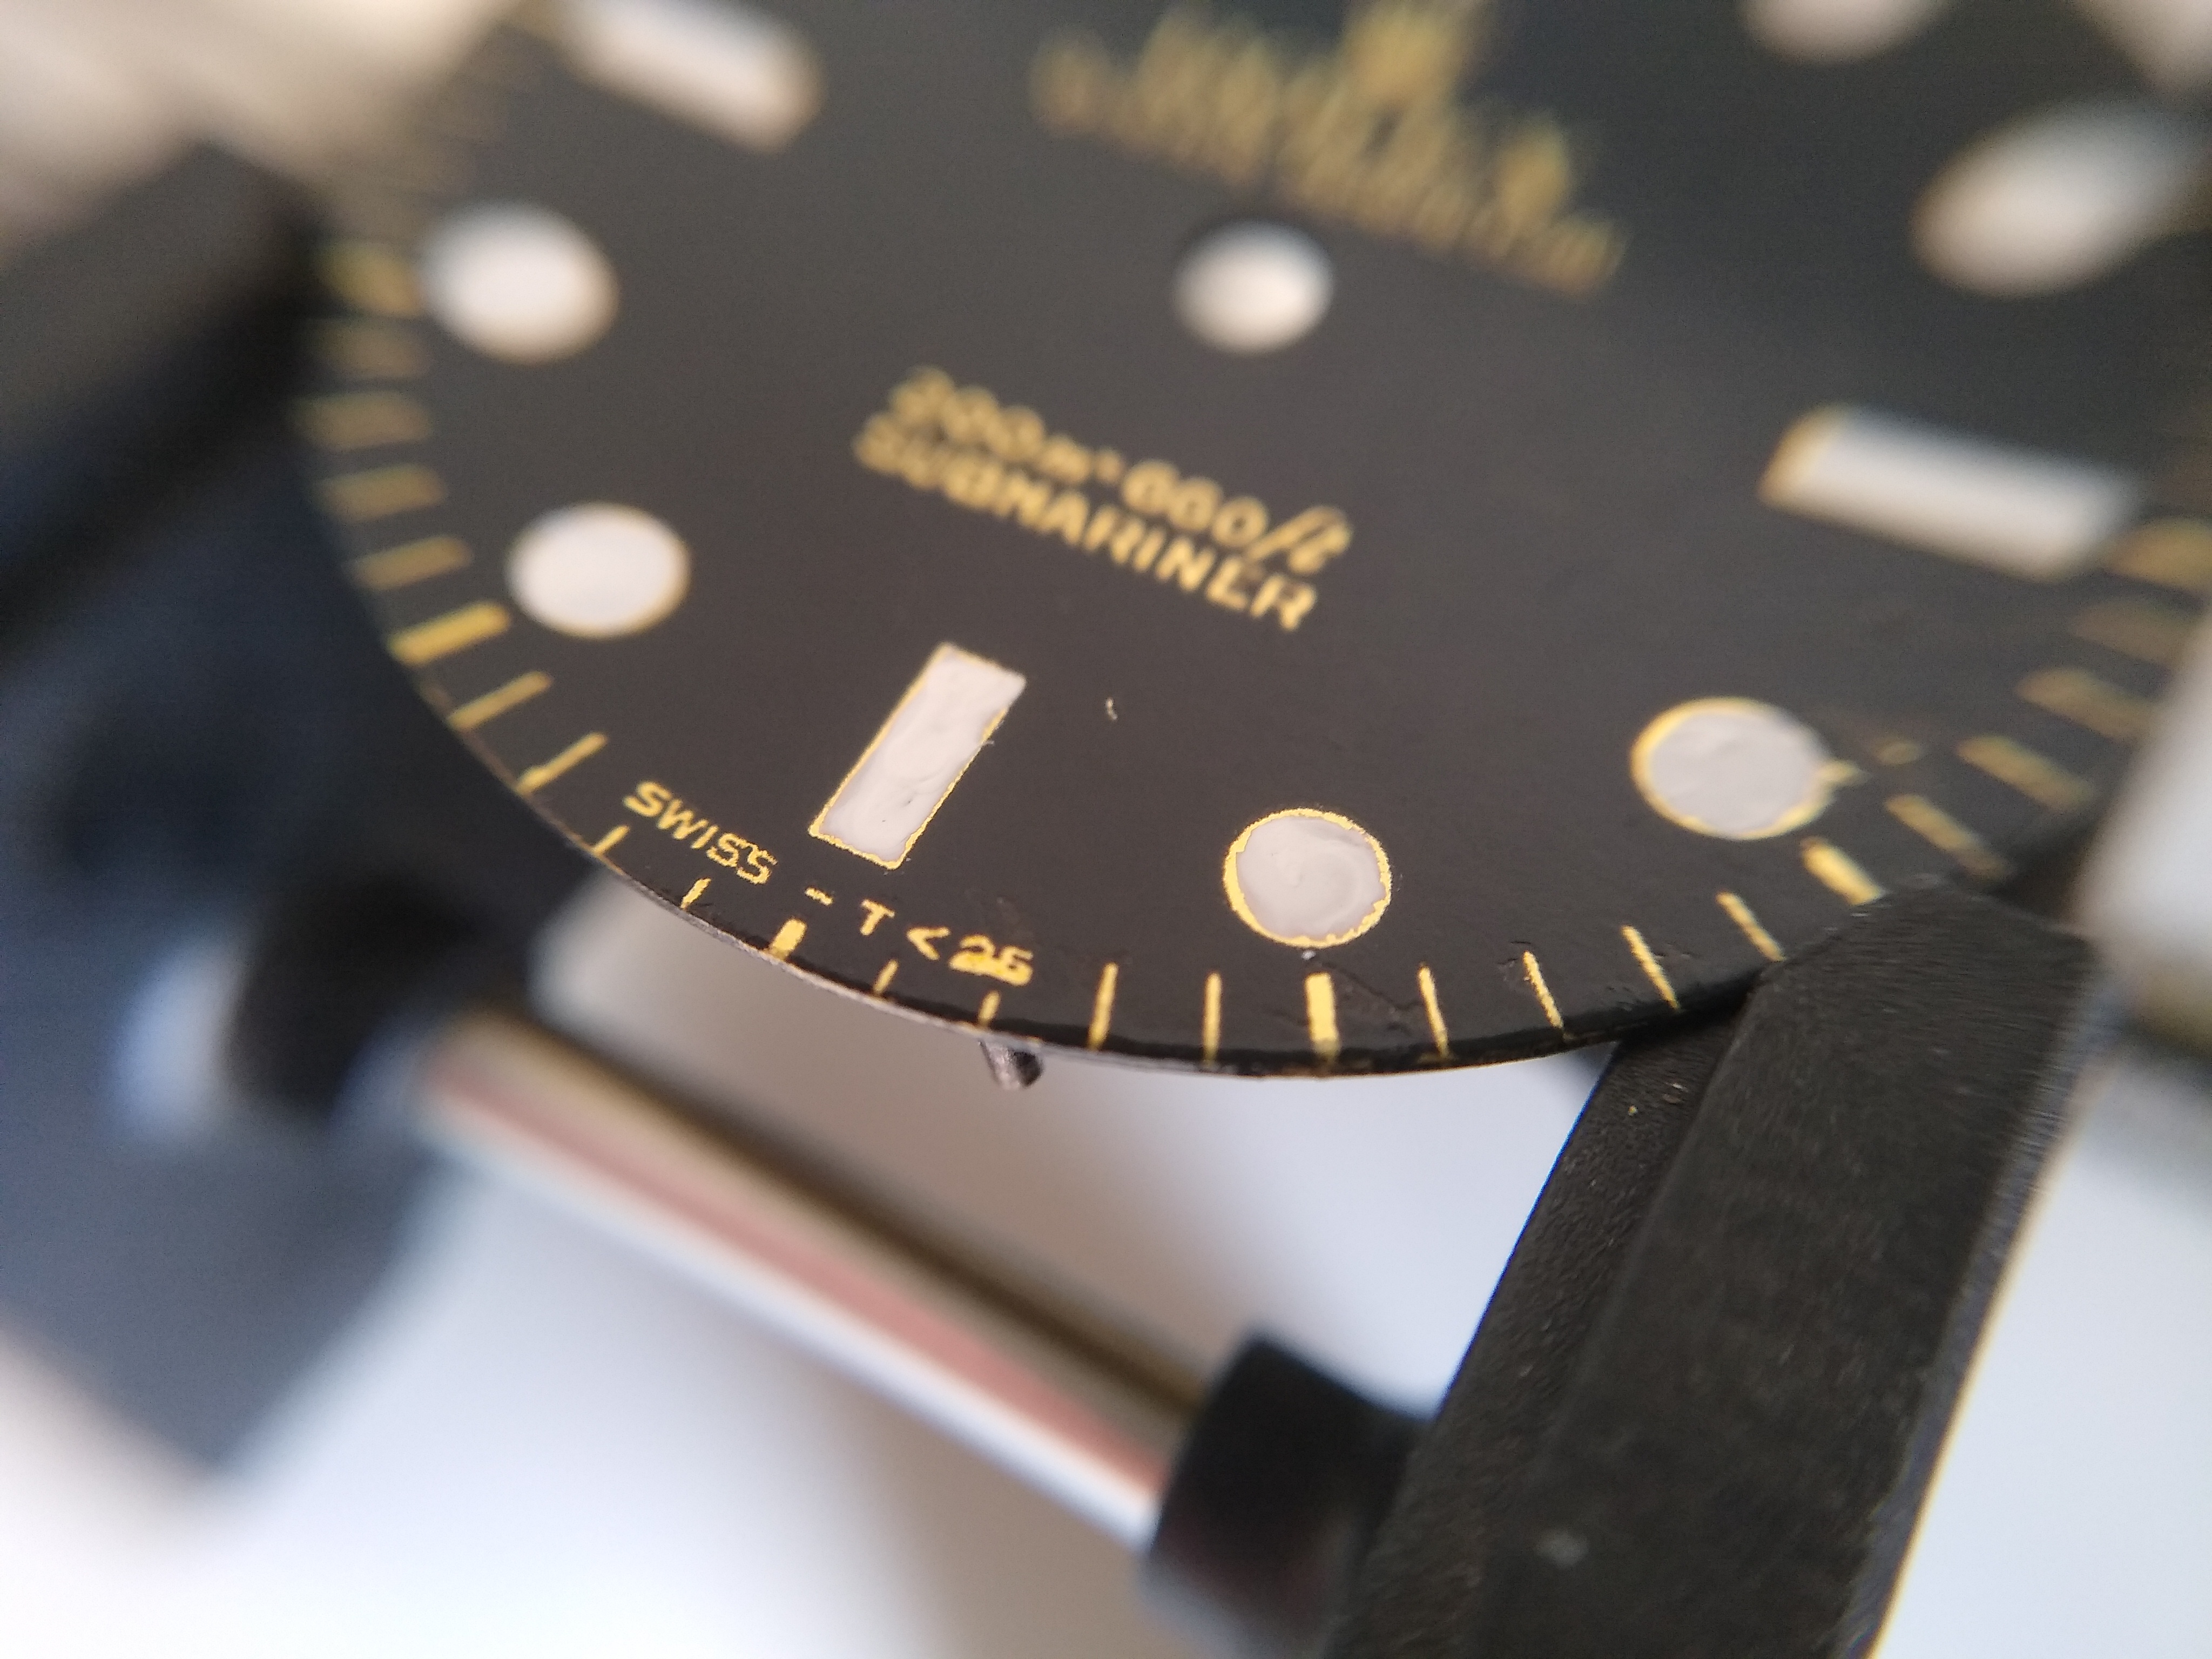
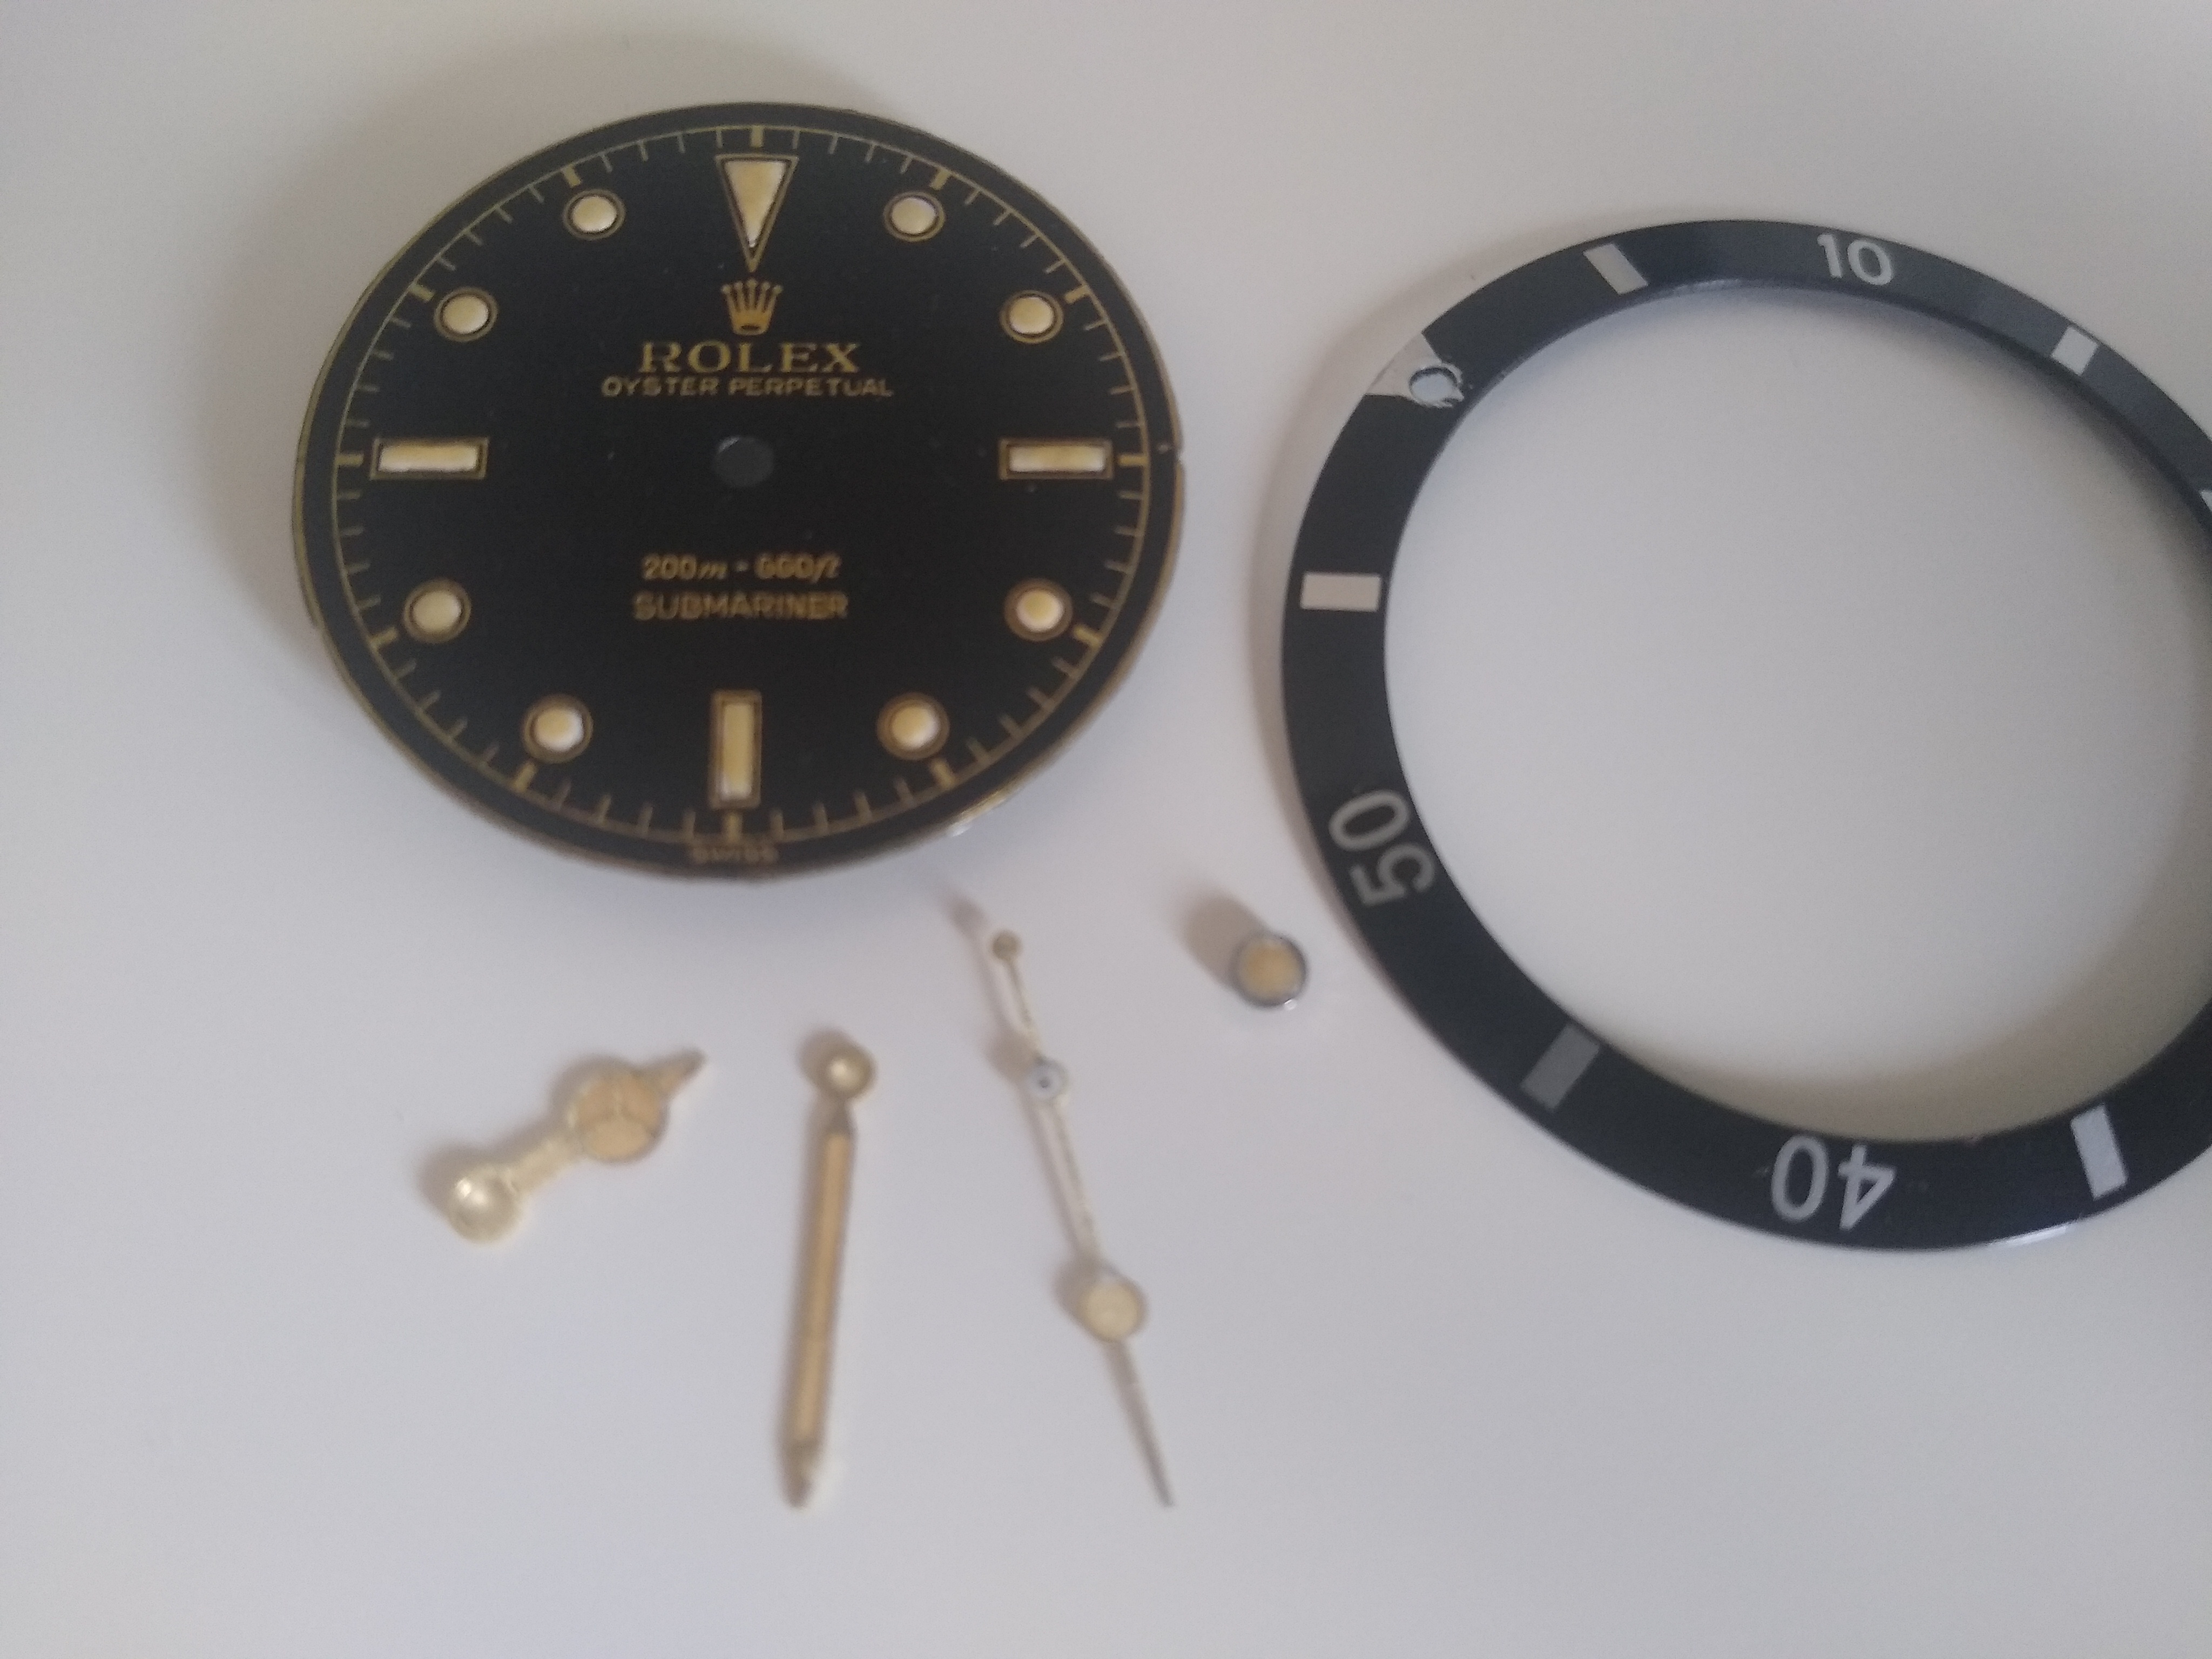
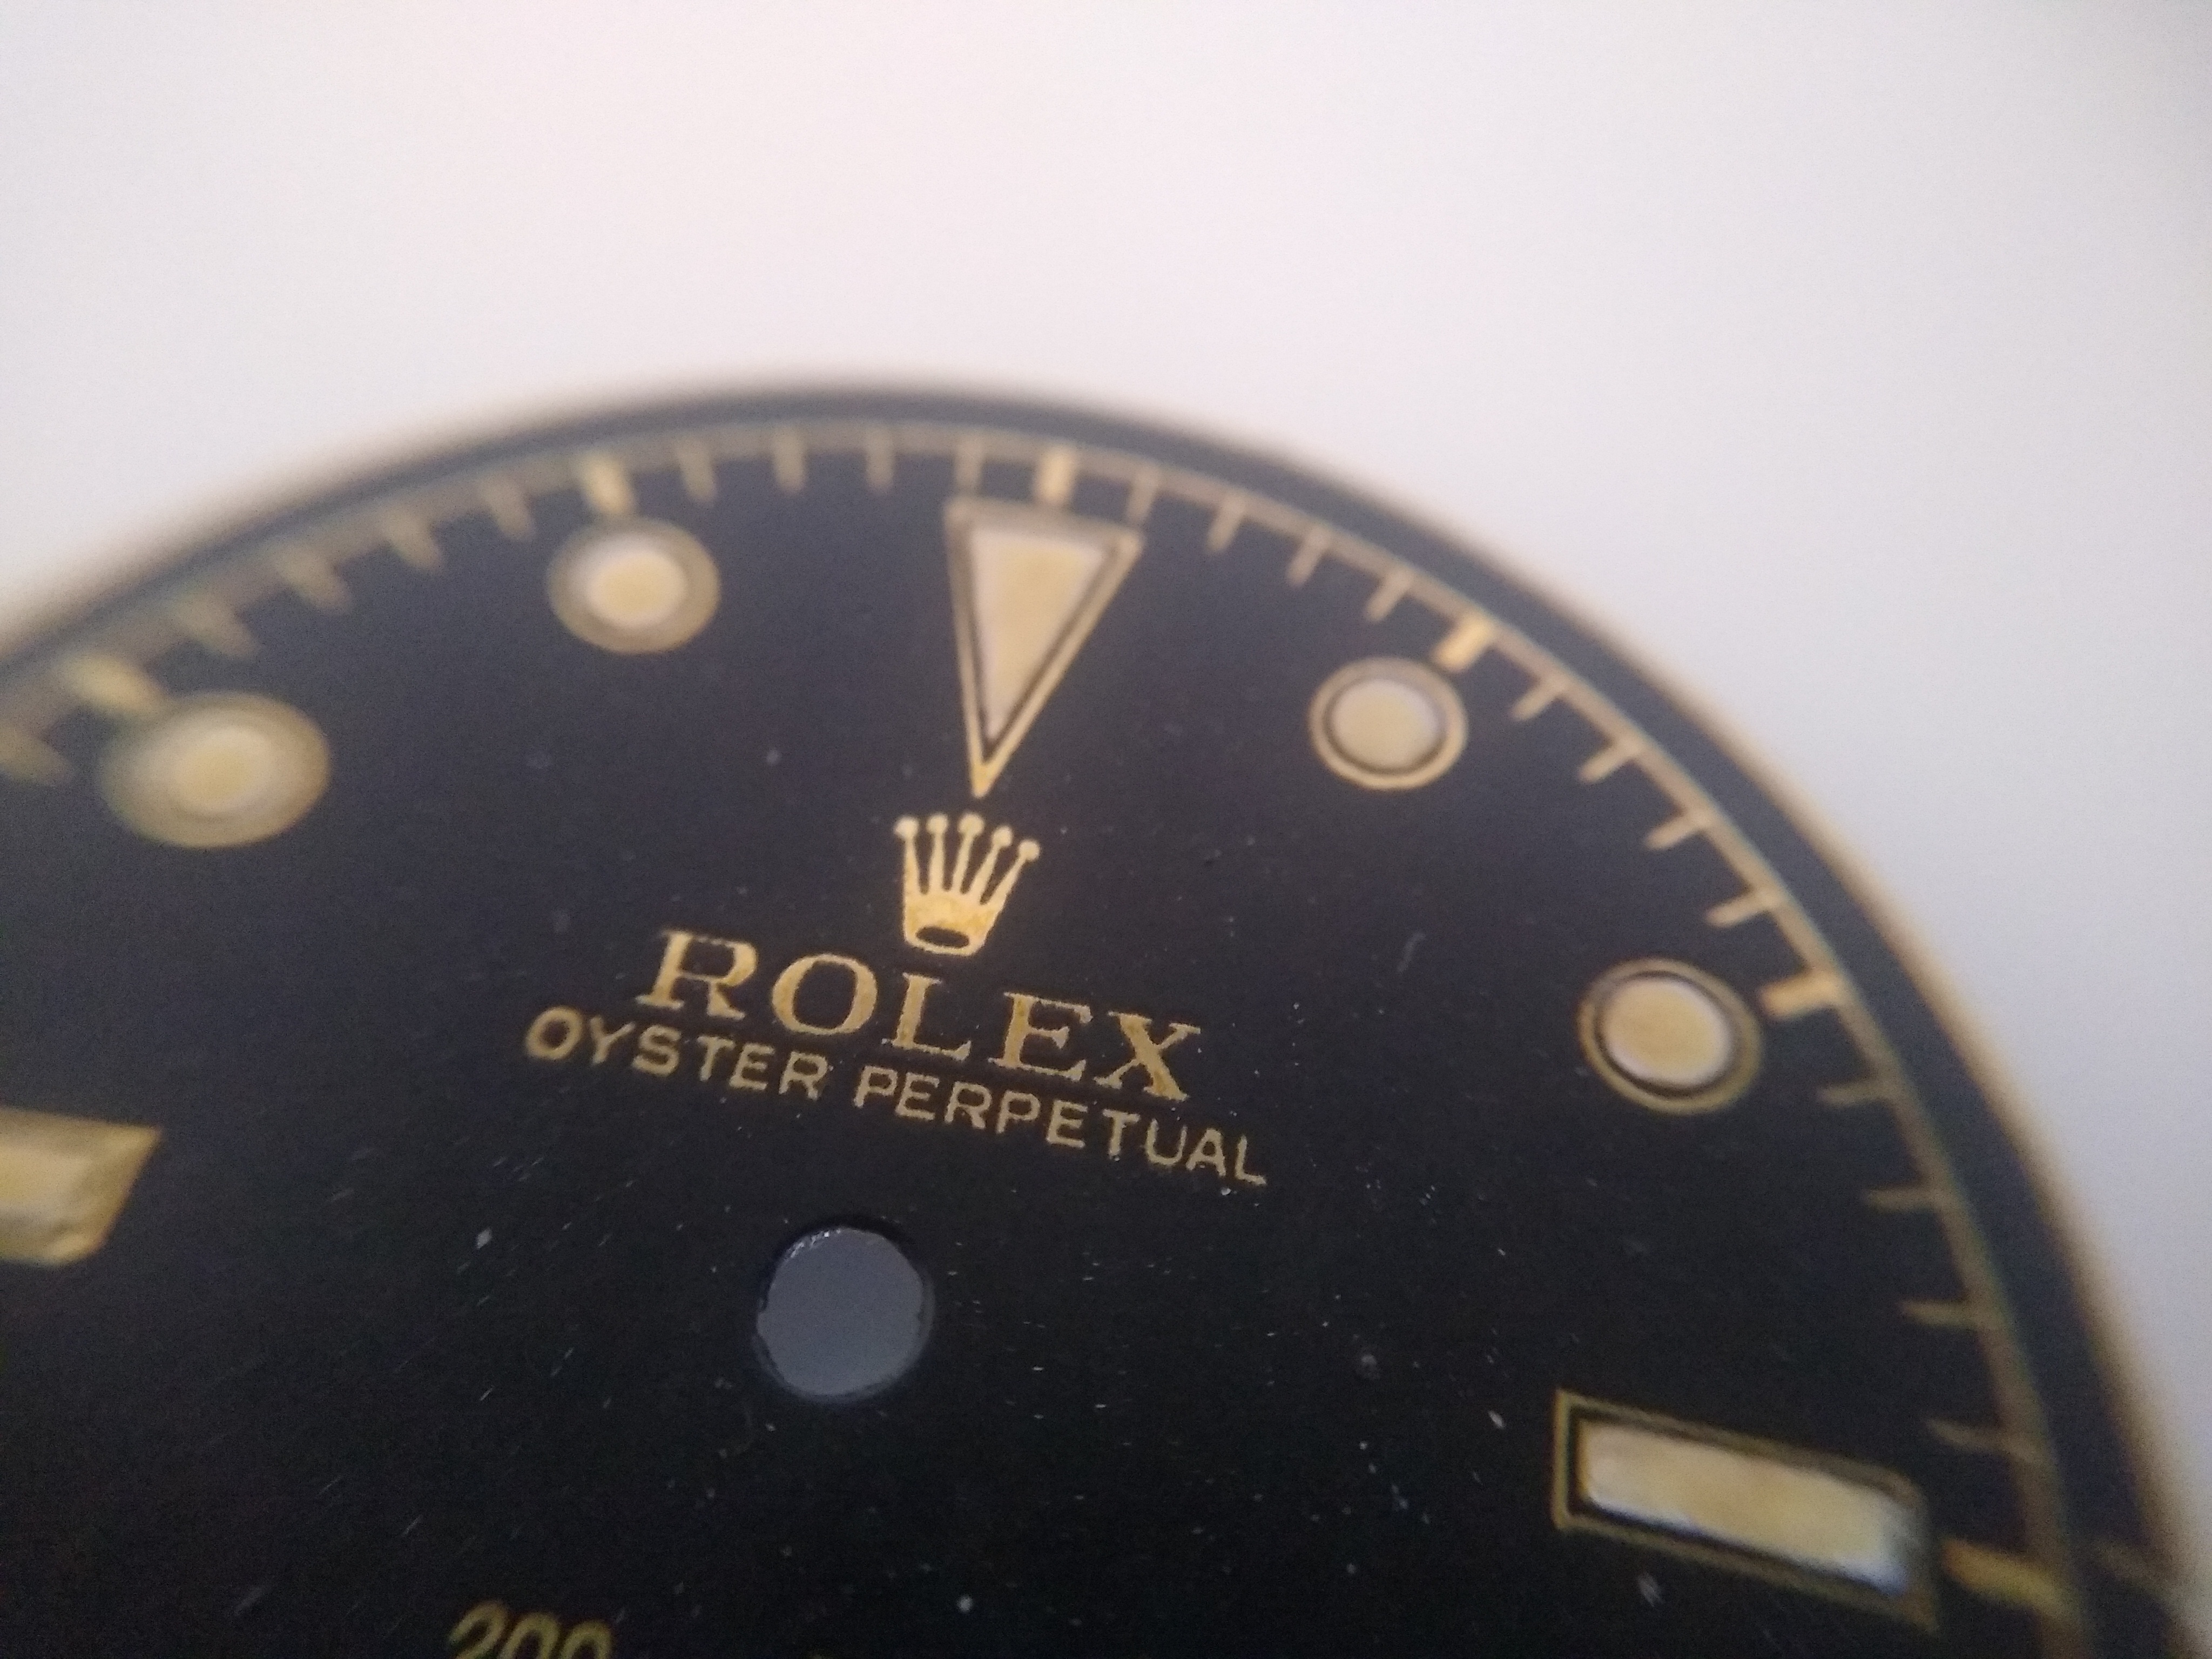
Along the conversation he asked me if I could make a negative-gilt 6538 dial for him and I said I'd be glad to.
So he sent me the Cartel dial so that I could check the dimensions I needed, the Cartel bezel and the handset he had bought from Slay.

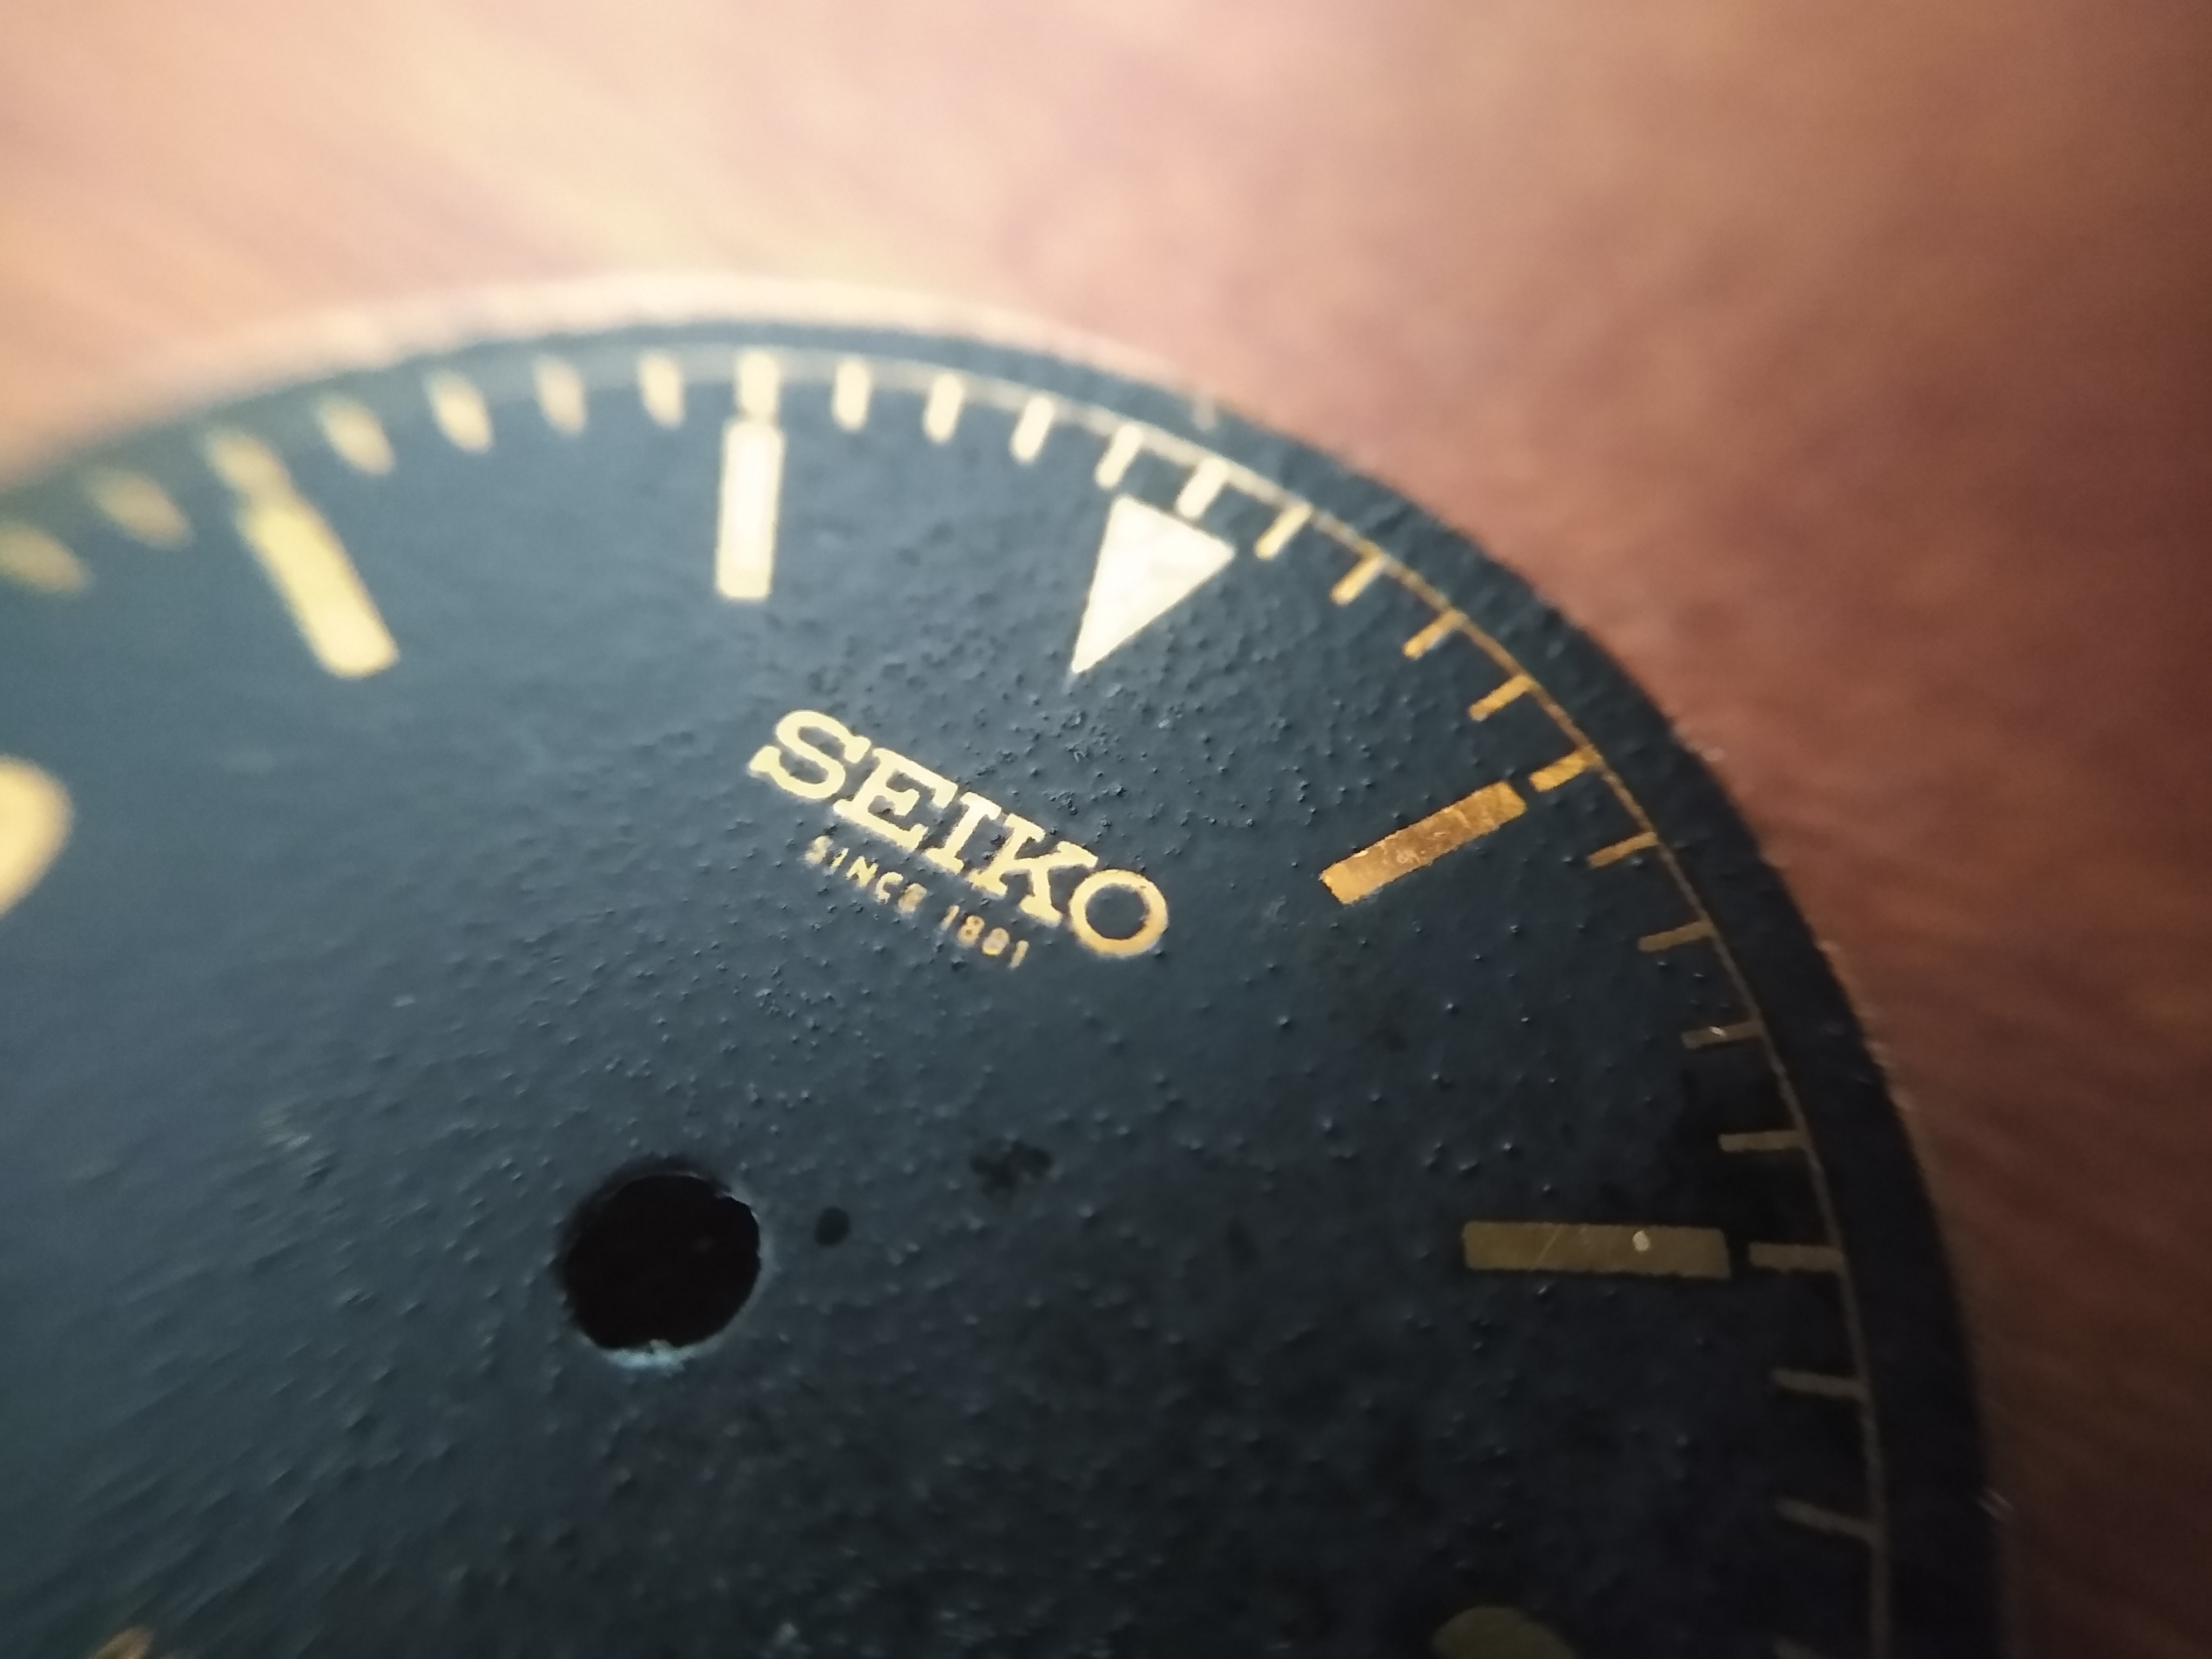
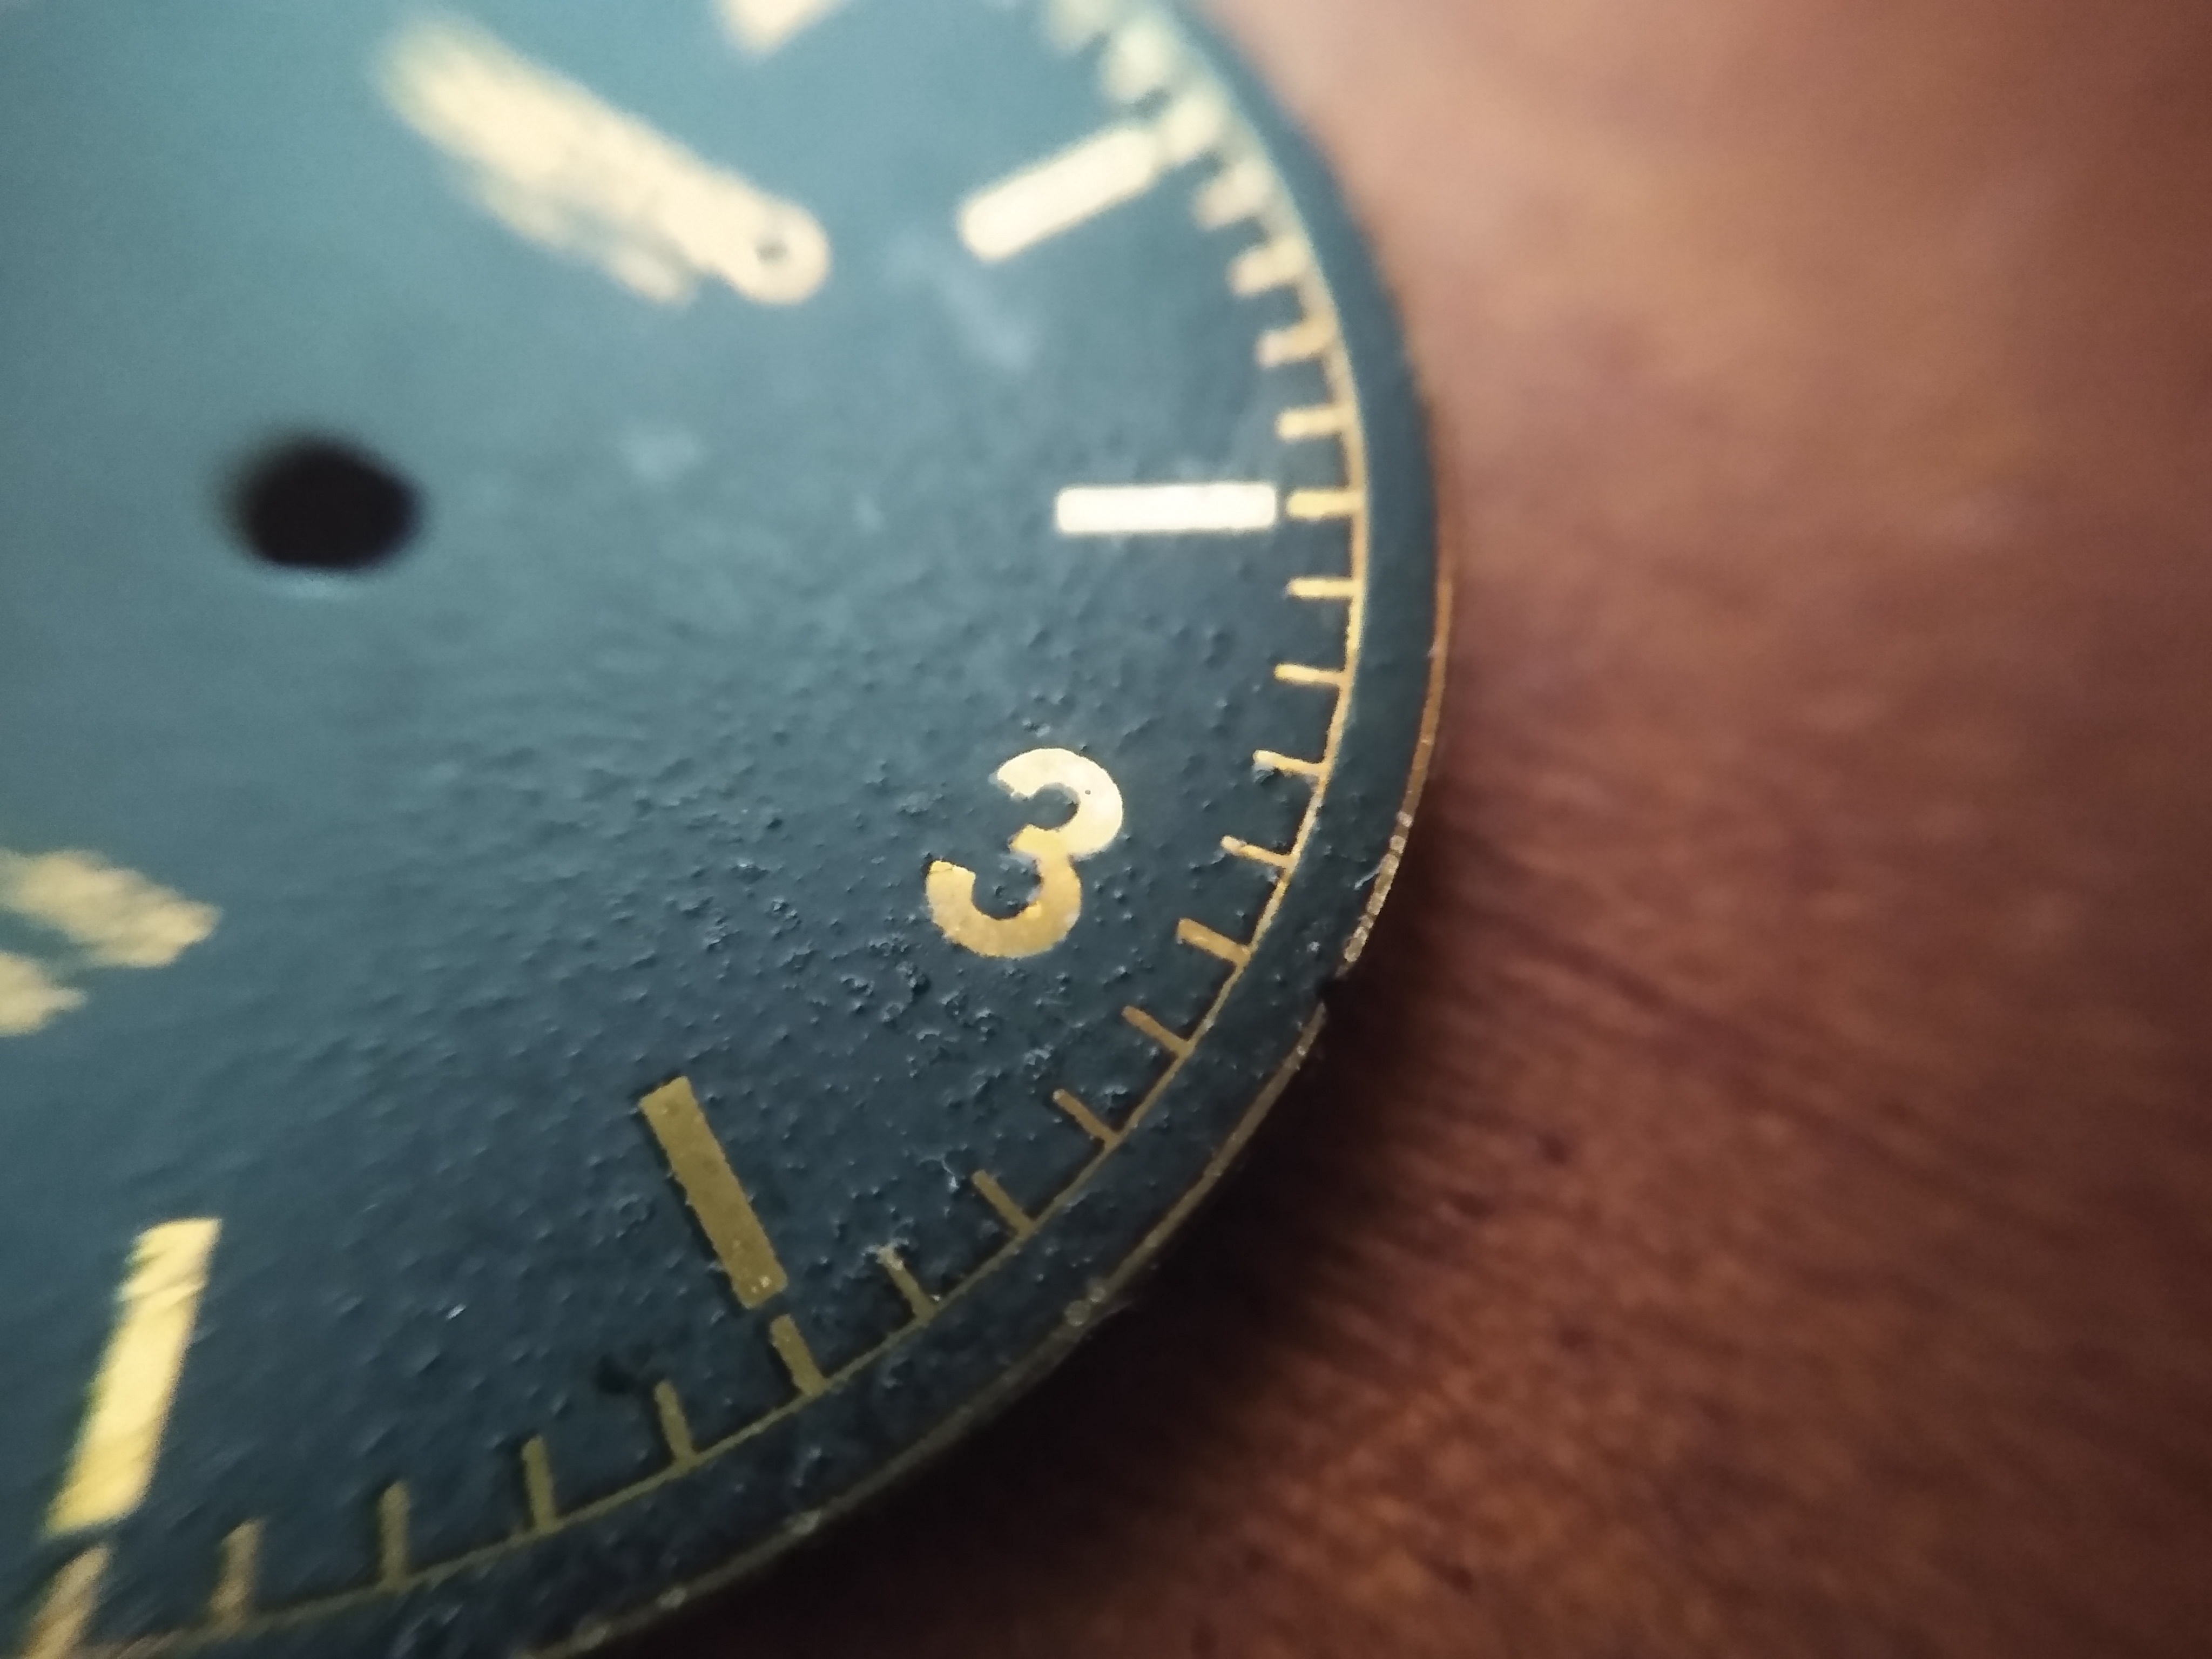
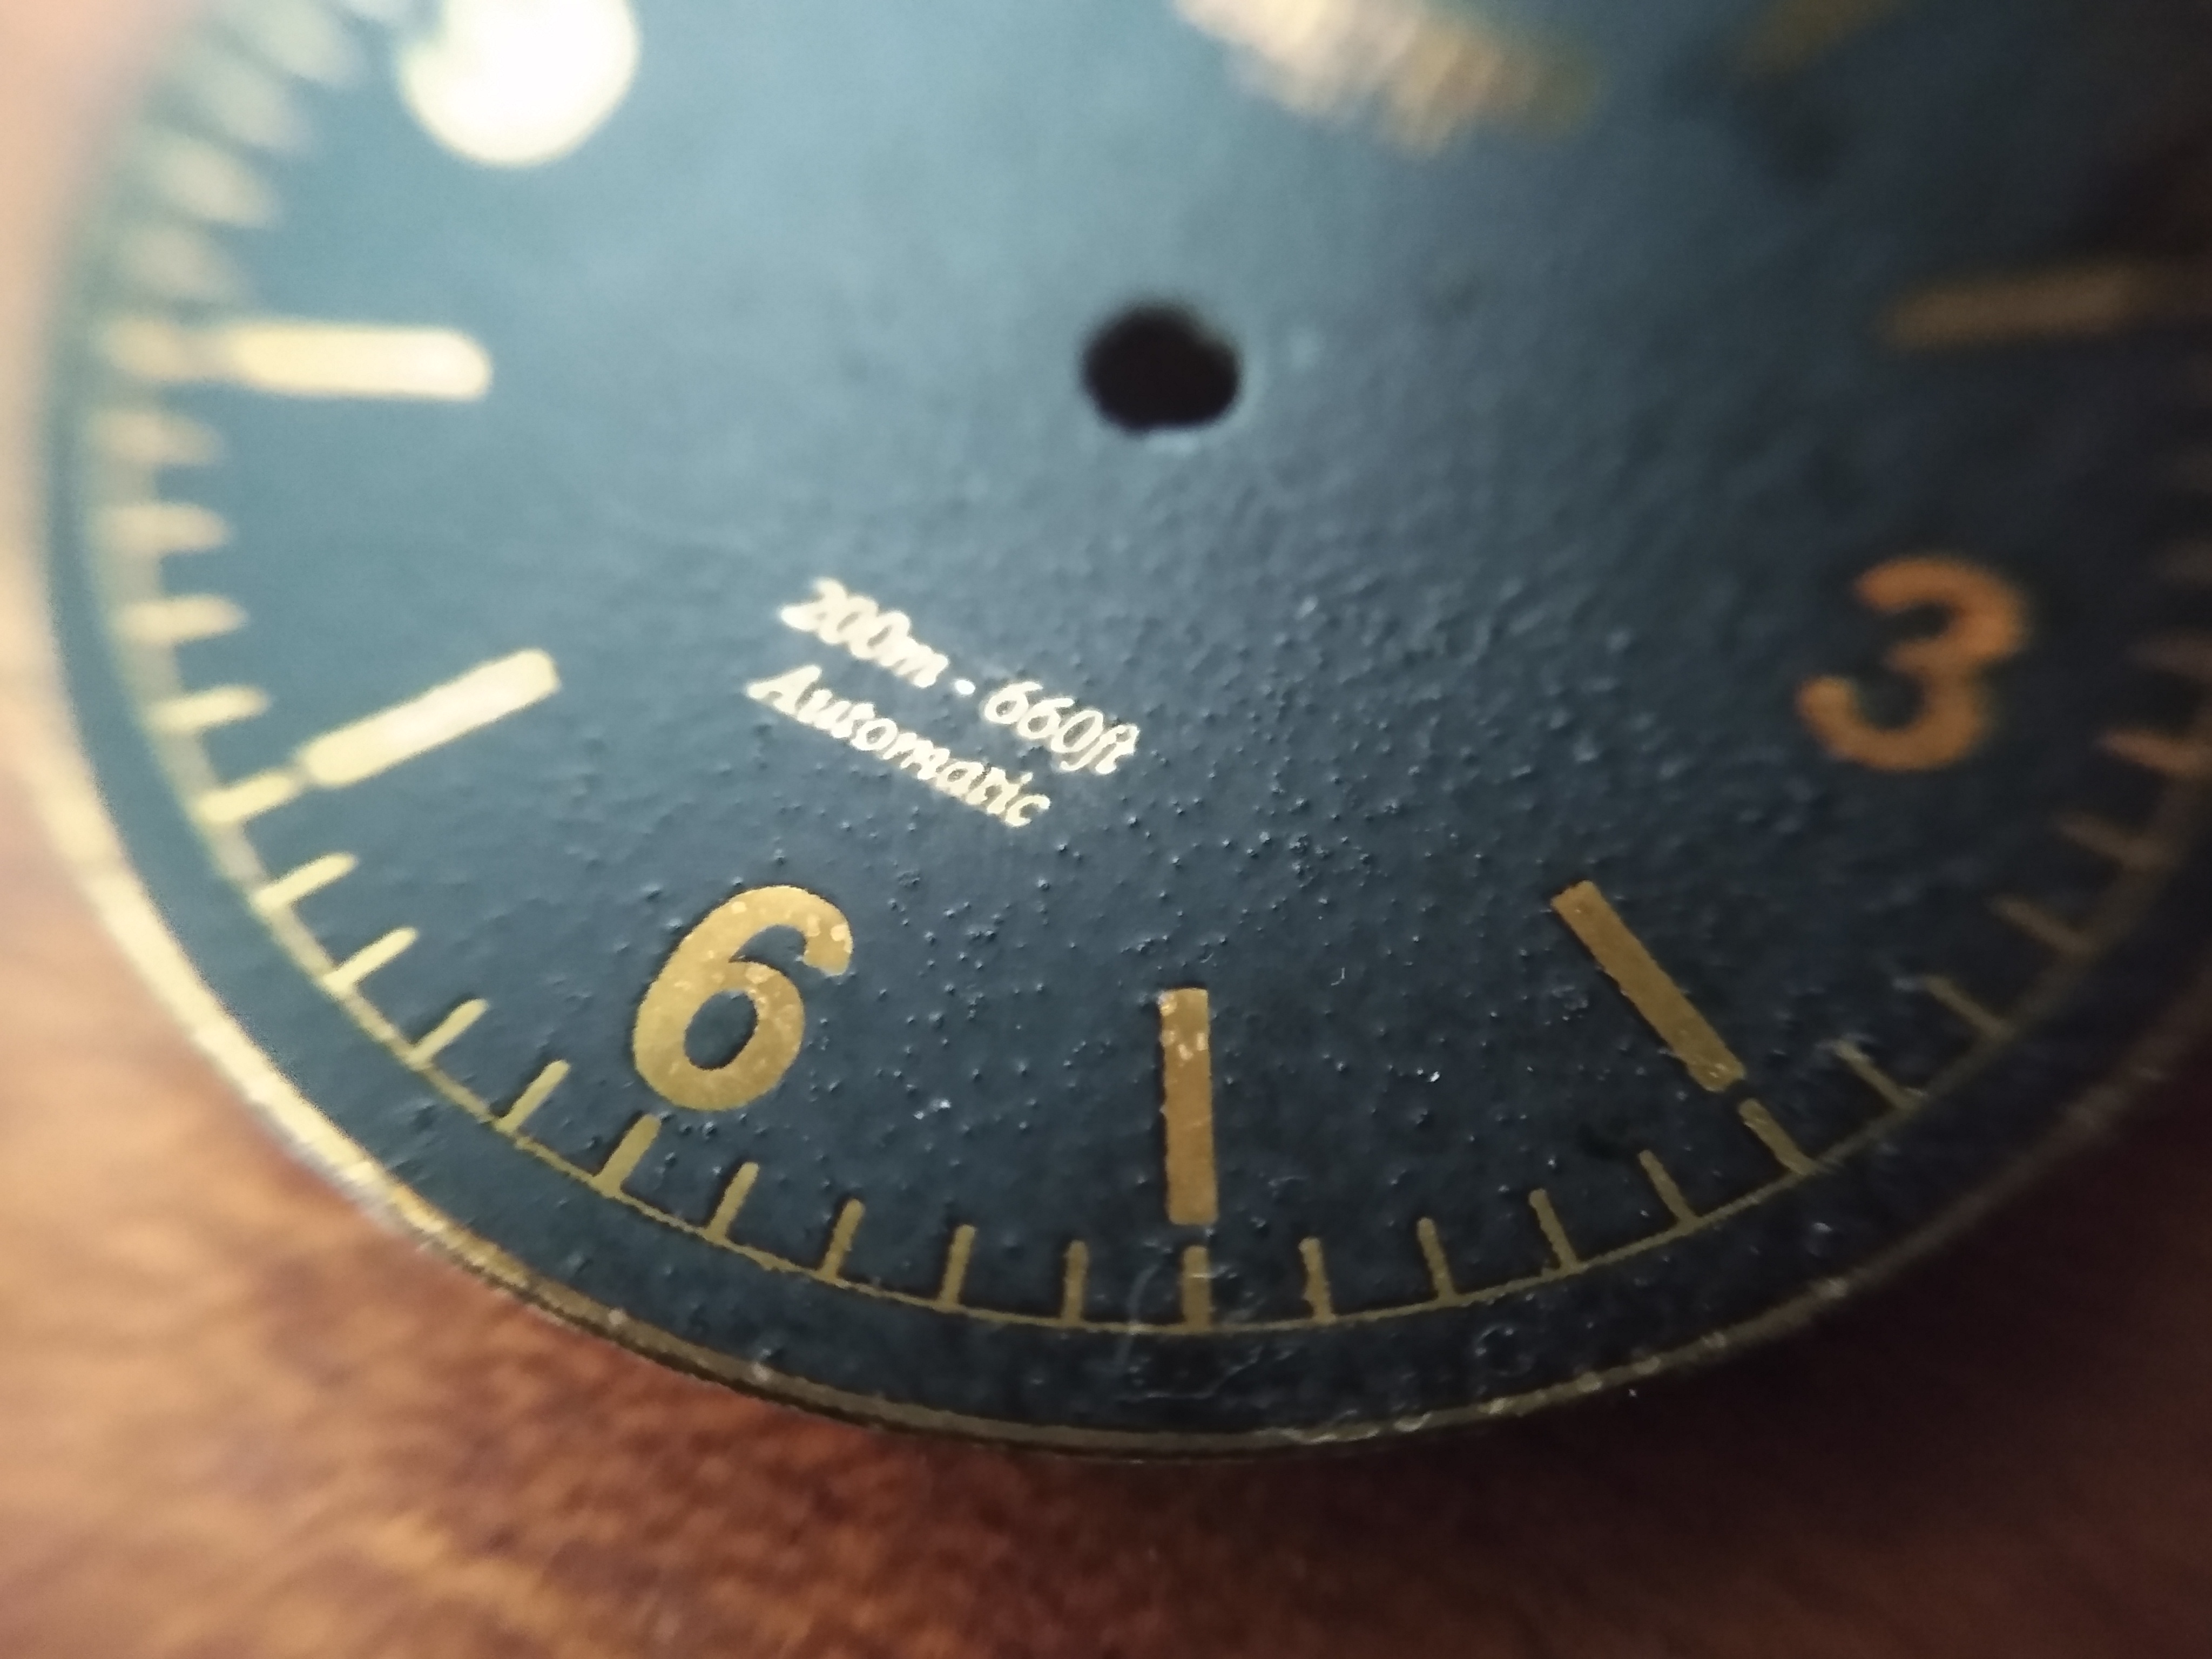
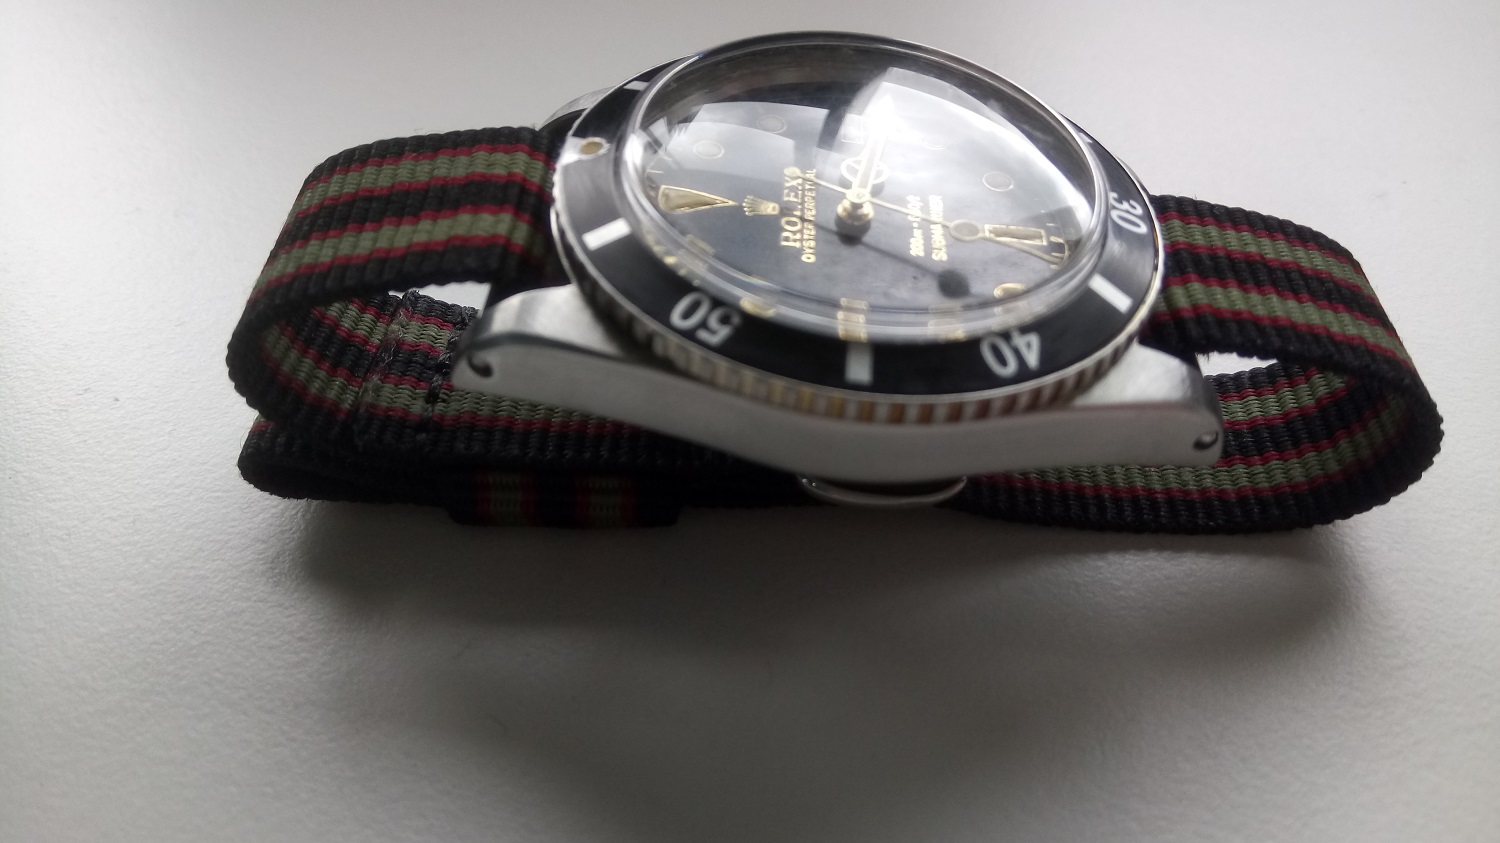
Along the aging process he had done on the handset the lume on the minutes hand was gone so we decided I would remove the lume on the others hands and relume the handset along with the gilt dial.

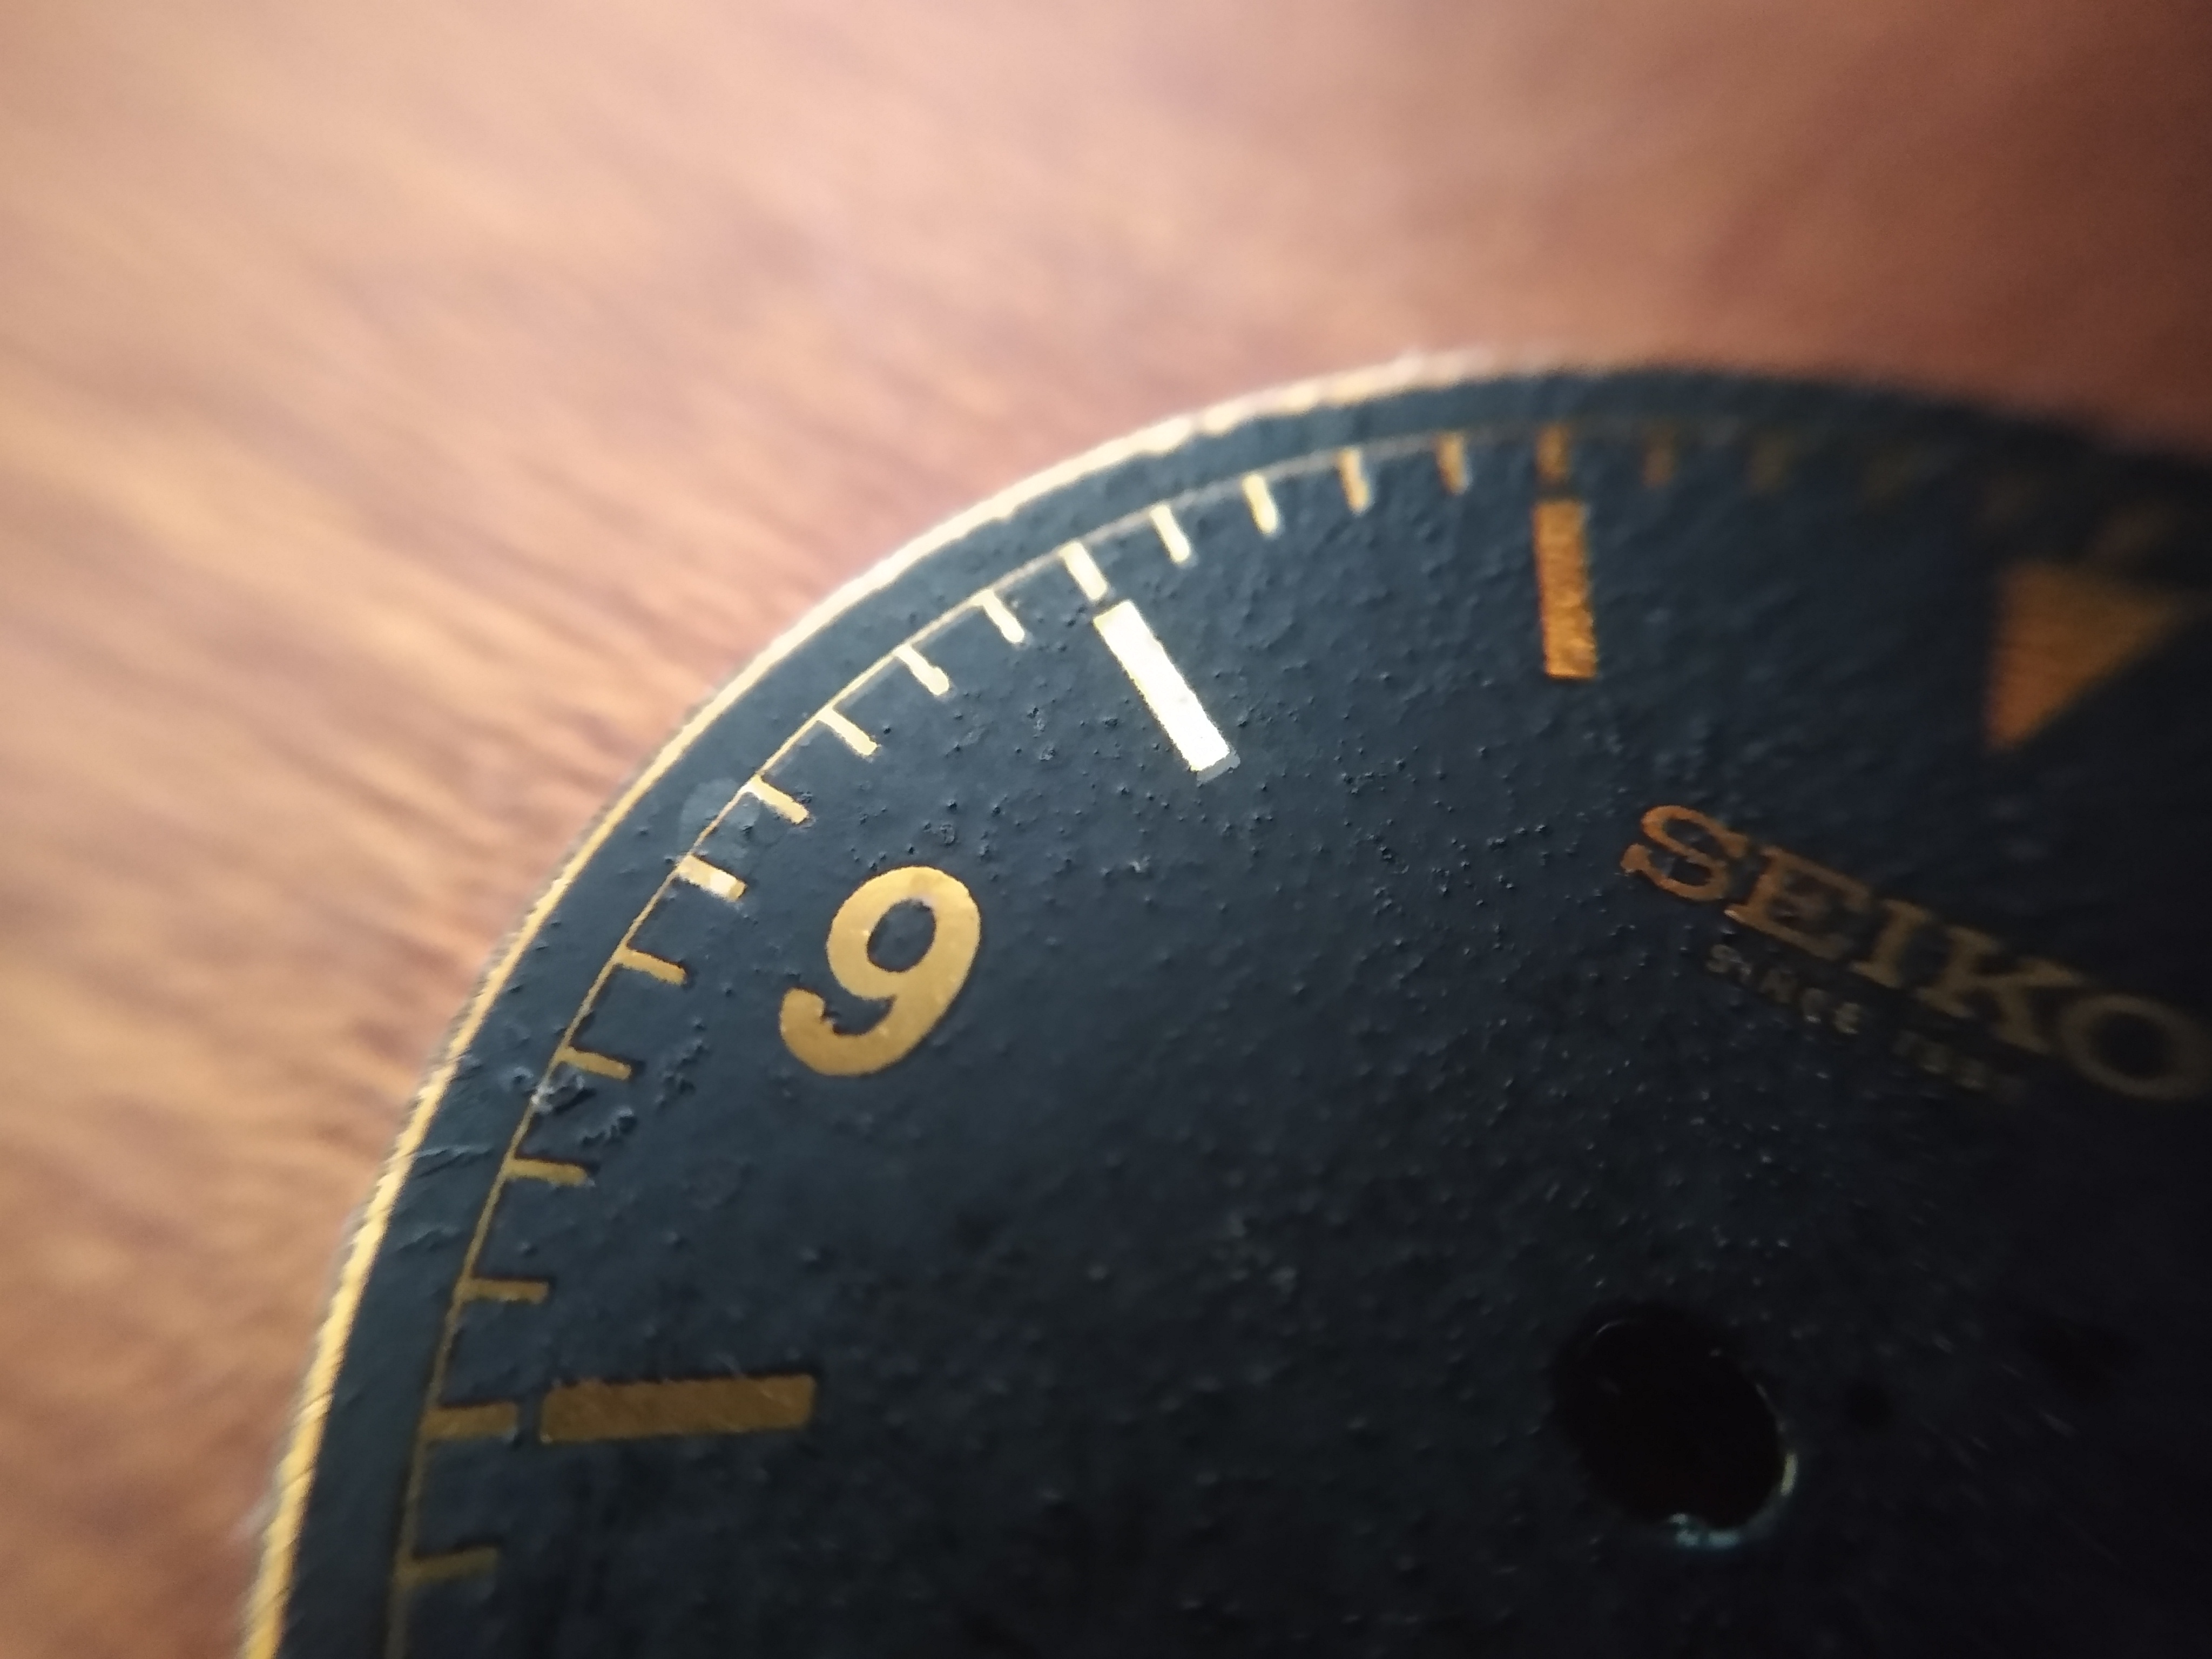
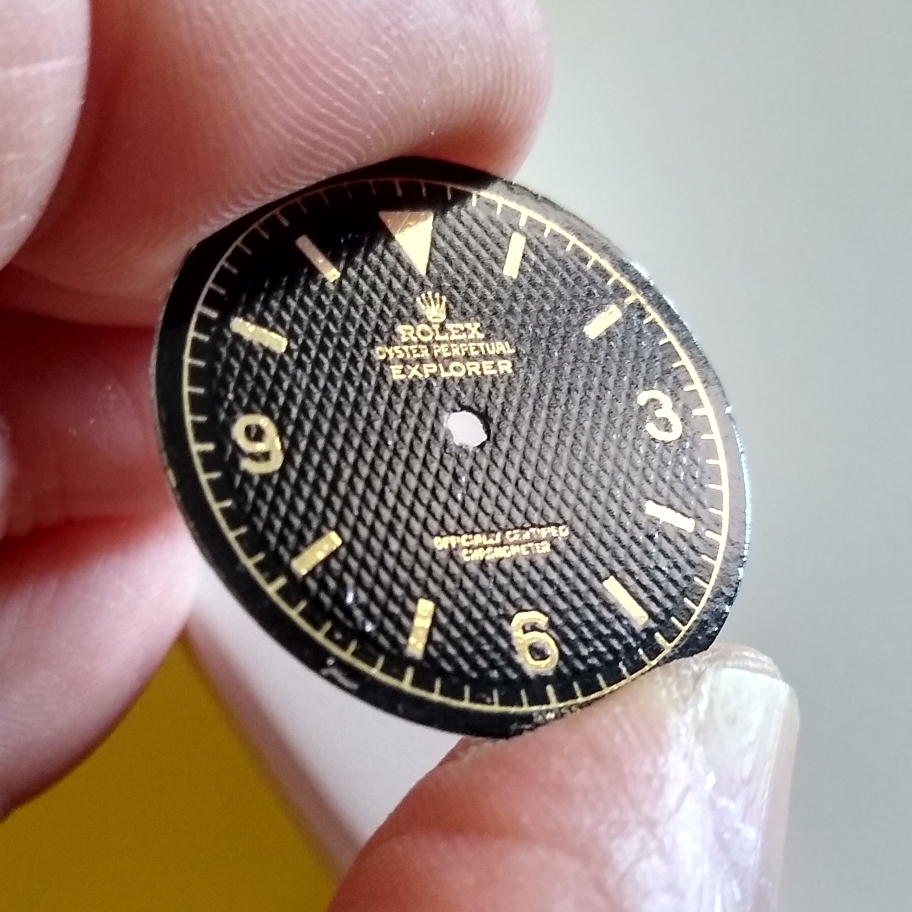
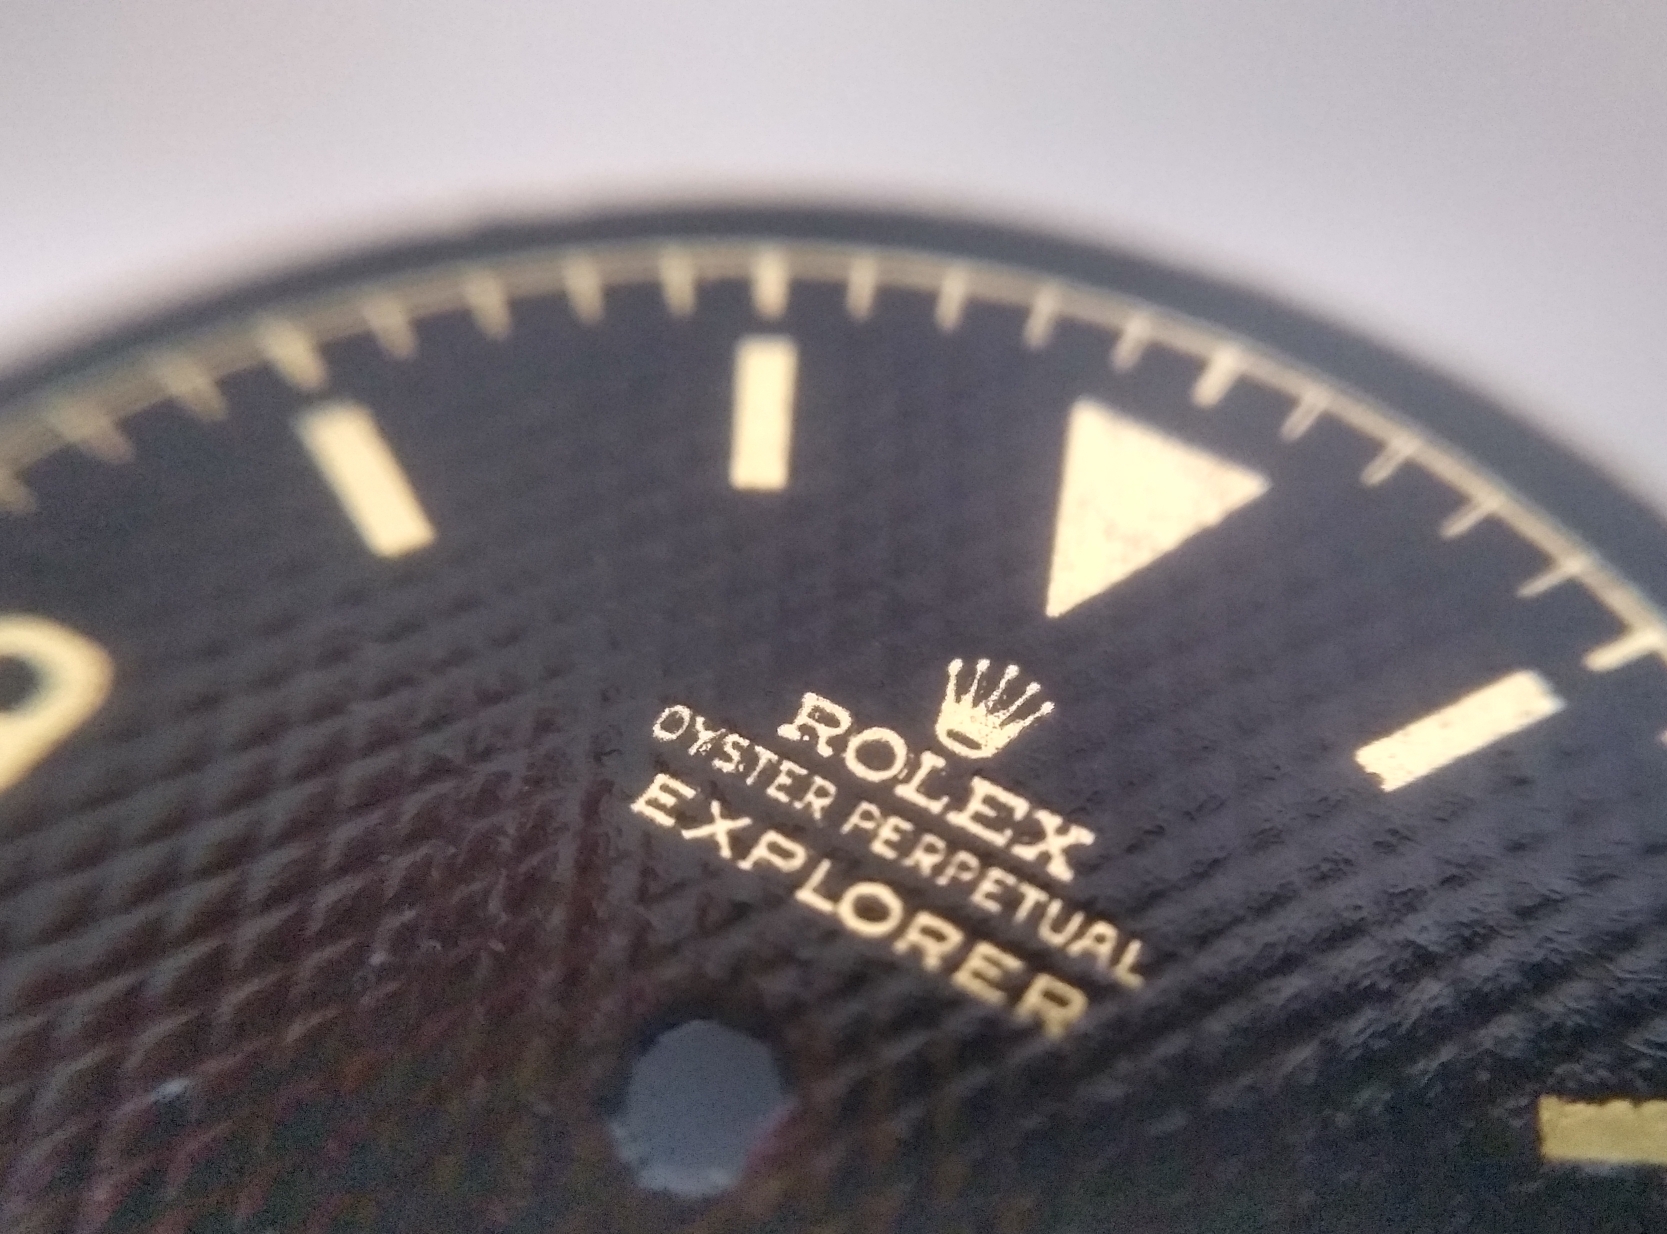
It took me some weeks (months in fact) to have free time to make his negative-gilt dial but I finaly made it.
When ready to start lume work I decided I couldn't let the pearl as it was I decided to remove it from the insert, scratch the existing lume and redo it too.
Yesterday evening I lumed everything ... so here are the pics ...
I did my best to give good advices about how to drill and chamfer lugs, swap the handset for a better one, etc ...
Along the conversation he asked me if I could make a negative-gilt 6538 dial for him and I said I'd be glad to.
So he sent me the Cartel dial so that I could check the dimensions I needed, the Cartel bezel and the handset he had bought from Slay.
Along the aging process he had done on the handset the lume on the minutes hand was gone so we decided I would remove the lume on the others hands and relume the handset along with the gilt dial.
It took me some weeks (months in fact) to have free time to make his negative-gilt dial but I finaly made it.
When ready to start lume work I decided I couldn't let the pearl as it was I decided to remove it from the insert, scratch the existing lume and redo it too.
Yesterday evening I lumed everything ... so here are the pics ...