[MENTION=9607]bart[/MENTION]Cordell your lume work has definitely improved! Congrats!!
Sent from the RWI mobile app
Sent from the RWI mobile app


")

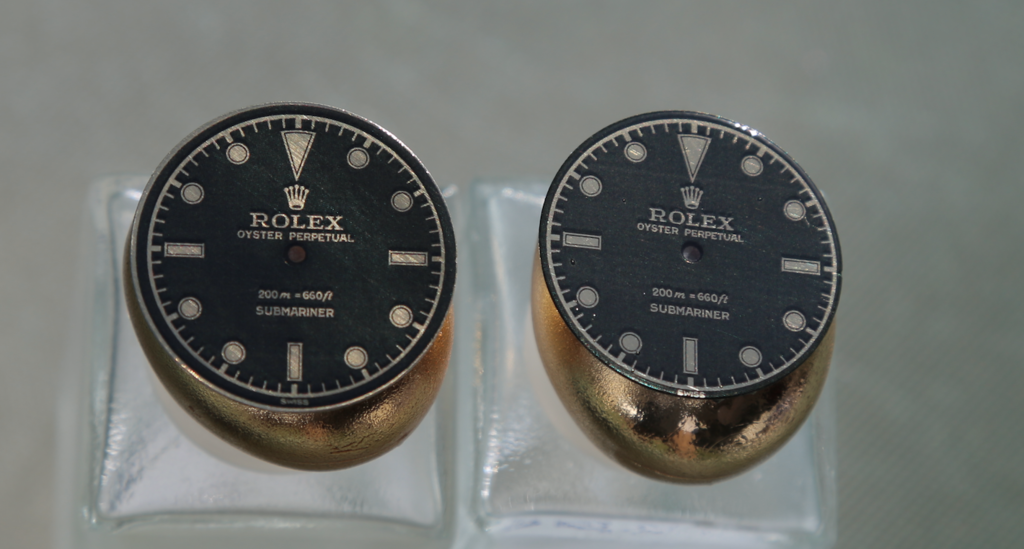
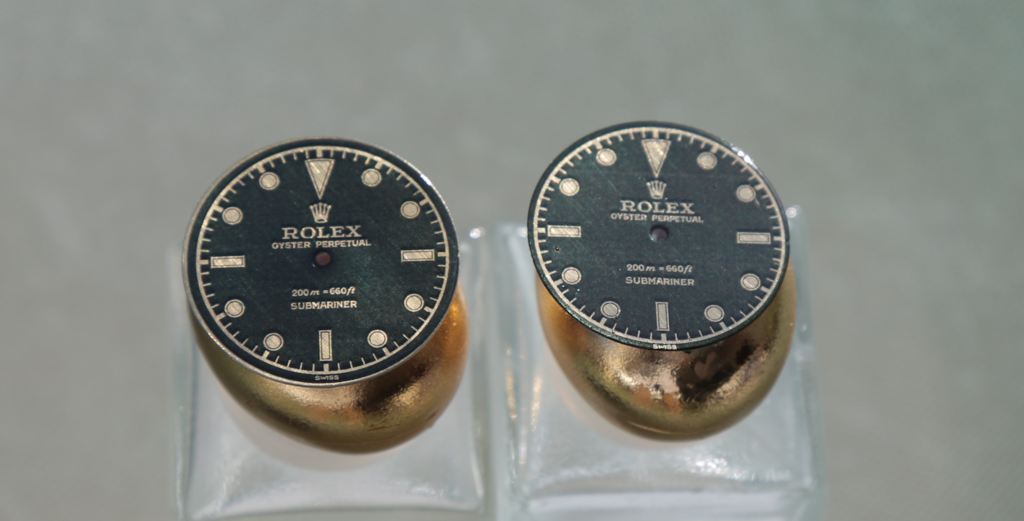
[MENTION=9607]bart[/MENTION], 3 coatings for the 29mm dial, and 4 coatings of the 27.4mm dial. Both for curing for another day. Not very happy with what appears to be the "thin" black paint of the Laser Printer option. Not perfect, but I may be getting the hang of it. Here are the two, side by side. Bart, pls let me know if I need to sand it, or just let it be.
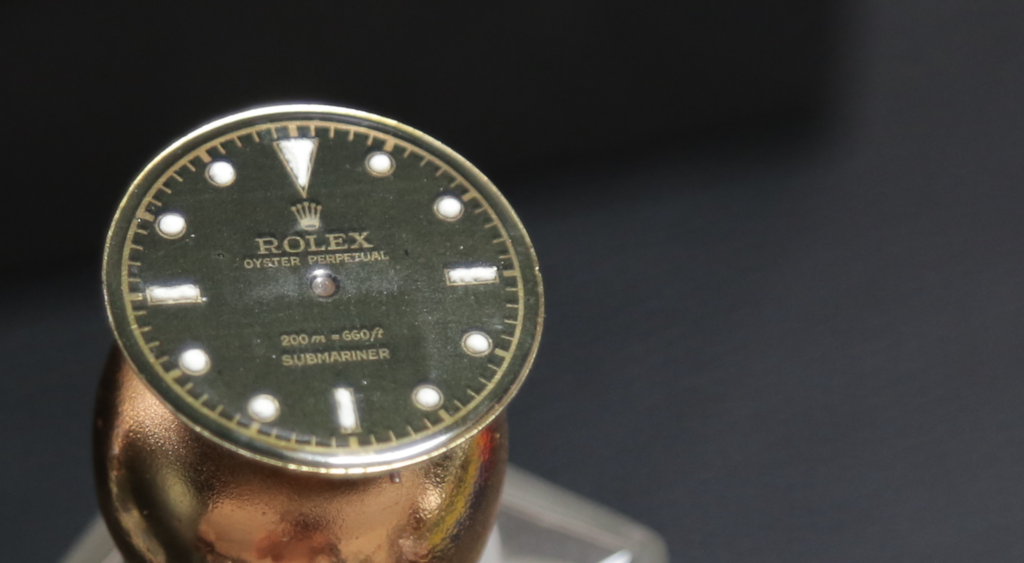
I'm in no position to tell you what to do, however I will tell you that if given the opportunity I would gladly use this dial as is.@bart, finally done curing and luming our 29mm dial. Probably my best, though my luming sucks, and very far from getting there. The lume as as is, no tinting colors. I have a problem with the binder, as 1part binder, 1 part lume powder is still too thick, thus the lumpy sugar-like lume. Where I am, we have no access to Testors Dullcote Lacquer. I tried using clear gloss lacquer nail polish. Crashed and burned. Any substitute you can recommend to dilute my mix? Thoughts? TIA!

I'm in no position to tell you what to do, however I will tell you that if given the opportunity I would gladly use this dial as is.
In other words, this dial is beautiful and your lume is better applied than I have seen on gen professionally refinished lume.
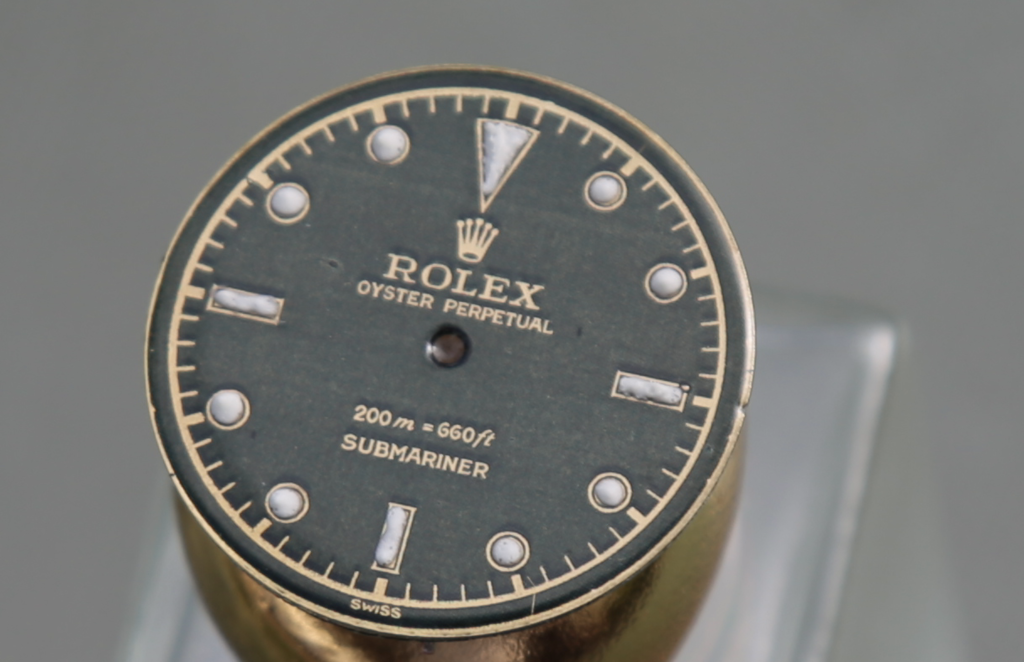
I see it@kdo2milger, thanks for the vote of confidence. Yes, so far, this attempt comes close to "decent," but unfortunately, like I said above, I messed up the dial when I tried to sand down the sugar-like lume. In my attempt to salvage it, I sprayed/mist a bit of the clear gloss lacquer. The scratches disappeared but it also resulted to a "square" at the depth rating area of the dial. Maybe it will disappear. Maybe not. But, yeah, in my frustration and impatience, I might just mount this in the meantime, he he. Again, thanks!
Scratches disappeared, but see the "squared-off" area around the depth rating: