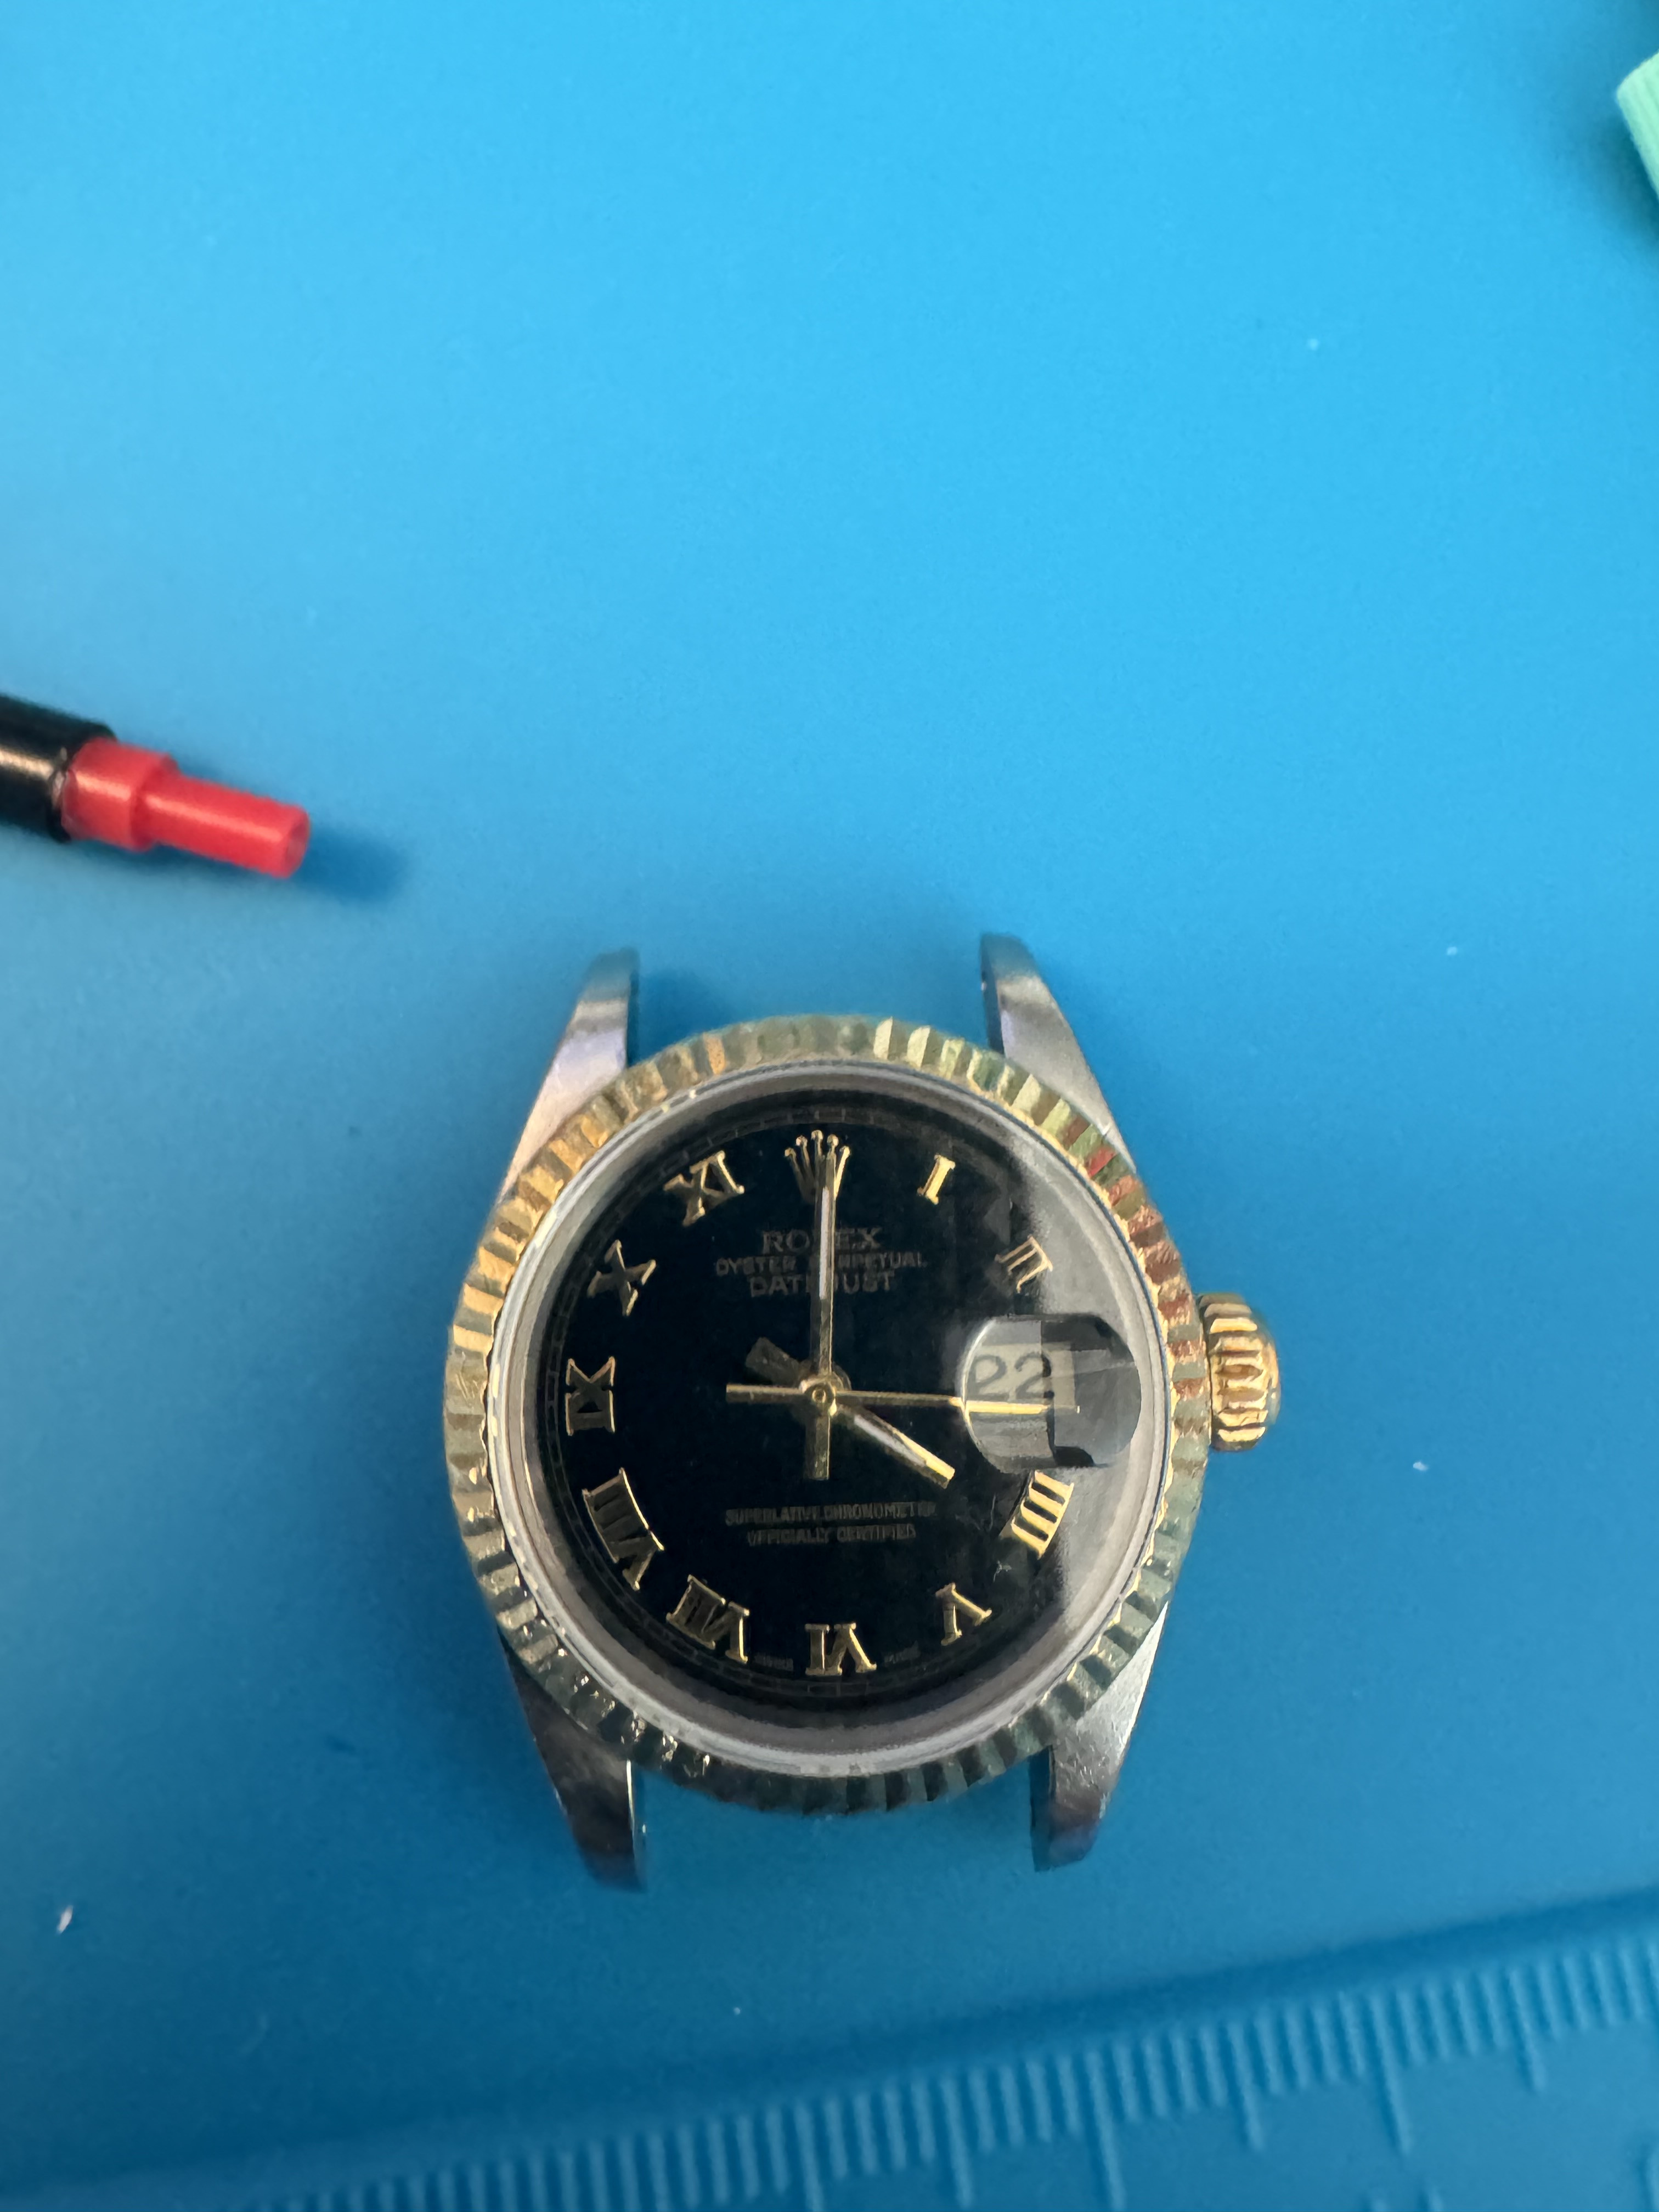
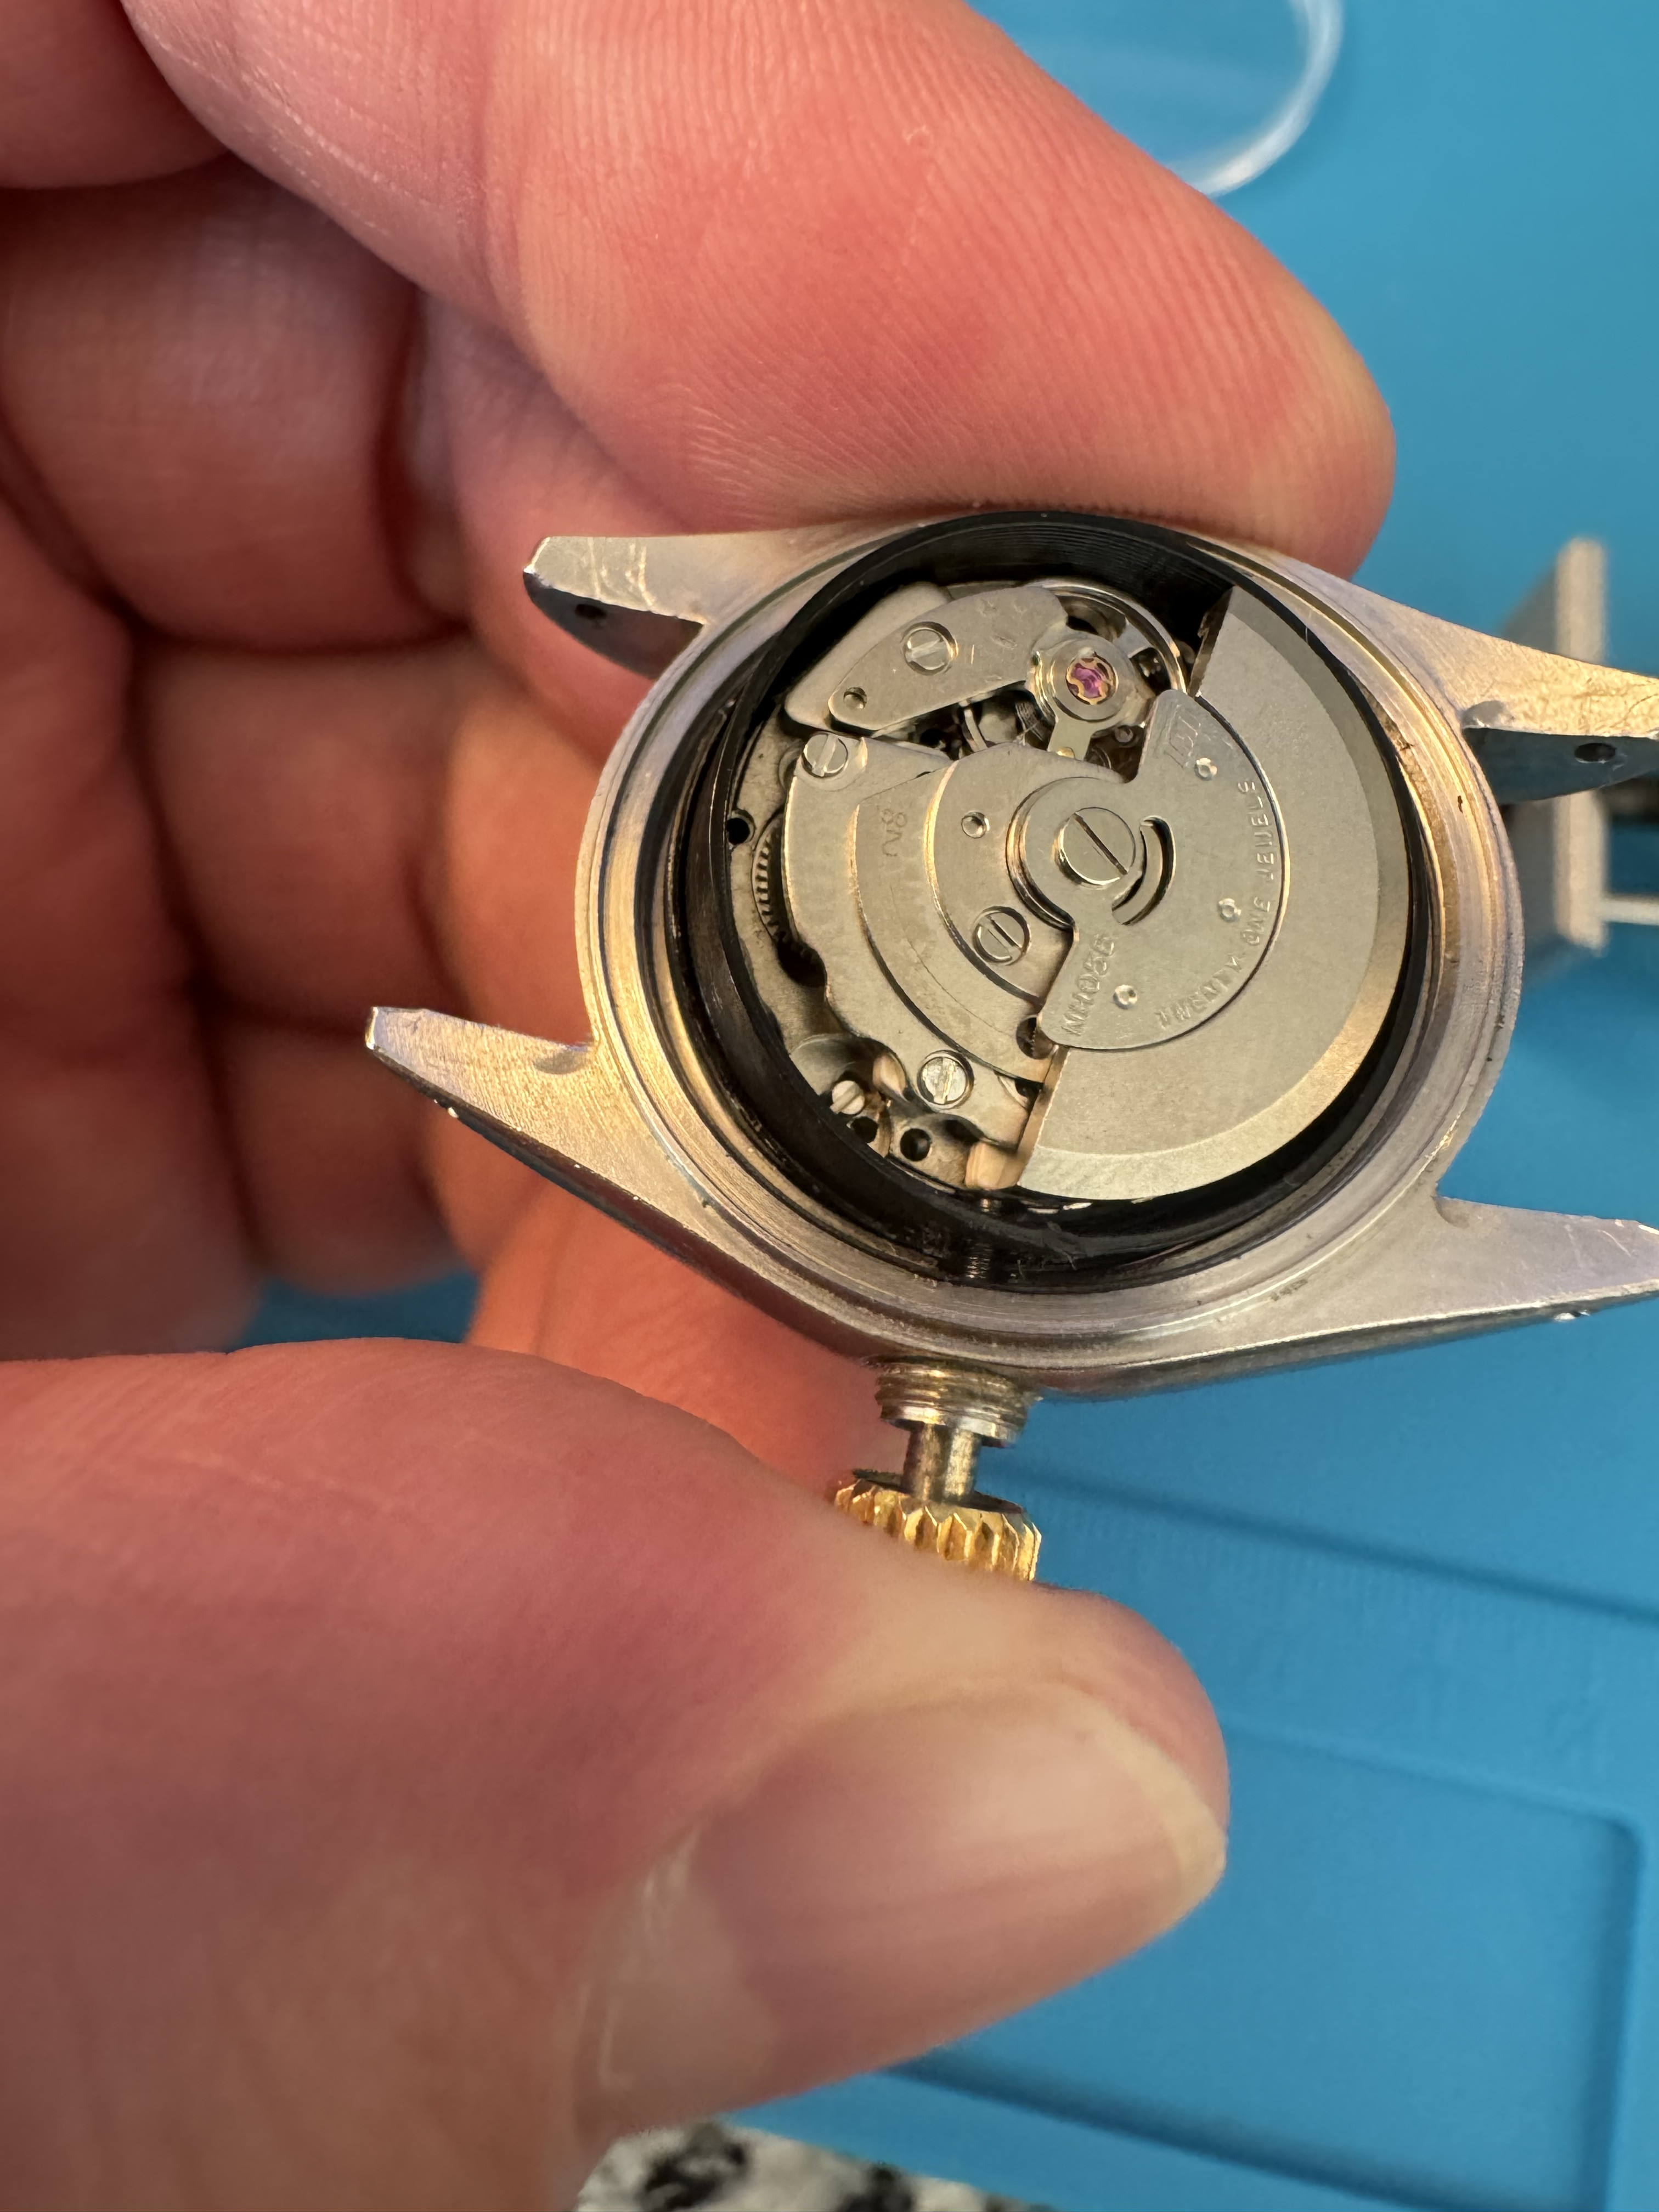
Awesome write up! How did you get the DWO to attach to the existing Datewheel? Did you glue it or use a spacer?And as an update, after lots of minor tweaks, this is the movement holder that I'm using for the NH05 in a gen case with date:

Mostly the changes were to make the opening for the date wheel a bit more precise, so it's free to turn and has enough space to not interfere with the back of the dial.
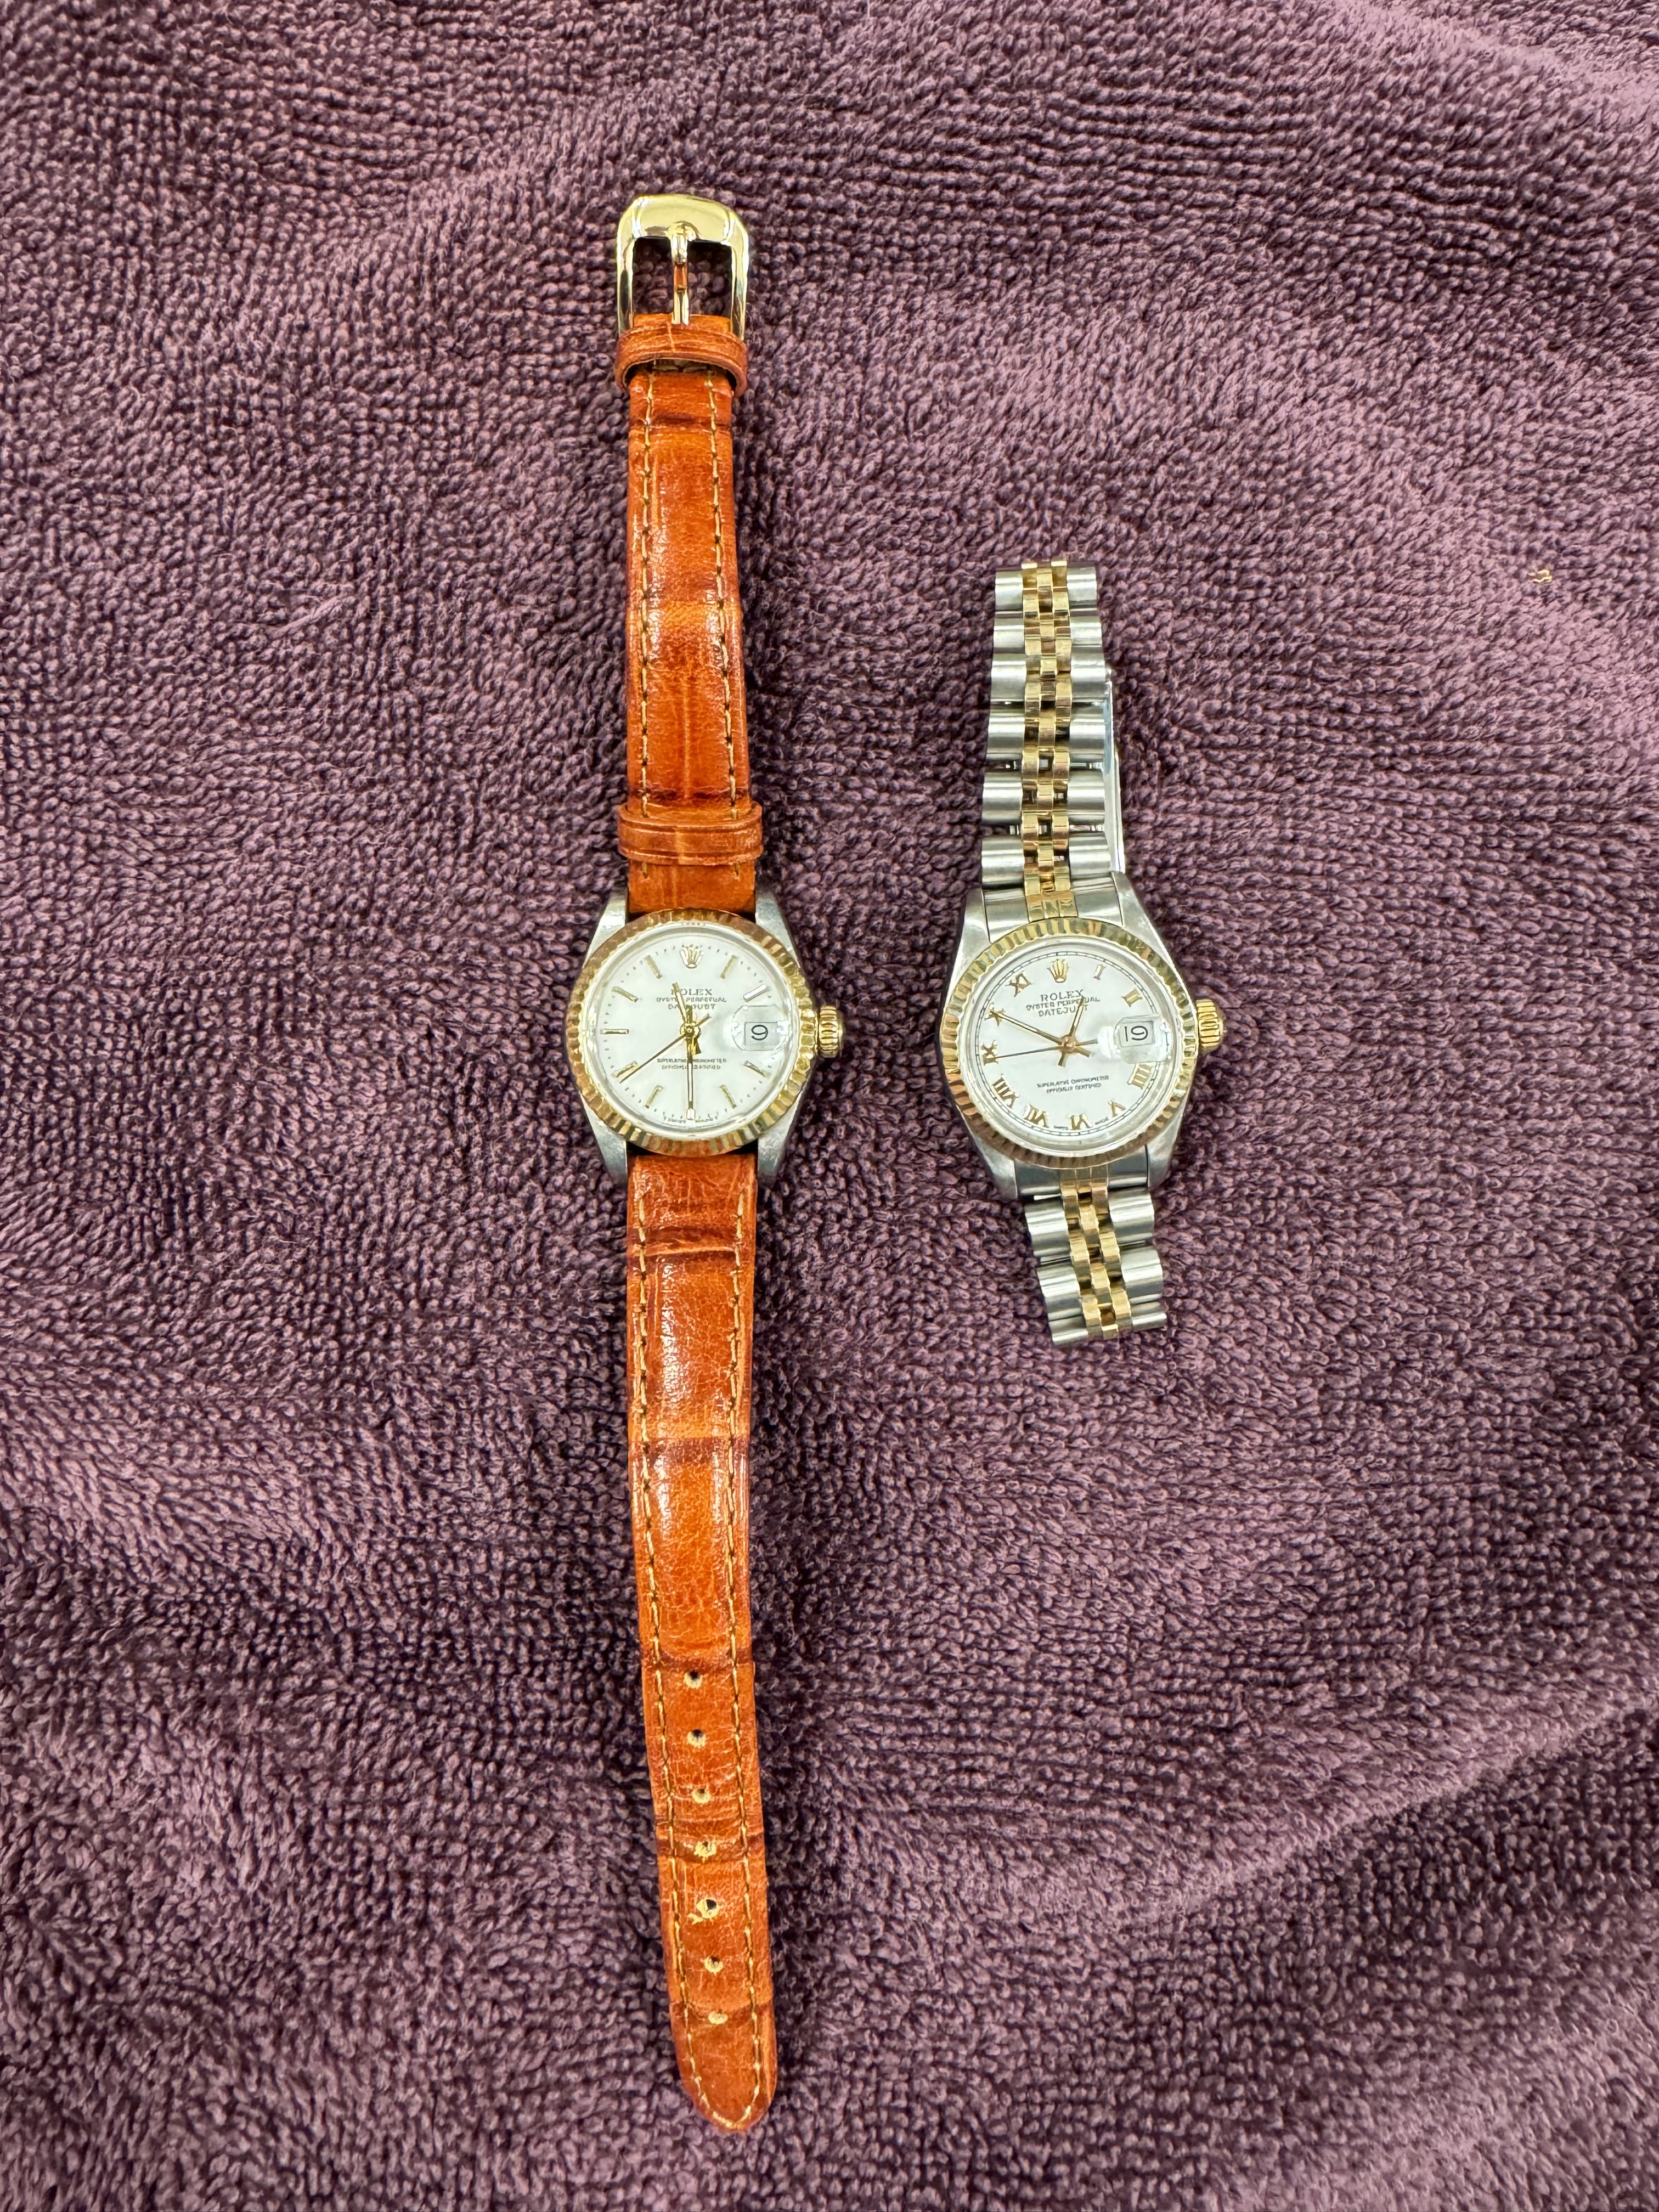
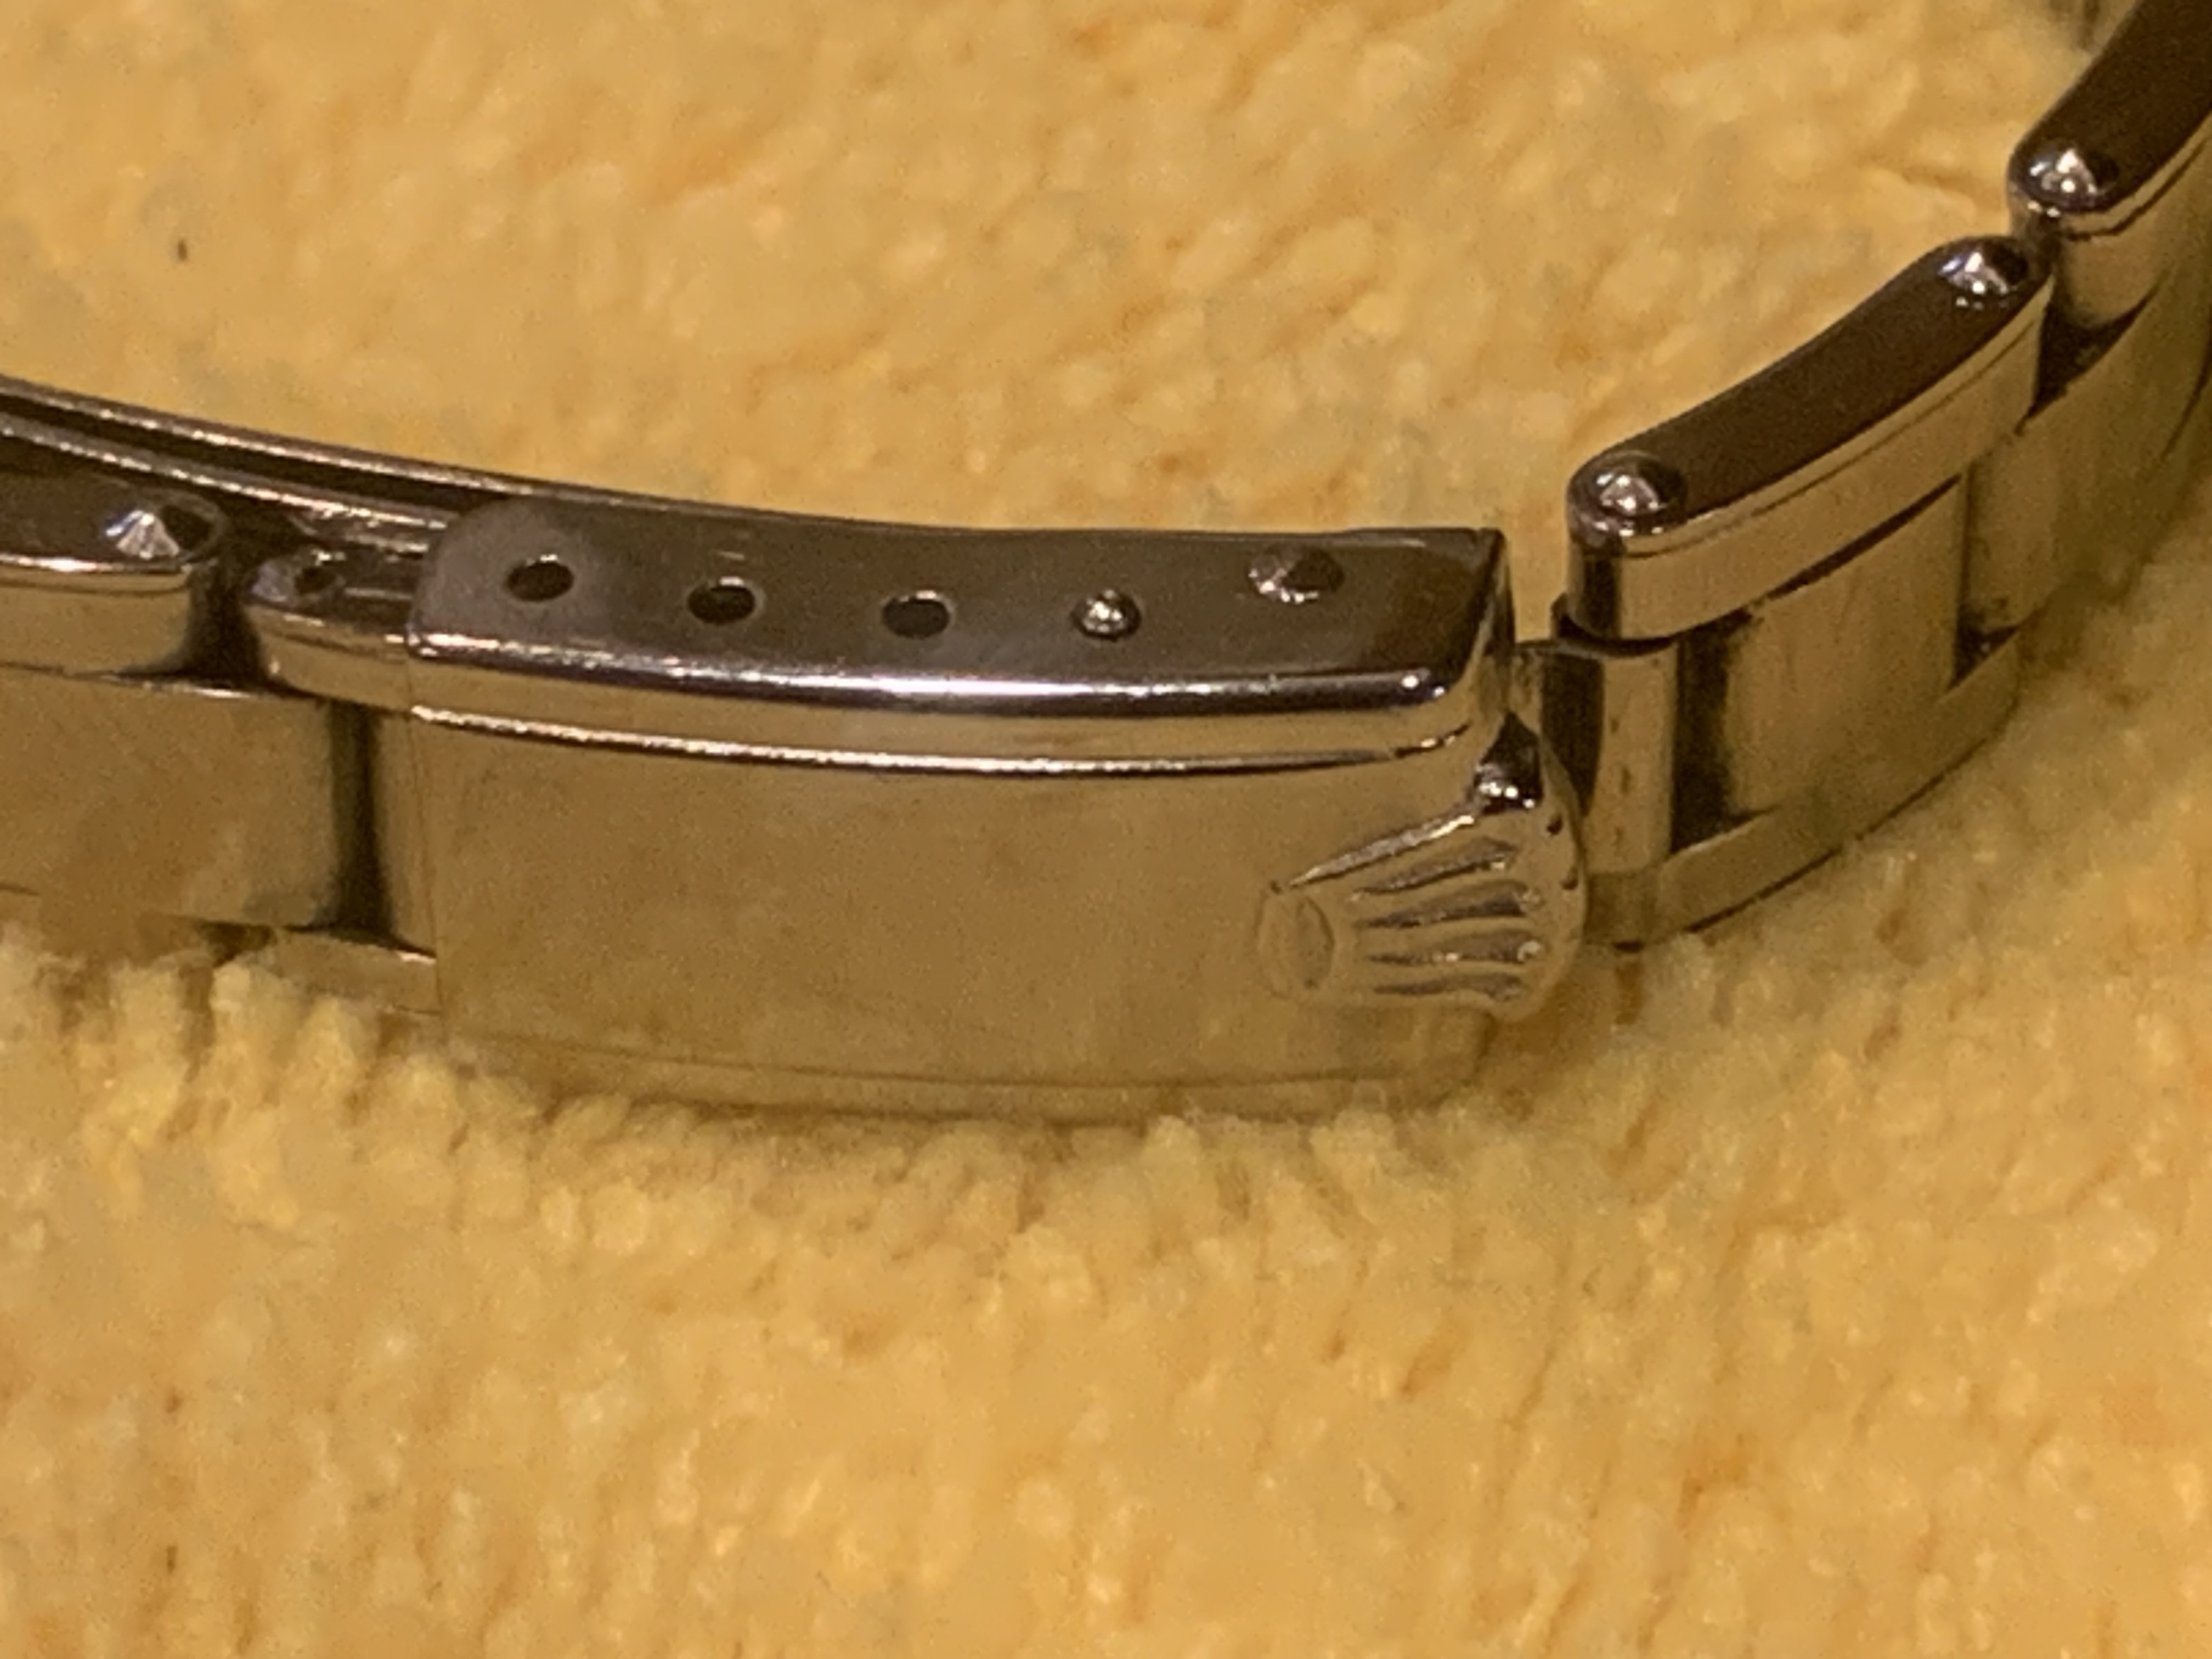
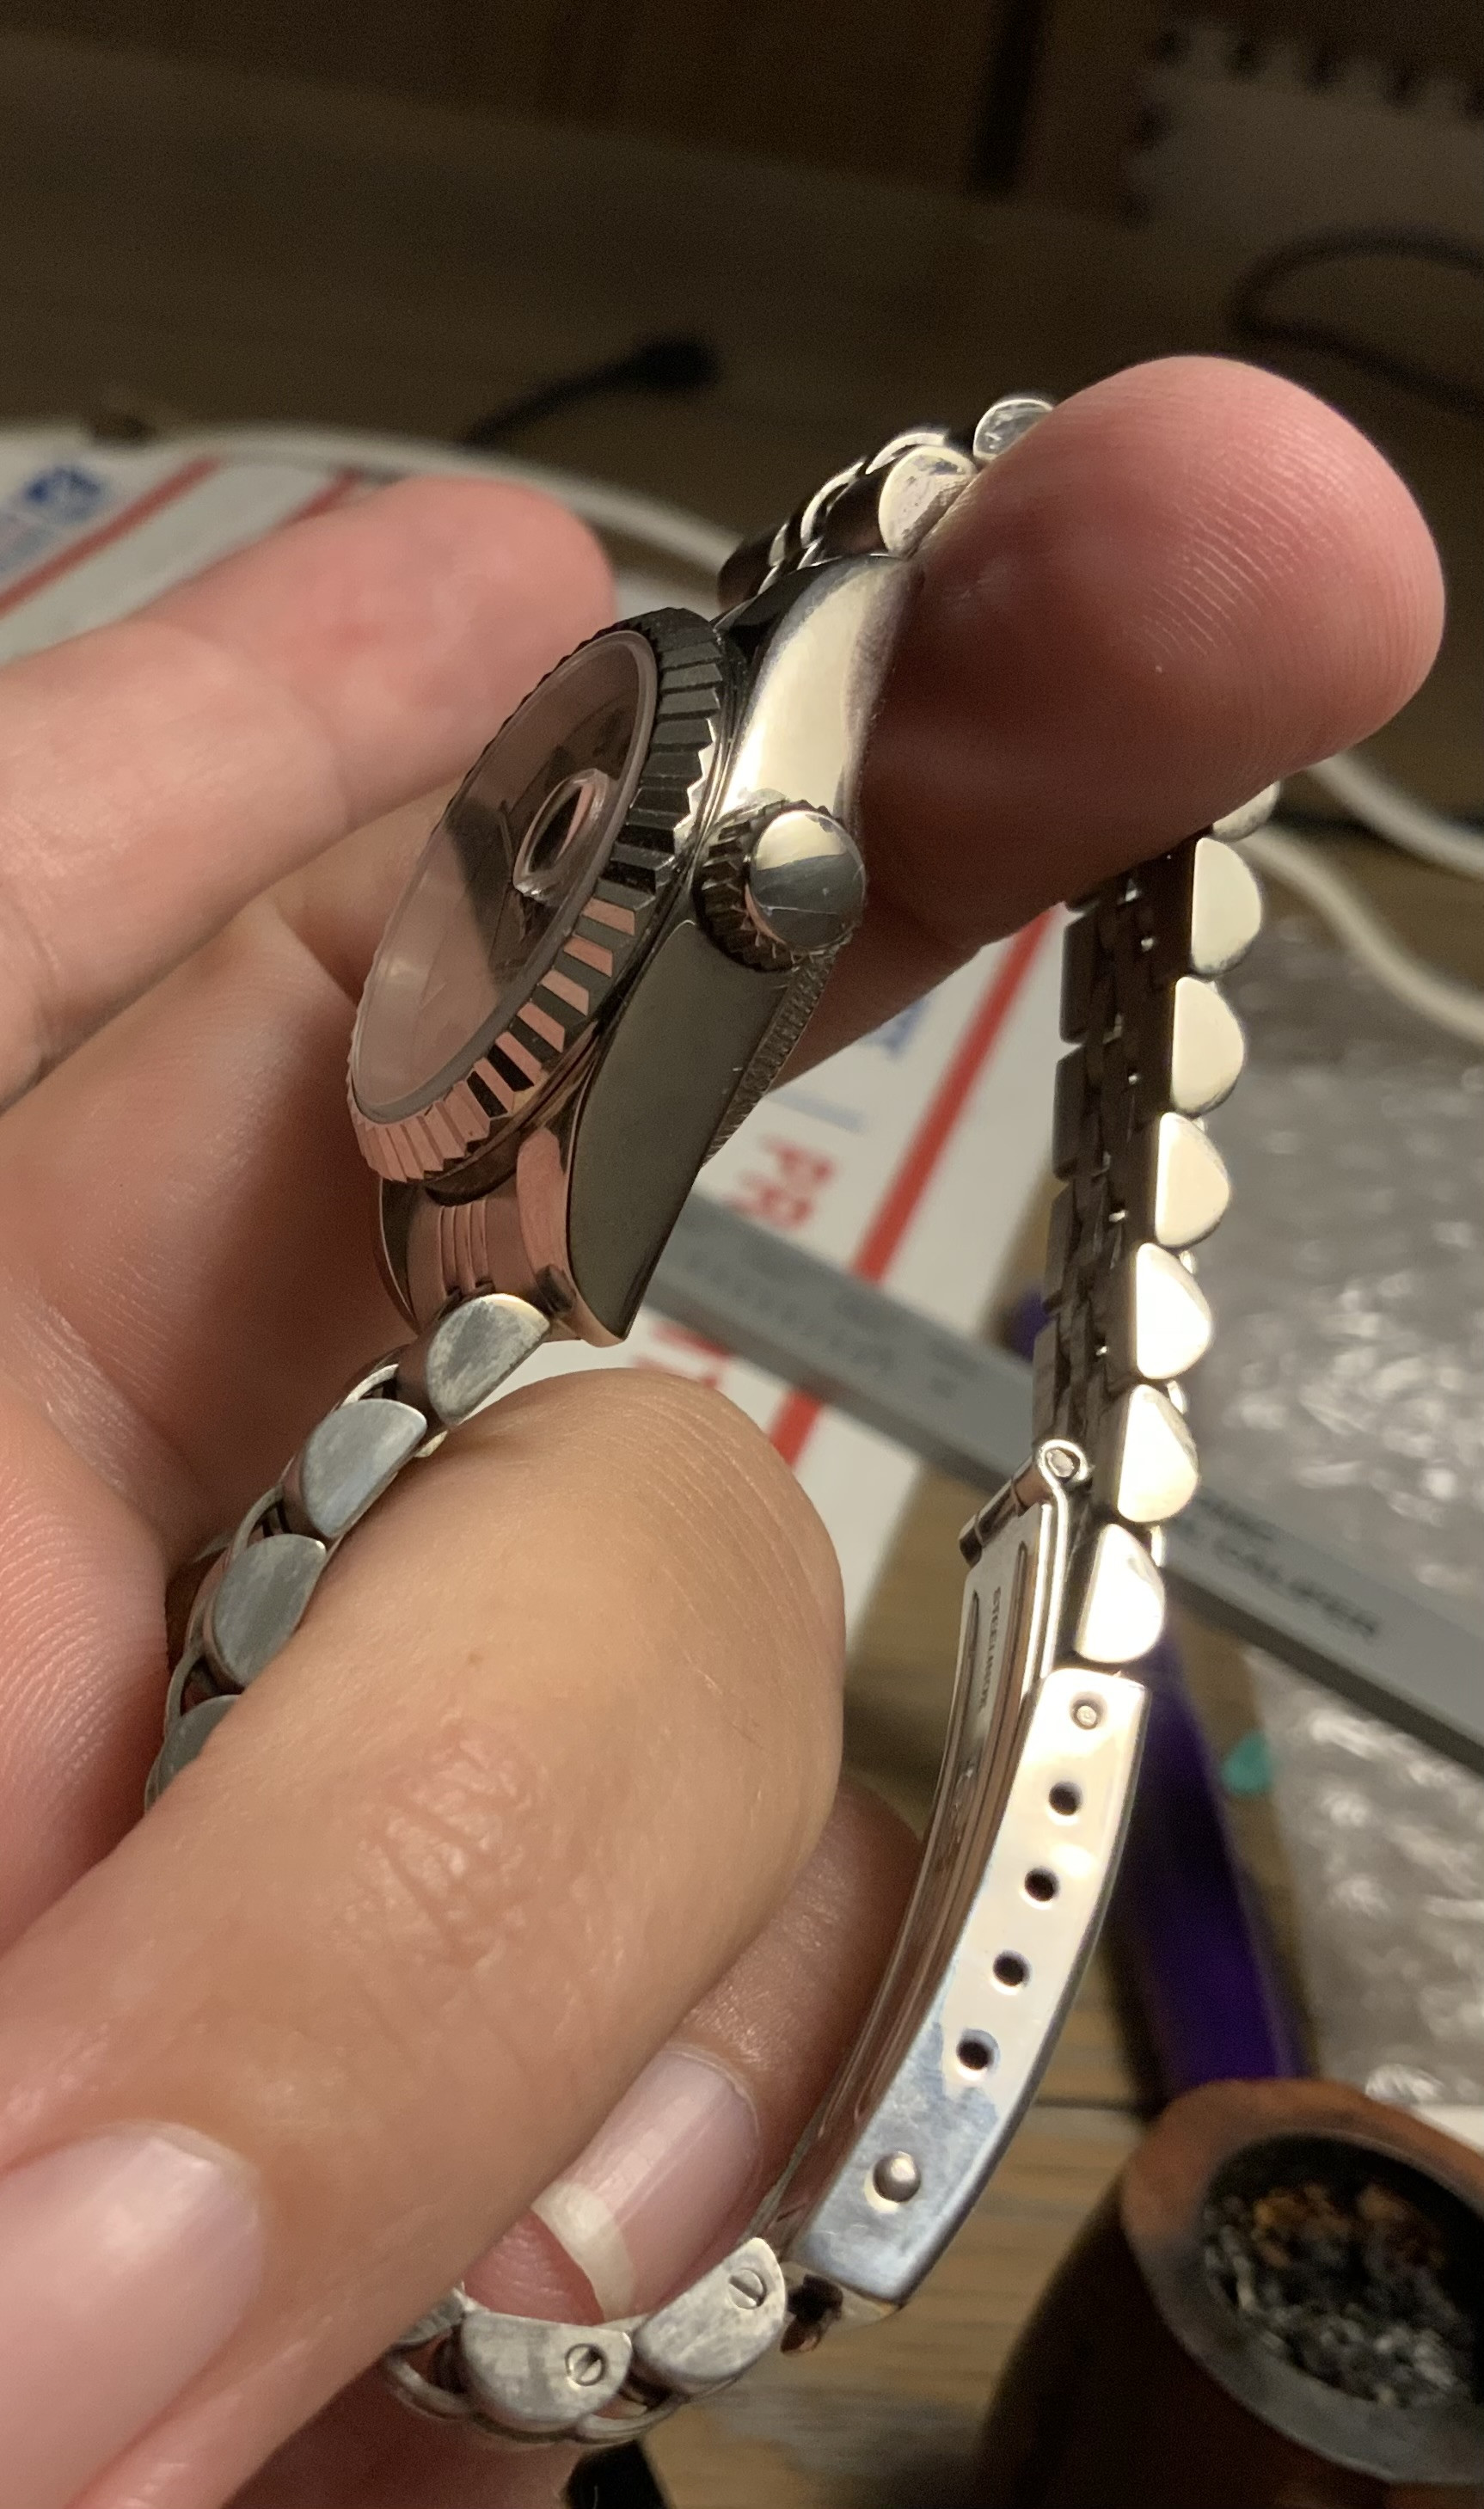
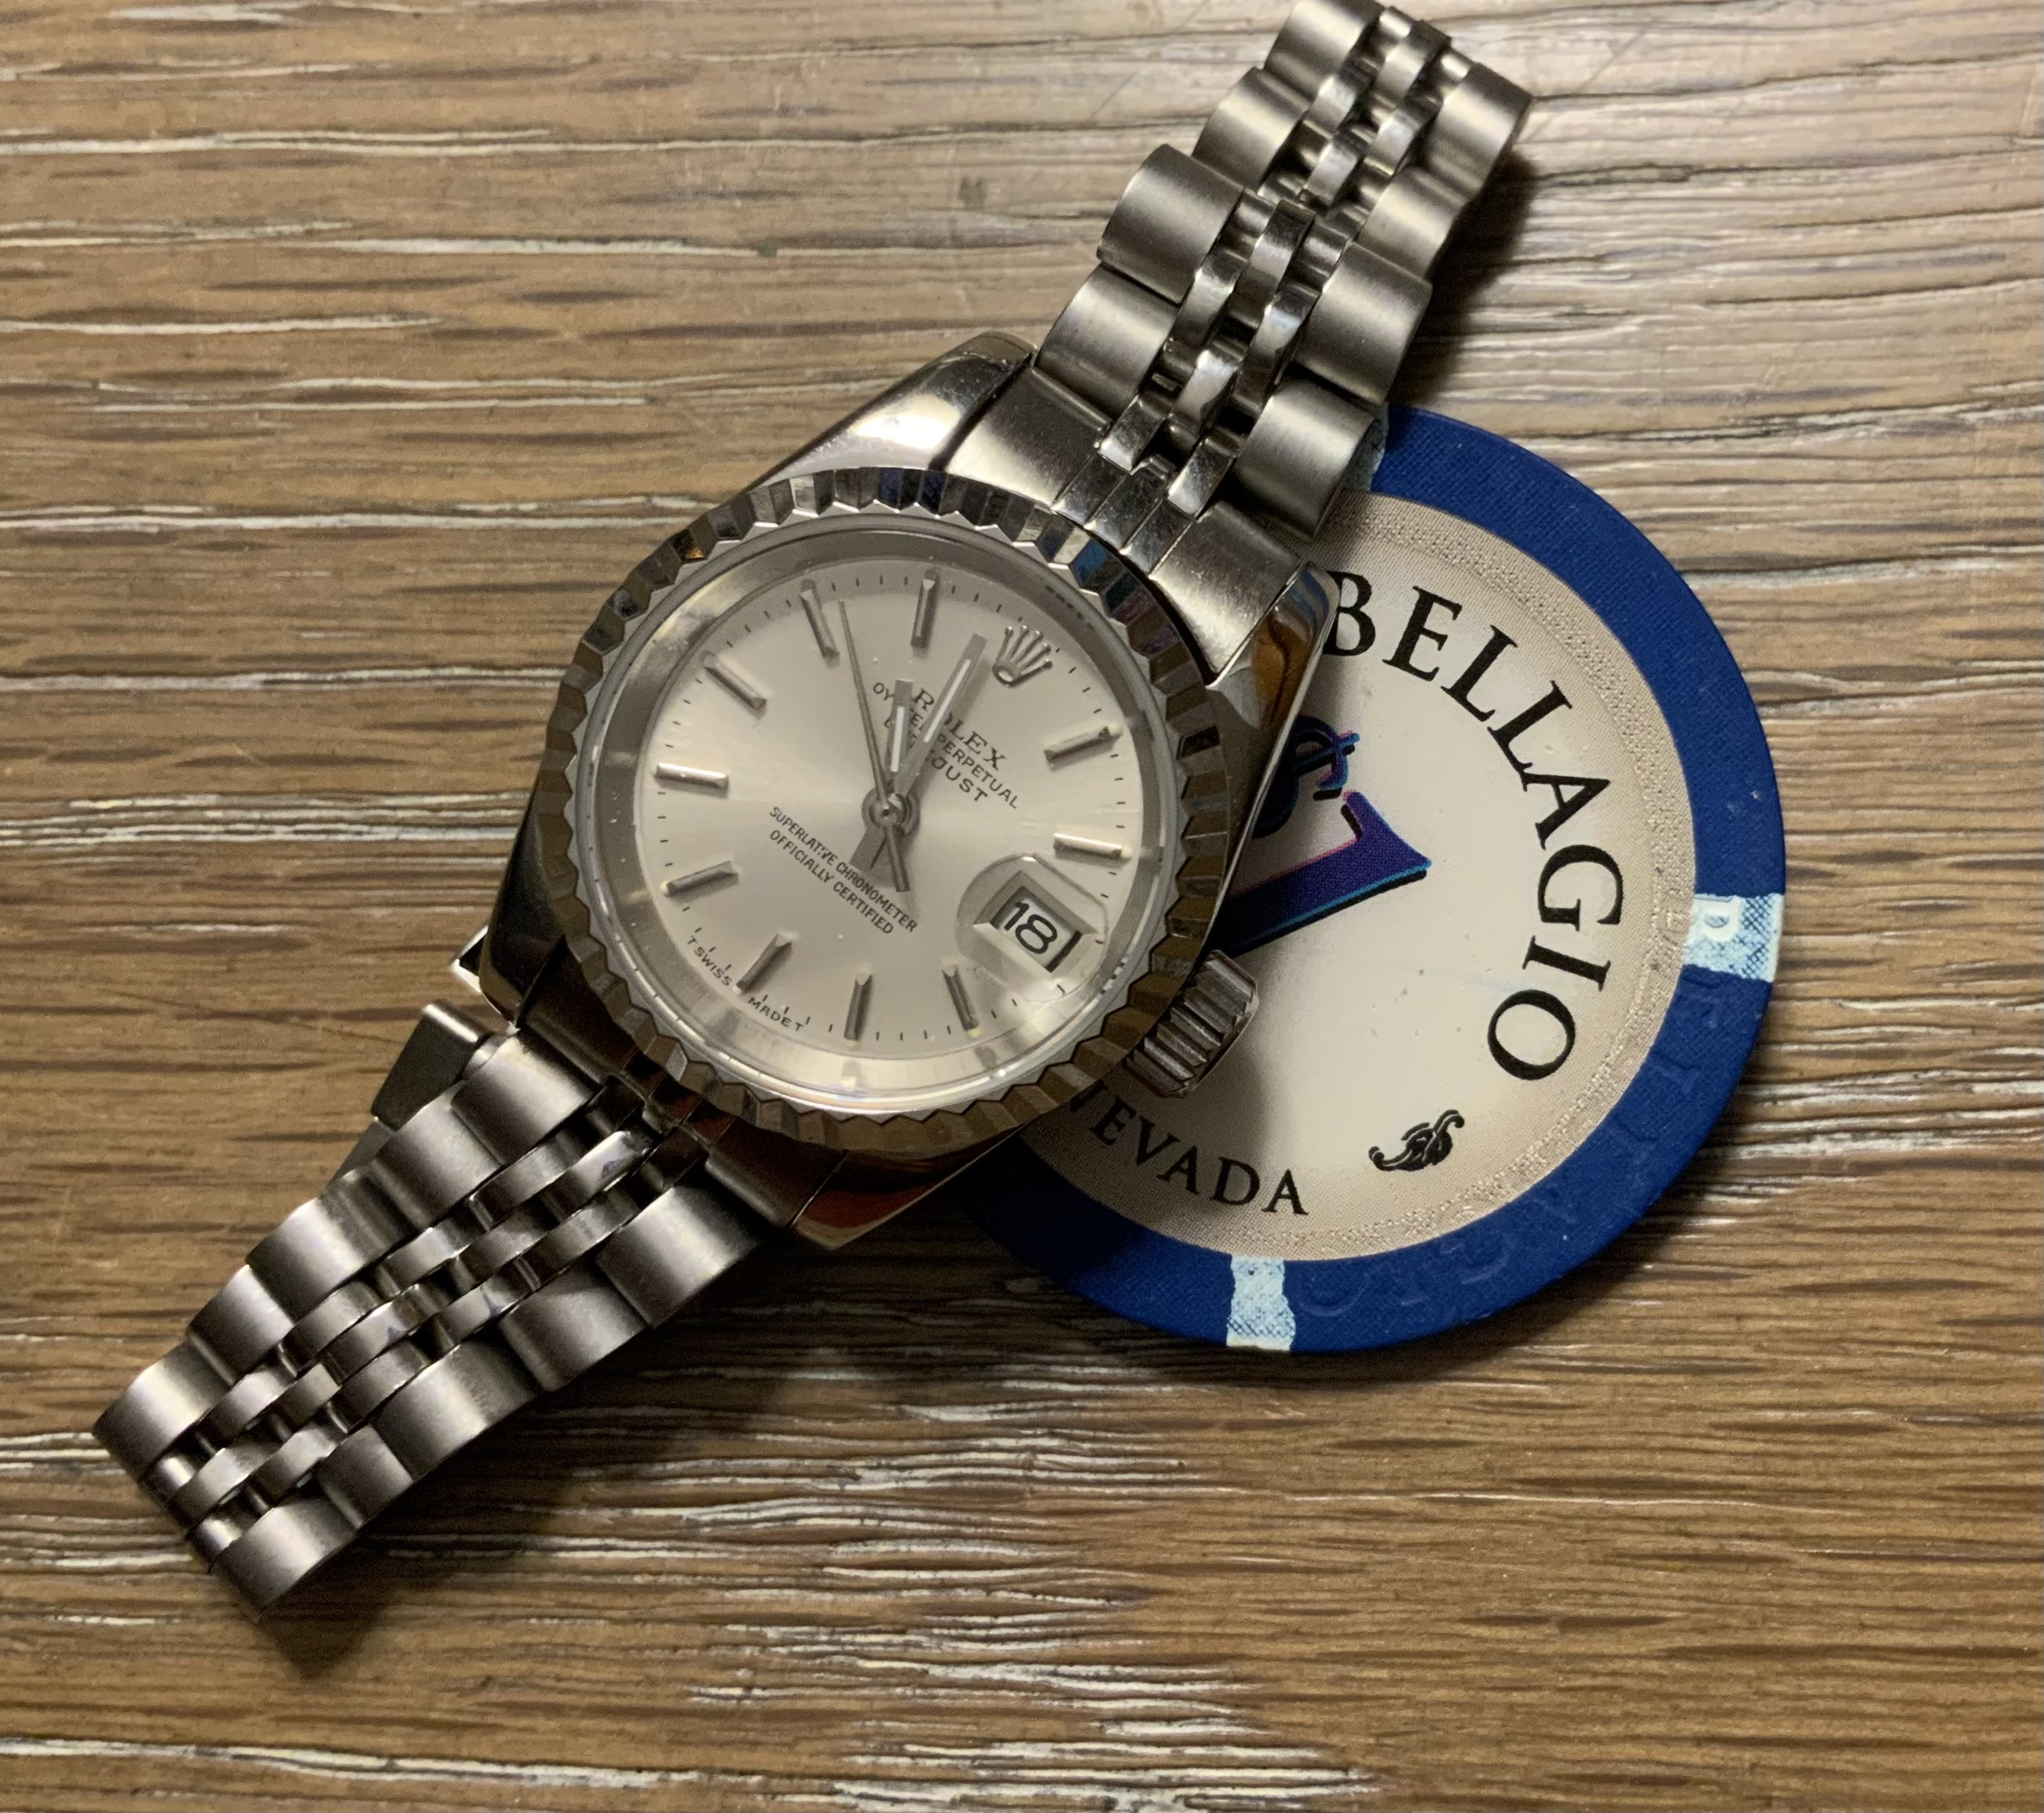
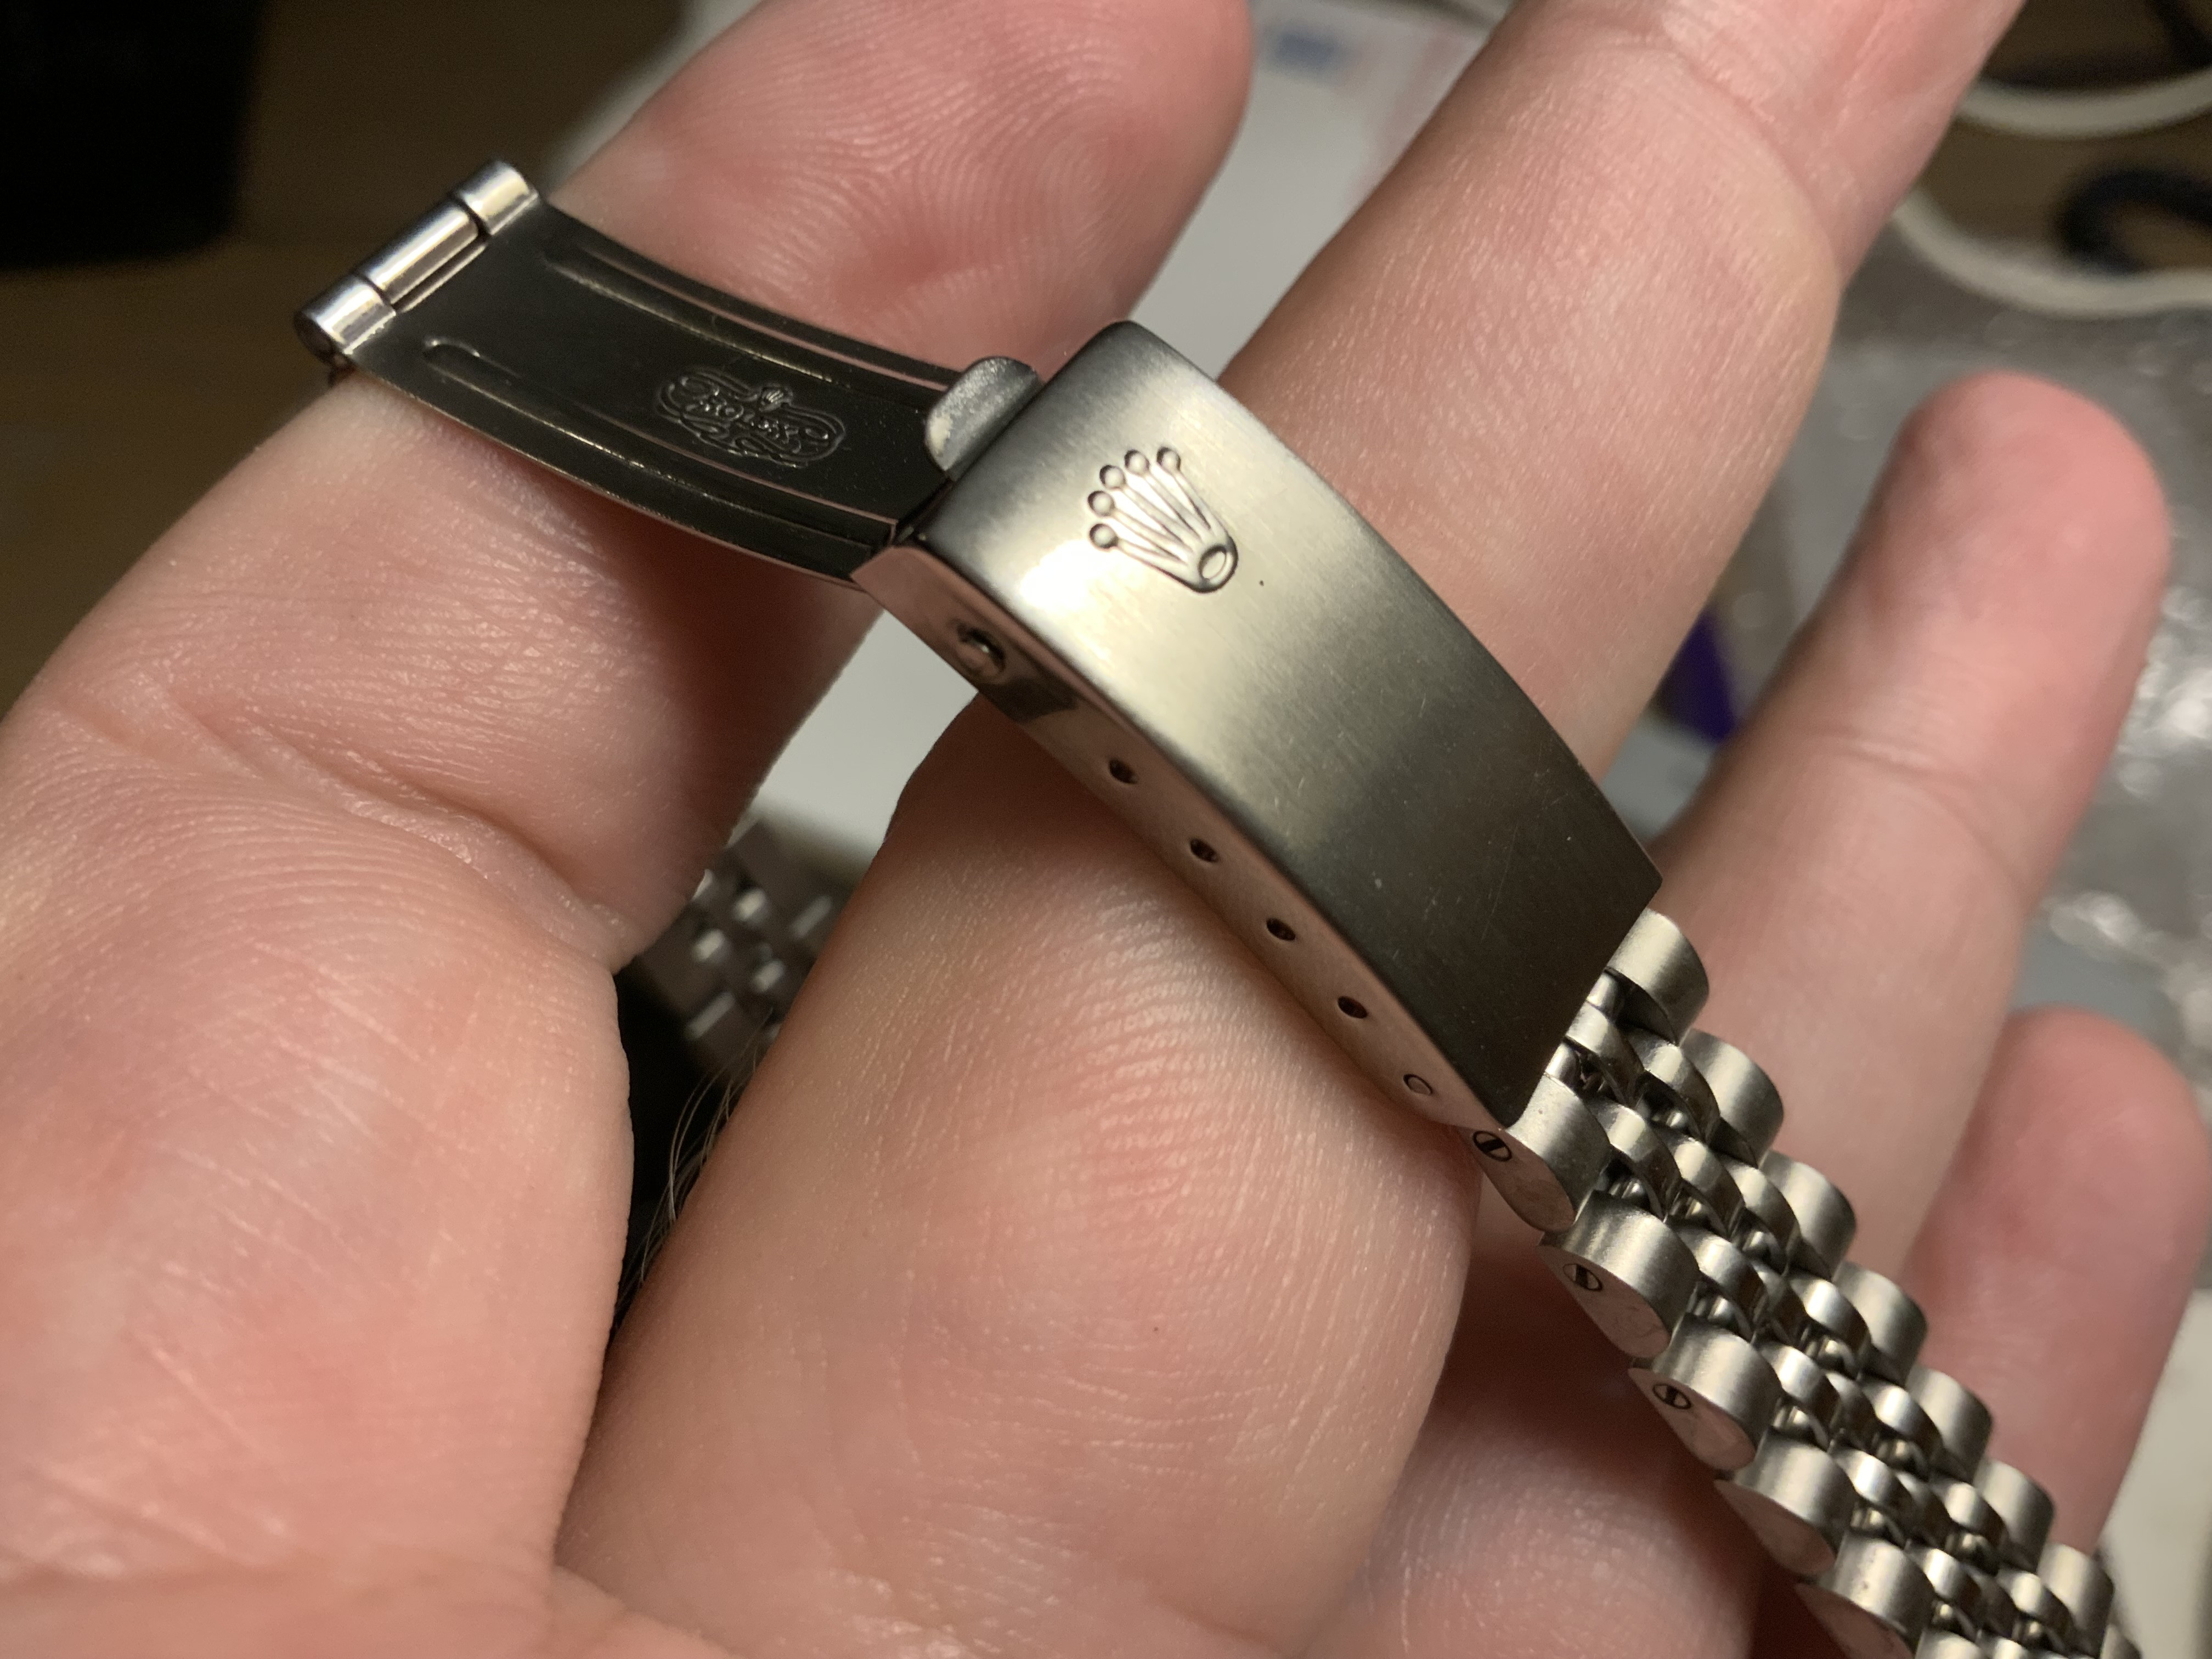
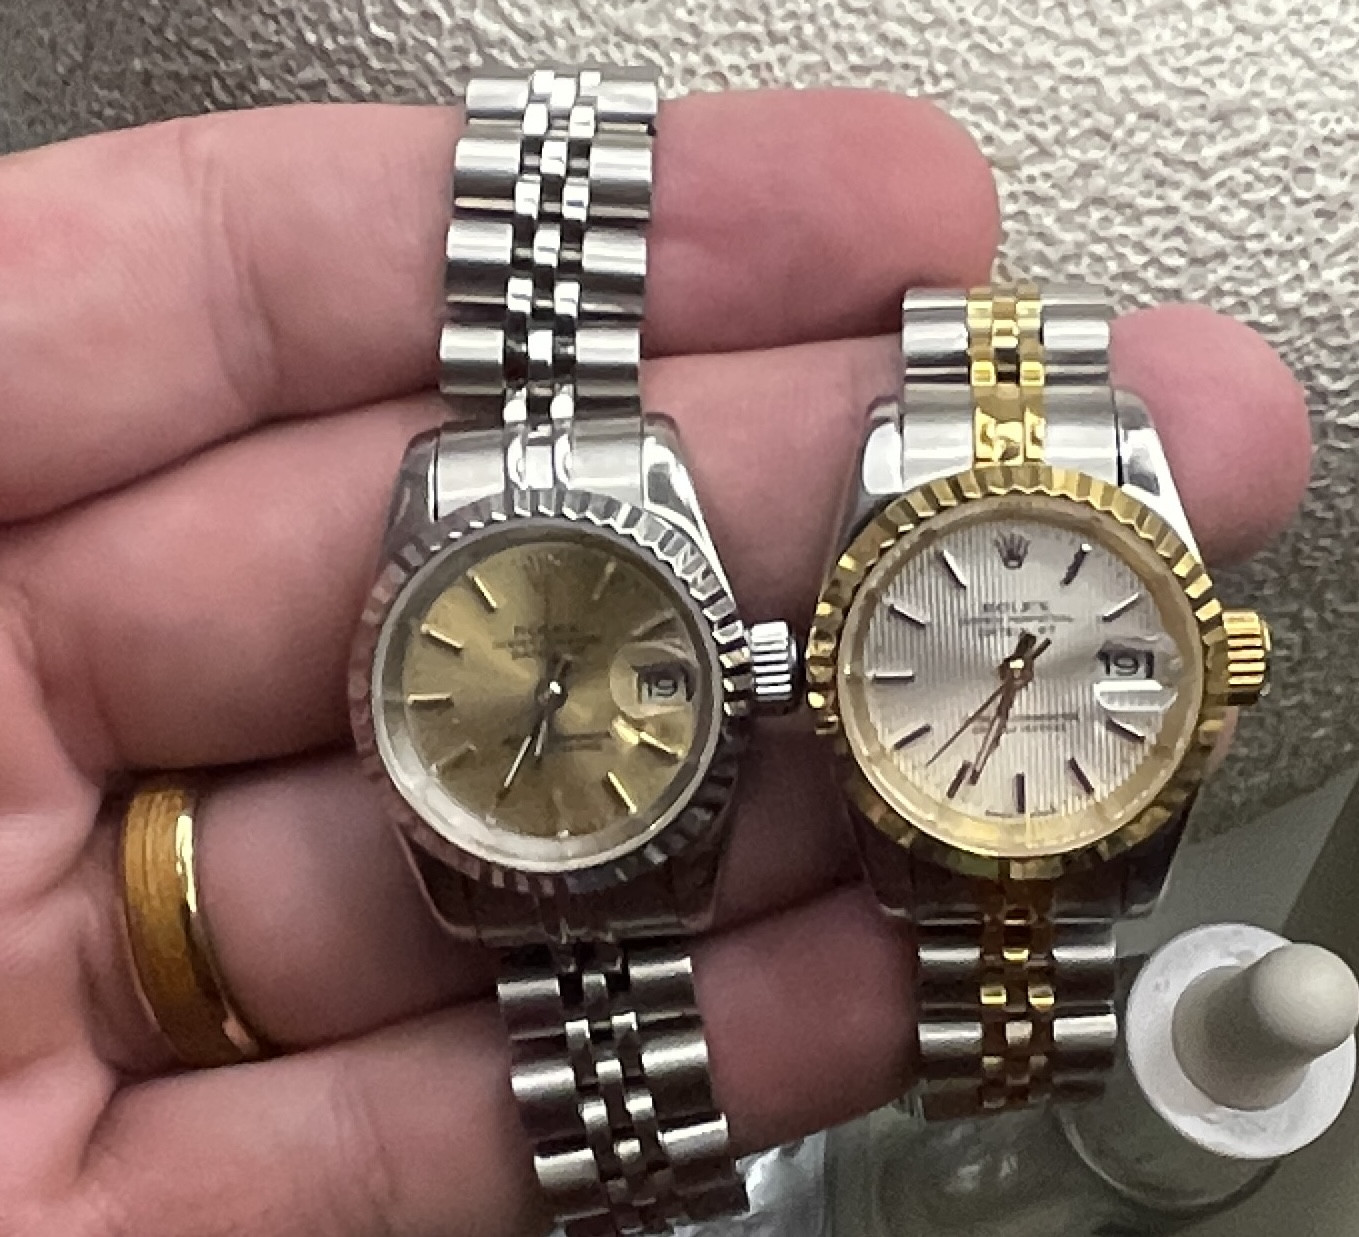
For the two tone bracelet, here is what I recommend... Used gen bracelets are very expensive and are usually stretched quite a bit. I have one and it is far too floppy and screeched to be a daily wear for the wife. You can buy an aftermarket bracelet for $40 that is imitation gold color, but I spent a little more for the 14K gold plated one. This can be found on ebay or through raffles. I think it was $160 bucks. You can then add a gen clasp to it. I used the gen one I had with the floppy gen band on my origial build. But I actually just bought a better condition gen clasp on ebay through firery gems for $50ish at auction.