pullthat's in the process right now - so maybe he will post the results and what he did, etc. (If you can't wait - it's bleech, salt and baking soda - for details look a couple of pages back)Can I ask what the full list of ingredients and process is for ageing of the metal hands?
(I know it was posted a while back but the thread is so long now it’s quite hard to find individual posts)
-
Tired of adverts on RWI? - Subscribe by clicking HERE and PMing Trailboss for instructions and they will magically go away!
You are using an out of date browser. It may not display this or other websites correctly.
You should upgrade or use an alternative browser.
You should upgrade or use an alternative browser.
The 1016: The Under Appreciated Thread
- Thread starter ebzen02
- Start date
spray white vinegar on the hands. wait a minute. dunk in hydroden peroxide, add white vinegar and salt. add baking soda after 30 sec. remove. dunk in waterCan I ask what the full list of ingredients and process is for ageing of the metal hands?
(I know it was posted a while back but the thread is so long now it’s quite hard to find individual posts)
adjust time of last mix bath on look
after drying, I like to drop spray some matte varnish on the hands
Pullthat ! - where are you and how are you getting on . . .?
Wow All very interesting projects.. You are an expert juggler as well , if its not already on your resume , it should be lolFuture and ongoing "techy" projects that will be more or less adaptable to the 1016 and beyond:
*I still see a lot of value in saltwater etching (inspired by this thread), so collecting some ideas about how to do that efficiently. It's not as "perfect" as engraving, but it's a very simple process that gives very good results that anyone can do with a couple dollars worth of tools...basically a battery or old phone charger, 2 wires, a q-tip and some saltwater. Thermal transfer paper has been difficult to use (for me) and don't want to go down the photo resist rabbit hole, so trying to develop a way to cut vinyl stickers with a laser engraver that could be applied, etched, removed and reused. Not sure if it's possible, but it seems like a very inexpensive, simple, and repeatable process...just have to do the ground work. It's basically a thin, tacky vinyl mask that would resist the electricity, so the etching would pass through the cutouts. Picutre a stencil for painting, only you'd use electricity to paint. Once it's sorted, I could print an entire page of reusable vinyl templates that would cover pretty much any lug engraving anyone could want.
*I have been doing a lot of experimenting with the negative relief gilt dials (inspired by this thread, on our sister forum), and think I may have come up with some improvements to the process...or at least independently repeated what some of our savants have already figured out, lol.
Waterslide decal paper works great, but it leaves a clear "film" over the exposed gilt. This is a pain in the ass to lume over, as lume doesn't adhere to it as well. So two solutions have come up. The first and most promising is Film free decal paper. It's expensive and hard to find, at least in the US, but I bit the bullet and have some incoming. It should make for a much cleaner dial to work with. It's also a potential solution to the masks for saltwater etching between the lugs (or elsewhere), as it would mask the part you don't want etched from electricity and expose the part you do.
"Lume stencils" printed from vinyl sheets. Instead of painstakingly applying lume with an oiler, toothpick, or small brush, this would mask off the places you don't want the lume to go, preventing catastrophes that many of us have had. To be honest, my hands are not as steady as they once were, and my eyes, frankly, suck, lol. My thought is print the gilt dial on film free decal paper, then print it again on very thin vinyl. When the decal is applied and completely cured, you should be able to temporarily stick the stencil on the dial and apply the paint...more than one layer, if you really want to get into it. For example, a black base layer, white next, then lume on top. If the sizes of the indices are tweaked a little (each stencil would have progressively smaller openings for the indices), you could even get the very cool look of concentric shapes that a lot of the better dials have. The stencil could be removed later. This is an example (someone else's project)
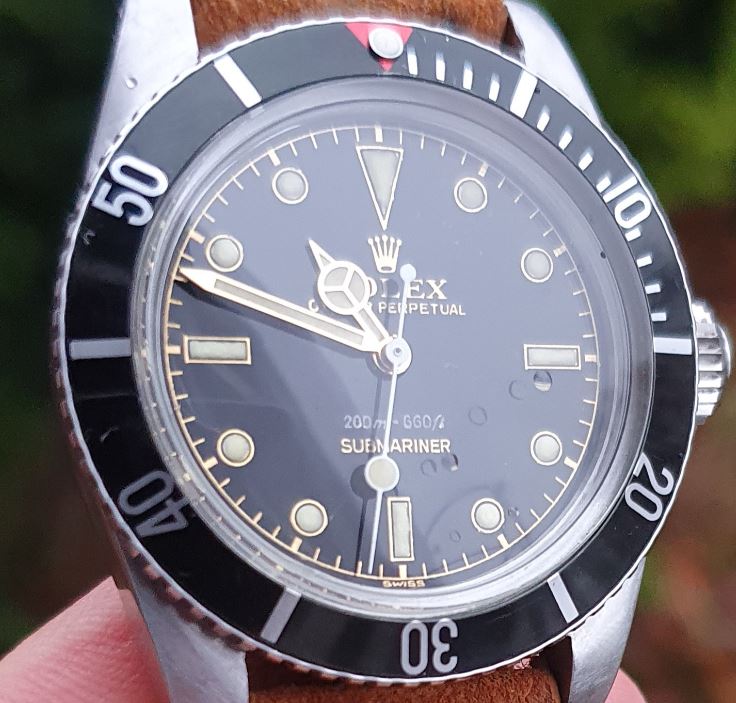
Notice how the indices have a clear set of concentric lines...gilt on the outside, then black, then white, with lume on top. A series of stencils should be able to replicate this look simply, and repeatably, and make the high end custom vintage dial a much easier DIY project.
The Vector dial prints need to be tweaked to be perfect, although they're close. The originals were posted on the rwg forum, but they're .jpg images, which give a pixelated look if you closely examine them. I converted them to .svg files, which is much cleaner, but still not perfect. I need to, one by one, go over them and "straighten the curves and flatten the hills" as they say (in Hazard, at least). Once perfected, on a good machine, they should be flawless. I suspect some have done this already, but I don't mind doing it again, as I have time. Once I'm satisfied, I'll probably bite the bullet and see if I can have sheets professionally printed. My work printer is very good, but if there are better options, I'm willing to try them.
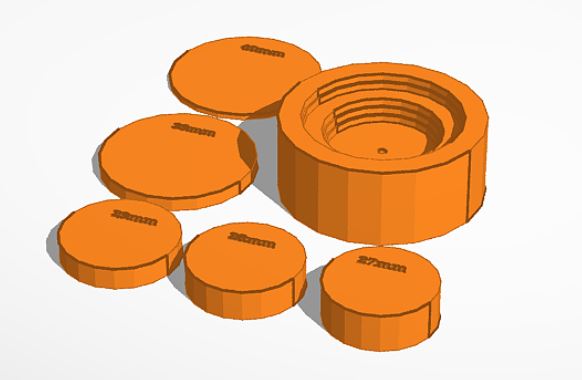
*Dial blanks are pricey, especially in quantity. I tried to find blank dials to practice on, and they were just too much money, and/or too valuable to destroy experimenting with new techniques or products. So what I came up with originally was flat brass sheets, .4mm thick, which I cut into squares, then rough circles, then spun on a drill against sandpaper until they were round, the right diameter. Then I drilled holes in the center for the pinion. The result was good, and cheap, but a LOT of work. Then I found these on AliX, which are round, brass blanks in various diameters (I bought some 27mm, 28mm, and 29mm to cover Gen and Raffles cases, and some 38mm and 39mm for Panerai cases). All they need is a little polish (optional, they're not bad out of the box) and a hole drilled for the pinion in the center. Since work is generous enough to provide me with a computer, an office, and (don't tell them I said this) free time, I came up with a 3D printed jig to hold the dial securely while I drill the hole with a drill press. It should work with any dial that's 27,28,29,38, or 39mm in diameter and put a 2mm hole for the pinion exactly in the center. I don't have a solution yet for date windows, but working on it. All these need now is dial feet.
*Dial finish...brass blanks can be a bit dull ootb, and should really be cleaned and shined up to look authentic. There are a couple of options here I'm experimenting with. One is to simply polish it, which is fairly effective...although it can still tarnish and does not look exactly like gold to a harsh critic with good eyes. A high gloss clear coat can mitigate some of this. I'm also experimenting with gold leaf and gold paint of various types, and will probably give gold plating a go before I decide on what looks best (or what's the best bang for the buck...obviously pure gold would be BEST, but too much money for too little real estate on a gilt dial, lol). Personally, I think shiny brass is good enough, and that the additional efforts give diminishing returns, but I'm curious and a scientist at heart, so I just have to run down the alternatives, lol.
*Speaking of finish, gilt dials look great on a gold base, but I'm also trying to make WHITE dials look good. One route is white waterslide decal paper, which looks a bit dull on the dial...it might respond to high gloss top coats, but I haven't got that far yet. Another option is to paint the dial itself in high gloss white paint and put a waterslide decal over it. With the clear waterslide decal paper, it cuts the gloss a bit too much, so I'm hoping that the film free stuff works better. One of the really eye catching things about the dials with white printing is the contrast between matte black and gloss white. If I can make this work, I'll be happily churning out Commando dials, among others.
*Dial feet are their own puzzle to solve. Adhesive is good, but to do it right, you really have to solder wire to the dial. I have zero experience soldiering anything delicate, and there's a lot of risk with applying that much heat to something as delicate as a watch dial, but a little research shows a lot of options for DIY machines that are cheap, easy to use, and won't damage a dial. I'm assembling parts to make one of these, but these are some good designs OOTB:
https://www.dirkfassbender.de/dial-feet-soldering-machine.html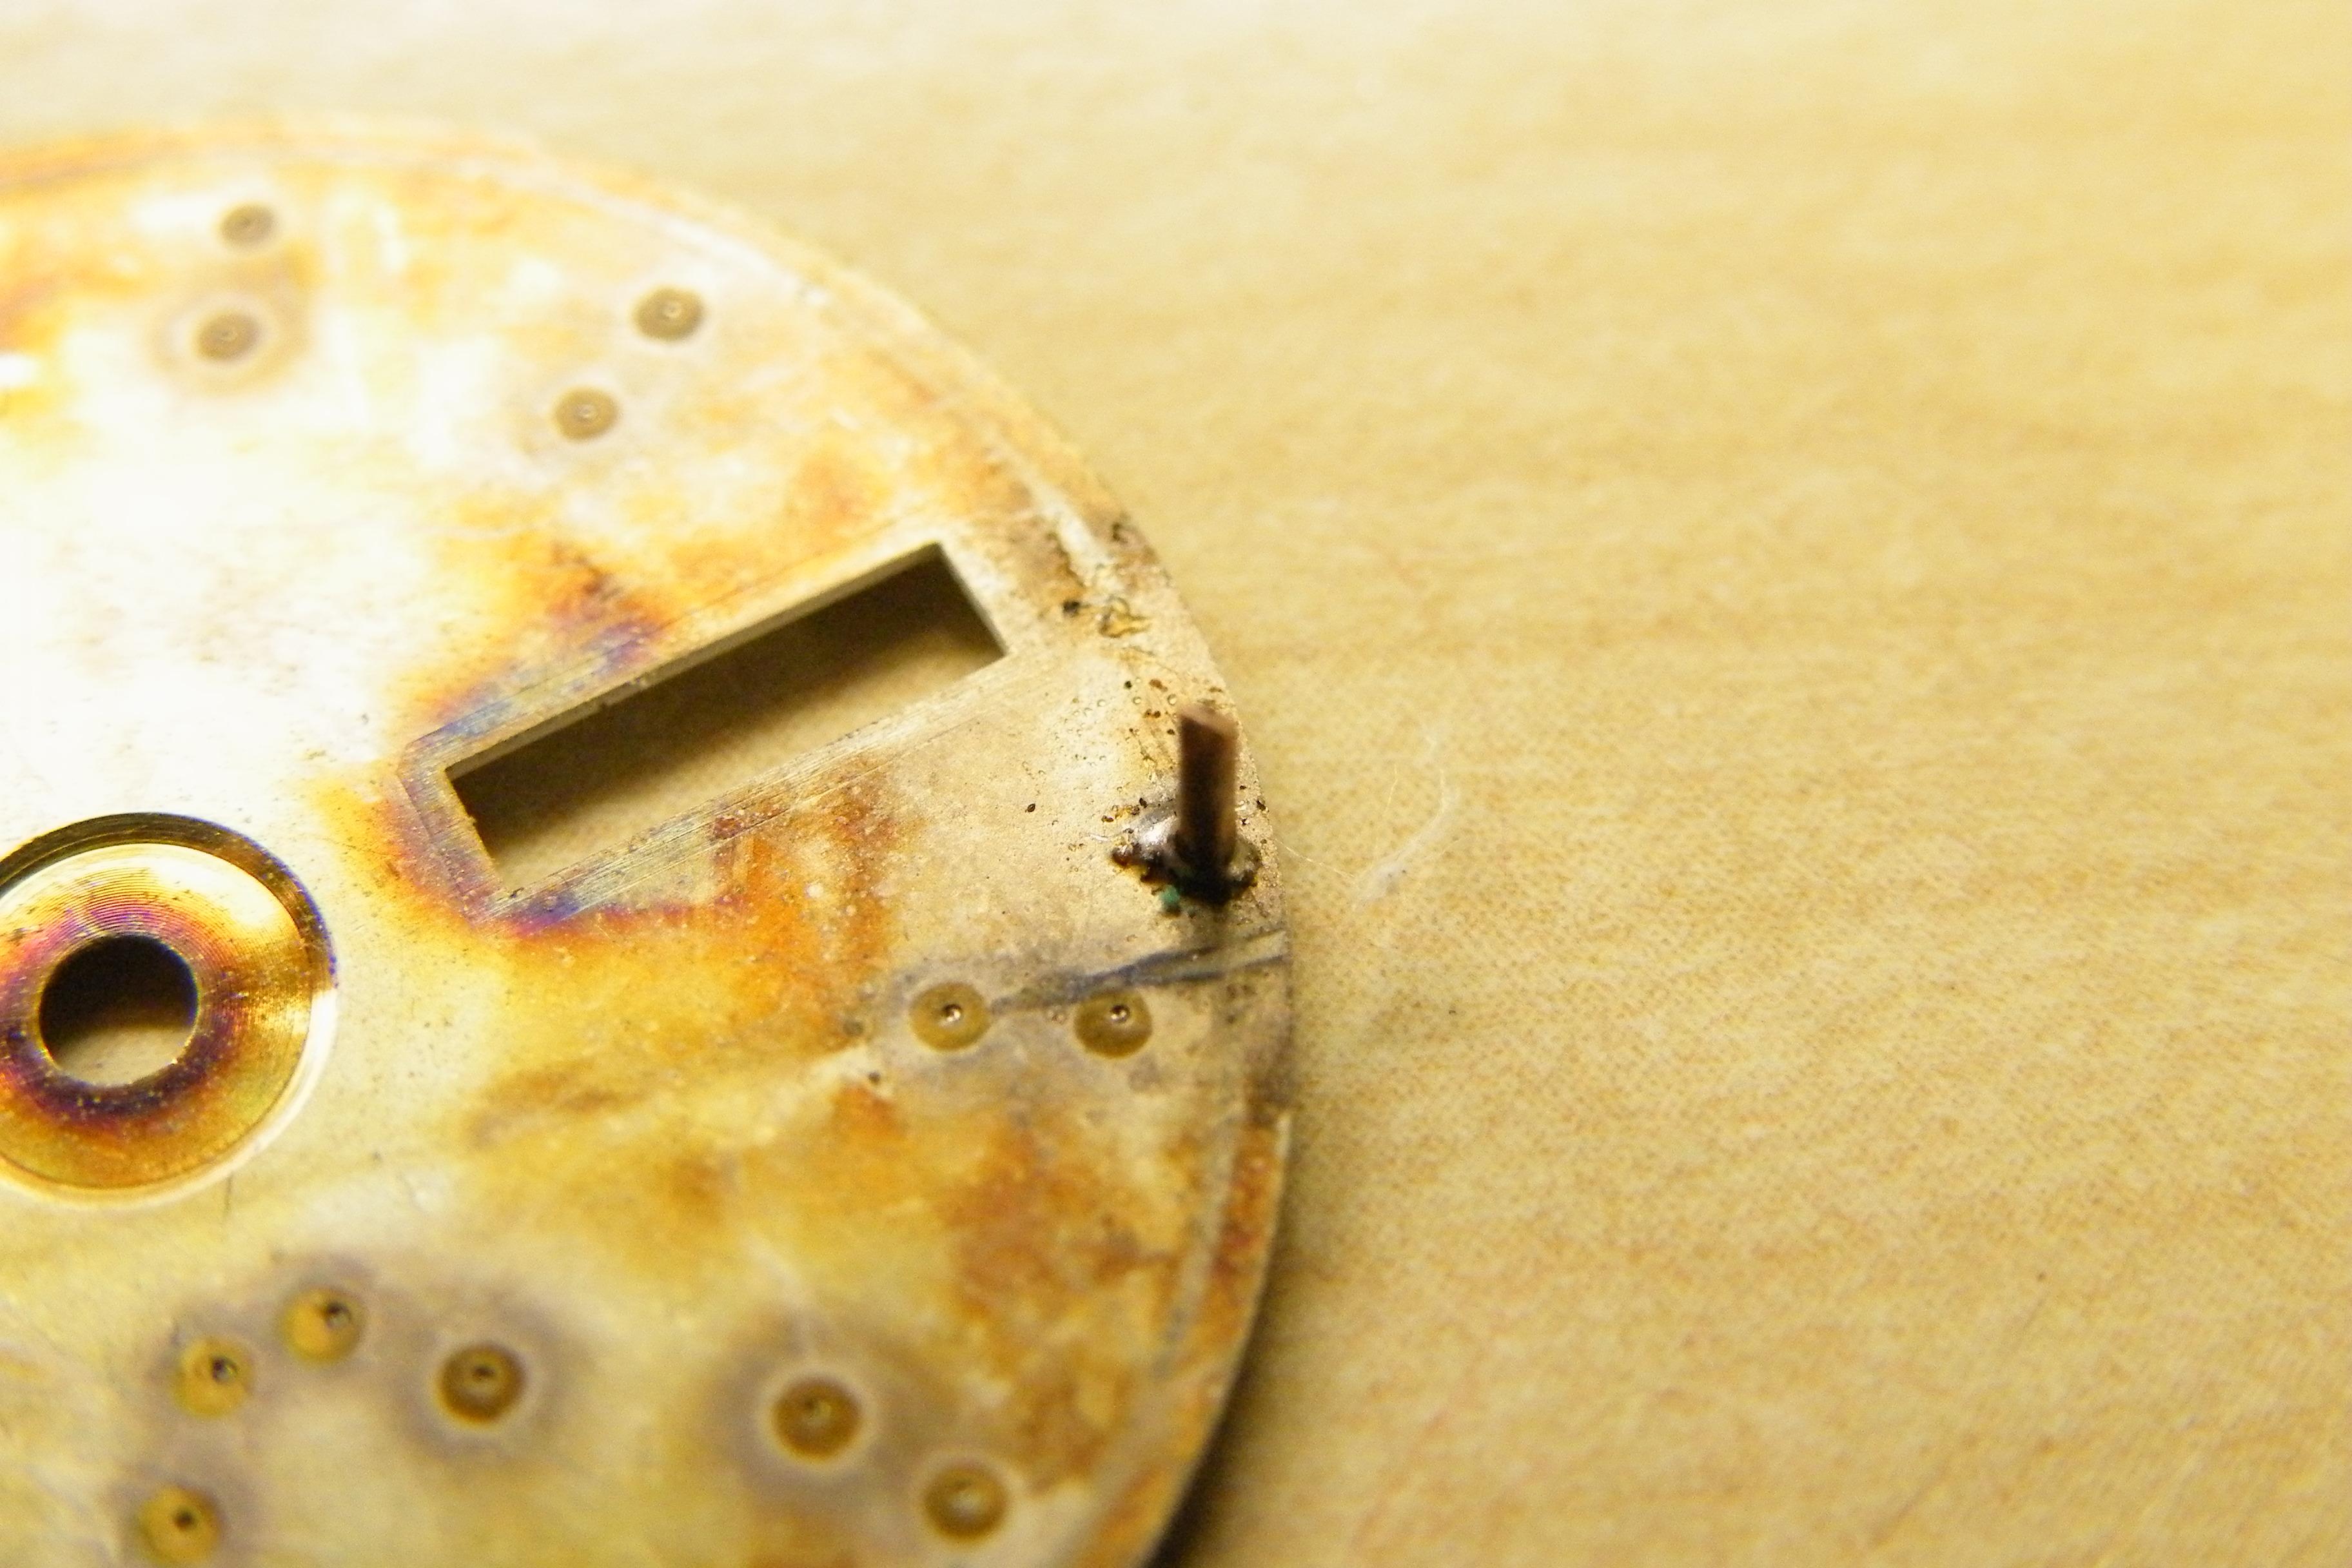
Dial foot soldering
Hi Working on a seiko 7009A today, a bit of a wreck. Dial loose intermediate date wheel u/s, all back up and running but had to sort out the dial so I dug out the dial foot machine build a couple of years ago, as you can see by the pics it still works and no marking on the dial. It was build from...www.watchrepairtalk.com
I'm also working on jigs to properly position the dial feet on the more common movements...ETA, Unitas, Miyota, Seiko, but it's a bit math intensive, so the going is slow.
I like the idea of templates for lume application. that would really help alot with the decals.
The film free decals are great and look awesome, but what I am excited to see someone use a color laser printer and print out tropical colors / fades onto a decal and then apply to the plate. Its what I wanted to experiment with but buying a color laser printer with a dpi of 1200 x 1200 is not in the budget at the end of the year.
please keep us updated, all of these projects deserve their own thread or series of threads based on topic.
Thats alot of soda and salt. you just need to add a pinch of each to the hydrogen
This came out accidentally, but I’ll eventually explore it further (Explore! See what I did there?!?Wow All very interesting projects.. You are an expert juggler as well , if its not already on your resume , it should be lol
I like the idea of templates for lume application. that would really help alot with the decals.
The film free decals are great and look awesome, but what I am excited to see someone use a color laser printer and print out tropical colors / fades onto a decal and then apply to the plate. Its what I wanted to experiment with but buying a color laser printer with a dpi of 1200 x 1200 is not in the budget at the end of the year.
please keep us updated, all of these projects deserve their own thread or series of threads based on topic.
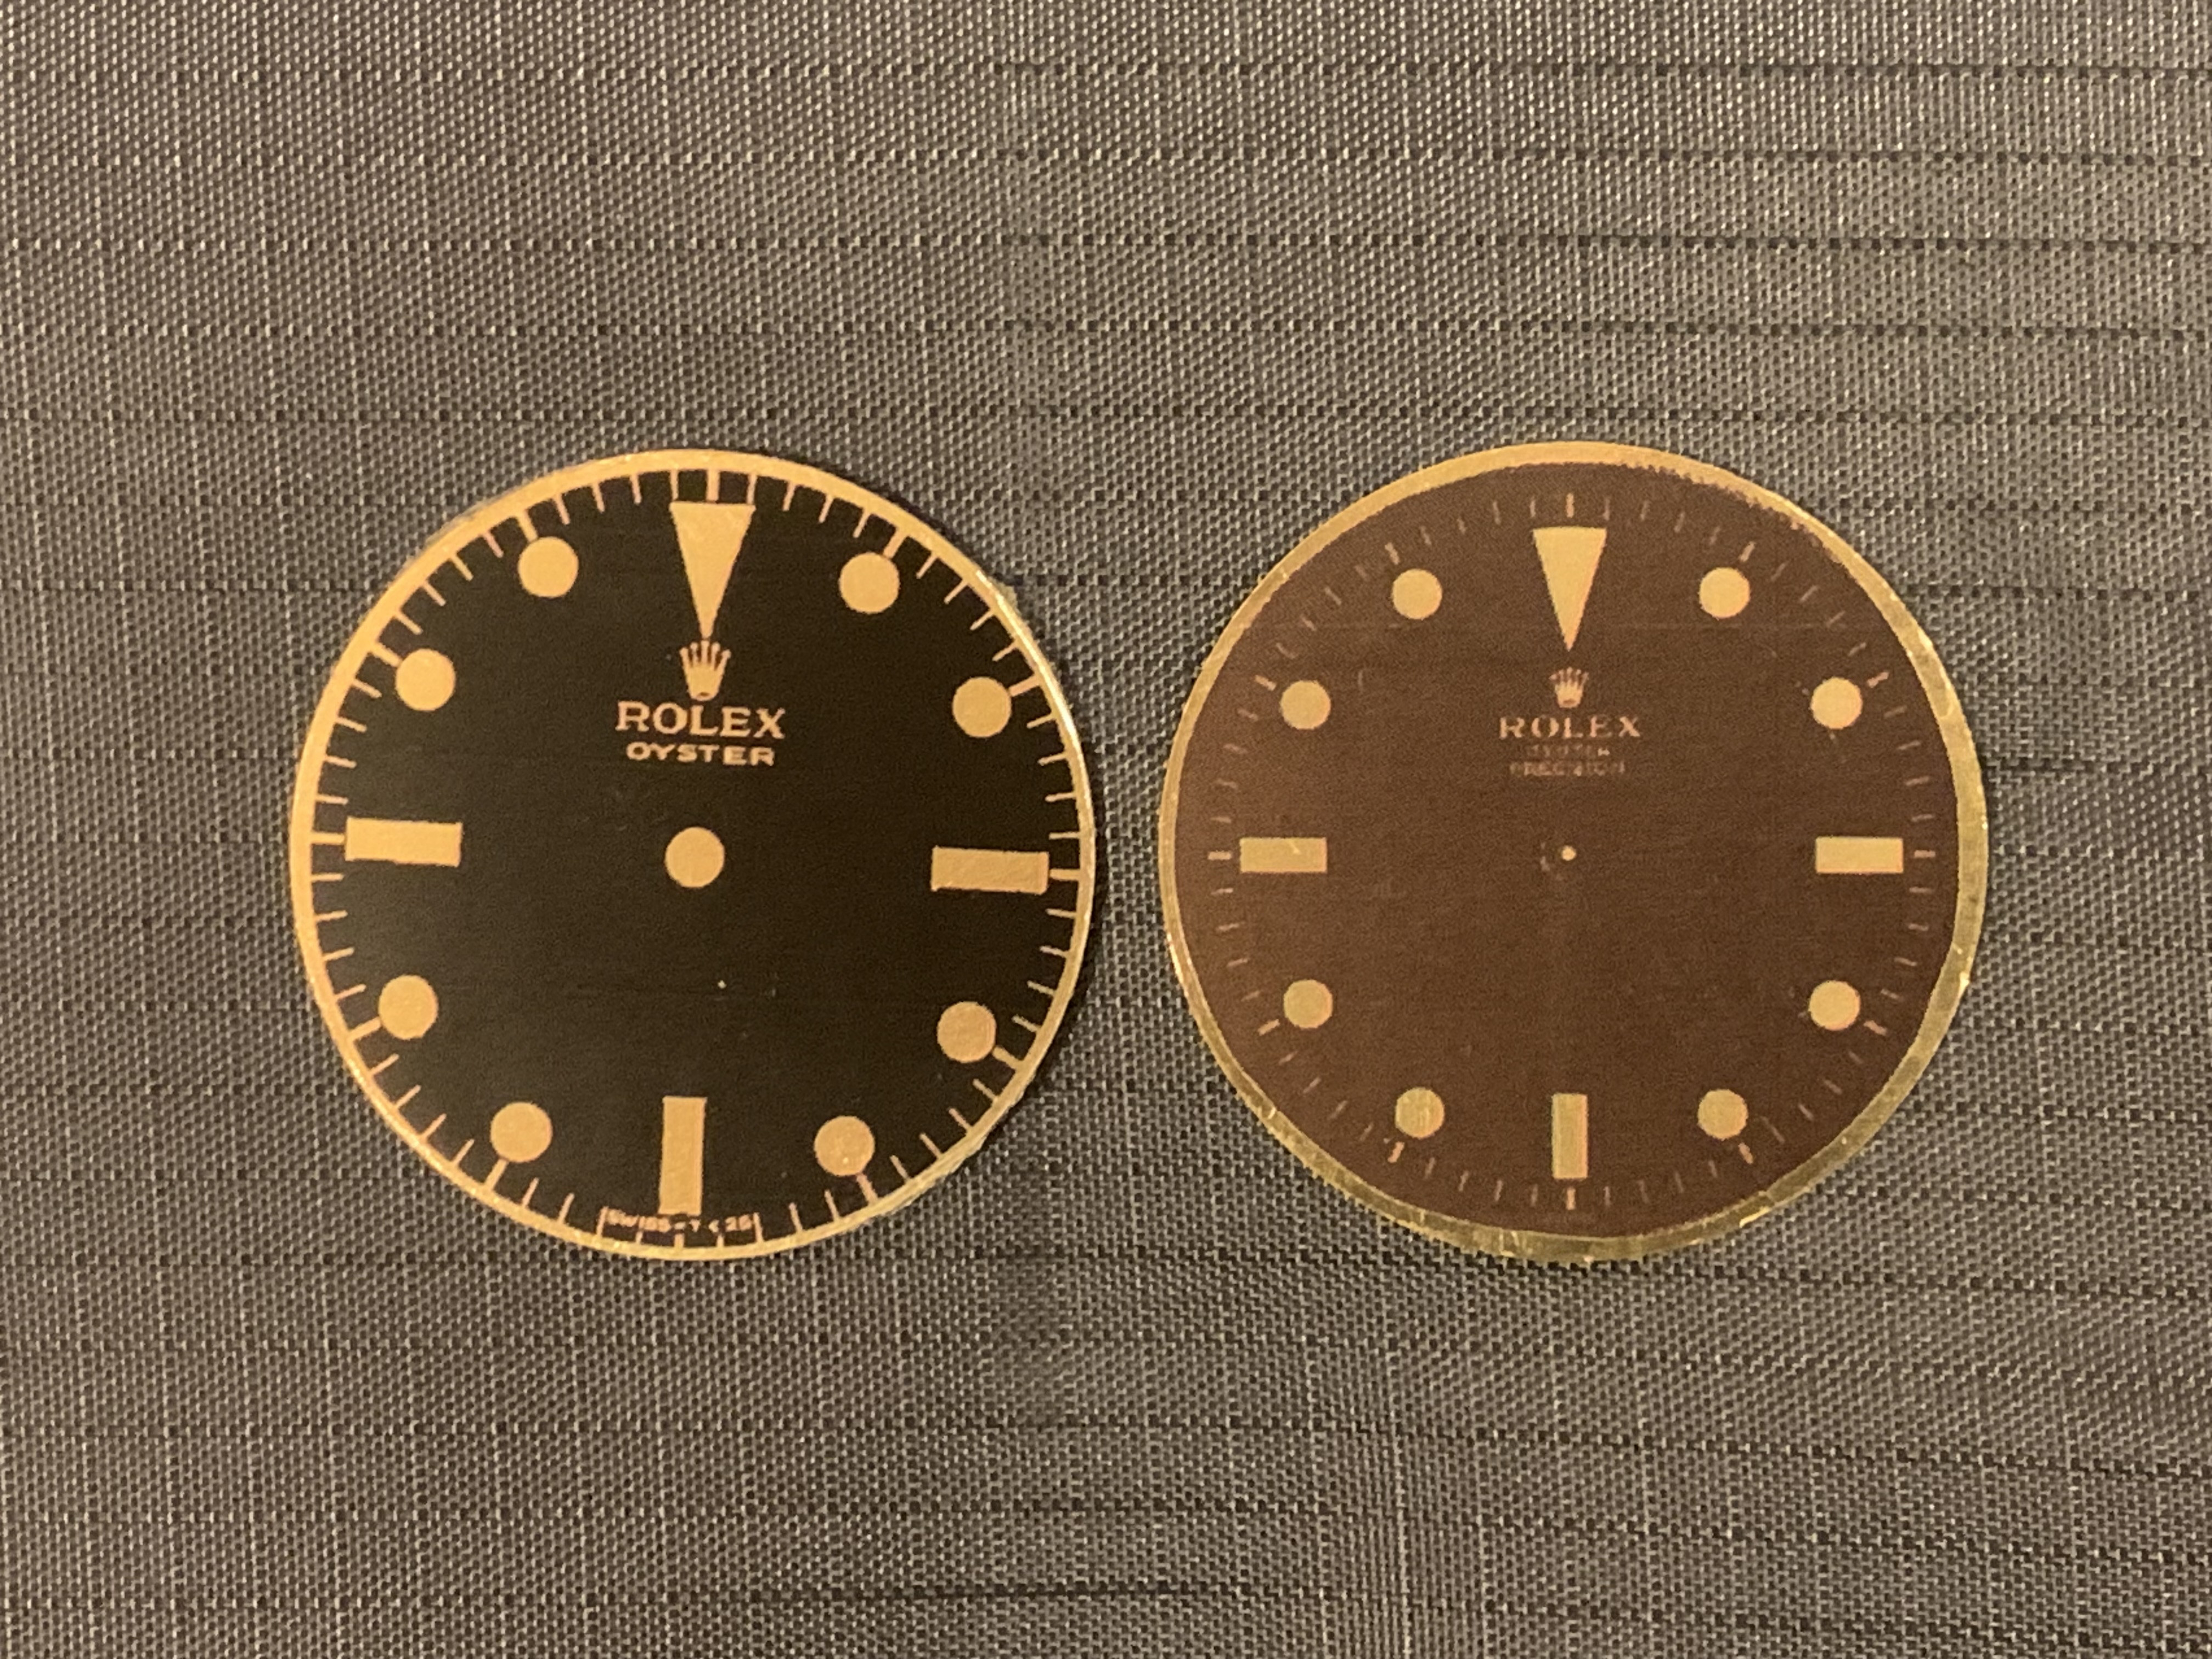
Was doing a rough mock up for a 6152 project and the one on the right came out tropical. It was the color laser printer at work, but there’s some potential there.
Maybe I’ll try a couple 1016 to see how they look.
lets hope it hasn't gotten to that point!! lol
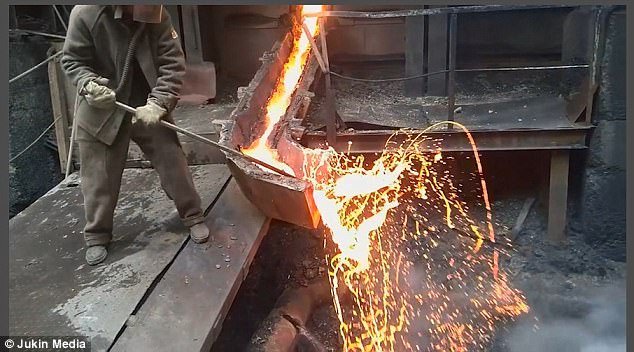
If there are sparks and molten metal, use a lil less soda
Last edited:
- 16/10/23
- 197
- 130
- 43
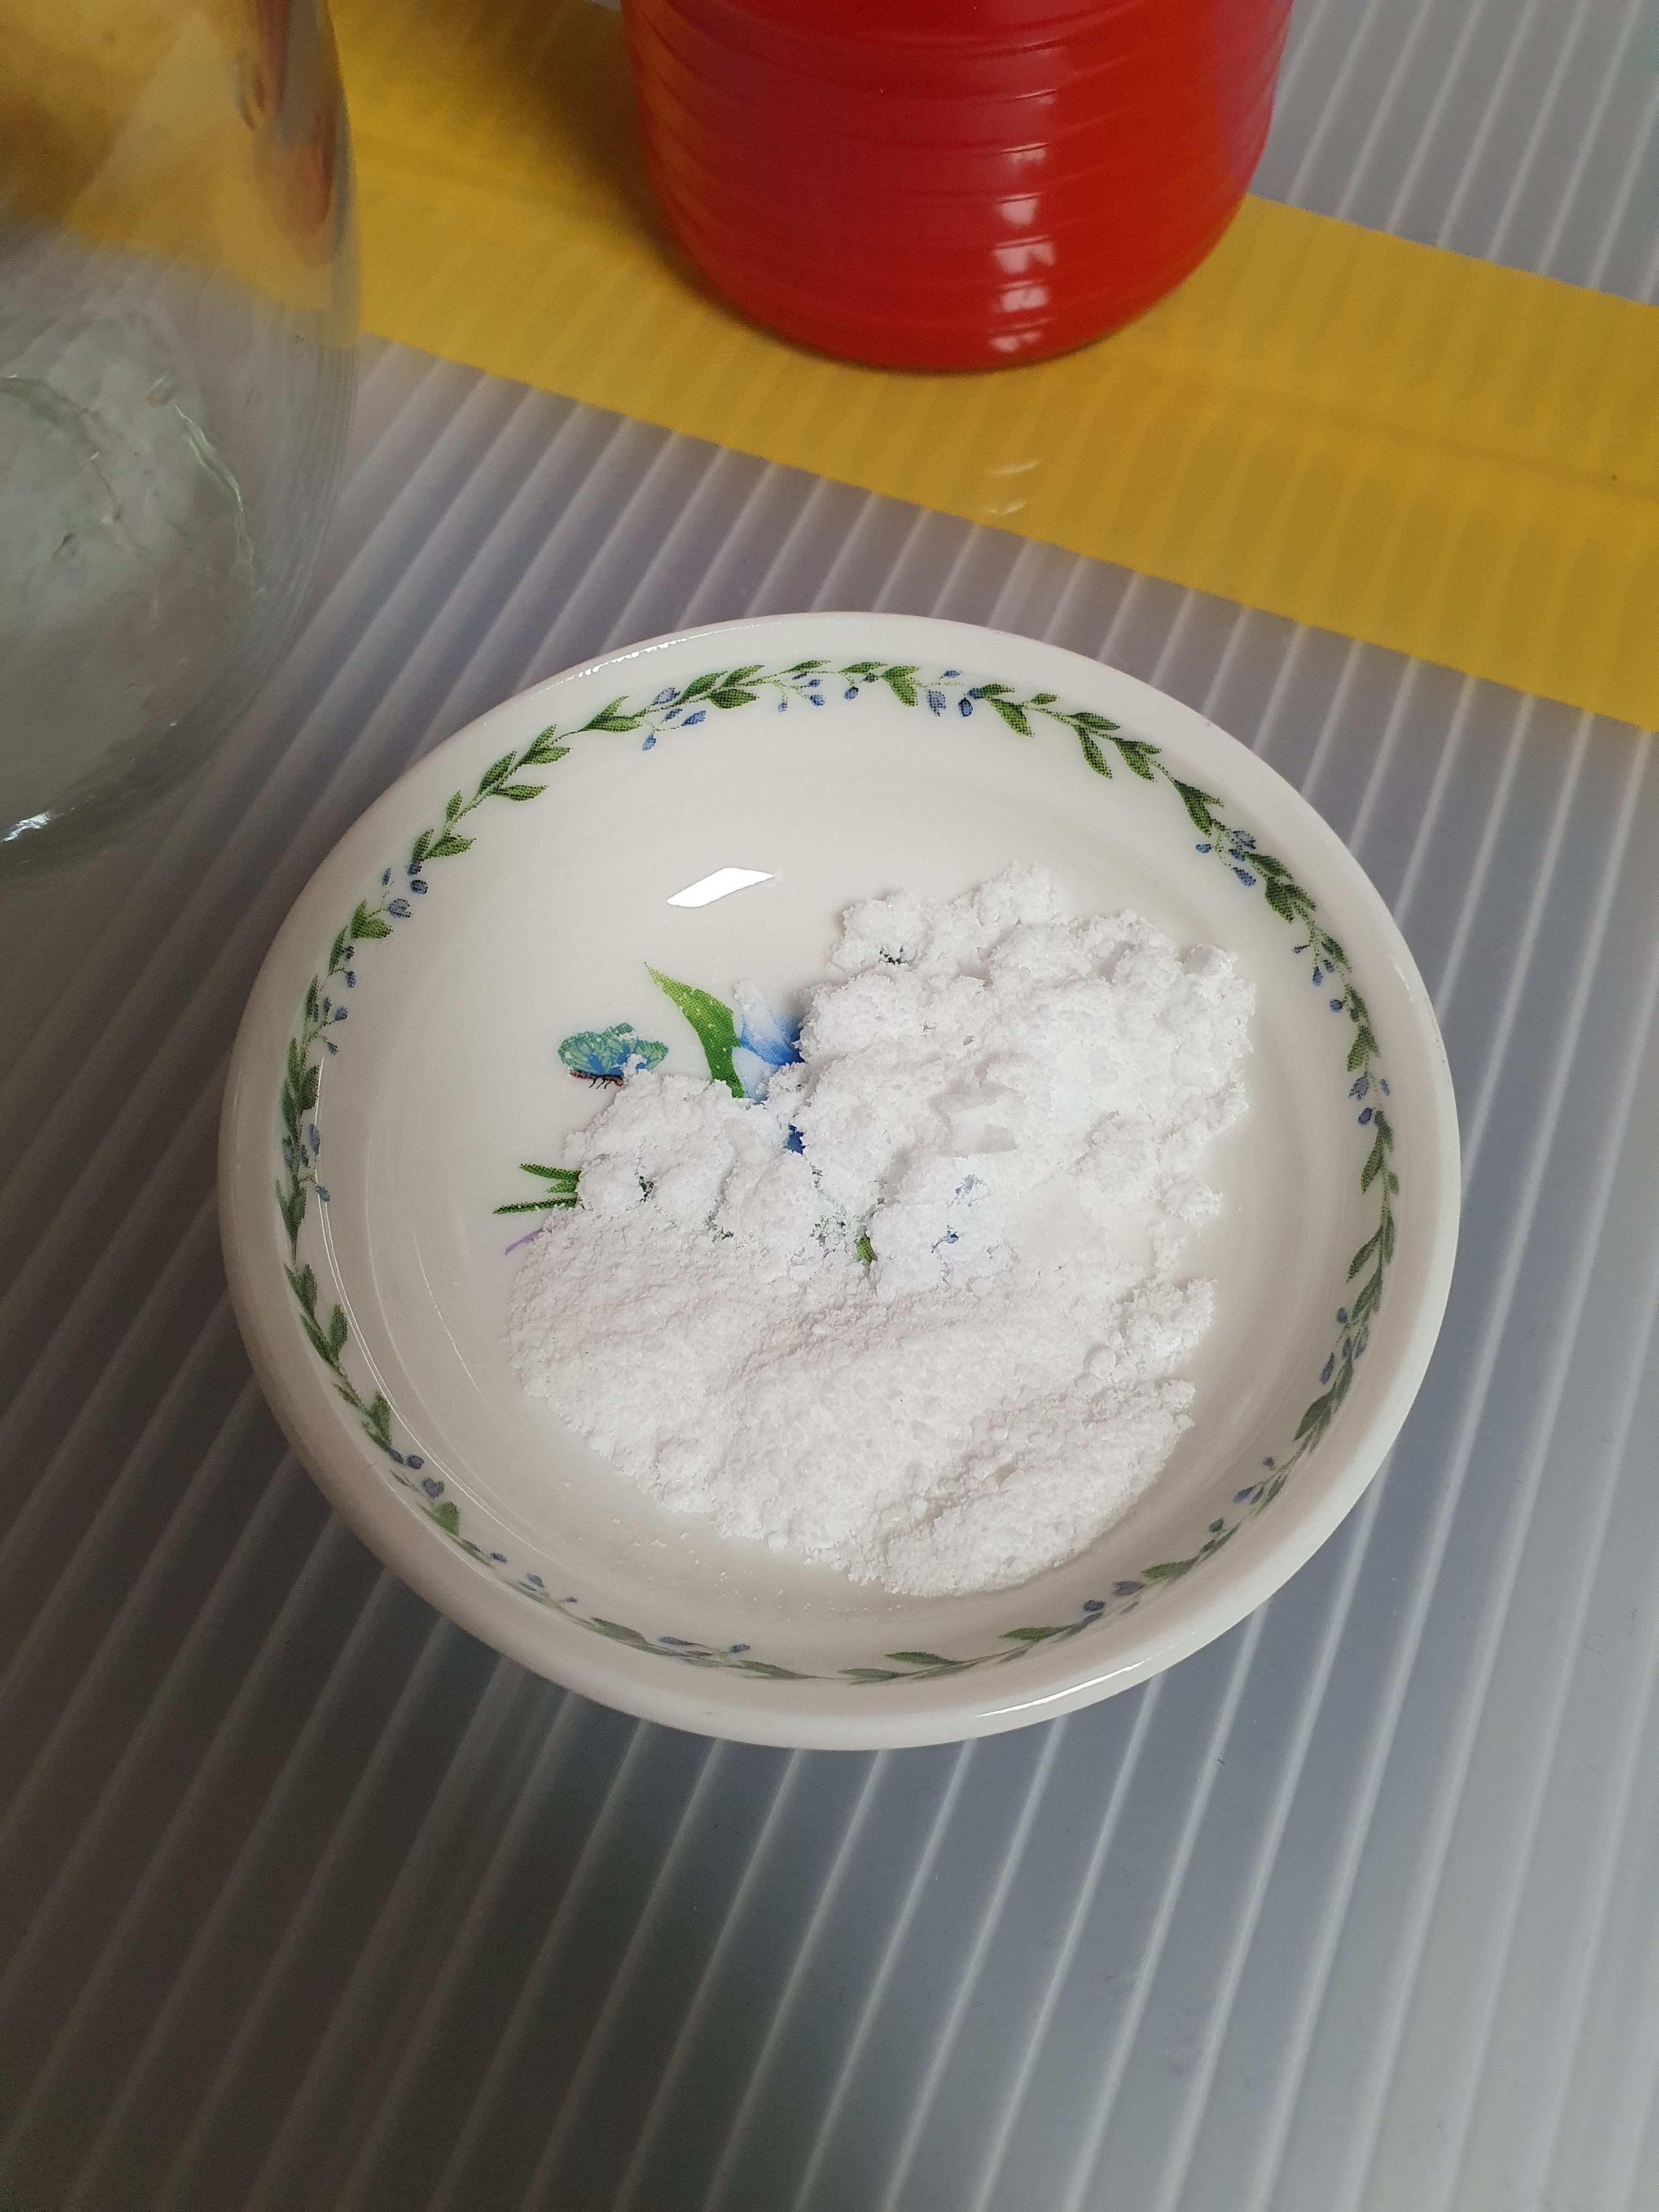
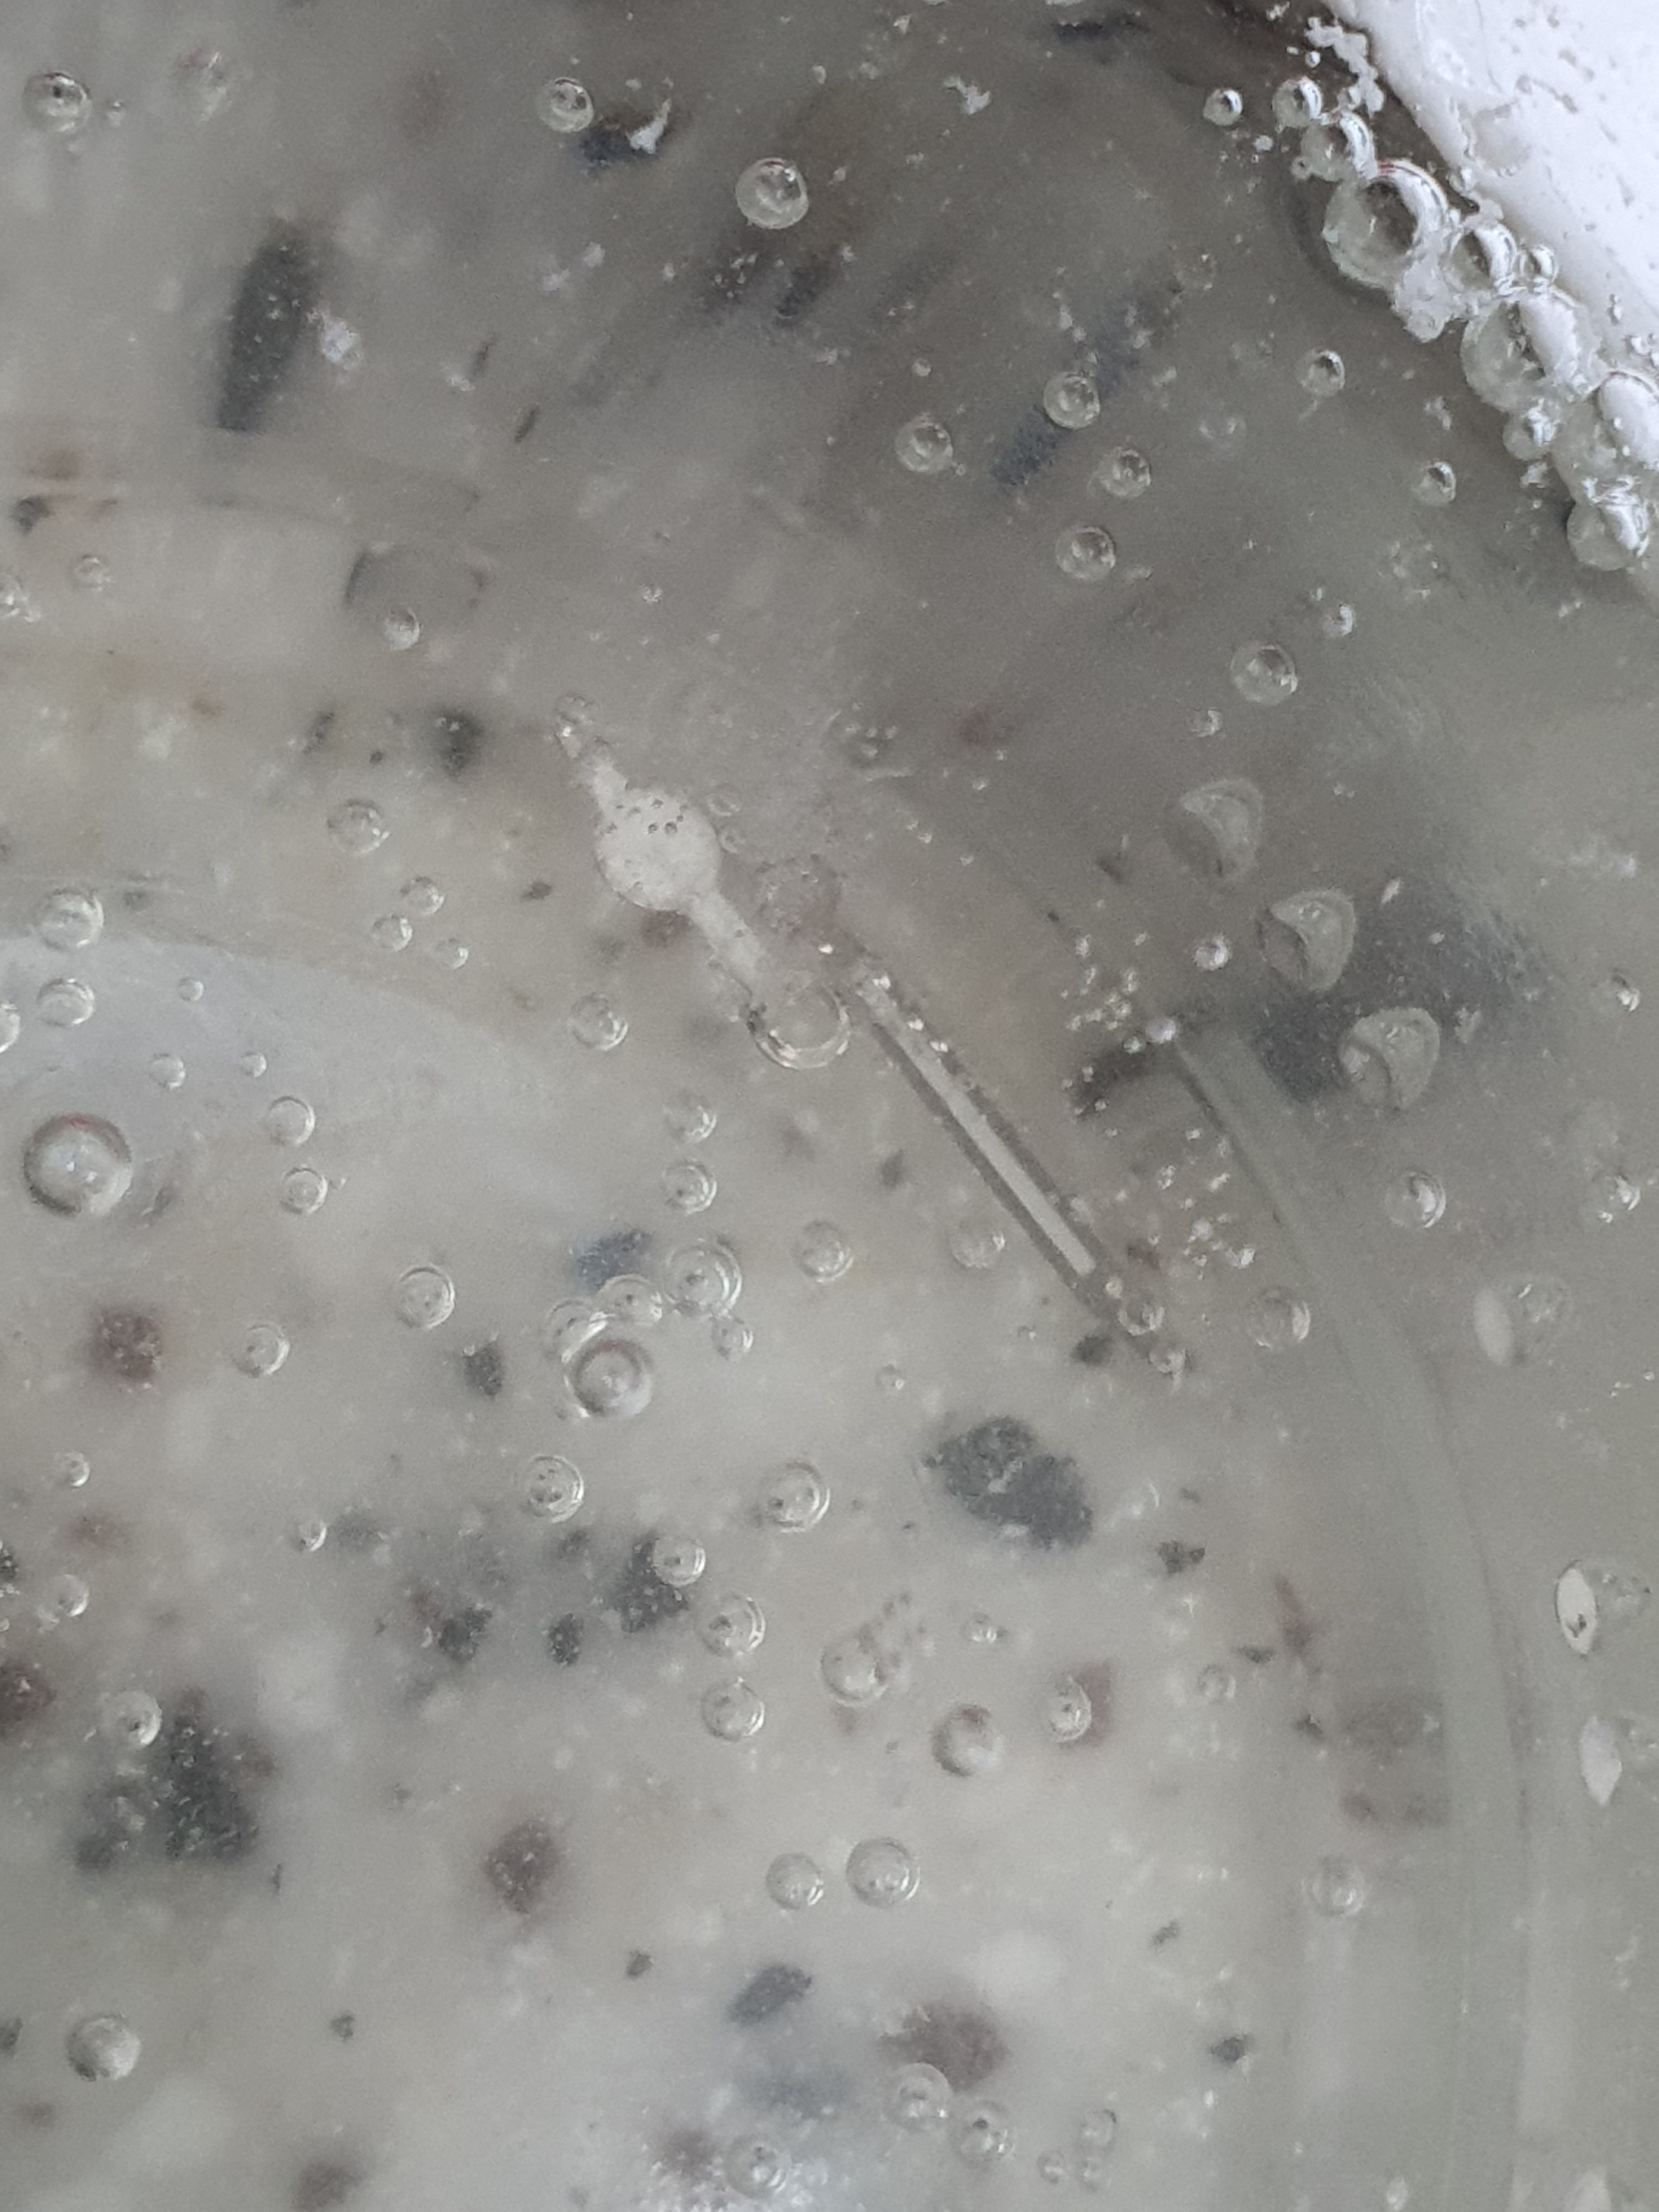
I fell asleep feeling disappointed looking at the glass cup where no reaction was happening.... When I woke up in the morning and saw the thread, as expected, I had missed the vinegar. After breakfast I quickly tried again. The reaction still wasn't happening well, so I just poured in the rest of the baking soda and salt all at once - Then an intense chemical reaction occurred..... but there was no patina, again. I'll have to wait longer. I think there was too much solvent compared to the solute. Or maybe Helenarou was made of vibranium.after drying, I like to drop spray some matte varnish on the hands
- 16/10/23
- 197
- 130
- 43
- 16/10/23
- 197
- 130
- 43
- 16/10/23
- 197
- 130
- 43
It seems that 9% is the best I can get in the market. They seem to sell more, but it looks bit expensive. Will that be enough?3% HP is too low.
you can also lightly sand the hands at start
9% is ok
man what you doing with this
you need like a coffee spoon volume.
use a smaller container for the mix
man what you doing with this
you need like a coffee spoon volume.
use a smaller container for the mix
- 16/10/23
- 197
- 130
- 43
Yeah I use a container of a similar size. But a teaspoon? Does such a small amount of hydrogen peroxide do its job? I used about 50mm at once....
- 16/10/23
- 197
- 130
- 43
Oh, is that bottle the size of a little finger? Mine is the size of a palm. I guess I need to buy a small container too. It's annoying to take out the hands when they stick to the bottom of the bottle..
I use 3% Hydrogen Peroxide and it works just fine
a teaspoon of 3%
a teaspoon of vinigar
a pinch of baking soda
a pinch of salt.
when the bubble start to die down add another pinch of soda .
Nothing happens then it all happens at once.
Ive had hands nearly dissolve in the solution if left long enough become very soft.
If left long enough you could get a turquoise buildup on the hands I would say that it too far for your example but for a water damaged sub it would be cool .
I am starting to think about making a Railmaster. Any ideas to get me started?
I found a listing on DHGate but it's probably going to be a shitter watch
I remember I saw a dial listed somewhere but I can't remember where
I found a listing on DHGate but it's probably going to be a shitter watch
I remember I saw a dial listed somewhere but I can't remember where

