• Tired of adverts on RWI? - Subscribe by clicking HERE and PMing Trailboss for instructions and they will magically go away!

The 1016: The Under Appreciated Thread

dpd3672

Putting the "whore" in "horology" since 2023
Patron
Certified
29/5/23
1,750
2,863
113
USA
The design is transferred to the case, like an iron on t-shirt. Once it's on the case, it resists current. Then you use a small current to etch the metal.
The current follows the path of least resistance, who it bypasses everywhere that's black on the print, and goes straight to the white part, if that makes any sense.
Playing with it now, I'll snap some photos so it'll be more clear.
Ok, some very rough instructions on the saltwater etching. The process needs a lot of fine tuning, but this is more or less it.

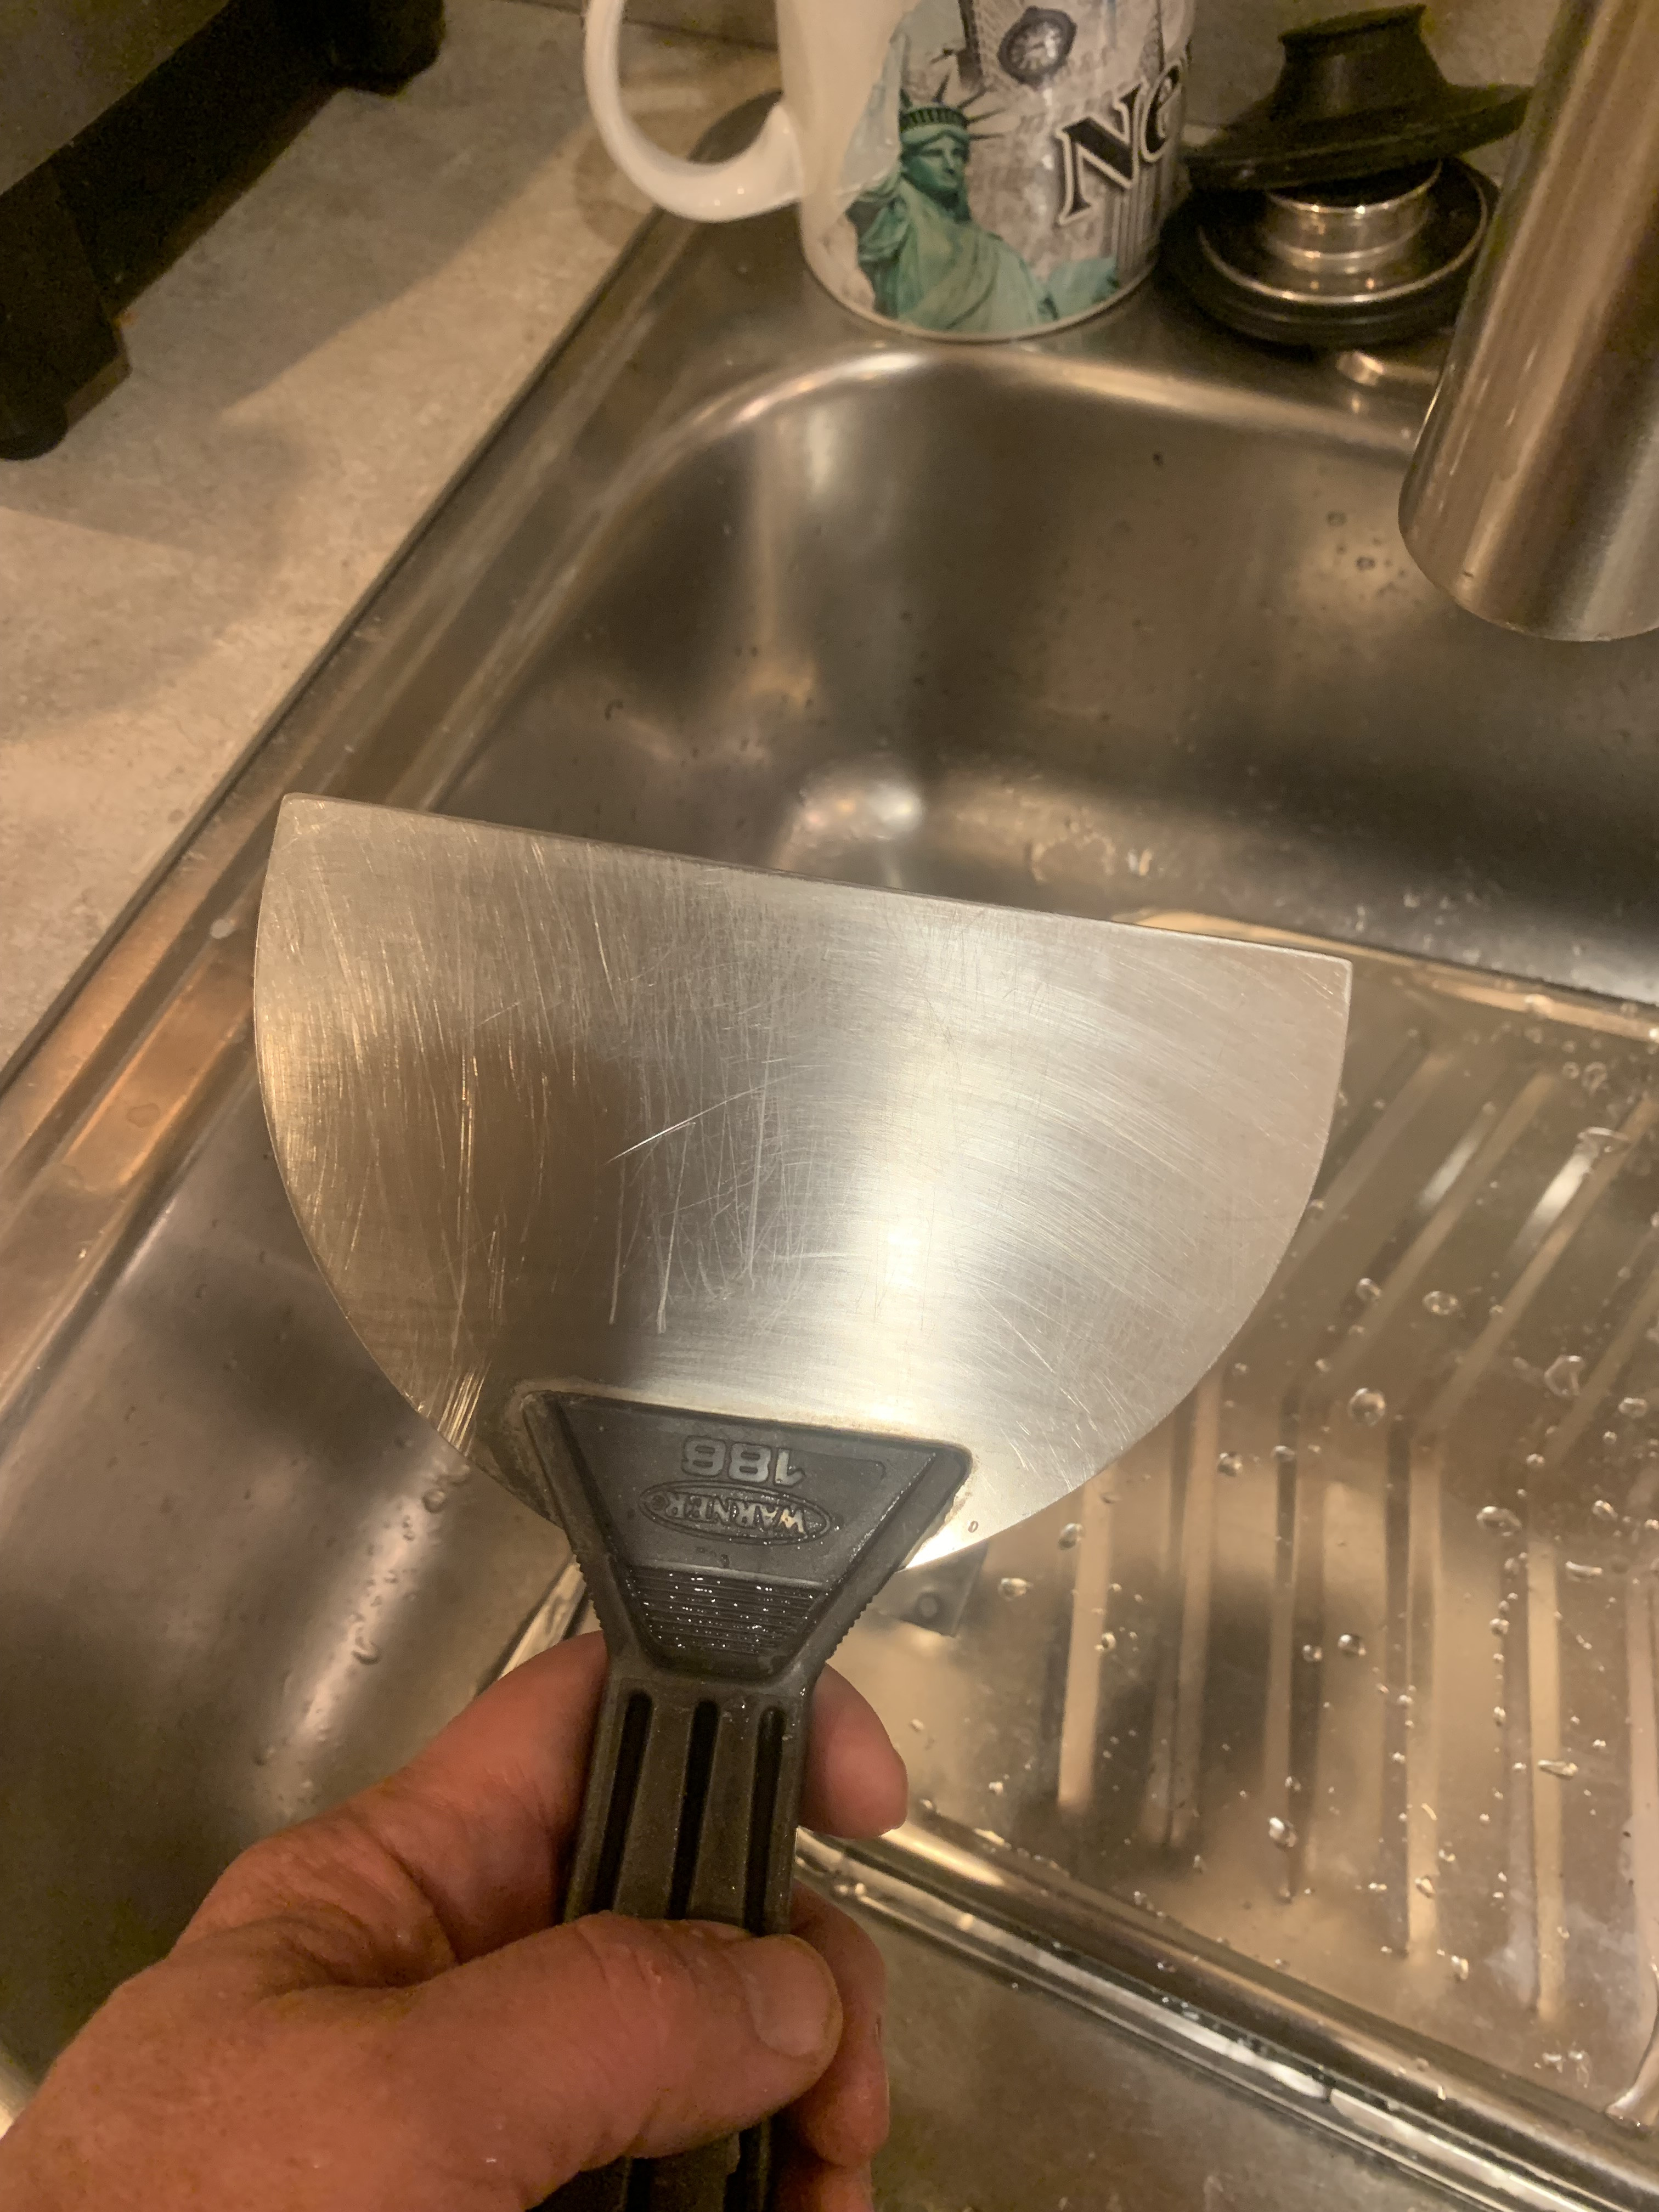
This is the first piece of metal I came across, it's smooth and clean and flat, so an easy palette, lol. When the bugs are worked out, this will be happening between the lugs of a Raffles (or other) case:

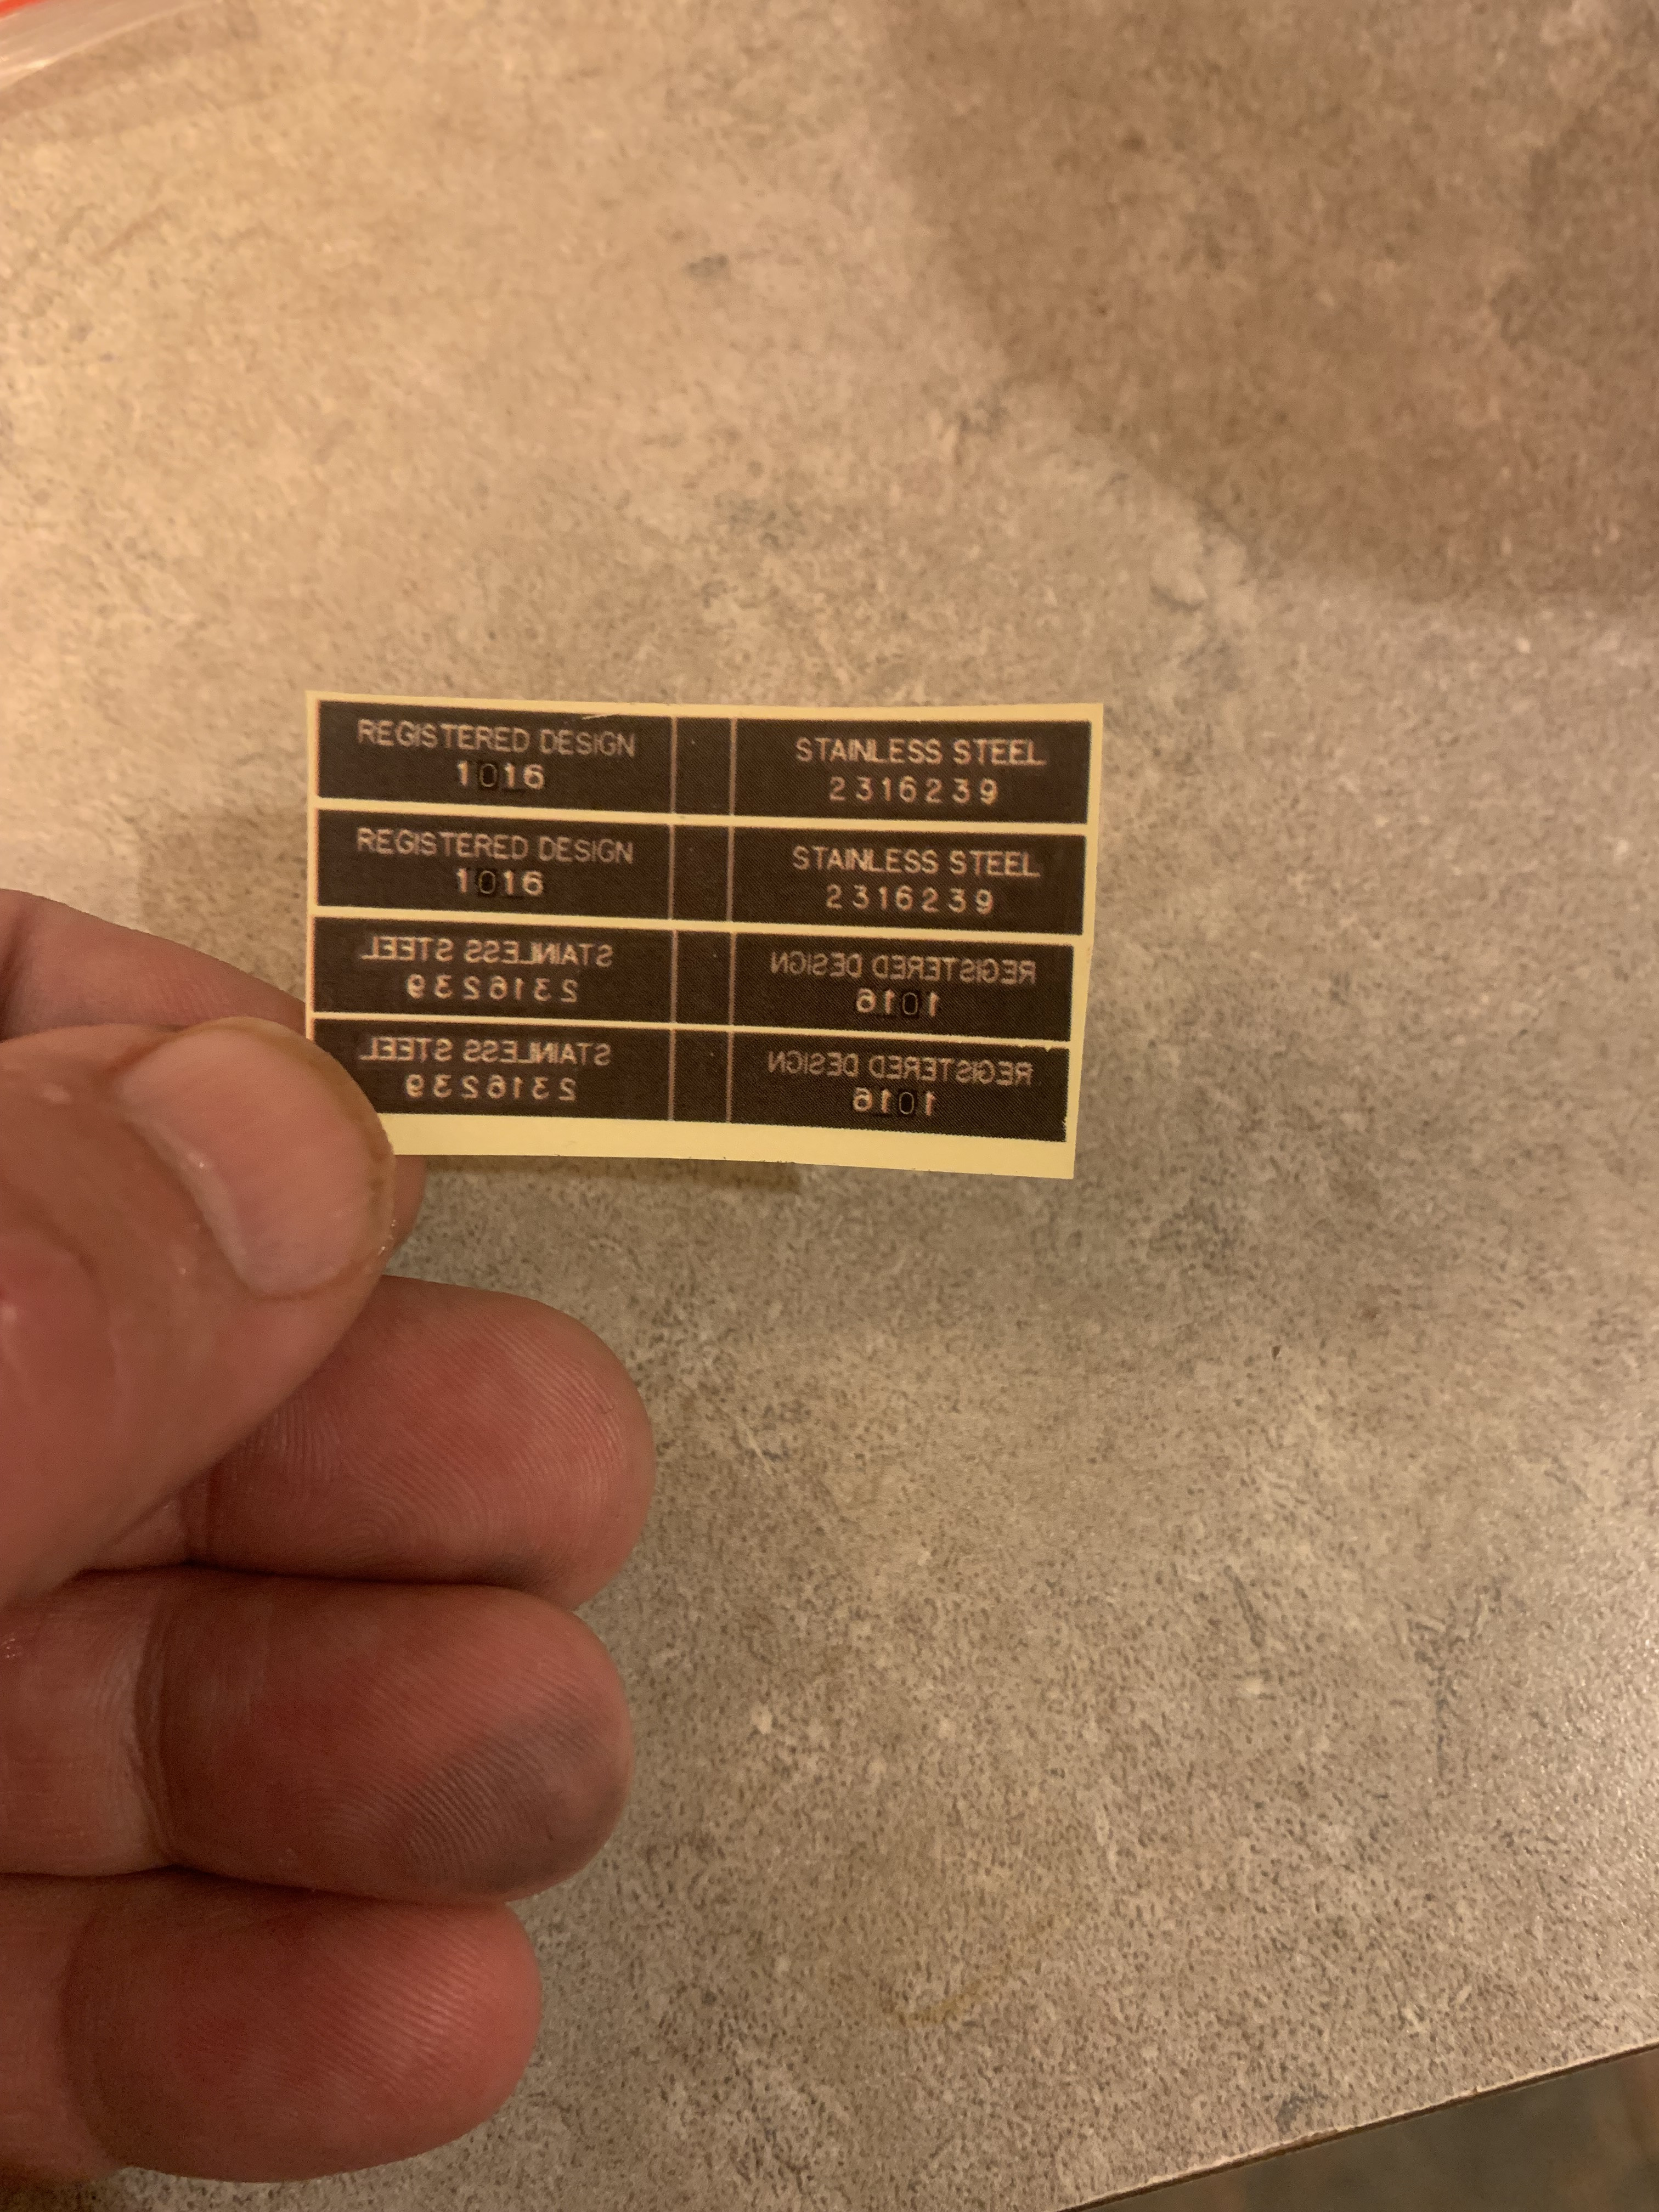
Some quick prints on electronic circuit board heat transfer paper. Every little rectangle should fit perfectly between the lugs of a watch when cut out:

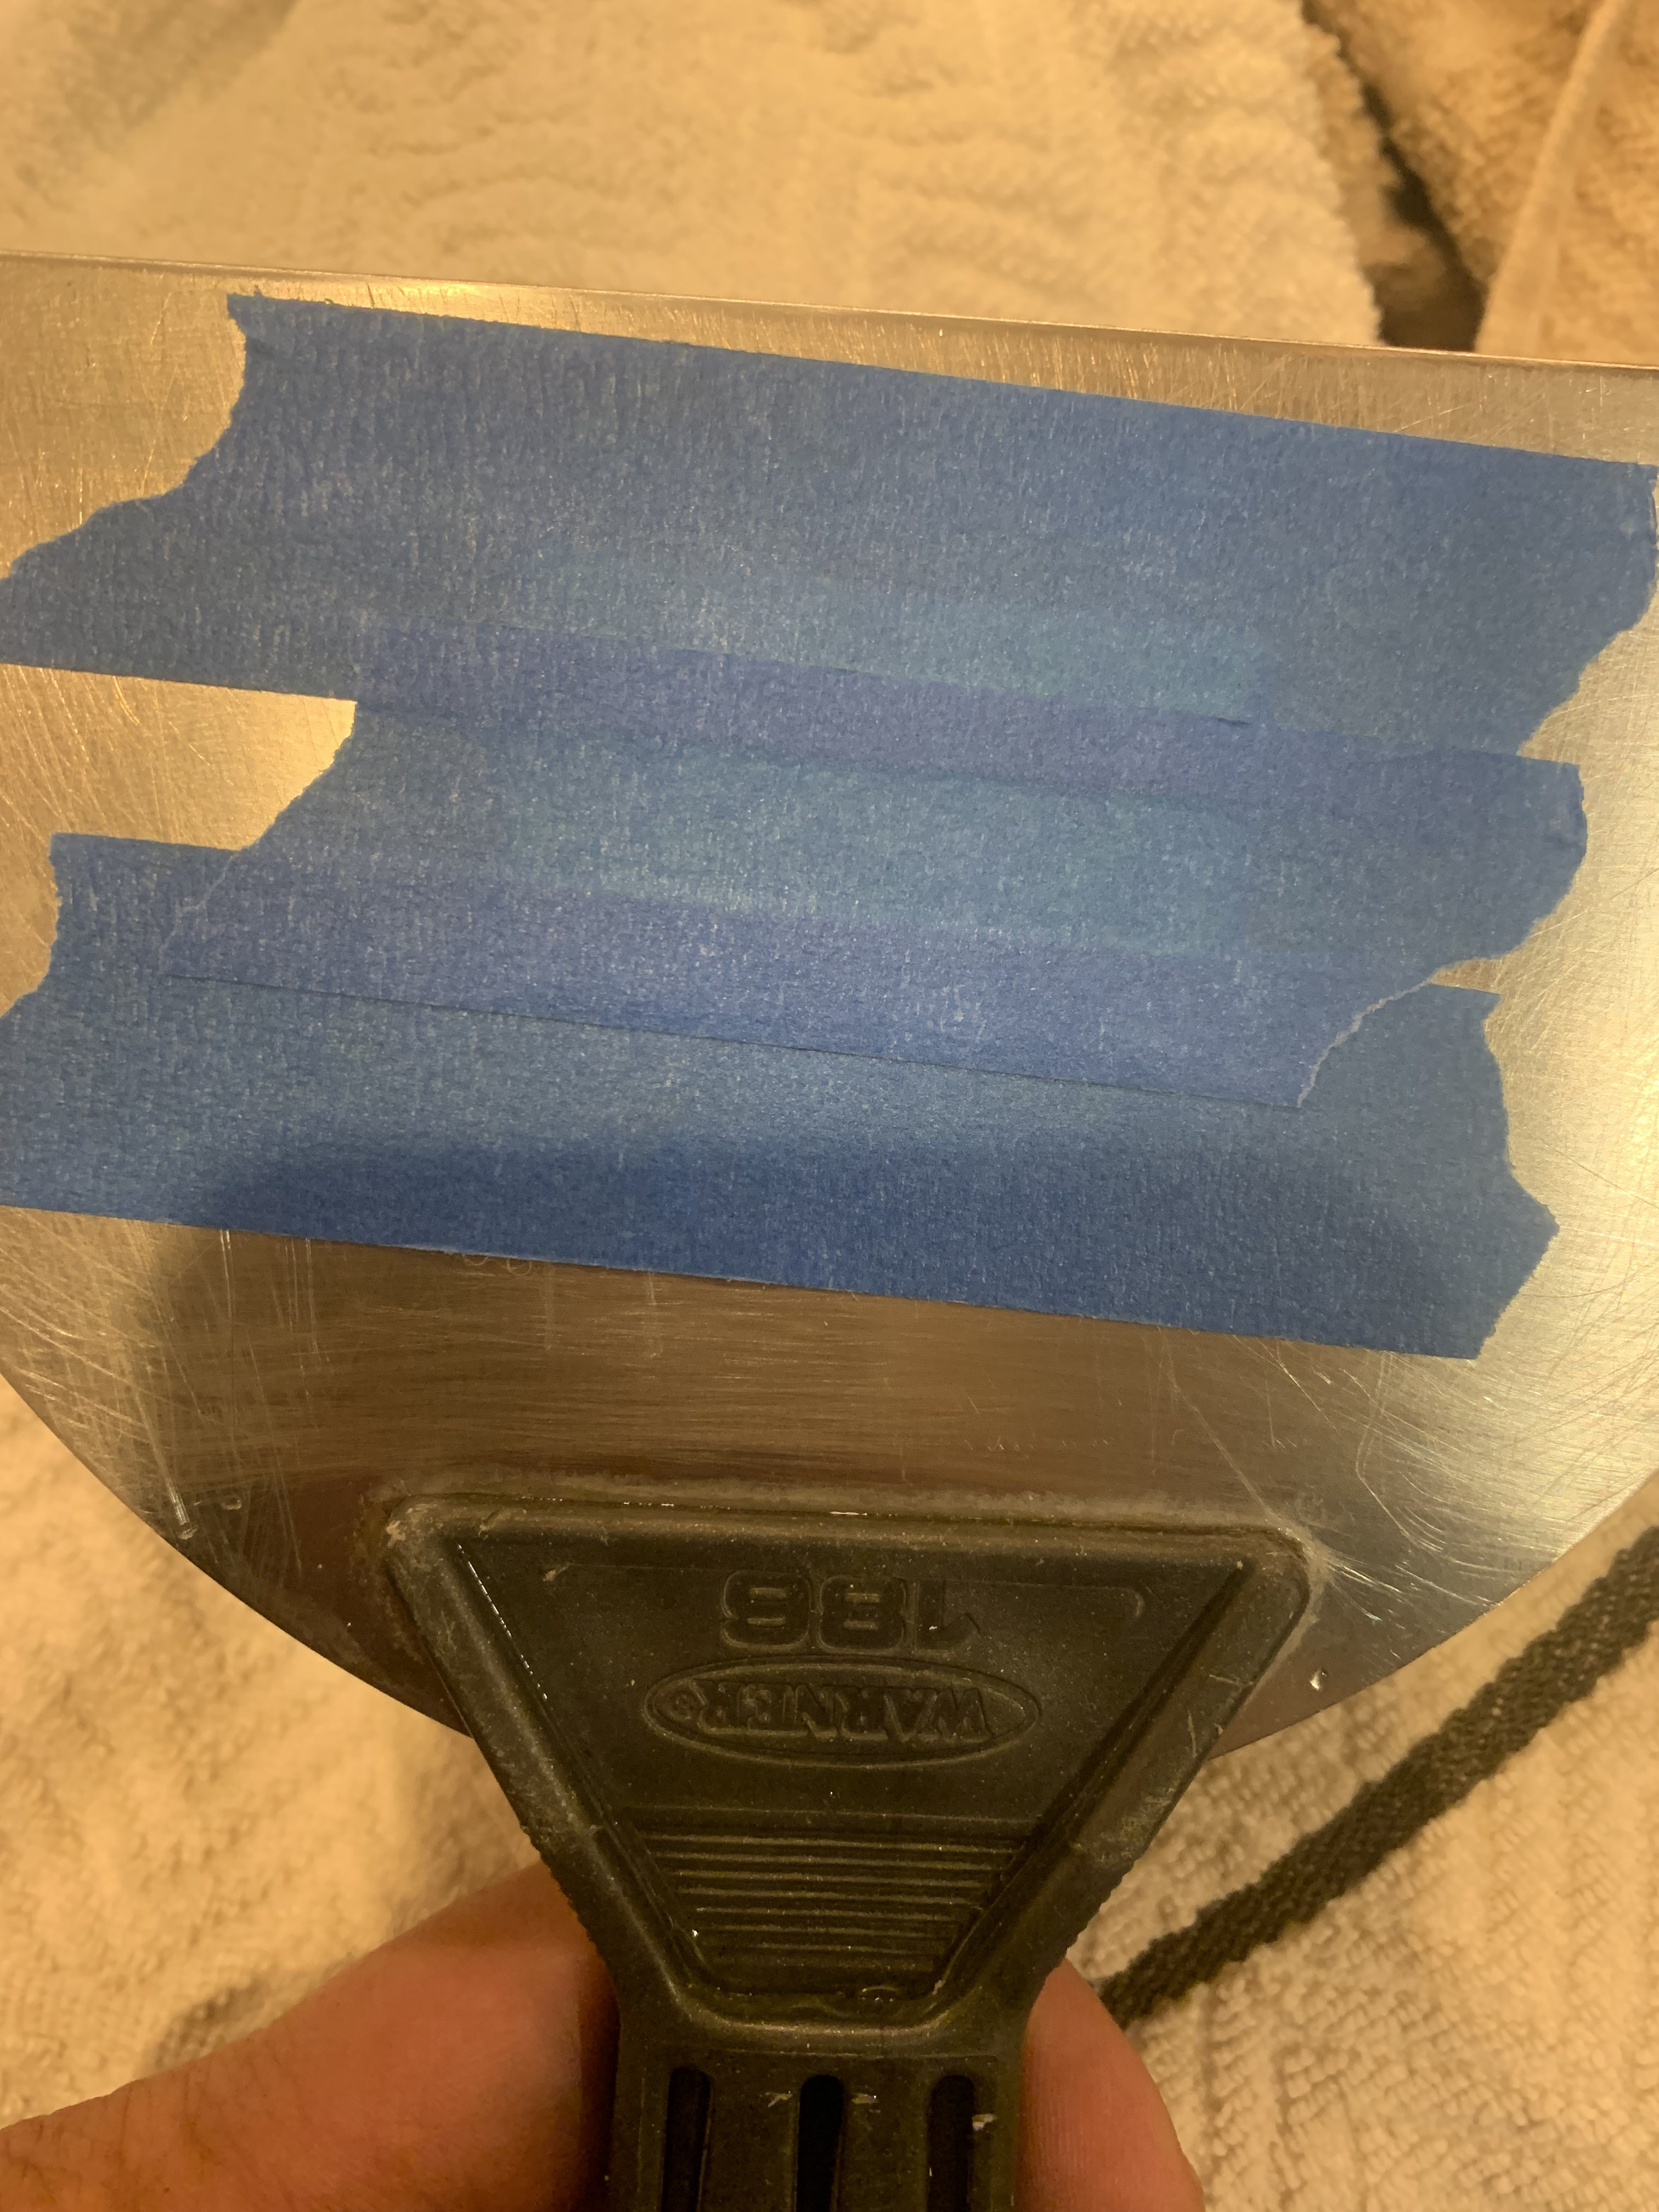
Have to get it perfectly flat, full contact with the metal: Not sure how I'll do it on a watch case, might try adapting a SEL.

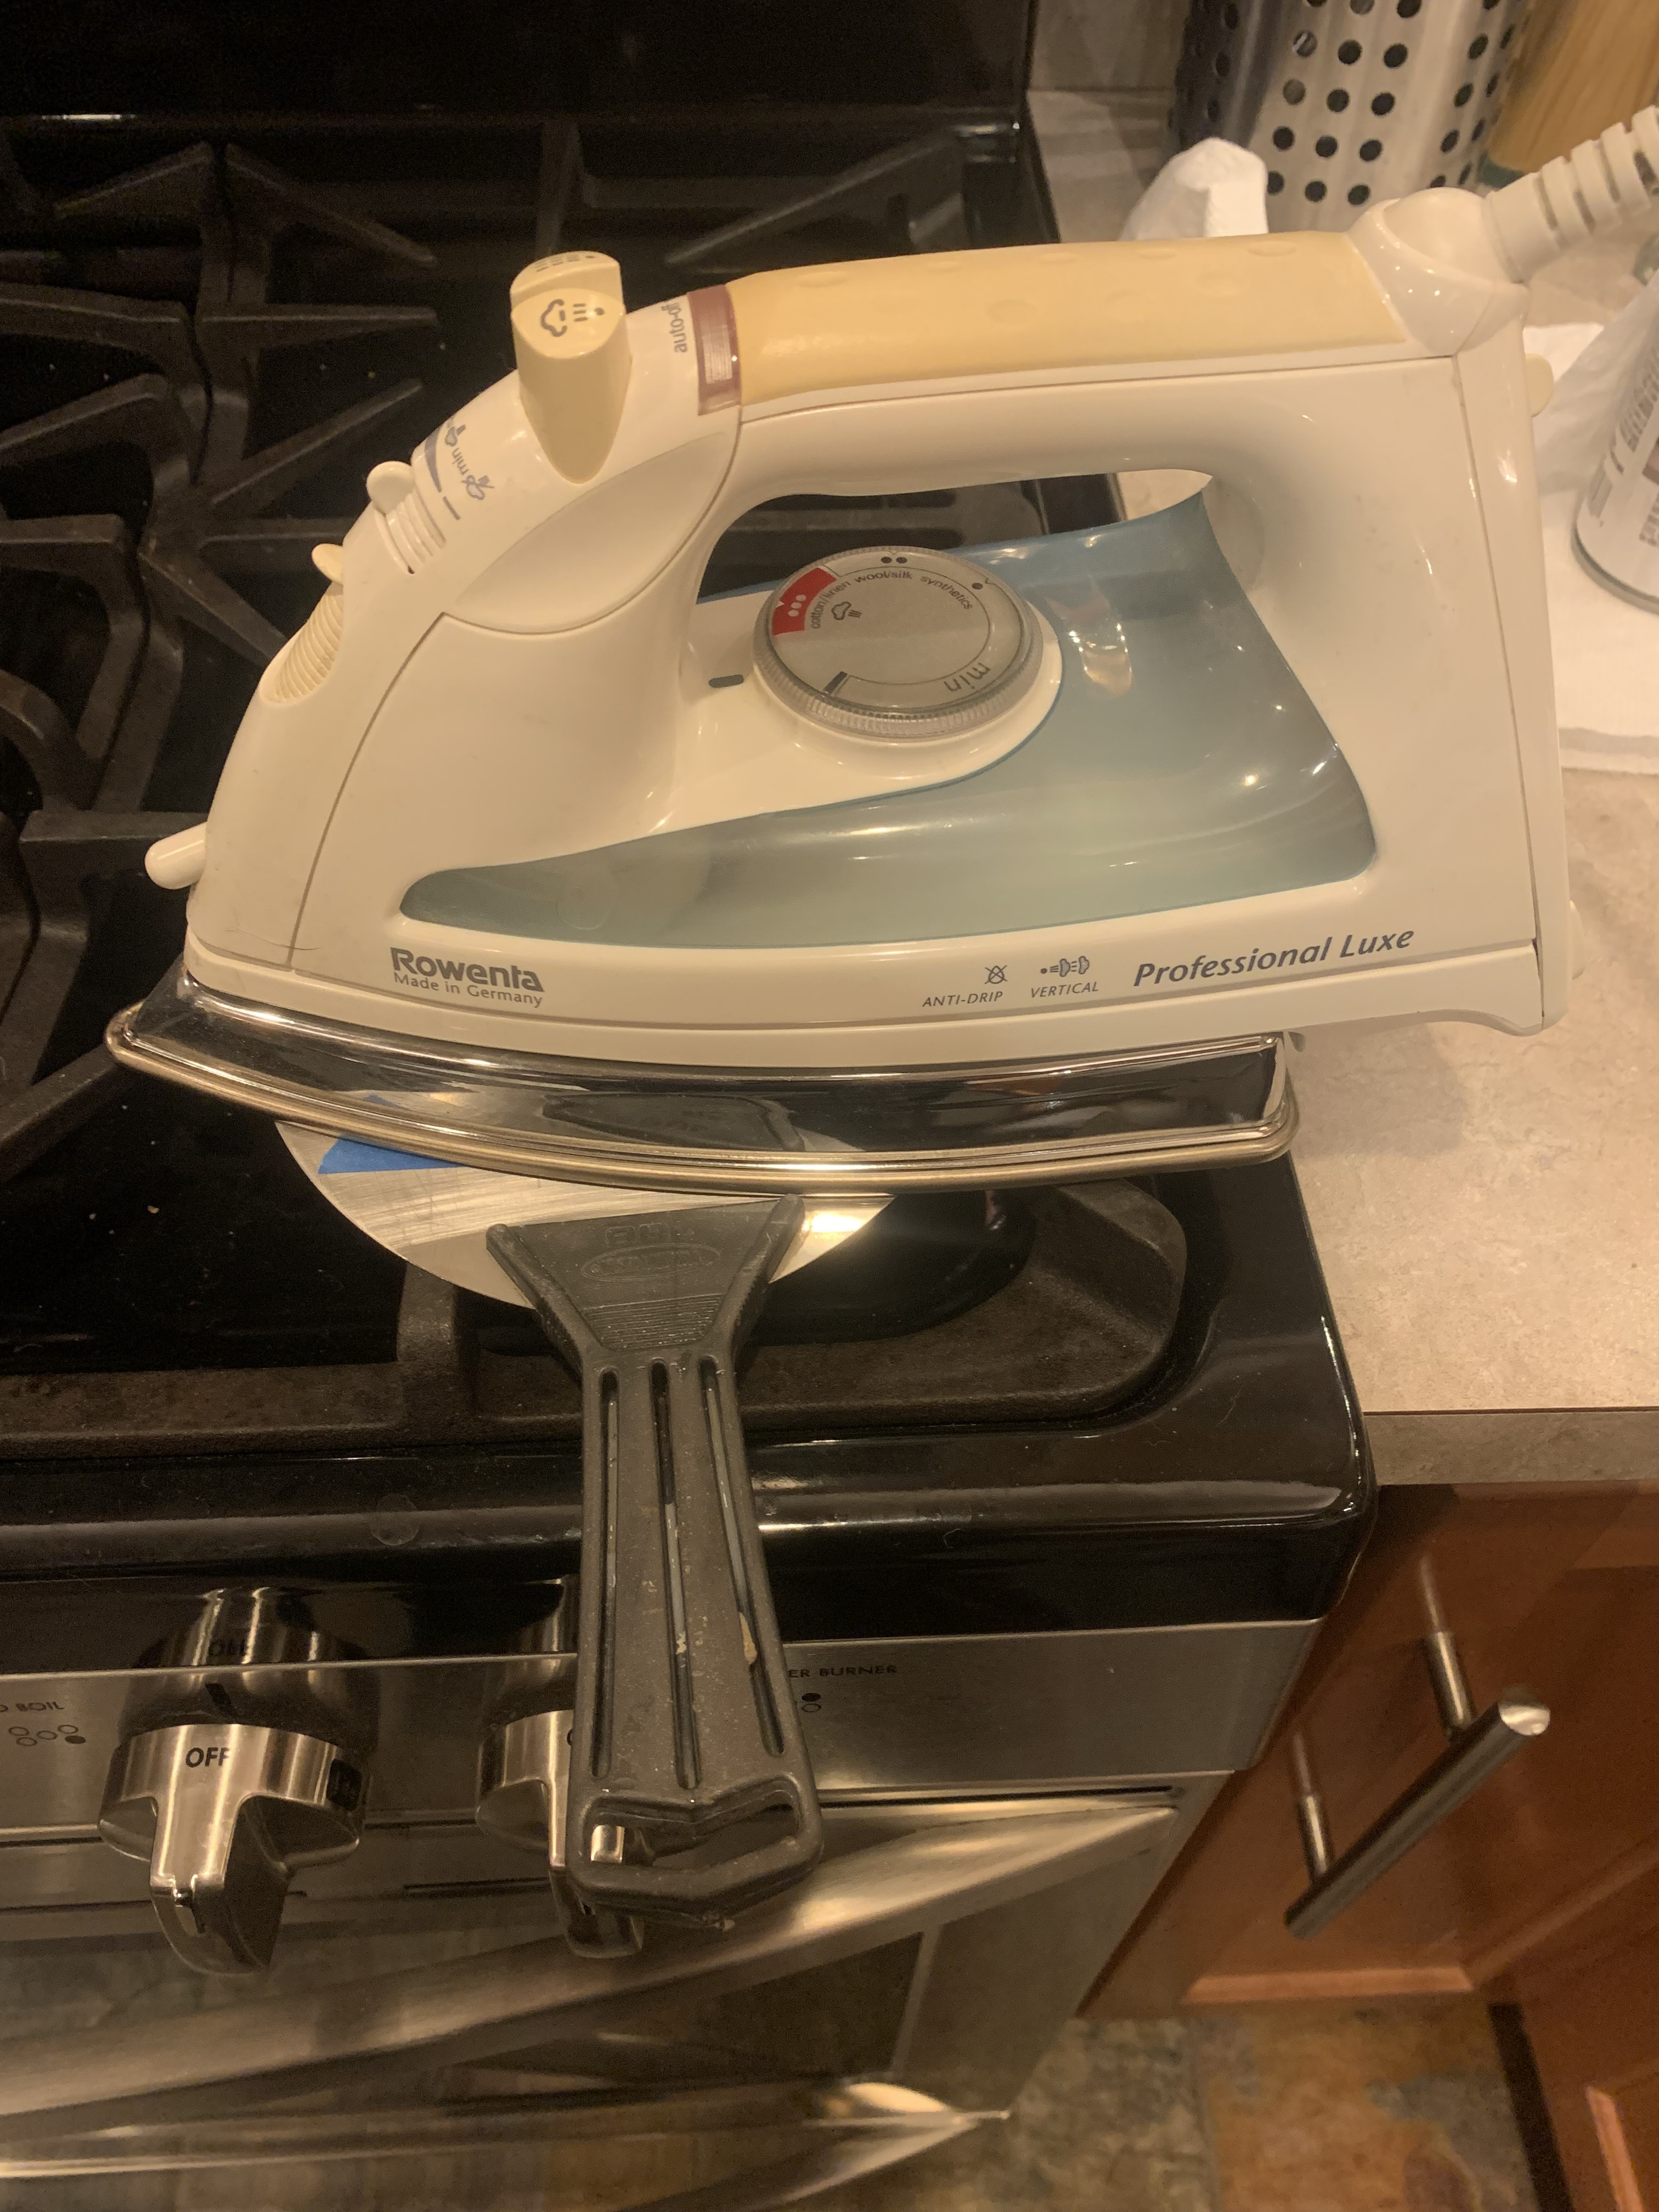
Then it's heated, so the ink/toner melts and sticks to the metal. The exact temperature and time heated is one of the things I'll need to work out. To get between the lugs, I'm thinking a pen tip soldering iron might work.

Let everything cool and remove the tape and paper. If the paper sticks, you can rinse the paper away with water. You can be a bit aggressive...if the transfer works, it's pretty well attached. This is not a perfect transfer, but good enough to show the concept.
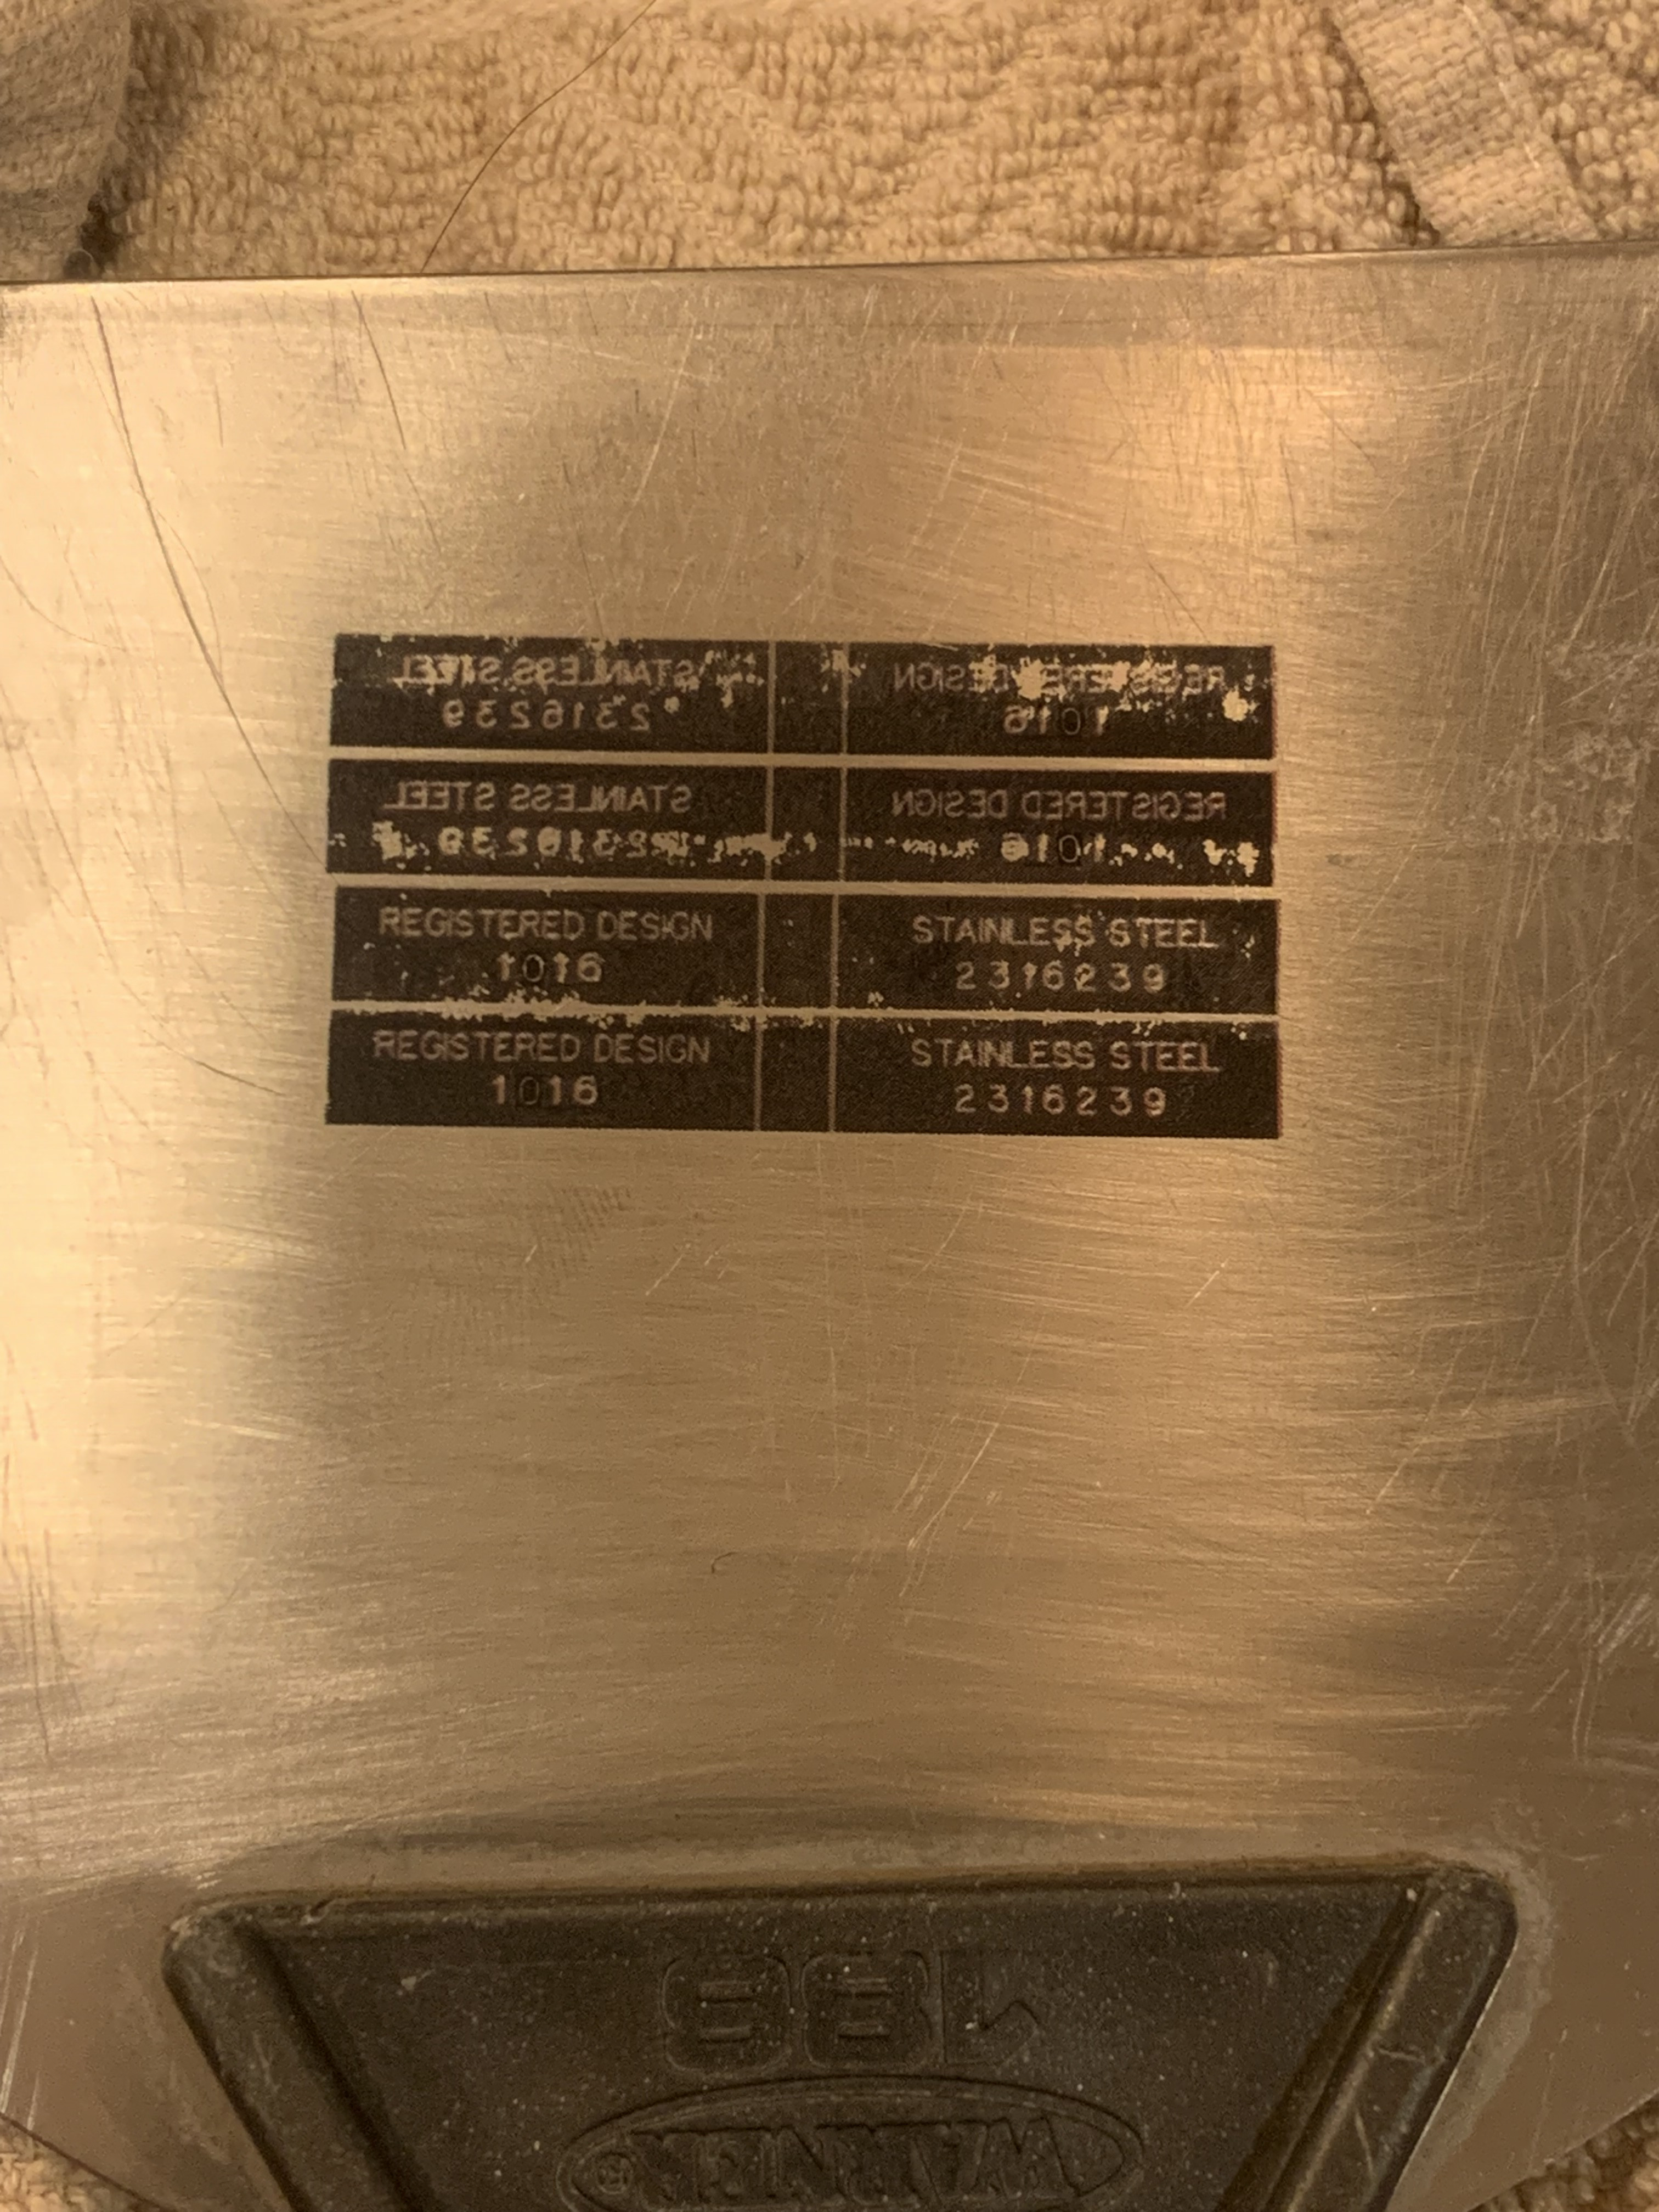
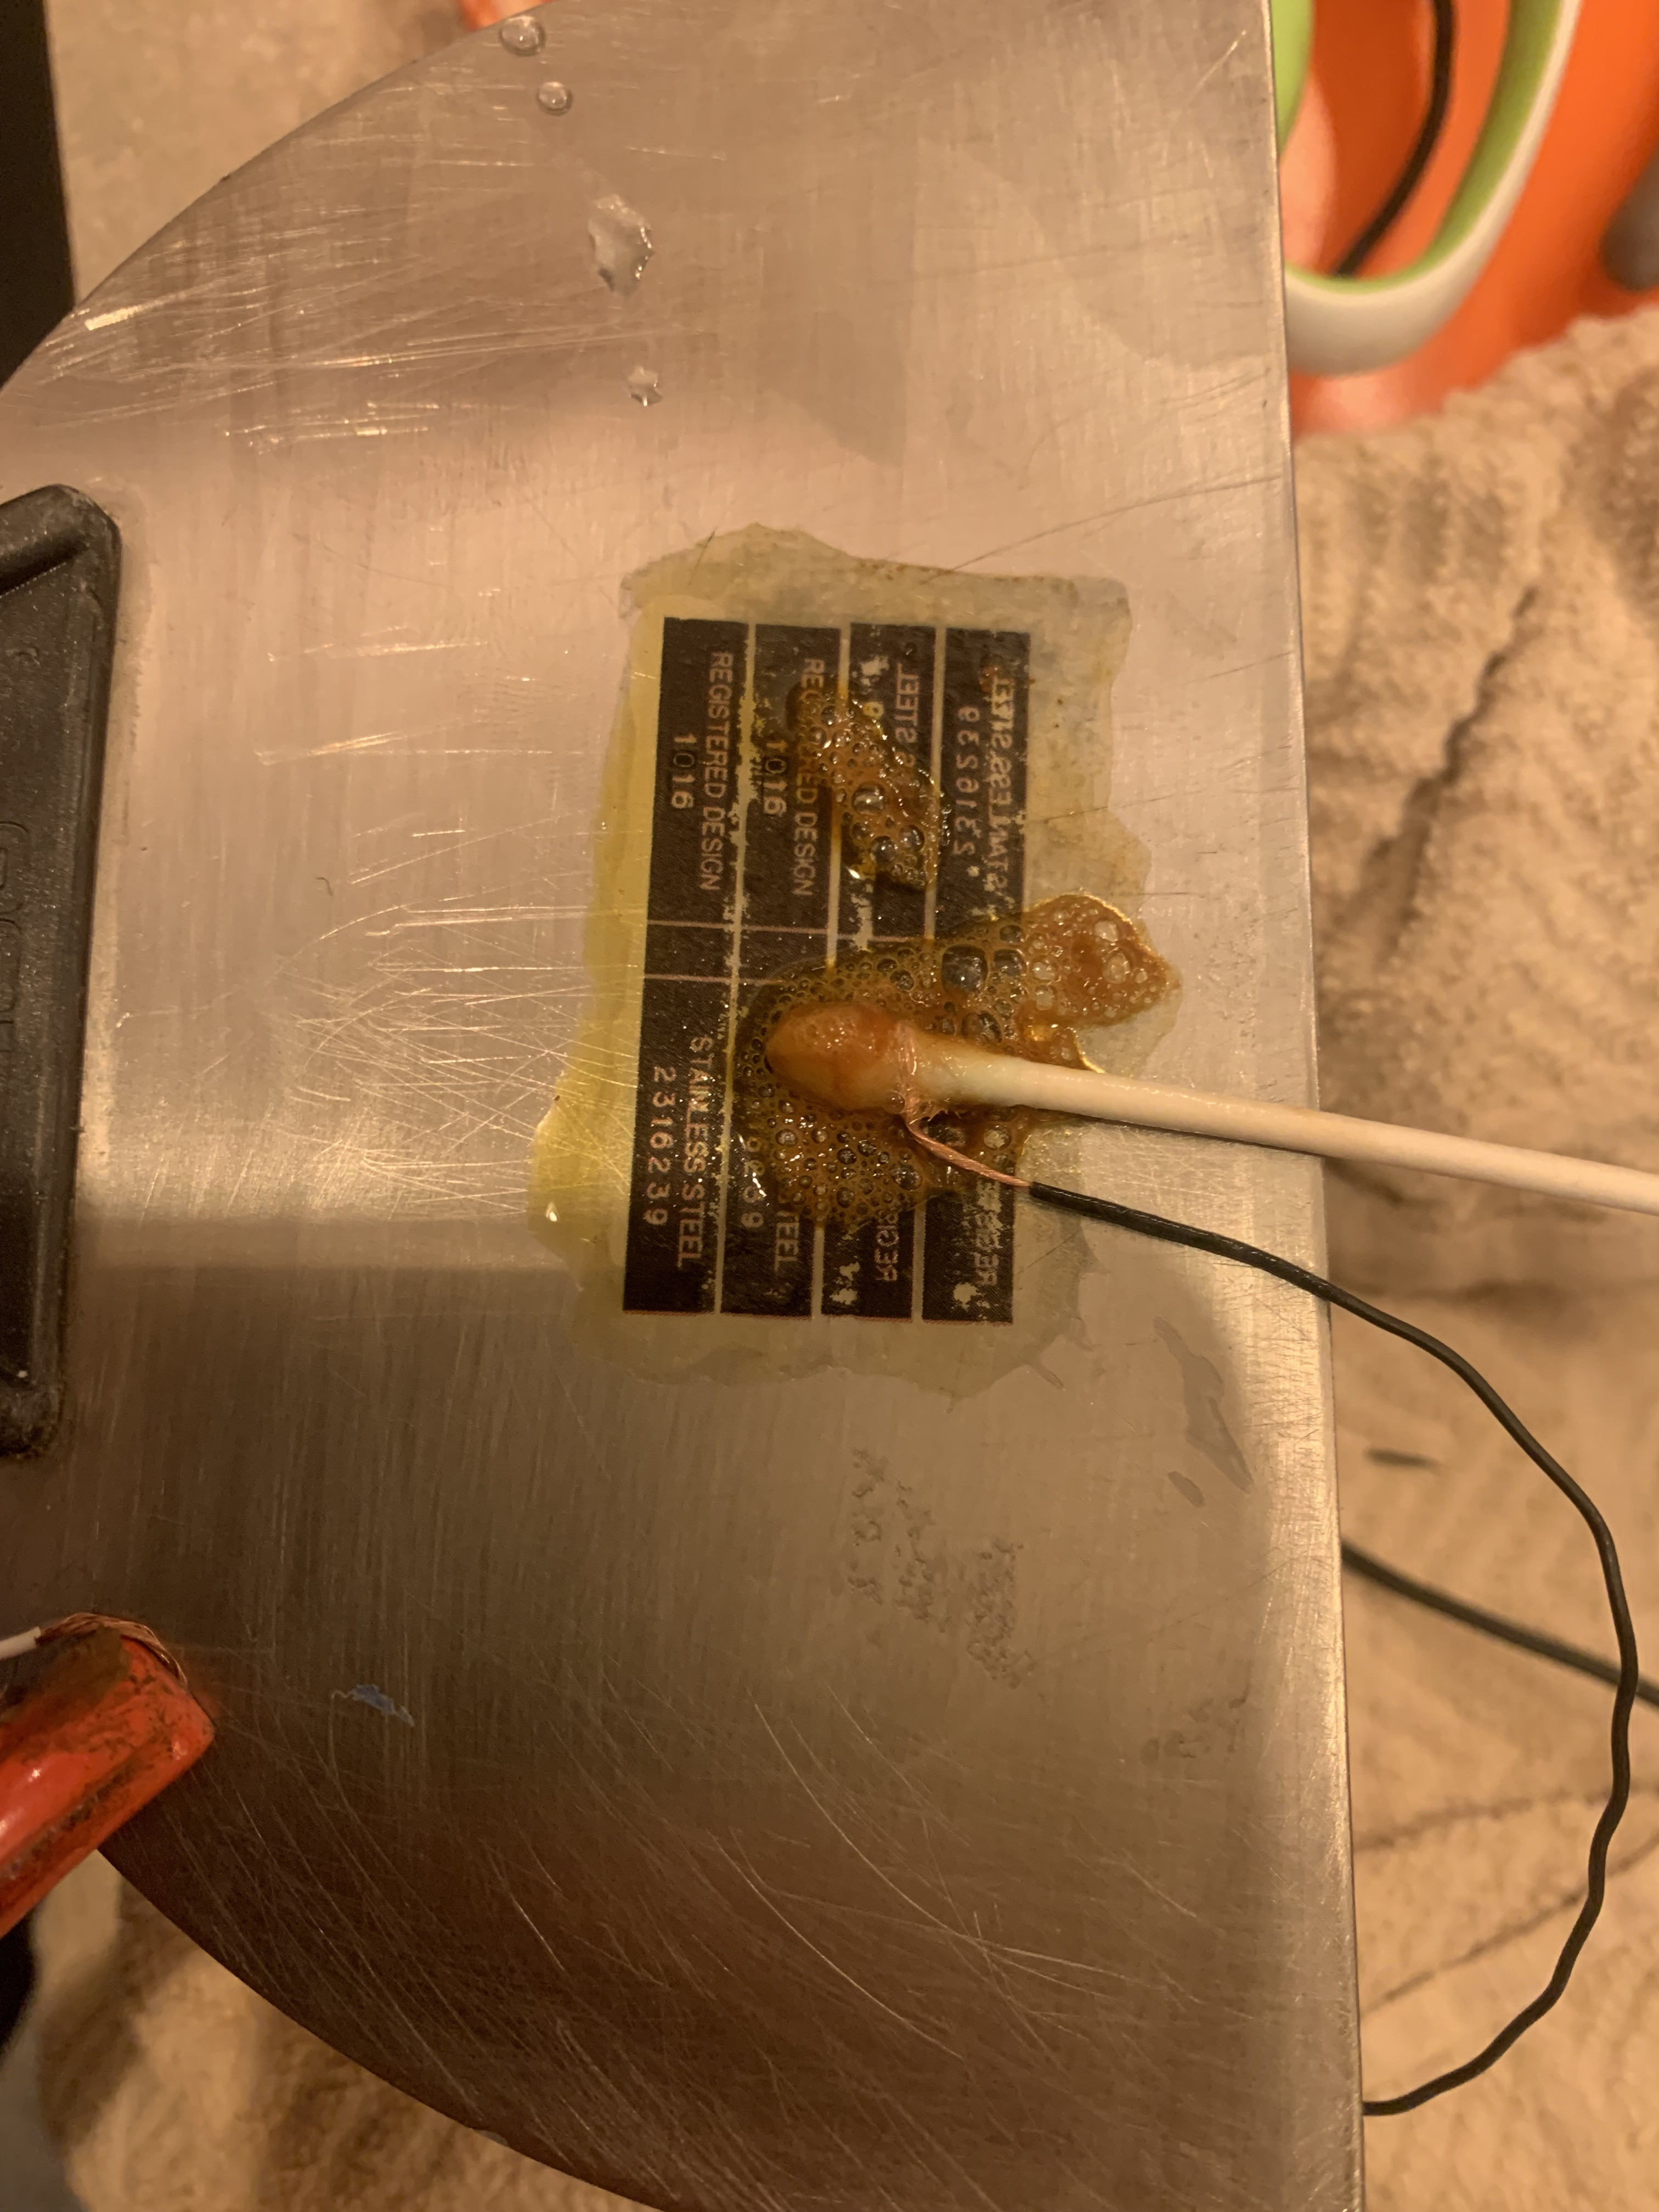
Now you need to etch the metal. Take a 9v batter or an old phone charger and attach one wire to the metal, the other gets attached to a q-tip that's dipped in salt water. Touch the q-tip to the area you want to etch, and it will attack the metal where it's NOT covered by the decal. The water will bubble and change color...yellow, brown, even blue. You will see a little smoke. You will smell nasty gas (chlorine gas, I think...that's what it smells like...do this in a well ventilated area!). This is normal and not terribly dangerous, although it can be a little scary.
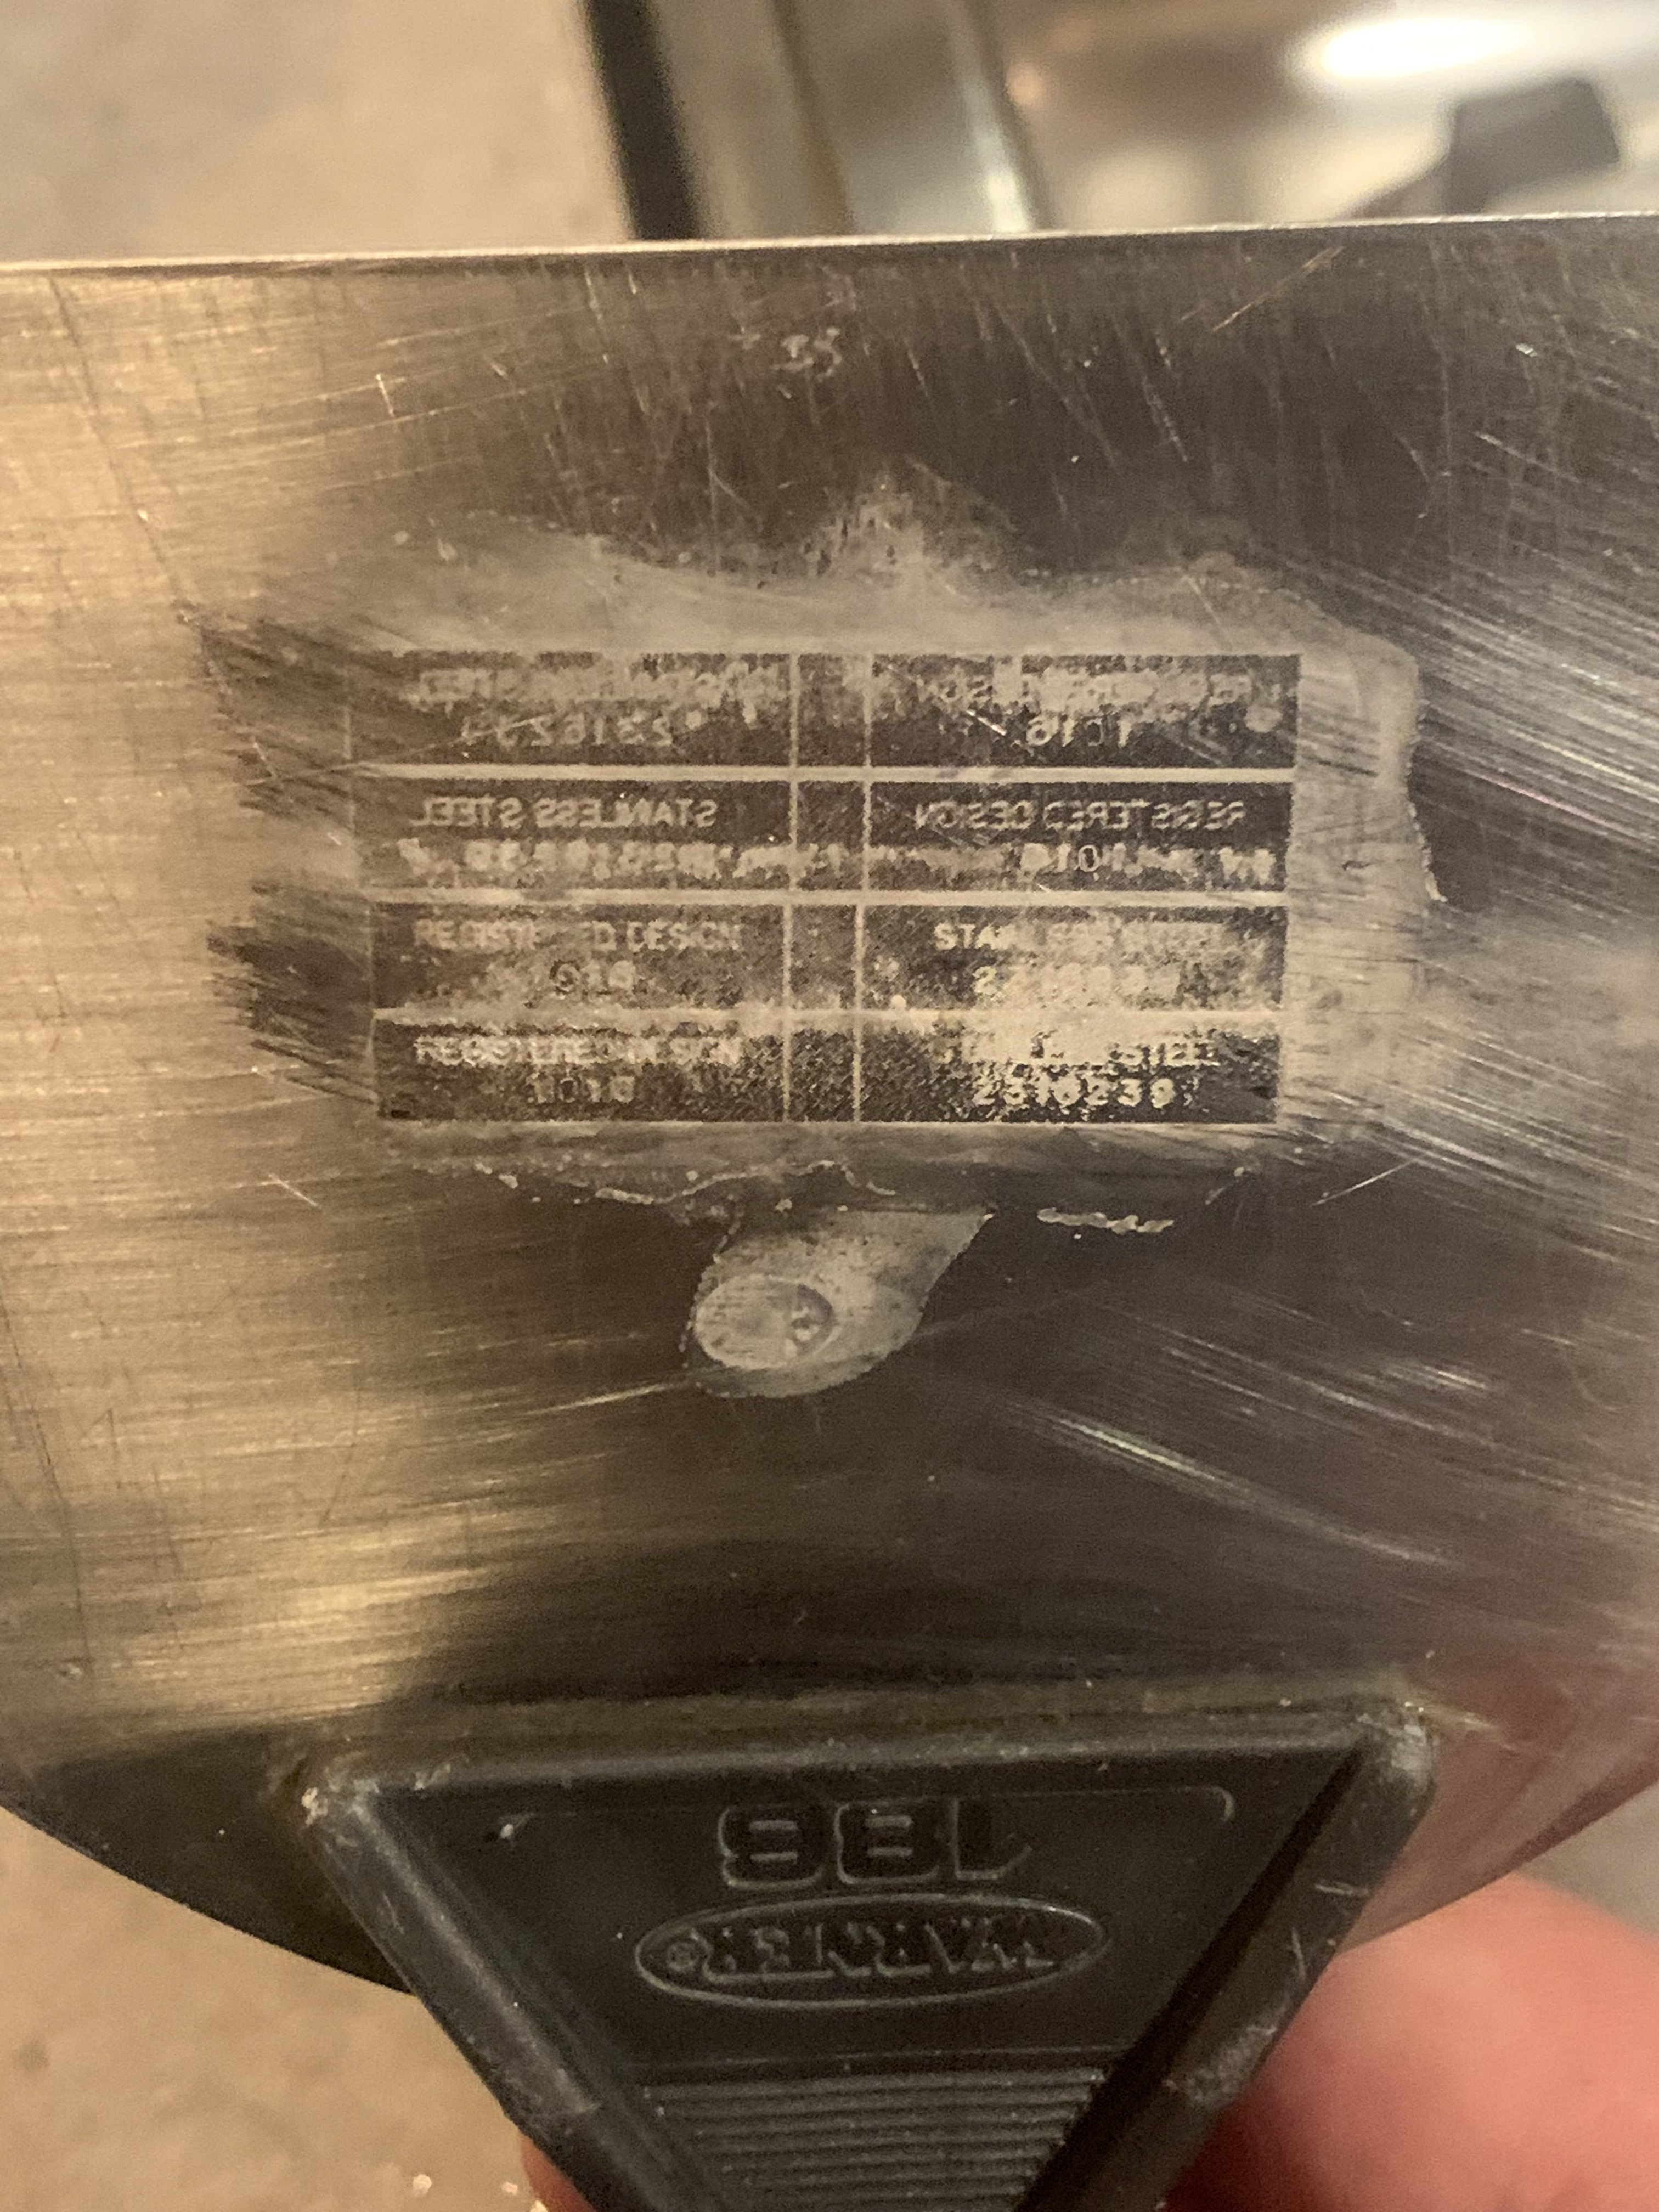
When you're done, clean off the remains of the toner/ink and what's left is etched into the metal. It actually looks pretty good, especially since real vintage Rolexes are usually very worn between the lugs.


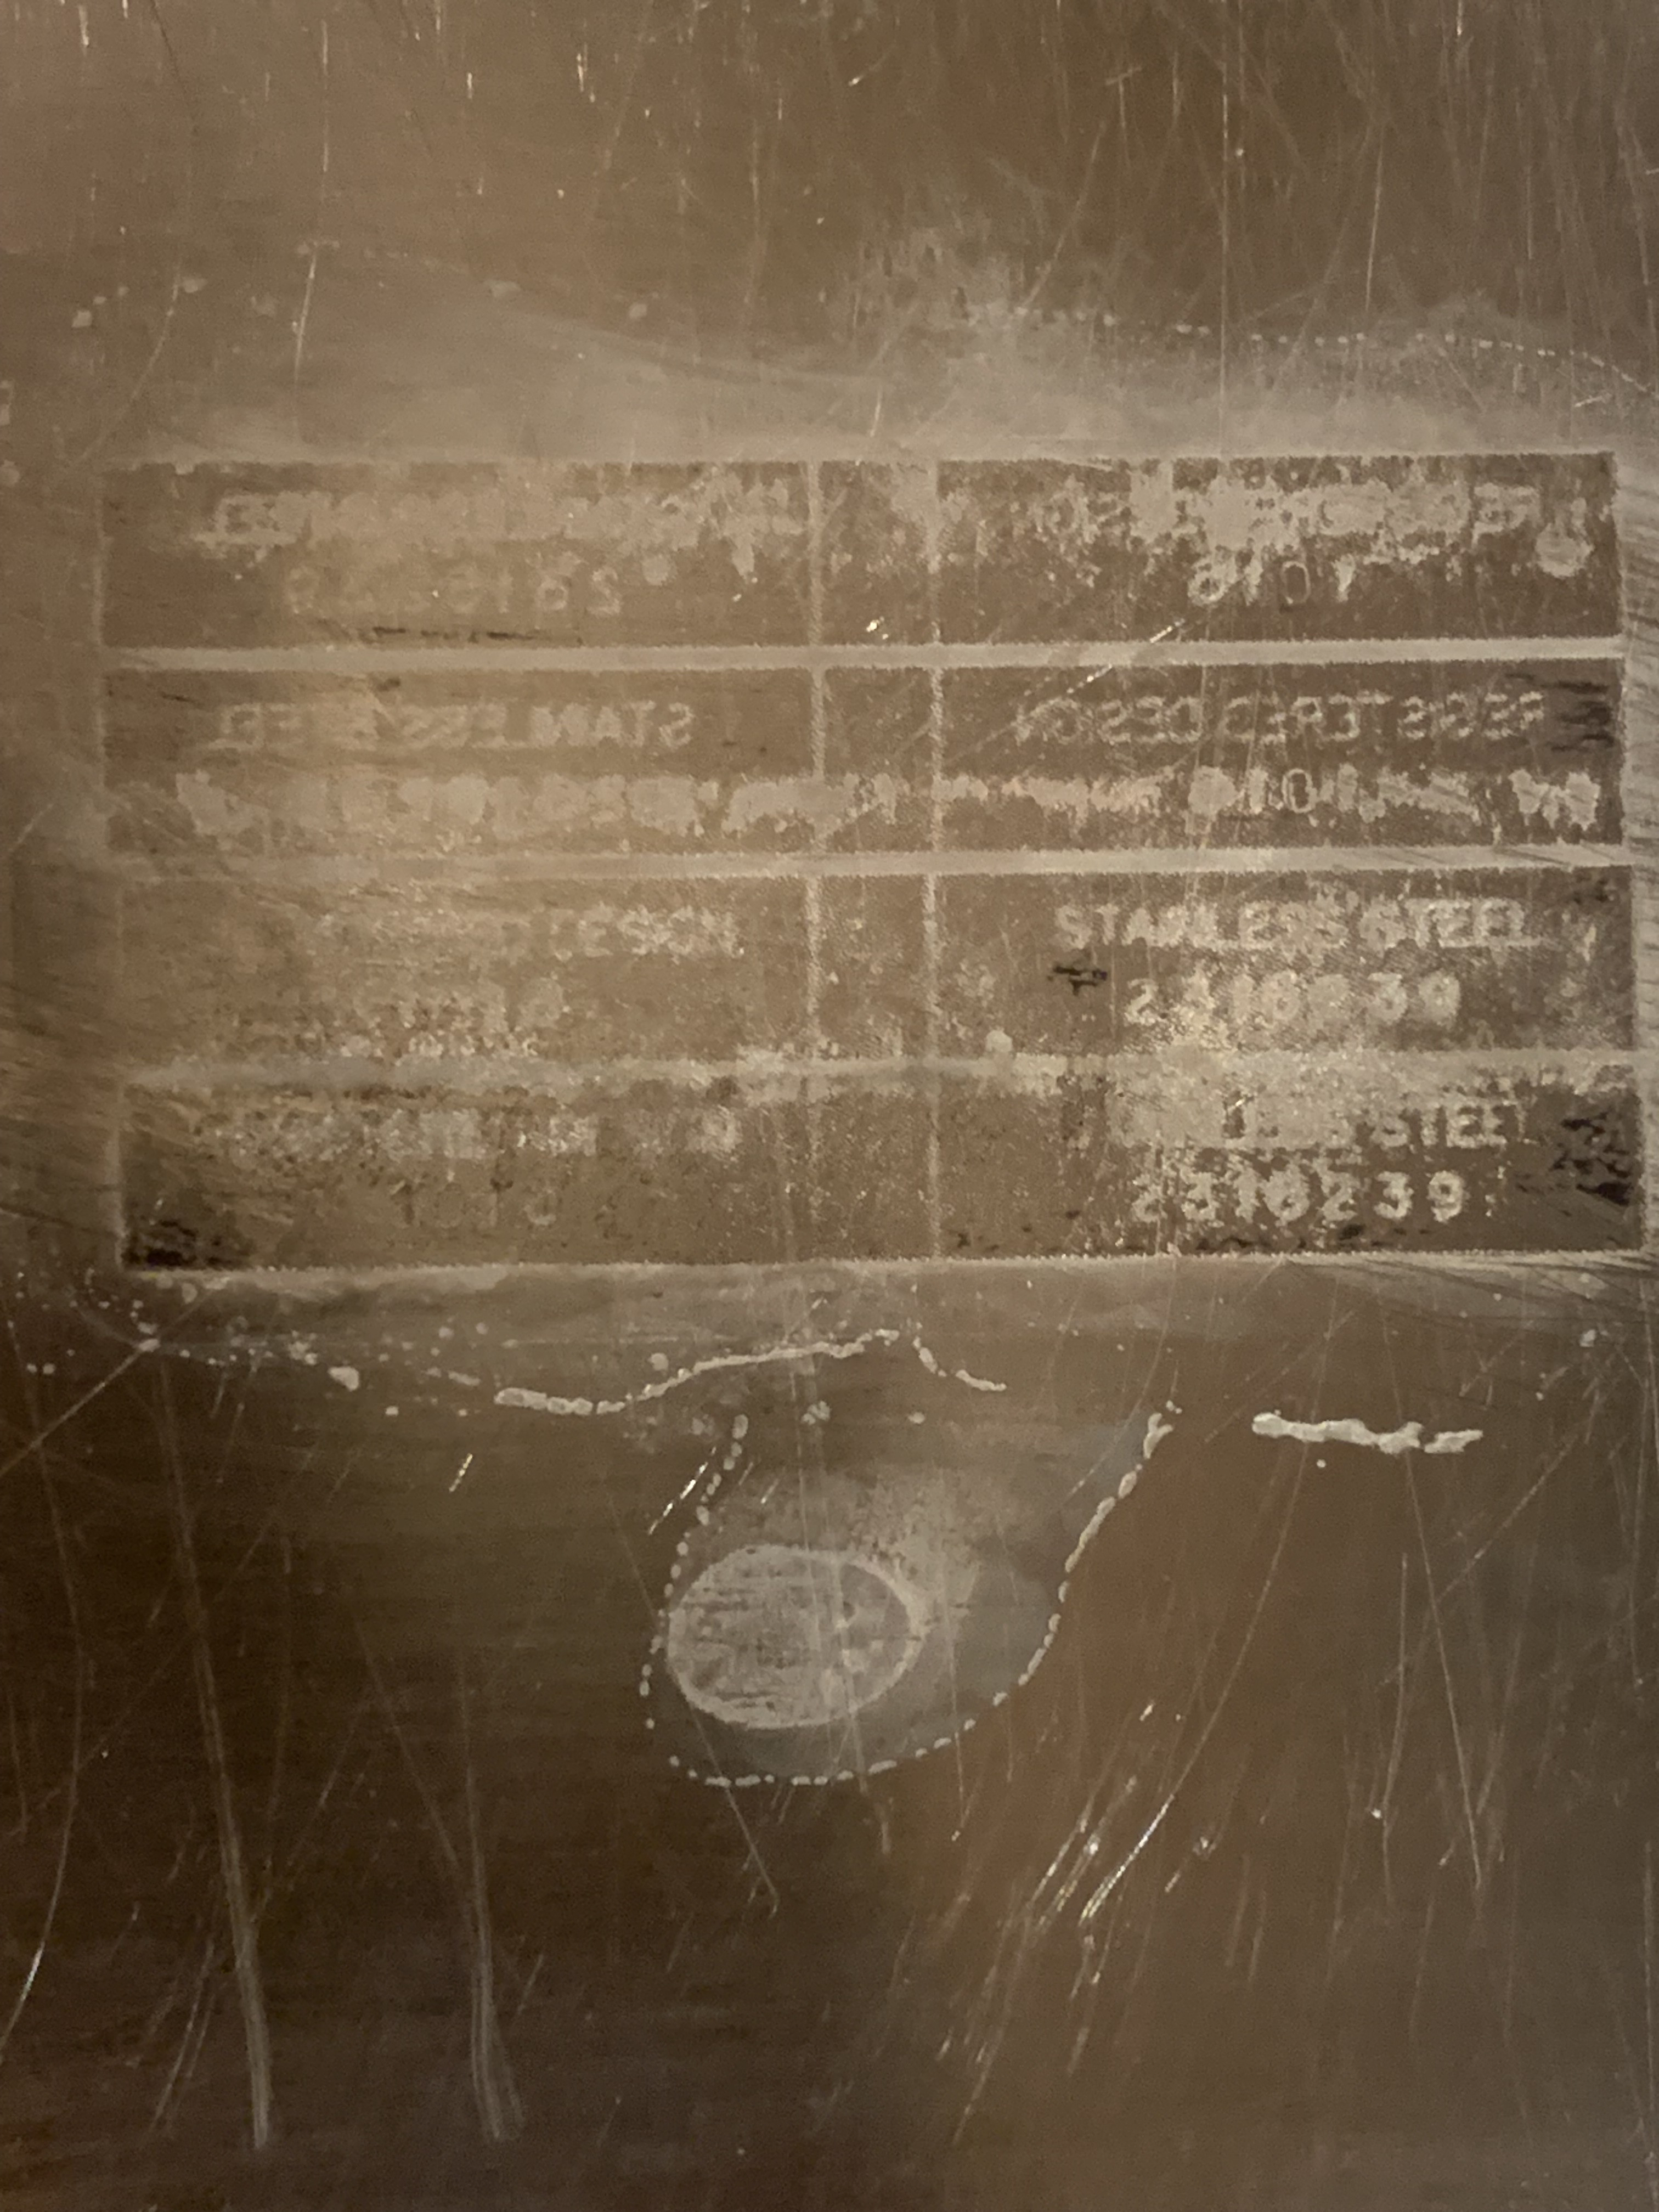
Obviously this process needs some tweaking...but for something I threw together in a couple minutes, it's really not bad at all. I figure a few hours of practicing on scrap and I'll be ready for a real watch case.

 
Last edited:

Karbon74

Pika Factory
Patron
Certified
5/5/23
10,351
20,220
113
EU - Kalos Region
The design is transferred to the case, like an iron on t-shirt. Once it's on the case, it resists current. Then you use a small current to etch the metal.
The current follows the path of least resistance, who it bypasses everywhere that's black on the print, and goes straight to the white part, if that makes any sense.
Playing with it now, I'll snap some photos so it'll be more clear.
i see! how does it tranfer?
 
  • Like
Reactions: 316lad

dpd3672

Putting the "whore" in "horology" since 2023
Patron
Certified
29/5/23
1,750
2,863
113
USA
looks like heat transfer. If that works, he found a magic recipe
Yes, it's a heat transfer. I used paper that electronic hobbyists use for circuit boards.

This is the paper I used. I'll probably try some others to see what works.

And this is a You Tube video that more or less explains the process.

Some have used this technique for gilt dials, although I think the waterslide decals are pretty foolproof.
 

dpd3672

Putting the "whore" in "horology" since 2023
Patron
Certified
29/5/23
1,750
2,863
113
USA
wonder if a heat gun will work for the transfer
I don't think so, although it's worth trying...it seems like the toner/ink sort of "melts" and the metal is a little "stickier" than the transfer paper...but not by much. You need some direct pressure to make it adhere fully...you can see on my test run that the stickers only partially transferred in some cases.
Better paper might be the solution, but I think a better process is what I need. Will be a few more test runs before I try it on a case. But as I mentioned before, the vintage Rolex cases I've seen generally are very rough where these engravings are, so it doesn't have to be perfect, like a watch dial.
 
  • Like
Reactions: Karbon74

dpd3672

Putting the "whore" in "horology" since 2023
Patron
Certified
29/5/23
1,750
2,863
113
USA
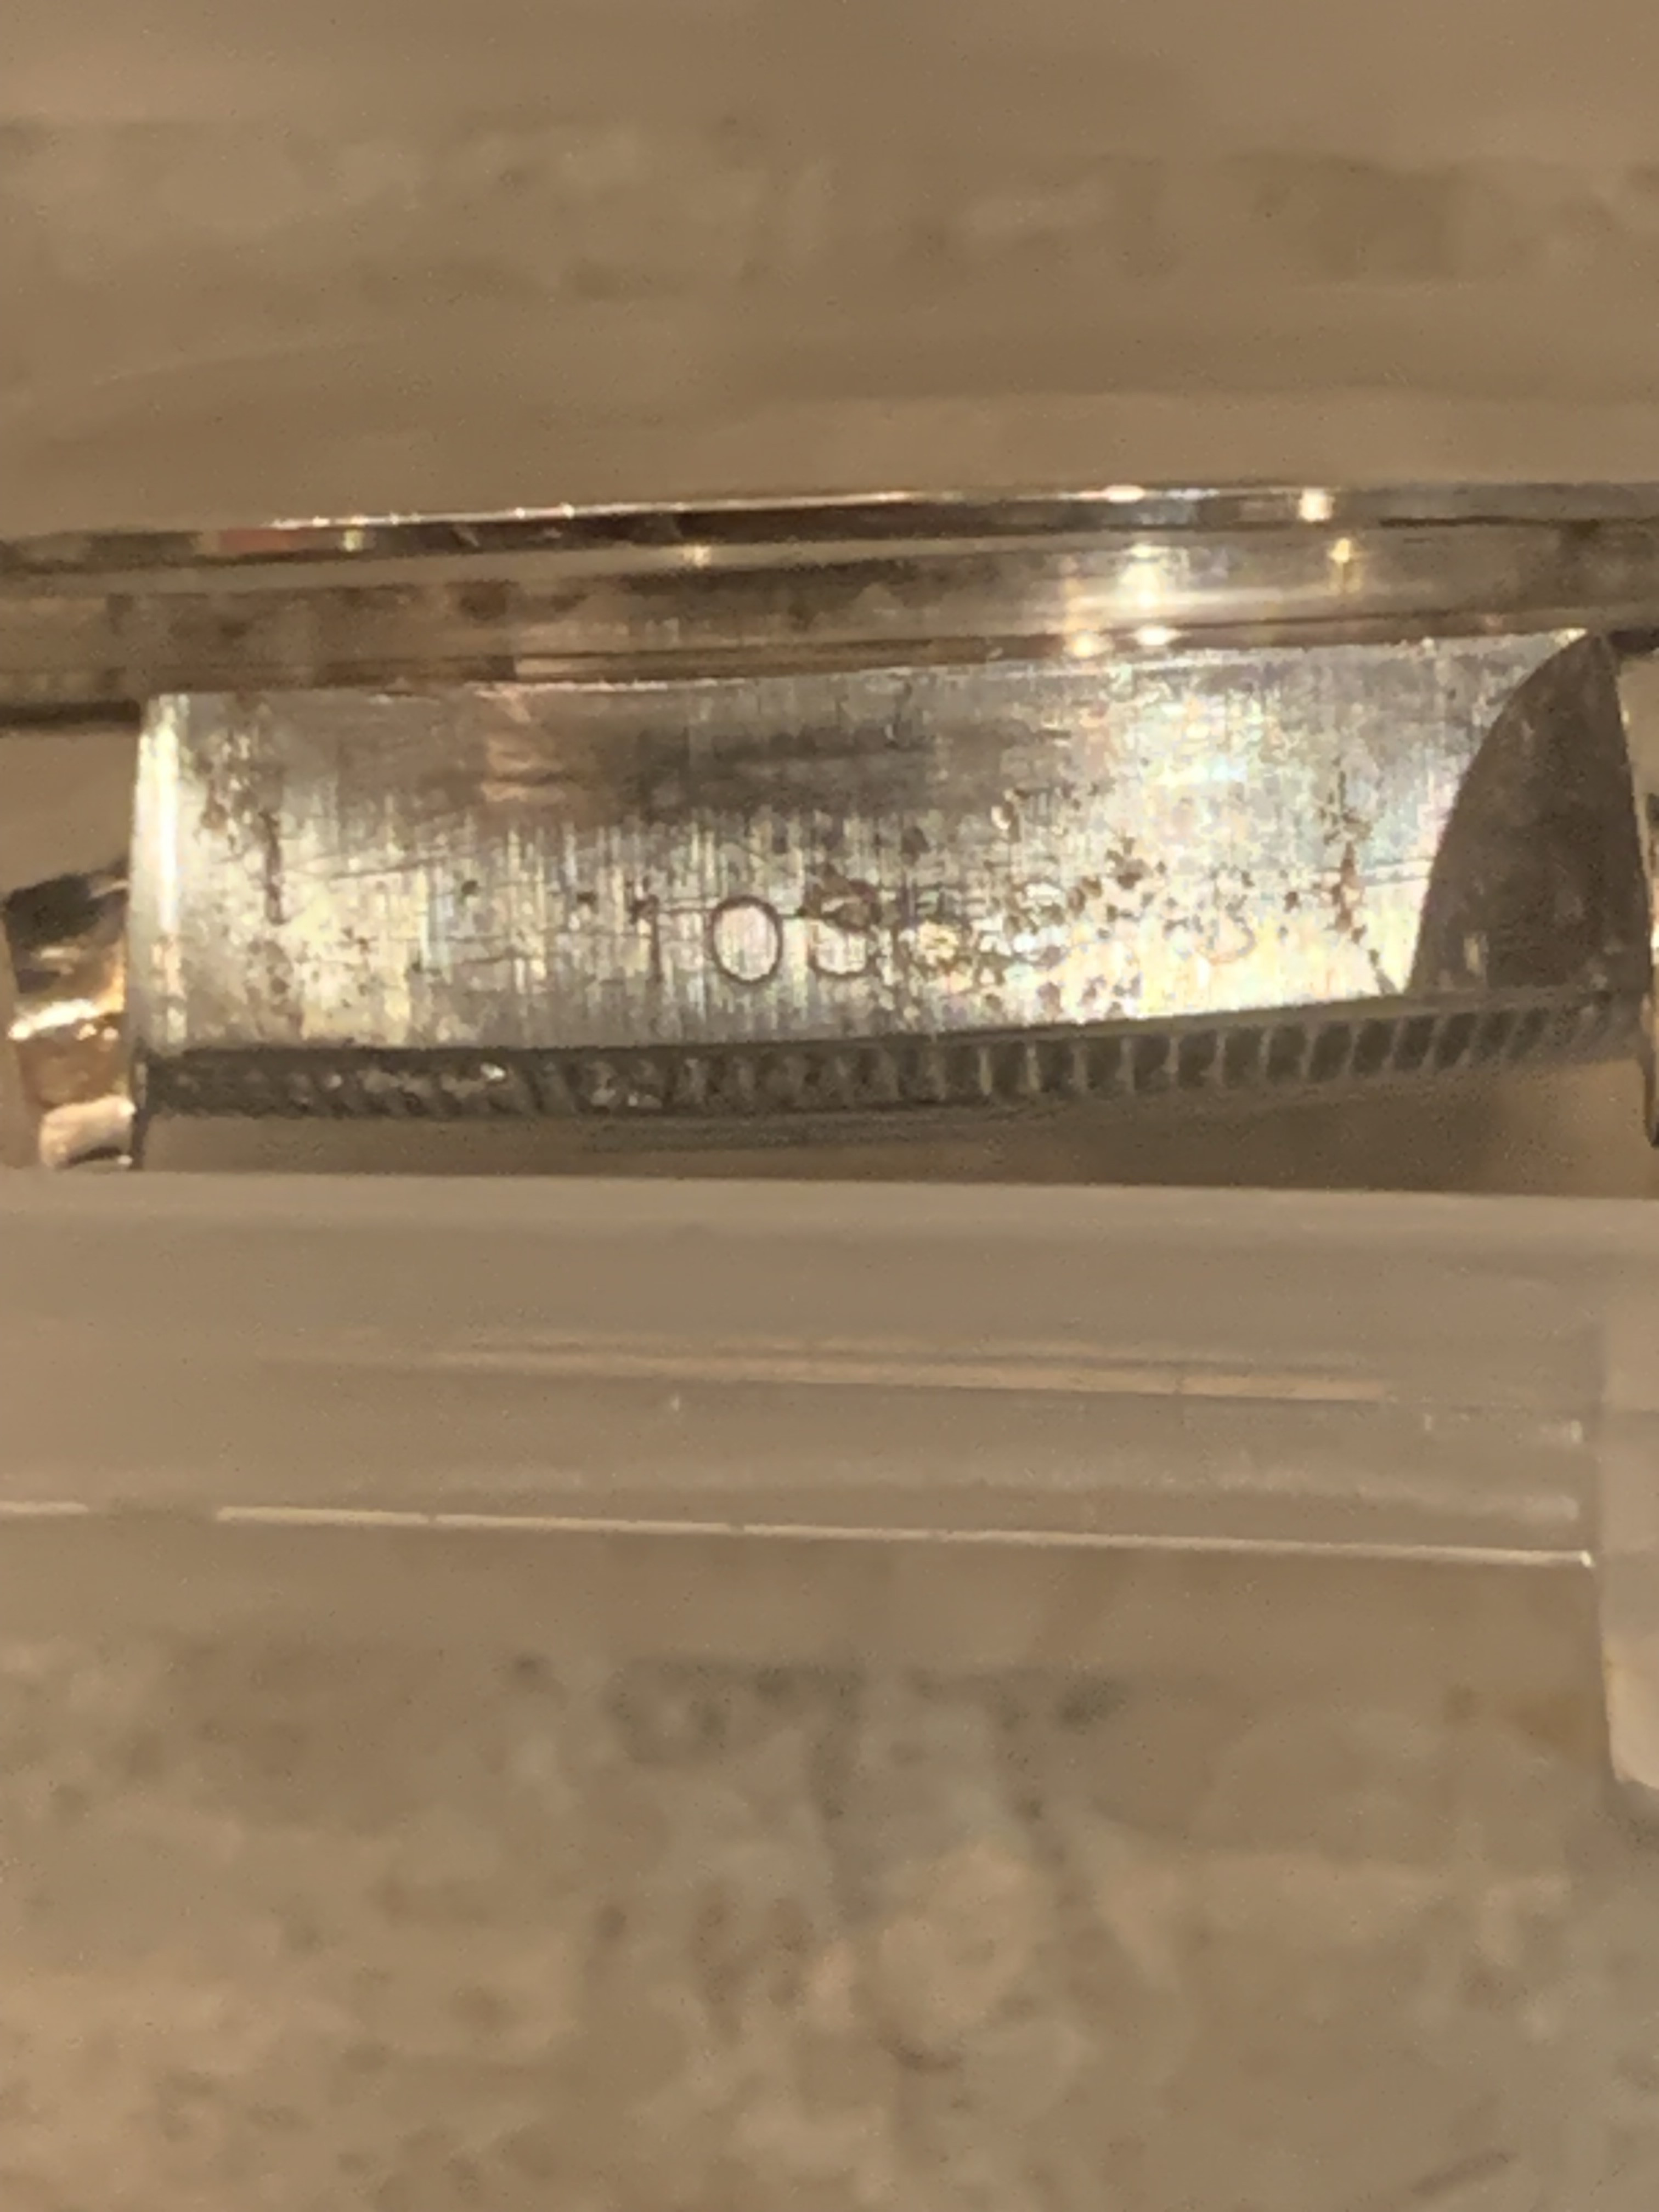
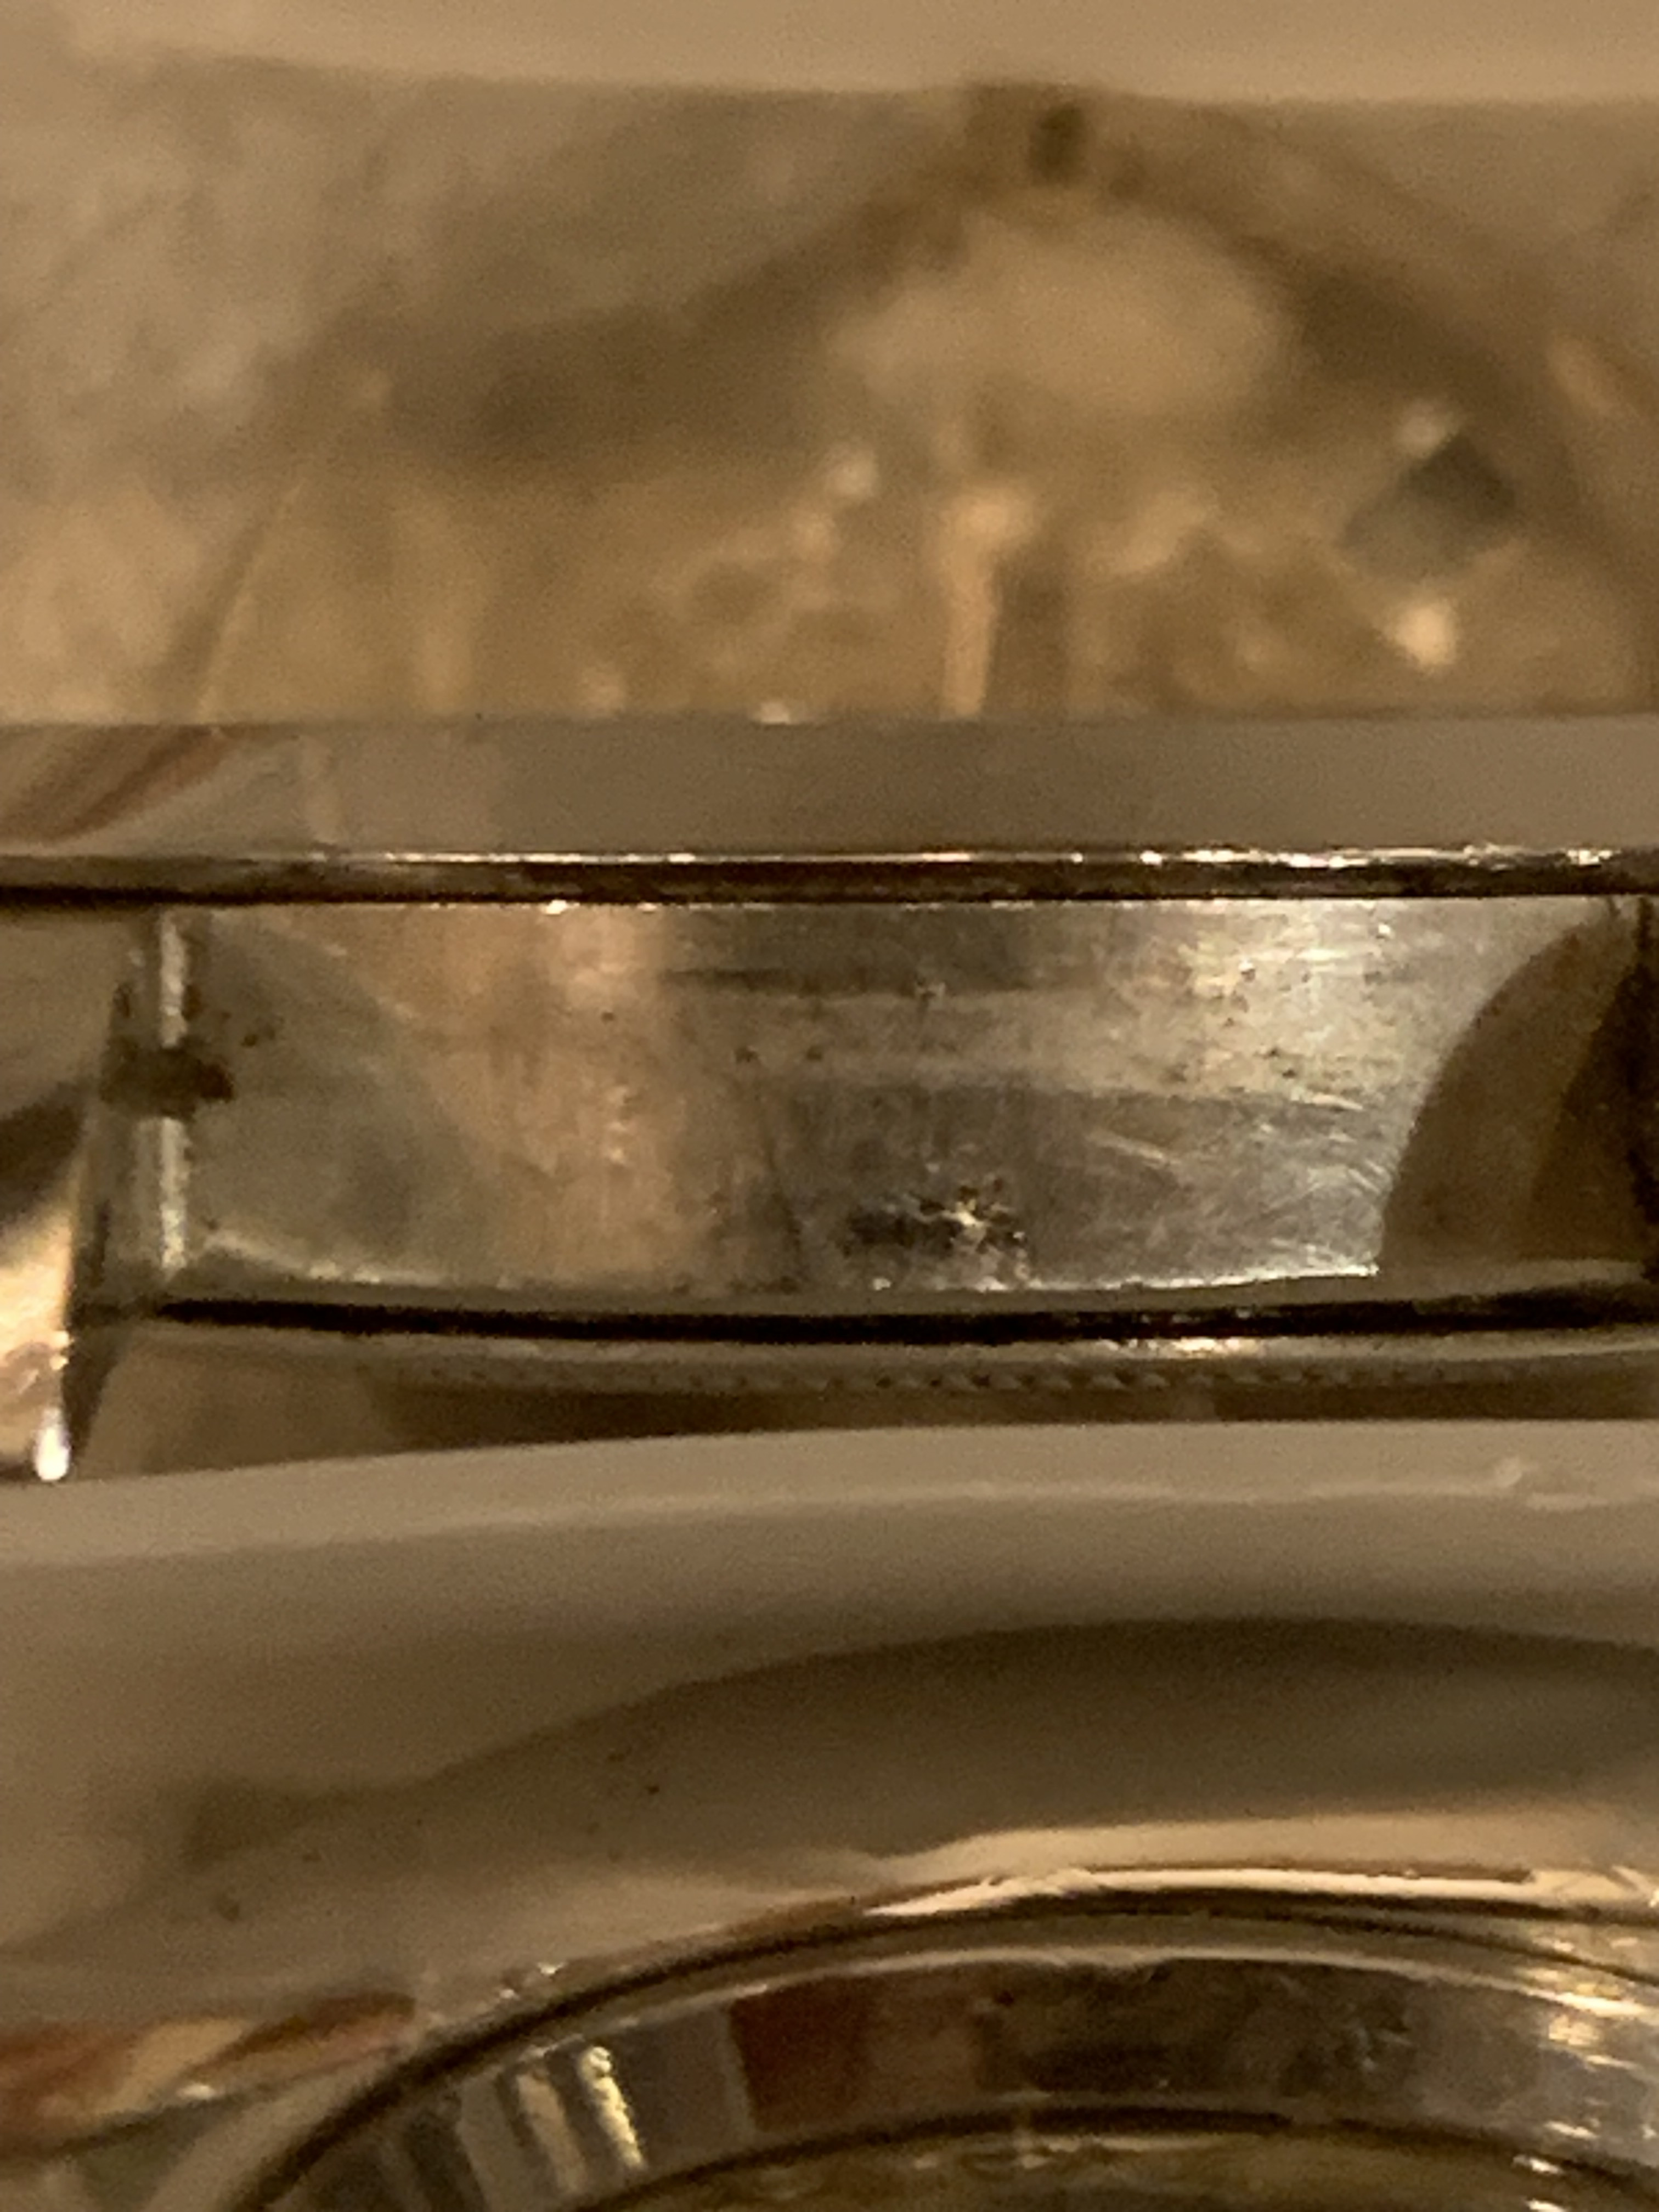
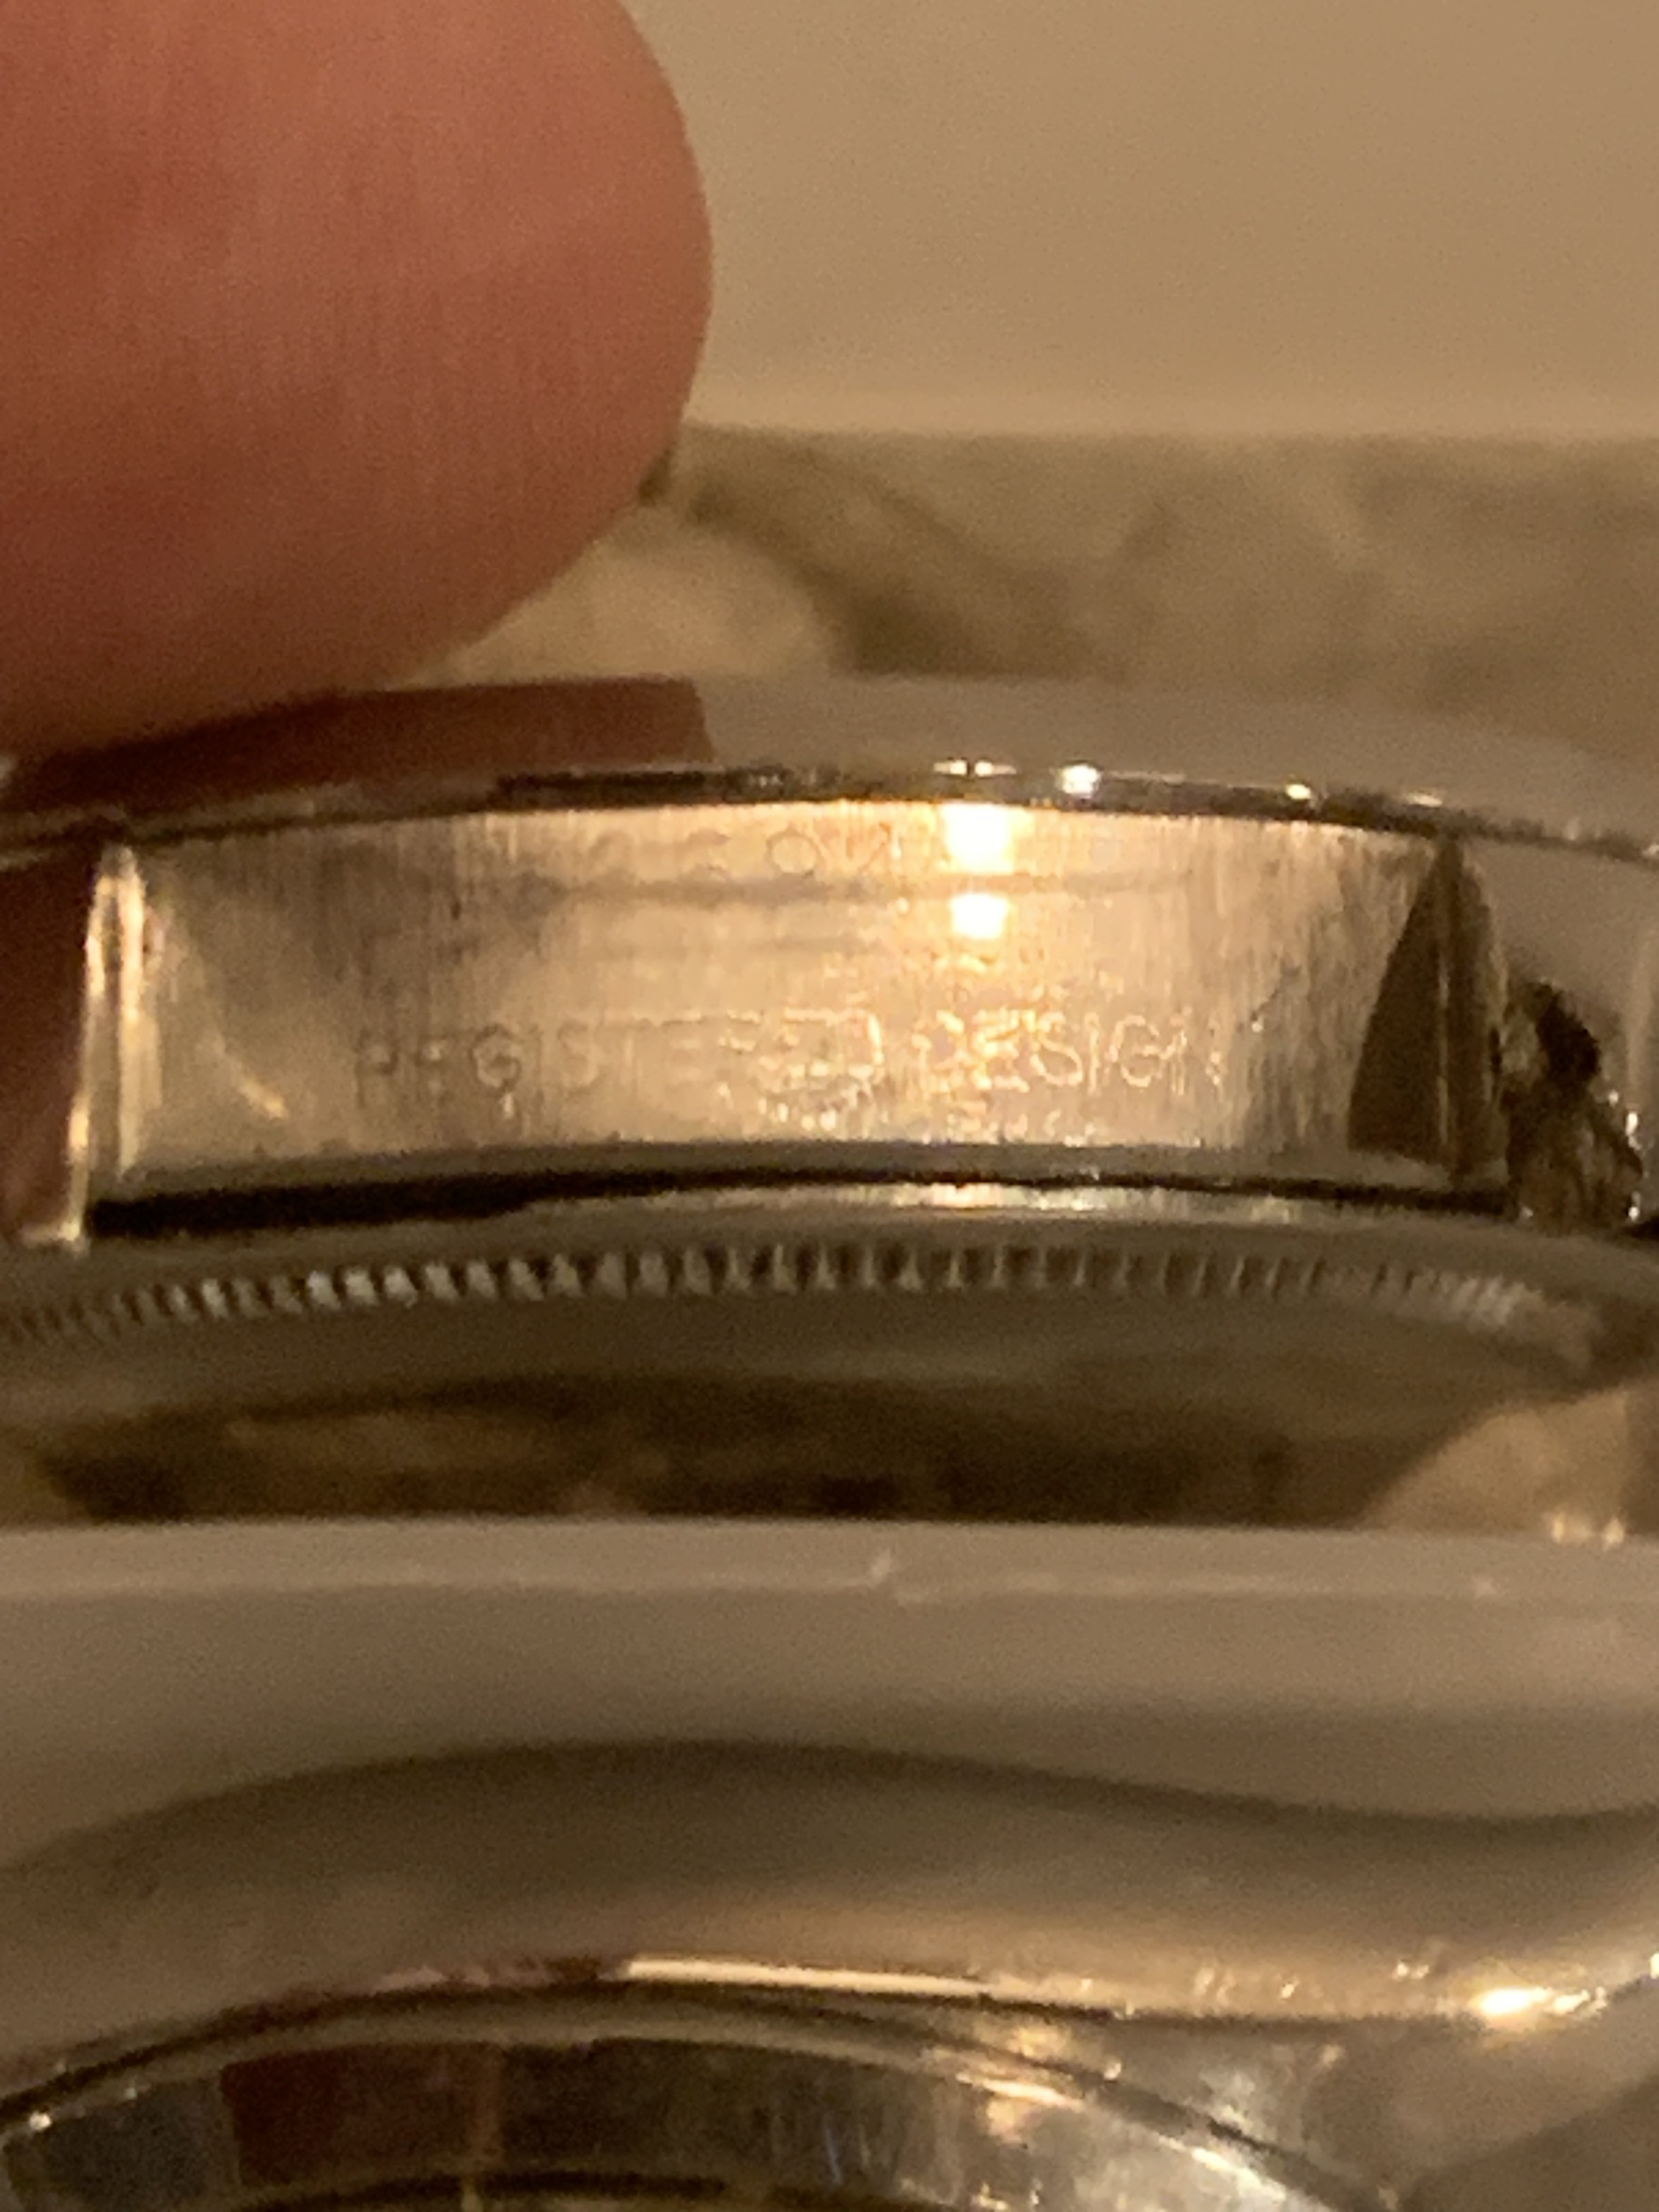
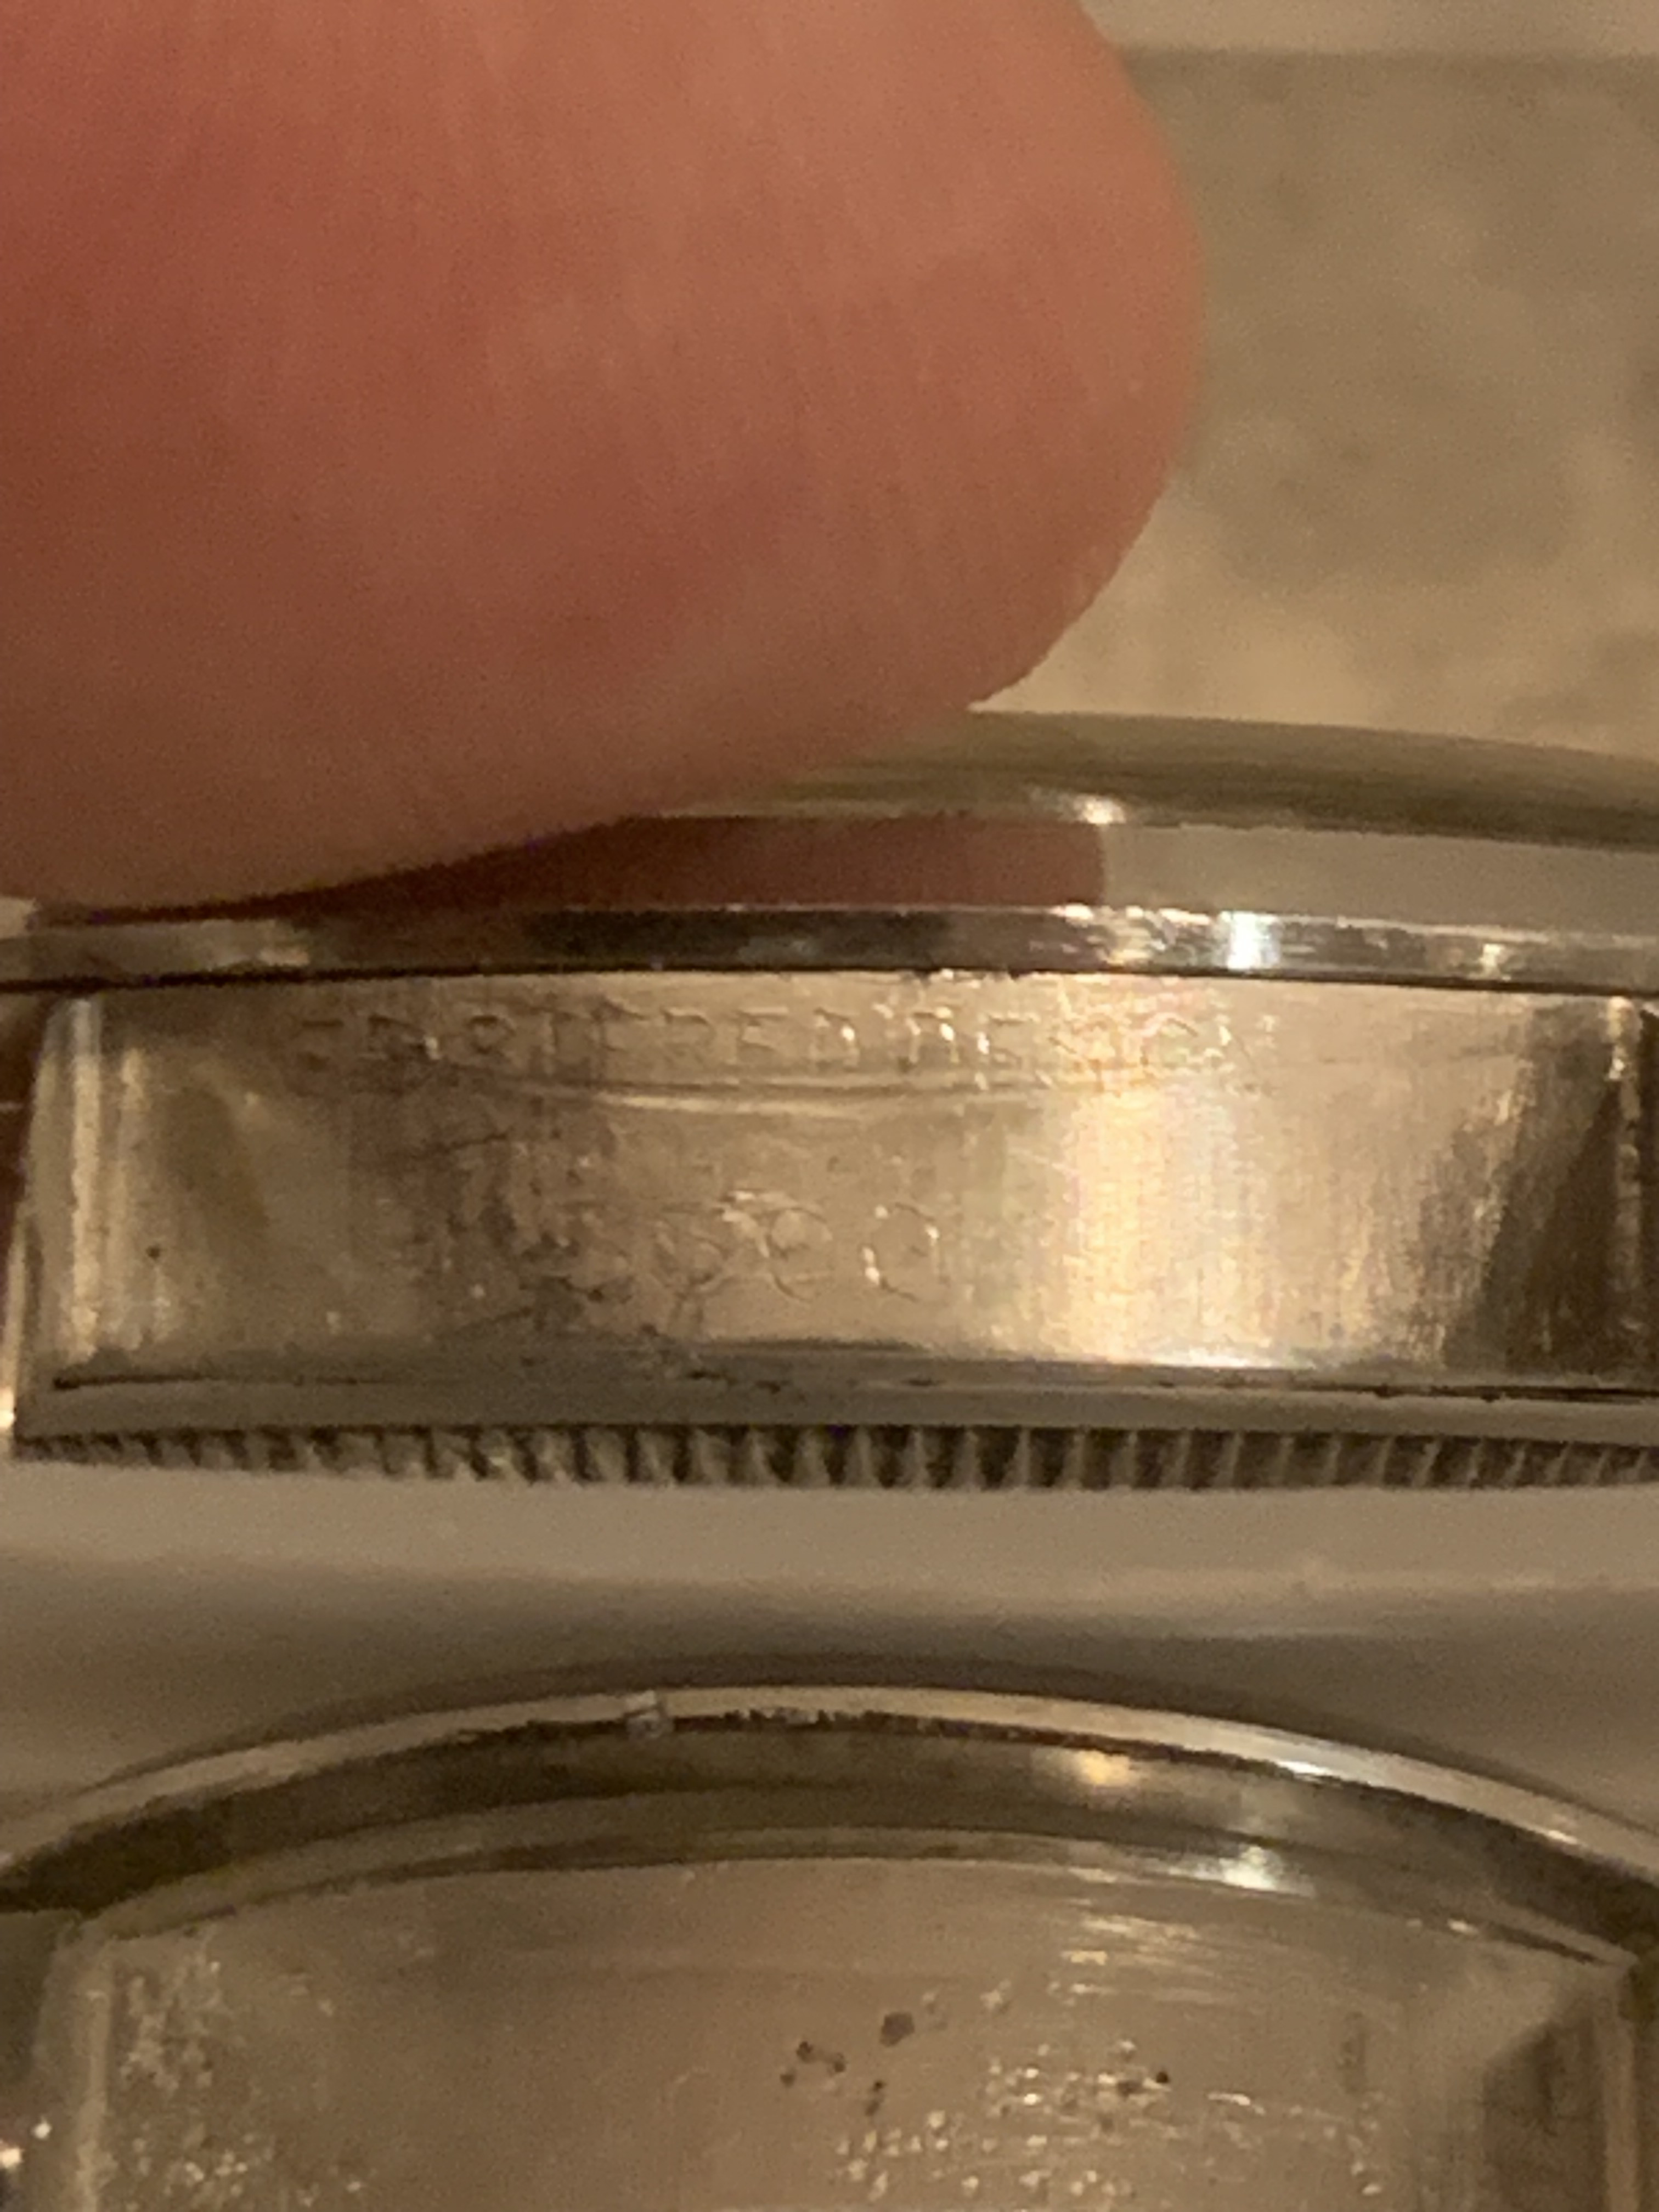
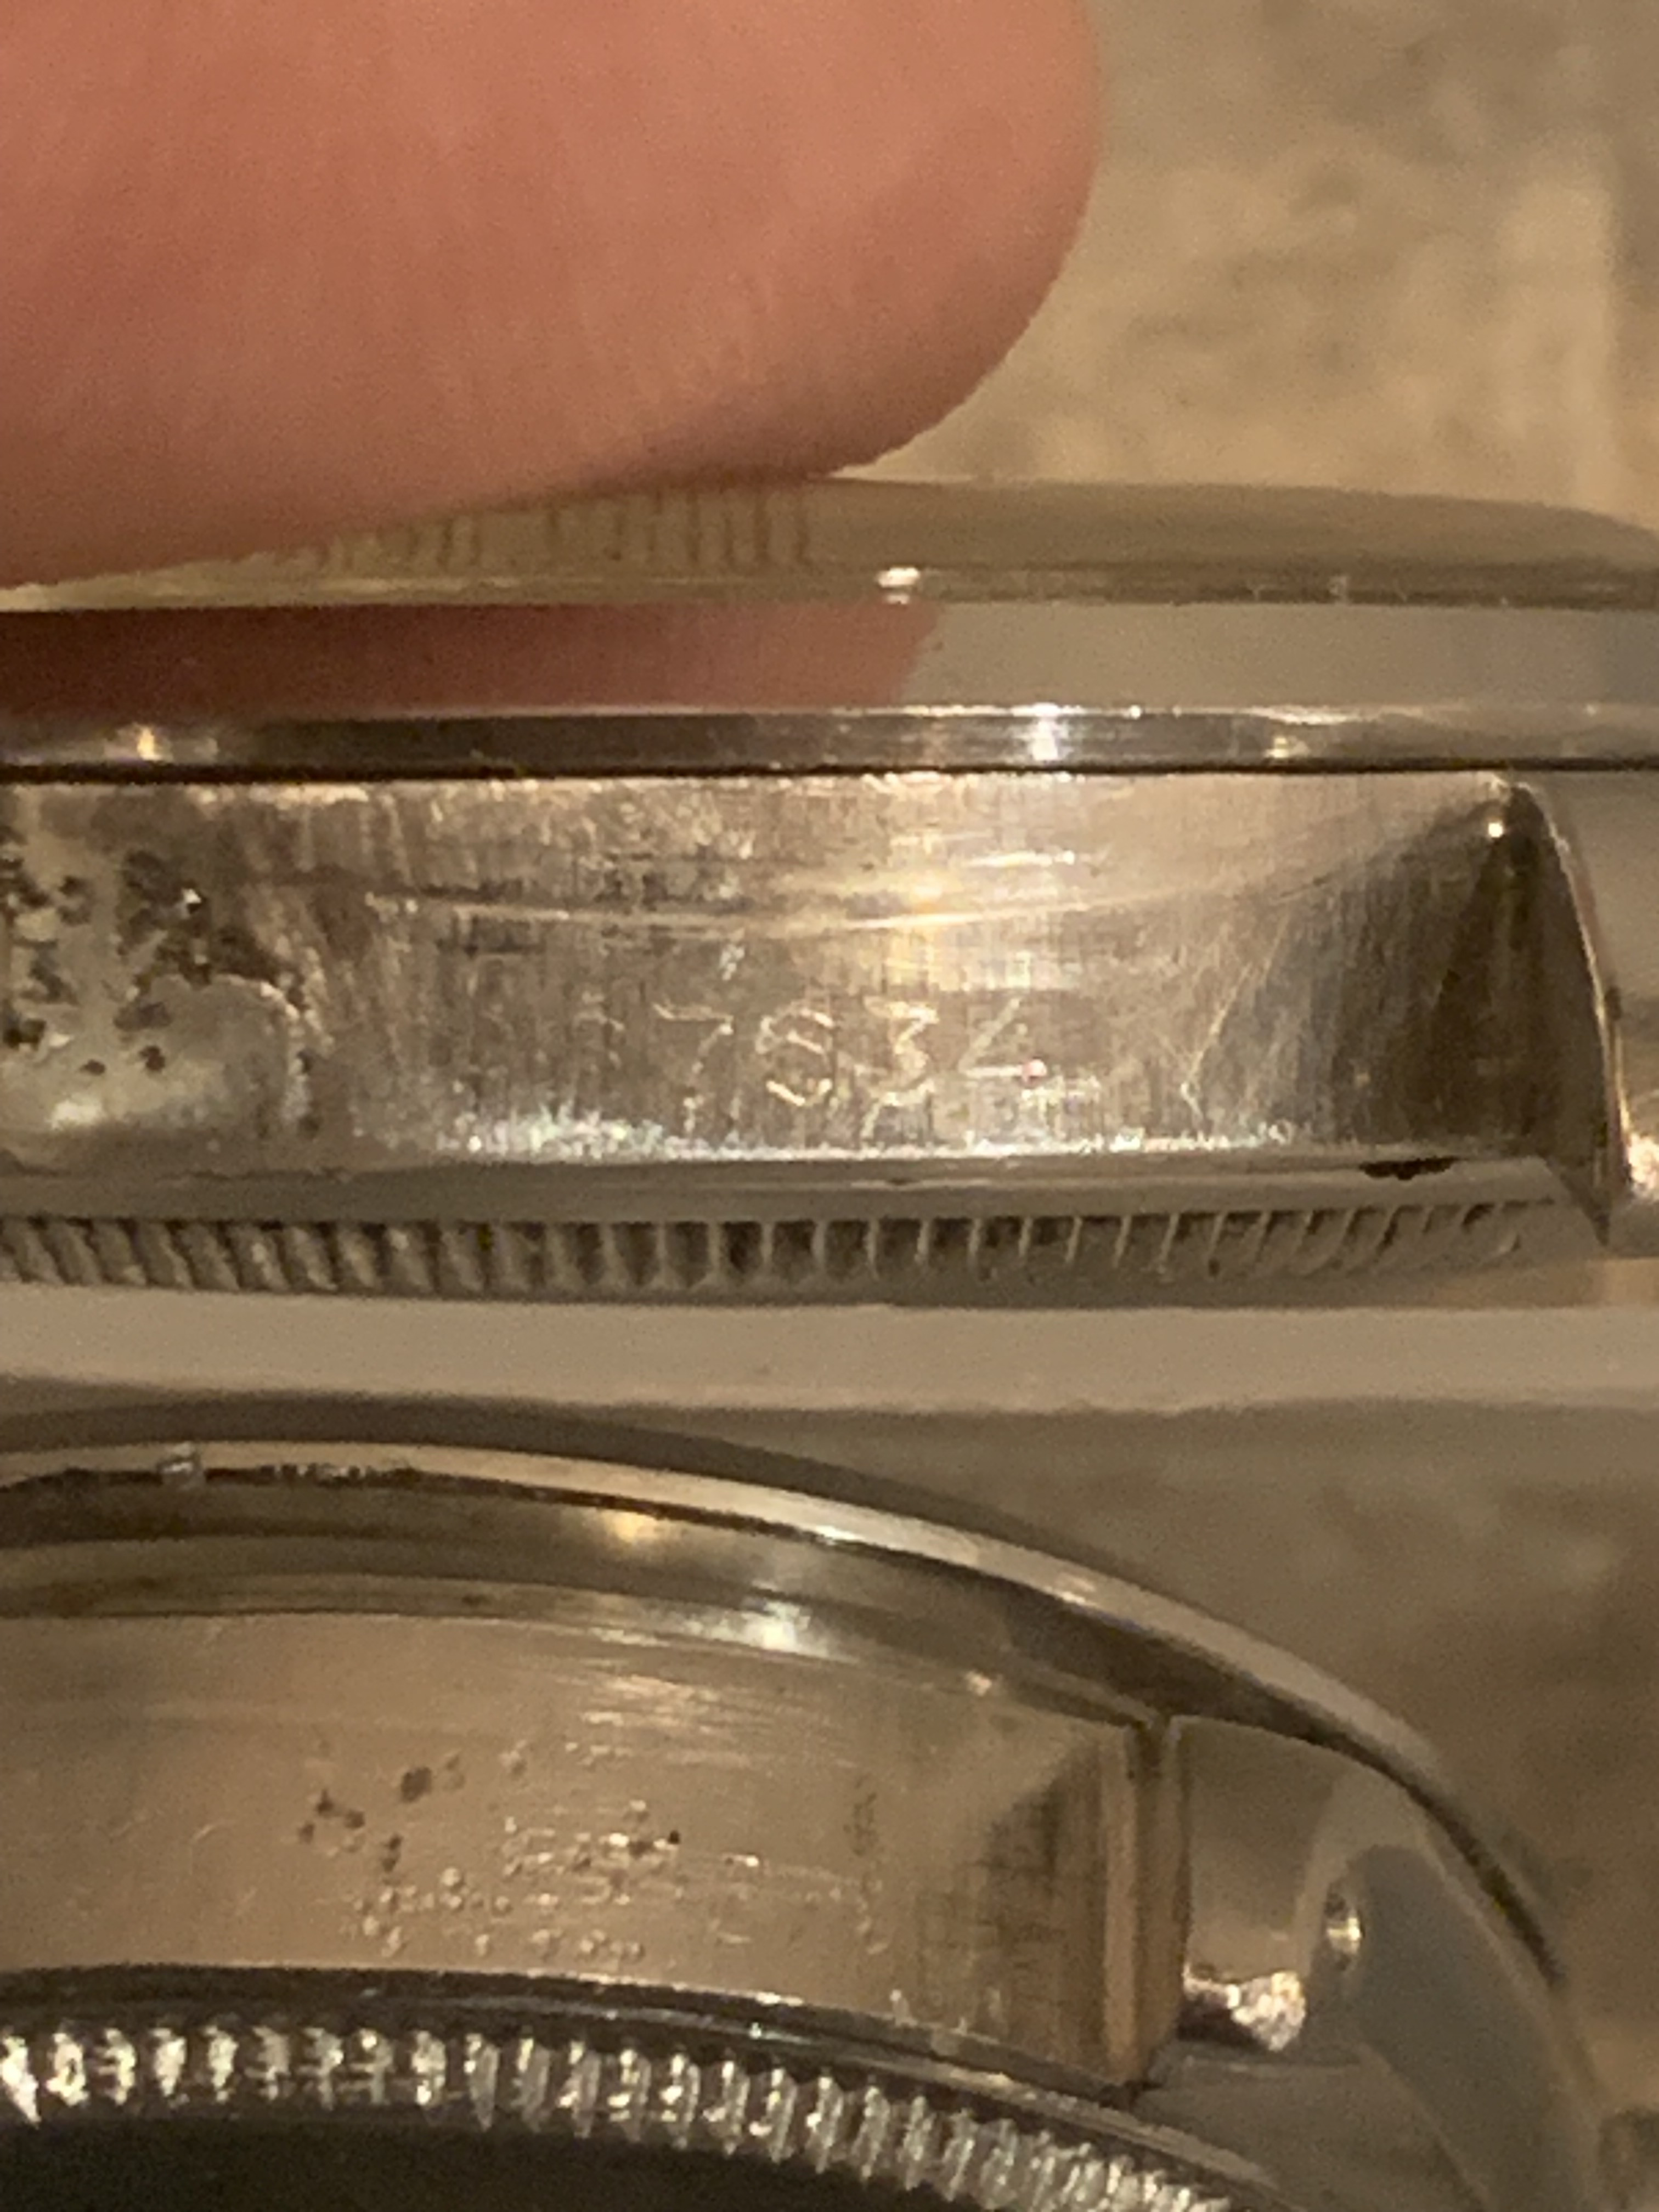
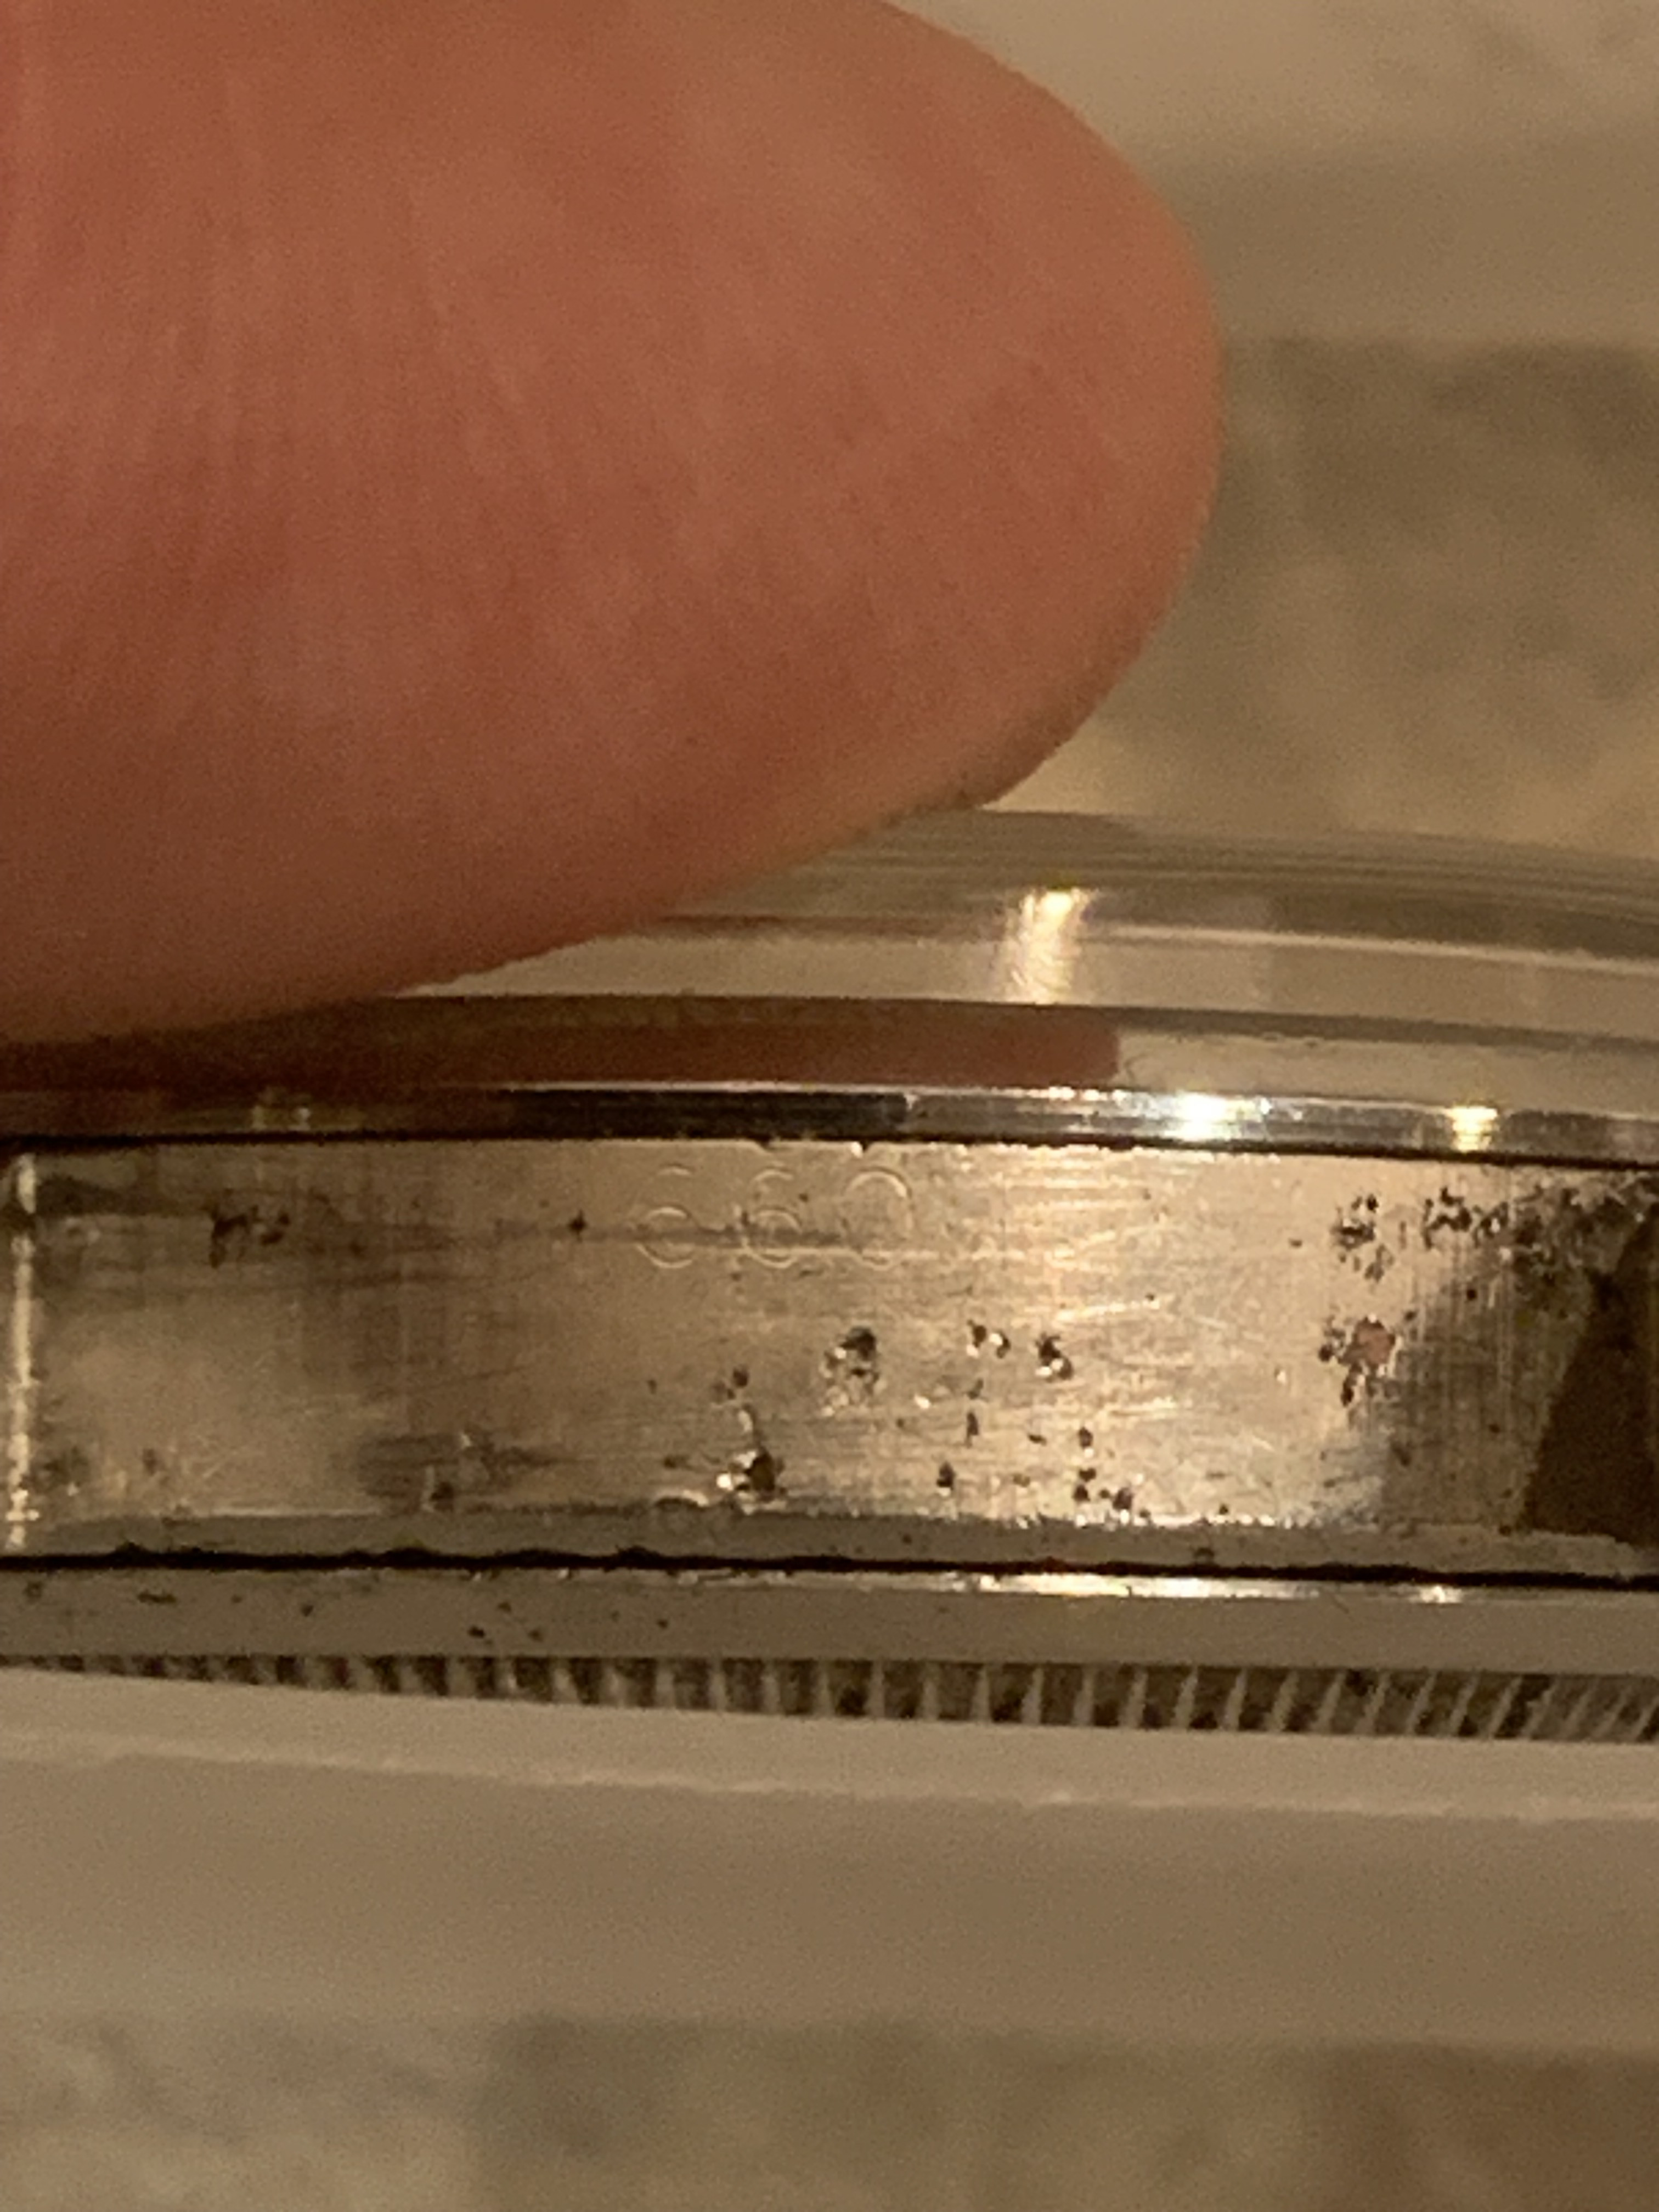
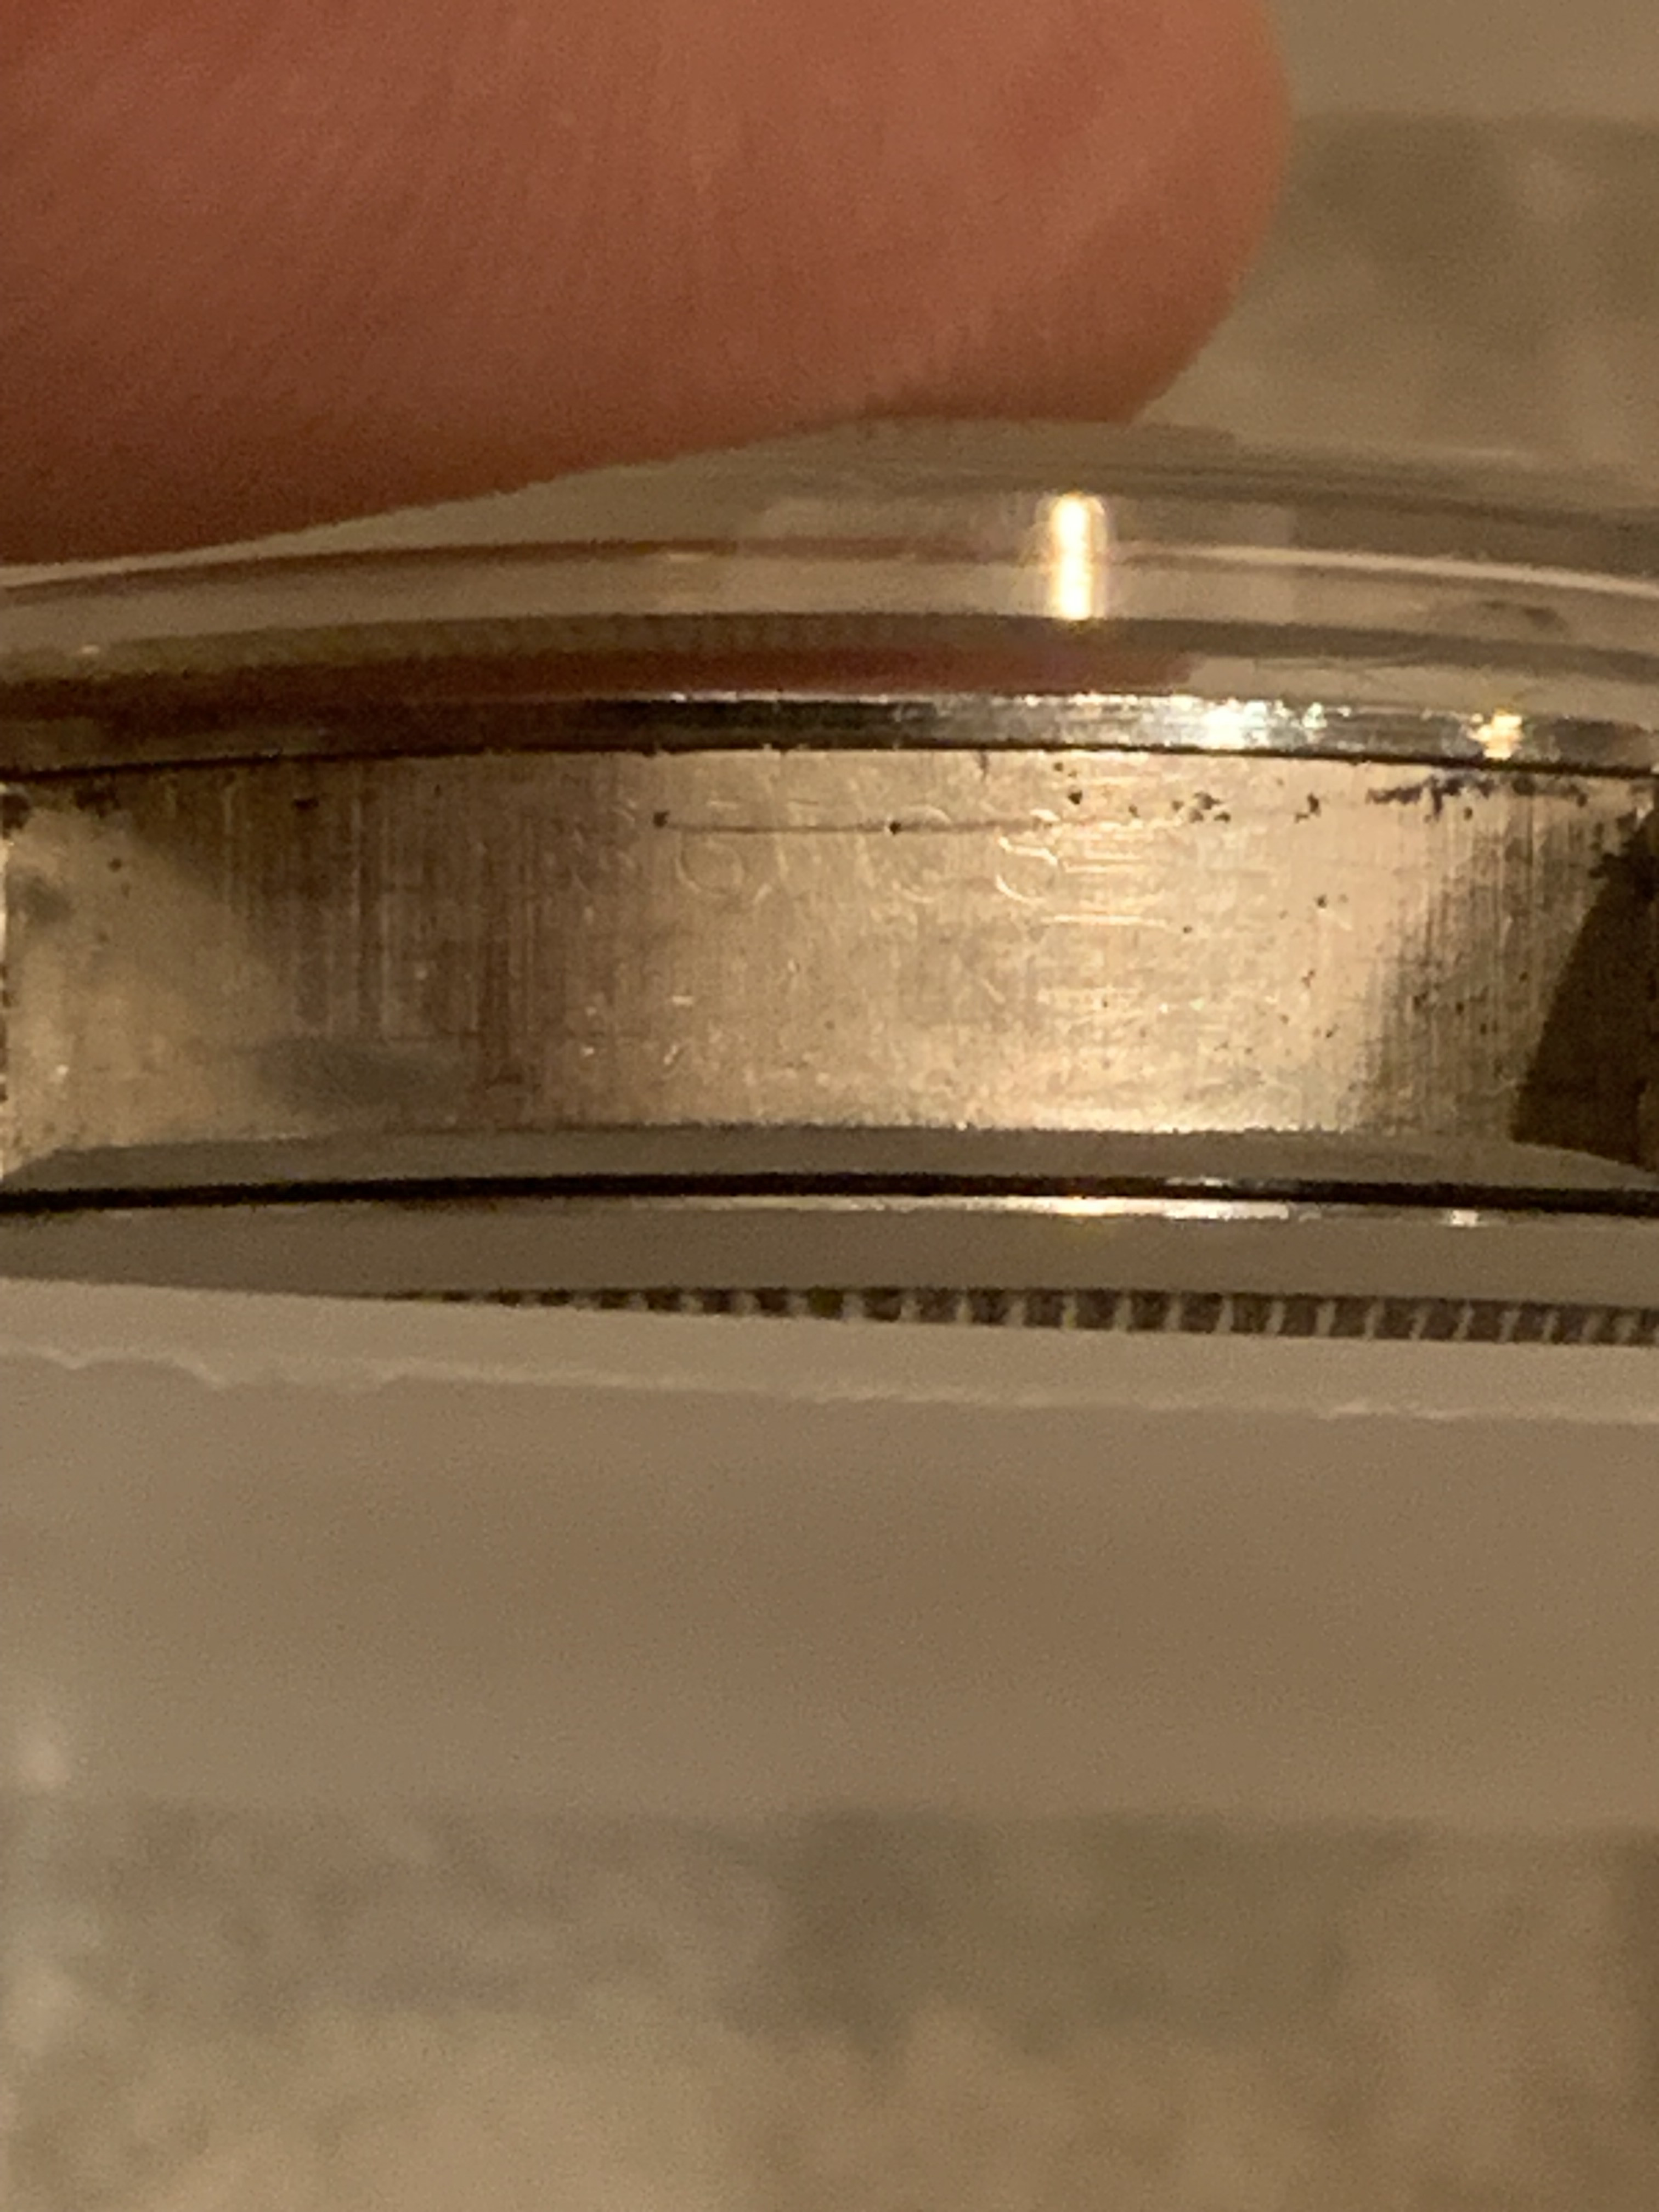
Some vintage gen cases I had handy for reference.

Probably due to the rattle of the older end links grinding the metal, and the corrosive pits from moisture and sweat getting trapped here, this engraved area is often very rough…which is good, because that means this process doesn’t have to be perfect.


pullthat92

Gonna make it
Certified
16/10/23
197
130
43
About that hands aging... If I soak and torture the hands in alcohol, salt, vinegar, hydrogen peroxide, etc., wouldn't the luminescence melt and fall off?
And I want to apply and fix powder-type paint on the dial, is there a suitable spray? One that produces a matte effect.
 

Karbon74

Pika Factory
Patron
Certified
5/5/23
10,351
20,220
113
EU - Kalos Region


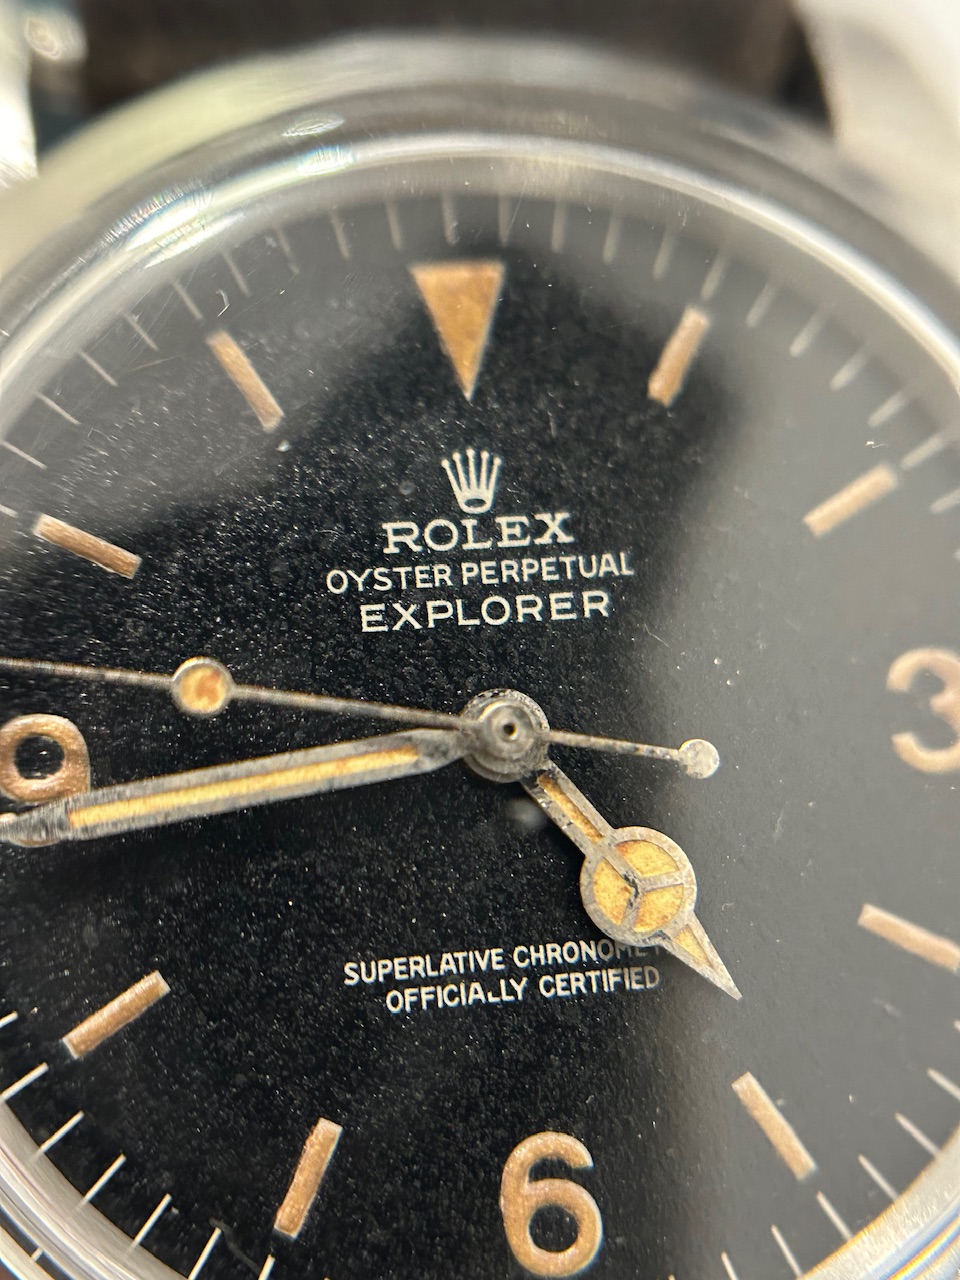
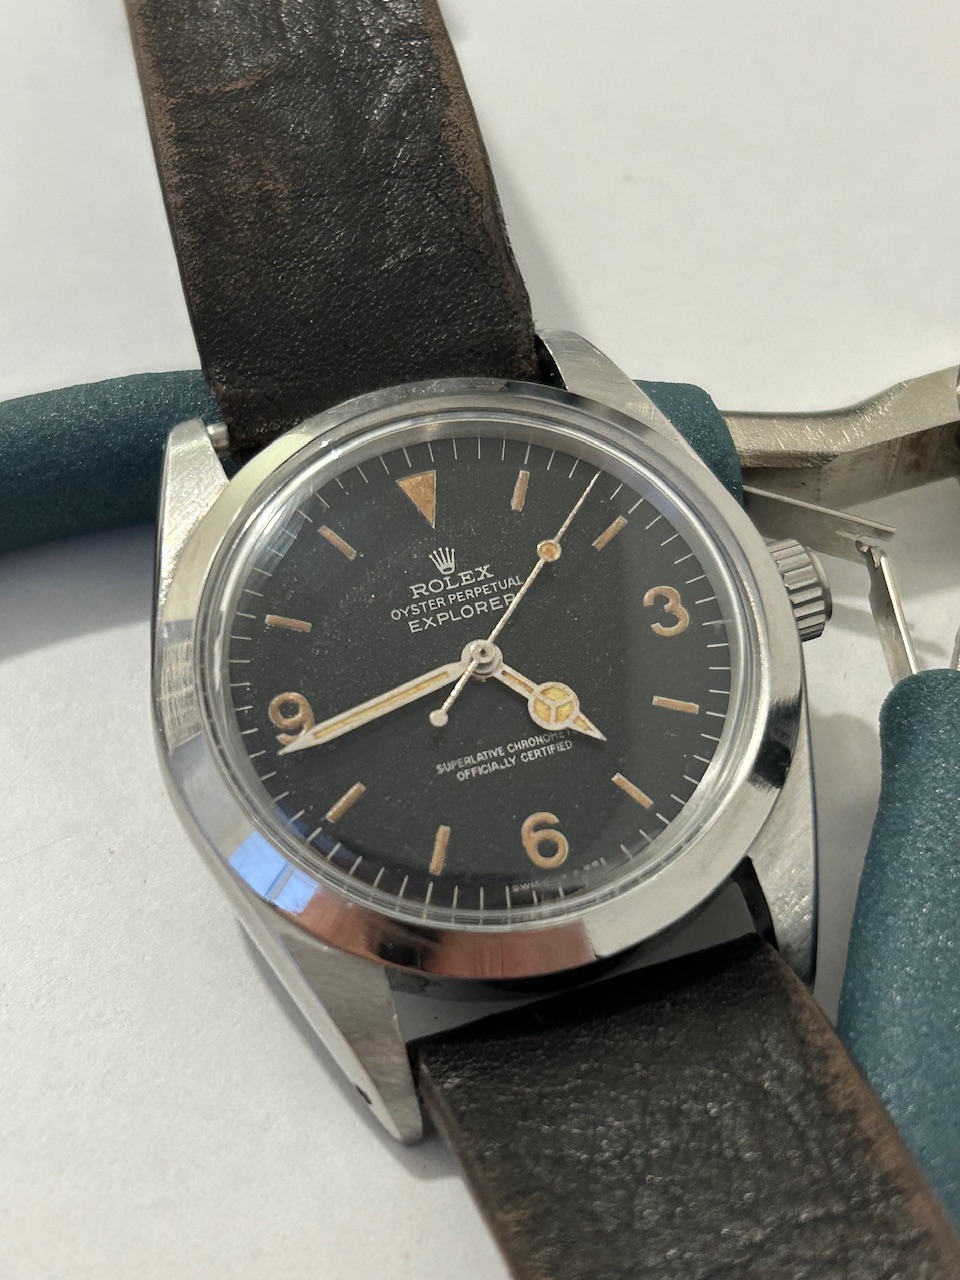
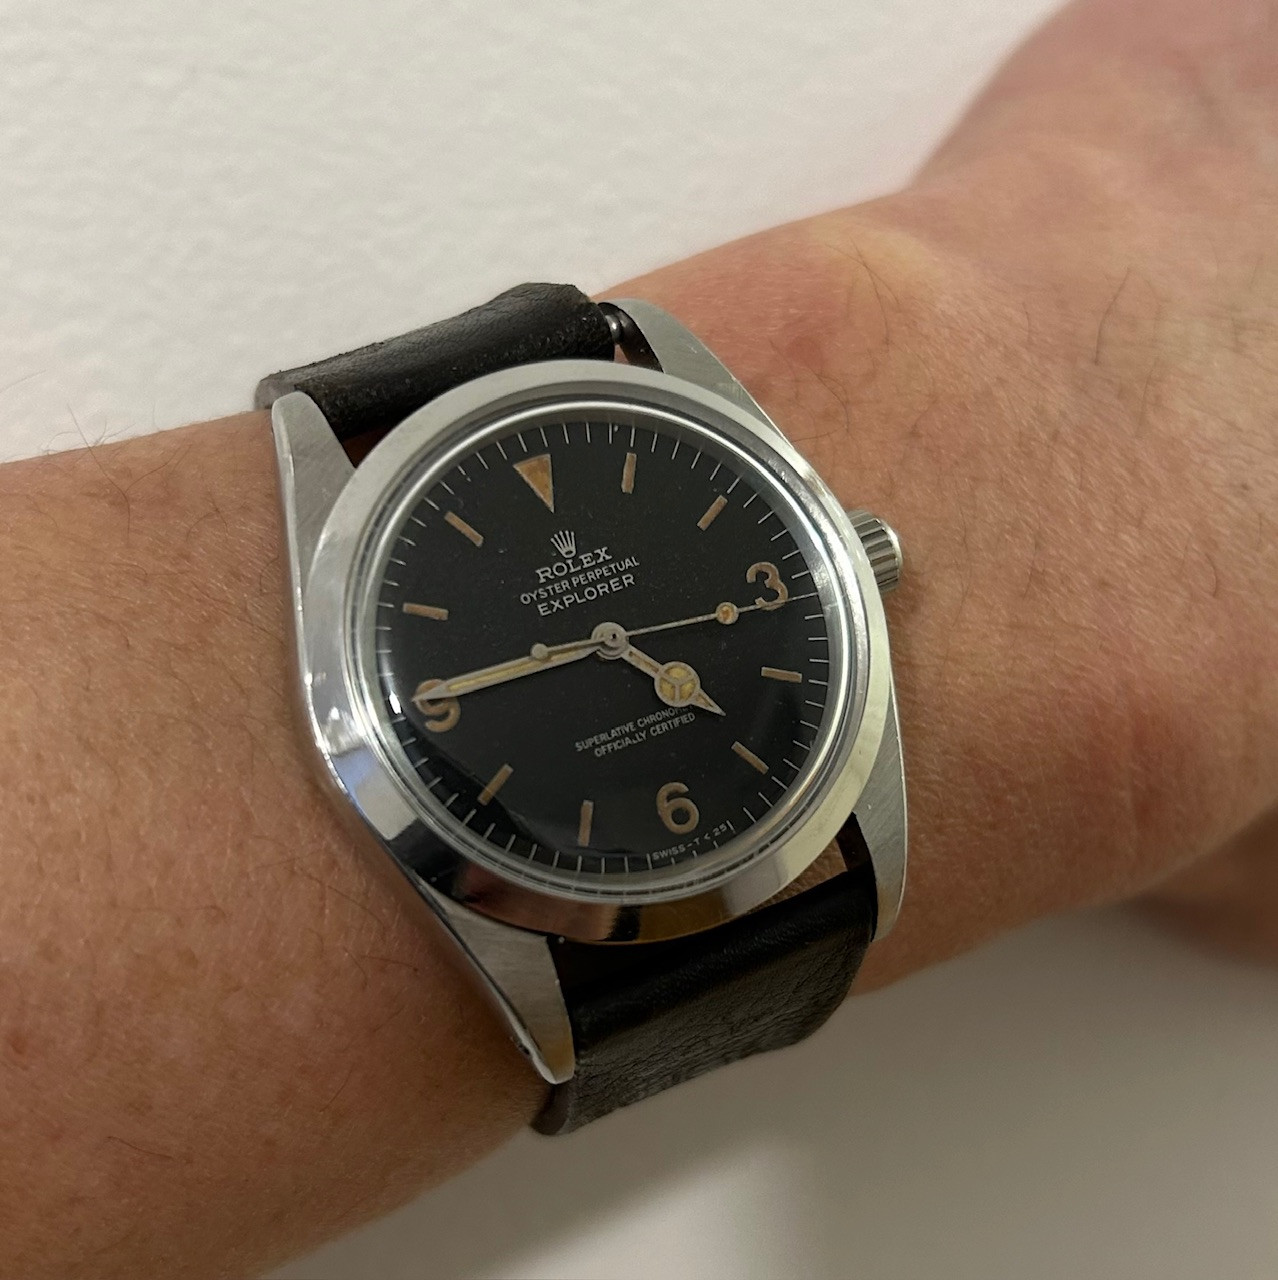
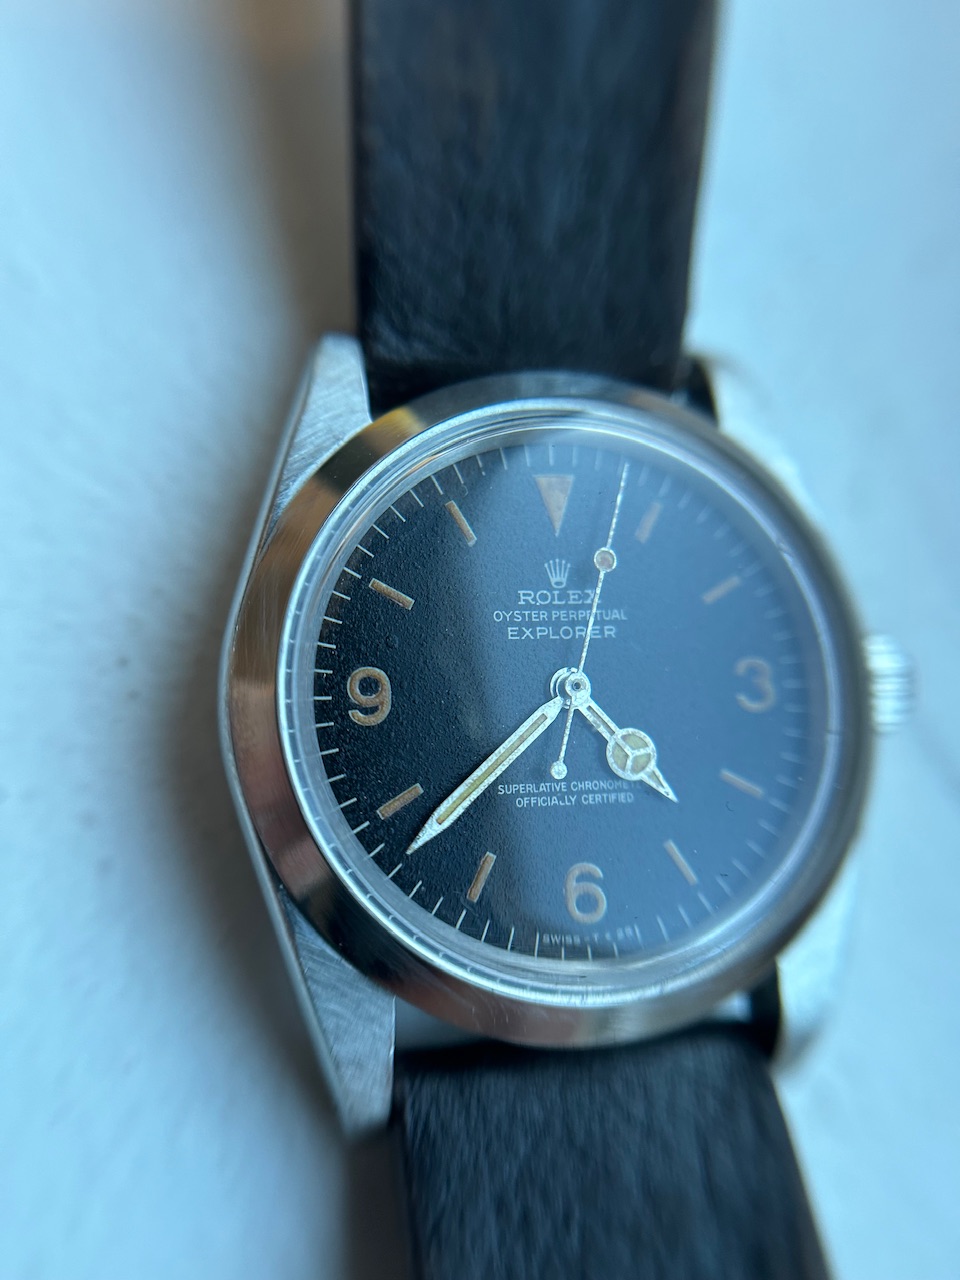
and I am done 😁
a few things left to consider:
-the bezel is too "new" need to age it a bit but not too much. just a few dings
-color of hands and dial is not same. hands are lighter but the effect on them is so nice
-waiting for the 455B to put the bracelet but I found an old Ferragamo strap that I repurposed.
 

Karbon74

Pika Factory
Patron
Certified
5/5/23
10,351
20,220
113
EU - Kalos Region
About that hands aging... If I soak and torture the hands in alcohol, salt, vinegar, hydrogen peroxide, etc., wouldn't the luminescence melt and fall off?
And I want to apply and fix powder-type paint on the dial, is there a suitable spray? One that produces a matte effect.
depends on what hands you use. Whatever Ken does to his parts, they are near indestructible 😅
The only issue I had is that the hands aging actually cleaned my paint layer 😭 which explains the lighter color SMH. So you might want to do the metal before the paint.

@369mafia uses weathering dry paint. I saw some using makeup too.
 

1016_idiot_savant

Active Member
Supporter
Certified
3/2/23
482
1,407
93
Denmark
Could someone share a "recipe" for alcohol, salt, vinegar, hydrogen peroxide hands ageing - I'd like to give it a try!
 

Karbon74

Pika Factory
Patron
Certified
5/5/23
10,351
20,220
113
EU - Kalos Region
Could someone share a "recipe" for alcohol, salt, vinegar, hydrogen peroxide hands ageing - I'd like to give it a try!

you need to adjust because this is for biggy pieces. I just put the liquids randomly and wait until they look the part. Then I dunk in water to stop the action. Careful, once it starts it goes fast.
 

Caboose

I'm Pretty Popular
Patron
Certified
27/2/15
1,528
2,179
113
CONUS

you need to adjust because this is for biggy pieces. I just put the liquids randomly and wait until they look the part. Then I dunk in water to stop the action. Careful, once it starts it goes fast.
Are you having to re-lume these afterwards?
 

Karbon74

Pika Factory
Patron
Certified
5/5/23
10,351
20,220
113
EU - Kalos Region
what spring bars do you use?
I used the Cousins ones but they protrude from the lugs...So I savagely cut them, but surely there is a better way?
 

dpd3672

Putting the "whore" in "horology" since 2023
Patron
Certified
29/5/23
1,750
2,863
113
USA
I came up with a cleaner print of the case engravings (the one I did earlier was just a rough test/proof of concept experiment), and I'm going to try a few practice runs first, but hoping to get a Raffles case etched tonight, knock on wood.

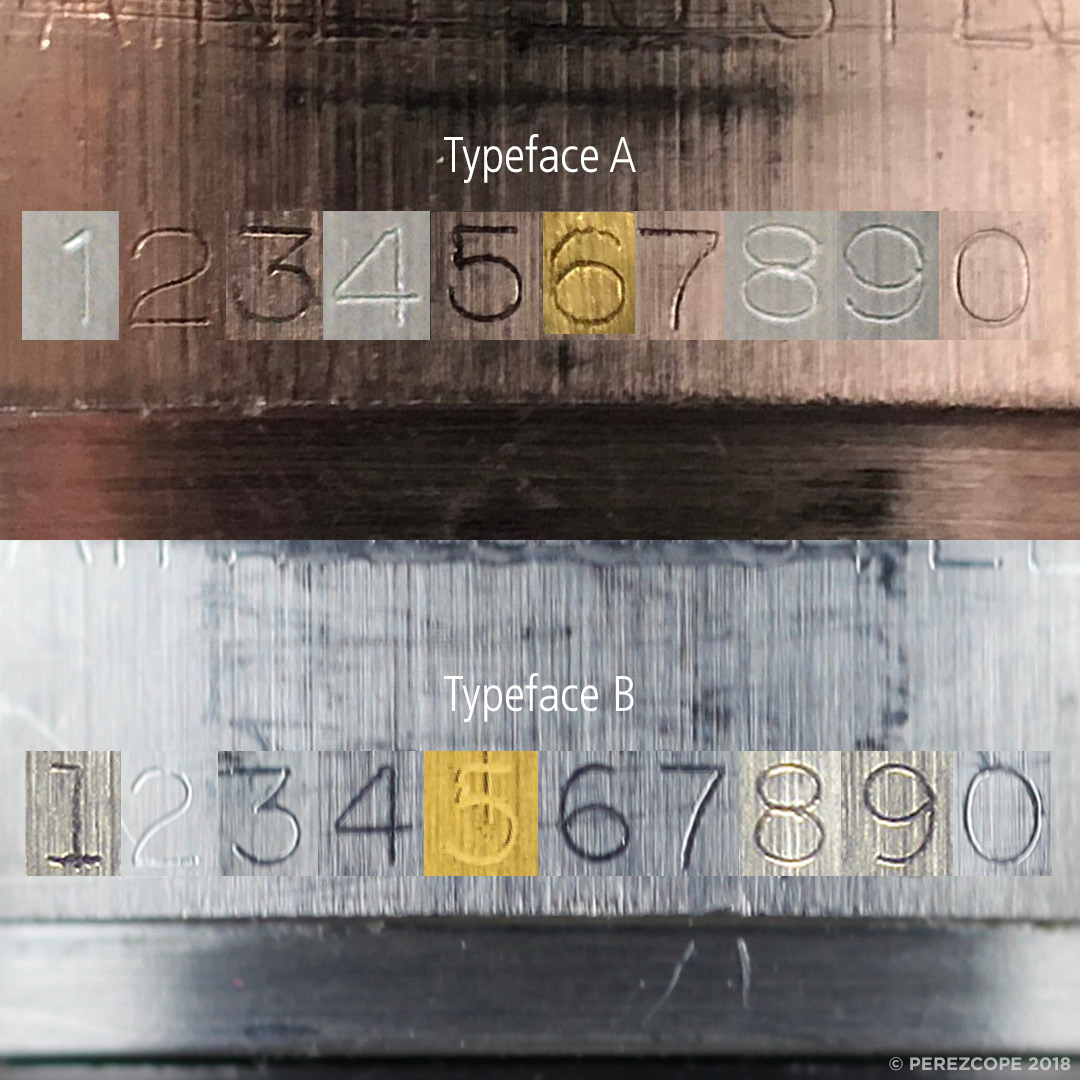
The original was something I whipped up from screen shots and editing with the paint brush. This one started with a blank slate, and the font I used is very close to the OEM Rolex font (although not perfect, sadly...but for the size and where it's going, it should be more than good enough). Rolex actually used several different fonts over the years, so unless you're the Rainman of Rolex Minutia, this should pass even a close inspection.

These are the Fonts Rolex used, primarily, and mine are more or less consistent with the first one:


I can't upload the original document I created to Clickpix, so I had to convert to a jpg, which left some artifacts...the original document is quite a bit cleaner.


Still, as a jumping off point for anyone looking to experiment with this, it should save you a lot of the formatting work. You will have to tweak the size to scale it so that each of the rectangles is 20mm (or 19mm for a 5500 or Air King) wide.

Under the heading "MODEL NUMBERS," I did one row horizontally of most of the commonly built vintage models...Explorers, Air Kings, Datejusts, Subs, and GMTs. I also did a couple of rows of blank, (no model number) ones, so you can add the one of your choice (I didn't add Daytonas, for example, since I think most of them have case engravings, IIRC).

Under the heading "SERIAL NUMBERS," I wanted a starting point based on year, so I did one early serial number for every 5 years, from 1950 to 1985, which covers most of the ones we tinkerers are building (4 digit Subs and GMT and Explorer and OP and Datejusts). The trick to figuring them out is the last 2 digits are the year starting with that number...so the first row is the S/N that started in 1950, and the last 2 digits are "50." There should be an entry every 5 years, which should cover most of the watches we build. I also added 1953, since that's an exciting time for both Subs and Explorers, and 1968, which is my birth year (in case anyone wants to buy me a present, lol).

In short, what you'll need to do to etch these numbers onto your watch case is cheap, easy to use, and very simple, and it's pretty hard to screw up, if you prepare things correctly.

1) Clean the area to be etched thoroughly...soap, water, friction, even a mild abrasive like steel wool, a pencil eraser, light sanding with sandpaper, etc. you want it smooth and clean. I'd recommend one last wipe with a strong solvent, like acetone or denatured alcohol.
2) Copy this sheet (below) or one like it. You'll have to adjust the settings so that each rectangle is 19-20mm and fits between the lugs of the watch.
3) Print on thermal transfer paper. It's usually yellow, and is used (generally) for printing circuit boards.
4) Cut out the little black rectangle and press it to the case, between the lugs. Make sure it makes full contact, with no gaps. Masking tape works pretty well for this.
5) Use heat to melt the ink/toner to adhere it to the case. A hot iron is about perfect. The instructions say 150-180 degrees Farenheit is what you're looking for. Use heat and pressure for several minutes...you'll need to experiment to see what works. In between rounds of heat, I was using pegboard or a popsicle stick, or a paint scraper to work the paper against the steel.
6) Let it cool
7) Remove the paper backing. Sometimes it peels off. Sometimes you have to soak it in hot water. Again, you'll need to experiment.
8) If everything goes right, you'll have a black negative transfer and no ink where you want to etch.
9) Now the fun begins. You'll need to make an etching tool. While this sounds daunting, it's basically electricity, salt, water, wire, and a q-tip.
10) Mix salt and water in a glass. Yes, it's that easy.
11) Take the wire (2 strand) and touch one strand to the watch case and the other to the end of a q-tip. Attach the other two strands of the wire to the positive and negative sides of an electrical source...a SMALL electrical source. I used an old 5v phone charger, a guy online used a 9 volt battery. I wouldn't go much more than 9v, you really don't need much.
12) Dip the Q-tip into the salt water, and start rubbing the wet end where you want to etch. The water will turn colors...yellow, brown, blue/green. You will see smoke and smell chlorine gas. This is normal. Keep rubbing for 15 minutes or so, or when you see the etching has dug into the metal.
13) Unplug everything, and clean the remains of the ink/toner off of the case.
14) Enjoy the amazing work you've just done!