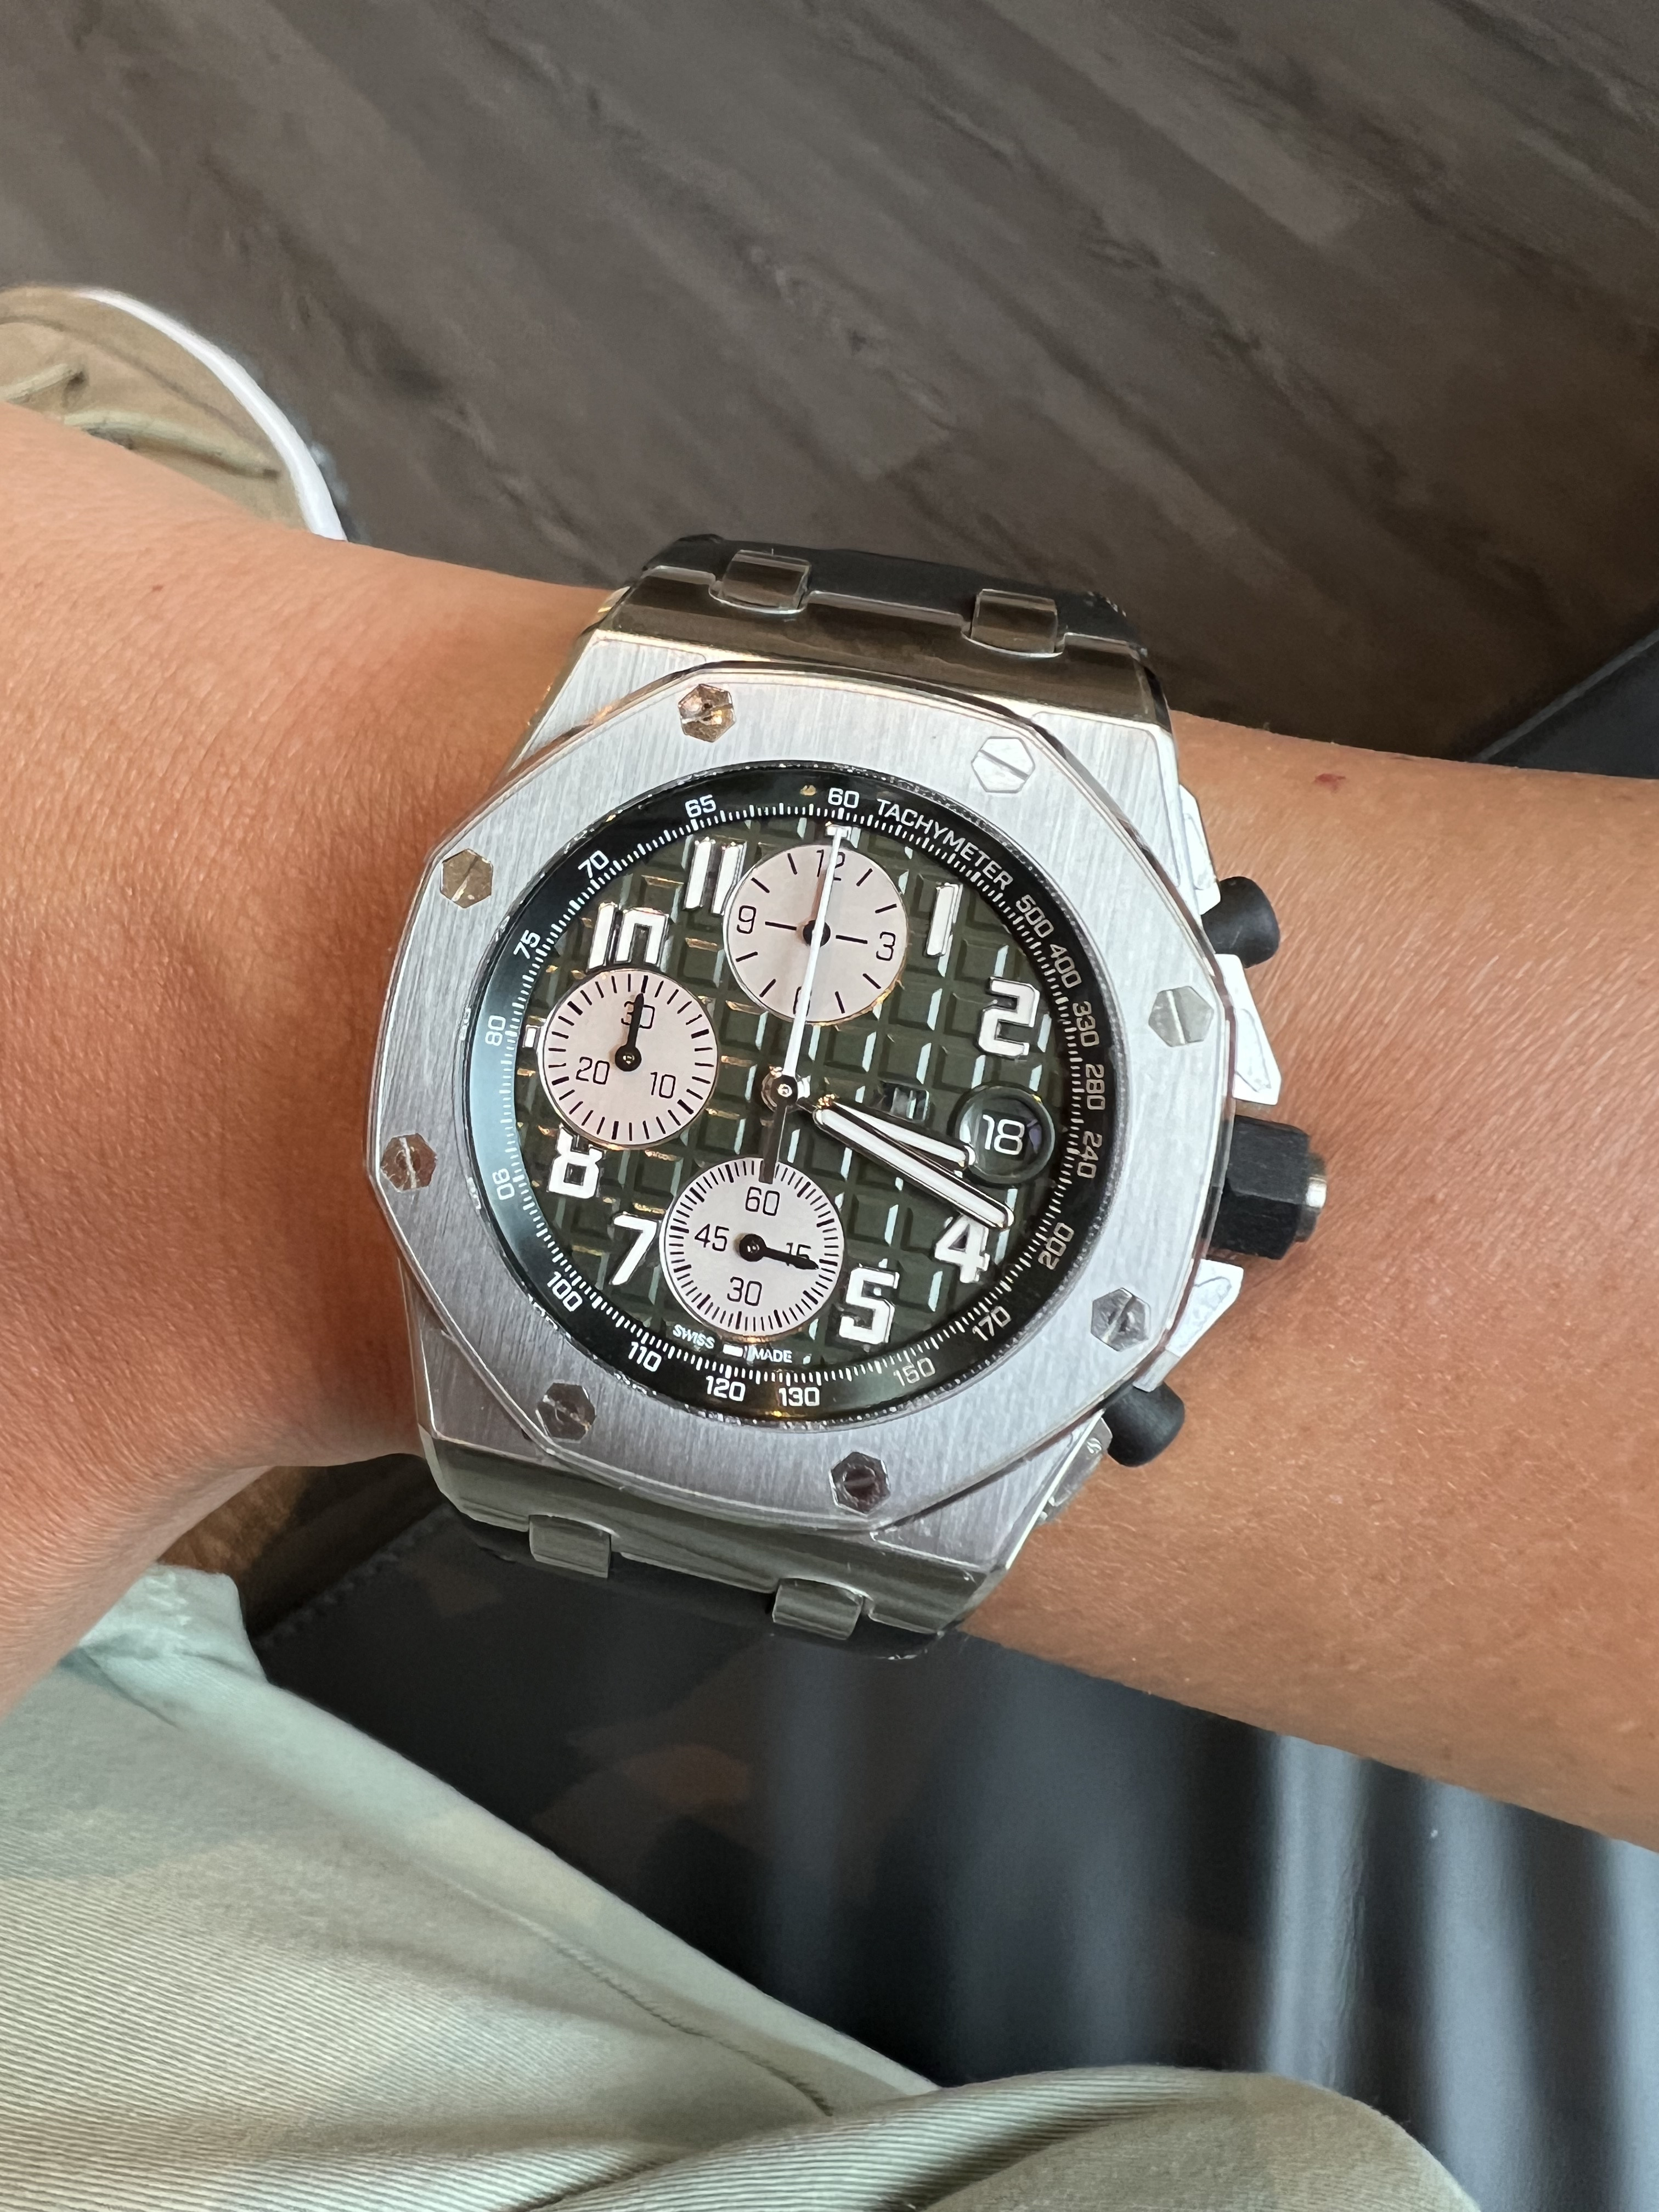
You’re in the best community for rep watches already sir. I’m not aware of any rep watch telegram group of any real repute or quality.Just ordered the 15720ST on grey dial. My first rep. @legend is there a sg telegram chat on rep watch? Am new here and would like to join the community
-
Tired of adverts on RWI? - Subscribe by clicking HERE and PMing Trailboss for instructions and they will magically go away!
You are using an out of date browser. It may not display this or other websites correctly.
You should upgrade or use an alternative browser.
You should upgrade or use an alternative browser.
Finally!! ZF 15720
- Thread starter Kingquest_s
- Start date

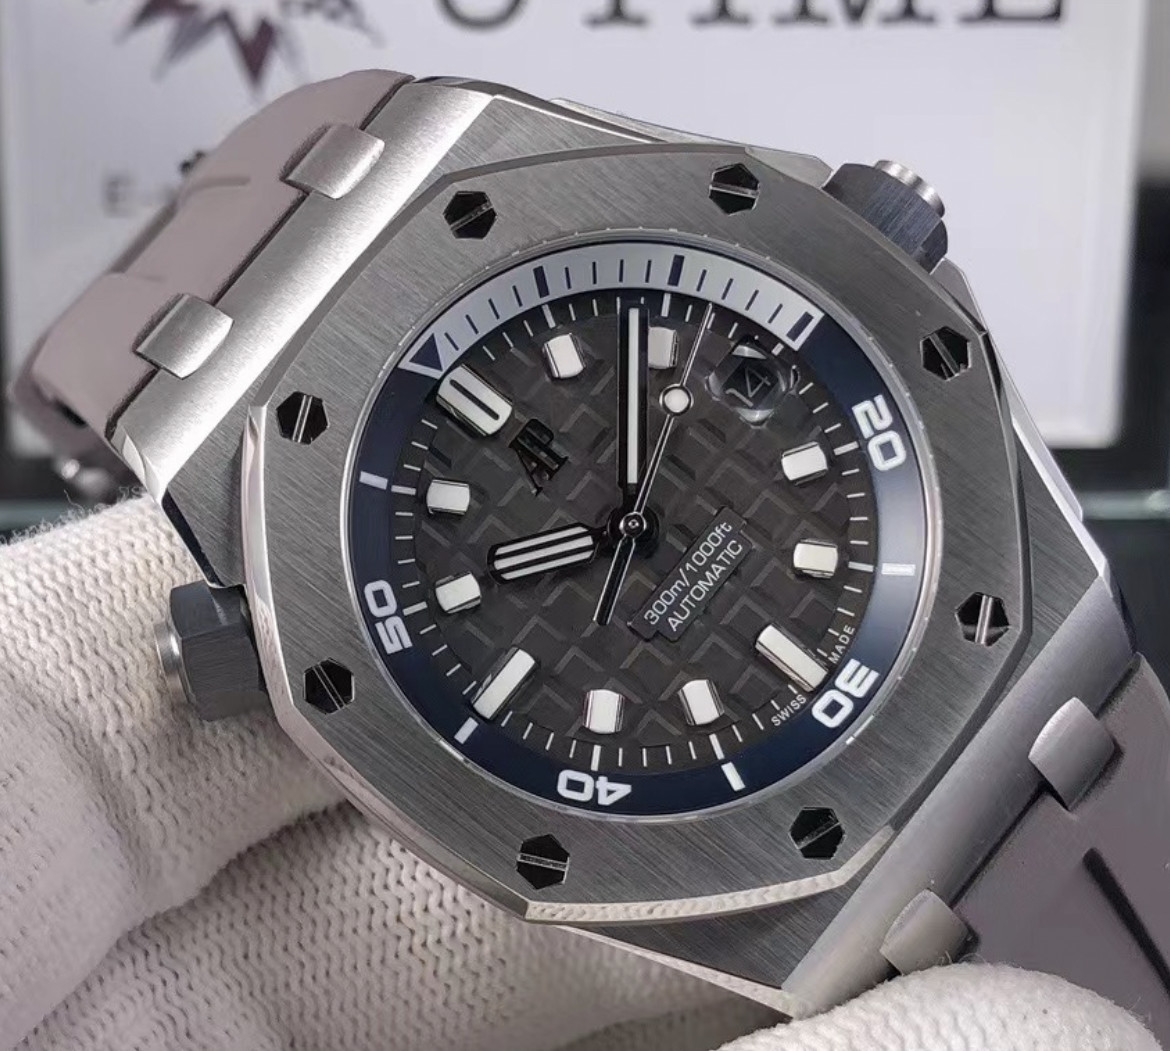
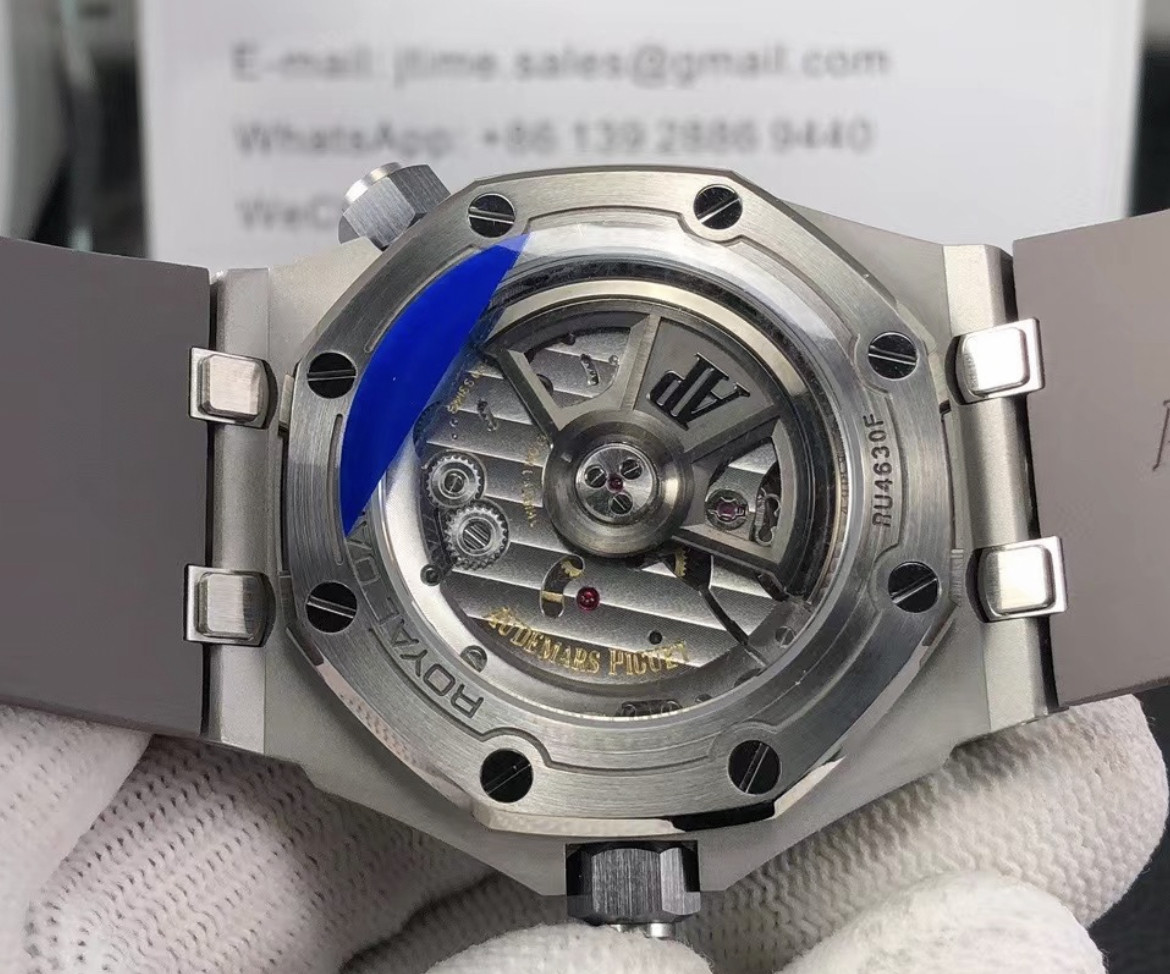
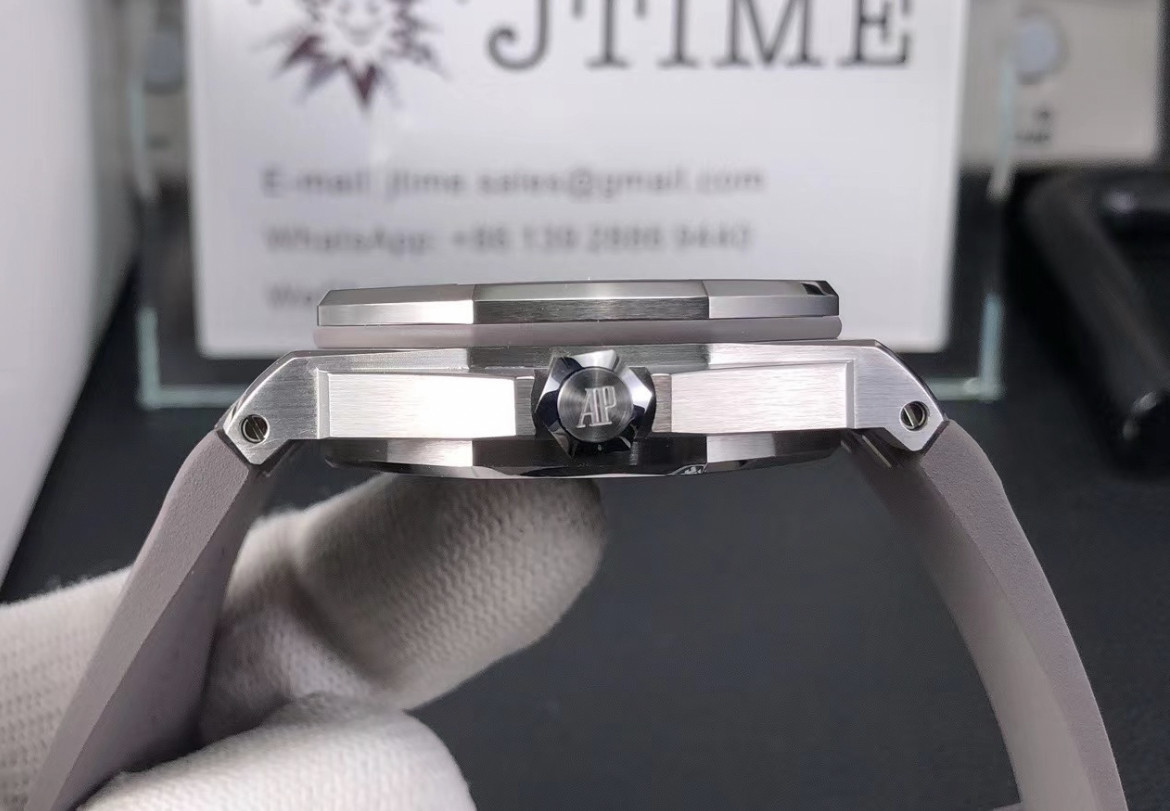
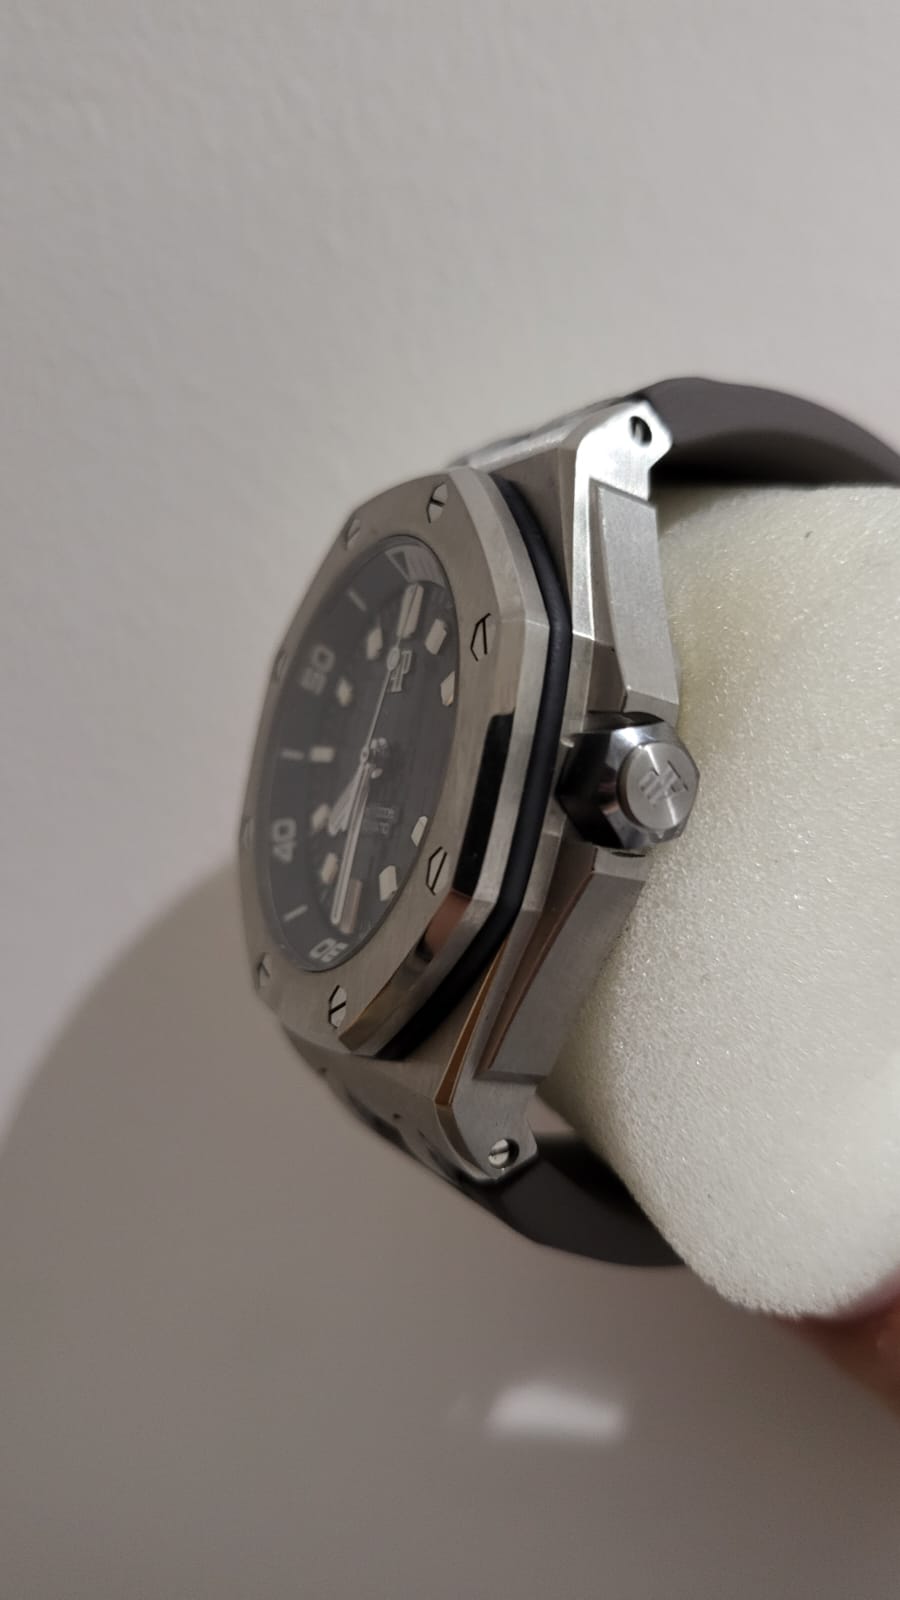
Some already approved QC photos. Grey dial should be here in a week or so.
Next step find a blue bezel gasket. @2blue2day did you ever end up sourcing one?
Next step find a blue bezel gasket. @2blue2day did you ever end up sourcing one?
Last edited:
Some already approved QC photos. Grey dial should be here in a week or so.
Next step find a blue bezel gasket. @2blue2day did you ever end up sourcing one?
I bought 2x 15720 blue and move blue gasket to grey and keep the rest as spare parts.
I dig the commitment. All in. Full send.I bought 2x 15720 blue and move blue gasket to grey and keep the rest as spare parts.
I bought 2x 15720 blue and move blue gasket to grey and keep the rest as spare parts.
That's was my thought initially as the factories do not sell them separately, I have reached out via TDs and they won't have none of it. I don't have cash to buy a whole other 15720 but have decided to purchase some tools and dark blue hairdye to try DIY mod the gasket to atleast closer to gen colour instead!!! Could go two ways. Wish me luck
That's was my thought initially as the factories do not sell them separately, I have reached out via TDs and they won't have none of it. I don't have cash to buy a whole other 15720 but have decided to purchase some tools and dark blue hairdye to try DIY mod the gasket to atleast closer to gen colour instead!!! Could go two ways. Wish me luck
Well I personally know you spent on stuff which made your “don’t have cash to (whatever)” look dubiously untrueThat's was my thought initially as the factories do not sell them separately, I have reached out via TDs and they won't have none of it. I don't have cash to buy a whole other 15720 but have decided to purchase some tools and dark blue hairdye to try DIY mod the gasket to atleast closer to gen colour instead!!! Could go two ways. Wish me luck

But yes do let us know how the blue dye project turns out. Looking forward.
 well touché good sir !!!
Well I was hoping I could get the great one to handle this too but I also know the cost of greatness so I settled on a bottle of hairdye for this project for now haha... quite funny story... I actually purchased this with my works shared amazon account by mistake so when I arrived to work everyone knew and thought I was buying it to hide the greys
I know . black blue sapphire for women... Embarrassed is an understatement 🫣I told them it's for my grey gasket, not my grey head but they wasn't buying none of it . Who would !!

Maybe if I have some left over I'll dye my hair with it anyway, will look great with my matching gasket !!
May need some service when it's done though, so providing it doesn't turn out pink I will be in touch

Interested to see your results. I may have to follow your lead
I'll do my best and keep you posted brother
There was a comparison to gen post on it recently.err AP diver ignoramus here
anyone have any thoughts about the APF release?
- 17/8/18
- 513
- 198
- 43
oh yes, i saw itThere was a comparison to gen post on it recently.
i suppose i should be more specific, anyone have any thoughts about the APF relative to ZF?
from the comparison thread, the APF does seem quite close in color to the gen
in dealer pictures, APF seems to have a noticeable lighter dial and bluer strap than ZF but i don't know if that could just be down to different studio lighting
That's was my thought initially as the factories do not sell them separately, I have reached out via TDs and they won't have none of it. I don't have cash to buy a whole other 15720 but have decided to purchase some tools and dark blue hairdye to try DIY mod the gasket to atleast closer to gen colour instead!!! Could go two ways. Wish me luck
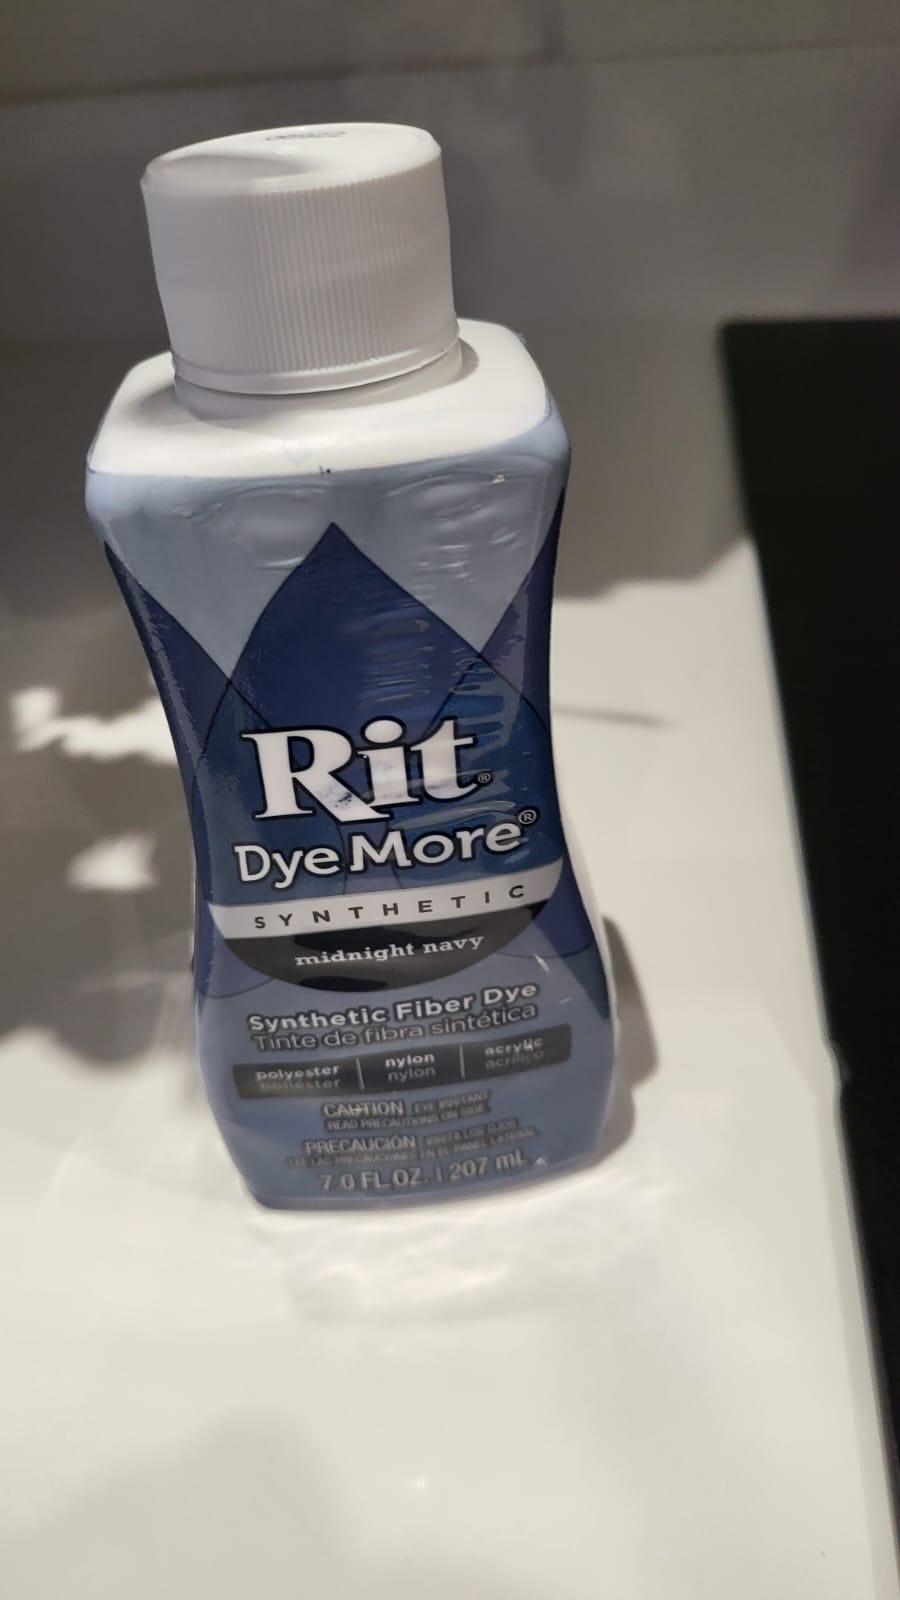
I have used RIT dye for plastics before - specifically their DyeMore formulation. It will be easier to control and will last longer than hair dye.
ZF 15720ST BLUE DYE MOD
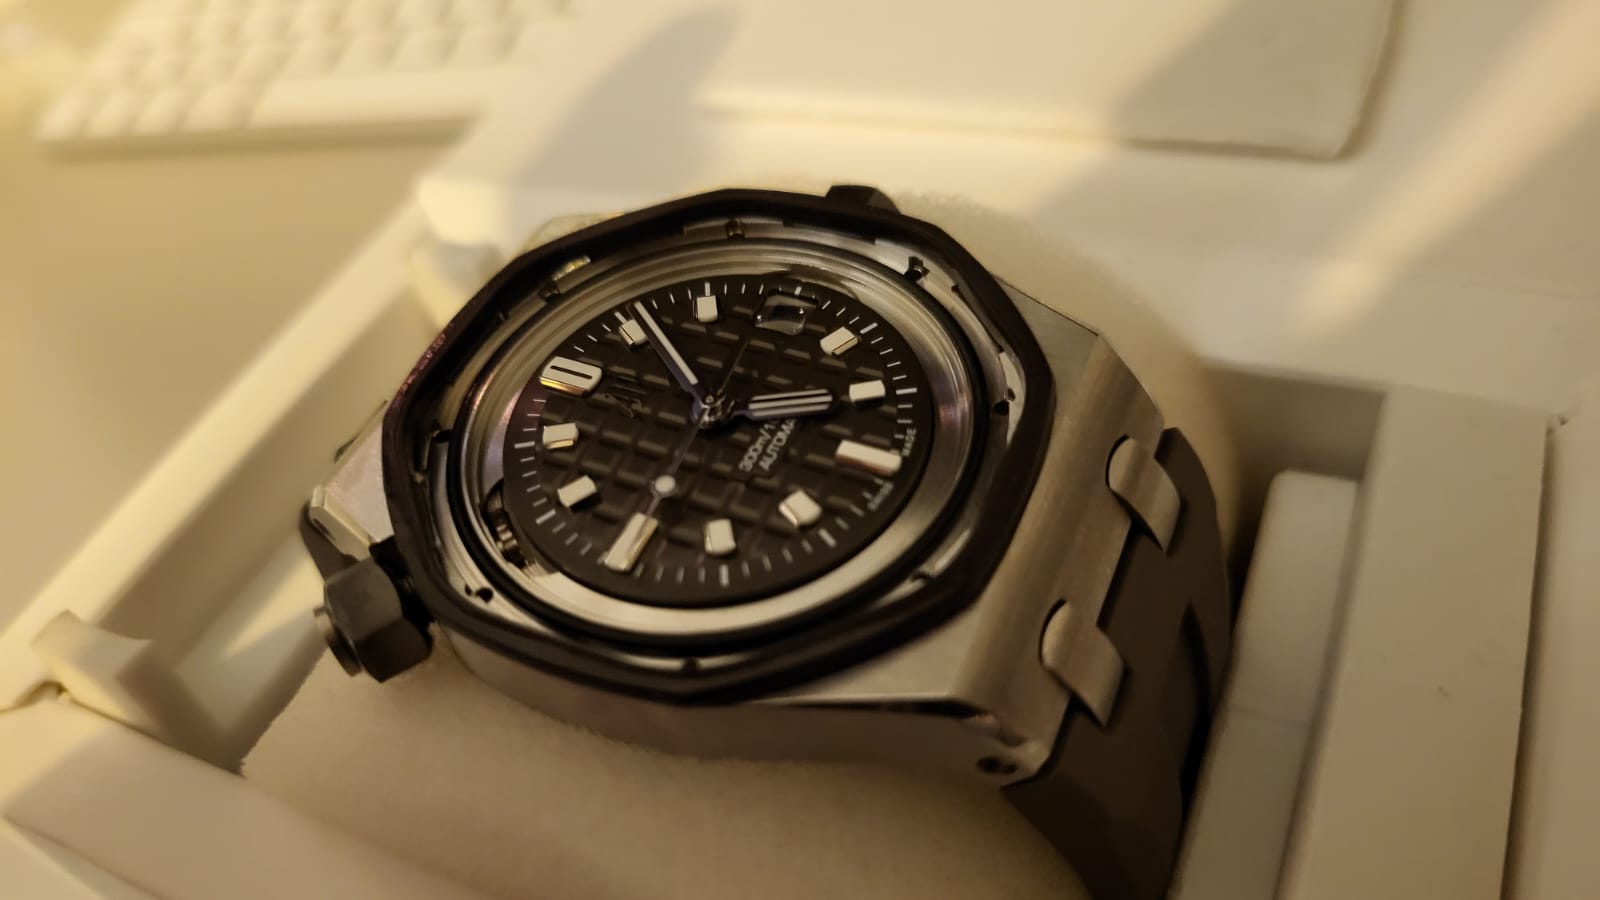
For all of you that love the grey diver and were slightly perplexed by the huge tell made on z factories excellent diver release, this if for you chaps!
Having searched far and wide for someone to replace the grey rubbery anomaly wrapped around my lovely new diver with a shiny dark blue one, knock back after knock back later, including from our mates @ ZF and APSF, I lost my mind and decided to buy some tools, crack open my kettle and die my gasket BLUE myself with absolutely no idea what I am doing!
Quick disclaimer :
I am a complete novice, so apologies to any experts who might see this who think maybe my process is in parts misguided, please feel free to point out what could of been done better, as it may assist other inexperienced members who want to follow my lead from making any mistakes/oversights. As a complete beginner I have made this as complete beginners guide, so there is blatantly obvious steps for this very reason to ensure anyone can do this.
Enjoy!
Tools purchased:
Watch grease £5 [from amazon]
Rit dark blue fabric dye £10 [from amazon]
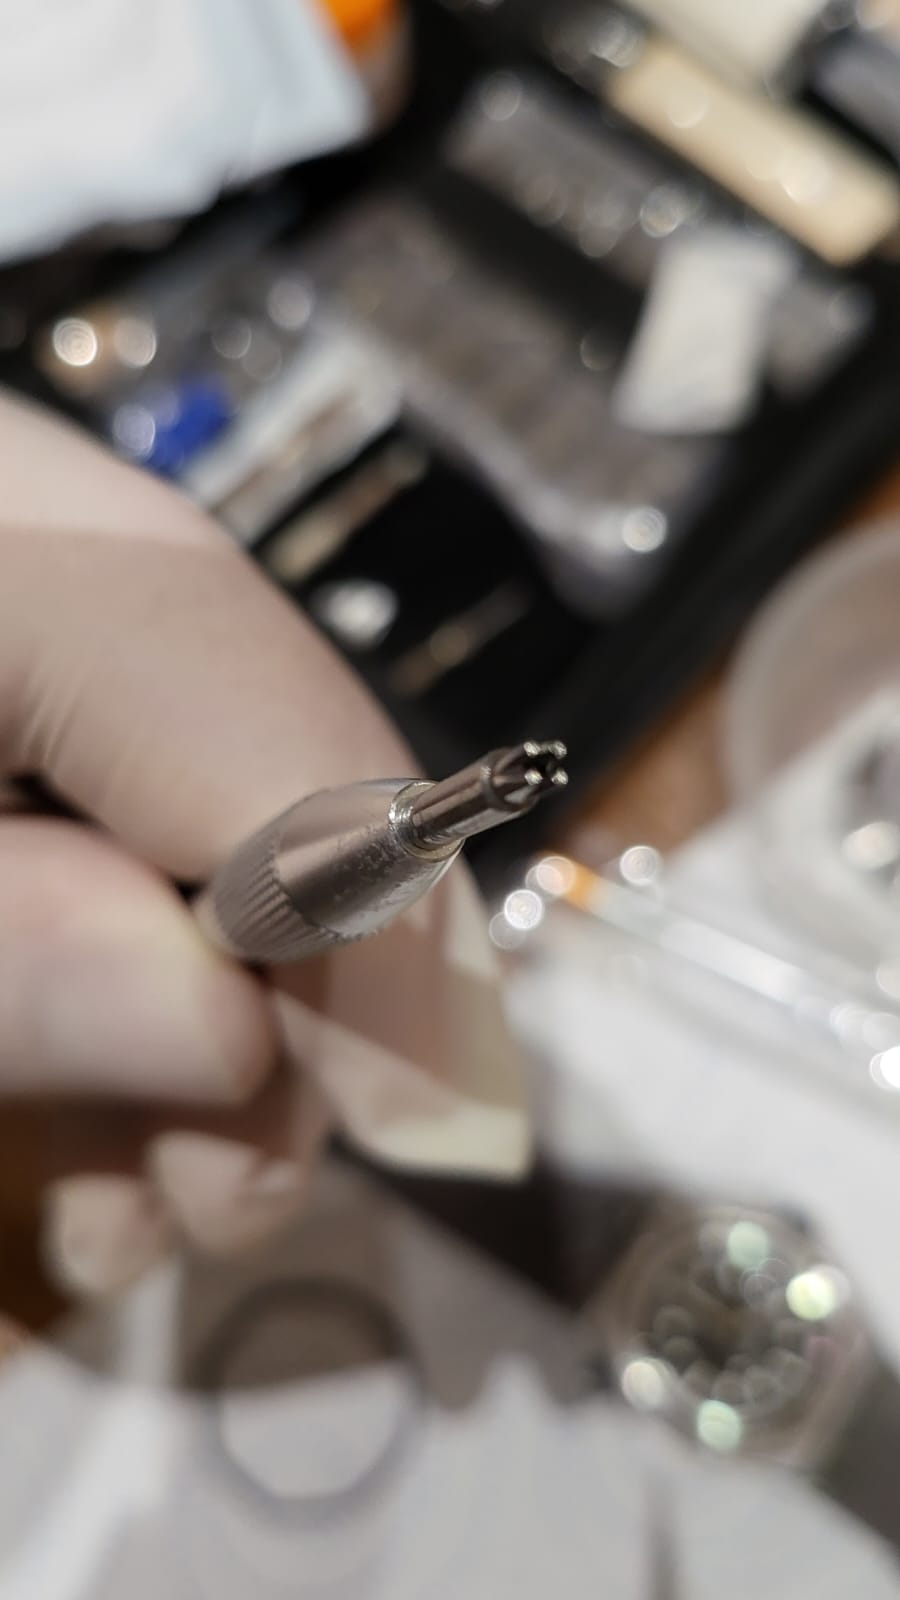
AP-5230AL tool £16

Watchmaker tool kit £39:

Please set aside a small Tupperware box or cup to keep the lugs and screws, they are tiny and if they land on the carpet they will die.
Step one:
Easy part:
Remove the small caseback screws using the the smaller flat head screwdriver from the tool kit.
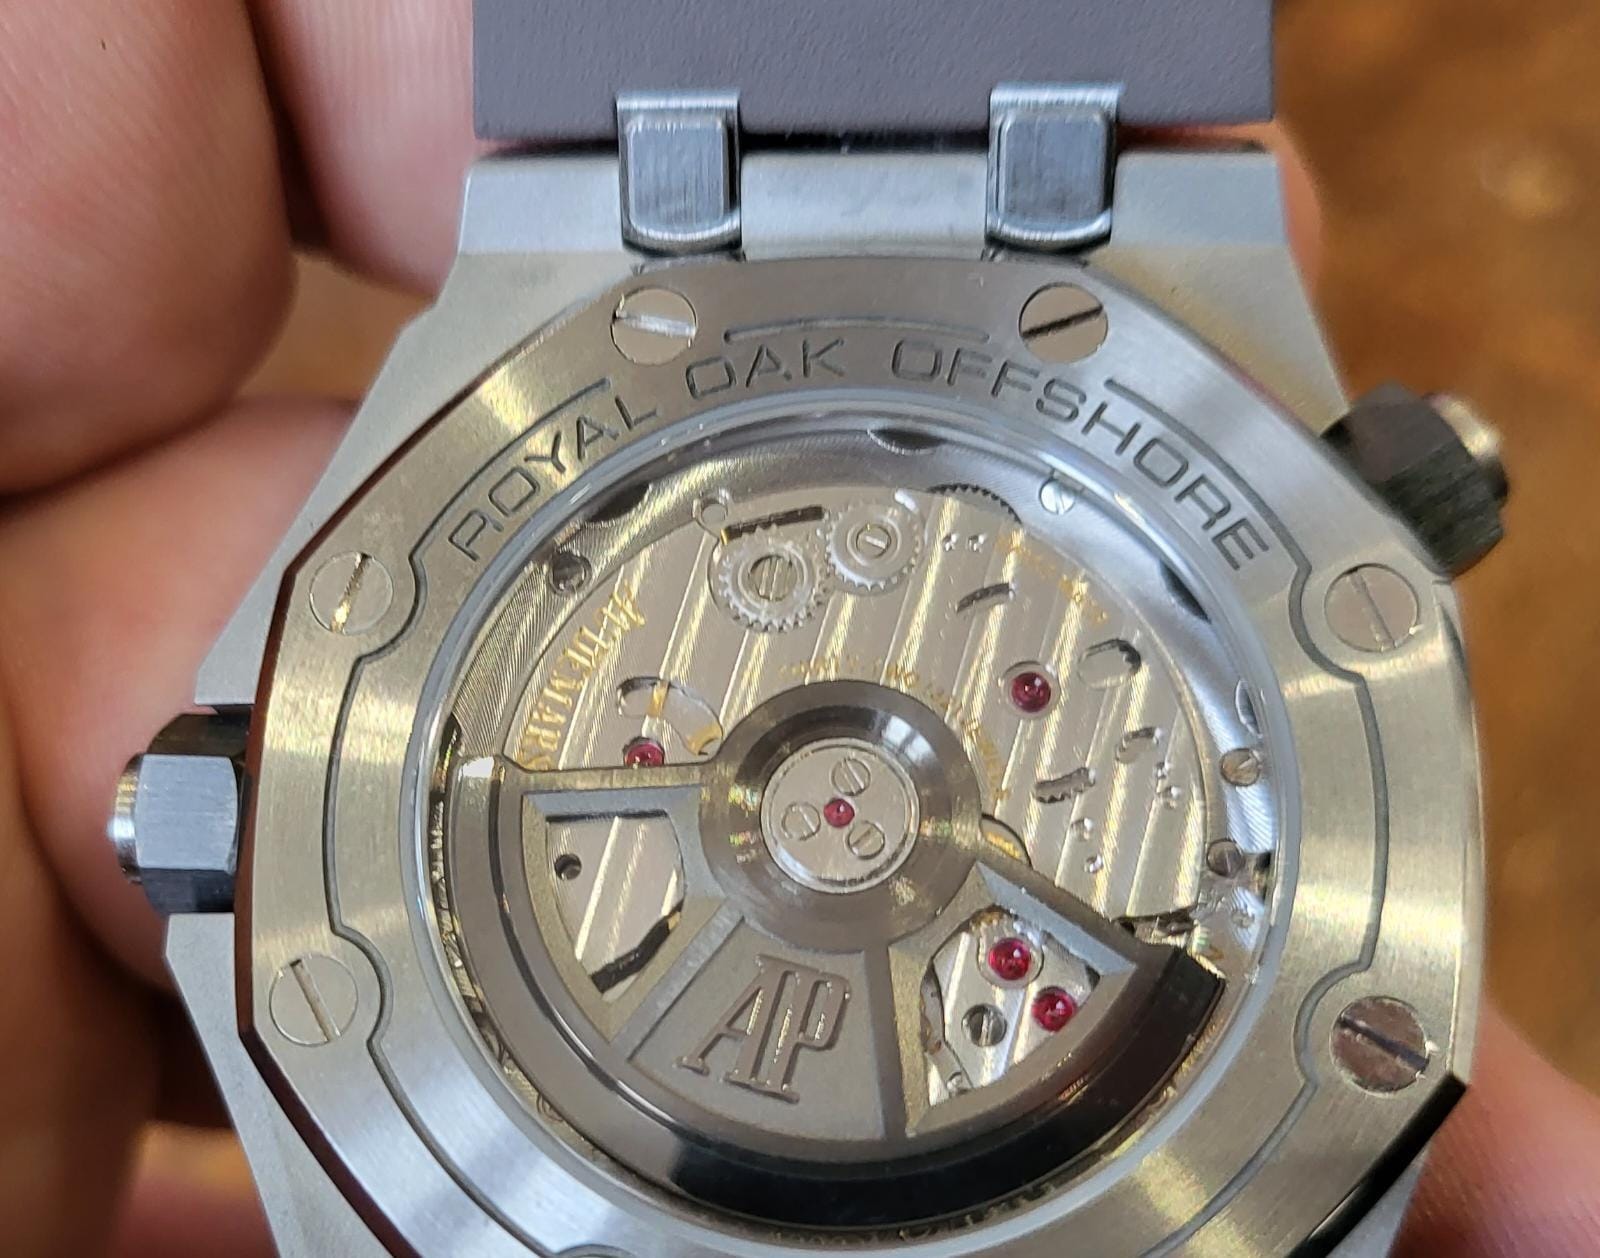
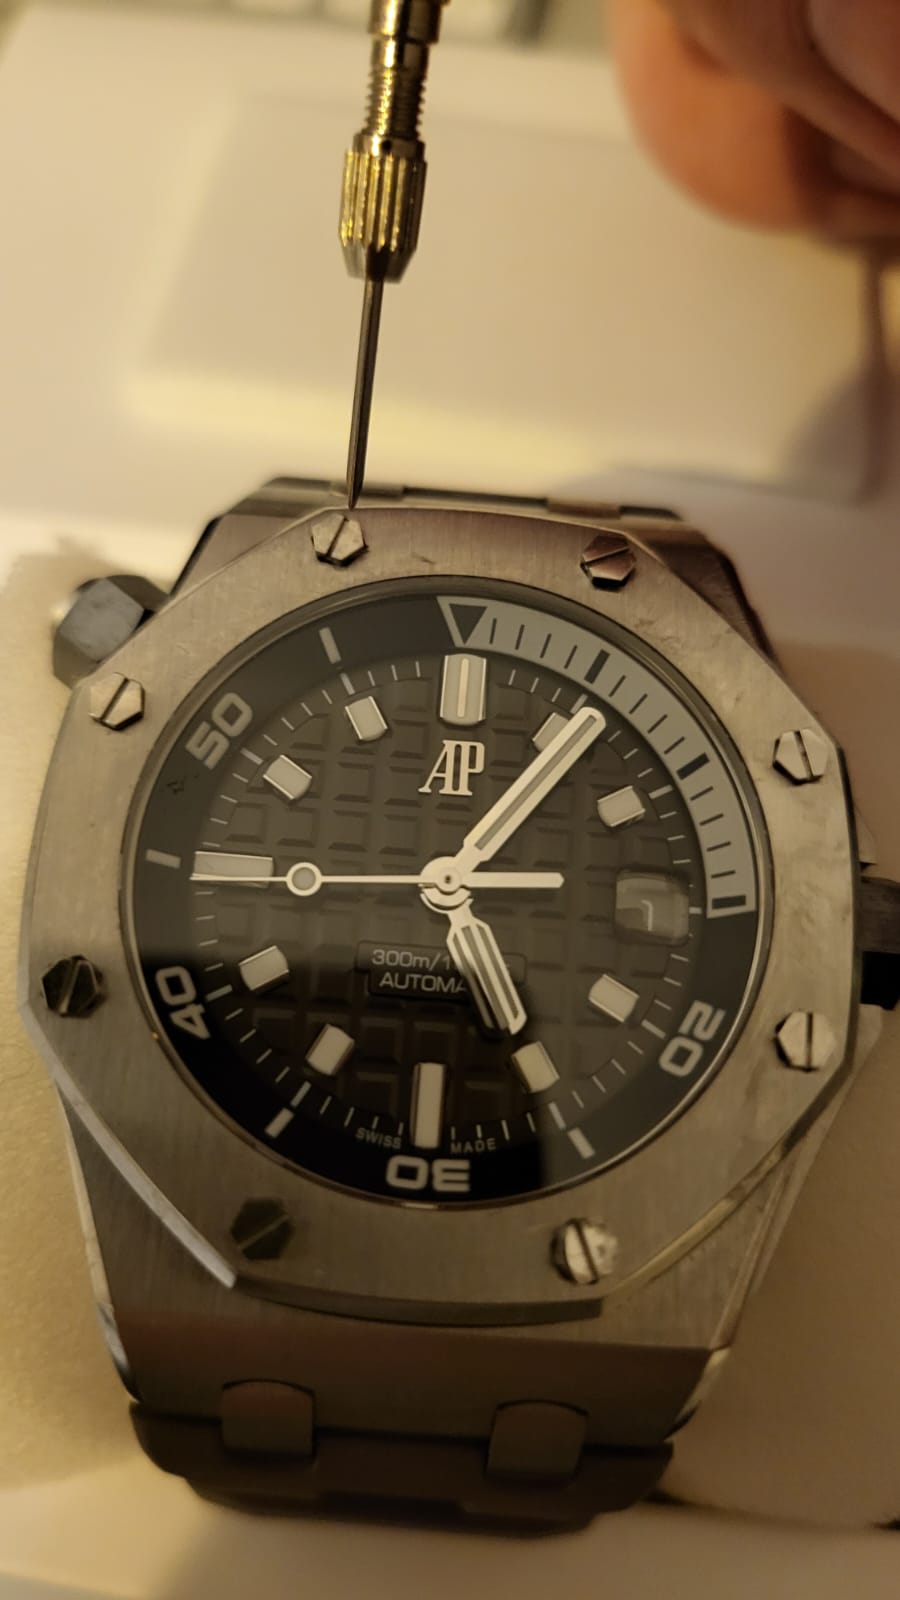
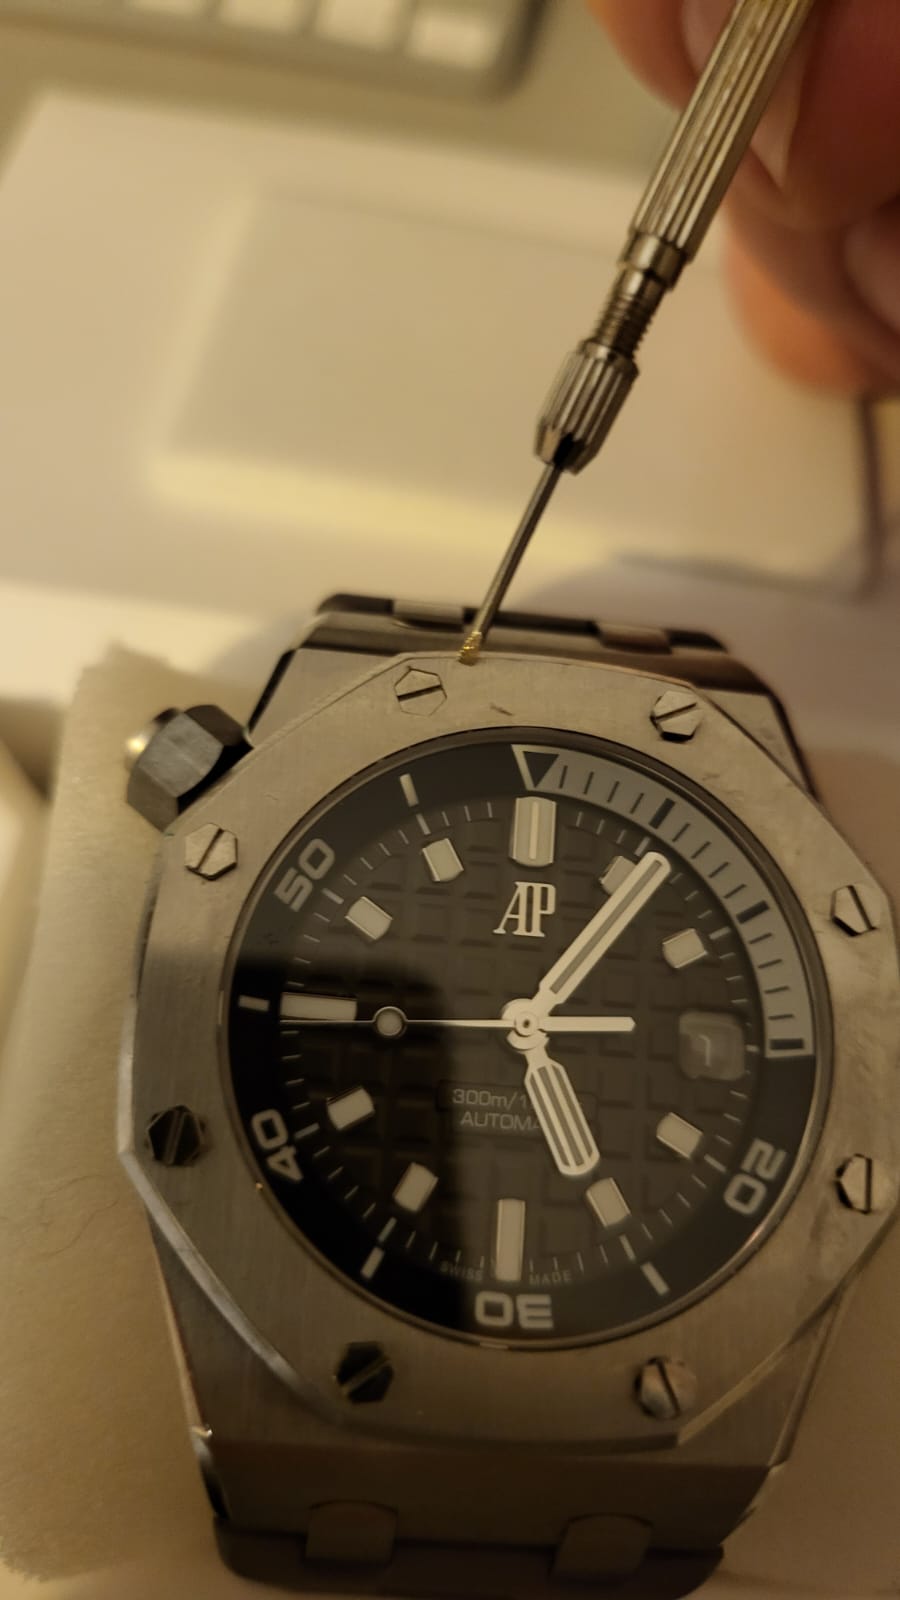
Step two:
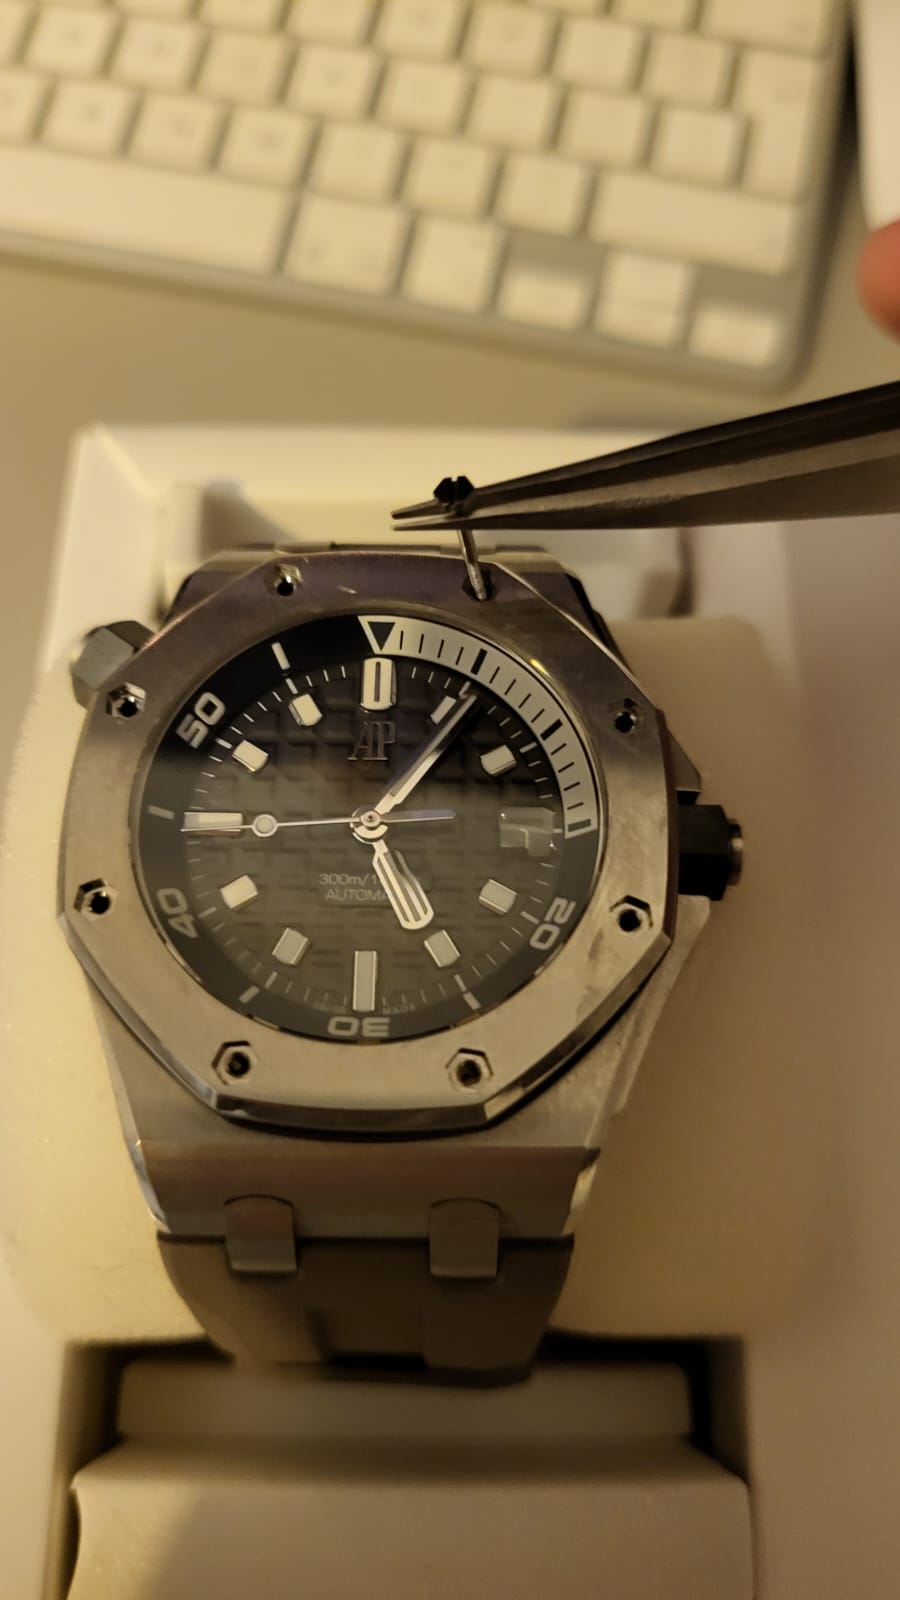
Once the caseback is removed you will need your AP tool to release the lugs that are set inside the holes you see on the back of the exposed watch casement.
They will screw up to the surface, and when they do, carefully drop them inside your container one by one using the tweezers.
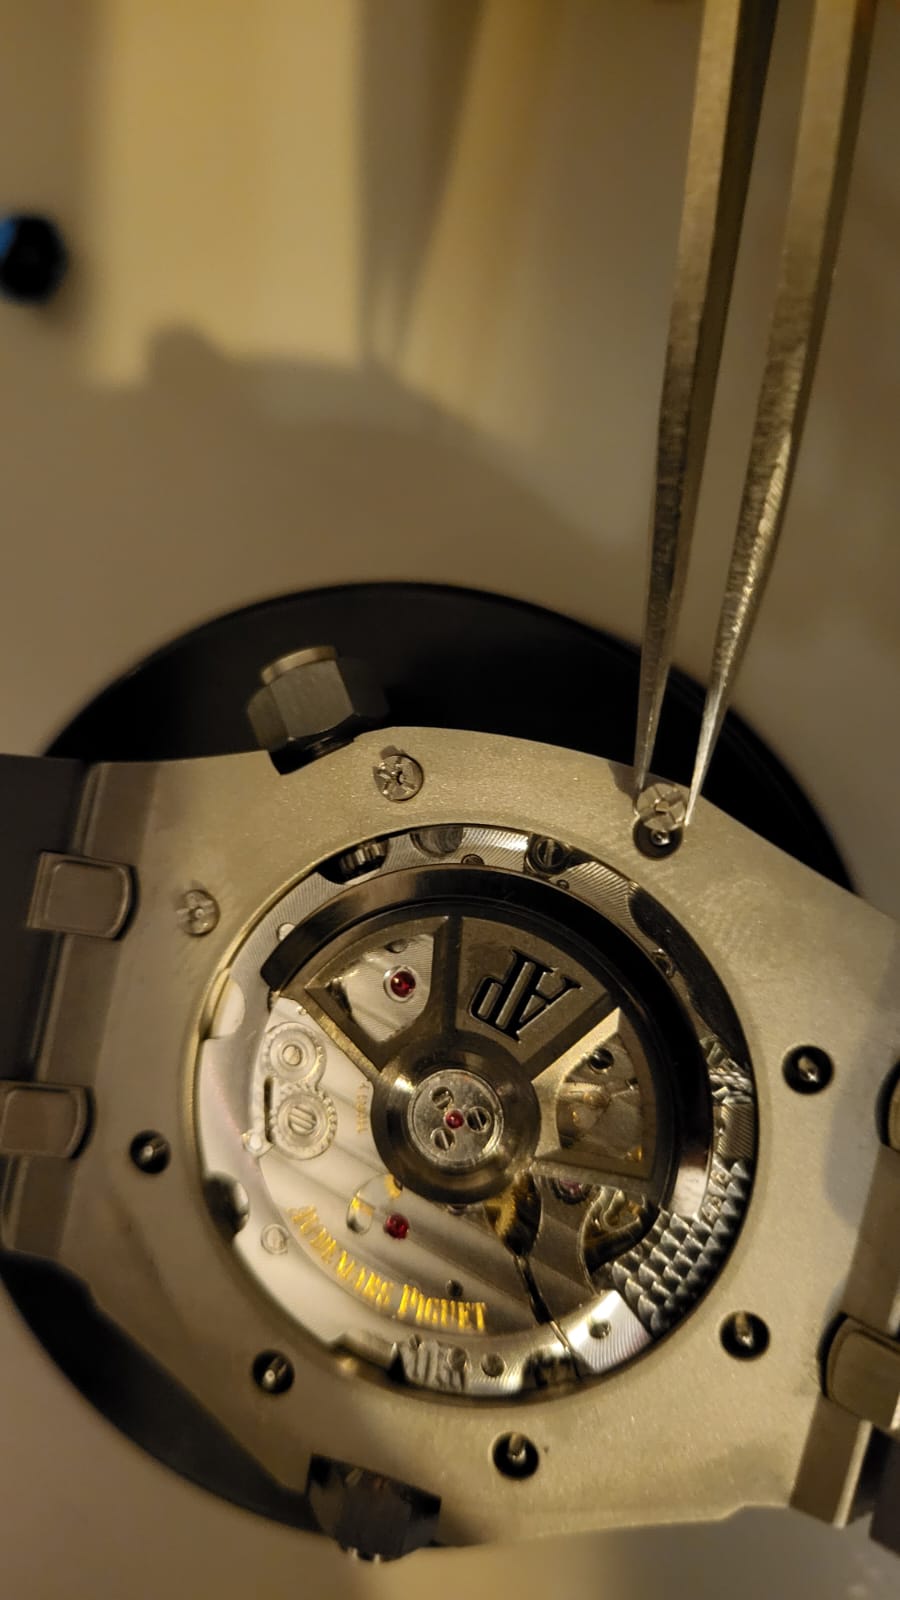
Step three:
Once all the lugs are removed the hexagonal bezel screws will become loose. Carefully remove one by one using the tweezers and place into your container. If they are sitting to deep within the holes to grab, using the flat screw driver head, ease the screws out through the hex holes by pushing upwards from the lugs holes on the bottom side until they pop out.
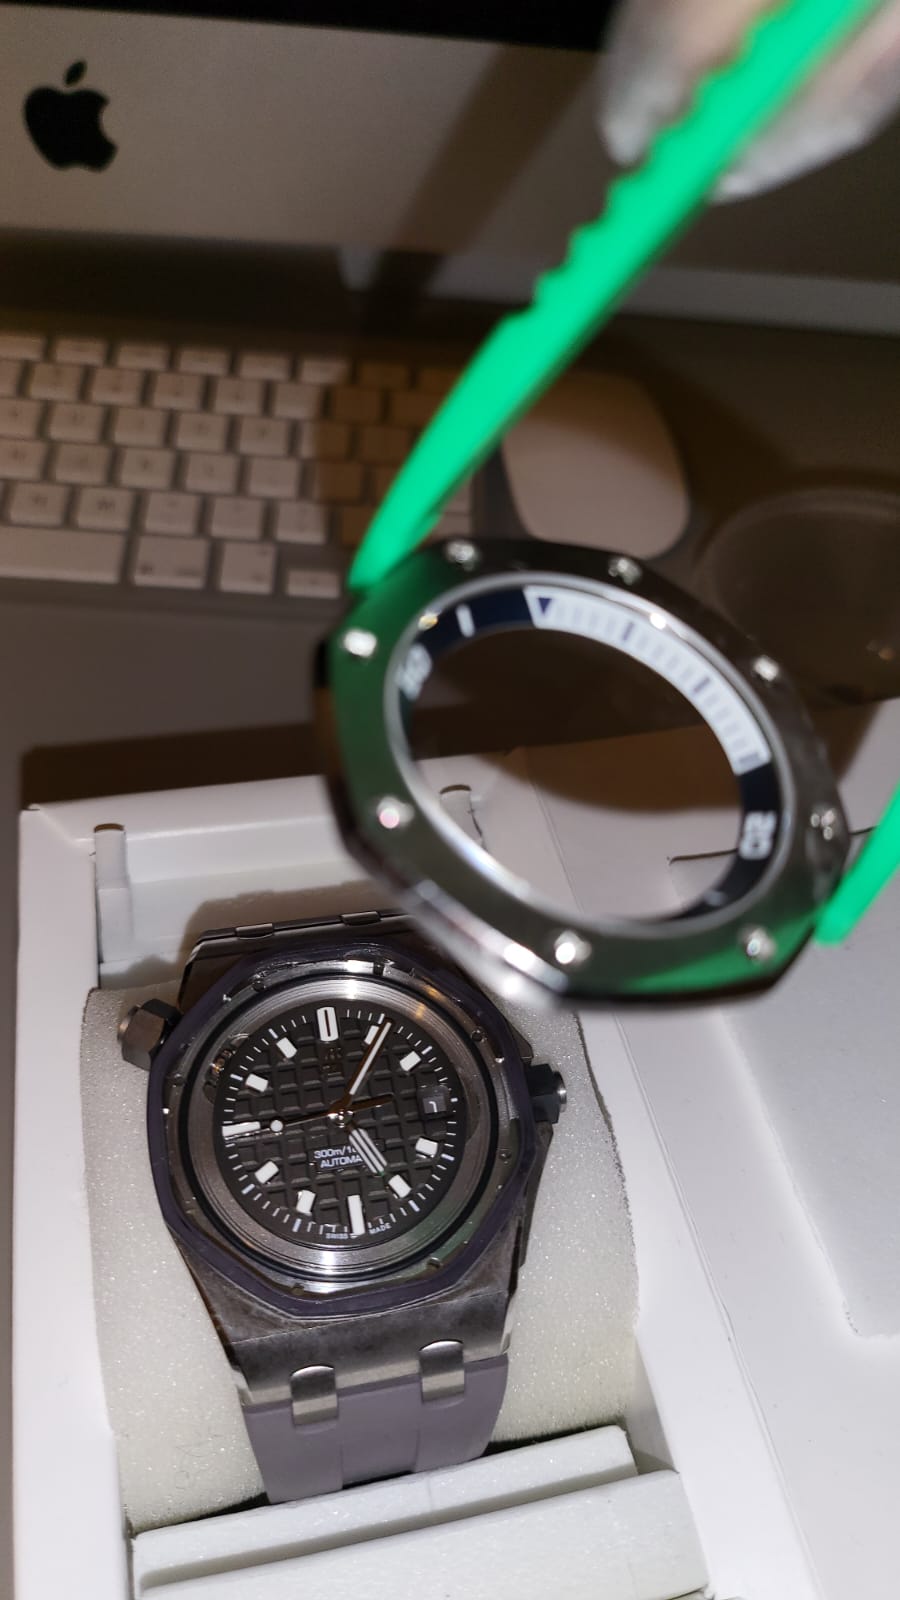
Step four:
The bezel is now removable. Remove the bezel and gasket and set to one side with the dissembled watch.
Step five:
Take a small metallic saucepan and boil with approx. one pint of water. Use metallic items without worry. You can wash them after and use them as normal no problem and the dye will not stain them.
Once the water has boiled, reduce the heat so the water is not boiling but nearly boiling. The water will be perfect when small bubbles are appearing from the bottom of saucepan.
Add the dye solution. I used half the small £10 bottle. Mix with the water until the dye has evenly blended.
Place the gasket into the water for one hour. If you want a lighter tone , remove before the hour, or leave in for longer for darker tone. I found that an hour was enough.
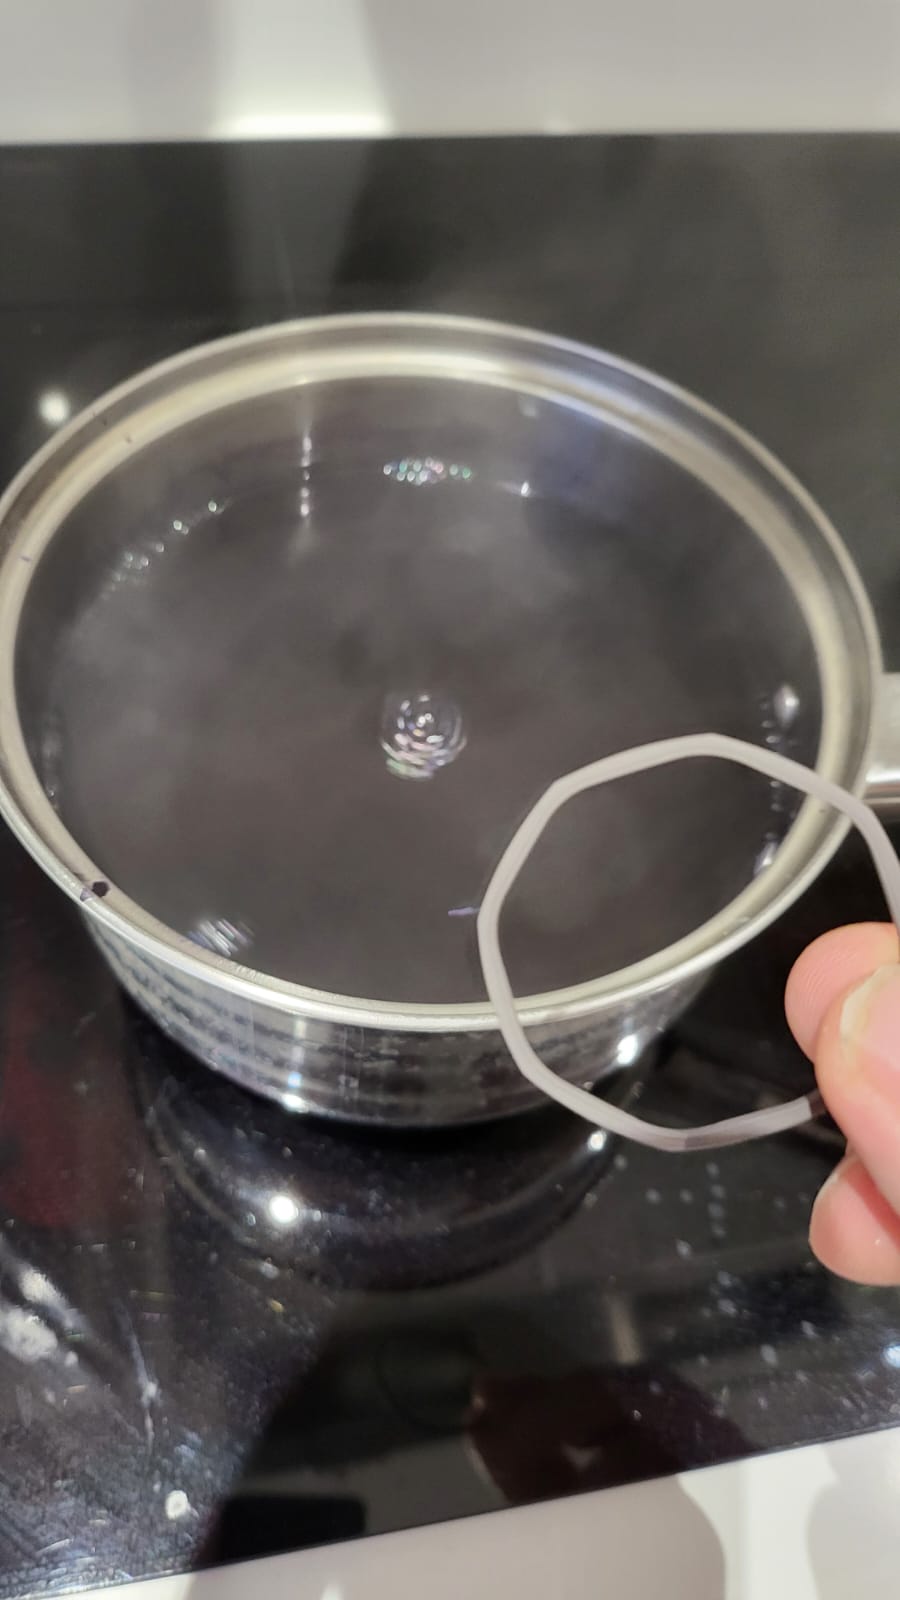
Wash and dry the gasket then grease the gasket which will improve water resistance.
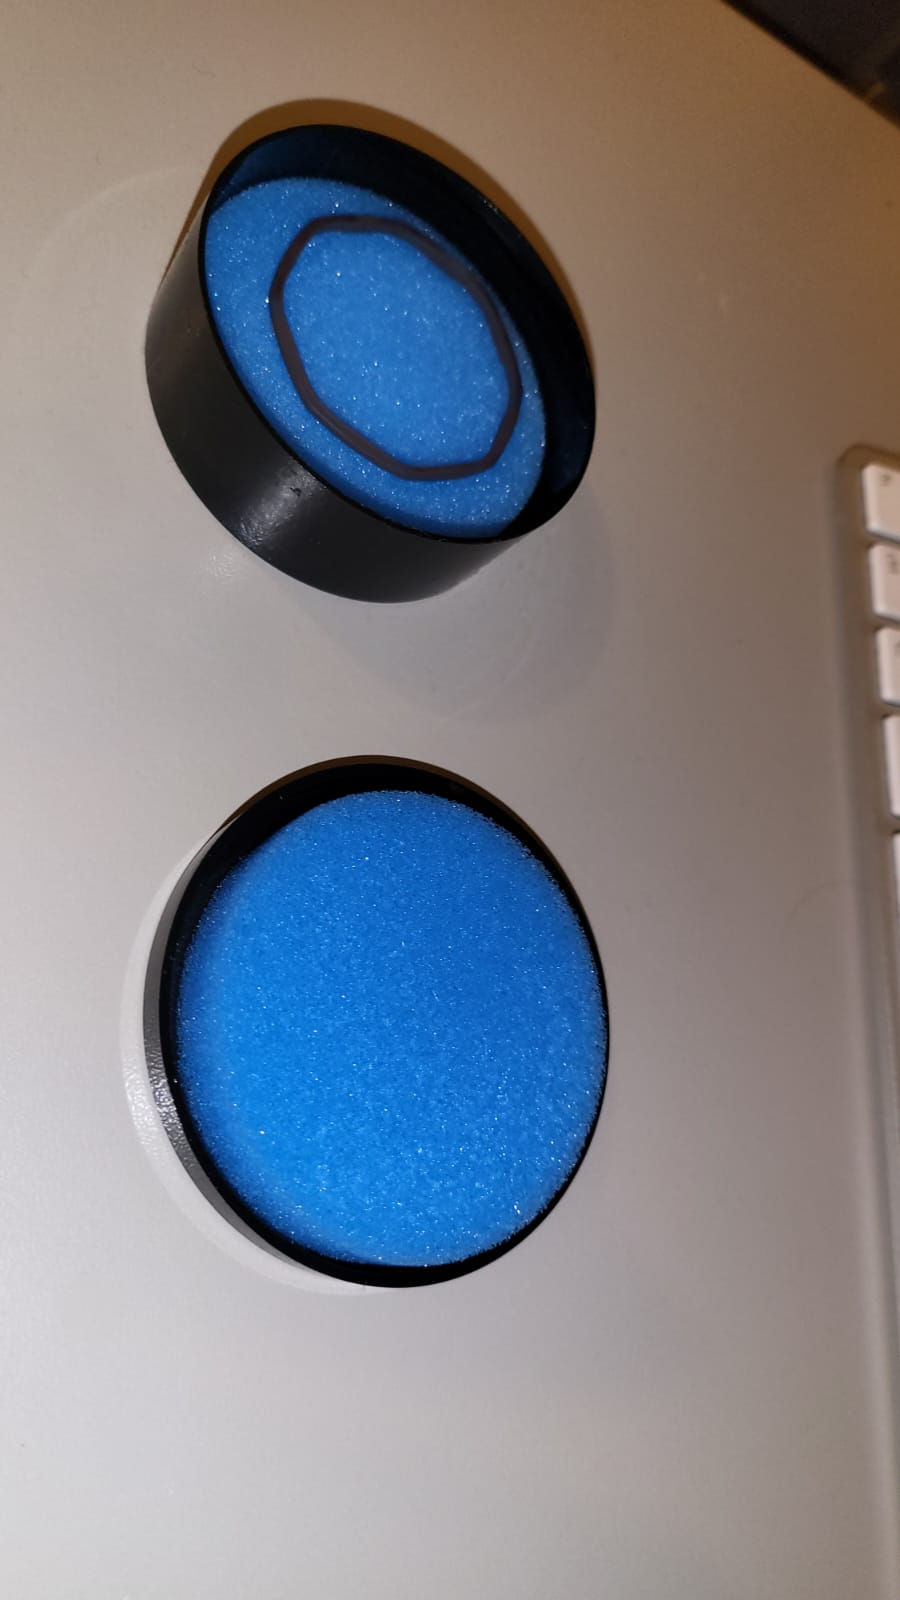
Step six
Replace the gasket into the dial casement.
There are small slots around the dial casement.:
The top of the gasket has small inserts that are designed to slide inside these dial casement slots:

Carefully position and align the inserts of the gasket with the dial case slots. Once they are in place, using one of your tools, softly push each insert so they fit snuggly into each slot:
Step seven
Position the bezel onto the dial casement so that it aligns with the screw hole positions. Carefully use the tweezers to place each screw into Position. Do not push them all the way in yet.
Step eight
You will see that the hexagonal screws are sitting just outside the hexagonal holes in the bezel. They will not be in the correct AP alignment:
Using the screw driver or tweezers turn the screws into the correct alignment. Once they in correctly aligned, push the screws into the bezel using your tool.
To stop the screws from falling out and from losing alignment and having to repeat this step, turn the watch onto its front whilst quickly placing your other hand or a hard surface over the hexagonal screws to keep them in place.
step nine
Now the watch is on its front, you have to secure the screws using the lugs.
Using the tweezers, pick up the lugs and one by one, place into Position and screw them back in. (make sure your lugs are cross sideup:

Once the lugs are back in, screw the caseback back into Position.
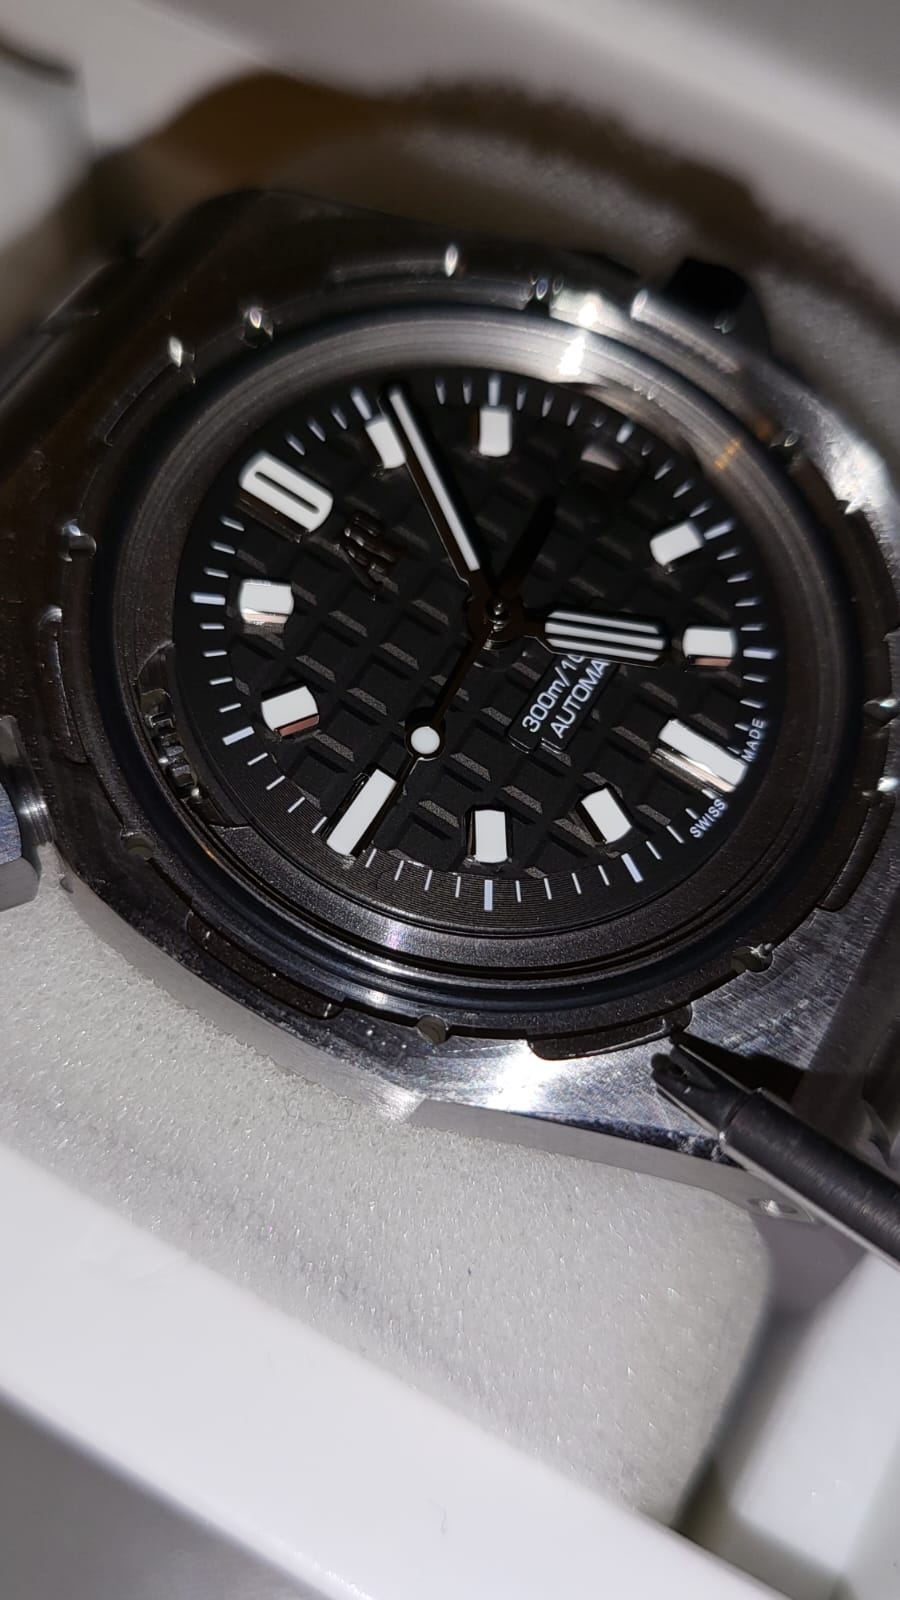
You have the blue dye mod!
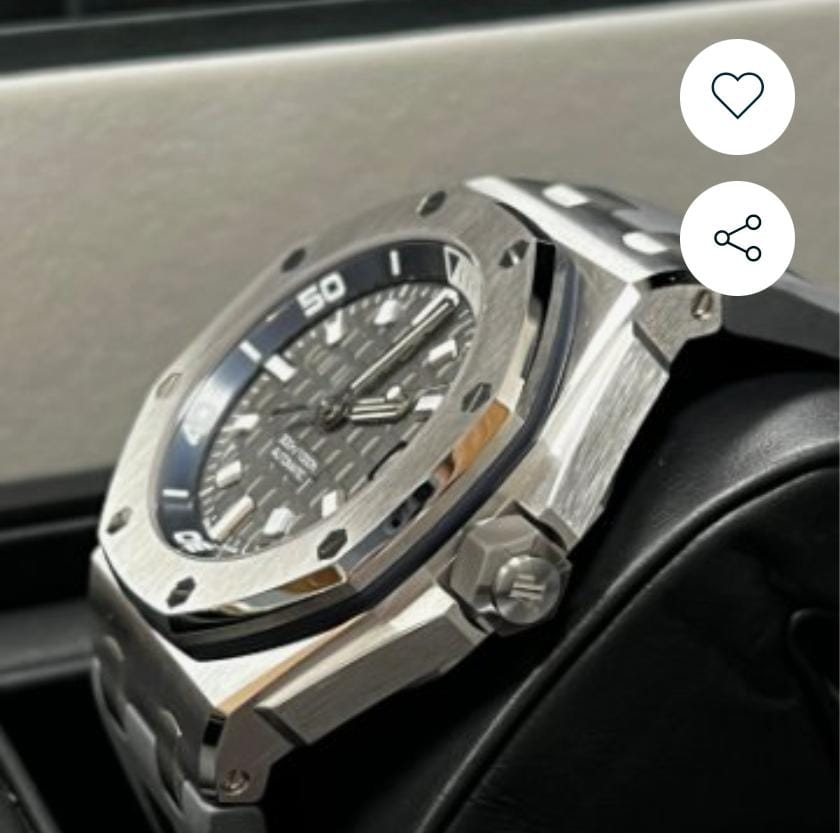
Gen:
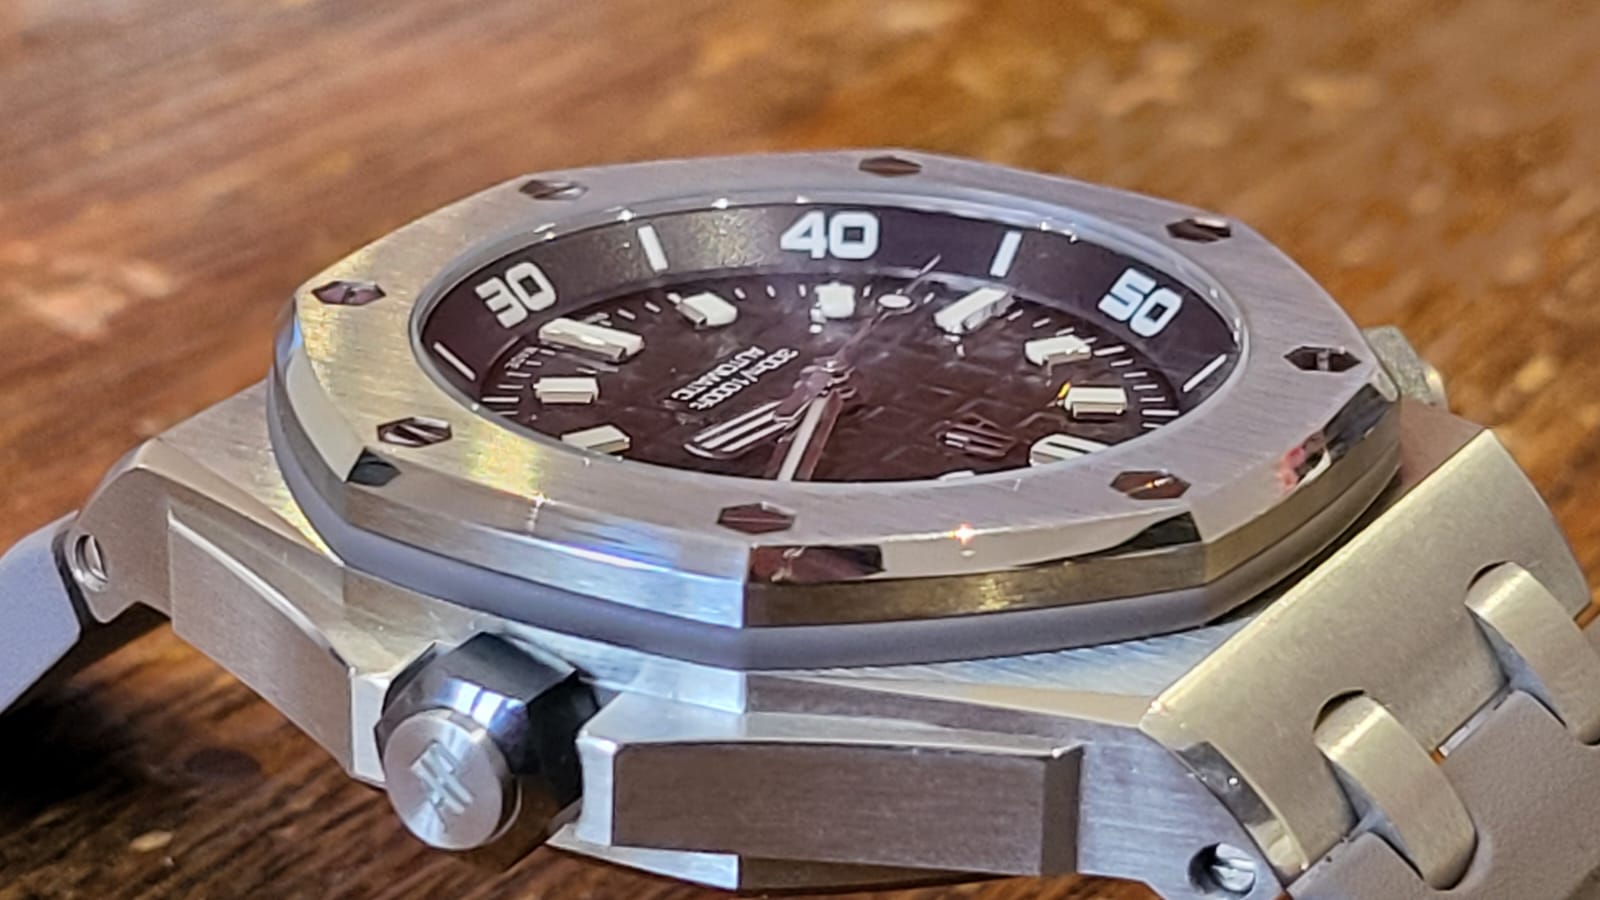
Before:
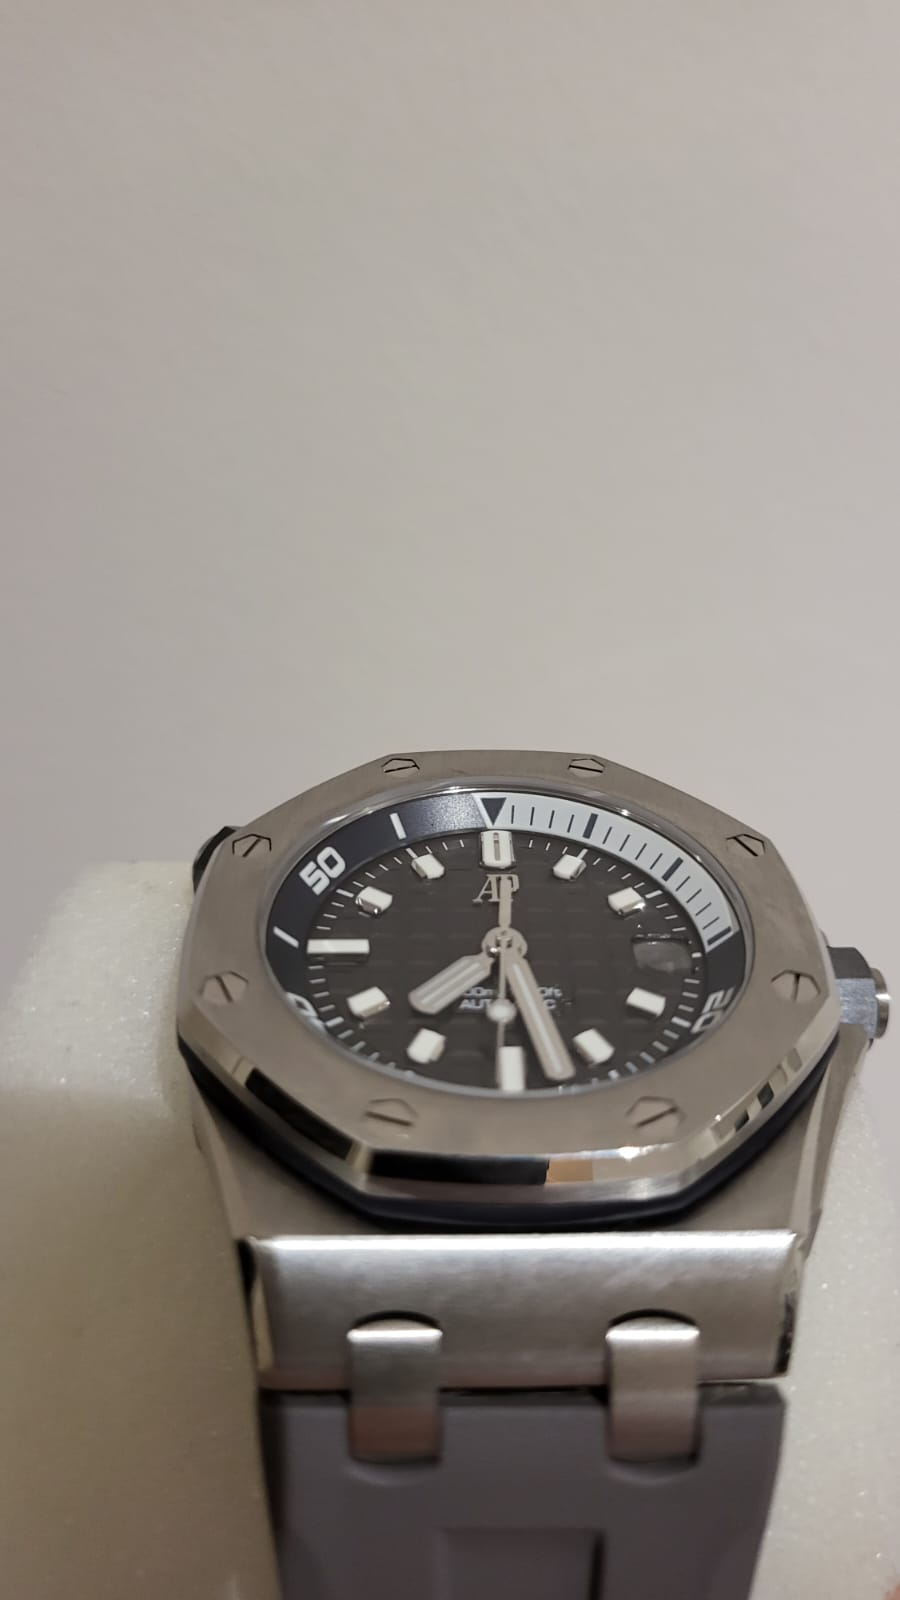
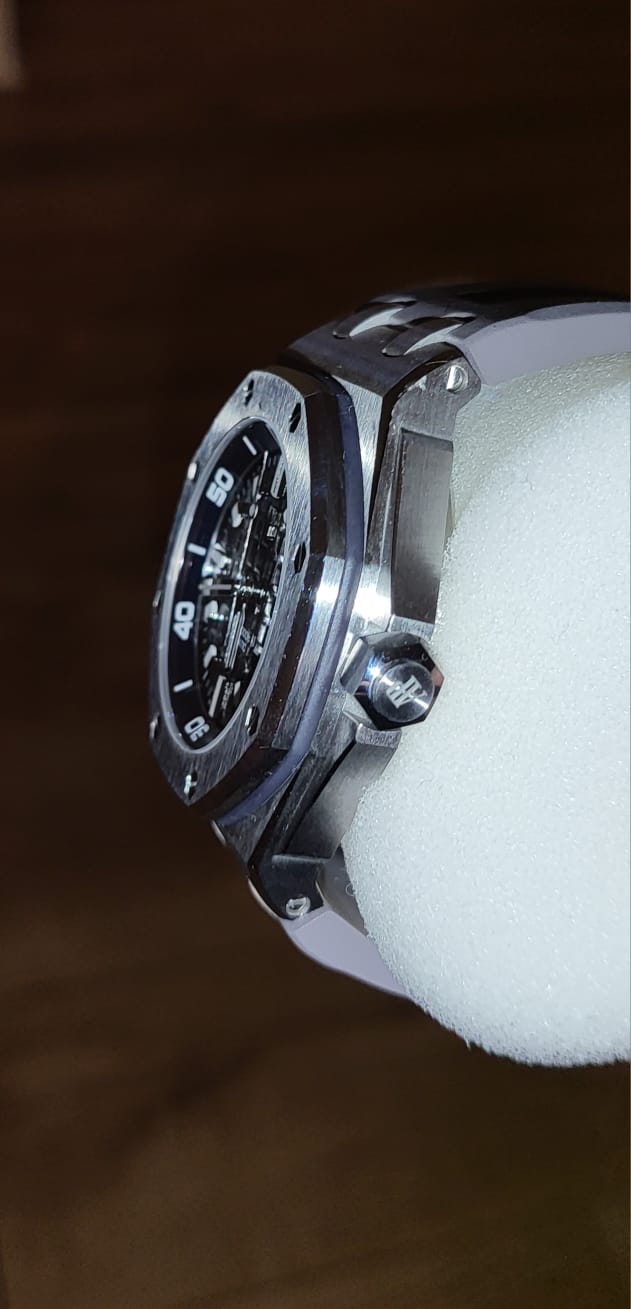
For all of you that love the grey diver and were slightly perplexed by the huge tell made on z factories excellent diver release, this if for you chaps!
Having searched far and wide for someone to replace the grey rubbery anomaly wrapped around my lovely new diver with a shiny dark blue one, knock back after knock back later, including from our mates @ ZF and APSF, I lost my mind and decided to buy some tools, crack open my kettle and die my gasket BLUE myself with absolutely no idea what I am doing!
Quick disclaimer :
I am a complete novice, so apologies to any experts who might see this who think maybe my process is in parts misguided, please feel free to point out what could of been done better, as it may assist other inexperienced members who want to follow my lead from making any mistakes/oversights. As a complete beginner I have made this as complete beginners guide, so there is blatantly obvious steps for this very reason to ensure anyone can do this.
Enjoy!
Tools purchased:
Watch grease £5 [from amazon]
Rit dark blue fabric dye £10 [from amazon]
AP-5230AL tool £16
5230AM/AL/PPM/PPL/3.5/3.0mm Screwdriver Watch Opener Remover for Audemars Piguet | eBay
Find many great new & used options and get the best deals for 5230AM/AL/PPM/PPL/3.5/3.0mm Screwdriver Watch Opener Remover for Audemars Piguet at the best online prices at eBay! Free delivery for many products.
www.ebay.co.uk
Watchmaker tool kit £39:
Blue Sky Premium Watchmaker Watch Repair Tool Kit Back Case Opener Remover | eBay
Find many great new & used options and get the best deals for Blue Sky Premium Watchmaker Watch Repair Tool Kit Back Case Opener Remover at the best online prices at eBay! Free delivery for many products.
www.ebay.co.uk
Please set aside a small Tupperware box or cup to keep the lugs and screws, they are tiny and if they land on the carpet they will die.
Step one:
Easy part:
Remove the small caseback screws using the the smaller flat head screwdriver from the tool kit.
Step two:
Once the caseback is removed you will need your AP tool to release the lugs that are set inside the holes you see on the back of the exposed watch casement.
They will screw up to the surface, and when they do, carefully drop them inside your container one by one using the tweezers.
Step three:
Once all the lugs are removed the hexagonal bezel screws will become loose. Carefully remove one by one using the tweezers and place into your container. If they are sitting to deep within the holes to grab, using the flat screw driver head, ease the screws out through the hex holes by pushing upwards from the lugs holes on the bottom side until they pop out.
Step four:
The bezel is now removable. Remove the bezel and gasket and set to one side with the dissembled watch.
Step five:
Take a small metallic saucepan and boil with approx. one pint of water. Use metallic items without worry. You can wash them after and use them as normal no problem and the dye will not stain them.
Once the water has boiled, reduce the heat so the water is not boiling but nearly boiling. The water will be perfect when small bubbles are appearing from the bottom of saucepan.
Add the dye solution. I used half the small £10 bottle. Mix with the water until the dye has evenly blended.
Place the gasket into the water for one hour. If you want a lighter tone , remove before the hour, or leave in for longer for darker tone. I found that an hour was enough.
Wash and dry the gasket then grease the gasket which will improve water resistance.
Step six
Replace the gasket into the dial casement.
There are small slots around the dial casement.:
The top of the gasket has small inserts that are designed to slide inside these dial casement slots:
Carefully position and align the inserts of the gasket with the dial case slots. Once they are in place, using one of your tools, softly push each insert so they fit snuggly into each slot:
Step seven
Position the bezel onto the dial casement so that it aligns with the screw hole positions. Carefully use the tweezers to place each screw into Position. Do not push them all the way in yet.
Step eight
You will see that the hexagonal screws are sitting just outside the hexagonal holes in the bezel. They will not be in the correct AP alignment:
Using the screw driver or tweezers turn the screws into the correct alignment. Once they in correctly aligned, push the screws into the bezel using your tool.
To stop the screws from falling out and from losing alignment and having to repeat this step, turn the watch onto its front whilst quickly placing your other hand or a hard surface over the hexagonal screws to keep them in place.
step nine
Now the watch is on its front, you have to secure the screws using the lugs.
Using the tweezers, pick up the lugs and one by one, place into Position and screw them back in. (make sure your lugs are cross sideup:
Once the lugs are back in, screw the caseback back into Position.
You have the blue dye mod!
Gen:
Before:
Last edited:
Why not just align them properly before dropping the bolts (that is what the decorative "scews" are really) into the bezel slots? The decorative screw heads are actually not meant to be touched with a screwdriver, for the simple reason that the grooves in the heads can be easily scratched, or the heads scratched.Step eight
You will see that the hexagonal screws are sitting just outside the hexagonal holes in the bezel. They will not be in the correct AP alignment:
Now you have me really worried R. I think I am truly colorblind because I see grey.You have blue dial mod!

But really, thank you for sharing your DIY mod, I personally like it, and appreciate your effort sharing the mod.
Disclaimer 2Why not just align them properly before dropping the bolts (that is what the decorative "scews" are really) into the bezel slots? The decorative screw heads are actually not meant to be touched with a screwdriver, for the simple reason that the grooves in the heads can be easily scratched, or the heads scratched.
please don't screw drive your polished bezel screws