-
Tired of adverts on RWI? - Subscribe by clicking HERE and PMing Trailboss for instructions and they will magically go away!
You are using an out of date browser. It may not display this or other websites correctly.
You should upgrade or use an alternative browser.
You should upgrade or use an alternative browser.
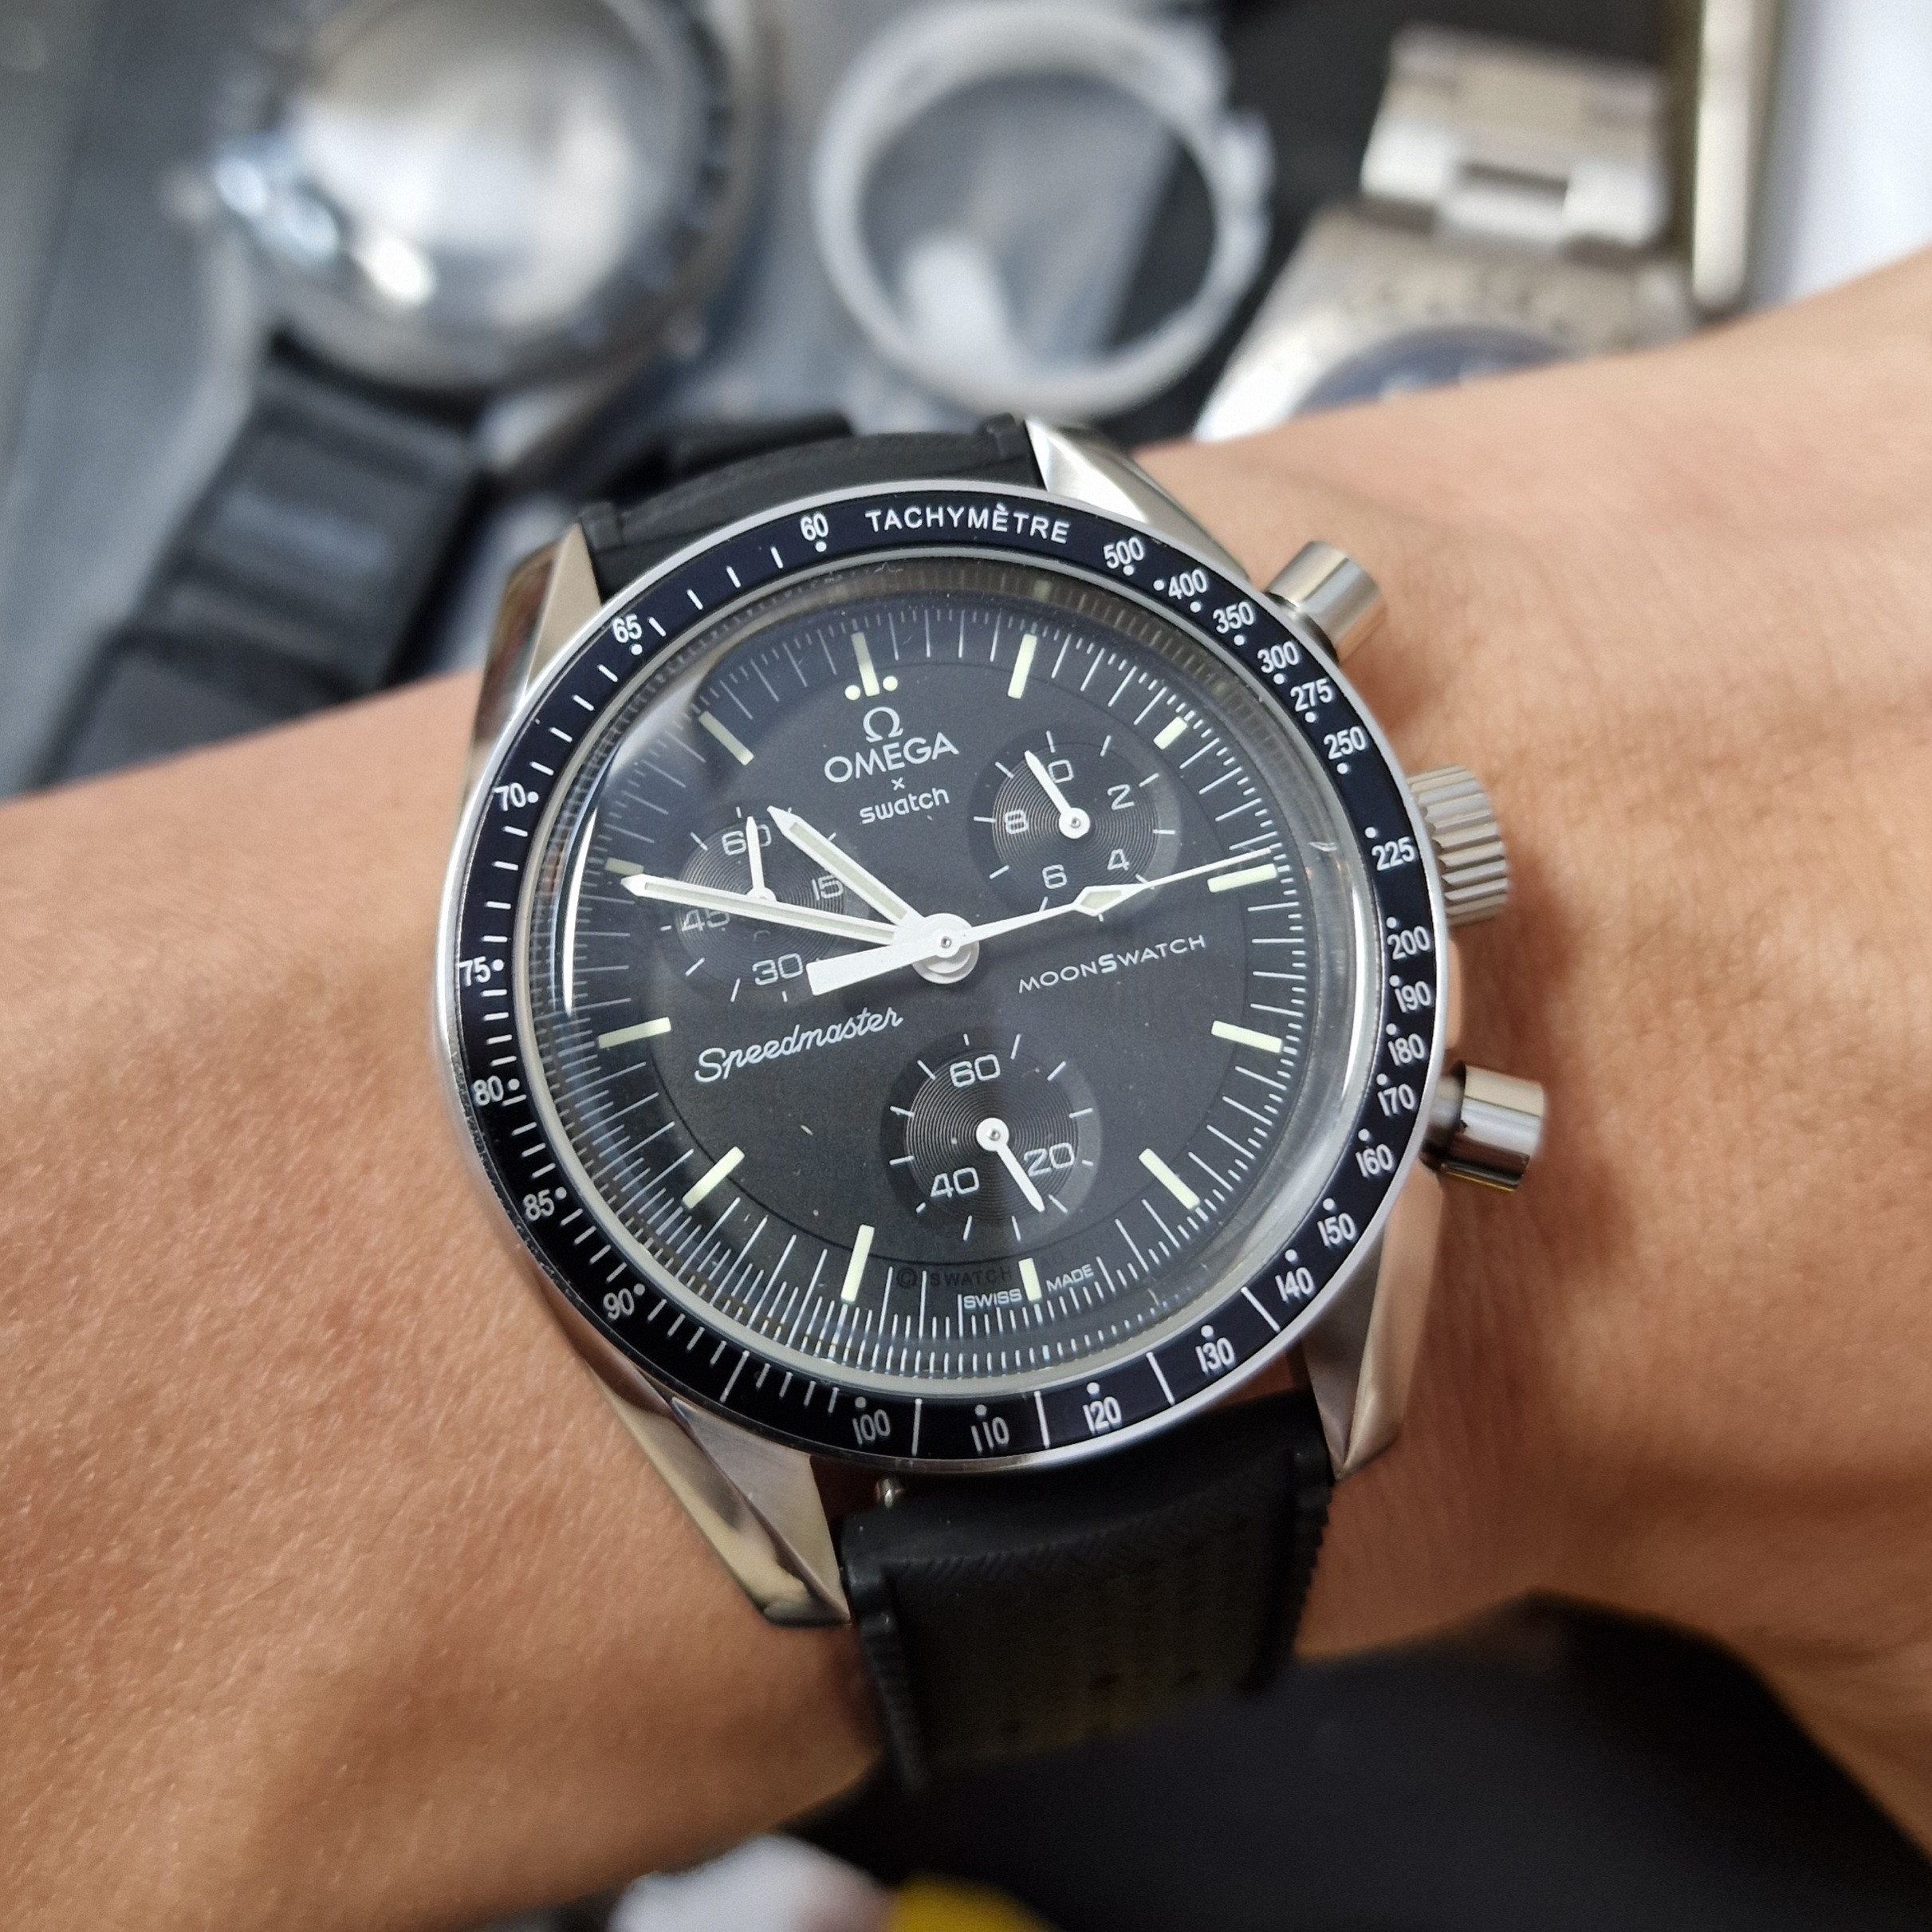
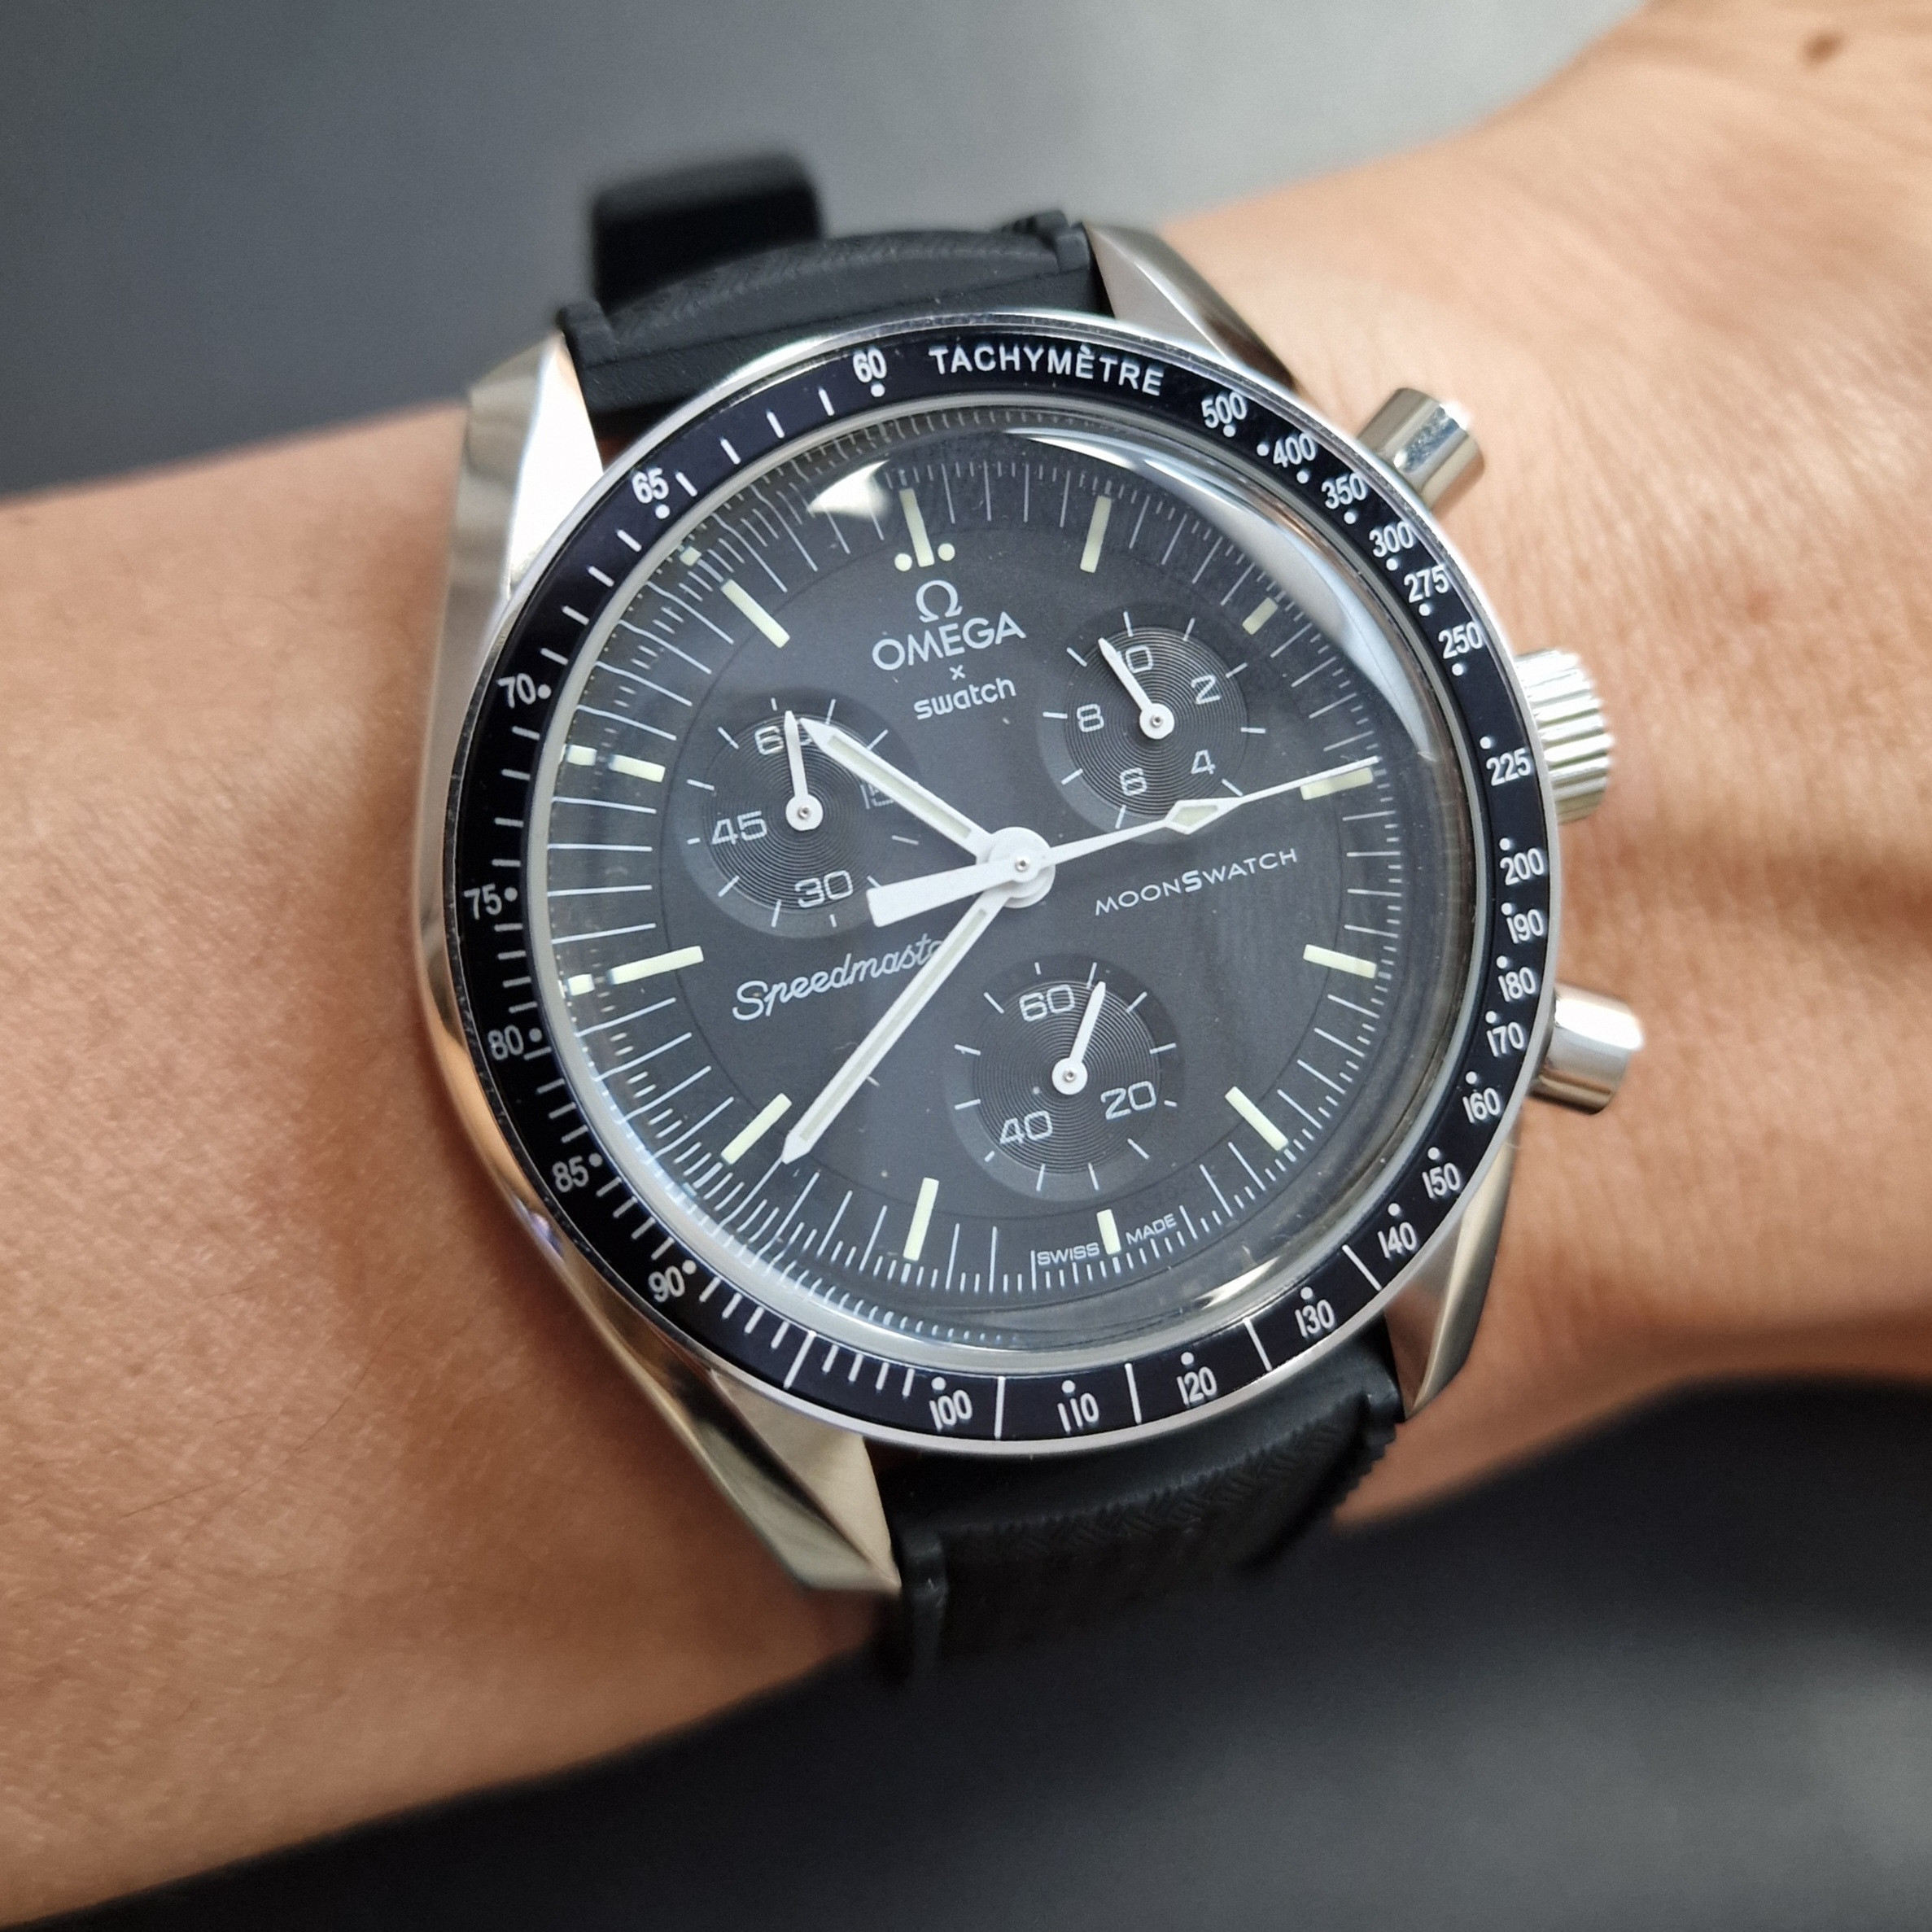
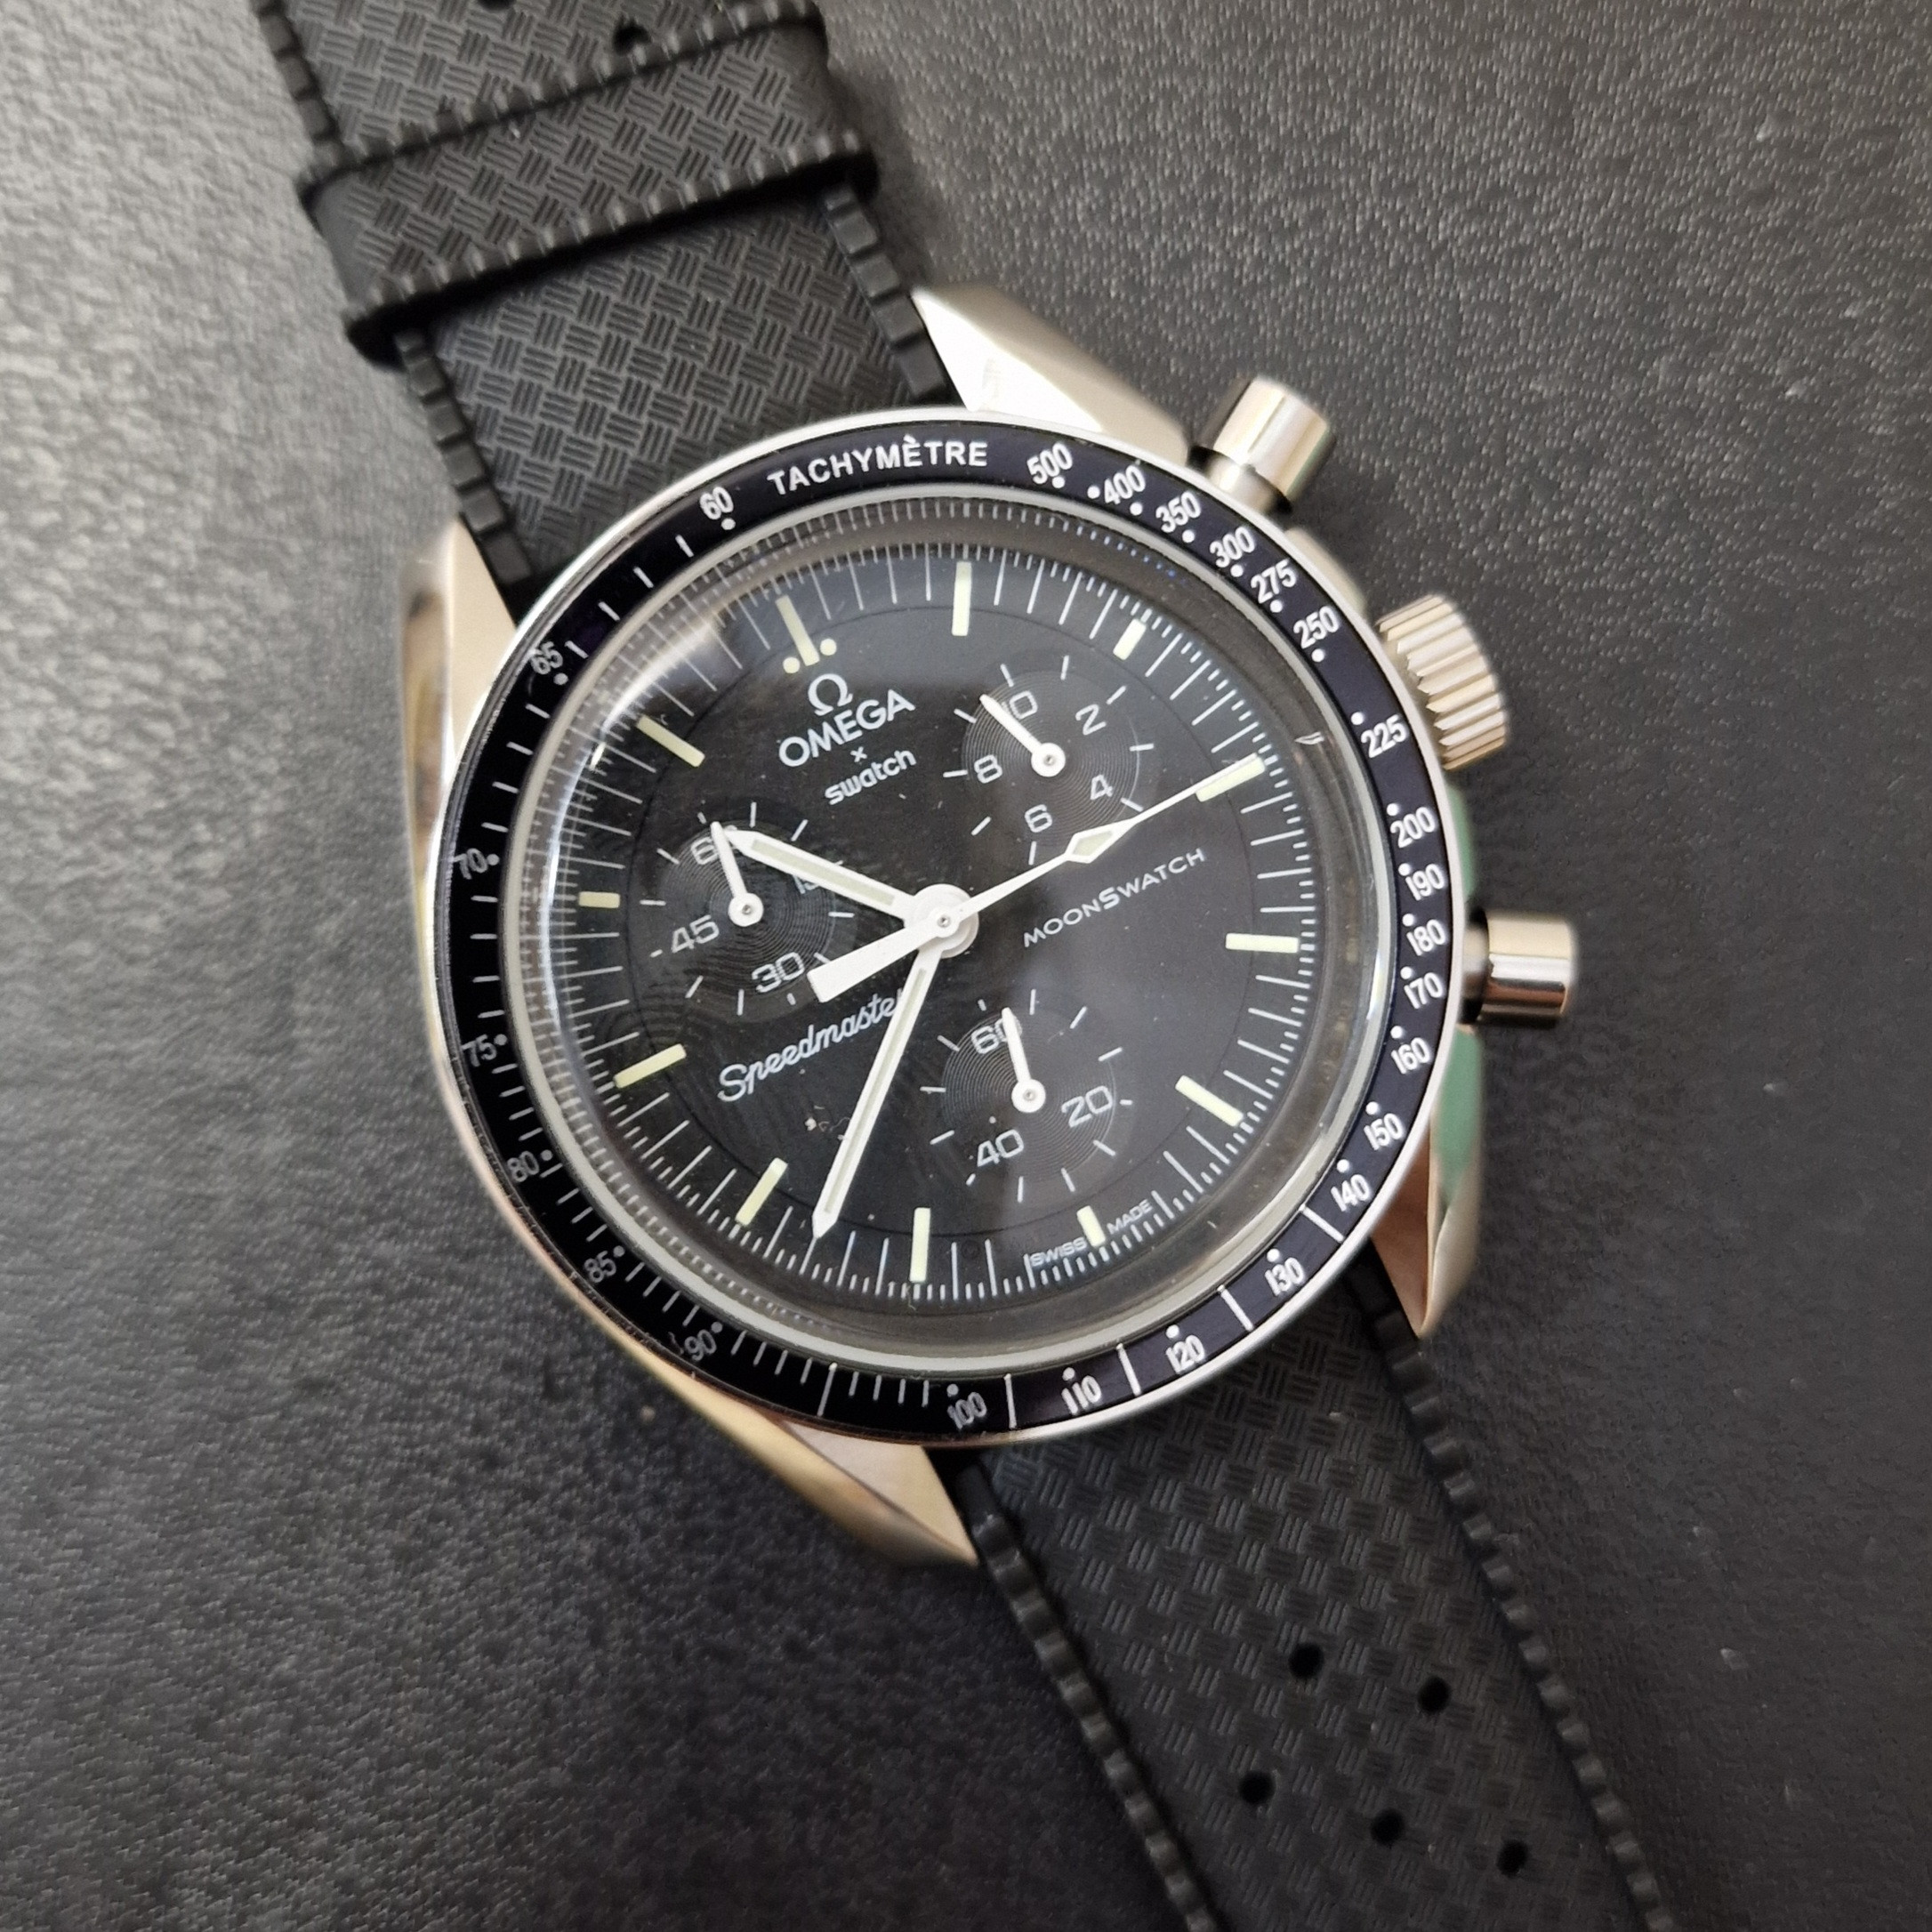
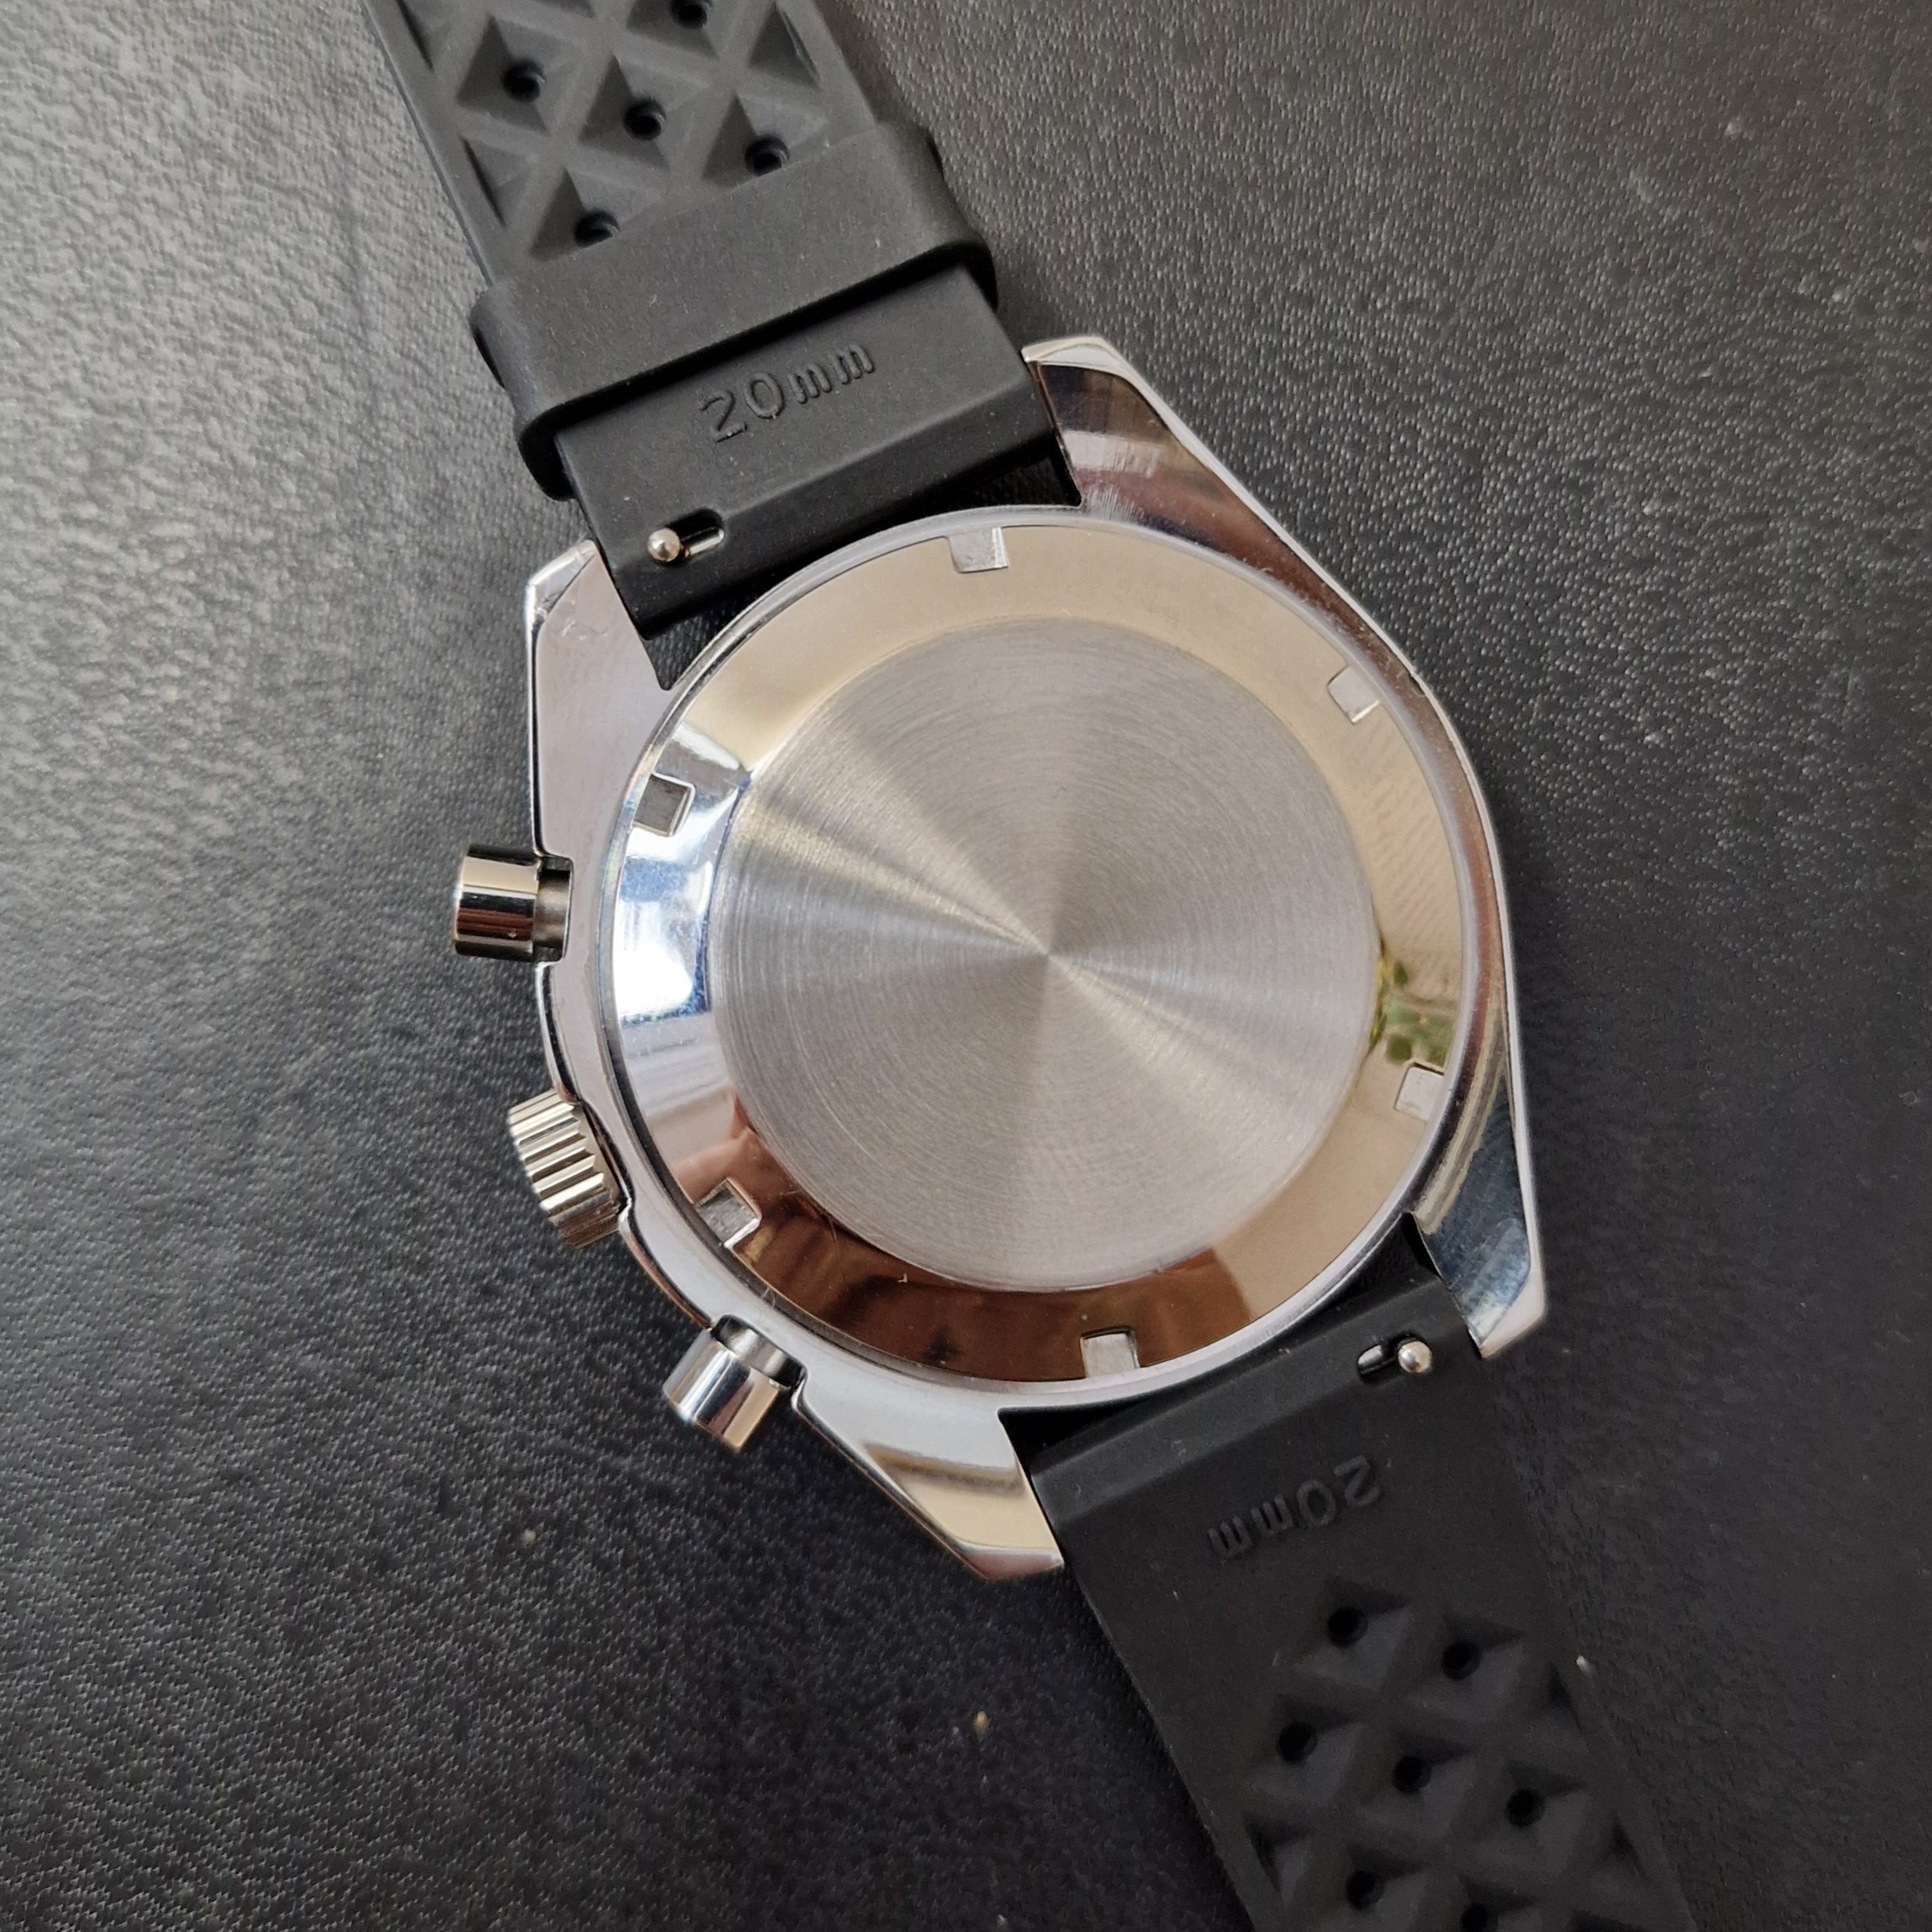
Another Moonswatch metal case project
- Thread starter dacodo
- Start date
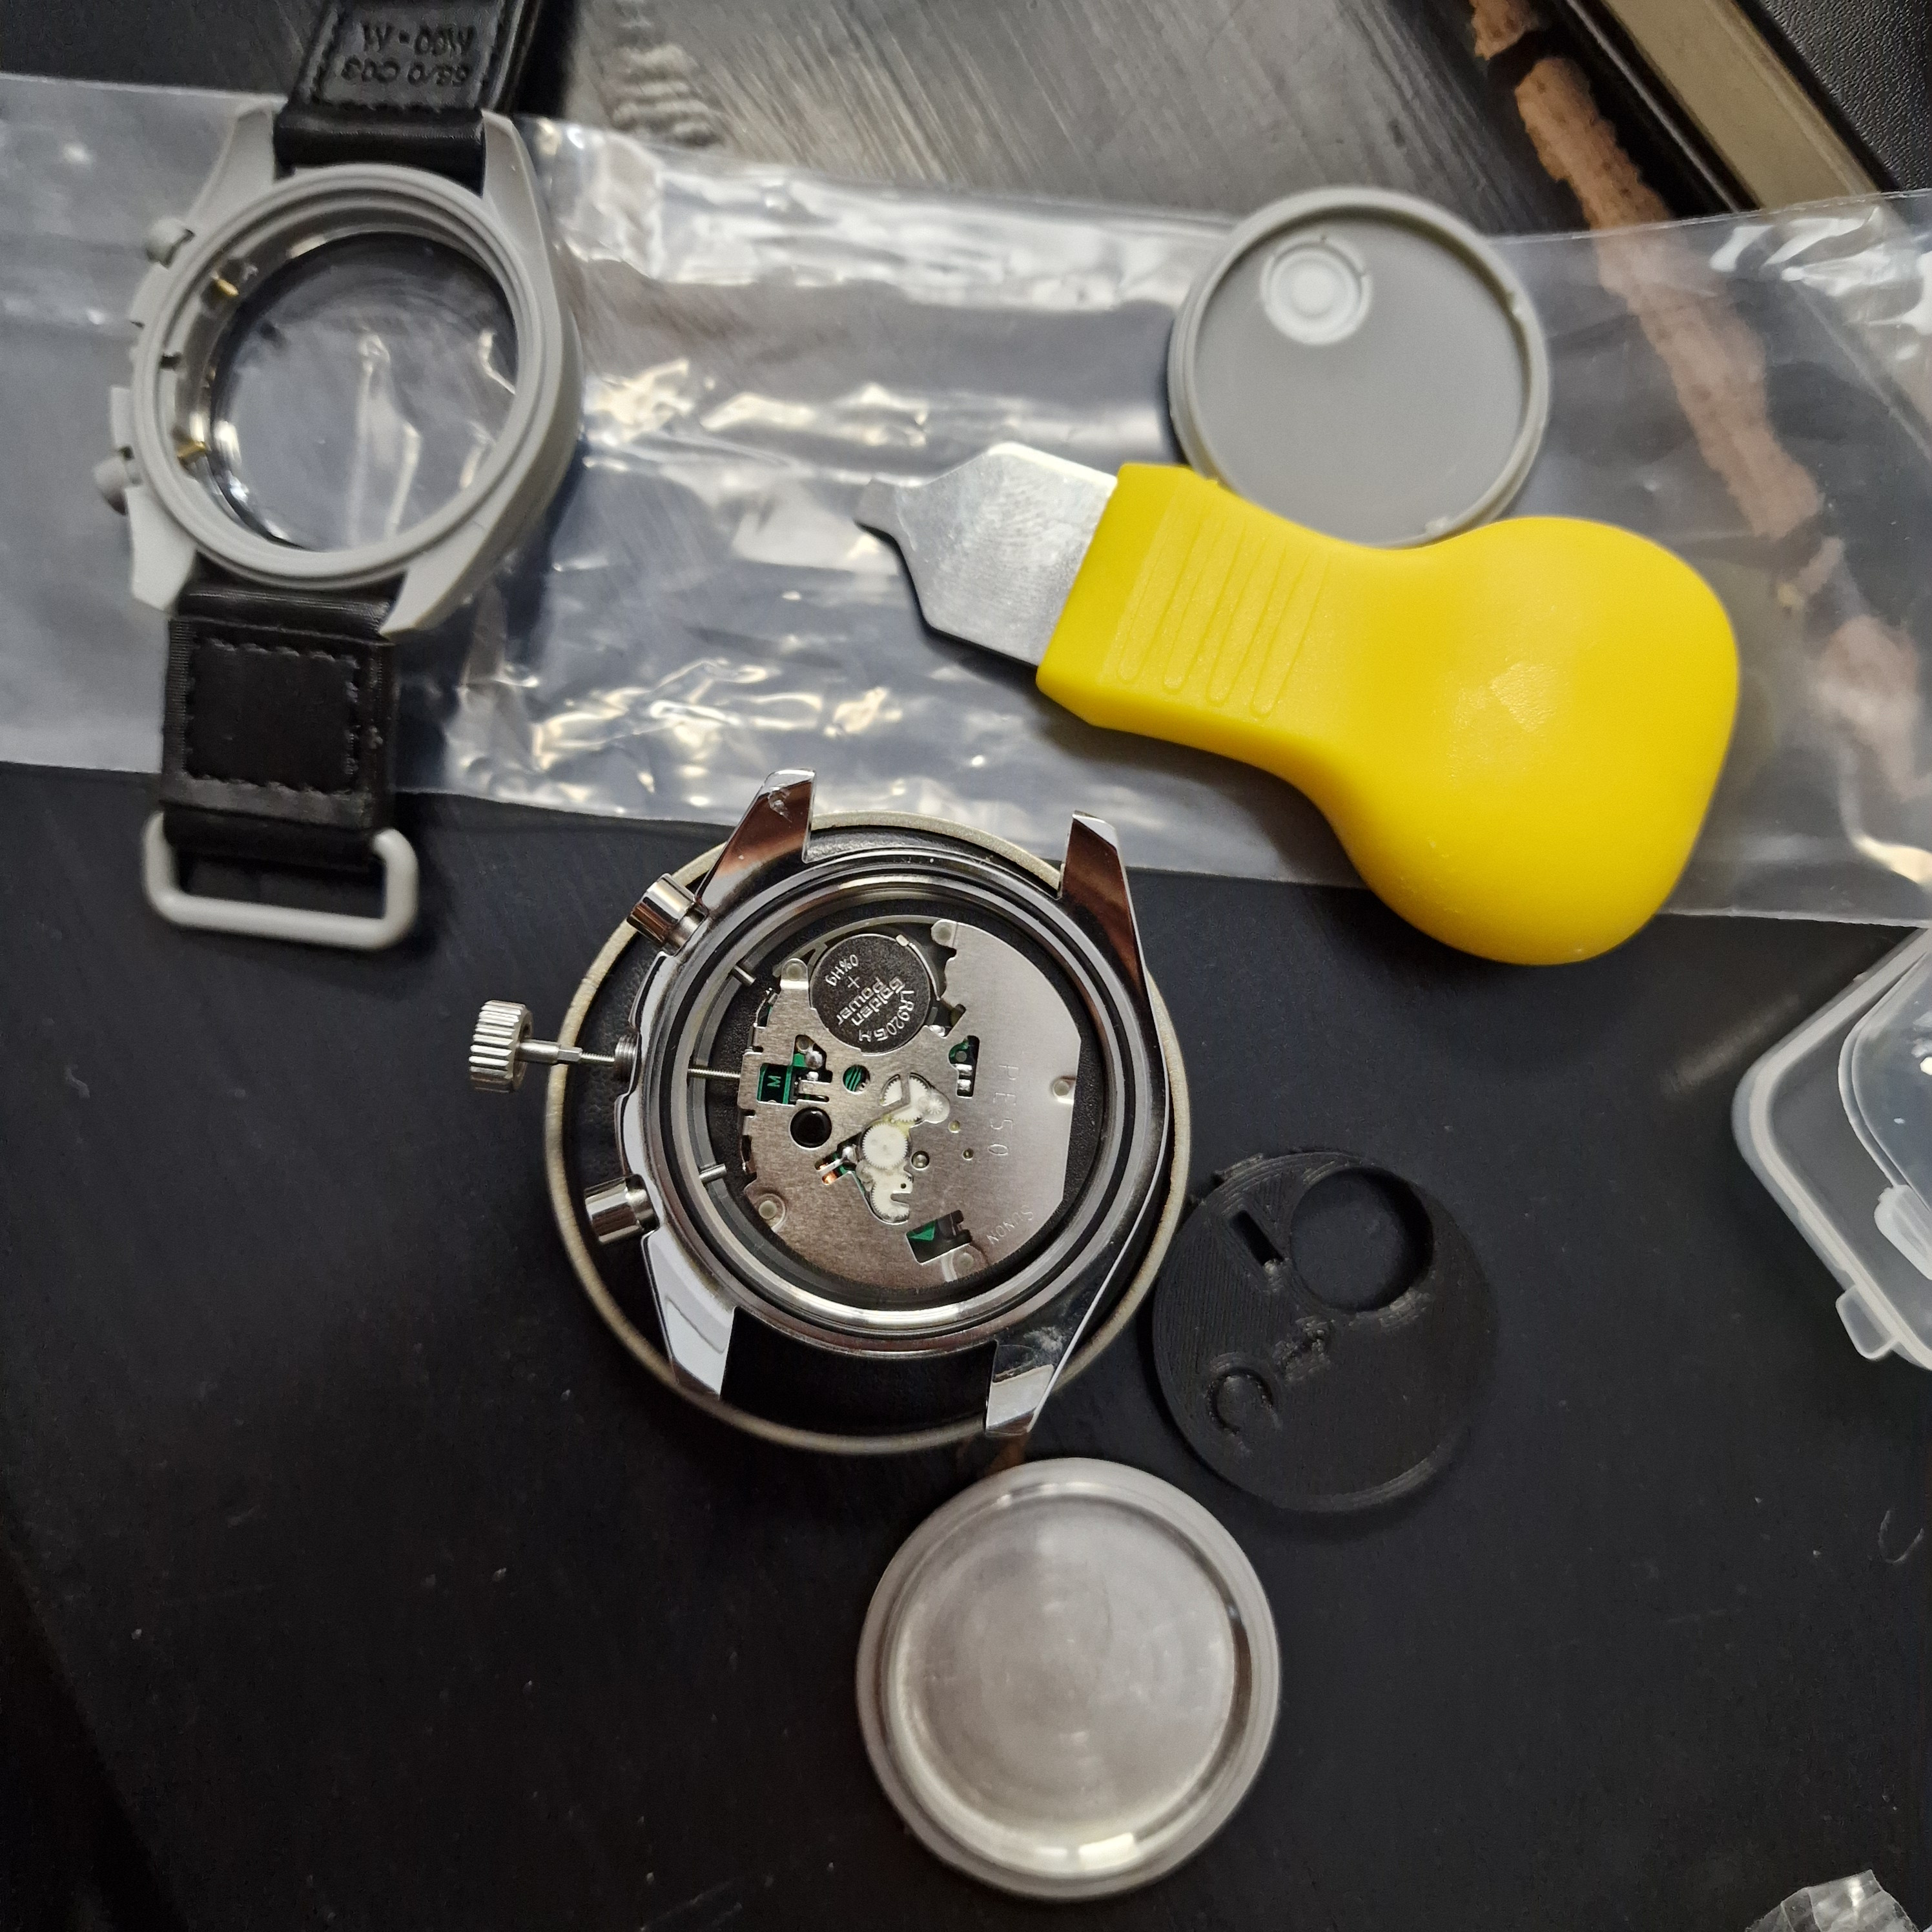
You are doing fine. You have a PE50 stem, it just needs to be cut down. Build the entire watch, do the stem last. Install the stem, push in the spring on the crown and measure. Cut exactly (if not a little less) of that off the threaded portion, loctite, done. I usually refit each stem to crown 2-3 times to make sure the engagement is just right.Ah man, I bought the stems that people here quoted that needs cutting down.... I've just screwed it into the crown for this photo but I mean. I'm worried, maybe I've done it all wrong hahaha
Maybe I should've considered making this progress public. I'm losing credit here lmao


Working greattest the pushers if they make contact
If you need to re-calibrate the chrono hand, remove the stem, hold the upper pusher till the chrono hand is near 12, let go, and push manually to turn 1/120 of a rotation till exactly at 12.
If you need to re-calibrate the chrono hand, remove the stem, hold the upper pusher till the chrono hand is near 12, let go, and push manually to turn 1/120 of a rotation till exactly at 12.
you can also do that with the stem in the winding position.
time setting you mean?you can also do that with the stem in the winding position.
Yes- time setting. Best not to try winding the PE50 or you may be there a while ..time setting you mean?
Too close to the truth manYes- time setting. Best not to try winding the PE50 or you may be there a while ..
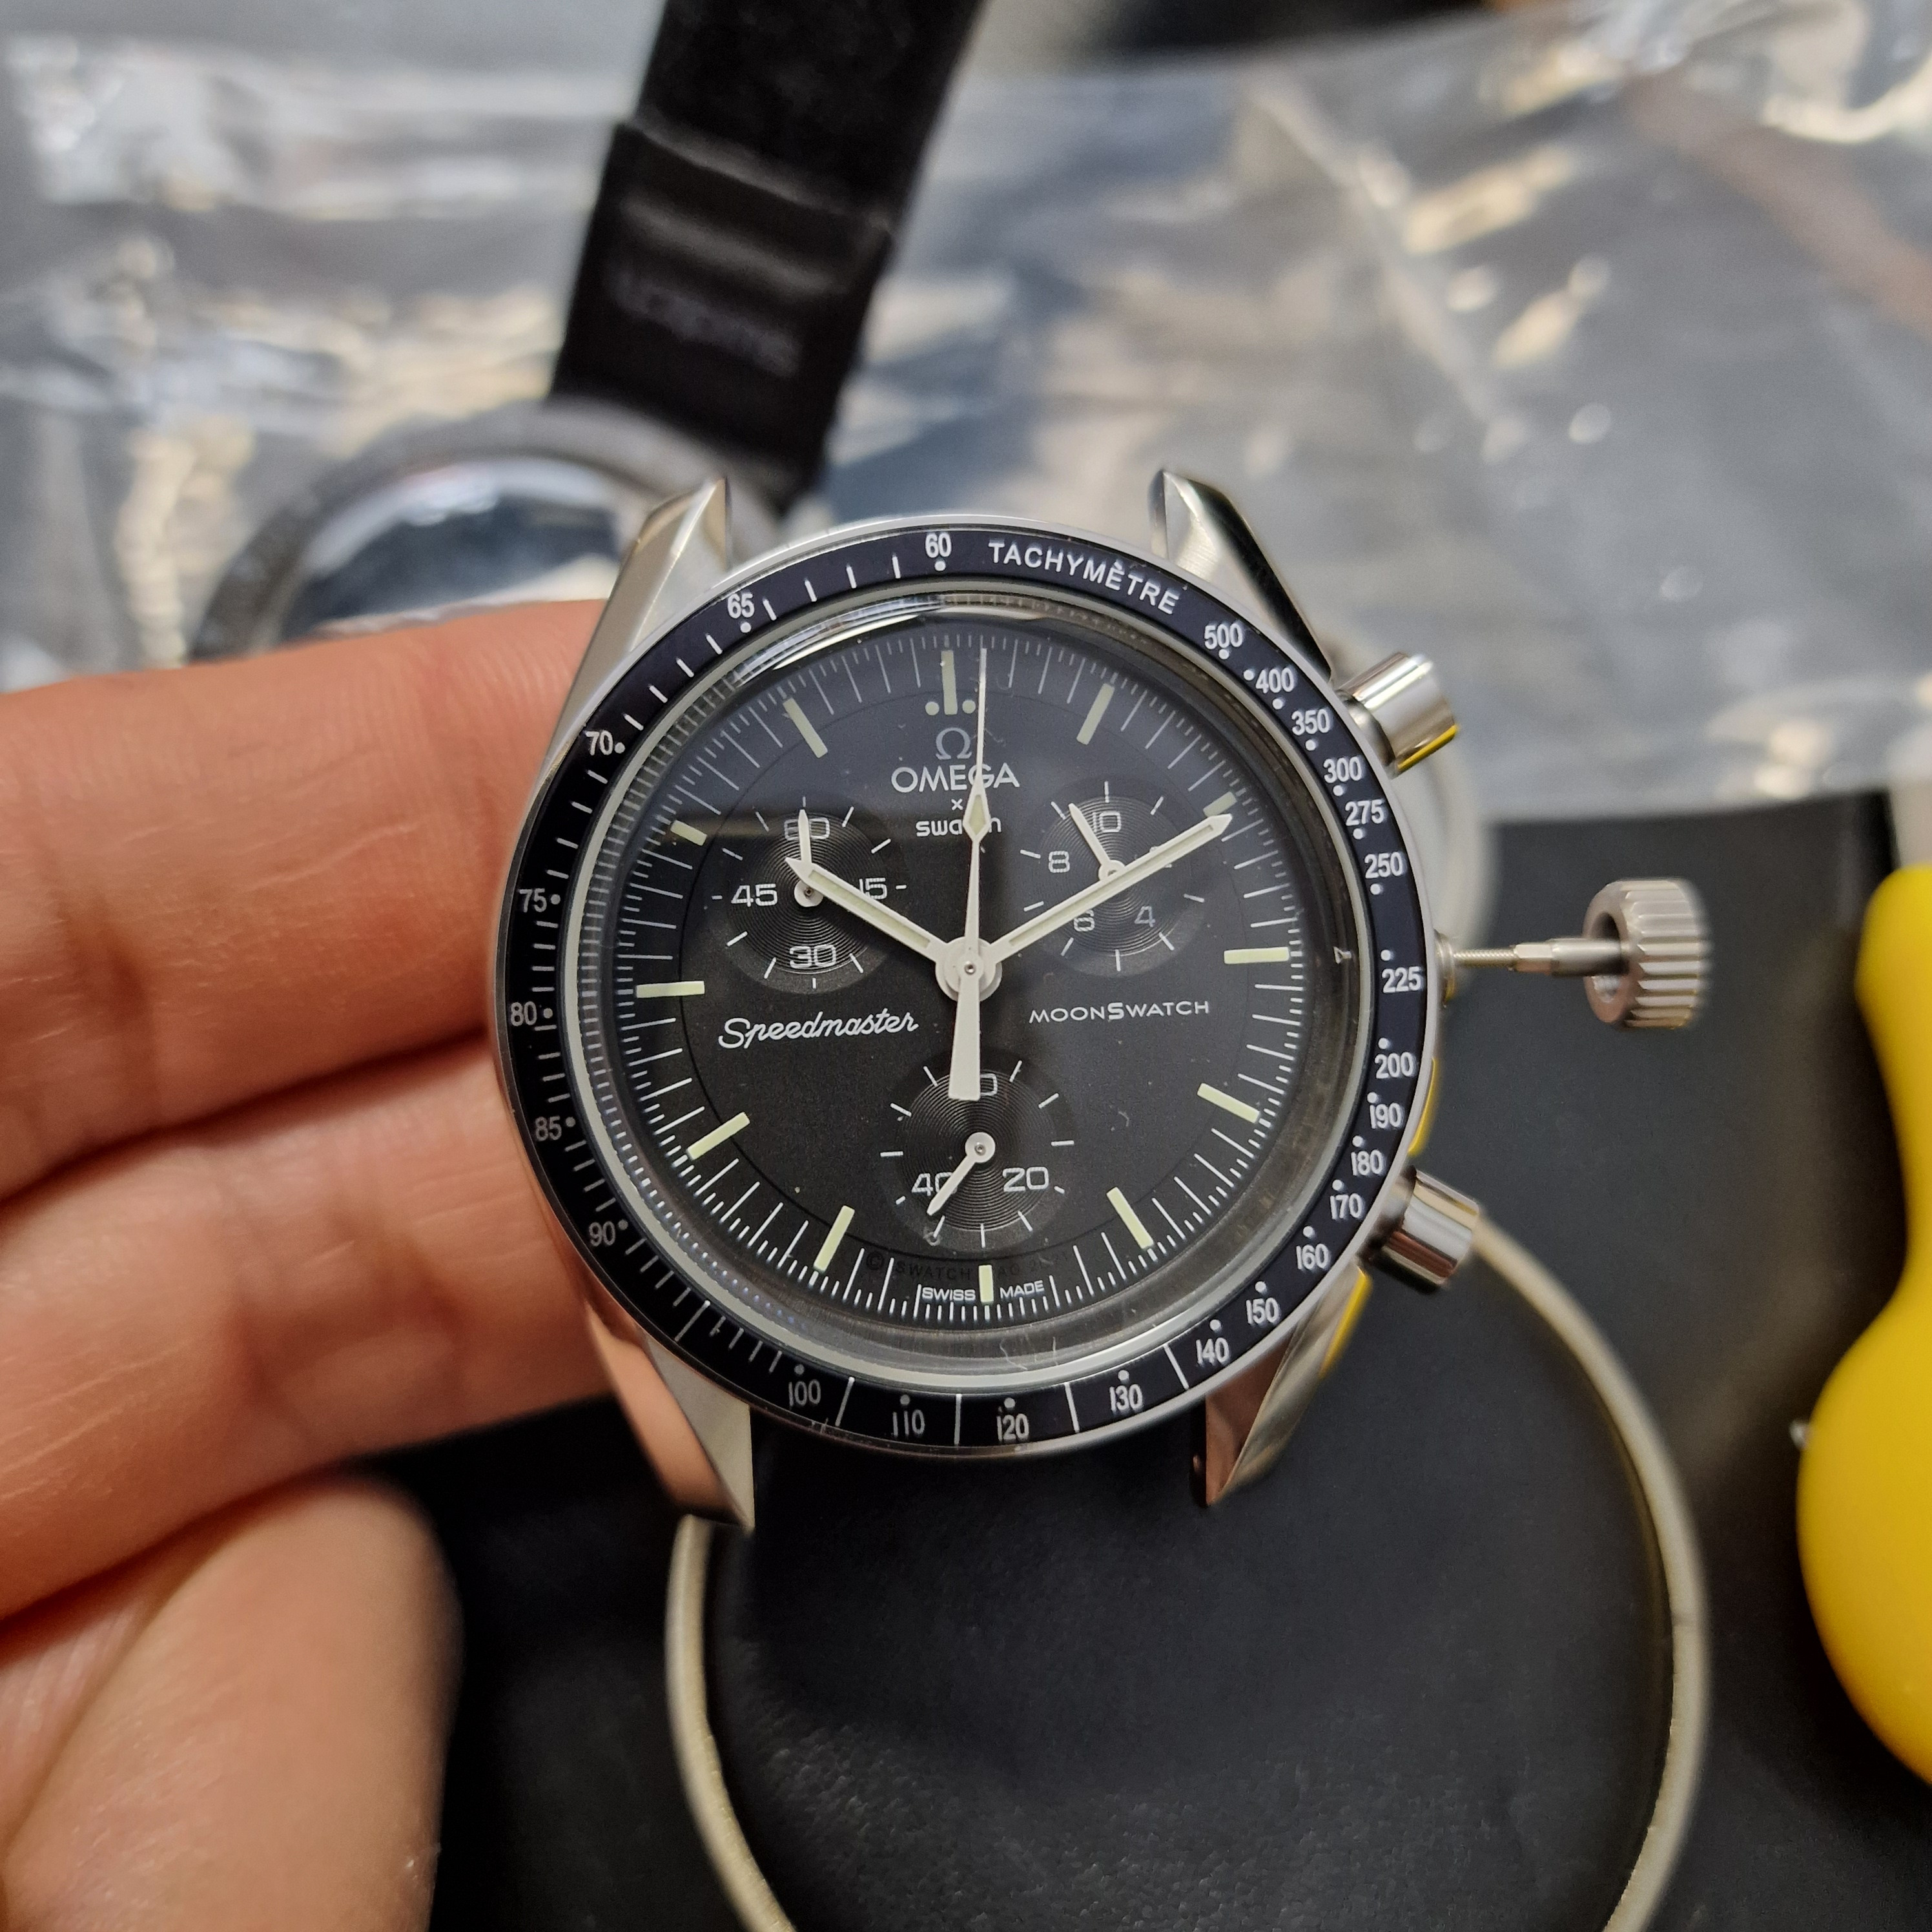
Well that took me an hour, and to be honest if I didn't have all the advice, it would have taken double that time. Quite the learning experience, and it isn't perfect, but man alive am I inspired!
awesome. Great job. I won my bet. You did it.
If one day you want to also align the bezel insert at 60 on top....
Use a very thin pointed blade, like a scalpel, and detach the insert by sliding it underneath slowly round the edge. Take care not to scratch the insert or bezel.
Then simply reposition the 60 dot on the topmost marker that looks like a dick.
Well that took me an hour, and to be honest if I didn't have all the advice, it would have taken double that time. Quite the learning experience, and it isn't perfect, but man alive am I inspired!
Congrats! Well done! That watch will always have a special place in your watch box
This is really helpful, was wondering how on earth to do this. You win!!awesome. Great job. I won my bet. You did it.
If one day you want to also align the bezel insert at 60 on top....
Use a very thin pointed blade, like a scalpel, and detach the insert by sliding it underneath slowly round the edge. Take care not to scratch the insert or bezel.
Then simply reposition the 60 dot on the topmost marker that looks like a dick.
additional tip. I start from the 7-8 position for the blade. Just because if I mess up, the eyes rare catch this place on wrist.This is really helpful, was wondering how on earth to do this. You win!!
If you are not assured, you can tape the bezel and insert with a small pie e masking tape to protect them at place of entry
Do I need to re-glue or anything like this?awesome. Great job. I won my bet. You did it.
If one day you want to also align the bezel insert at 60 on top....
Use a very thin pointed blade, like a scalpel, and detach the insert by sliding it underneath slowly round the edge. Take care not to scratch the insert or bezel.
Then simply reposition the 60 dot on the topmost marker that looks like a dick.