- 19/1/16
- 4,412
- 5,076
- 113
EDIT:
I will soon offer specially designed insert bezel dies for sale. If anyone is interested please shoot me a PM.
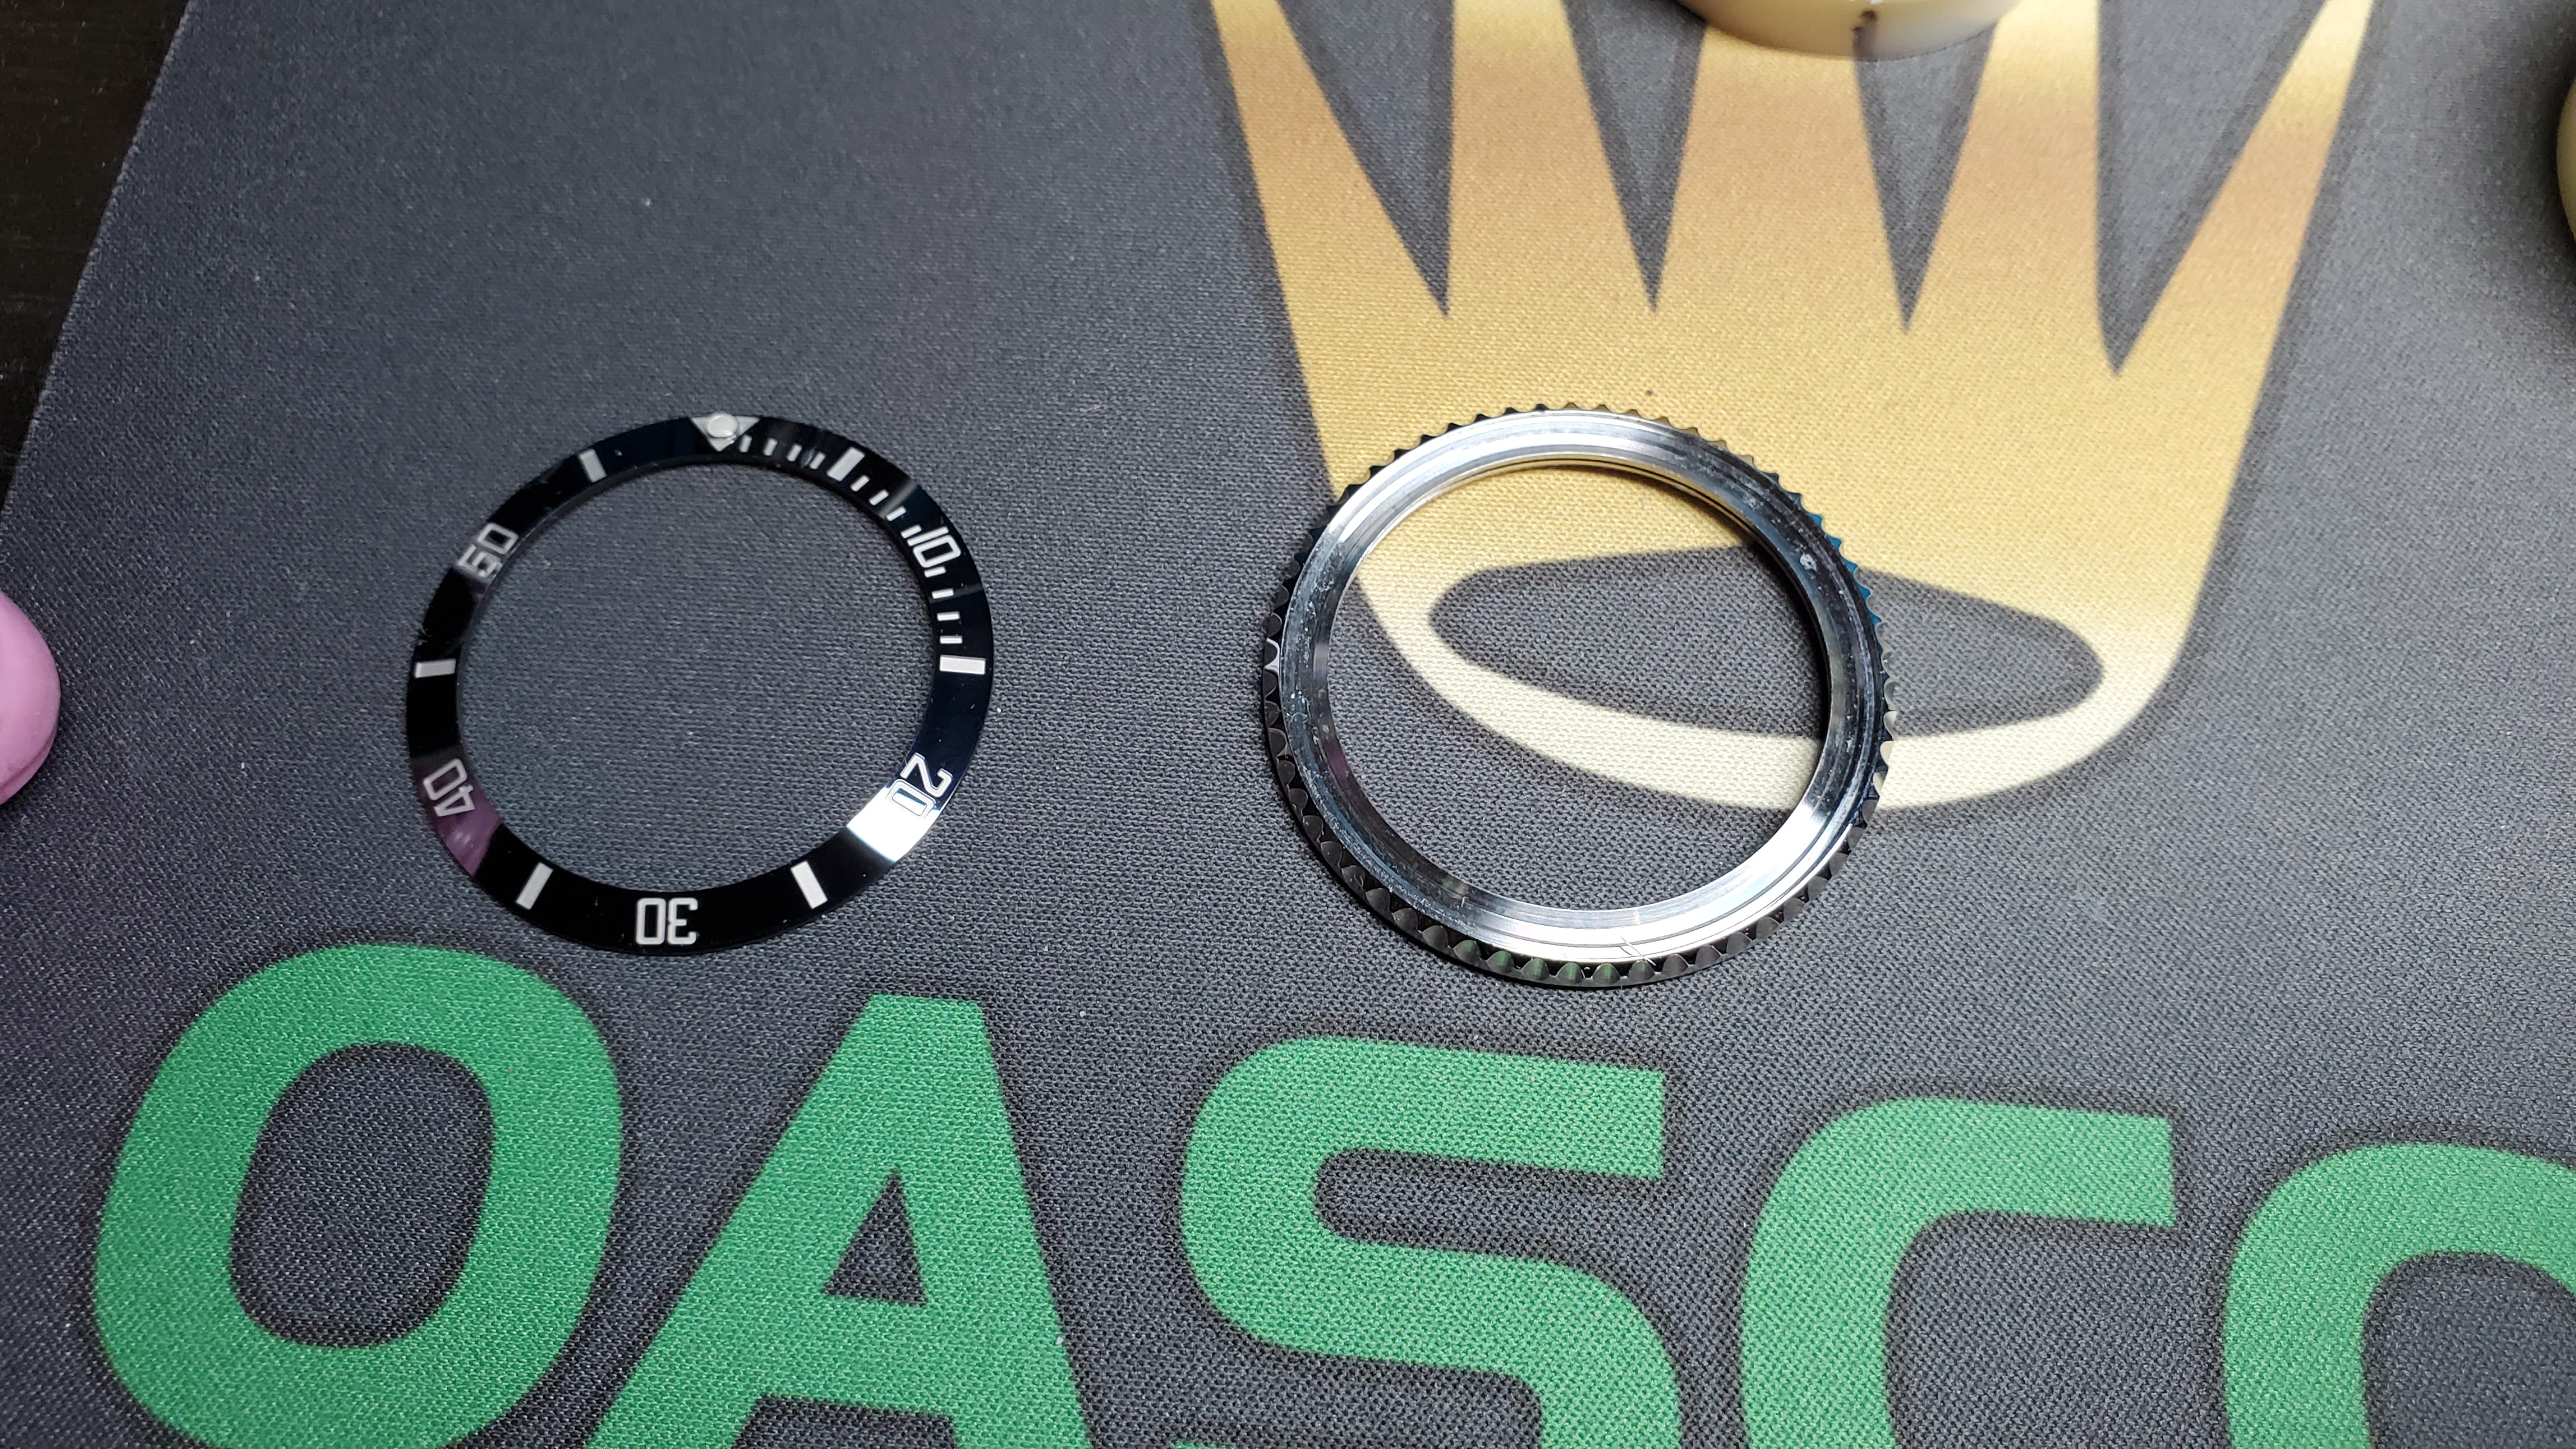
Just want to give you guys a guide how to safely, cheap and easy remove ceramic inserts from the bezels. This is for the inserts that were friction fitted but might also be good for those glued ones.
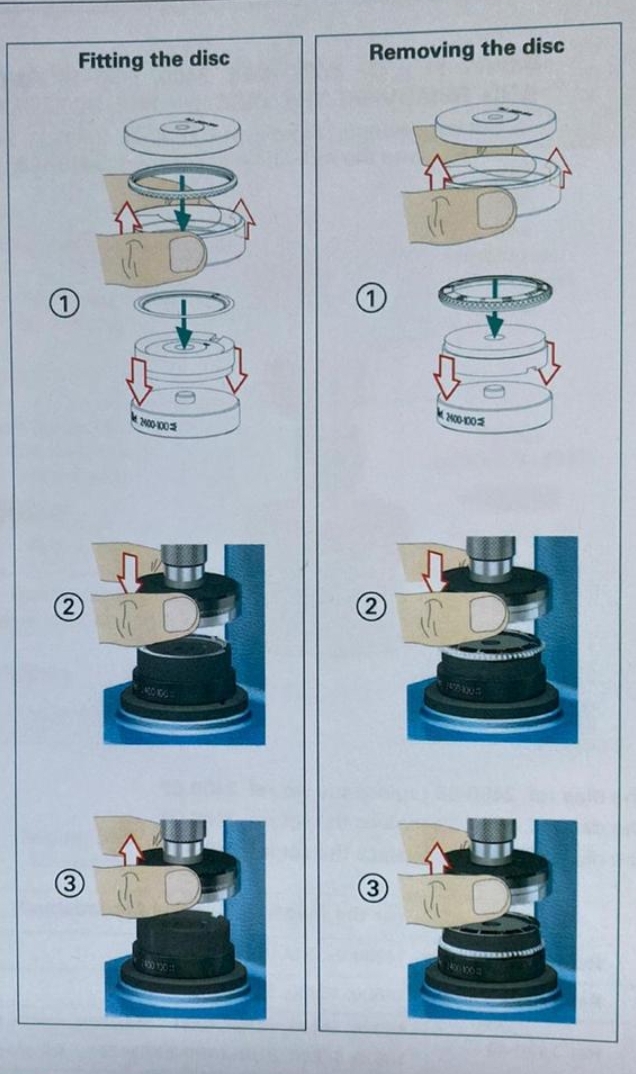
This is definitely much safer than using caseback knife or some other magic tricks I saw people use and also this is similar way Rolex remove inserts and also install them. (It's just not as fancy as system they use (and approximately 15k$ cheaper)
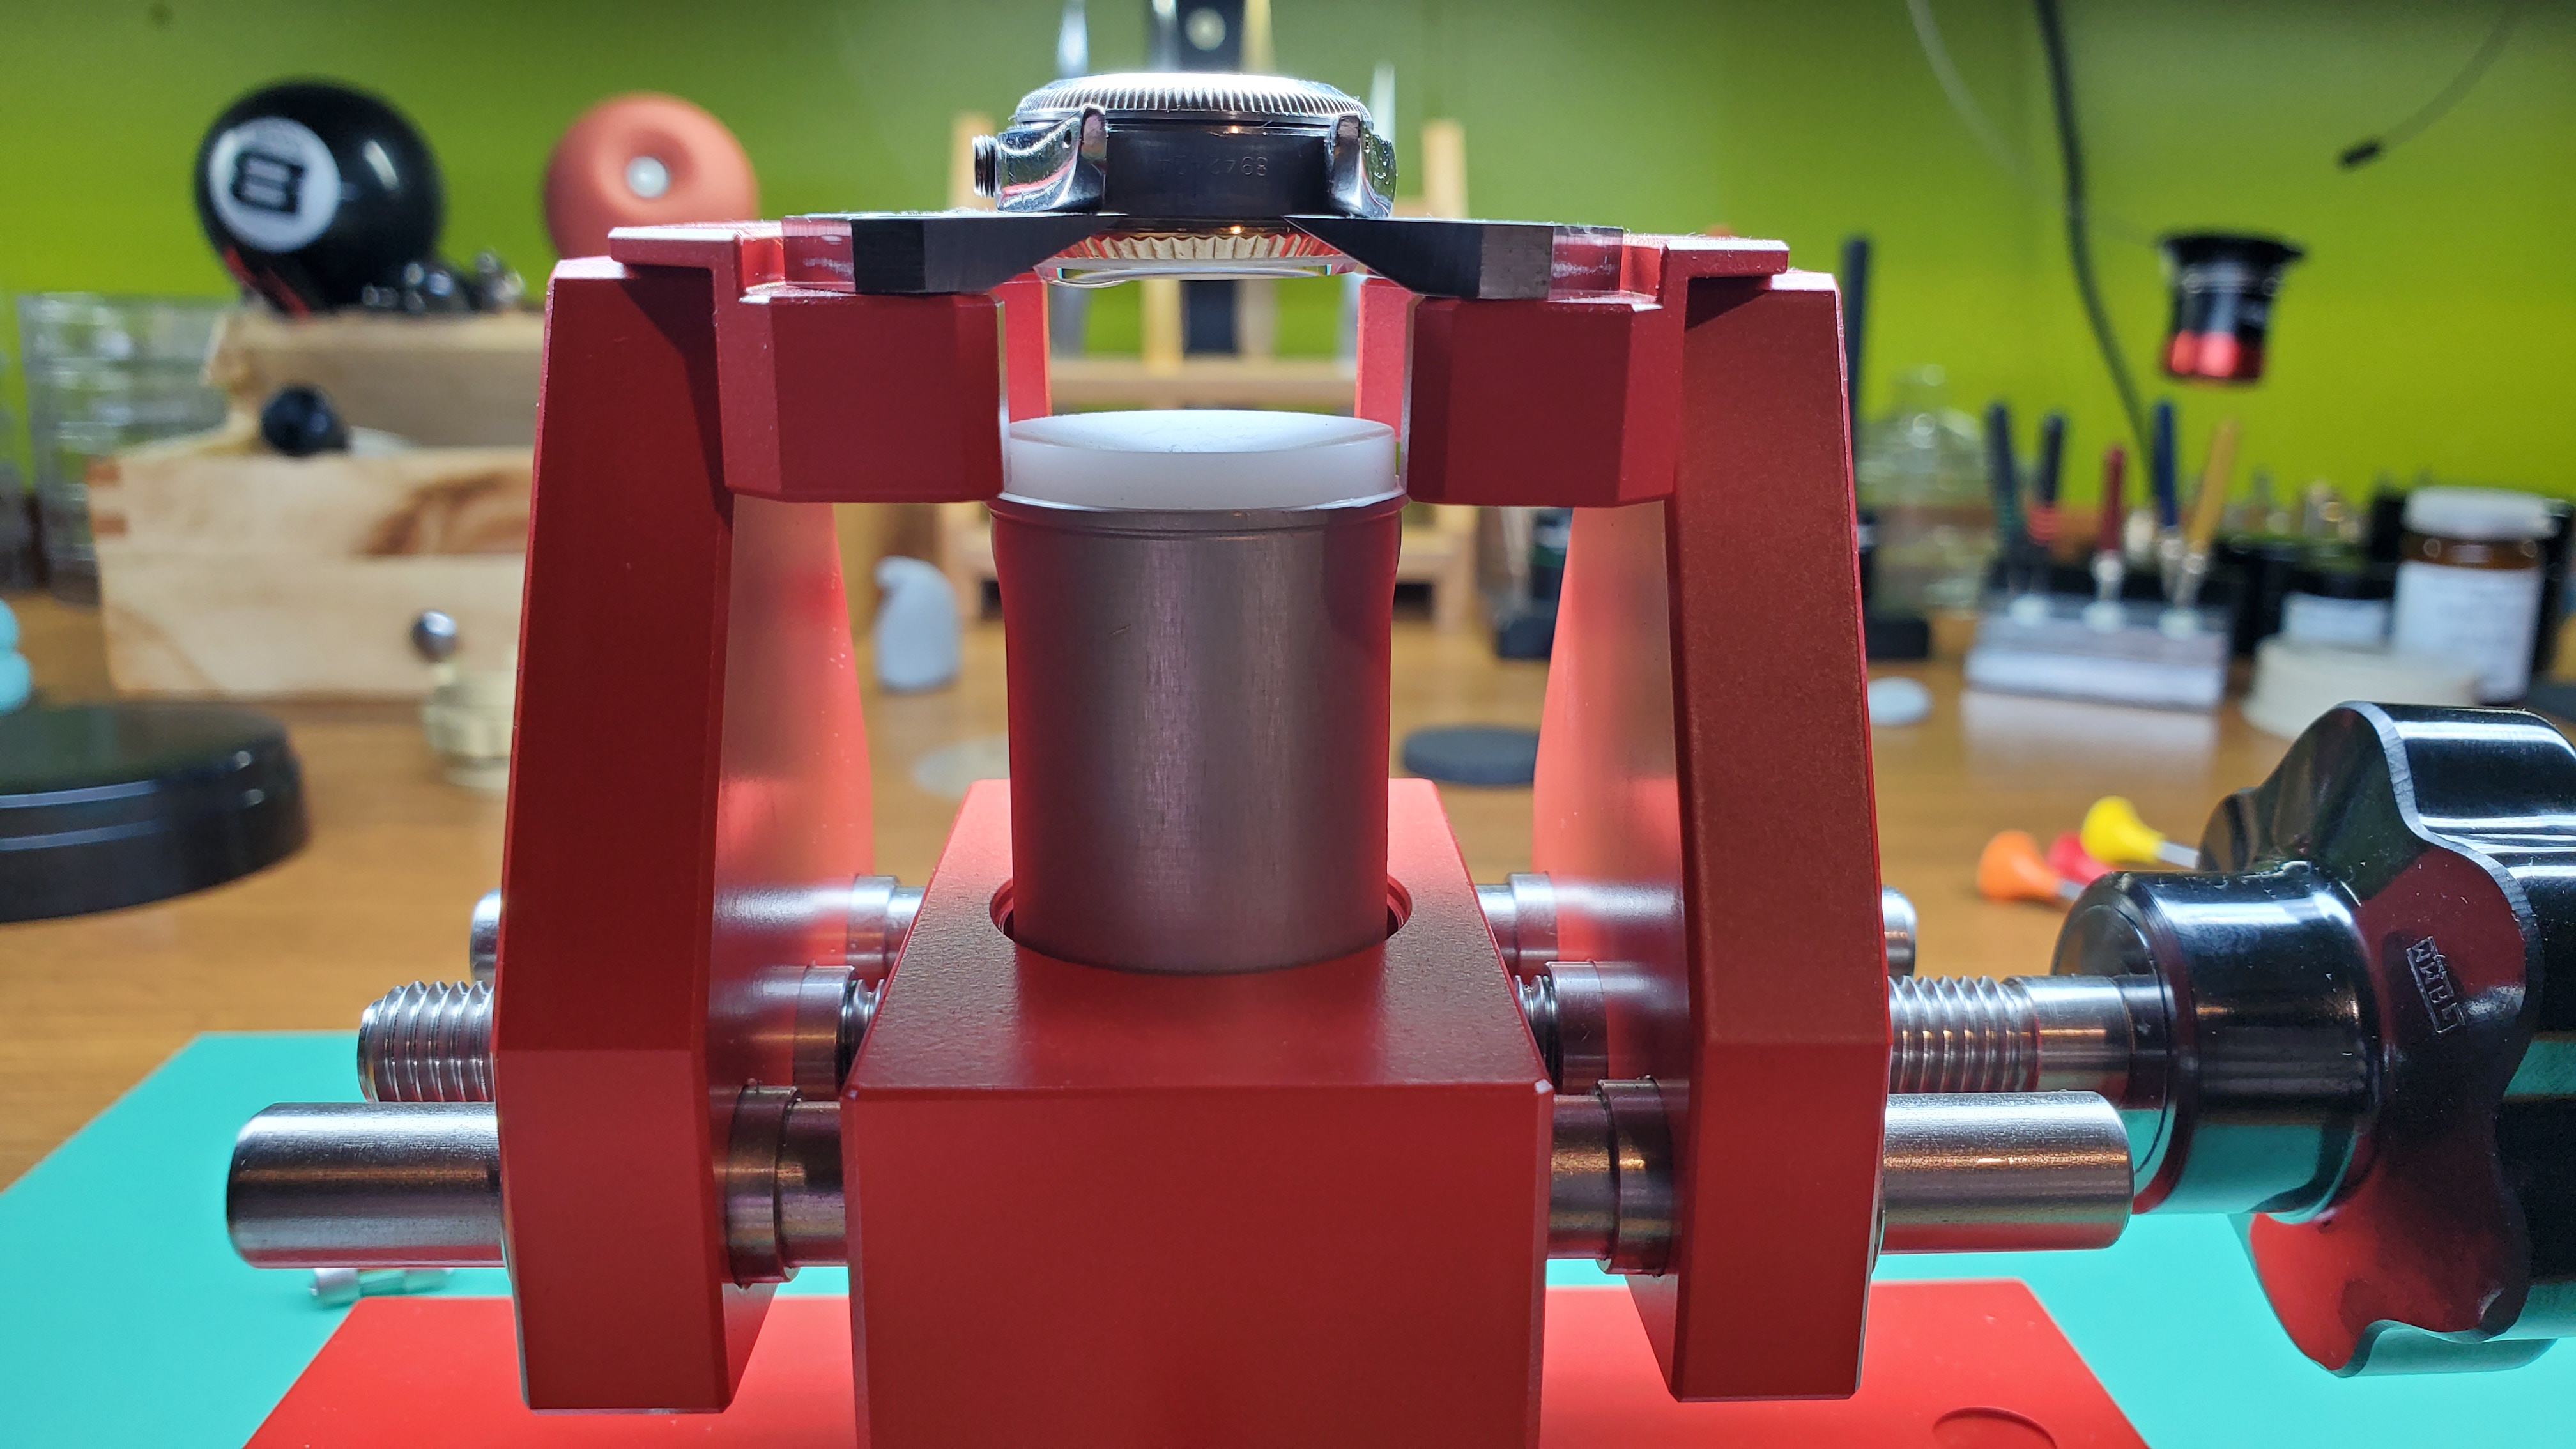
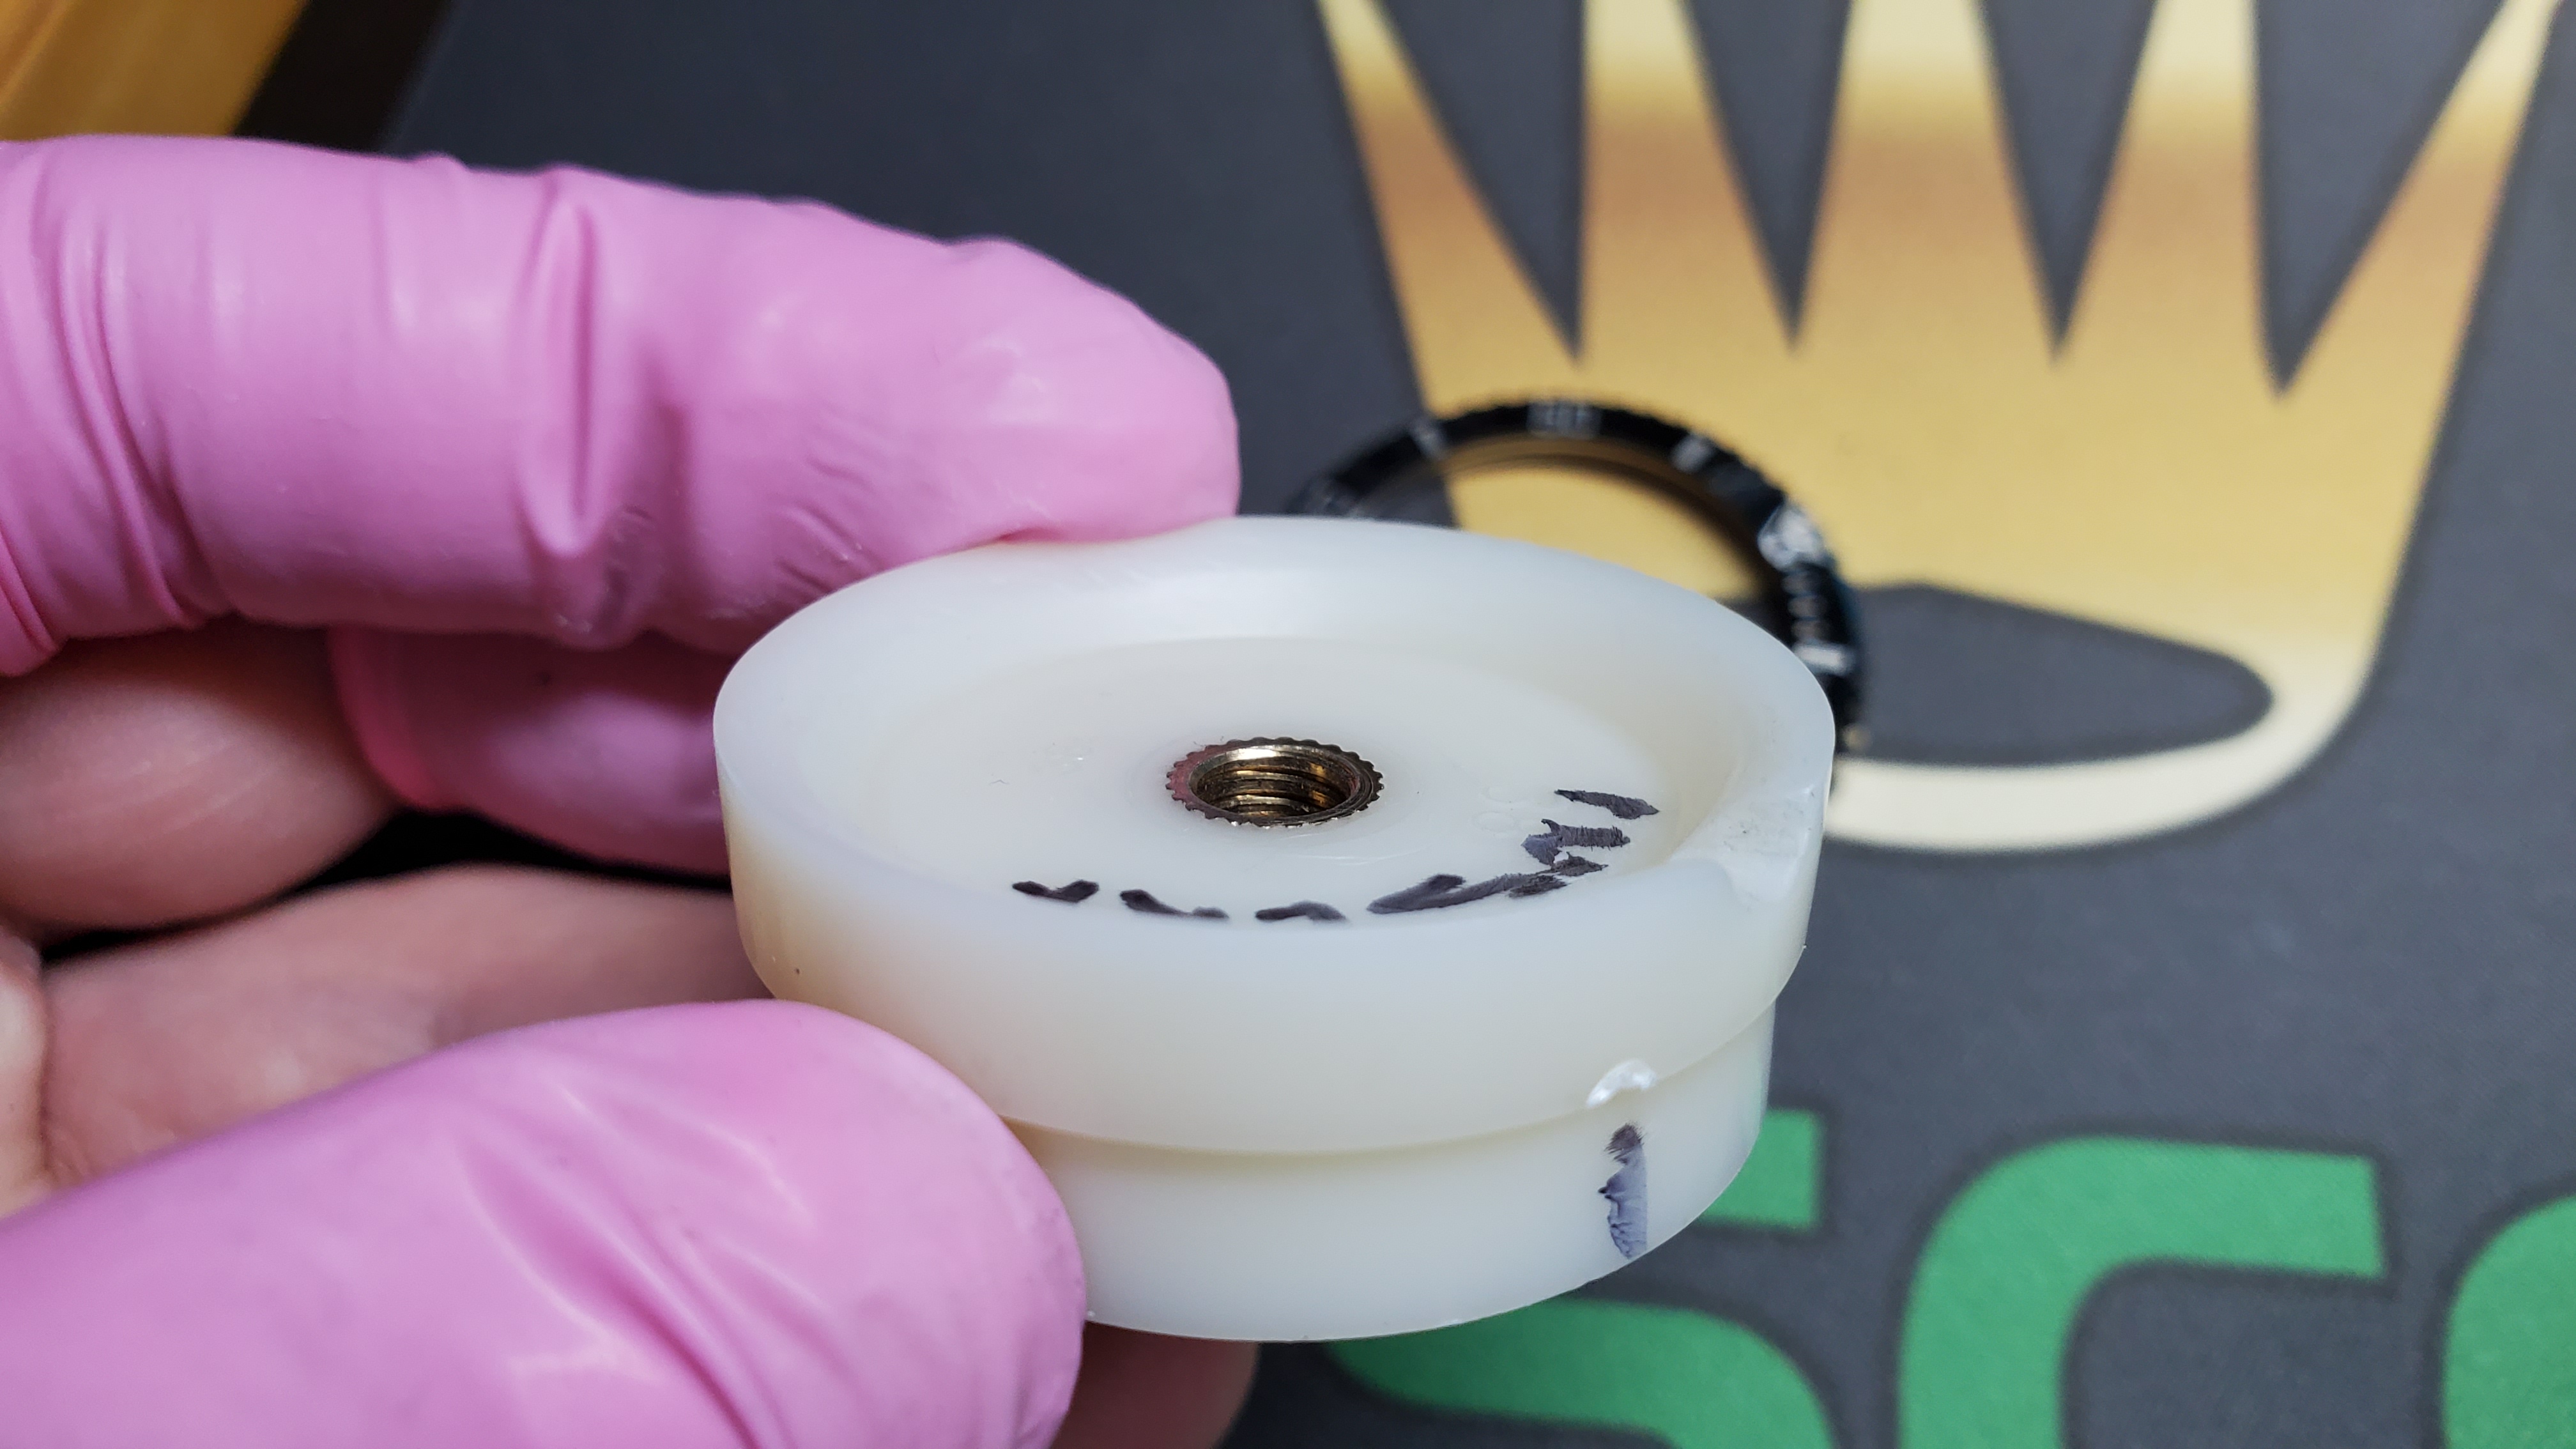
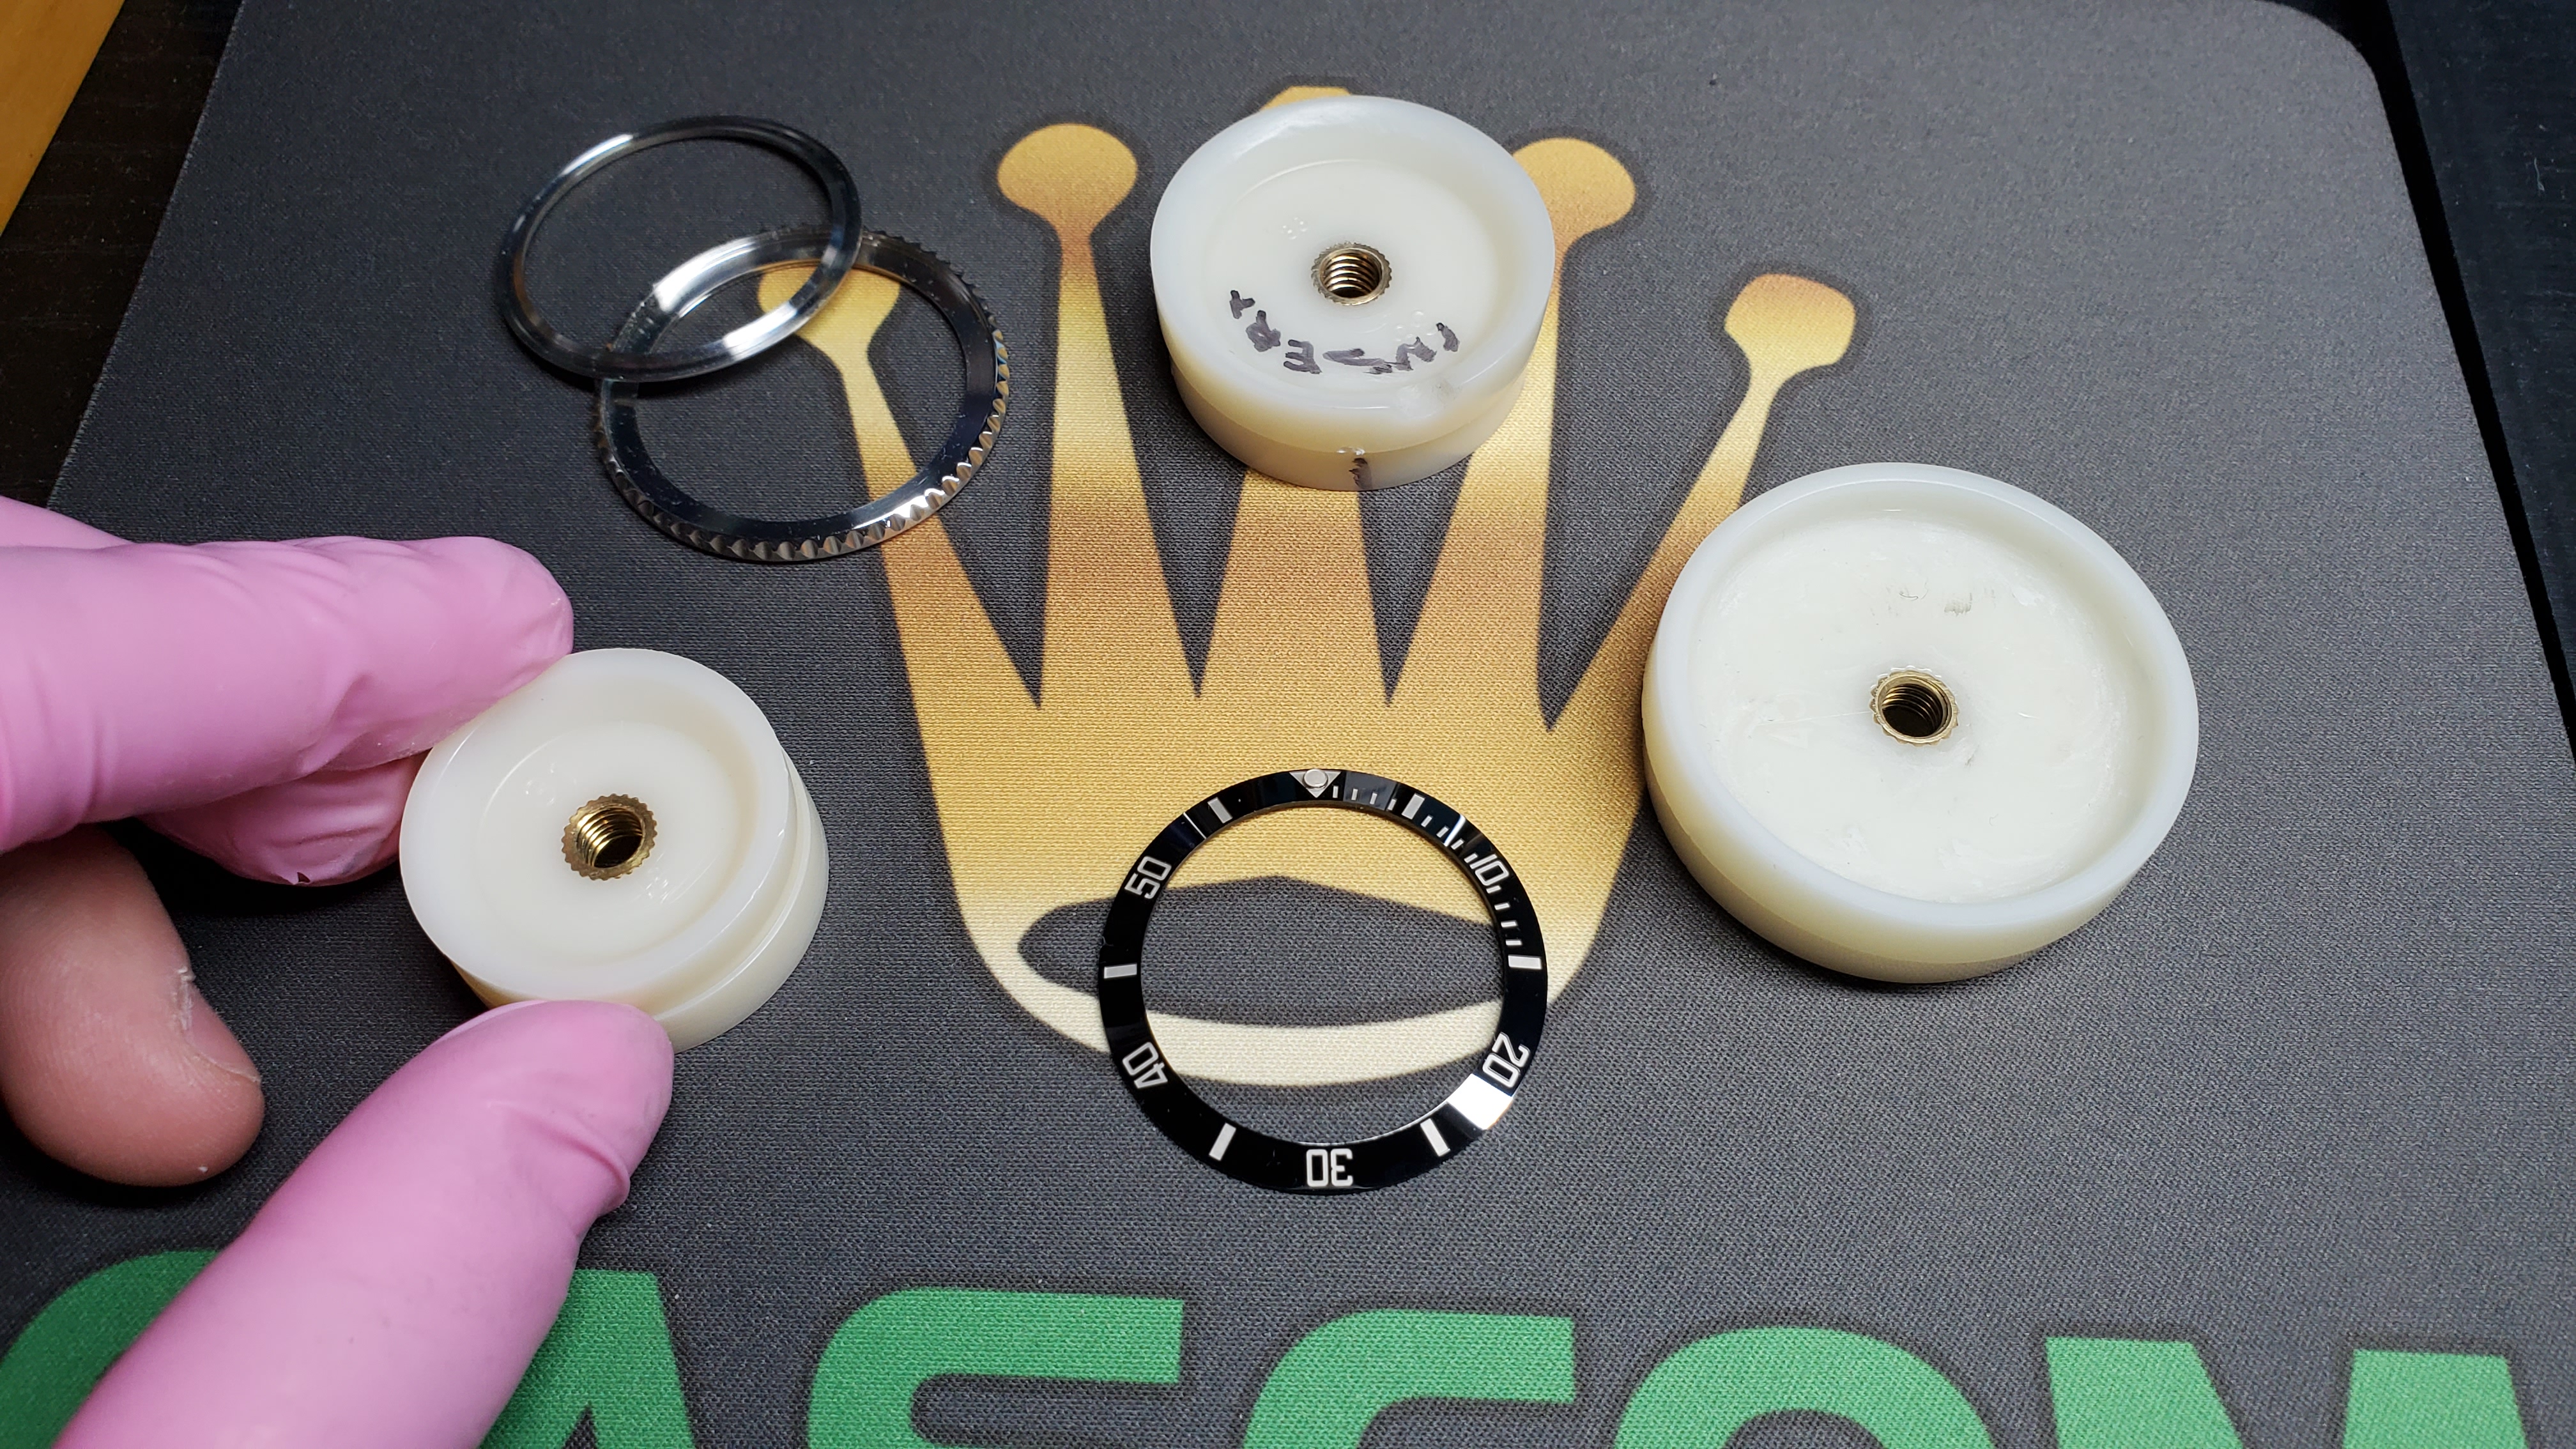
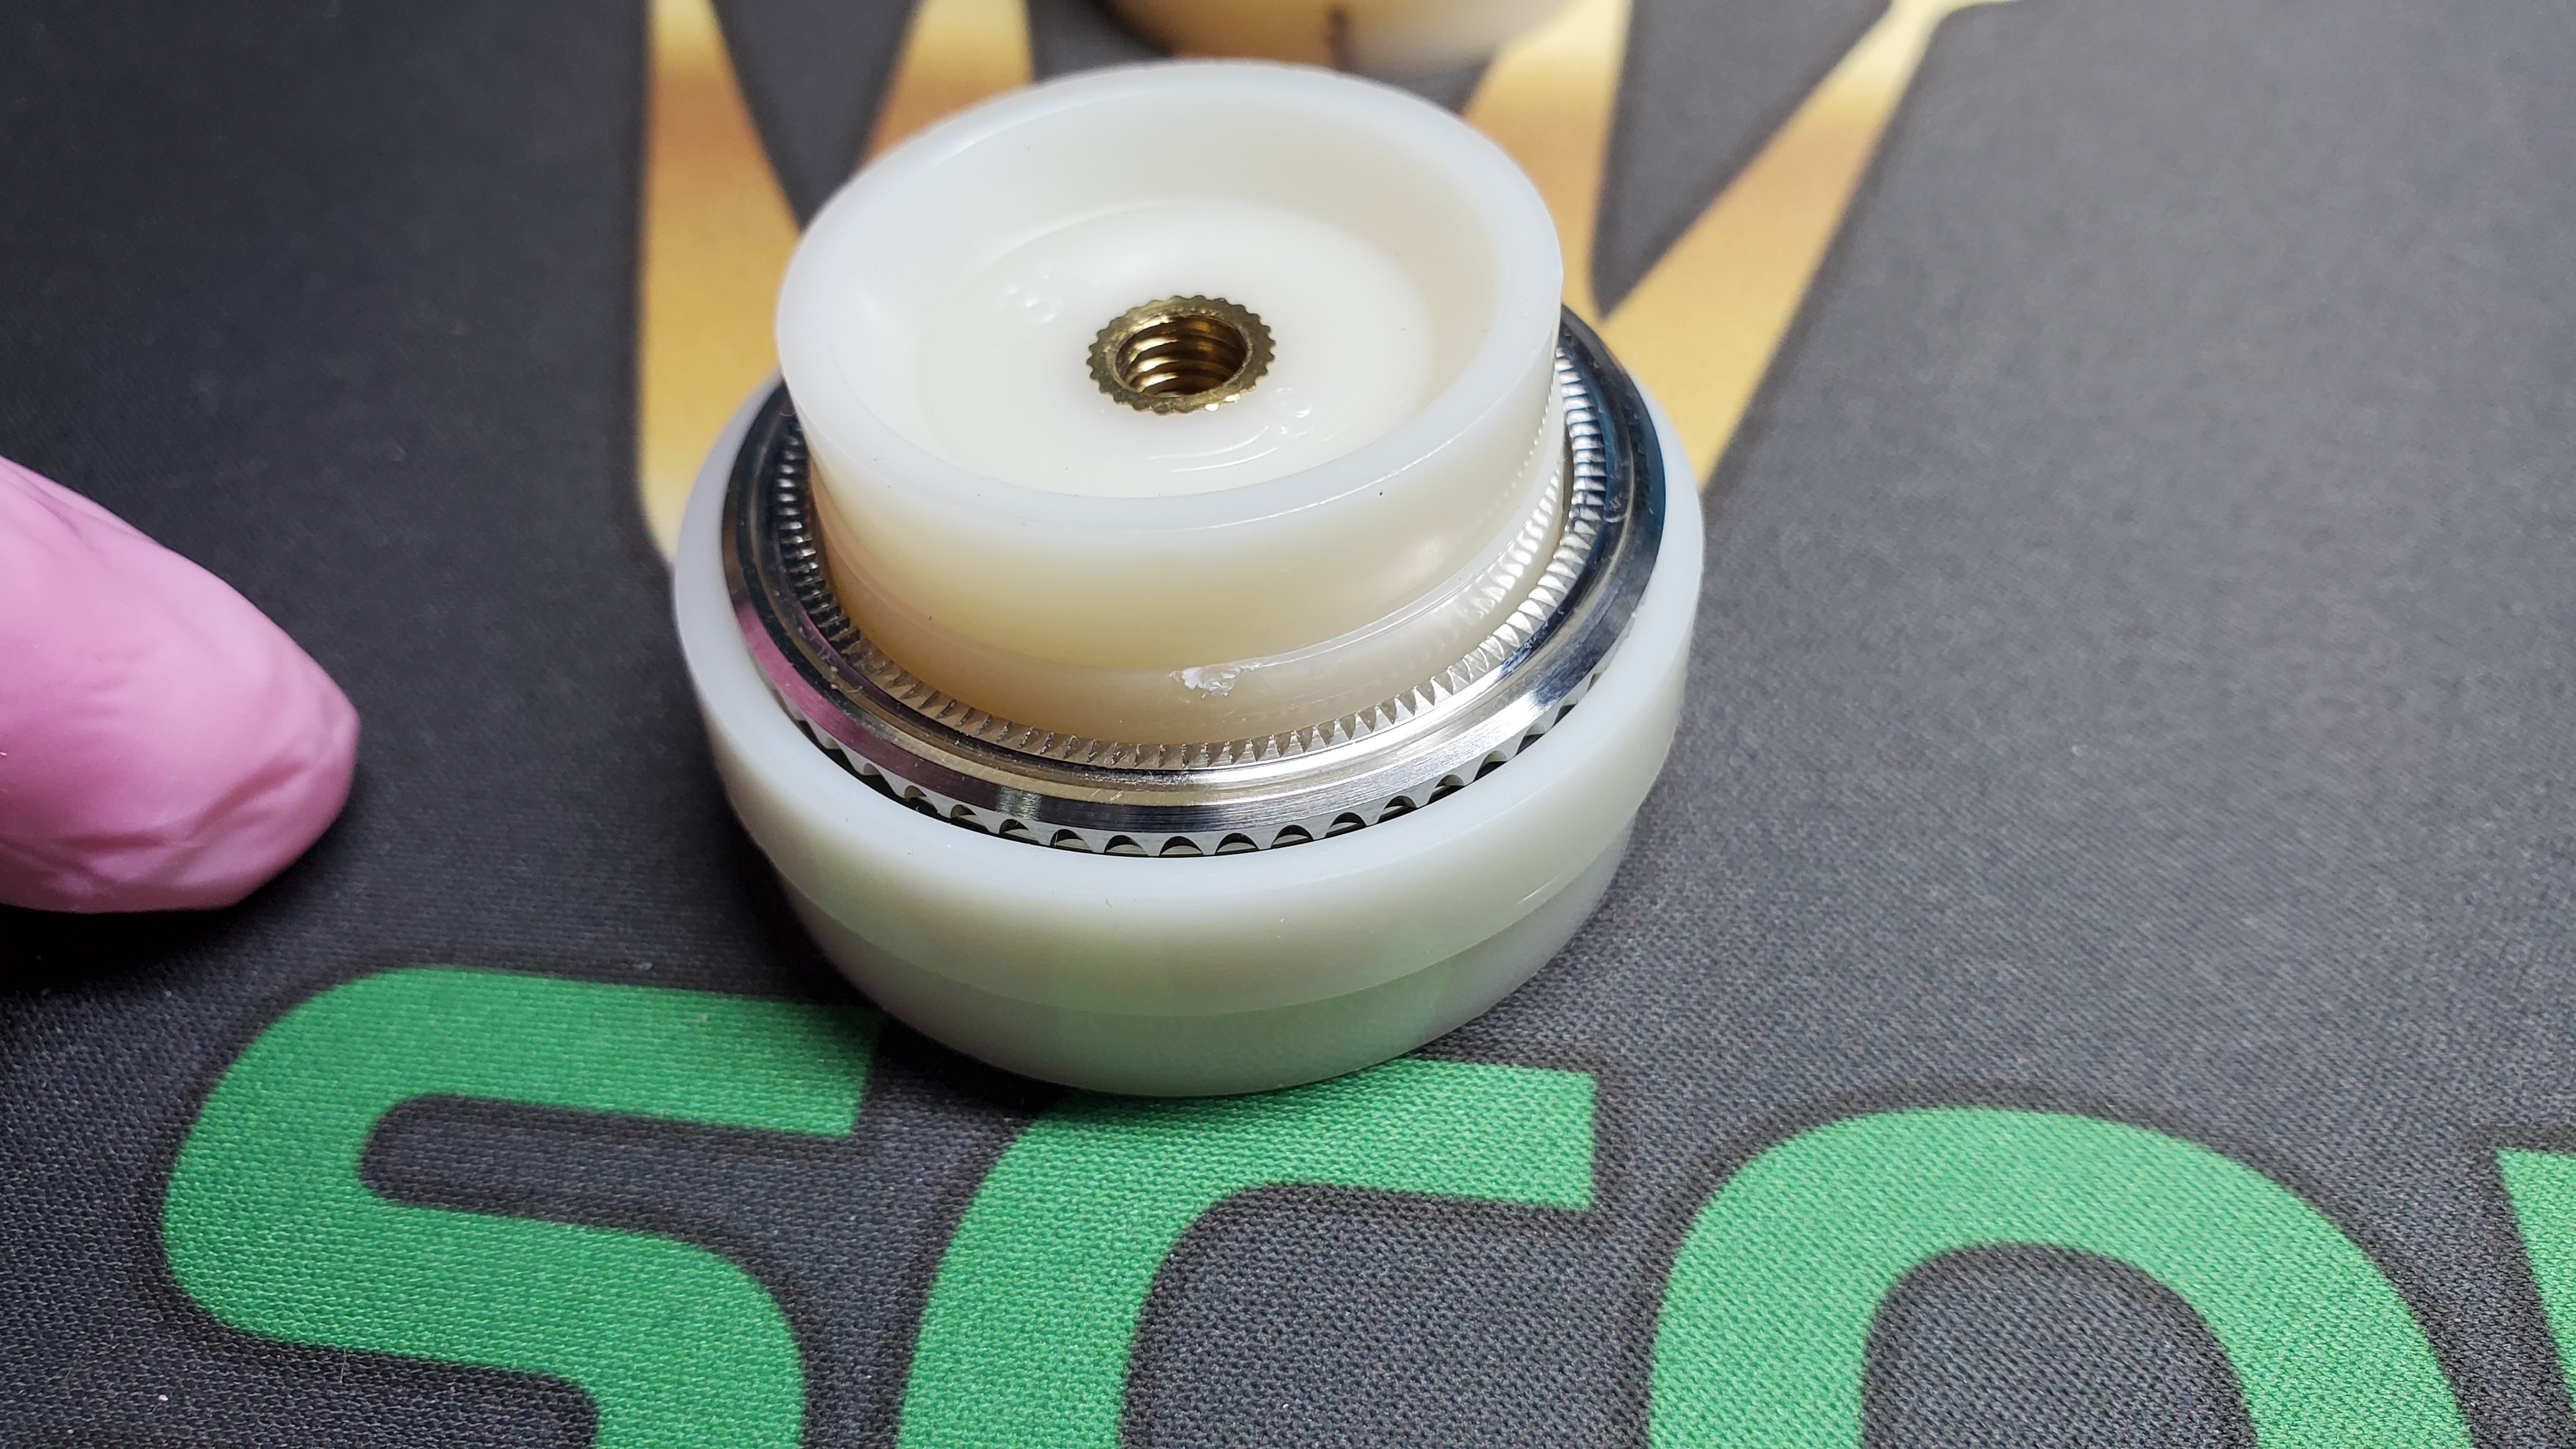
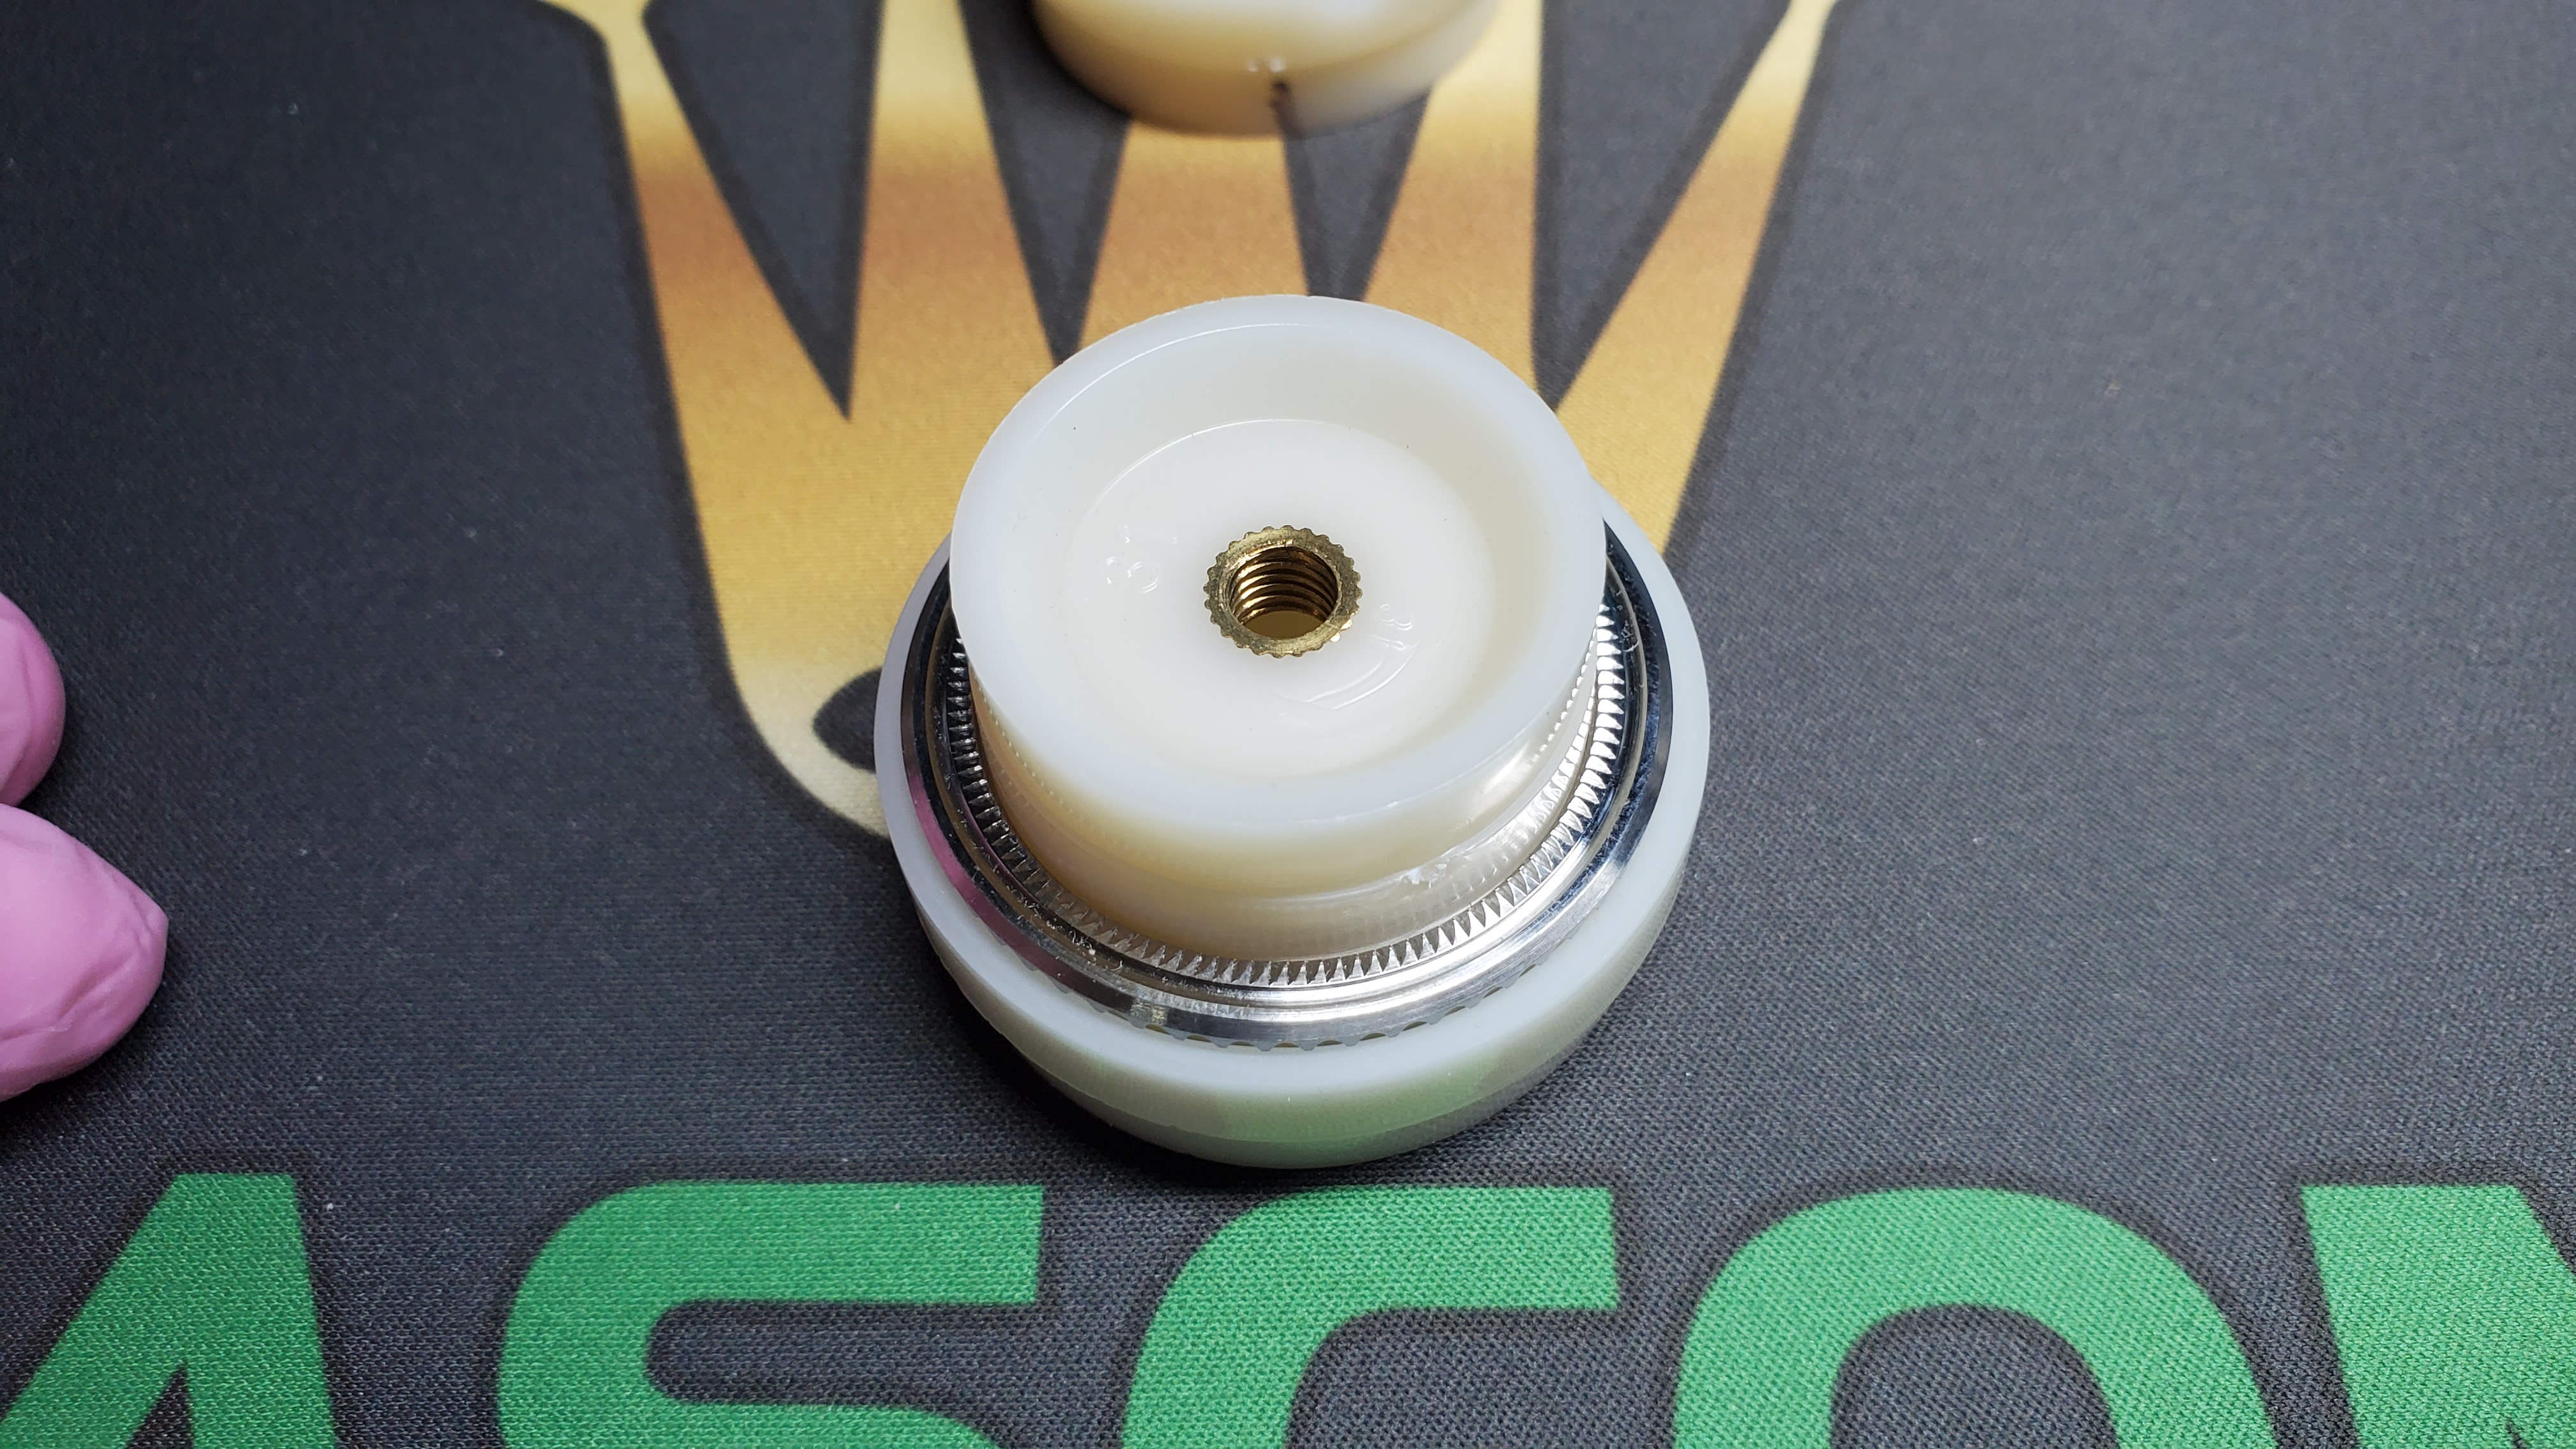
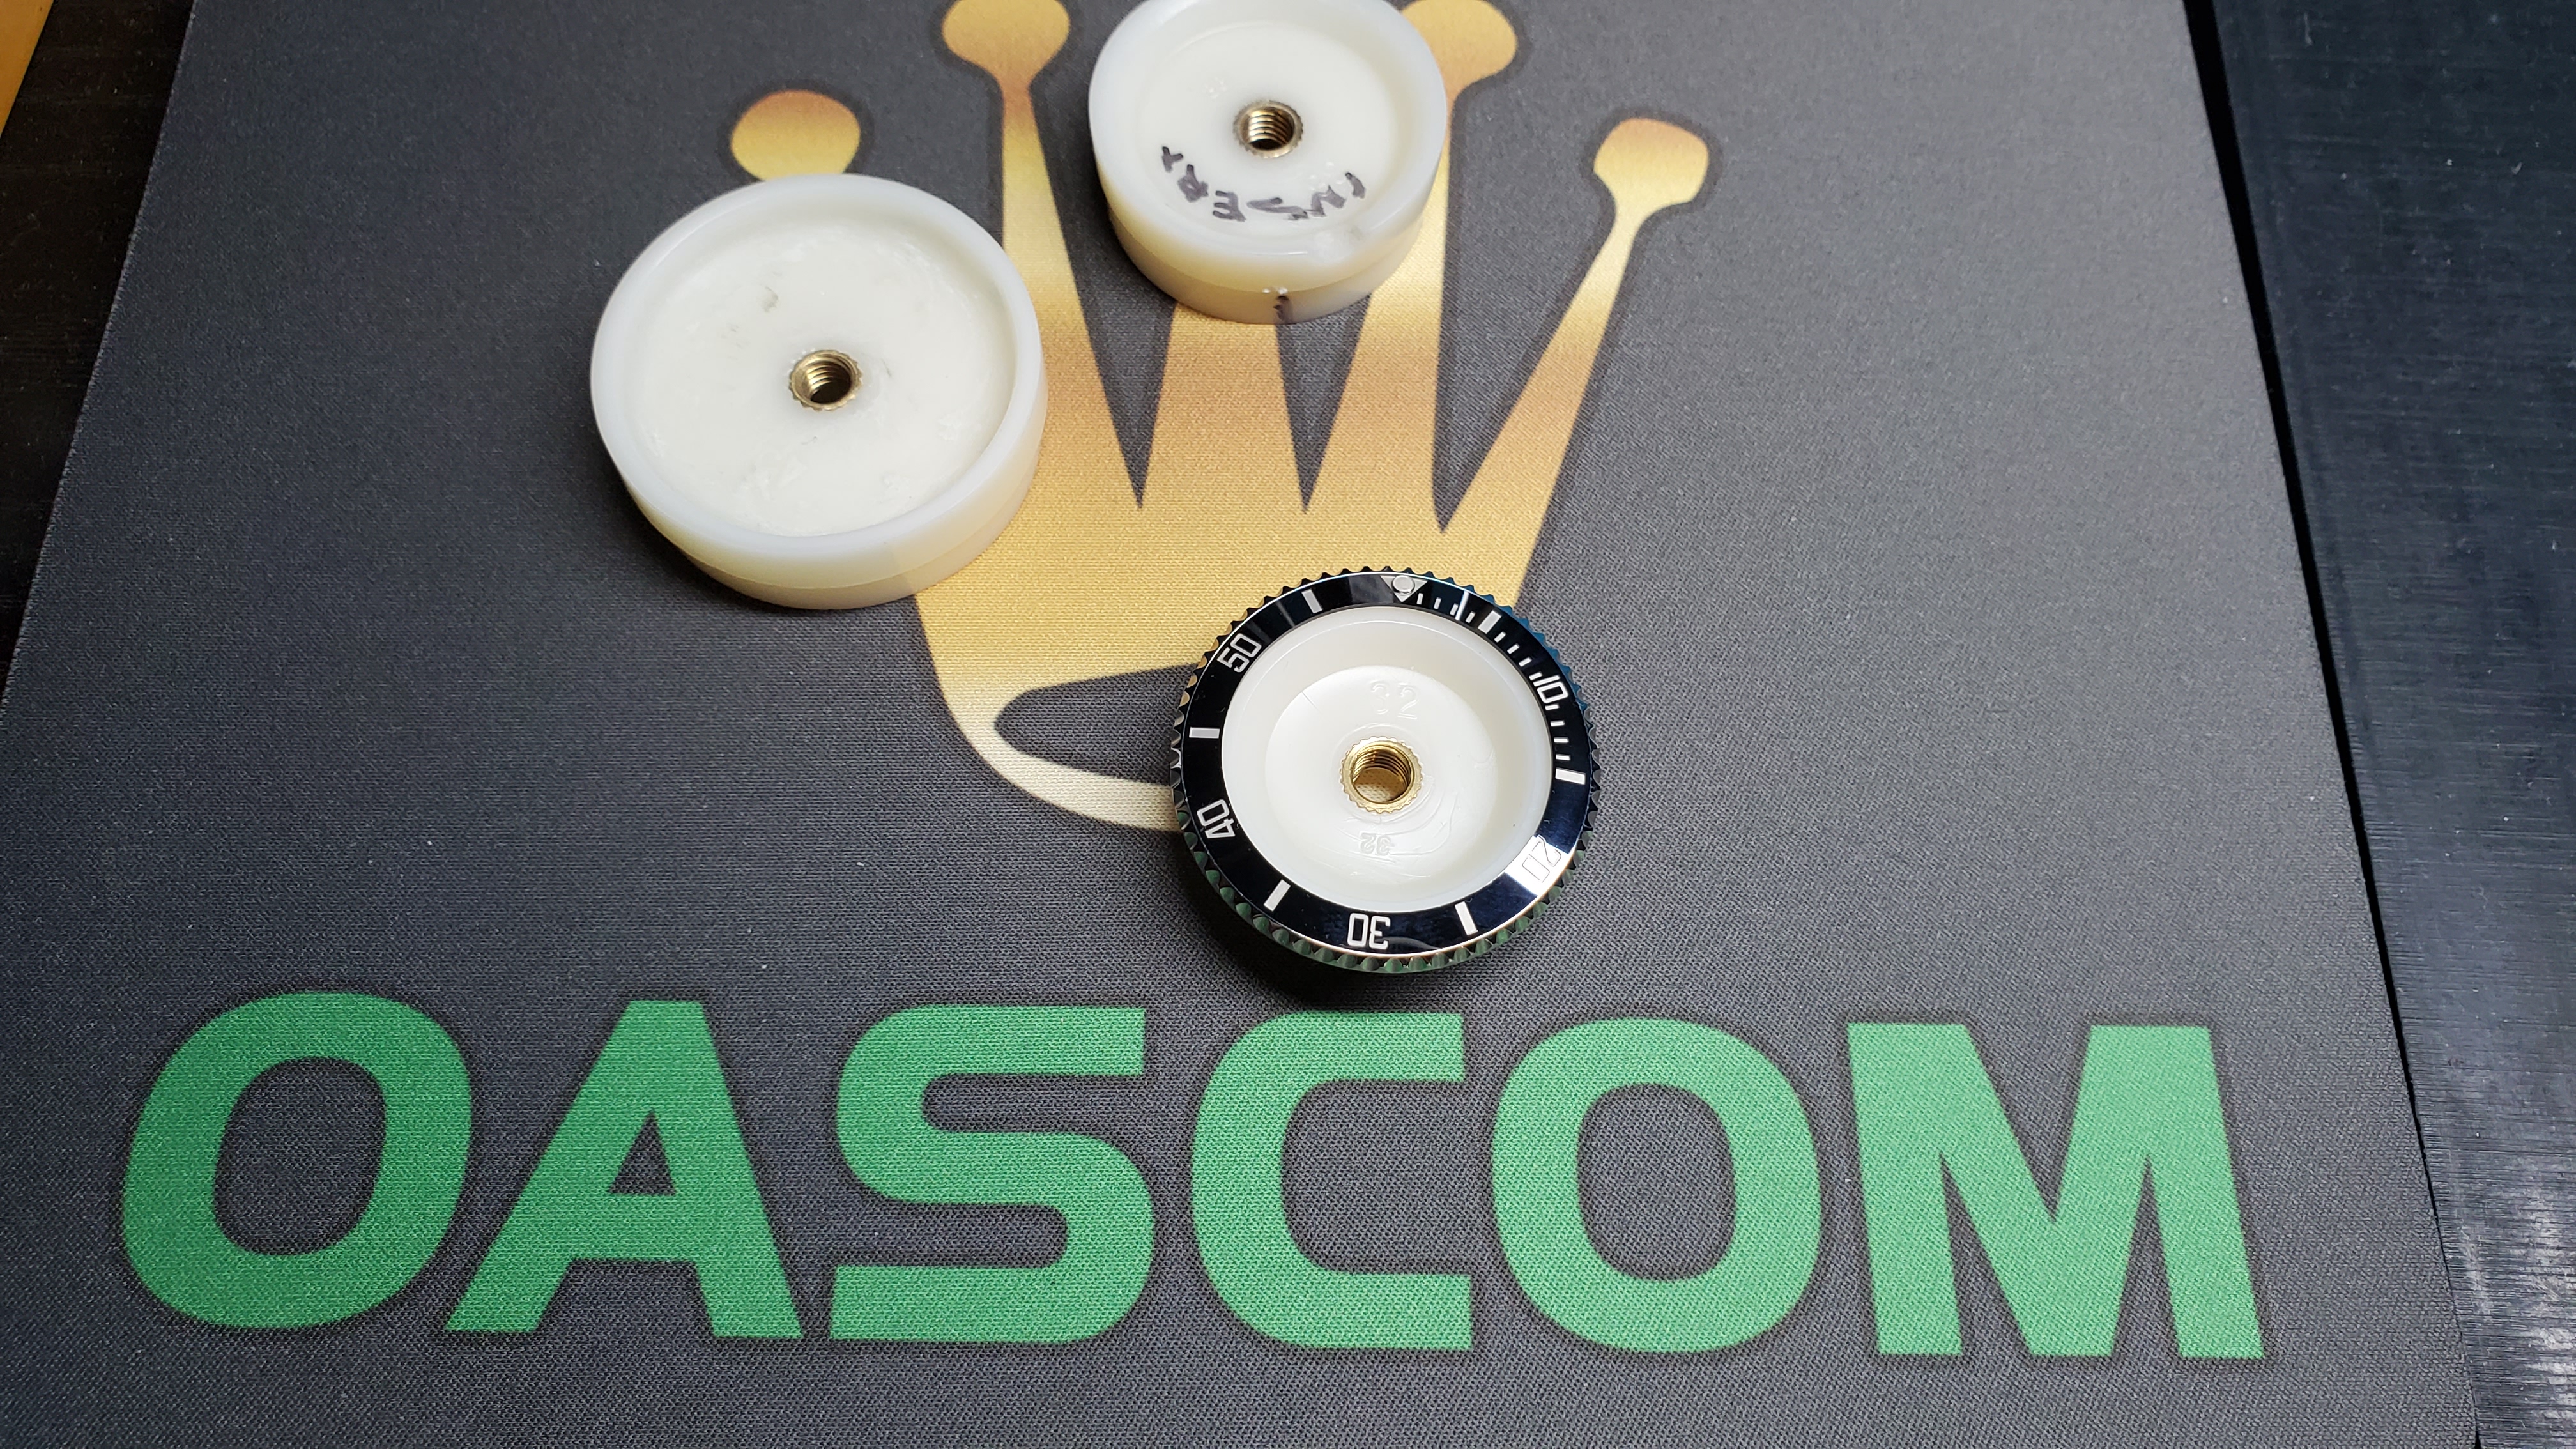
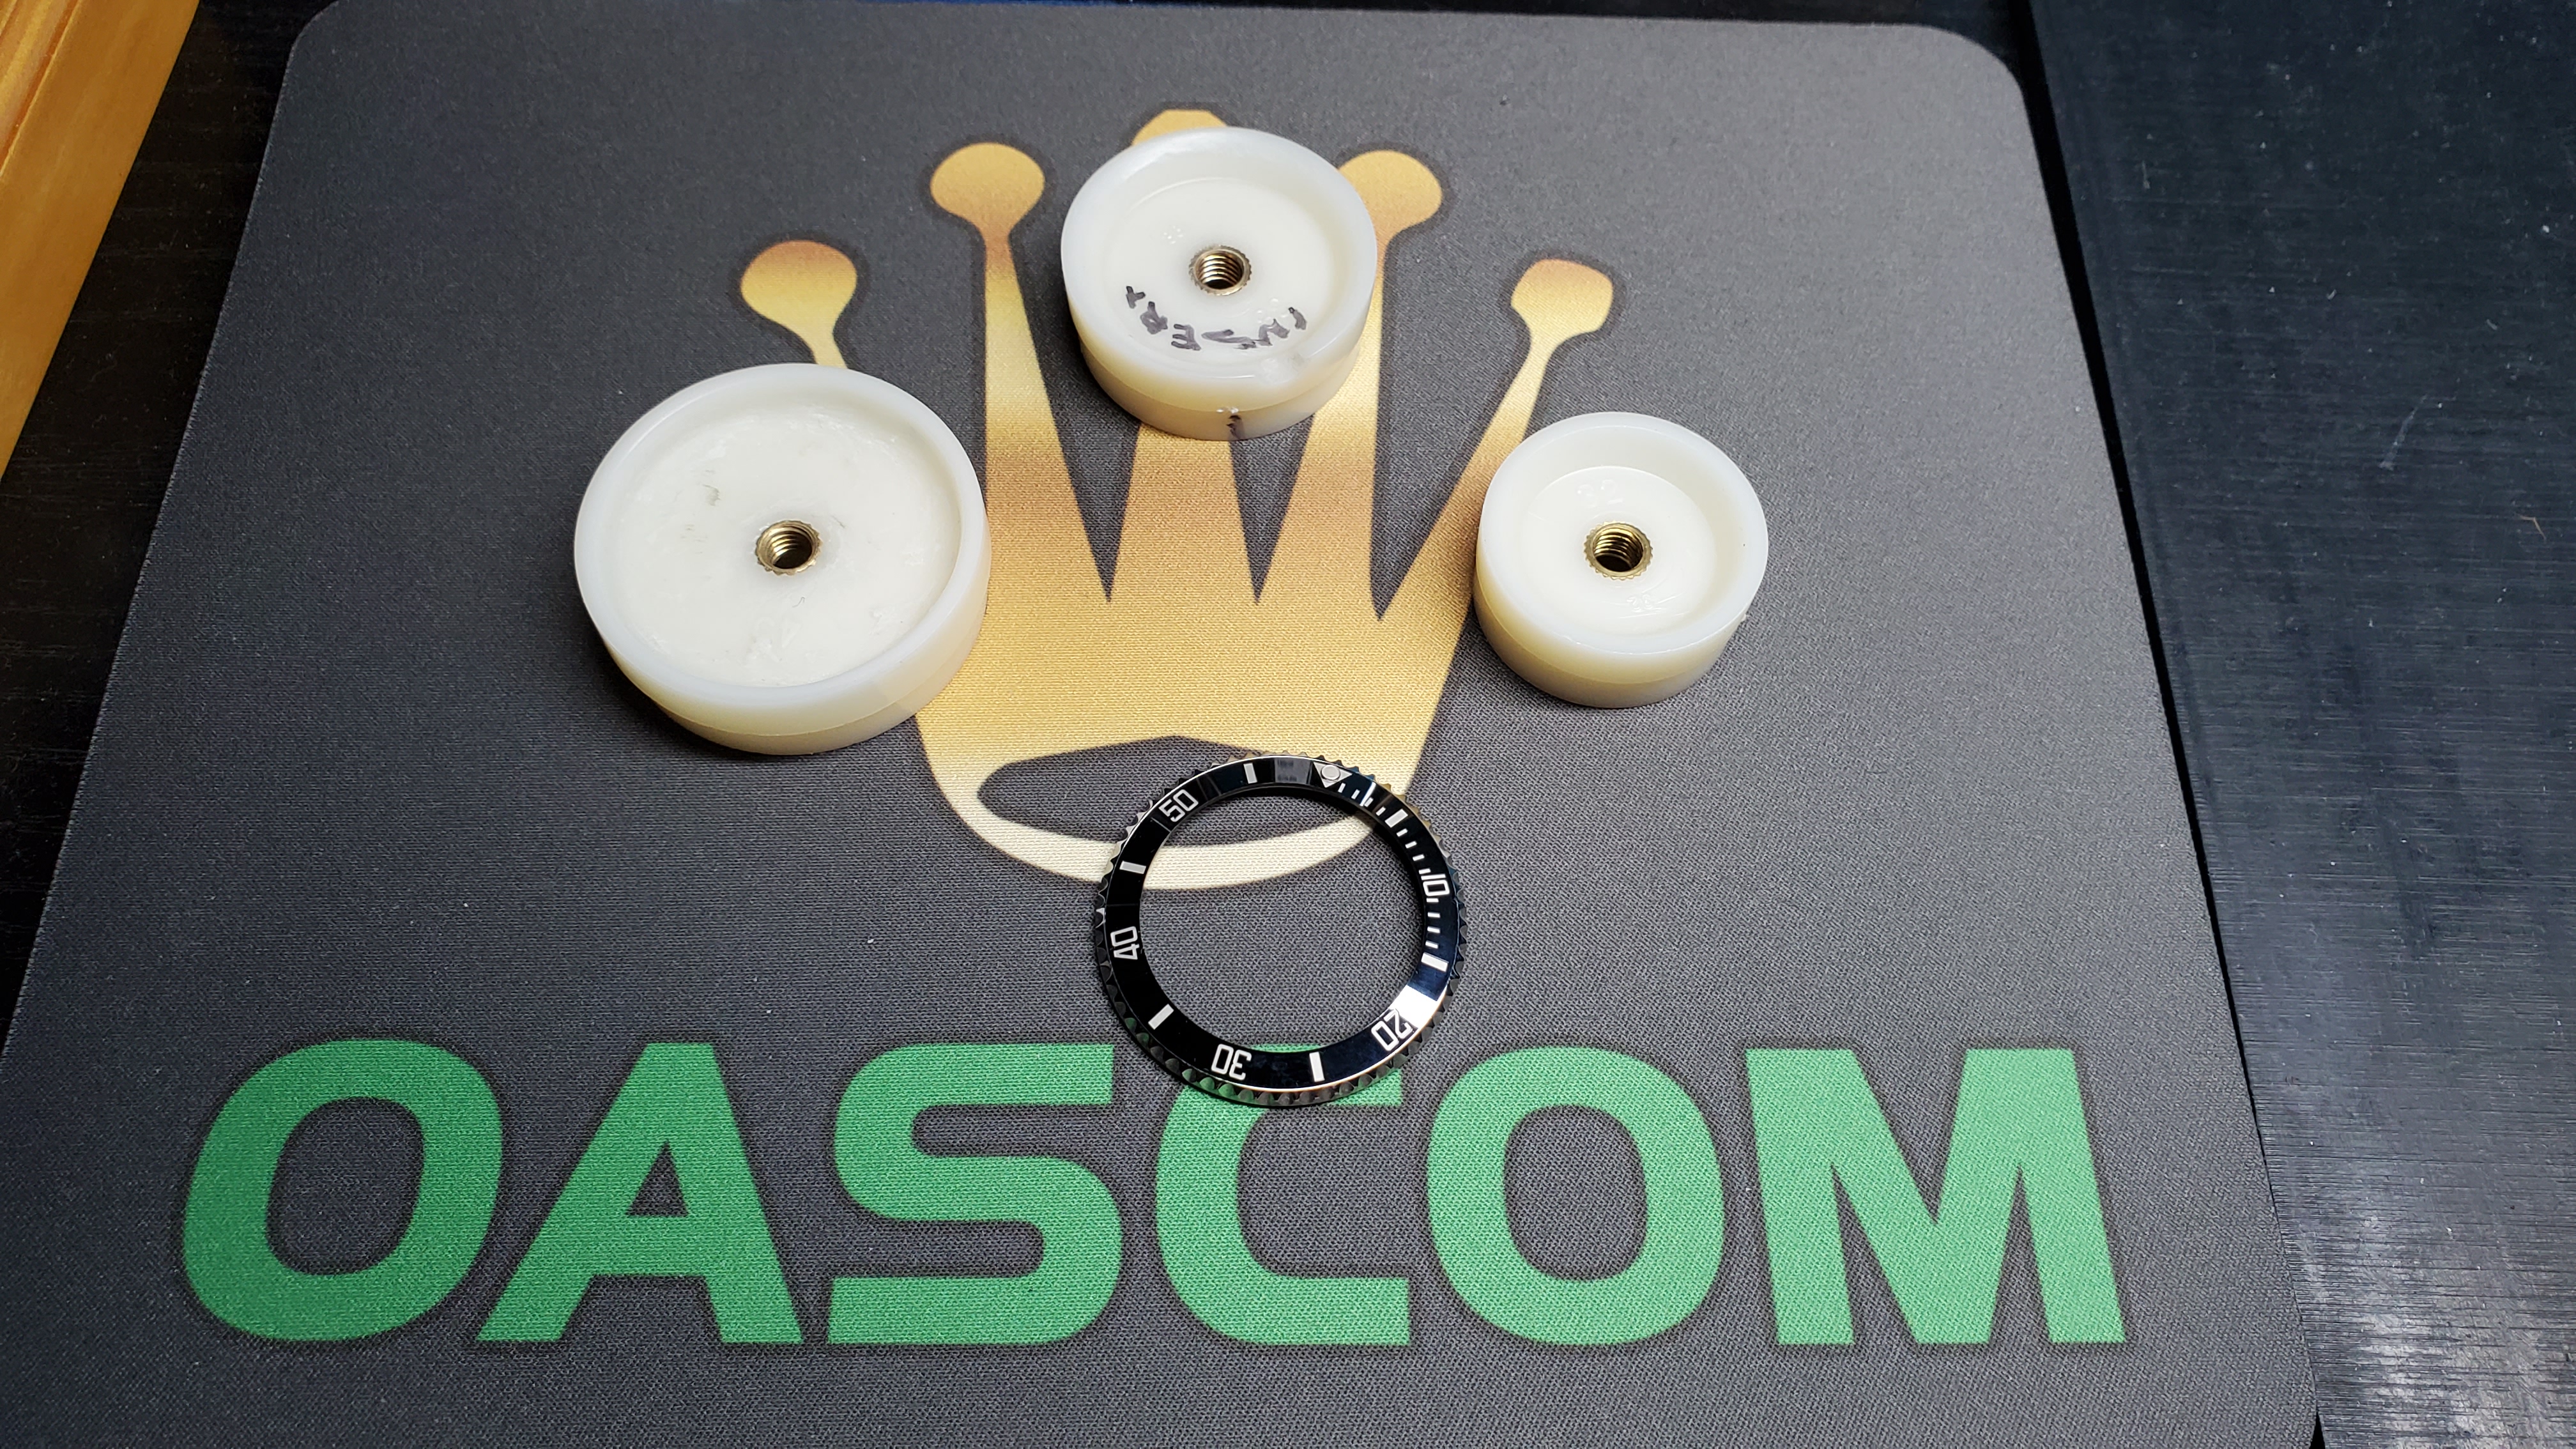
First you need to have correct diameter plastic dies. You can use the ones that come from a cheap crystal press.
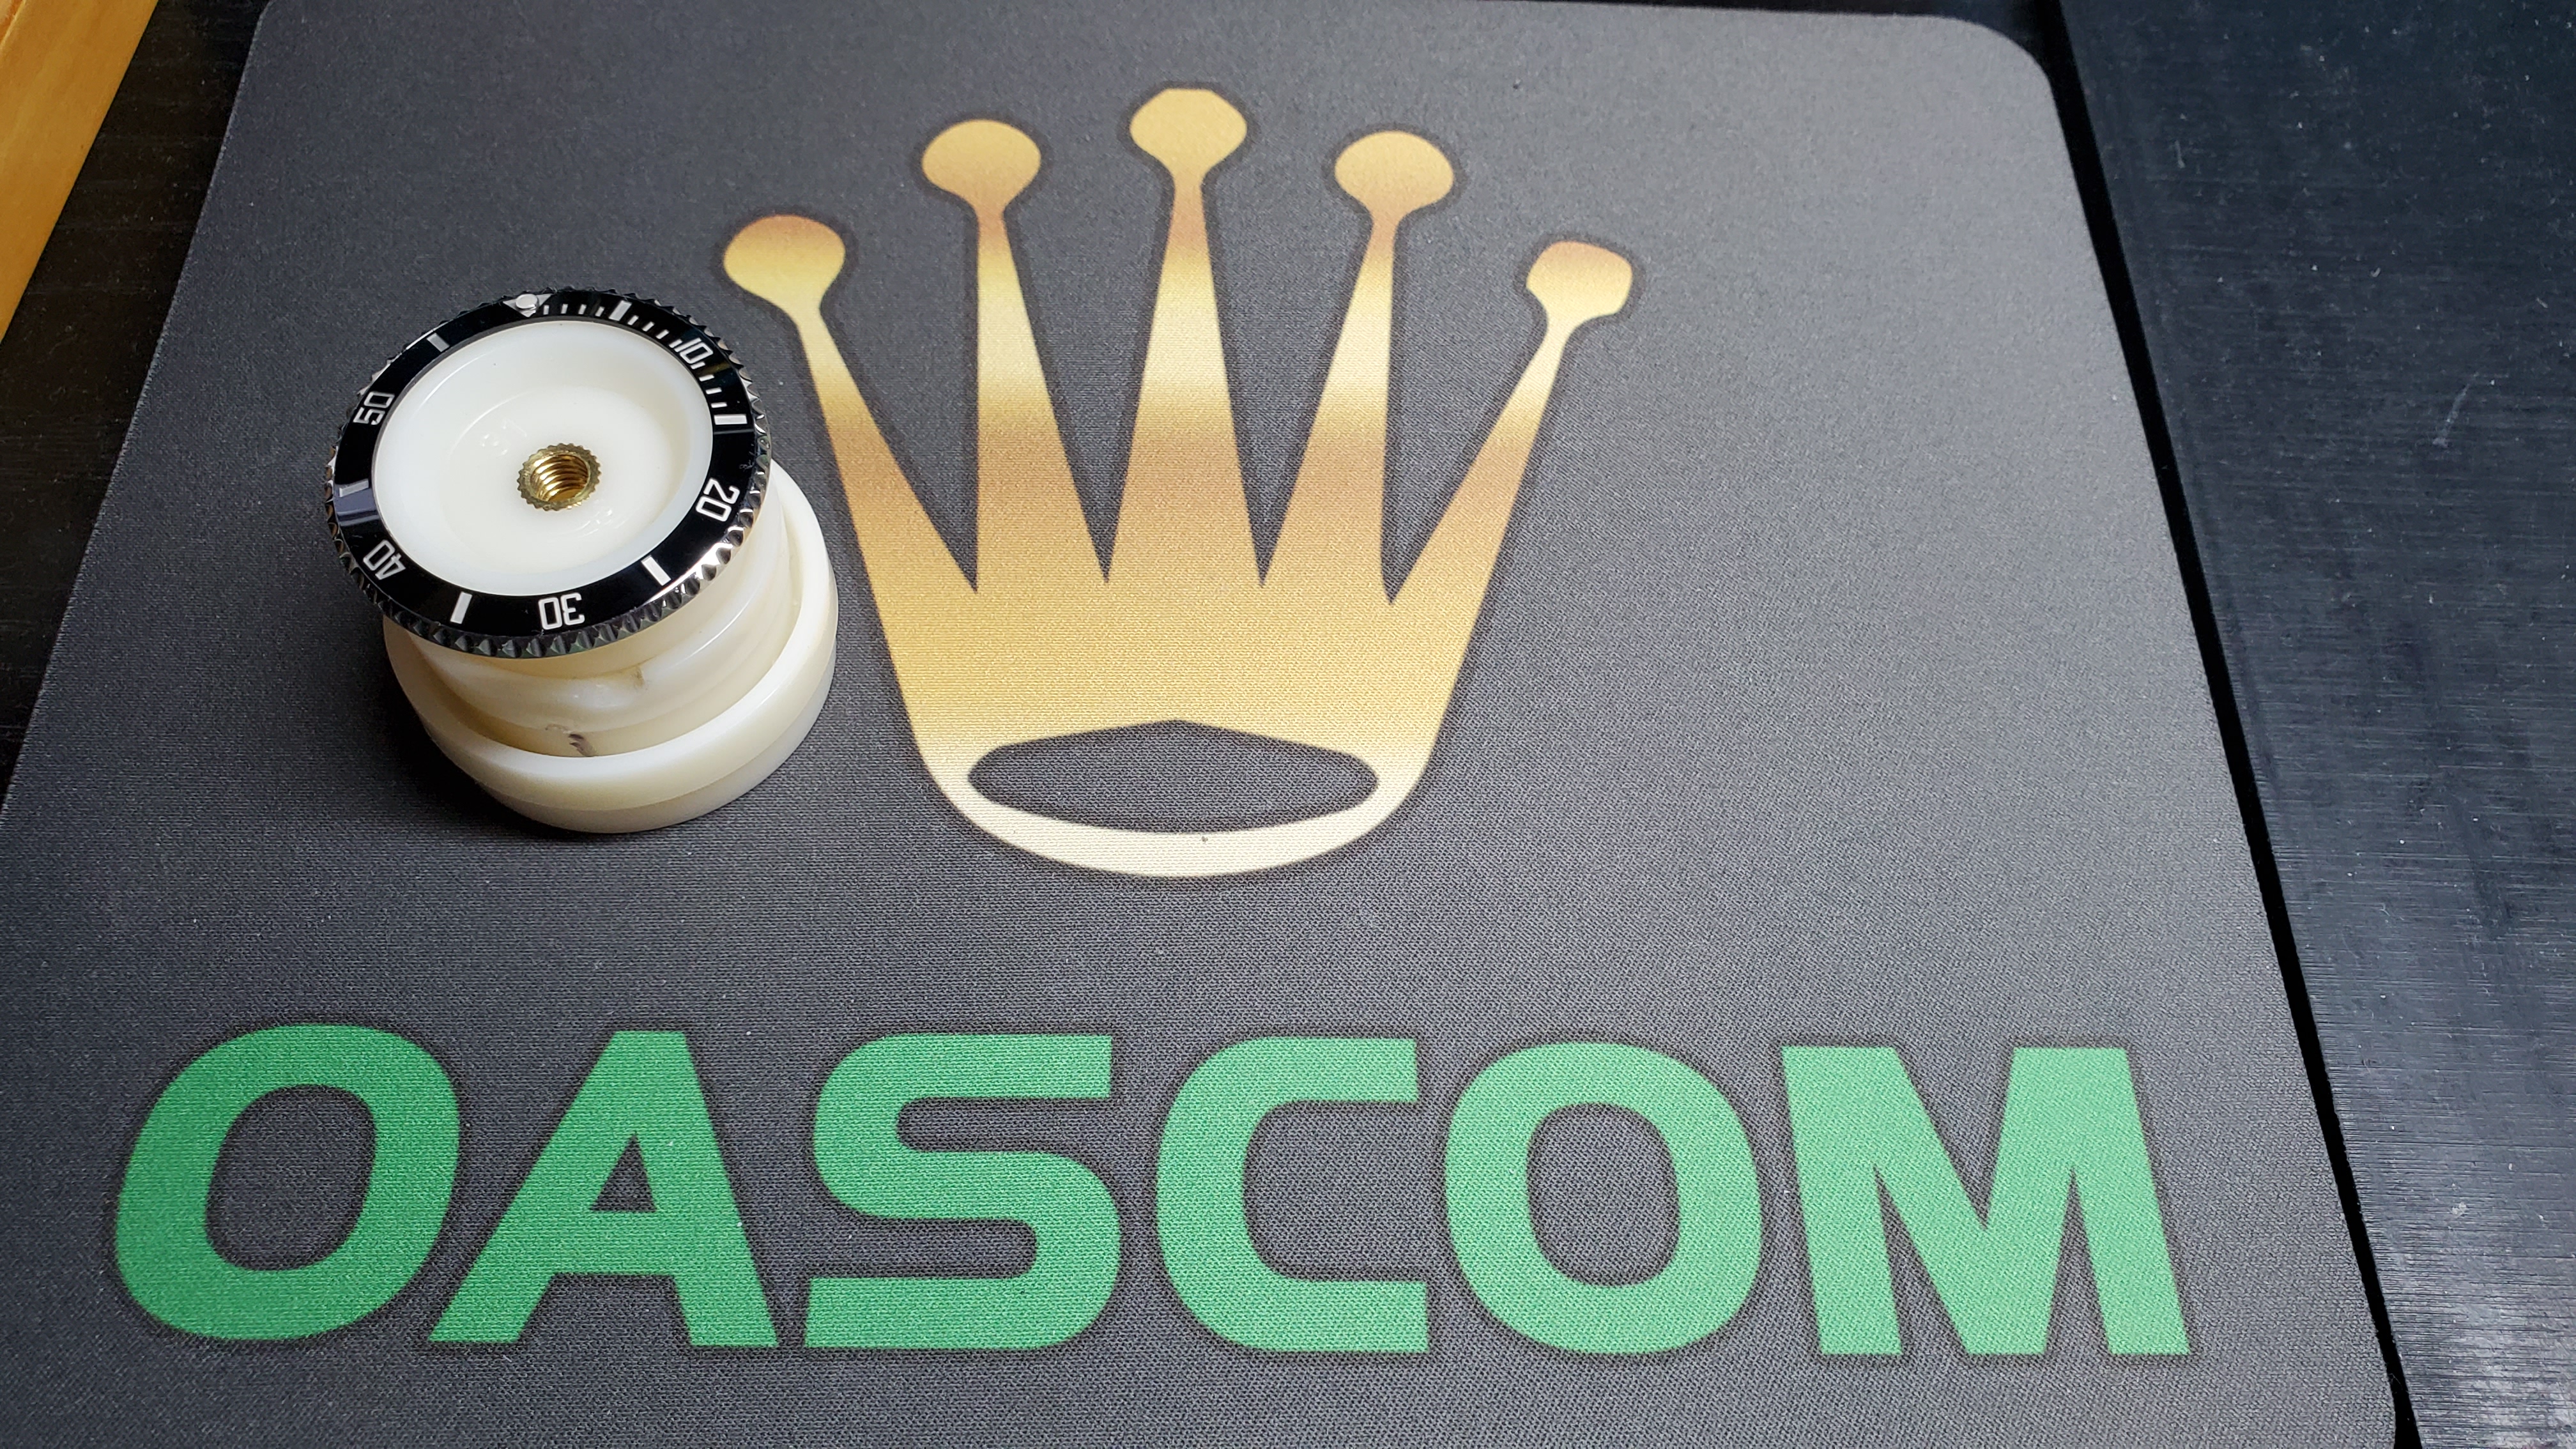
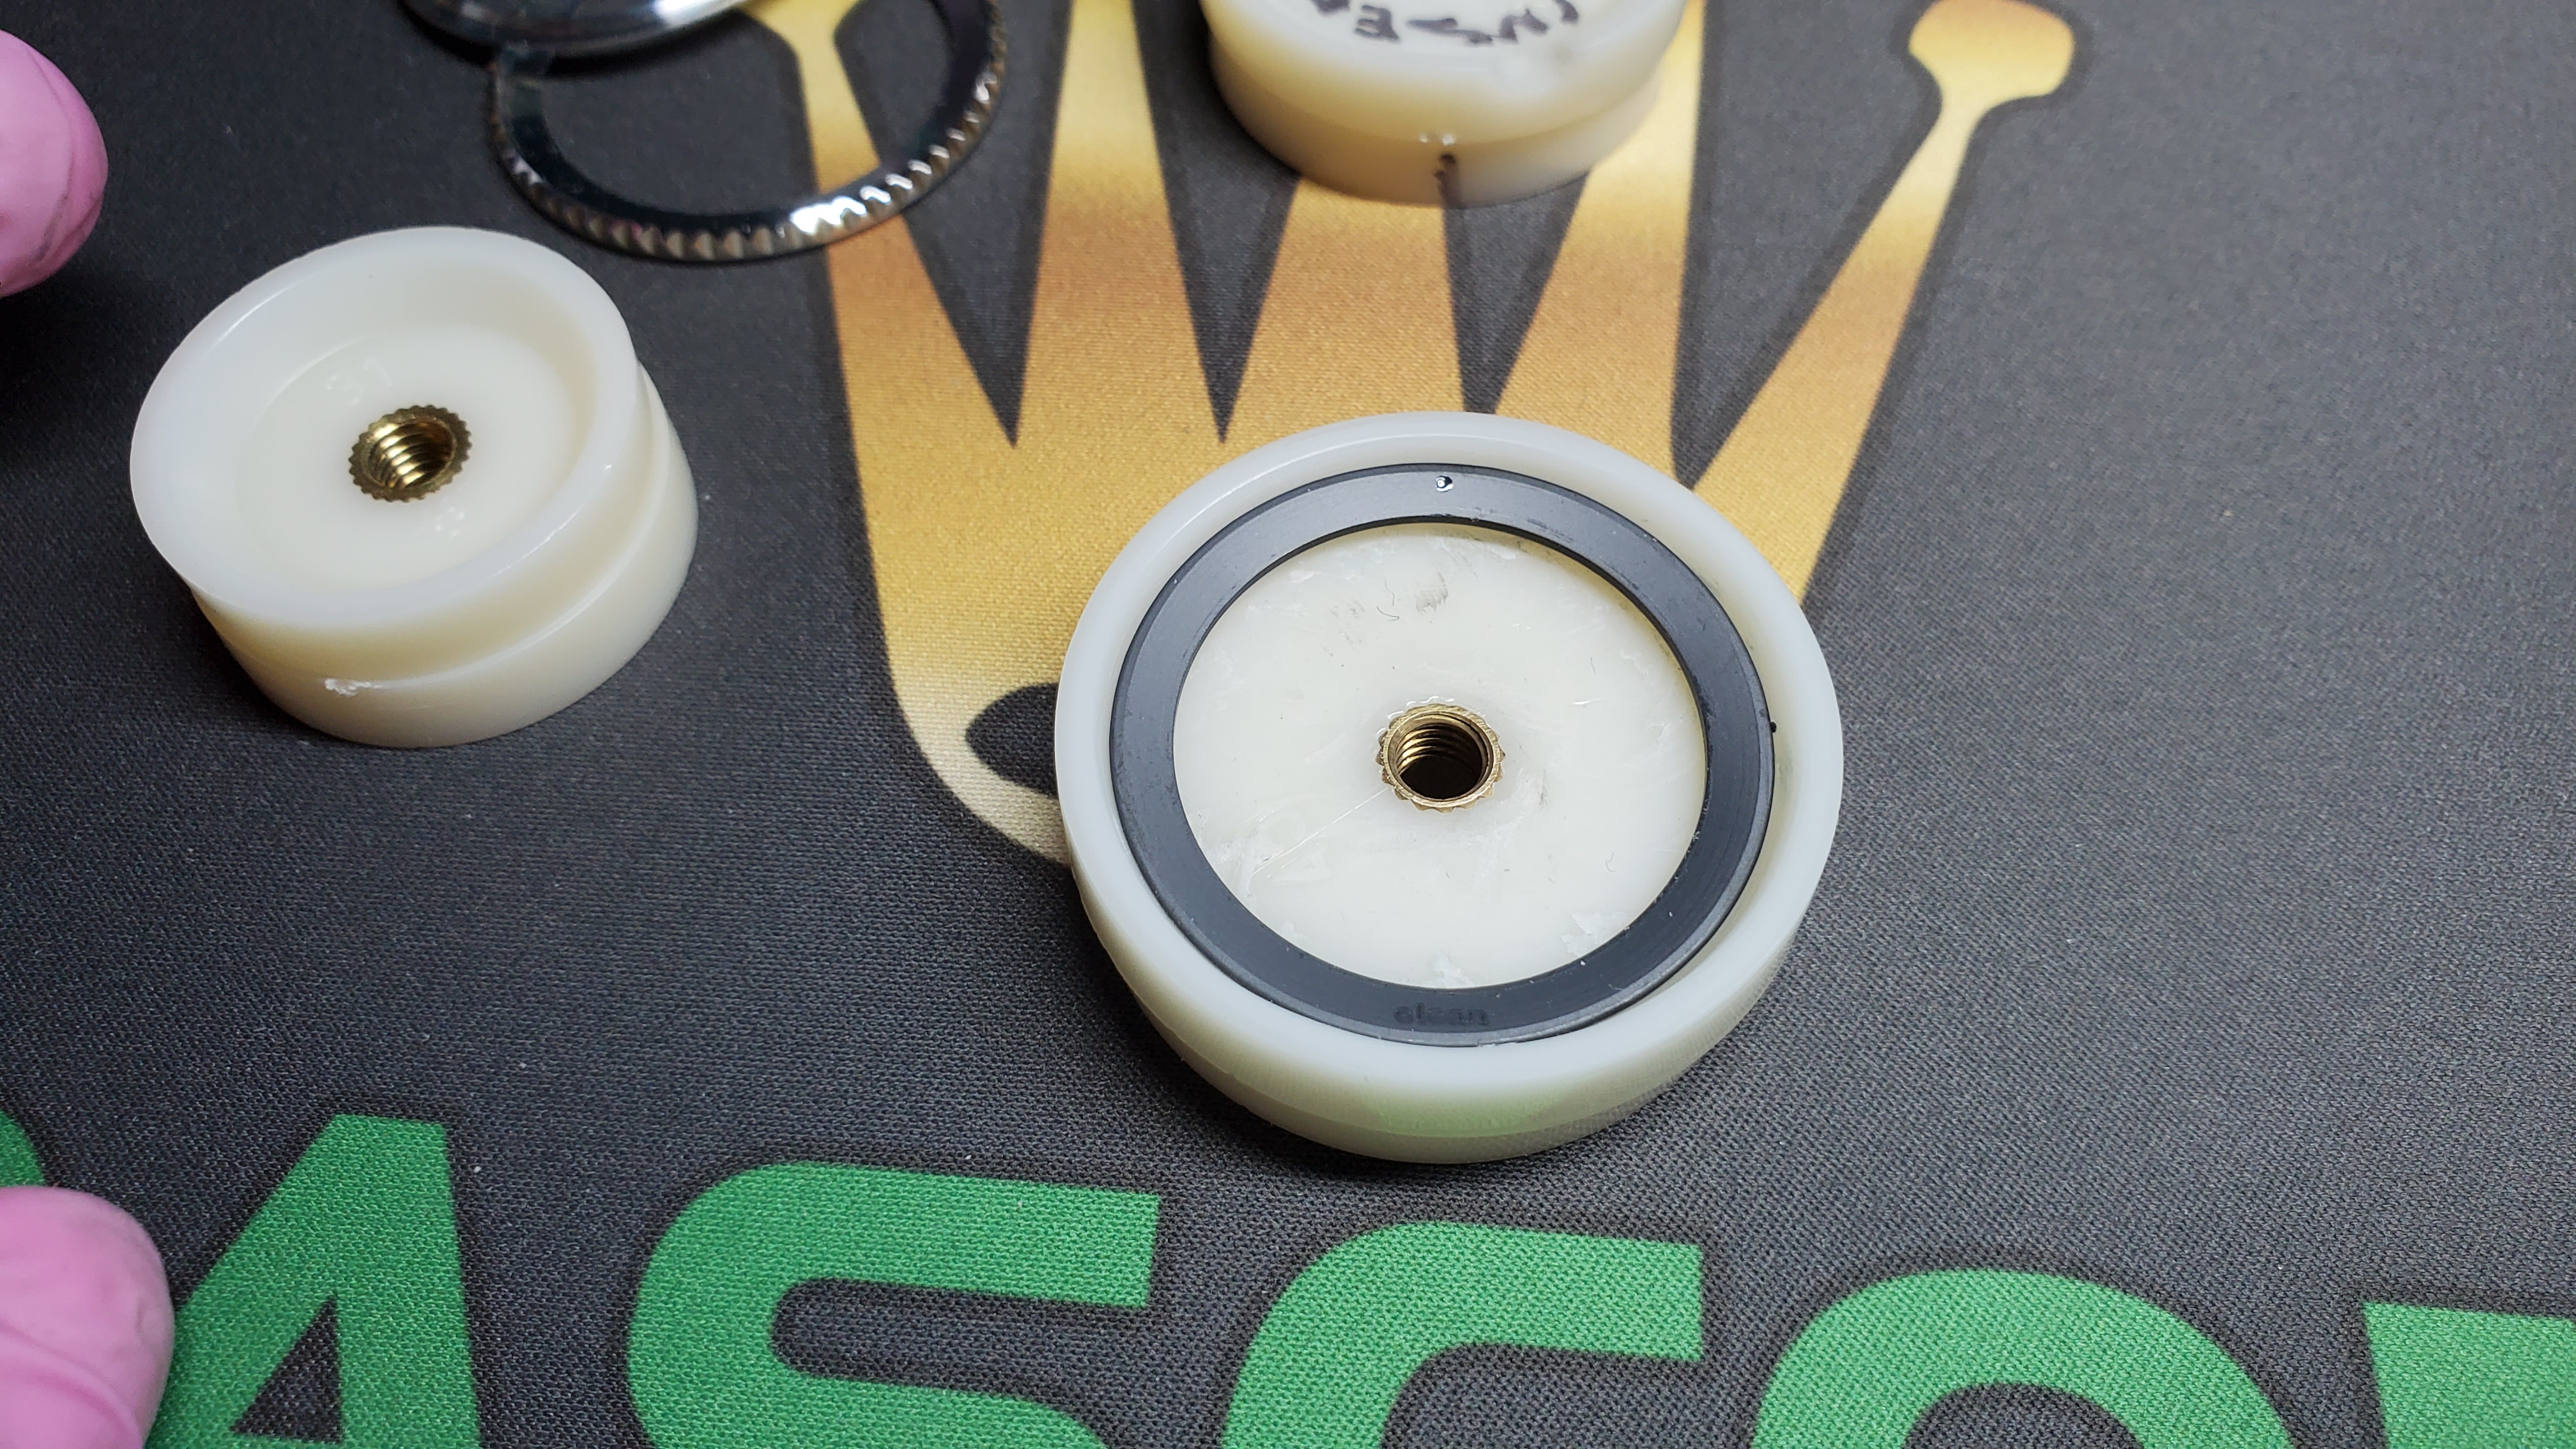
Using a Dremel remove the inside diameter of the bezel die just so that it can hold the bezel but will have enough space to alow insert to "fall down"
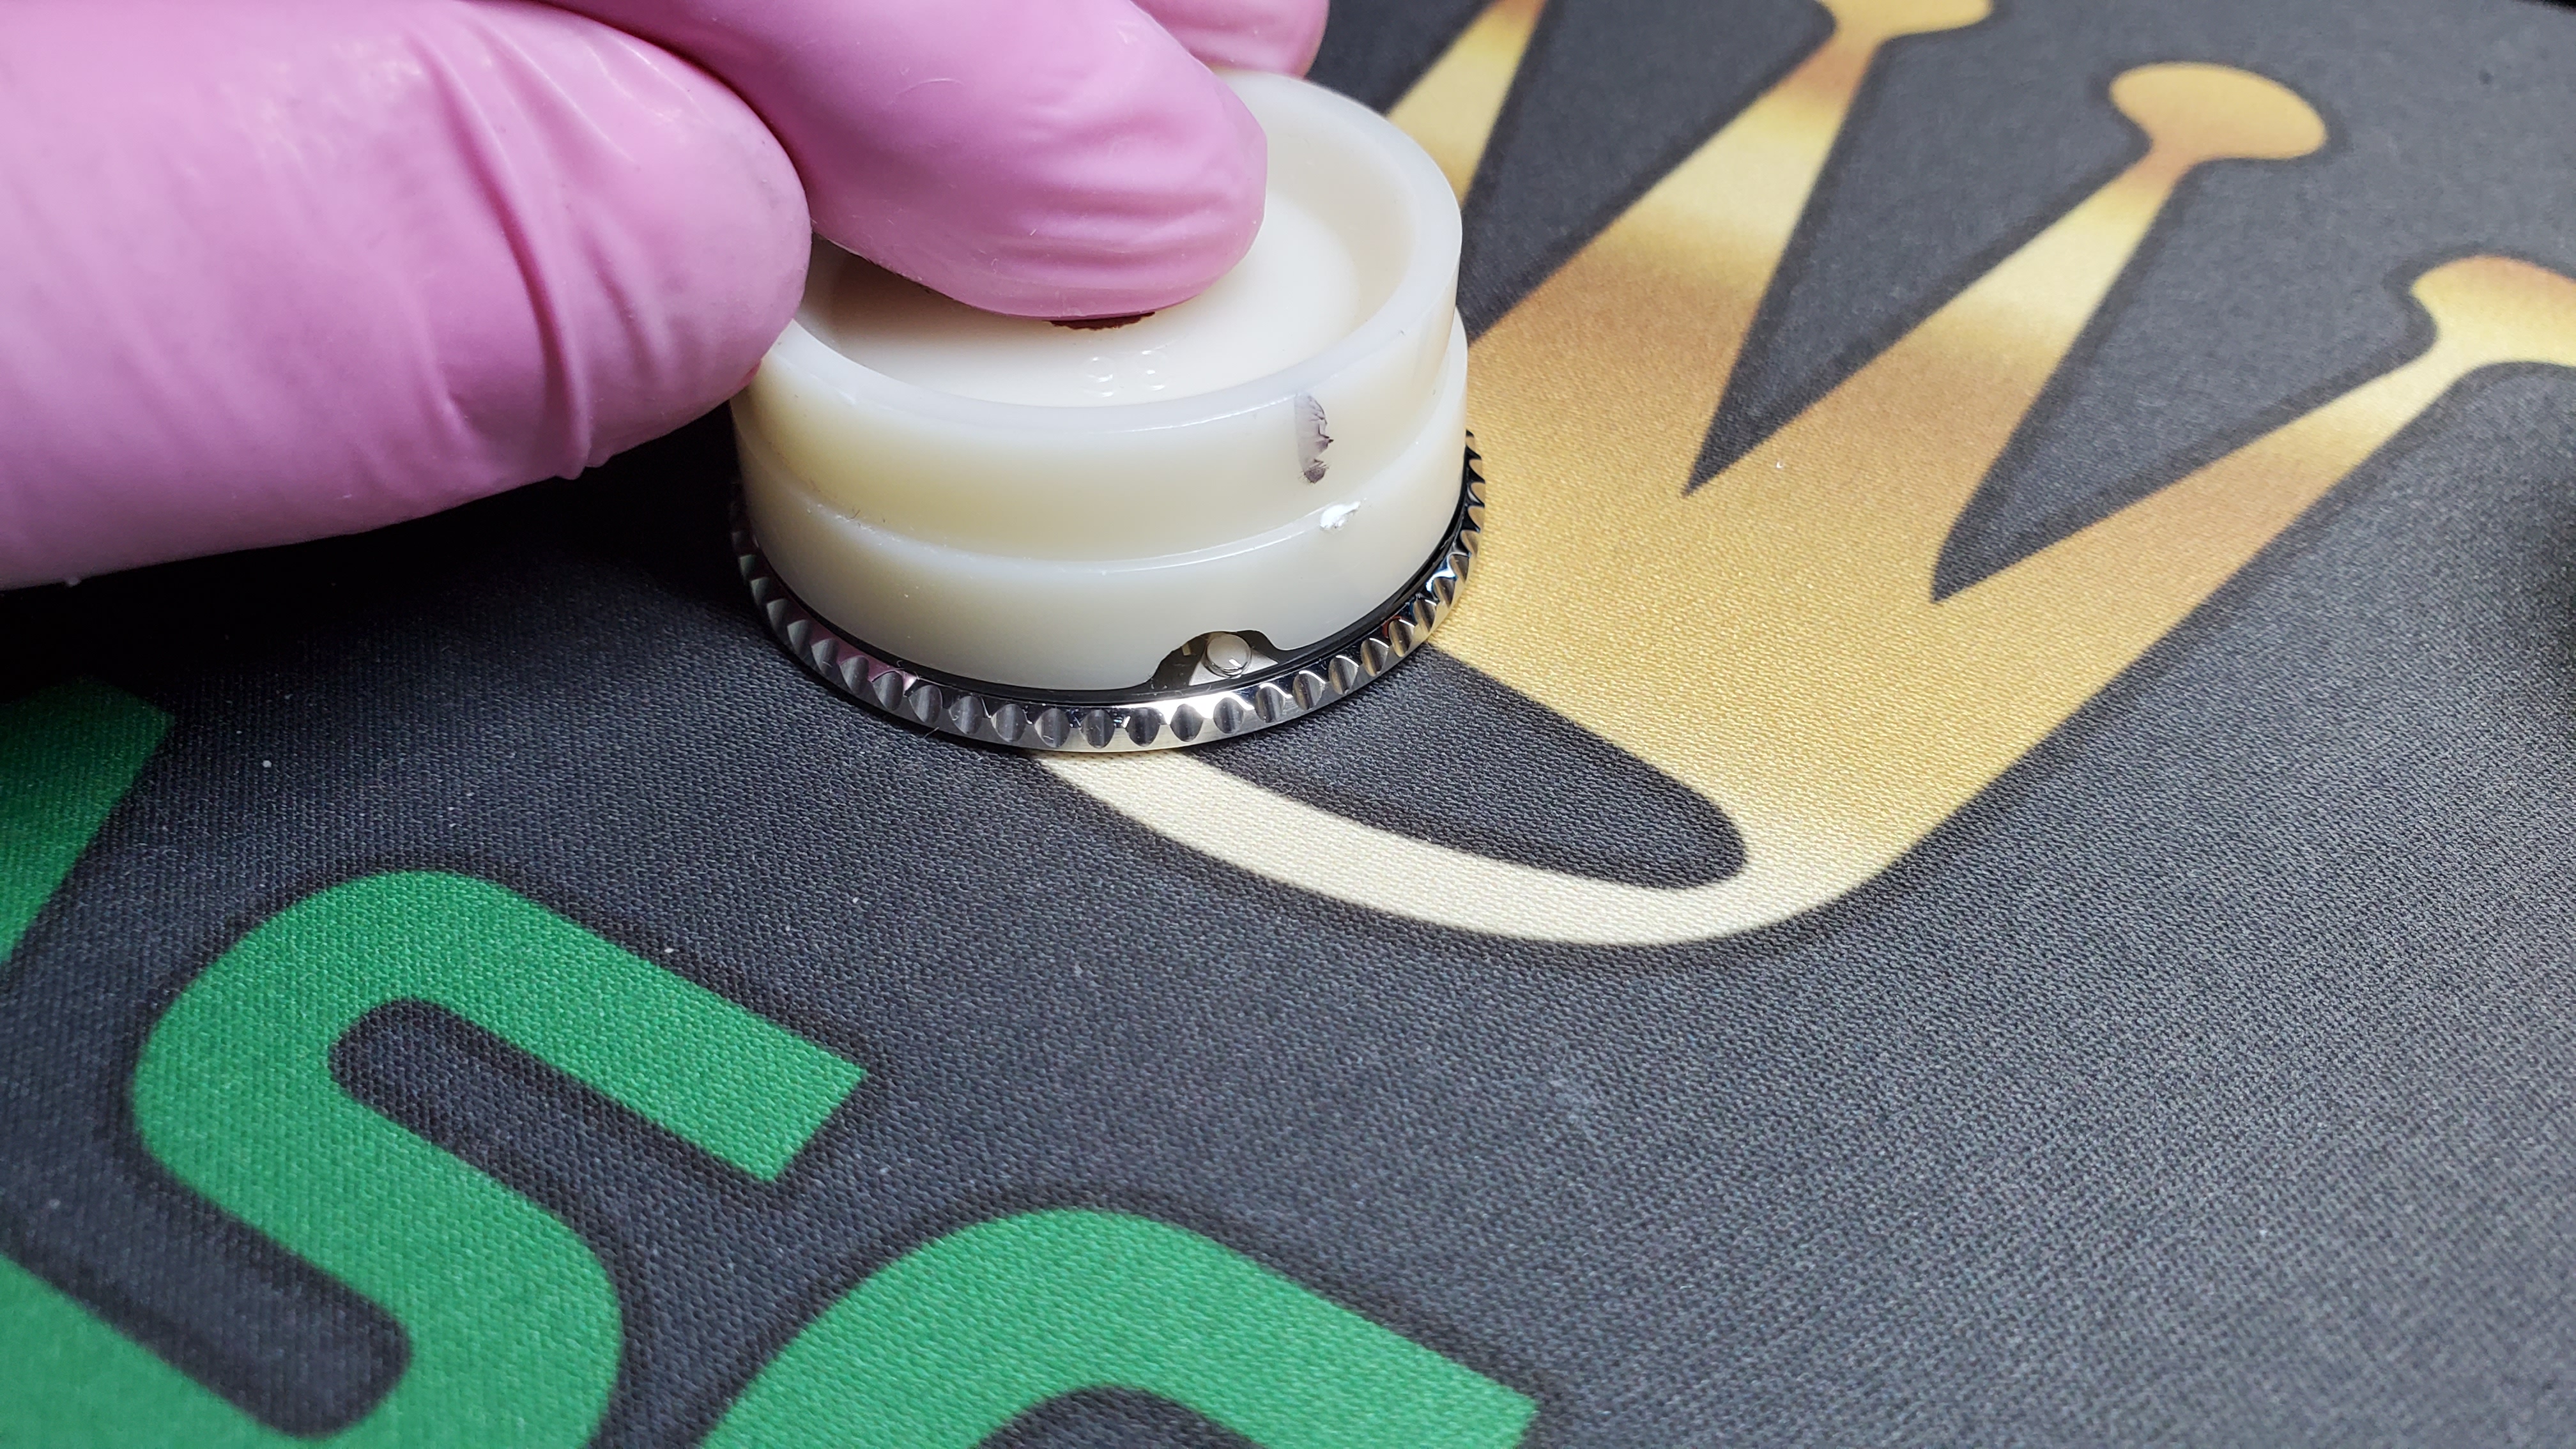
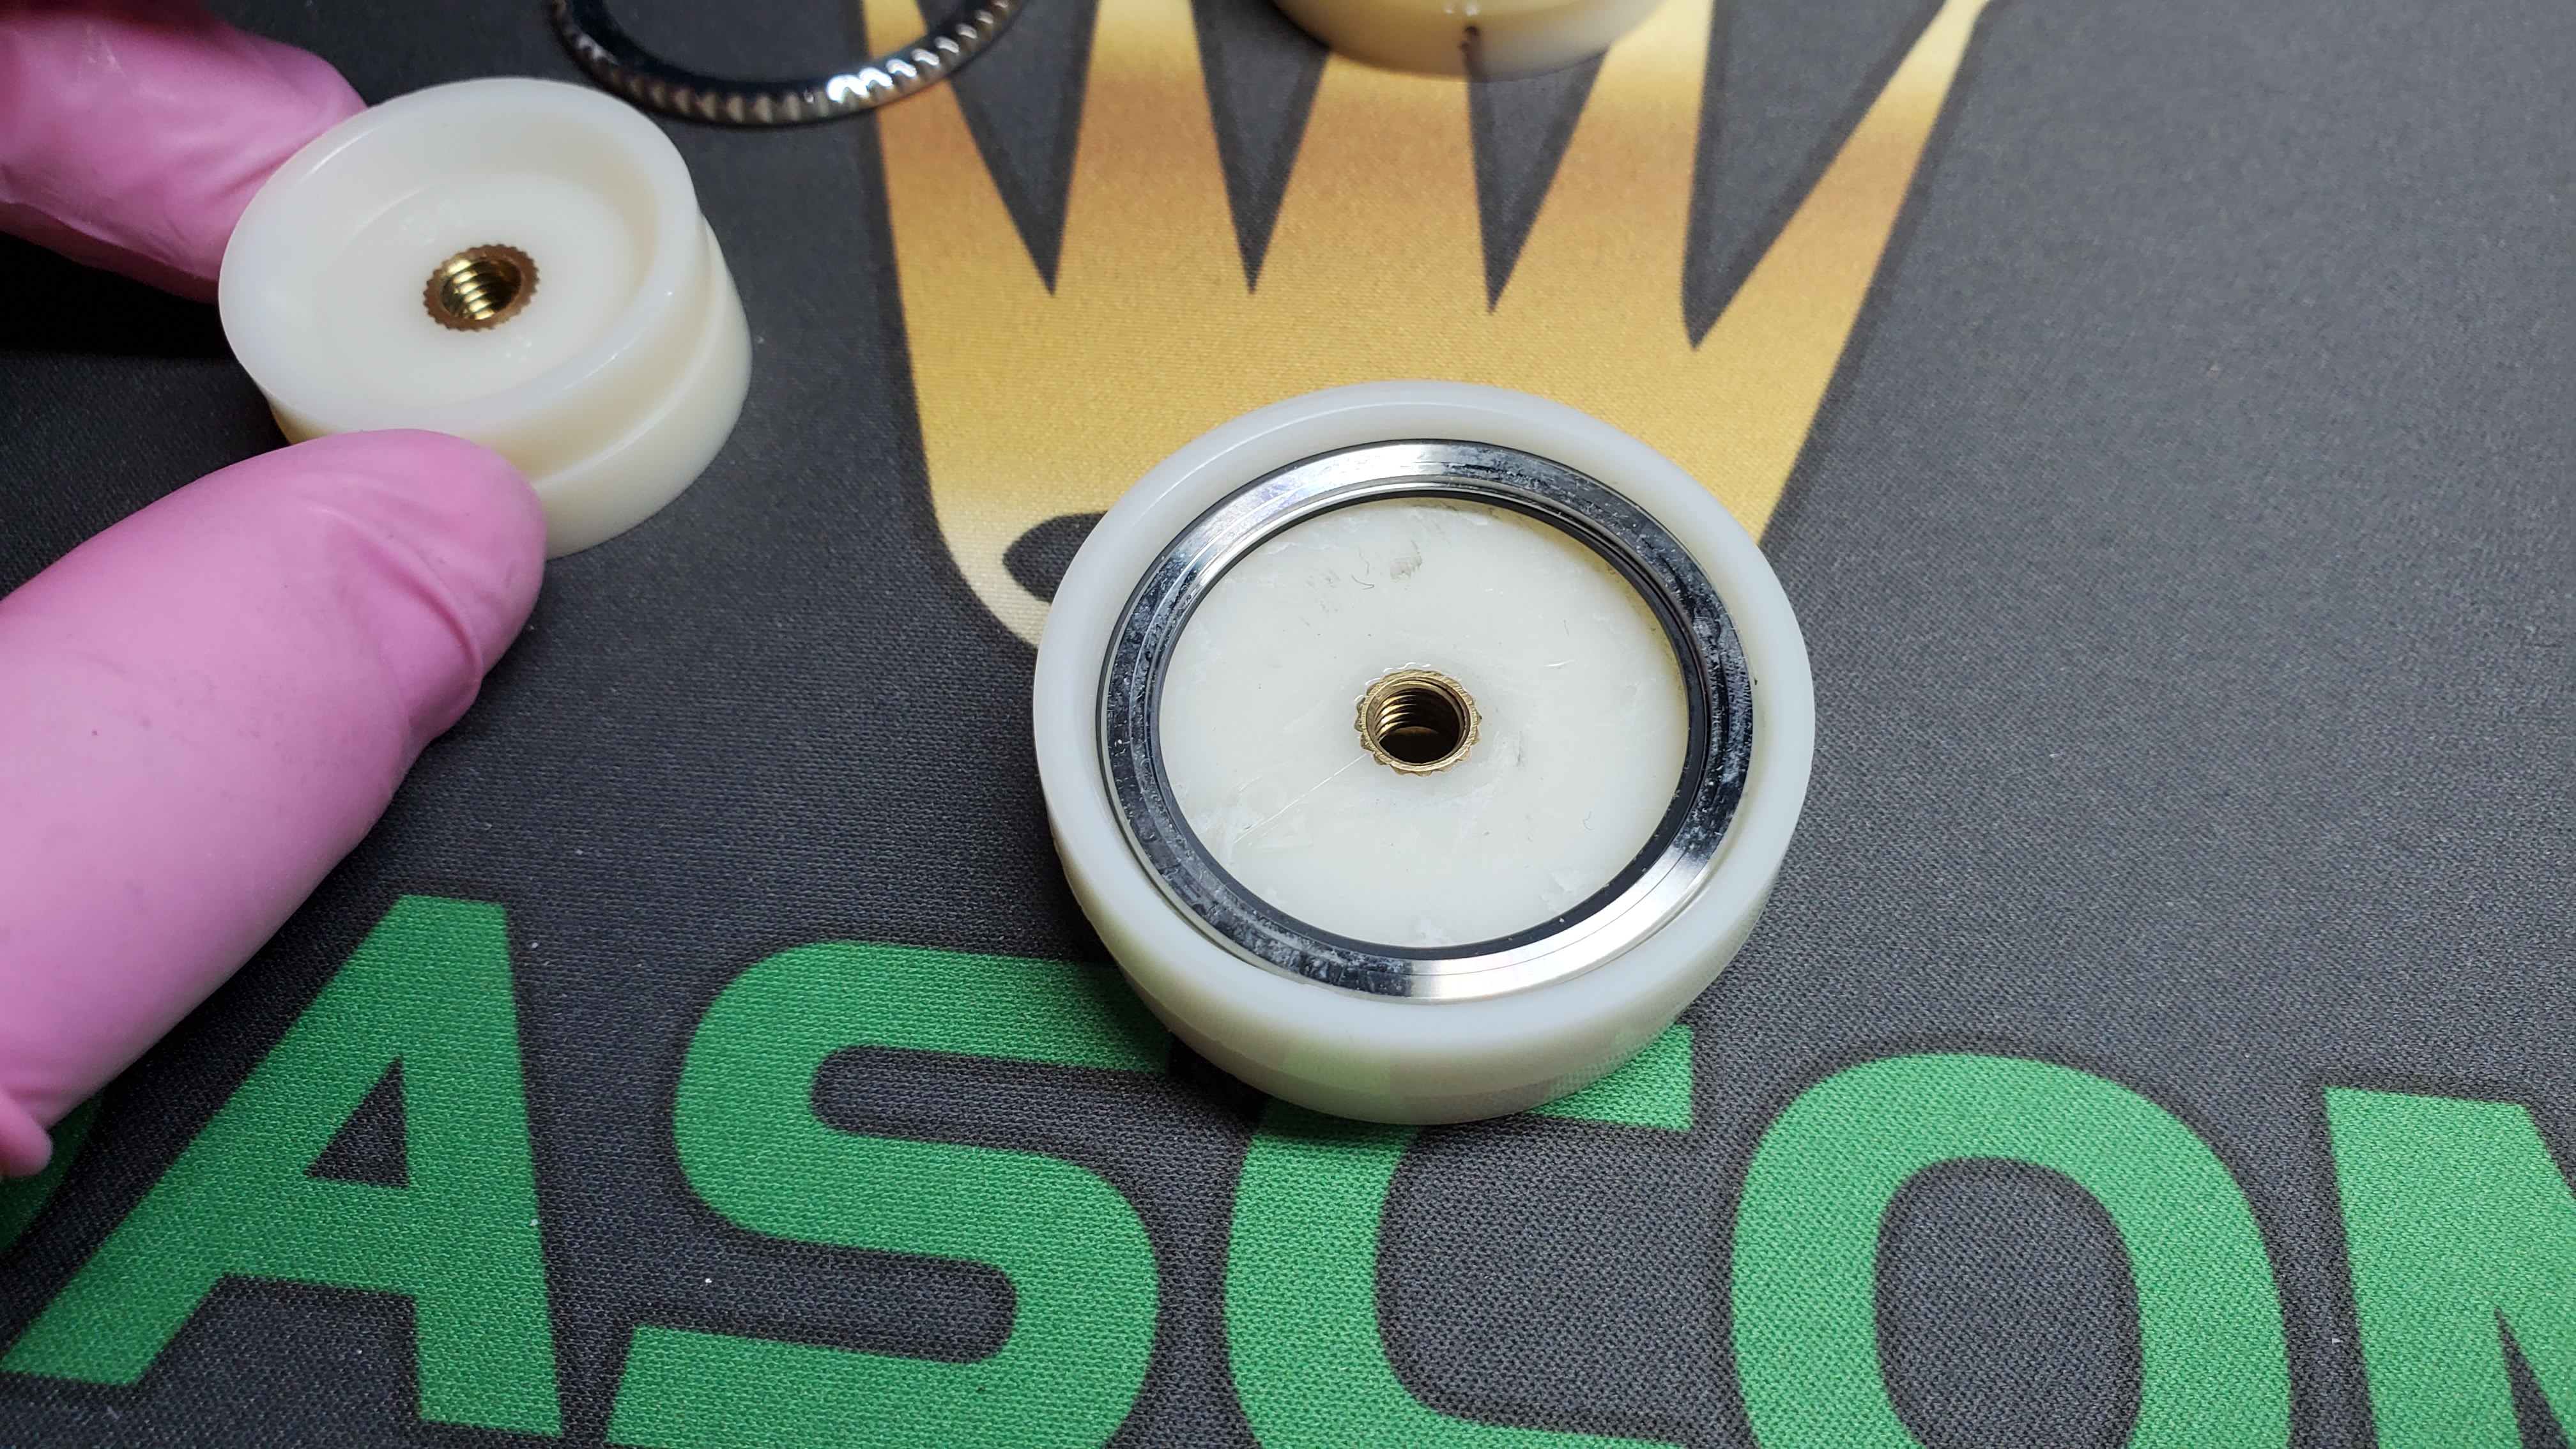
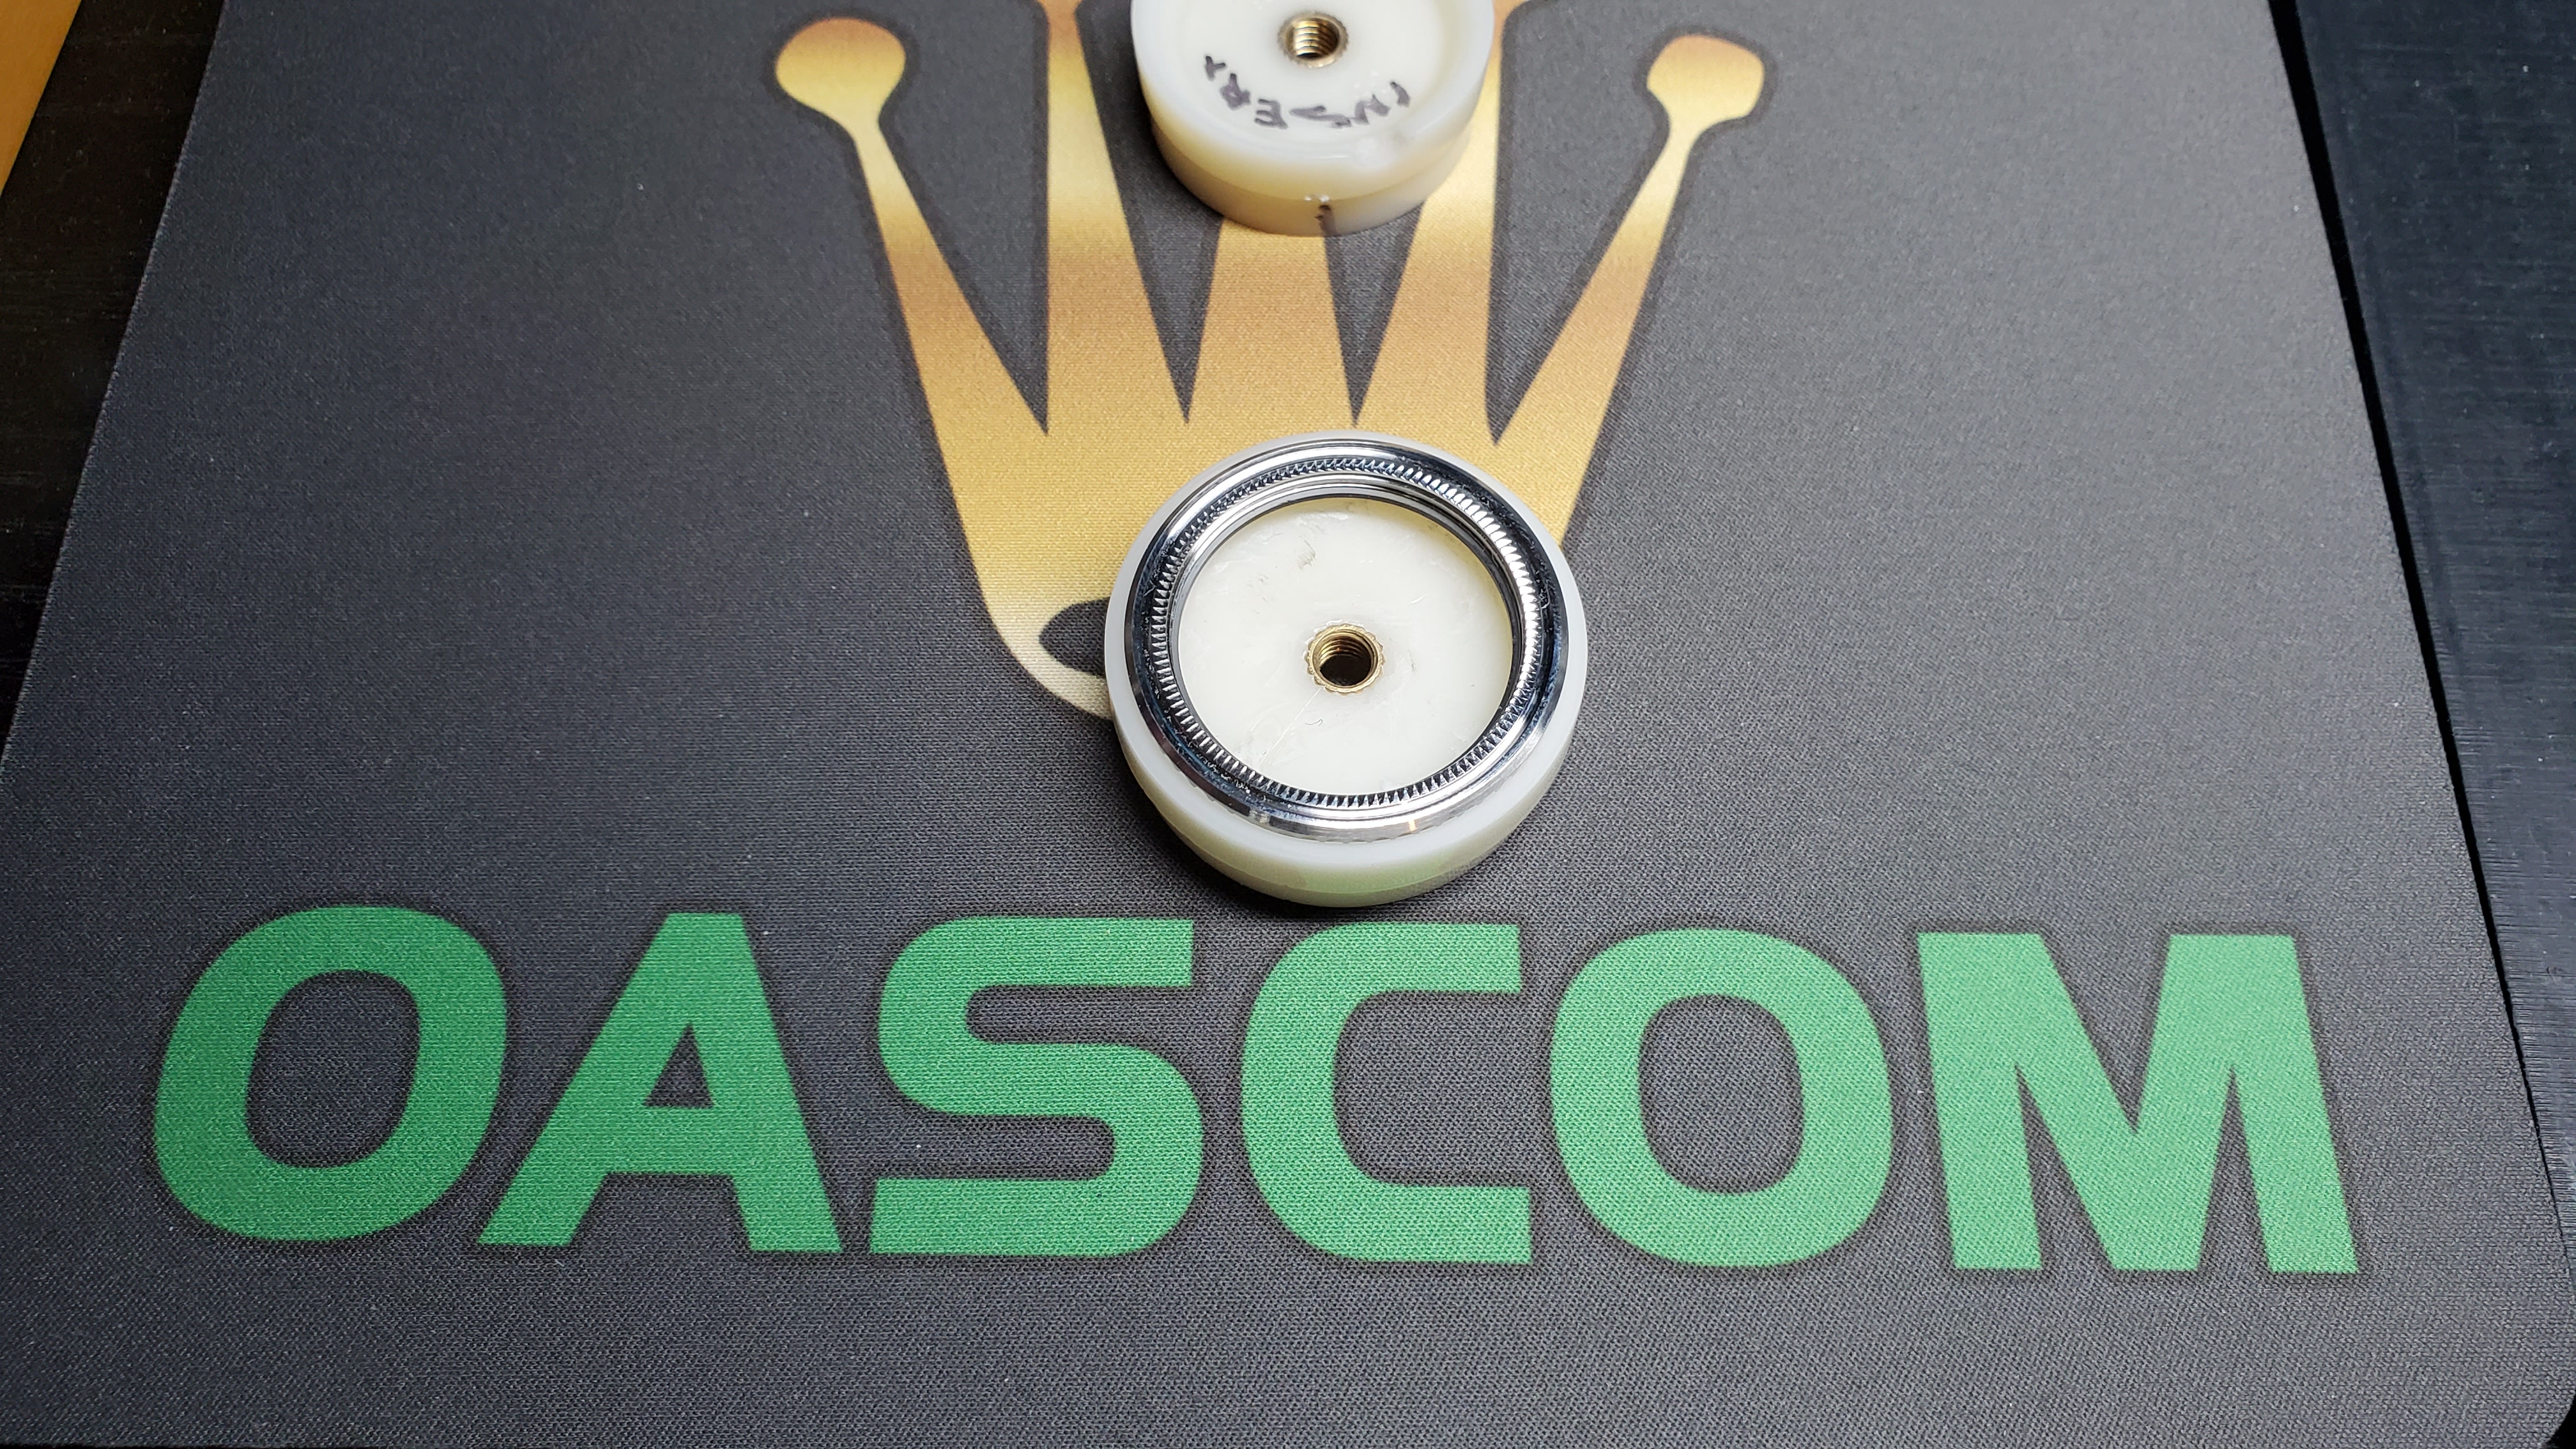
Second die is a standard straight wall I believe #32 die that goes inside the bezel and presses insert from the bottom.
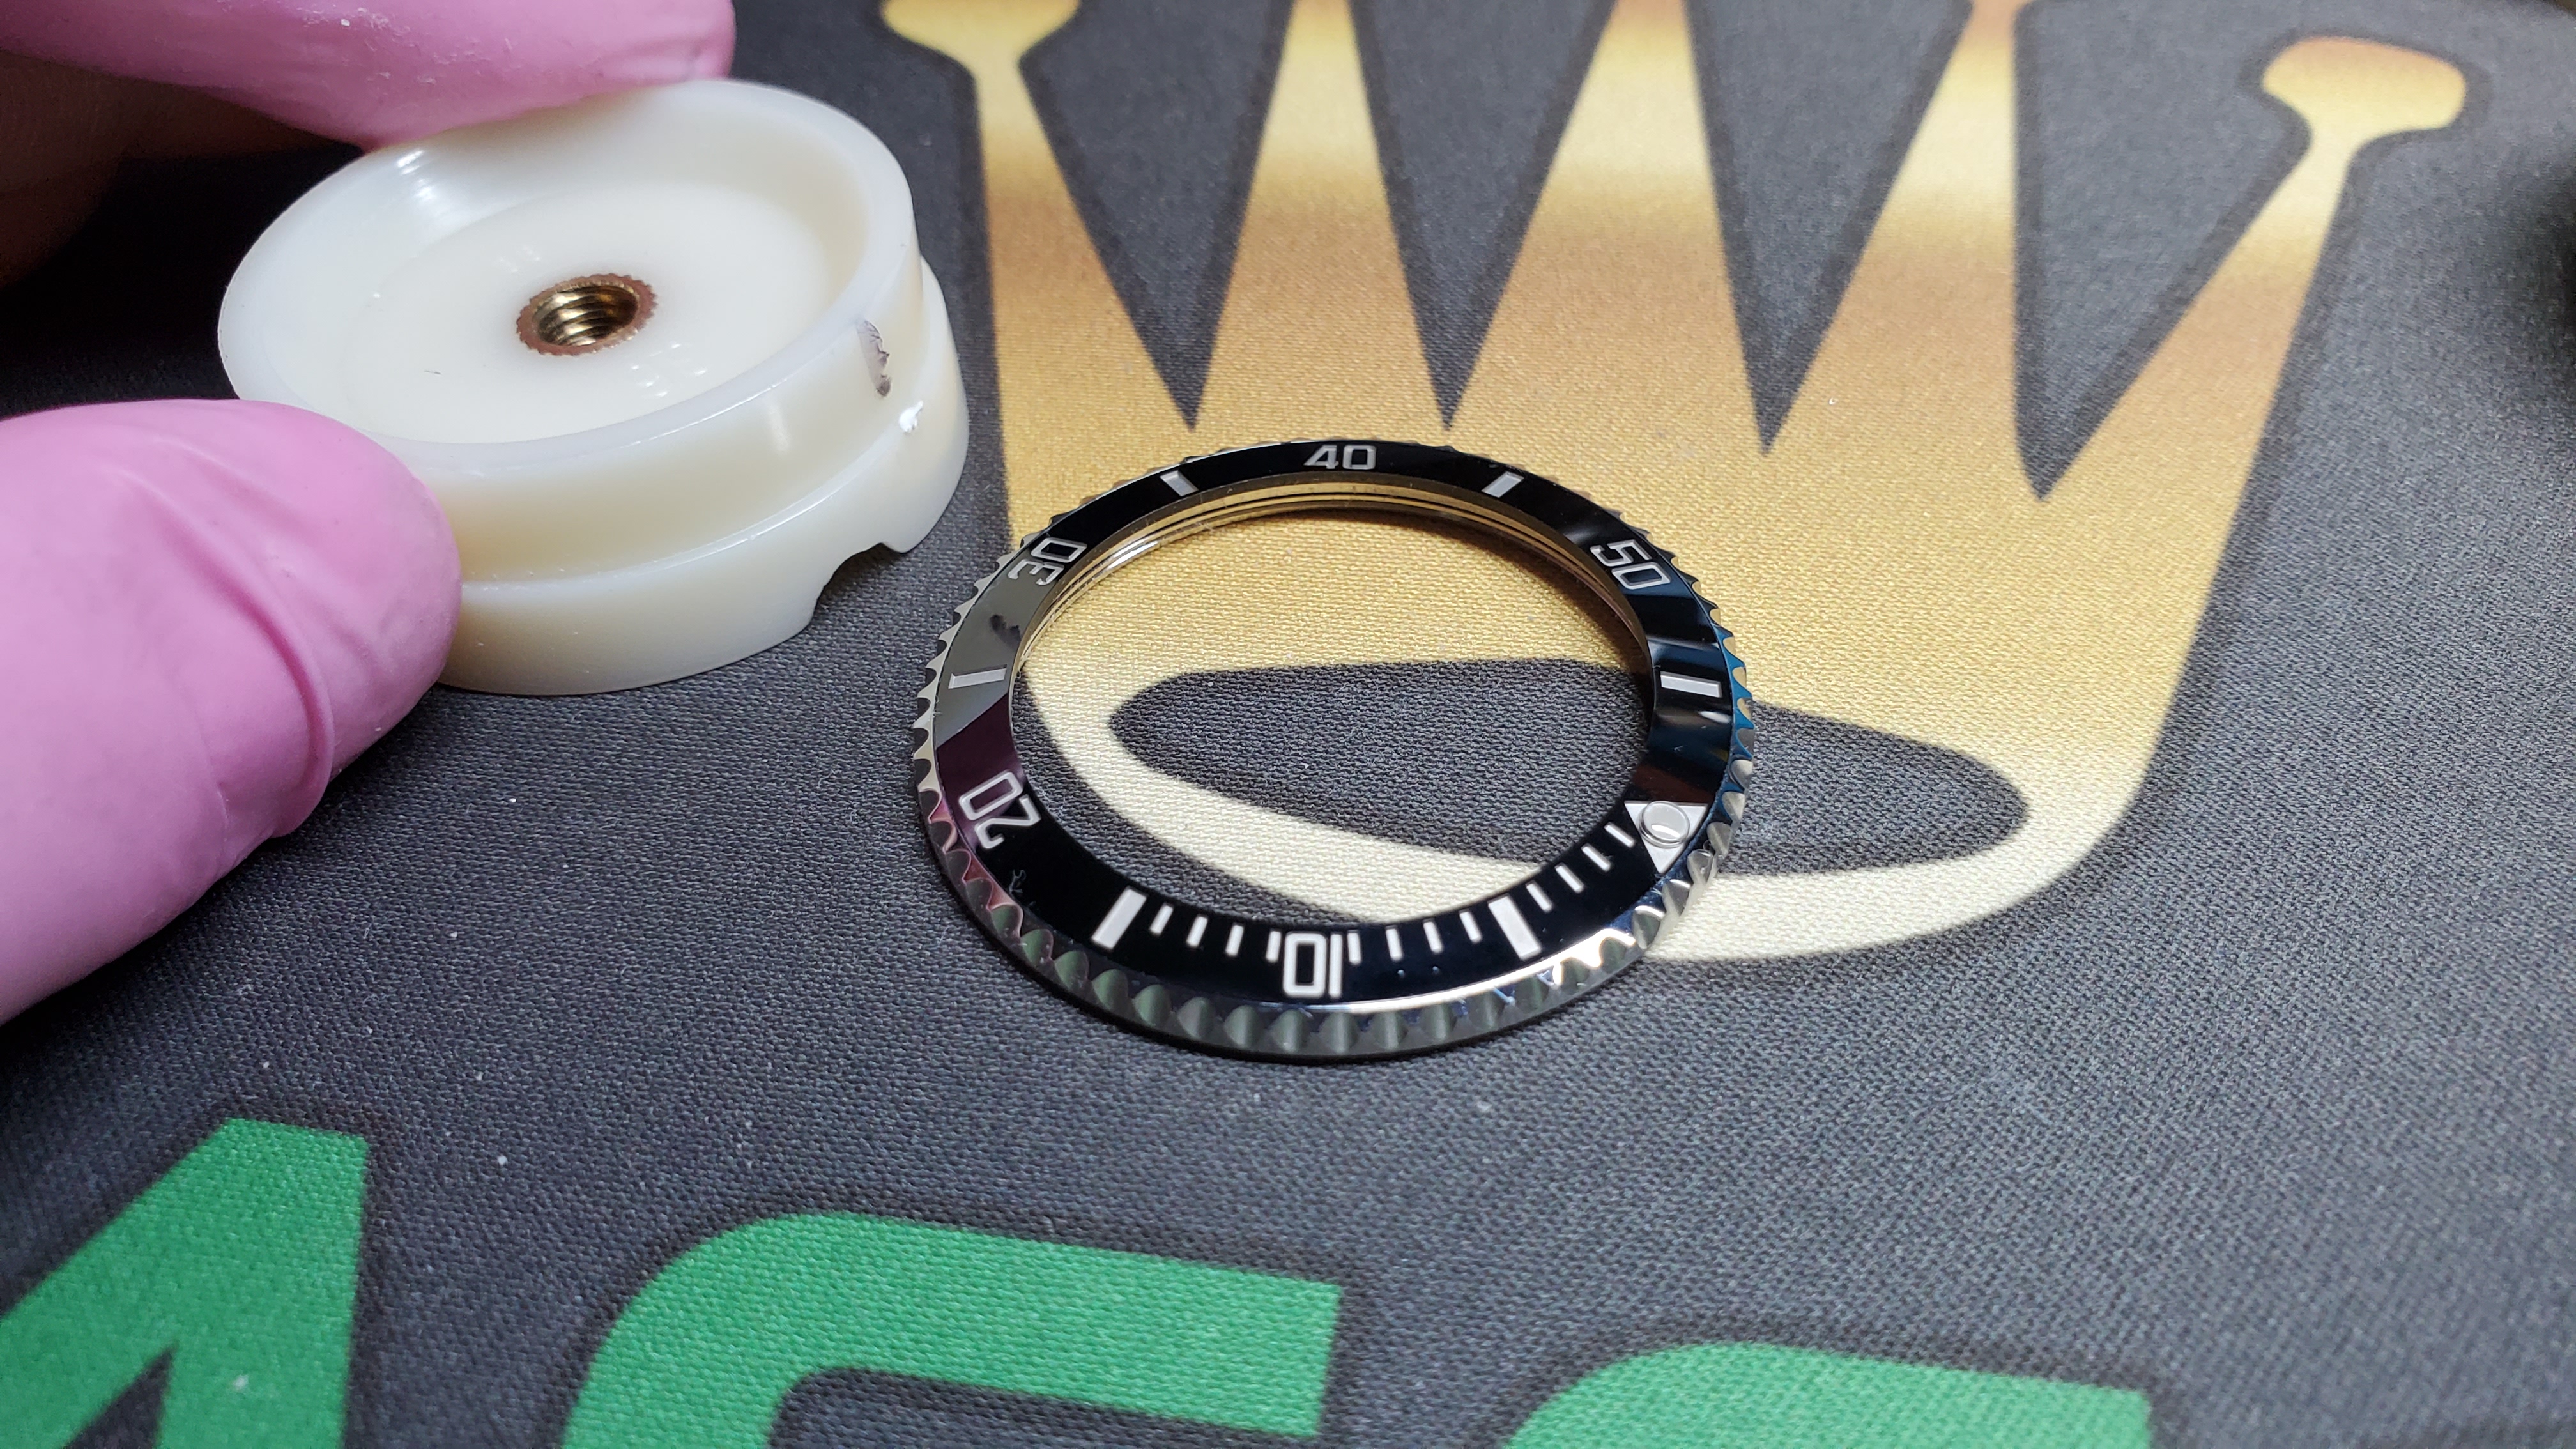
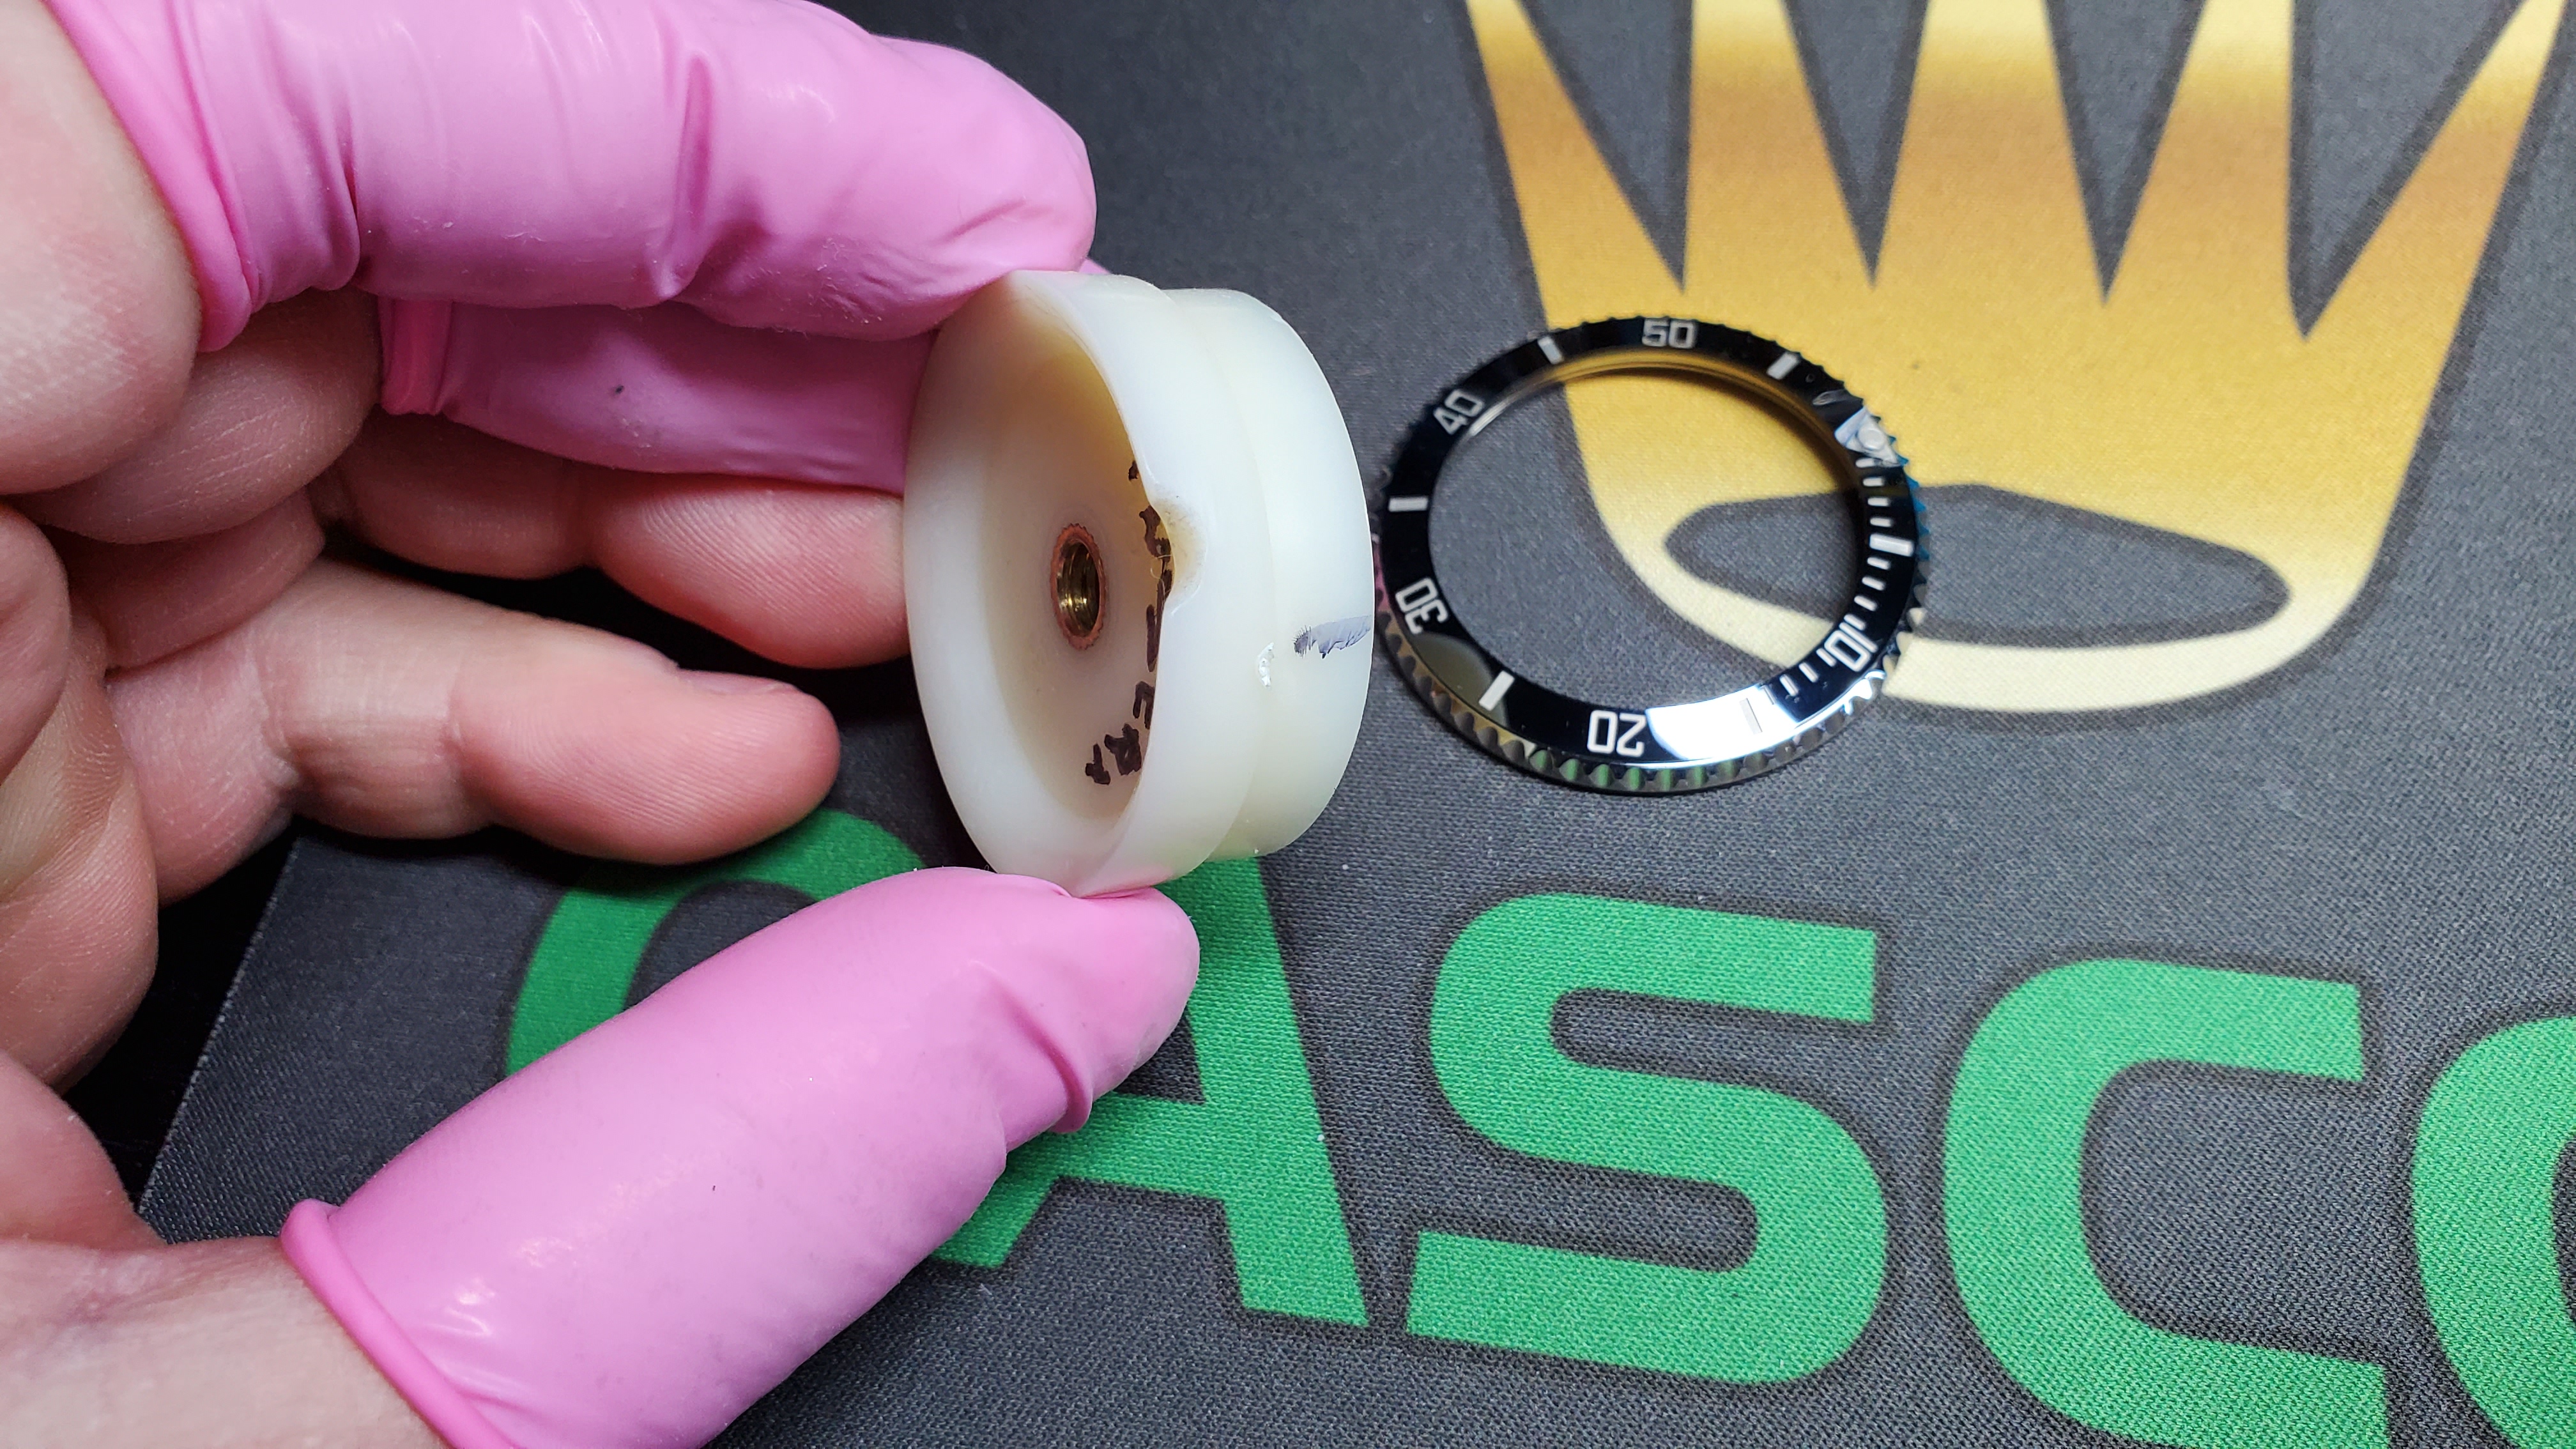
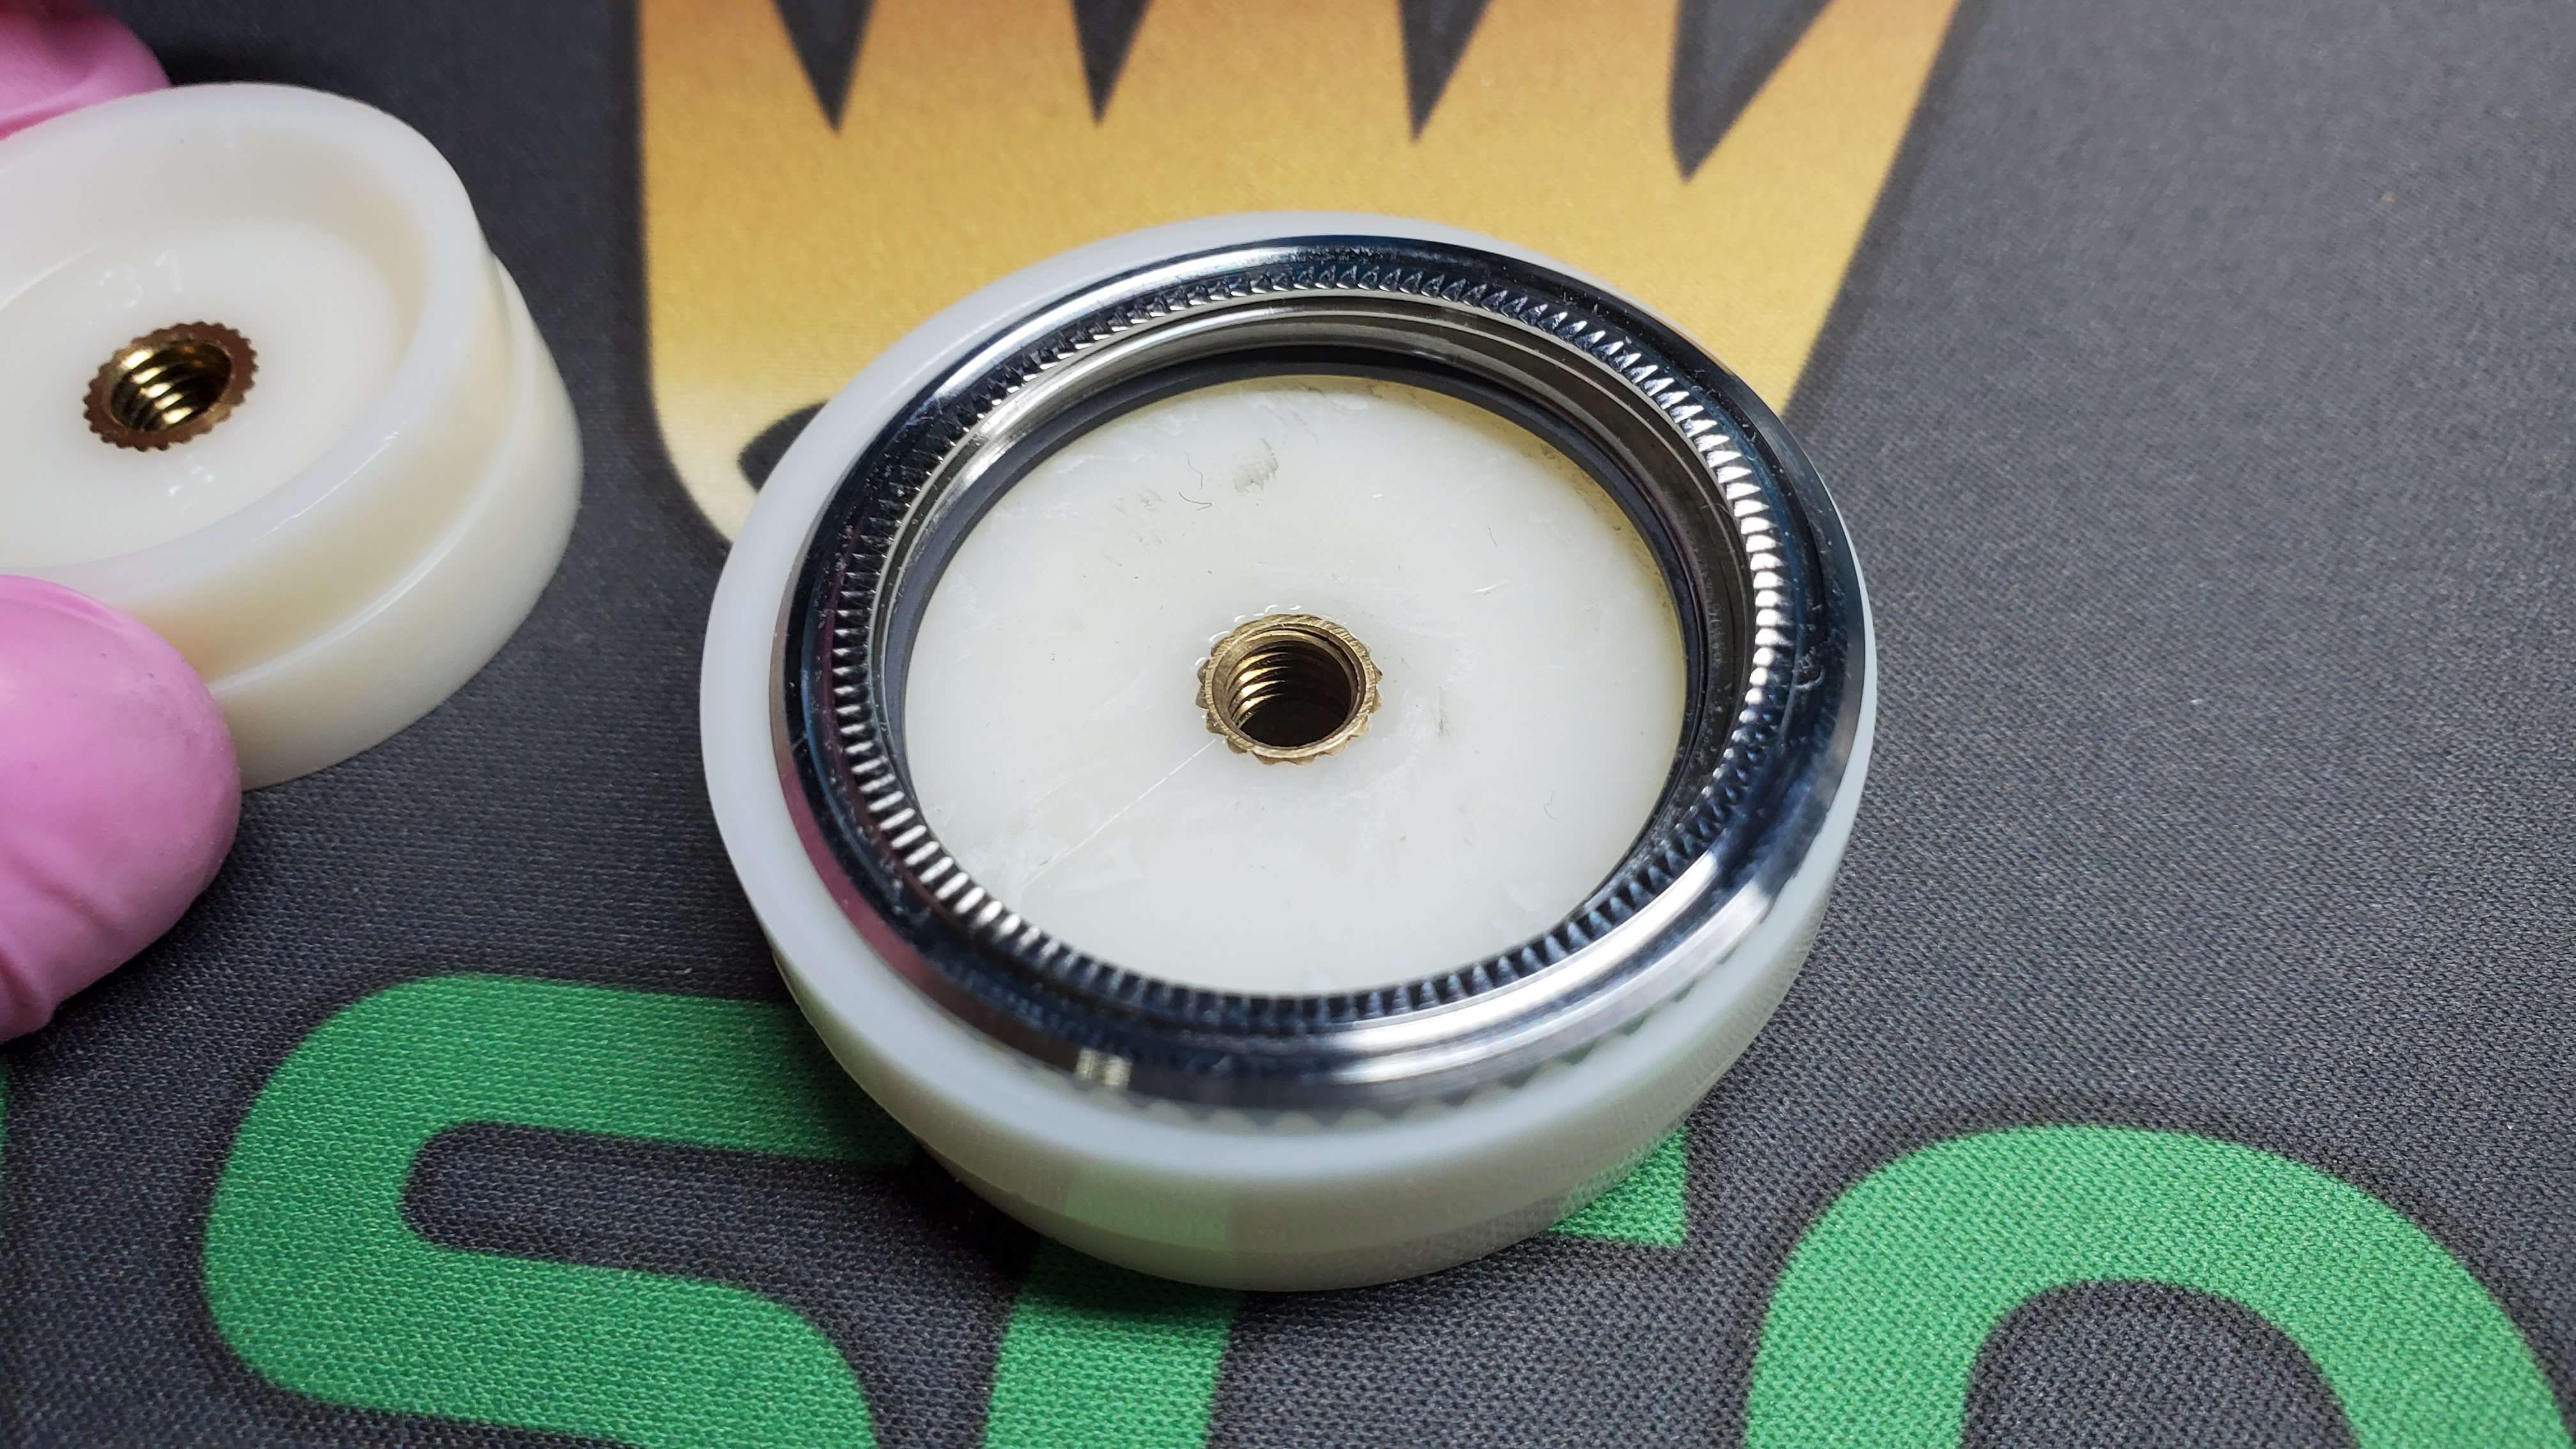
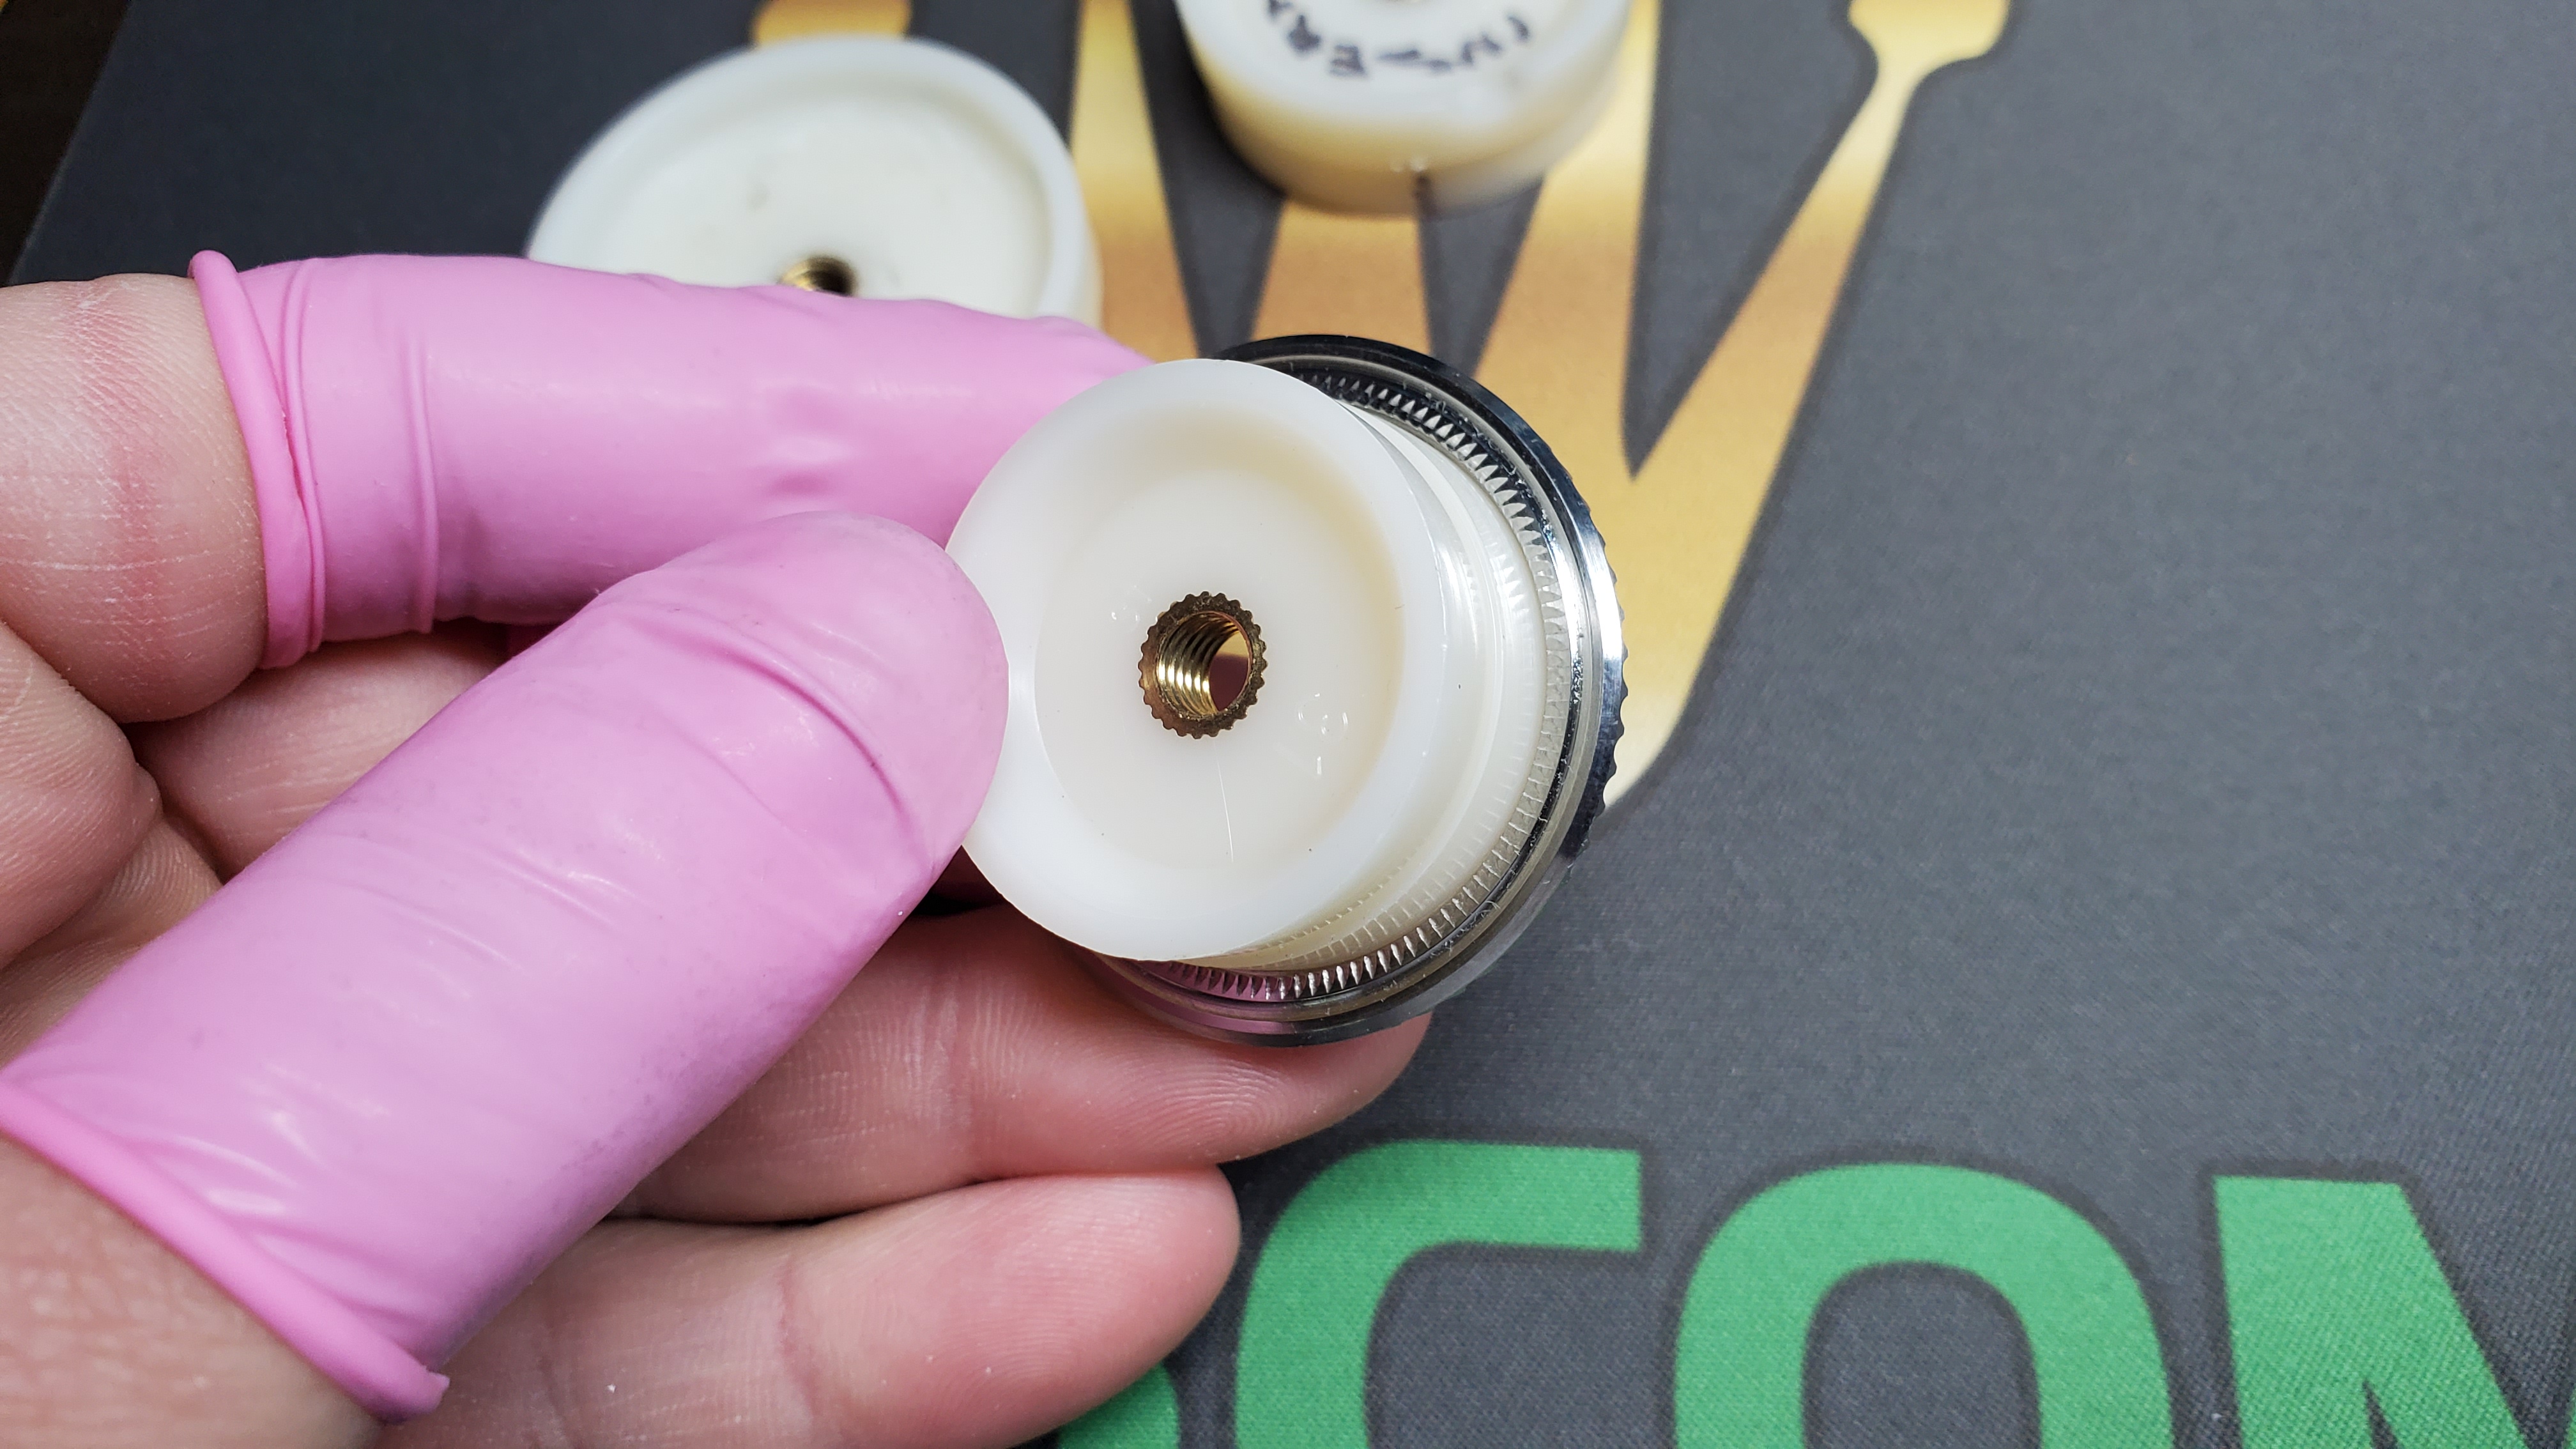
Simply use hand to squeeze the insert out. That simple. You can use rack press to do it but I found the rep inserts come out easily with just the hand press.
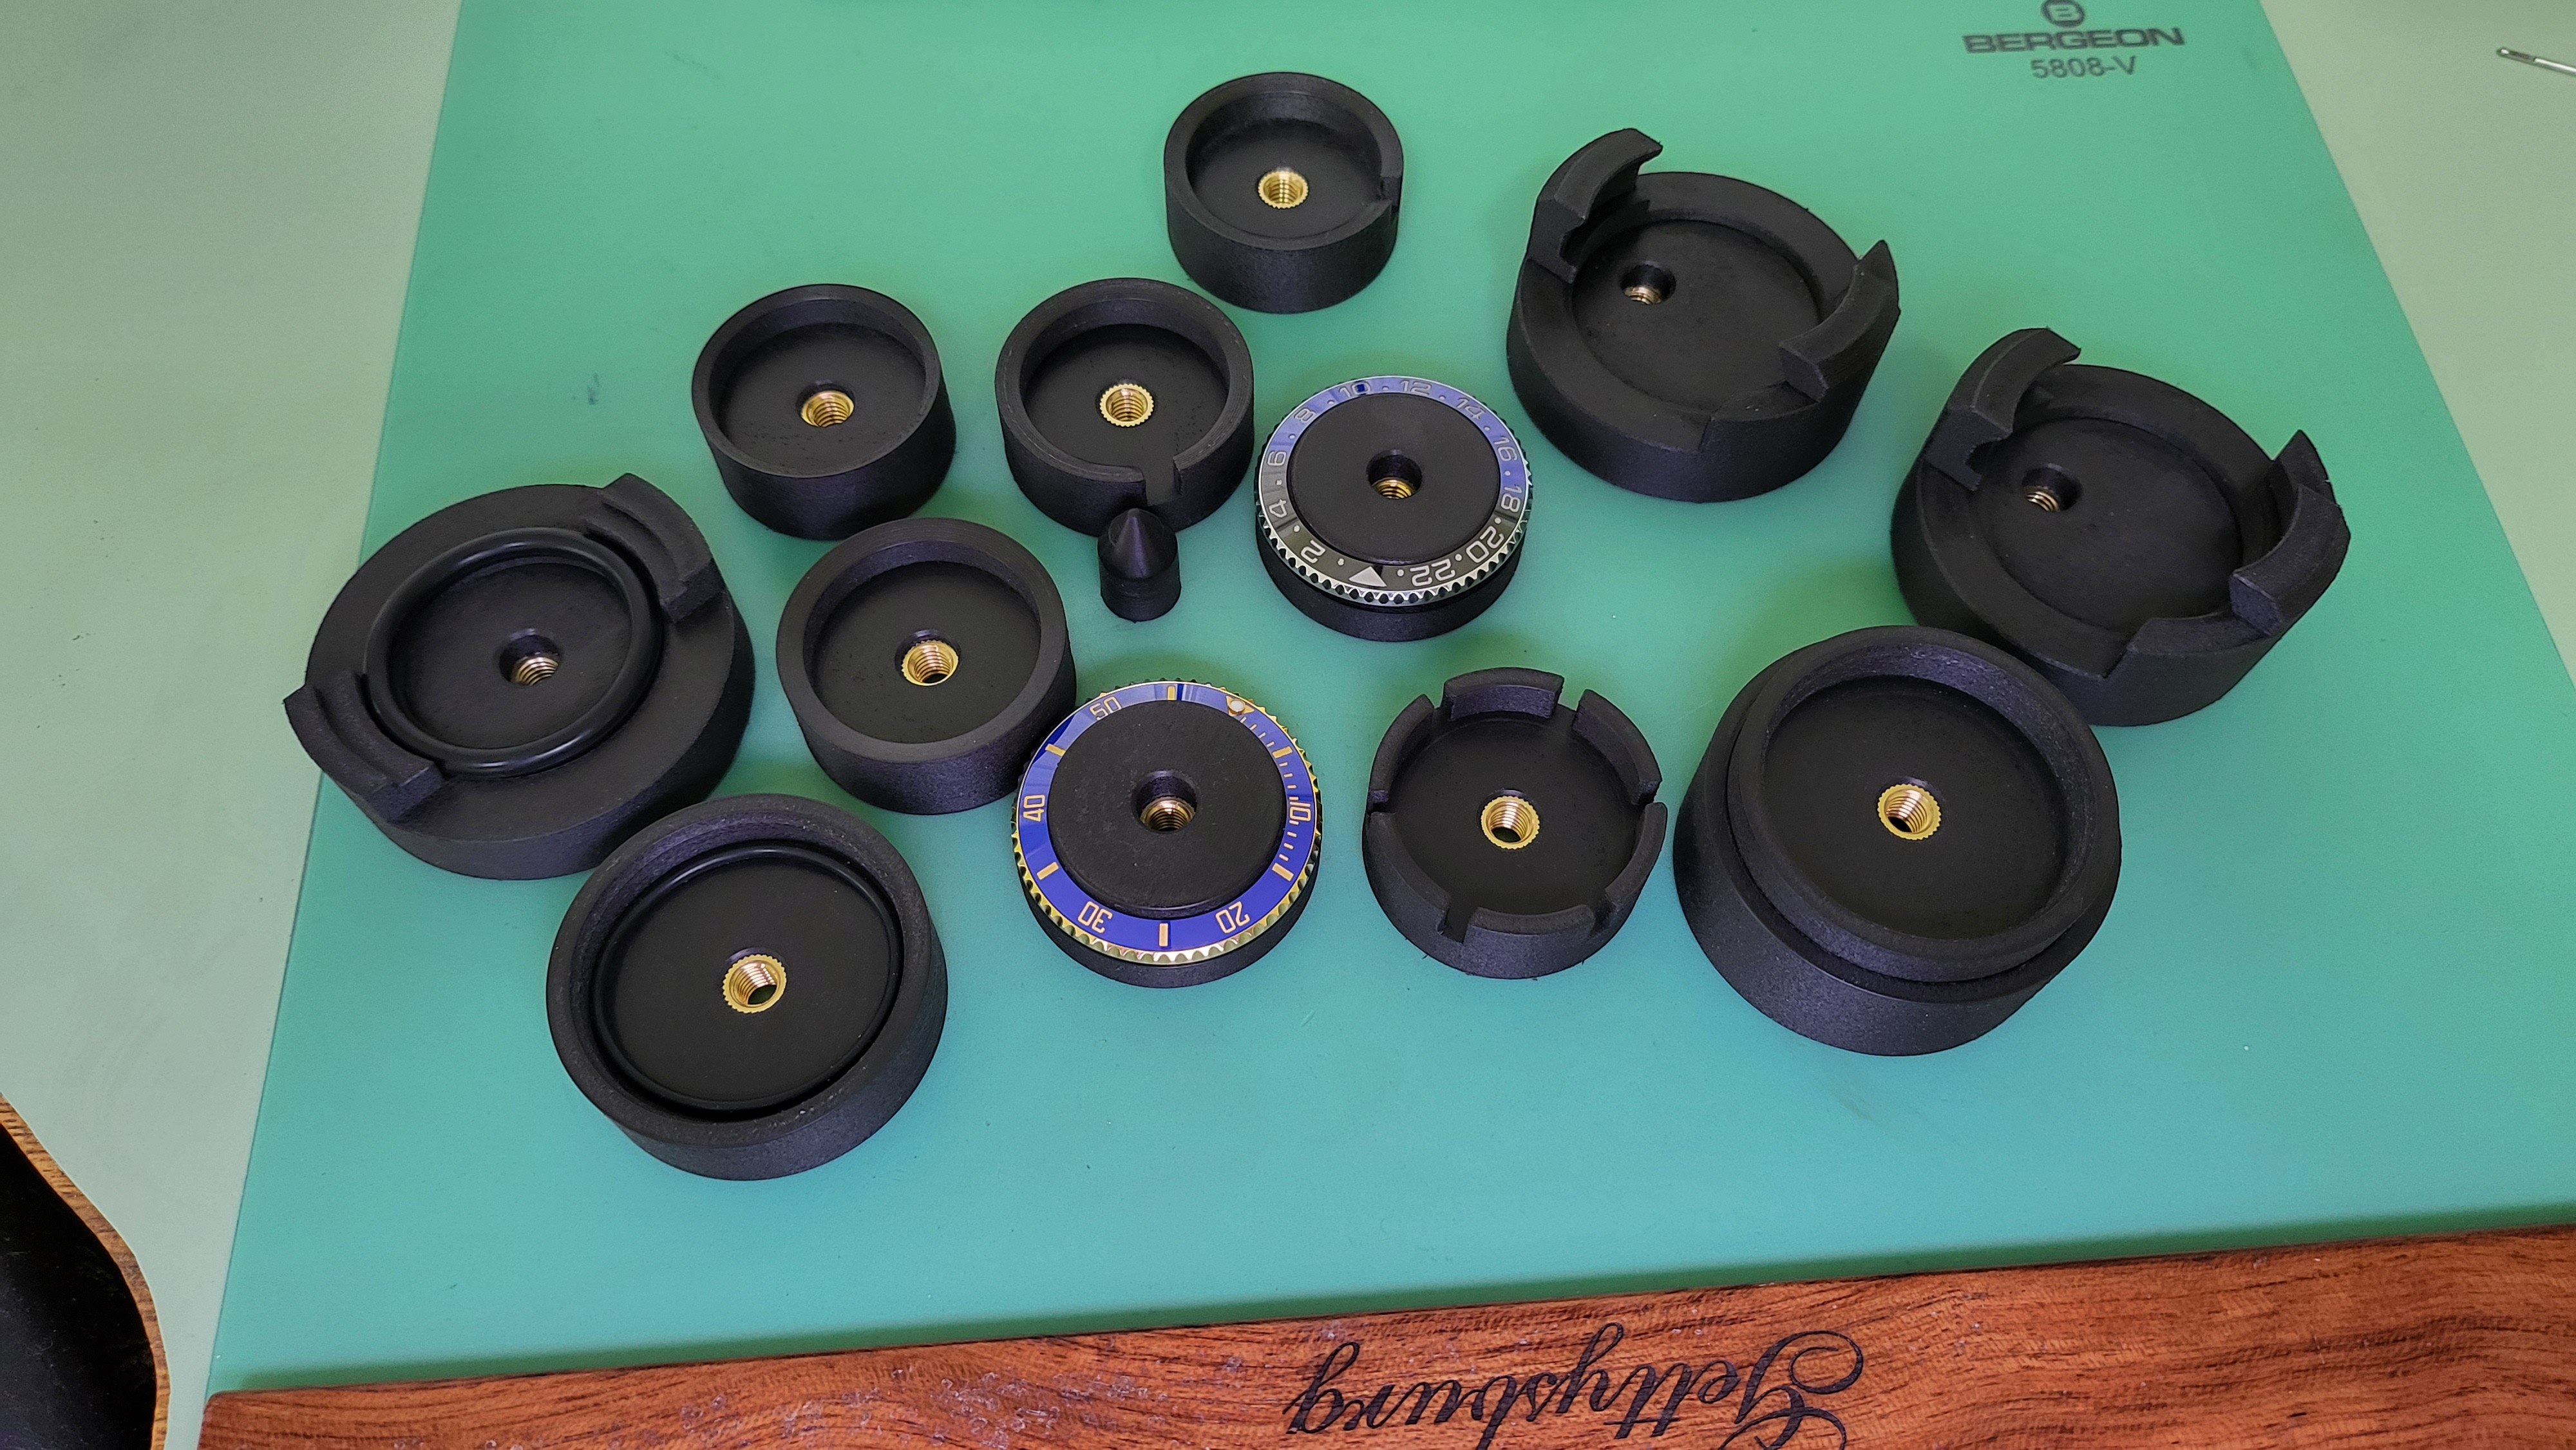
To install insert place the bezel on something flat. Lay the insert on the bezel aligned on all sides. And use prefabricated die to press it in.
I used Dremel tool to remove a notch in the die to allow clearance for the Pearl. And also removed a bit material of the inside wall of the die to have similar angle as the insert. This way it presses even on all sides and on the whole insert.
Maybe description is not the best but I bet pictures speak for themselves.
Hope this help some of you, and also save some broken inserts.
Pics:

Edit:
I'm now able to produce custom dies. Please PM me for more info:
I will soon offer specially designed insert bezel dies for sale. If anyone is interested please shoot me a PM.
Just want to give you guys a guide how to safely, cheap and easy remove ceramic inserts from the bezels. This is for the inserts that were friction fitted but might also be good for those glued ones.
This is definitely much safer than using caseback knife or some other magic tricks I saw people use and also this is similar way Rolex remove inserts and also install them. (It's just not as fancy as system they use (and approximately 15k$ cheaper)
First you need to have correct diameter plastic dies. You can use the ones that come from a cheap crystal press.
Using a Dremel remove the inside diameter of the bezel die just so that it can hold the bezel but will have enough space to alow insert to "fall down"
Second die is a standard straight wall I believe #32 die that goes inside the bezel and presses insert from the bottom.
Simply use hand to squeeze the insert out. That simple. You can use rack press to do it but I found the rep inserts come out easily with just the hand press.
To install insert place the bezel on something flat. Lay the insert on the bezel aligned on all sides. And use prefabricated die to press it in.
I used Dremel tool to remove a notch in the die to allow clearance for the Pearl. And also removed a bit material of the inside wall of the die to have similar angle as the insert. This way it presses even on all sides and on the whole insert.
Maybe description is not the best but I bet pictures speak for themselves.
Hope this help some of you, and also save some broken inserts.
Pics:
Edit:
I'm now able to produce custom dies. Please PM me for more info:
Last edited: