Hi Guys /// Update 1. May 2024 Second part under this one: Best results with stock parts only
// Update 26.2.2025 more pictures // 7.3. Video
Those who follow me a little know that I do reviews from time to time or that I take photos of a build from time to time.
This time it's different and I still hope that I can entertain some people here.
In the best case scenario, I can even help with your problem if you have the same.
I ordered a CLEAN Factory GMT Master 2 BLRO "Pepsi" knowing that the bezel is known for its poor construction.
I wanted to use this directly to get some practice
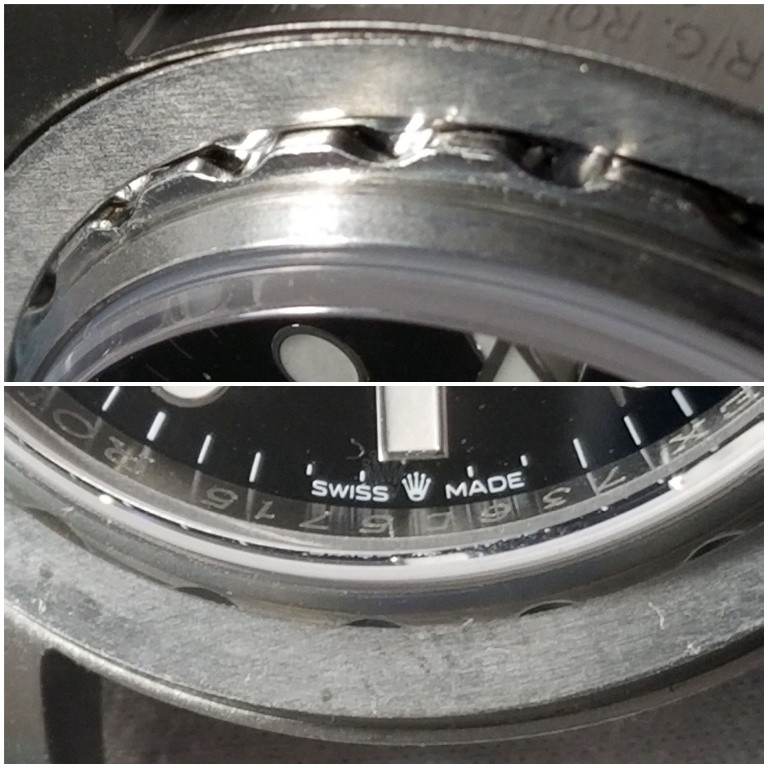
Image 1:
Of course you don't see that the bezel has backplay. This about 4-6mm, so already enormous. In addition, it can only be turned very softly without clicking the GEN (yes, non-Submariners also click - just different) and is not aligned with the triangle at 12 o'clock.
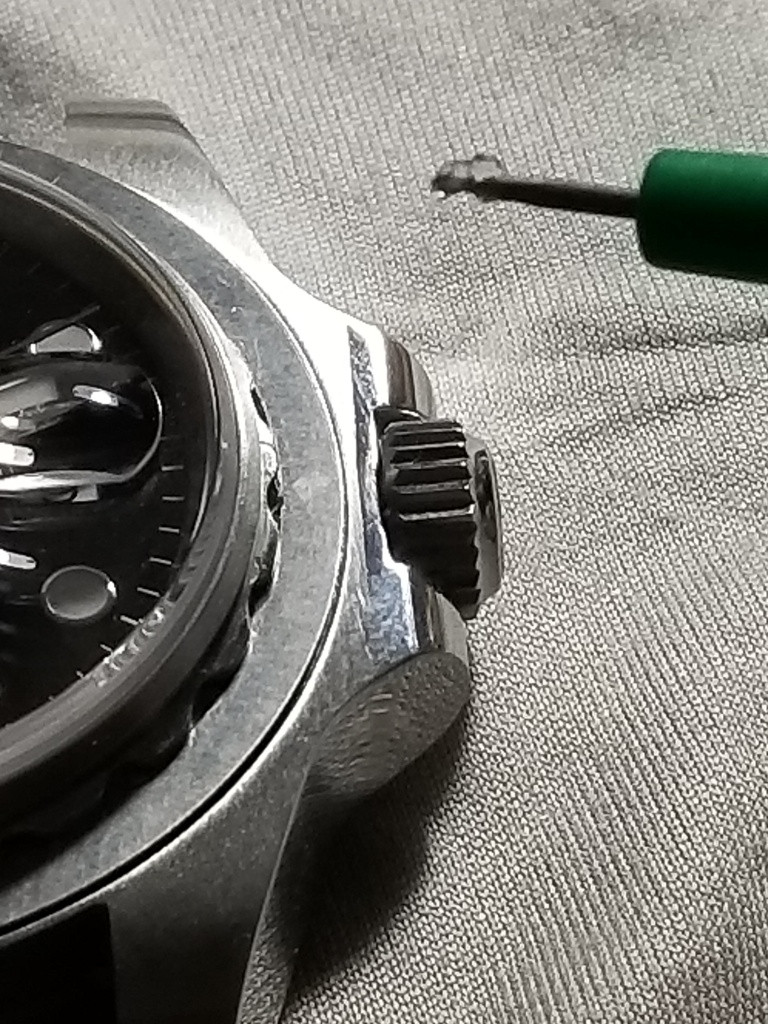
Image 2 and Image 3:
After removing the bezel you can see why it doesn't click: Clean just smeared the whole shit full of grease. What is also noticeable is that the spring is a little too big and made of rather soft material, hence the backplay: it is simply too flexible. They really smeared loads of that grease in there. The CLEAN structure only works like this - nothing turns at all without grease - unlike other factories such as ARF, where the entire structure fits in such a way that no grease is needed (as I been told).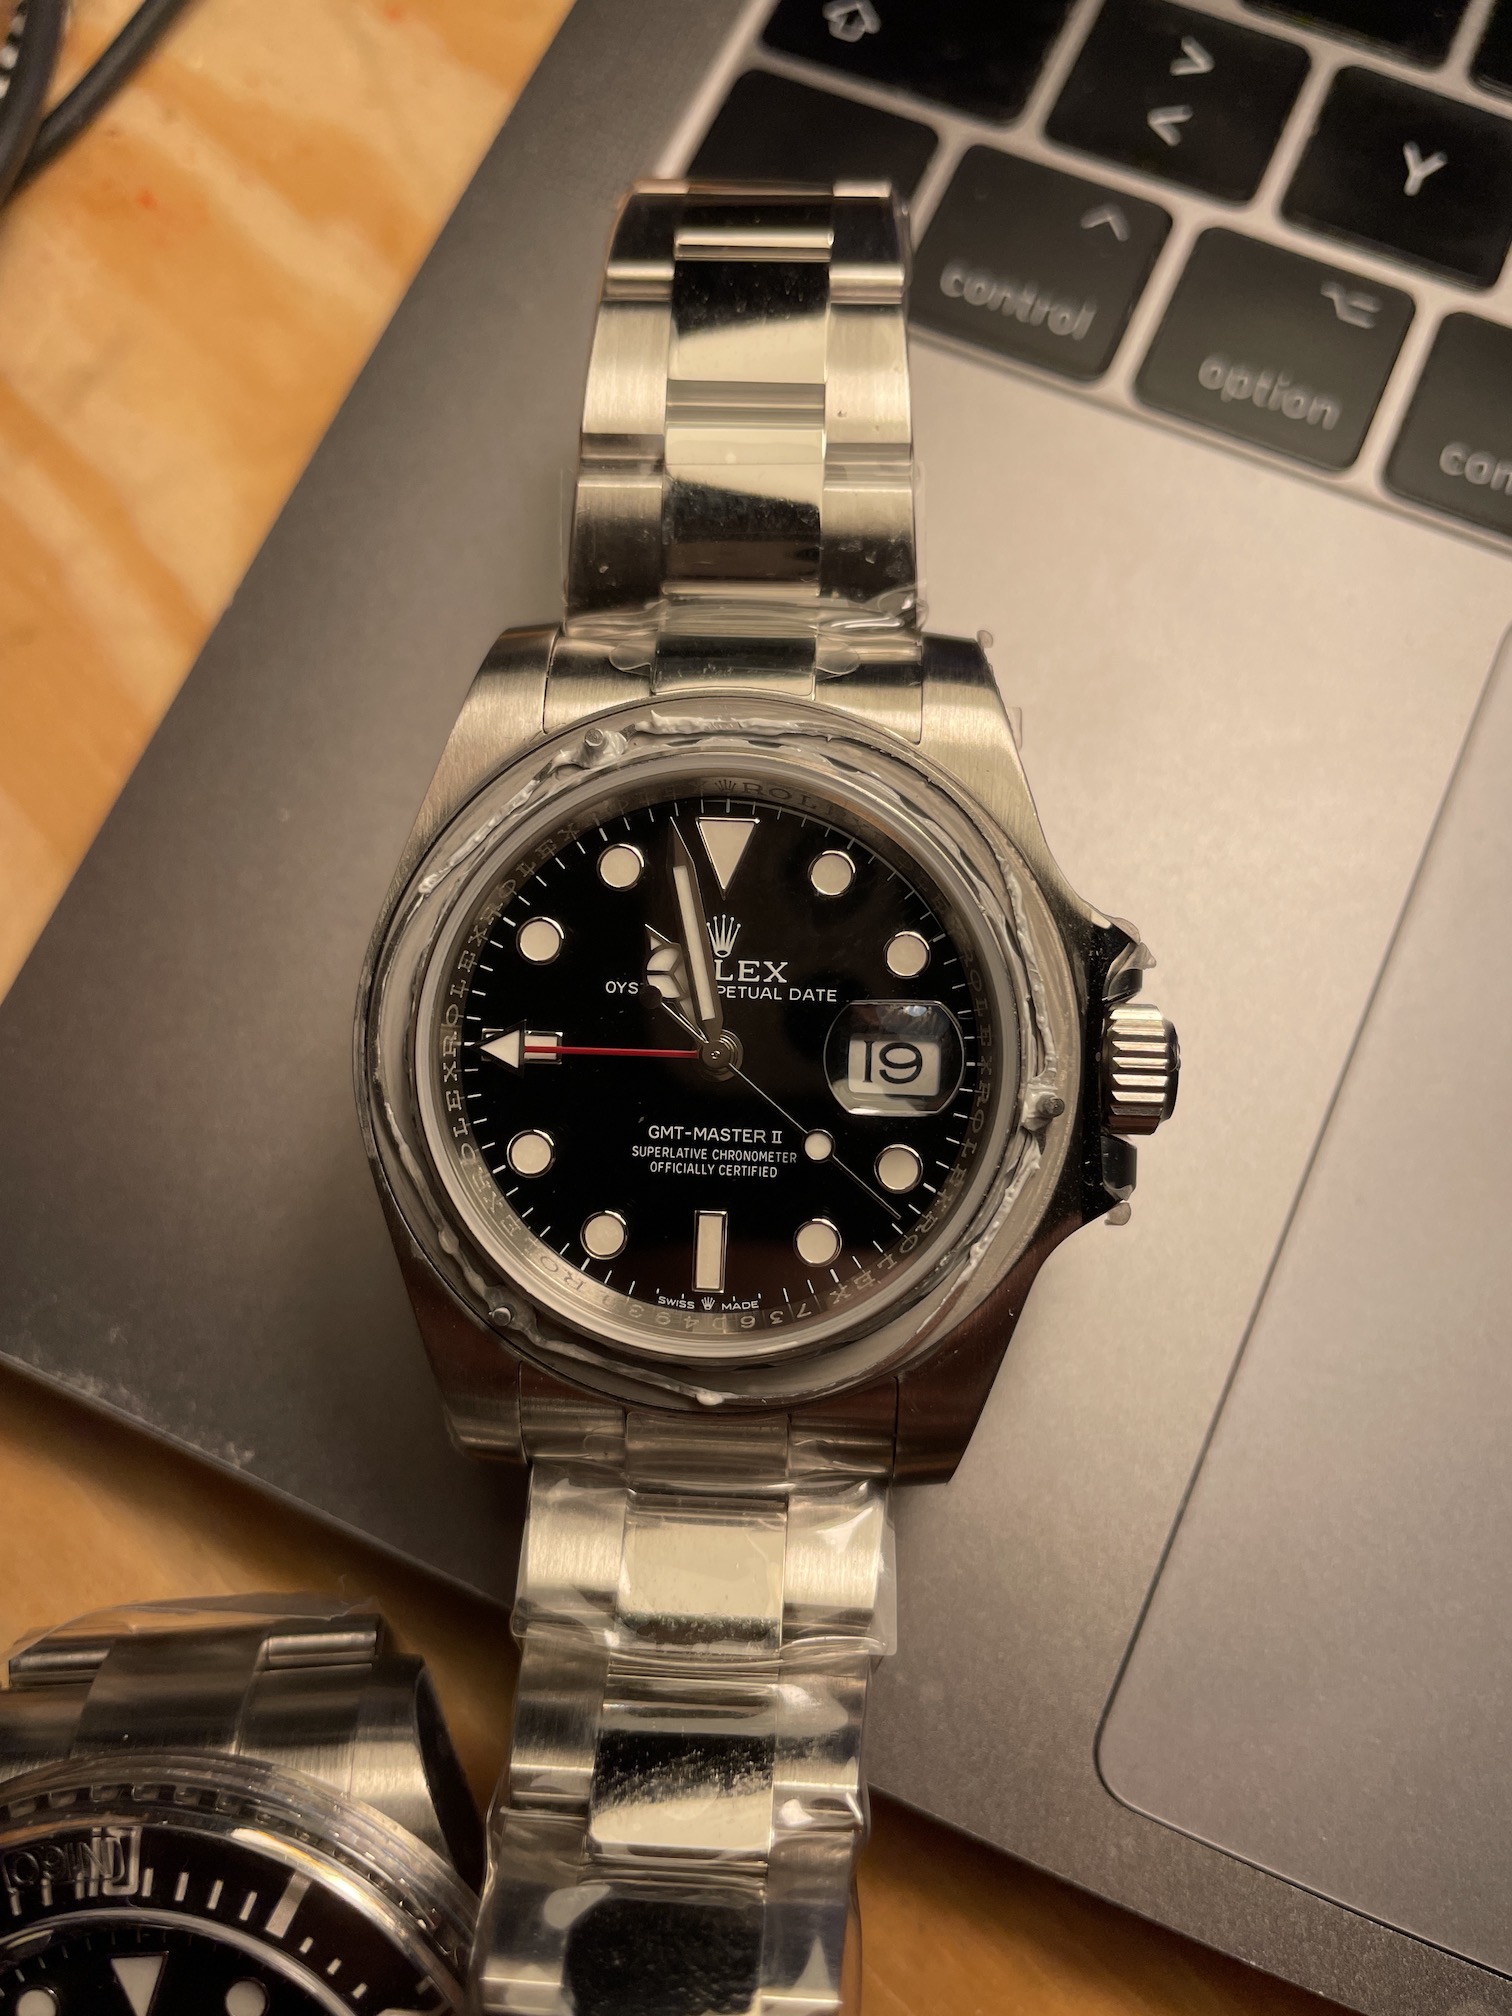

Picture 4:
Here you can see the structure of the bezel after I have cleaned about 30-40% of the grease.
Picture 5 and 6:
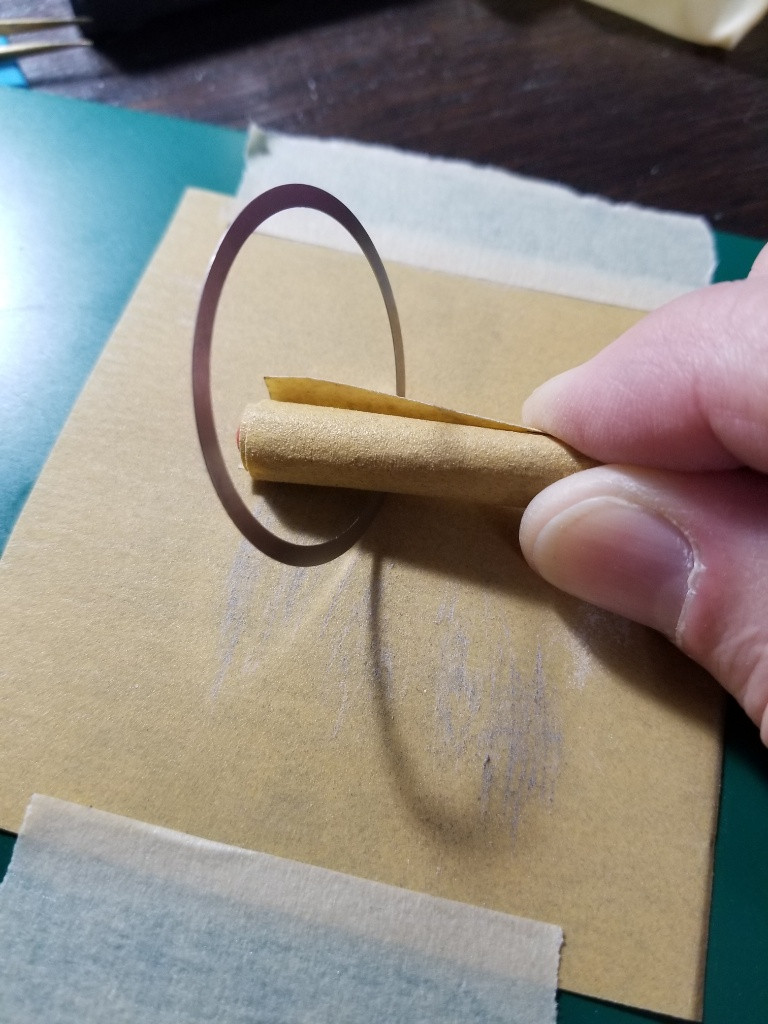
As mentioned, the whole bezel was still misaligned, so I had to use a carpet knife to remove the inlay and remove the adhesive in order to put it back in correctly after installing the new spring.

Picture 7:
Here you can see 38mm adhesive rings for bezel inlays - thanks to Aliexpress

Picture 8:
Here you can see the two bezel springs: below the uncleaned CLEAN spring and above the GEN spring from Rolex.
Picture 9:
After removing 30-40% of the grease on the washer under the bezel, I clamped the GEN spring, which moves perfect and has no play / flex.
Picture 10:
I then pressed on the bezel and glued in the bezel inlay using an adhesive ring, here you can see the result.
It was fun and the result is stunning. Clicks like GEN, and I was able to practice building the case a little right away.
I hope you had fun with the pictures

Lot of greetings from Switzerland
Updated Part 2 1. May 2024 (NO GEN PARTS NEEDED, NO SPARE PARTS NEEDED)
So for those who dont want to spend the extra money on a genuine spring for 100-150 USD I can give you an update how i fix the bezel problem These days when I am working on a CF. Last I did was a V3, where IMO the Washer was updated and the bezel sat straight on the case, perfect.
1. Pop off bezel carefully (so you can use the hyrtel ring a second time) and DEGREASE this whole mayonaise as usual
1.2. CTime would sell CF hyrtel rings as spare parts in case
2. add small spots of silicon crease in the scallops on the casering
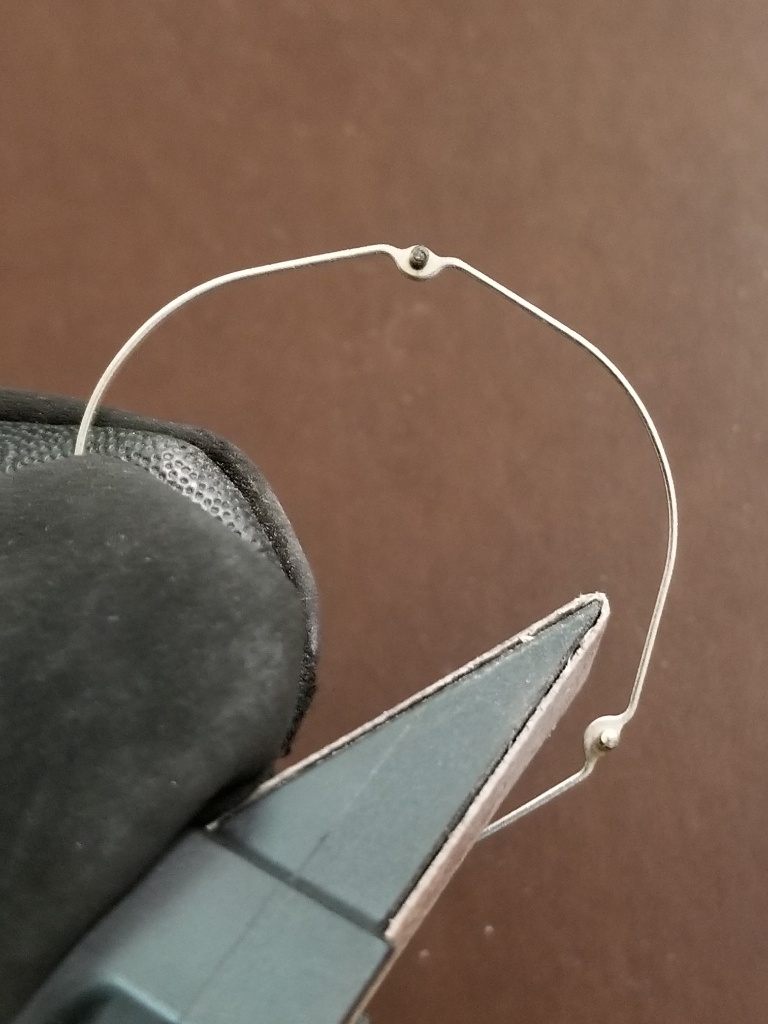
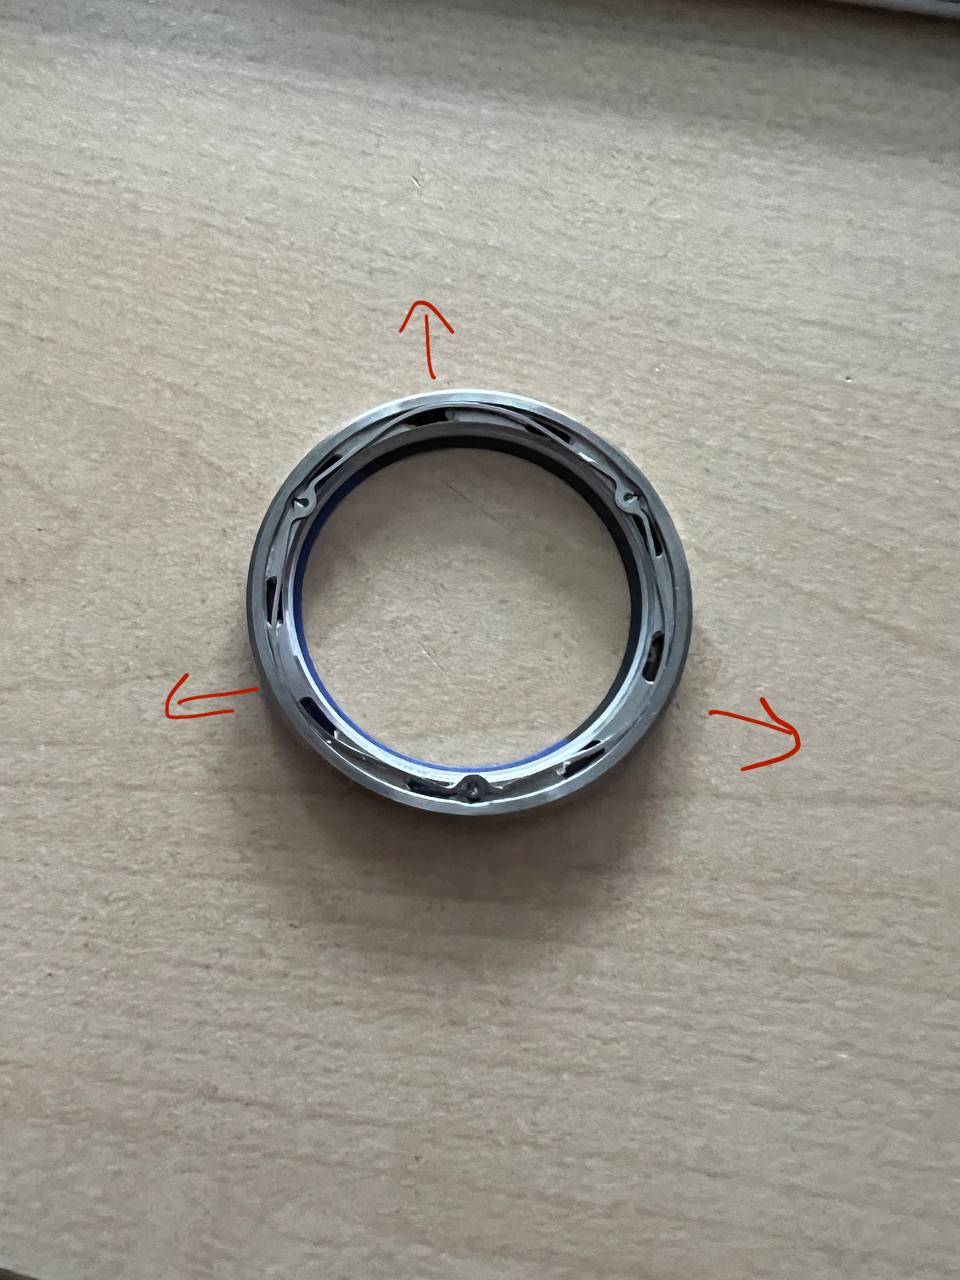
3. pull the (stock) spring out betweet the 3 pins for some extra tension (no backplay anymore, more "crispyness").
4. check bezel inlay alignement and realign if needed
5. Put it all together and be happy
Picture of the most important point, part 3.
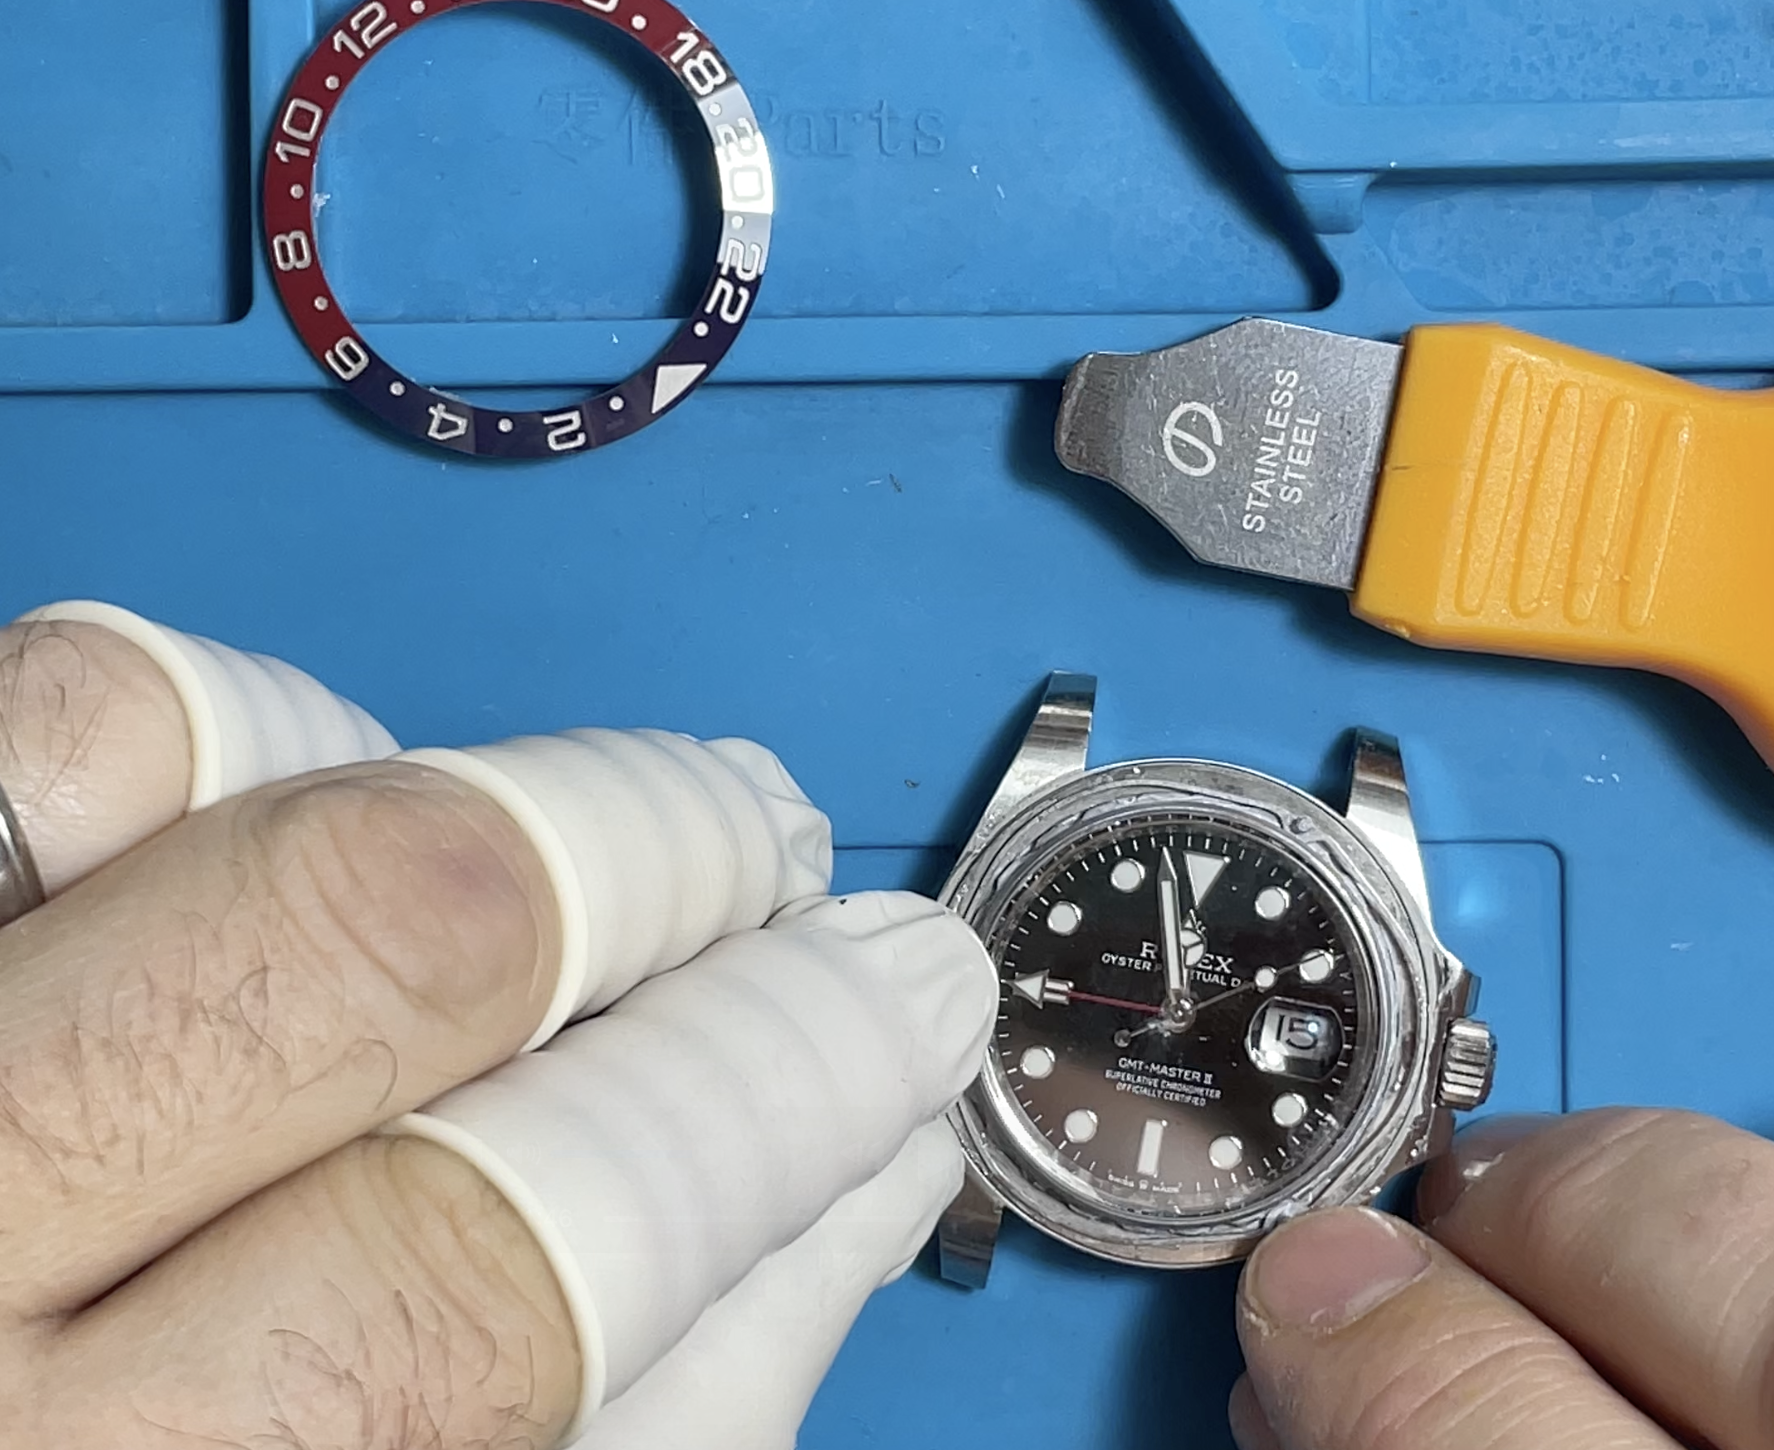
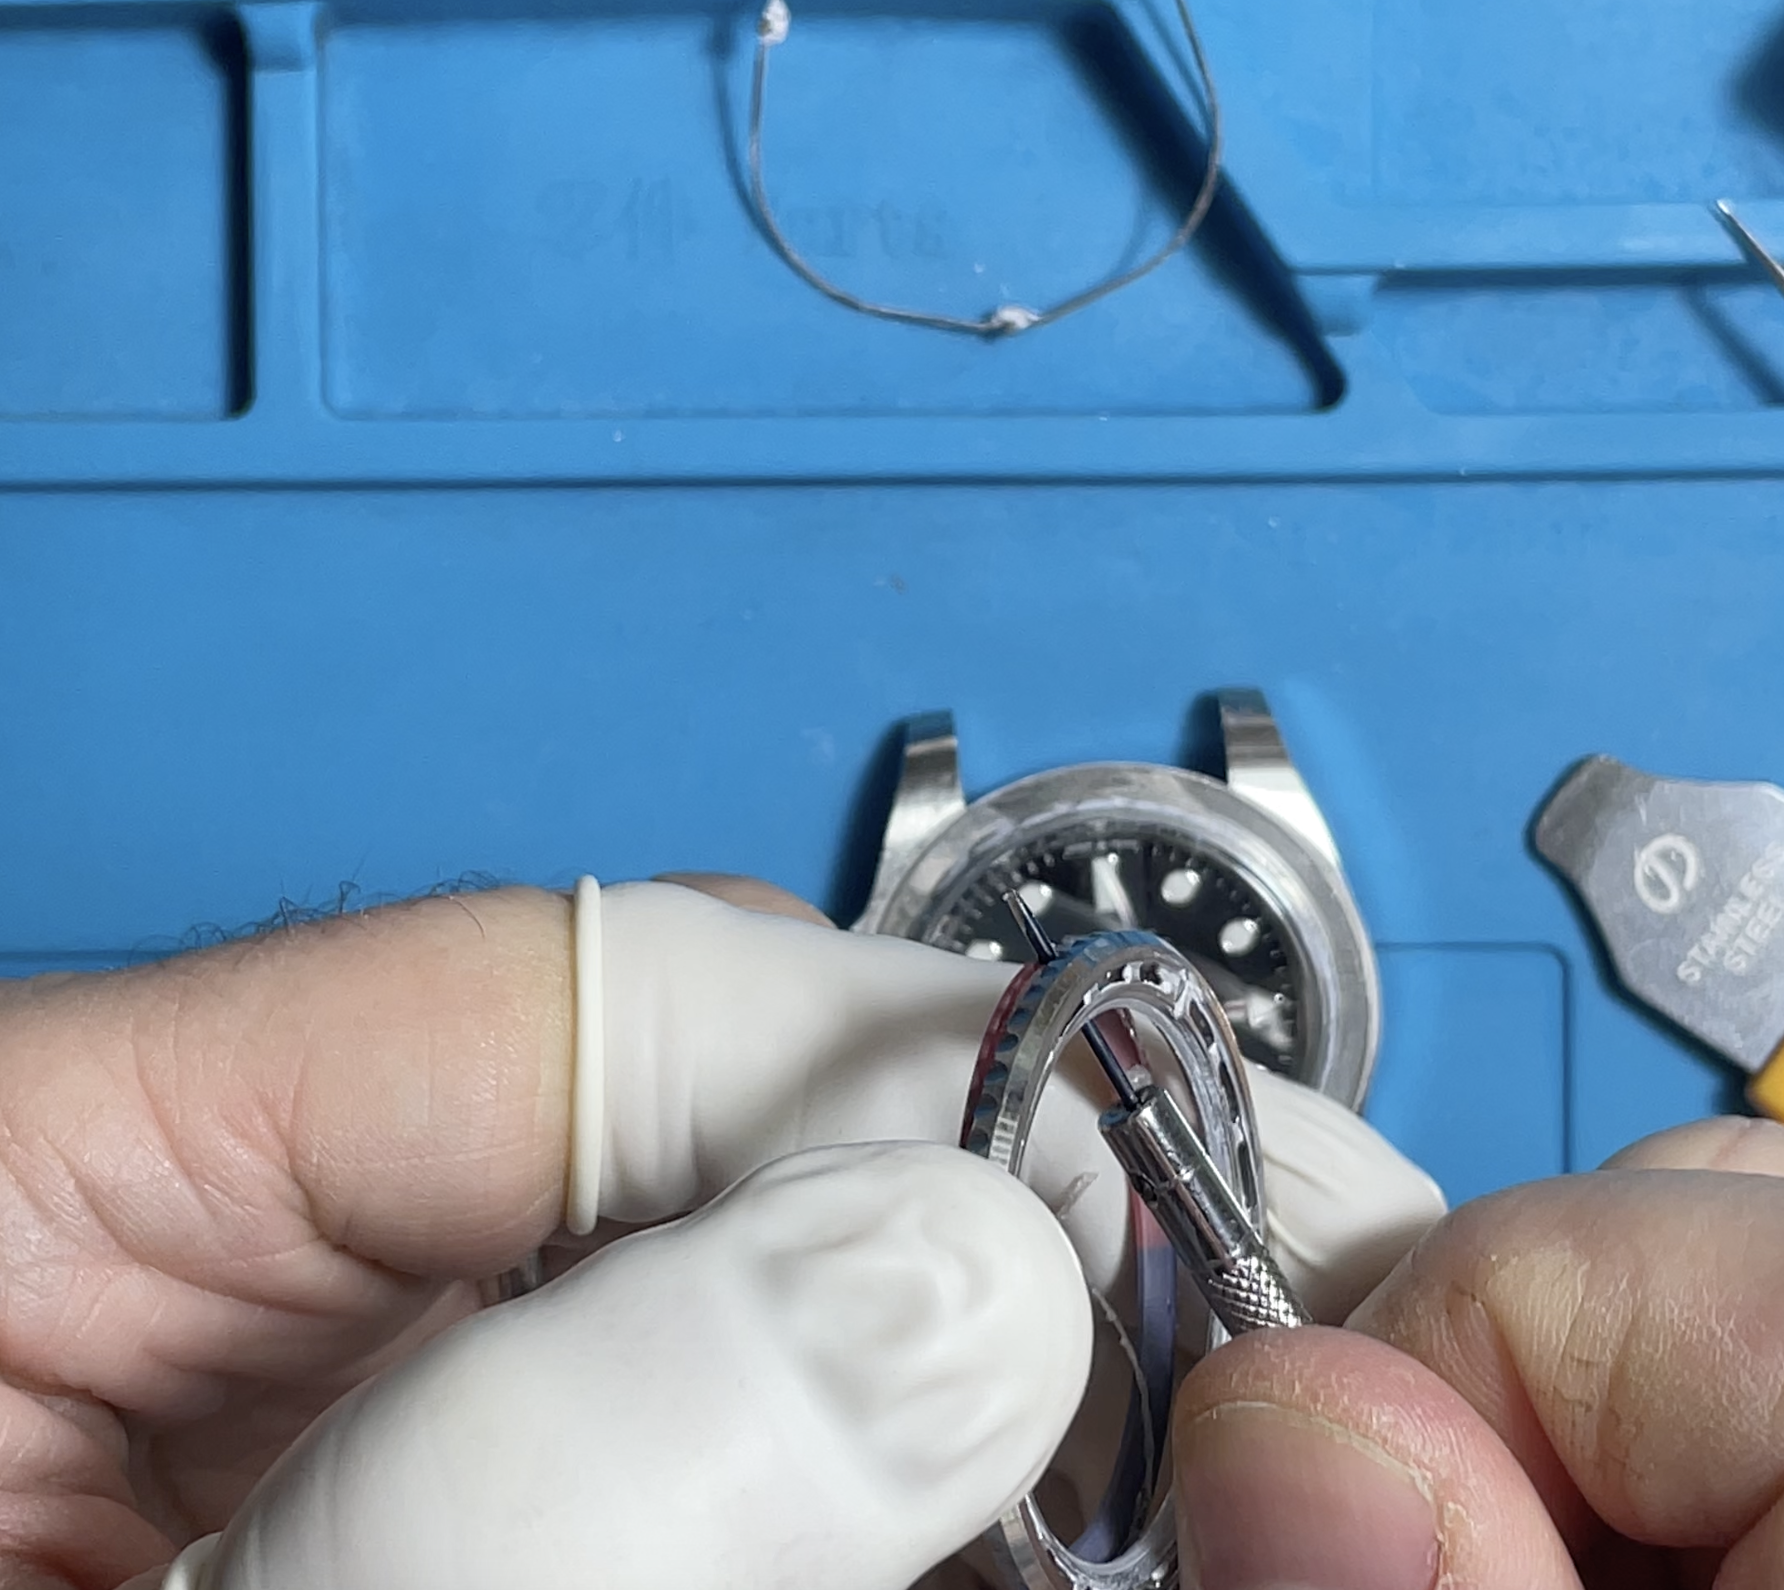
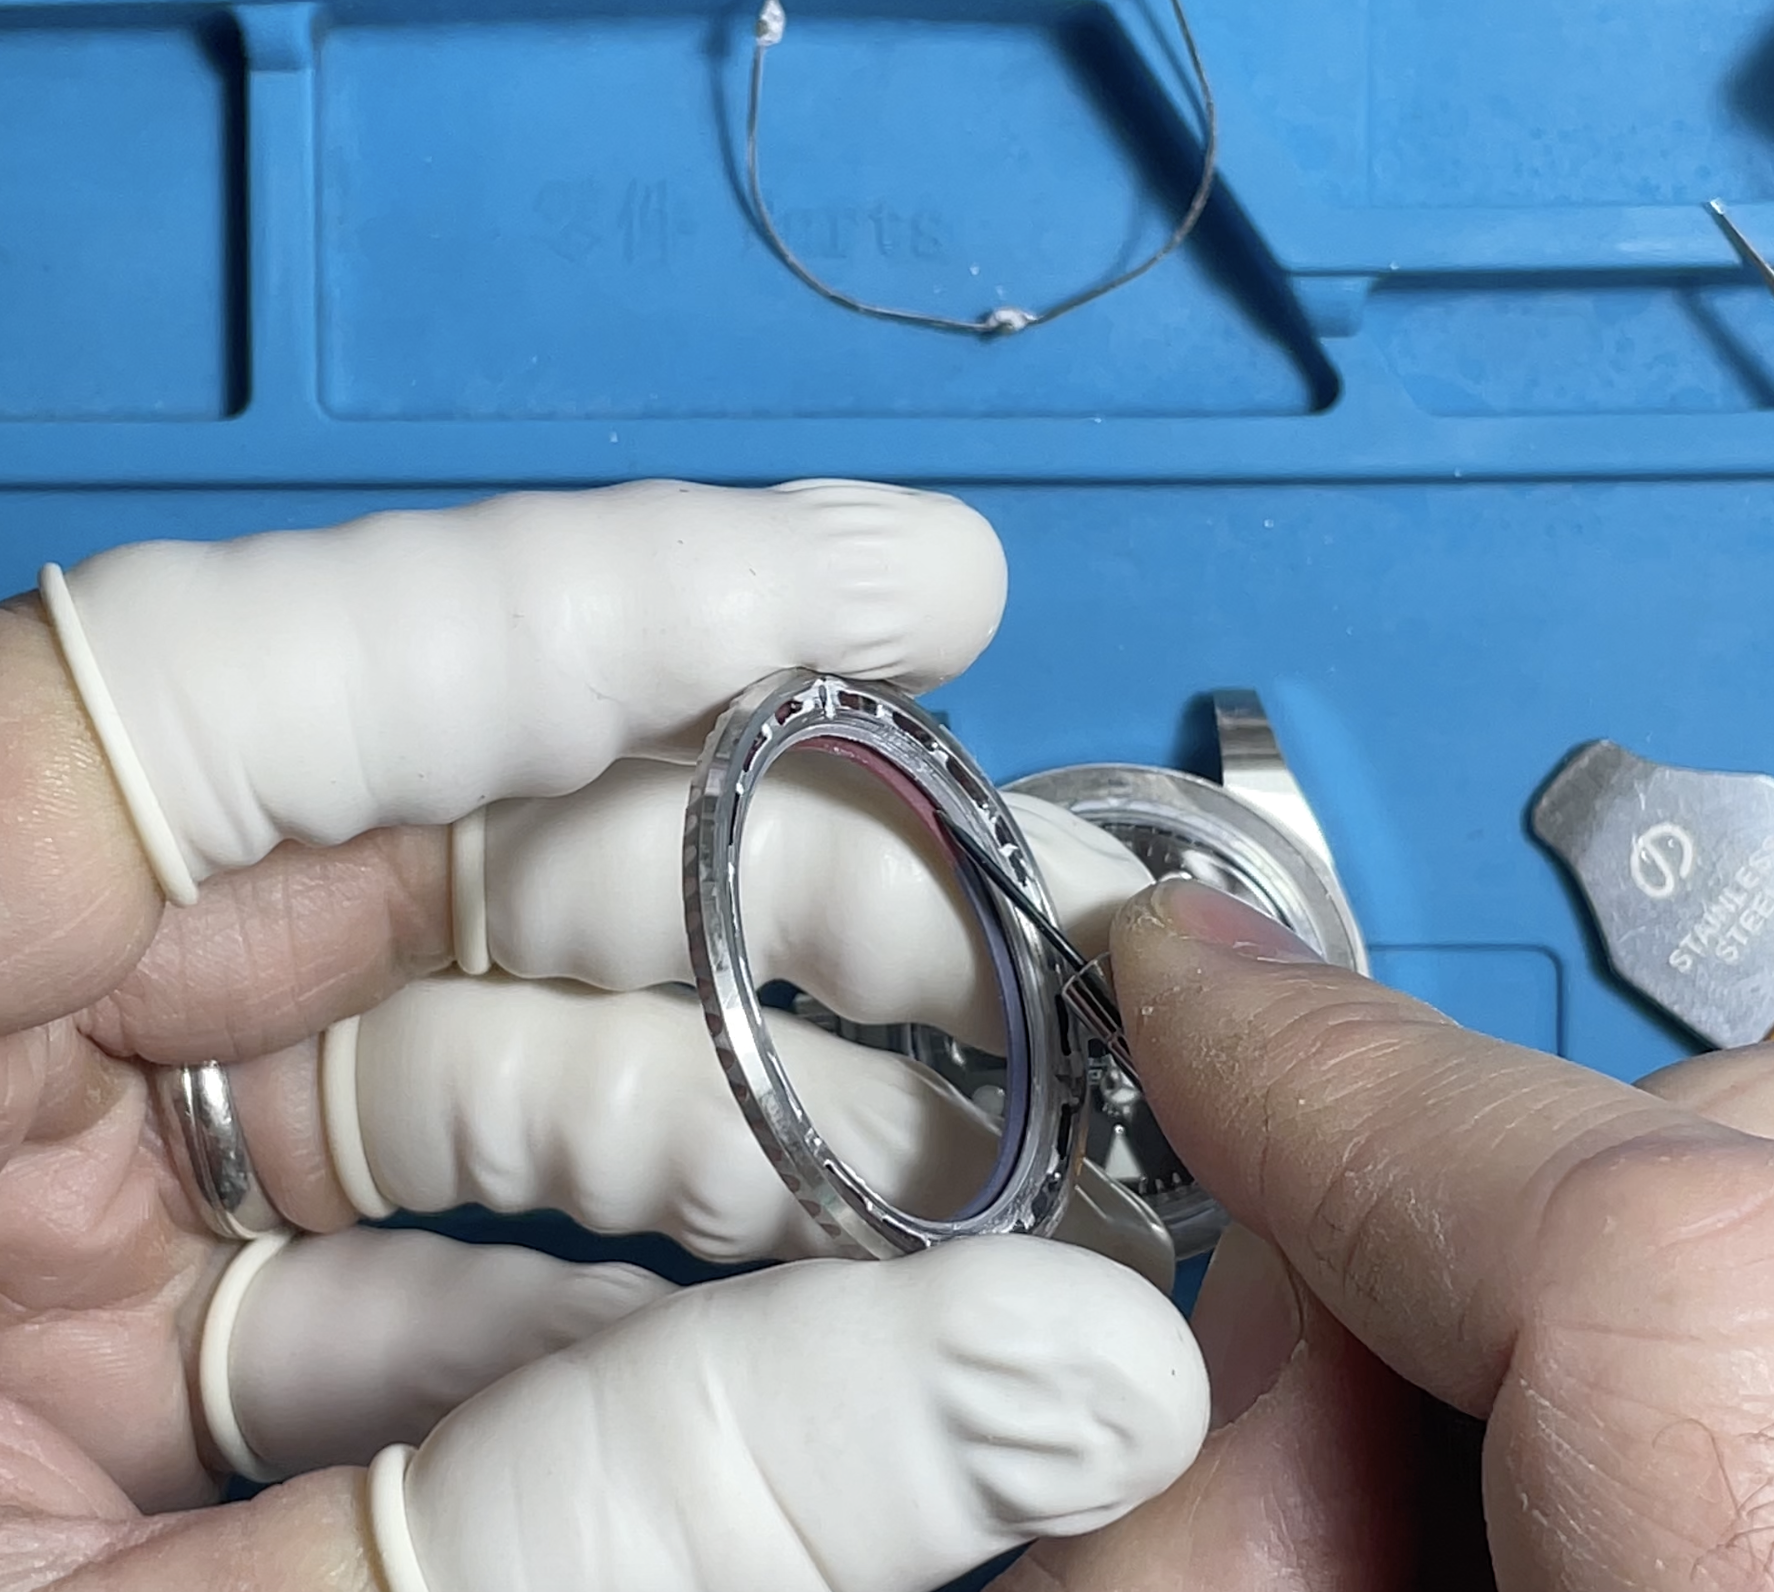
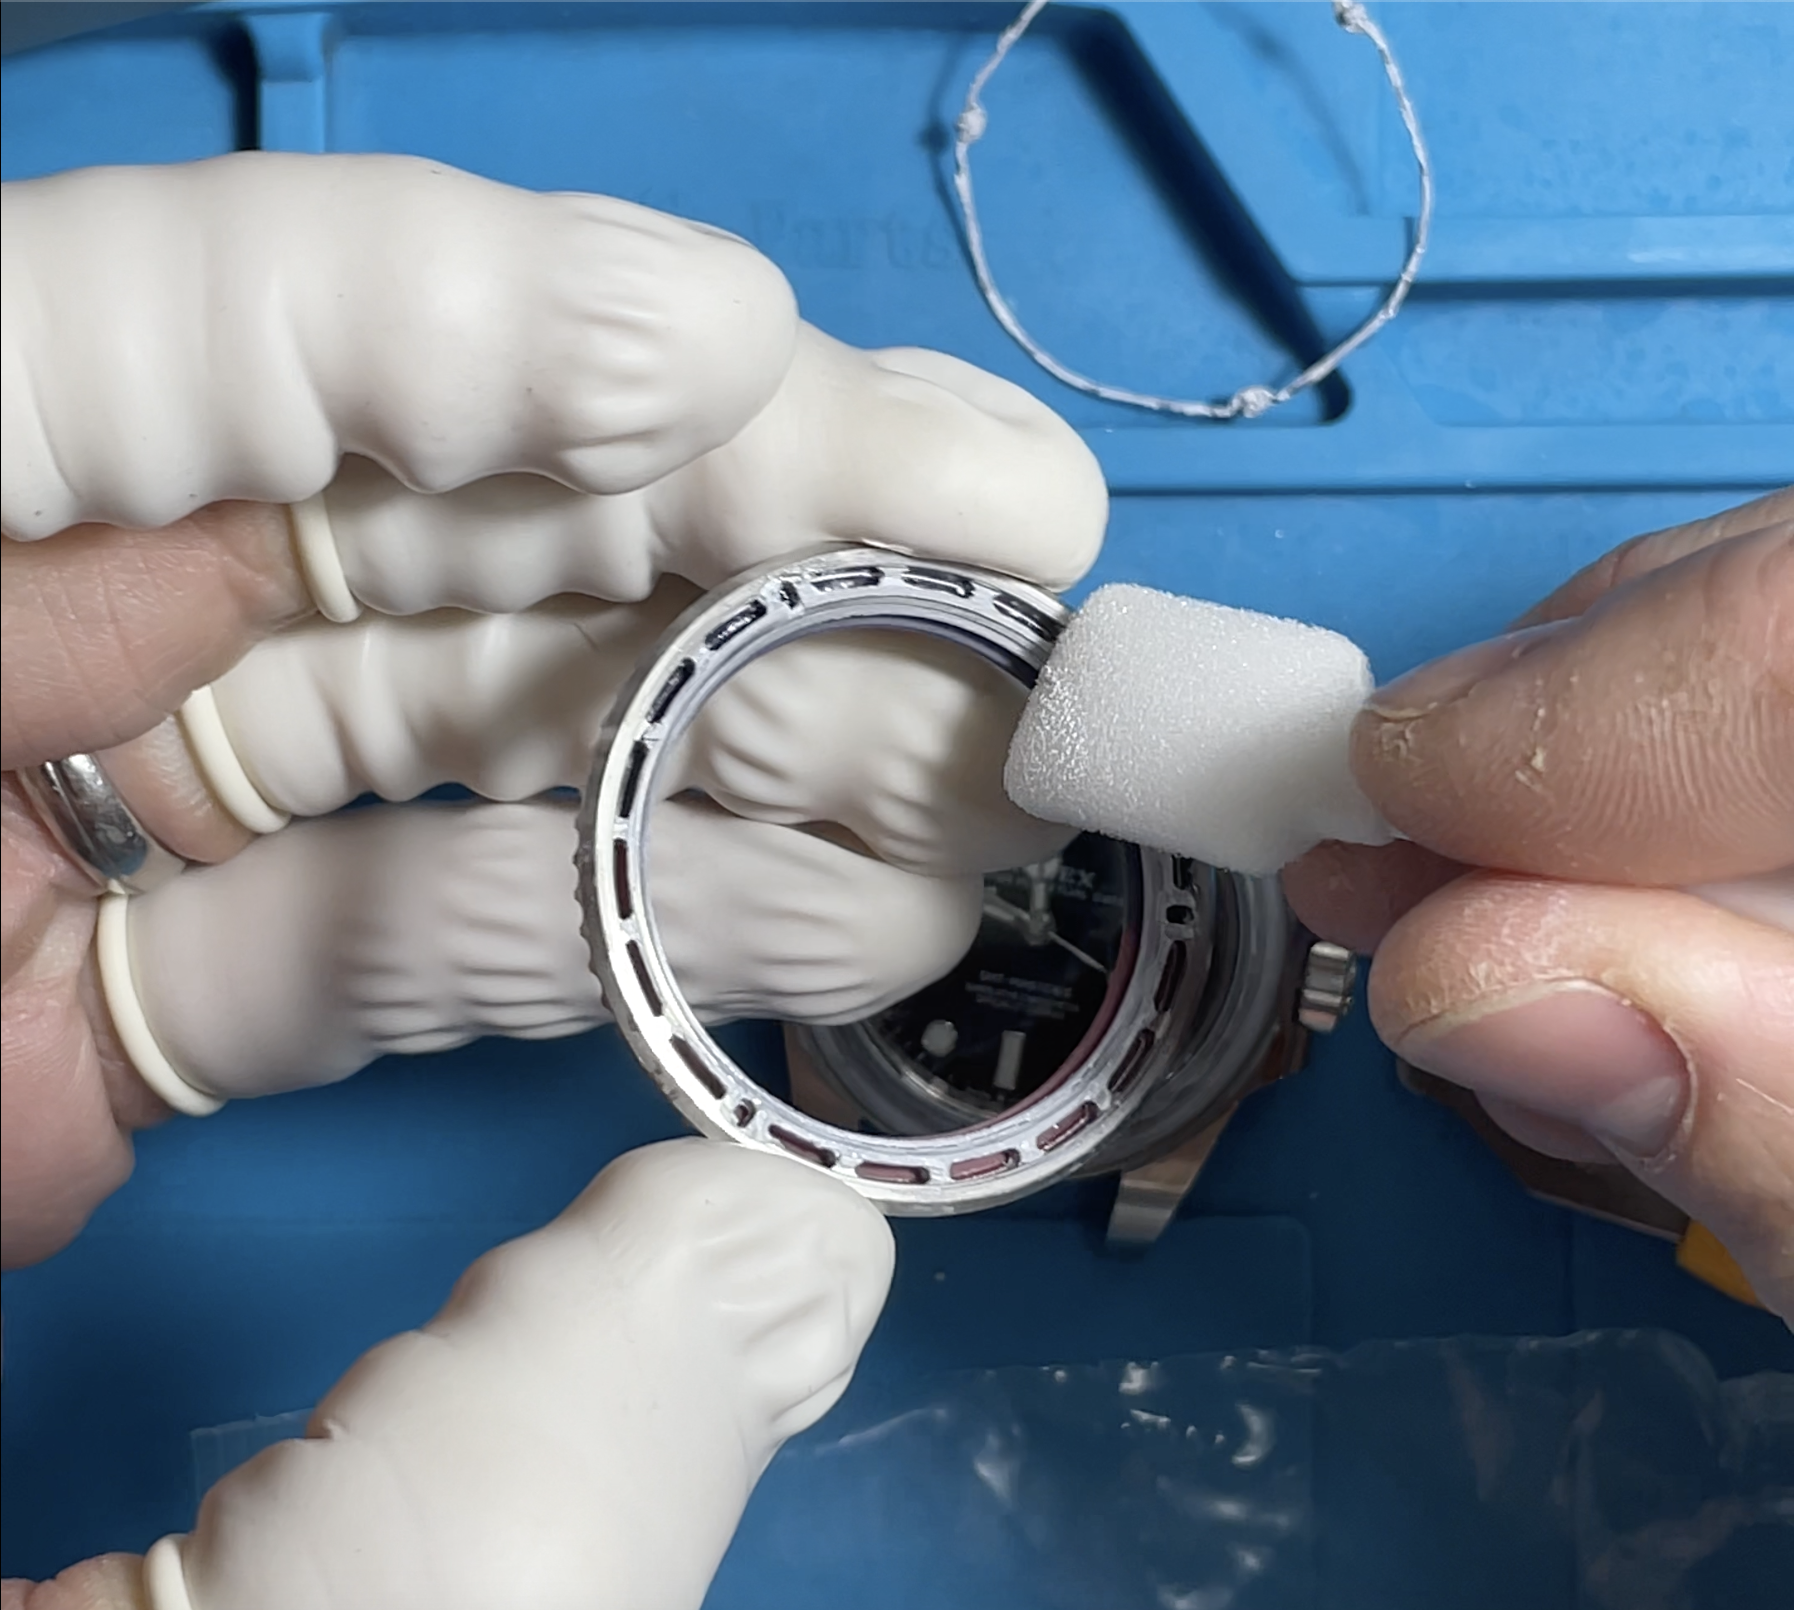
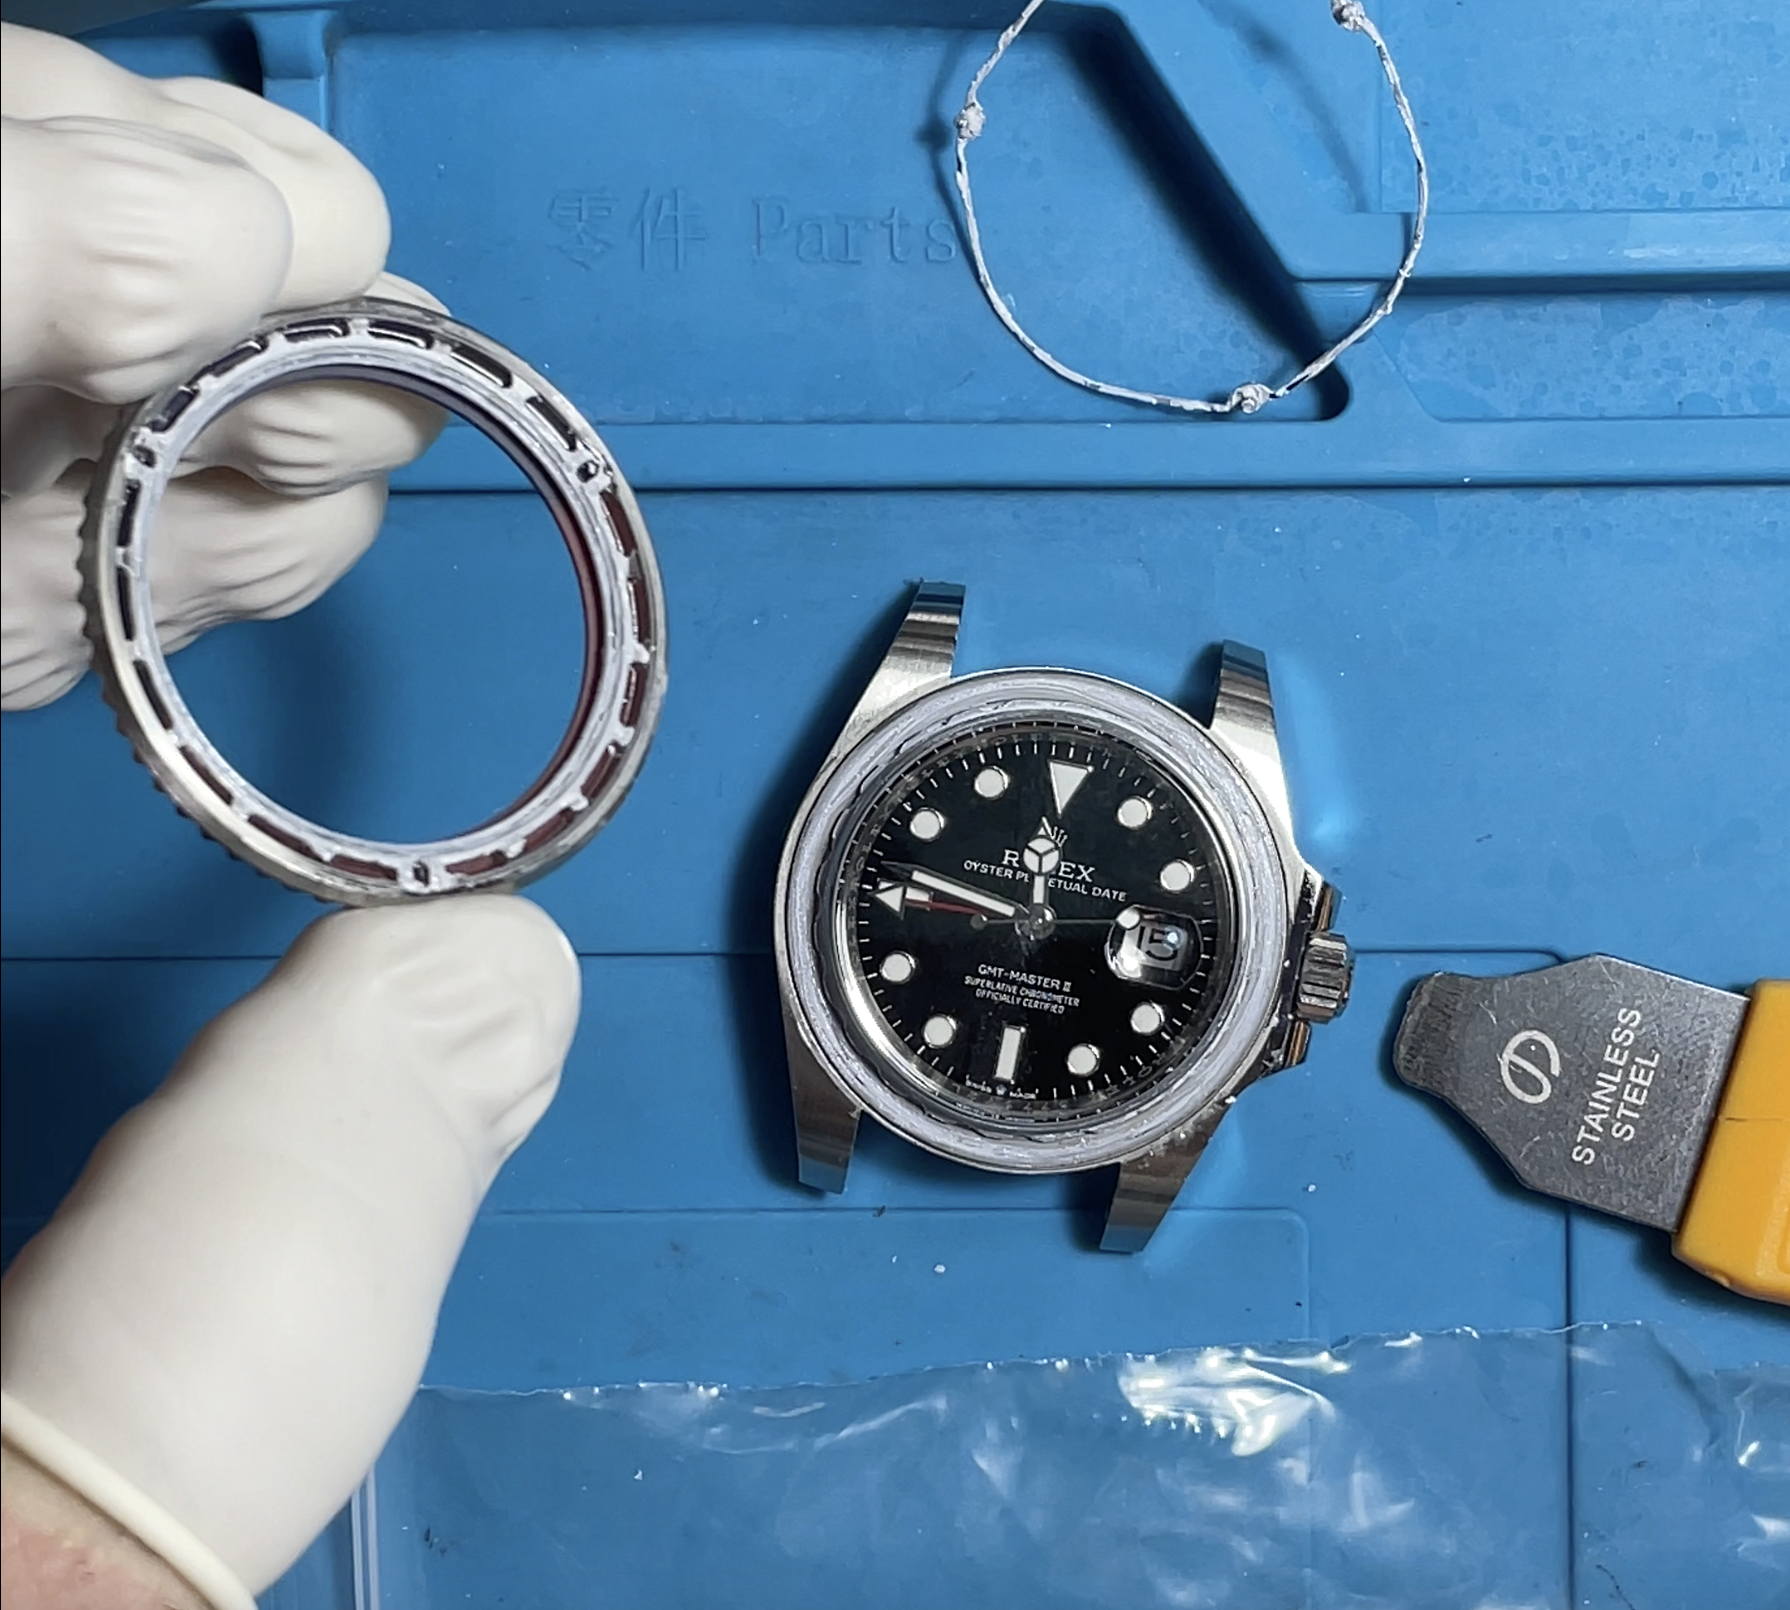
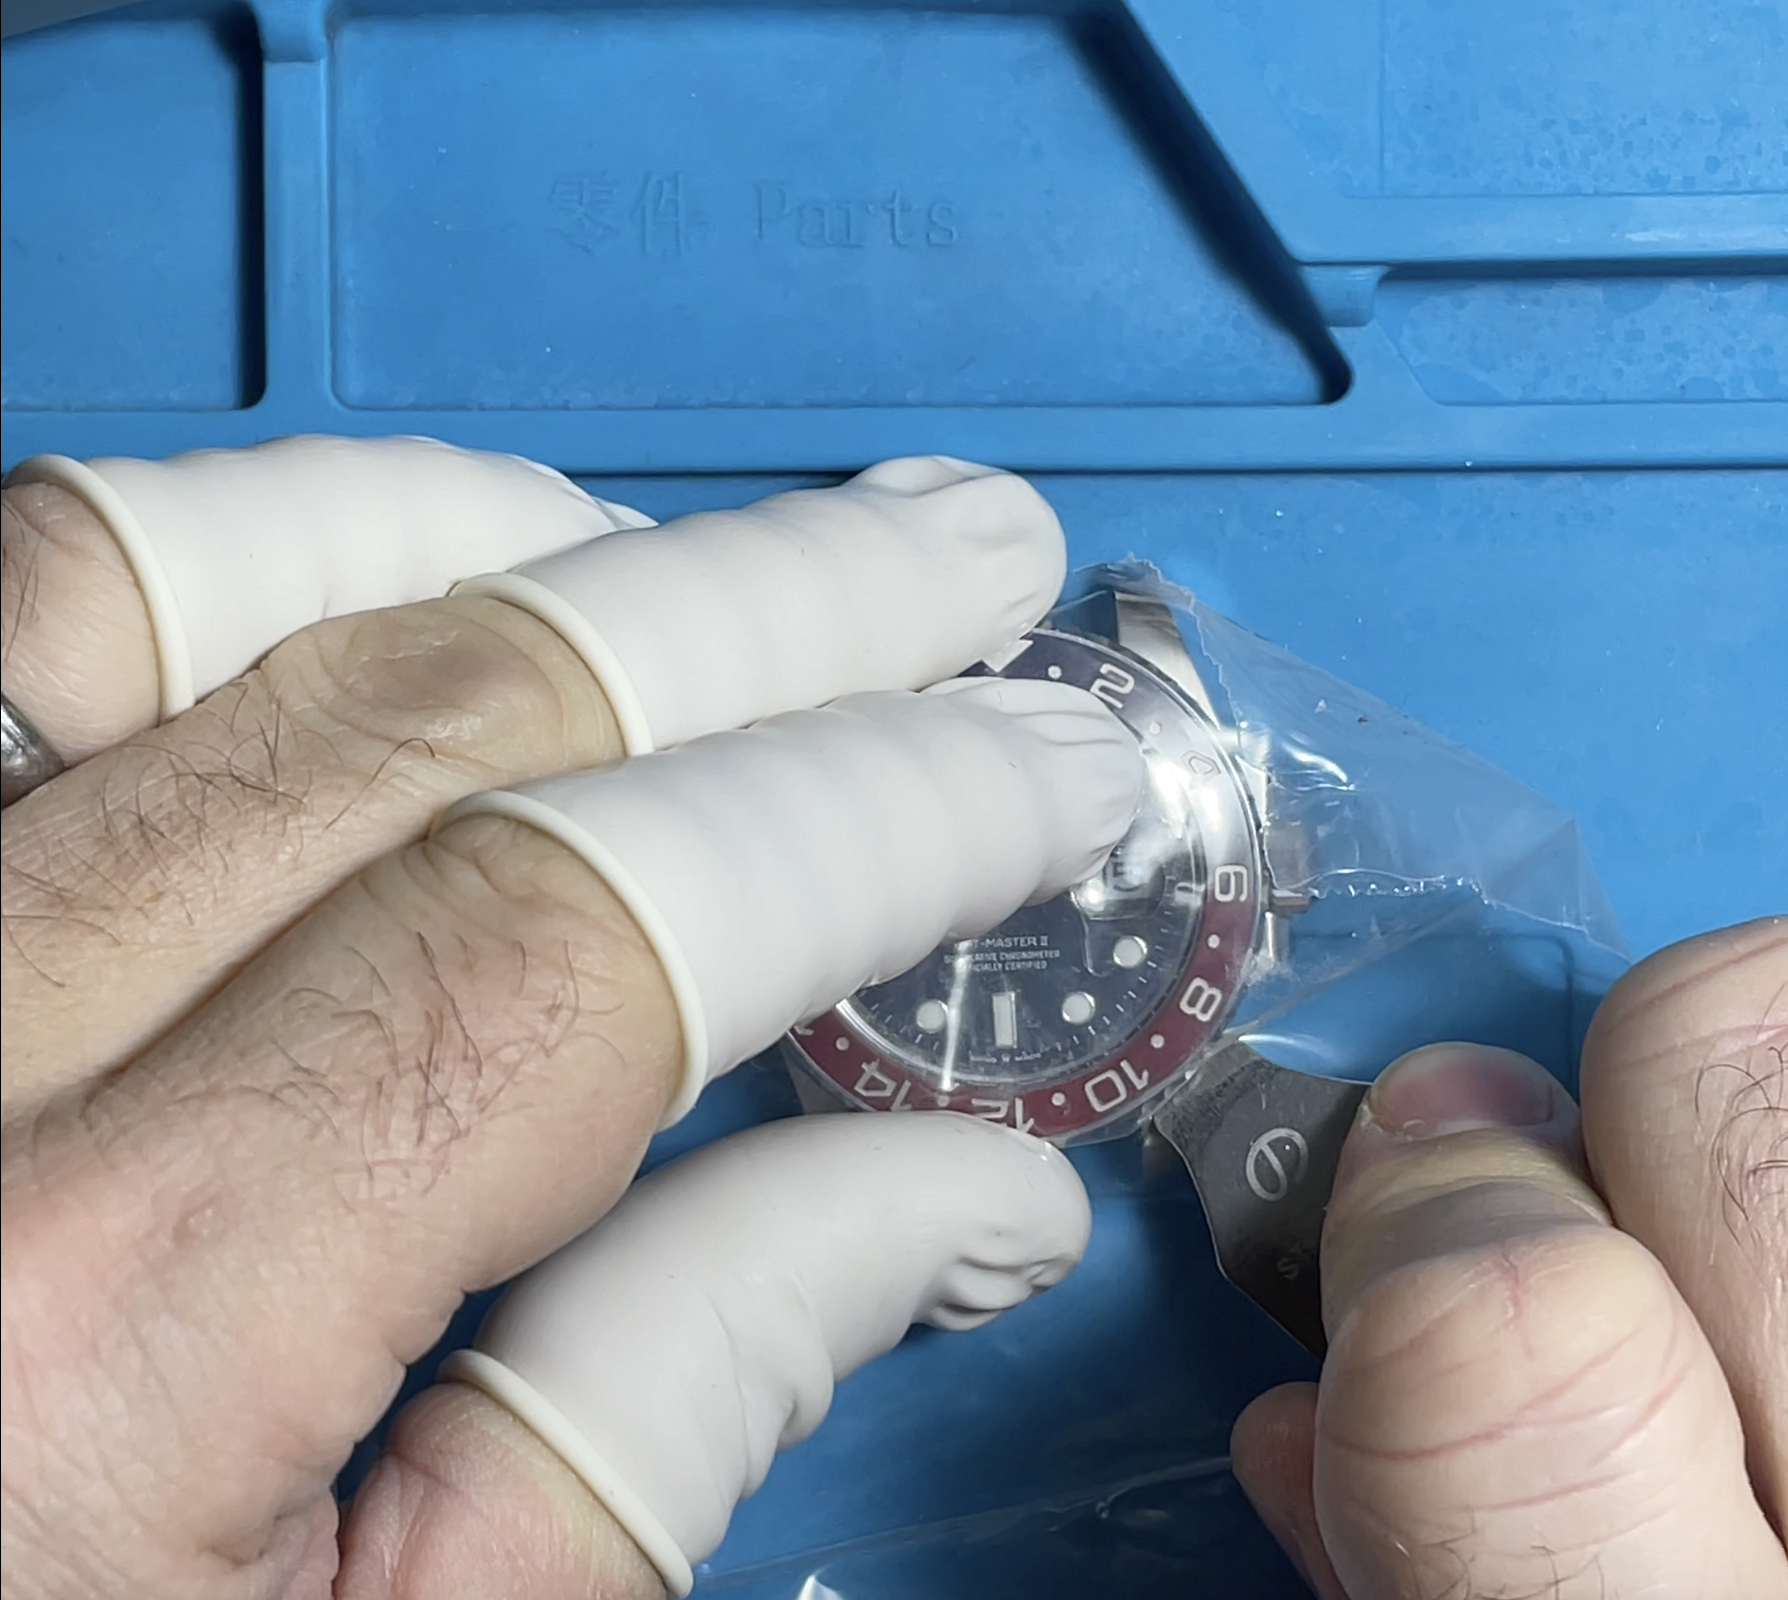
Update 26.2.2025, more pictures from the work:
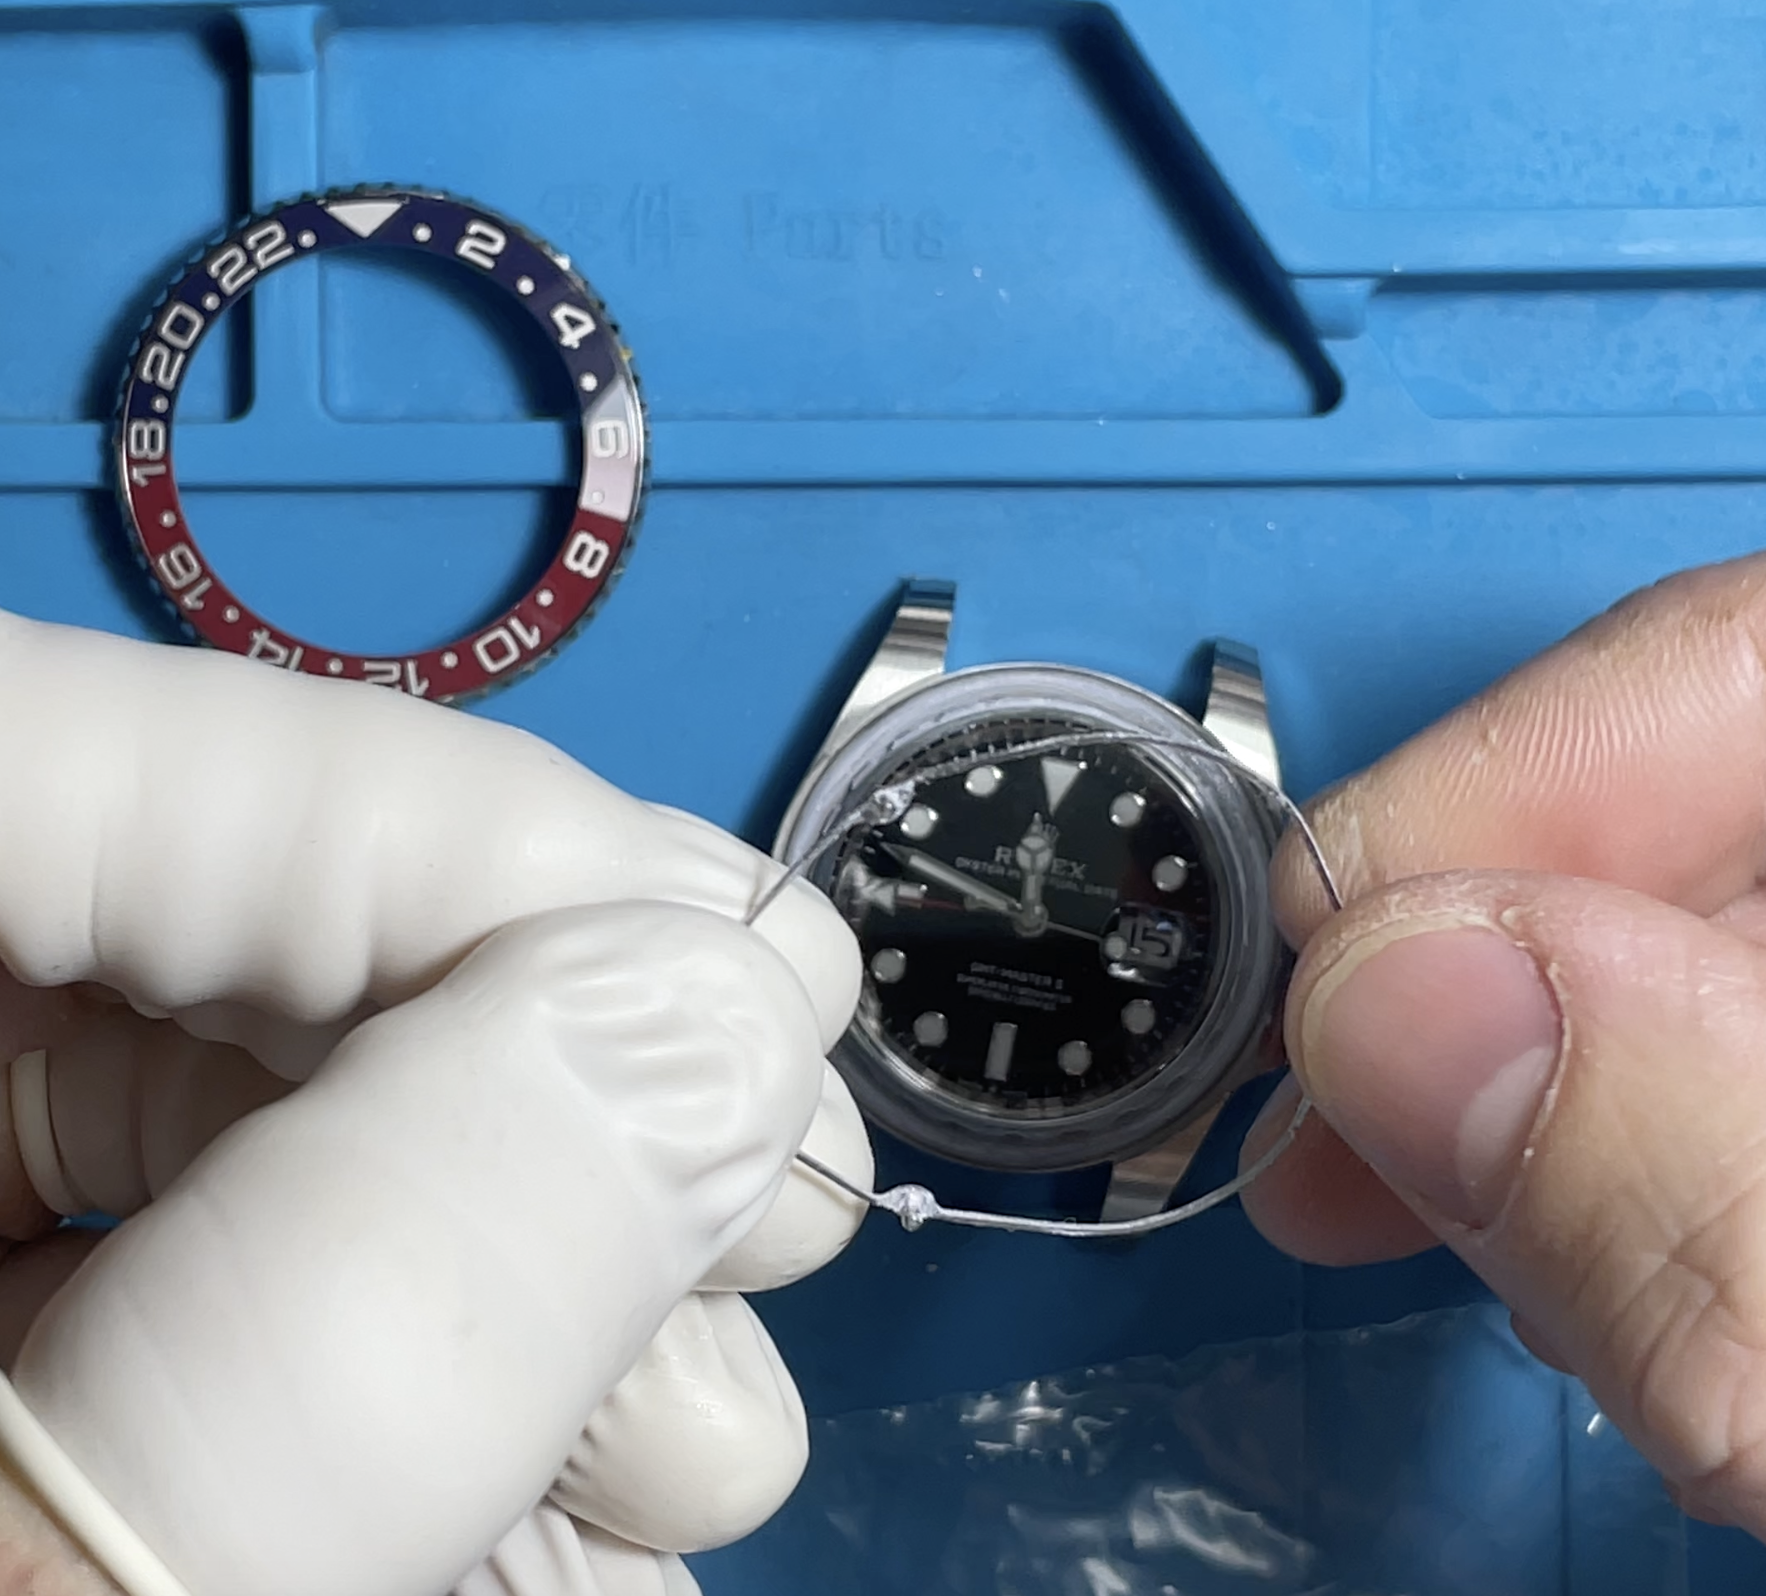
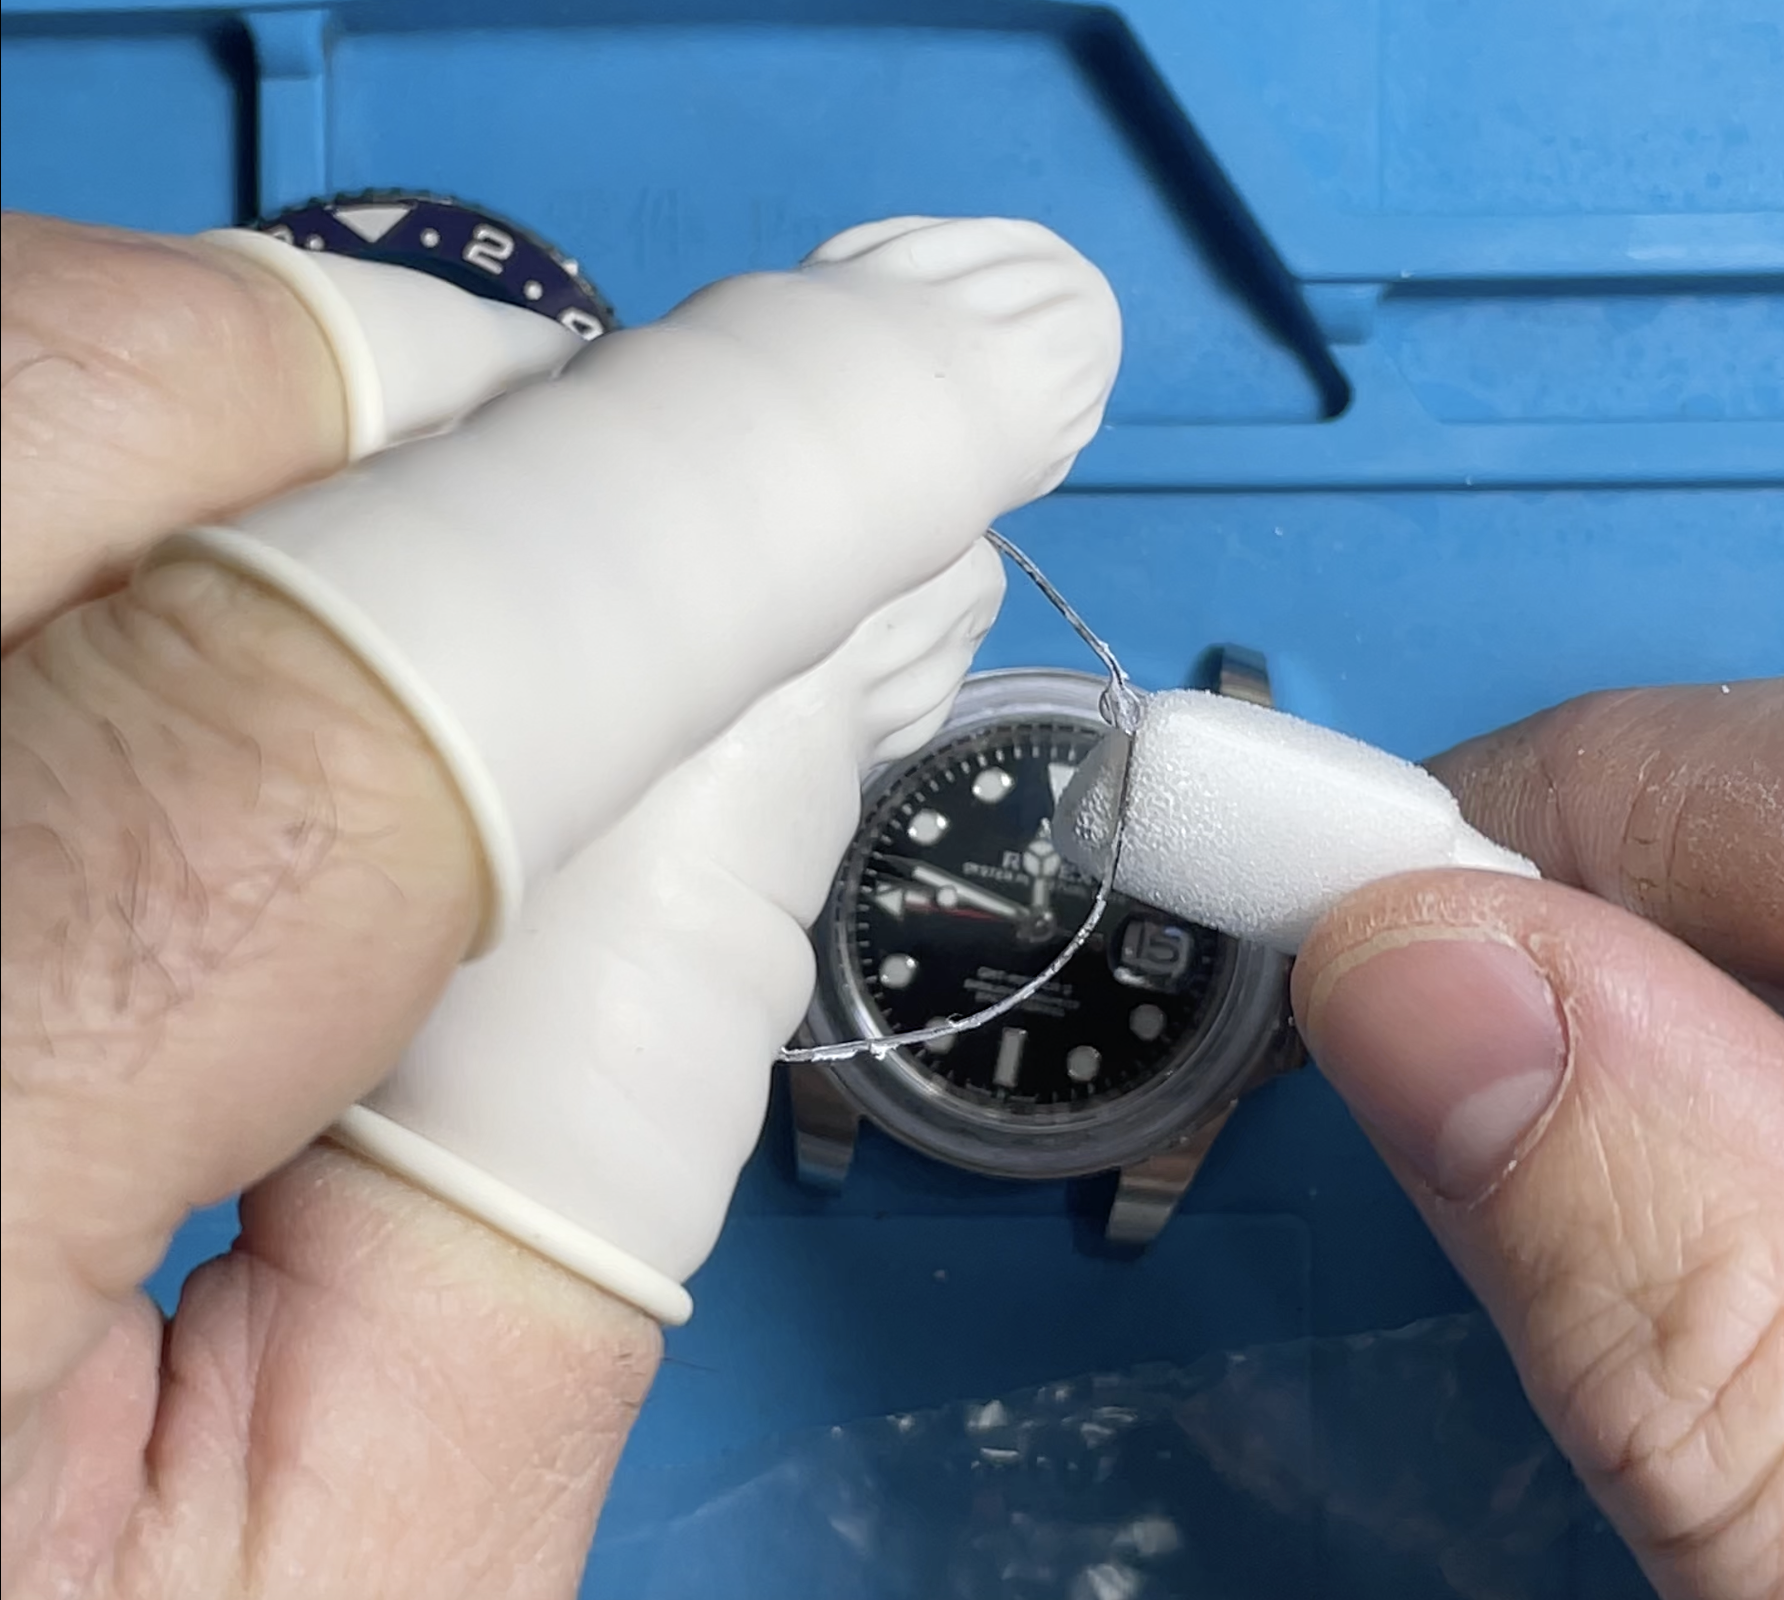
Here is a video of the end result:
// Update 26.2.2025 more pictures // 7.3. Video
Those who follow me a little know that I do reviews from time to time or that I take photos of a build from time to time.
This time it's different and I still hope that I can entertain some people here.
In the best case scenario, I can even help with your problem if you have the same.
I ordered a CLEAN Factory GMT Master 2 BLRO "Pepsi" knowing that the bezel is known for its poor construction.
I wanted to use this directly to get some practice
Image 1:
Of course you don't see that the bezel has backplay. This about 4-6mm, so already enormous. In addition, it can only be turned very softly without clicking the GEN (yes, non-Submariners also click - just different) and is not aligned with the triangle at 12 o'clock.

Image 2 and Image 3:
After removing the bezel you can see why it doesn't click: Clean just smeared the whole shit full of grease. What is also noticeable is that the spring is a little too big and made of rather soft material, hence the backplay: it is simply too flexible. They really smeared loads of that grease in there. The CLEAN structure only works like this - nothing turns at all without grease - unlike other factories such as ARF, where the entire structure fits in such a way that no grease is needed (as I been told).


Picture 4:
Here you can see the structure of the bezel after I have cleaned about 30-40% of the grease.

Picture 5 and 6:
As mentioned, the whole bezel was still misaligned, so I had to use a carpet knife to remove the inlay and remove the adhesive in order to put it back in correctly after installing the new spring.


Picture 7:
Here you can see 38mm adhesive rings for bezel inlays - thanks to Aliexpress

Picture 8:
Here you can see the two bezel springs: below the uncleaned CLEAN spring and above the GEN spring from Rolex.

Picture 9:
After removing 30-40% of the grease on the washer under the bezel, I clamped the GEN spring, which moves perfect and has no play / flex.

Picture 10:
I then pressed on the bezel and glued in the bezel inlay using an adhesive ring, here you can see the result.
It was fun and the result is stunning. Clicks like GEN, and I was able to practice building the case a little right away.
I hope you had fun with the pictures

Lot of greetings from Switzerland
Updated Part 2 1. May 2024 (NO GEN PARTS NEEDED, NO SPARE PARTS NEEDED)
So for those who dont want to spend the extra money on a genuine spring for 100-150 USD I can give you an update how i fix the bezel problem These days when I am working on a CF. Last I did was a V3, where IMO the Washer was updated and the bezel sat straight on the case, perfect.
1. Pop off bezel carefully (so you can use the hyrtel ring a second time) and DEGREASE this whole mayonaise as usual
1.2. CTime would sell CF hyrtel rings as spare parts in case
2. add small spots of silicon crease in the scallops on the casering
3. pull the (stock) spring out betweet the 3 pins for some extra tension (no backplay anymore, more "crispyness").
4. check bezel inlay alignement and realign if needed
5. Put it all together and be happy
Picture of the most important point, part 3.

Update 26.2.2025, more pictures from the work:


Here is a video of the end result:
Last edited:

