Looks good man. You did it with the bezel on? Did you use a dremmel?
*edit* Just re-read. Seems you did get the bezel off. How was the action after you re-installed the bezel?*done edit*
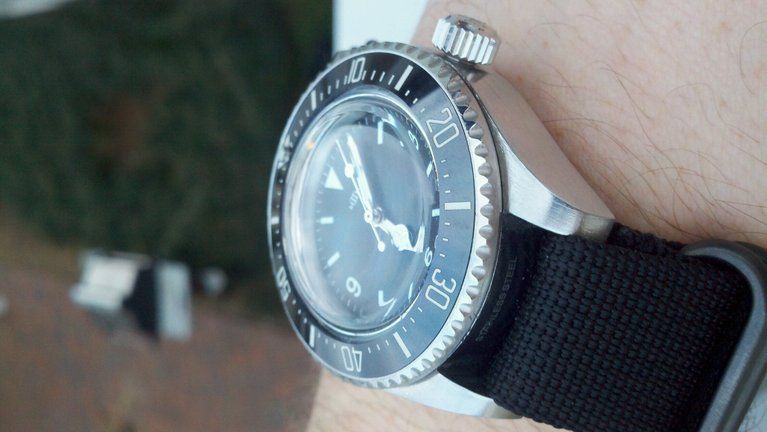
I might do another and i'd love to be able to leave the bezel on because the one I posted is now a friction only, bi-directional. Taking it off it got bent. I got it straight as possible but the stupid paper clip retainer was the biggest PITA to get straight and get mounted back on, it's like it was made out of the most flexible metal ever.
But if I do it again i'm leaving the bezel in place and using a dremel vs a file.
The way I did it, it's dangerous to leave the bezel on- way to much of a chance that it'll be damaged.
Dremel???? PFT! No Dremel used- too much work.
Here's the cast:
Perfect for slicing the CG's off at a right angle to the case. Chopping a little at a time works great. I installed a 10" metal blade on mine
and removed the guard- cause guards are for sissies....
Using a grinder with a fine grinding stone allows you to remove extra material with greater accuracy- just be careful to hold the case at
a right angle to the stone and use light, smooth strokes checking frequently. I would have preferred to use a finer grinding stone but
this is the best I have at the moment. I'll be taking a run over to Lowes for a better one, and one with less blood on it....
Note: Grinder is probably one of the worst ways to get a decent rough finish job done. As Ruprekt pointed out below, the disc sander
is the best way to go. This is what happens when you're in too much of a hurry to do something I suppose....
Then move to 120 grit and work up to finer grits to even out your grinding. Don't worry if your grinding looks crappy (unless it's really
bad), you can get a great finish with a little bit of work. I used my muscular leg to put the sand paper on because it was just the
right resistance for sanding on. Pics of that available via pm. I worked up to 1500 grit before I decided I was bored and wanted to
go back to using a power tool...
Some notes about polishing wheels. Make sure you clean it before using to remove any teeny-tiny bits of metal that like to carve their
initials in your case. I use a manly flat screw driver that goes into the wheel while it spins. Teeny-tiny metal don't like that. Too bad.
I also have several different colored rouge sticks- don't ask me which ones or what they do, I forget. I actually need a color chart to
help me with that, which I don't have, so I play with one at a time to see which does what I want it to. Then I put them in order, which
only lasts as long as it takes me to push them aside for some other project- then I start arranging all over.
Wipe down with a t-shirt, look at yourself in the metal and repeat polishing if needed. For a super polish, I go to my micro-cloth and use
Mother's Billet polish.
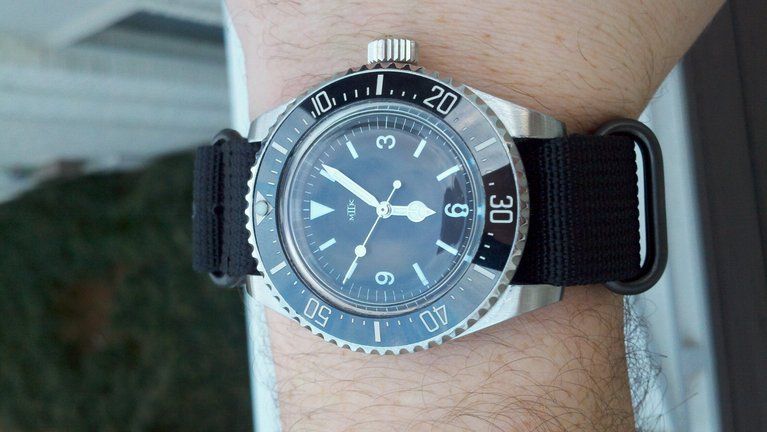
Again, I only spent less than 20 minutes working on this, so better results will come with more patience and attention to detail. Even
with the half-hearted effort, it still turned out well.


")