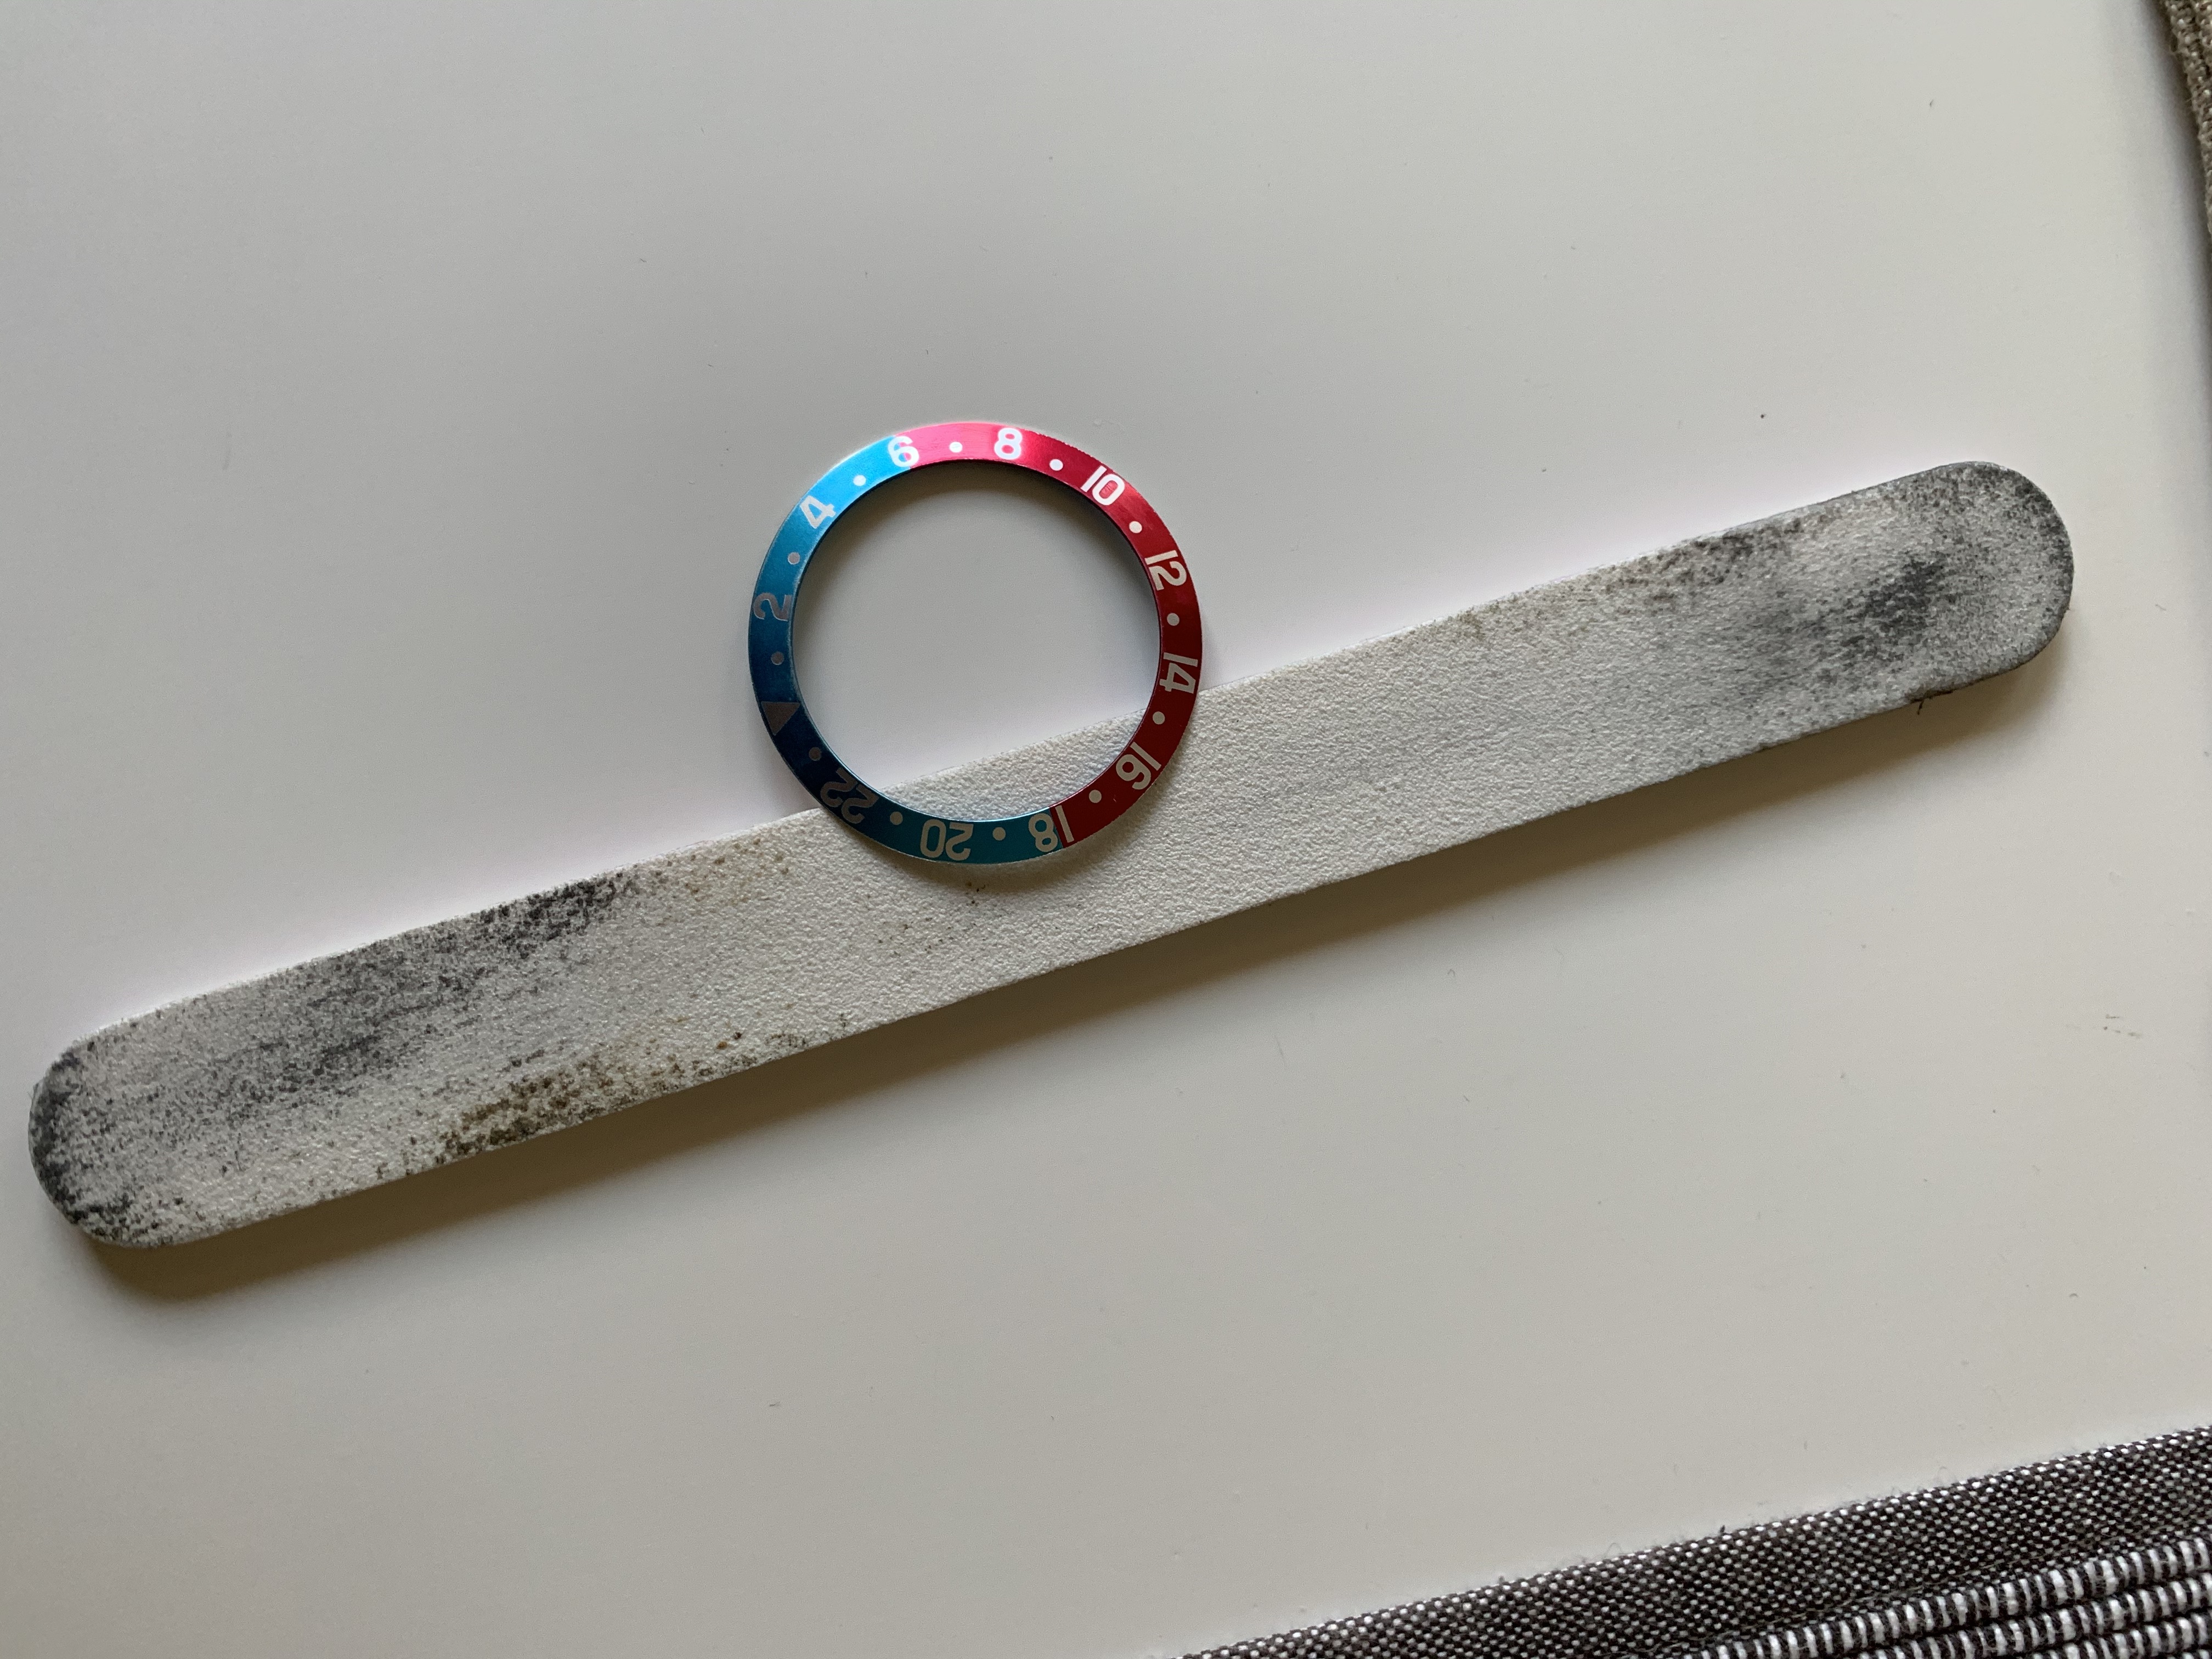
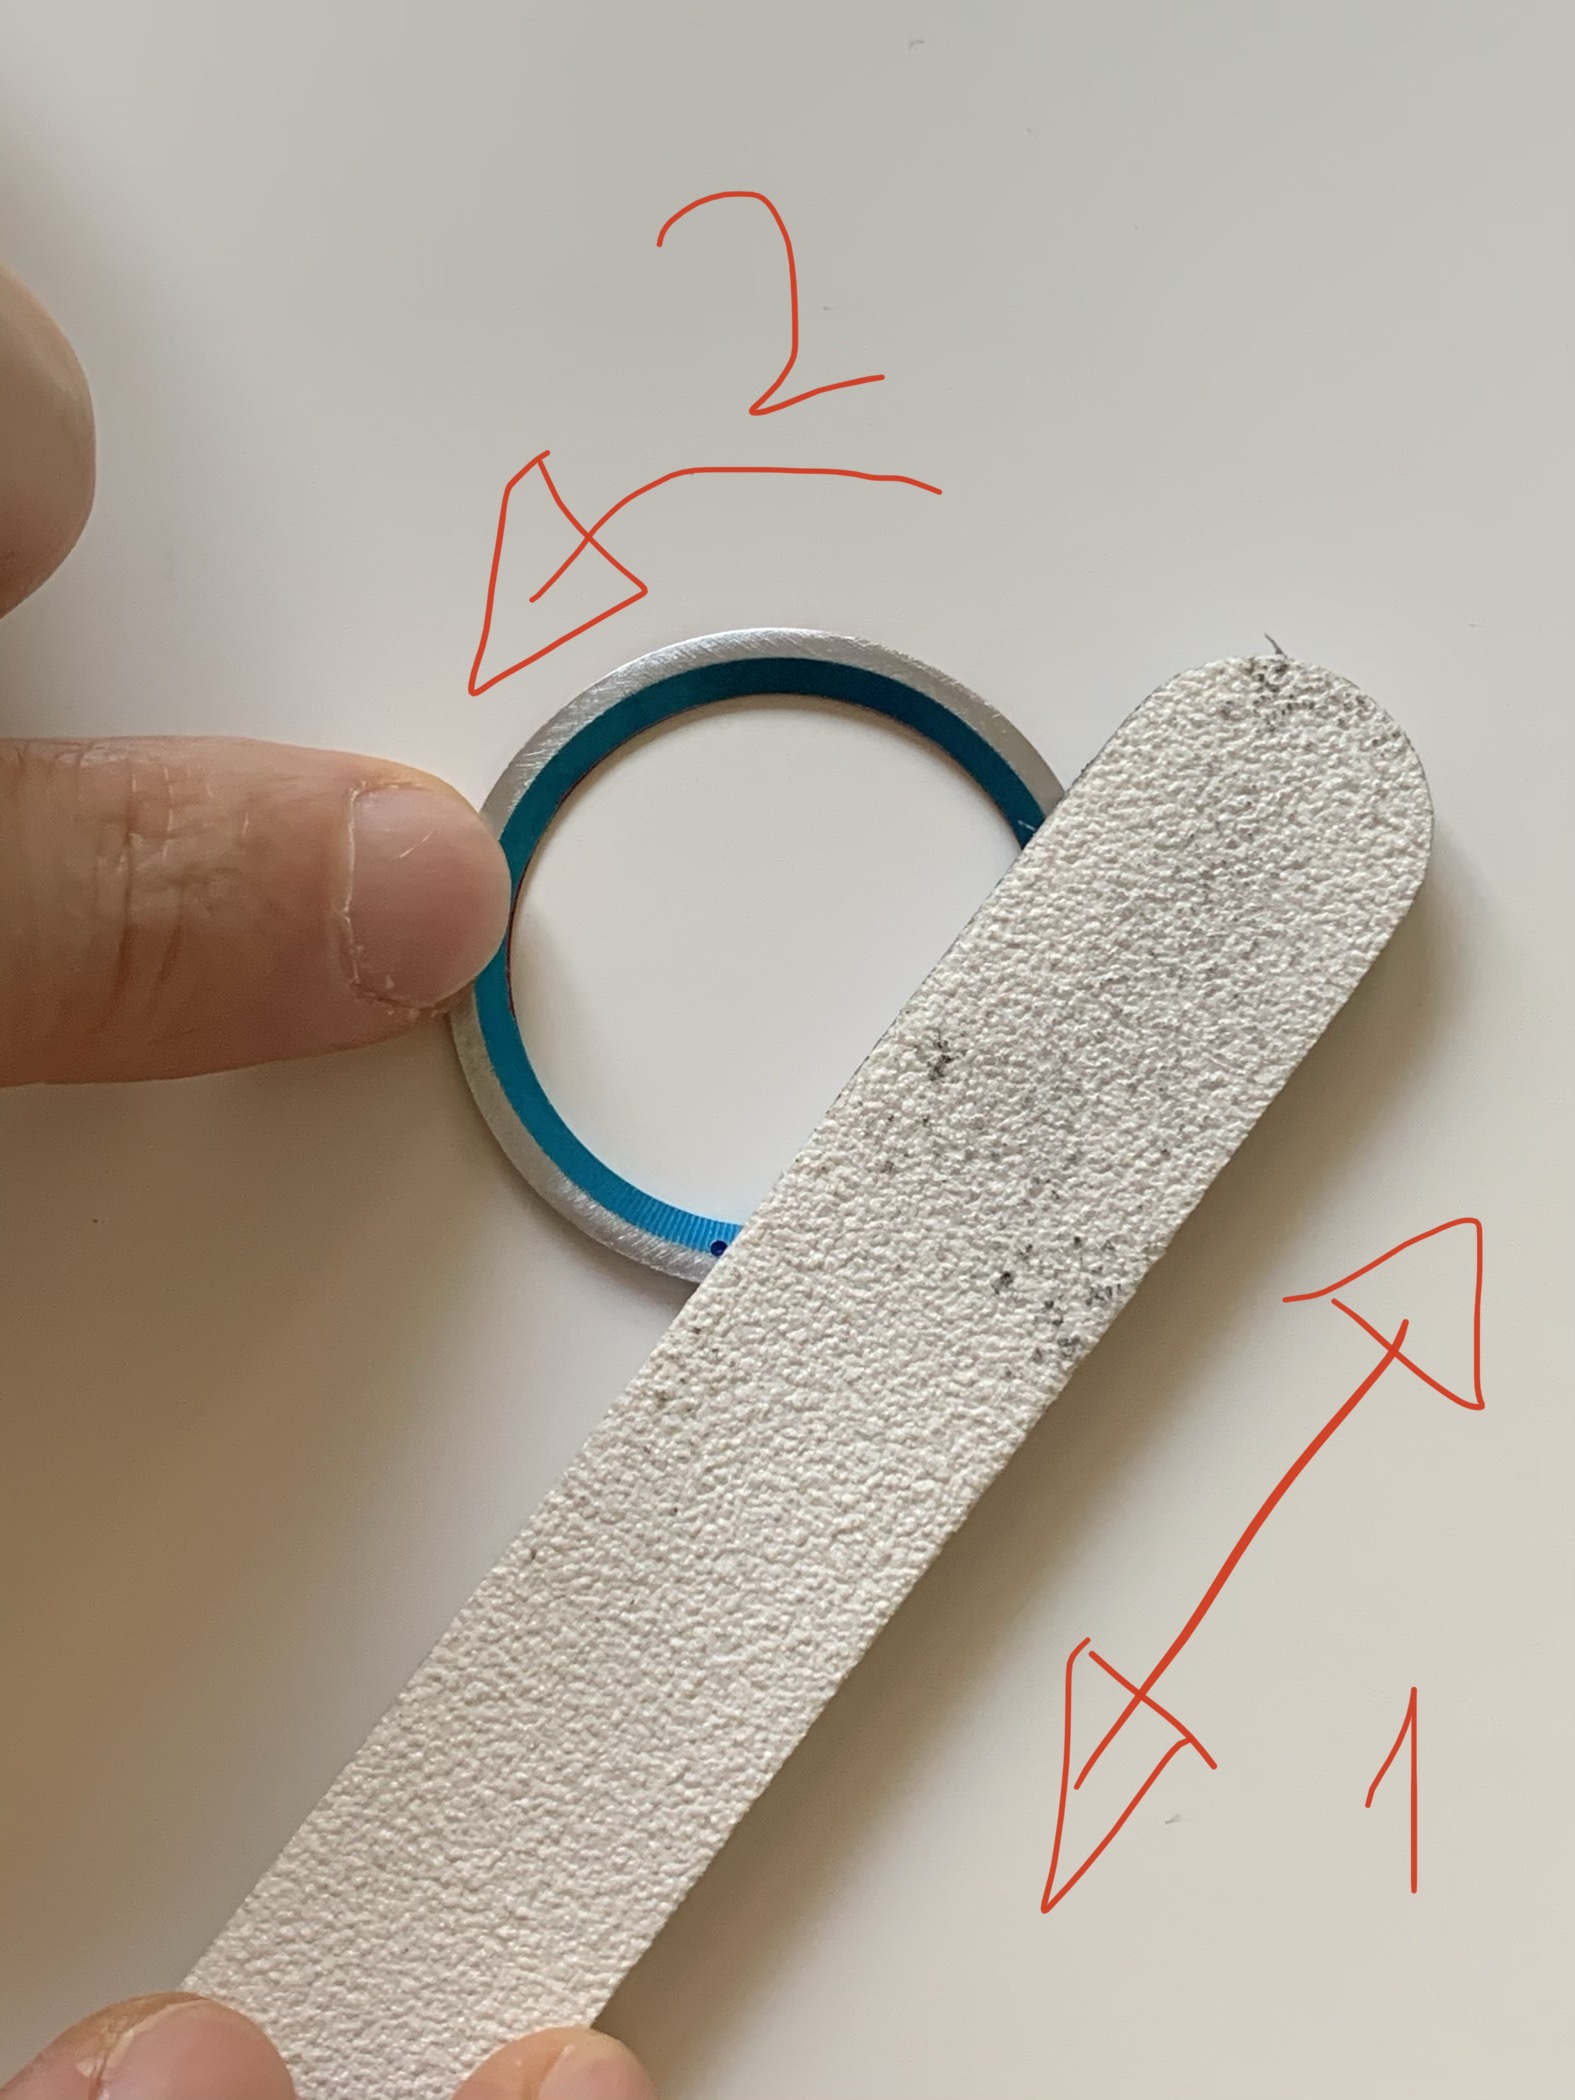
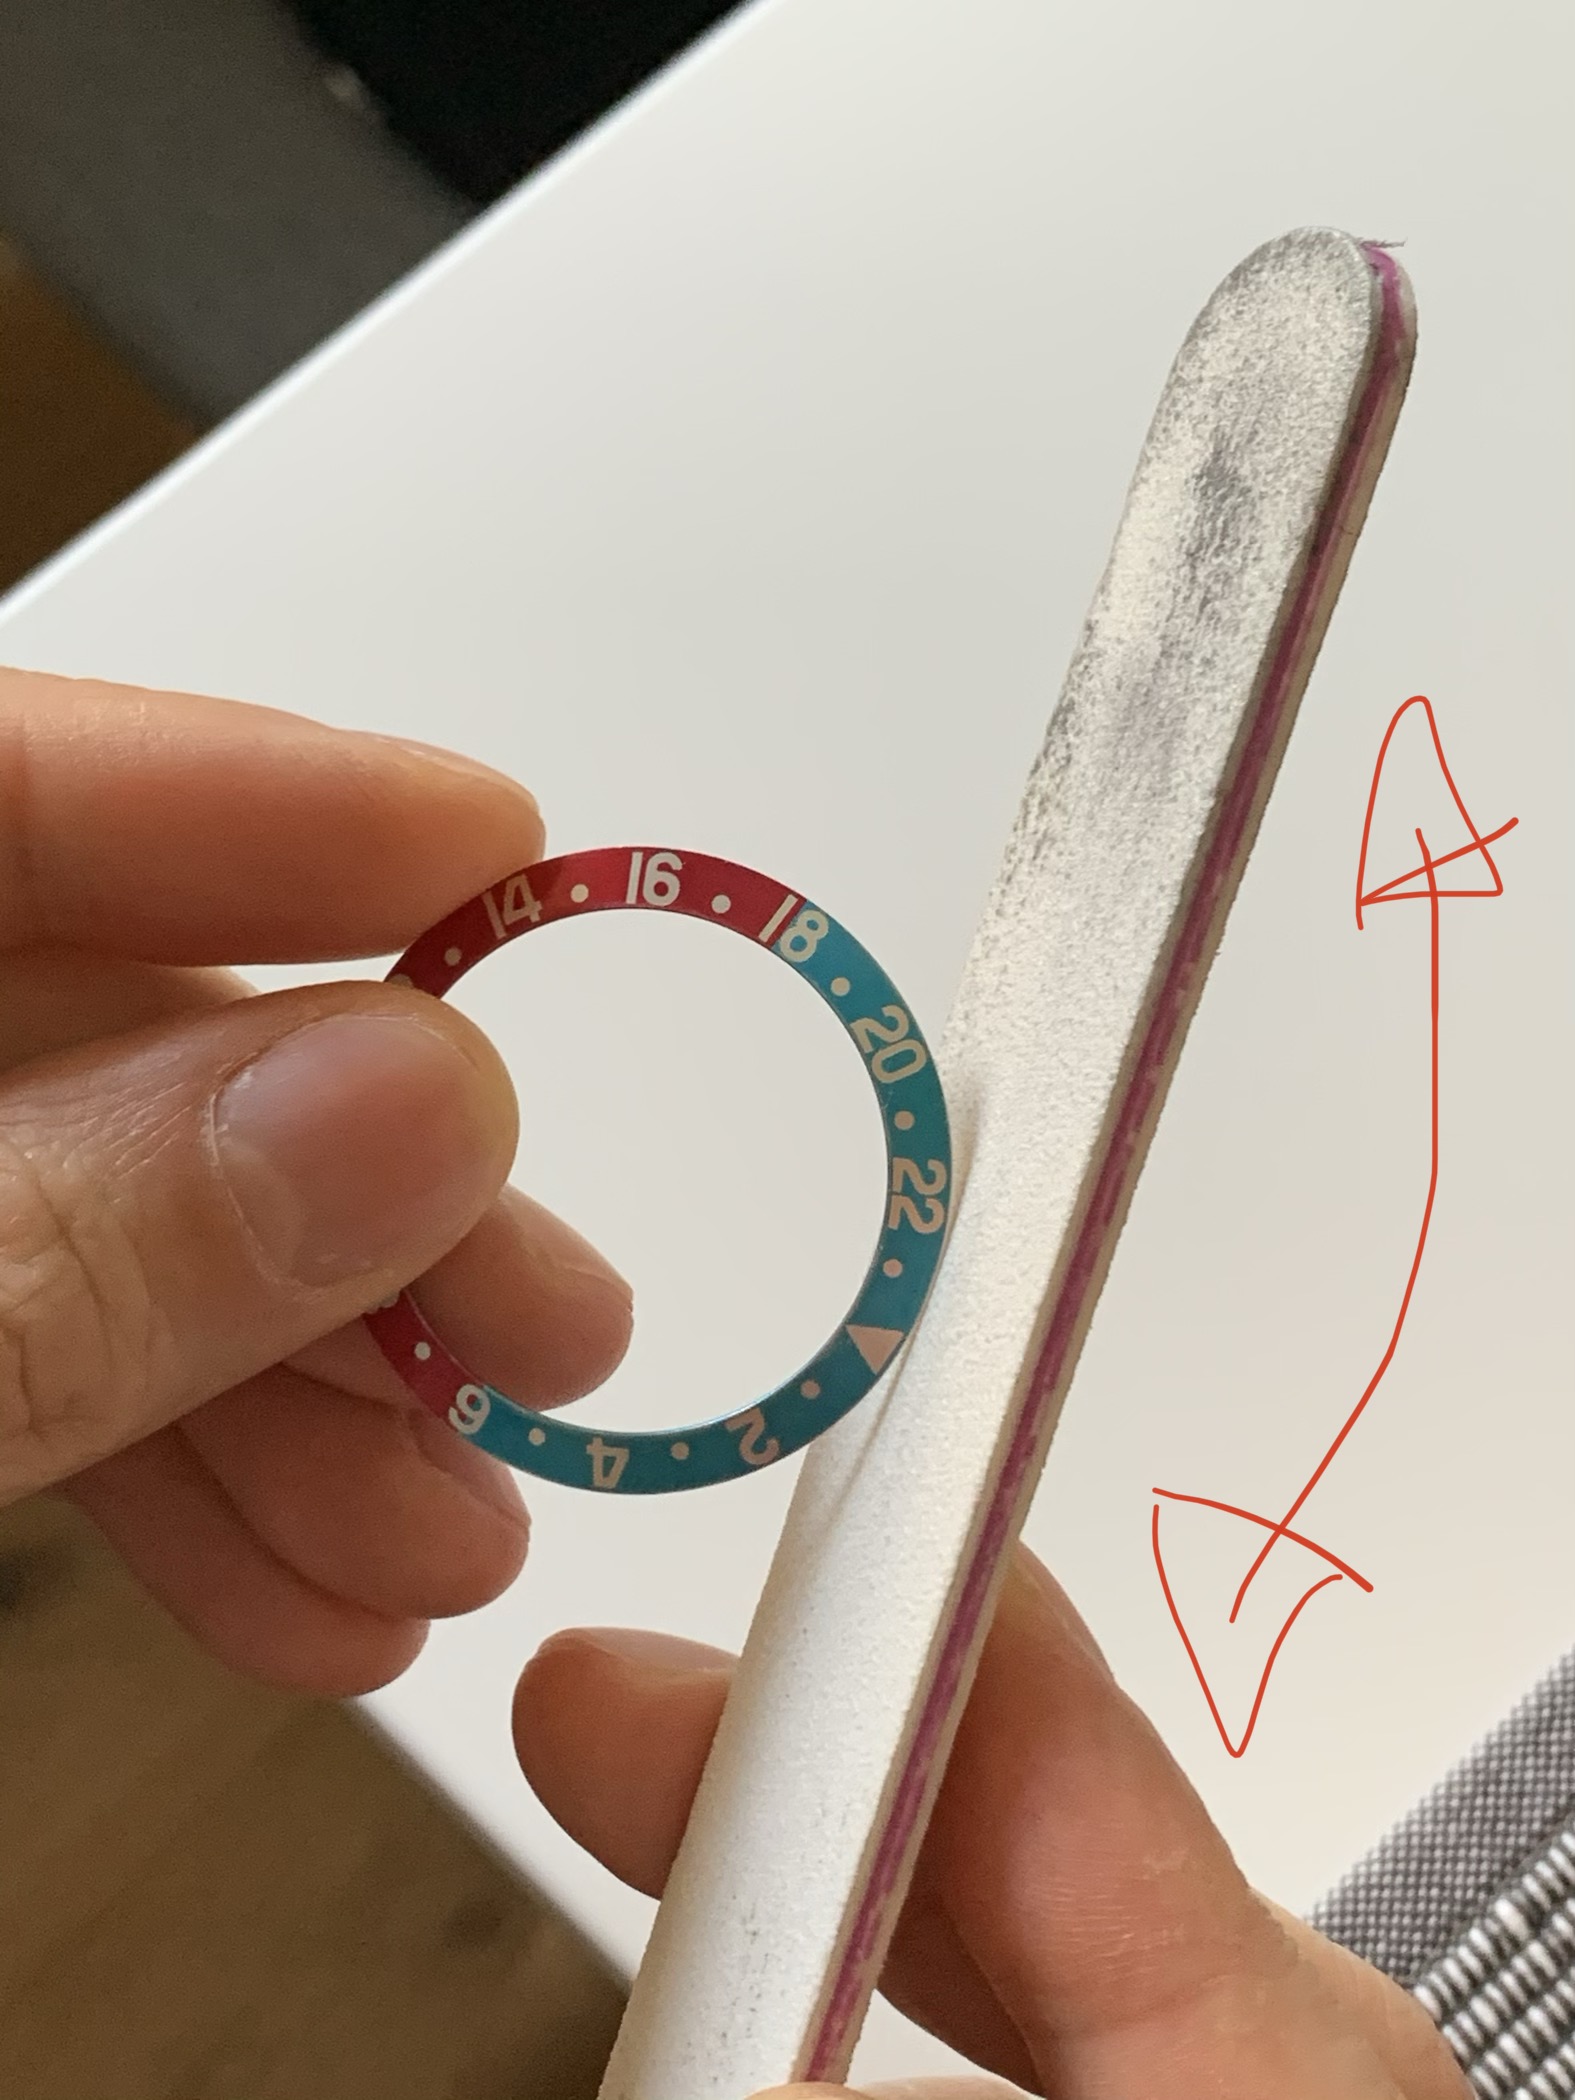
with what technique do you sand the insert?
by hand with sandpaper (what grain?) with the risk of having a not perfectly round insert.
or by positioning the insert on a dremel or a drill and turning it on a sandpaper with the risk of over-sanding the insert
if yes how to block the insert on the dremel ?
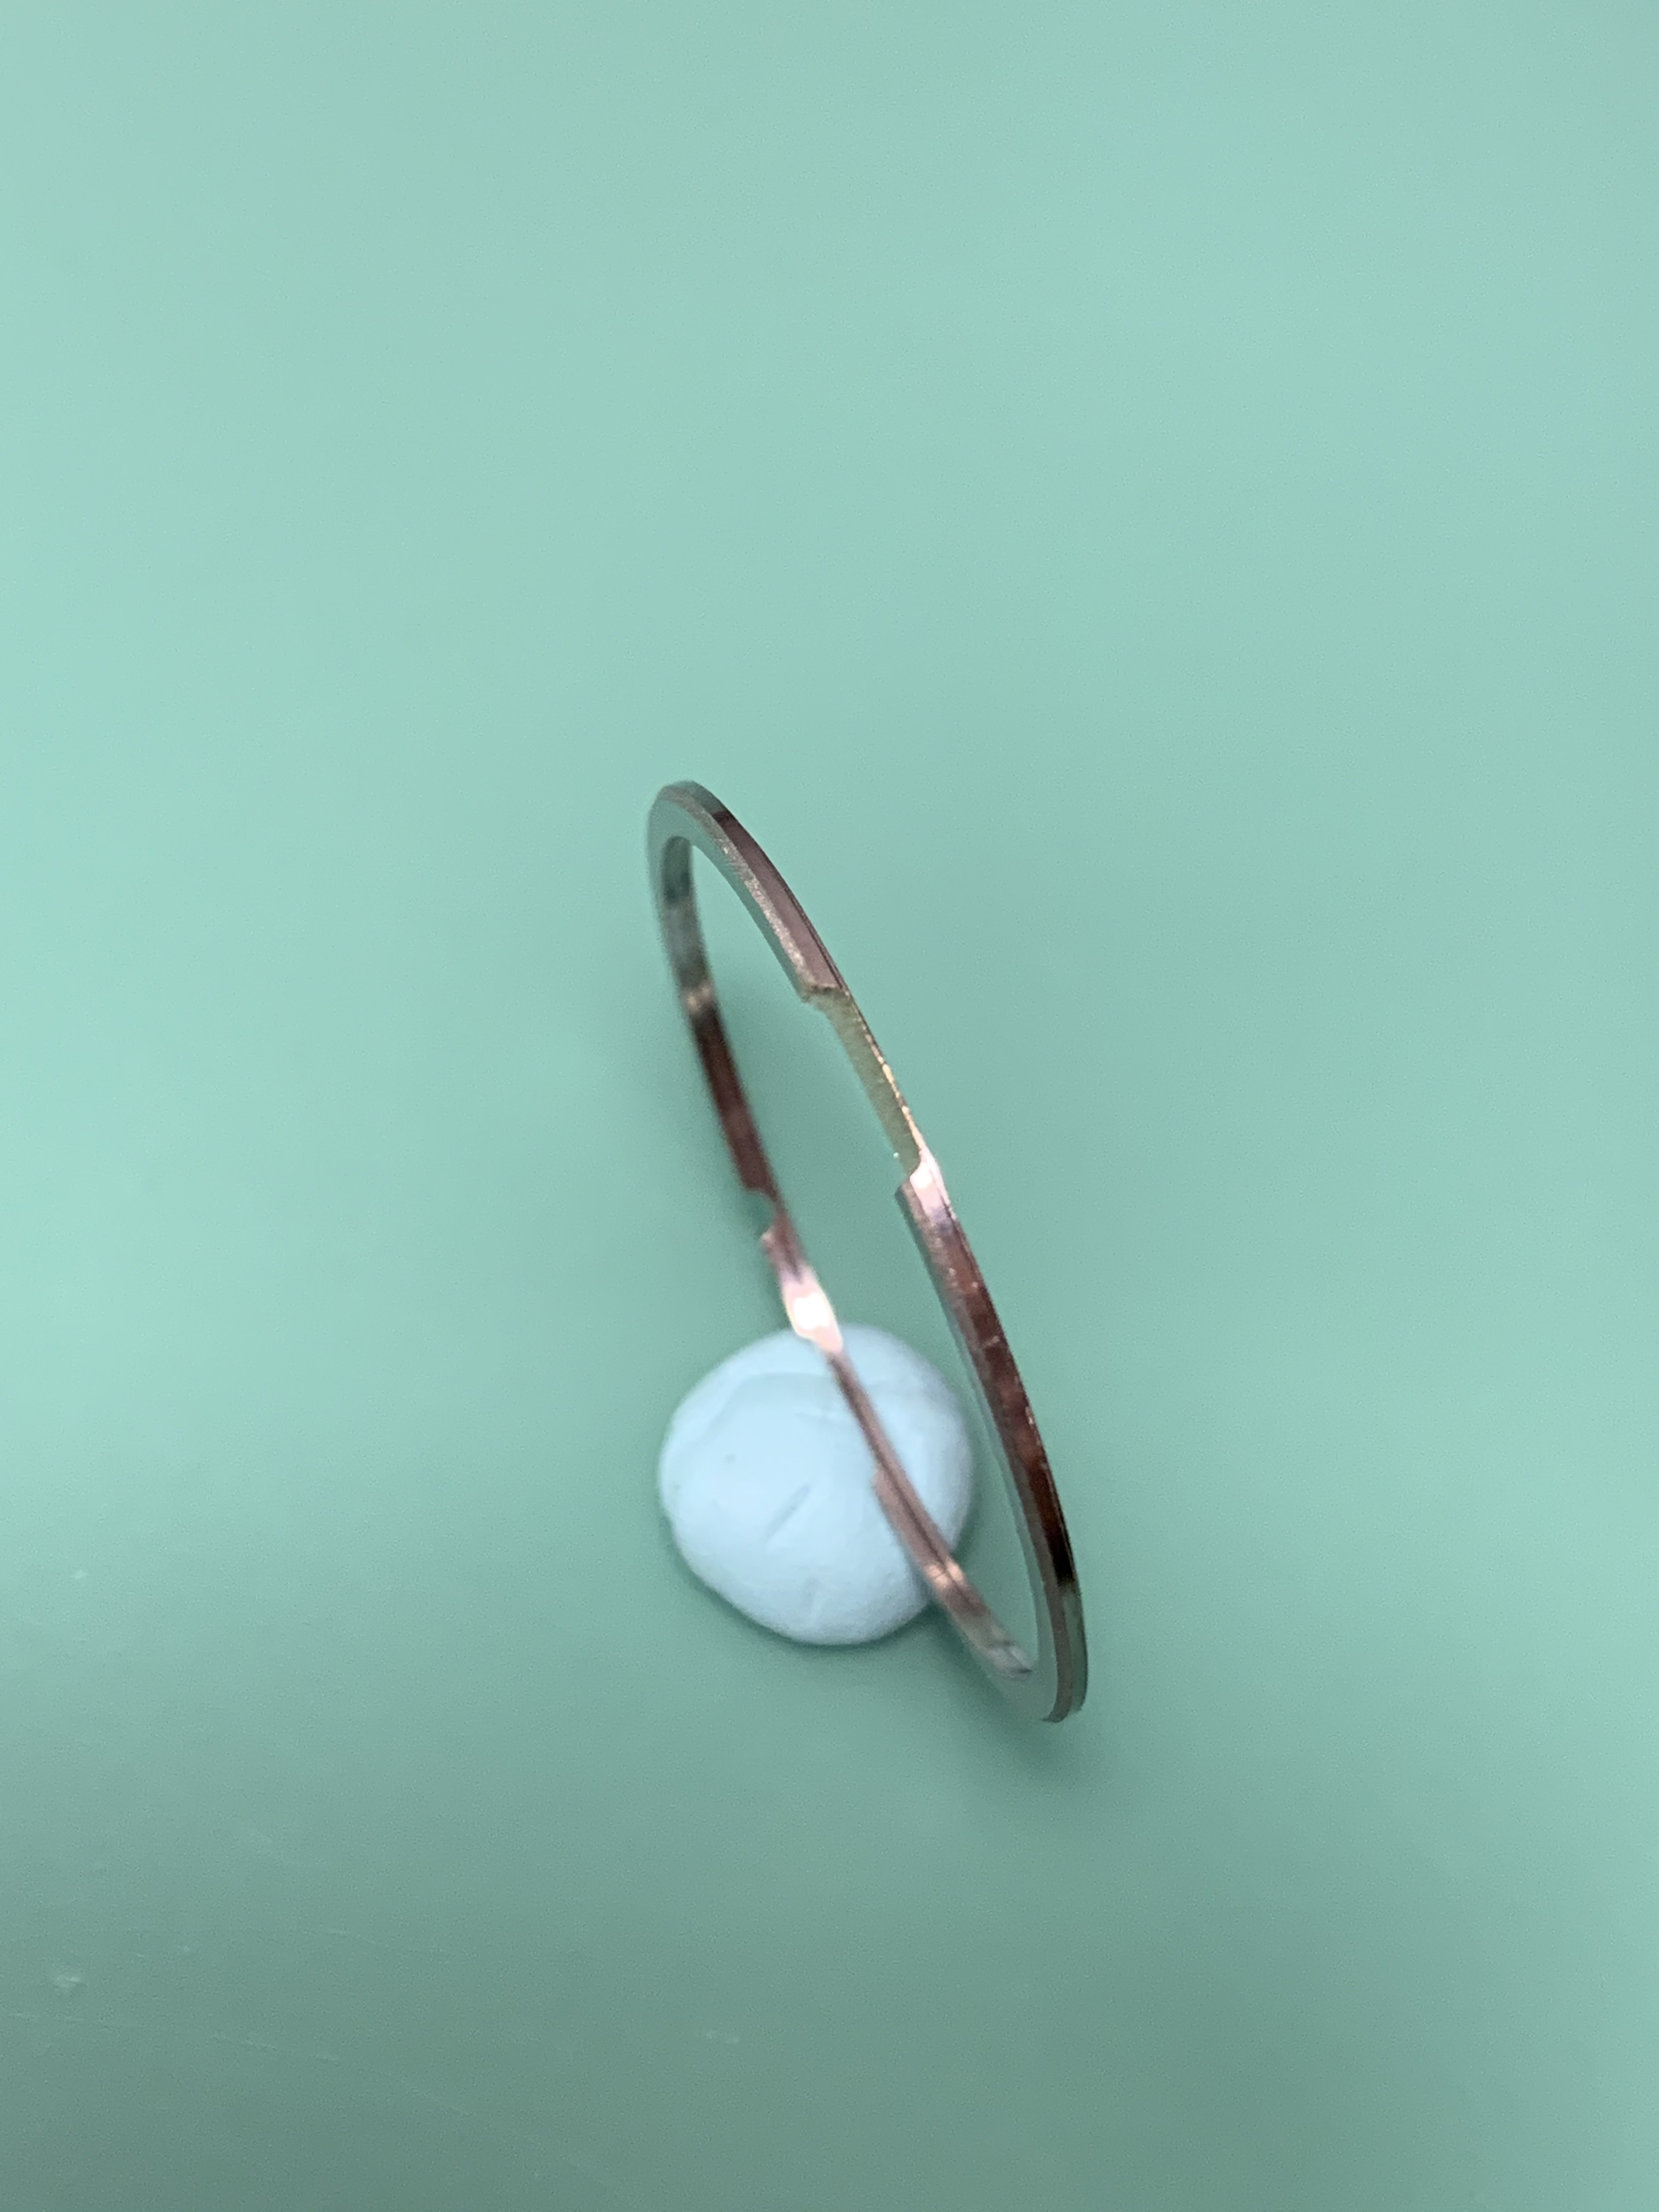
I have a milk insert to sand to fit in a milk bezel and I'm not sure which technique to use
I take all the advice
by hand with sandpaper (what grain?) with the risk of having a not perfectly round insert.
or by positioning the insert on a dremel or a drill and turning it on a sandpaper with the risk of over-sanding the insert
if yes how to block the insert on the dremel ?
I have a milk insert to sand to fit in a milk bezel and I'm not sure which technique to use
I take all the advice