-
Tired of adverts on RWI? - Subscribe by clicking HERE and PMing Trailboss for instructions and they will magically go away!
You are using an out of date browser. It may not display this or other websites correctly.
You should upgrade or use an alternative browser.
You should upgrade or use an alternative browser.
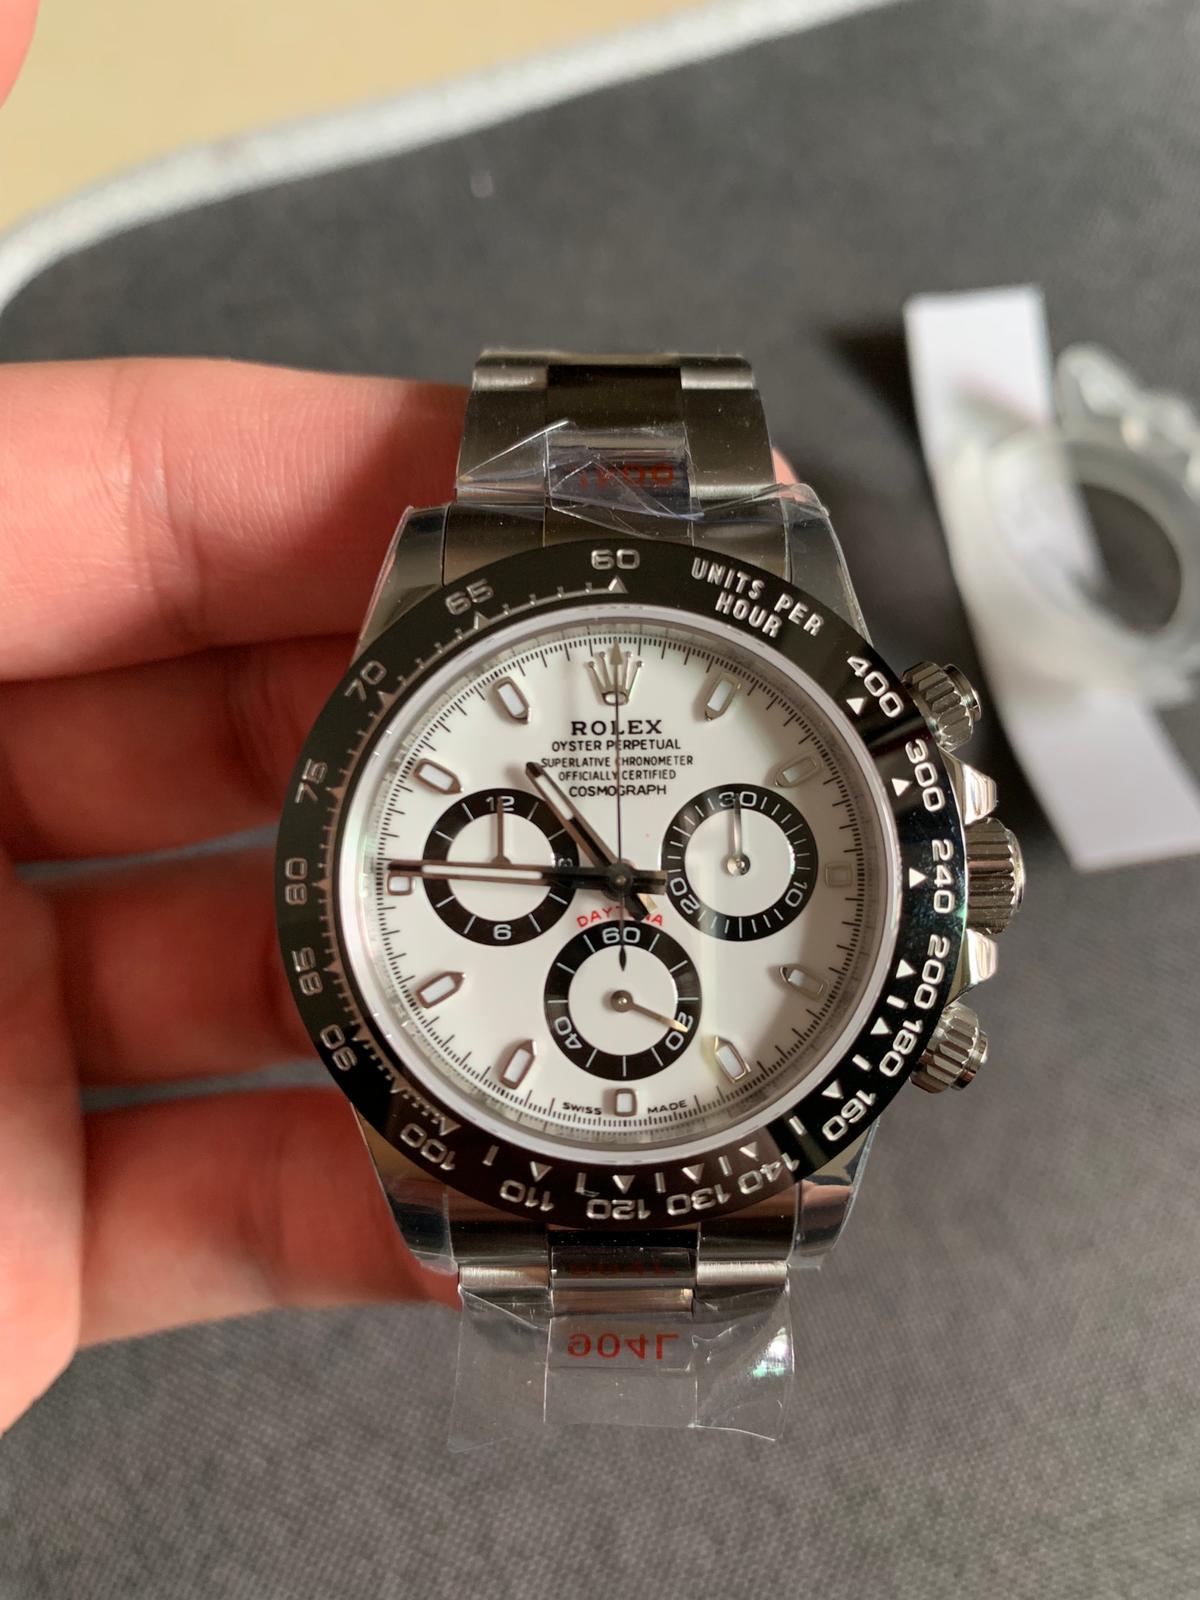
Noob V4 Daytona's
- Thread starter Fervid
- Start date
supposed video of v4:
https://youtu.be/f3HTUX7hoZg
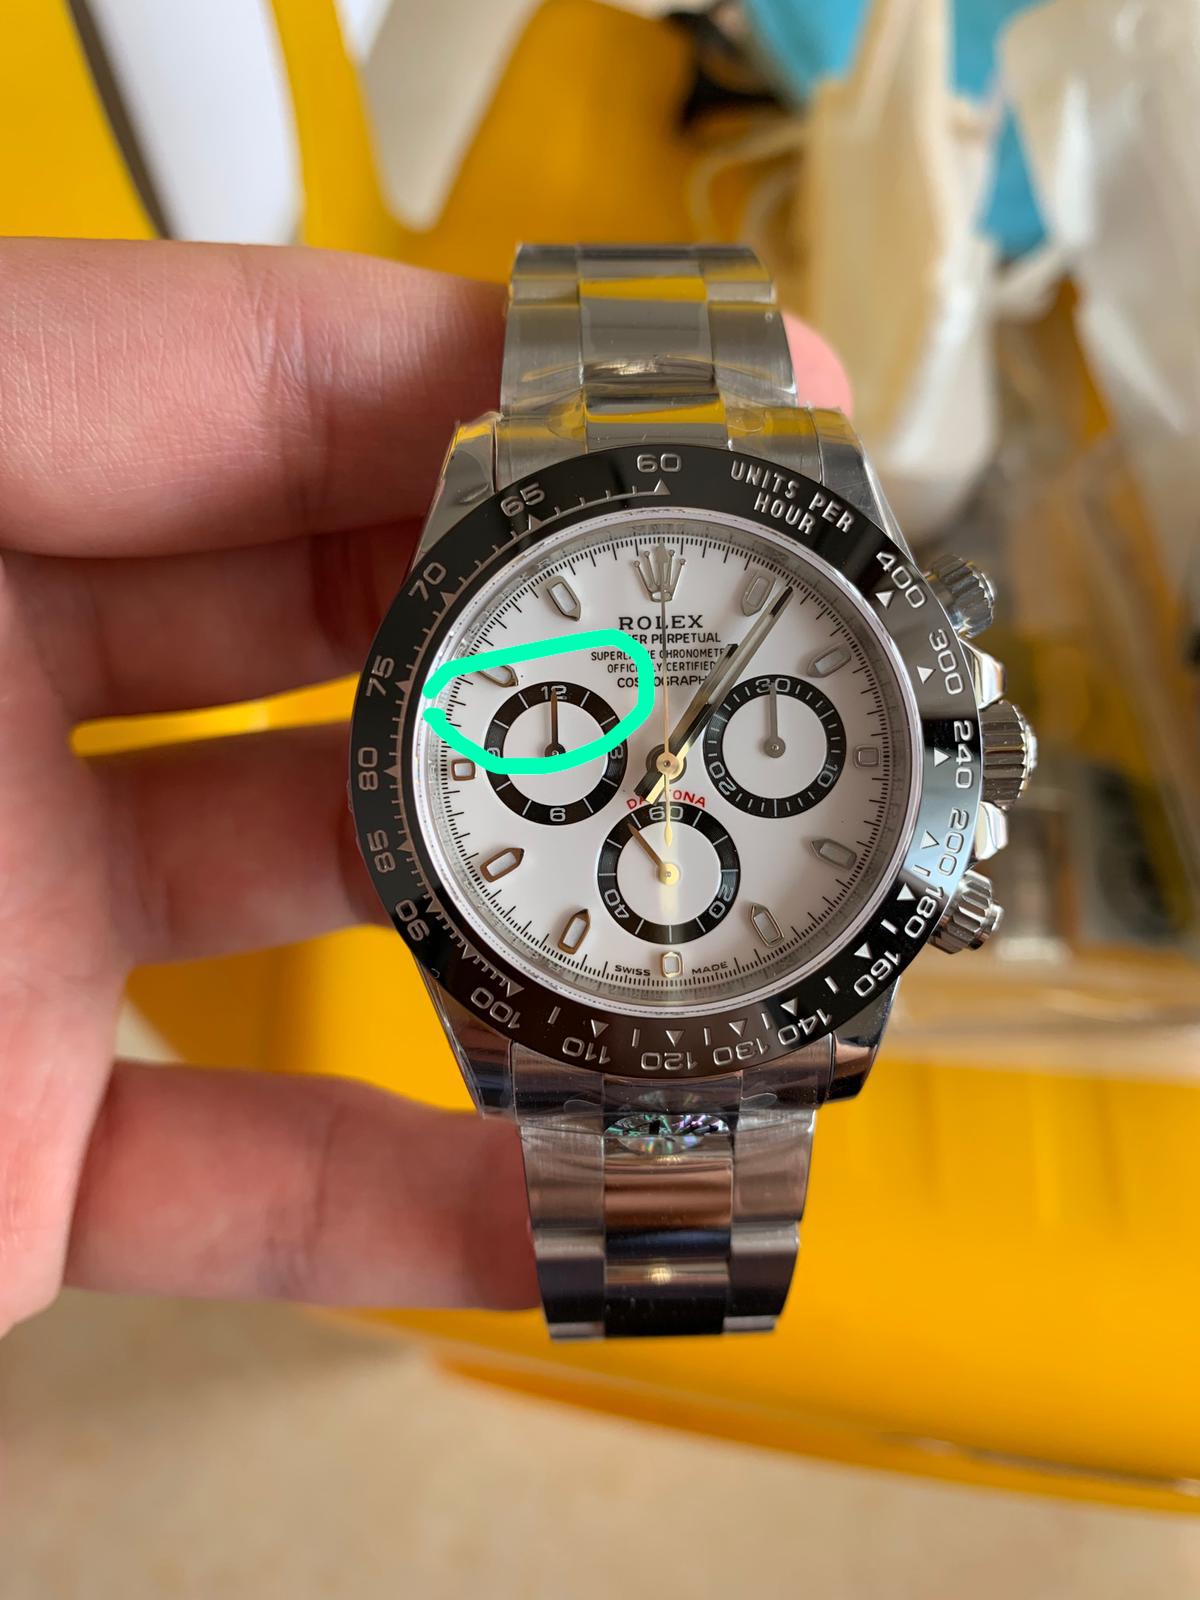
Is it me, or I see excessively highlighted the lines of the dial logo.
- 13/2/18
- 529
- 454
- 63
supposed video of v4:
https://youtu.be/f3HTUX7hoZg
Not understanding why the white dial measures 12.9 to the 12.6 of the black dial? Unless the white dial is ARF, which I doubt. This is where speaking mandarin would come into play.
Zenth
Known Member
- 12/9/20
- 121
- 44
- 0
i just received from my supplier
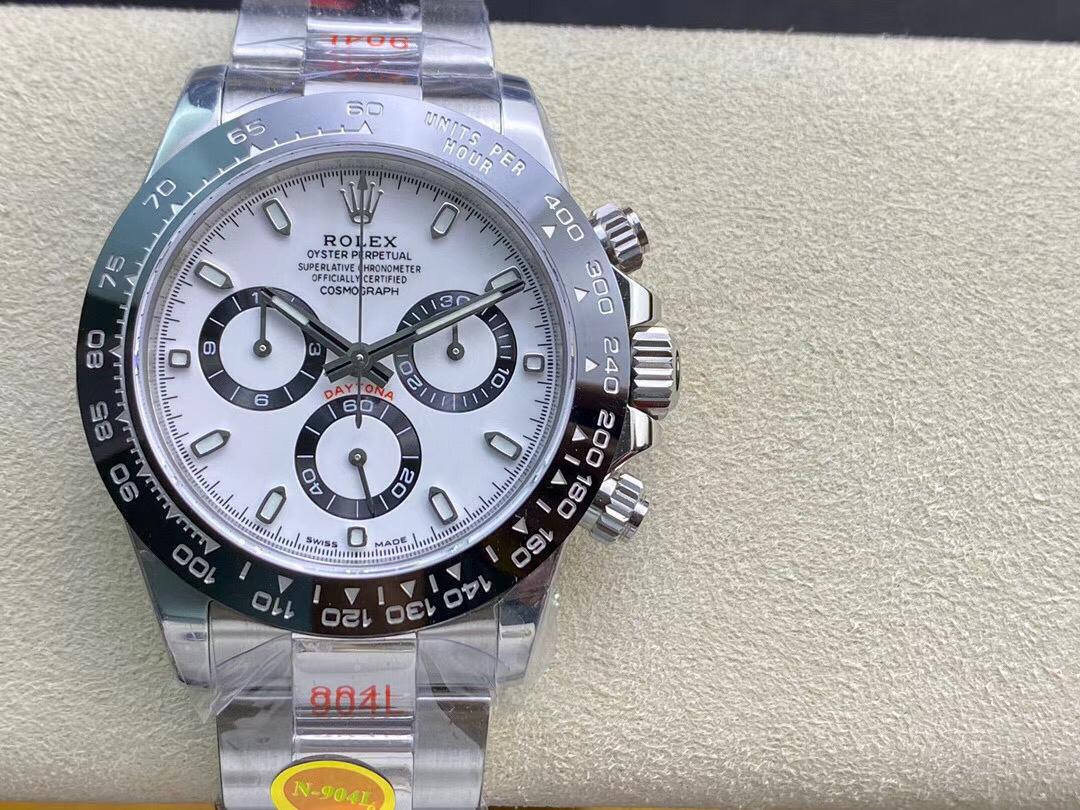
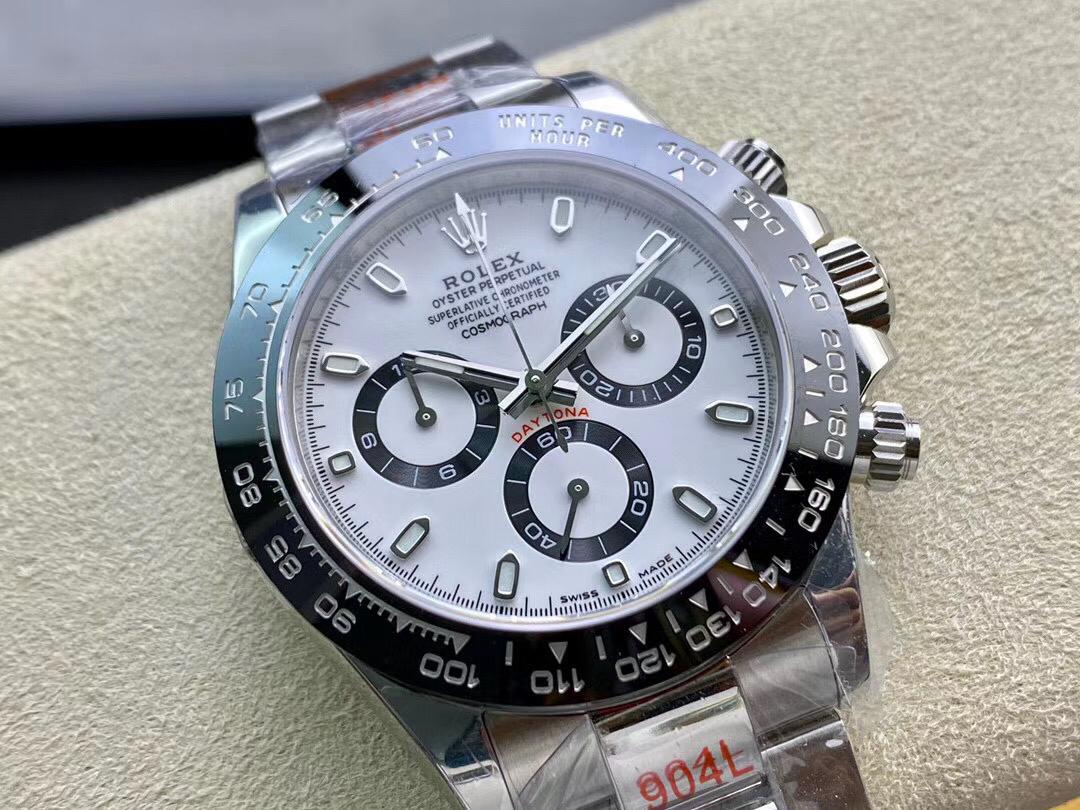
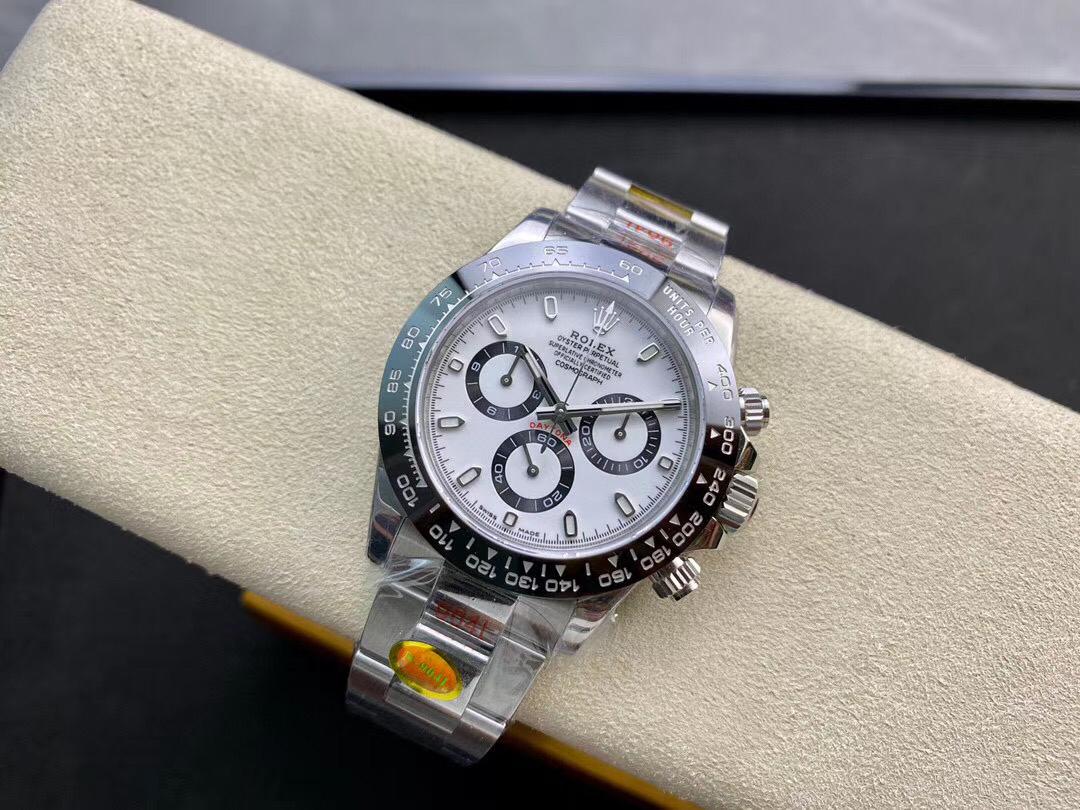
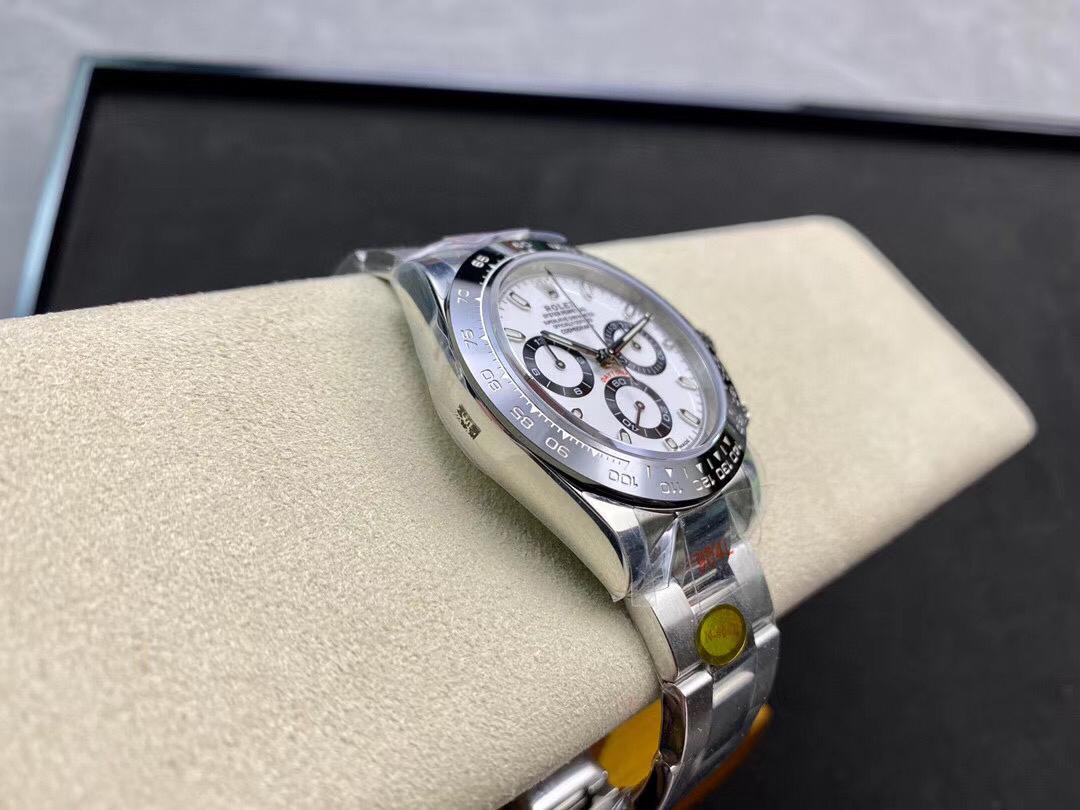
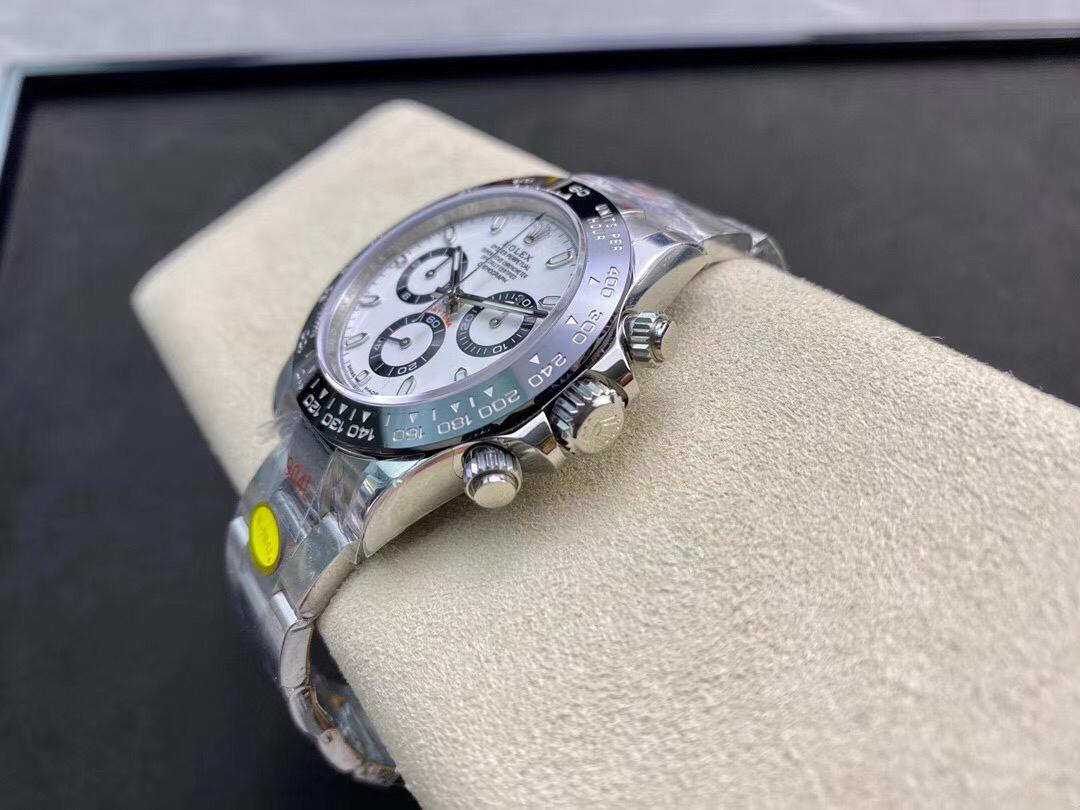
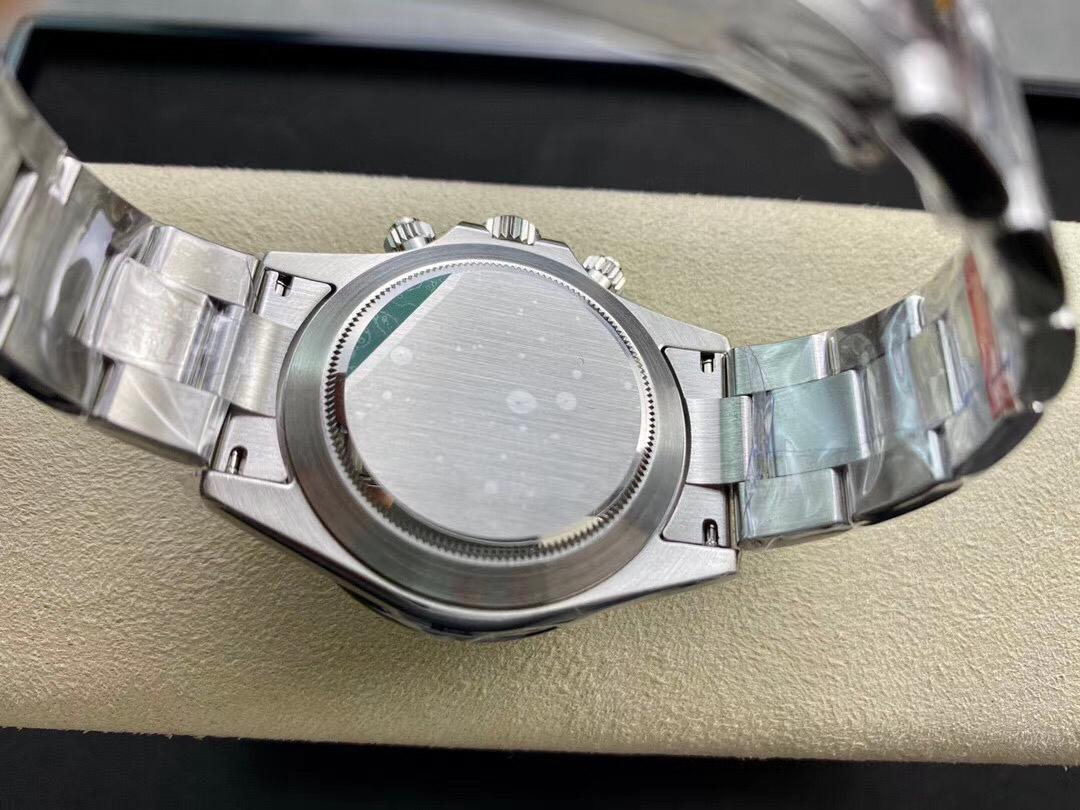
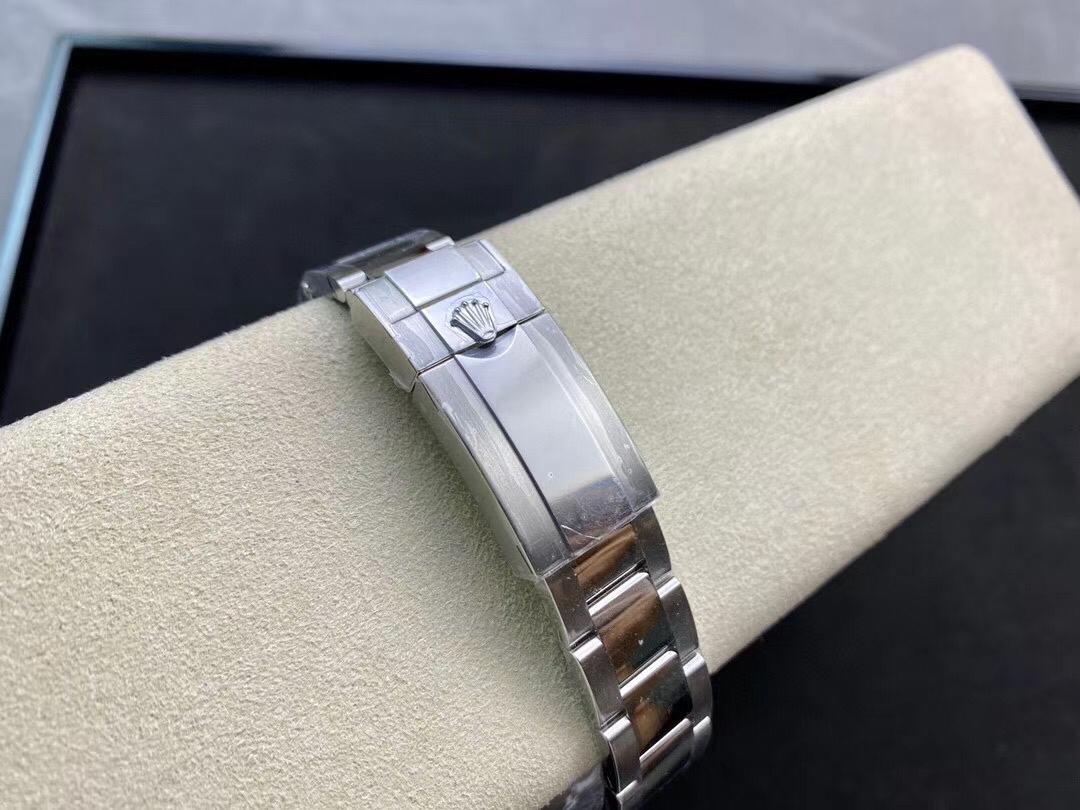
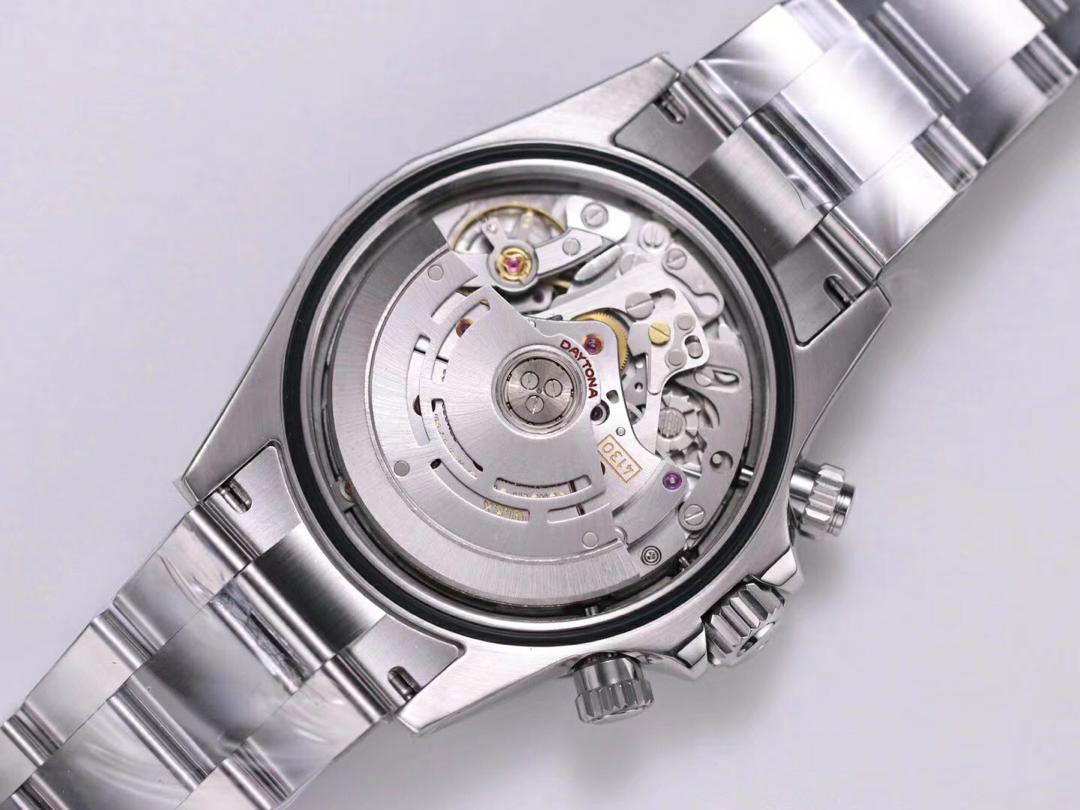
Amazing improvements ????
Inviato dal mio iPhone utilizzando Tapatalk
Not understanding why the white dial measures 12.9 to the 12.6 of the black dial? Unless the white dial is ARF, which I doubt. This is where speaking mandarin would come into play.
Both are Noobs. I believe that the way that the crystal gasket is seated or the case back can make that tiny bit of difference.
Noob's quality tends to be somewhat inconsistent.
- 24/10/17
- 3,548
- 5,835
- 113
Tiny differences to the black and white versions is fine, but would they fecking update all the sunburst dials Daytonas already! The 'non-separate subdial sunburst' flaw needs fixing more than these incremental improvements.
- 29/11/18
- 1,374
- 1,484
- 0
Not understanding why the white dial measures 12.9 to the 12.6 of the black dial? Unless the white dial is ARF, which I doubt. This is where speaking mandarin would come into play.
+/- 0.3mm could easily be the difference in assembly tolerance between different pieces from the same batch.
The assembly compression on crystal + caseback gaskets isn’t precise on reps. This alone could alone explain the difference in measured thickness.
Remember also that the machining tolerance on the mid-case could easily be +/- 0.05 to 0.1mm. Then the caseback tolerance could also be +/-0.05mm. I’m sure the gasket thickness also varies. I don’t know, I am just estimating the machining tolerances for illustration purposes.
So All these tolerances add up.
China tolerances are understandably not the same as Swiss tolerances.
Hence explaining why there is always some difference in thickness between pieces.
Noob V4 Daytona's
Noob 4 Daytona's what exactly ....?
I know I know but someone had to do it ....
Someone on Reddit posted this today, Noob V3 QC pictures, but looks like V4?
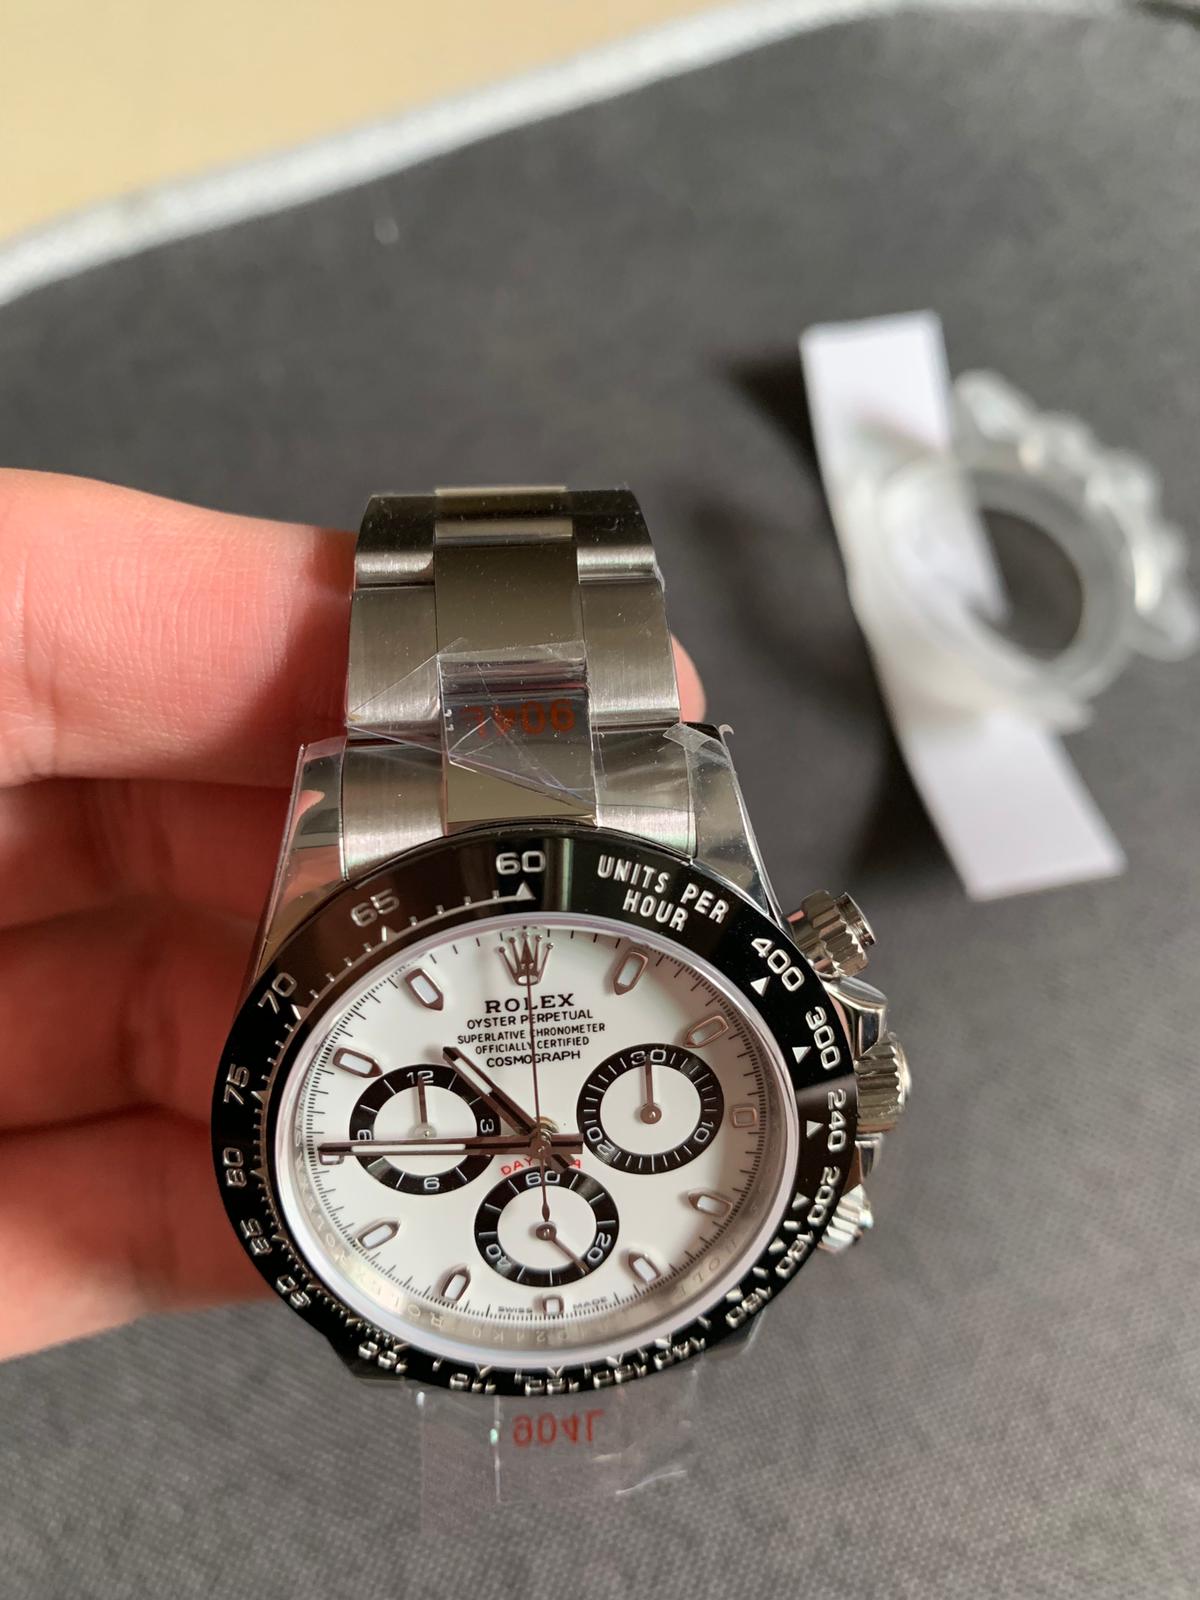
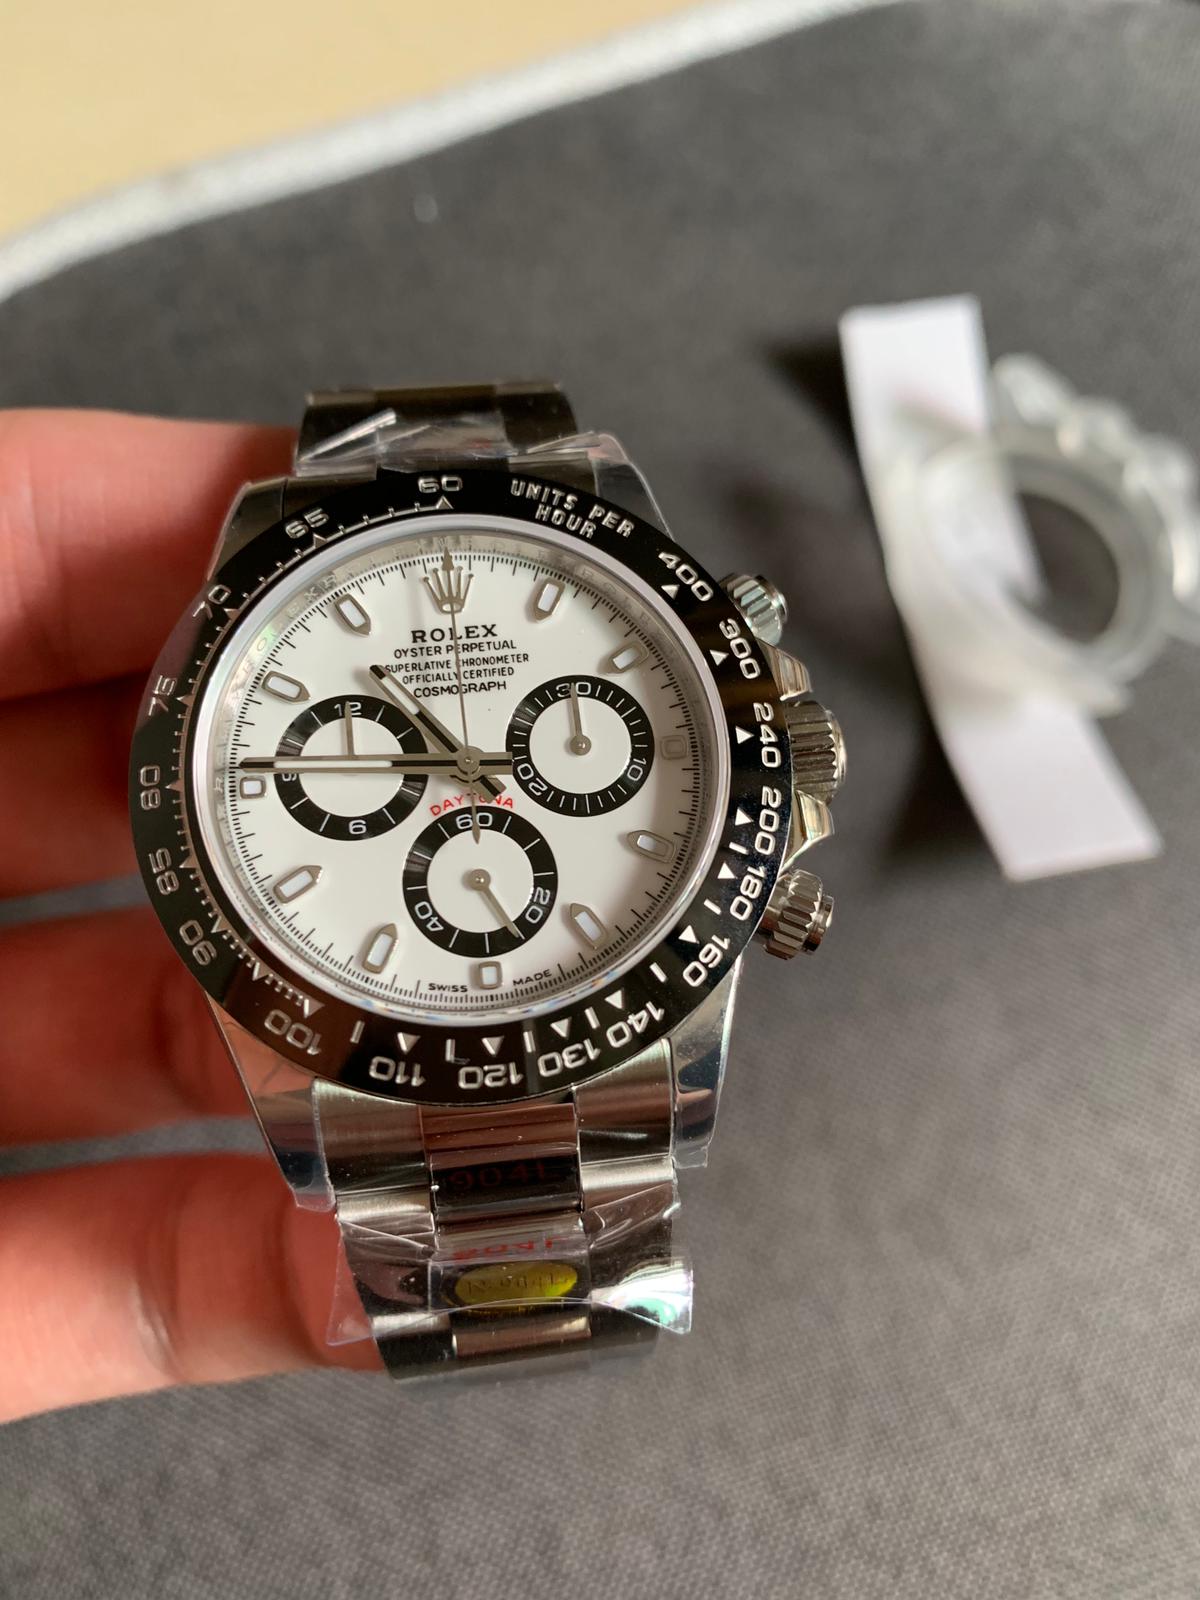
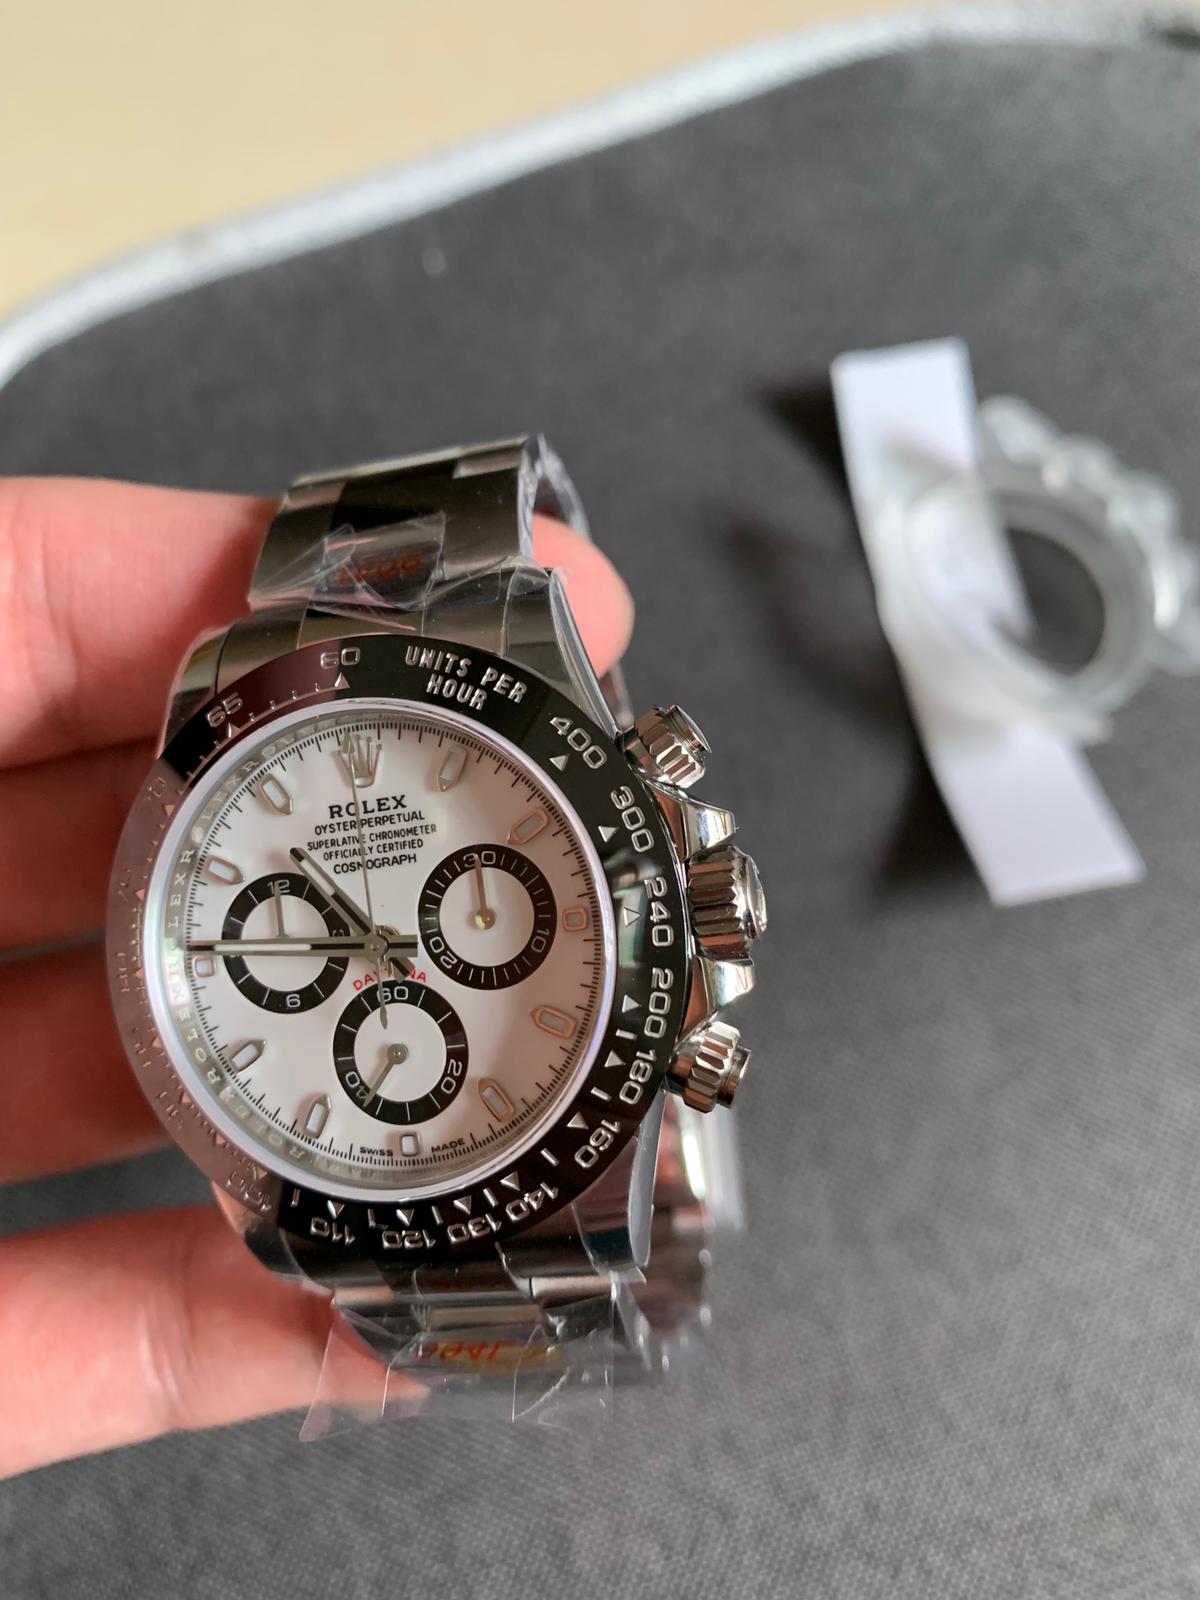
They fixed the thin subdial issues, and the Daytona font looks darker red, but I am no expert.
https://imgur.com/a/bZTGC4C
They fixed the thin subdial issues, and the Daytona font looks darker red, but I am no expert.
https://imgur.com/a/bZTGC4C
Last edited:
- 13/2/18
- 529
- 454
- 63
+/- 0.3mm could easily be the difference in assembly tolerance between different pieces from the same batch.
The assembly compression on crystal + caseback gaskets isn’t precise on reps. This alone could alone explain the difference in measured thickness.
Remember also that the machining tolerance on the mid-case could easily be +/- 0.05 to 0.1mm. Then the caseback tolerance could also be +/-0.05mm. I’m sure the gasket thickness also varies. I don’t know, I am just estimating the machining tolerances for illustration purposes.
So All these tolerances add up.
China tolerances are understandably not the same as Swiss tolerances.
Hence explaining why there is always some difference in thickness between pieces.
Understood. For me personally, one of the main reasons I'd be switching from my ARF to the Noob is for the difference in thickness. So this is just as, if not more important to me than some minor dial flaws etc. I did not know thickness was not consisted across Noob Daytona's, so thanks for that - you & MScott . I'll have to get my TD to measure prior to confirming.
Mathisbou155
Known Member
- 5/6/19
- 128
- 37
- 28
should i keep my noob v3 and put an arf dial or bought the noob v4?
Envoyé de mon iPhone en utilisant RWI
Envoyé de mon iPhone en utilisant RWI
Based on the photos we are seeing now, subdials looks accurate, but the dial print hasn't changed and is still sub par.
IMO they just went back to the v2.2 dial, i don't see any other changes
(Gen on the right)
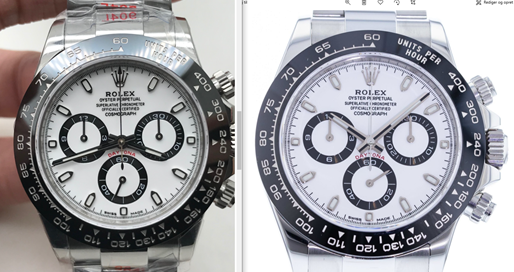
IMO they just went back to the v2.2 dial, i don't see any other changes
(Gen on the right)

Last edited:
joint07
Active Member
Subdials are correct on the v4. The 5 lines of text is still very bad, and they are still using that horrible white crystal gasket.
Again, imo, I see no difference between the old v.2.2 and the “new” v.4
they basically just corrected those ridiculous thin subdials, and are now calling it an upgrade
Again, imo, I see no difference between the old v.2.2 and the “new” v.4
they basically just corrected those ridiculous thin subdials, and are now calling it an upgrade
jodelaplaya
Active Member
- 2/4/14
- 273
- 147
- 43

