• Tired of adverts on RWI? - Subscribe by clicking HERE and PMing Trailboss for instructions and they will magically go away!

Let's talk vintage Daytonas with TheSociety & Friends!

m1994

Renowned Member
Certified
18/7/17
592
705
93
i'm planning to do the 6 oclock mod on the st19. does anyone know what size drill bit i'll need to expand the cover plate hole? would be nice to know which size bit is good instead of purchasing a few different sizes and hope for the best.
This is a good thread about it:
 
  • Like
Reactions: pezzy and Reaps

pezzy

Getting To Know The Place
5/12/06
23
3
3
^that's the thread where i got the idea from hehe. i guess i could just measure it on photoshop. the dial plate/movement is 32mm iirc. from that, i should be able to figure out the hole size needed for the new sub dial pin position.
 

m1994

Renowned Member
Certified
18/7/17
592
705
93
The hole is done by trial and error, I have done it several times and it is done until it fits.
 

pezzy

Getting To Know The Place
5/12/06
23
3
3
the reason why i want to measure it is because i need to buy a drill/reamer bit. would like to get an idea of the size i need before i buy.
 

pezzy

Getting To Know The Place
5/12/06
23
3
3
how do i remove the cover plate? is it held on by the screws located at 54min, 16.5min, and 33min?
 

matzemedia

Active Member
Certified
22/4/21
348
683
93
Germany
Hello gentlemen,
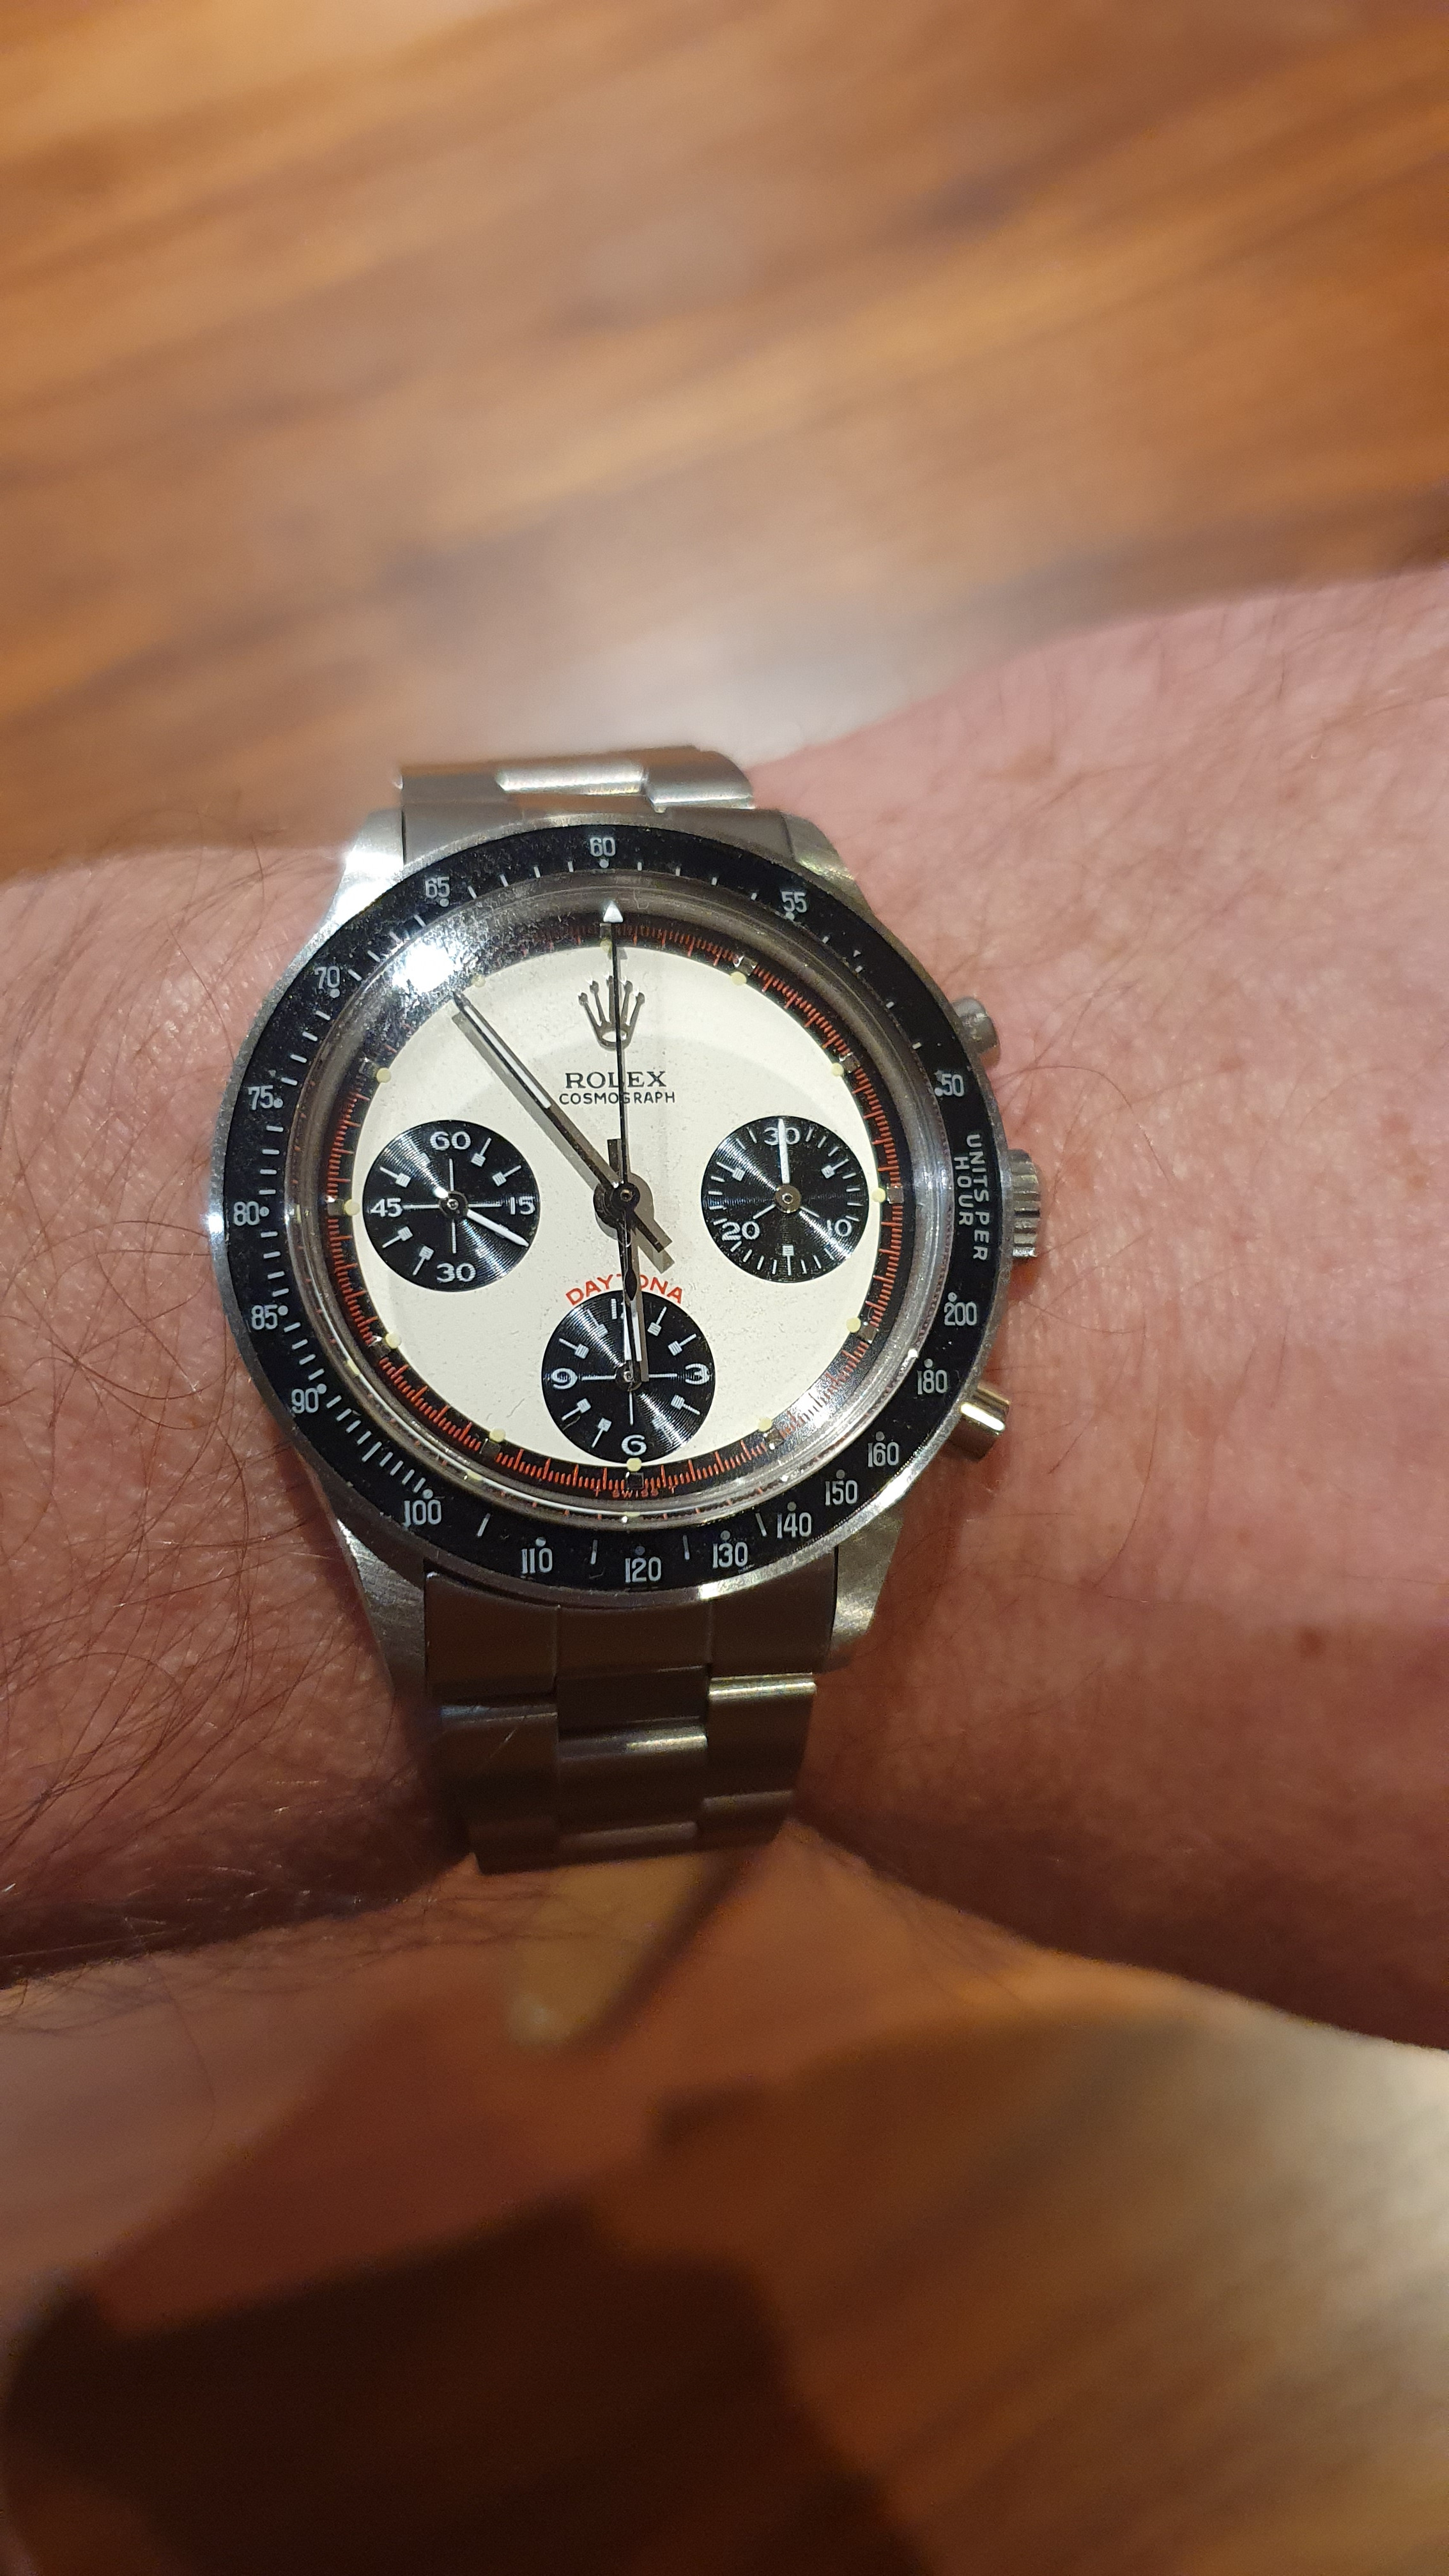
I am new in your Daytona world. Since yesterday, I own my first four digit Daytona. It is a relative cheep 6341 from trusted times. They write it is from "no name factory".
I really like the clean look of the Paul Newman dial and the small diameter for a chronograph. But I am also addicted to modding cases - that helps me to increases the fun of a watch. So I already disassembled the watch to start studding everything in detail.

Now I am at the point where I ask myself what do I want to change to become to closer to gen. Changing the pusher, crown? Reduce the height? Change the dial to T21 or mod the shape of the case. To get the right answer, I studied this (and some other) threads, looked tons of images from chrono24 and other websites. But I'm still struggling with the answer. So, that is why I write this comment and like you to help me with this answer.

But before I can start doing anything, there are two questions I have:
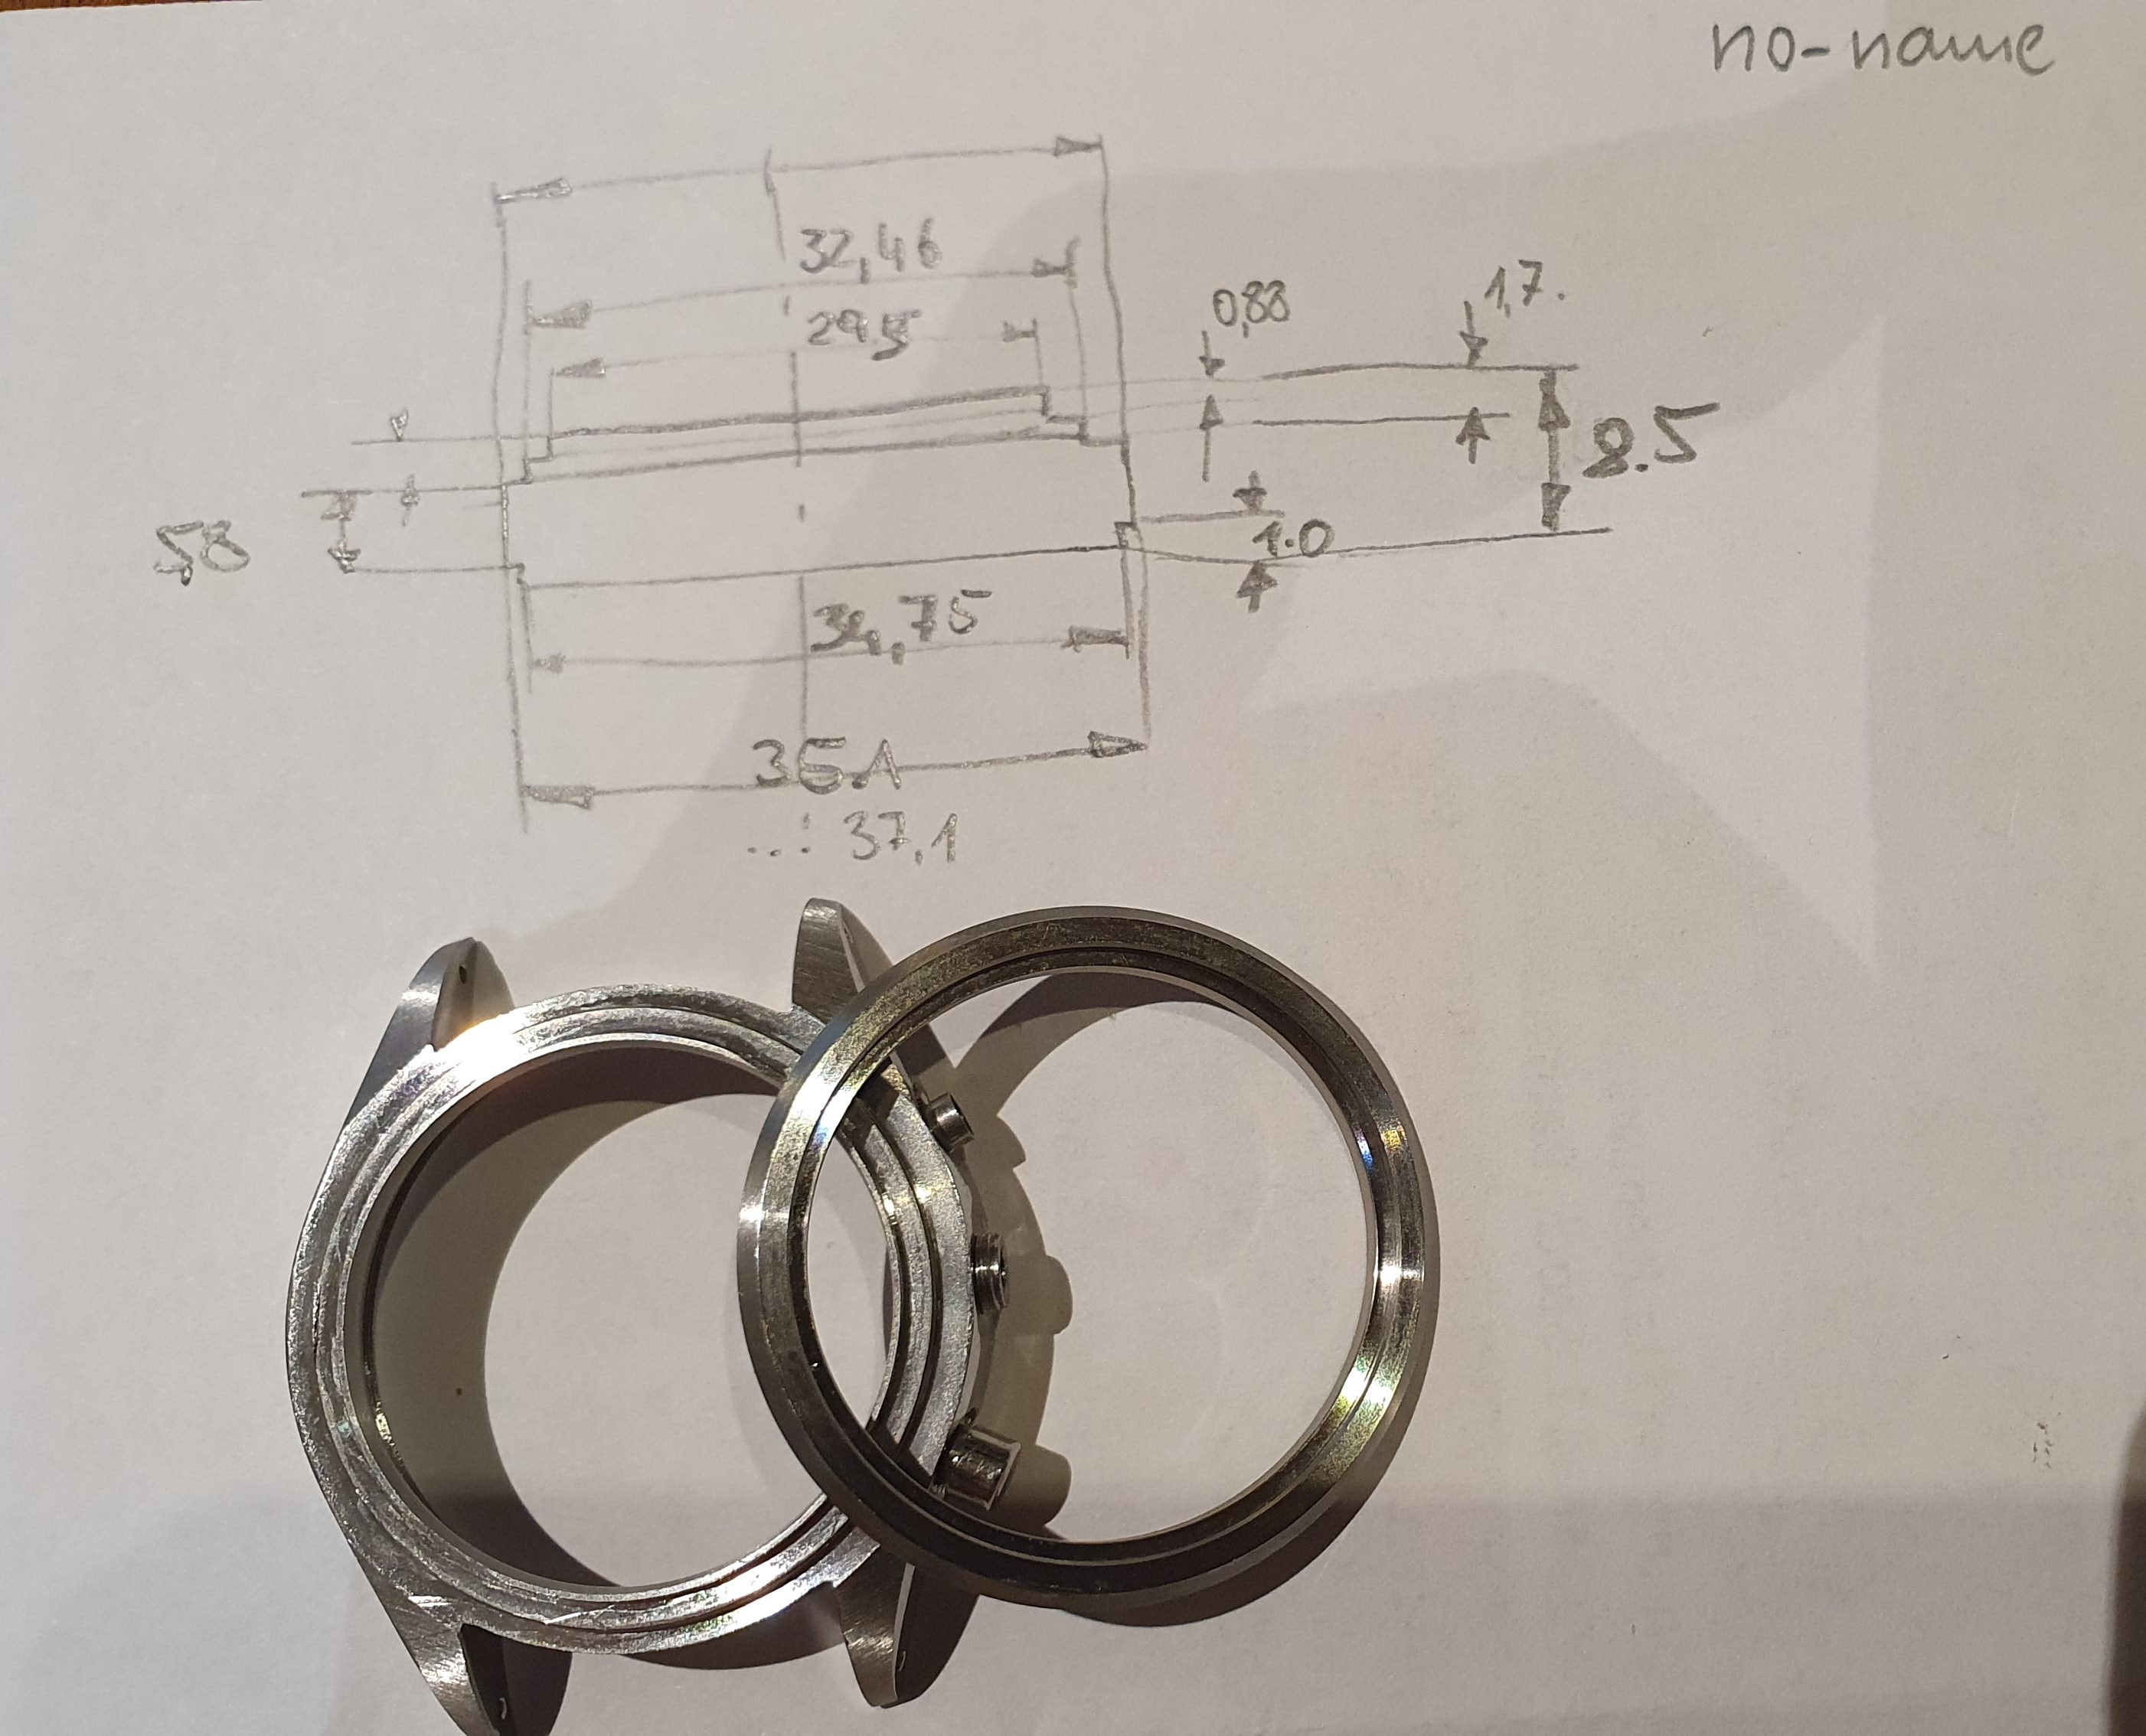
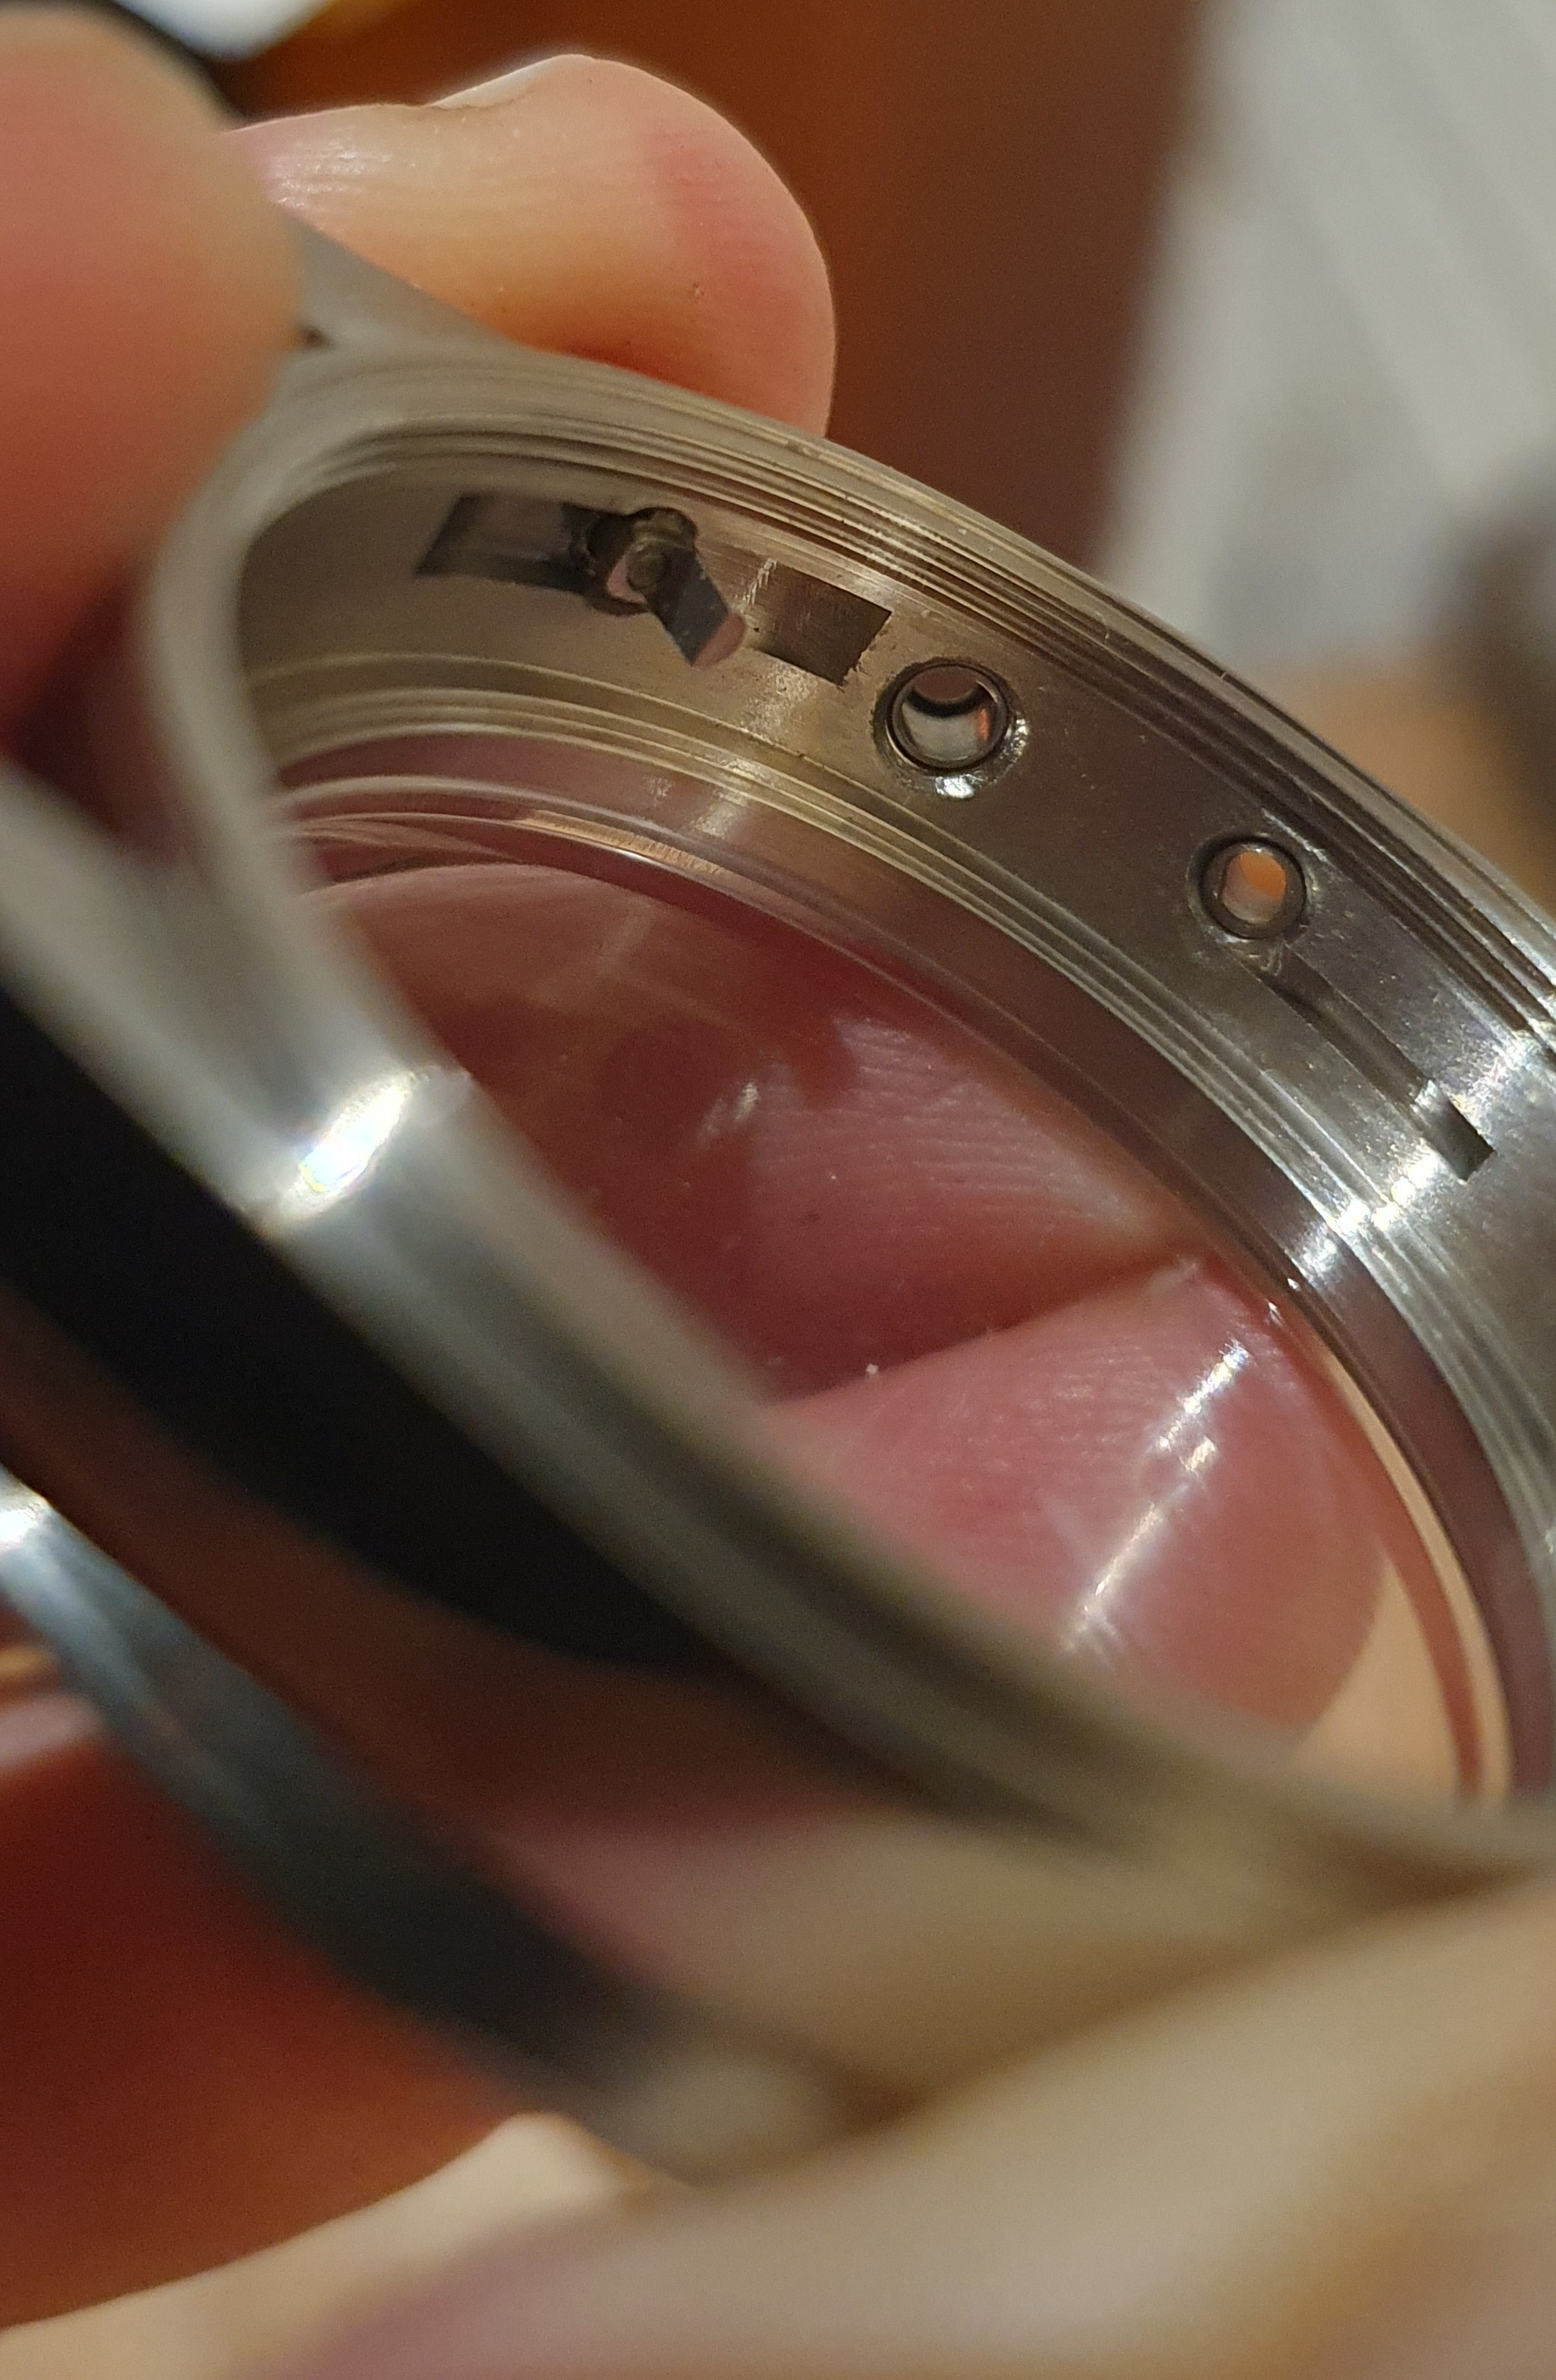
  • How can I remove this modified pusher?
  • Is it correct that the old Daytona is about 15mm height? And if not, where do I have to reduce material?


Thewatchwolf

Renowned Member
1/3/15
930
350
63
CONUS
Loving this thread. My home unfortunately sustained some pretty heavy damage due to the forest fires that have been burning nonstop over here in the US and I might have to put my modded 6263 up for sale :cry:
 
  • Sad
Reactions: matzemedia

pezzy

Getting To Know The Place
5/12/06
23
3
3
Now I am at the point where I ask myself what do I want to change to become to closer to gen. Changing the pusher, crown? Reduce the height? Change the dial to T21 or mod the shape of the case. To get the right answer, I studied this (and some other) threads, looked tons of images from chrono24 and other websites. But I'm still struggling with the answer. So, that is why I write this comment and like you to help me with this answer.

i think most people only change the screw down pushers, and not the pump pushers. athaya 702 crown and tube is the default go-to for the st19 based daytonas. case shaping, i'm not sure. someone here will have knowledge on that. if not, you can possibly message yodog. he sells modded st19 based daytonas, and is familiar with what is needed to make it look closer to gen.

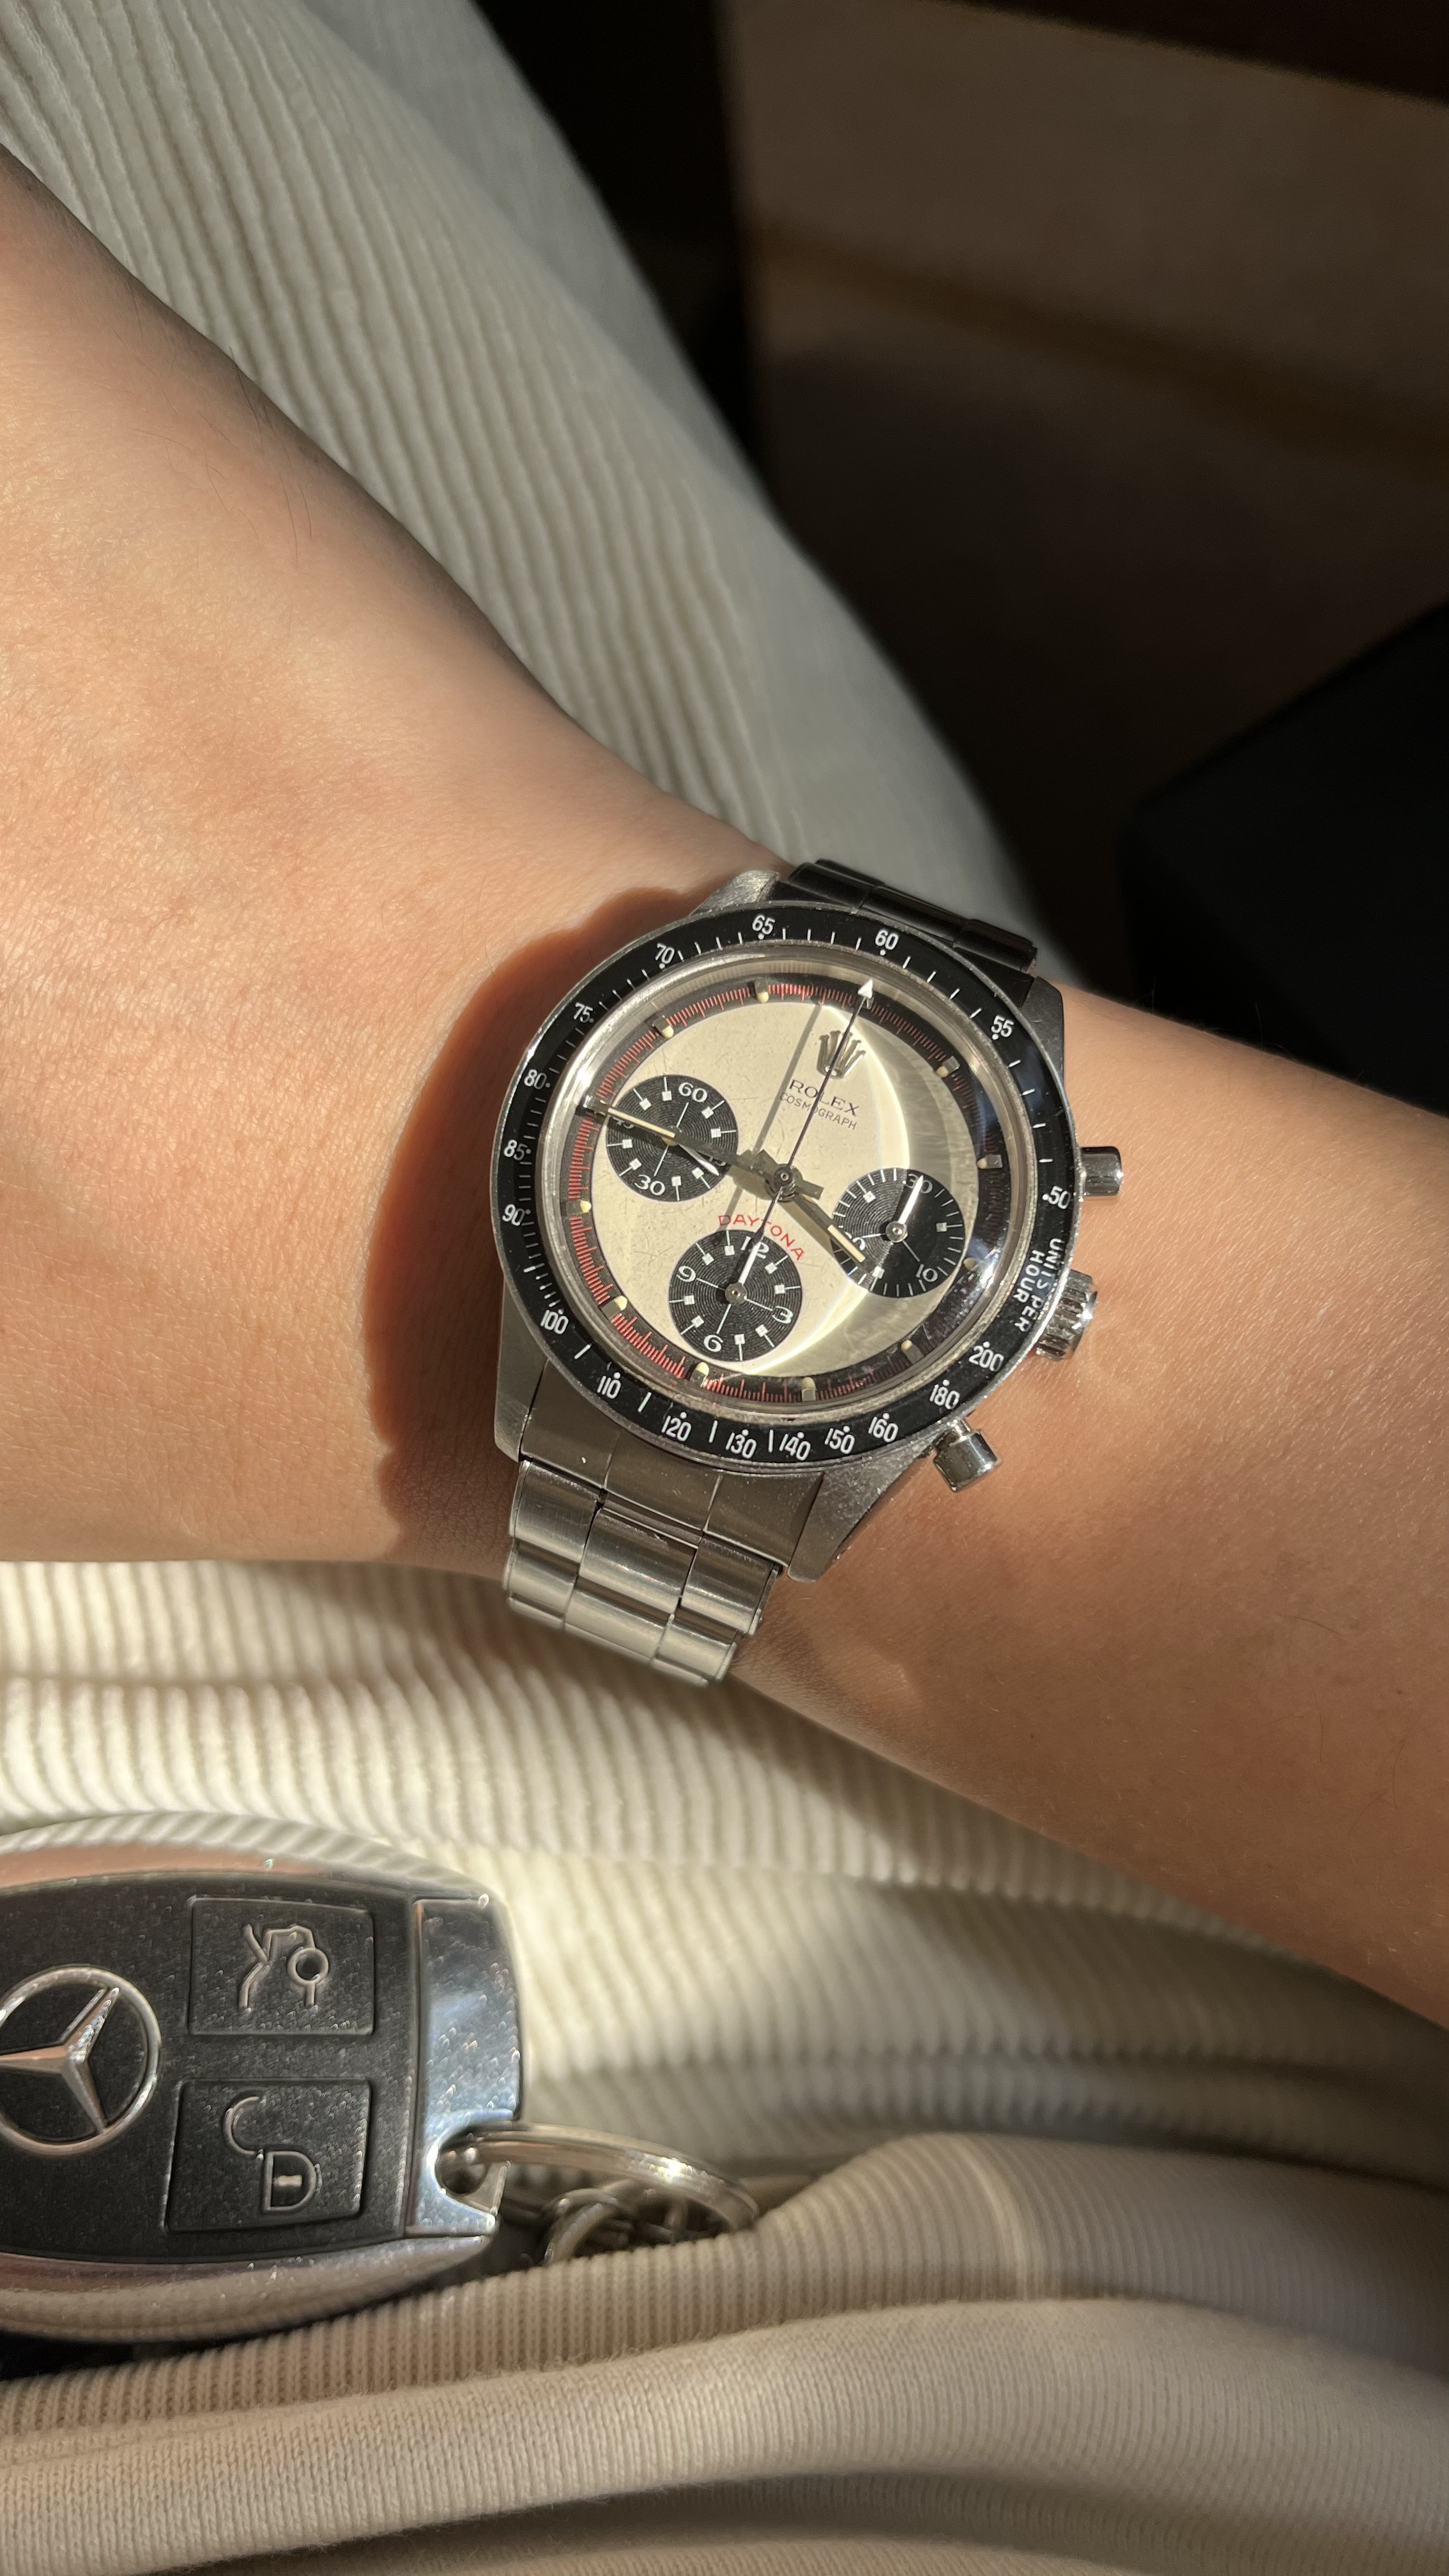
i'm modding one right now. but i'm only changing the dial. i don't have the skills/tools to reshape the case. but the cartel case is pretty good already out of the box imo. although i'm not sure if your one is a cartel daytona (trusty is part of the cartel though)? it looks like you have a flat 'S' on your bezel insert, which is closer to gen. the cartel's have rounded 'S'.
 
  • Like
Reactions: matzemedia

pezzy

Getting To Know The Place
5/12/06
23
3
3
@matzemedia have a look at this thread. might give you some idea on reshaping the case.

 
  • Like
Reactions: matzemedia

pezzy

Getting To Know The Place
5/12/06
23
3
3
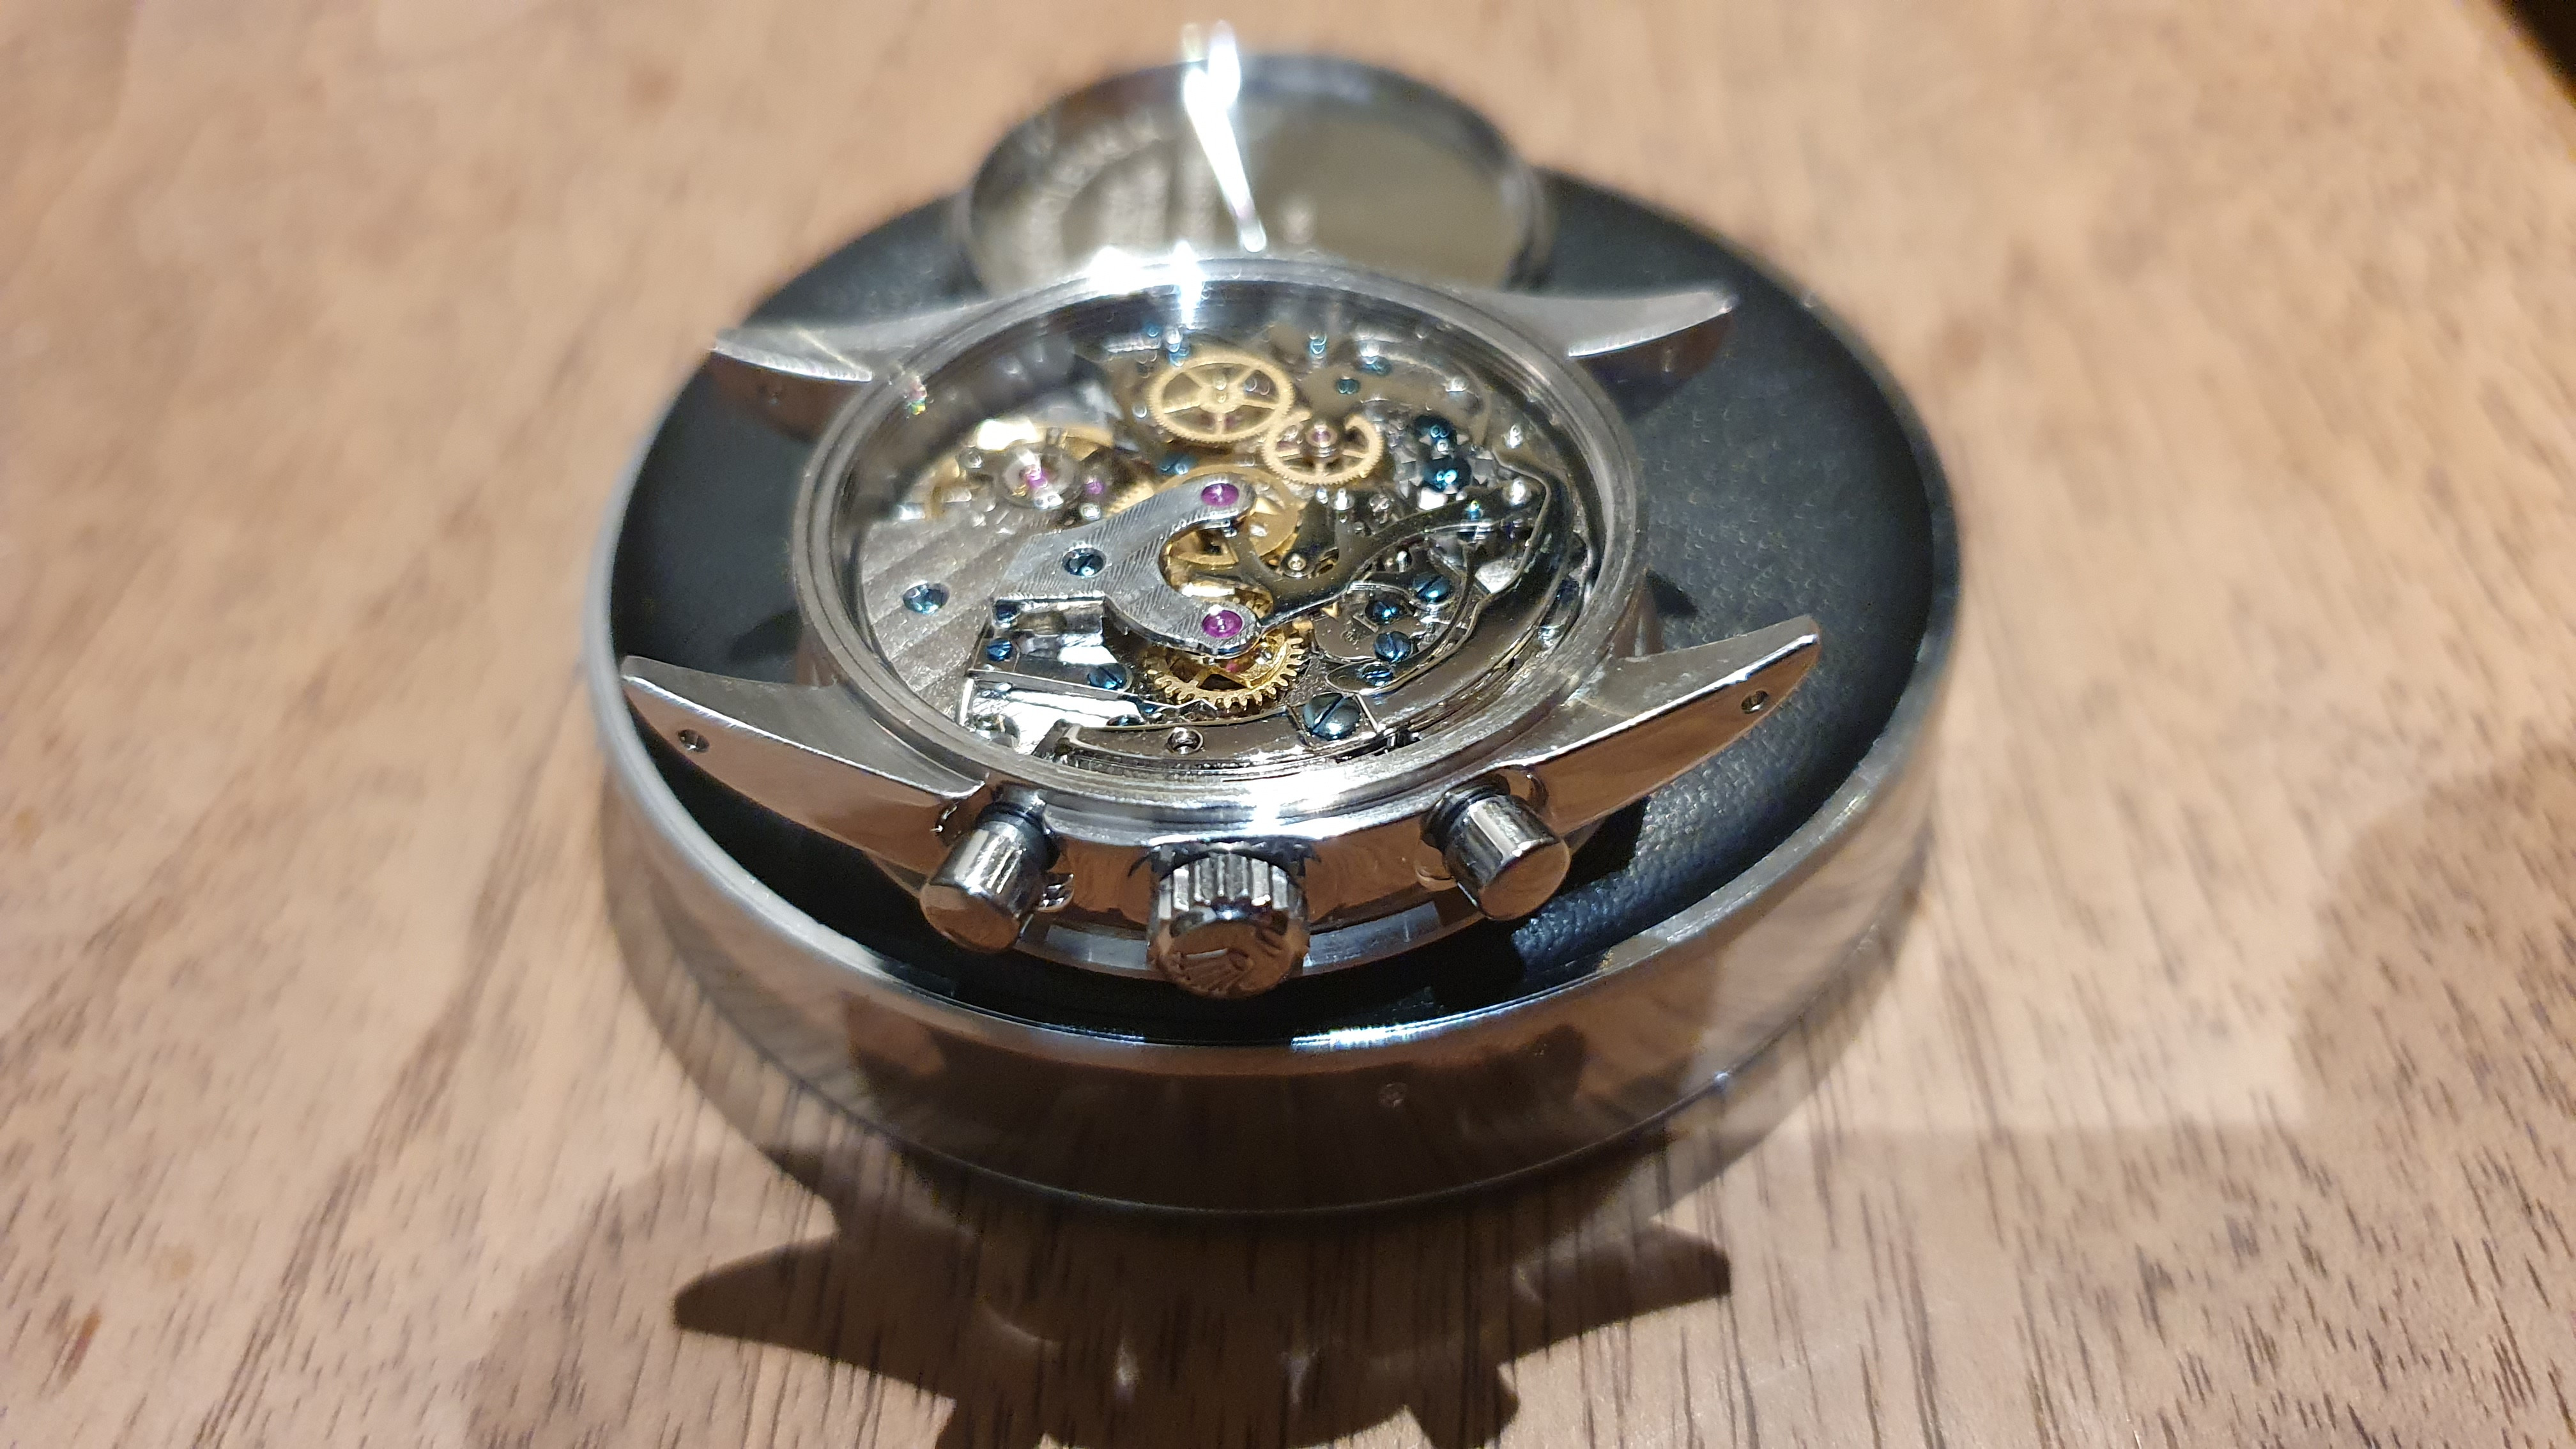
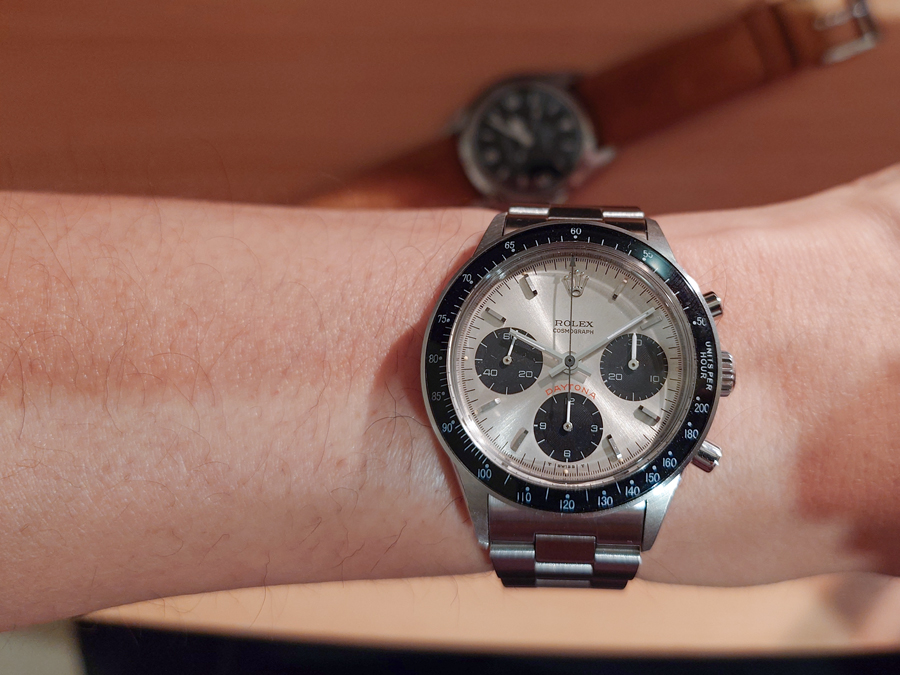
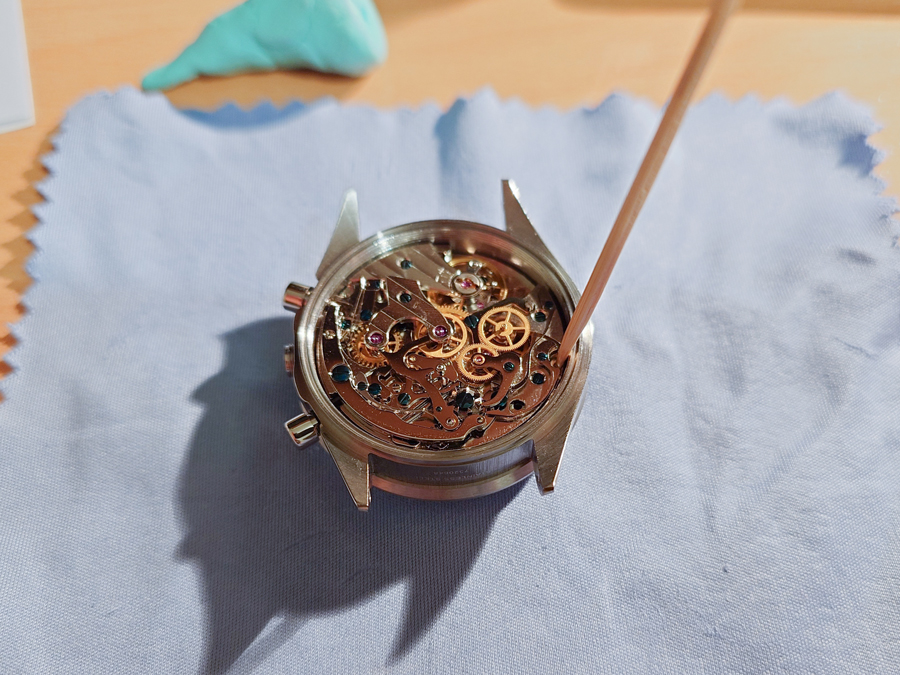
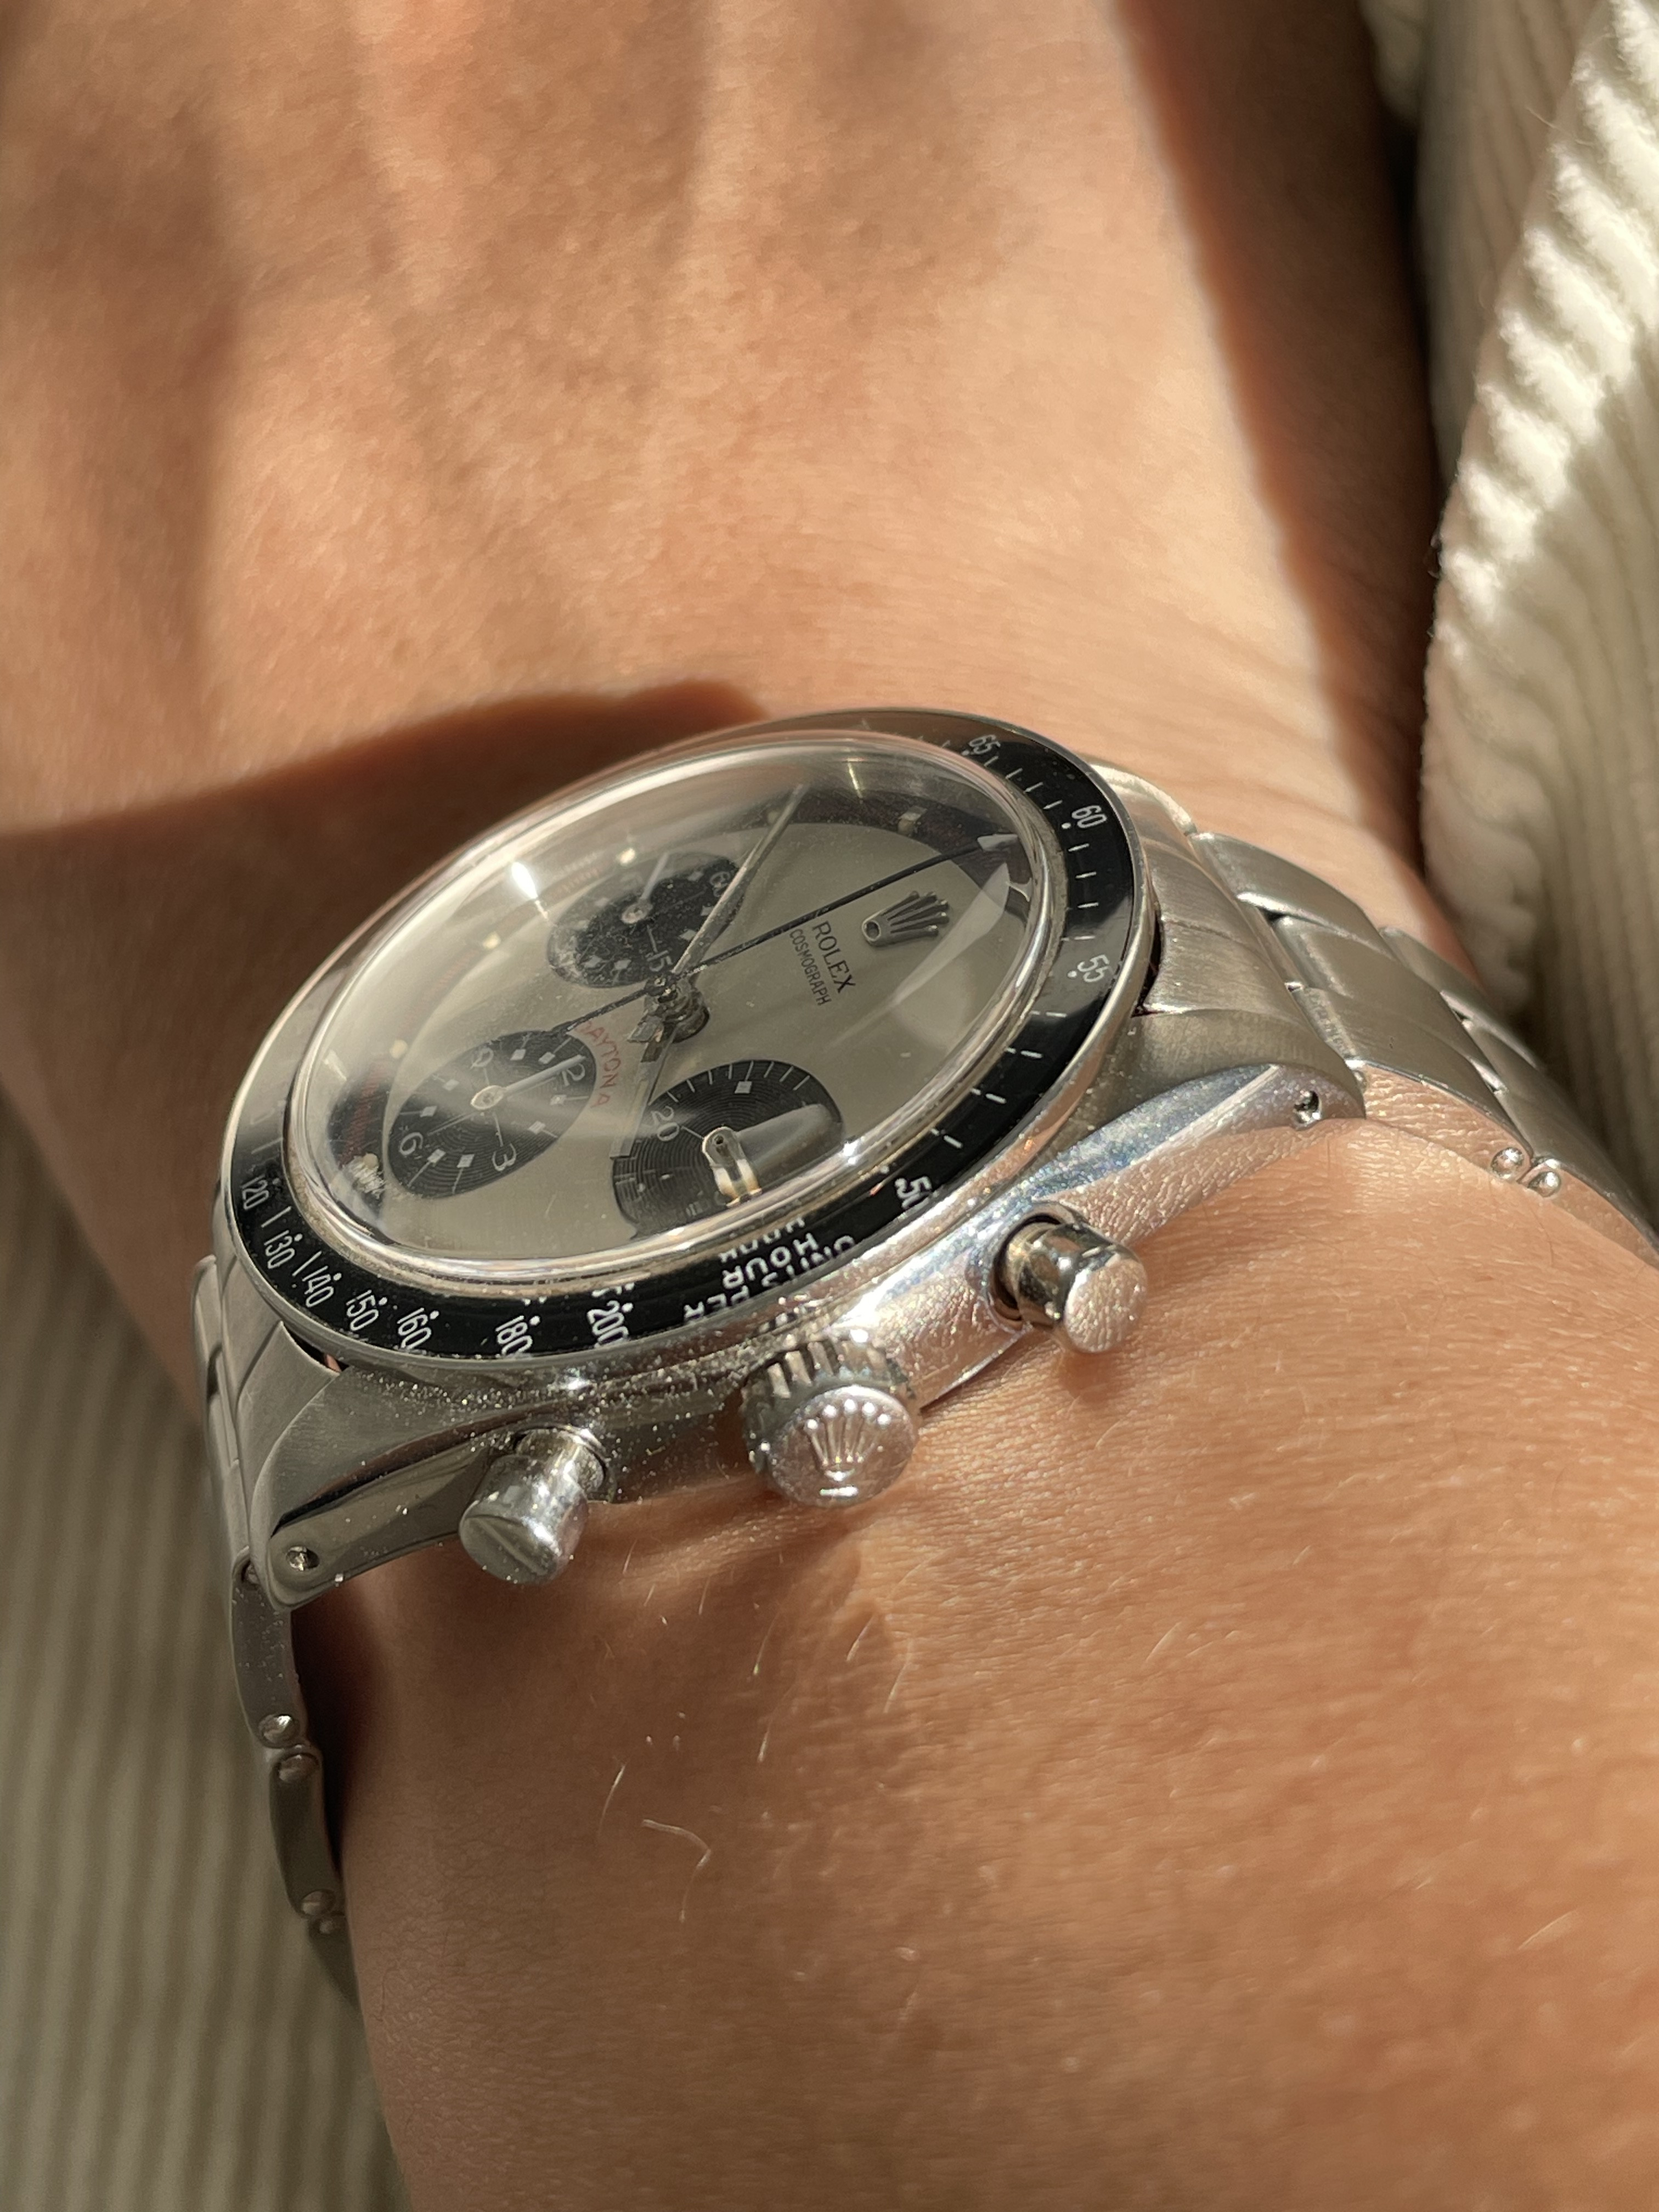
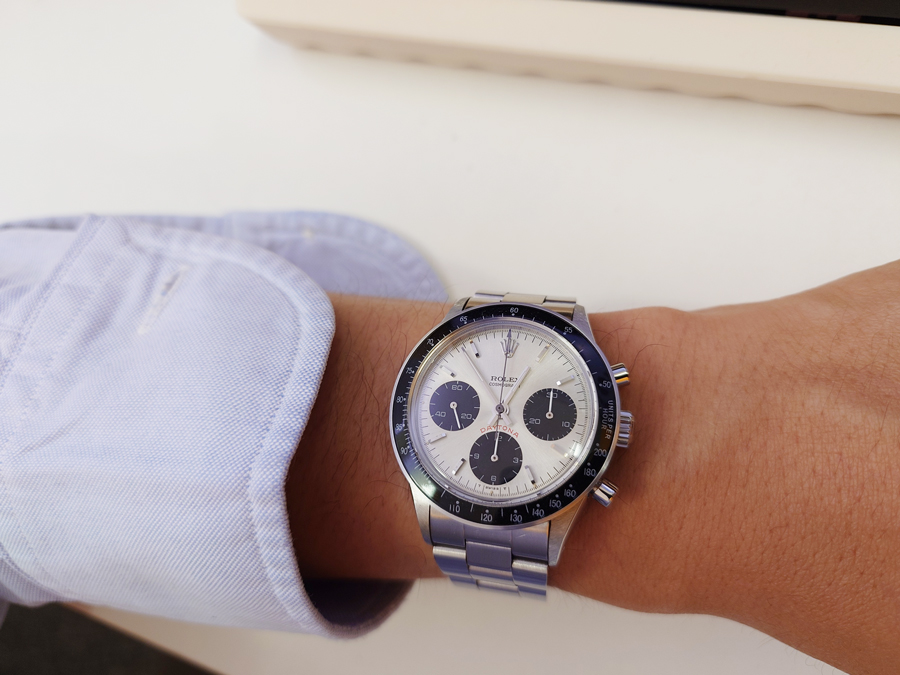
put together mine last night, but with problems. the process started off very smoothly (too smoothly). was expecting to run into problems with the filing and gluing of the 6oclock pinion. had a small code red where the keyless works pinion fell off. but thank god there was a thread in rwg that addressed this. problems started arising when putting it back together. i hadn't worked on a watch for a few years now and had forgotten how much of a pita installing hands were. it's very difficult to line things up on this watch. there are so many contributing factors that will throw off the alignment. this took several trial and error attempts, where the final trial, the coronet had fell off lol ffs. this was a pita level on it's own to align. as you can see on mine, it's not align very well. i double sided taped it, so i can go back and do it properly when i have more time and patience. another problem i had was the reset pusher did not work because it wasn't hitting the mechanism on the movement. that took a few tinkering around to fix. the trick is to push the mechanism with a toothpick when the movement is in the casing. i think it needs to be pushed in a little to accommodate the "L" bracket for the bottom pusher. now the worst part. when i set the time to take this photo, the movement stopped working T_T. will have to buy a new movement. this build seriously....ffs lol.

build specs
- stock cartel everything
- viet dial (looks so effing good)
- alpha subdial hands painted with tamiya acrylic gloss white. only 2 of the 3 hands i received were thin ones *sigh.

extra pic is a tip on how to remove the movement out of the casing. place a toothpick on the non pusher side movement tab/clip hole and use it to lift the movement up on that side. you can then slide/scoop the movement out easily. you need to do this because the "L" bracket on the bottom pusher is in the way preventing you to lift the movement out vertically like you usually would do. reverse the motion to install the movement back in.

and here's the rwg thread for the keyless works.

5b9fxvv.jpg

prIehSM.jpg