- 2/8/09
- 10,405
- 12
- 0
Unfortunately the picture hoster account was terminated. Could you please re-upload the pictures?
TIA
Dr.verylong
TIA
Dr.verylong
Many say this has helped them with doing it themselves and many just like this kind of stuff so i felt i and my friend would give u a nice show, and yes we do offer this service investigated, it is a repeat but i felt being one of the members who helped get this board started that this kind of stuff is what we r all about!! ENJOY
Starting out we inspect the watch visually and listen to the movement for any anomalous noises that could lead to clues toward problems yet to be seen.
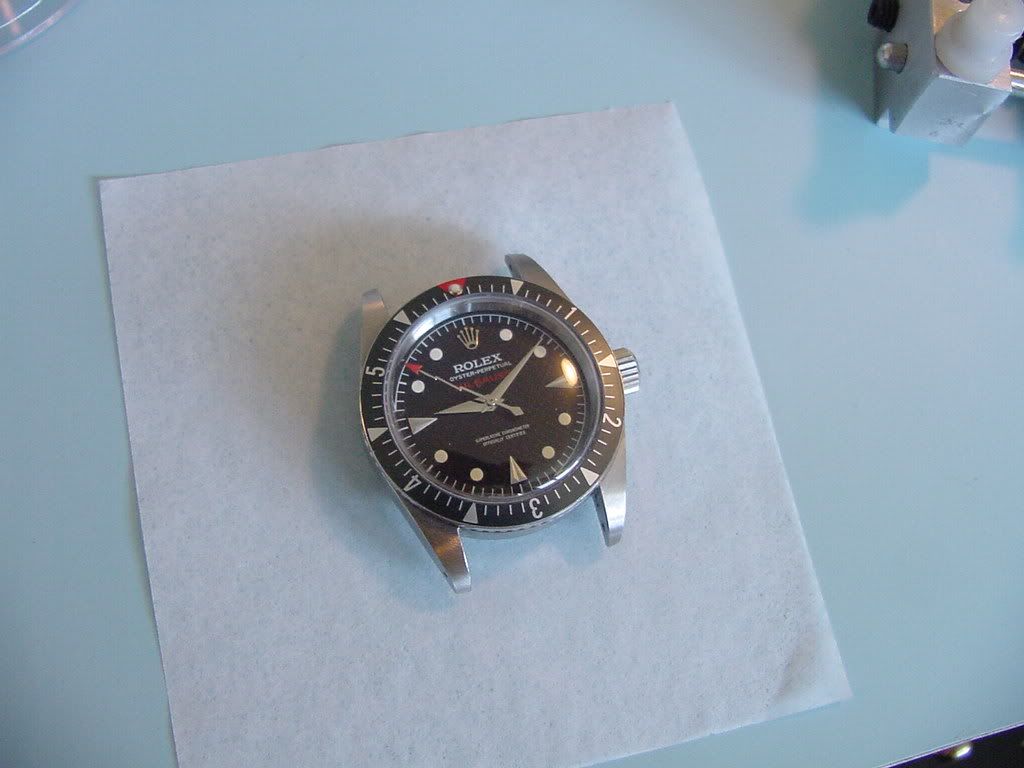
Next we demagnetize the watch for the first time during service. We will also demagnetize the watch again after servicing, right before regulation. Magnetised parts are problematic both for timekeeping and when working on a movement. There is nothing more bothersome than a microscopic screw that sticks to your screwdriver or tweezers. Our machine is a classic bakelite Elimag, it's a common machine you'll find in many watchmakers shops.
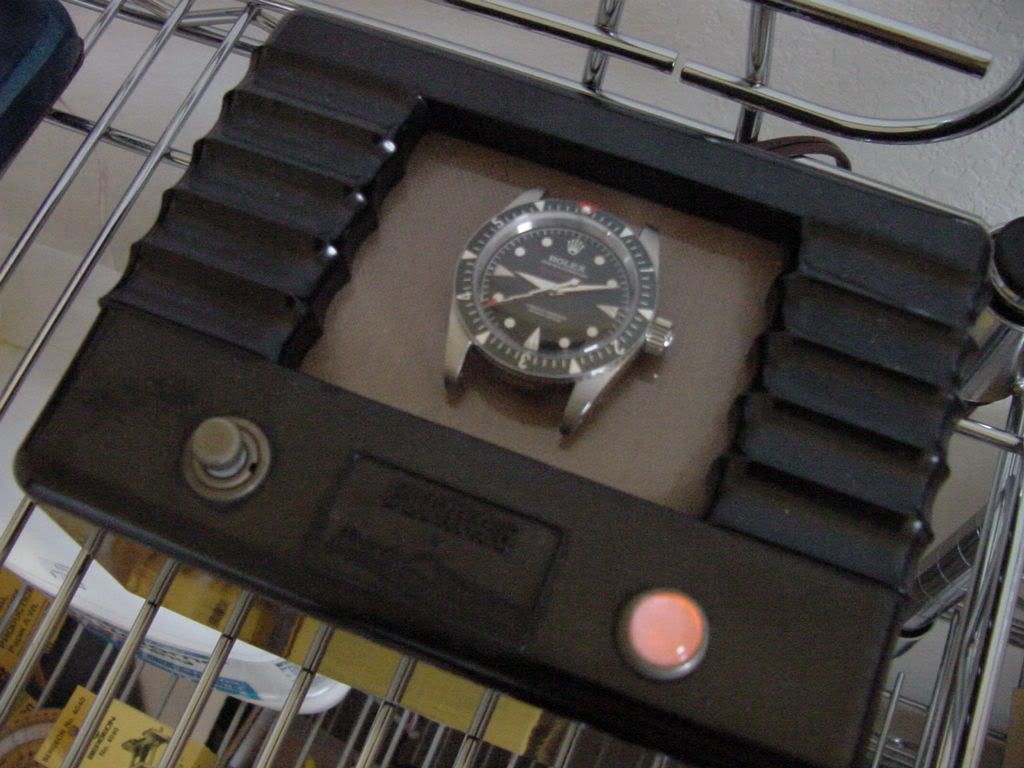
Then we open the caseback in our opener. This type of opener is designed to be able to open and tighten casebacks without slipping and marring the caseback.
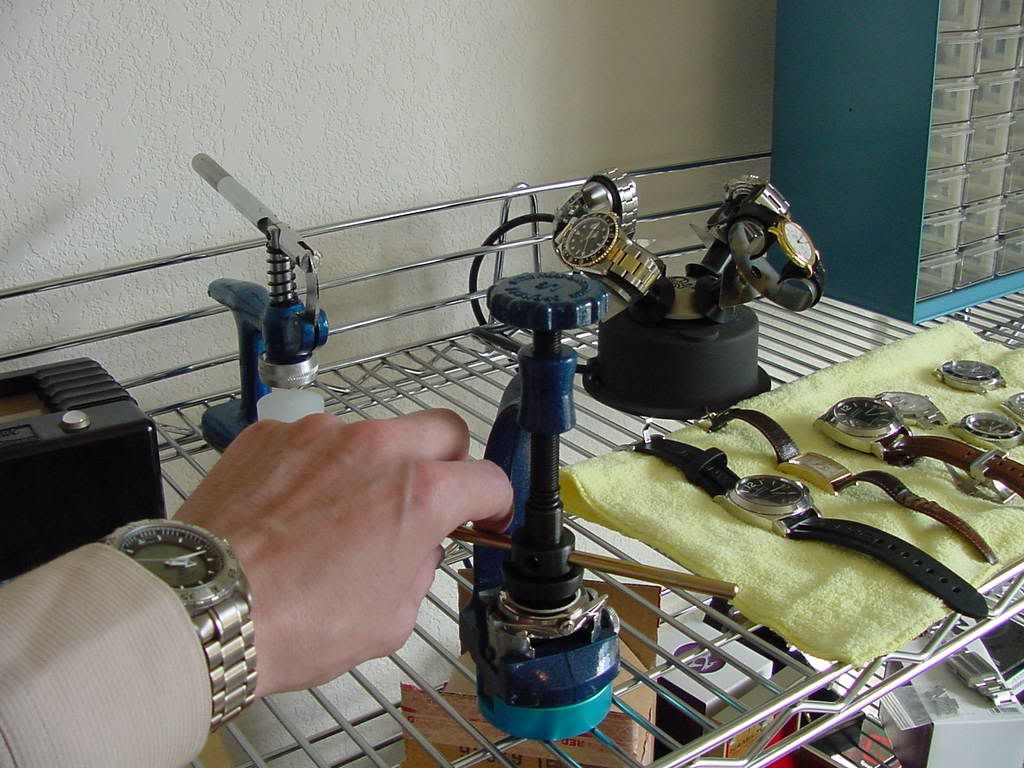
Once the caseback is loose, we go back to the bench and let the mainspring down slowly and carefully.
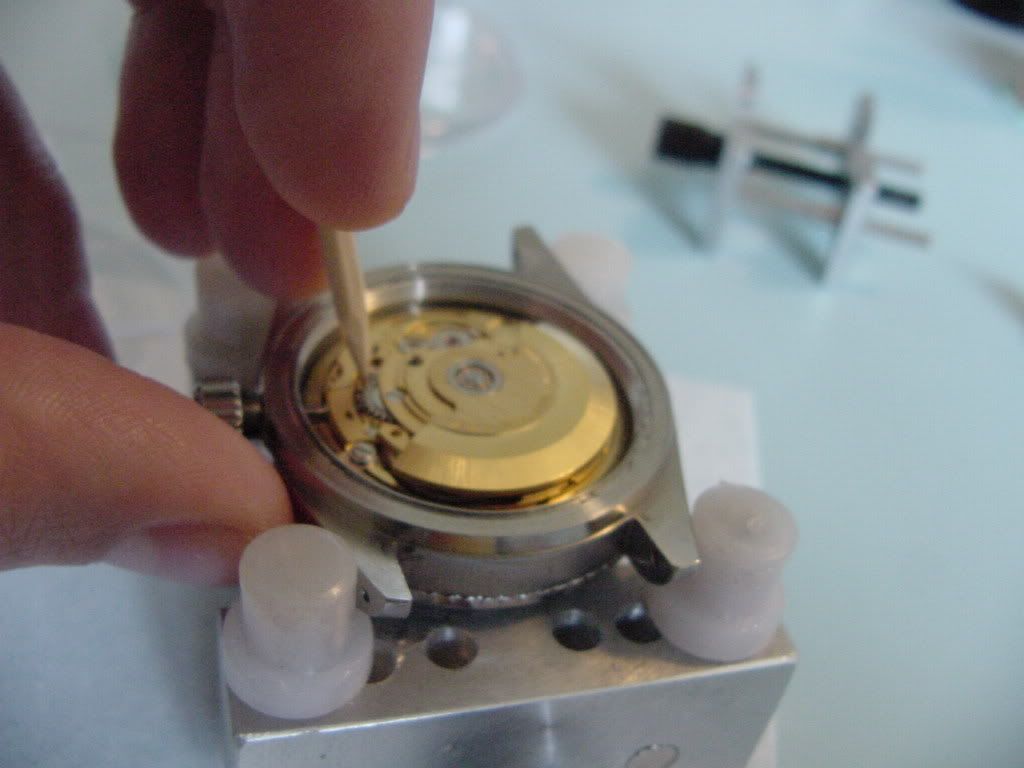
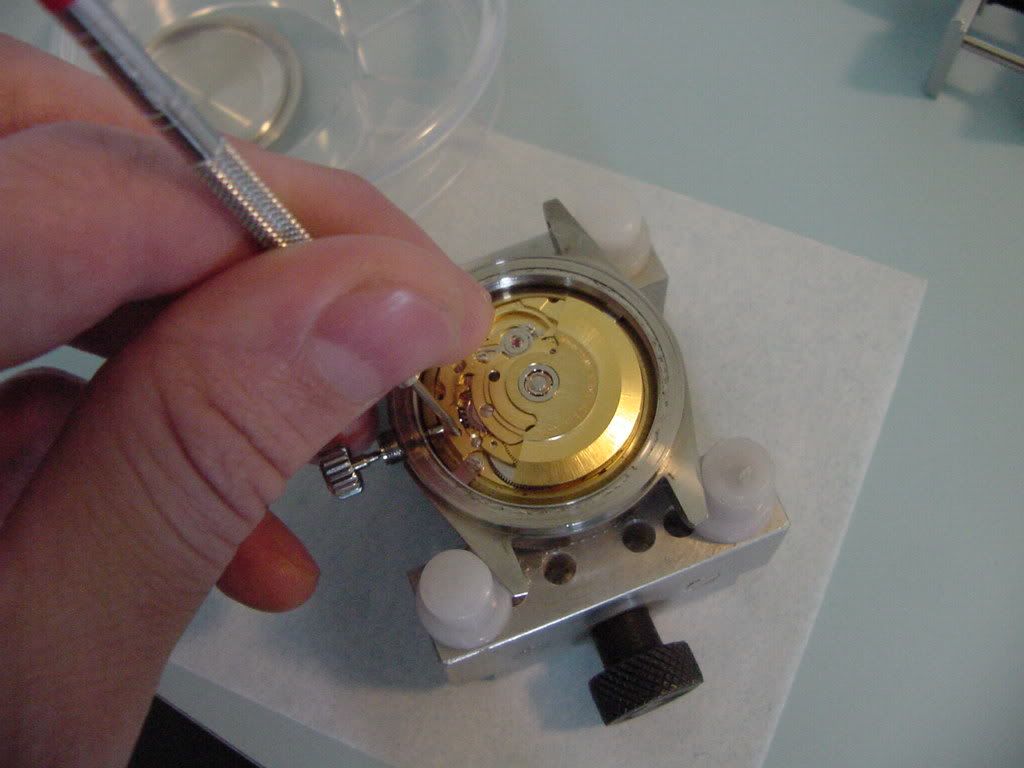
After that is done, we release and remove the stem.
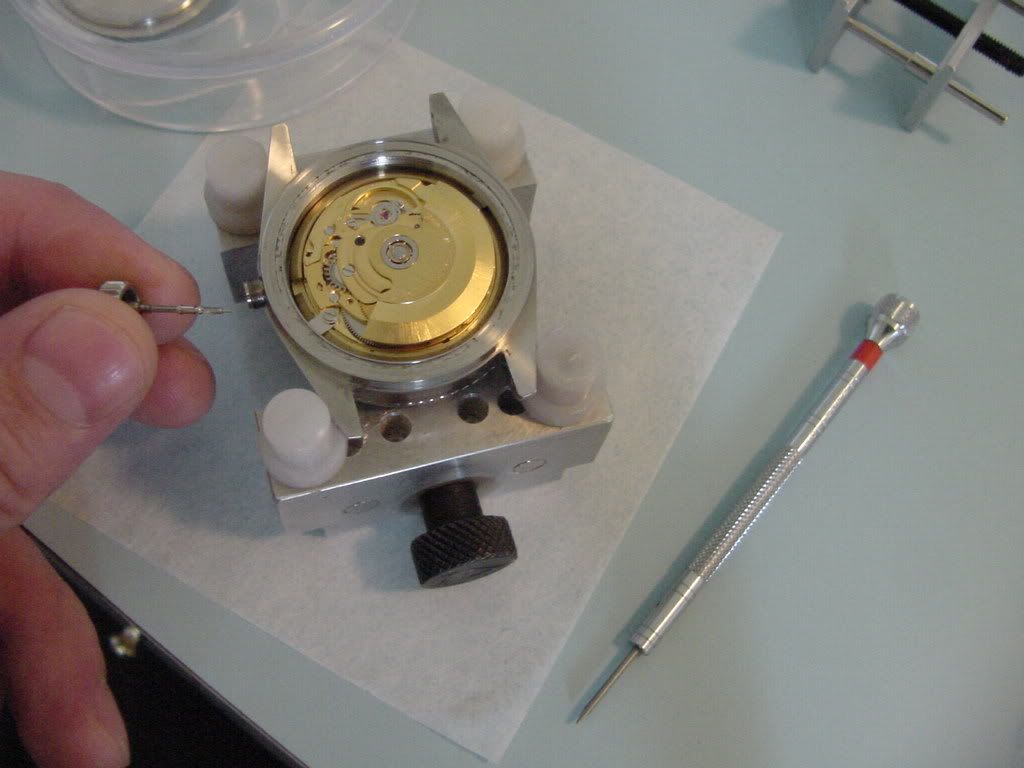
Then we remove the rotor.
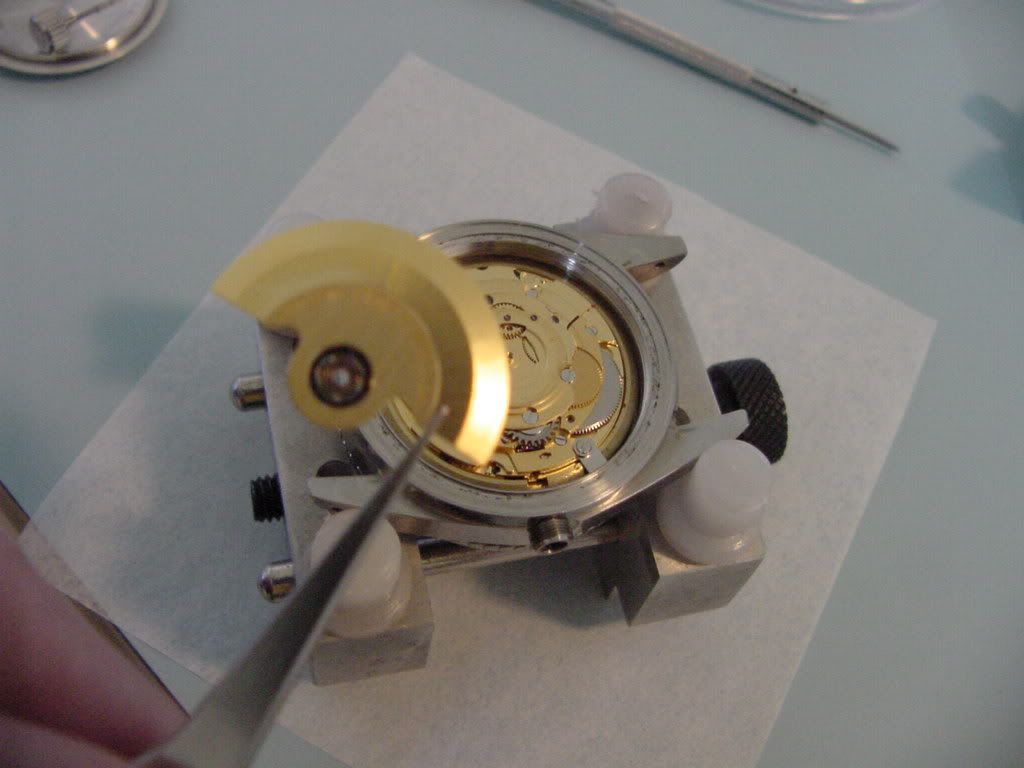
Now we can remove the clamps and take the movement out of the case.
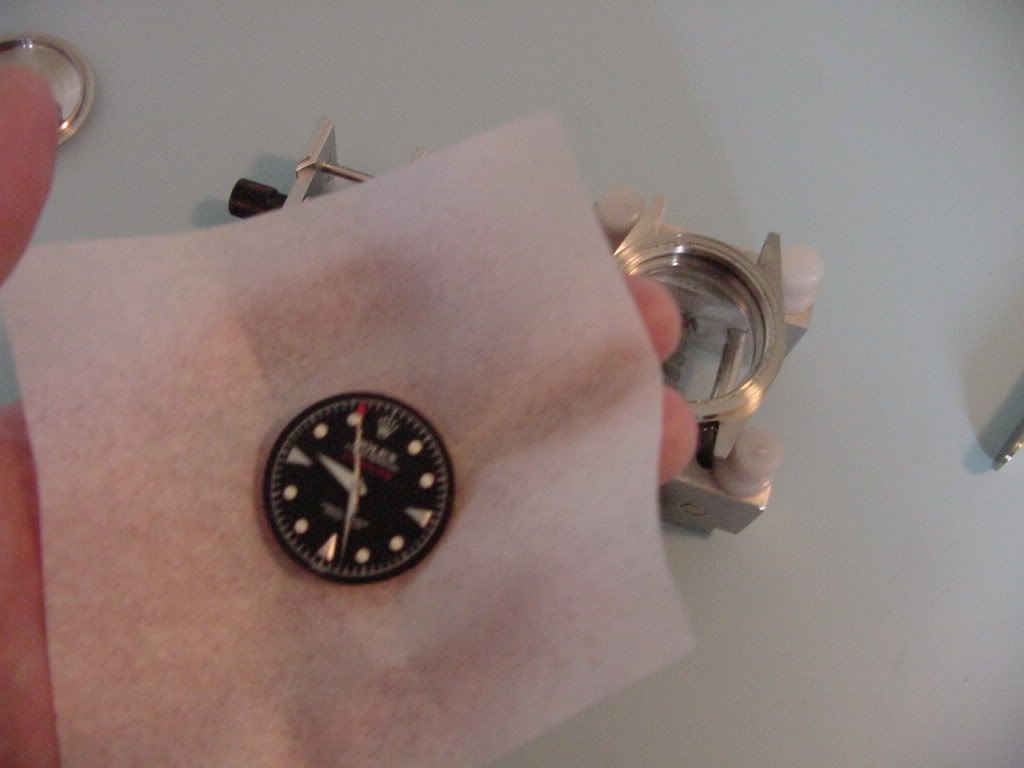
We put the movement in a movement clamp, replace the stem and and place the hands at 12:00, readying them for removal.
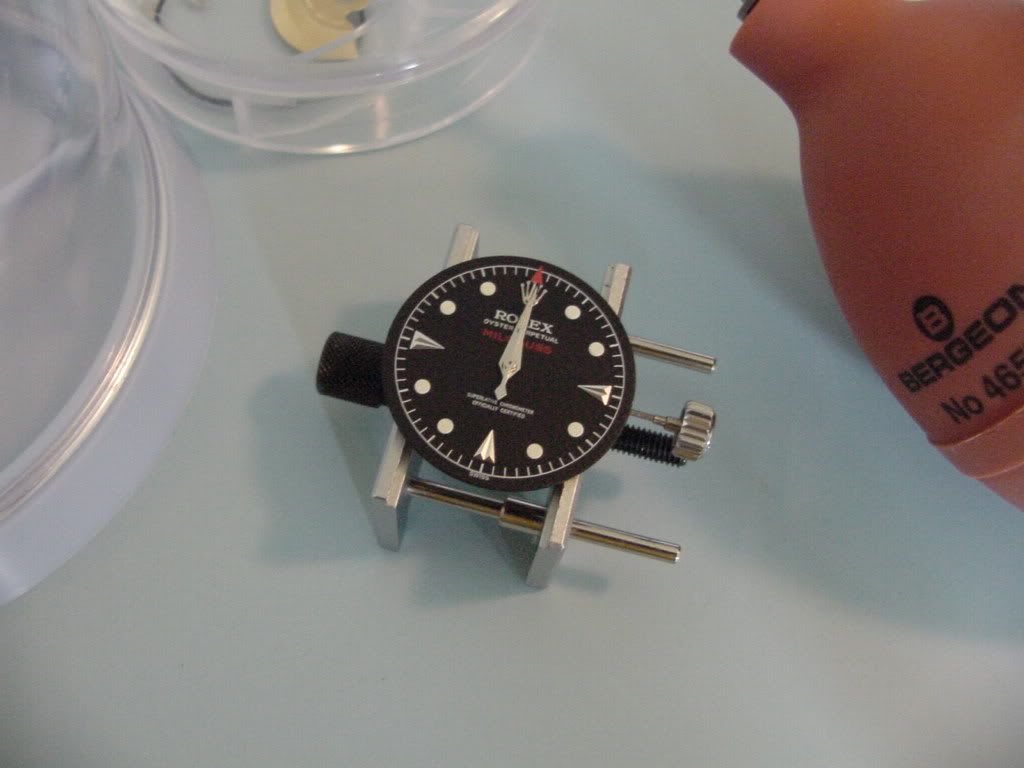
Next we protect the dial and carefully remove the hands with a specially designed tool.
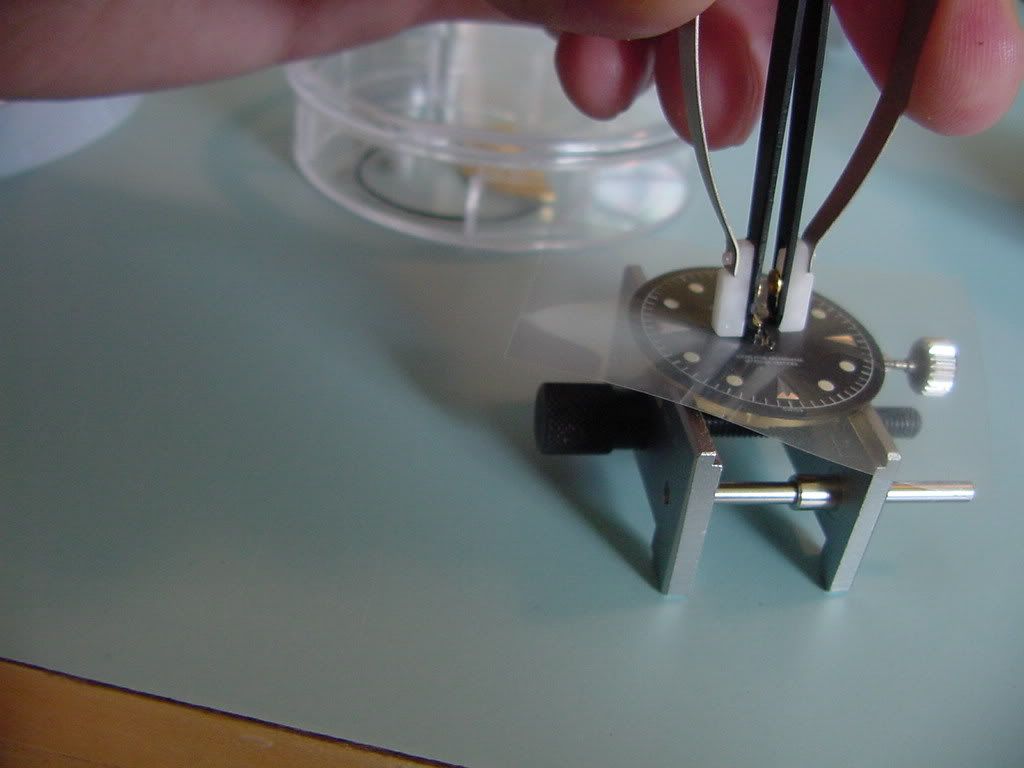
Once the hands are off they are wrapped in special lint-free watch tissue to protect them from scratches.
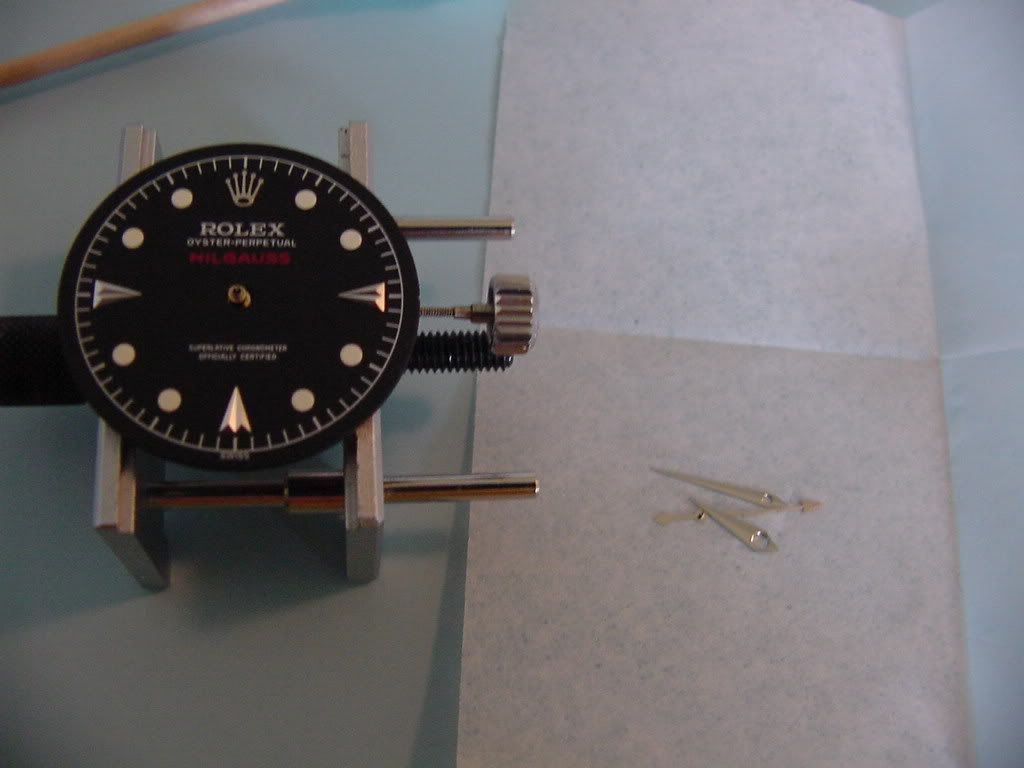
We do the same with the dial.
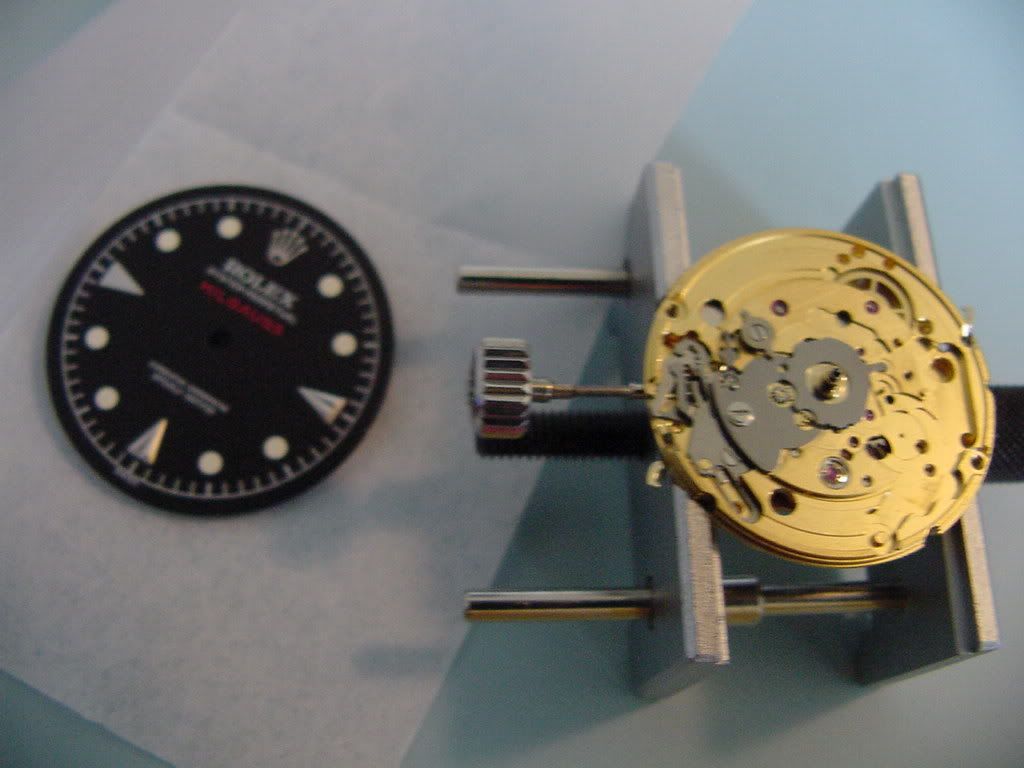
Now the movement is ready to be inspected and disassembled.
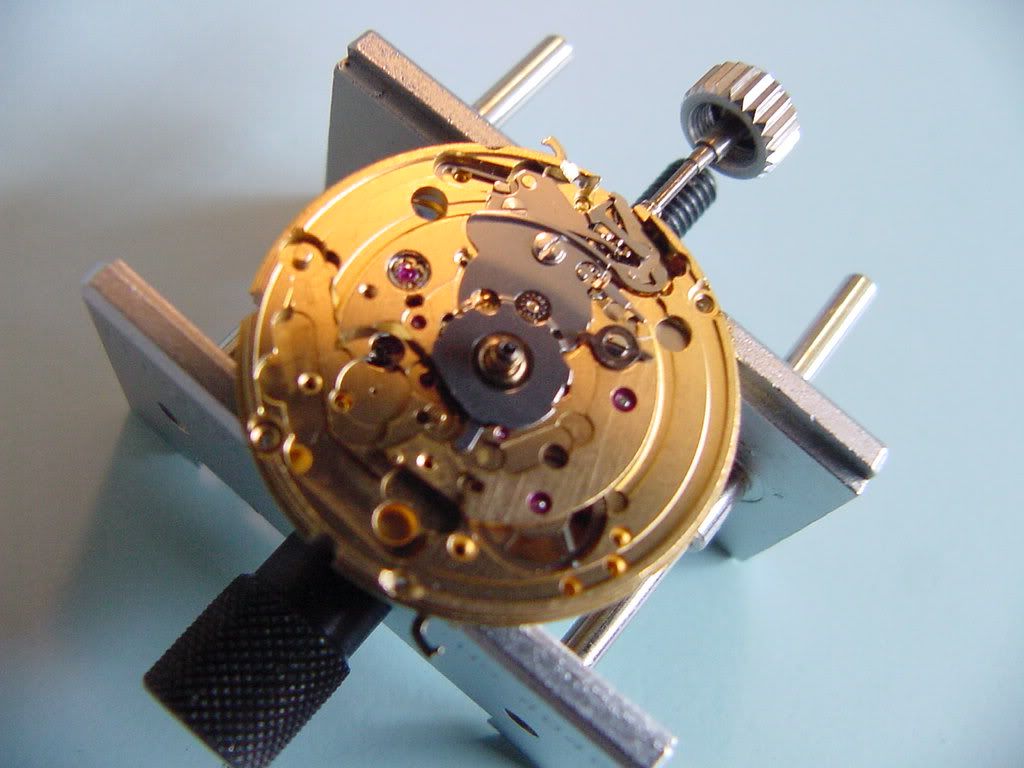
We remove the balance cap jewels with a special tool made from pegwood for Kif-style springs, normal tweezers for Incablocs.
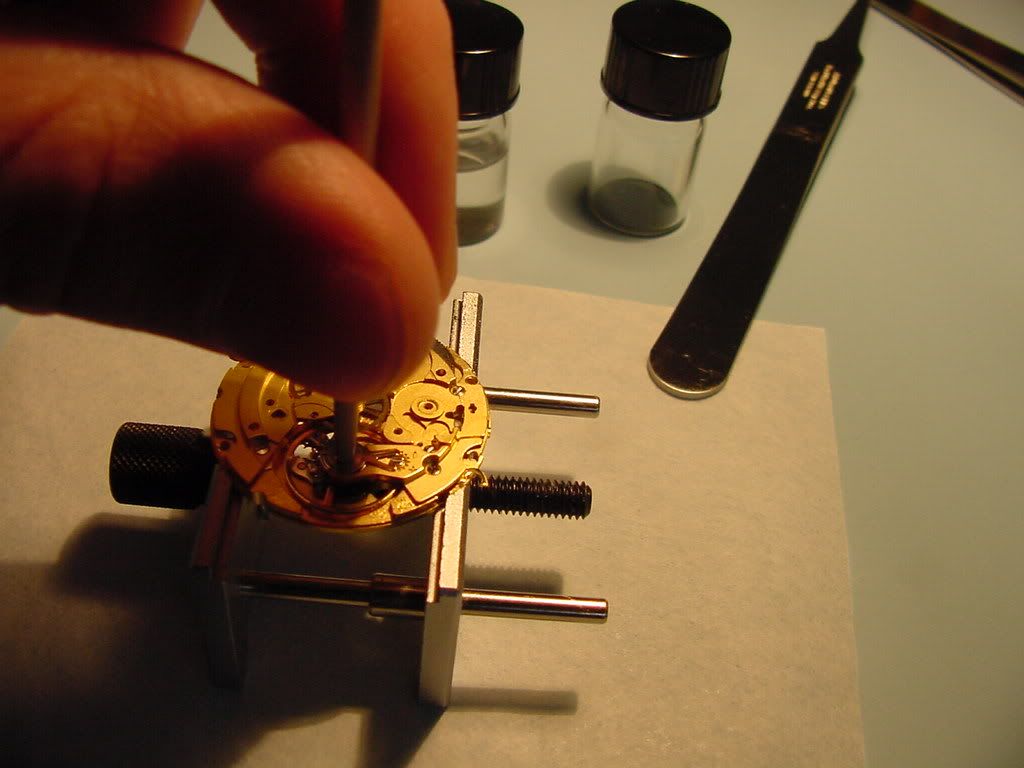
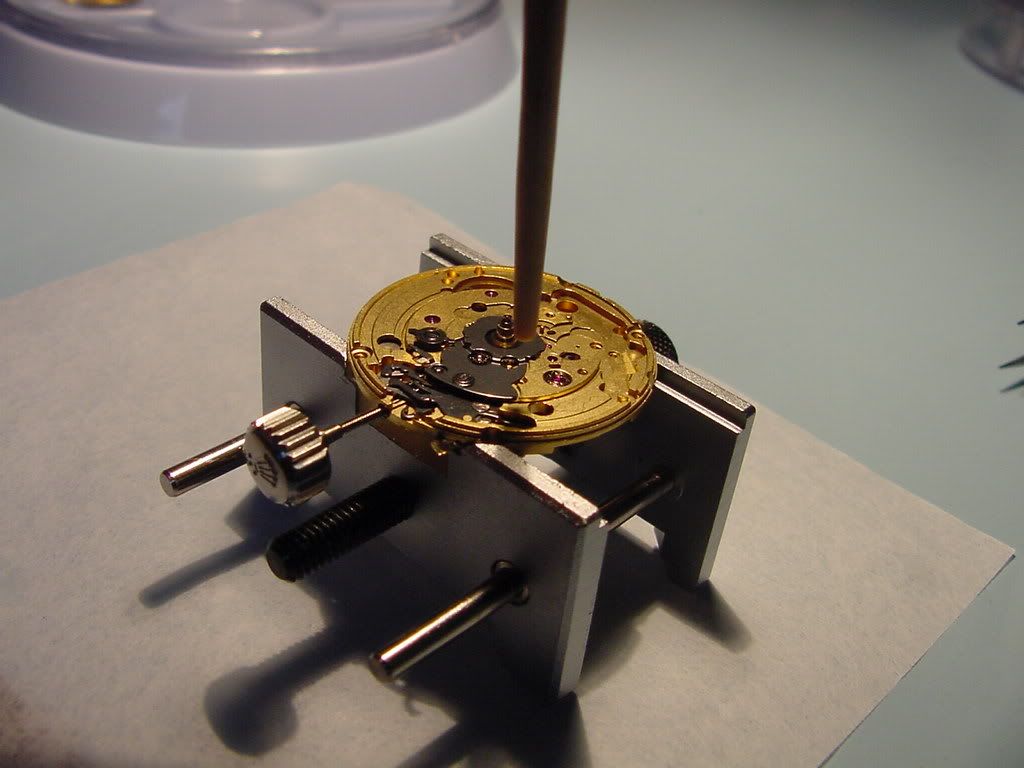
Once we've got them off we place the cap jewels into a small vial of a toxic chemical called "One dip", or Trichloroethane. The jewels are two-part assemblies that are held together by the capillary action or surface tension of the fine grade of oil used on them. The chemical we put them in dissolves the oil and cleans and "splits" the jewels so we can inspect them and oil them freshly.
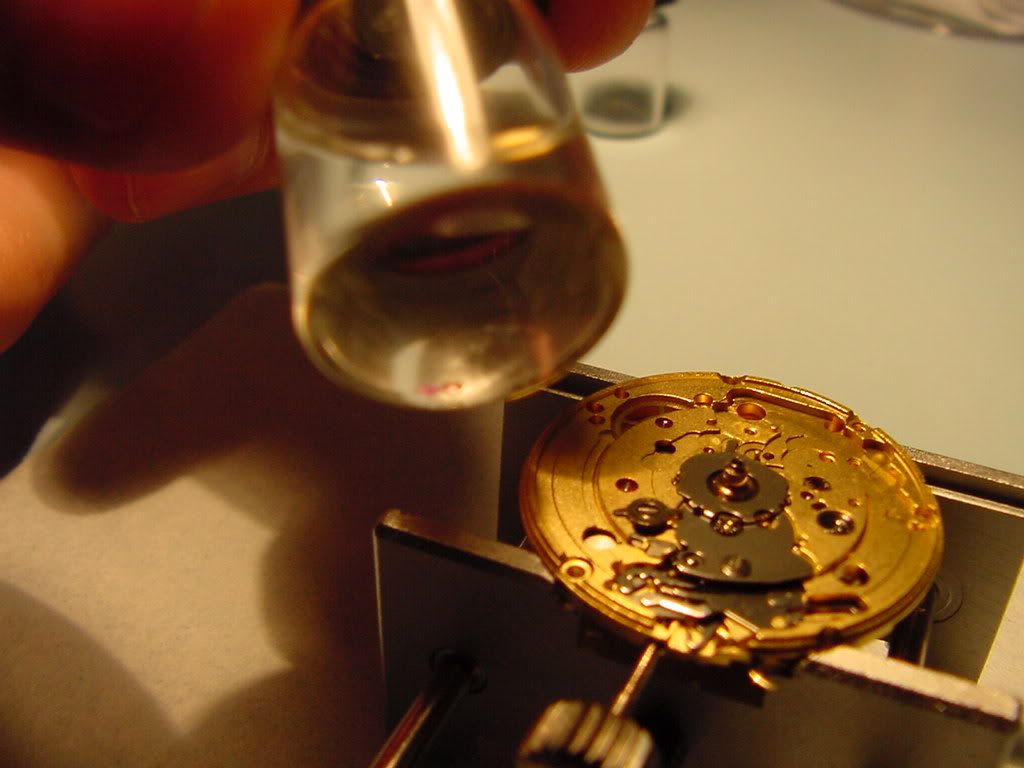
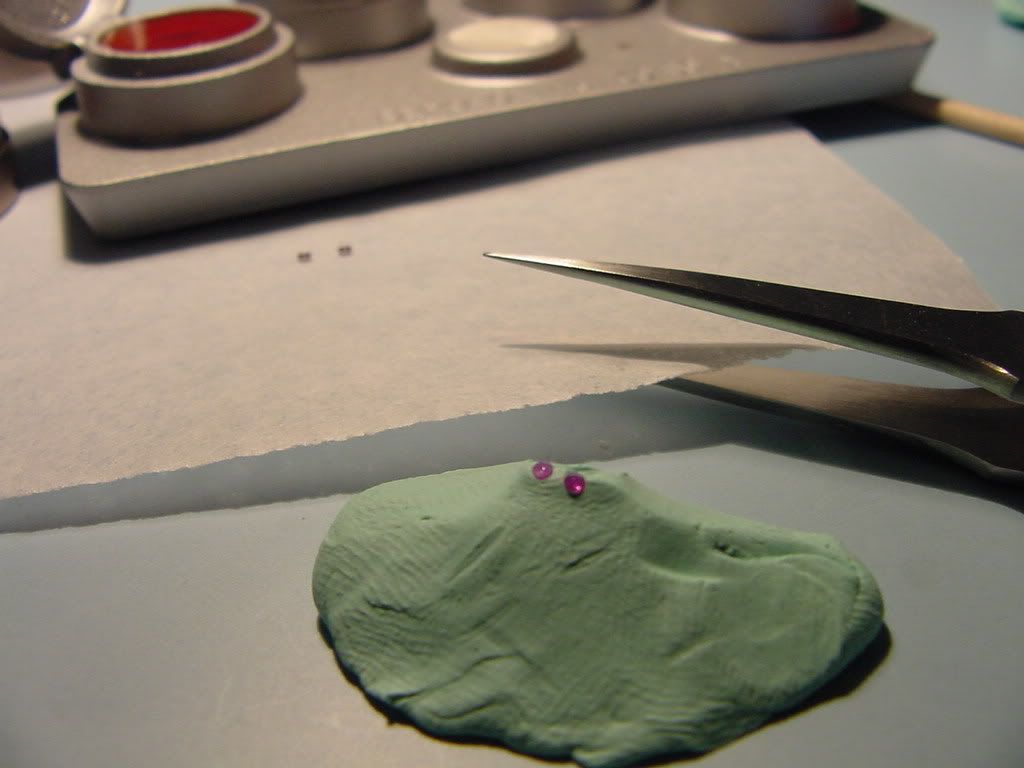
Here they are being oiled again after cleaning. The dot of oil in the middle of them is incredibly small. It must be precisely placed and sized to act and last properly over the years on this critical part of the movement.
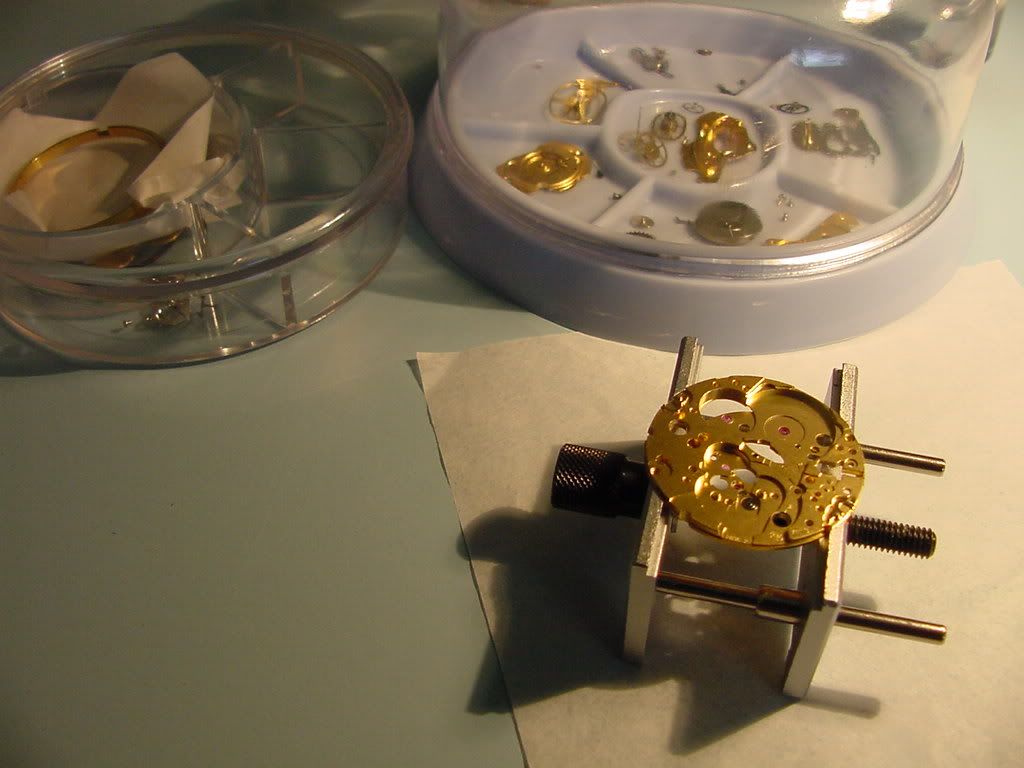
The oiled cap jewels are set aside and we move to disassemble the rest of the movement. Here it is pulled apart and ready for the cleaner.
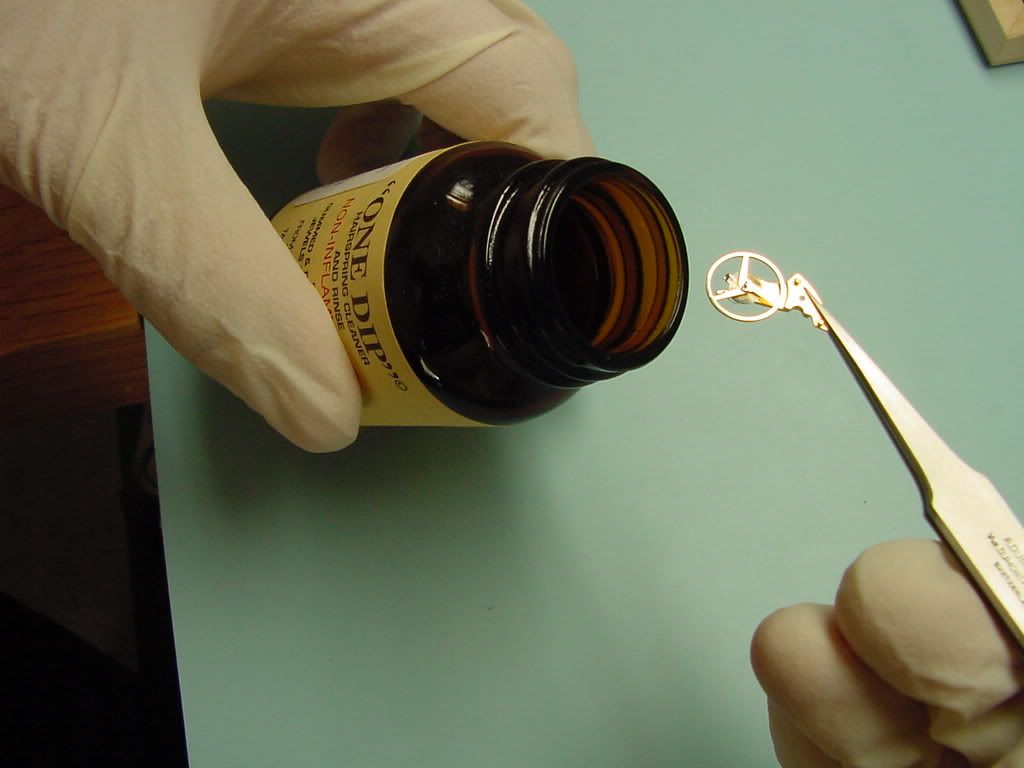
Before we clean everything else, first we clean the whole balance assembly in One Dip. It's too delicate for the parts cleaners, and is only further disassembled if there is a serious problem with the hairspring, balance or pivot.
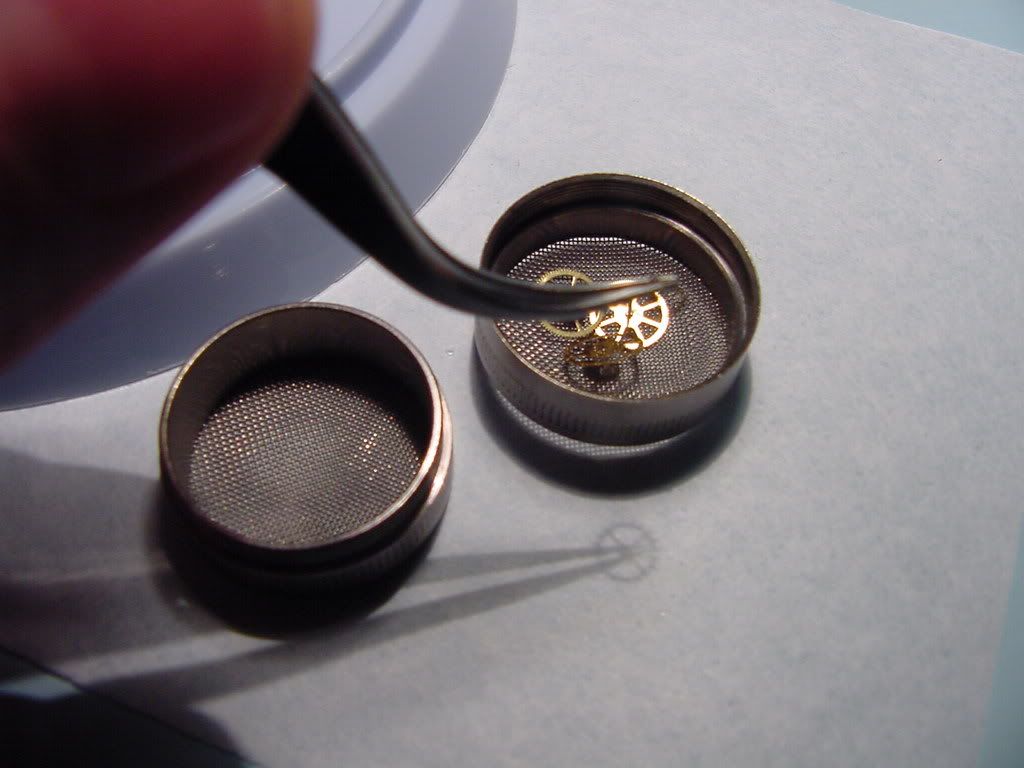
Placing parts in one of the specialized baskets for cleaning. This is one of many different types of baskets we use.
Next we move over to the cleaning machines. The machines use special watch-specific flammable cleaning fluids, and care must be exercised around them. Here we see the technician using the mechanical machine, with the powerful industrial ultrasonic going beside it. Both machines are made by L&R, they have been in the watch parts cleaner business for years. They also make the cleaning fluids we use.
Both are effective methods of cleaning, using the same three steps. One cleaner step, using the yellowish fluid seen in the picture, and two rinse steps; the mechanical also having a spin-dry cycle. The ultrasonic is a little slower to use, but sometimes the extra power is required. Usually when busy both machines are running at the same time.

Everything out of the cleaner and ready to go back together.
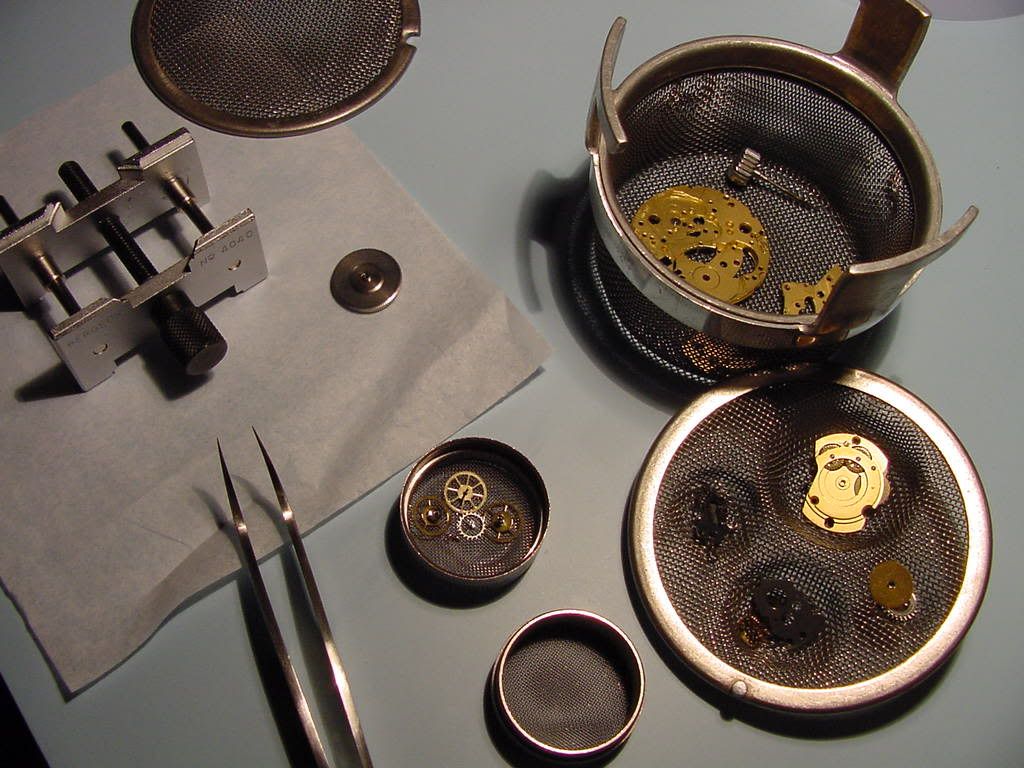
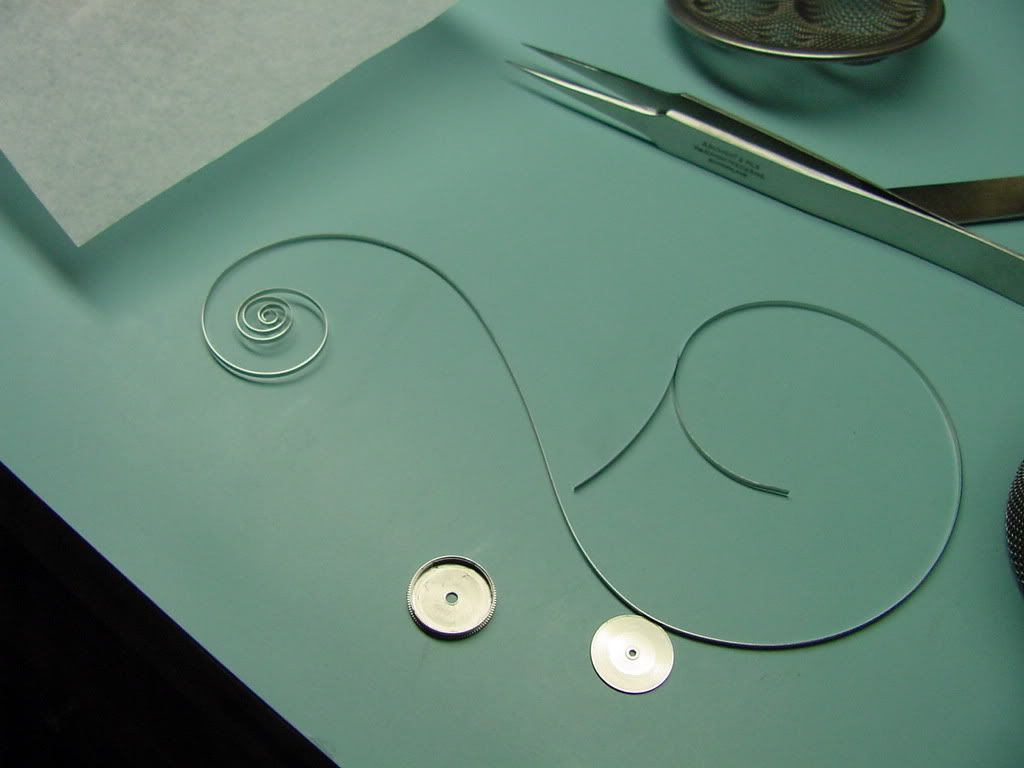
Once everything is clean and blown or spun dry, we reassemble and lubricate the mainspring barrel. It gets its own large basket for cleaning. 3 different grades of lubricant are used on this one part. It's critical that it work smoothly as this is the power delivery system for the whole watch. That long spring must be tightly wound into the barrel which is smaller than the diameter of a dime.
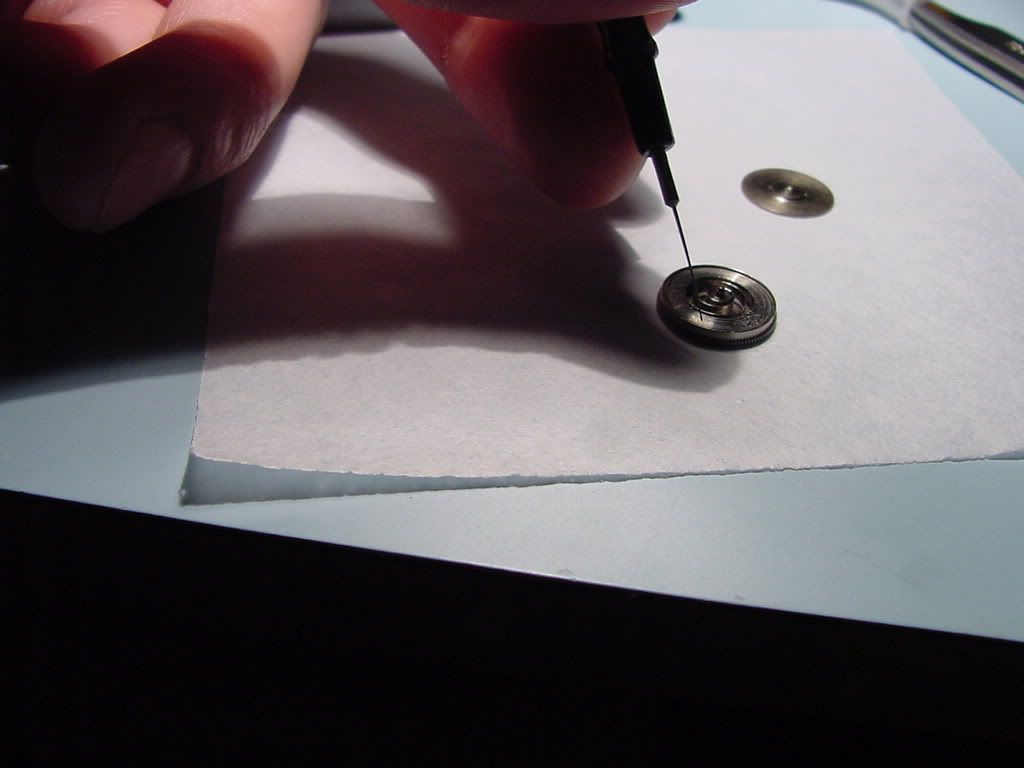
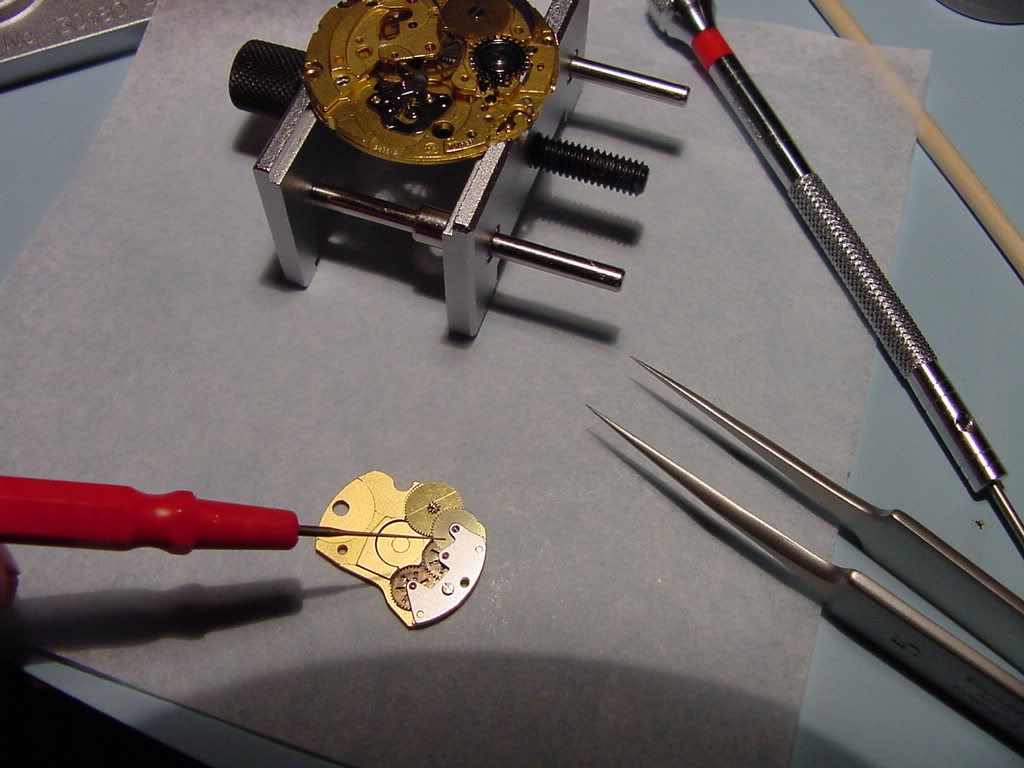
Then we start reassembling and lubricating the watch. We use 7 different grades of lubricants on a typical ETA automatic. Here the wheel train bridge assembly is back together and the technician is removing any fingerprints or oil smudges with a special cleaning putty on pegwood. This task is performed throughout the reassembly process along with the dust blower to keep the parts perfectly clean.
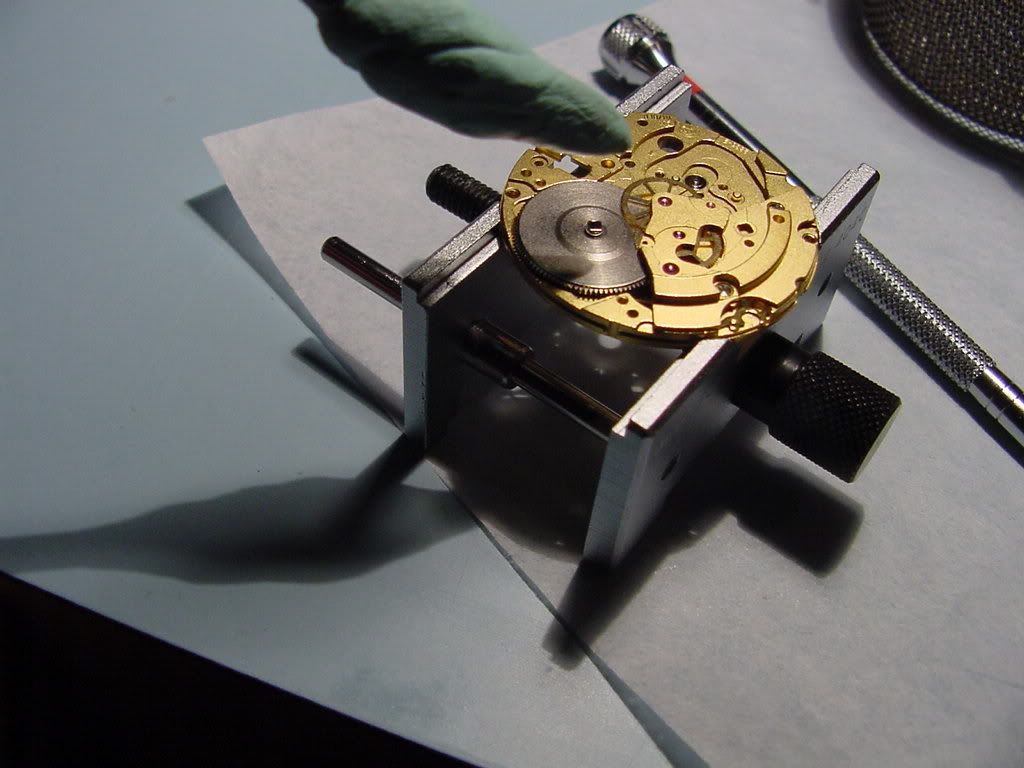
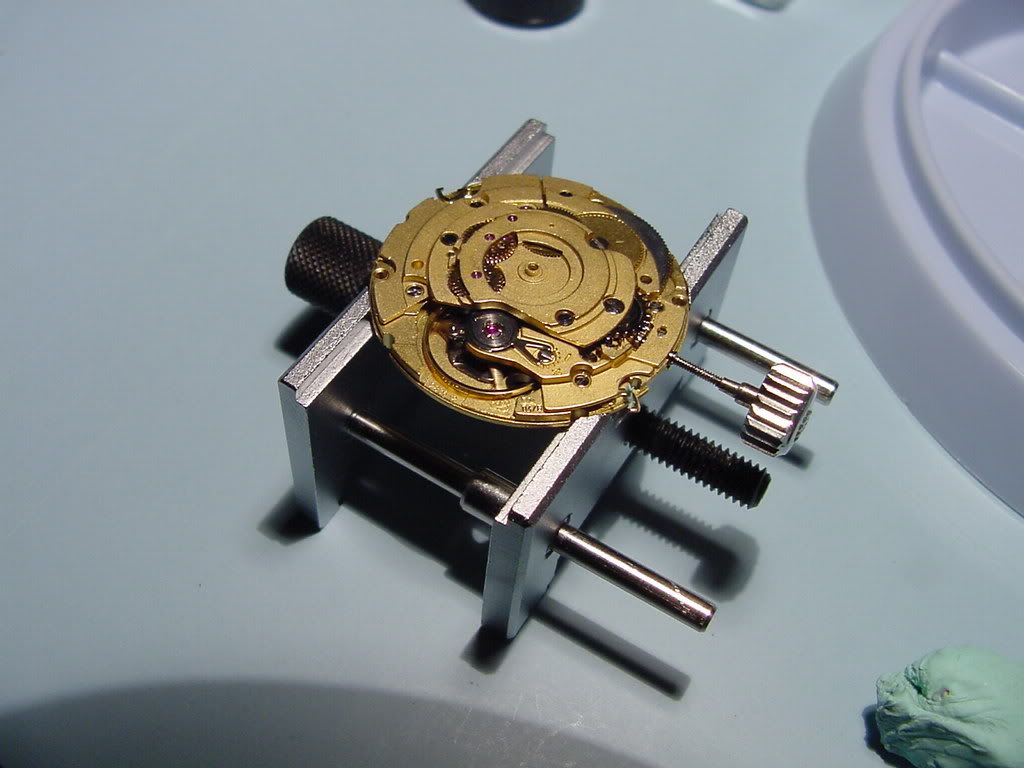
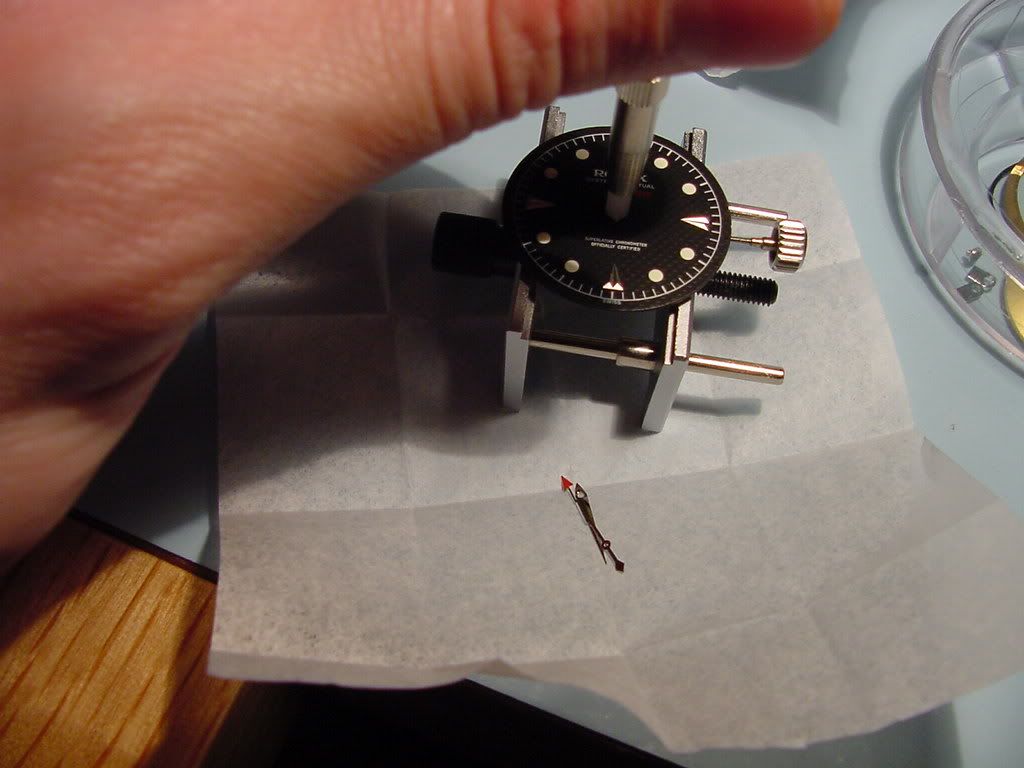
Once reassembled and oiled, we're ready to put the dial and hands back on with our handsetting tool. Again, care is exercised to insure nothing is damaged and the hands are all correctly aligned.
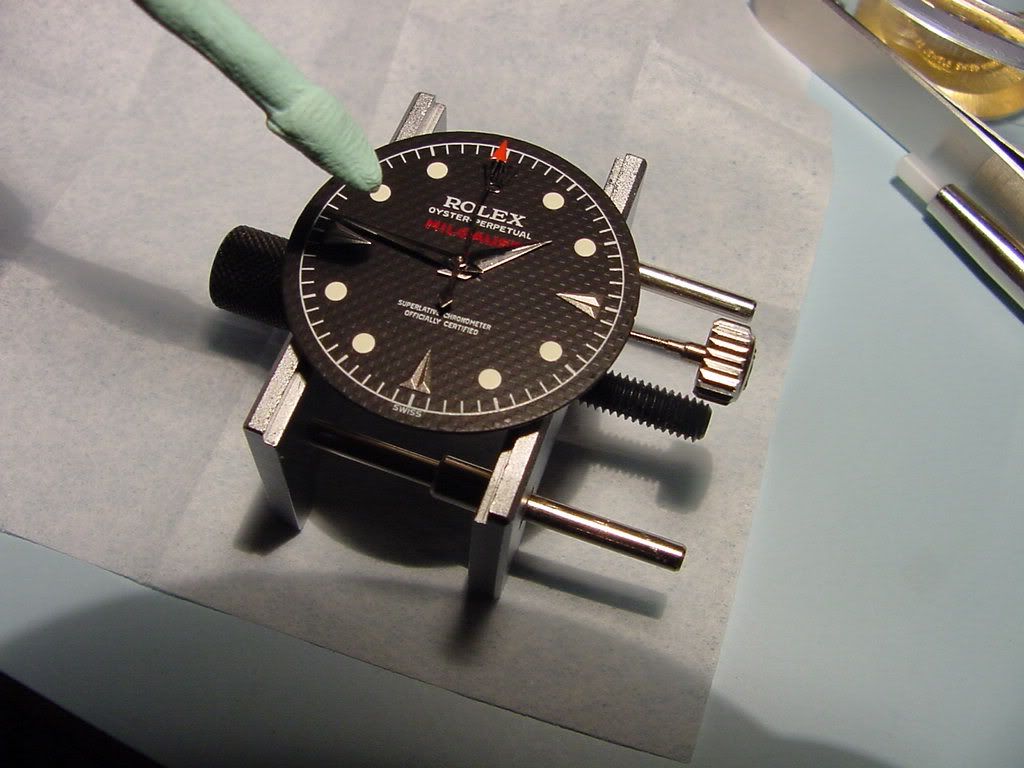
After we get them on, we give them a quick wipe to clean them, again checking that their alignment has not been disturbed by the cleaning.
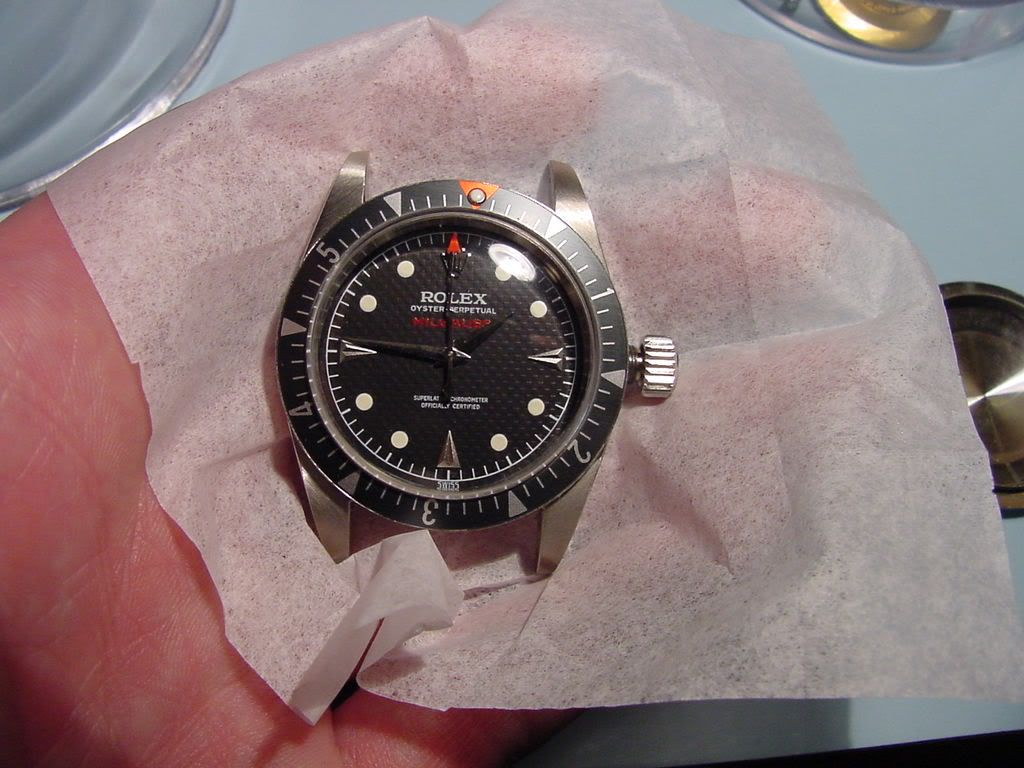
The watch is given a once over again, and is ready to go back into the case. The caseback is placed on loosely to facilitate the adjustments we will make during regulation. All functions are checked for proper operation before we proceed further.
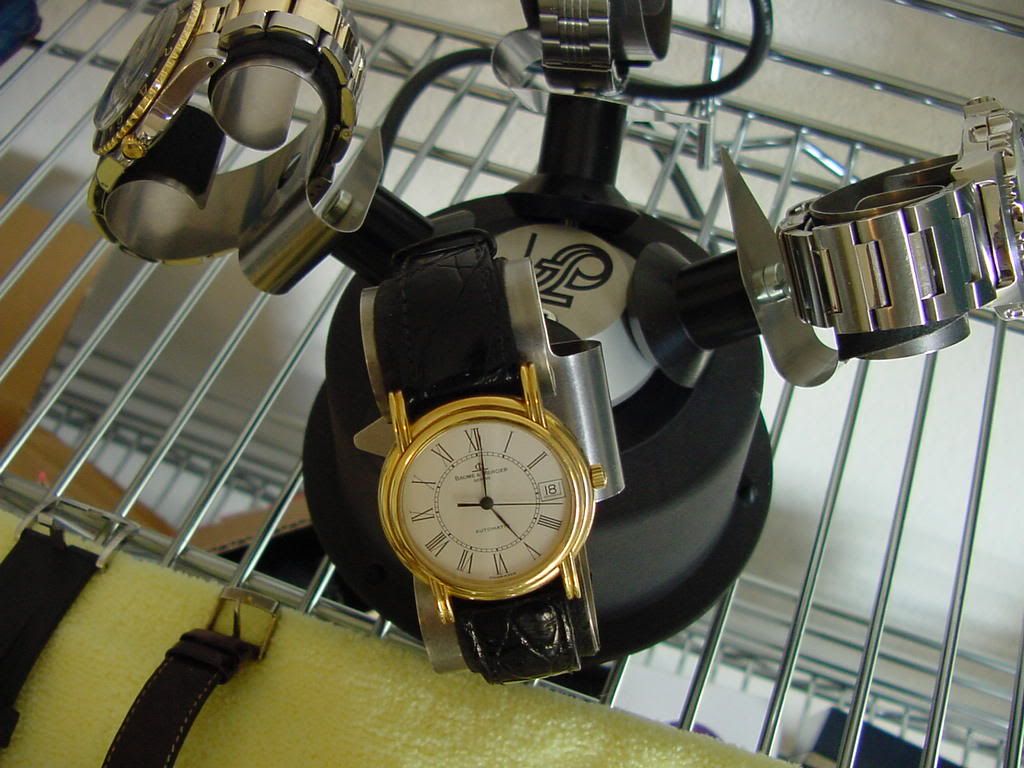
We give the movement a wind, then if it's an automatic it goes on the automatic winder for 48 hours to help distribute the oils and make sure everything is working well and there are no problems.
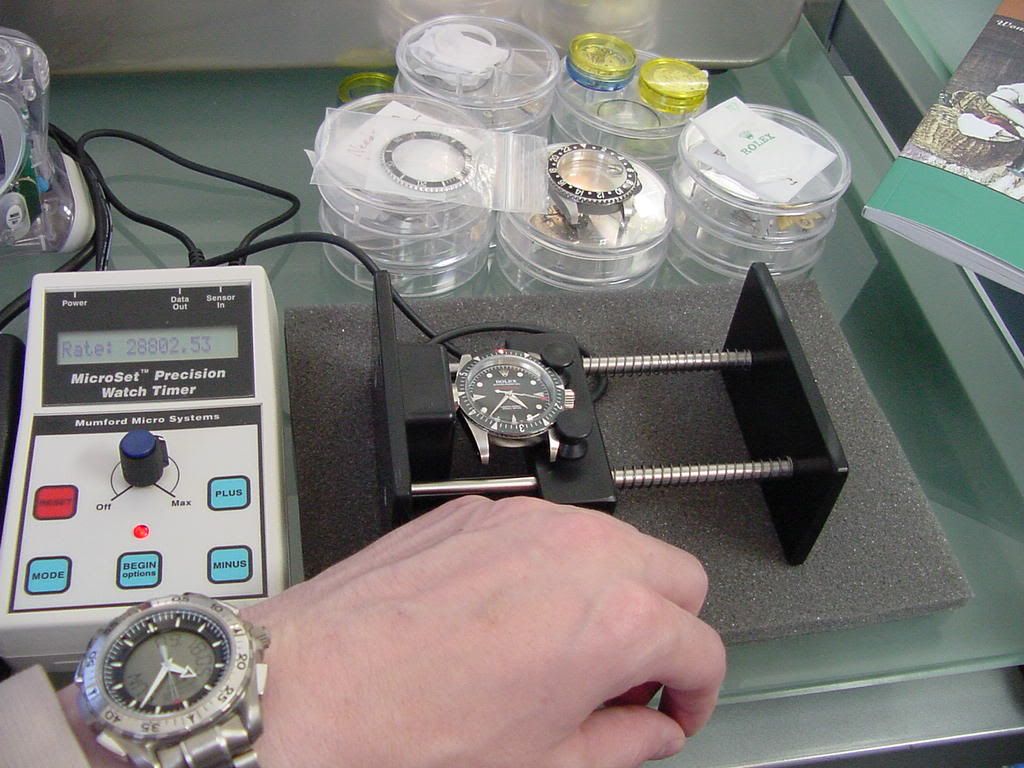
Once it's passed that test, it goes to the timing machine. This machine works both on its own and interfaces with a computer. Here the watch is being tested in the dial up position.
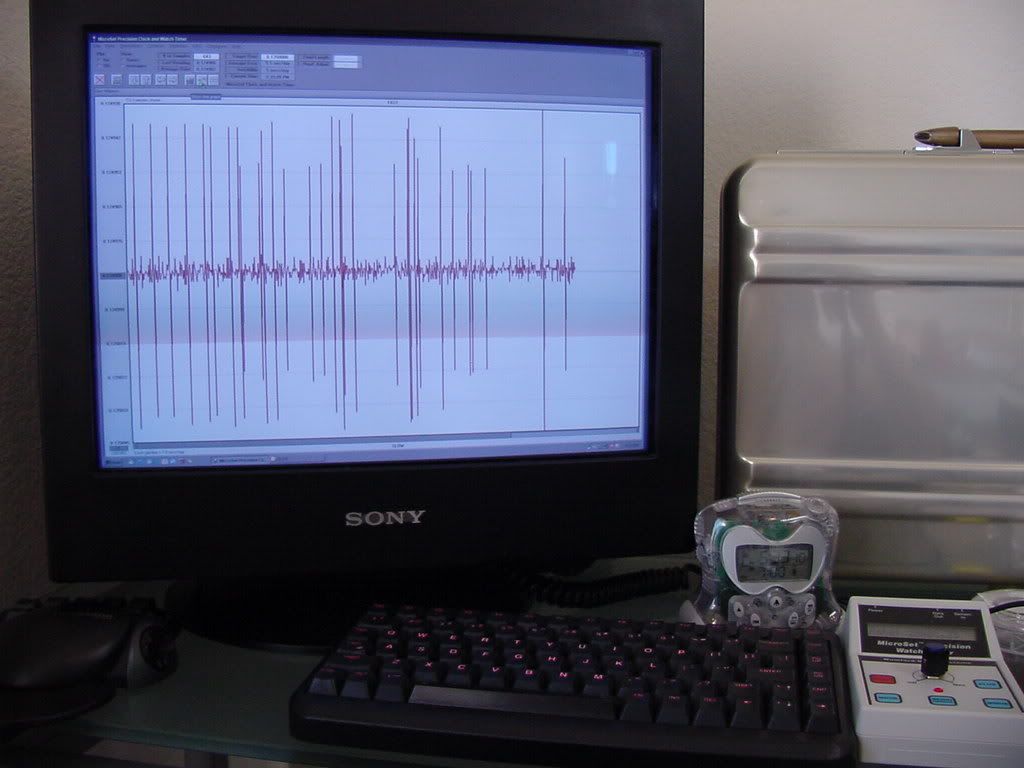
Here we see one of the readouts as we adjust both the timing machine and the watch for accurate readings.
The watch being moved to another position for testing.
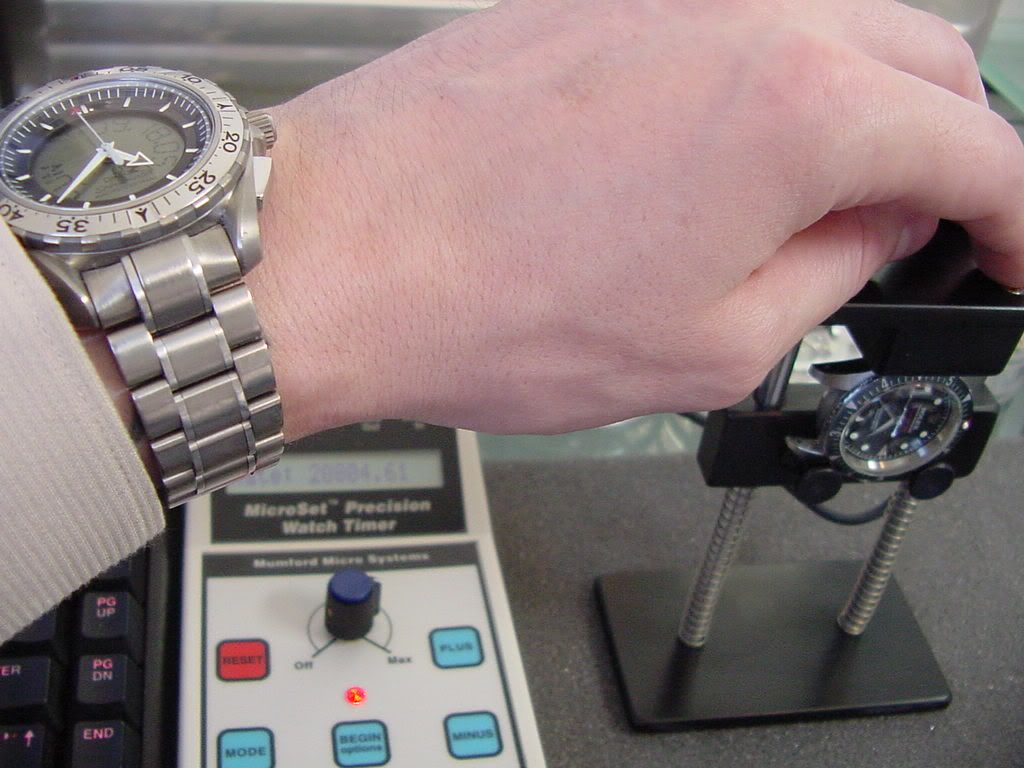
Readings will be taken and recorded on a printout for the owner in 5 positions once the watch has been regulated to the technician's satisfaction. After all that, the gaskets are lubricated sparingly with silicone grease, and the caseback is tightened properly.
The rest of the paperwork is filled out, anything worth noting about the watch is recorded, the 1 year guarantee is stapled to the results and notes, and the watch is given a quick wipedown with a 3m microfiber cloth. Finally the watch is ready to return to its owner. And there you have the anatomy of a general watch service!
hope u learned something and enjoyed it
joe
Many say this has helped them with doing it themselves and many just like this kind of stuff so i felt i and my friend would give u a nice show, and yes we do offer this service investigated, it is a repeat but i felt being one of the members who helped get this board started that this kind of stuff is what we r all about!! ENJOY
Starting out we inspect the watch visually and listen to the movement for any anomalous noises that could lead to clues toward problems yet to be seen.

Next we demagnetize the watch for the first time during service. We will also demagnetize the watch again after servicing, right before regulation. Magnetised parts are problematic both for timekeeping and when working on a movement. There is nothing more bothersome than a microscopic screw that sticks to your screwdriver or tweezers. Our machine is a classic bakelite Elimag, it's a common machine you'll find in many watchmakers shops.

Then we open the caseback in our opener. This type of opener is designed to be able to open and tighten casebacks without slipping and marring the caseback.

Once the caseback is loose, we go back to the bench and let the mainspring down slowly and carefully.

After that is done, we release and remove the stem.


Then we remove the rotor.

Now we can remove the clamps and take the movement out of the case.

We put the movement in a movement clamp, replace the stem and and place the hands at 12:00, readying them for removal.

Next we protect the dial and carefully remove the hands with a specially designed tool.

Once the hands are off they are wrapped in special lint-free watch tissue to protect them from scratches.

We do the same with the dial.

Now the movement is ready to be inspected and disassembled.

We remove the balance cap jewels with a special tool made from pegwood for Kif-style springs, normal tweezers for Incablocs.


Once we've got them off we place the cap jewels into a small vial of a toxic chemical called "One dip", or Trichloroethane. The jewels are two-part assemblies that are held together by the capillary action or surface tension of the fine grade of oil used on them. The chemical we put them in dissolves the oil and cleans and "splits" the jewels so we can inspect them and oil them freshly.

Here they are being oiled again after cleaning. The dot of oil in the middle of them is incredibly small. It must be precisely placed and sized to act and last properly over the years on this critical part of the movement.

The oiled cap jewels are set aside and we move to disassemble the rest of the movement. Here it is pulled apart and ready for the cleaner.

Before we clean everything else, first we clean the whole balance assembly in One Dip. It's too delicate for the parts cleaners, and is only further disassembled if there is a serious problem with the hairspring, balance or pivot.

Placing parts in one of the specialized baskets for cleaning. This is one of many different types of baskets we use.

Next we move over to the cleaning machines. The machines use special watch-specific flammable cleaning fluids, and care must be exercised around them. Here we see the technician using the mechanical machine, with the powerful industrial ultrasonic going beside it. Both machines are made by L&R, they have been in the watch parts cleaner business for years. They also make the cleaning fluids we use.
Both are effective methods of cleaning, using the same three steps. One cleaner step, using the yellowish fluid seen in the picture, and two rinse steps; the mechanical also having a spin-dry cycle. The ultrasonic is a little slower to use, but sometimes the extra power is required. Usually when busy both machines are running at the same time.

Everything out of the cleaner and ready to go back together.

Once everything is clean and blown or spun dry, we reassemble and lubricate the mainspring barrel. It gets its own large basket for cleaning. 3 different grades of lubricant are used on this one part. It's critical that it work smoothly as this is the power delivery system for the whole watch. That long spring must be tightly wound into the barrel which is smaller than the diameter of a dime.


Then we start reassembling and lubricating the watch. We use 7 different grades of lubricants on a typical ETA automatic. Here the wheel train bridge assembly is back together and the technician is removing any fingerprints or oil smudges with a special cleaning putty on pegwood. This task is performed throughout the reassembly process along with the dust blower to keep the parts perfectly clean.


Once reassembled and oiled, we're ready to put the dial and hands back on with our handsetting tool. Again, care is exercised to insure nothing is damaged and the hands are all correctly aligned.

After we get them on, we give them a quick wipe to clean them, again checking that their alignment has not been disturbed by the cleaning.

The watch is given a once over again, and is ready to go back into the case. The caseback is placed on loosely to facilitate the adjustments we will make during regulation. All functions are checked for proper operation before we proceed further.

We give the movement a wind, then if it's an automatic it goes on the automatic winder for 48 hours to help distribute the oils and make sure everything is working well and there are no problems.

Once it's passed that test, it goes to the timing machine. This machine works both on its own and interfaces with a computer. Here the watch is being tested in the dial up position.

Here we see one of the readouts as we adjust both the timing machine and the watch for accurate readings.

The watch being moved to another position for testing.

Readings will be taken and recorded on a printout for the owner in 5 positions once the watch has been regulated to the technician's satisfaction. After all that, the gaskets are lubricated sparingly with silicone grease, and the caseback is tightened properly.
The rest of the paperwork is filled out, anything worth noting about the watch is recorded, the 1 year guarantee is stapled to the results and notes, and the watch is given a quick wipedown with a 3m microfiber cloth. Finally the watch is ready to return to its owner. And there you have the anatomy of a general watch service!
hope u learned something and enjoyed it
joe
This is kinda a invalubale resource
http://people.timezone.com/mdisher/WatchSchool/pdfs/TZIllustratedGlossary.pdf
