Ok Guys,
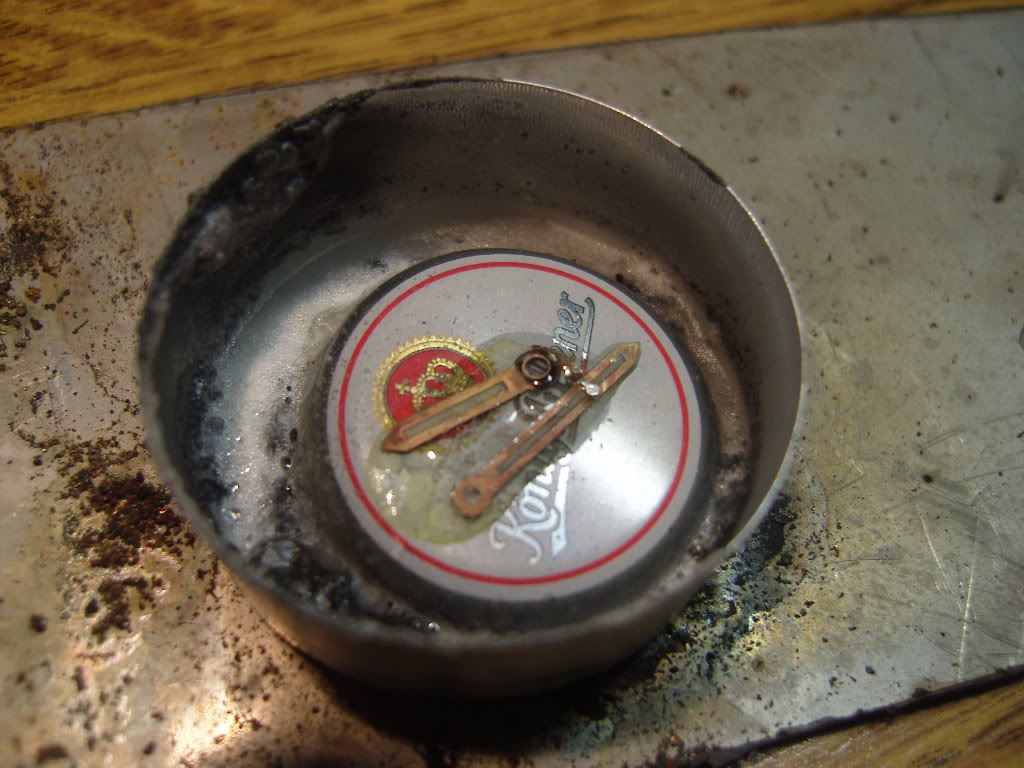
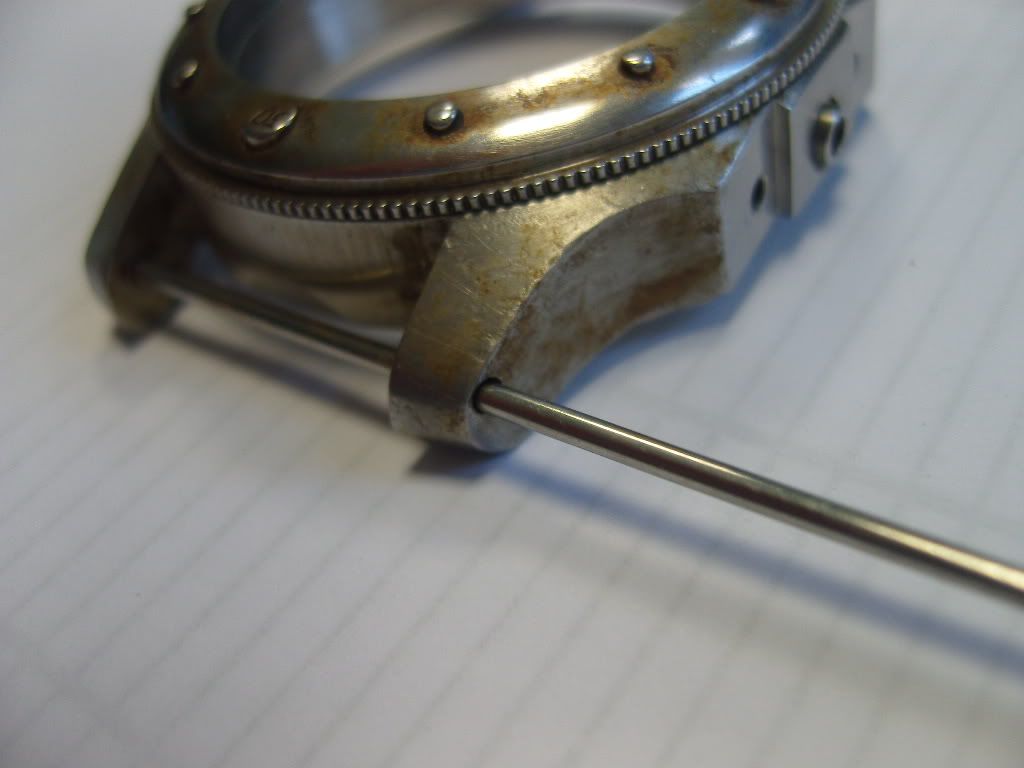
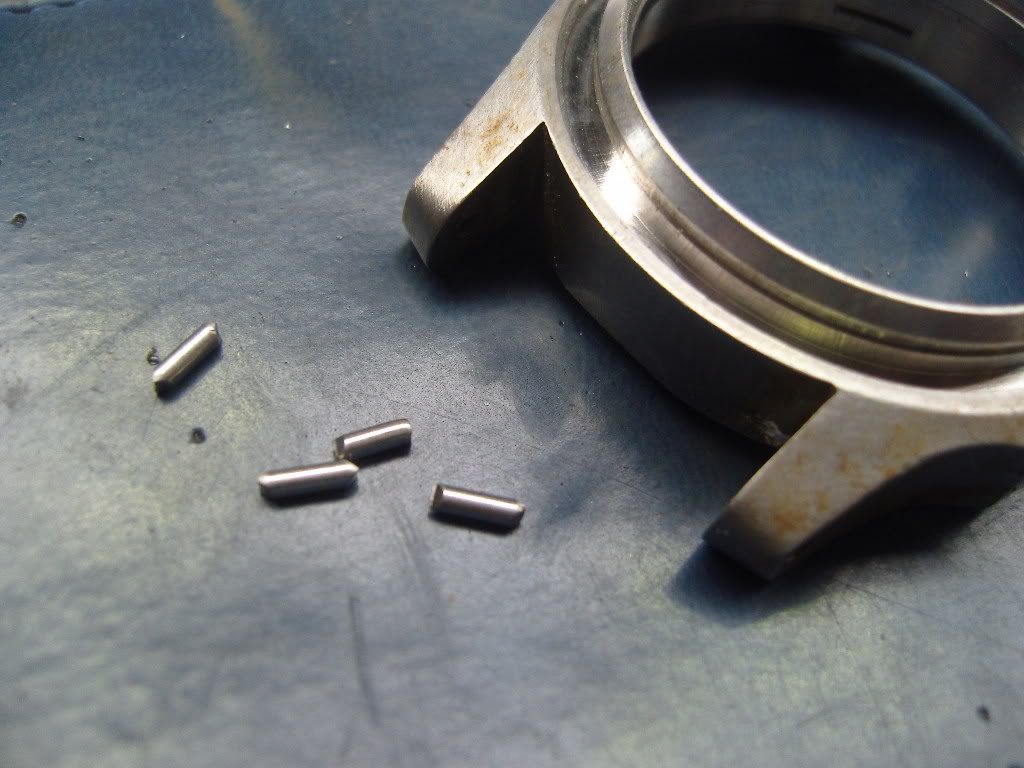
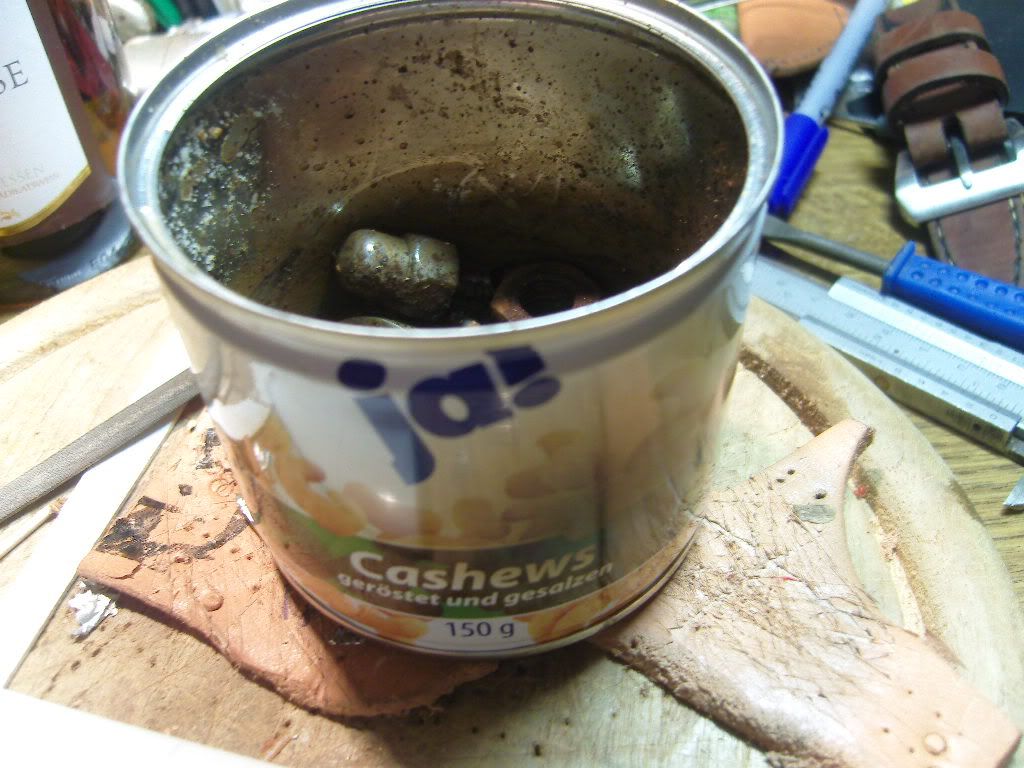
busy again yesterday. I took the case the day before yesterday in a can, together with rusty screws and some other scrap metal, added some water and were waiting for results.
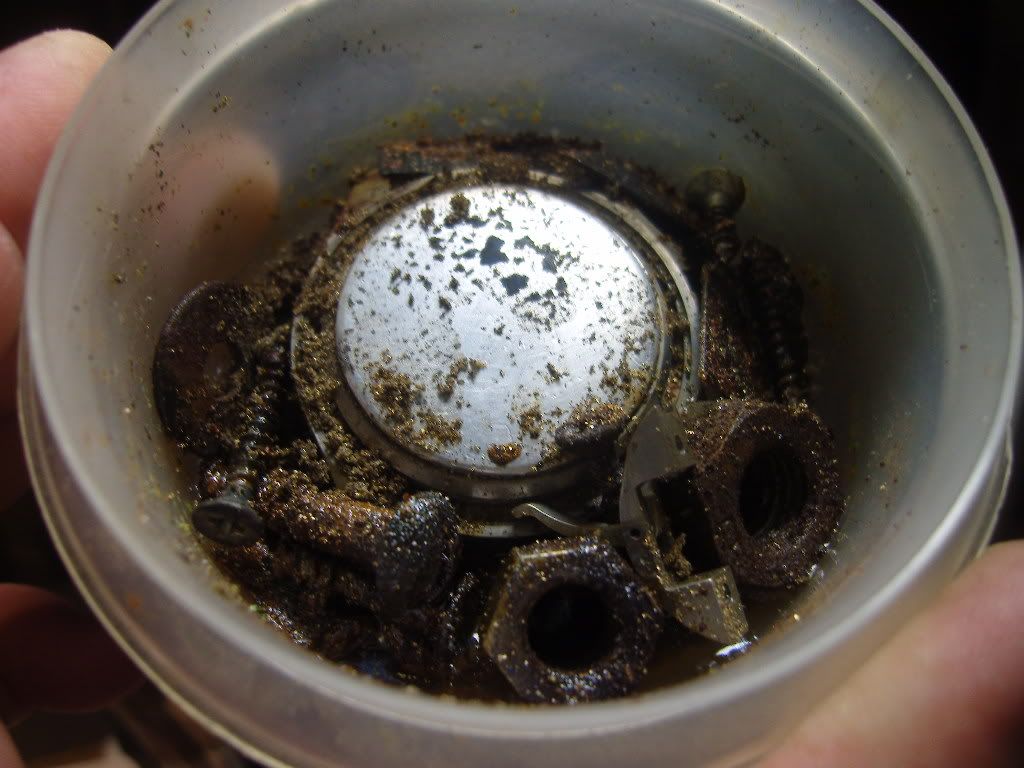
Here is the can with the case and the rusty stuff
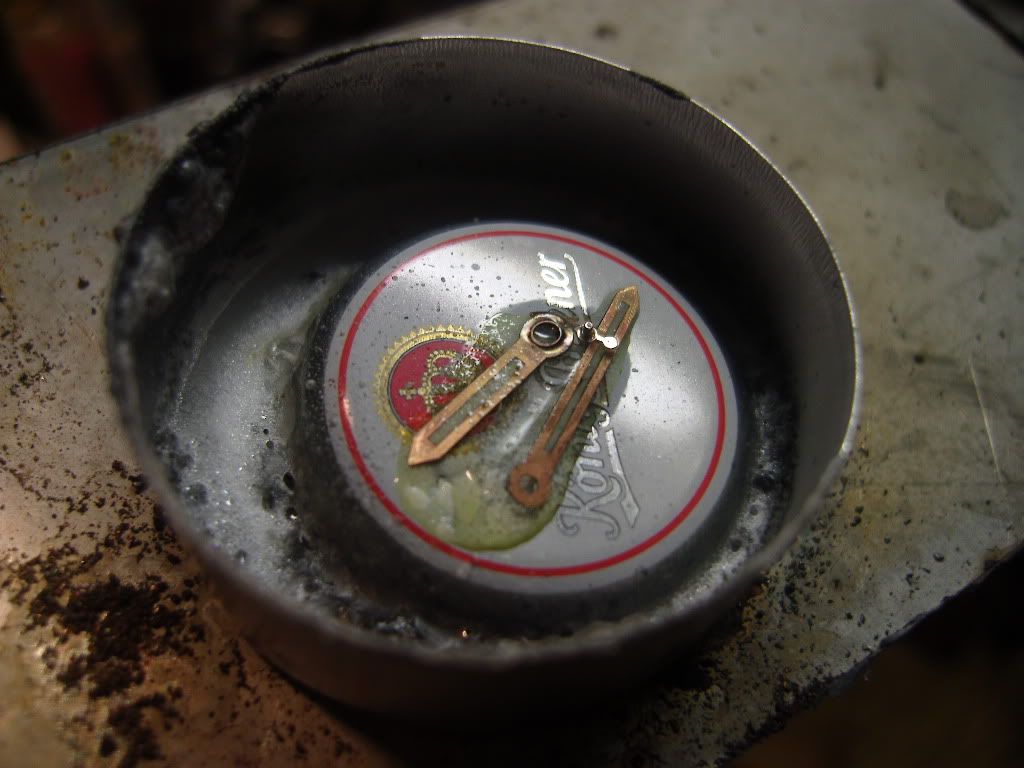
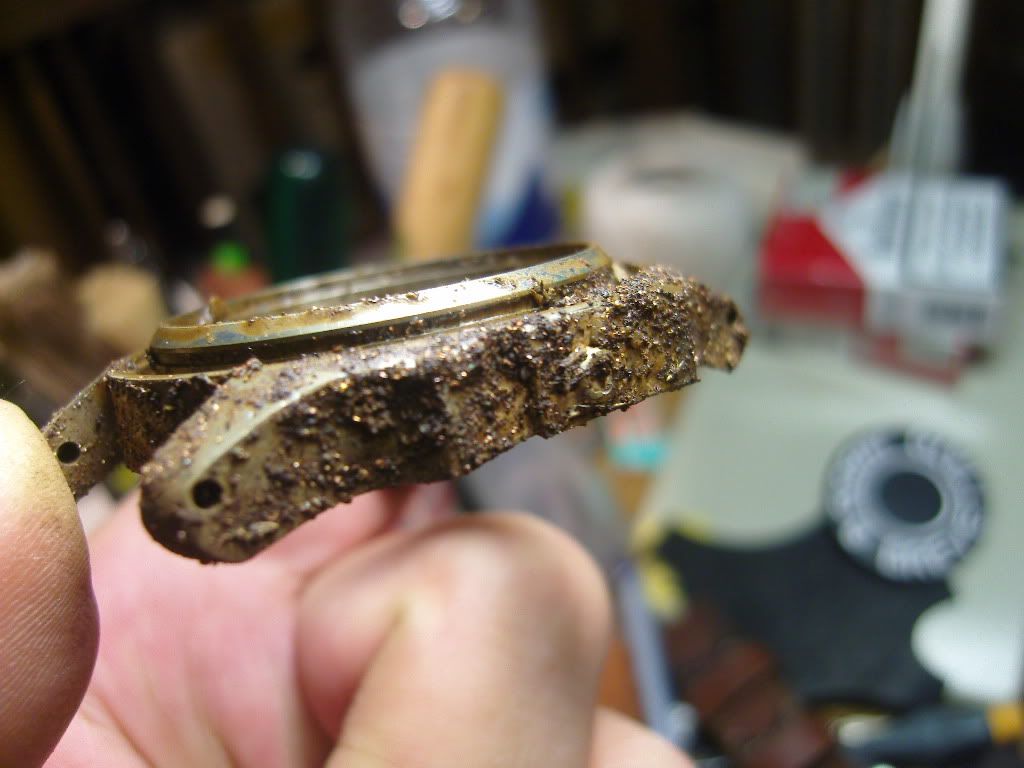
And this is what came out yesterday evening after about 24 hours
This was not the result I’ve expected. The rust was not permanent enough. L
I guess the case is made from a higher grade stainless steel, maybe more chrome in it.
So, what now ?
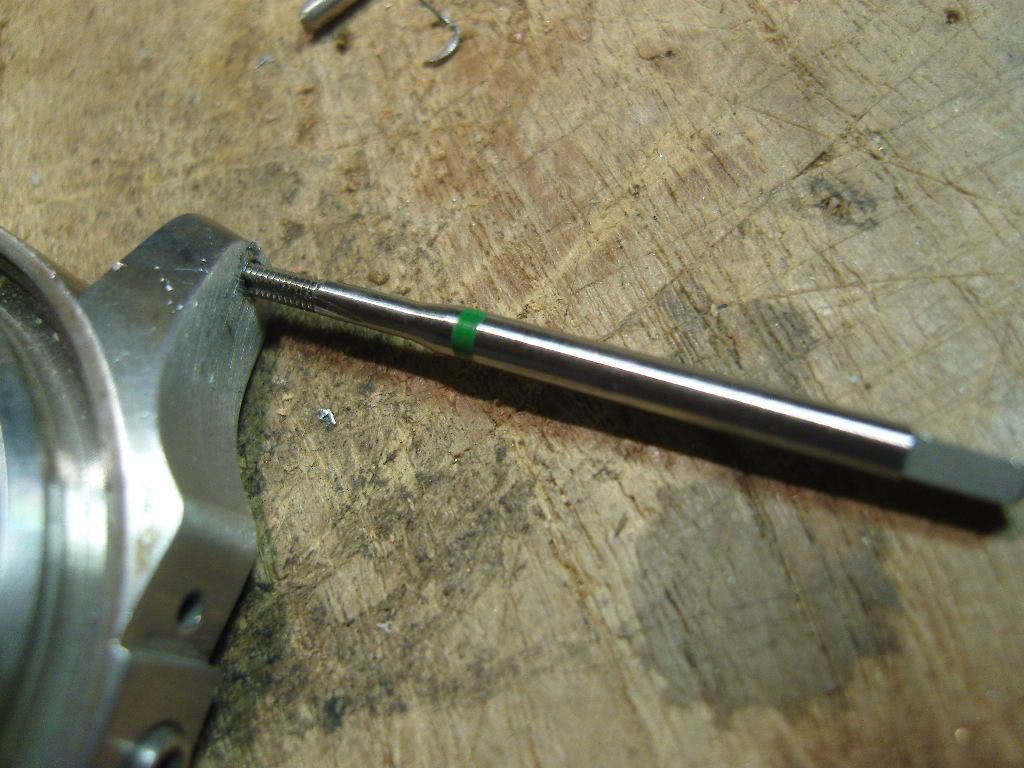
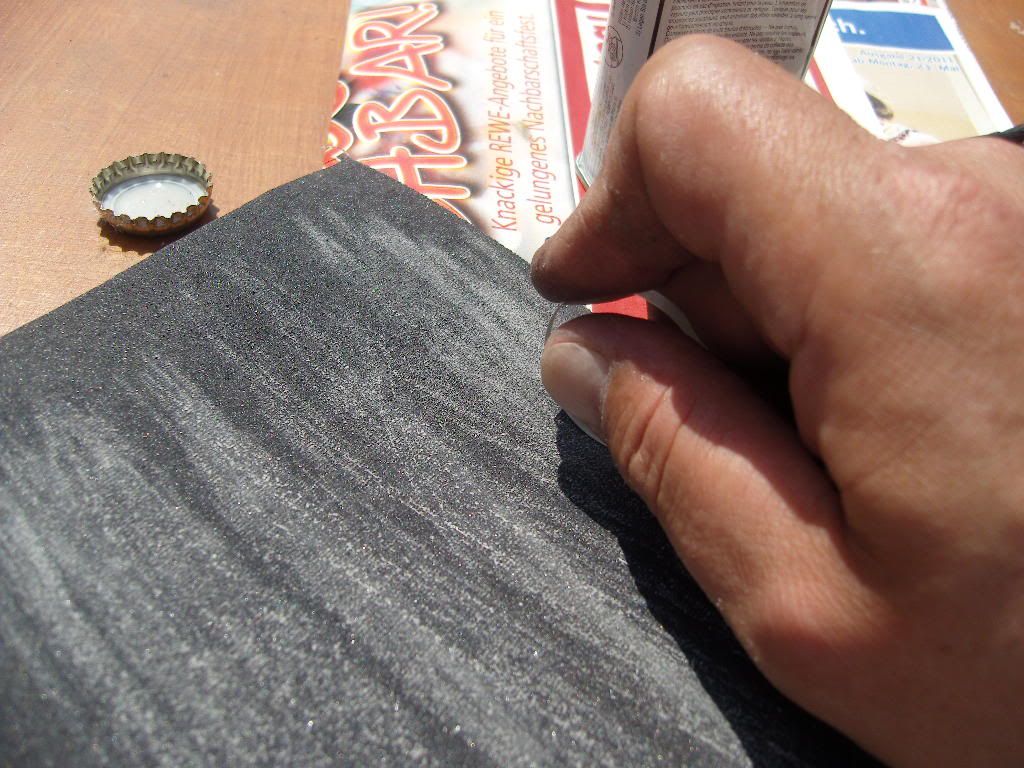
I had some muriatic acid and a rusty drill
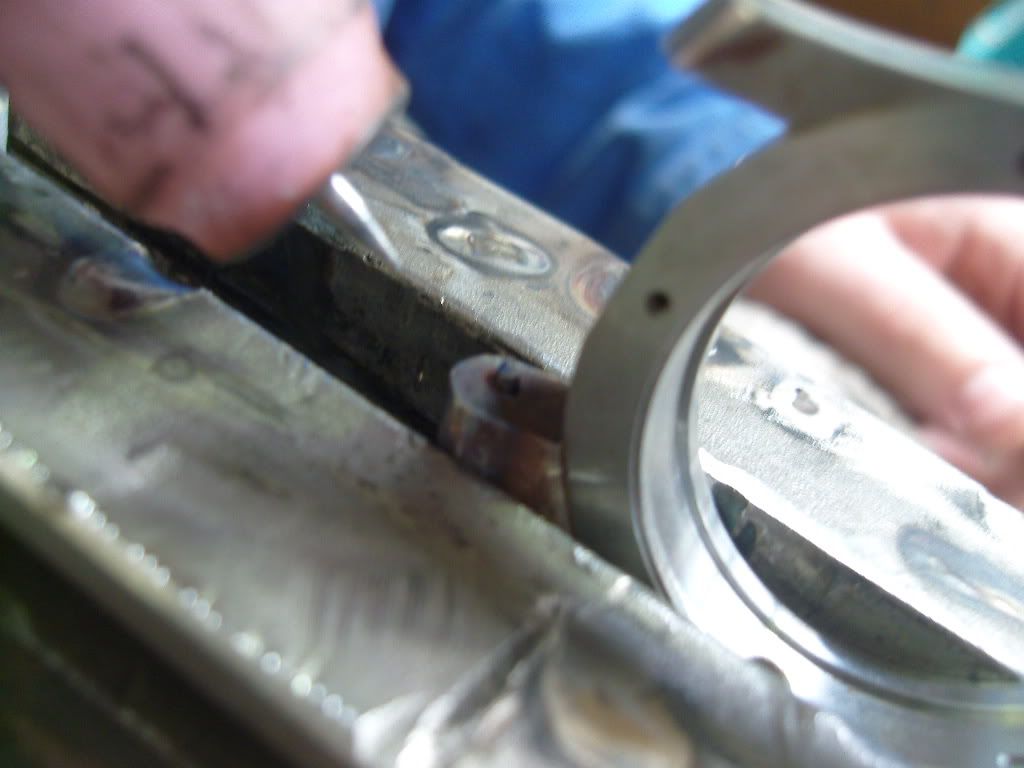
Scratched the rust from the drill, applicated it to the case and added some drops of acid
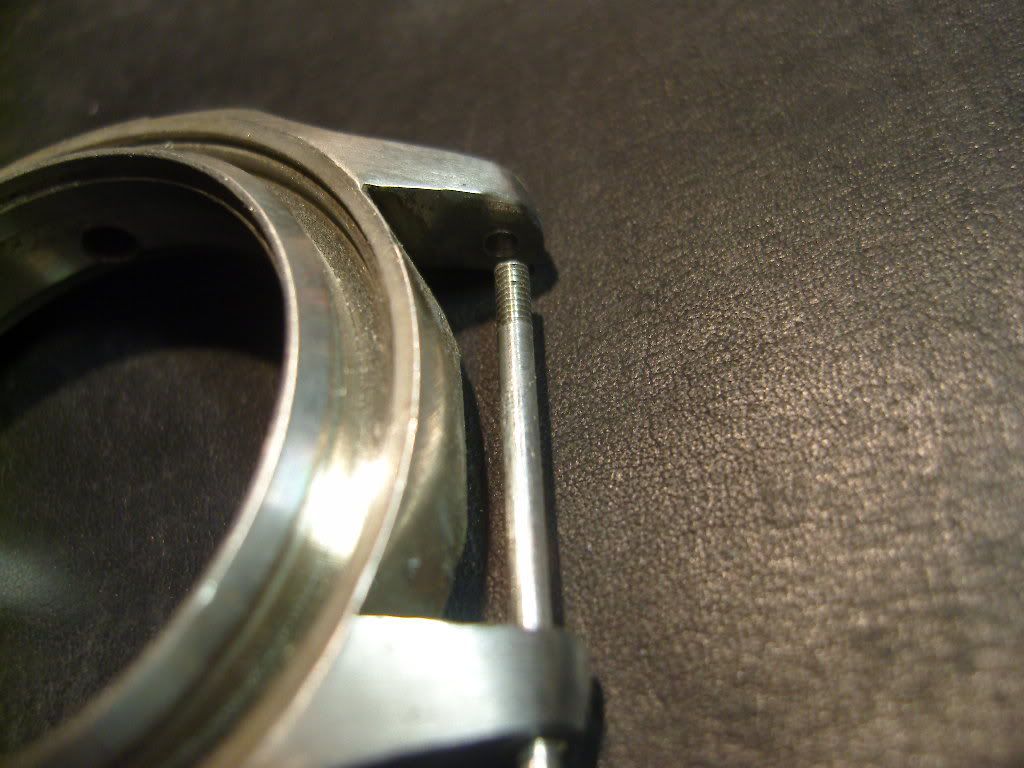
Until the surface was dry, I took the case back in the can with the rusty stuff.
Added some water and cooked it with a propane burner until all water was vaporized.
Now the result was more in the direction I wanted.
But still not permanent enough. Now came the time to go the harder way. The case or me")
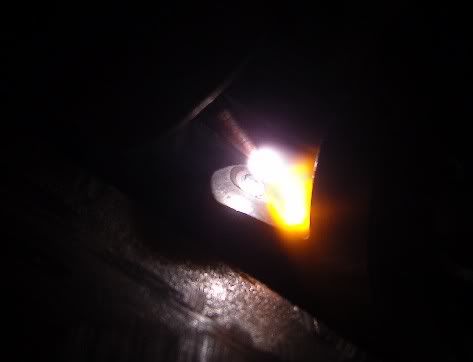
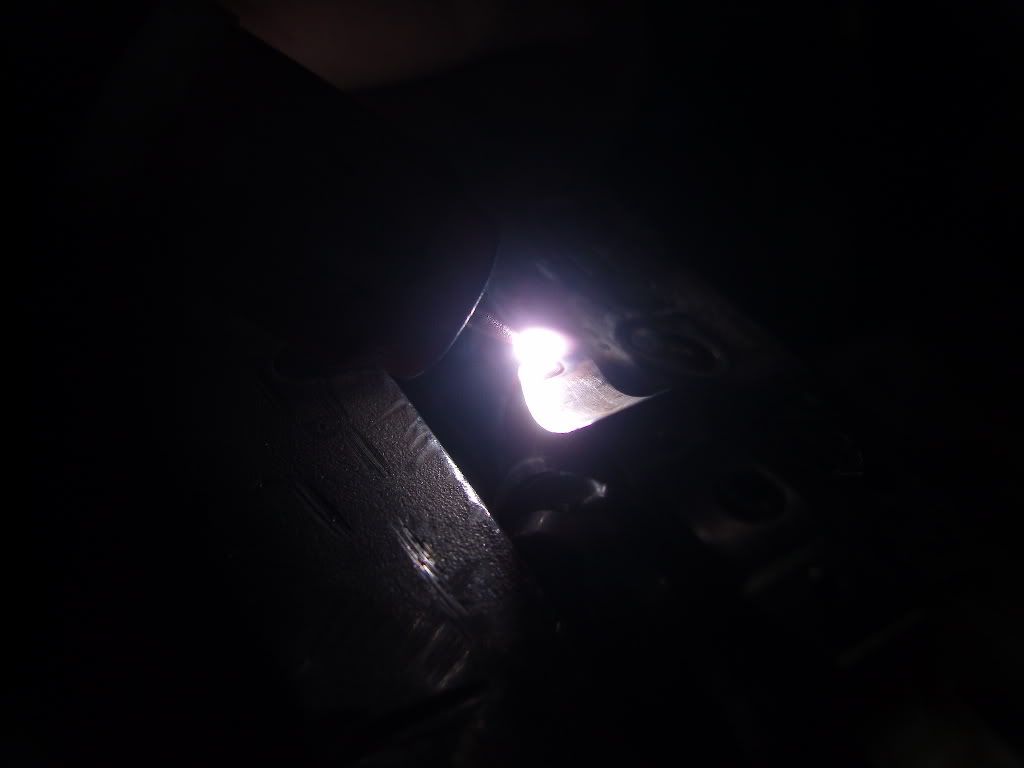
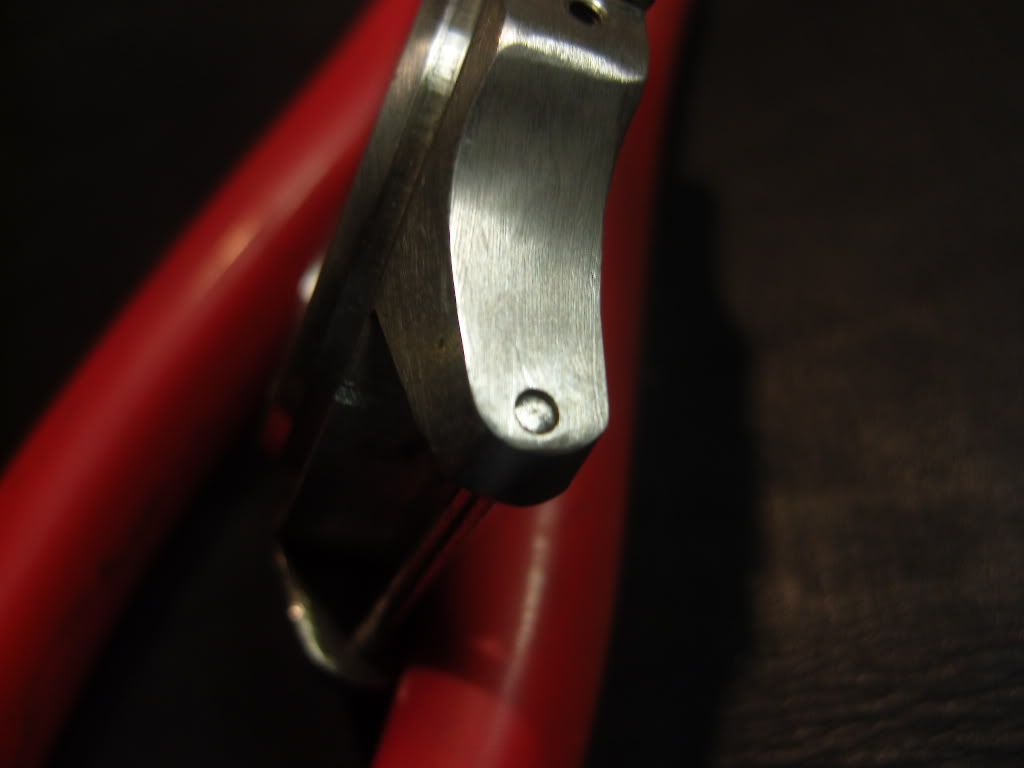
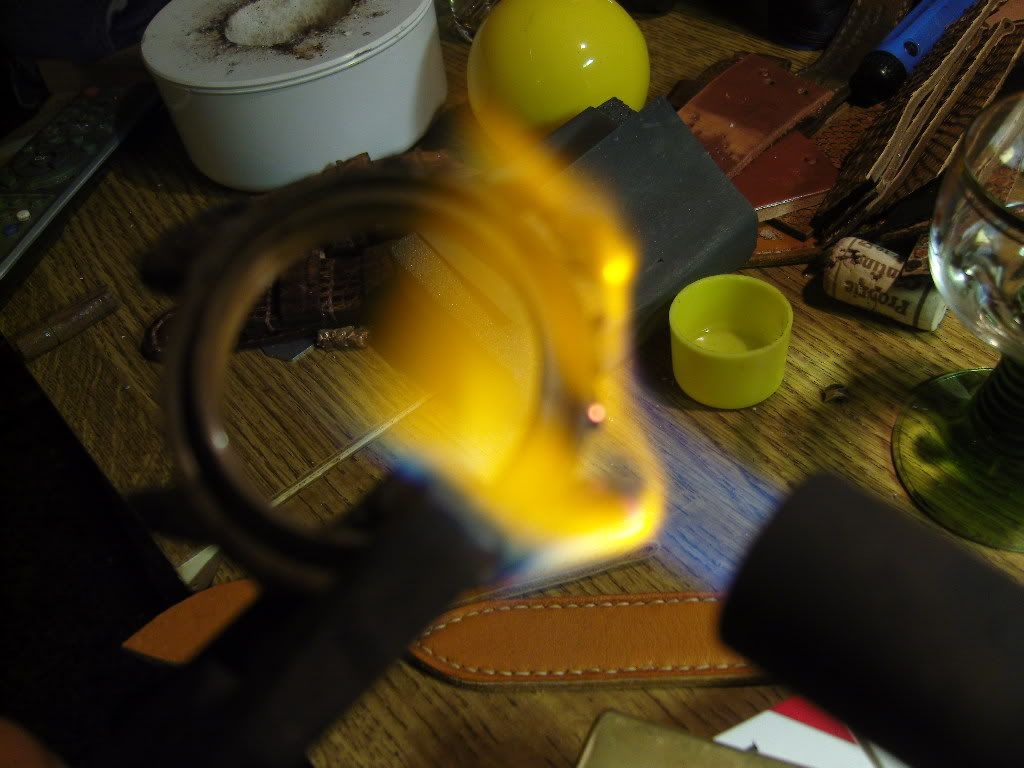
I grabbed my good old propane burner and started the final treatment. I’ve heated the case up with all the rusty and rotten goodies on it, all or nothing..
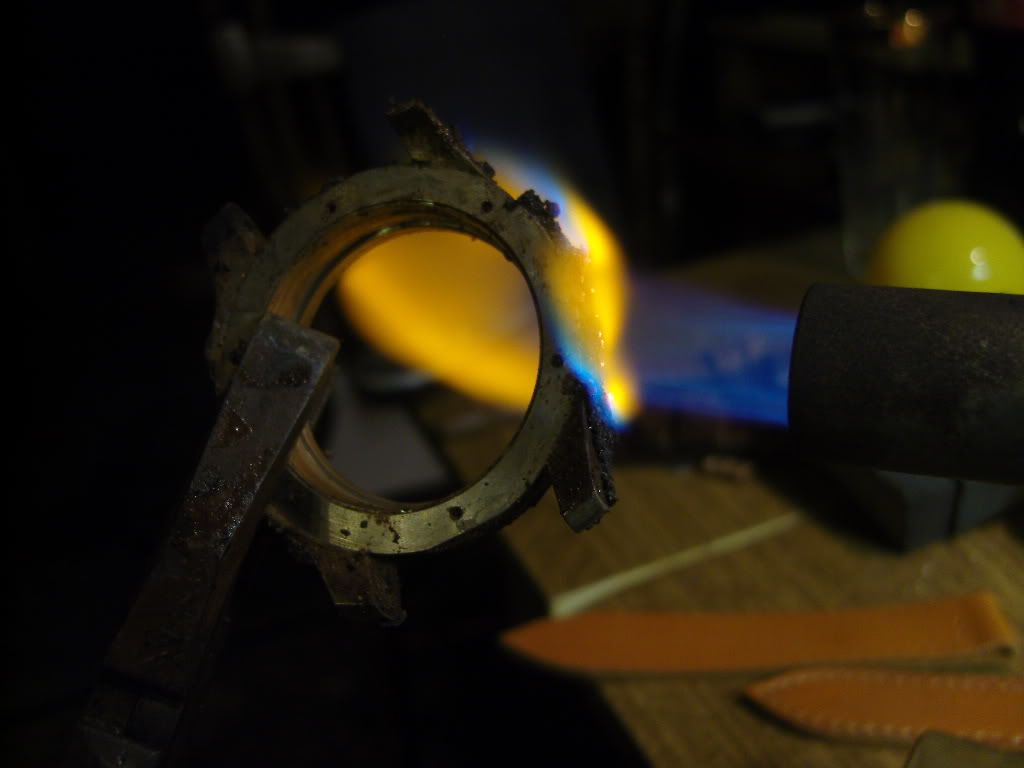
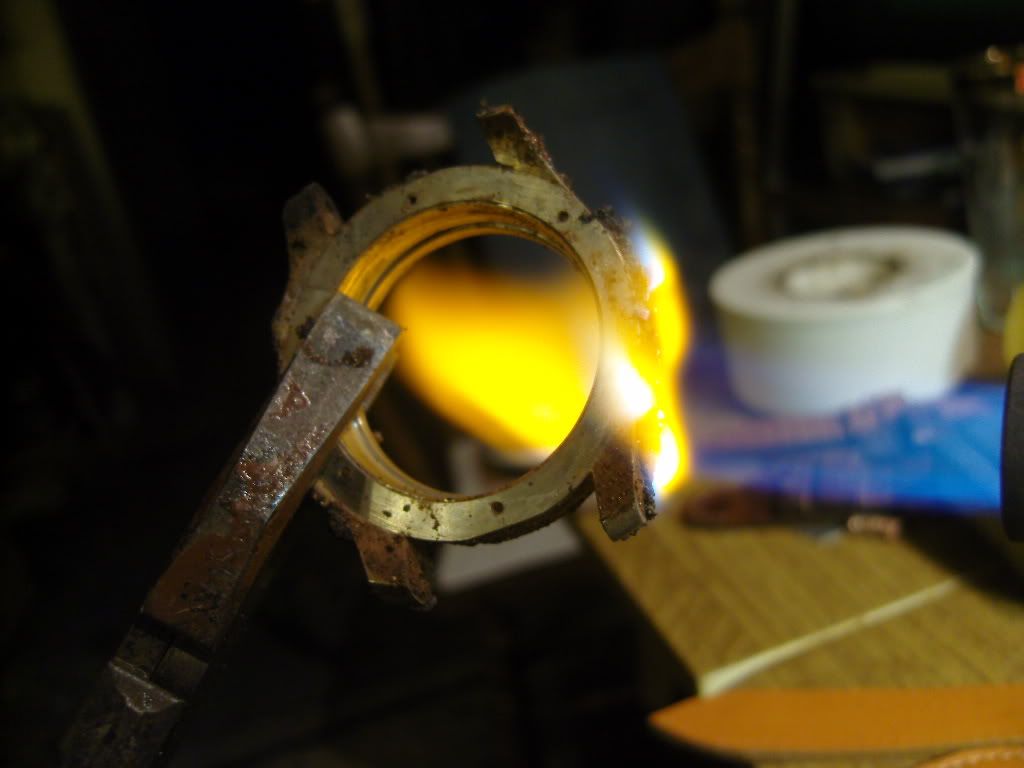
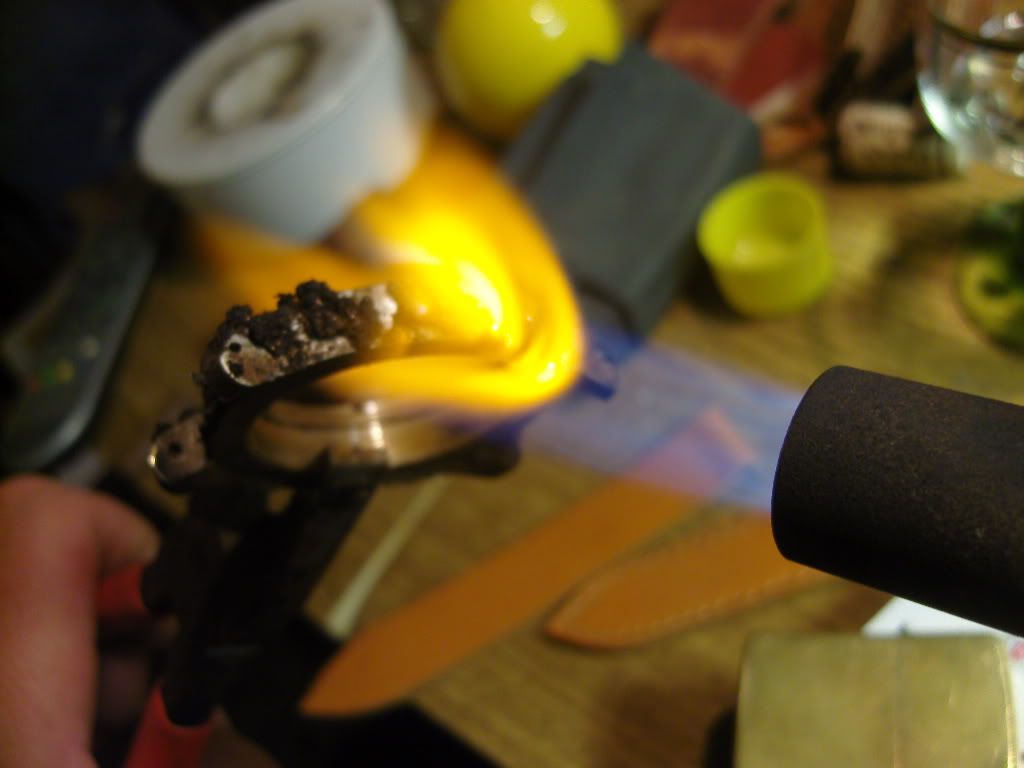
OK, it looks like destroying the case, but it allowes a hard treatment.
I didn’t went over 250 - 300C°.
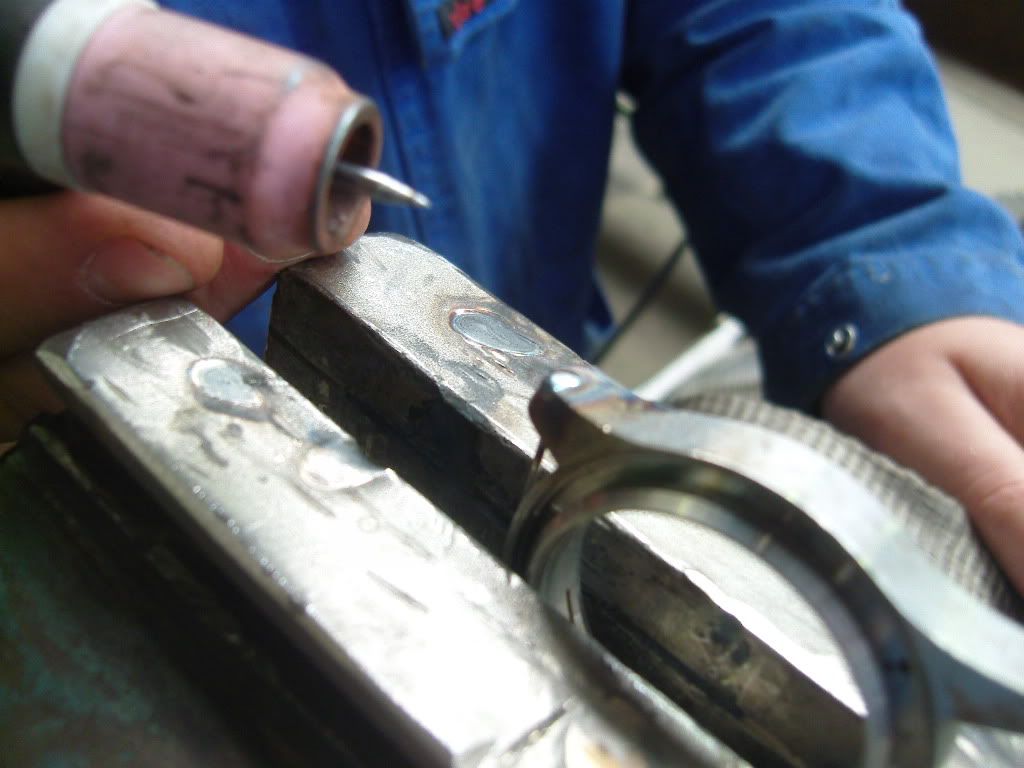
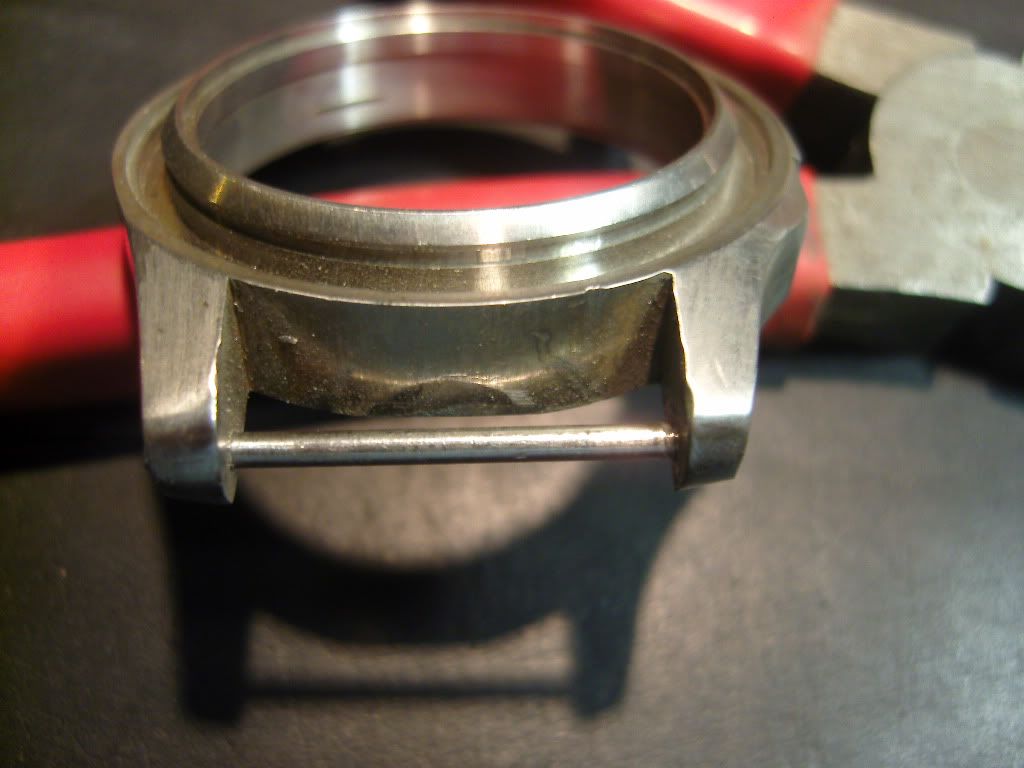
Fast quenching with cold water dripped area by area made the finish.
Enough work for one evening
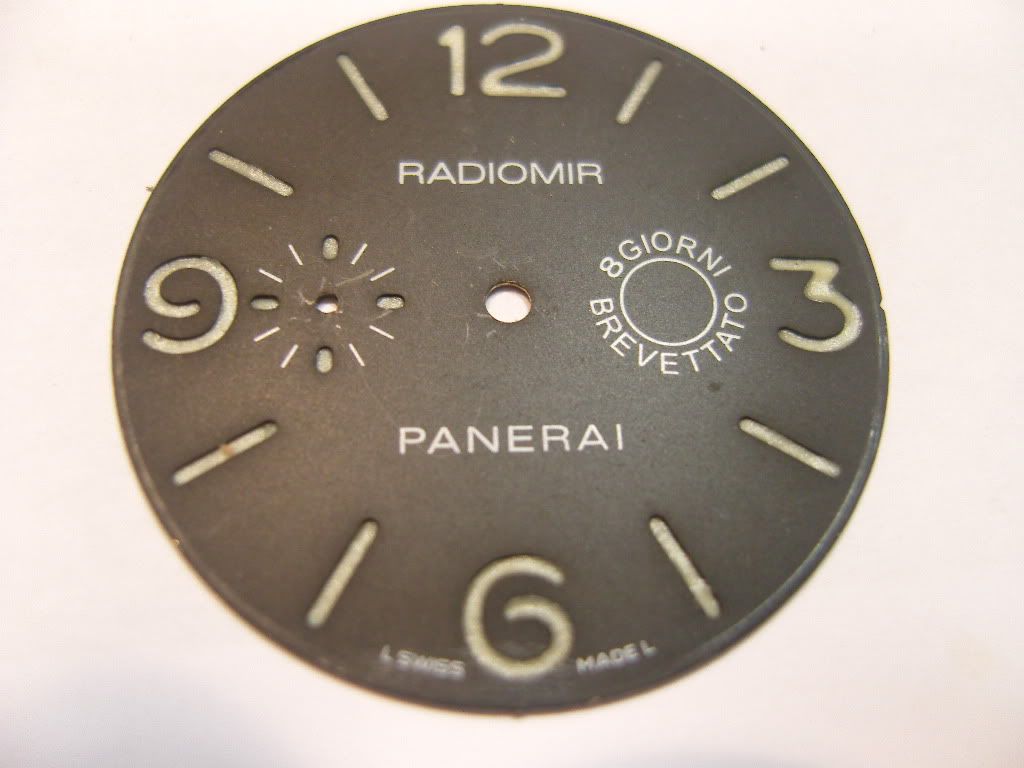
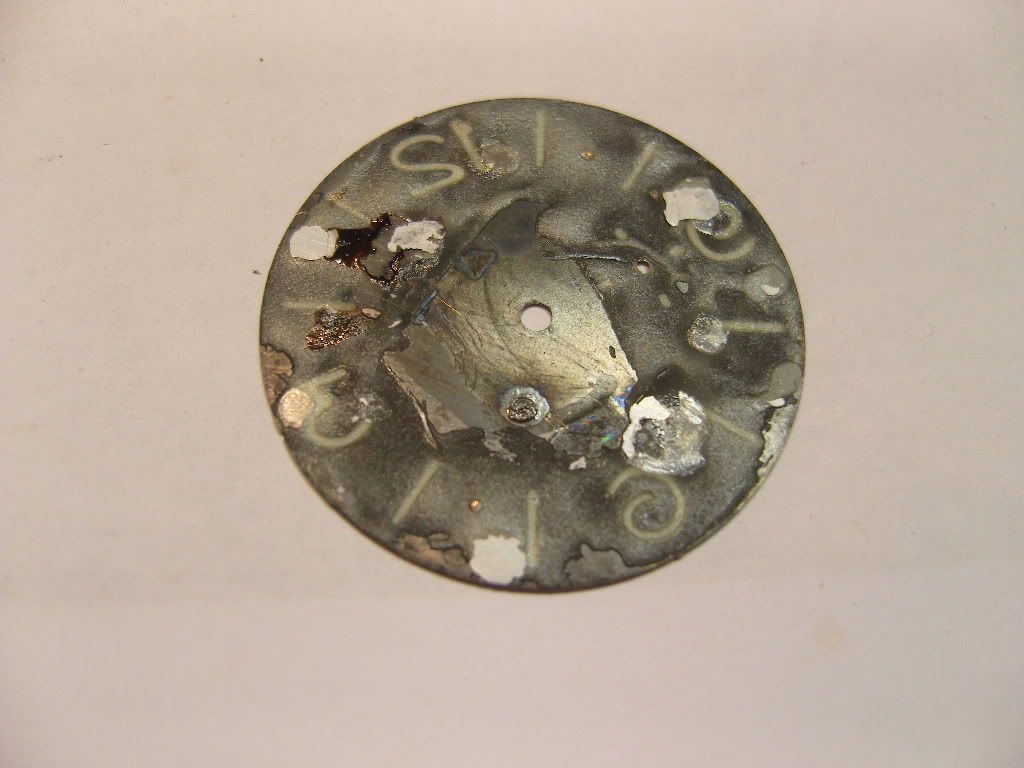
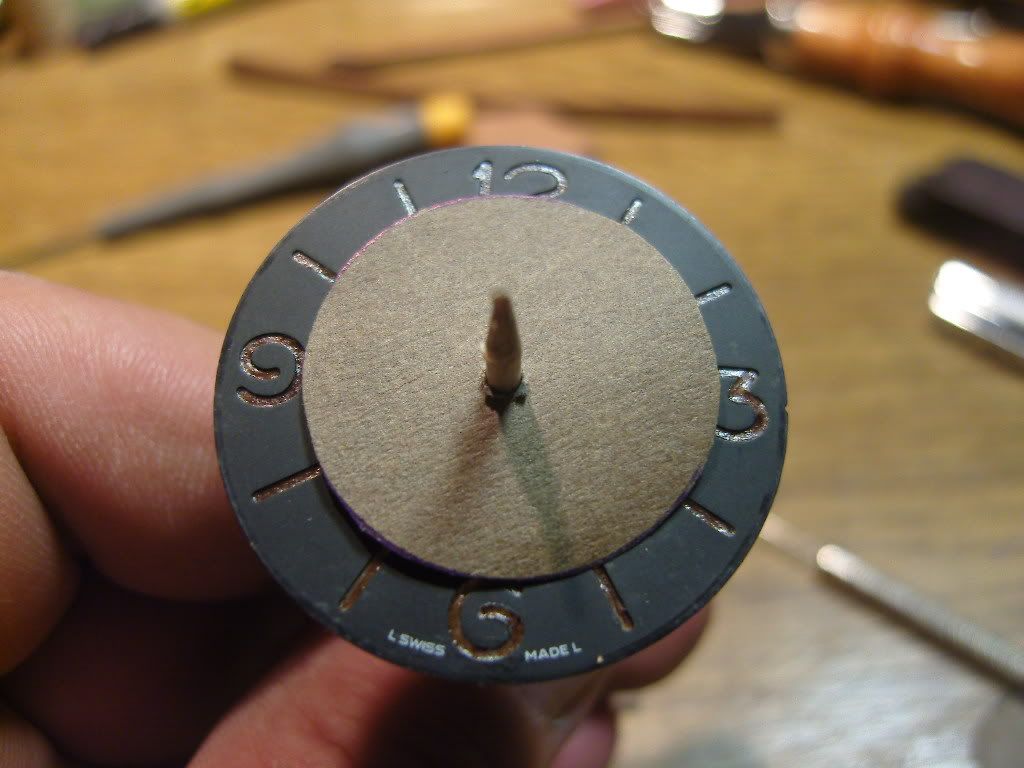
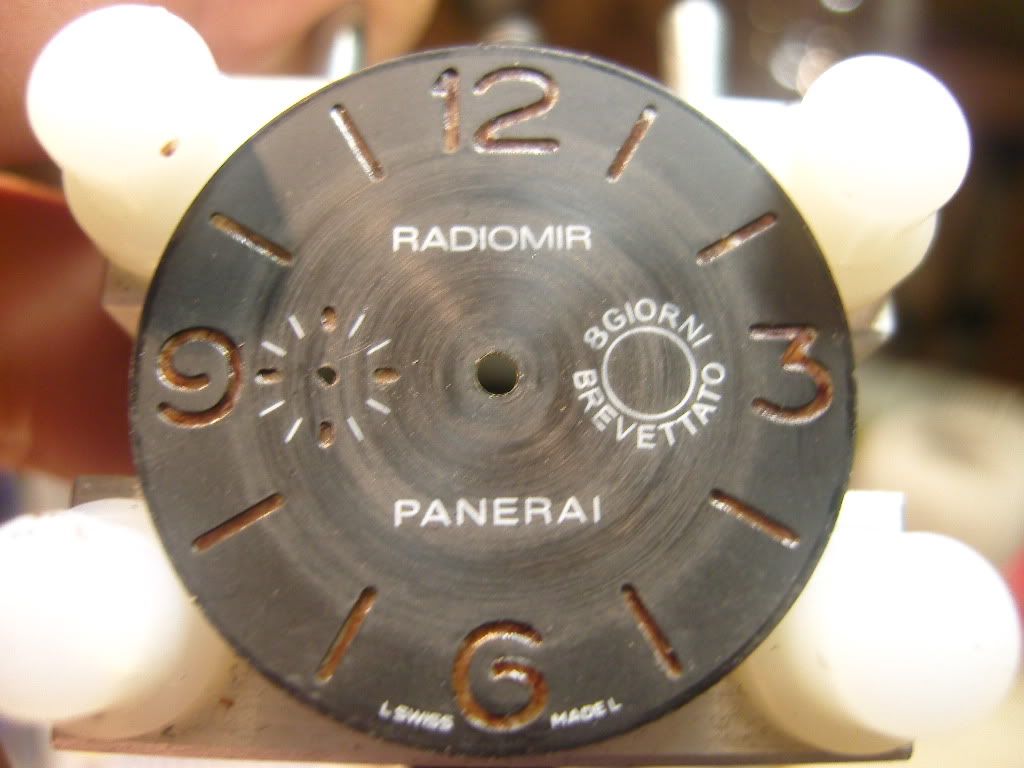
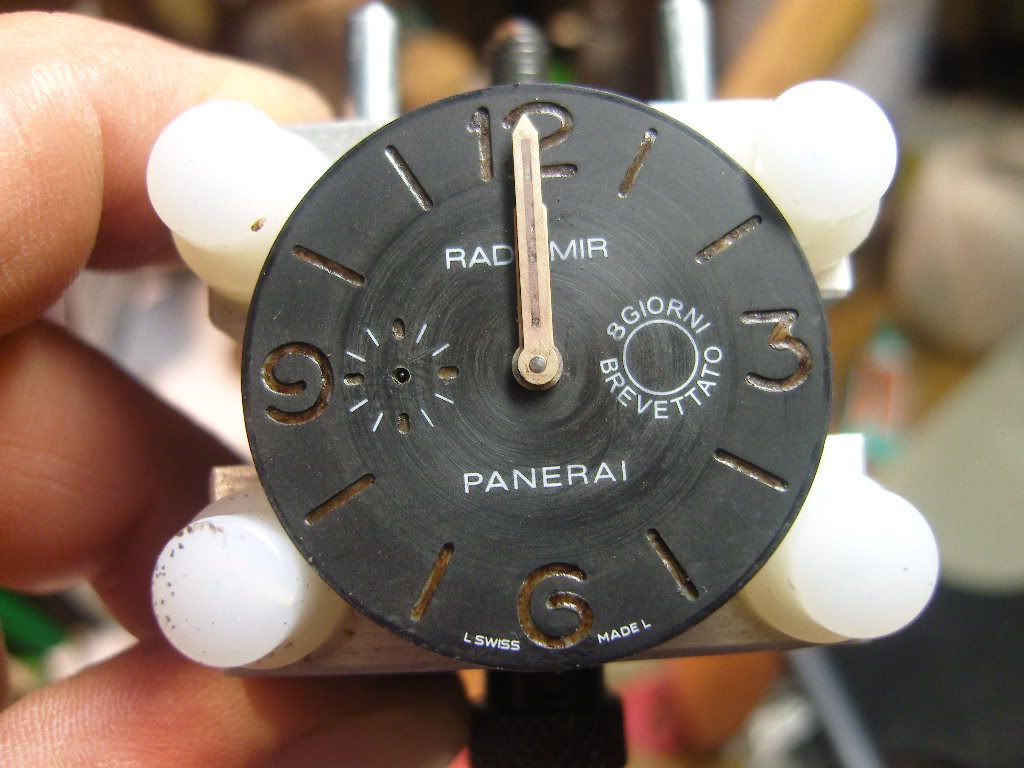
( Aging of the hands and the dial was also done as a sideline, I will upload the pics later)
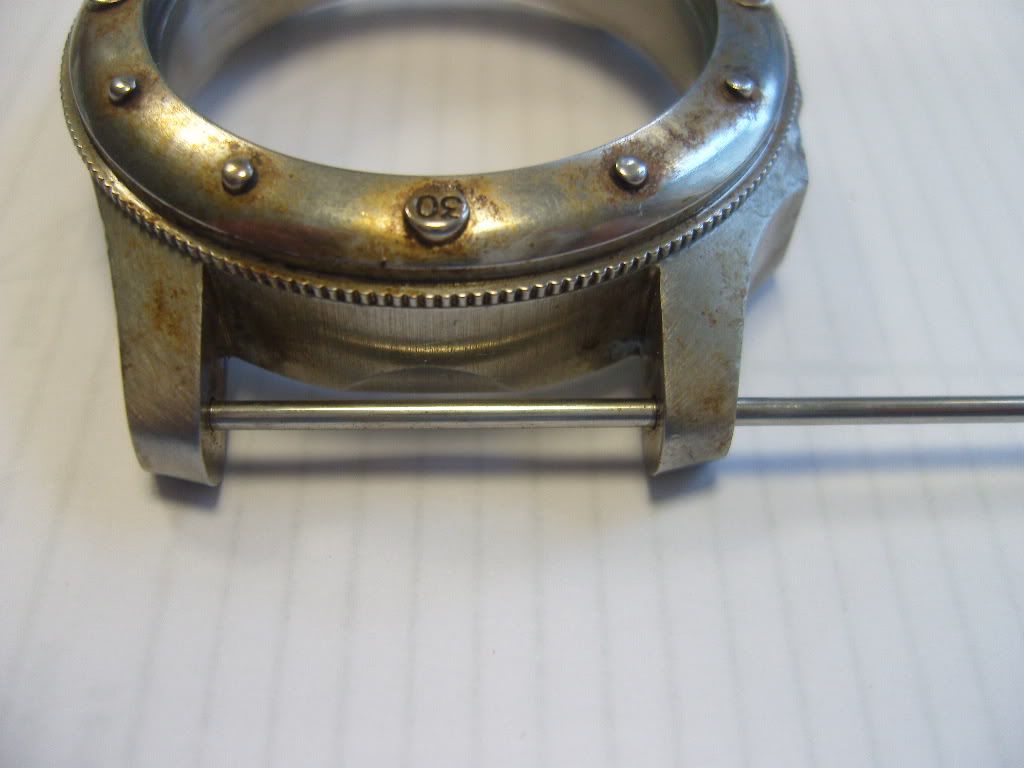
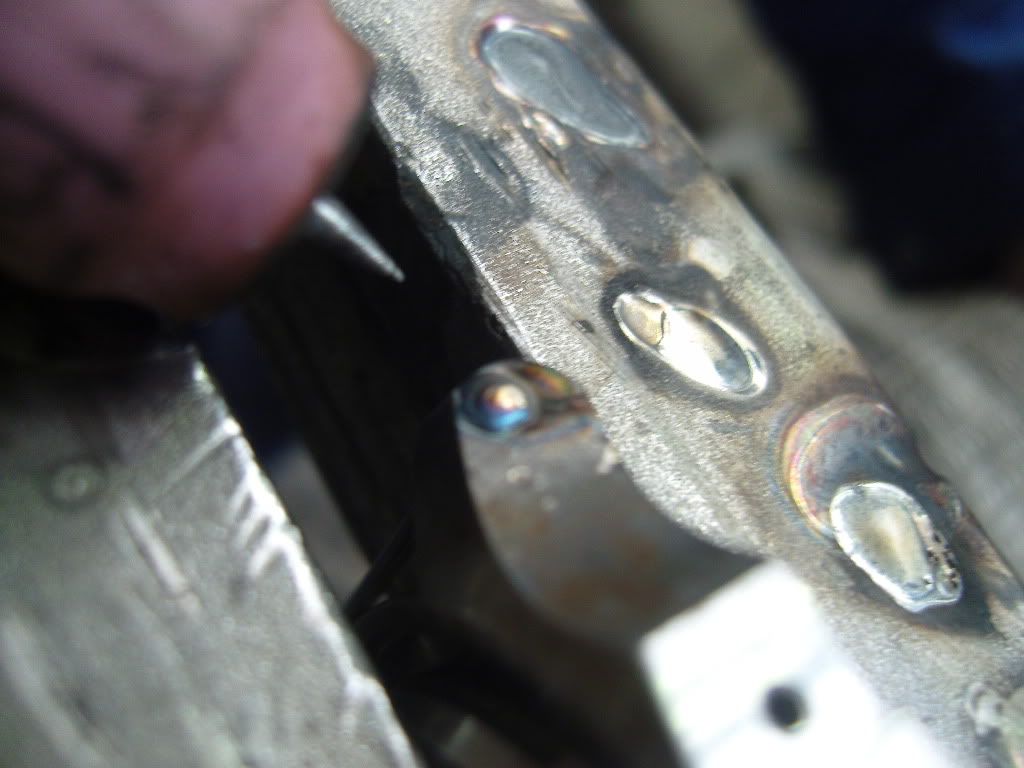
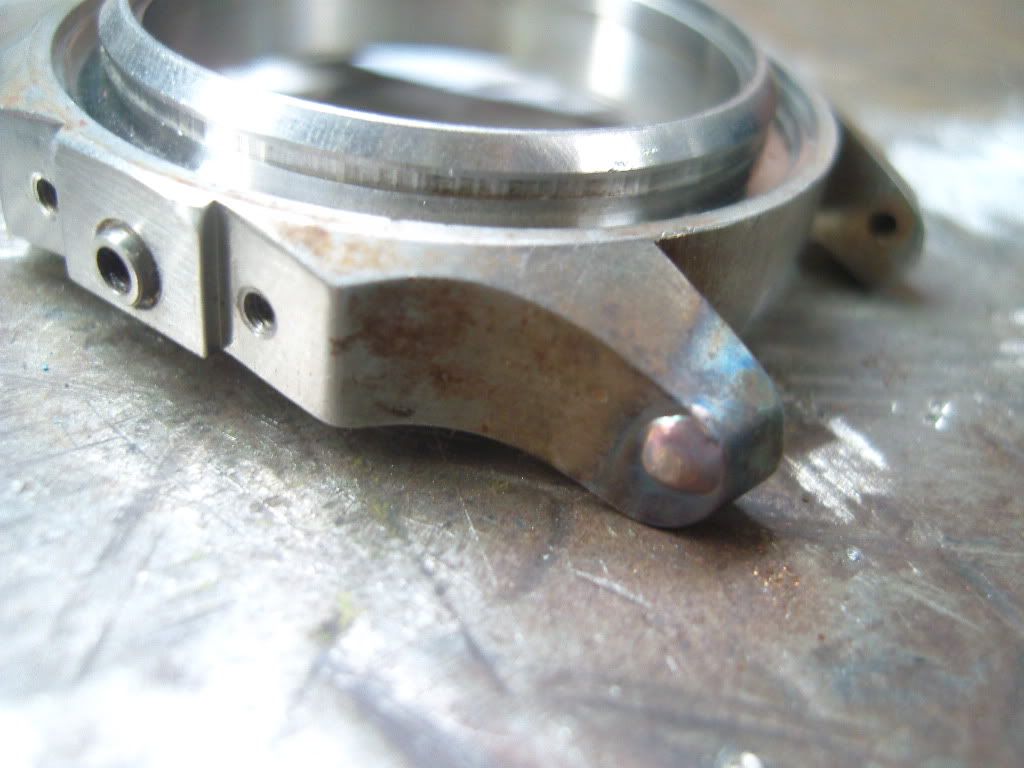
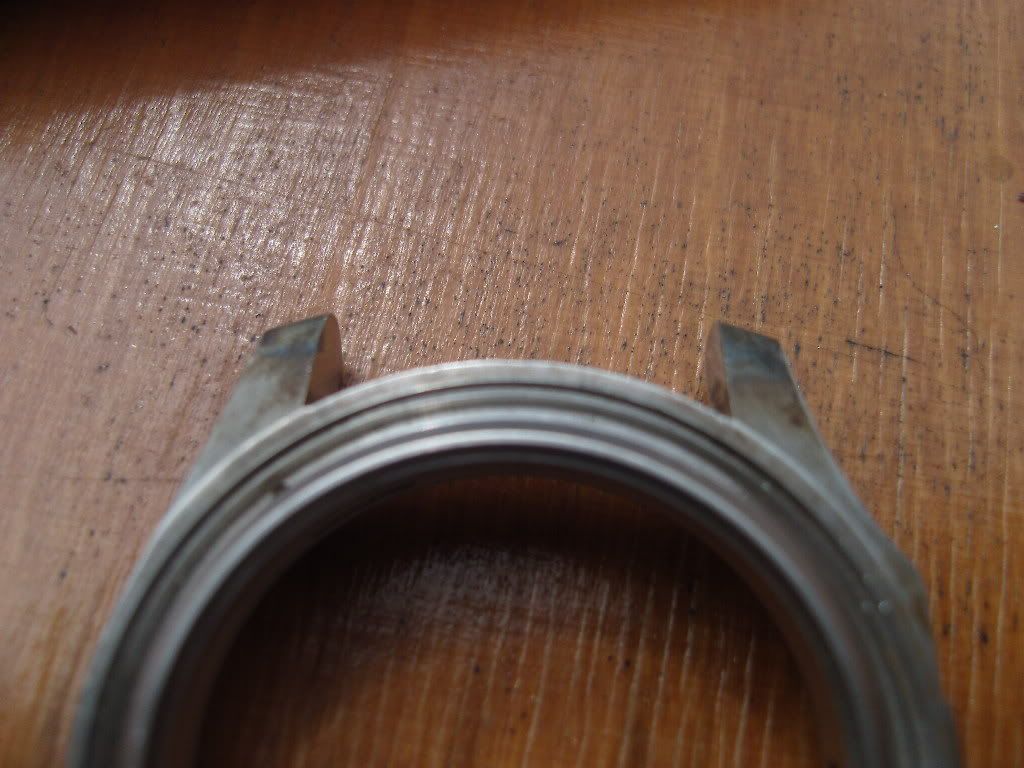
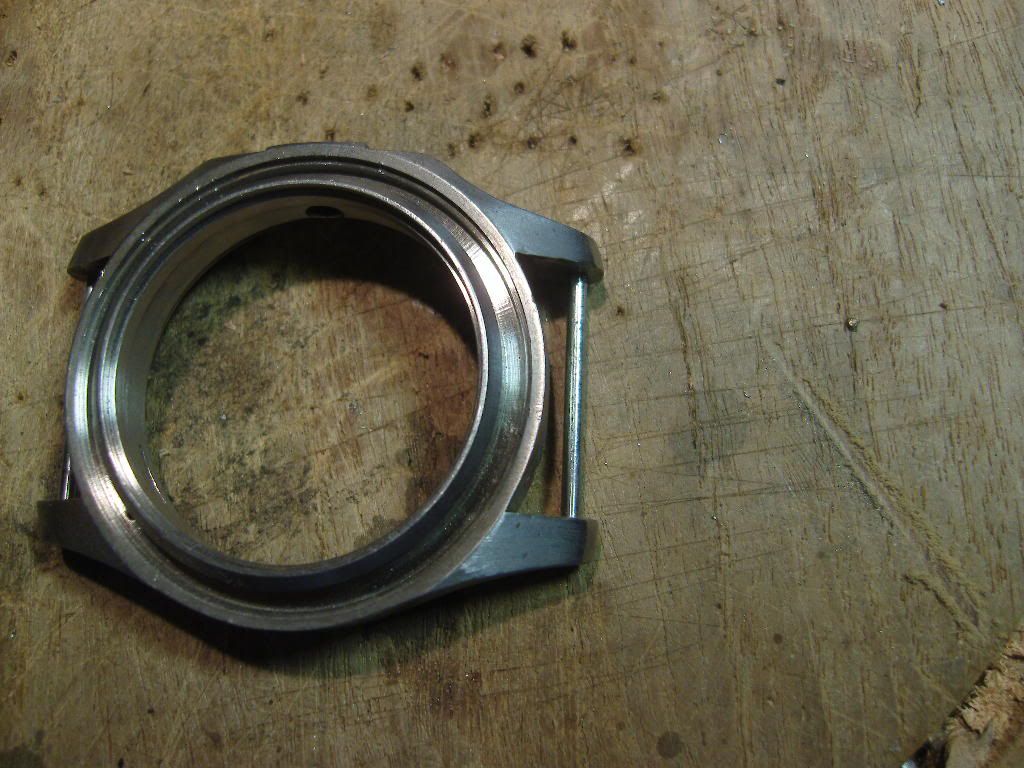
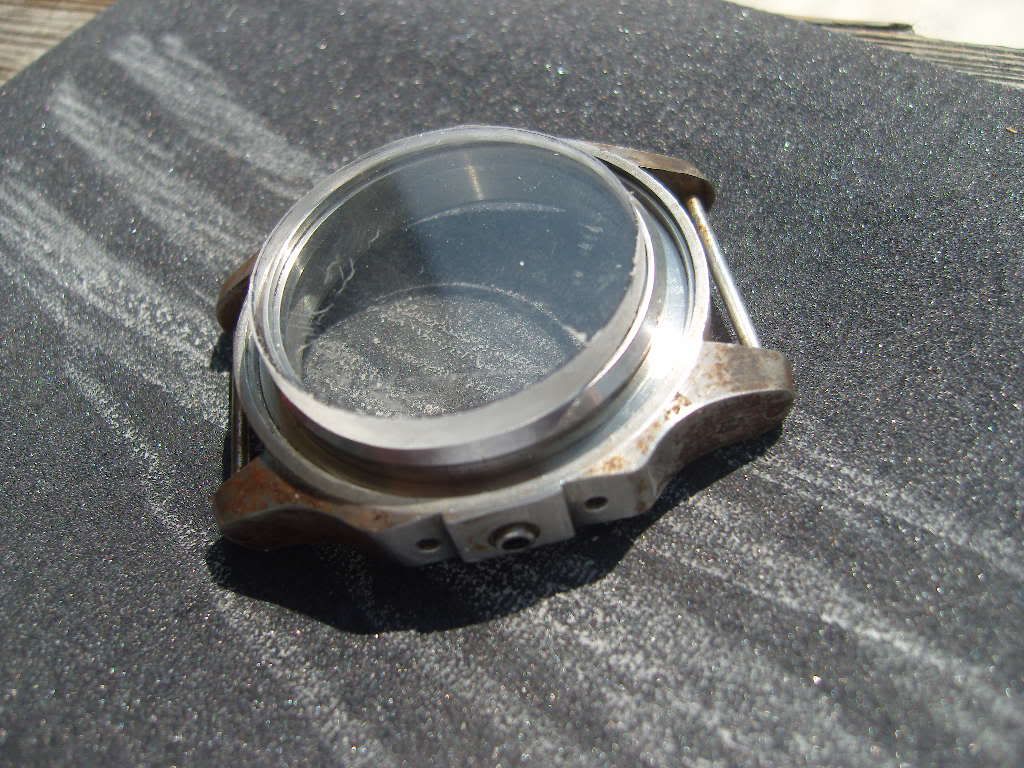
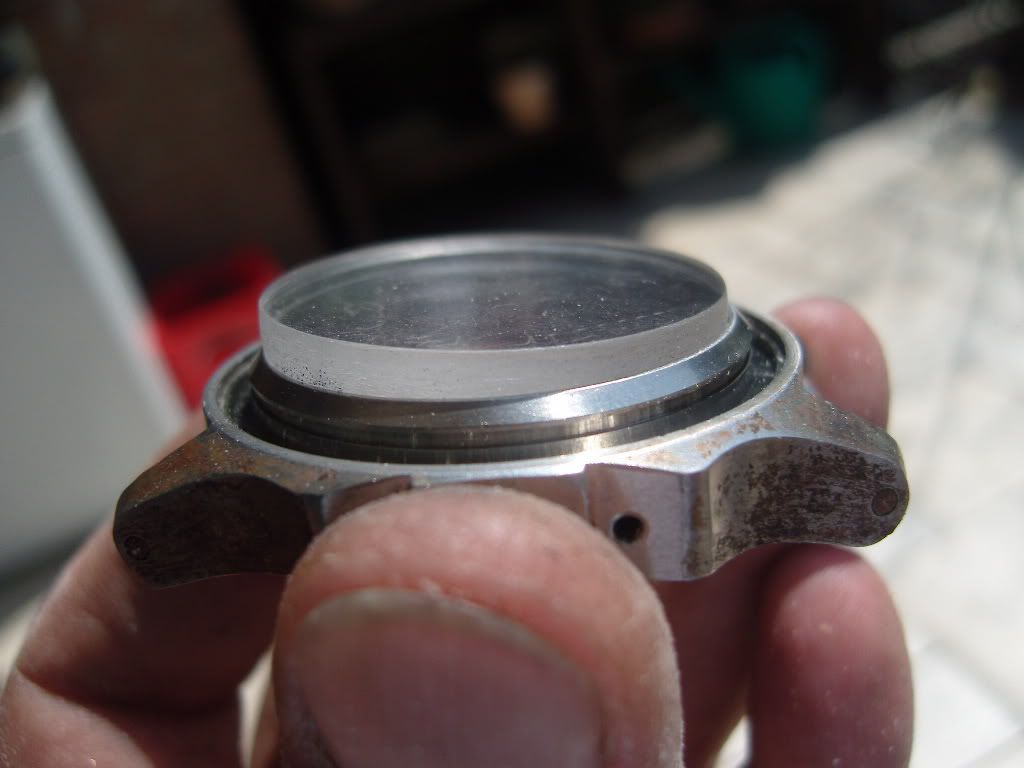
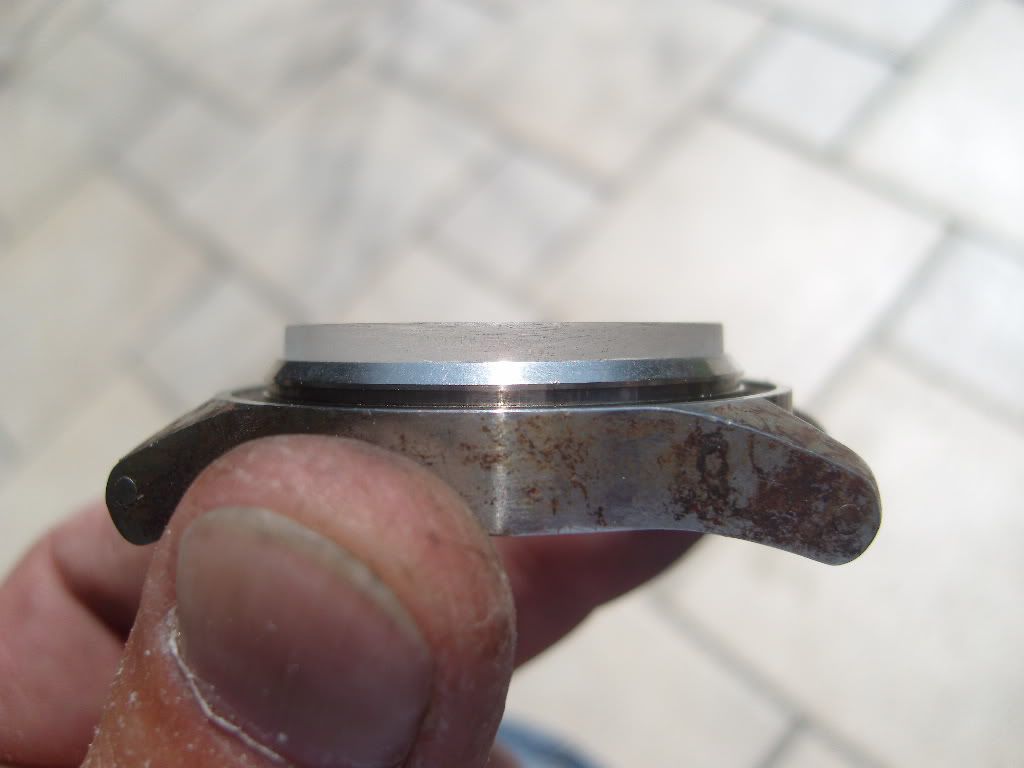
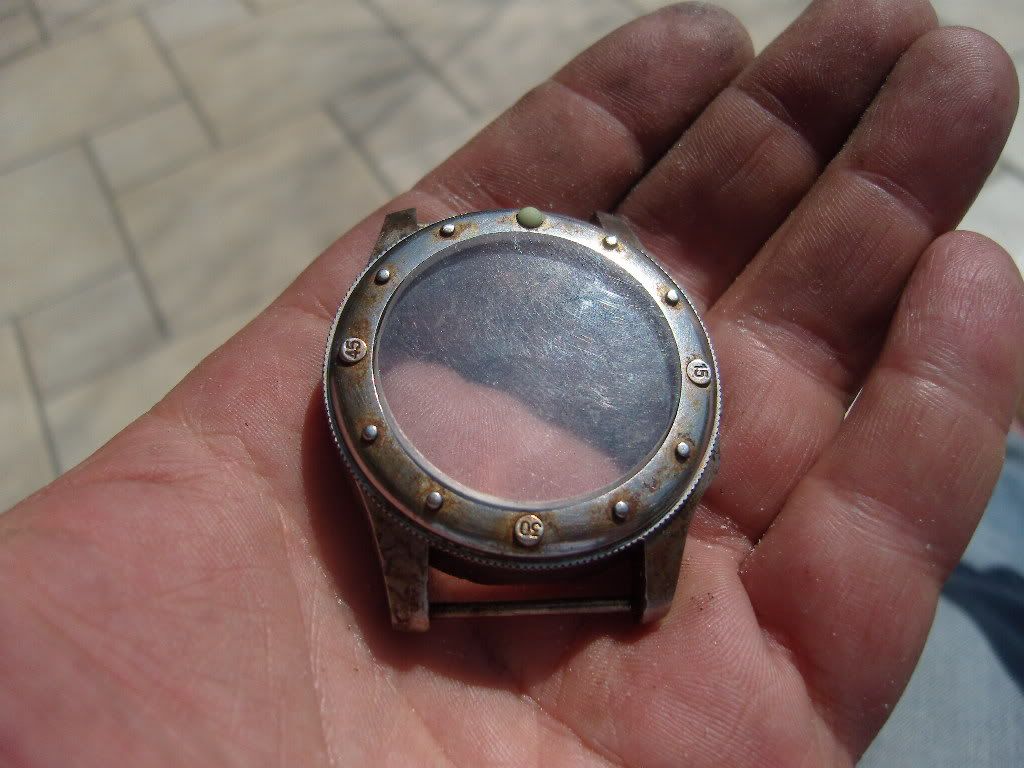
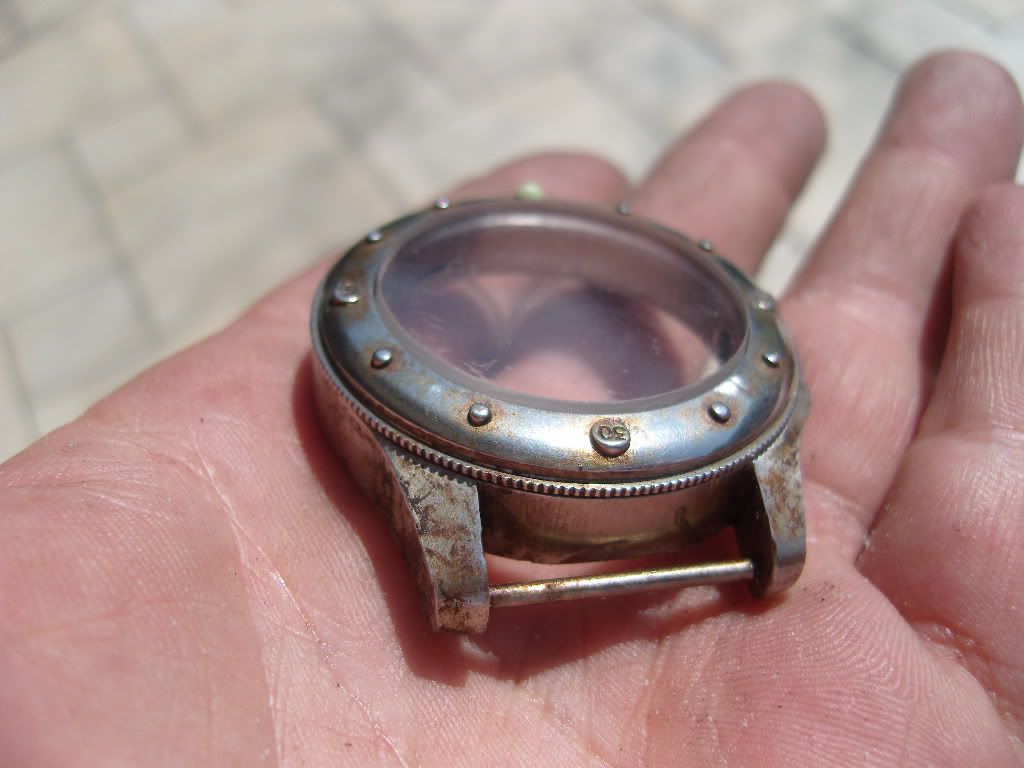
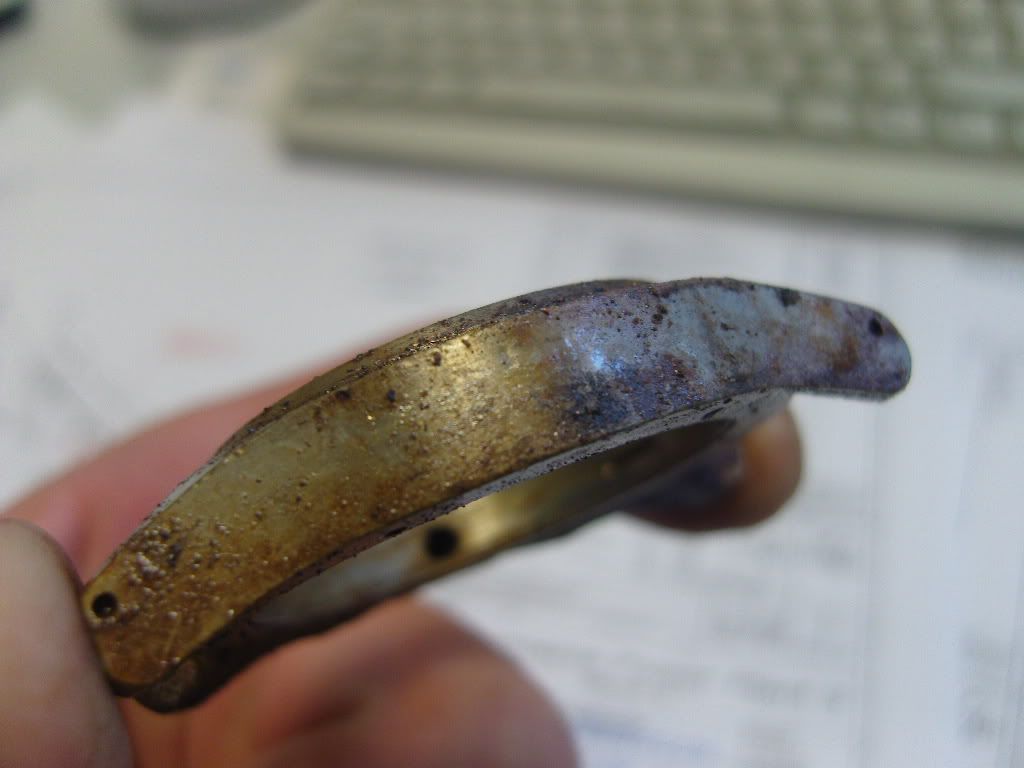
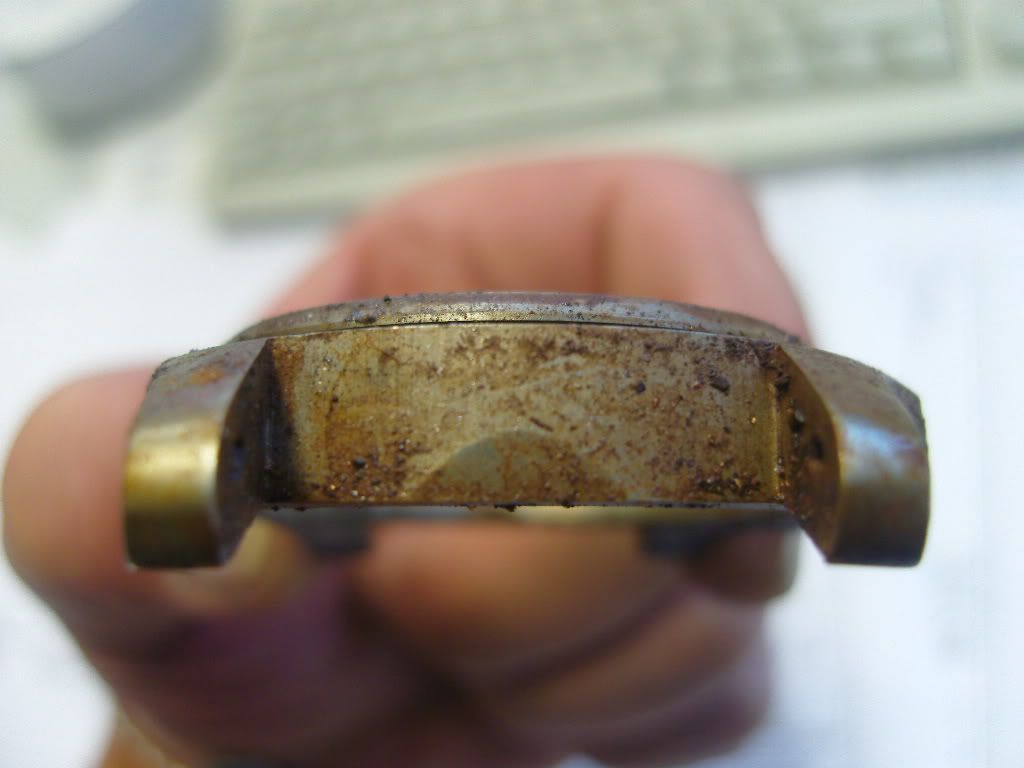
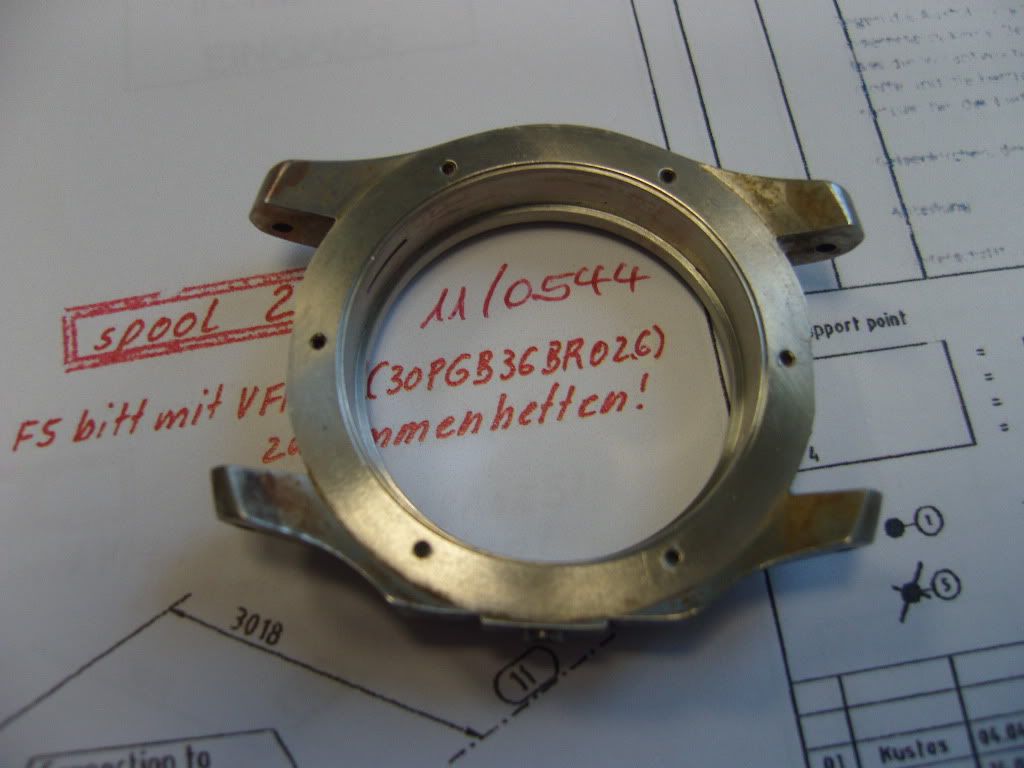
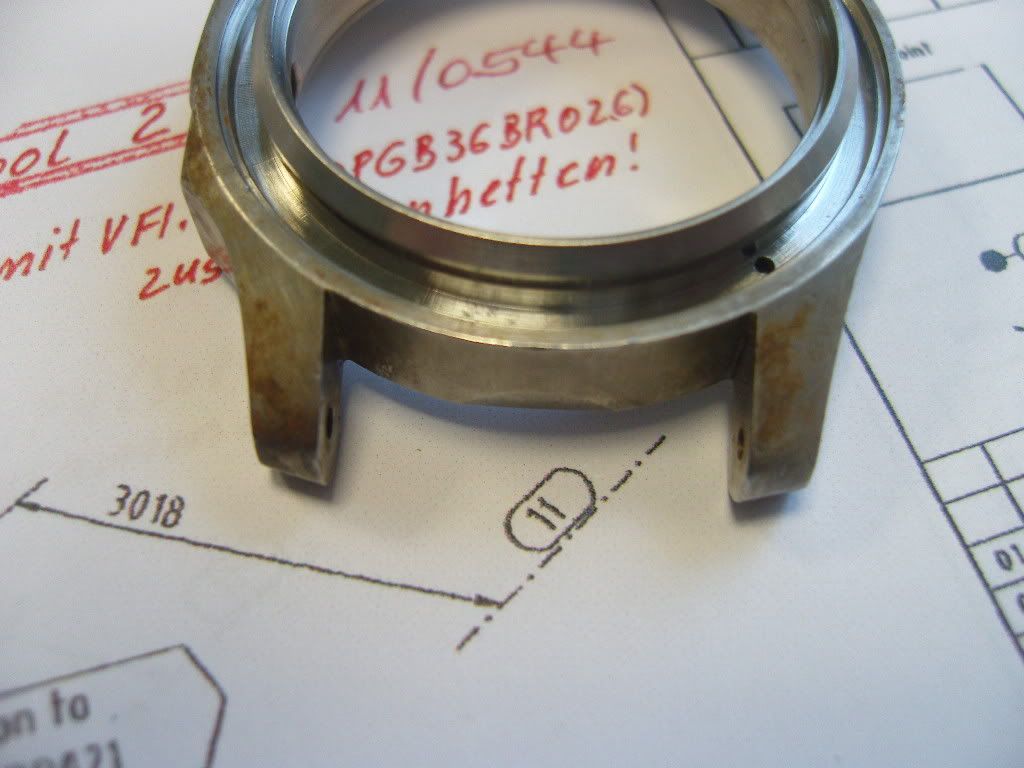
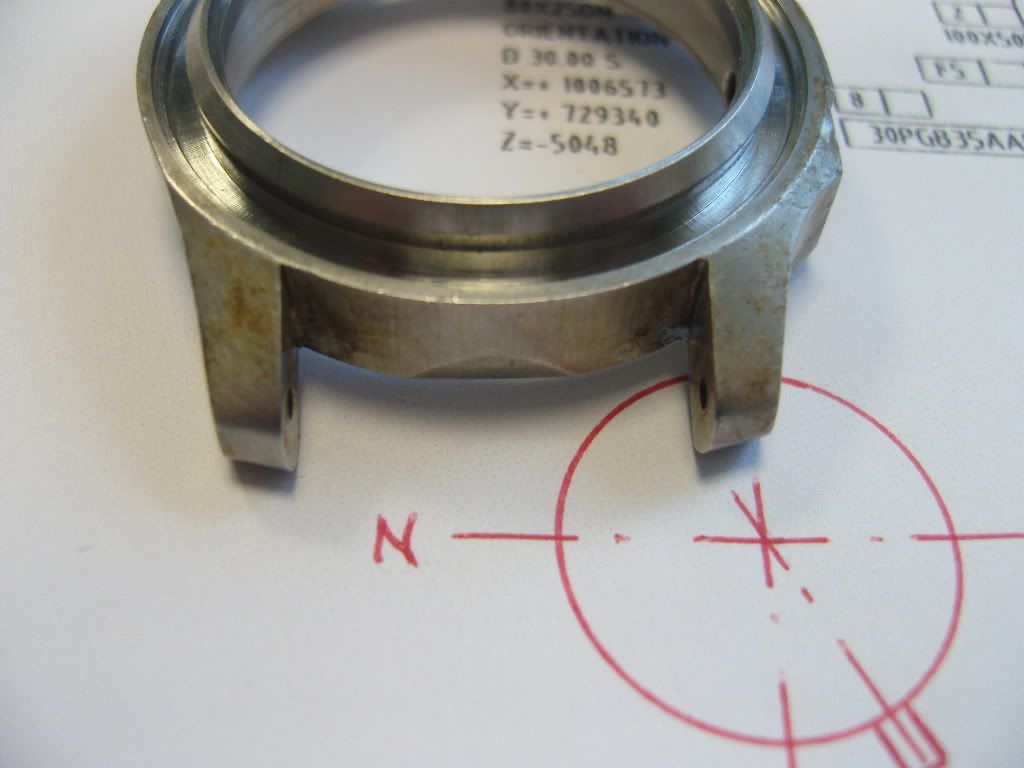
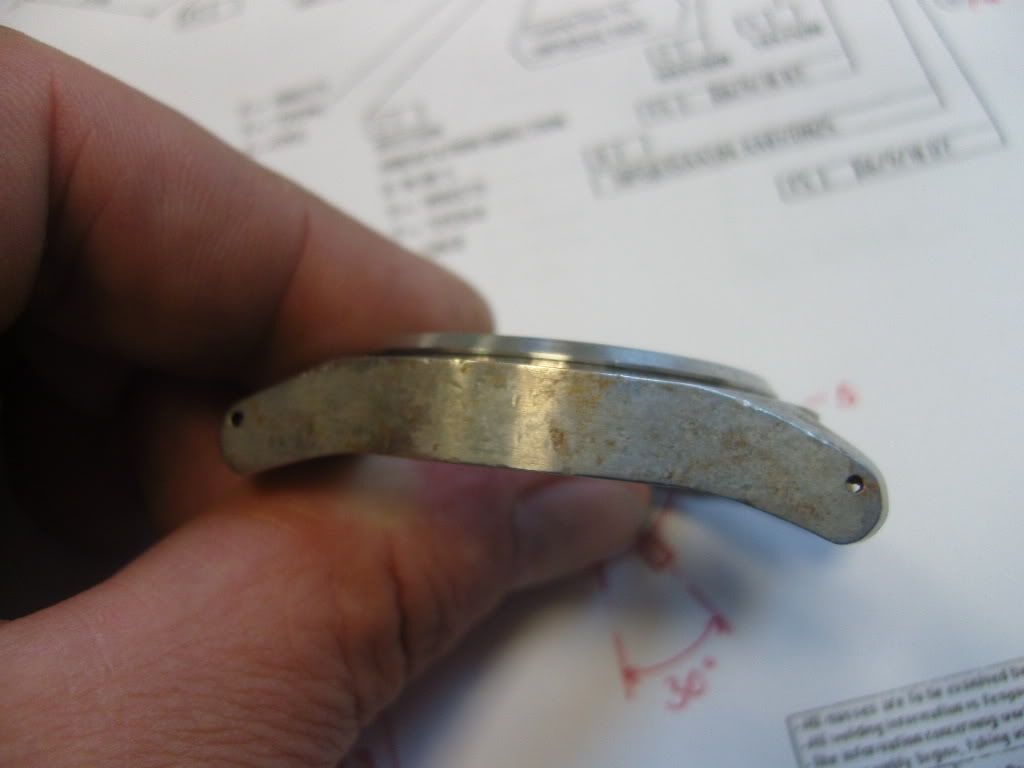
This morning at the office I cleaned the case and this is what it looks like now
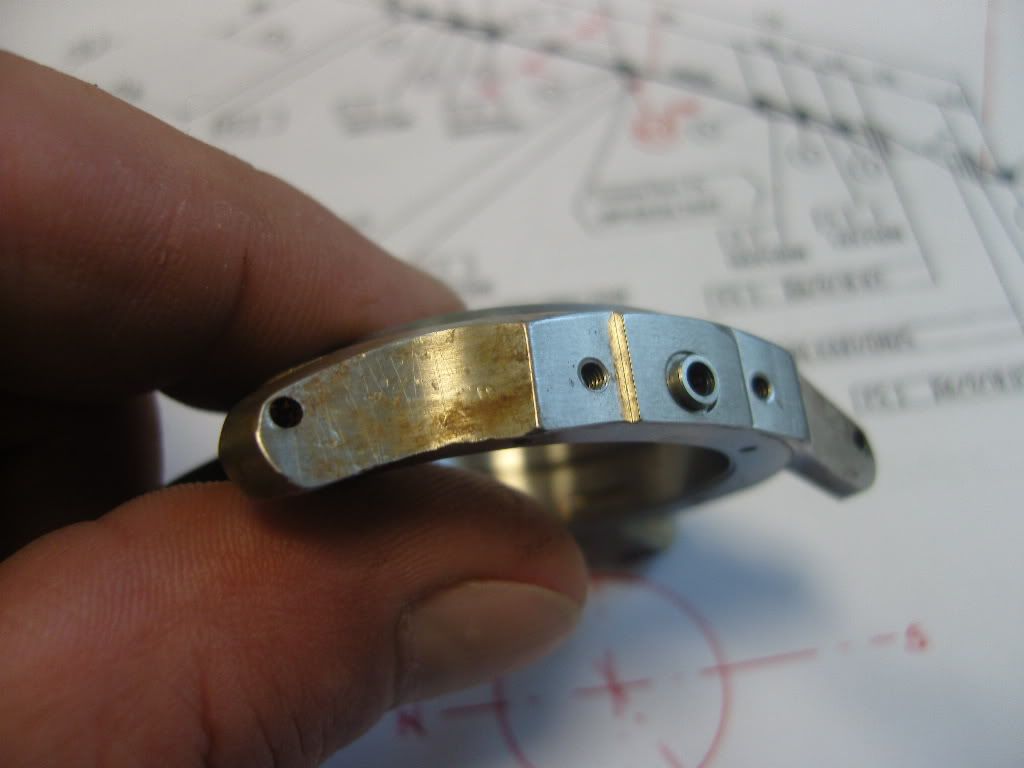
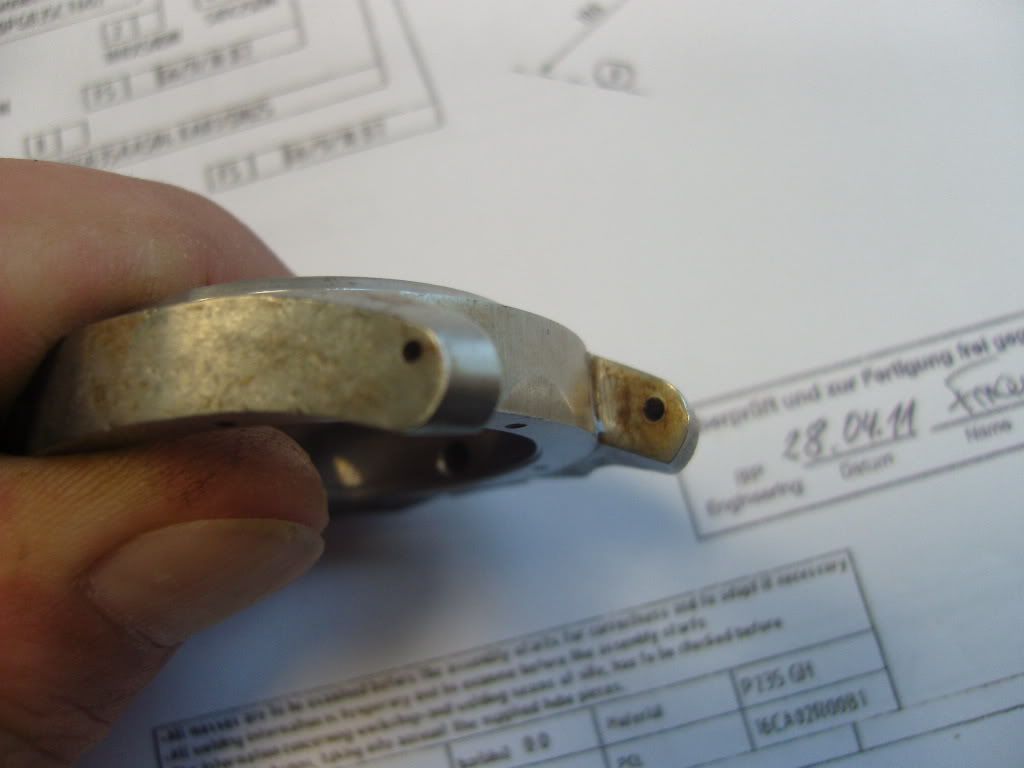
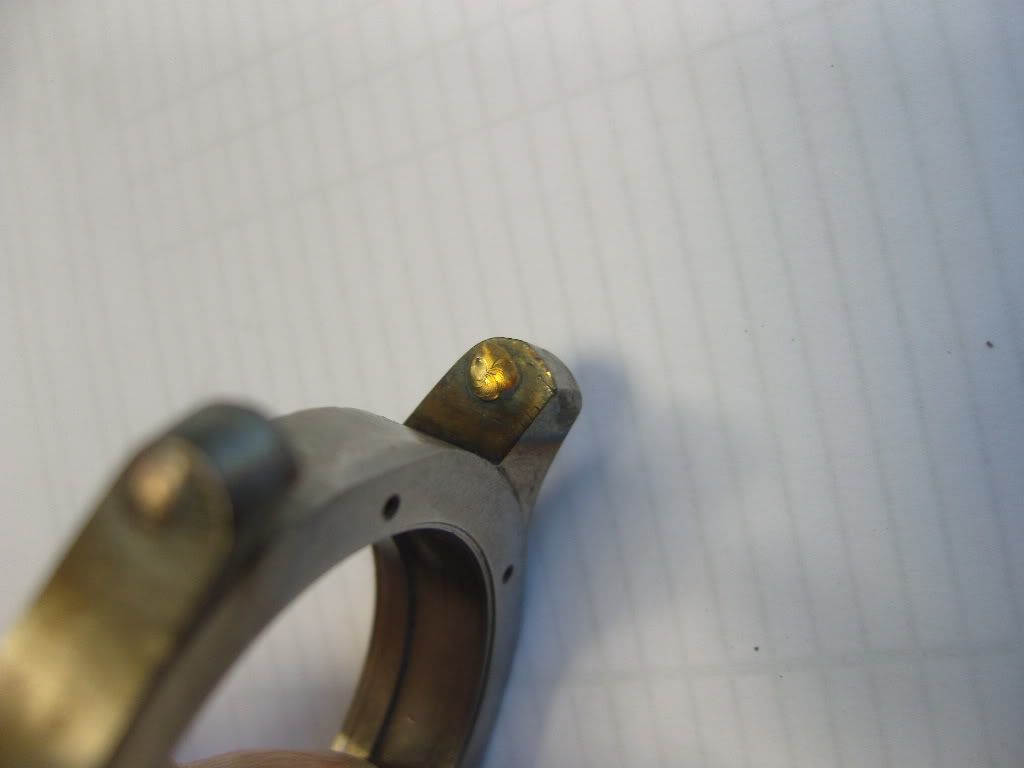
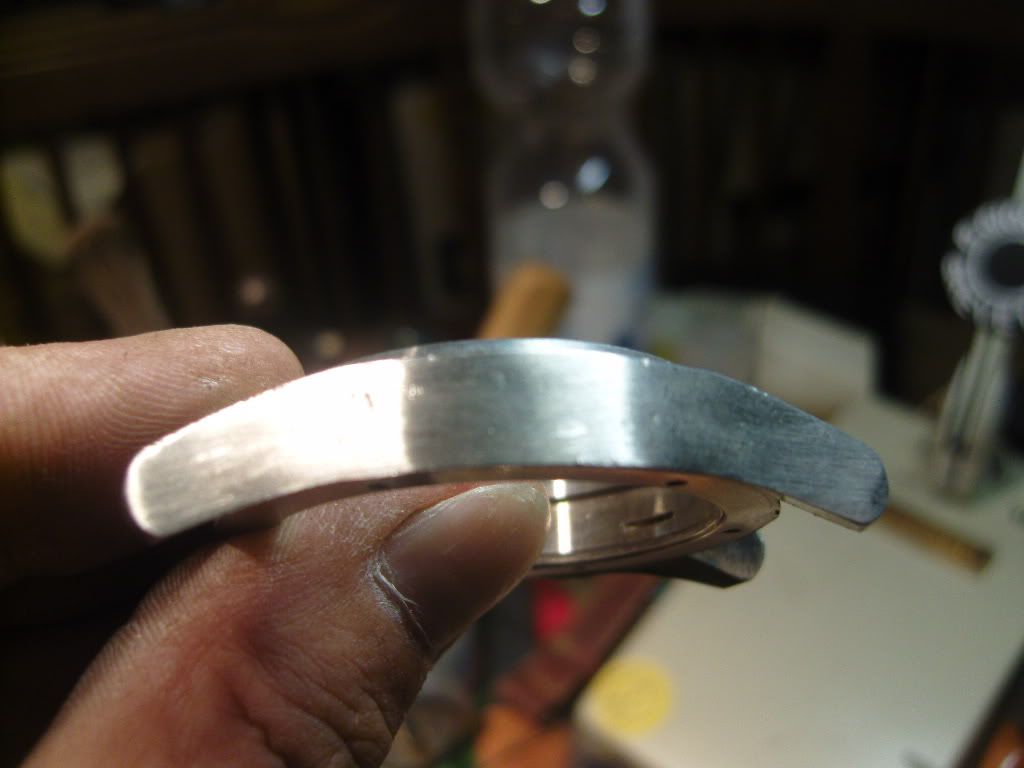
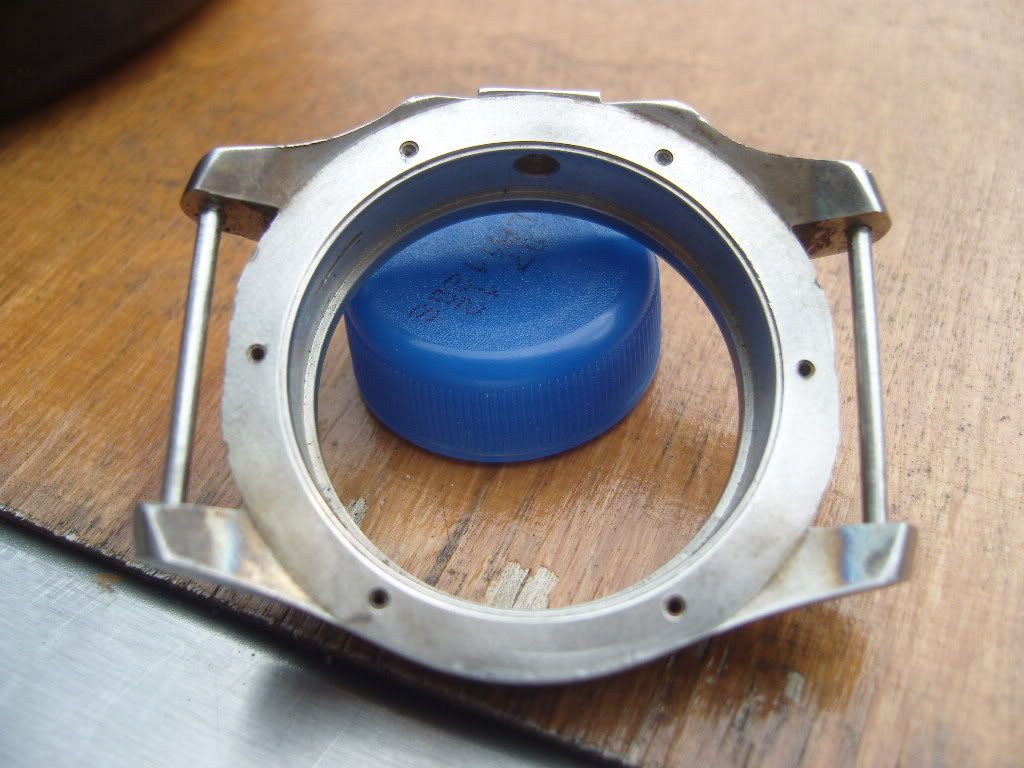
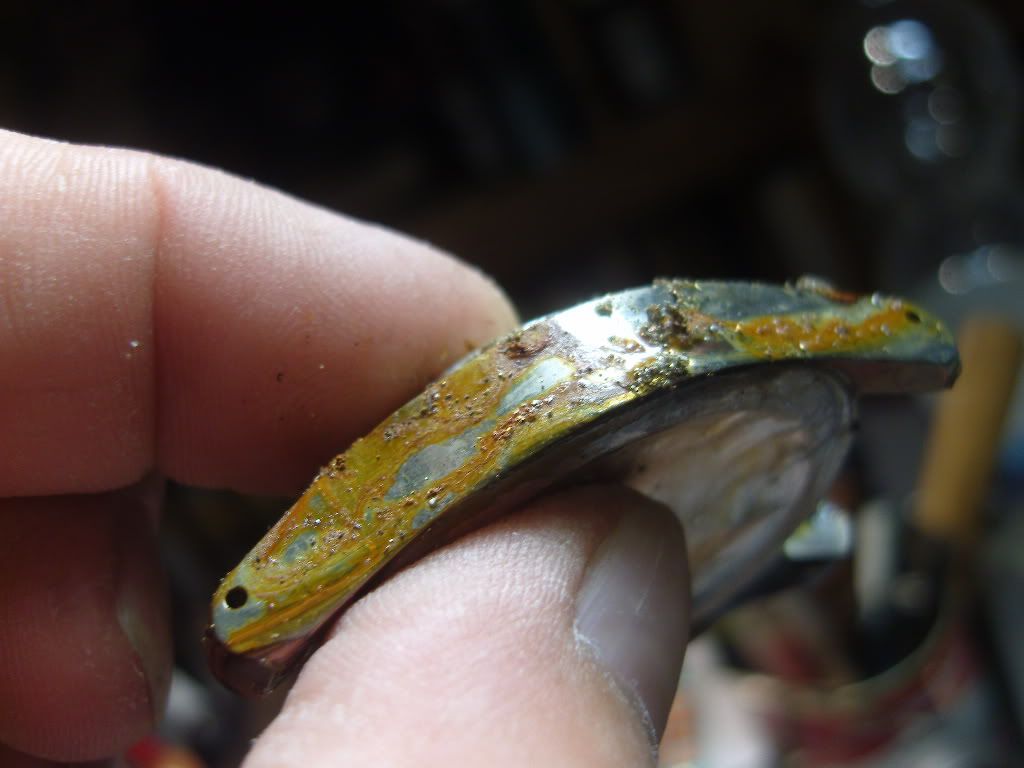
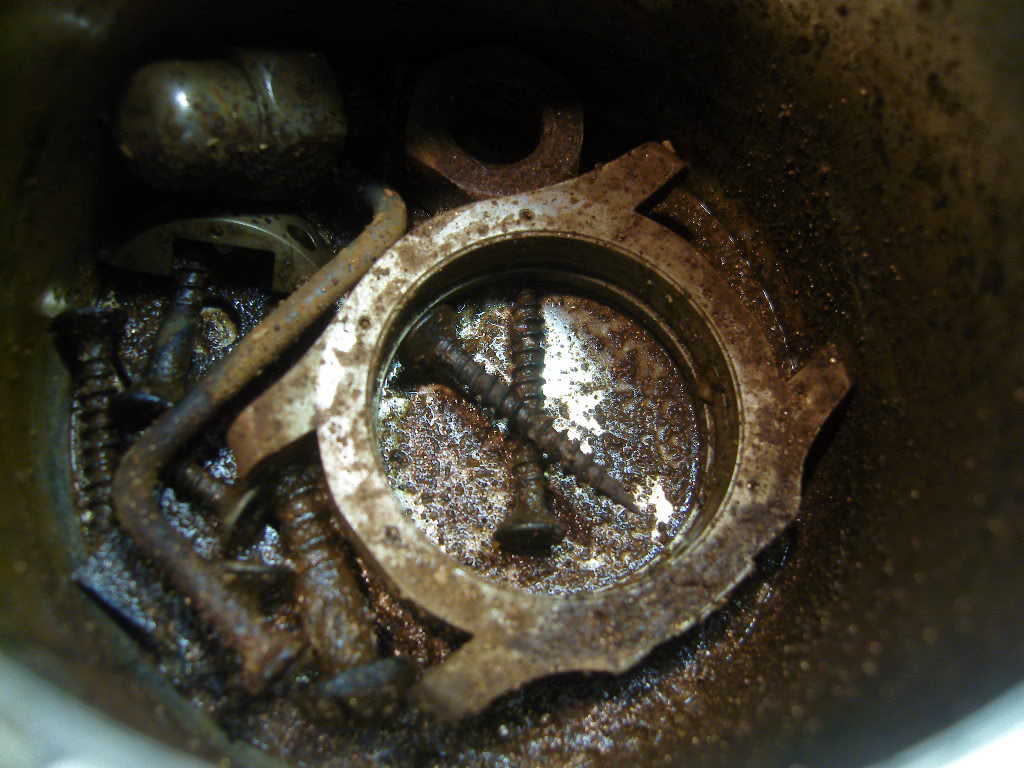
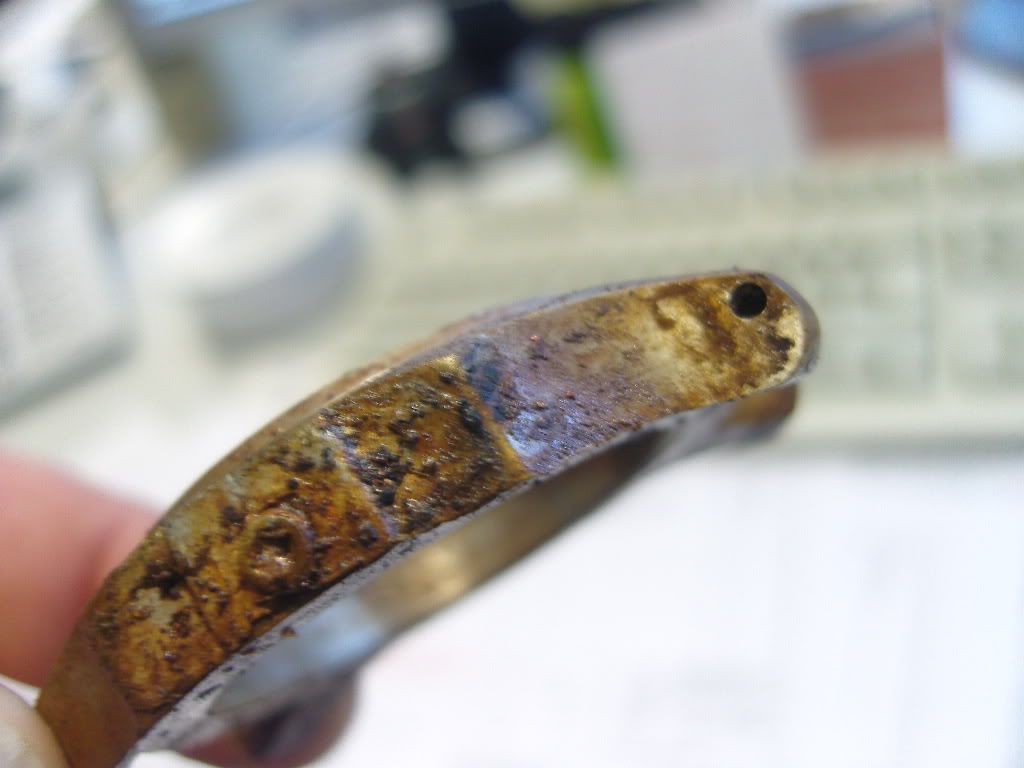
The crownguard is still in the can, it was also cooked with the rusty stuff.
For me is the aged look of the case good enough, not too hard and not too soft.
Let me know your opinions
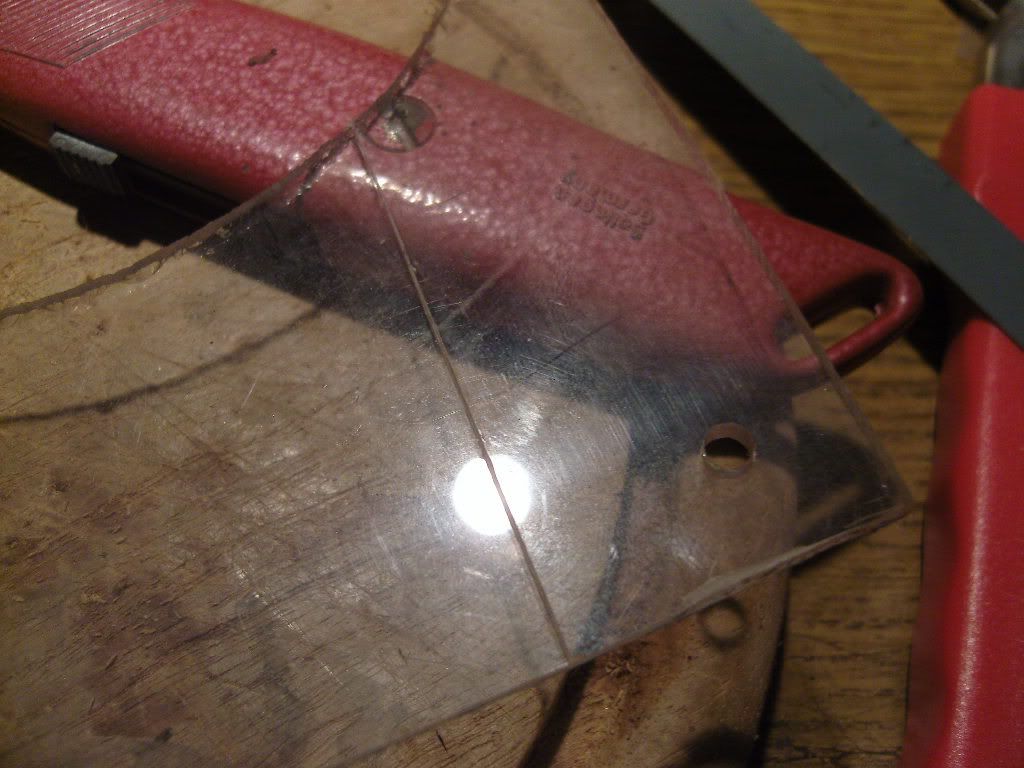
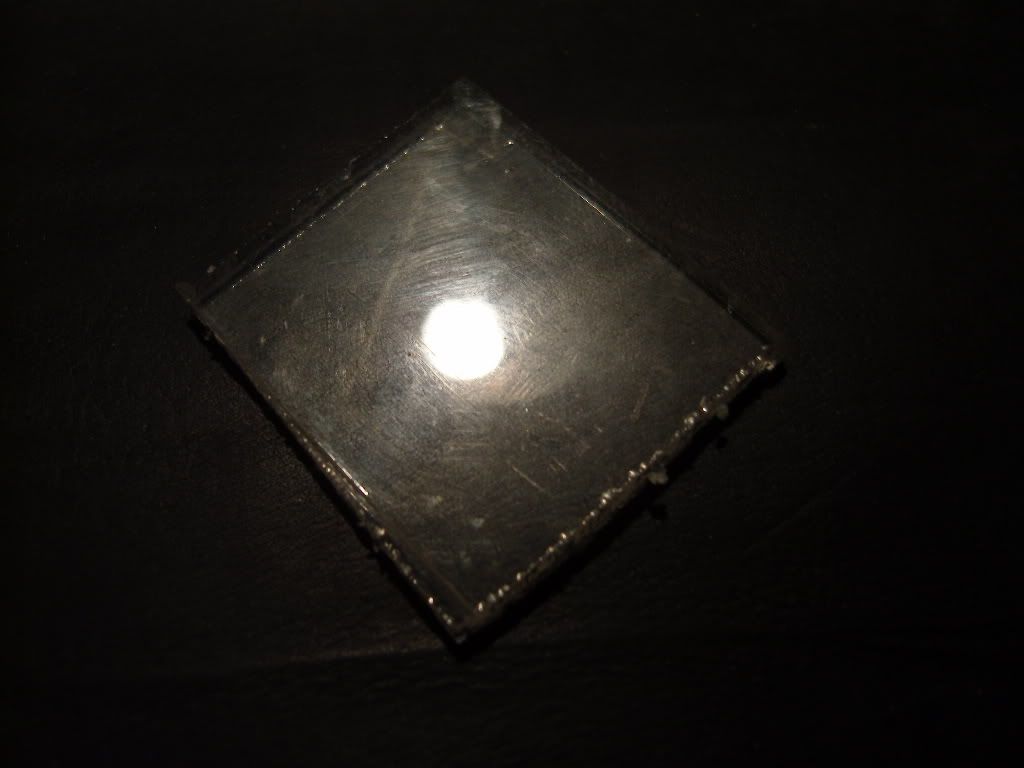
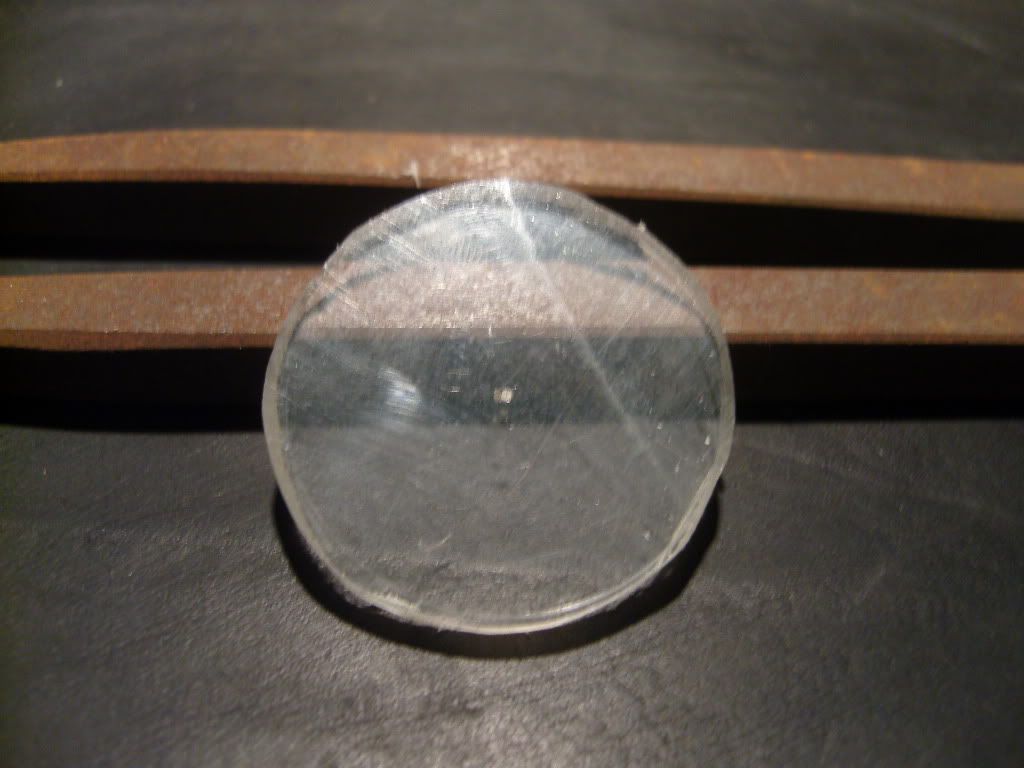
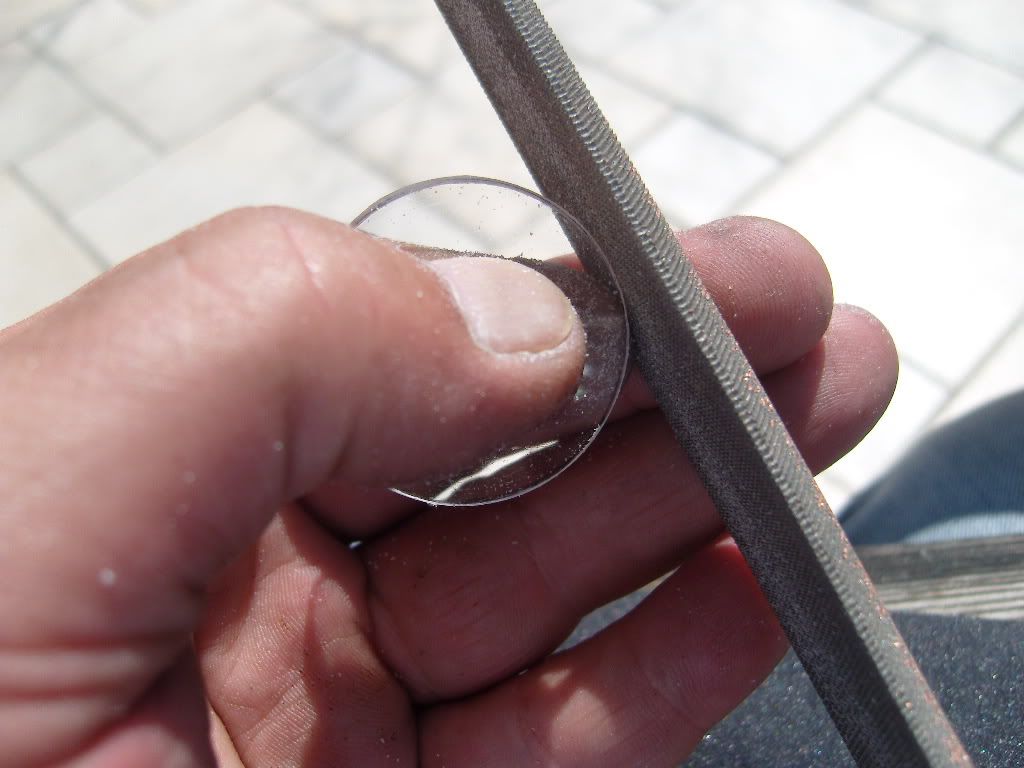
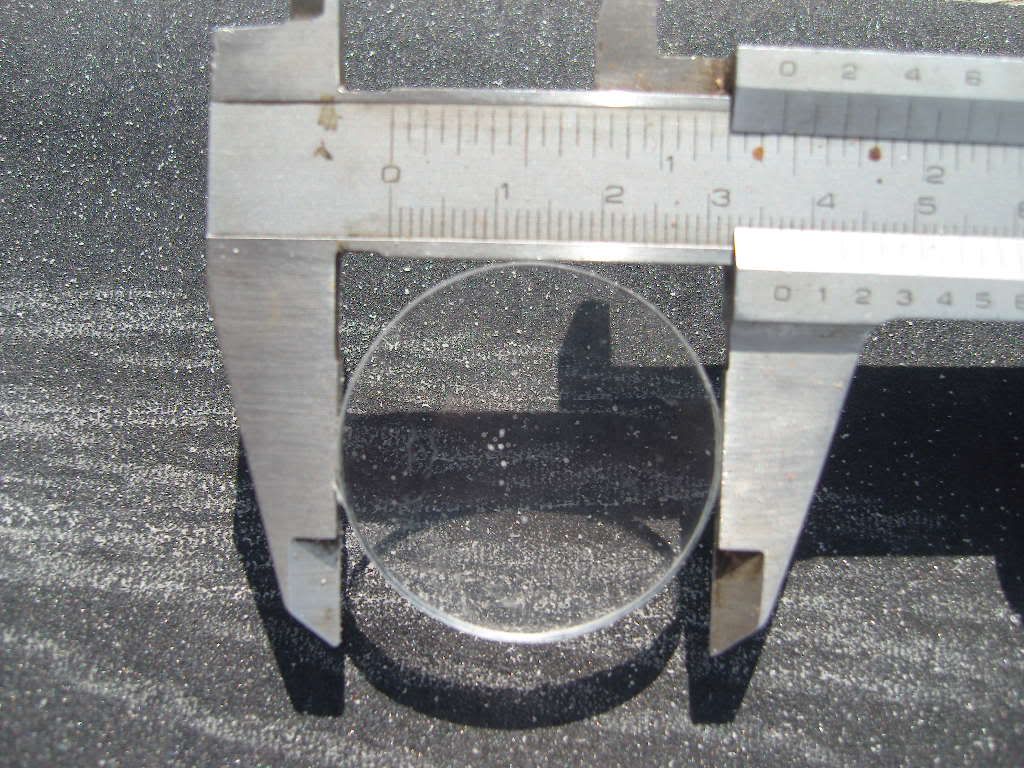
Btw, I need a new, higher plexi anyone out there who can help me with that ?
Greetz
Uwe
busy again yesterday. I took the case the day before yesterday in a can, together with rusty screws and some other scrap metal, added some water and were waiting for results.
Here is the can with the case and the rusty stuff
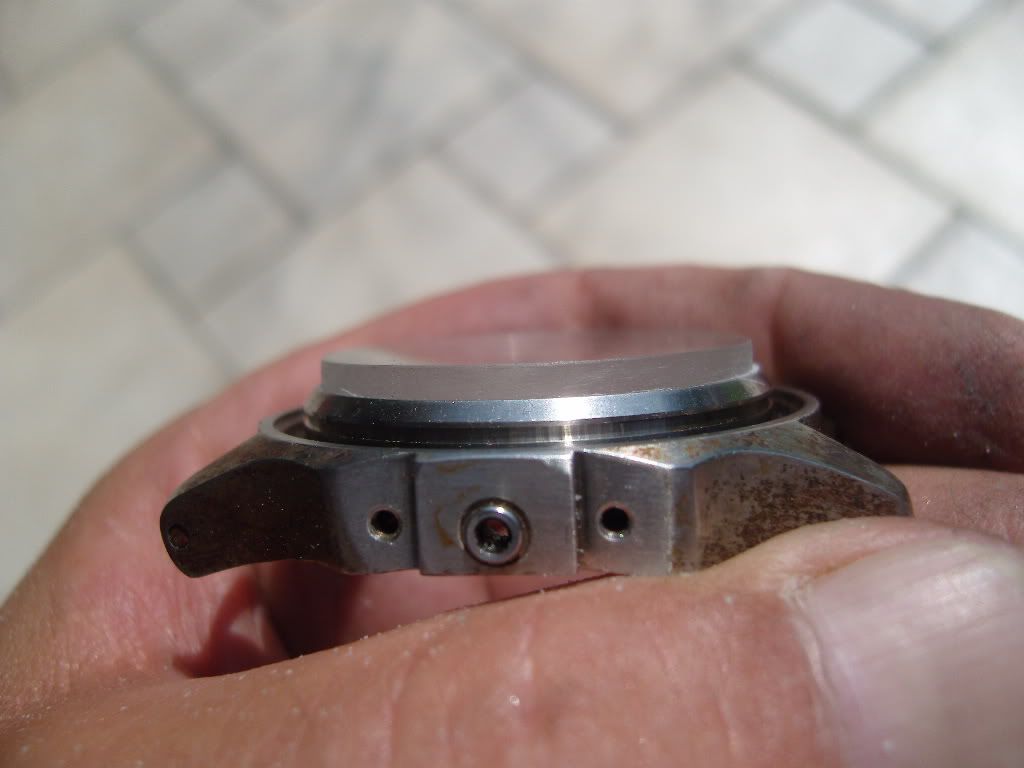
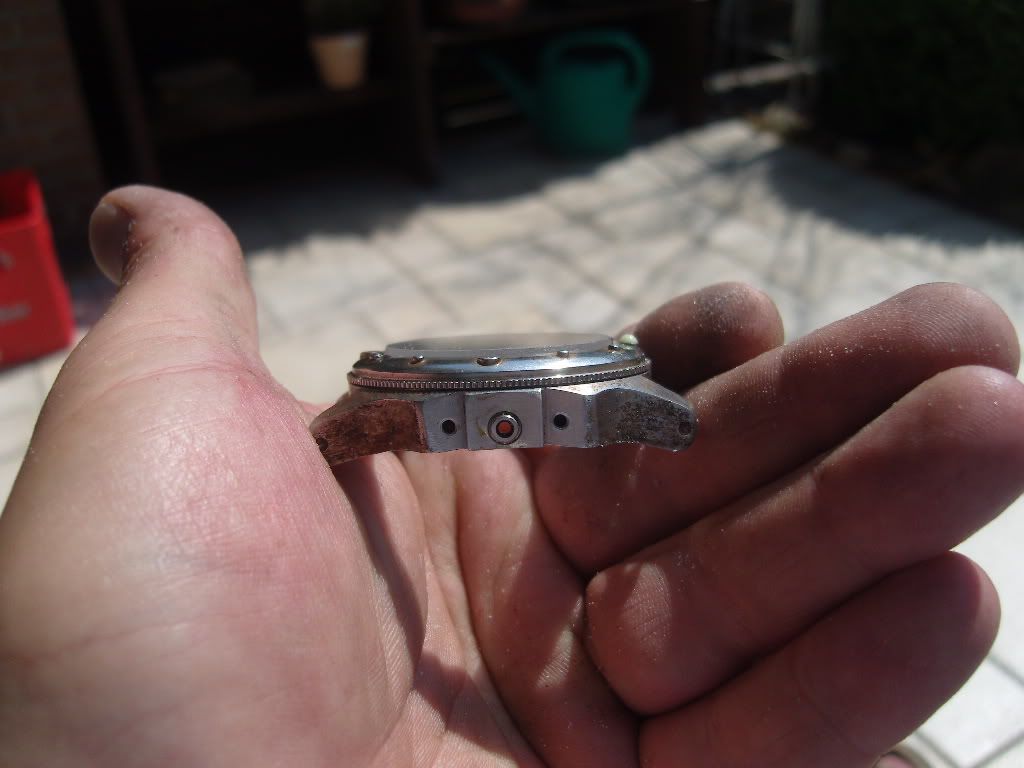
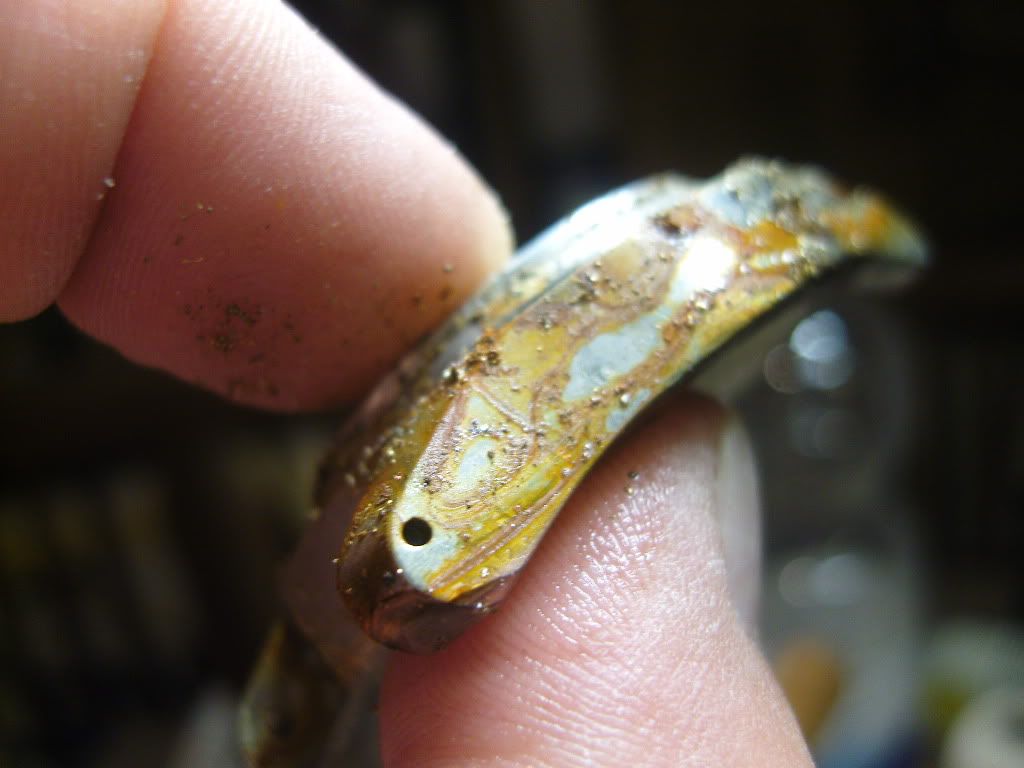
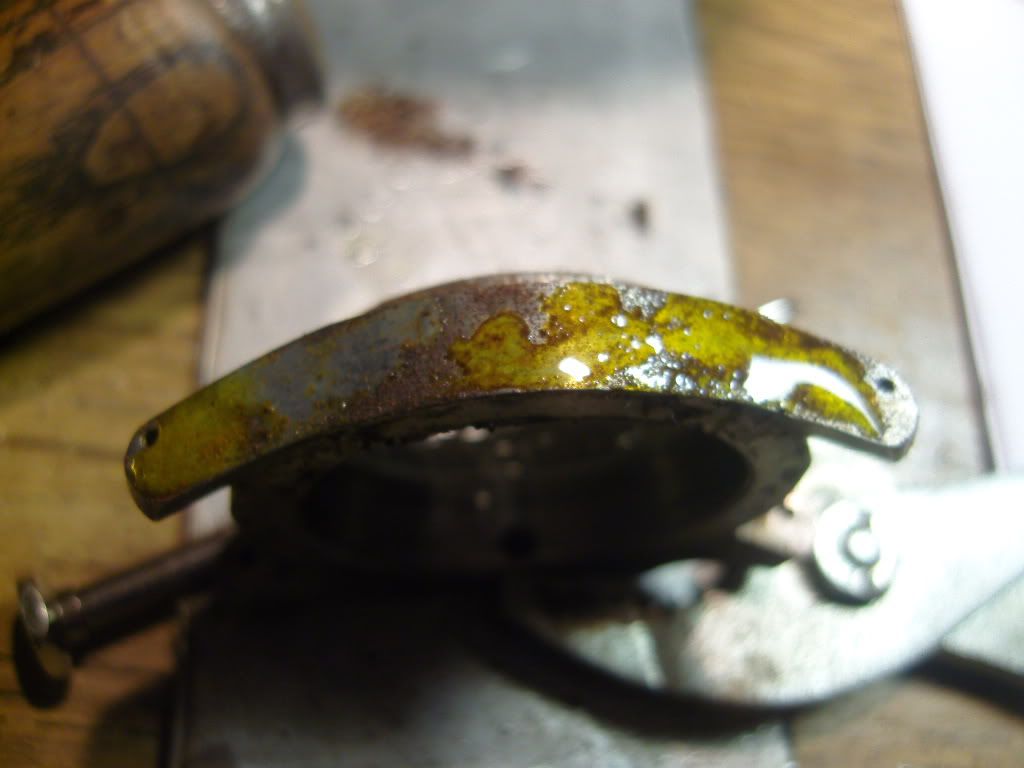
And this is what came out yesterday evening after about 24 hours
This was not the result I’ve expected. The rust was not permanent enough. L
I guess the case is made from a higher grade stainless steel, maybe more chrome in it.
So, what now ?
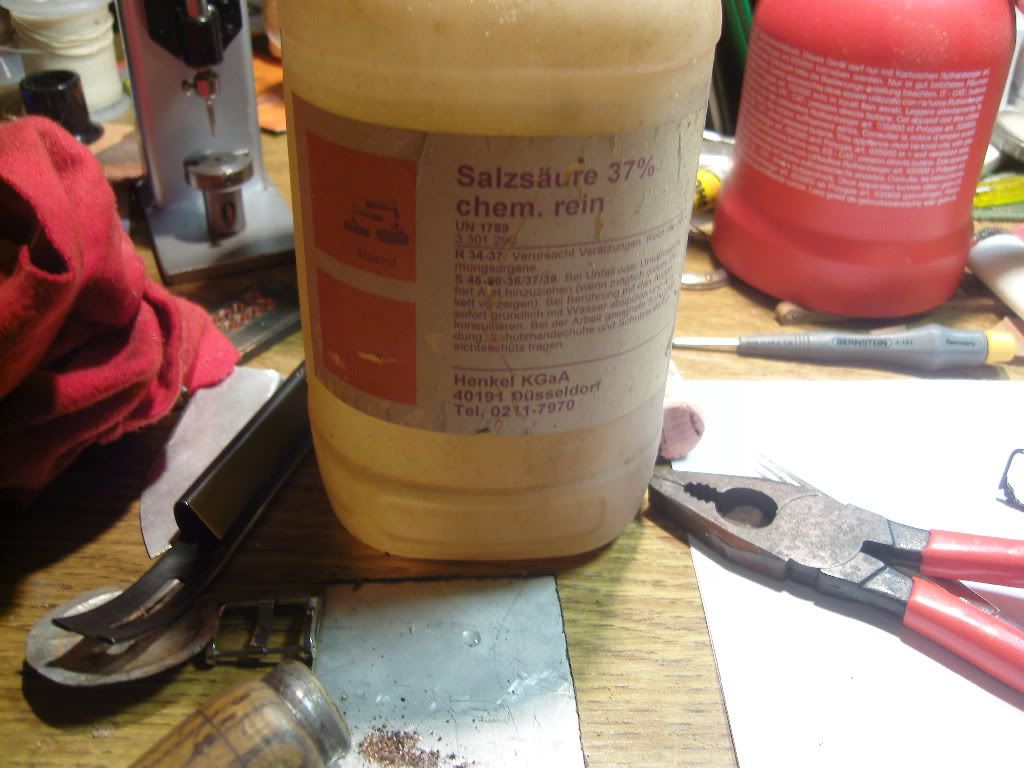
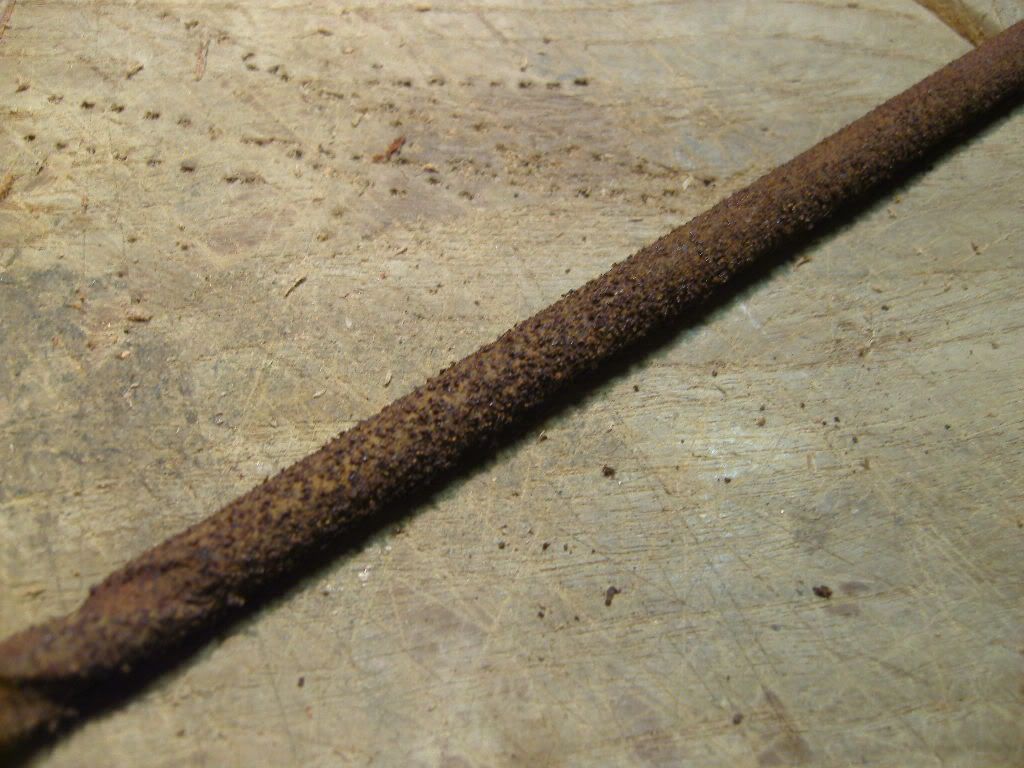
I had some muriatic acid and a rusty drill
Scratched the rust from the drill, applicated it to the case and added some drops of acid
Until the surface was dry, I took the case back in the can with the rusty stuff.
Added some water and cooked it with a propane burner until all water was vaporized.
Now the result was more in the direction I wanted.
But still not permanent enough. Now came the time to go the harder way. The case or me
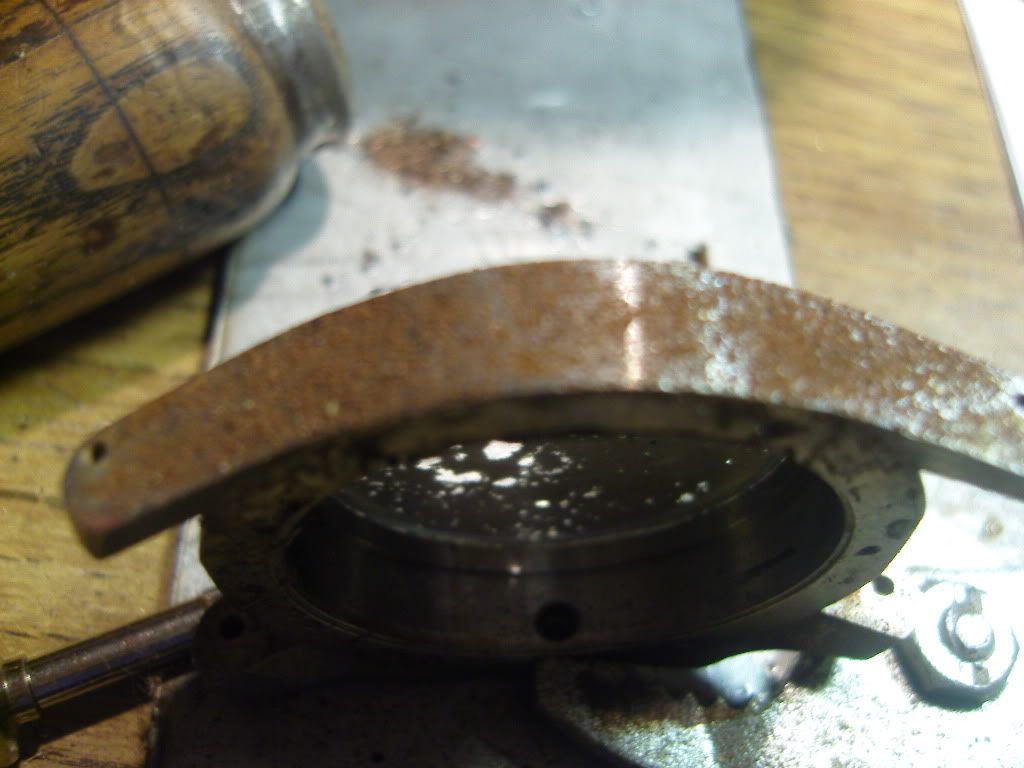
I grabbed my good old propane burner and started the final treatment. I’ve heated the case up with all the rusty and rotten goodies on it, all or nothing..
OK, it looks like destroying the case, but it allowes a hard treatment.
I didn’t went over 250 - 300C°.
Fast quenching with cold water dripped area by area made the finish.
Enough work for one evening
( Aging of the hands and the dial was also done as a sideline, I will upload the pics later)
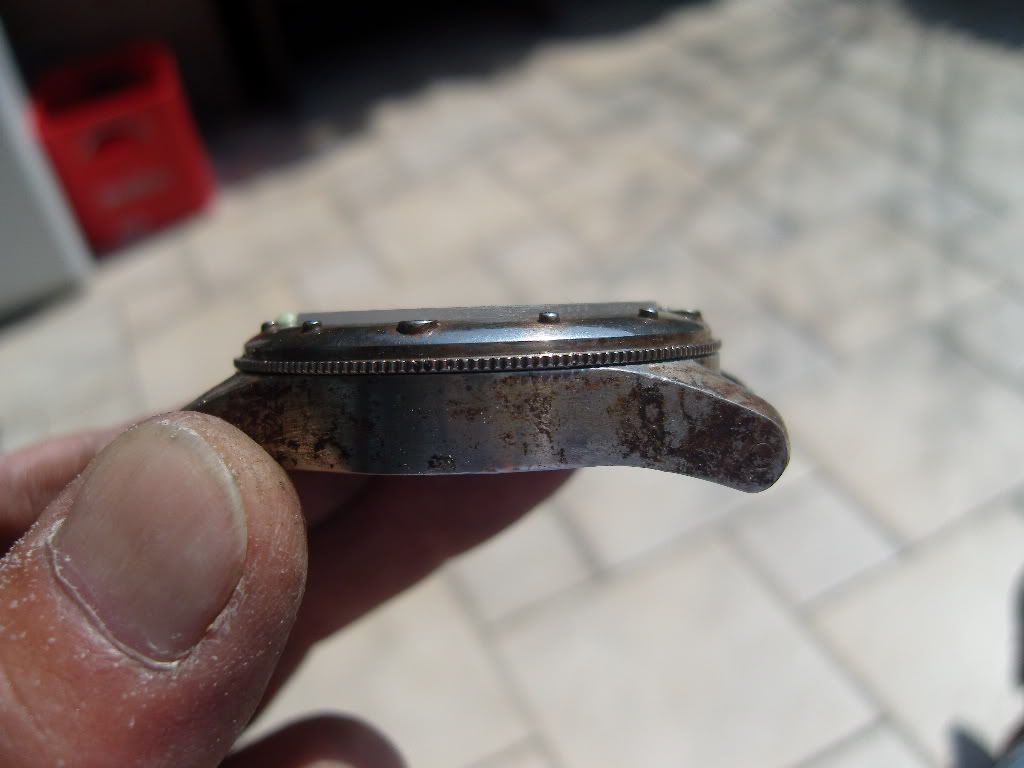
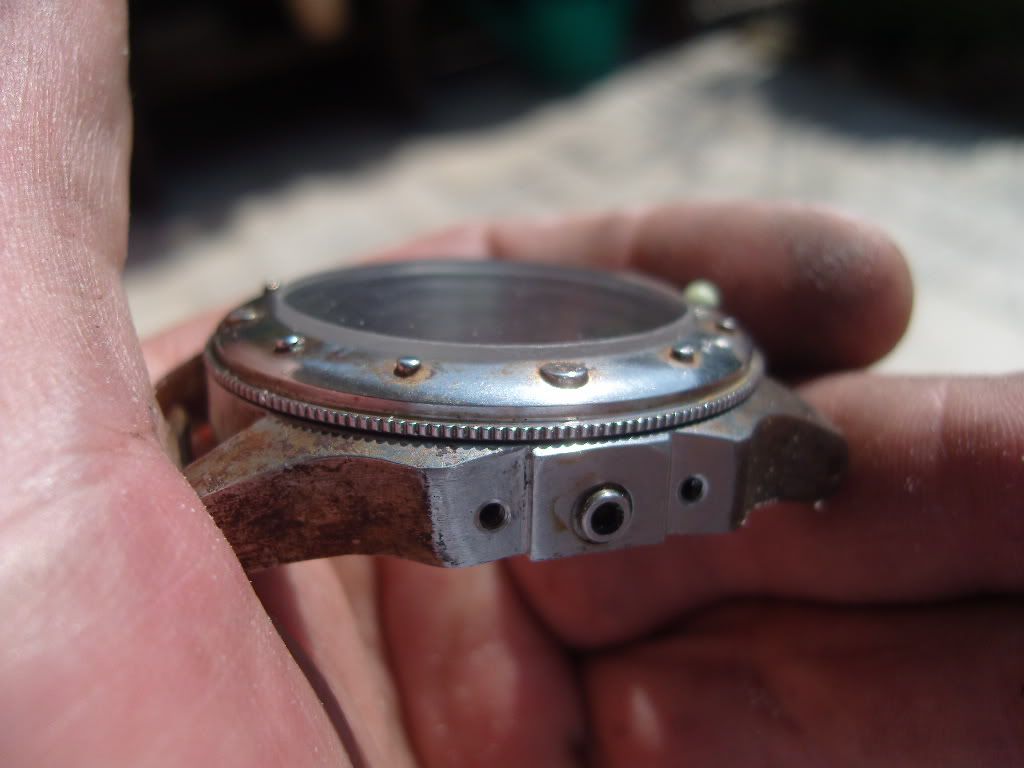
This morning at the office I cleaned the case and this is what it looks like now
The crownguard is still in the can, it was also cooked with the rusty stuff.
For me is the aged look of the case good enough, not too hard and not too soft.
Let me know your opinions
Btw, I need a new, higher plexi anyone out there who can help me with that ?
Greetz
Uwe