• Tired of adverts on RWI? - Subscribe by clicking HERE and PMing Trailboss for instructions and they will magically go away!

Decal printed dial

chrome72

Renowned Member
7/12/17
665
608
93
Houston TX Baby
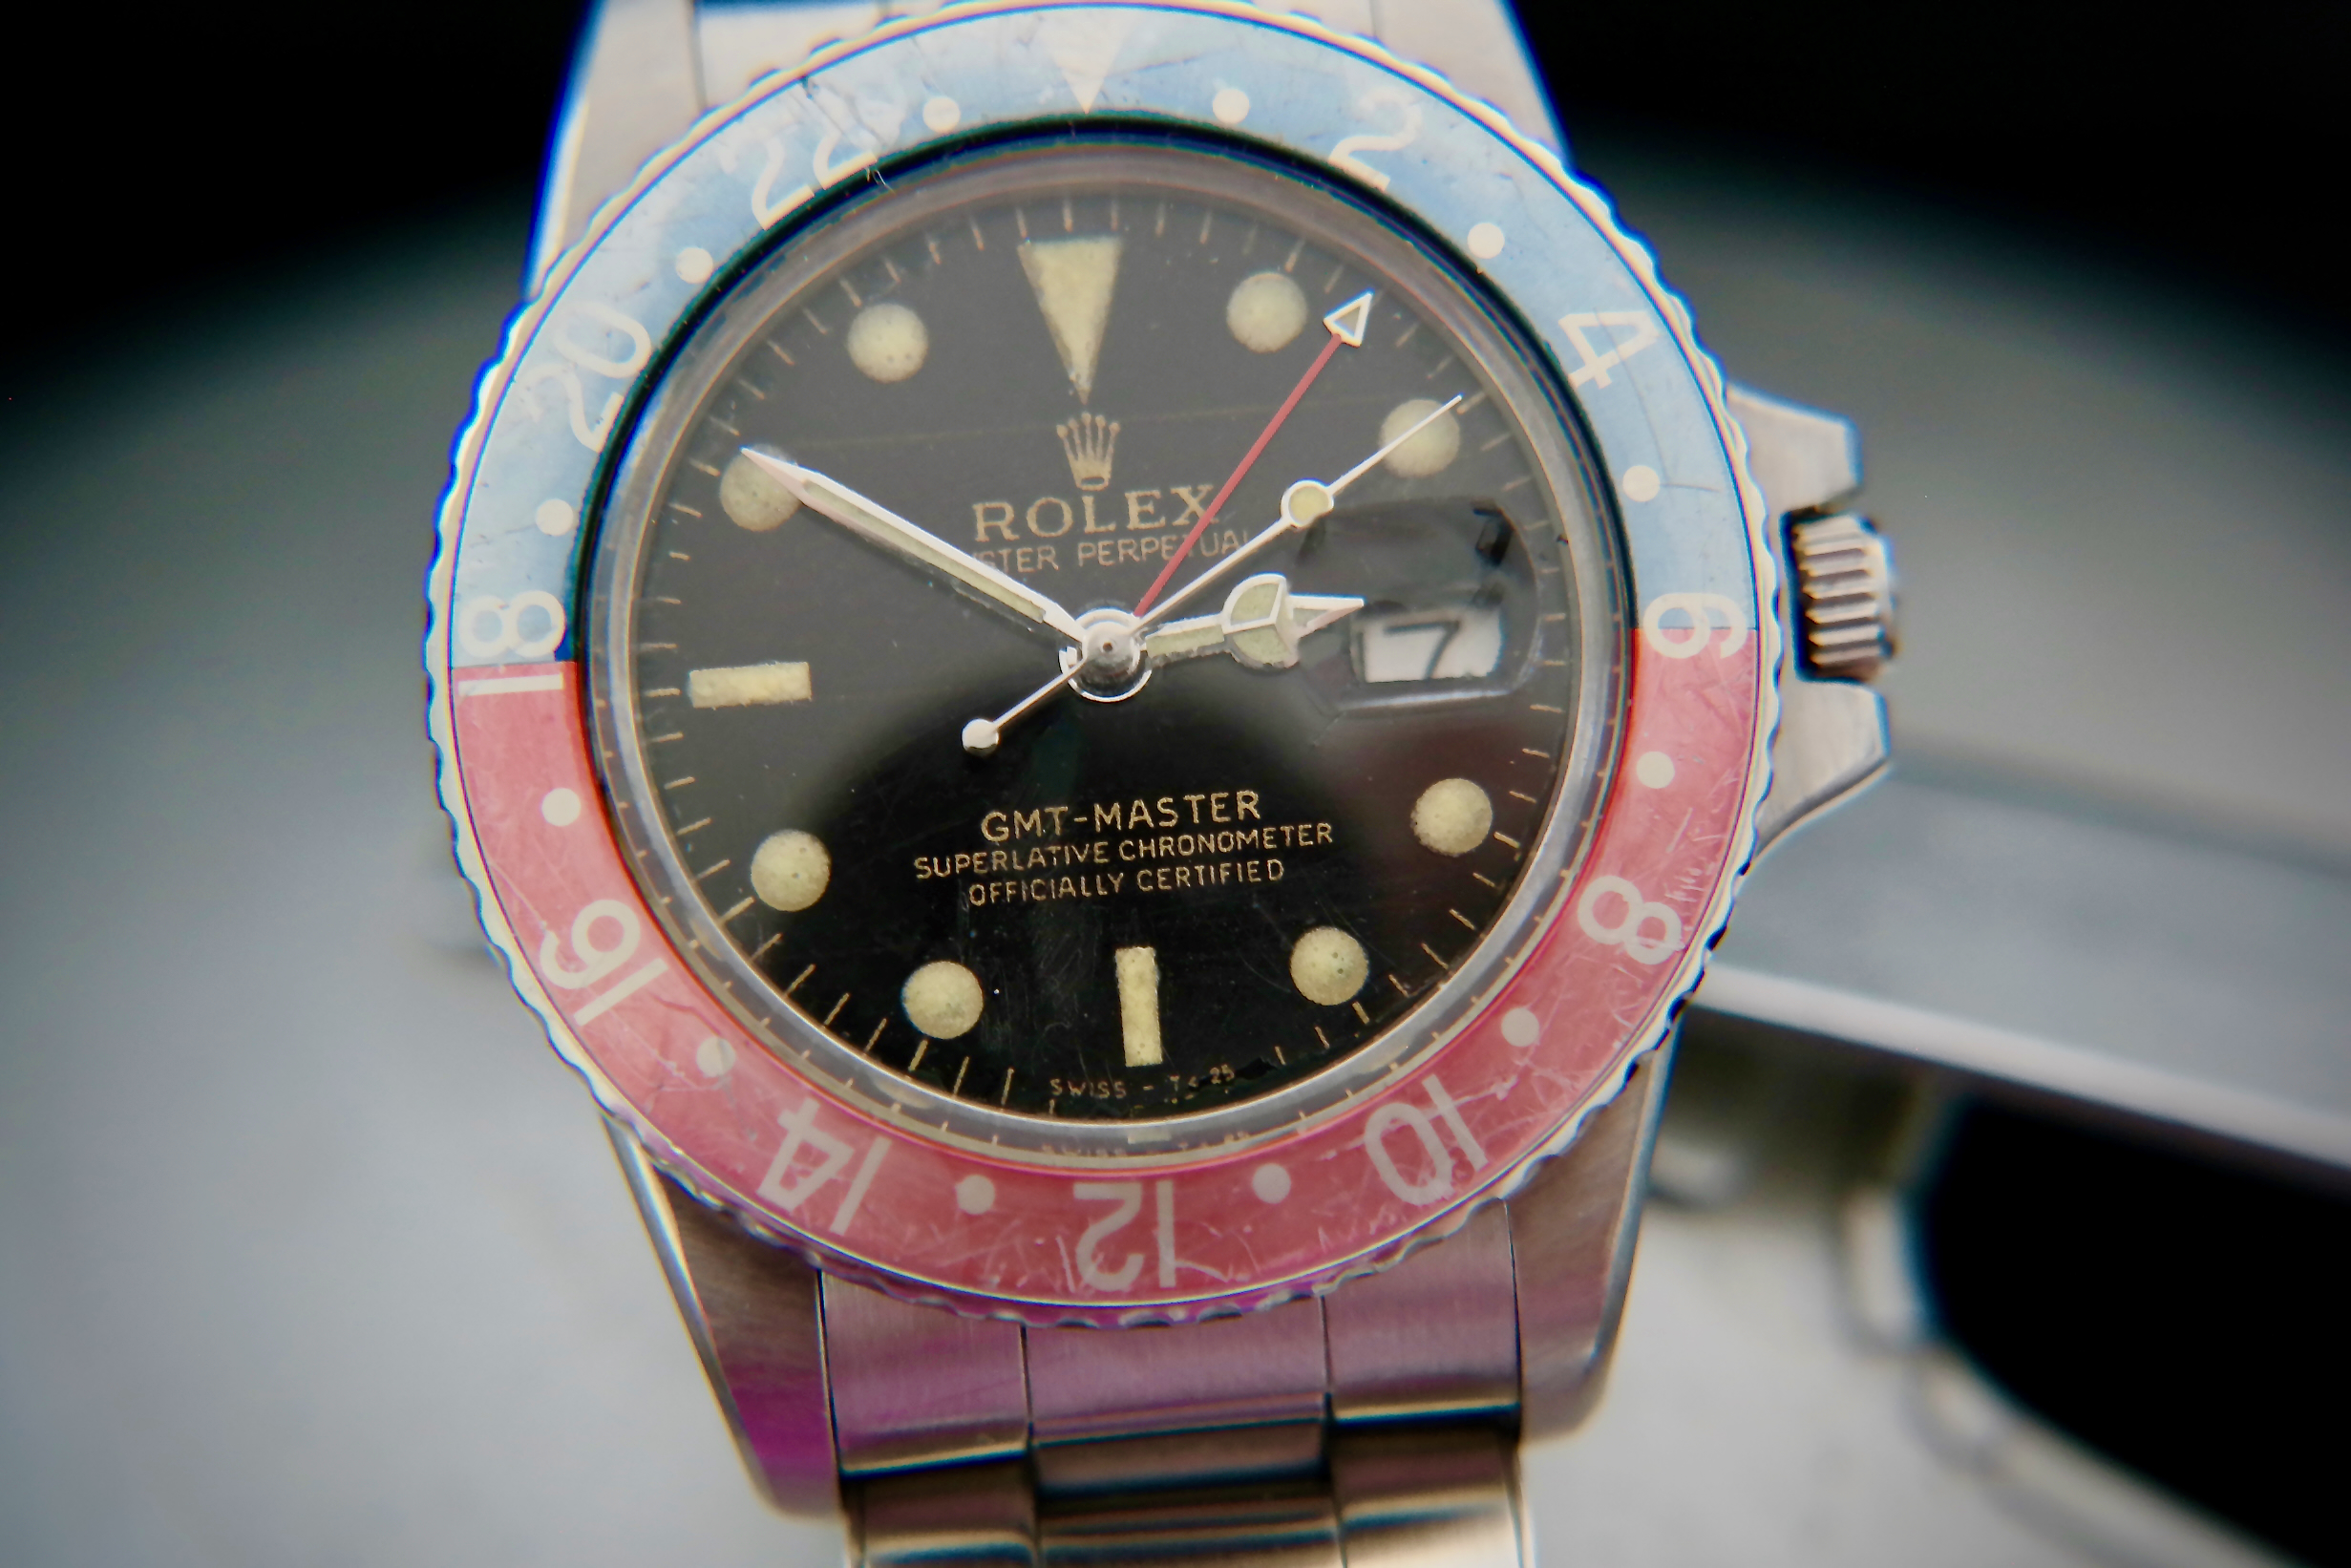
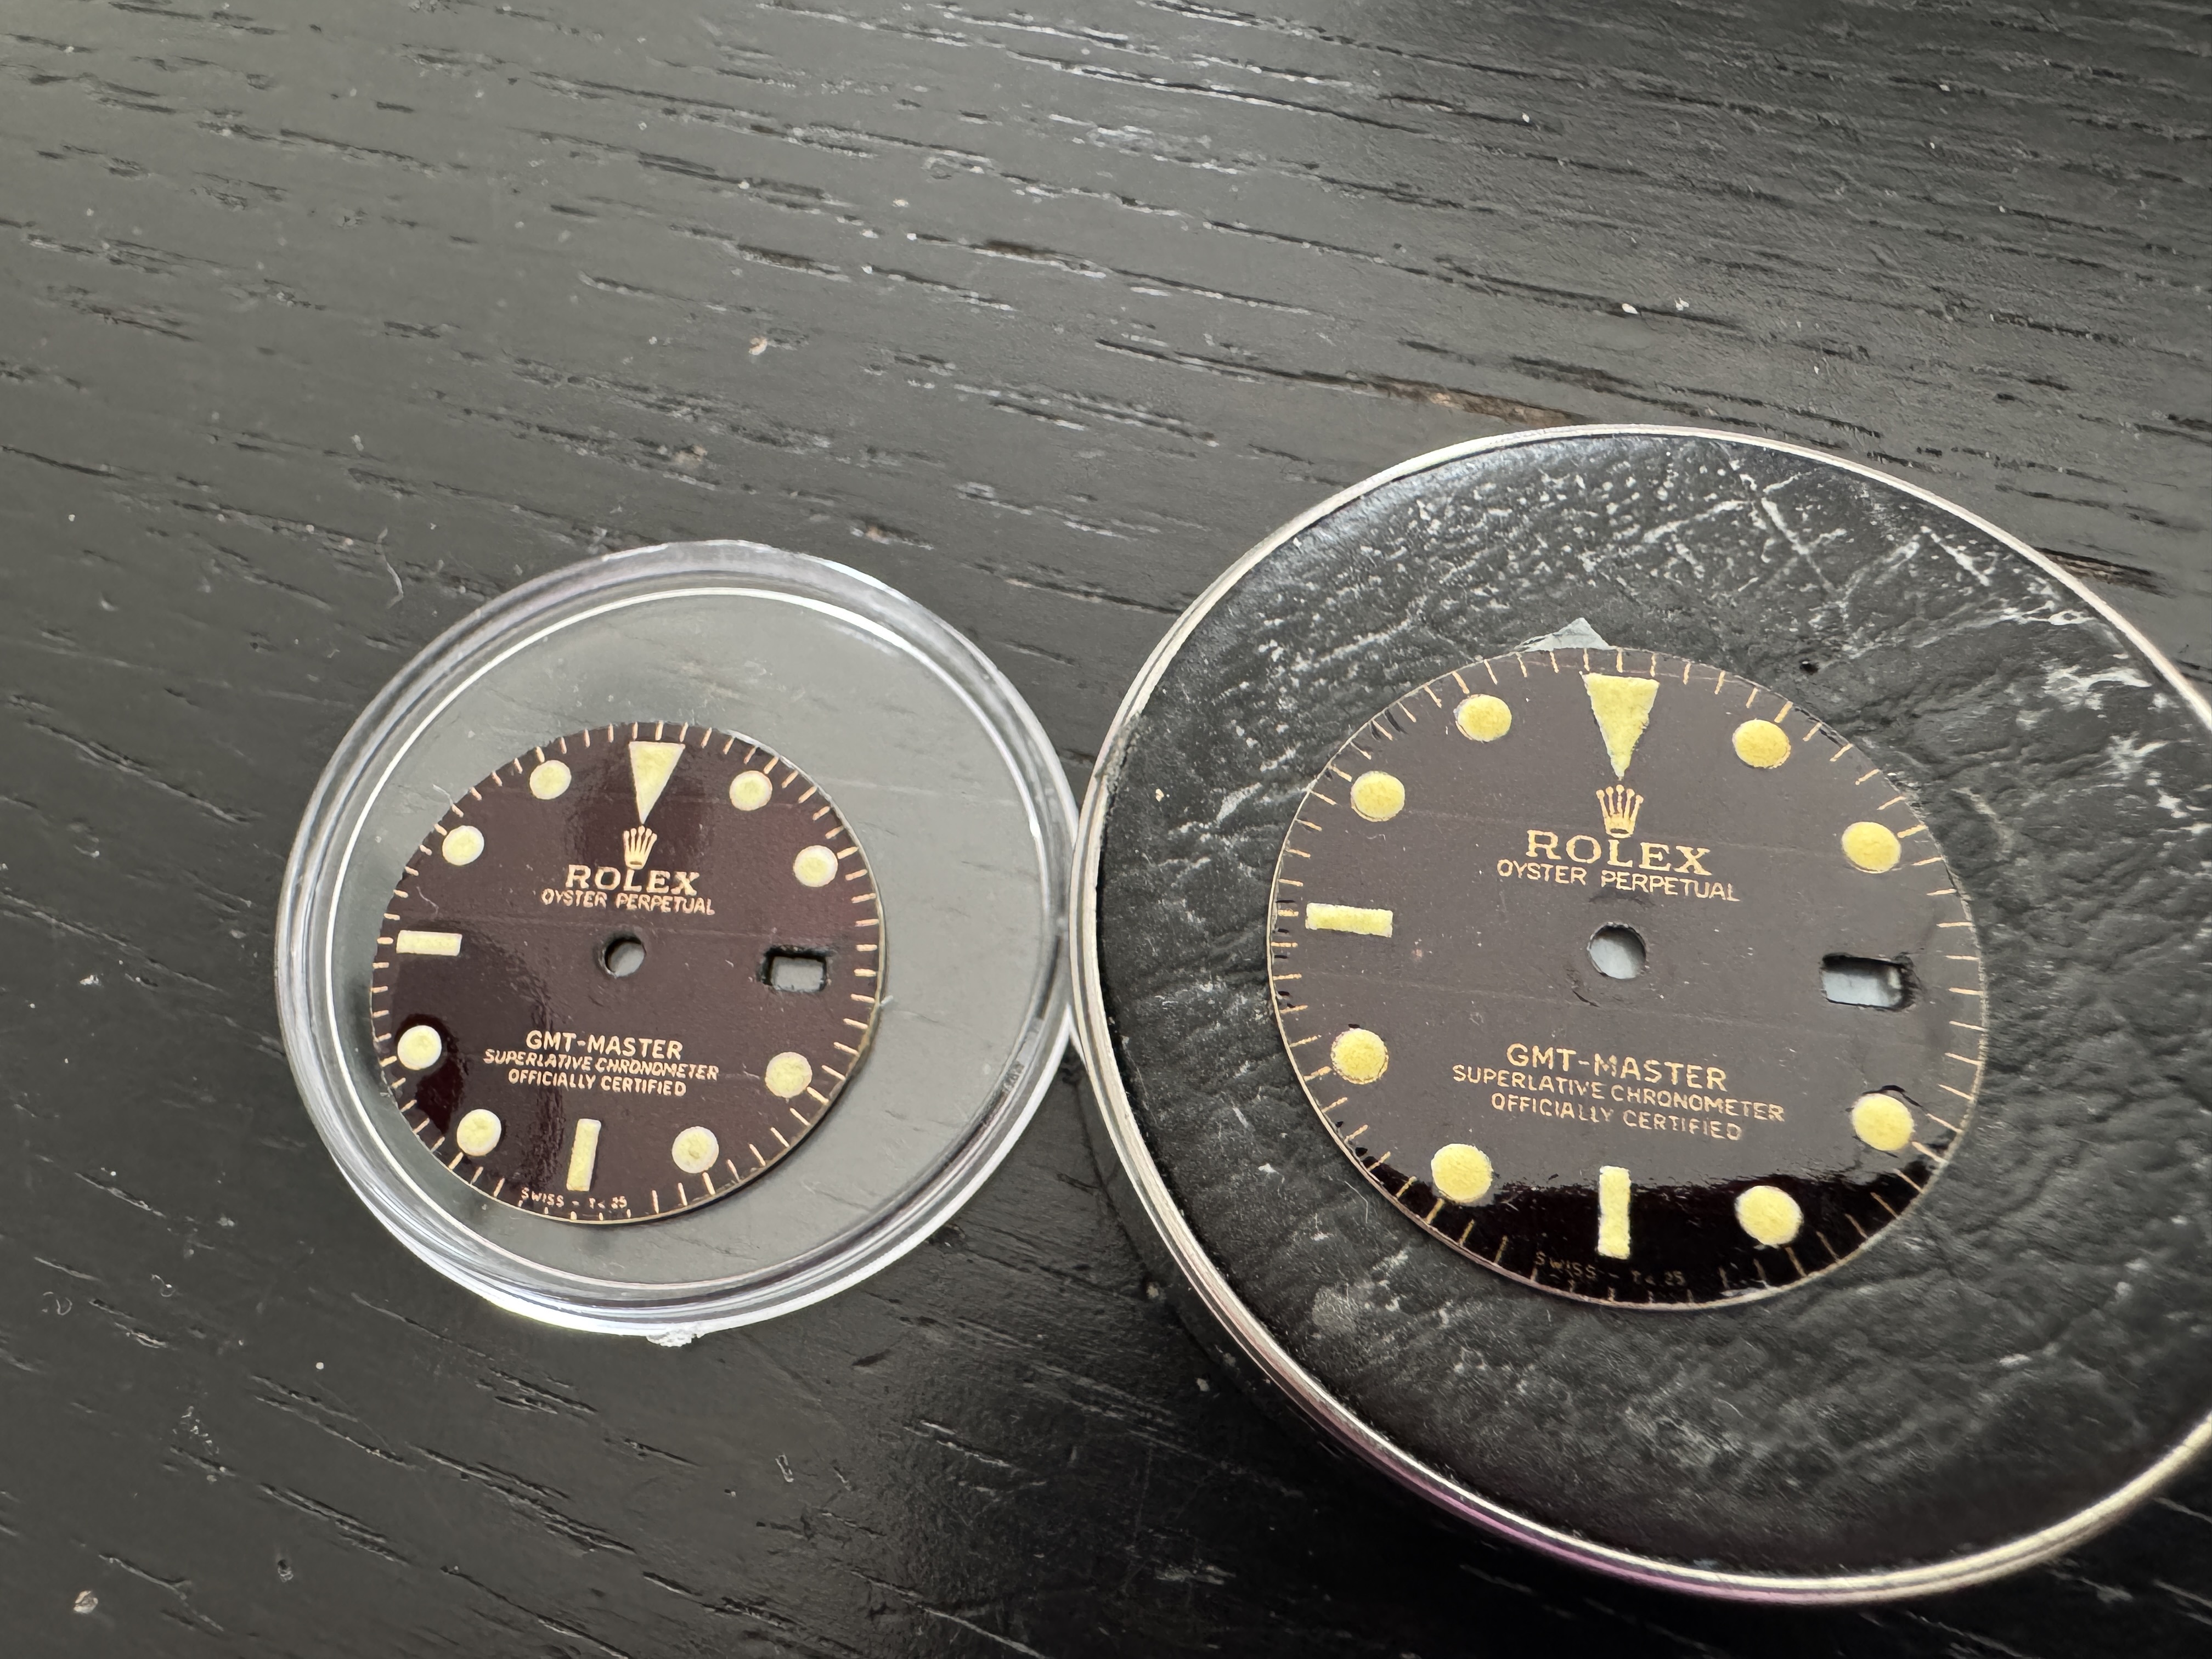
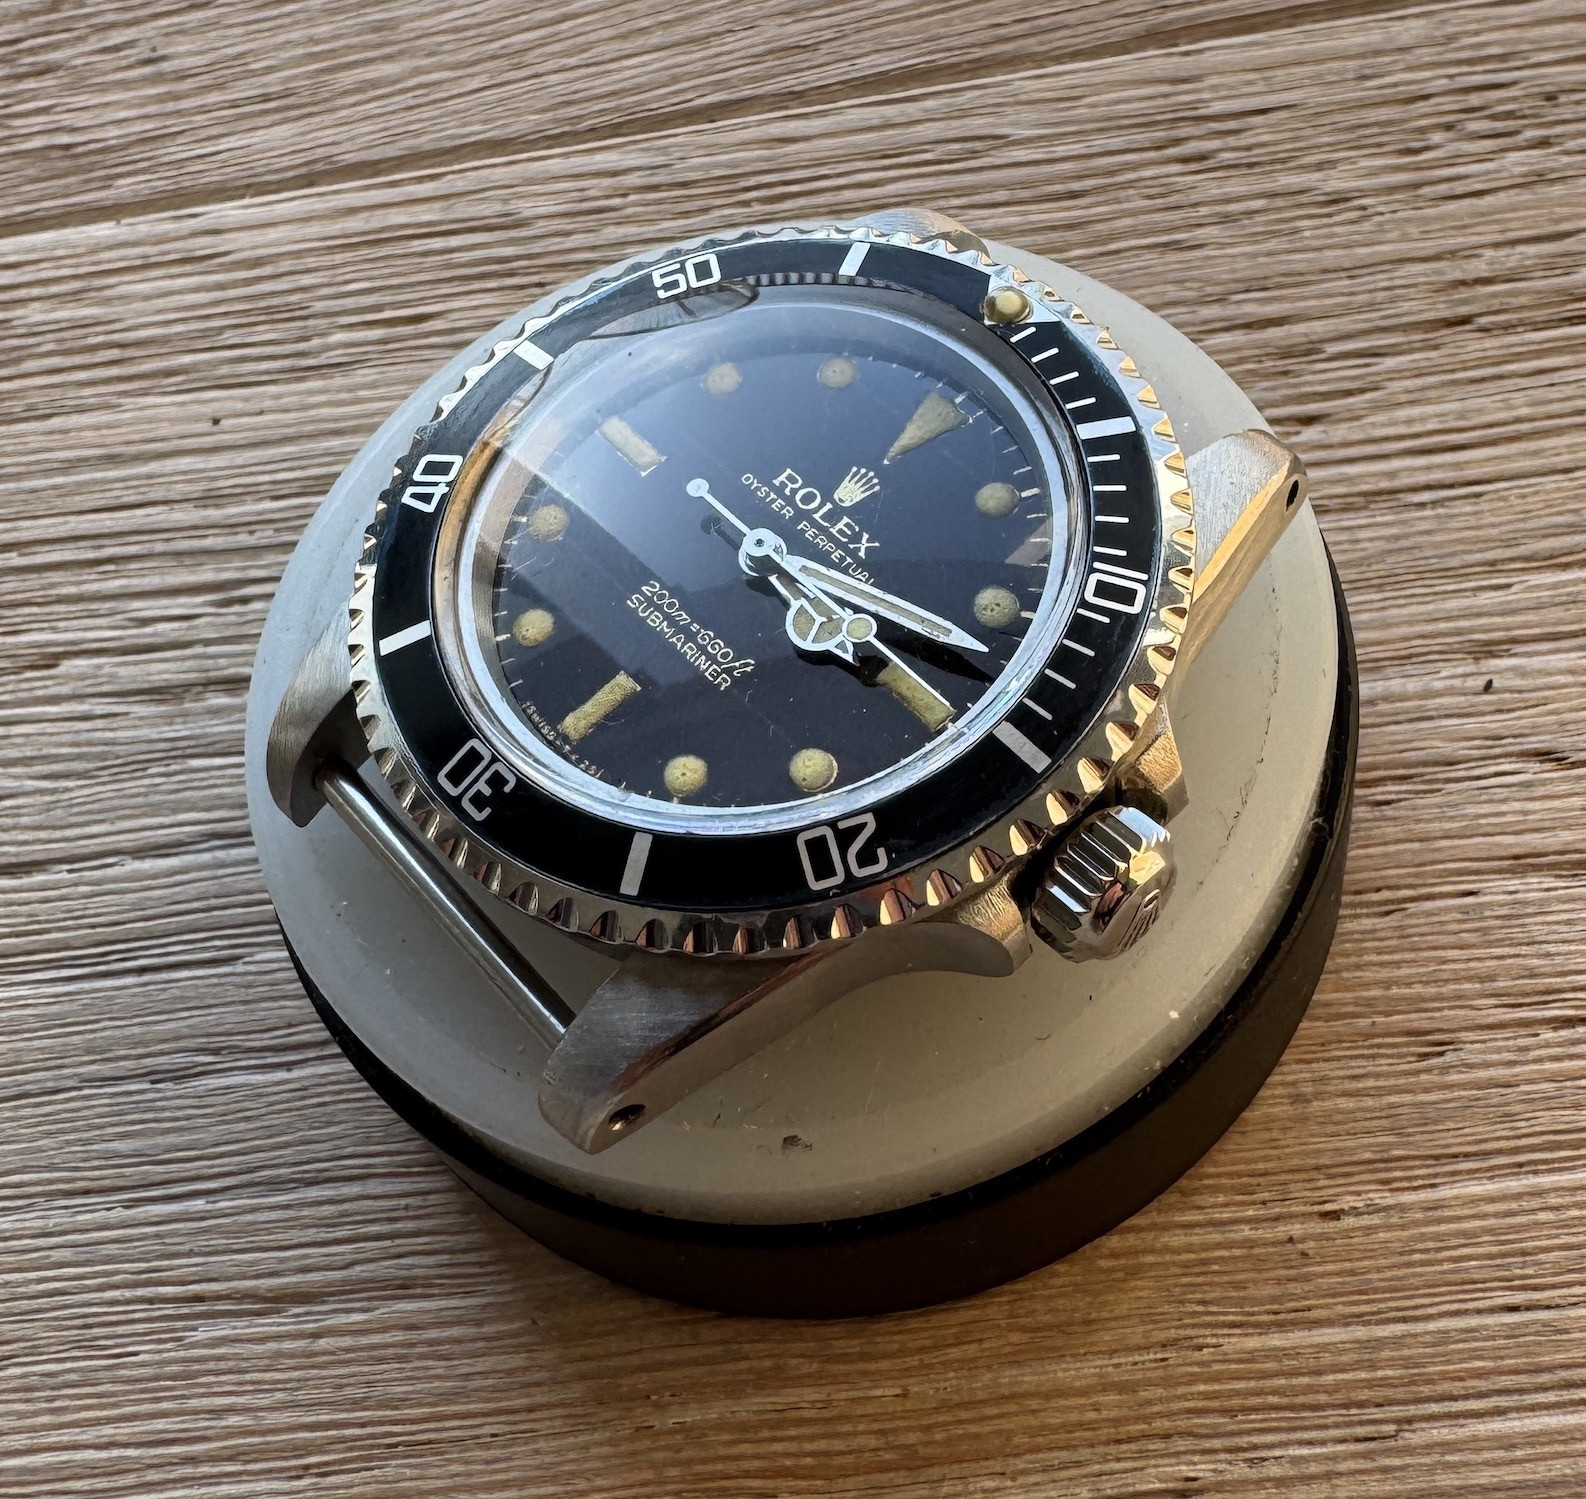
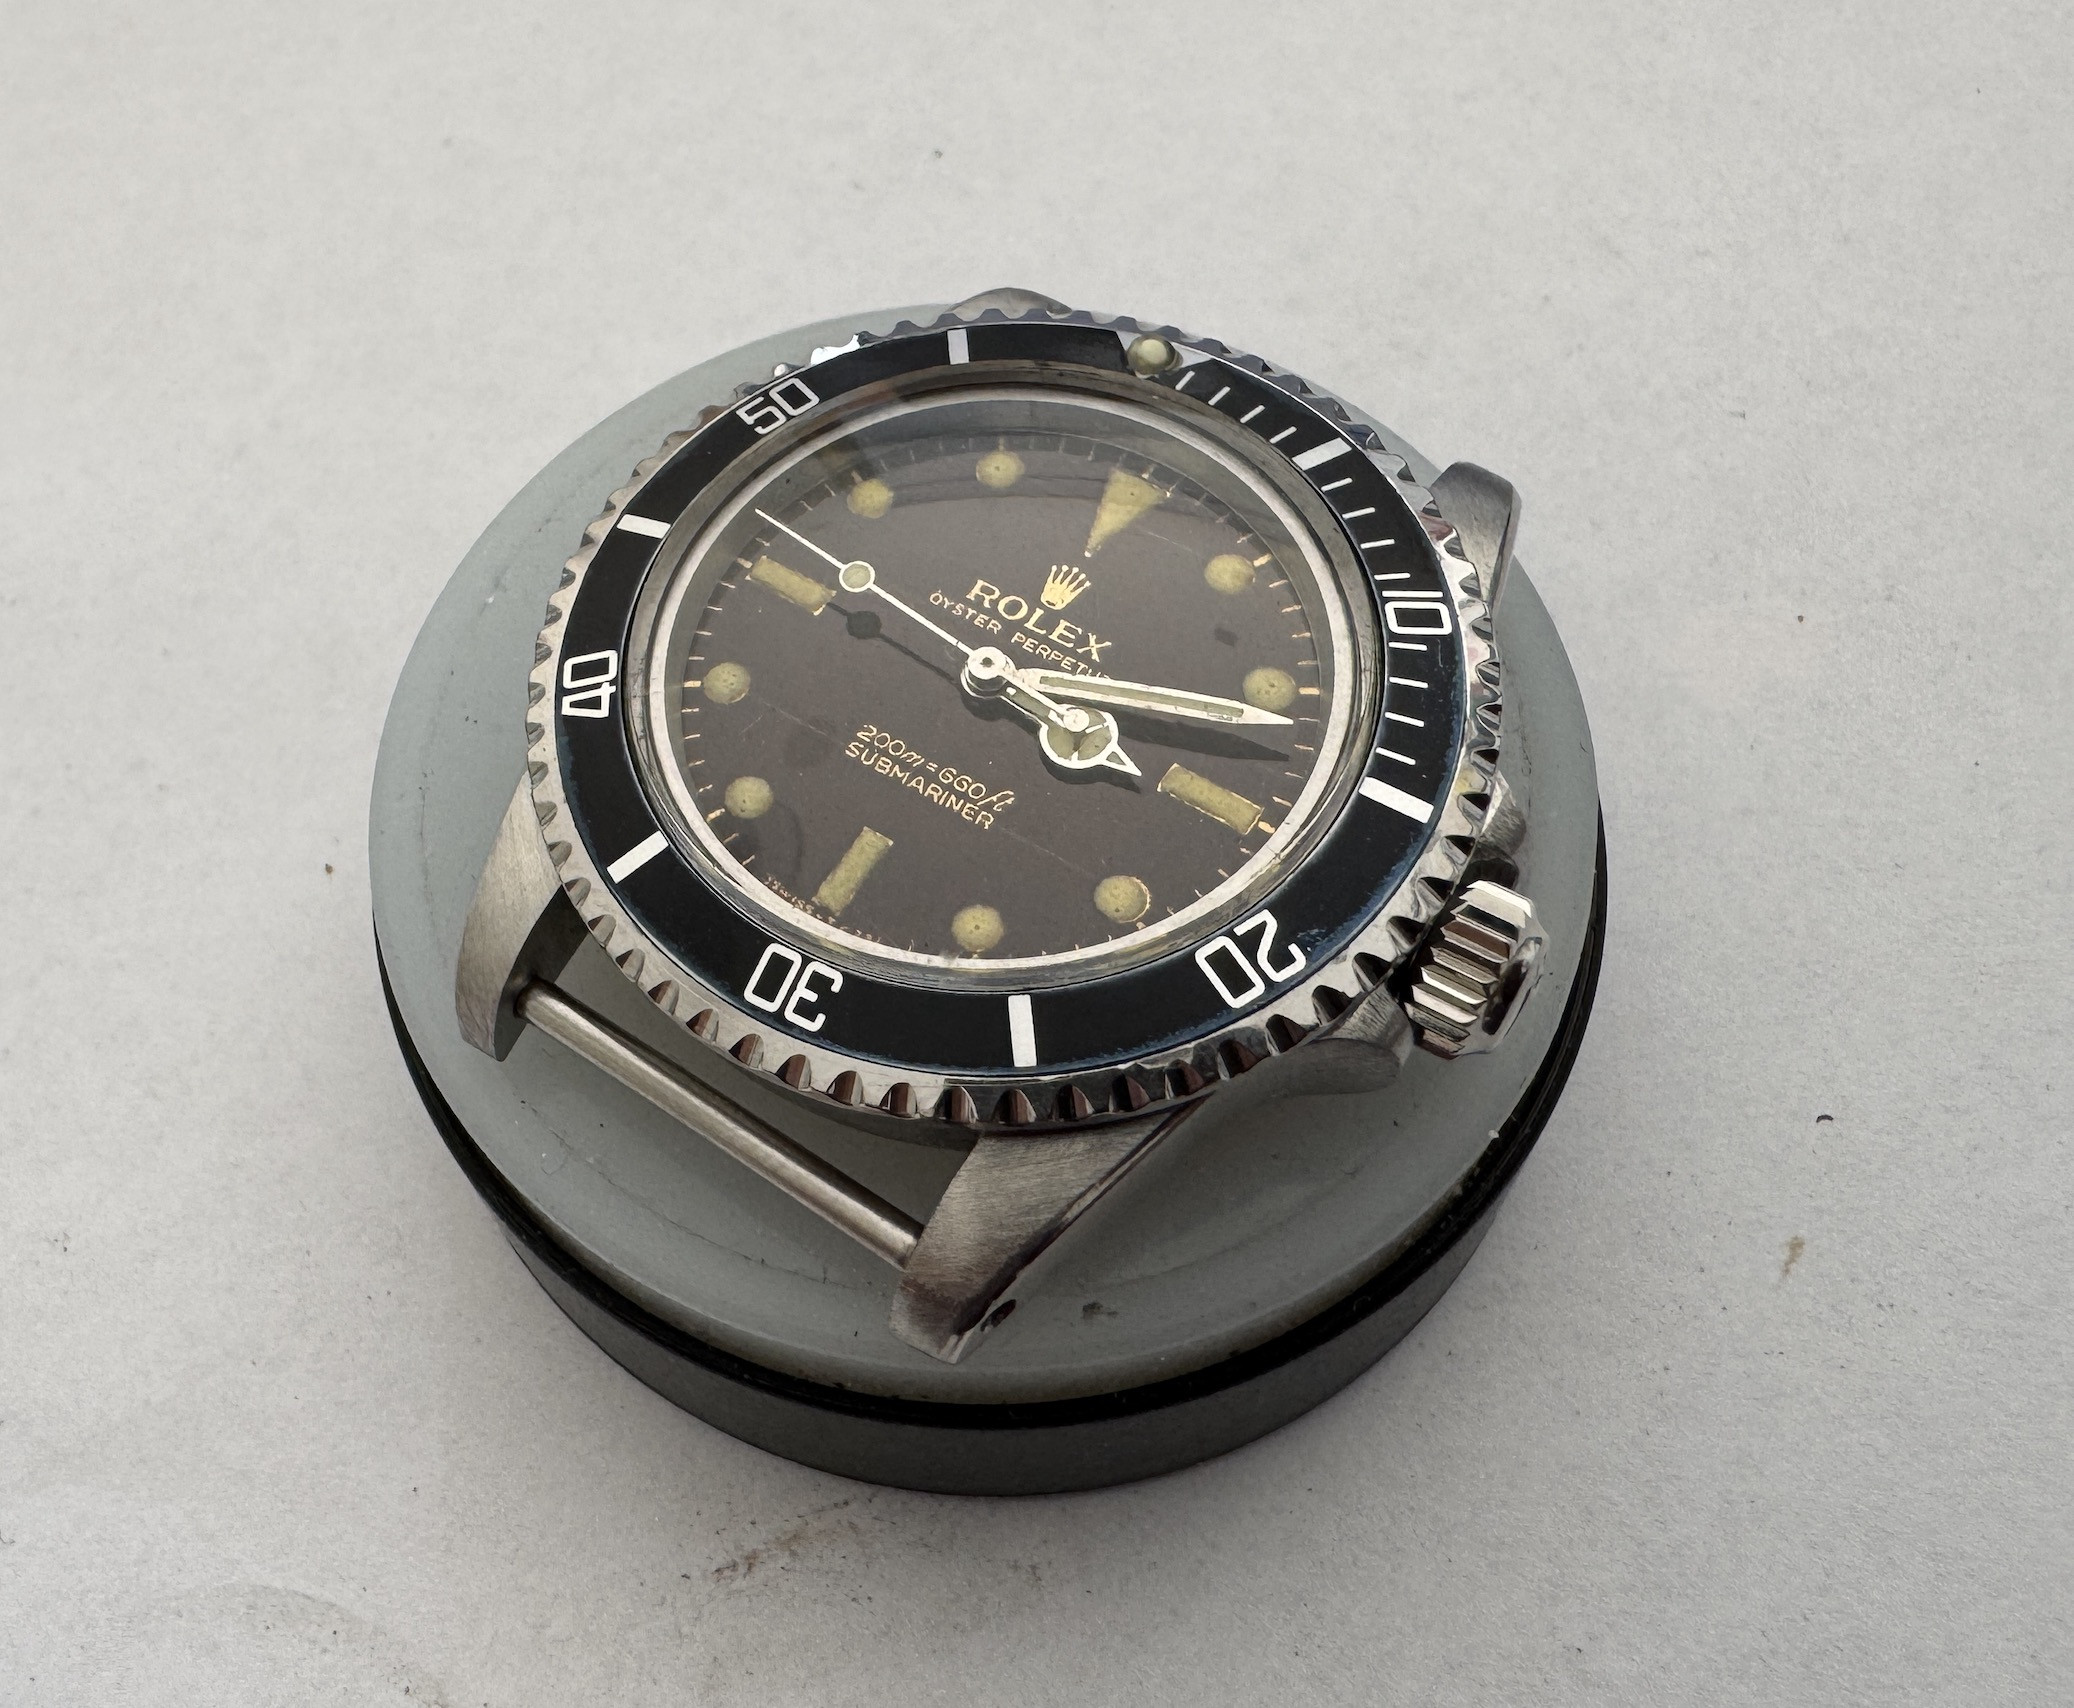
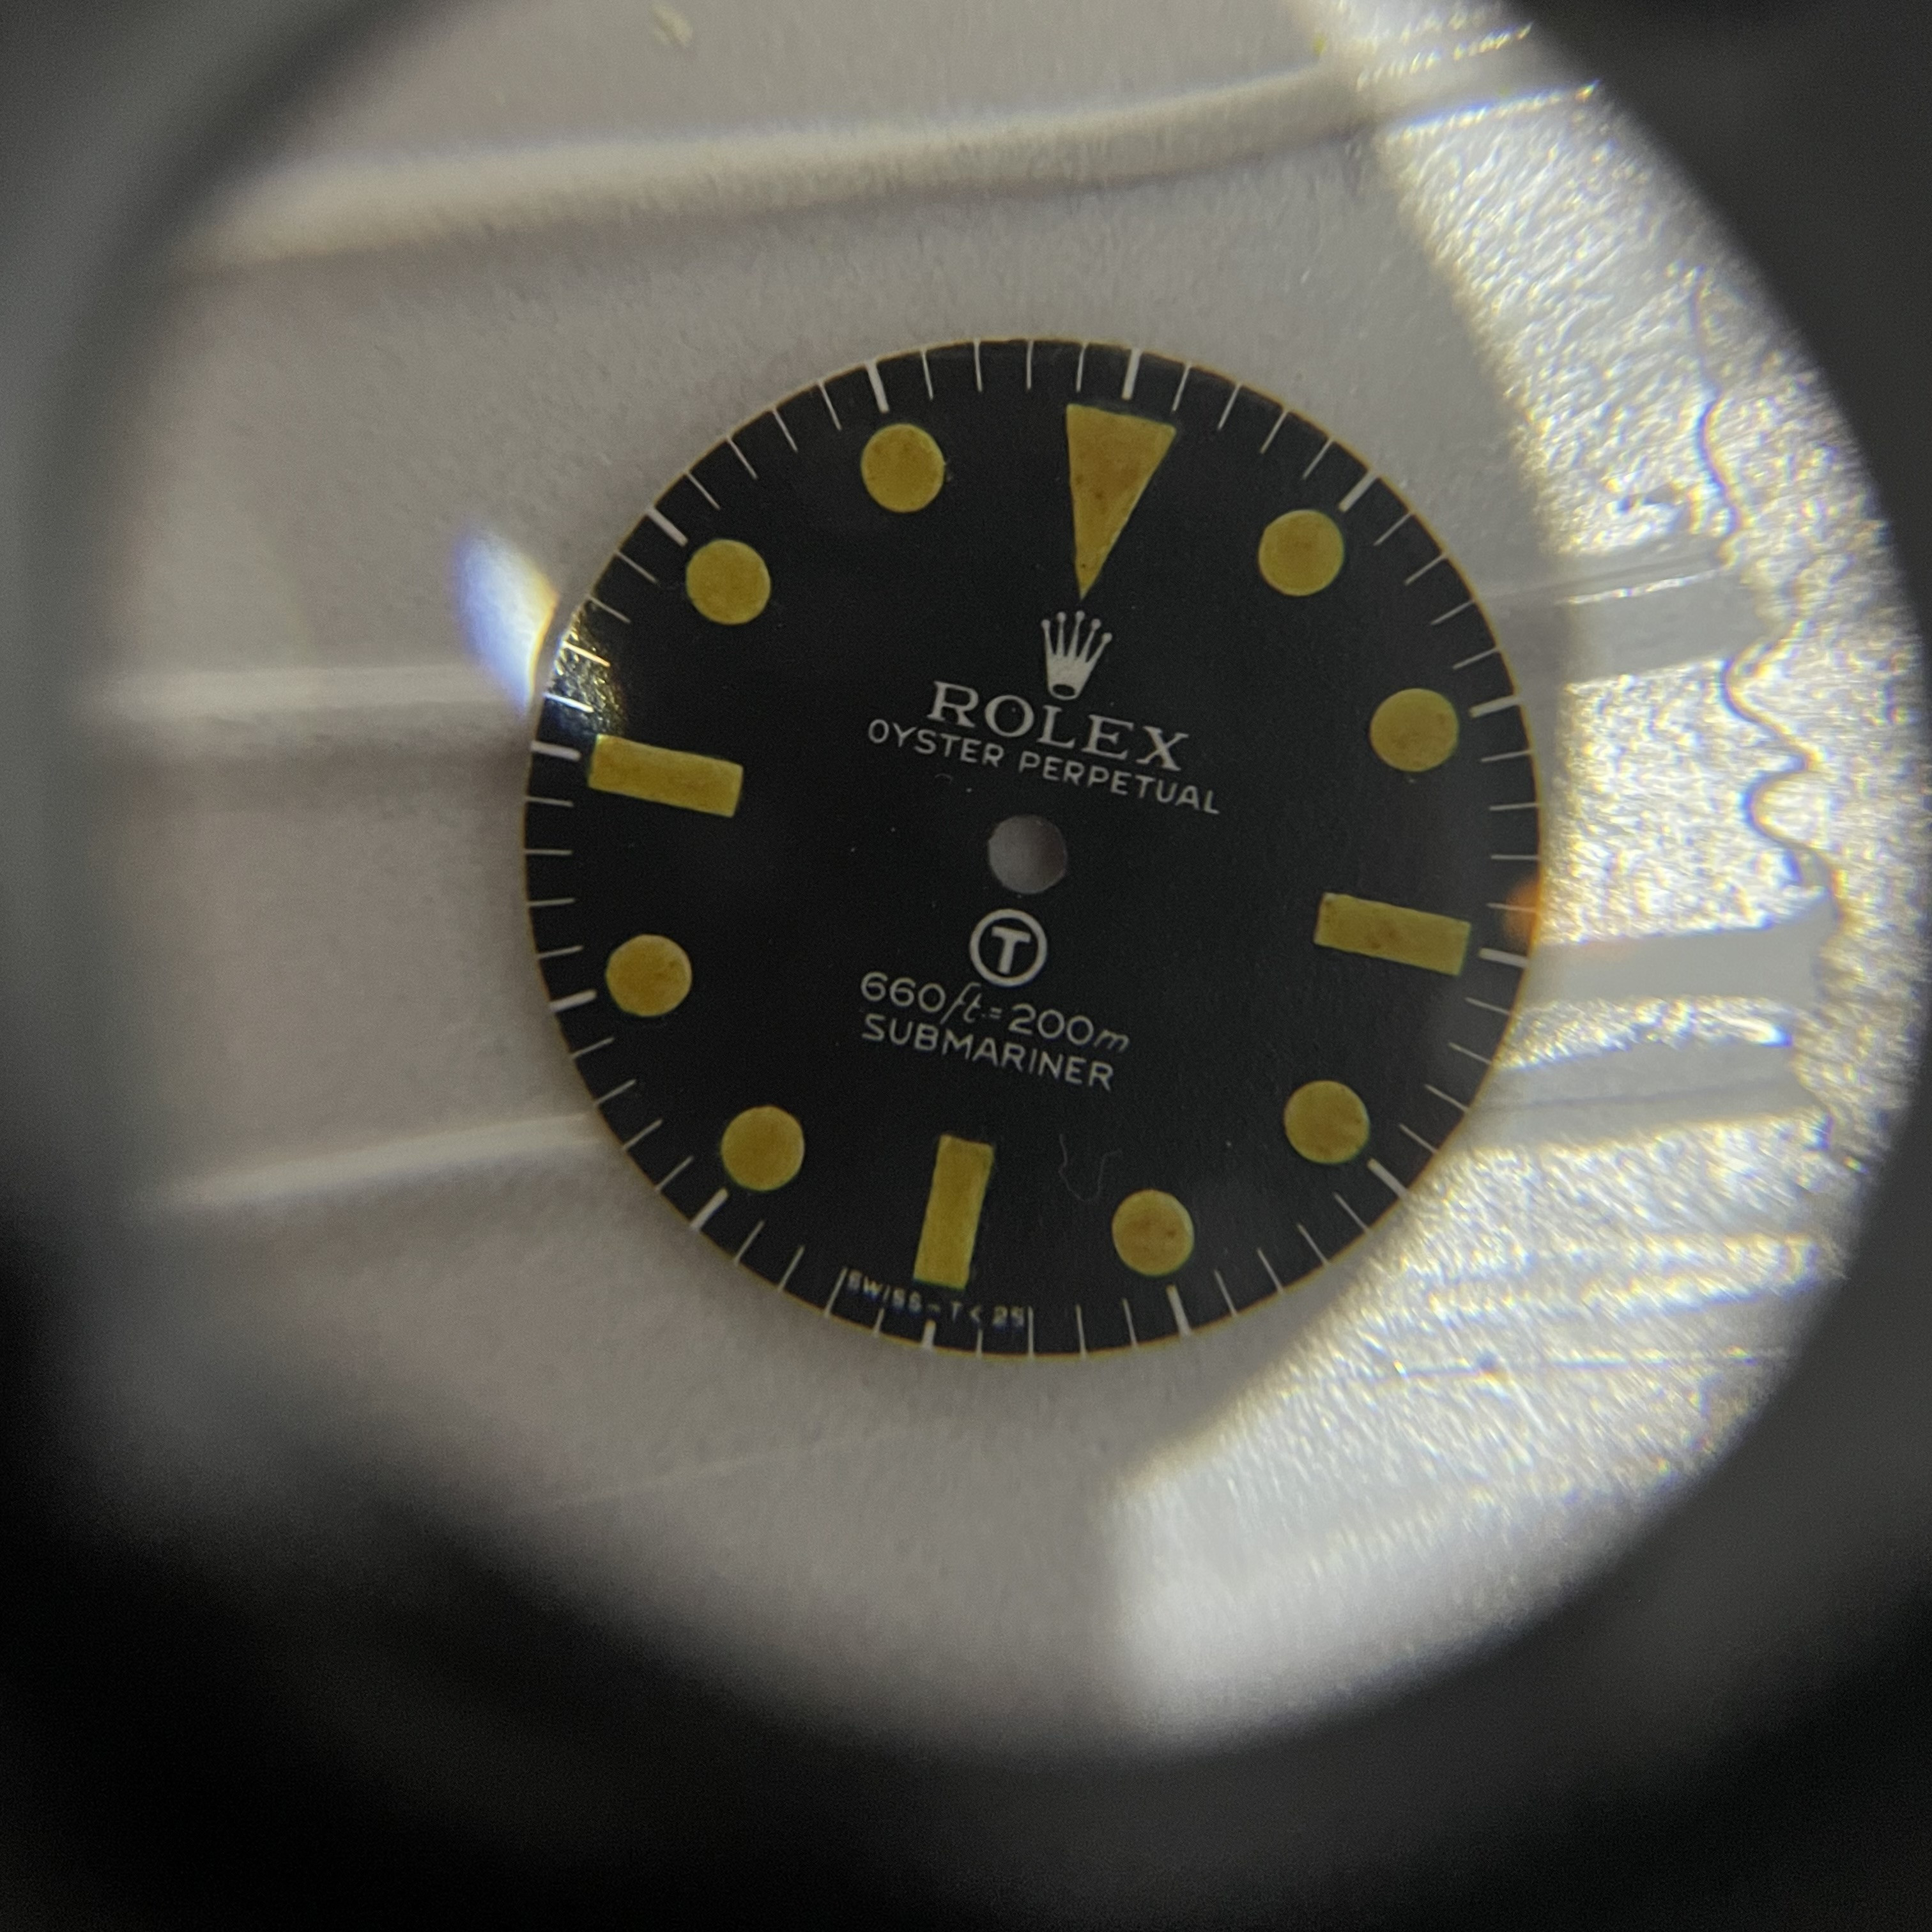
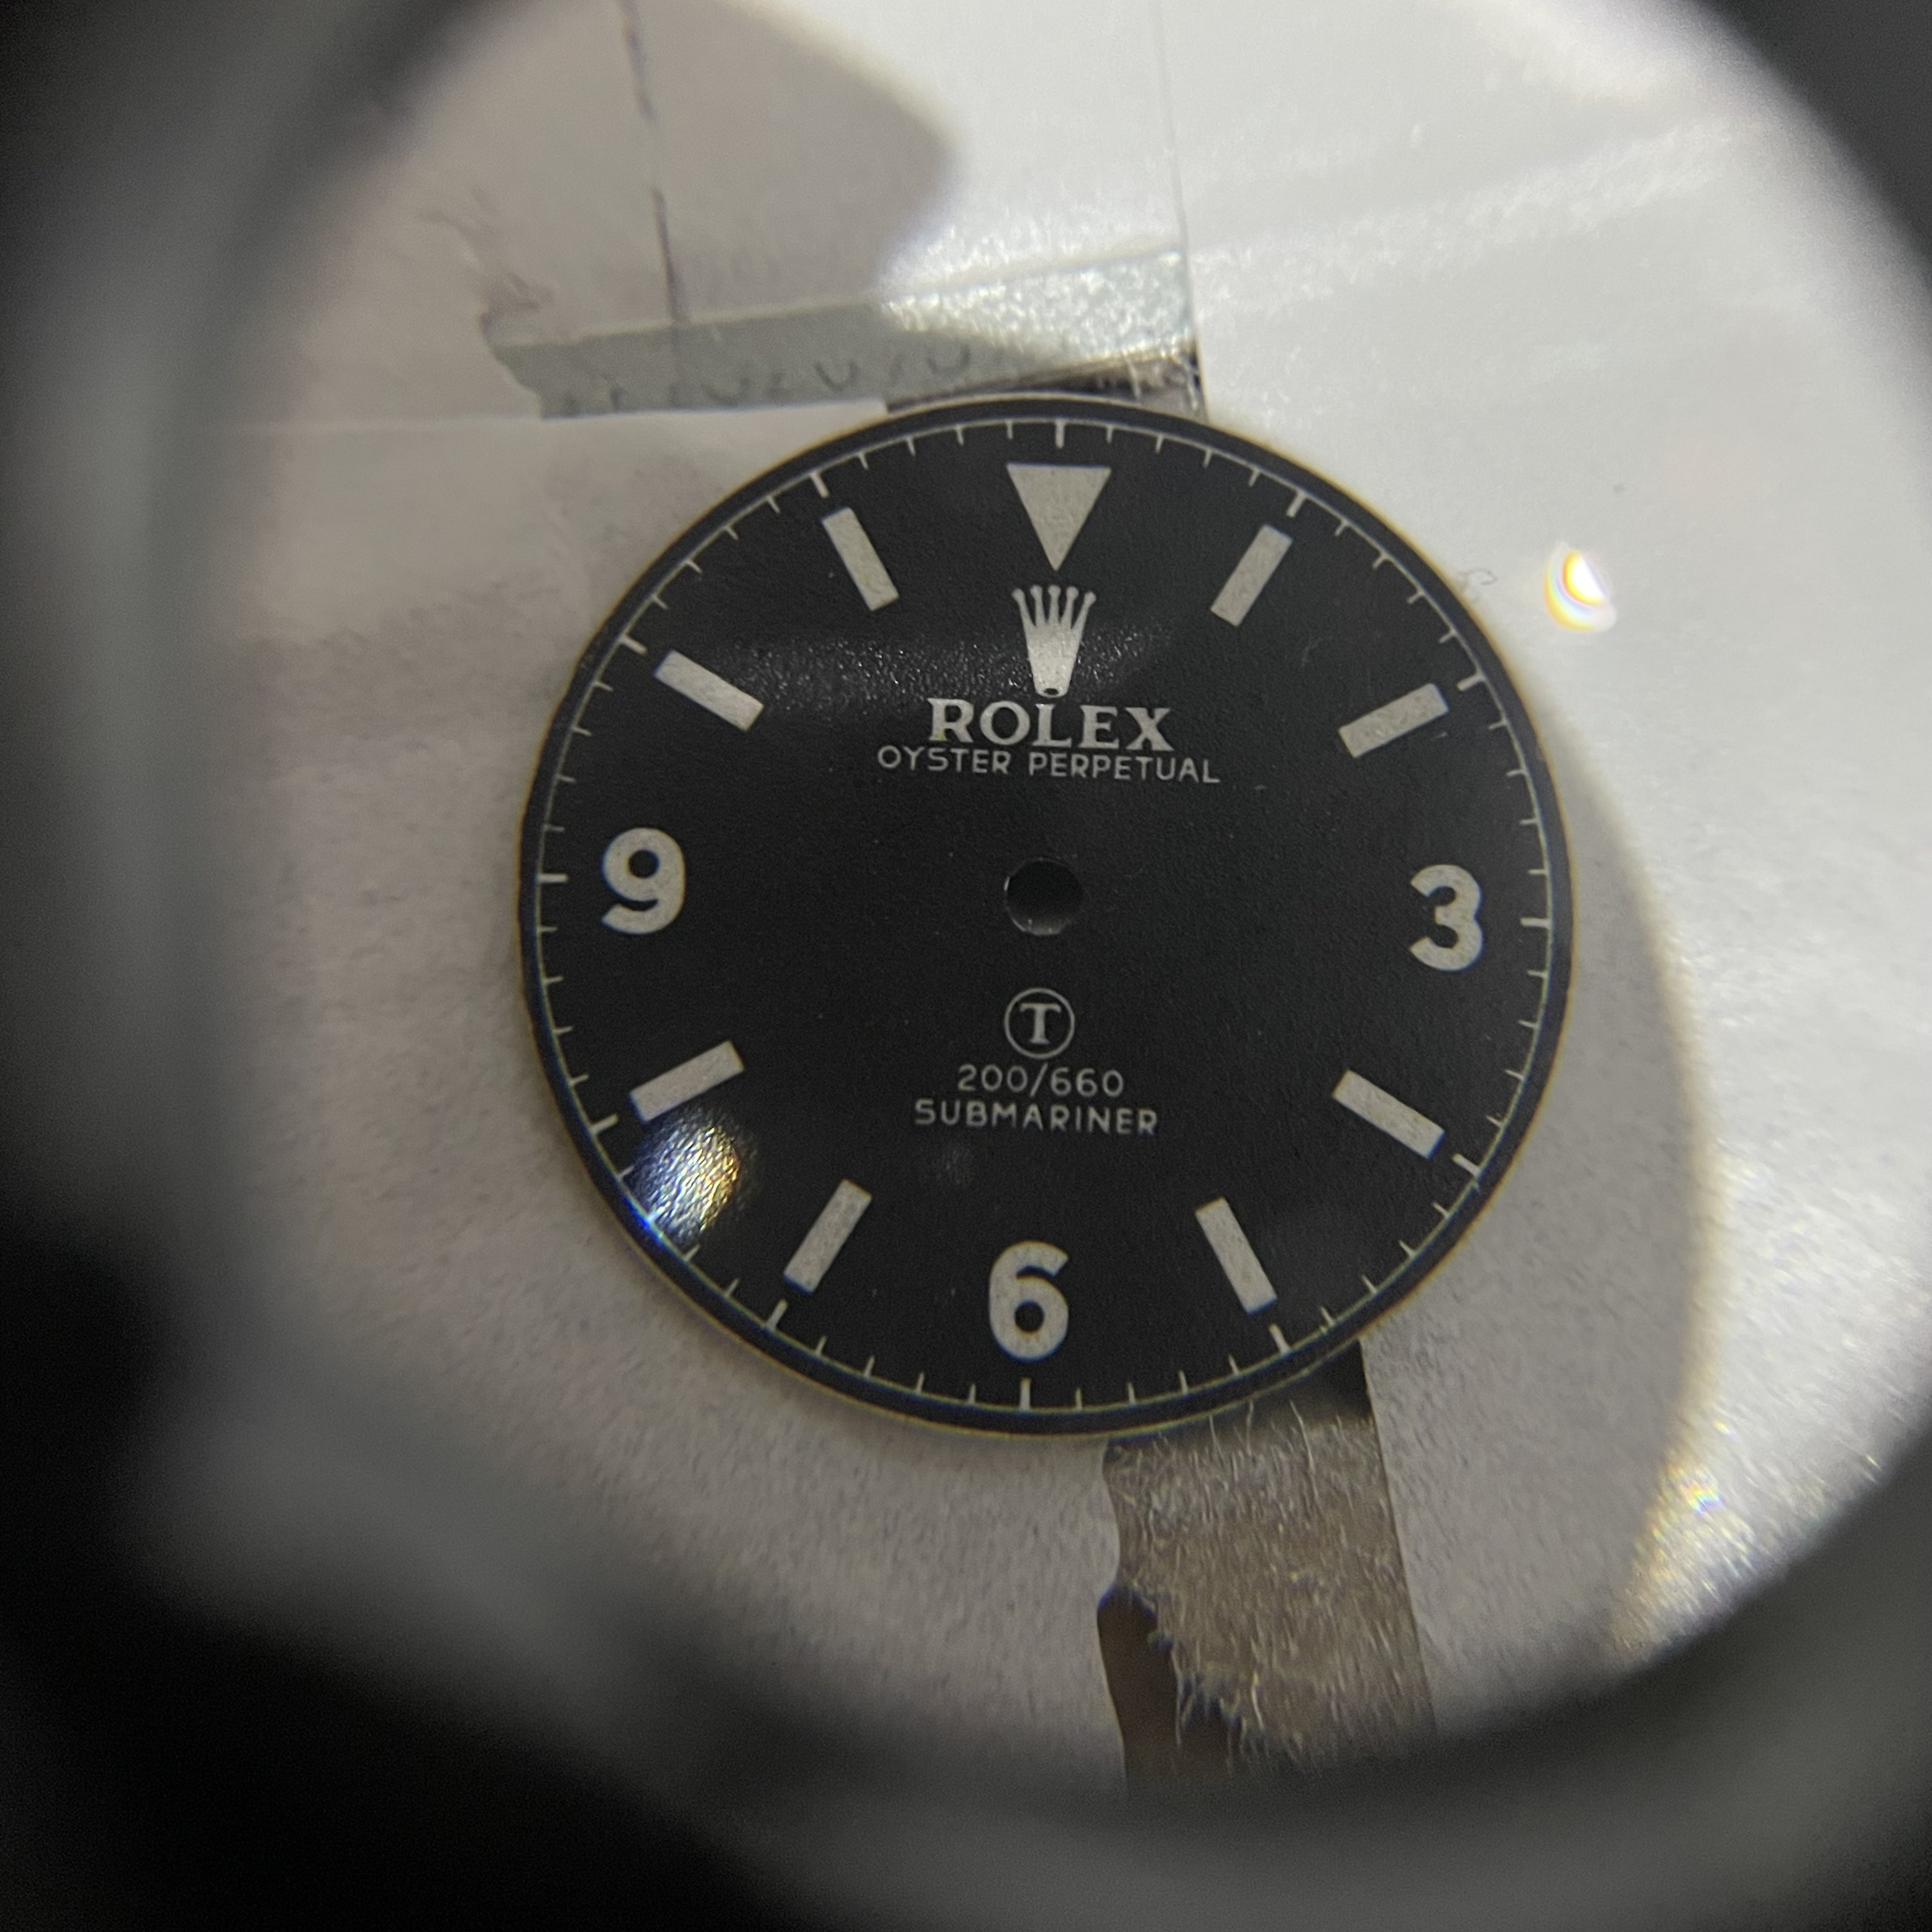
i was hoping one of you guys could provide an insight. I am confident Rolex and other high end dial makers used lapidary machines to make flawless dials prior to electroplating, lacquering etc. Basically its kind of like sanding, but its on a hyper flat surface and the sanding portion spins. The sanding part is where I need help. i thought i had it with my dremel but some scratches remain and its time consuming. I tried with a power drill sanding pad which the idea worked, however i couldnt get full contact because the attachment was a bit flexible. But where it did make contact with my dial, it got uniform scratches and as I went up in grit

I was thinking adapting the idea by getting a small pottery wheel similar to this, laying some acrylic ontop of the wheel and gluing sandpaper on it. Id make a few different acrylic attachments. My goal would be similar to lapidary in that it would be 600, 800, 1200 grit and then I can polish. With this idea, i can apply the dial facedown and apply more even pressure across the dial on the sandpaper finish.

Thoughts on if this would be wise to construct if i want a scratch free surface on brass?
 

turbo911

Monarch Polfy Gelena Shitintherand
Supporter
24/7/10
227
718
93
EU/GER
another practice dial. i like the lume better than my previous one. Just thrown it in my 1675
2pTfs5.jpeg


i am still not completely satisfied with the Gilt colour of the blank brass dial, looks a bit to copperish for my taste compared it to my gen gilt dial. Therefore i tested Gold leaf under the decal which i like more (gold leaf on the left)

2pTSqt.jpeg
 

WatchN3RD

I supported. Doesn't make me an expert!
Gold Patron
24/7/18
634
754
93
another practice dial. i like the lume better than my previous one. Just thrown it in my 1675
2pTfs5.jpeg


i am still not completely satisfied with the Gilt colour of the blank brass dial, looks a bit to copperish for my taste compared it to my gen gilt dial. Therefore i tested Gold leaf under the decal which i like more (gold leaf on the left)

2pTSqt.jpeg
I bet you could use a mild acid to make the brass a brighter yellow. I'm thinking lemon or lime juice after the toner transfer, but maybe google has a better way.
 

turbo911

Monarch Polfy Gelena Shitintherand
Supporter
24/7/10
227
718
93
EU/GER
I bet you could use a mild acid to make the brass a brighter yellow. I'm thinking lemon or lime juice after the toner transfer, but maybe google has a better way.
Great idea, worth a try!
i redid this dial and did more polishing before adding the decal. Now adding the laquer and it also looks brighter. But we will see after 2-3 layers of clear lacquer…
 
  • Like
Reactions: WatchN3RD

WatchN3RD

I supported. Doesn't make me an expert!
Gold Patron
24/7/18
634
754
93
Great idea, worth a try!
i redid this dial and did more polishing before adding the decal. Now adding the laquer and it also looks brighter. But we will see after 2-3 layers of clear lacquer…
I've used some lacquers/varnishes that had no effect on the brass, and I've used others that darkened the brass. Different solvents do different things, but if the first layer of lacquer didn't do change the brass color, the remaining top coats shouldn't cause any color changes. The first coat should essentially seal the brass, so if that coat was fine, I wouldn't expect any surprises from additional coats (unless it's tinted lacquer).
 

turbo911

Monarch Polfy Gelena Shitintherand
Supporter
24/7/10
227
718
93
EU/GER
I've used some lacquers/varnishes that had no effect on the brass, and I've used others that darkened the brass.
this is what i had suspected too. Seems i should try another laquer. I had best results for other projects by using 2k automotive clear but its >25 EUR per can and you have to use it once opened :(
 
  • Like
Reactions: janneau

WatchN3RD

I supported. Doesn't make me an expert!
Gold Patron
24/7/18
634
754
93
this is what i had suspected too. Seems i should try another laquer. I had best results for other projects by using 2k automotive clear but its >25 EUR per can and you have to use it once opened :(
Nothing beats 2k clear, but I agree, it's such a big investment to paint something the size of coin.
 

janneau

Known Member
18/1/22
107
275
63
2k also has to be used ideally with a ventilated mask, or outside (not great for something so small a fleck of dust will stand out like a boulder)
If you end up breathing in that stuff it'll harden in your lungs.
It is great stuff though.
I found when I used a thin lacquer, the decal fix liquid would seep through and eventually start tarnishing the brass, or start a chemical reaction spreading out from the centre hole or edges which would darken the brass. If I used a thicker clear, the print/text would look too far off the base. That's why I started using the gold vinyl 'wrap' film. The decal fix doesn't chemically react with it, and it's basically pre-polished. If you're using heat in any of your transfer process, it'll be useless though as it'll shrink/crinkle. It's also a bit of a PITA to cut out the date-windows
 

WatchN3RD

I supported. Doesn't make me an expert!
Gold Patron
24/7/18
634
754
93
I grew up in the age of not really worrying about strong solvents or Volatile Organic Compounds (VOCs). It was fine and mostly correct, but when I correctly learned to use auto 2k clear, I always wore a proper mask. Except once, I cleared a car bumper with heavy ventilation and skipped the mask. I felt so awful and nauseous... I had to go lay on my couch for two hours feeling like I needed to puke while my body refused every gag reflex.

Unimportant story, but 2k stuff is a different animal in terms of quality and toxicity.
 
  • Like
Reactions: jamiex and janneau

Dumbellbee

Getting To Know The Place
22/12/24
17
26
13
are you doing the film free decal version? i want to make a vintage seamaster 300 dial with the small triangle at 12 and the crispness would be perfect for it
Yes im using free film decal but i giving up with peeling the film method its so time consuming, i tried maybe close to 100 attempts but the result is always not good even if you can get perfect peeling its loss some details during the peeling.

I think very do able with seamaster 300, Just dont forget making the design on 1200dpi 👍
 

WatchN3RD

I supported. Doesn't make me an expert!
Gold Patron
24/7/18
634
754
93
Yes im using free film decal but i giving up with peeling the film method its so time consuming, i tried maybe close to 100 attempts but the result is always not good even if you can get perfect peeling its loss some details during the peeling.

I think very do able with seamaster 300, Just dont forget making the design on 1200dpi 👍
So you are actually just leaving the film on the "film free" decal? Never considered that, but I've accidentally done it by heating it too much. Never thought to try and leave it as is though. Seems like an idea worth trying!
 

Dumbellbee

Getting To Know The Place
22/12/24
17
26
13
So you are actually just leaving the film on the "film free" decal? Never considered that, but I've accidentally done it by heating it too much. Never thought to try and leave it as is though. Seems like an idea worth trying!
Yes i reduce the heating time too then hit it with clear varnish, punch hole on the middle and trim the edge. I also tried using matte varnish glue as base layer but it resulted in a wobbly twxture

Any suggestions for a better glue? Maybe something with a more water-like consistency?
 

WatchN3RD

I supported. Doesn't make me an expert!
Gold Patron
24/7/18
634
754
93
Yes i reduce the heating time too then hit it with clear varnish, punch hole on the middle and trim the edge. I also tried using matte varnish glue as base layer but it resulted in a wobbly twxture

Any suggestions for a better glue? Maybe something with a more water-like consistency?
I thin it with water. I've also added some airbrush thinner in the past, but it seemed like an unnecessary step.
And to clarify, I've mostly used Sunnyscopa transfer because the I always seemed to heat the generic transfer too much, leading it to all melt together. That, or it seems less flexible when it comes time to remove the film. There's definitely a golden temperature between getting it to adhere and still being able to remove it.

EDIT: I forgot to mention a "glue." I have used this with success in both gloss and matte. https://www.liquitex.com/collection...id-mediums/products/professional-gloss-medium
 
Last edited:
  • Like
Reactions: Dumbellbee