• Tired of adverts on RWI? - Subscribe by clicking HERE and PMing Trailboss for instructions and they will magically go away!

Building a vintage Explorer 1016 with real gilt dial

matzemedia

Active Member
Certified
22/4/21
378
733
93
Germany
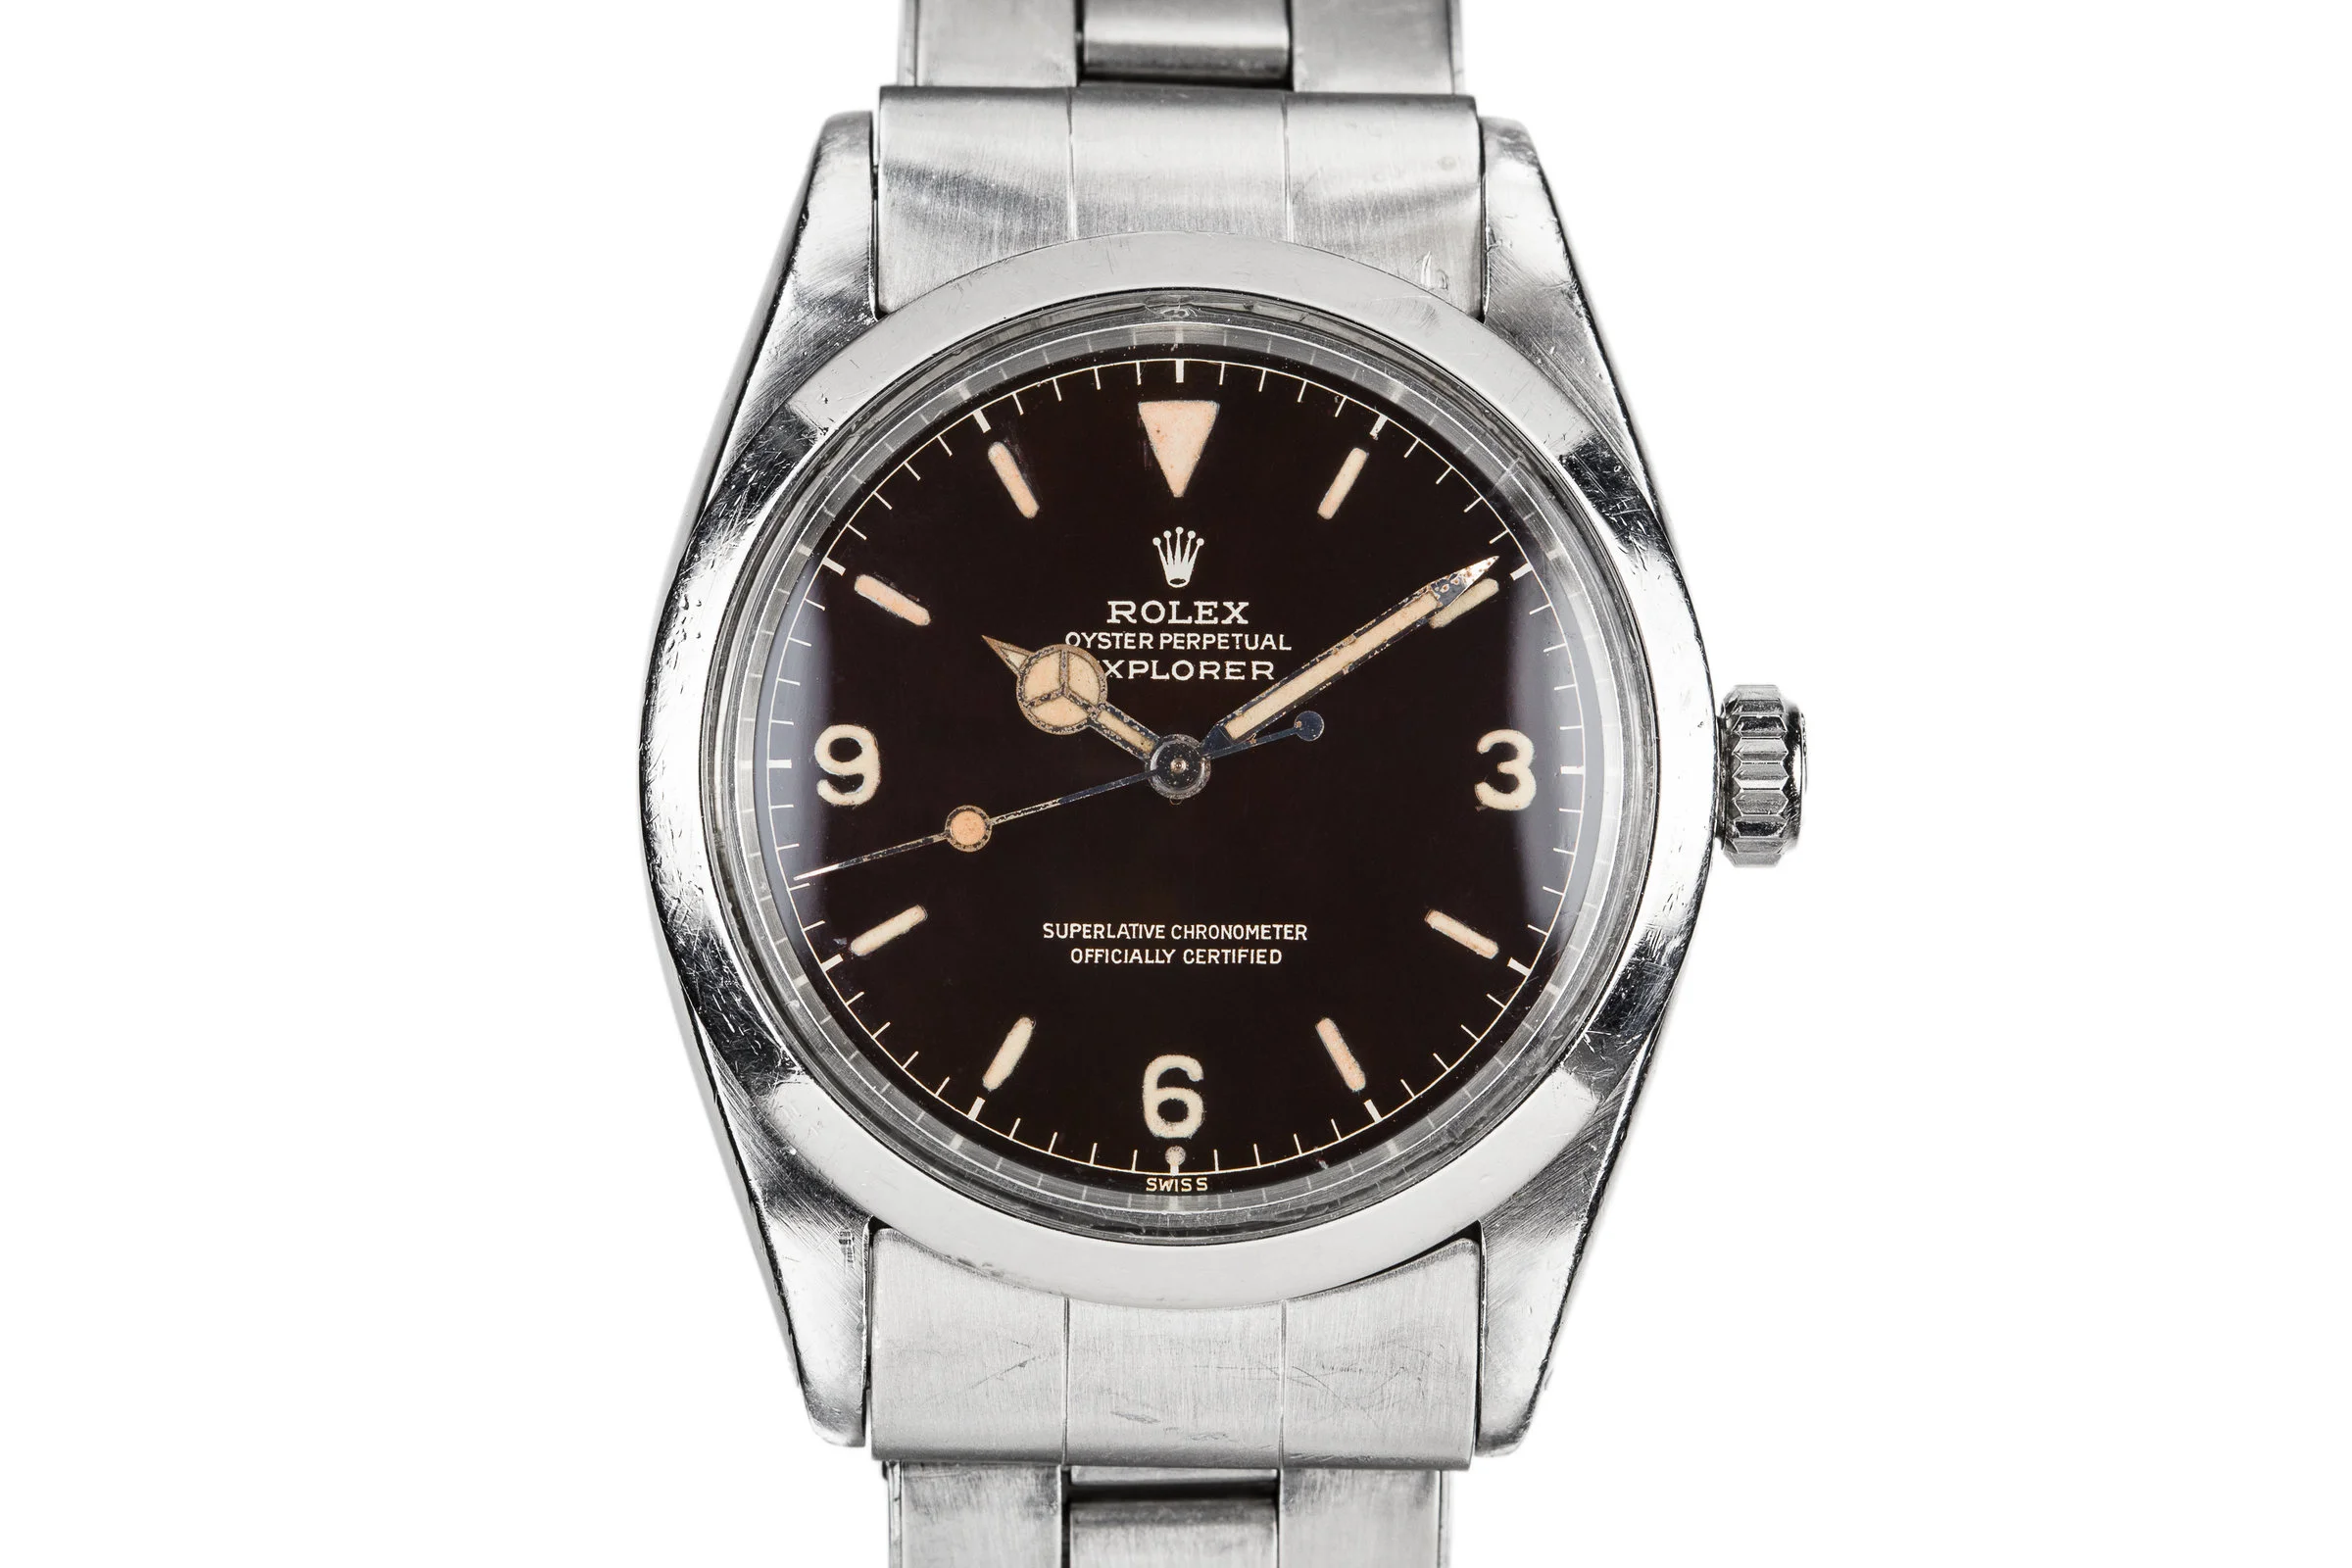
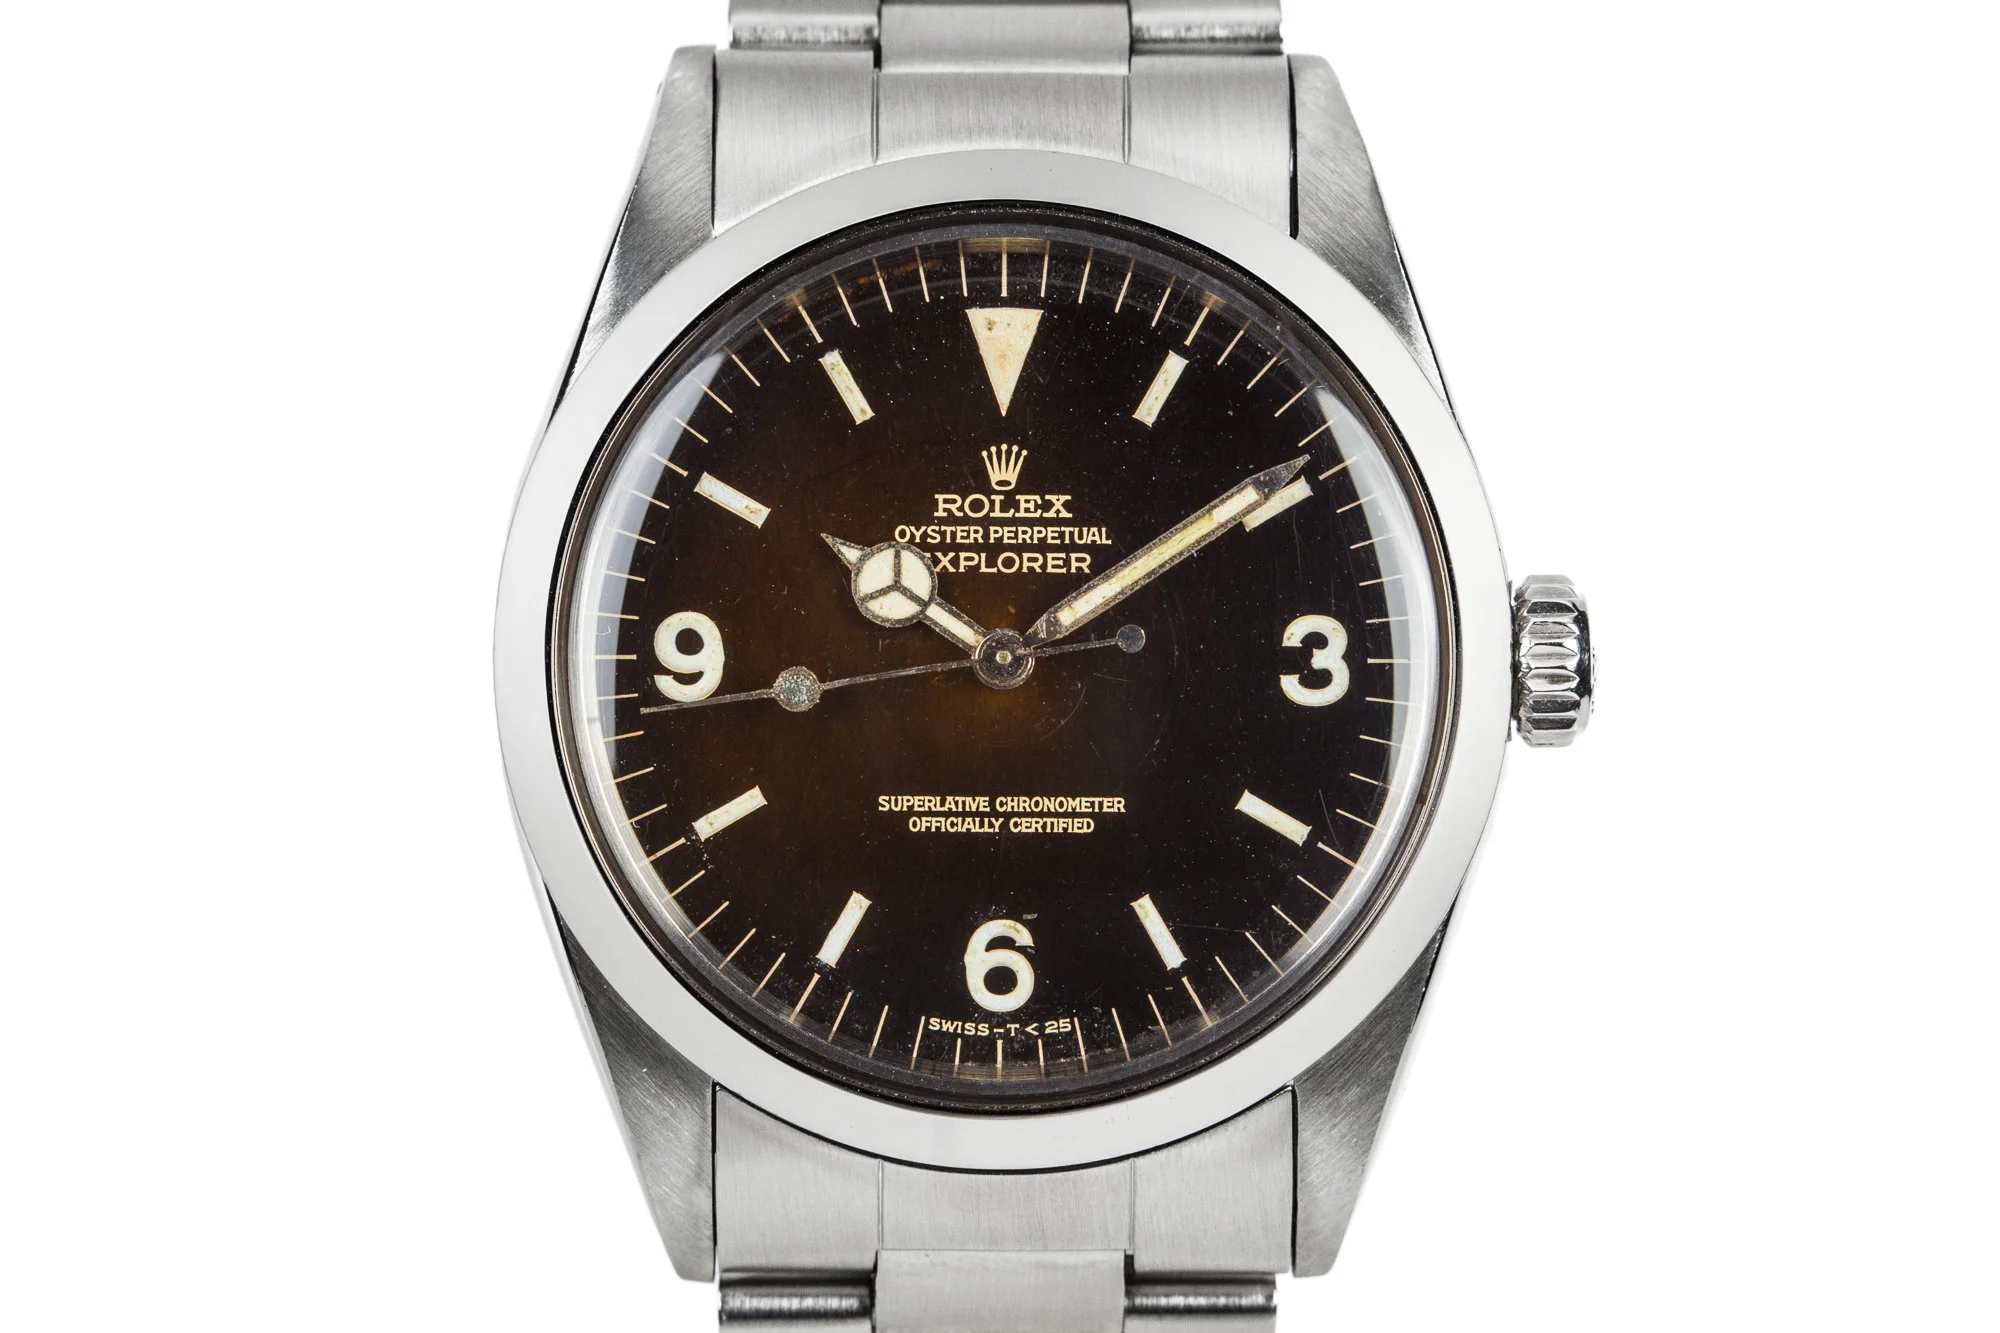
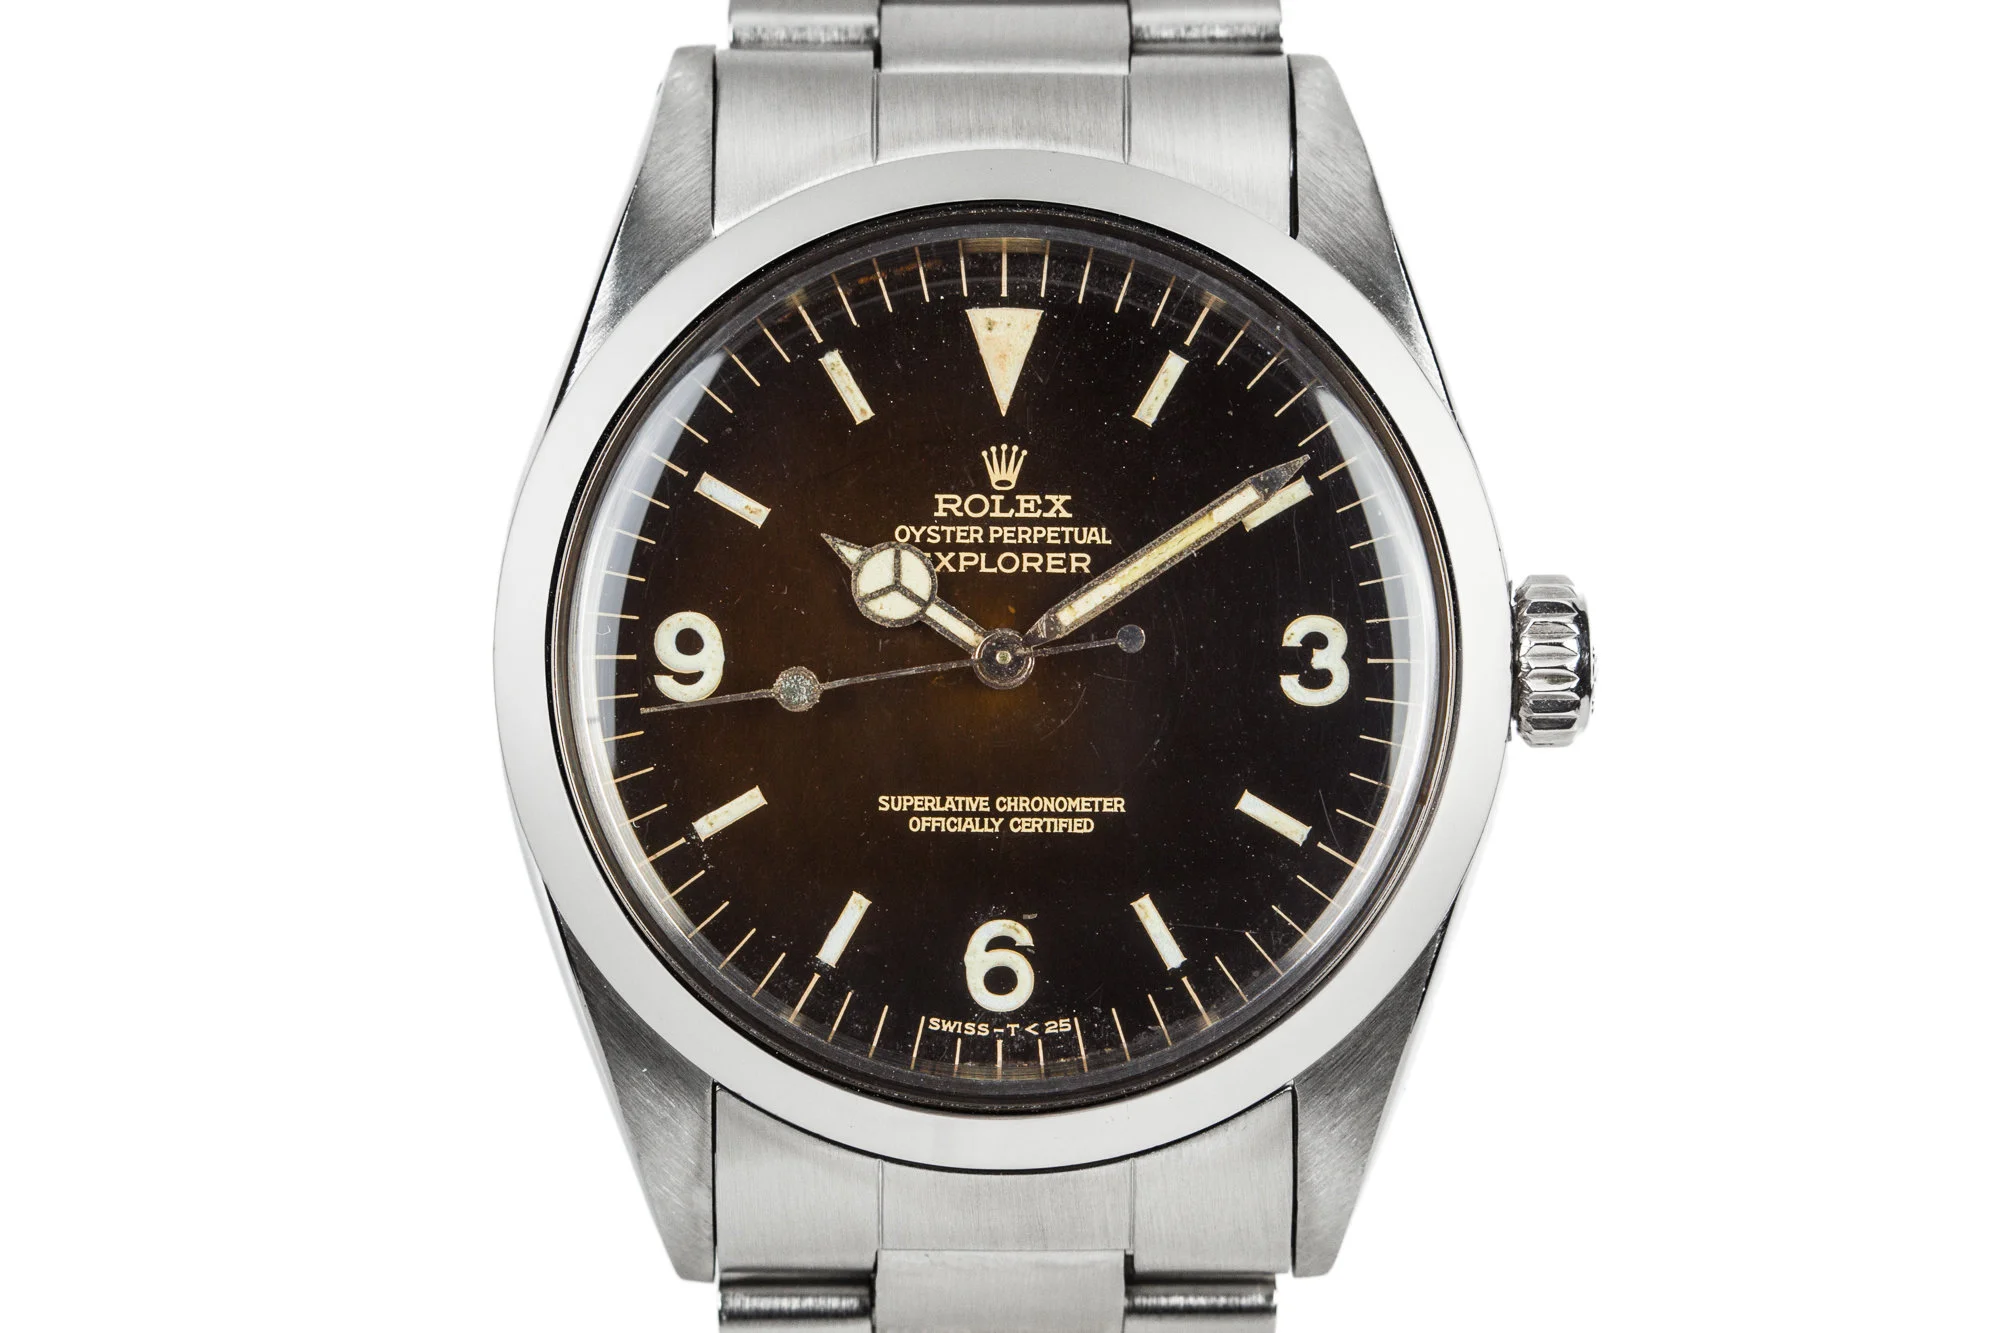
This will be a thread about the creation of a Rolex Explorer reference 1016 watch with real gilt dial. Inspired by many posts and nice builds I am motivated to start a new project and rebuild the small Explorer watch with custom gilt dial. Firstly, a big thank you to all those who share their experience in their work.

Historically, the reference 6610 is the successor to the 6010, both watches have a diameter of 36mm. The 6610 had a brief existence, lasting only for a few years in the late 1950s. It runs with the 1030 caliber. In 1959 Rolex released the new 15xx calibre movement line—models 5512, 1675, and 1016, respectively. Afterward, Rolex settled down with these references and focused on making small tweaks over the next 20-30 years. These models became the reliable mainstays of the sports line and are highly sought after by collectors due to their excellent design and construction.

Referenz 6610
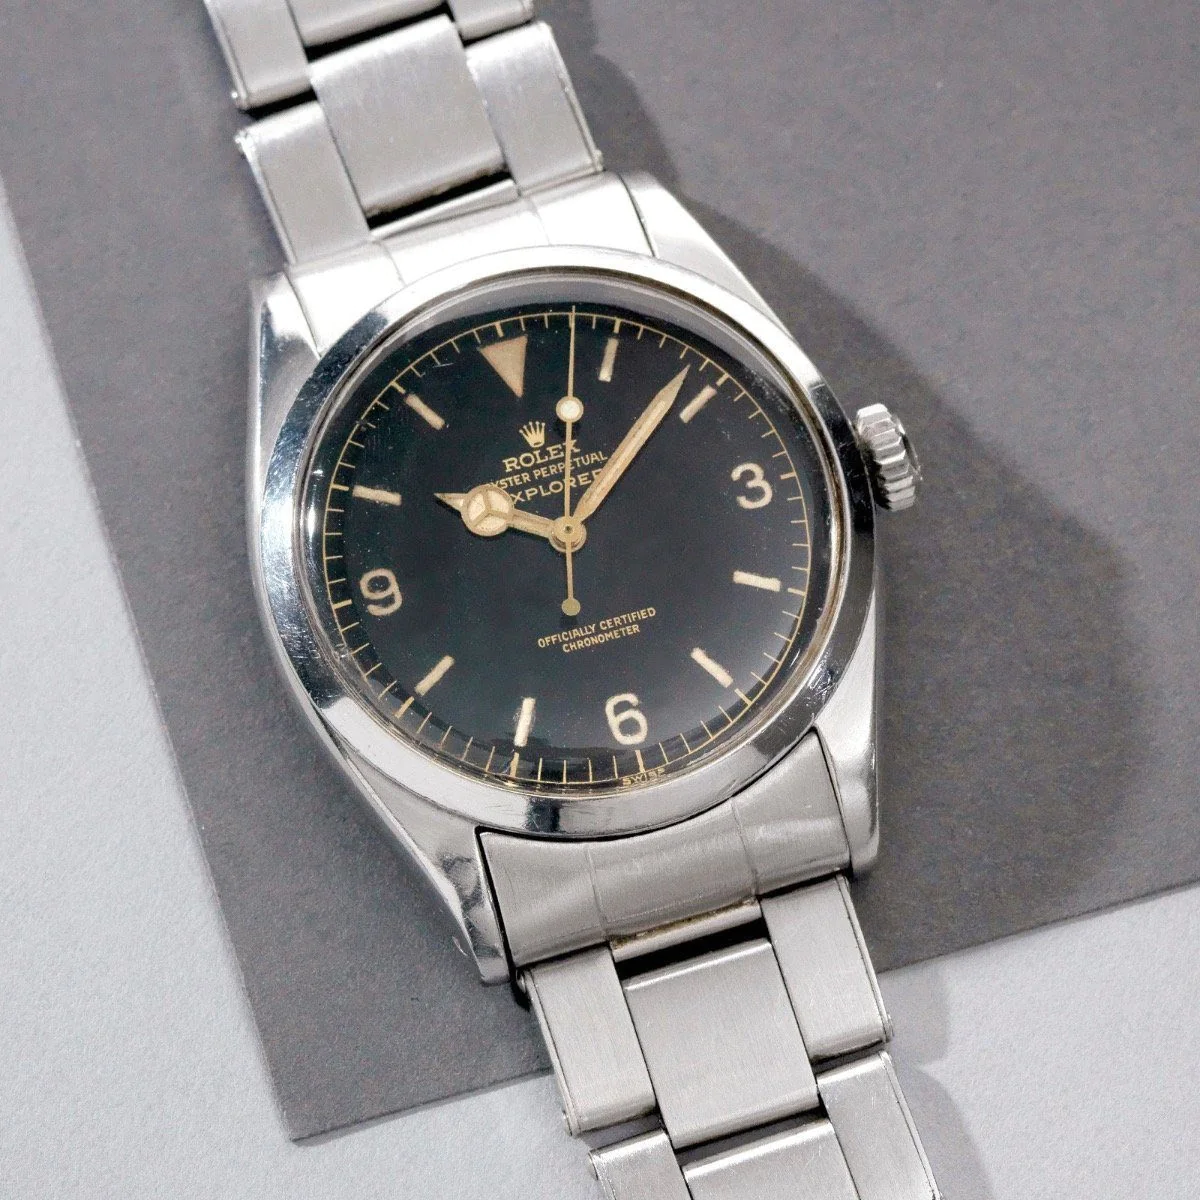


The term "gilt" or "gilt/gloss" describes dials made using a galvanic coating process and was used on the 1016 until around 1967. Galvanization is a process of coating metals with another substance through a chemical reaction. Later dials were called matt dials.
If you are interested to more details and history, I can recogment you the following site: https://explorer1016.com
 

matzemedia

Active Member
Certified
22/4/21
378
733
93
Germany
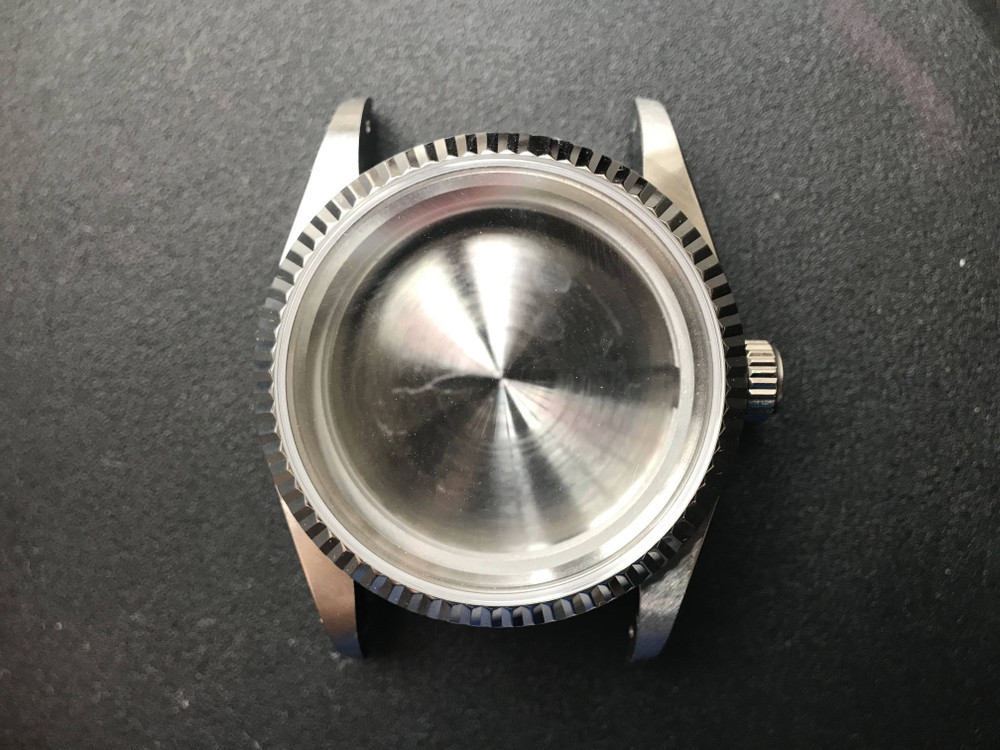
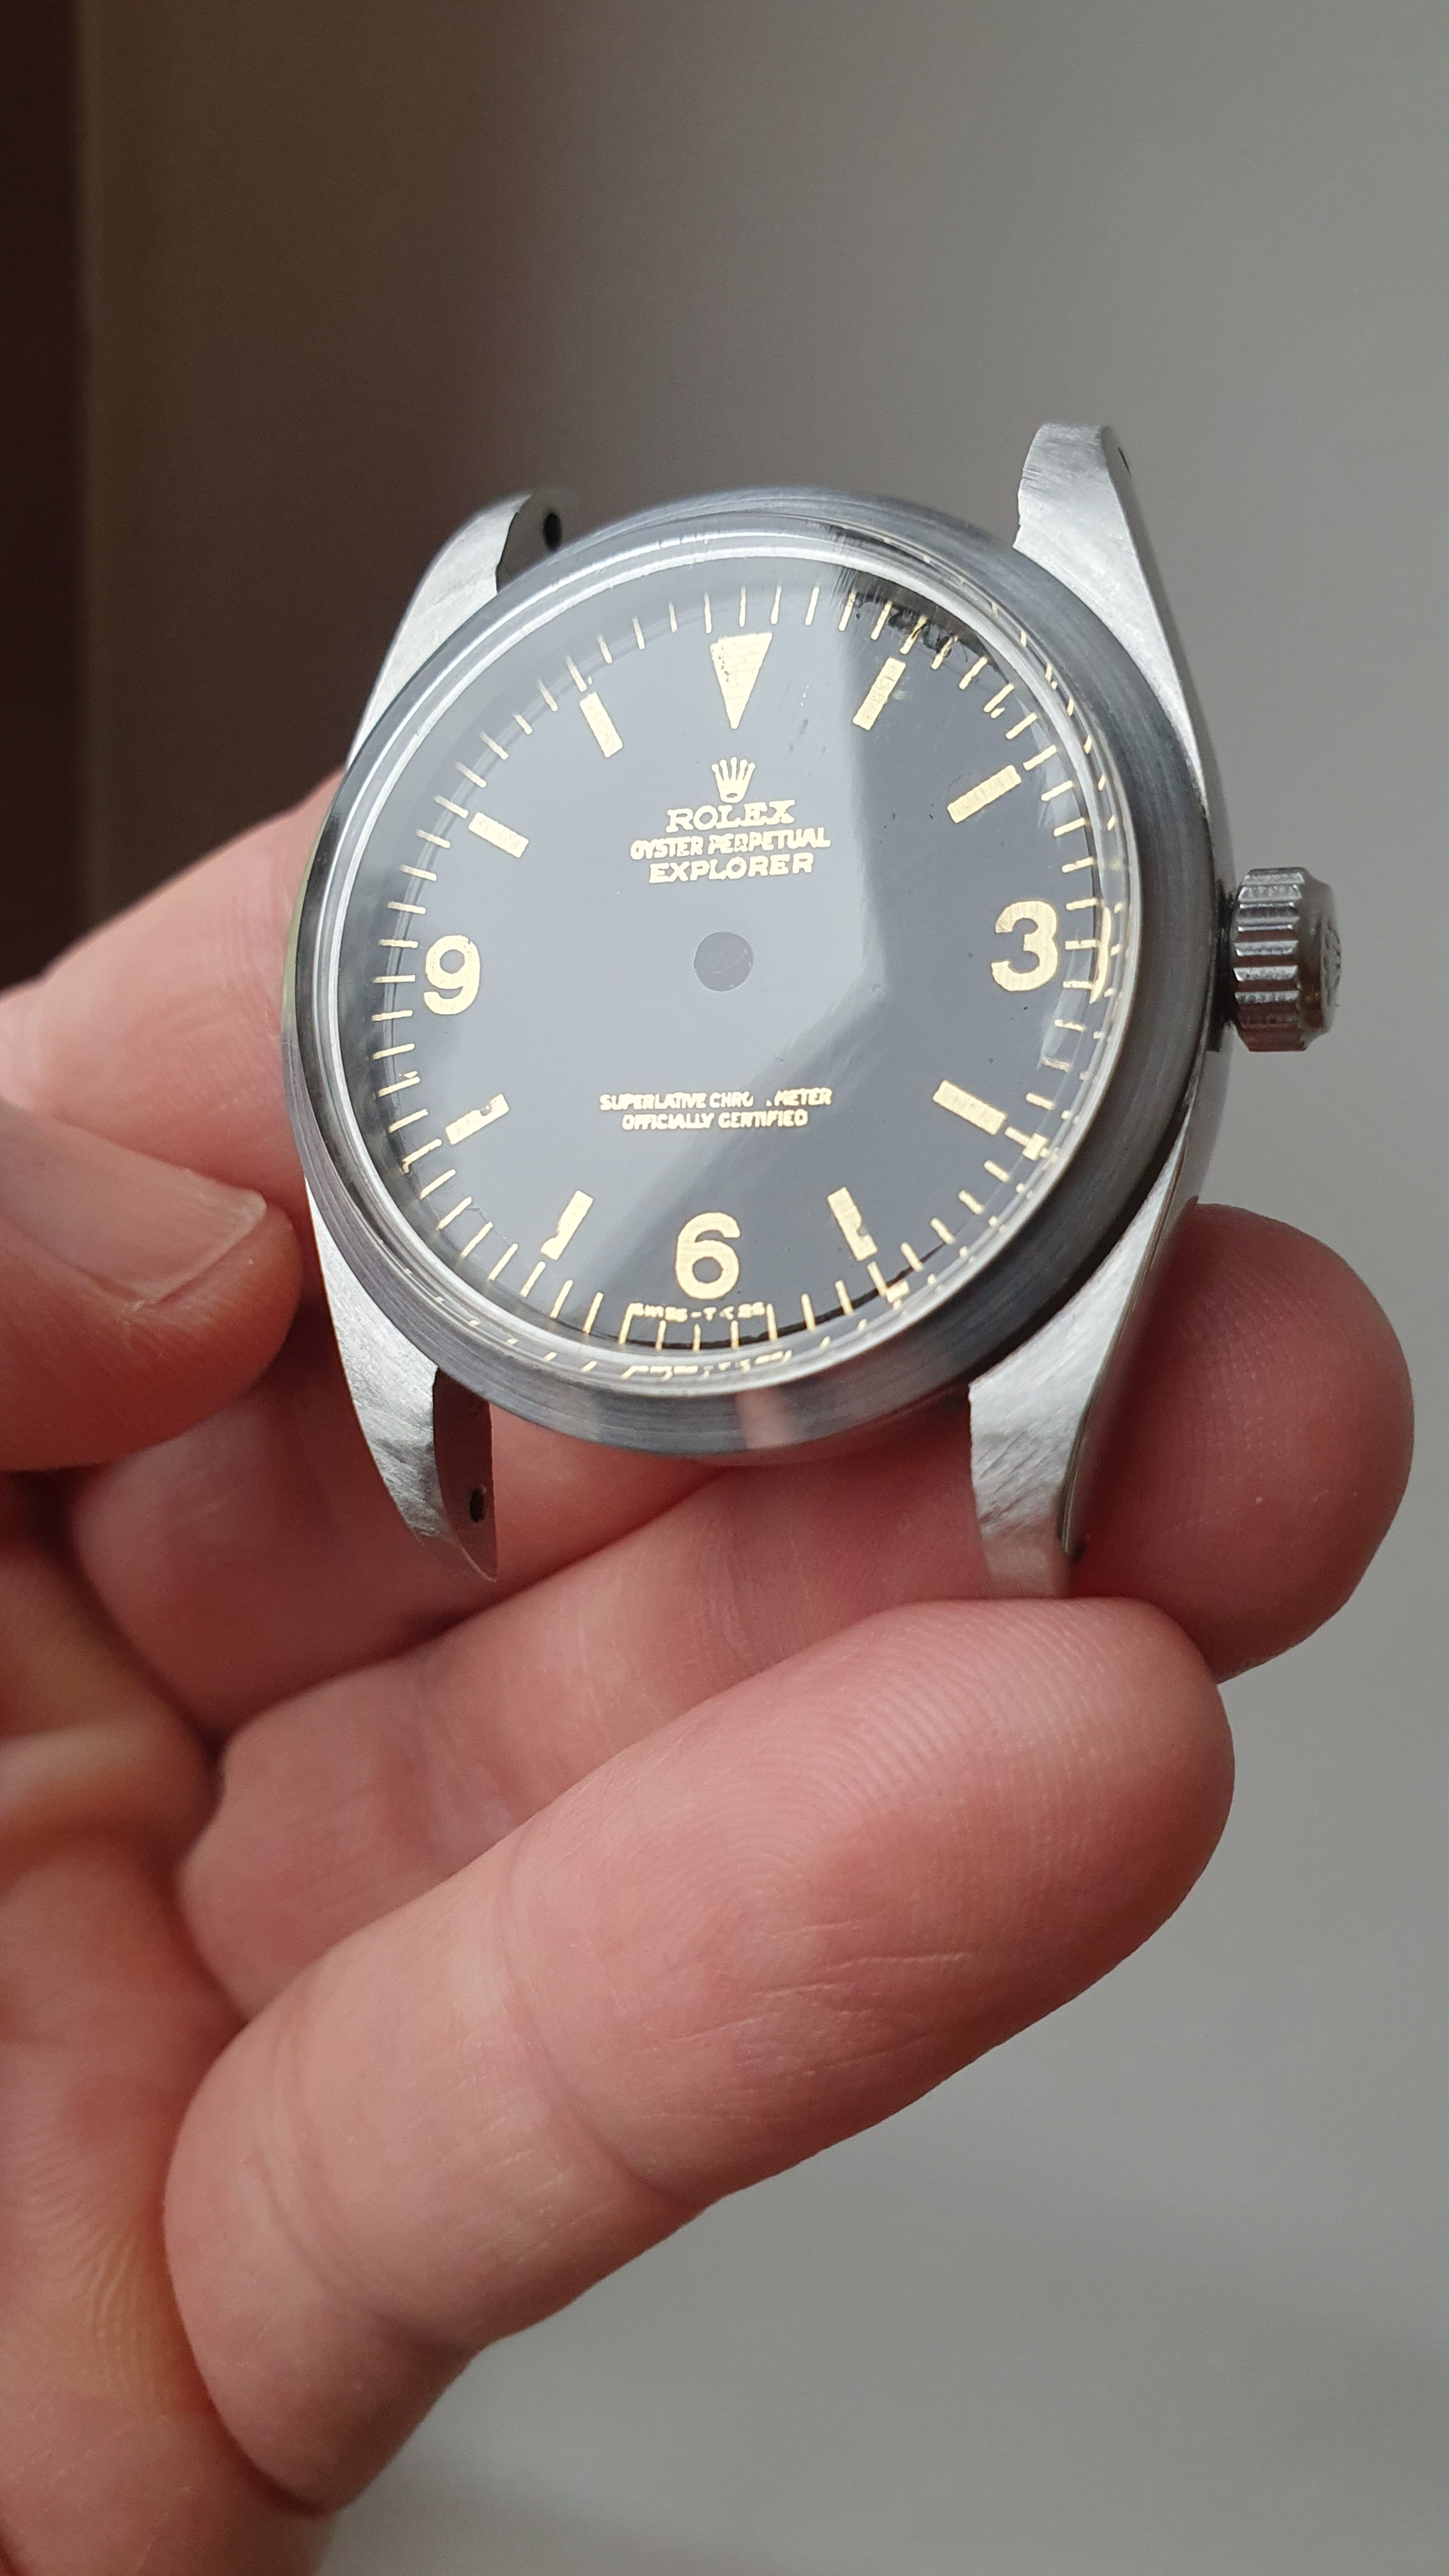
A Datejust case from raffeldial serves as the basis for this construction. Why Datejust and not Explorer? Because I had it in my box and didn't want to wait another few weeks for parts. As far as my research has shown, the raffeldial midcase of both sets are the same. The midcase is meant for 2824 movements and it fits a standard T21 crystal. A really good value for money - I can only recommend it.


matzemedia

Active Member
Certified
22/4/21
378
733
93
Germany
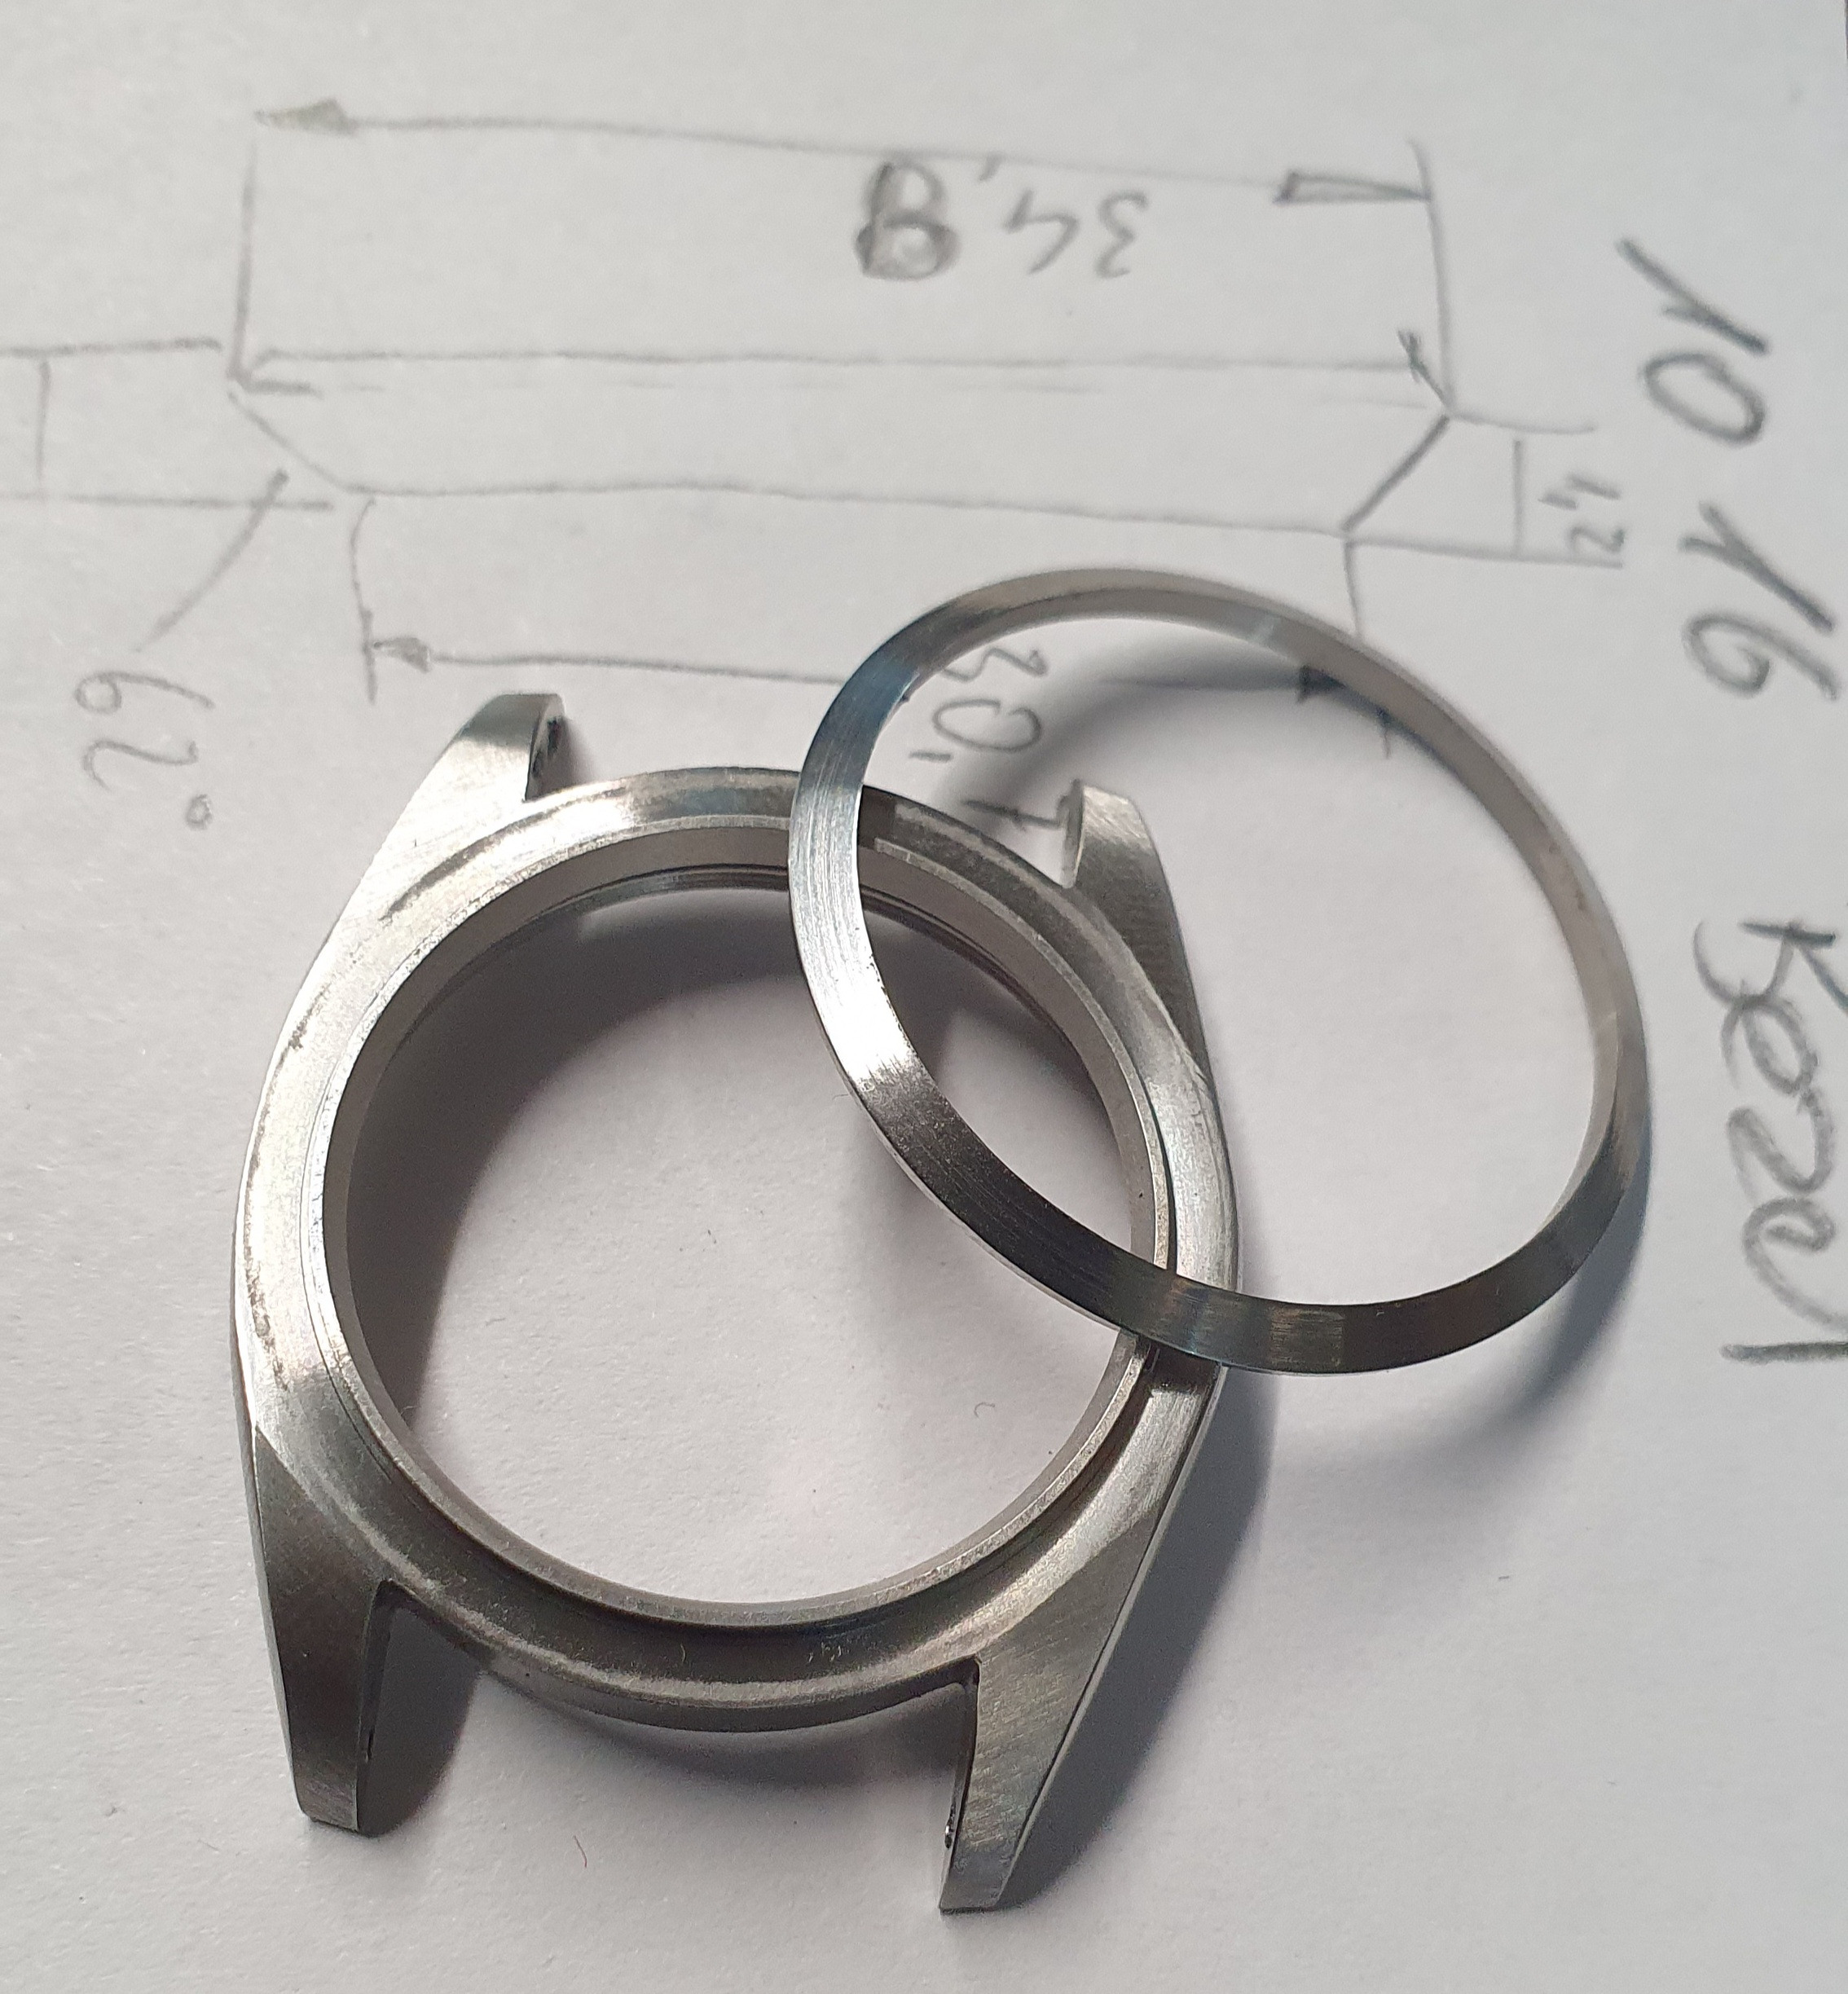
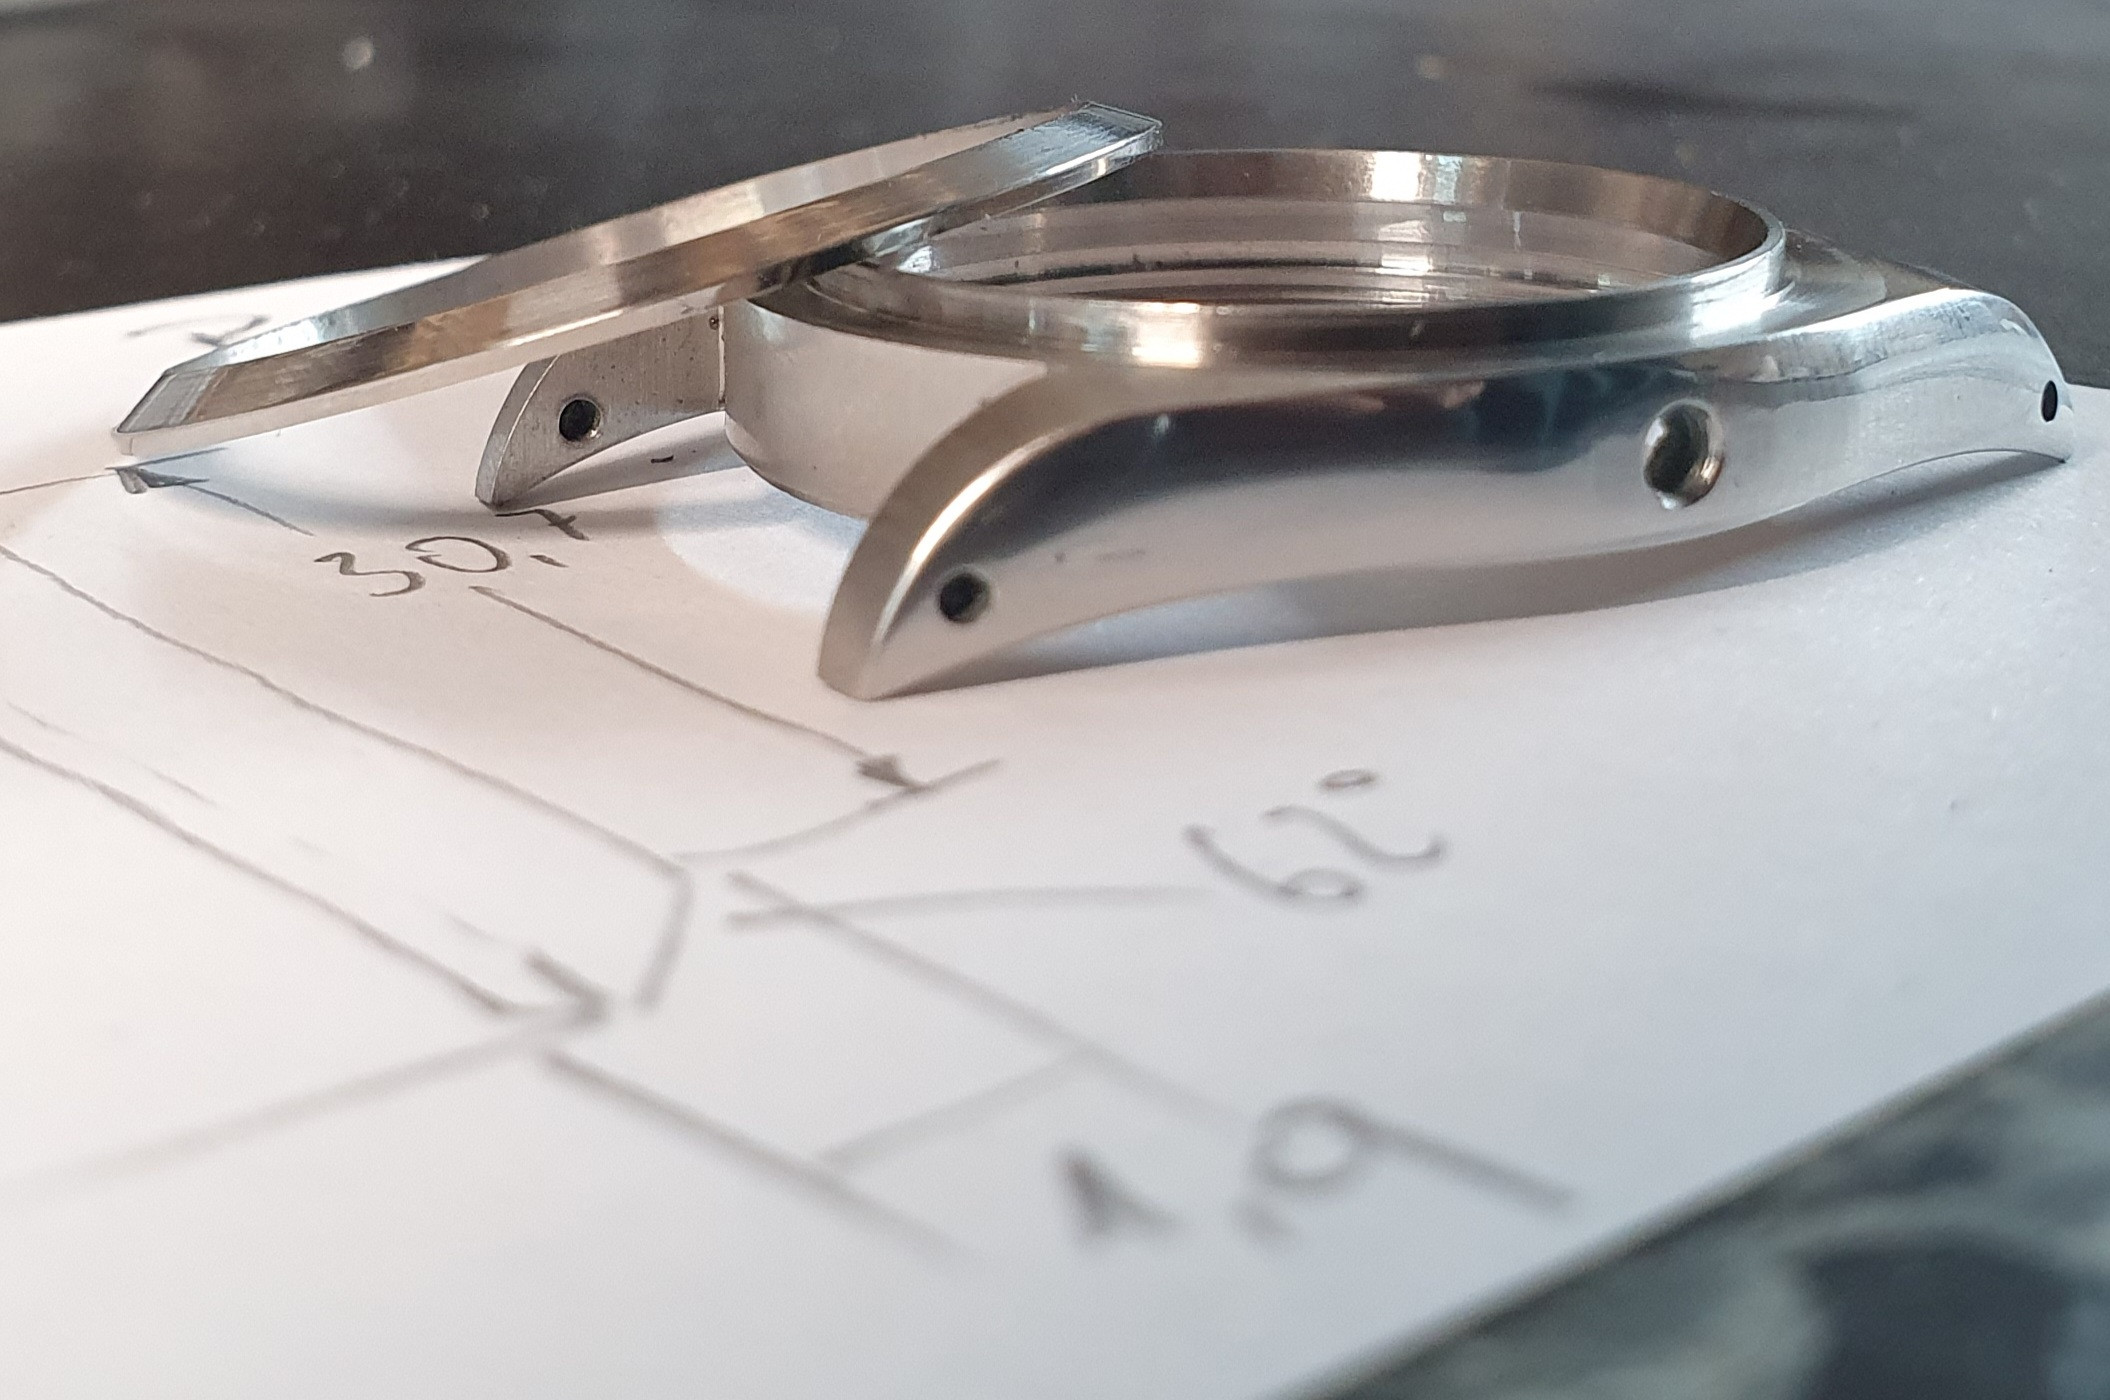
Included in the Datejust set was a bezel with structure. As the Explorer bezel has no structure, I turned it off with the lathe. It was easier than I thought. If you want to make your own bezel for the Explorer. Here are the dimensions, the angle is about 60 degrees.


Last edited:

matzemedia

Active Member
Certified
22/4/21
378
733
93
Germany
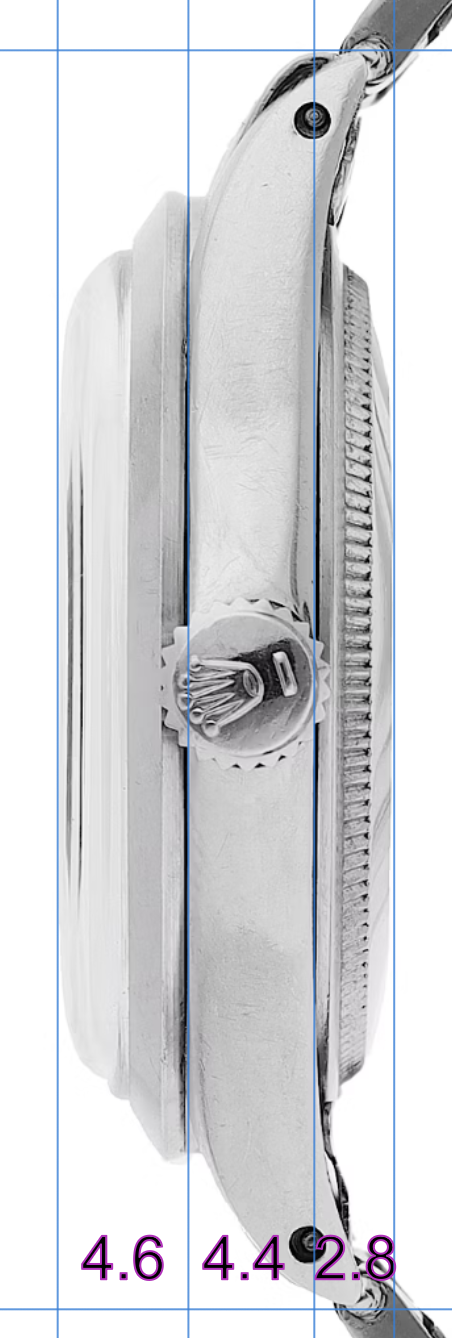
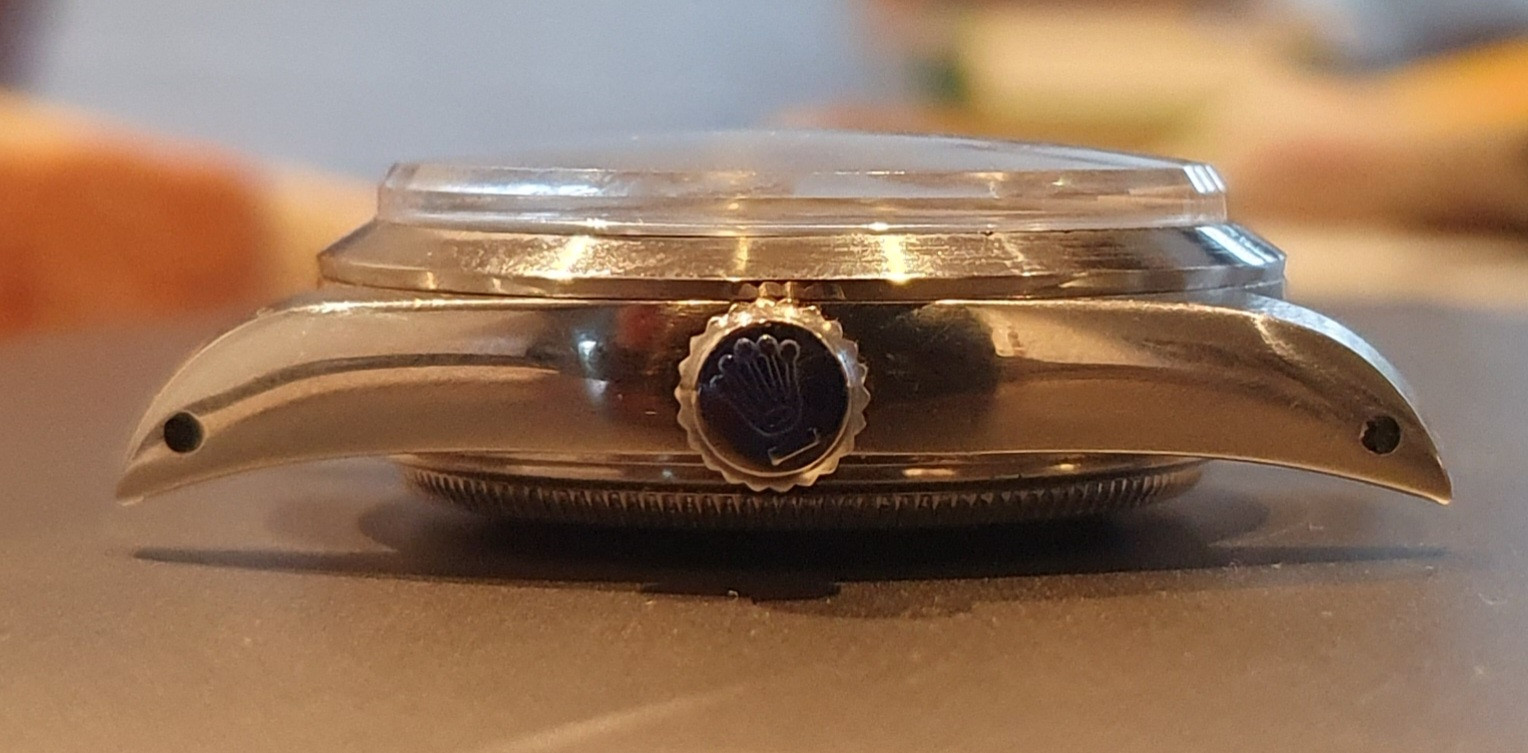
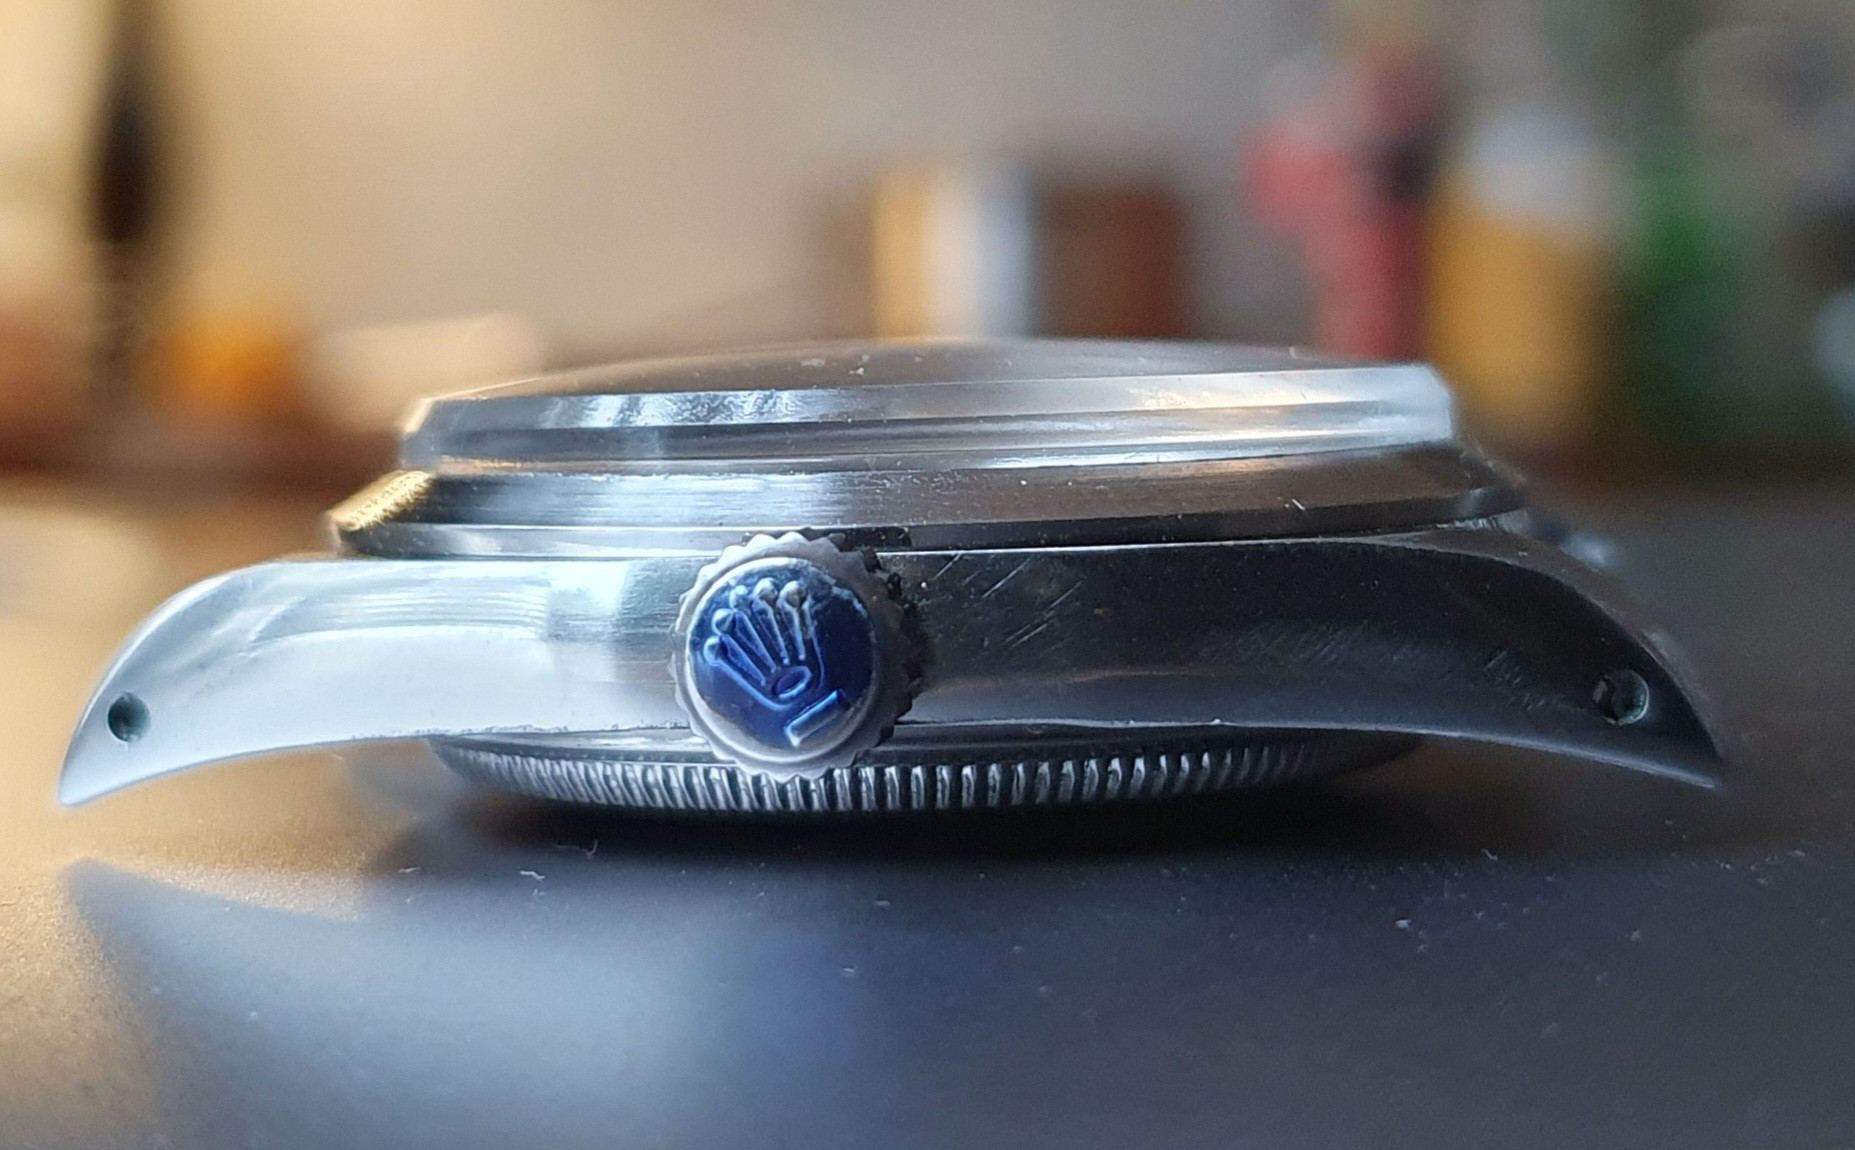
The rafflesdials case unfortunately has a different height. While the original is about 12mm high, the Raffeldial is about 13.7mm, which makes it less elegant. Here is a picture with the proportions of the original 1016 case.


Original Raffelcase with T21crystal: 13.7mm


To get closer to the original dimensions, I cut off about 4 mm at the top of the rehaut and another 5 mm at the bottom on the lathe. The body differs significantly from the original 1016, especially at the bottom. On the 1016, the caseback is screwed almost deep into the floor. At the end I realised a high of 12.7mm. Good enough for now!
 
Last edited:

Karbon74

Pika Factory
Patron
Certified
5/5/23
10,261
20,011
113
EU - Kalos Region
wow, i did not know the caseback was so thick

also, lowering rehaut also means you shaved the crystal?
 

matzemedia

Active Member
Certified
22/4/21
378
733
93
Germany
The Crystal

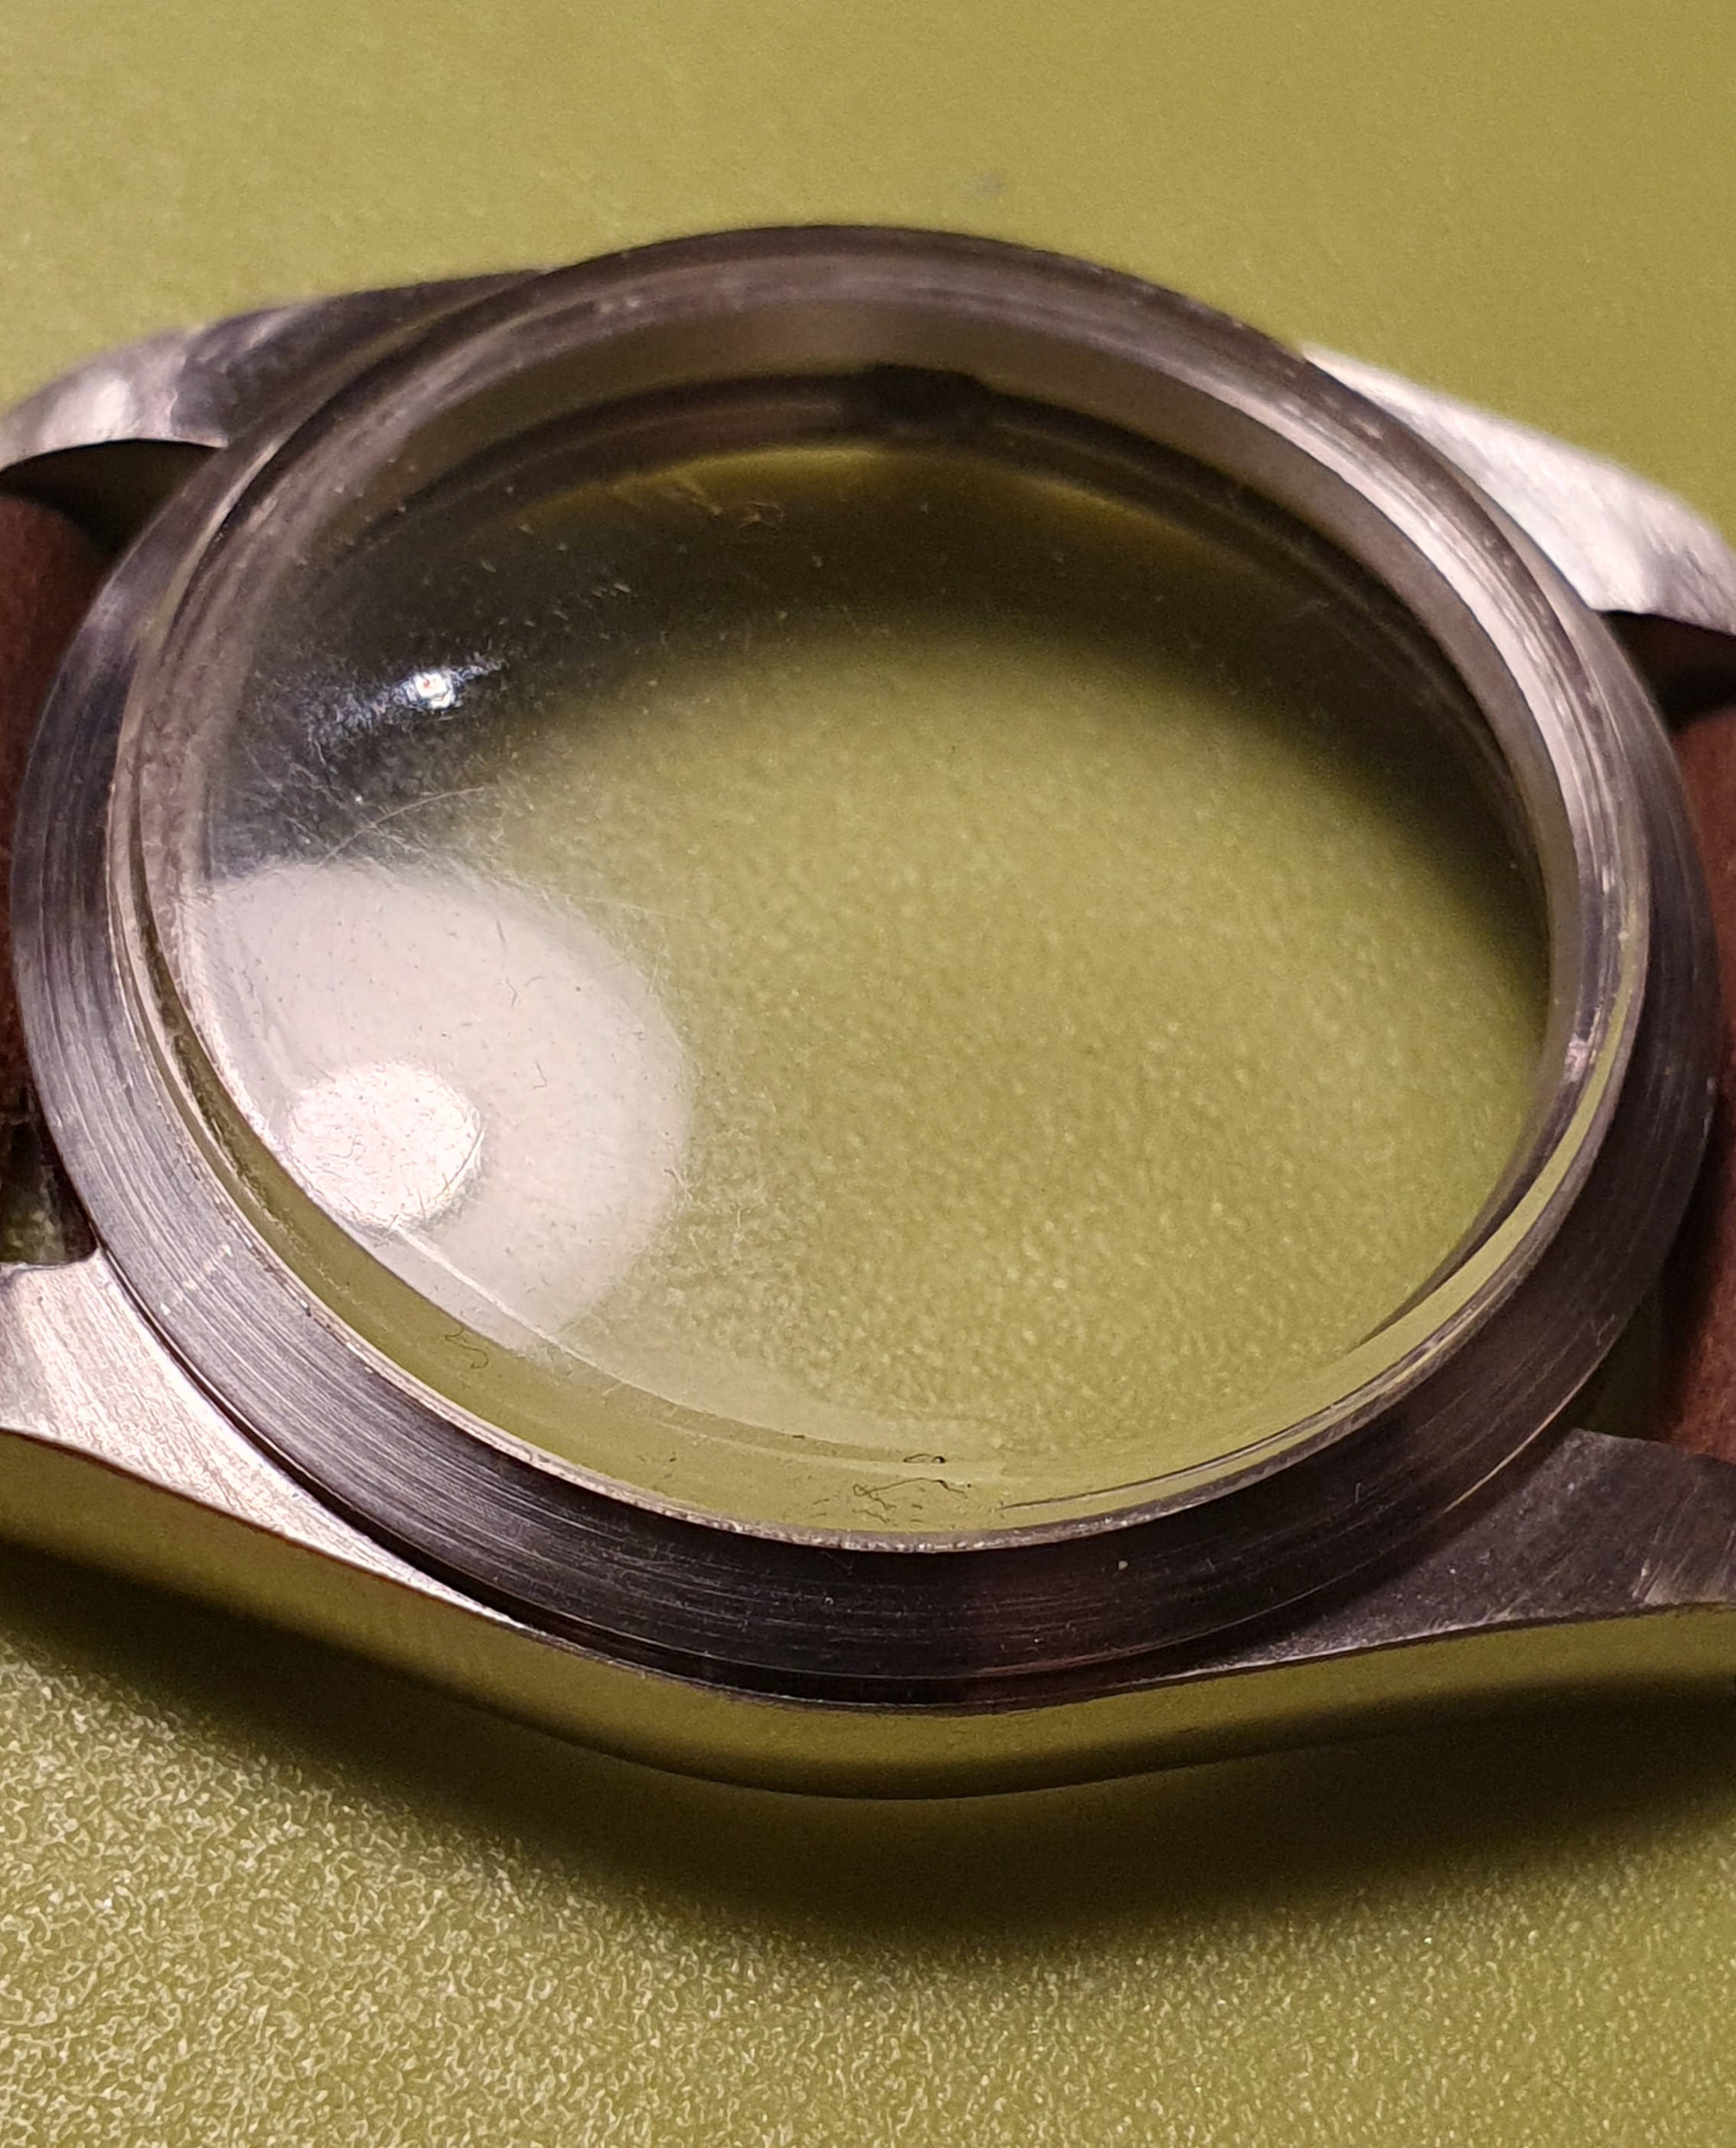
As you may have seen, I placed a crystal on top of the watch. The original crystal is made of plexi and has the reference T22 (25-22). This is something I can't found in Europe. There is a version from clark, but not available for me. So I have to find a different solution to press fit the bezel with the case. I decided to use the T16 for the datejust. This comes with a magnifying glass put fit perfect. So I've removed the magnifying glass with a file and polished the crystal up to 5000. At the end, I also used Polywatch for the finish.
Well it is not perfect and if you look close - there is another structure at the place where the magnifying glass was before.
 
  • Like
Reactions: pullthat92

matzemedia

Active Member
Certified
22/4/21
378
733
93
Germany
The Dial
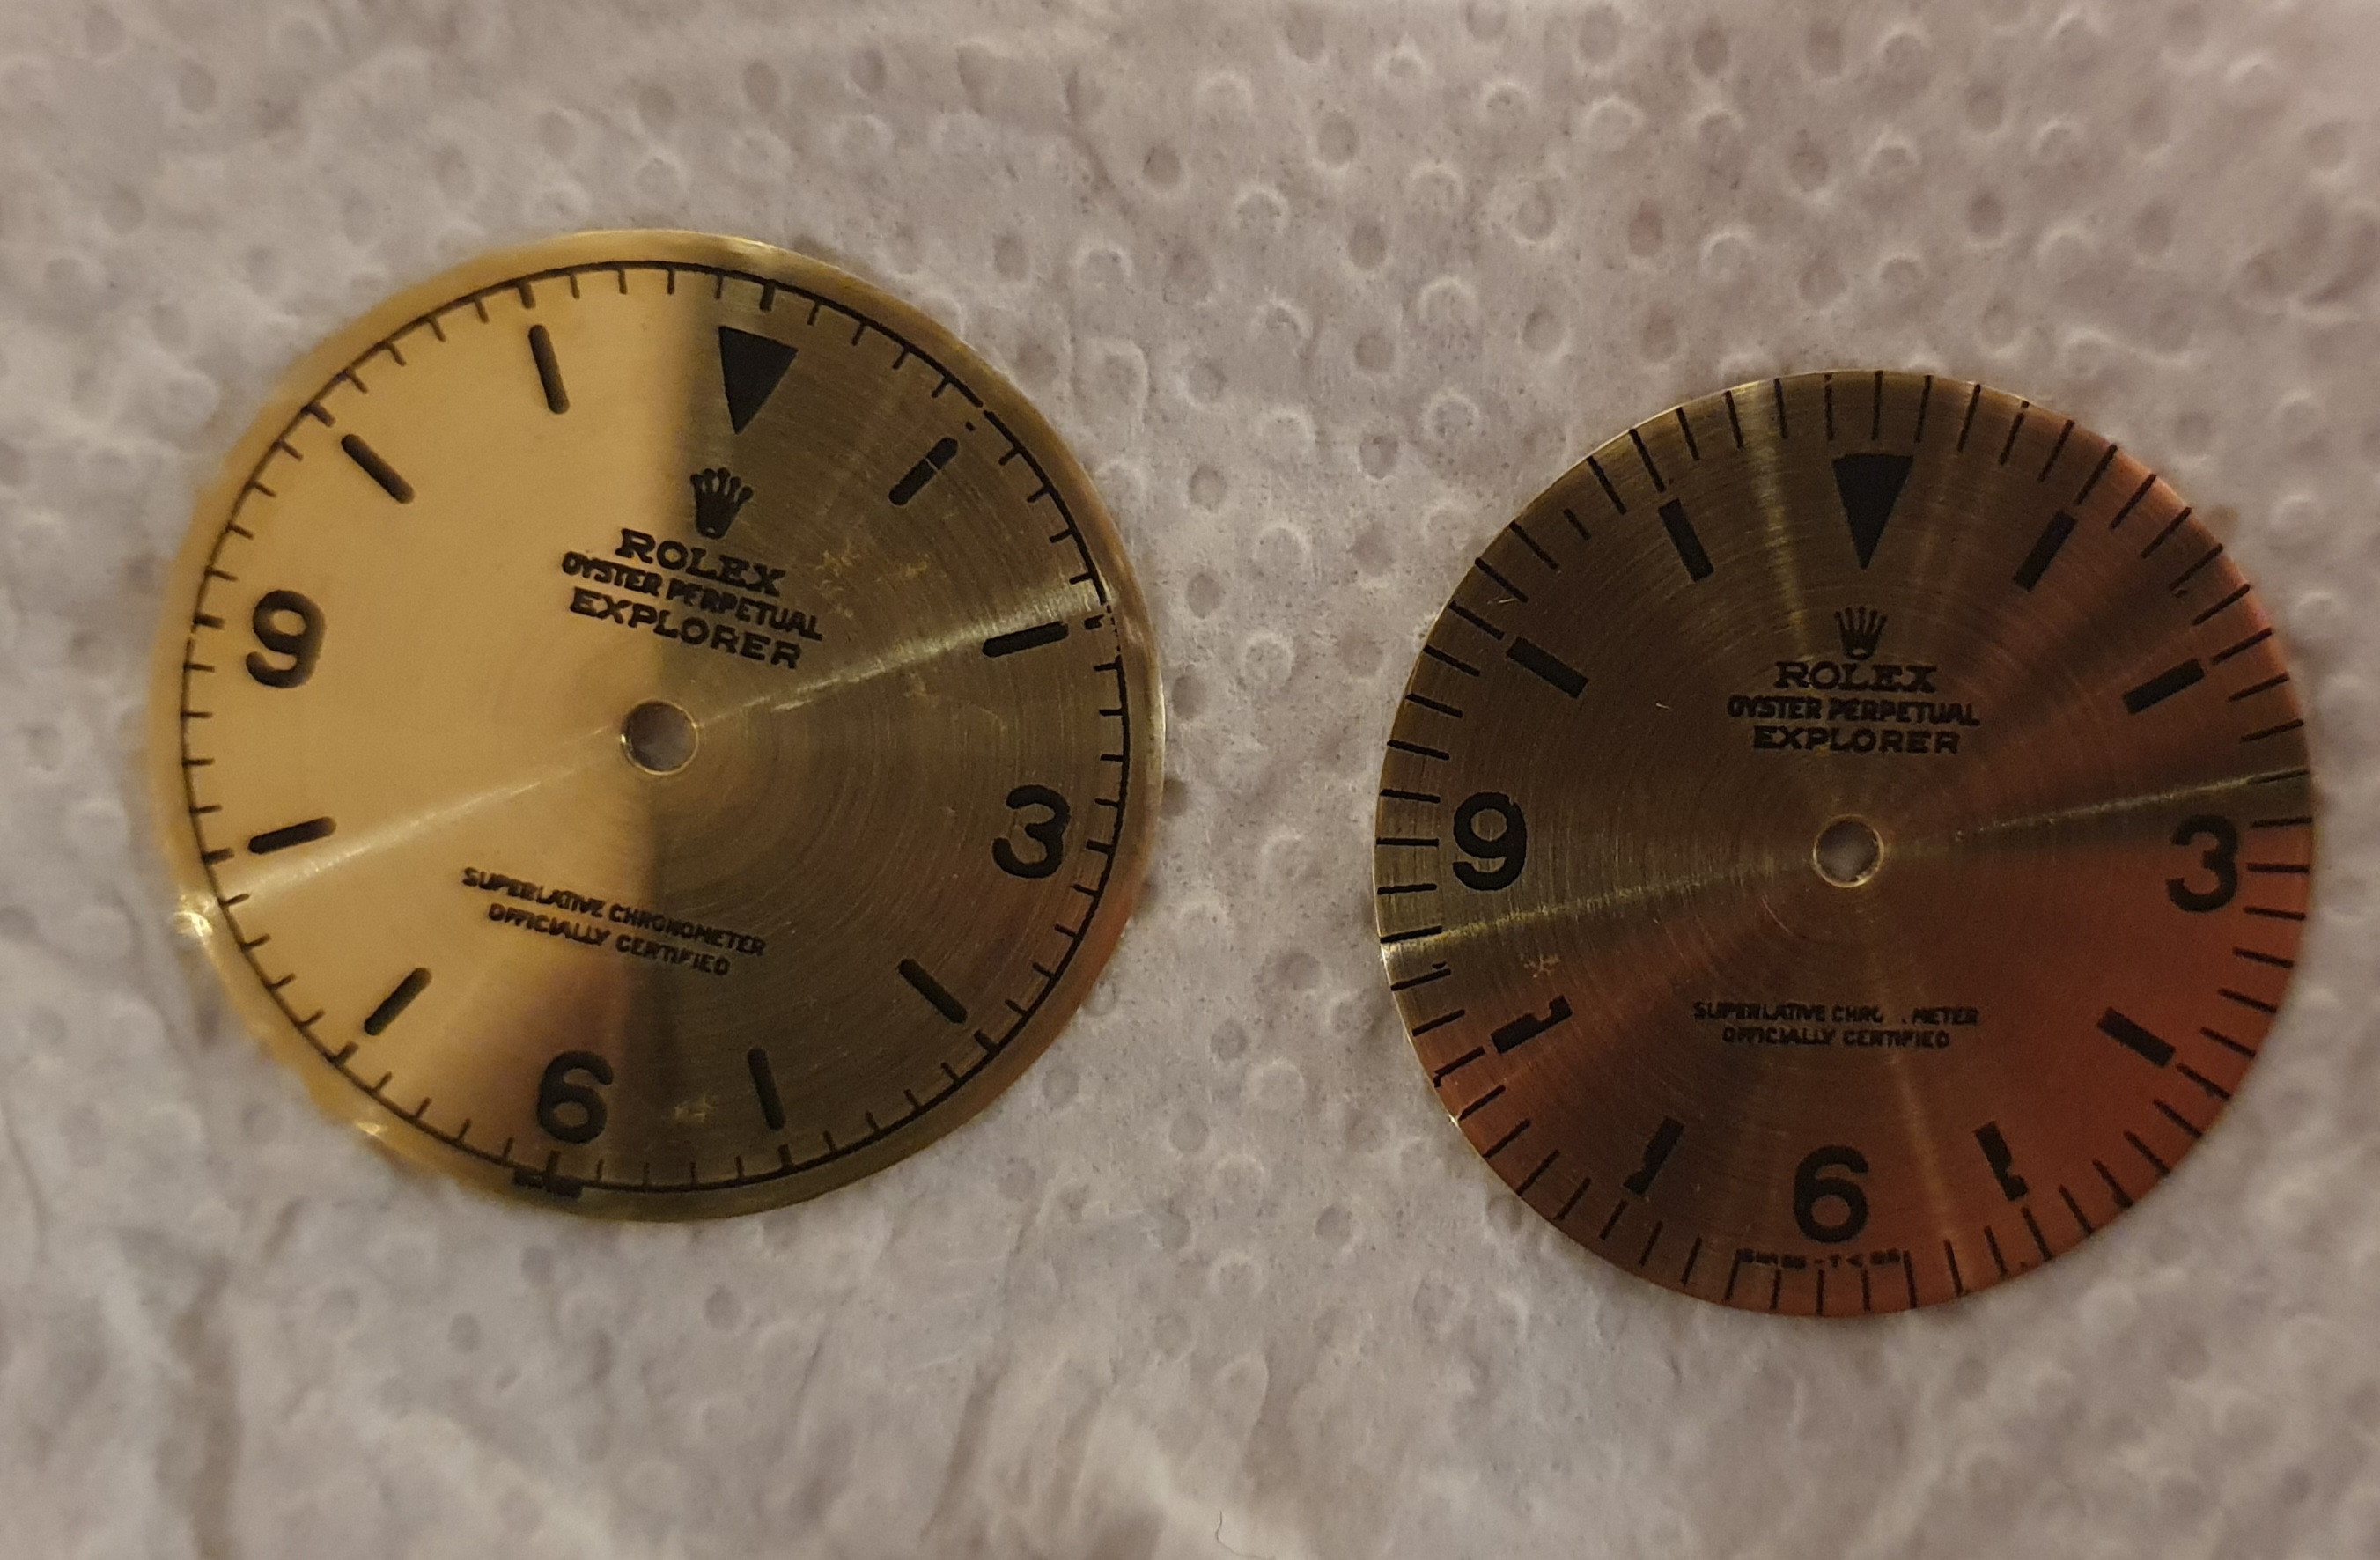
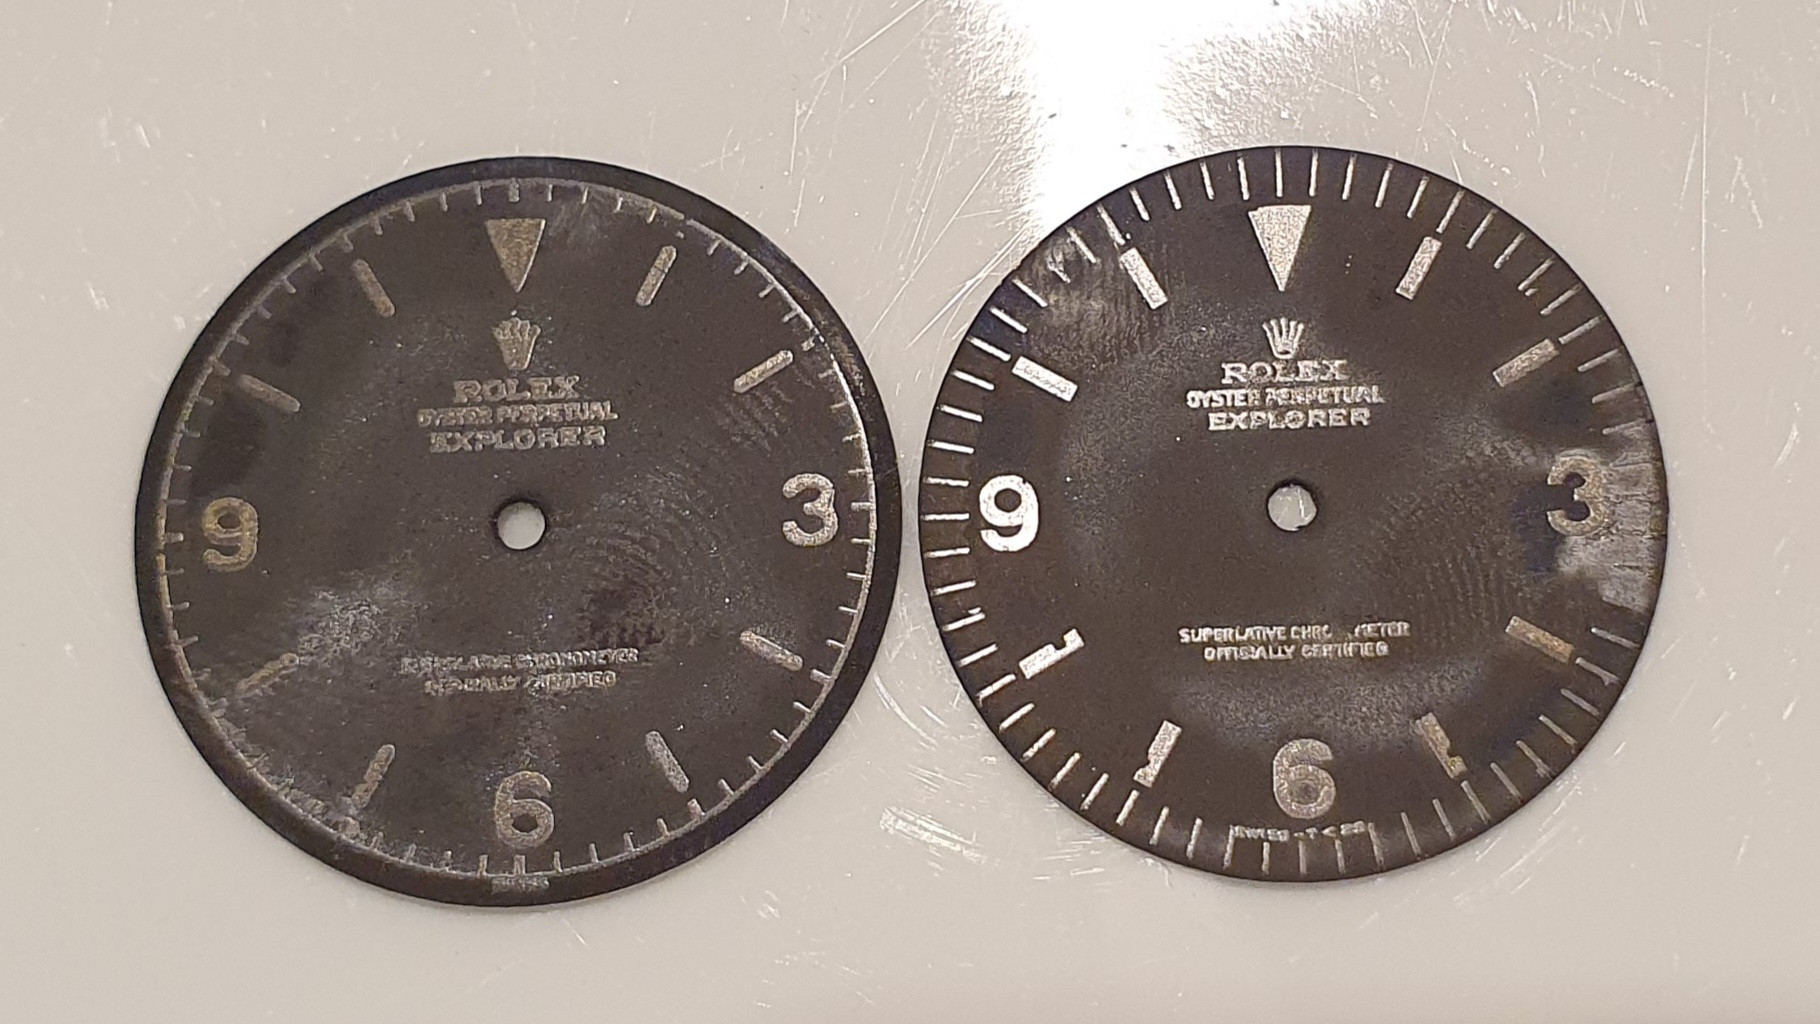
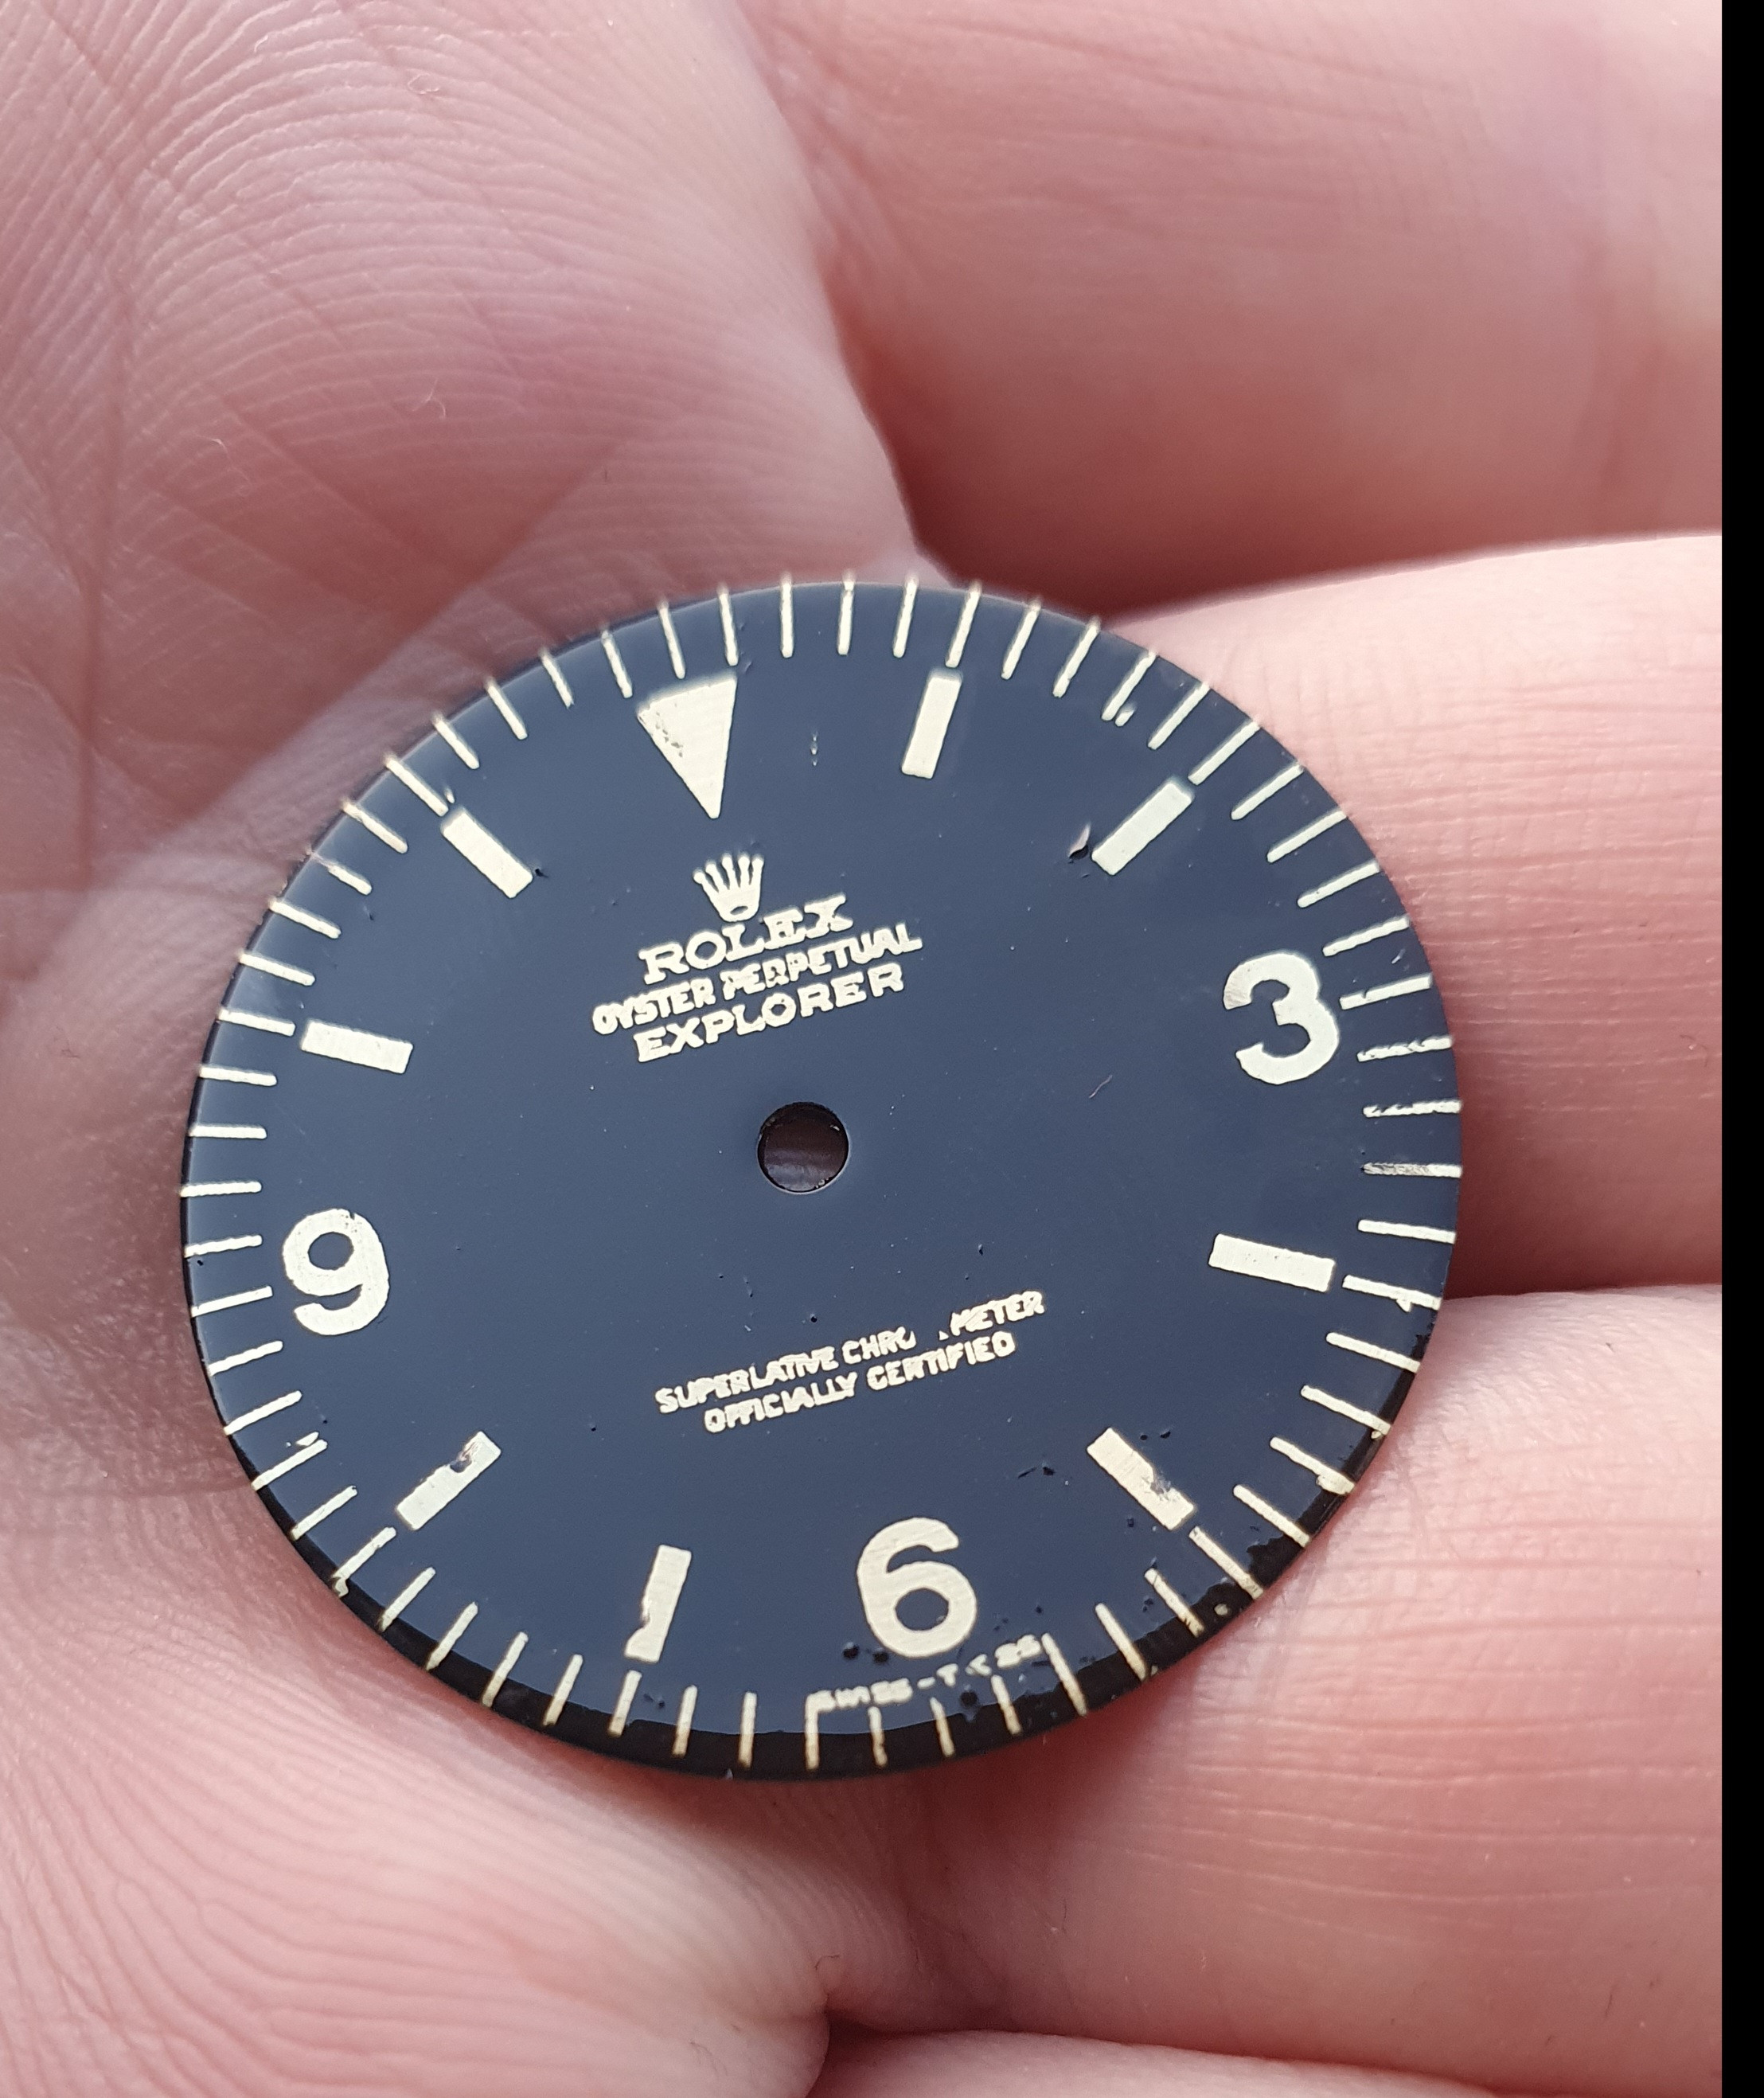
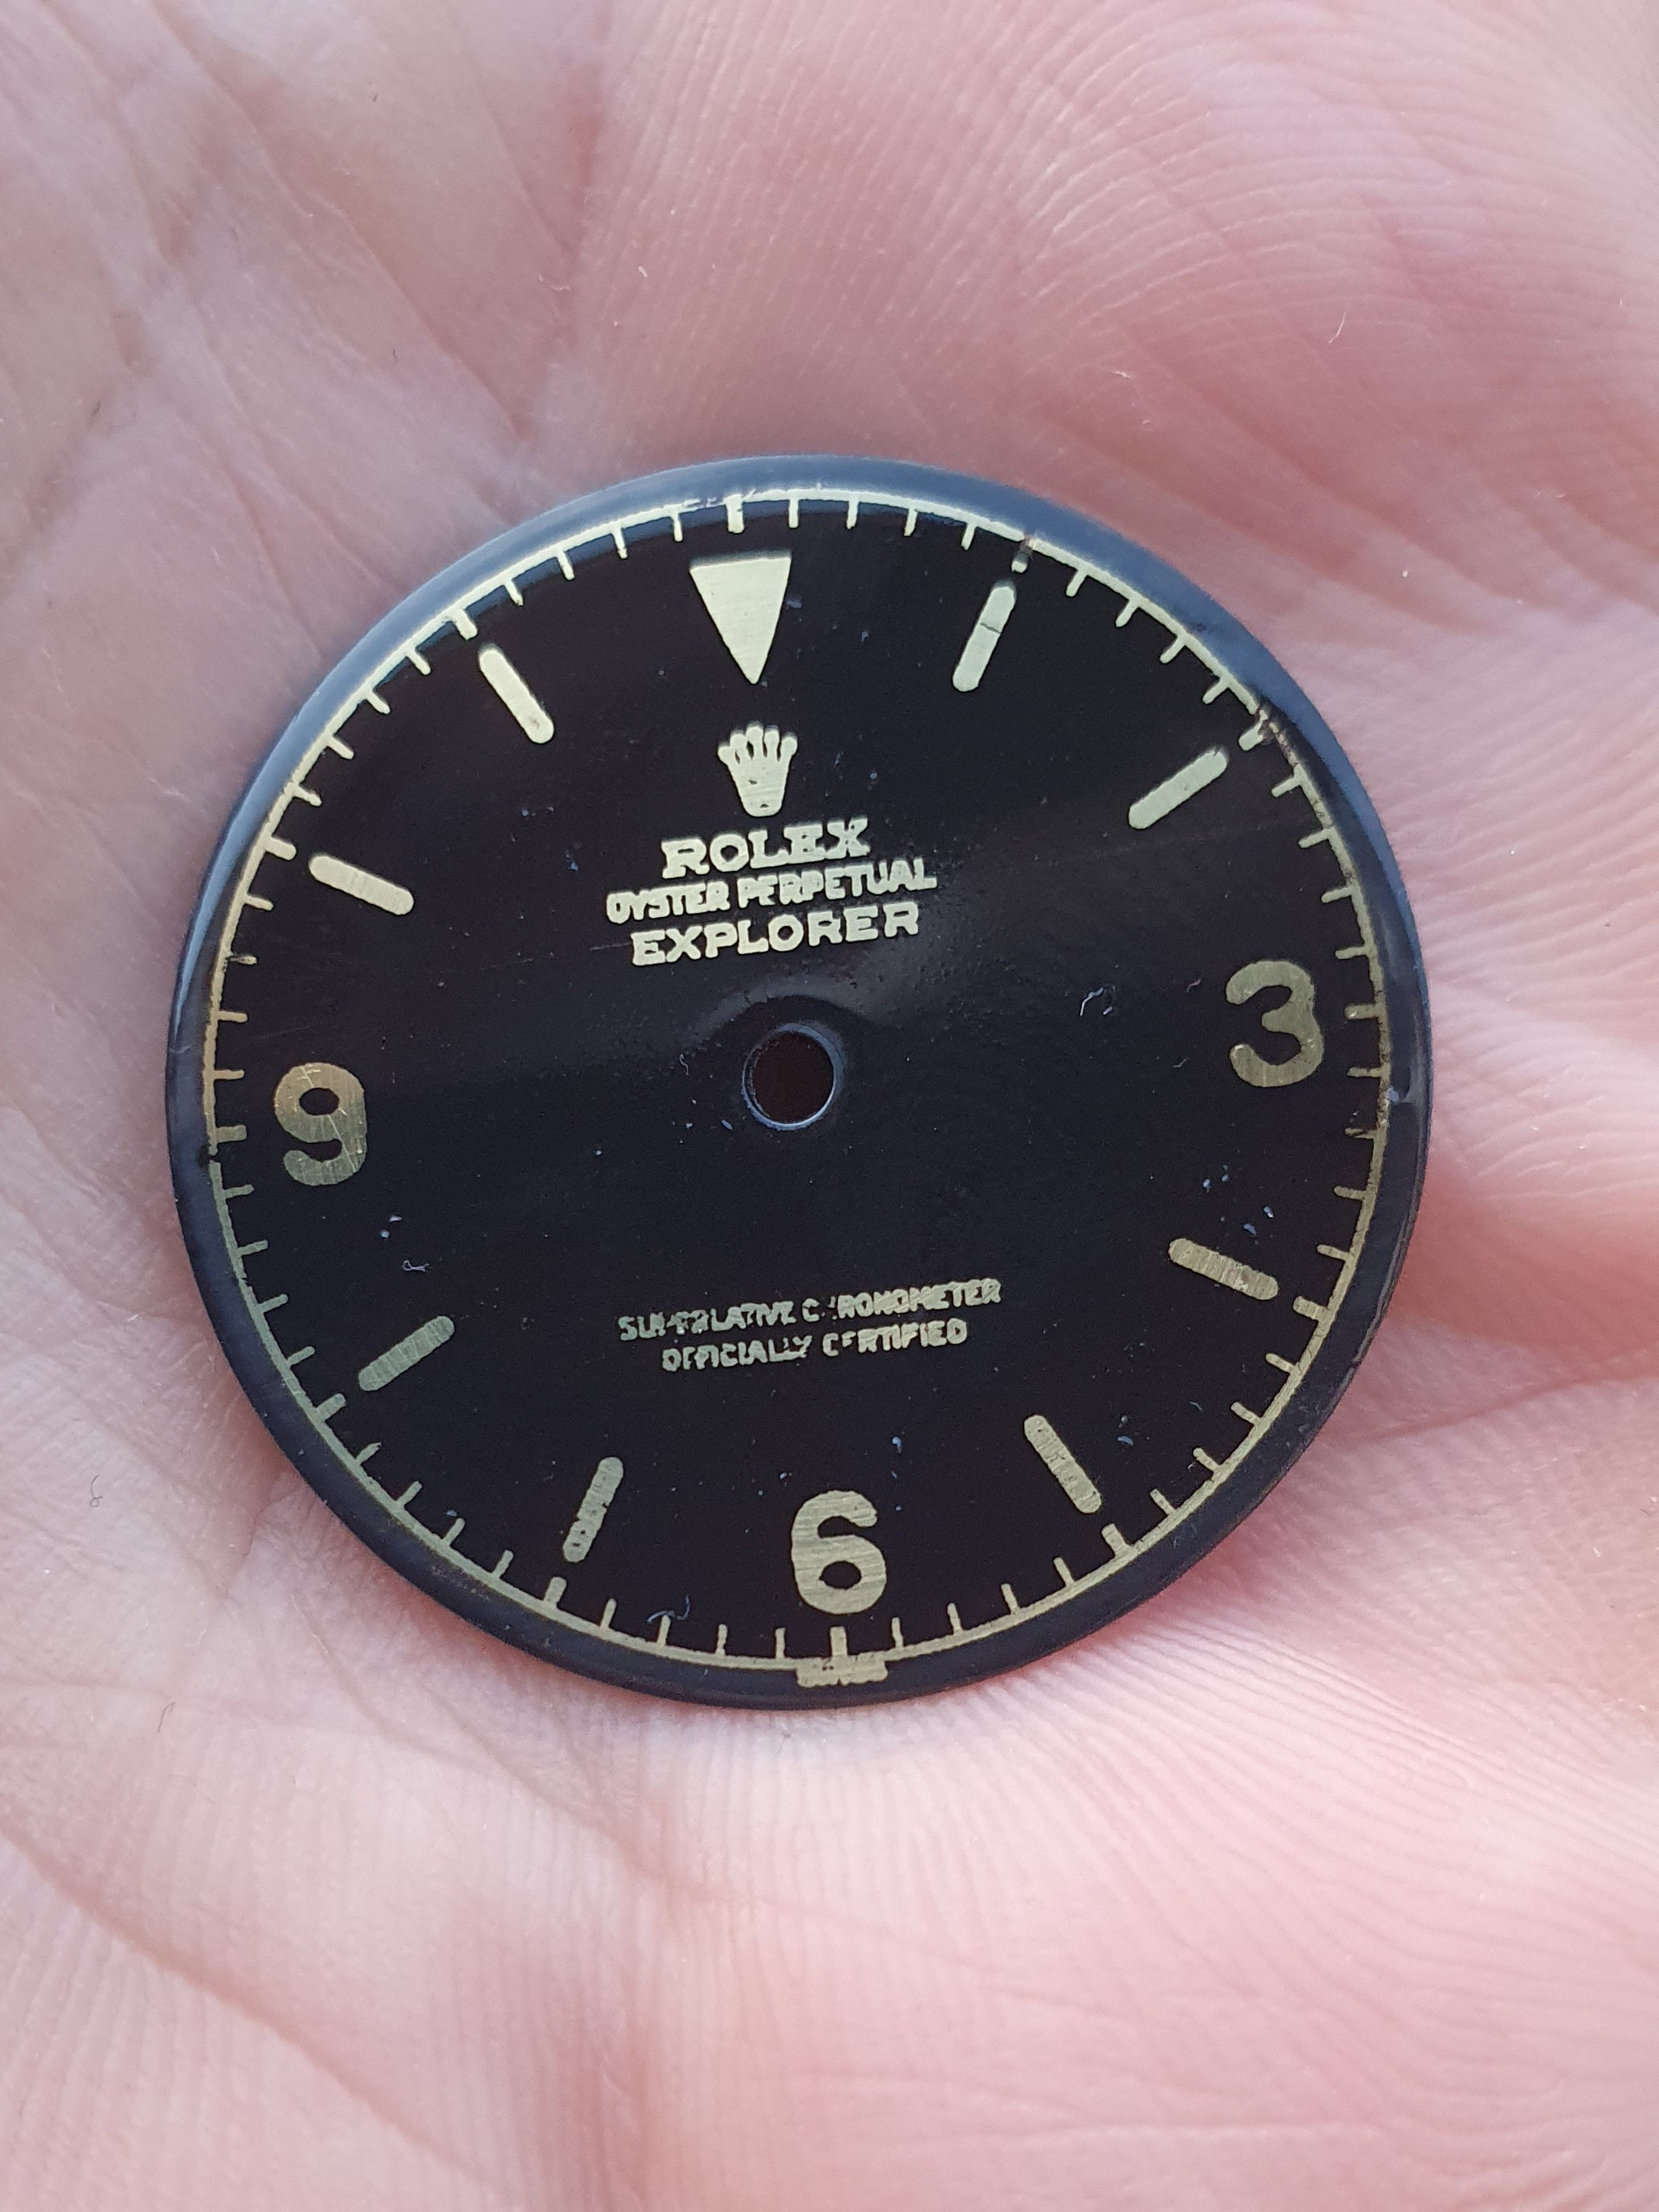
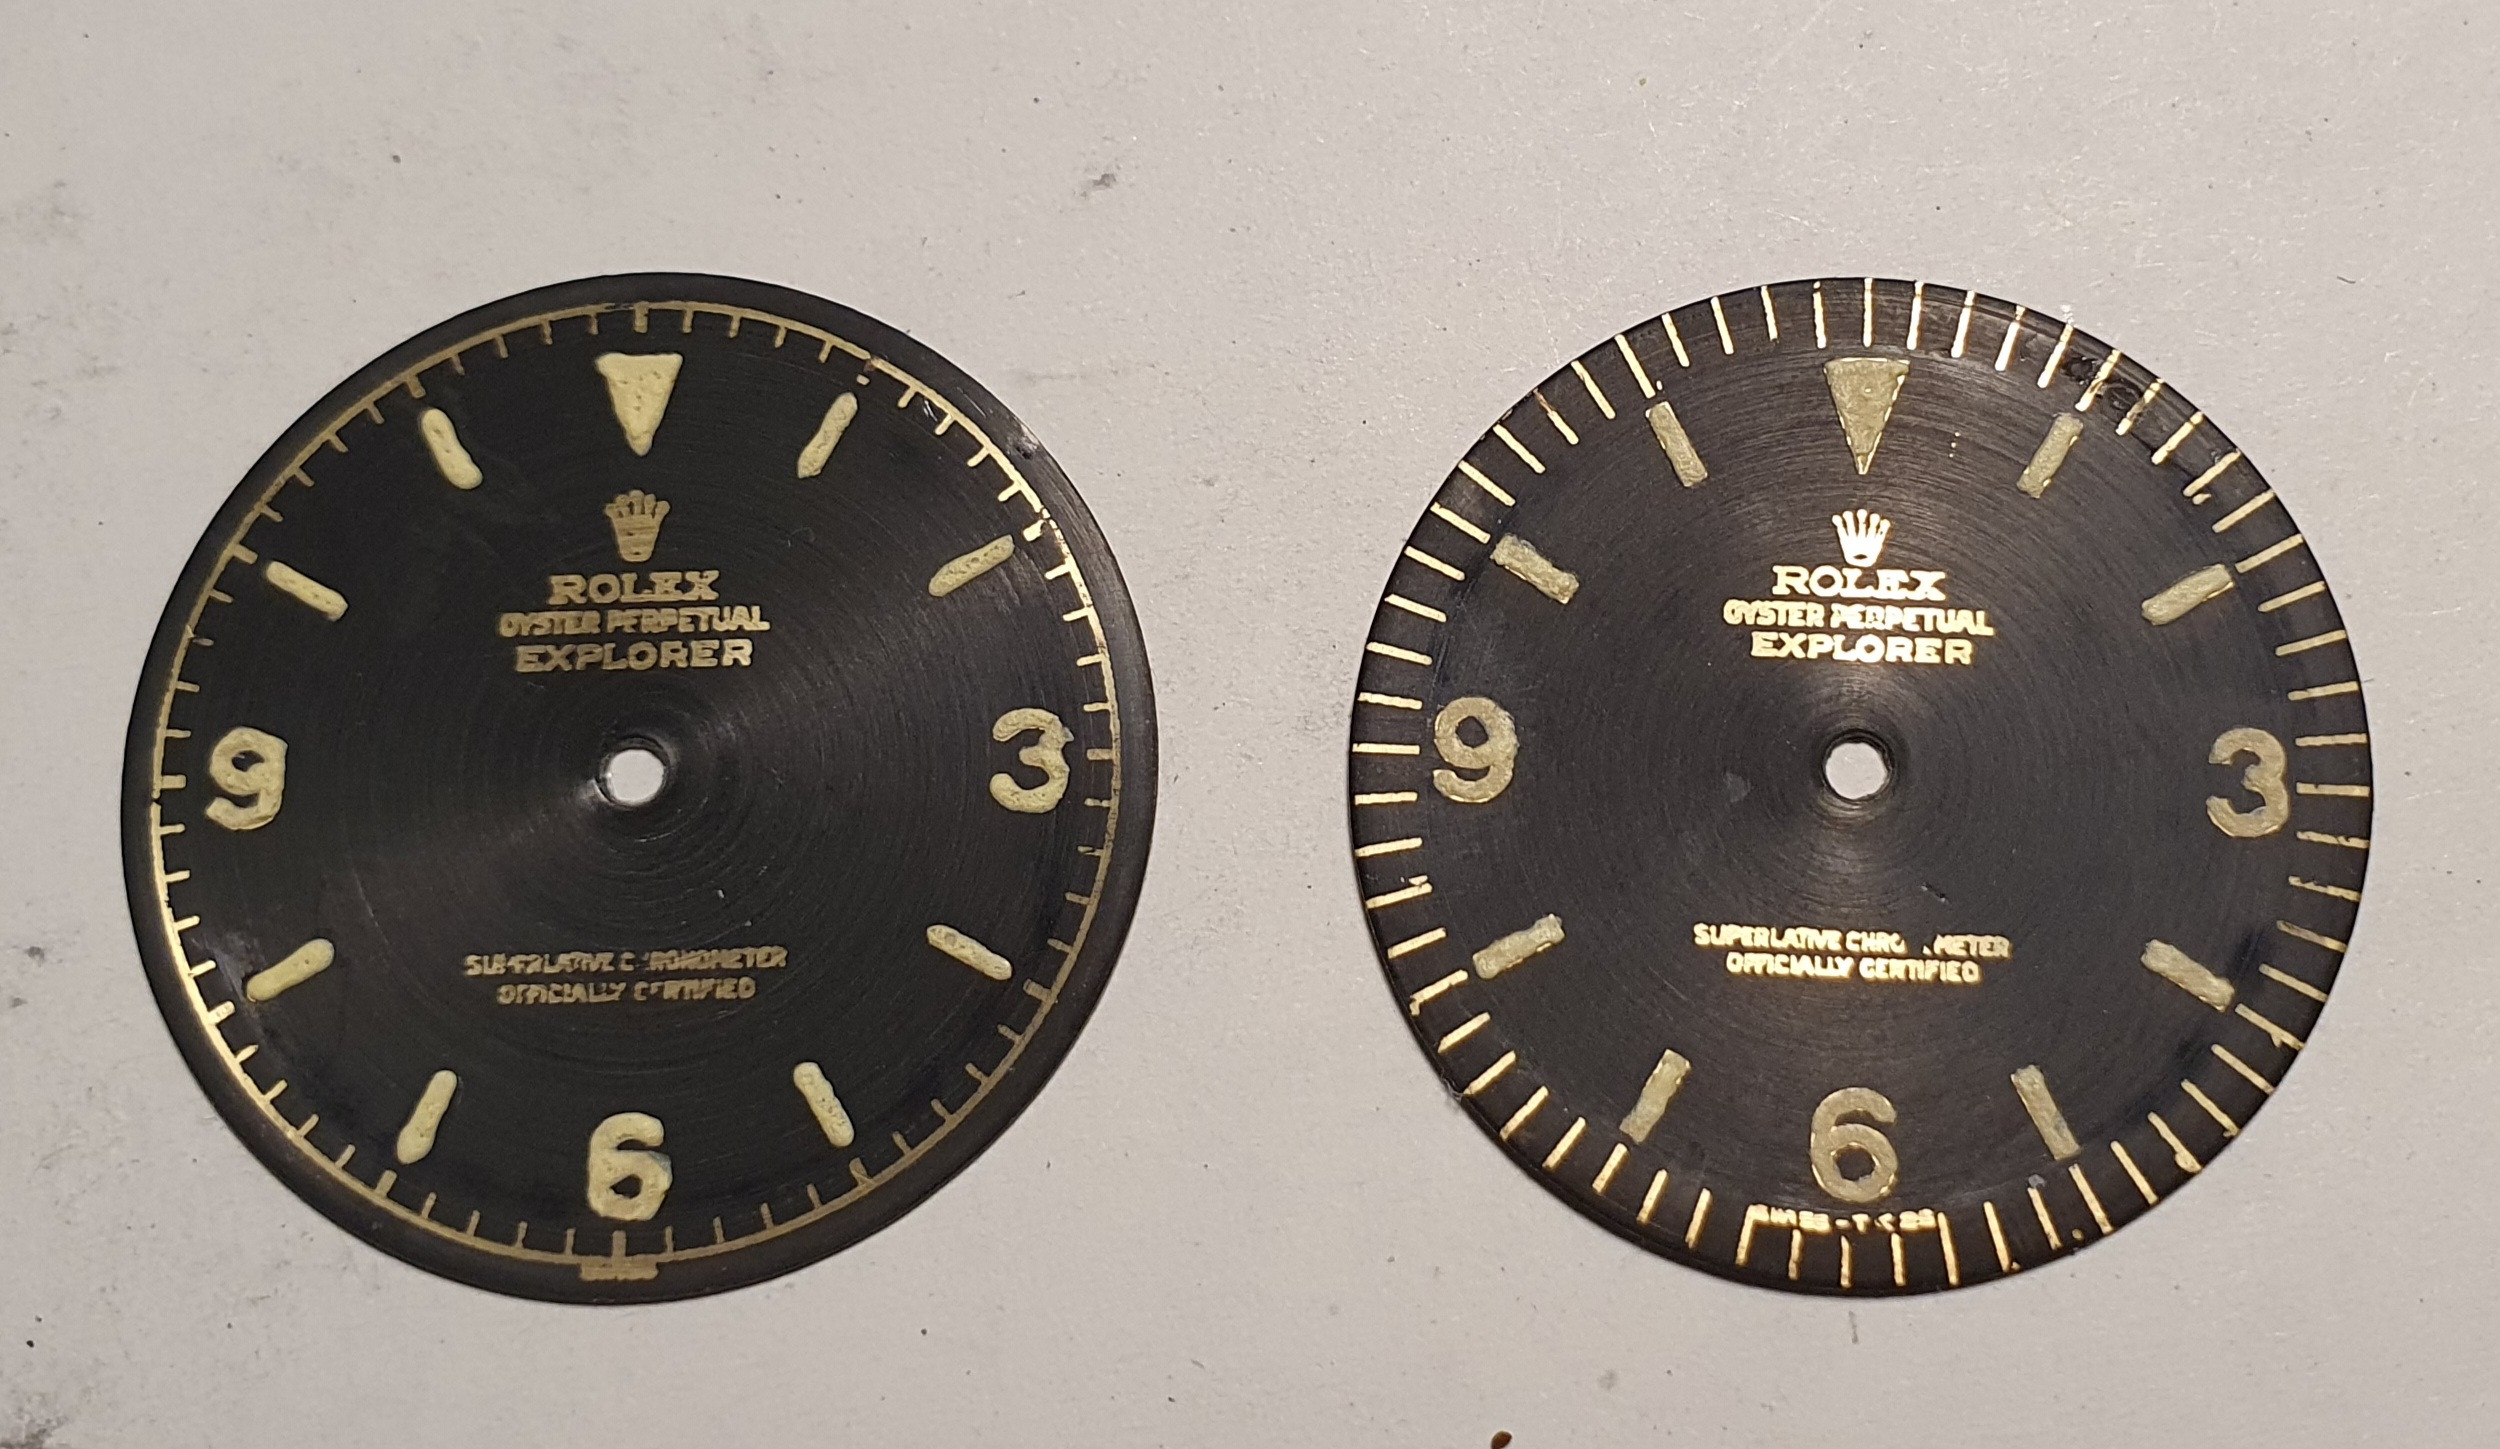
As I have been working a lot on the creation of dilt dials based on chemical processes, it is now obvious that a gilt dial should be created for the project. There are 7 different versions of gilt dials 4 of them with chapter ring and 3 without. As I can't make up my mind, I have created two different ones.

Mark 3 with chapter ring:


Mark 5 without chapter ring:


matzemedia

Active Member
Certified
22/4/21
378
733
93
Germany
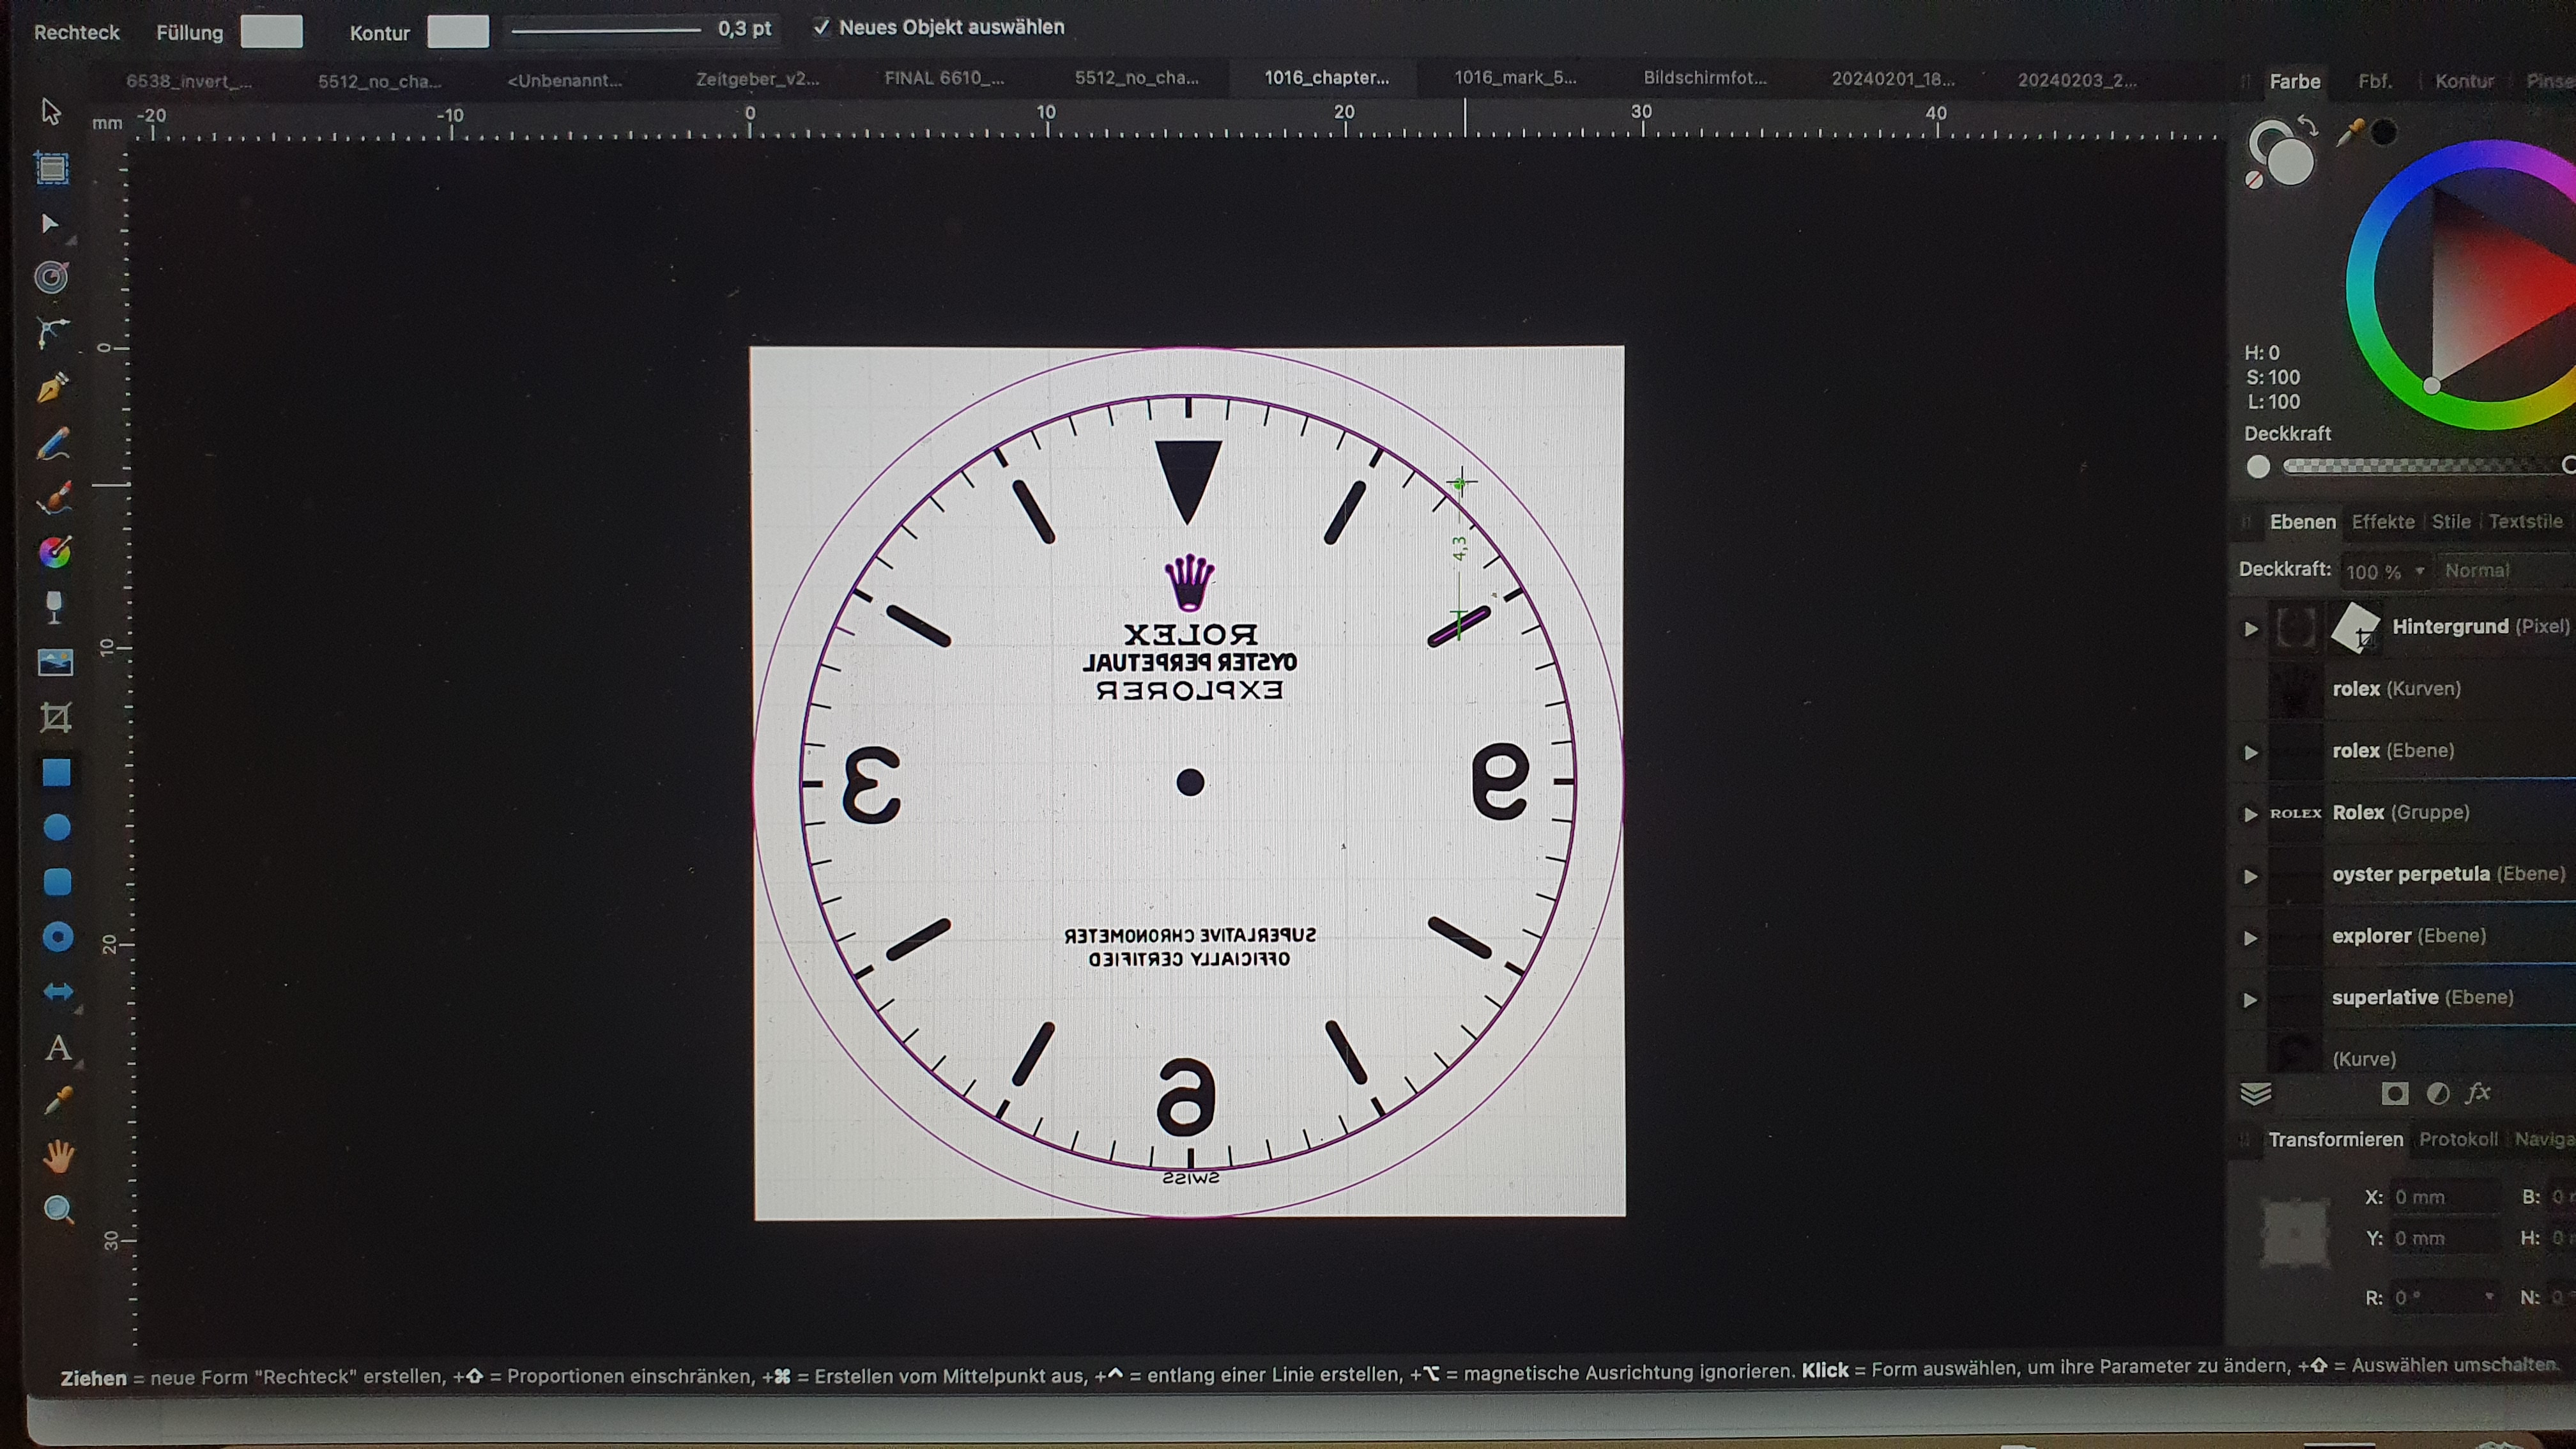
I used Affiliate Designer as the software for the graphics. This is a software that creates vector graphics.


There are various threads here in the forum discussing the creation of the gilt dials. The thread by @chrome72 is highly recommended: https://forum.replica-watch.info/th...-dial-on-the-cheap-tropical-or-black.10925422
In this thread I will briefly discuss the method.

The principle is that a brass dial is covered at the points where it should remain gold. The dial is then coloured black in a chemical bath. The areas that are to remain gold are covered with toner from a laser printer. The process is called toner transfer and is mainly used for etching circuit boards.
 
Last edited:
  • Like
Reactions: WatchN3RD

matzemedia

Active Member
Certified
22/4/21
378
733
93
Germany
Here some pictures of the process.


Step 1: toner transfer


Step 2: after the use of the liquid Ballistol Nerofor for about 3 minutes


Step 3: I haven'd took a picture after removing the toner with aceton - sorry

Step 4: after the first lacquer layer

 
Last edited:
  • Love
  • Like
Reactions: 369mafia and Hec

matzemedia

Active Member
Certified
22/4/21
378
733
93
Germany
As you may see, this is far away from perfect. In the past I have done some more dials but all of them have some errors. It is a bit of luck to get a good version, and this method is not good for small letters. But as you will see in later posts. I still go that way.

Here my common problems:
  • The toner is not moving complete to the dial
  • The surface of the dial has a bit of a structure after the chemical bath
  • The toner so not protect the hole elements and the chemical bath is destroying the print
  • The lacquer reacts with the substrate and a rough surface is created (looks like dust in the paint)
 
Last edited:
  • Like
Reactions: pullthat92

pullthat92

Gonna make it
Certified
16/10/23
195
127
43
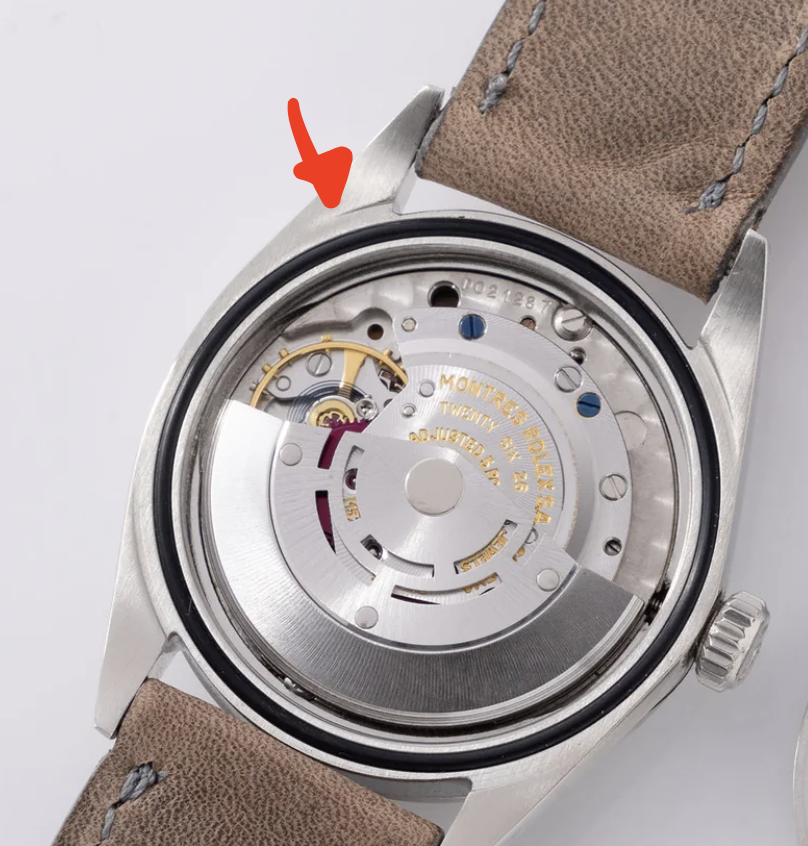
Here you can see that the gen case has a small deepening.


No, I removed material from the top. The crystal is fitting the same as bevor. Maybe this image helps to explain. I removed the red part.
Your skills are truly impressive. I've thought of ways to lower the lug height, but I never thought of shaving down the mid-case itself. What tools did you use?
 
  • Like
Reactions: matzemedia

WatchN3RD

I supported. Doesn't make me an expert!
Gold Patron
24/7/18
551
632
93
I am shocked at how good your results are. It is definitely double work, but have you considered using the toner method over a photo resist substance? Perhaps the photo resist would be more durable than simple toner.
The only reason for suggesting that... is that you could do it in reverse where the main substrate, which would keep more detail as the larger negative relief than the small letters/details/shapes/etc. It might allow you to lacquer the polished brass, thus allowing for a regular patina on the exposed surface that remains.

Just putting it out there as a possibility. I have not tried it. I only know that a larger surface area used to protect the area should allow for more detail via less area for distortion.
 

chrome72

Renowned Member
7/12/17
639
562
93
Houston TX Baby
The photo resist method is a bit challenging. The smaller details can mean a matter of a handful of seconds of over exposure If you pull it out too early the small details would work but the larger details wouldn’t have had time to harden. I’ll still go back to it one day because I know it’s possible as people do micro machining with this technique.

Overall is a pretty simple technique in theory but needs refining for such small details
 

matzemedia

Active Member
Certified
22/4/21
378
733
93
Germany
I am shocked at how good your results are. It is definitely double work, but have you considered using the toner method over a photo resist substance? Perhaps the photo resist would be more durable than simple toner.
The only reason for suggesting that... is that you could do it in reverse where the main substrate, which would keep more detail as the larger negative relief than the small letters/details/shapes/etc. It might allow you to lacquer the polished brass, thus allowing for a regular patina on the exposed surface that remains.

Just putting it out there as a possibility. I have not tried it. I only know that a larger surface area used to protect the area should allow for more detail via less area for distortion.
I don't know a lot about the photo resist method. I've read about this in combination with etching, but do not have any knowledge about. I may have to read a bit about this.
 

matzemedia

Active Member
Certified
22/4/21
378
733
93
Germany
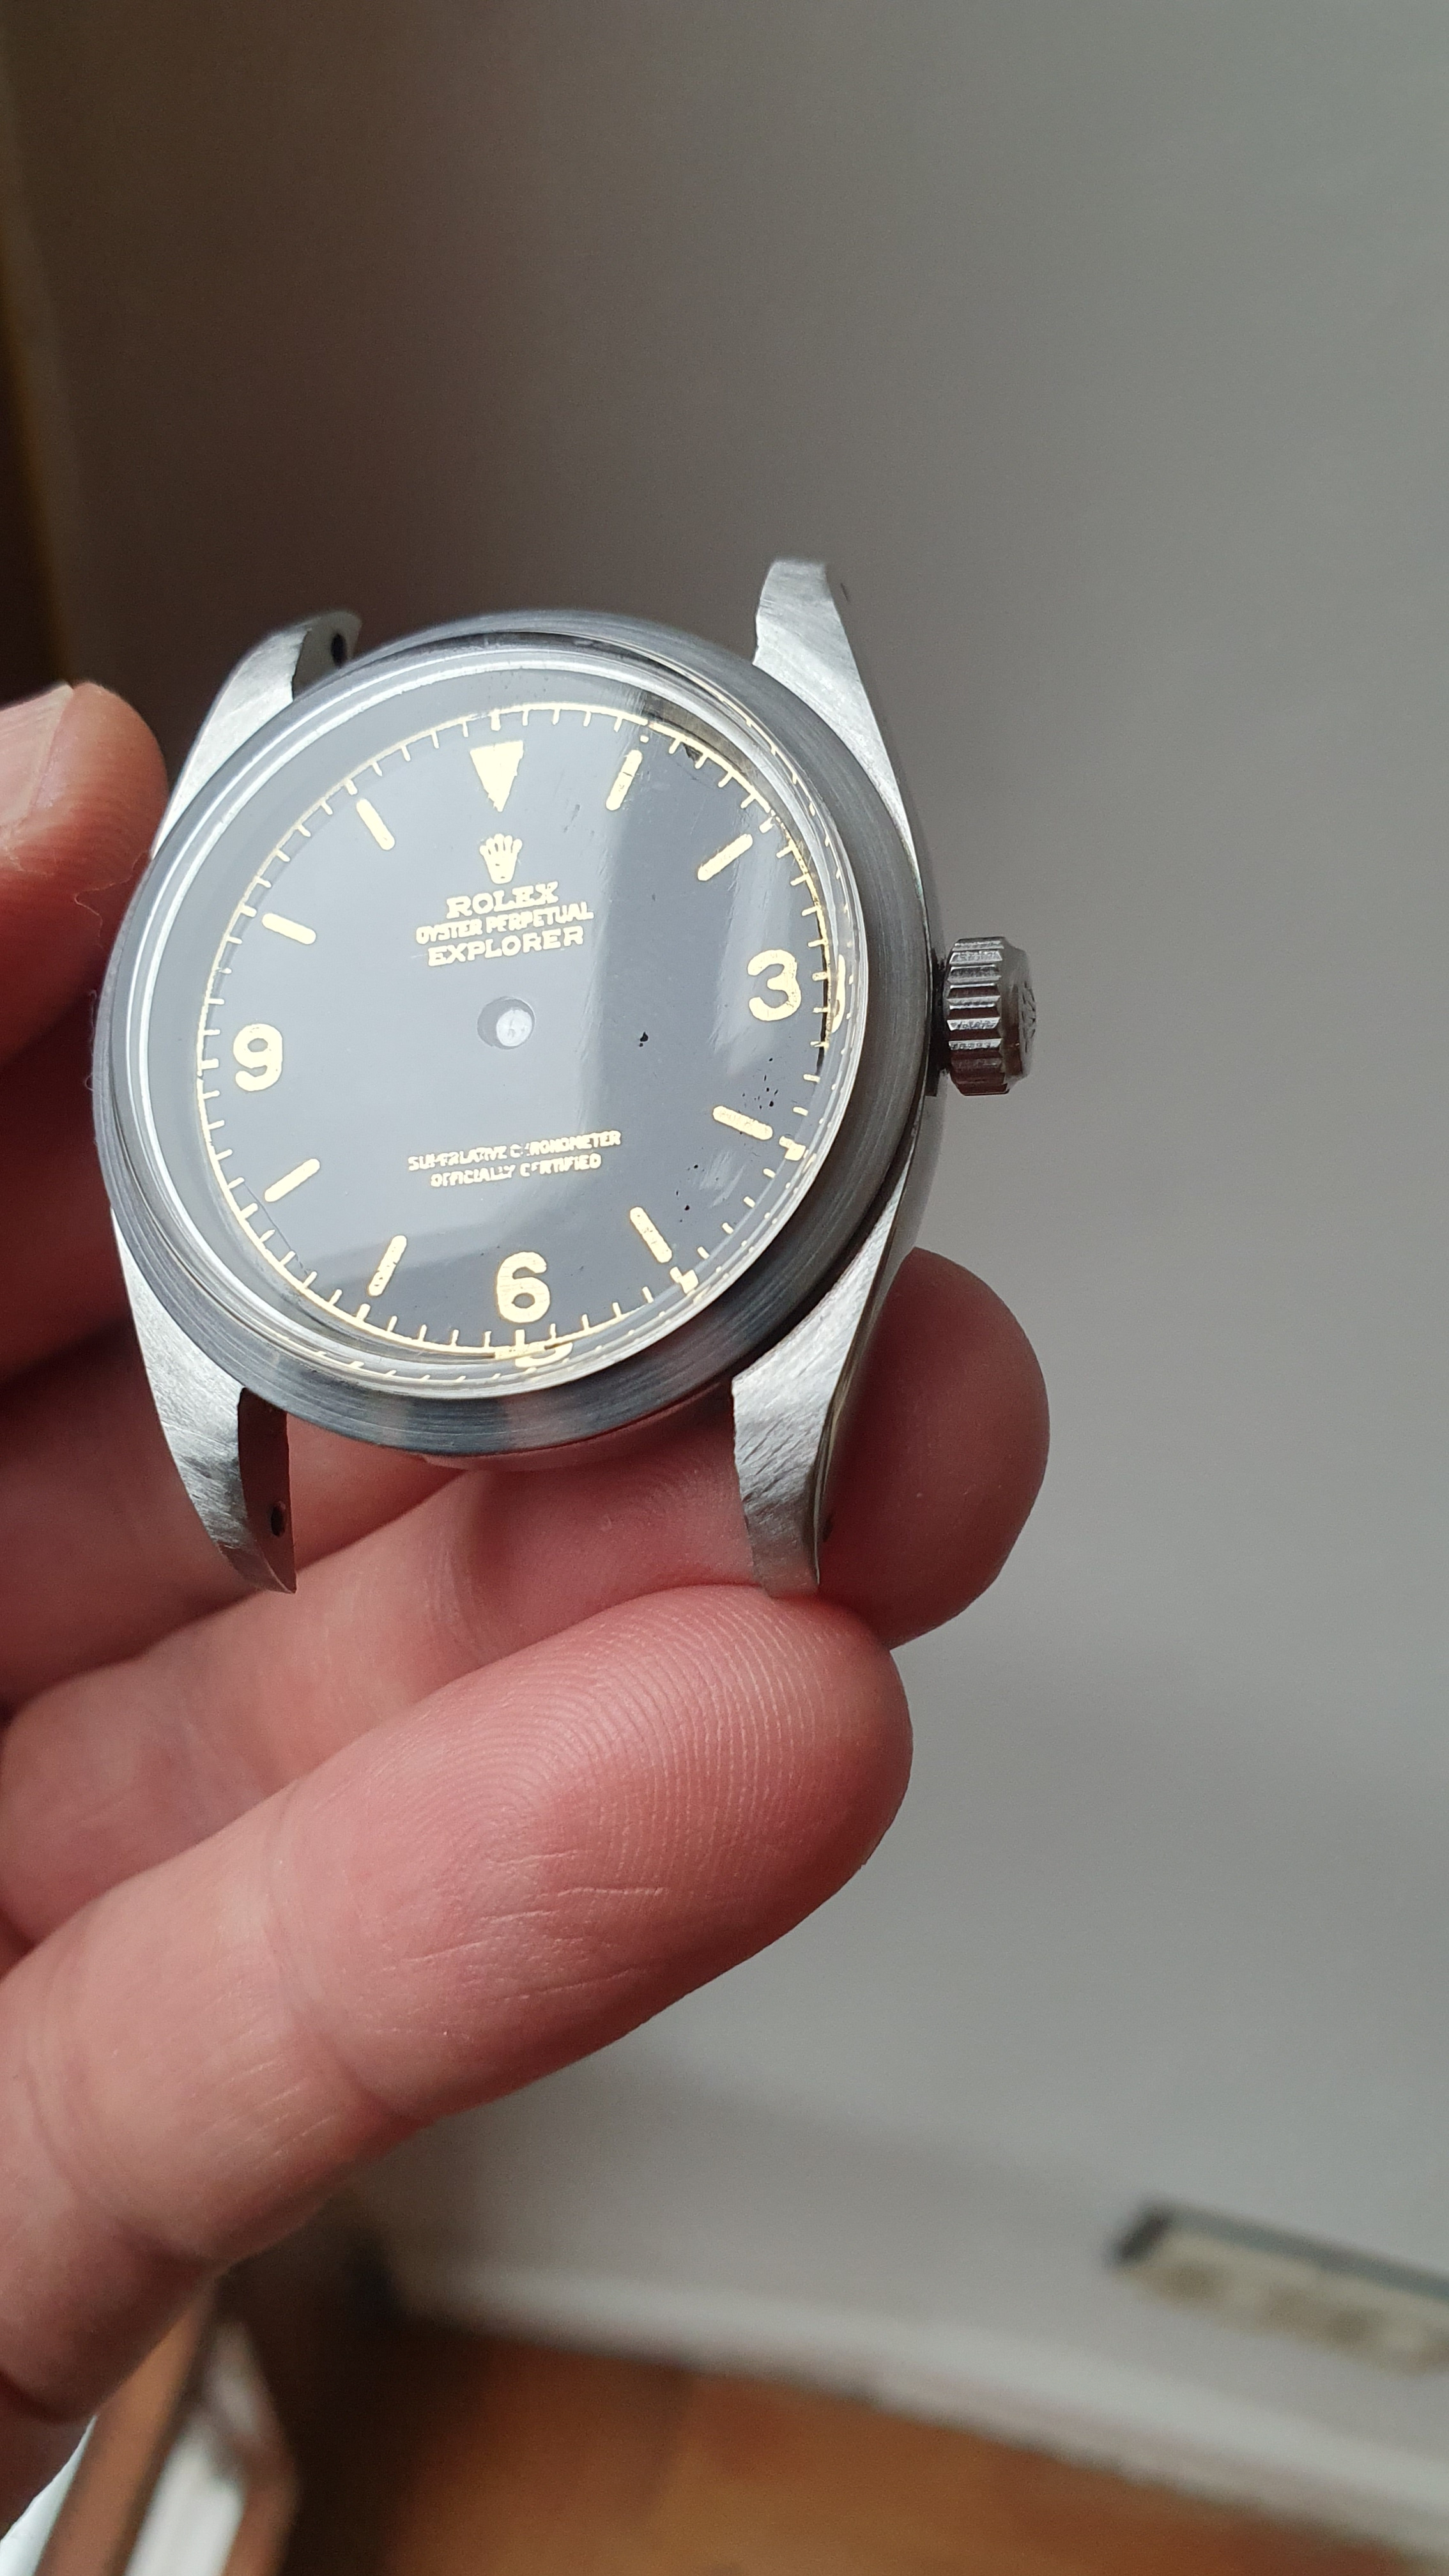
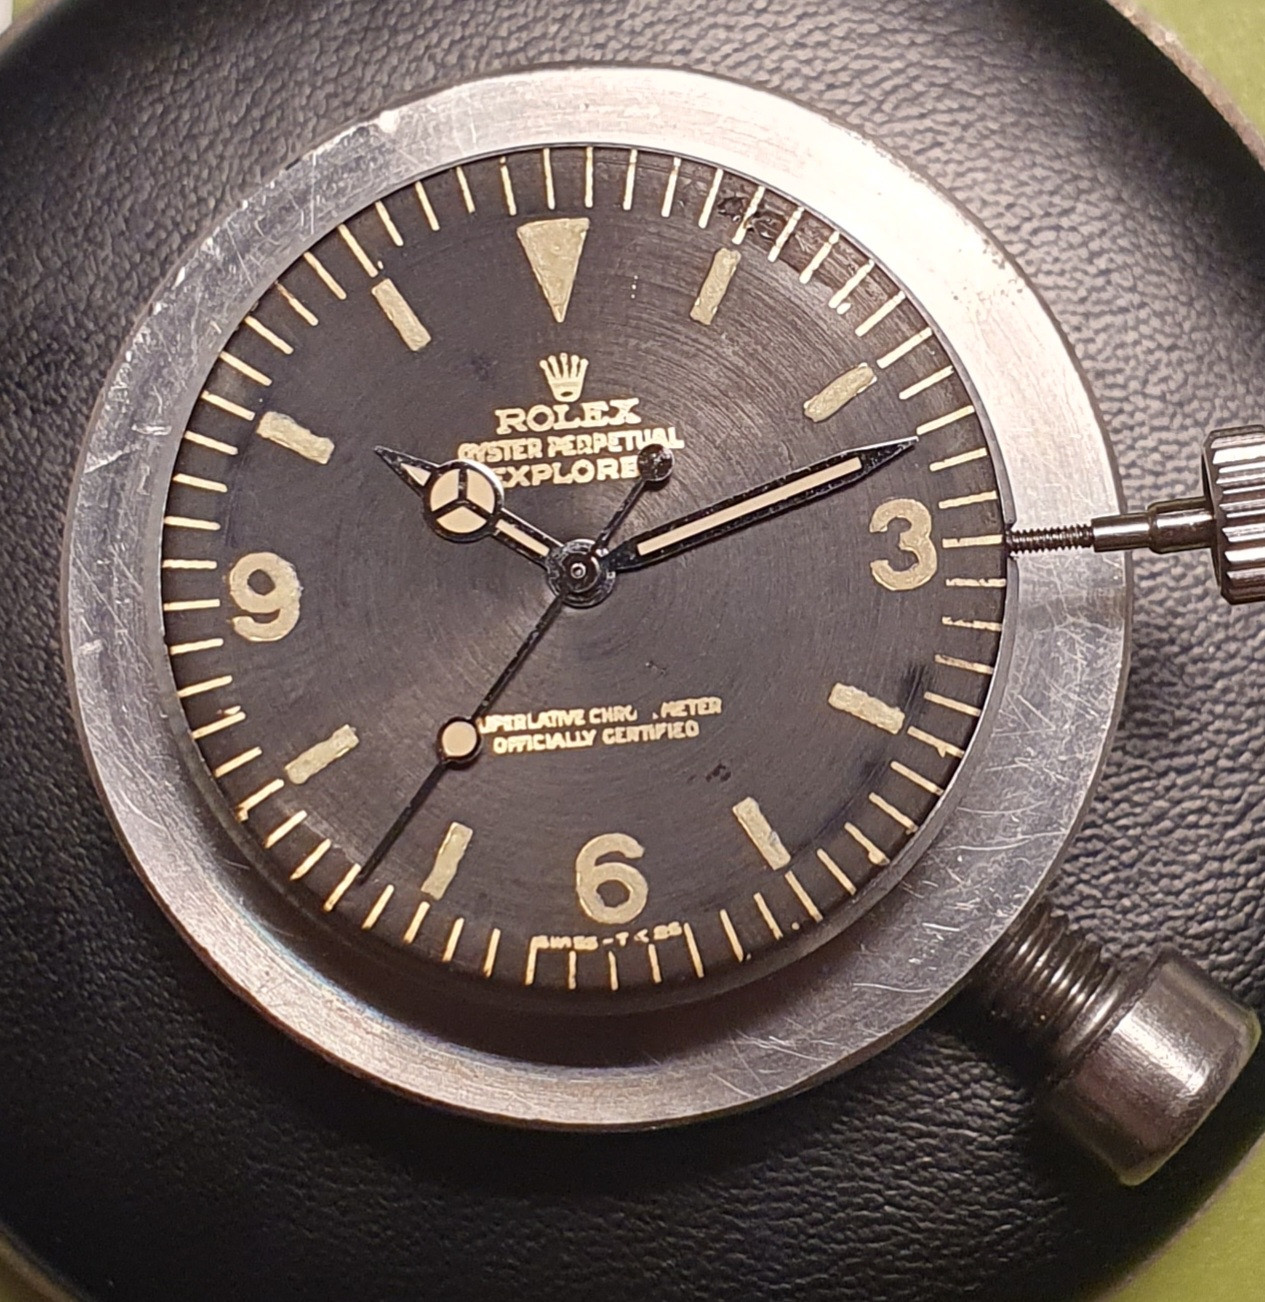
Now that I have two different dials, I have to make a decision. In direct comparison, the Marc 3 is of better quality. The lower lettering in particular is complete, even if it's not particularly easy to read. Here are two pictures of the dials in the case.


As the surface was a bit rough and not flawless, I decided to sand it down a bit. Here you can see both dials after sanding (5000 grit) and applying the lume. From today's perspective, I wouldn't do the sanding again - or only with a new coat of varnish afterwards.


I have decided in favour of the Marc 5 dial. Somehow I like it more in the end. Here is a picture with the hands.