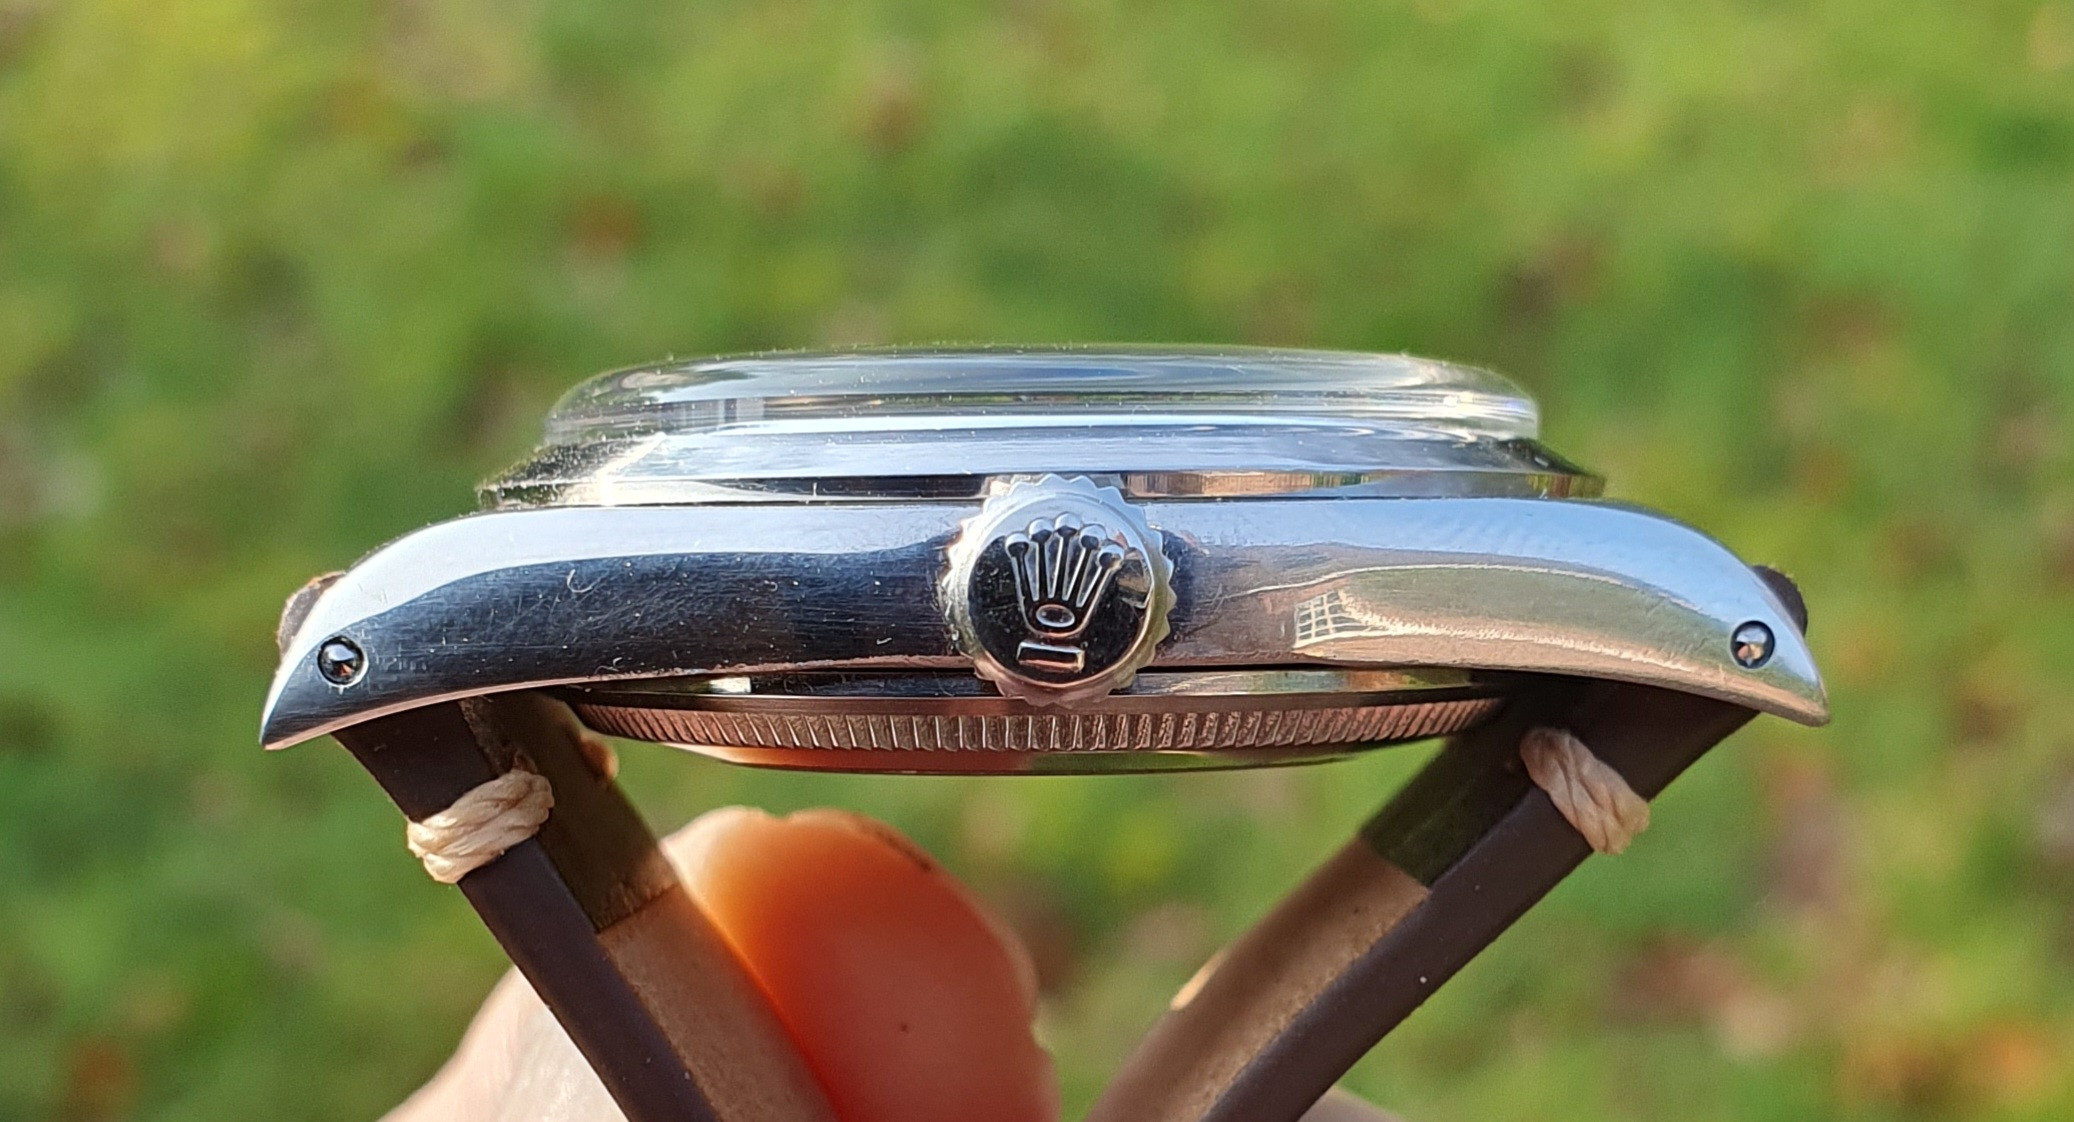
-
Tired of adverts on RWI? - Subscribe by clicking HERE and PMing Trailboss for instructions and they will magically go away!
You are using an out of date browser. It may not display this or other websites correctly.
You should upgrade or use an alternative browser.
You should upgrade or use an alternative browser.
Building a vintage Explorer 1016 with real gilt dial
- Thread starter matzemedia
- Start date
Nice job on the dials. the damage is a bit of a disapointment. are you going to make another ?
Last edited:
freebalkany
Active Member
- 24/8/21
- 314
- 347
- 63
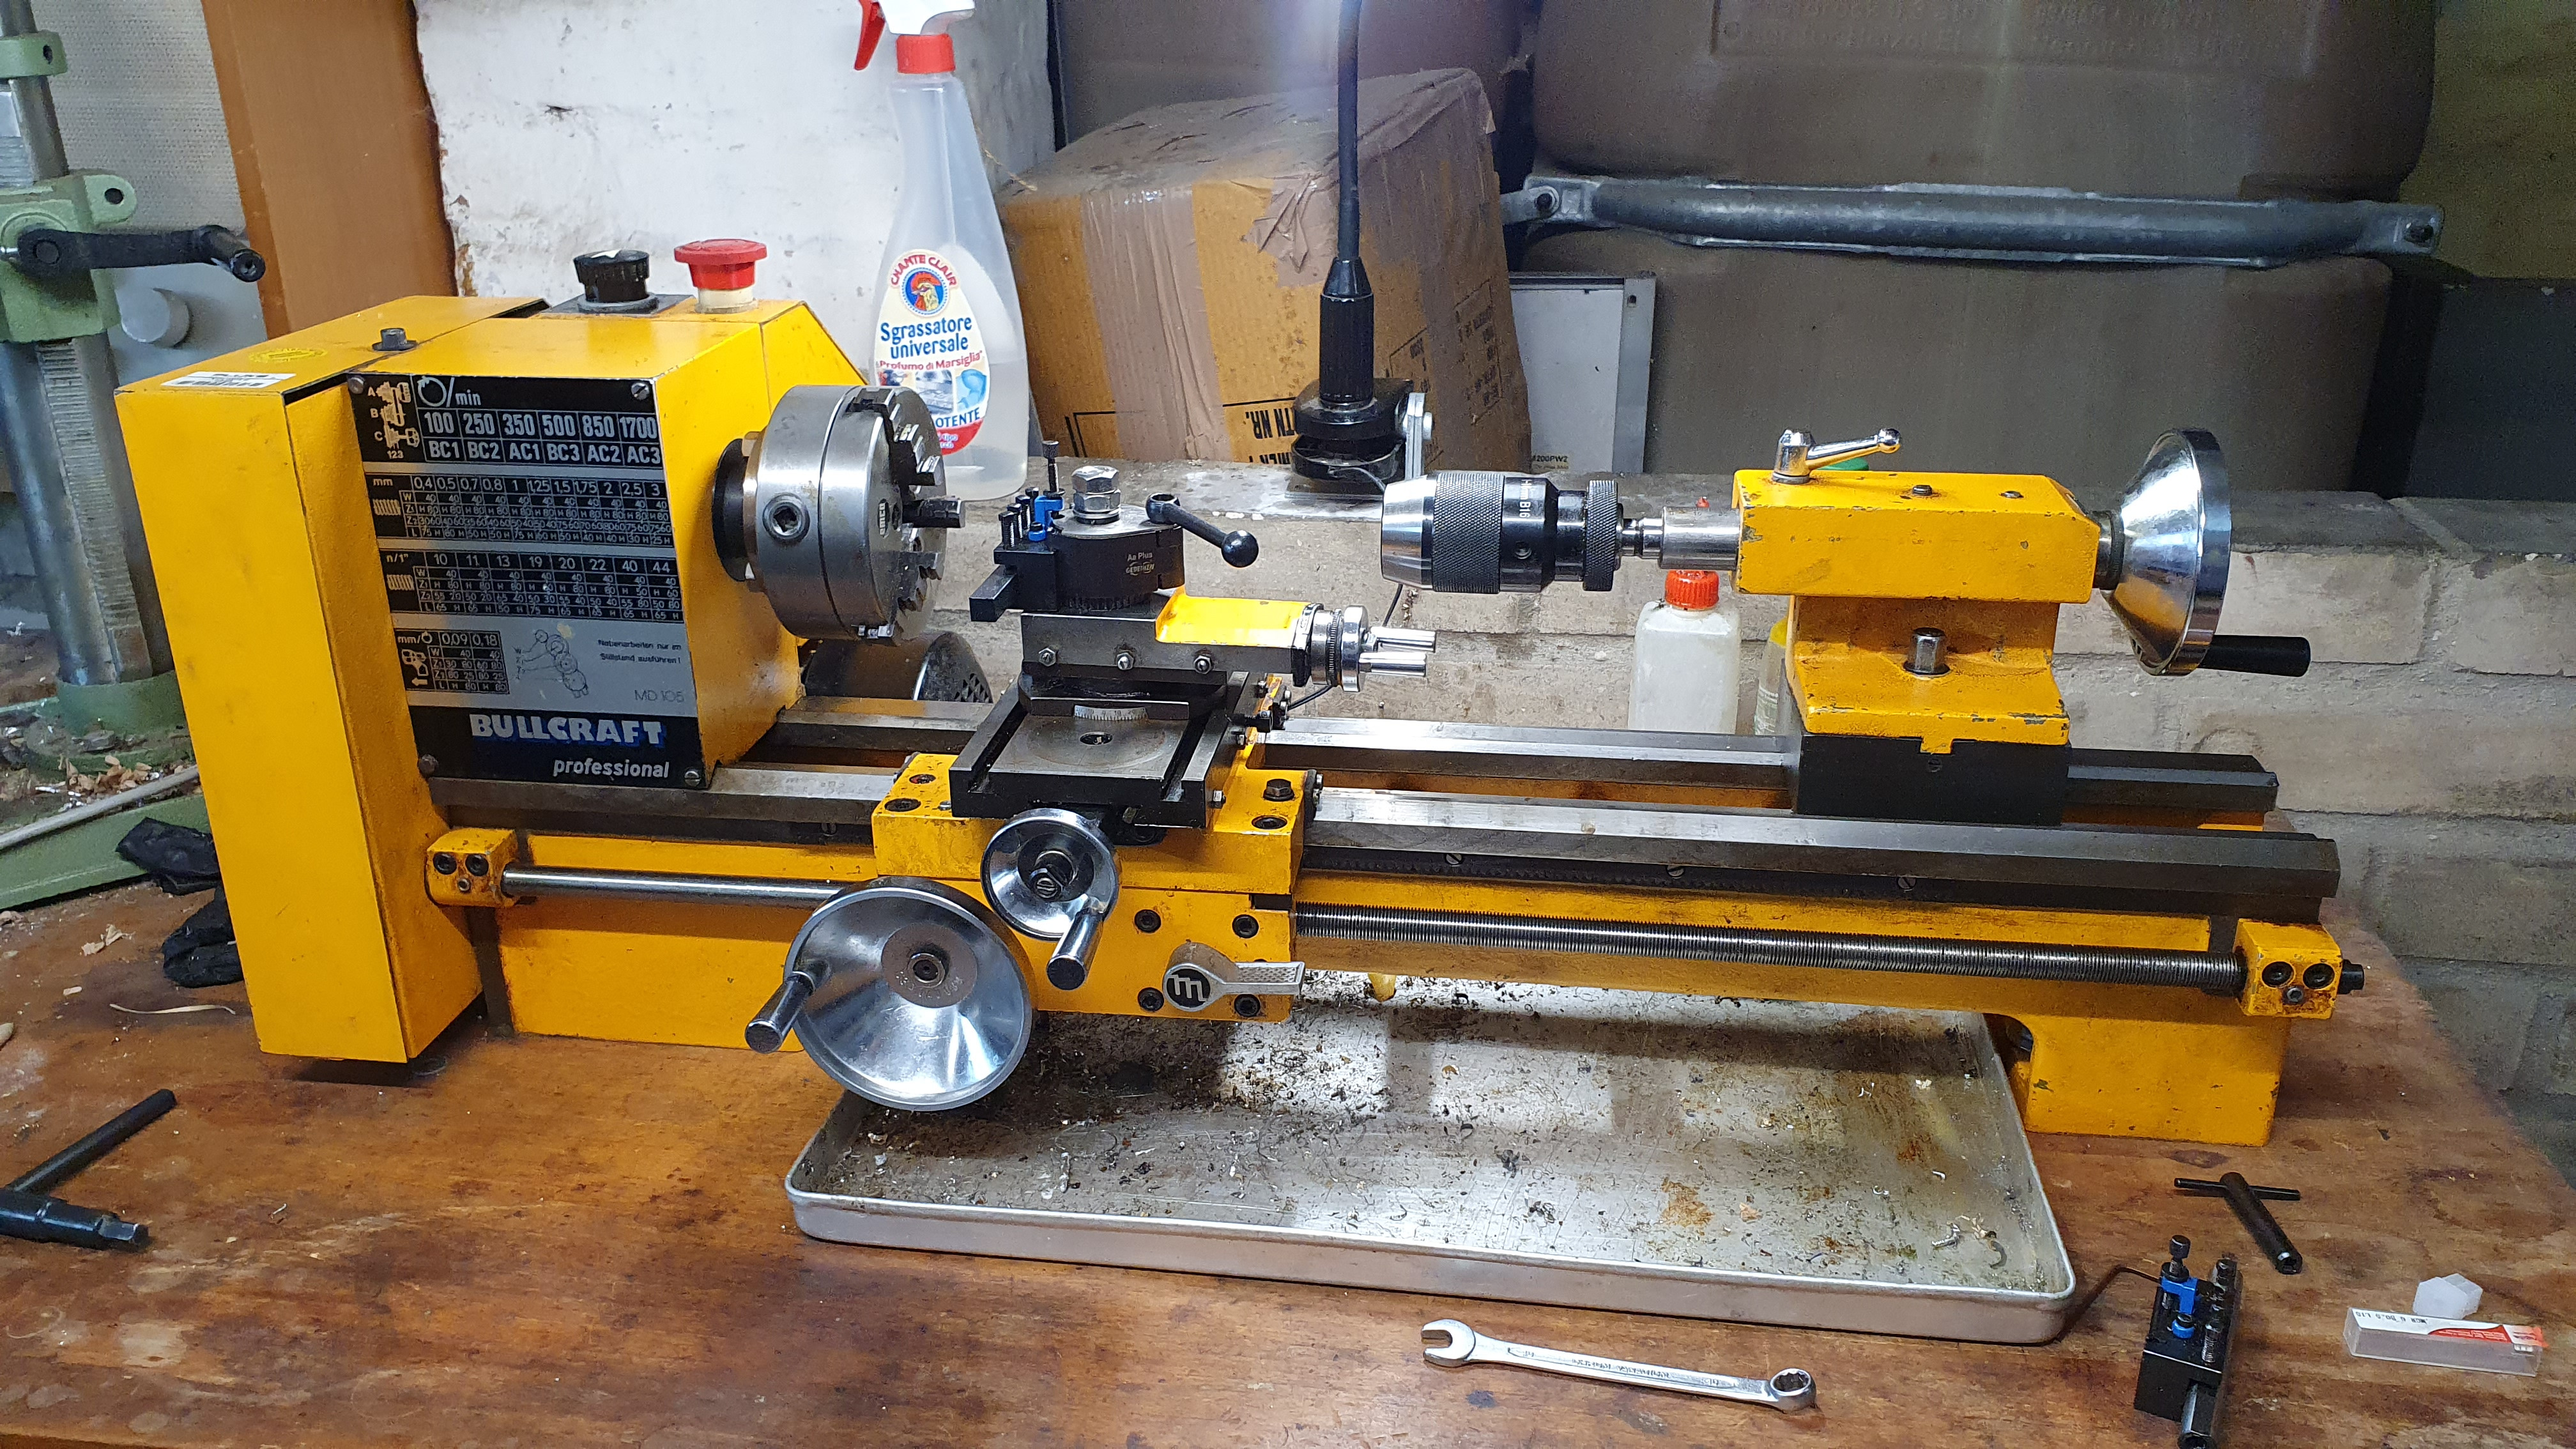
I use an old lathe from East Germany with auto feed and updated the quick change tool. I bought it 5 years ago as second hand. For my use cases it is still too small, but I also do some bicycles parts for it. The model called: Bullcraft MD105 or Emco Compact 8.Hey, great job on the 1016.
Sorry if off topic, but could you tell us more about your lathe ?
I’ve been eyeing a proxxon FD150 for a while now. And I’m wondering if it would fit the bill for case work.
For working on watches, you don't need a big lathe; if you plan to work on steel watch cases like i do, just be sure, the lathe chuck is big enough.
In my first job, I learned how to work with a lathe. It is really time-consuming, but I still love to do unique parts with the lathe.
I don't work with the proxxon FD150 or similar machines. So I can not say anything about it.
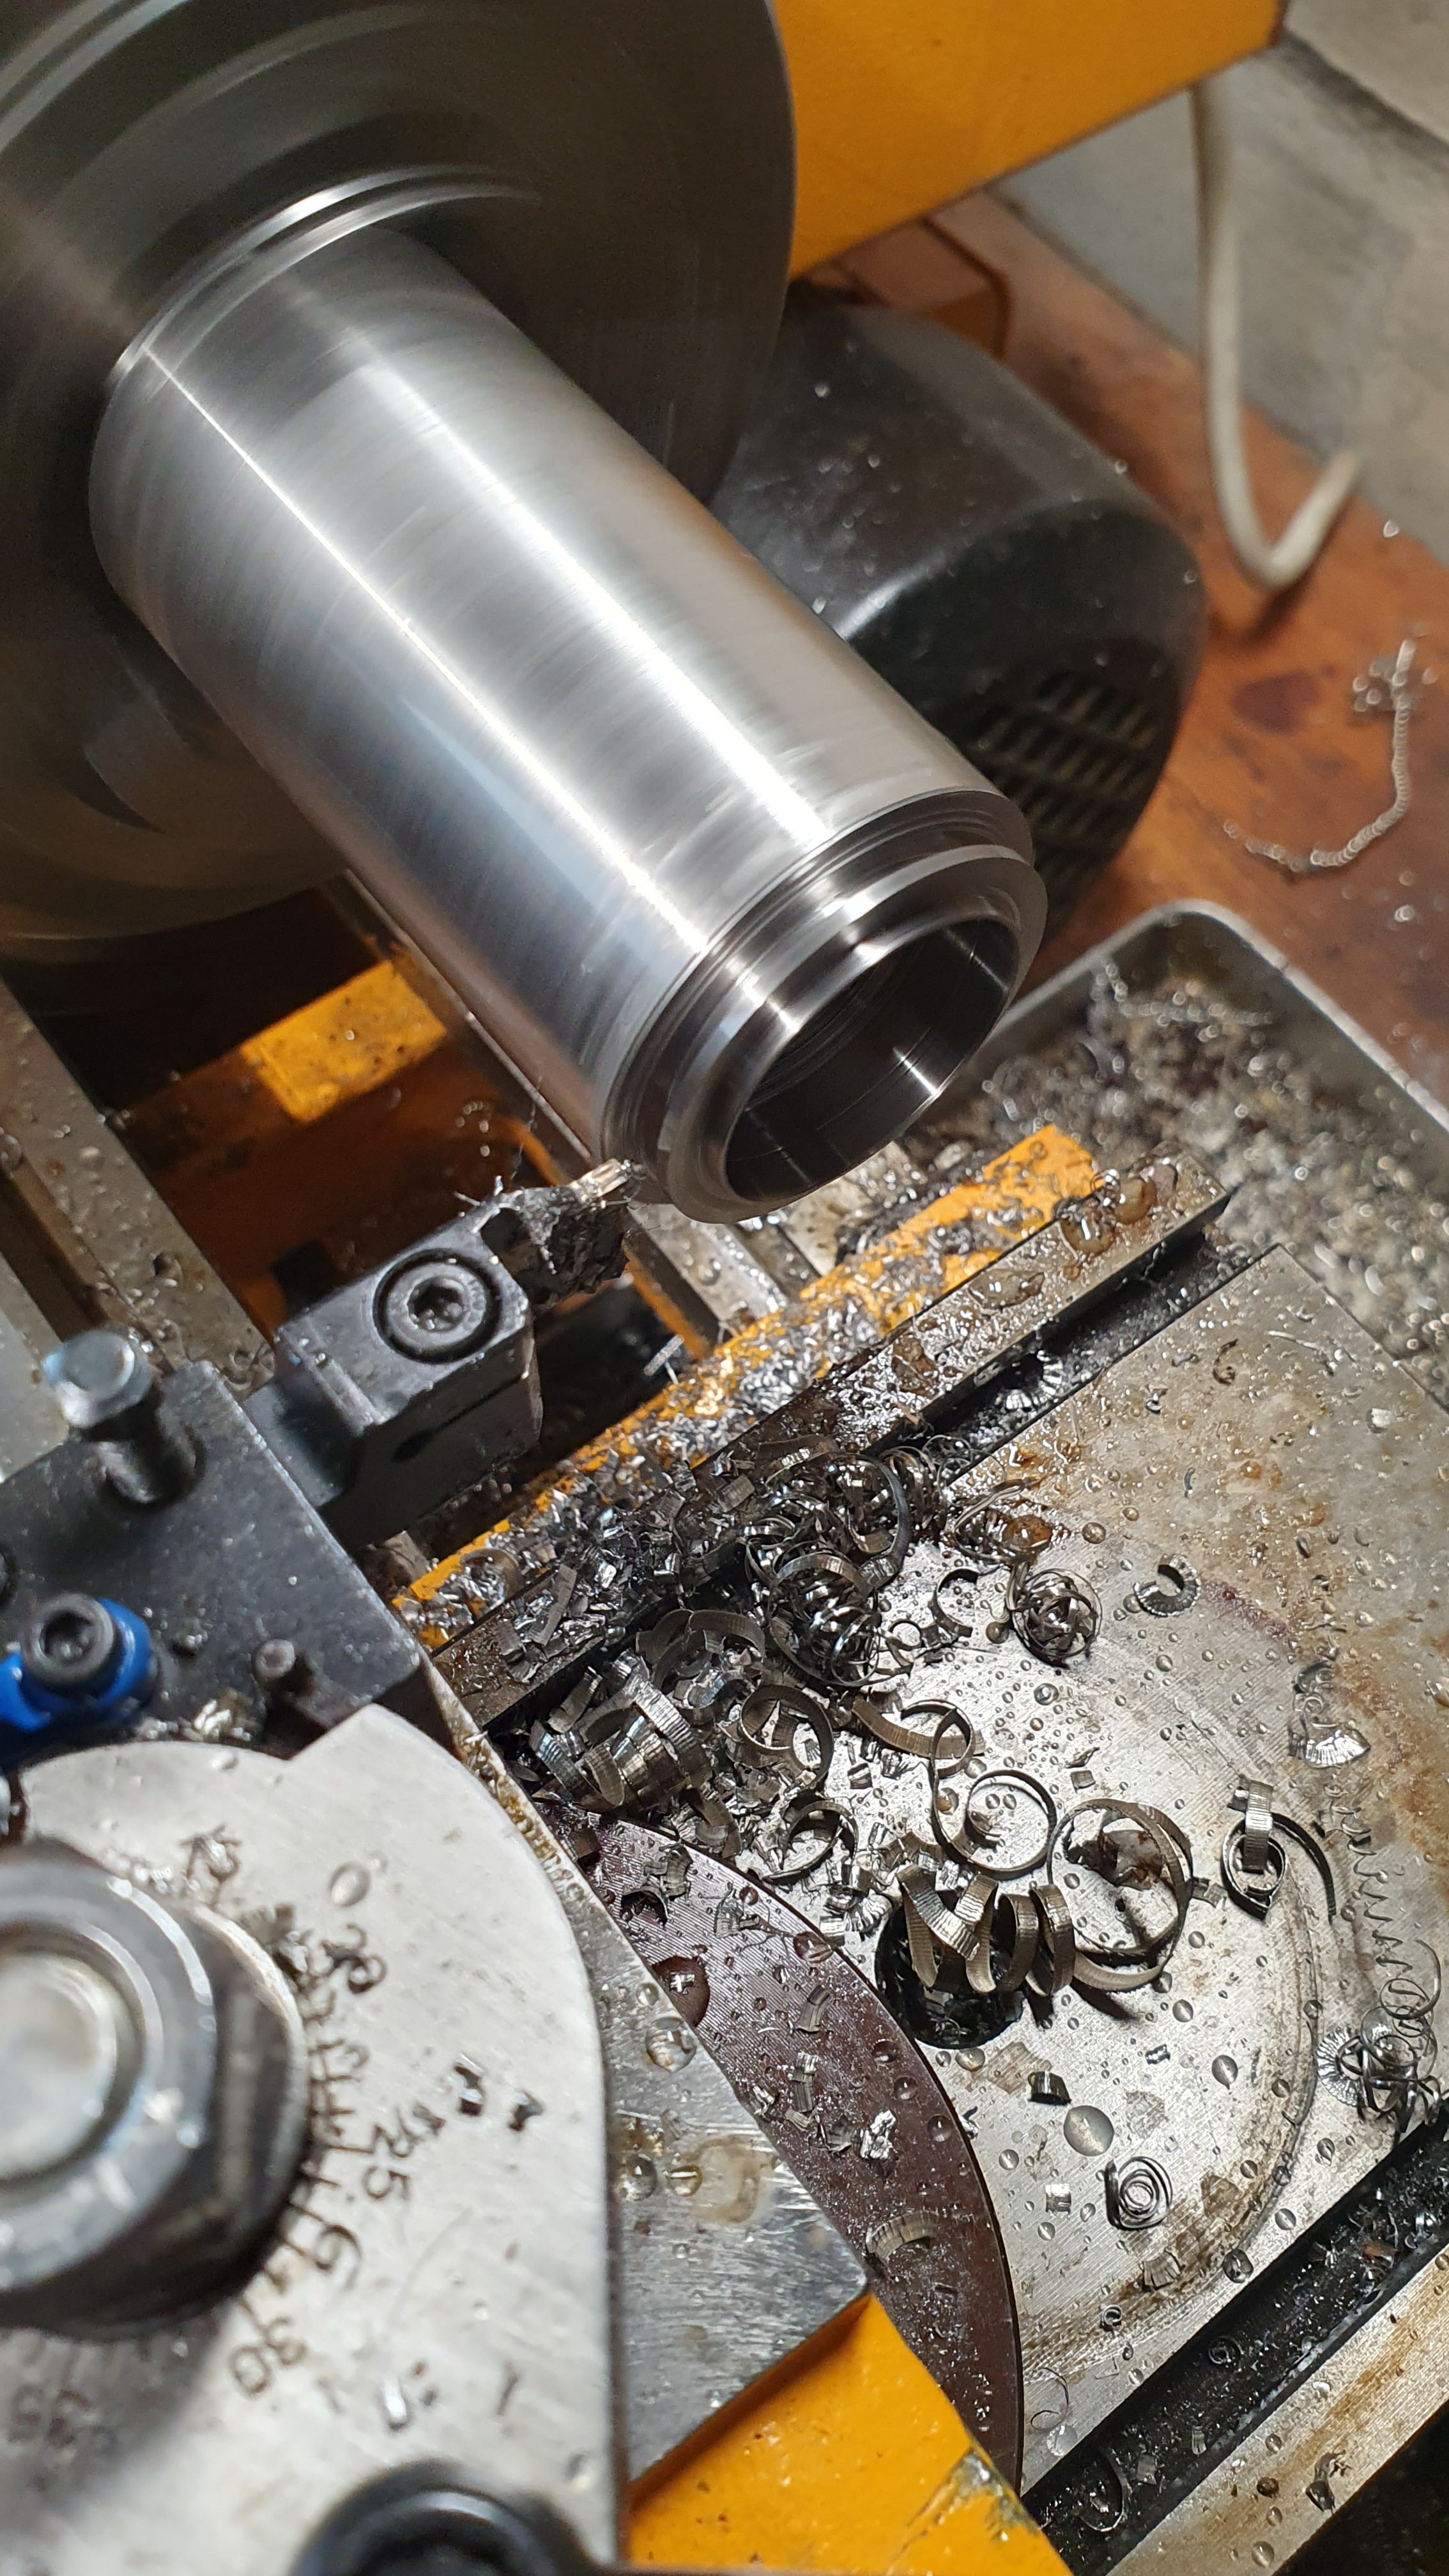
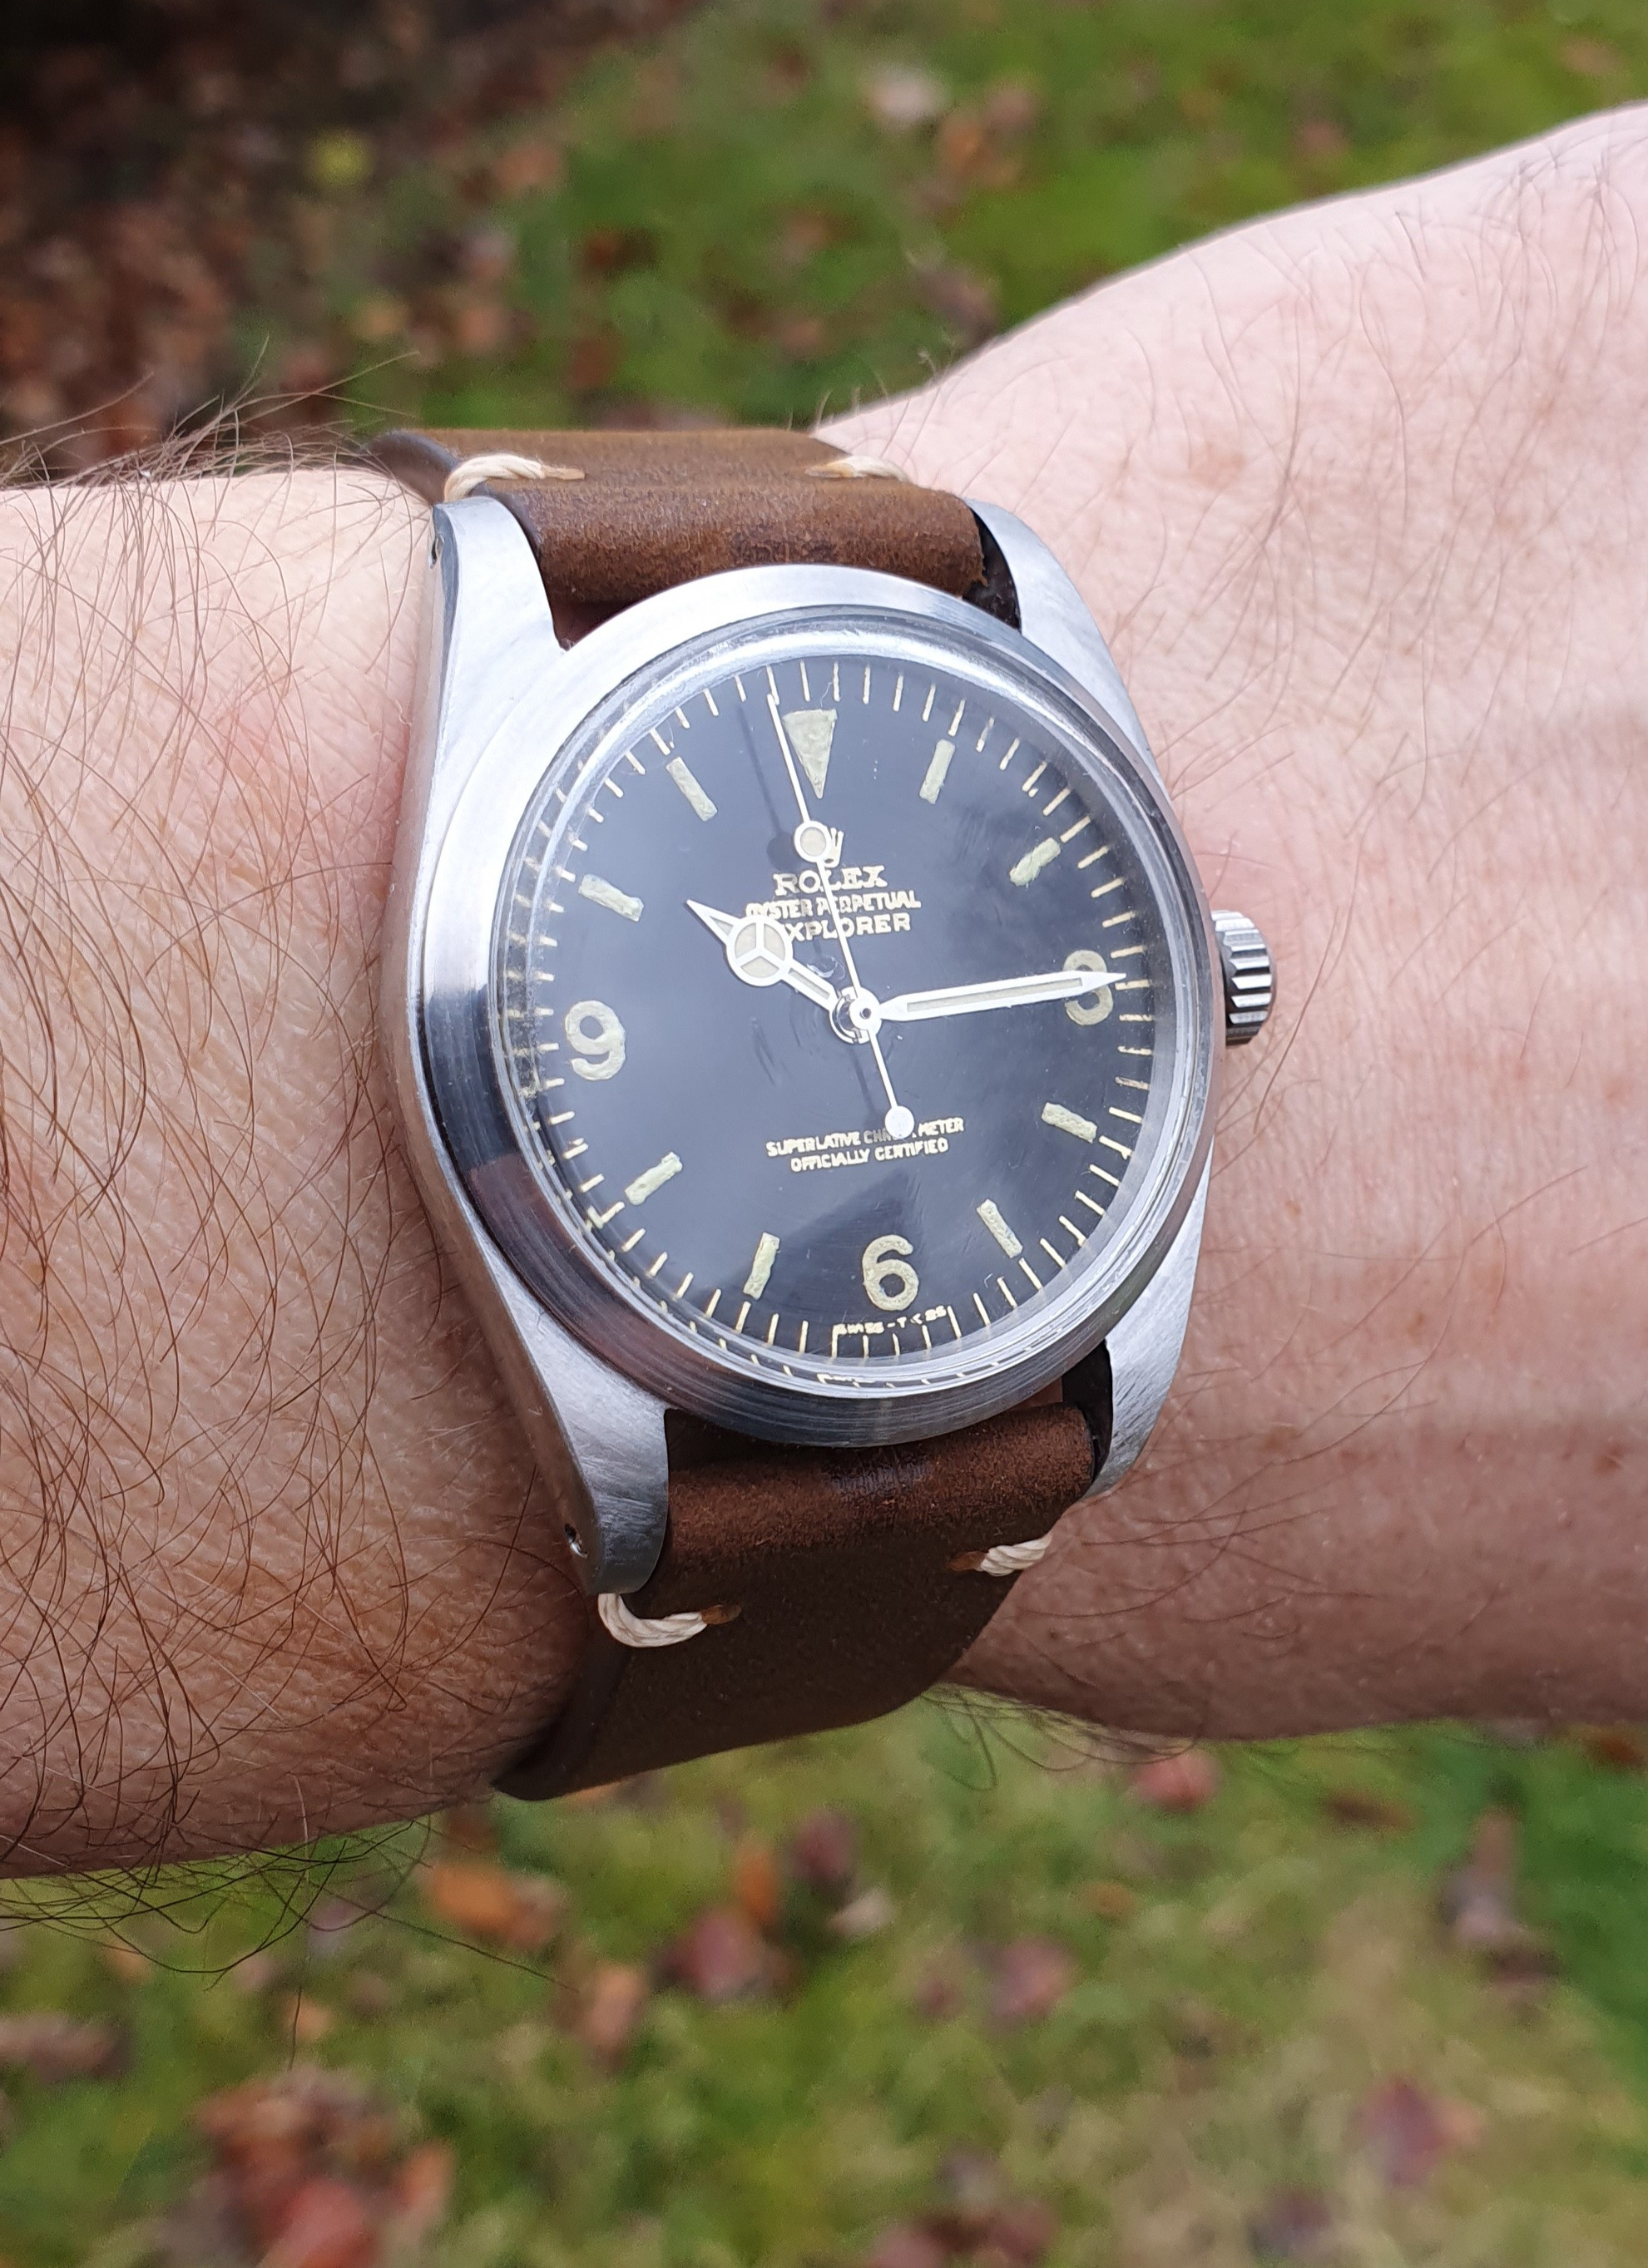
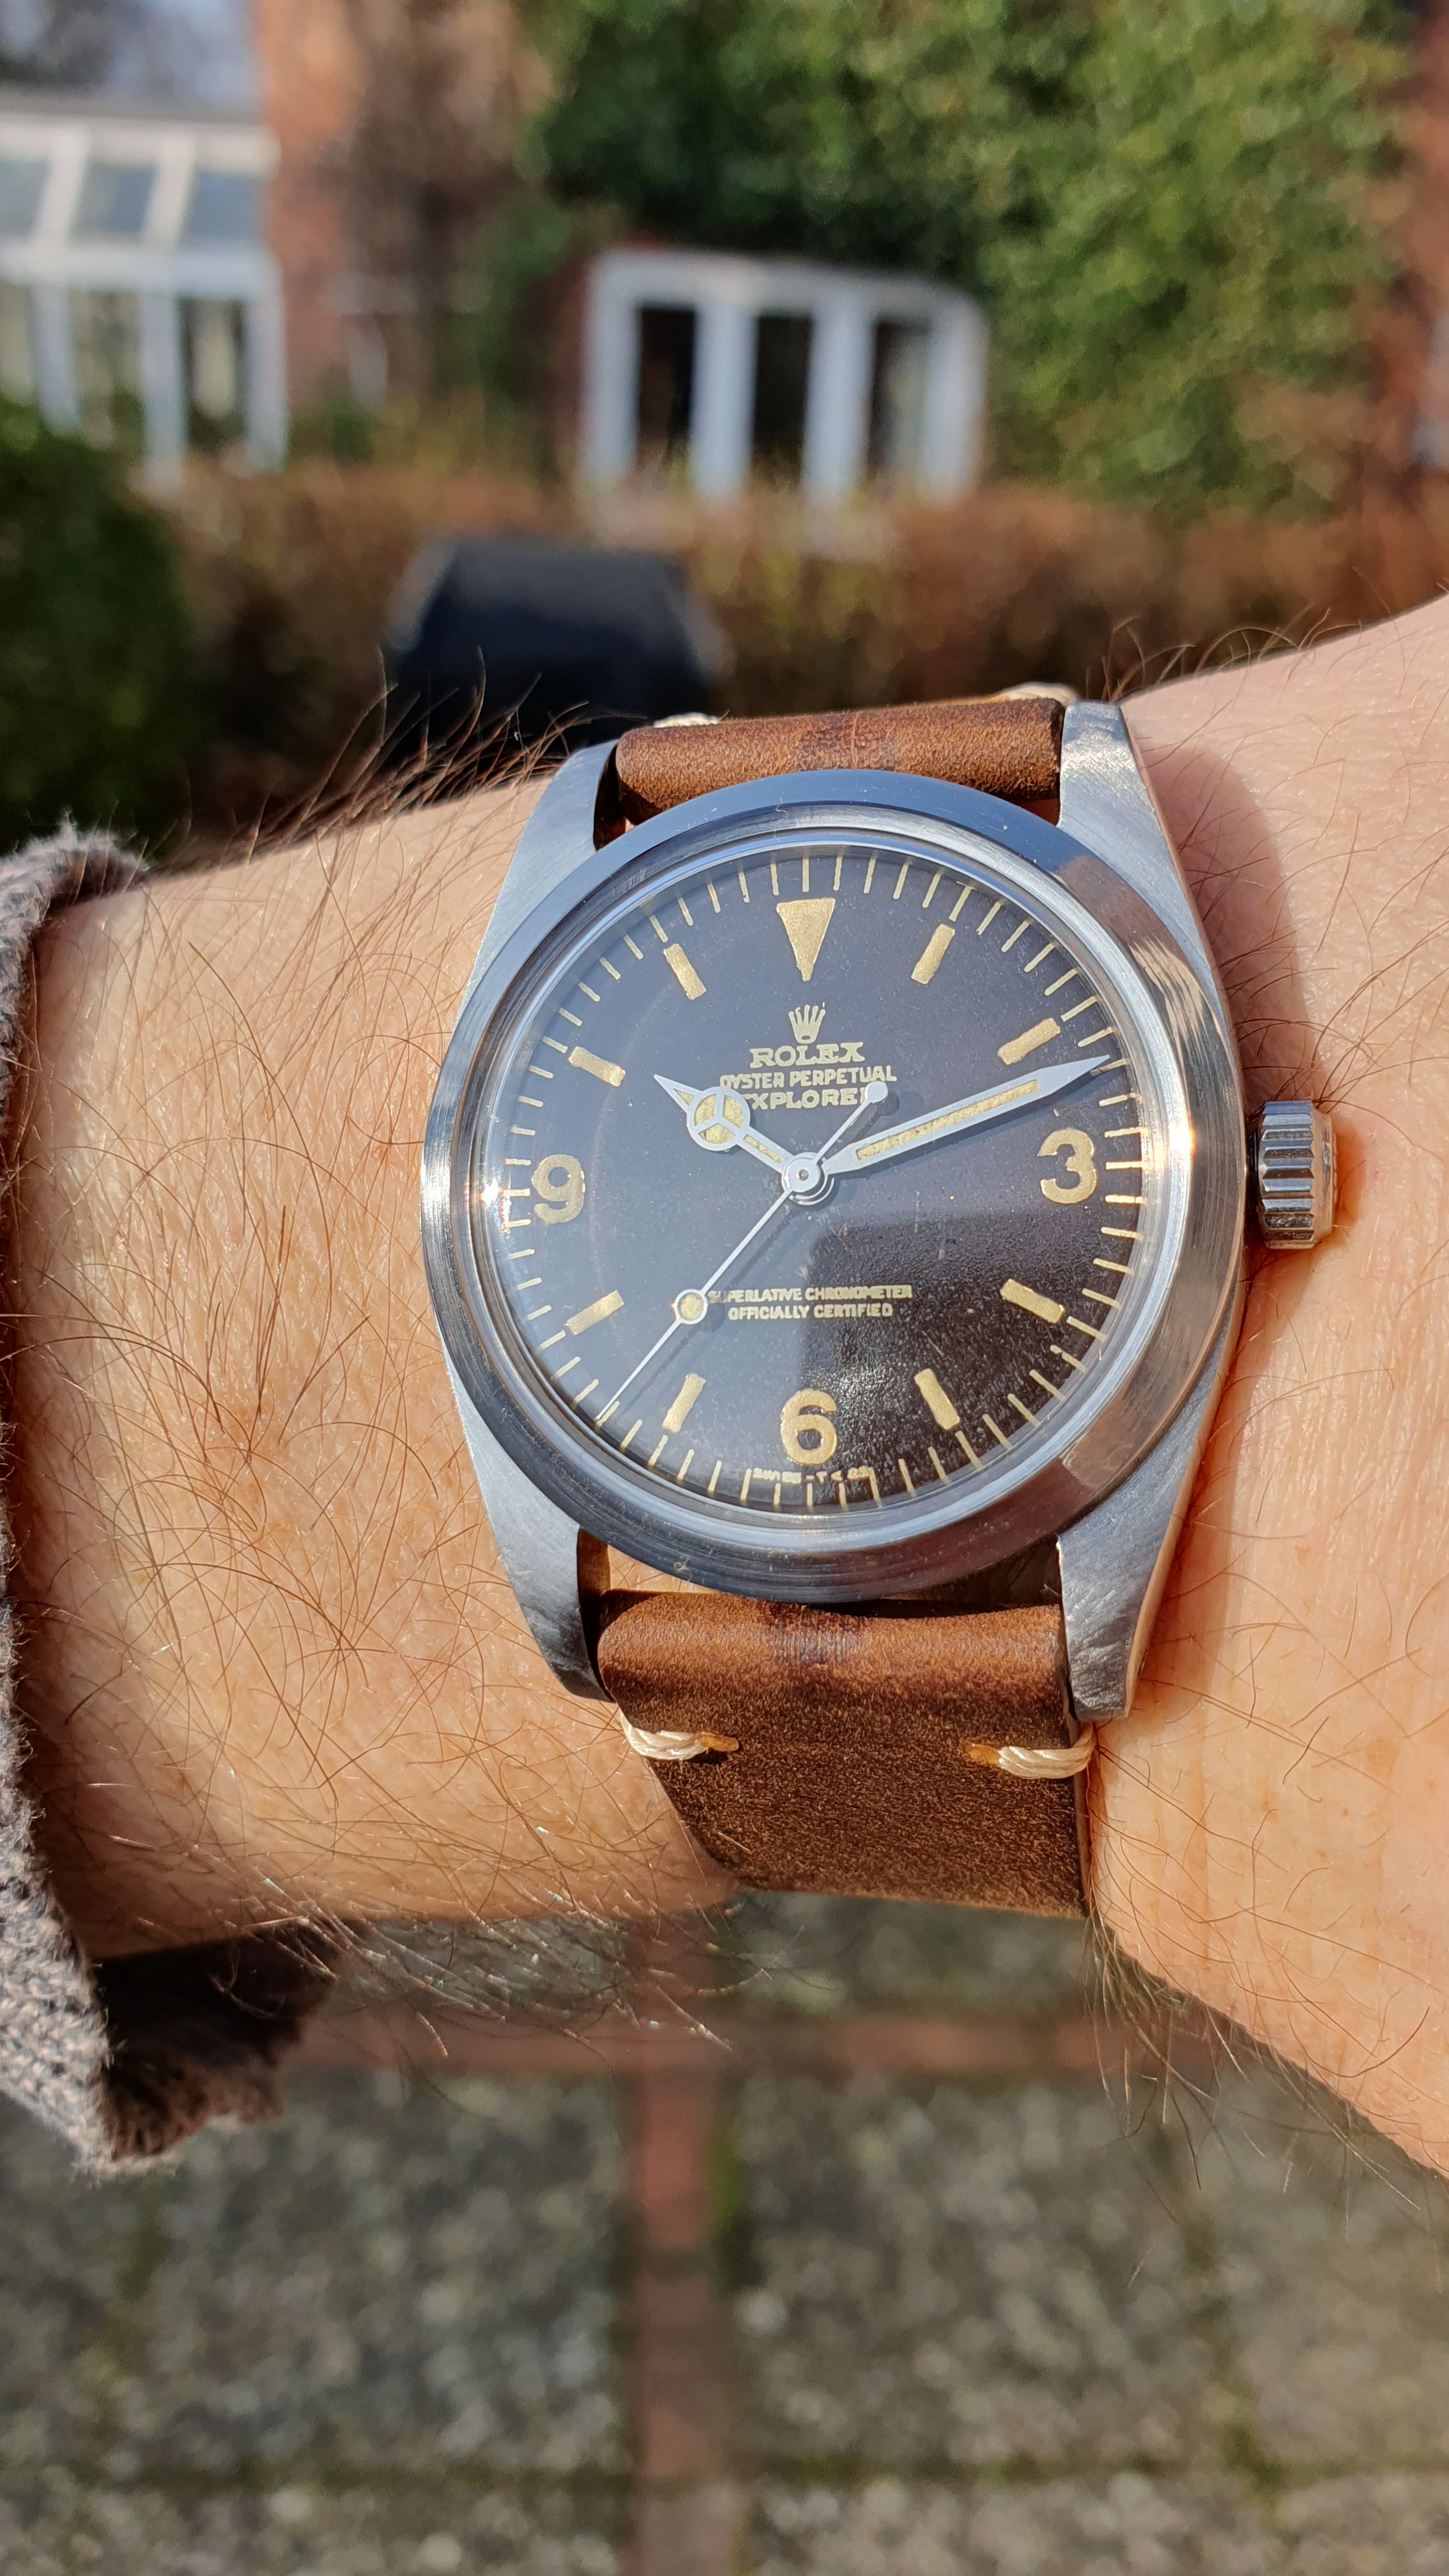
Looks great in the wild. the bezel needs a bit more sanding to remove the machining marks.
I concur. In fact I think the bezel needs a polish because I’m seeing machining lines or whatever u call it lolLooks great in the wild. the bezel needs a bit more sanding to remove the machining marks.
The mid case is perfect with that crystal… *drools*
The dial however, I’m not digging it… the fonts where the brass is exposed (explorer, oyster perpetual, crown, Swiss t < 25) is kind wonky and fat.
But great attempt! I admire the skills and envy the tools u guys have access to lol
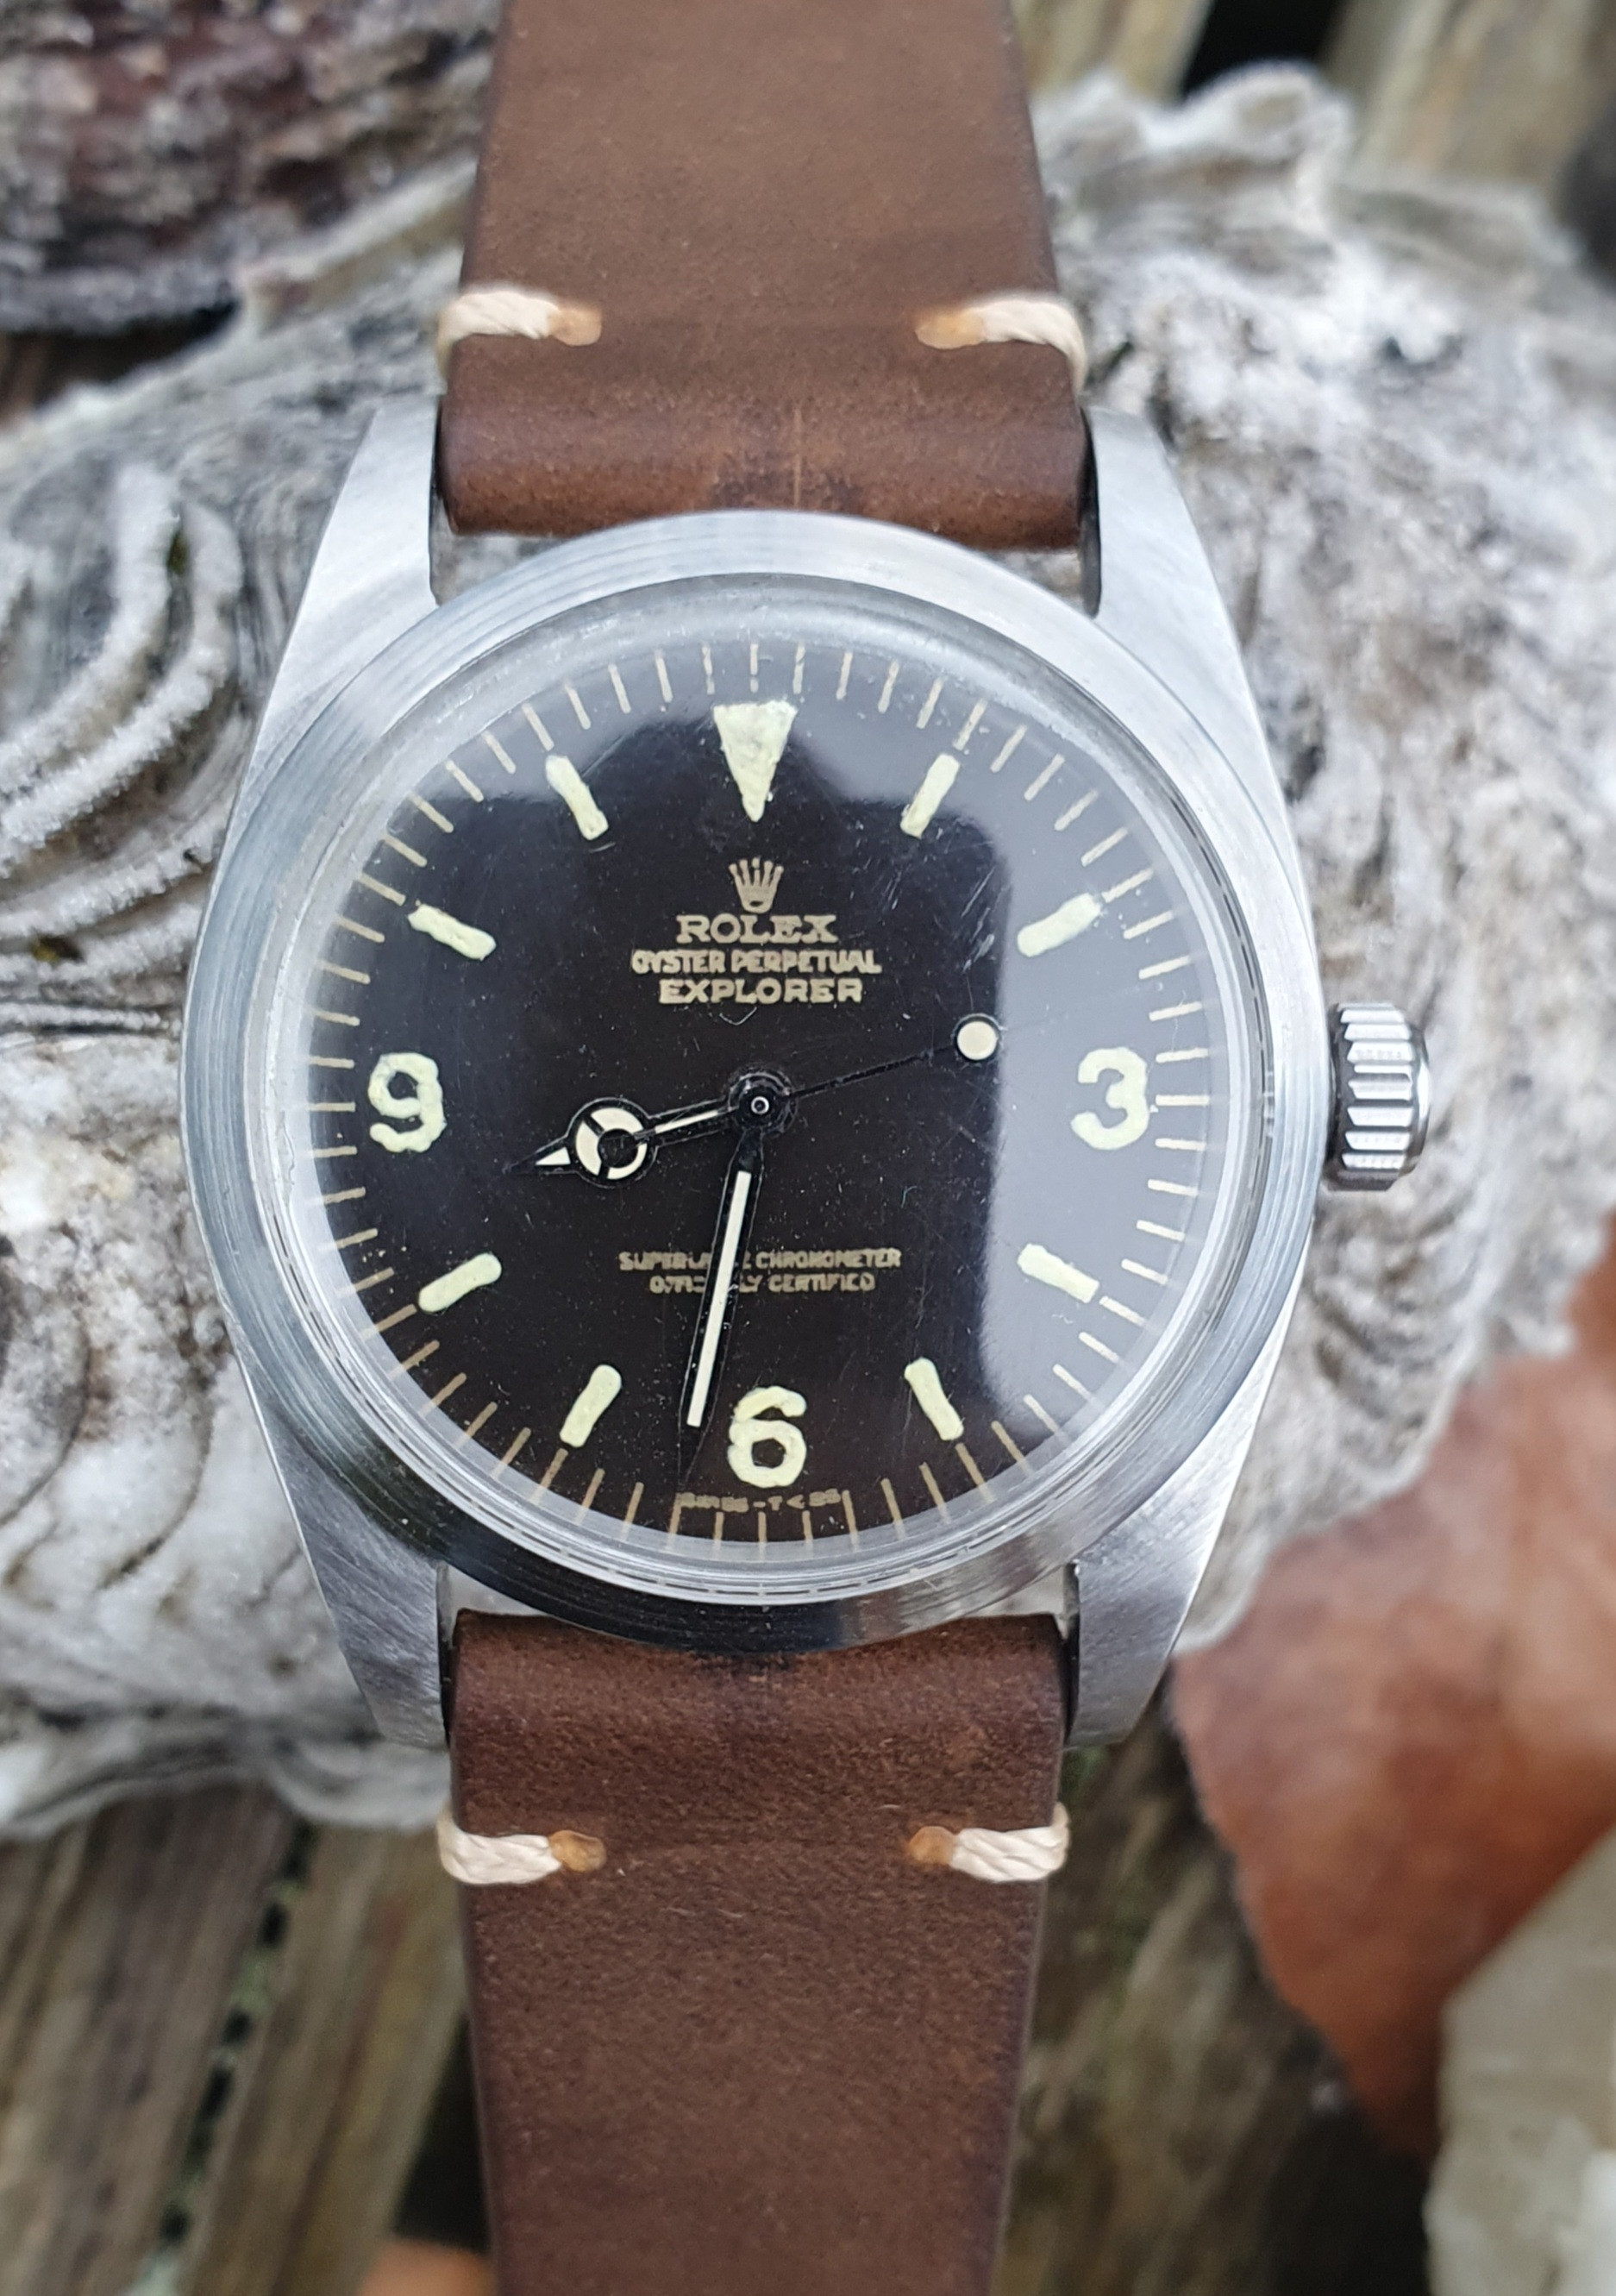
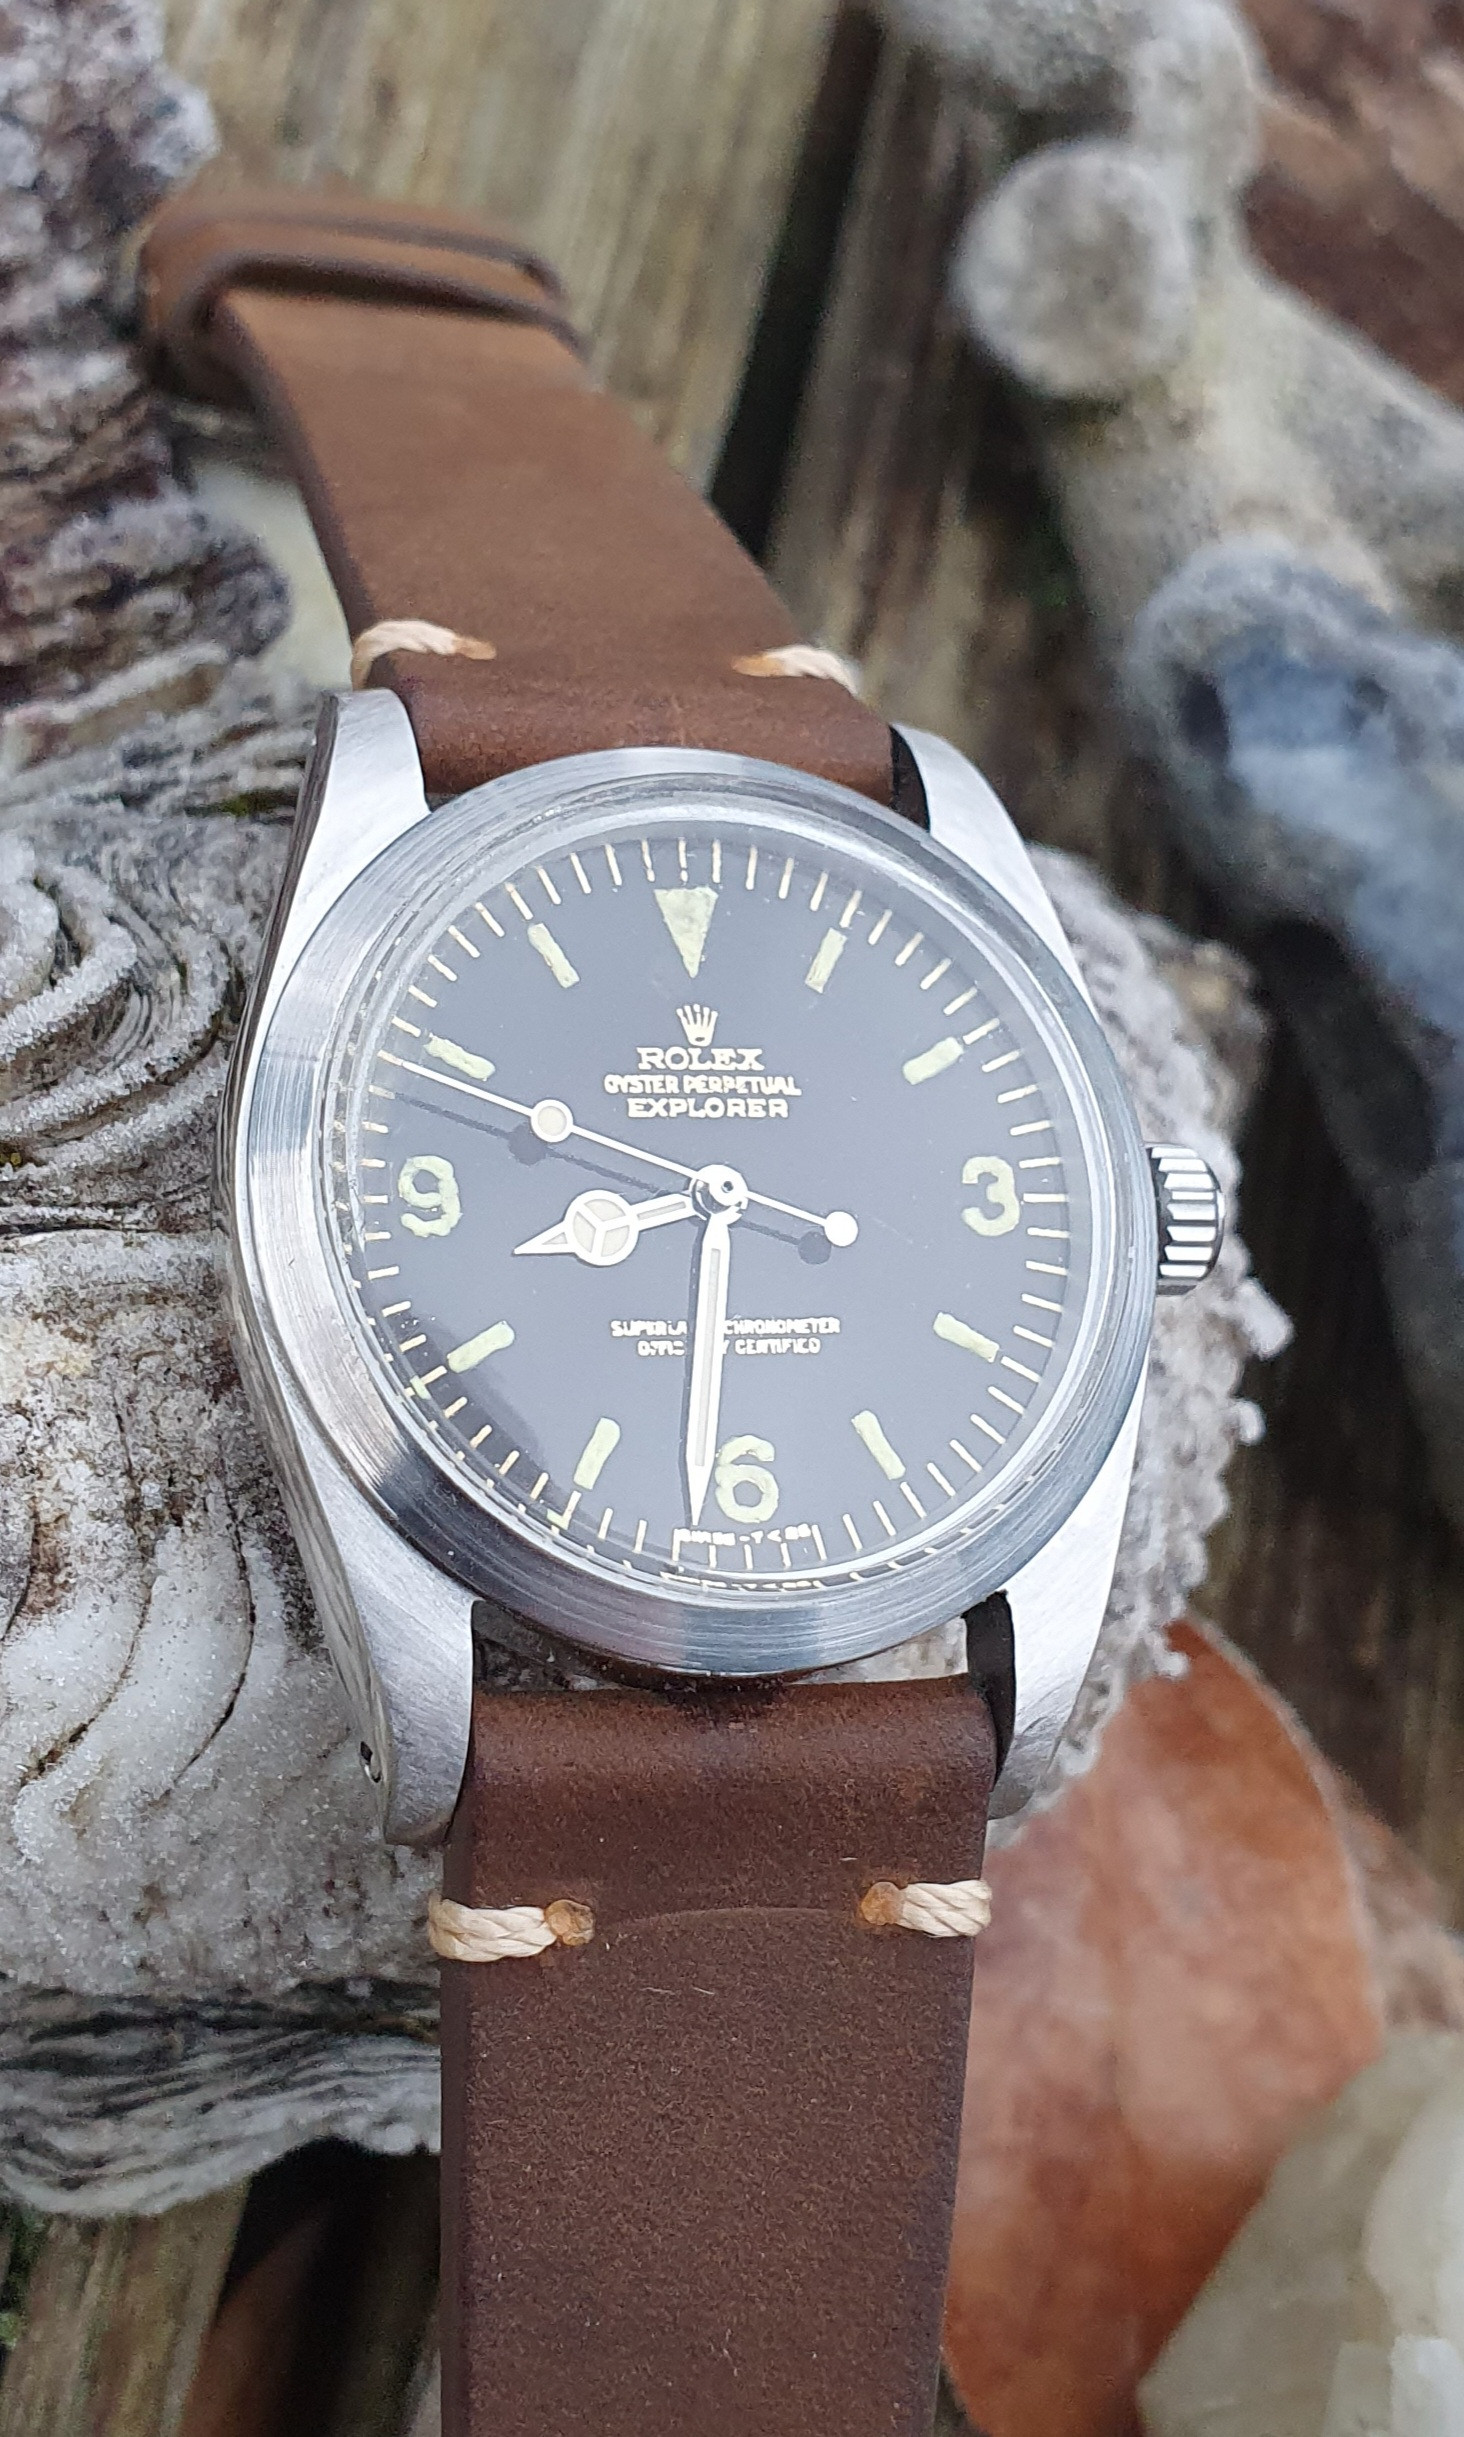
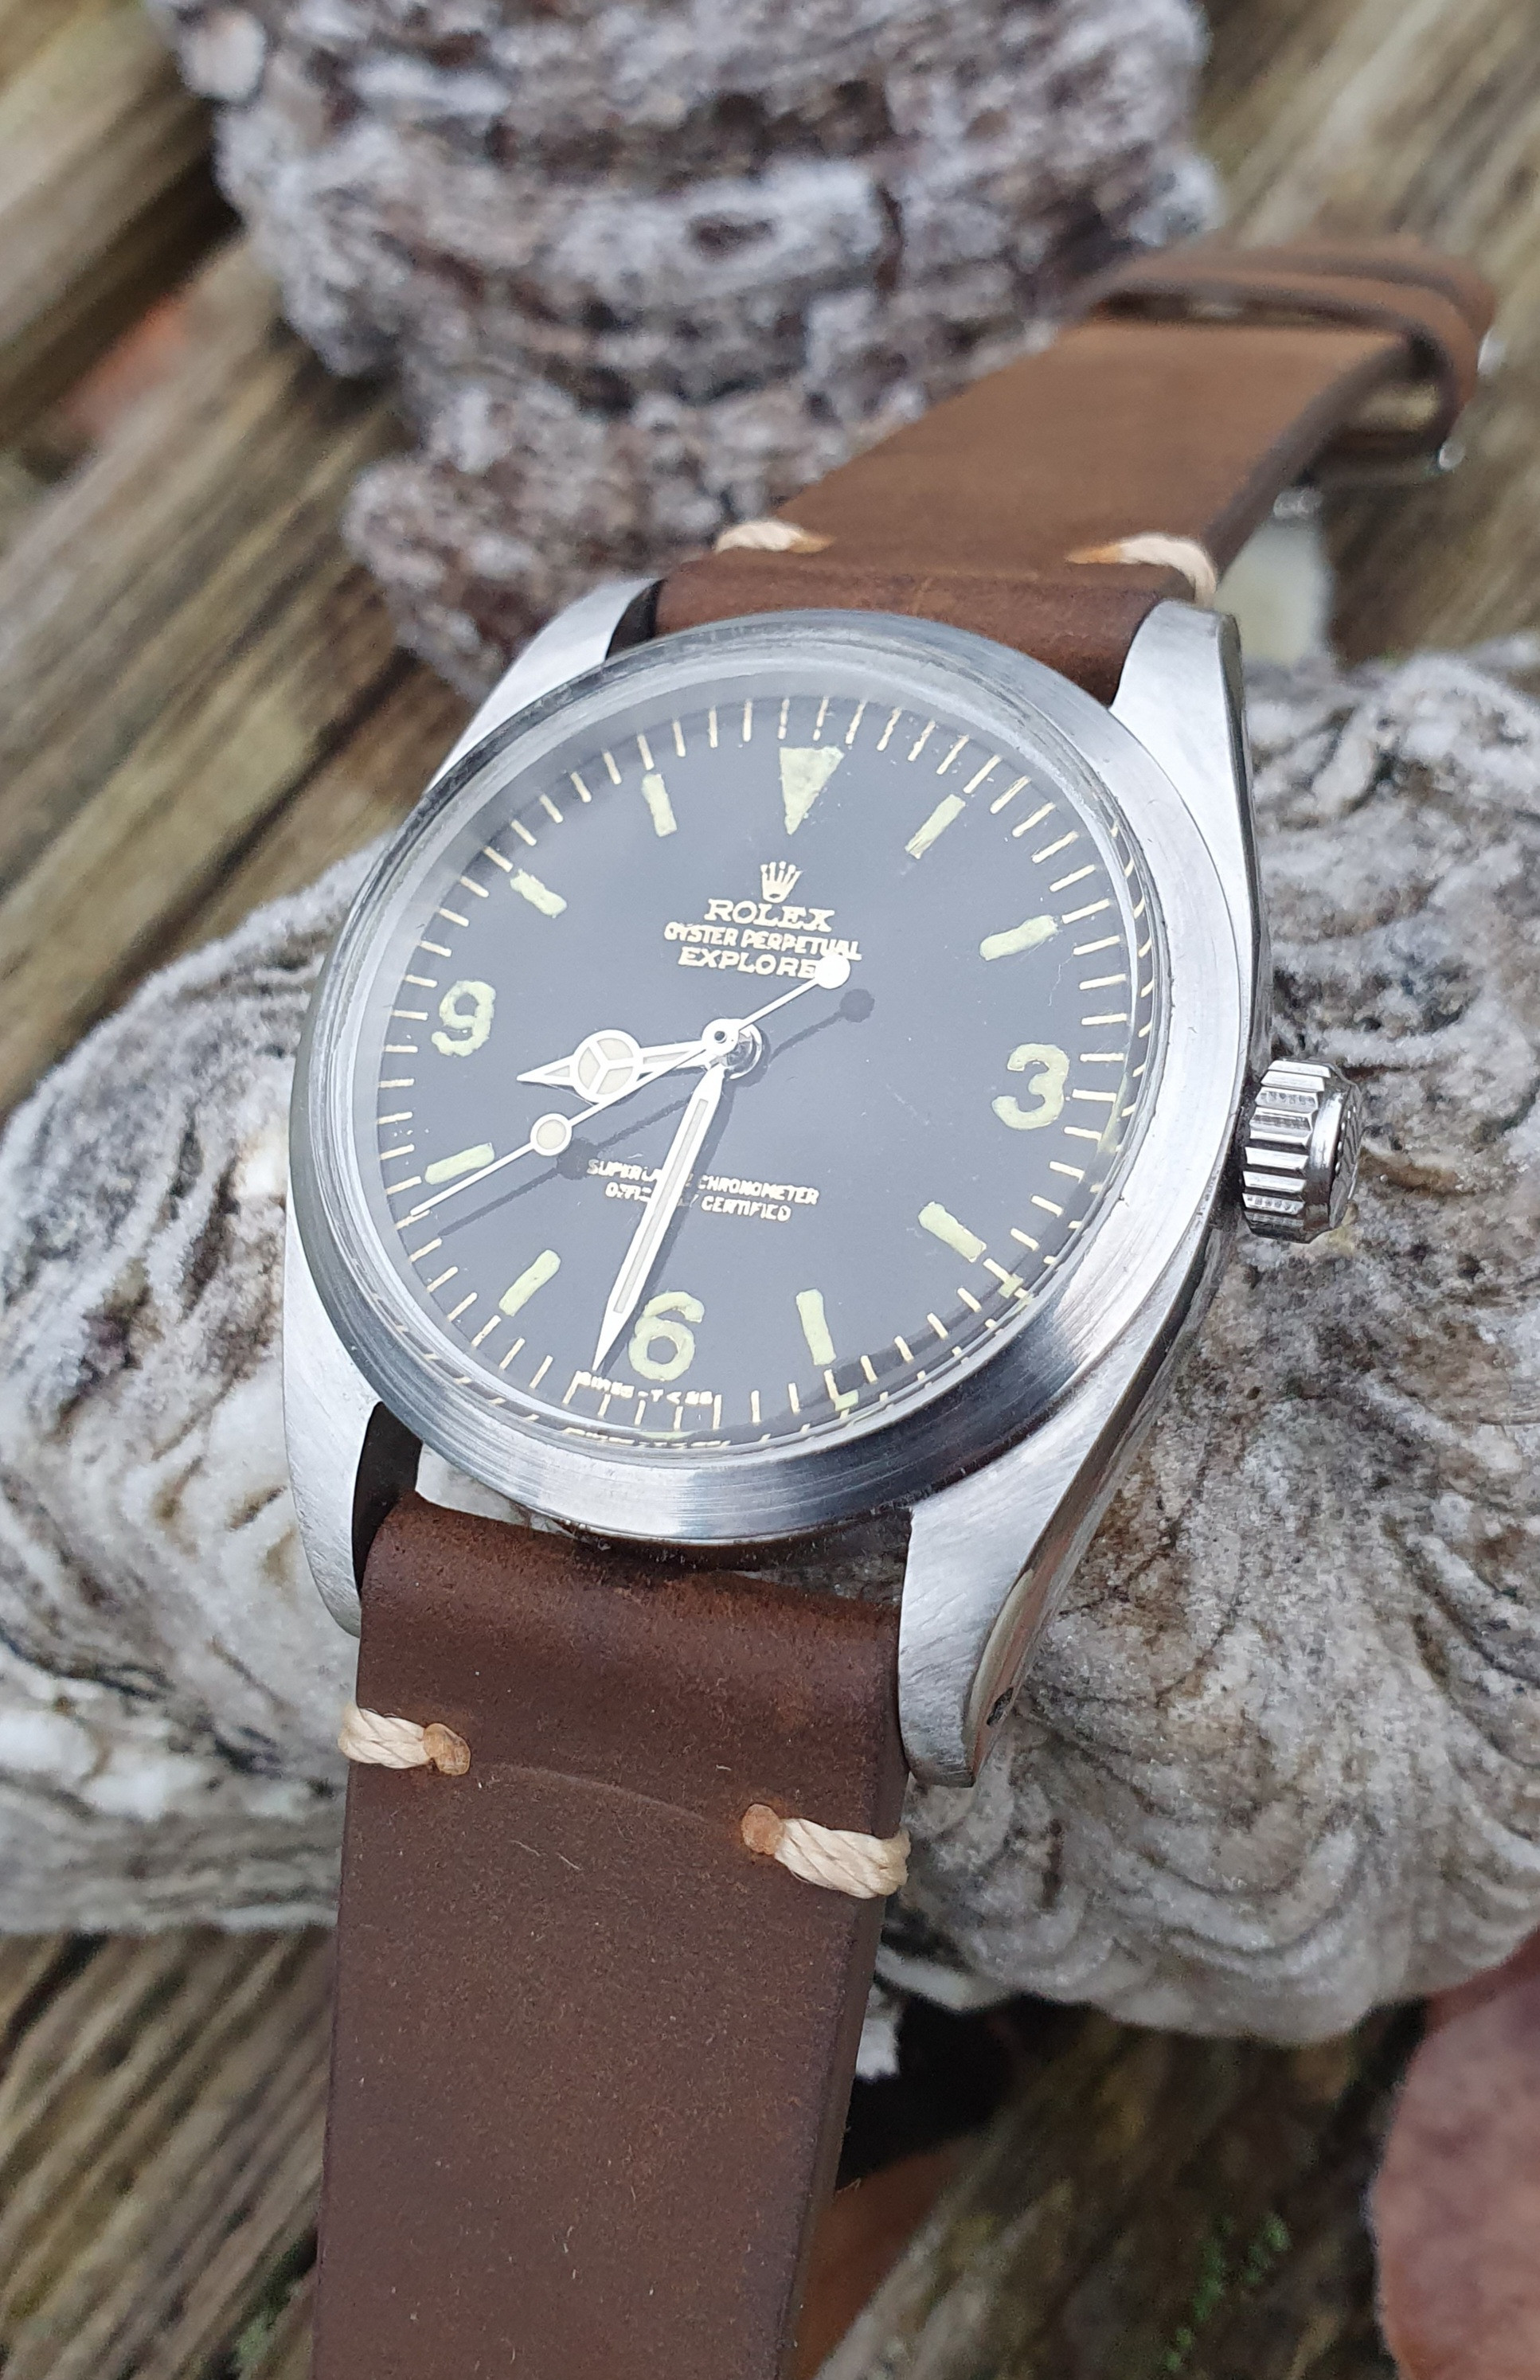
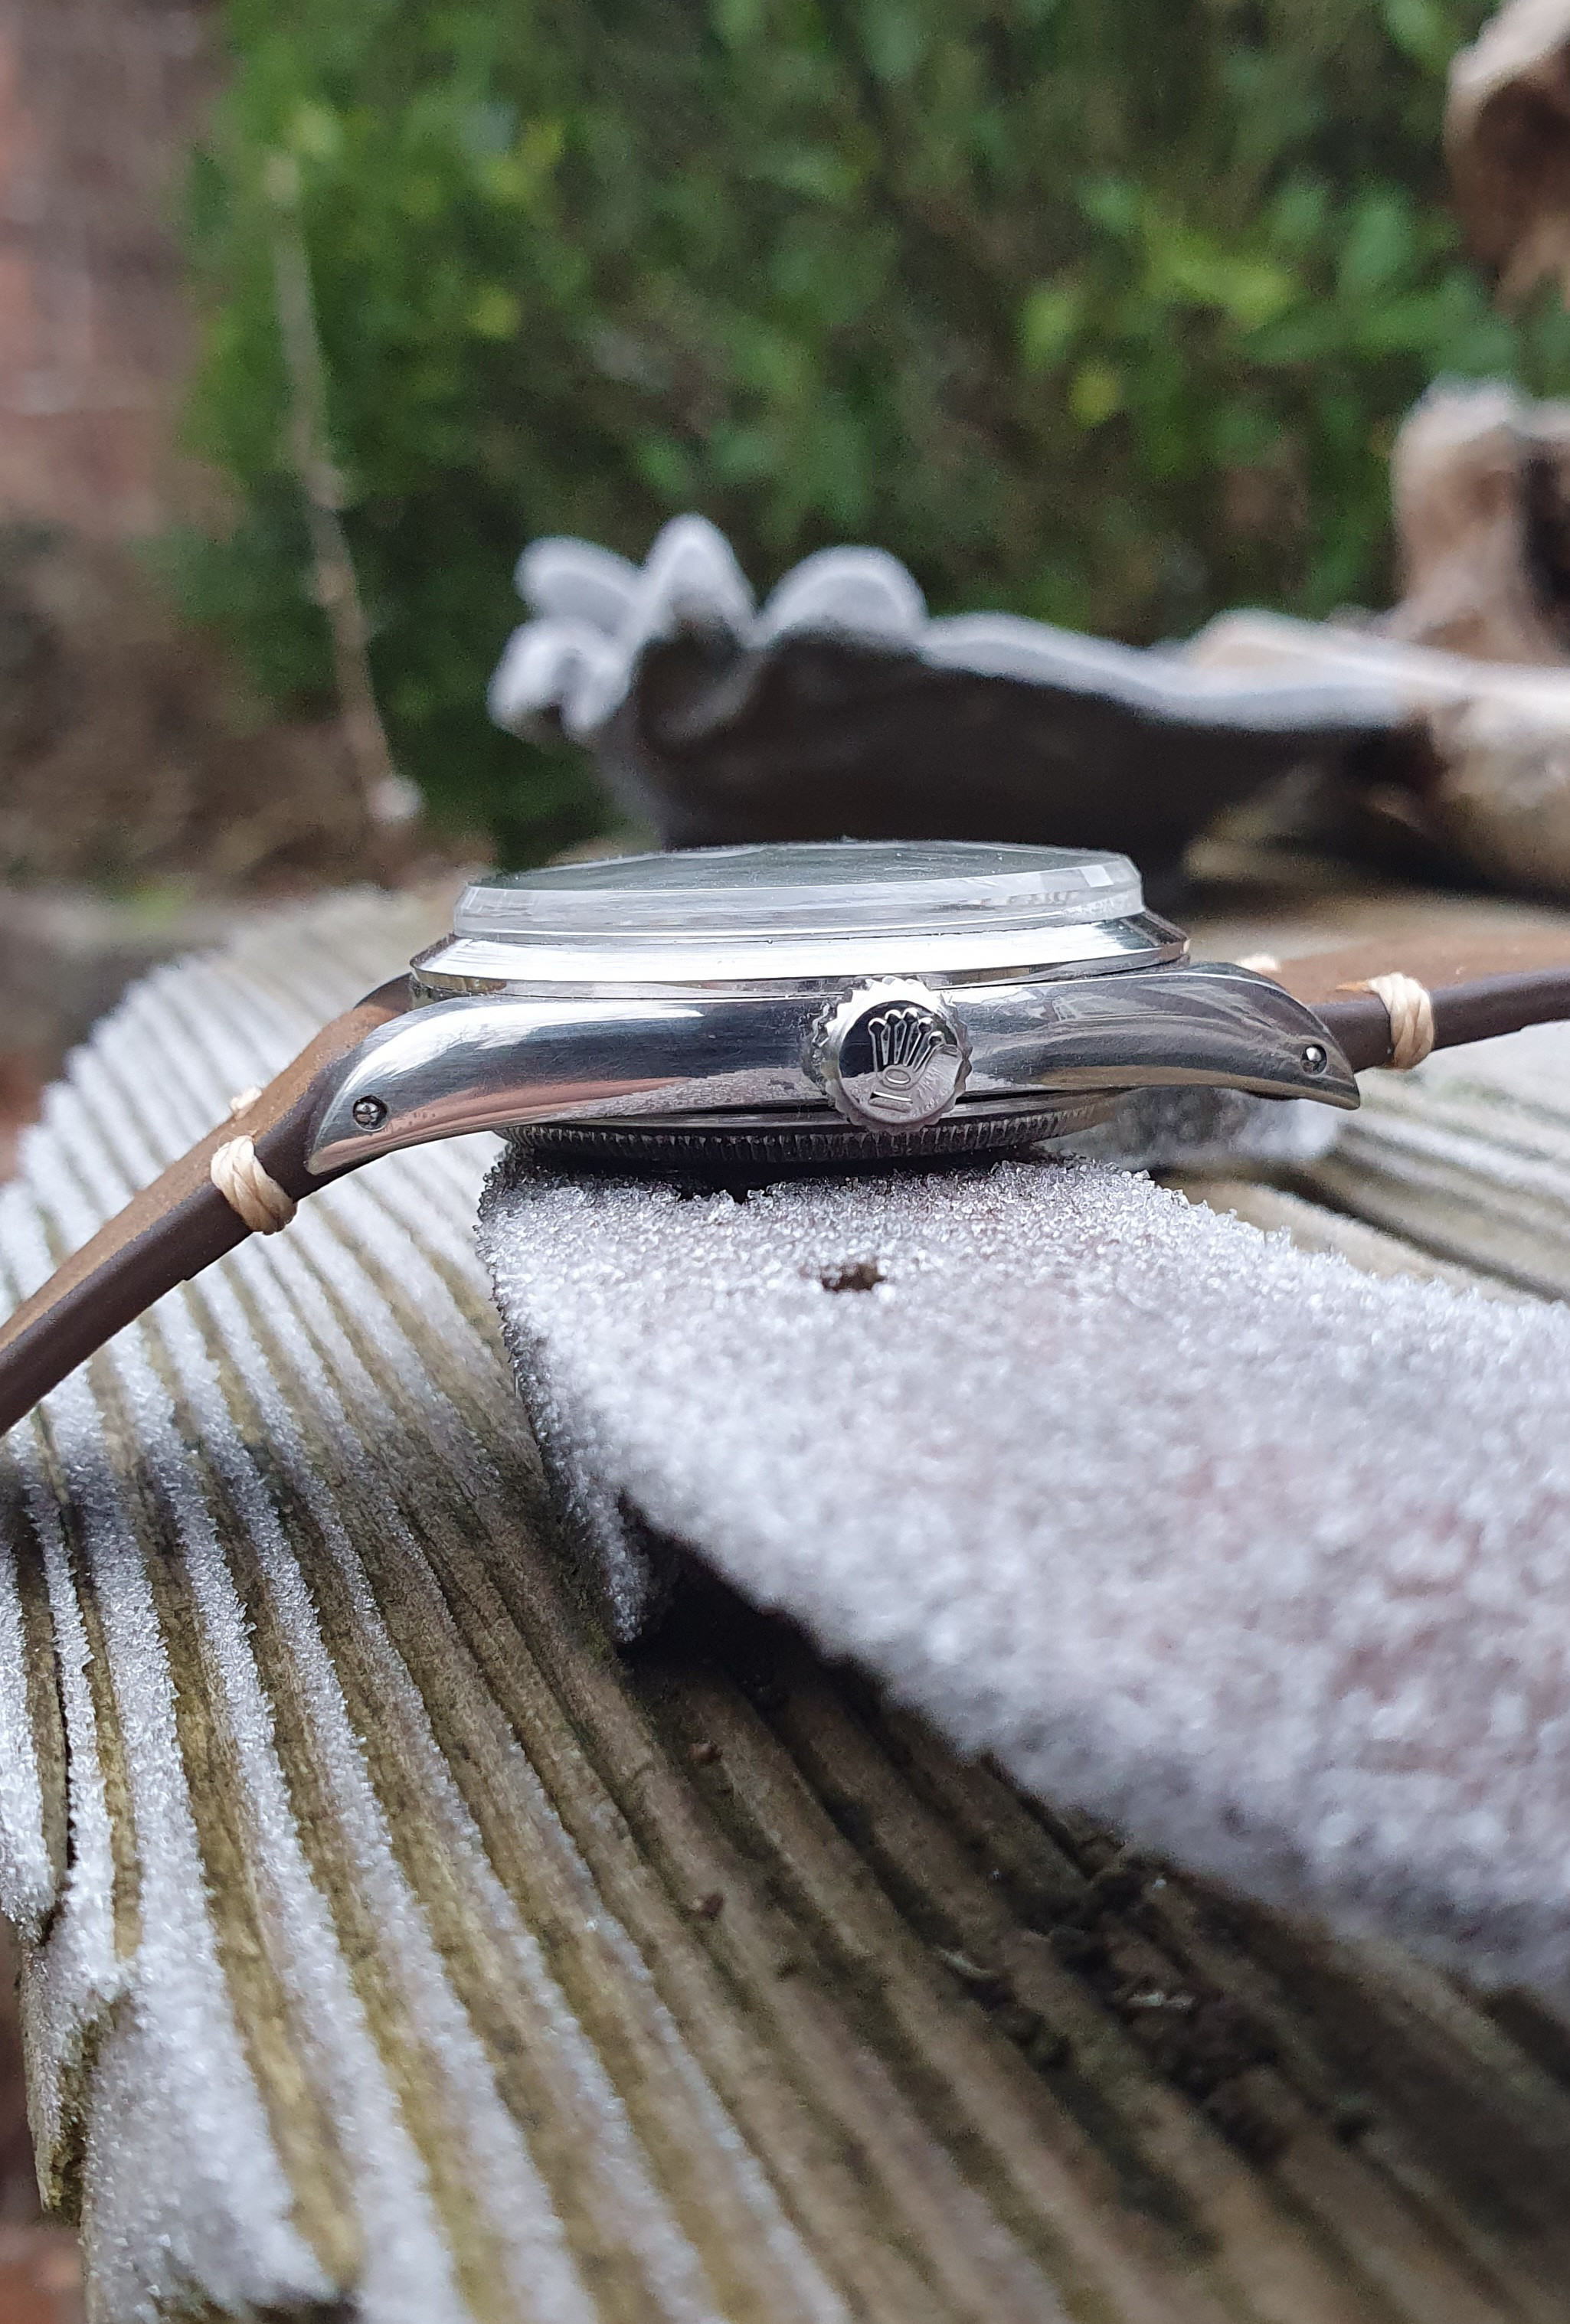
Update Explorer 1016
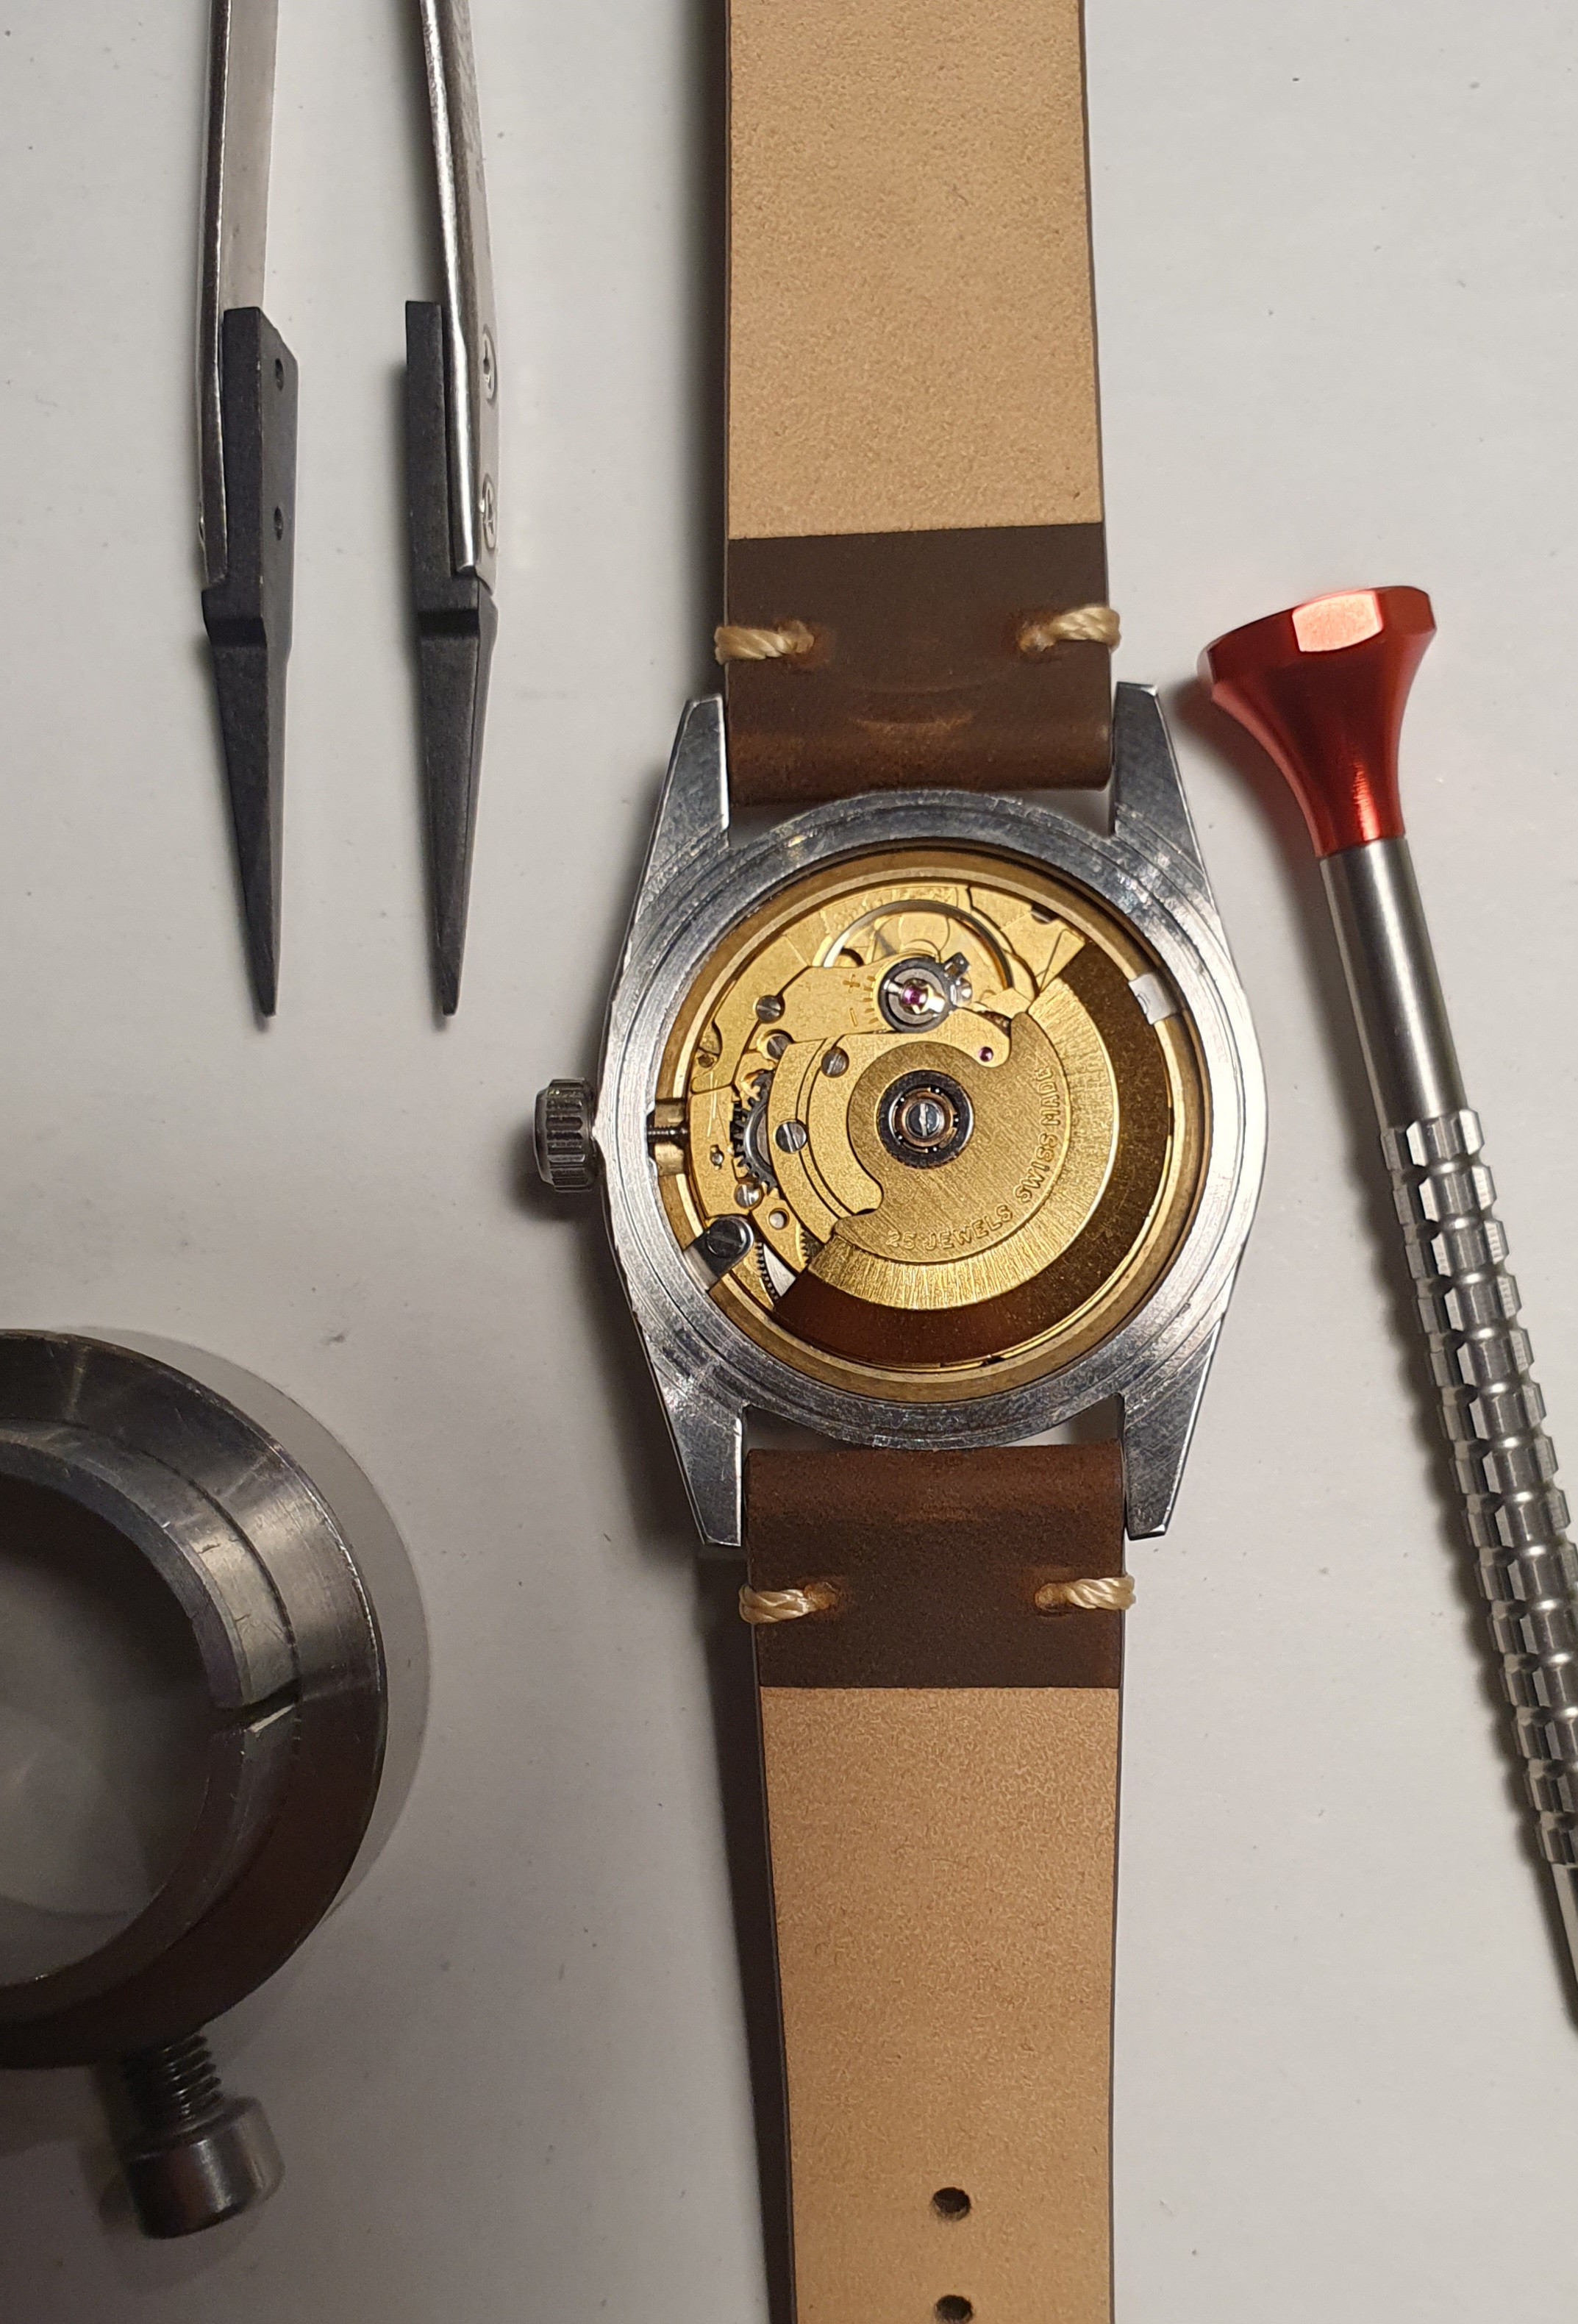
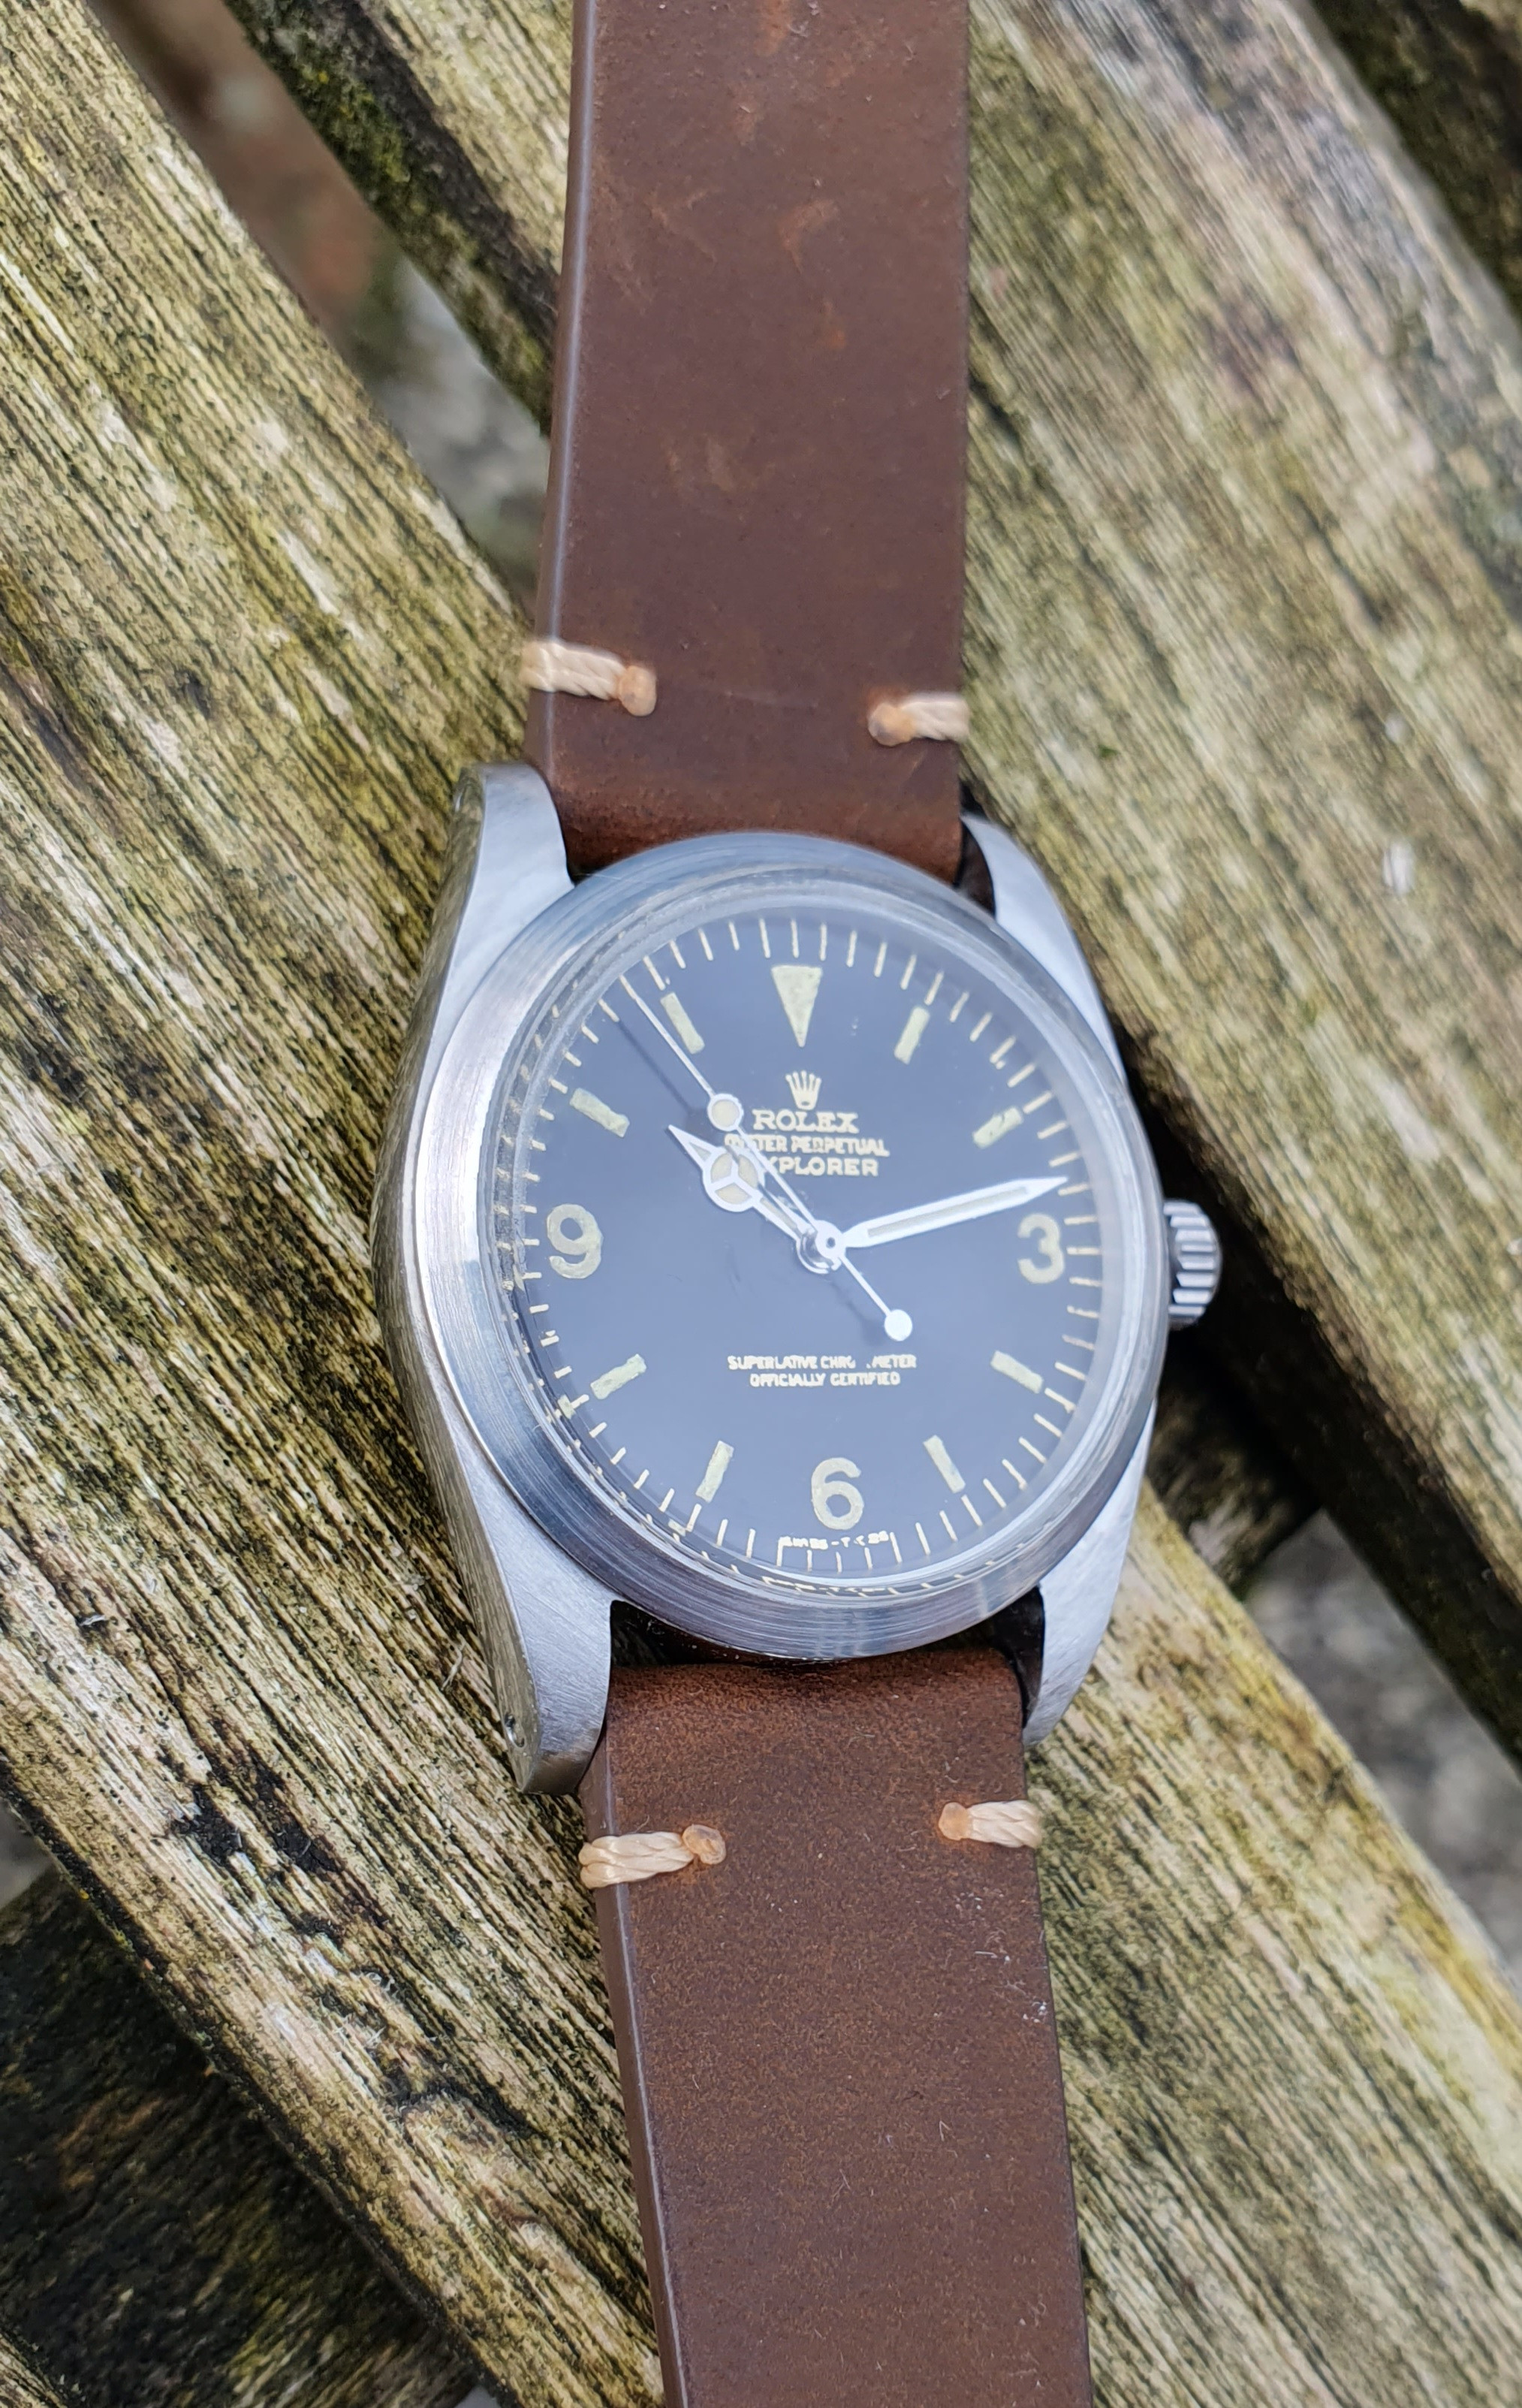
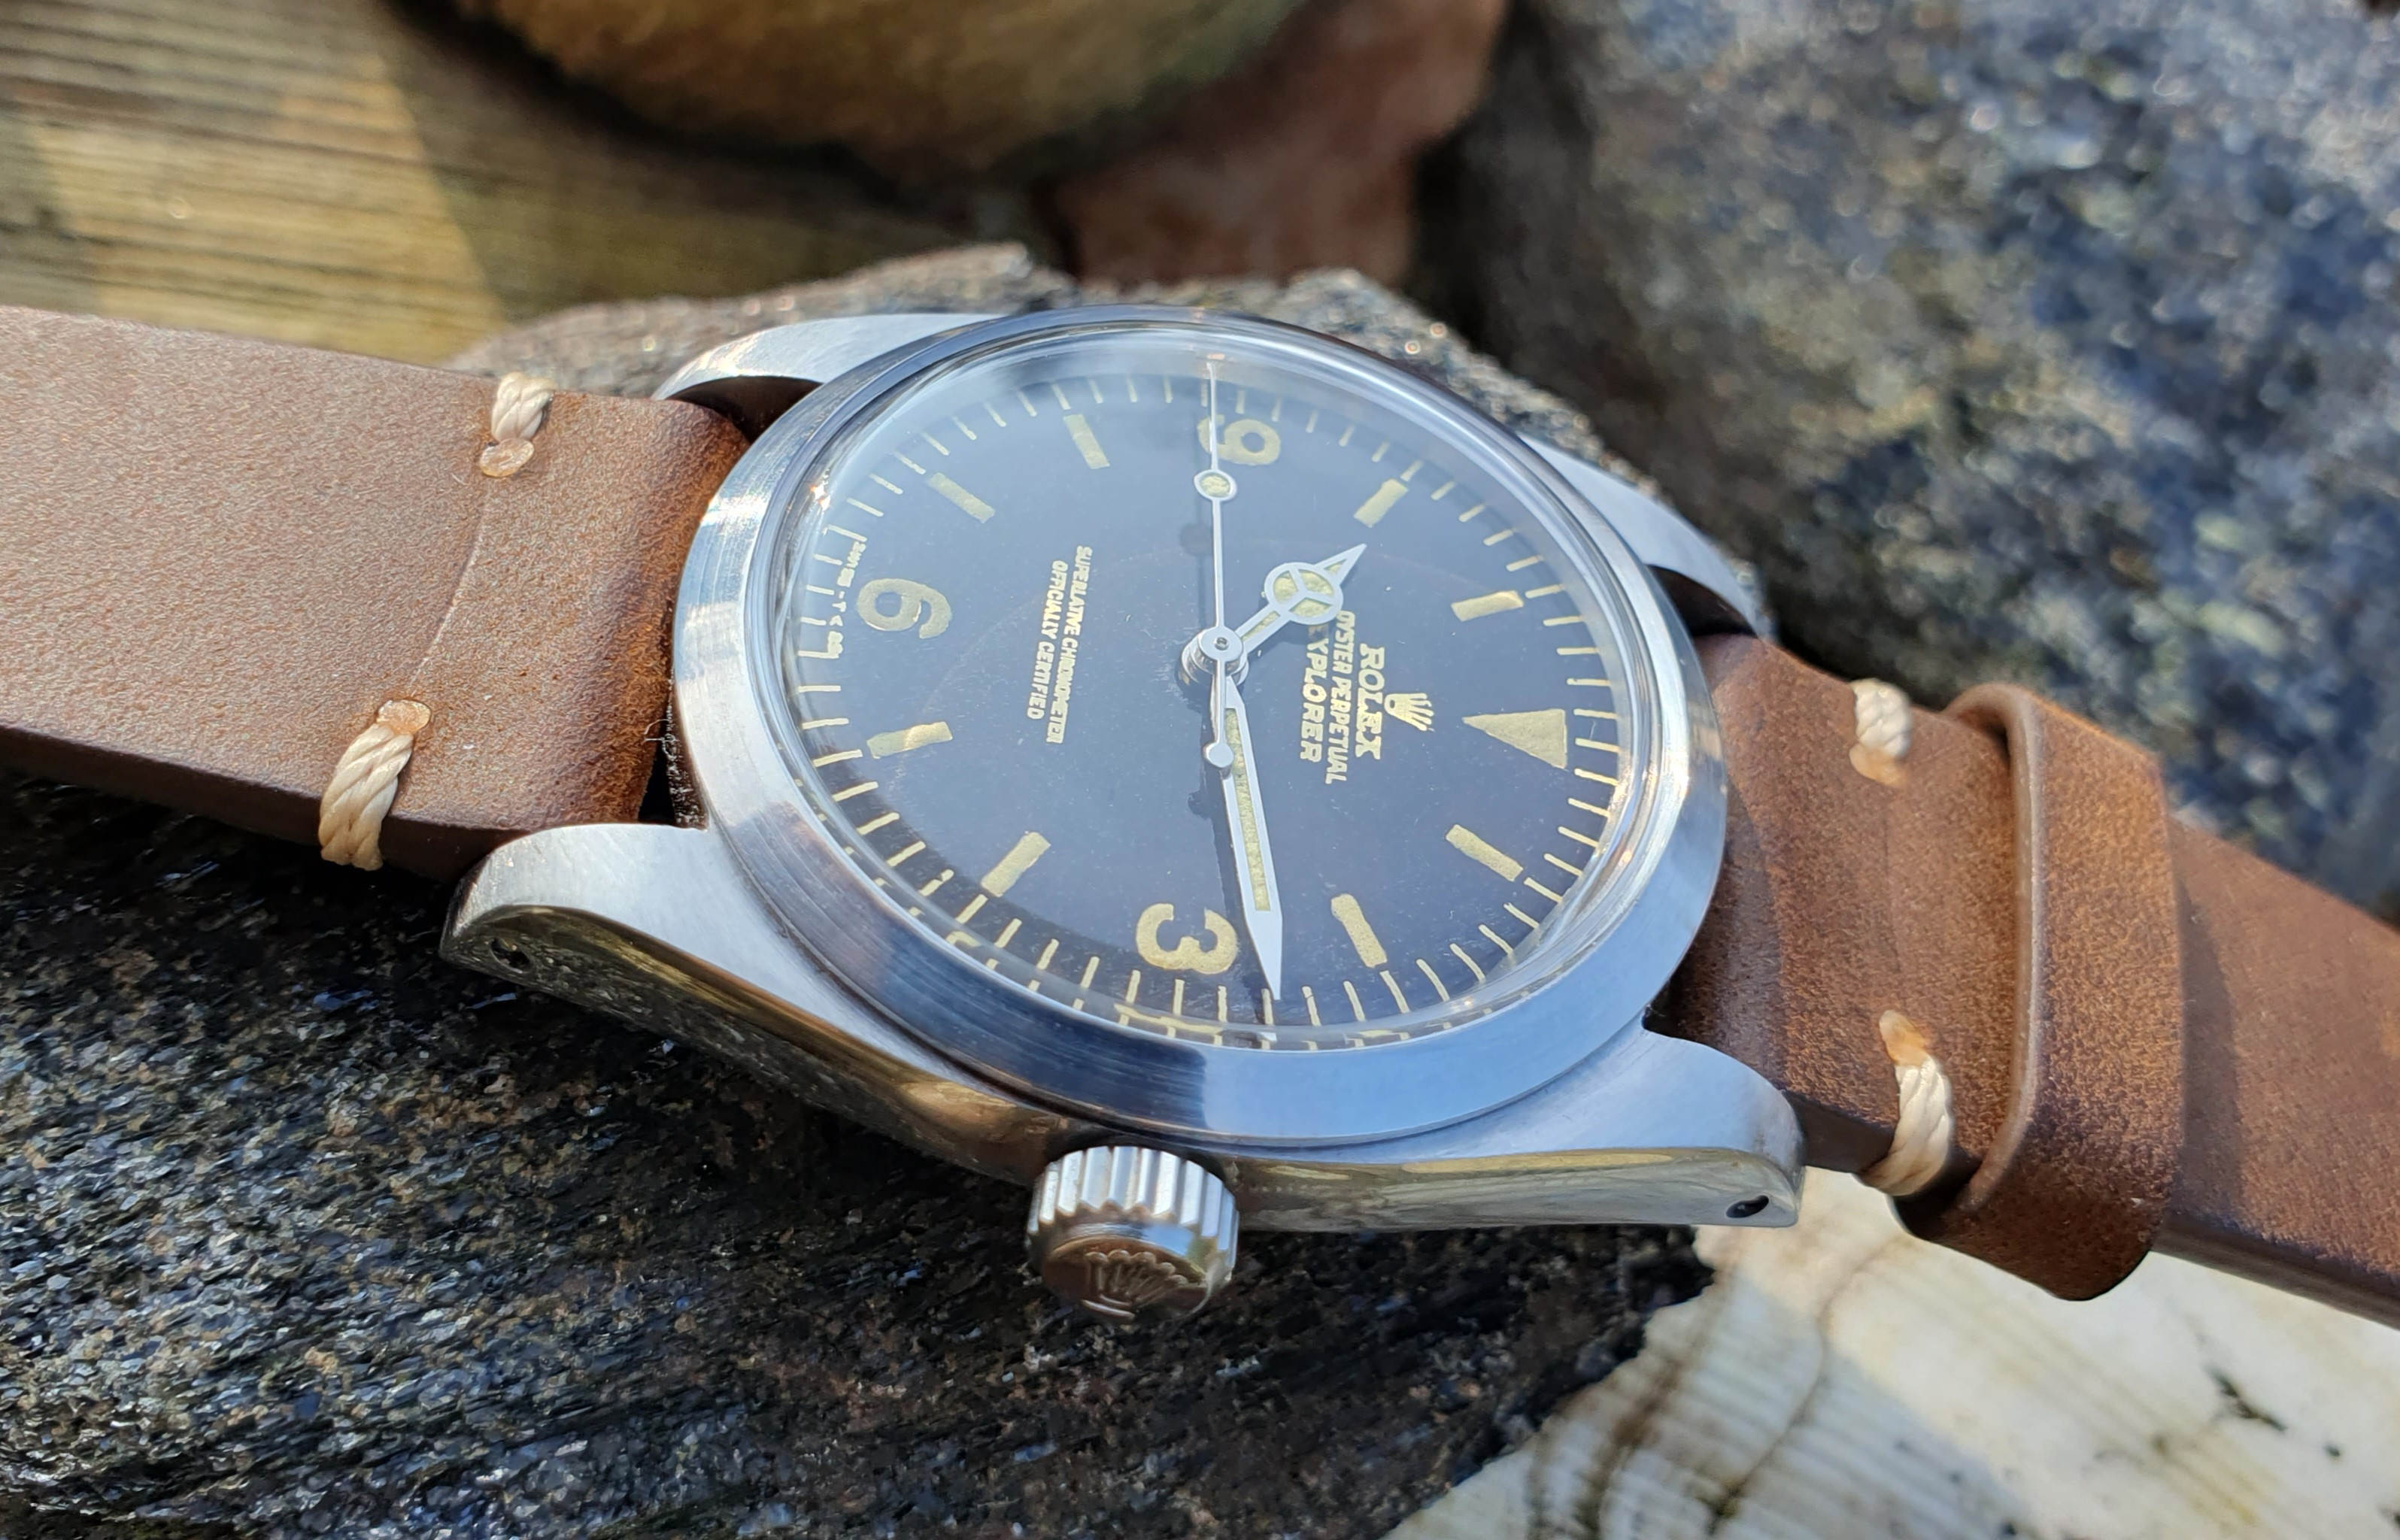
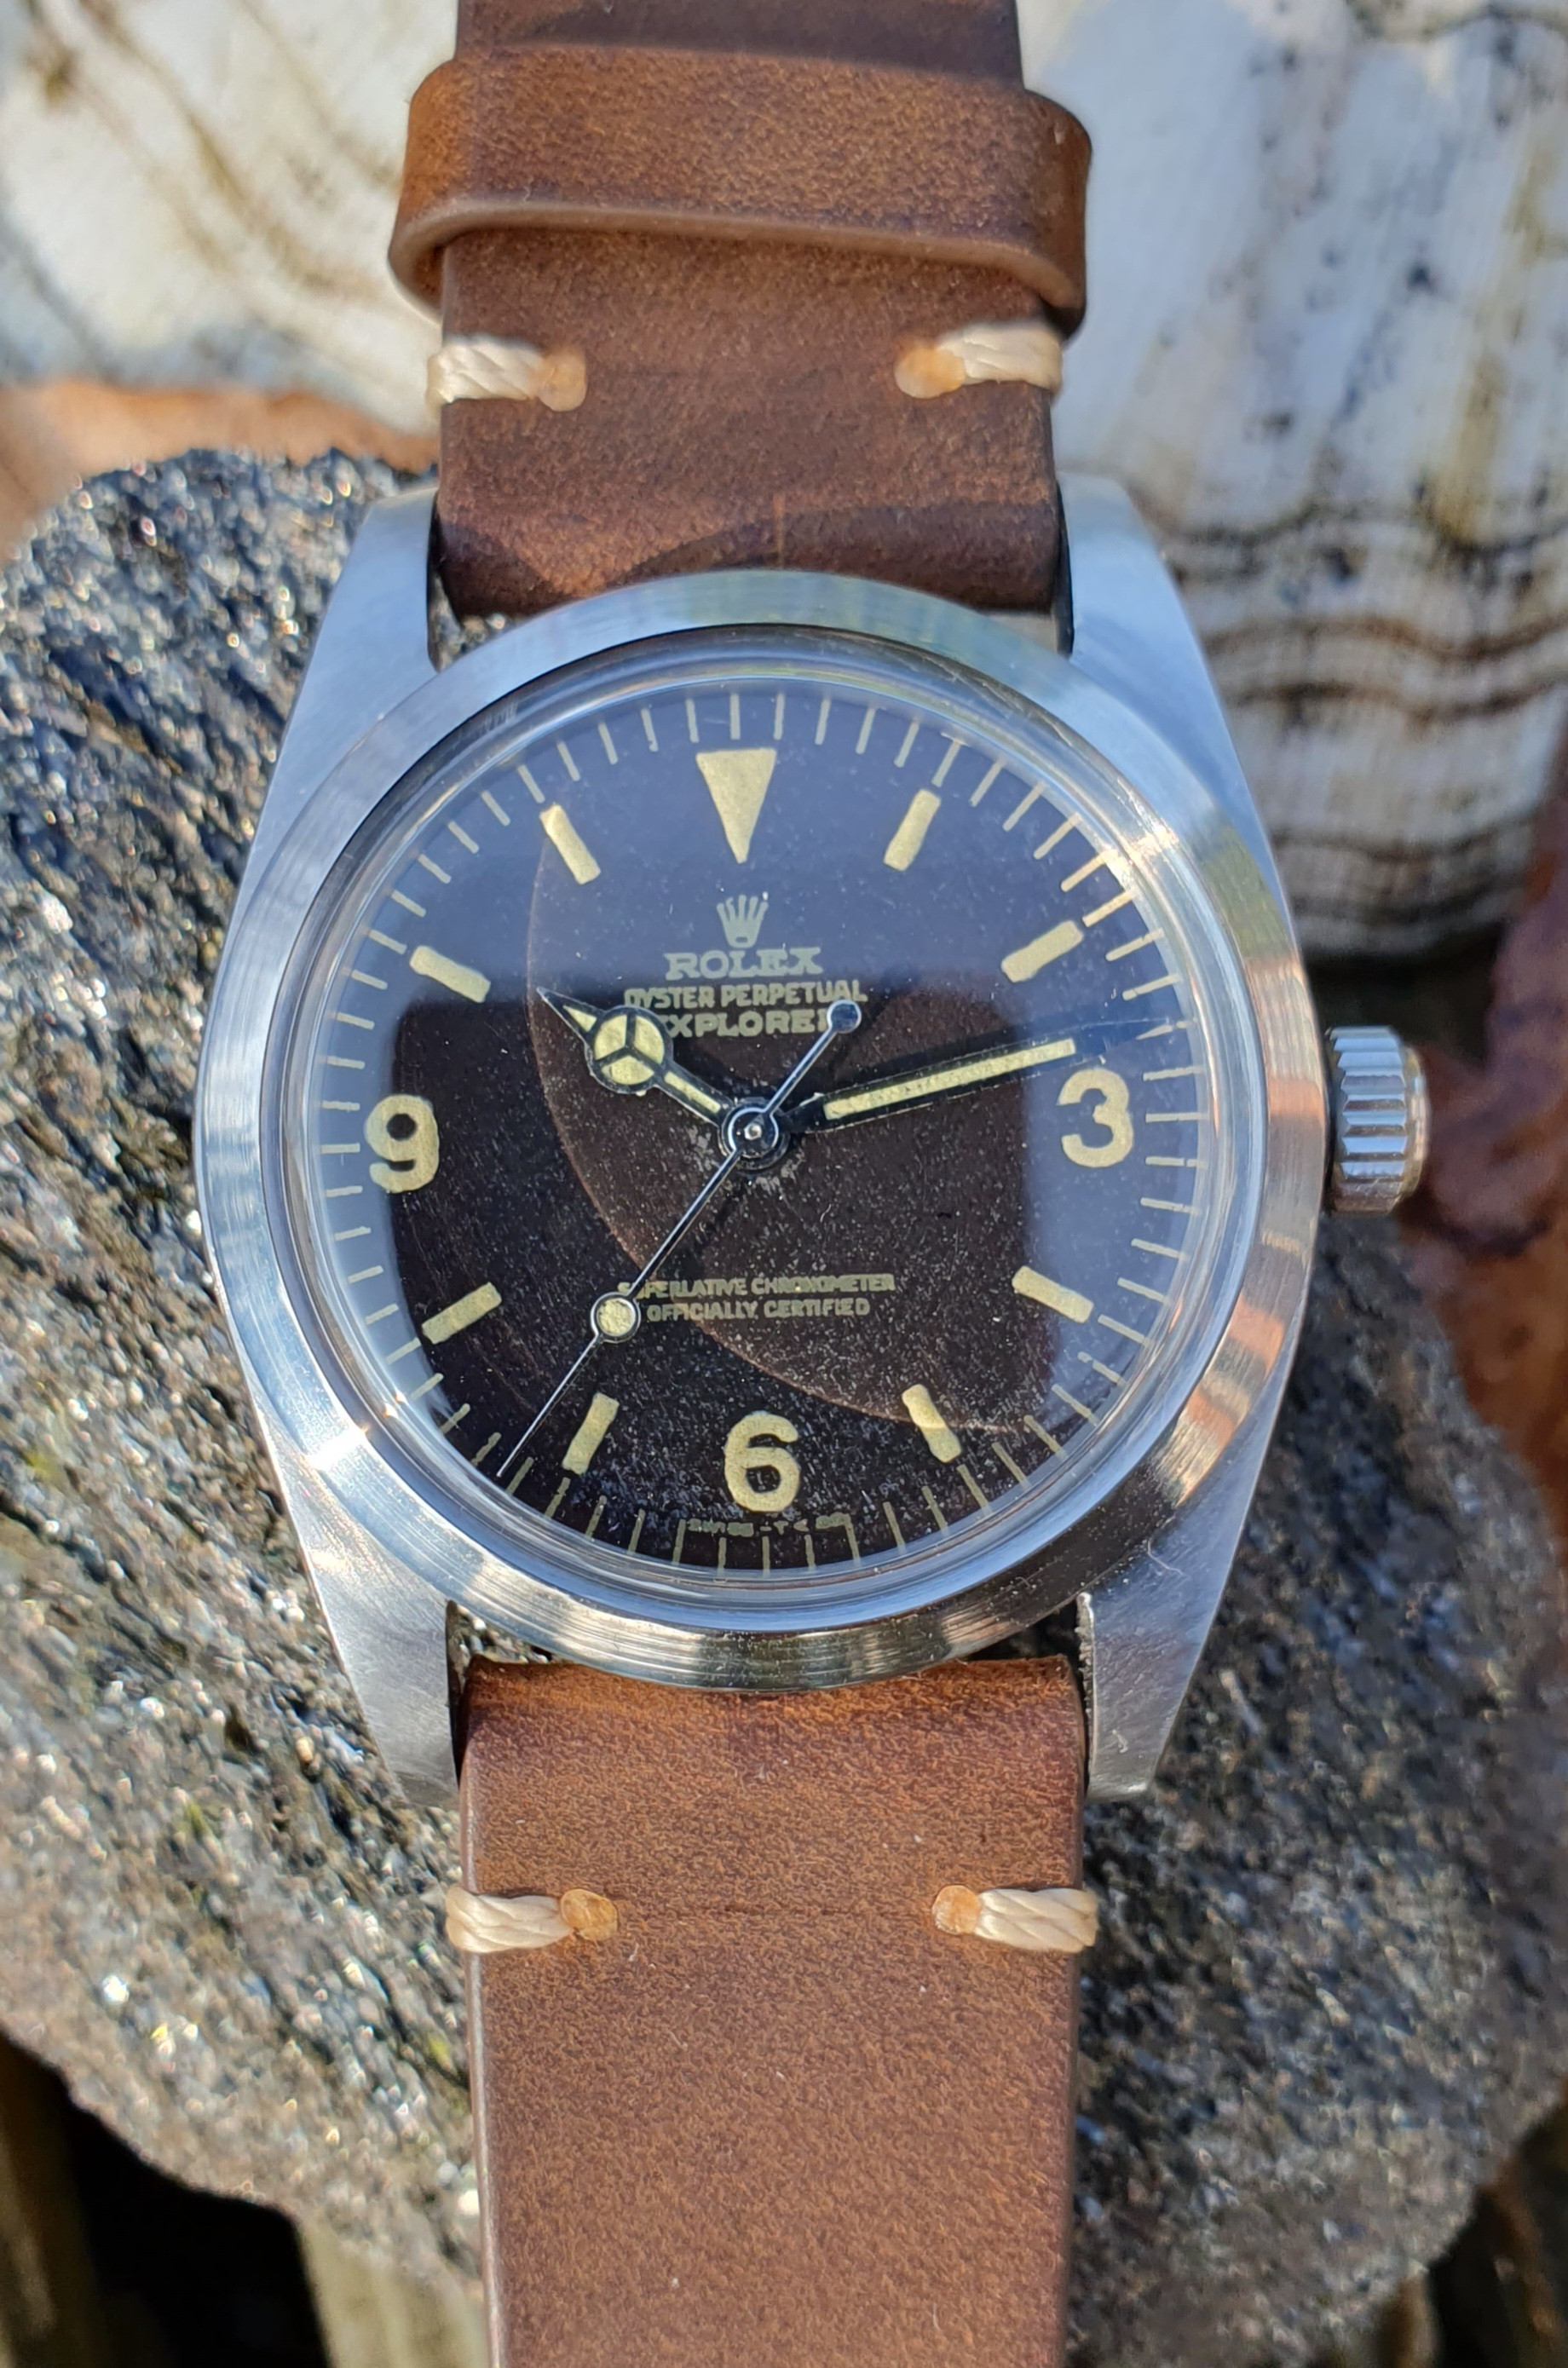
As I wasn't entirely satisfied with the first version, the Explorer didn't make it onto my wrist very often. The dial had errors in the lacquer, in the printing (two letters were missing) and the lume didn't work out well for me. I was also annoyed by the grinding marks in the bezel and the structure of the magnifying glass, which could be seen in the glass.
All good things come in threes.
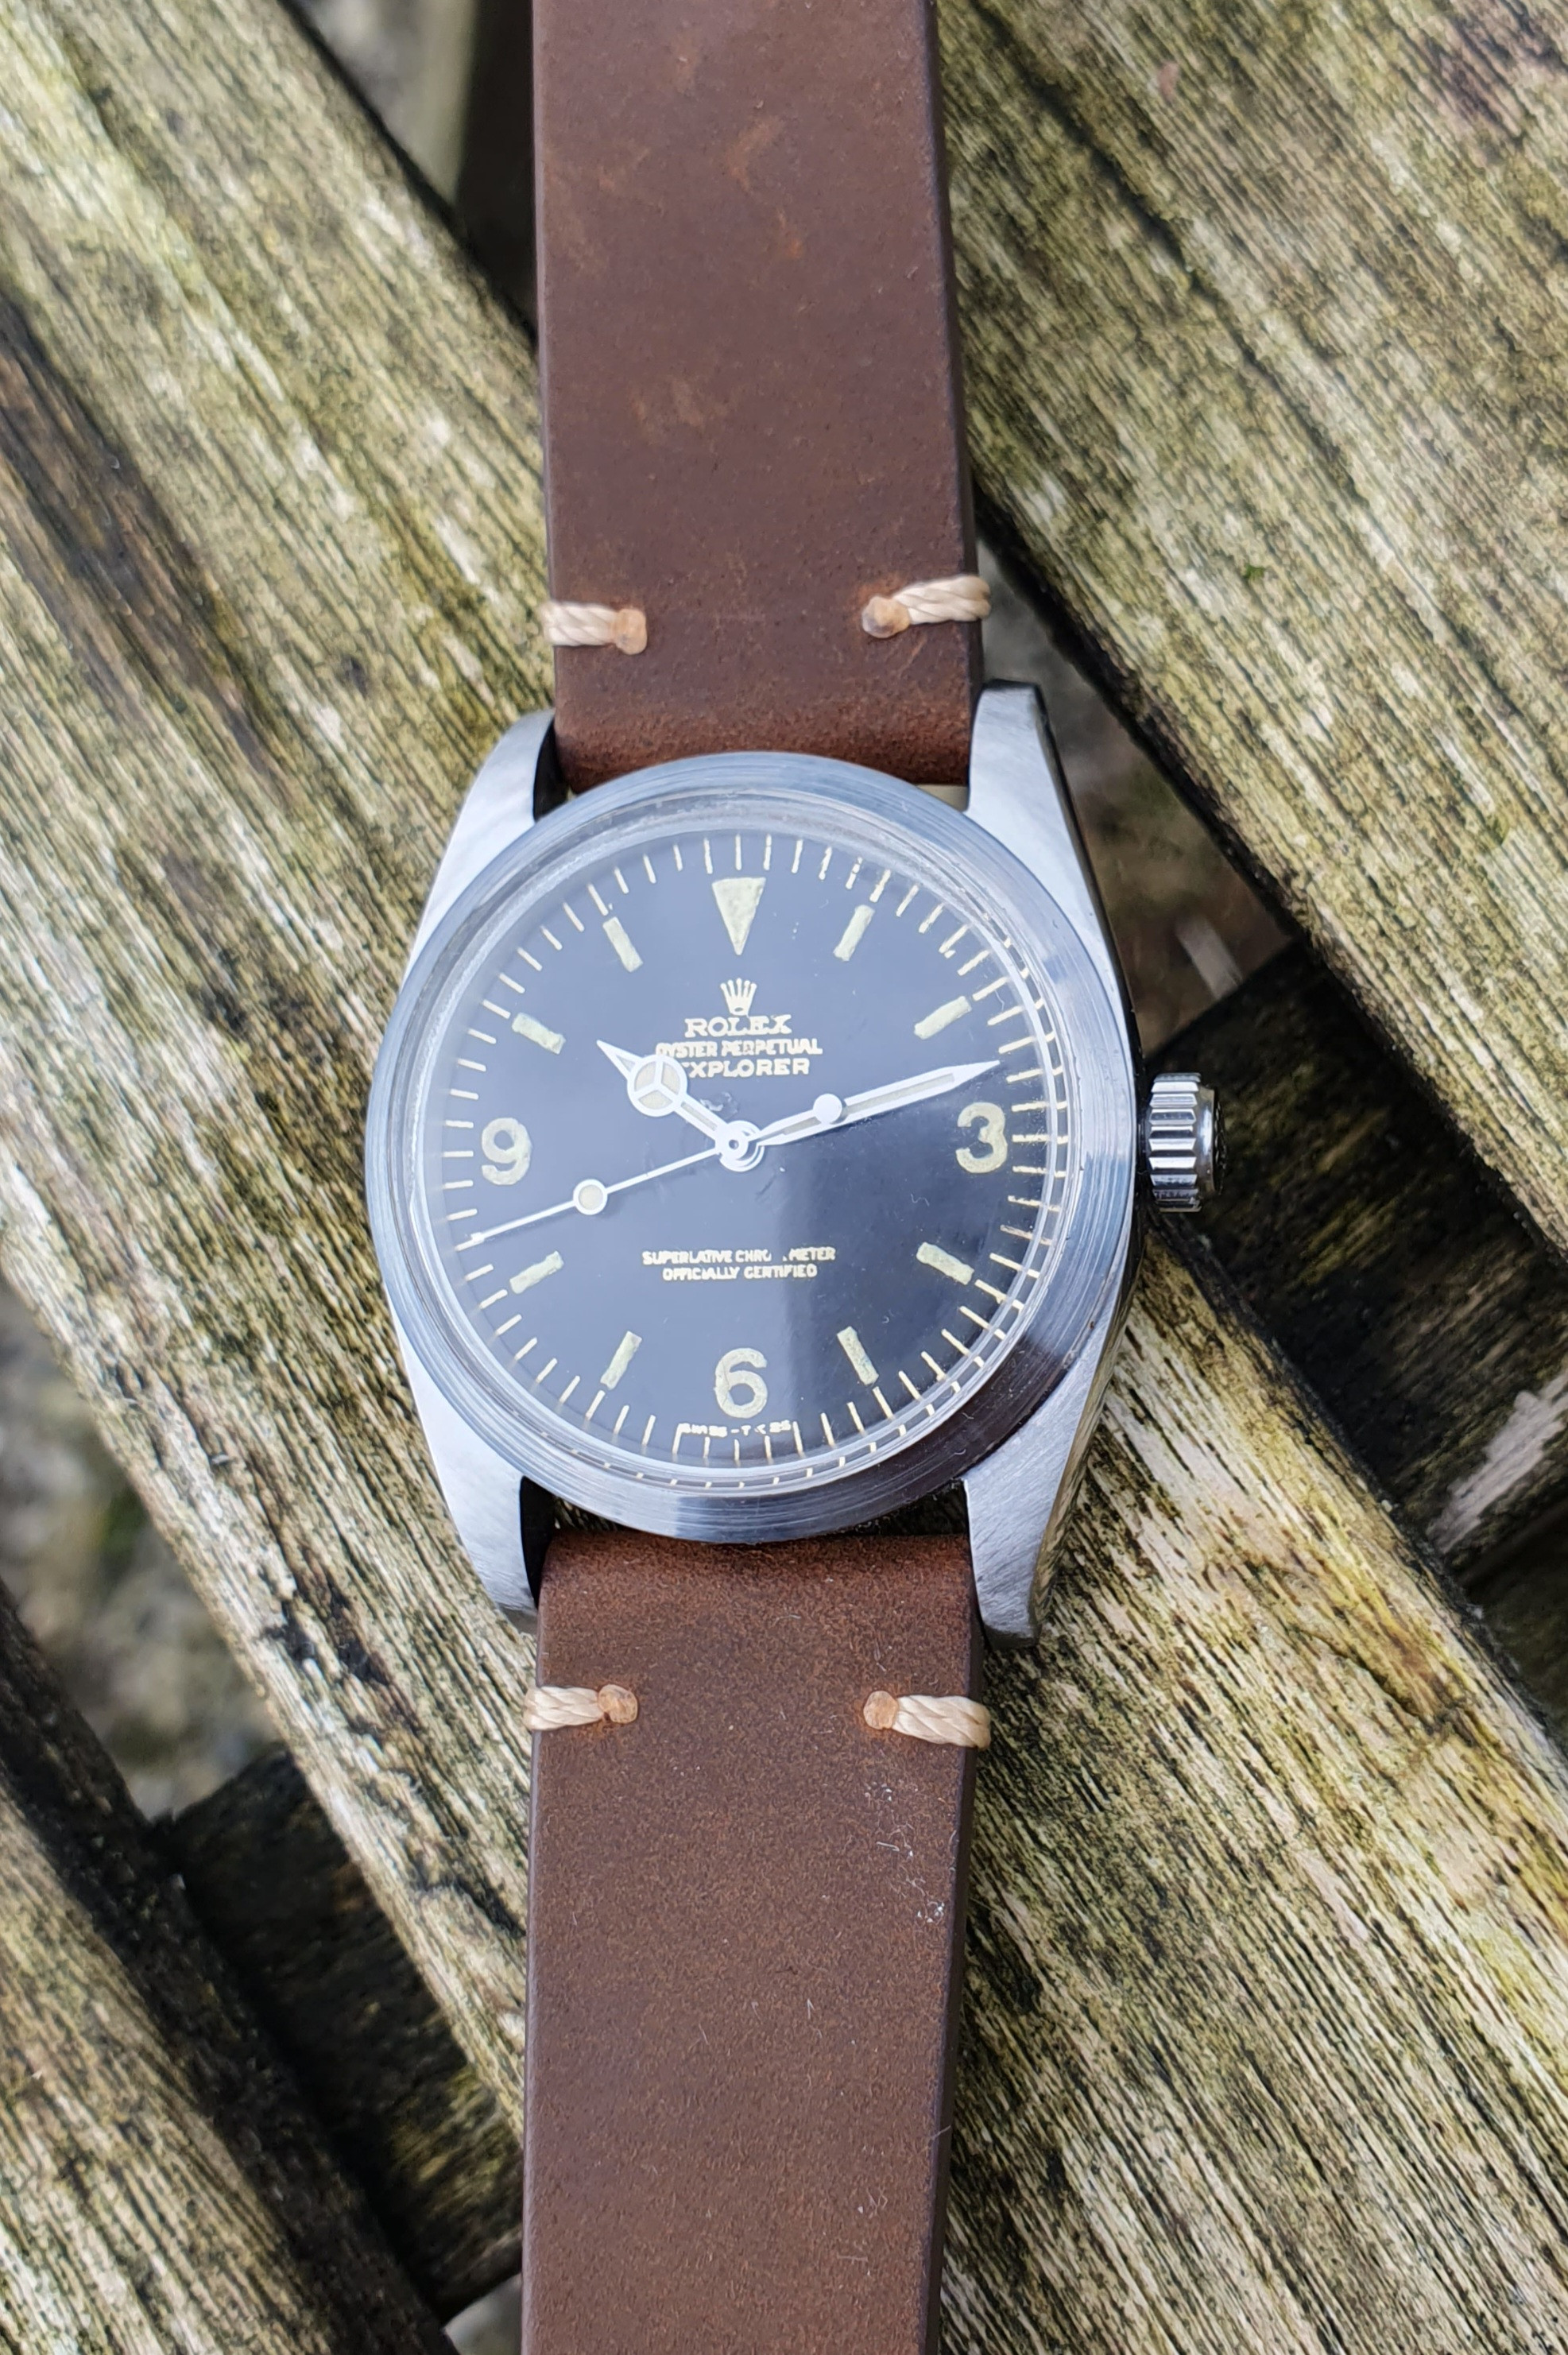
Here two images of the new dial. This time I applied 3 coats of lacquer and sanded the lacquer after each coat. At the end the surface was finished with a lacquer polish. On this picture you can see an intermediate state.
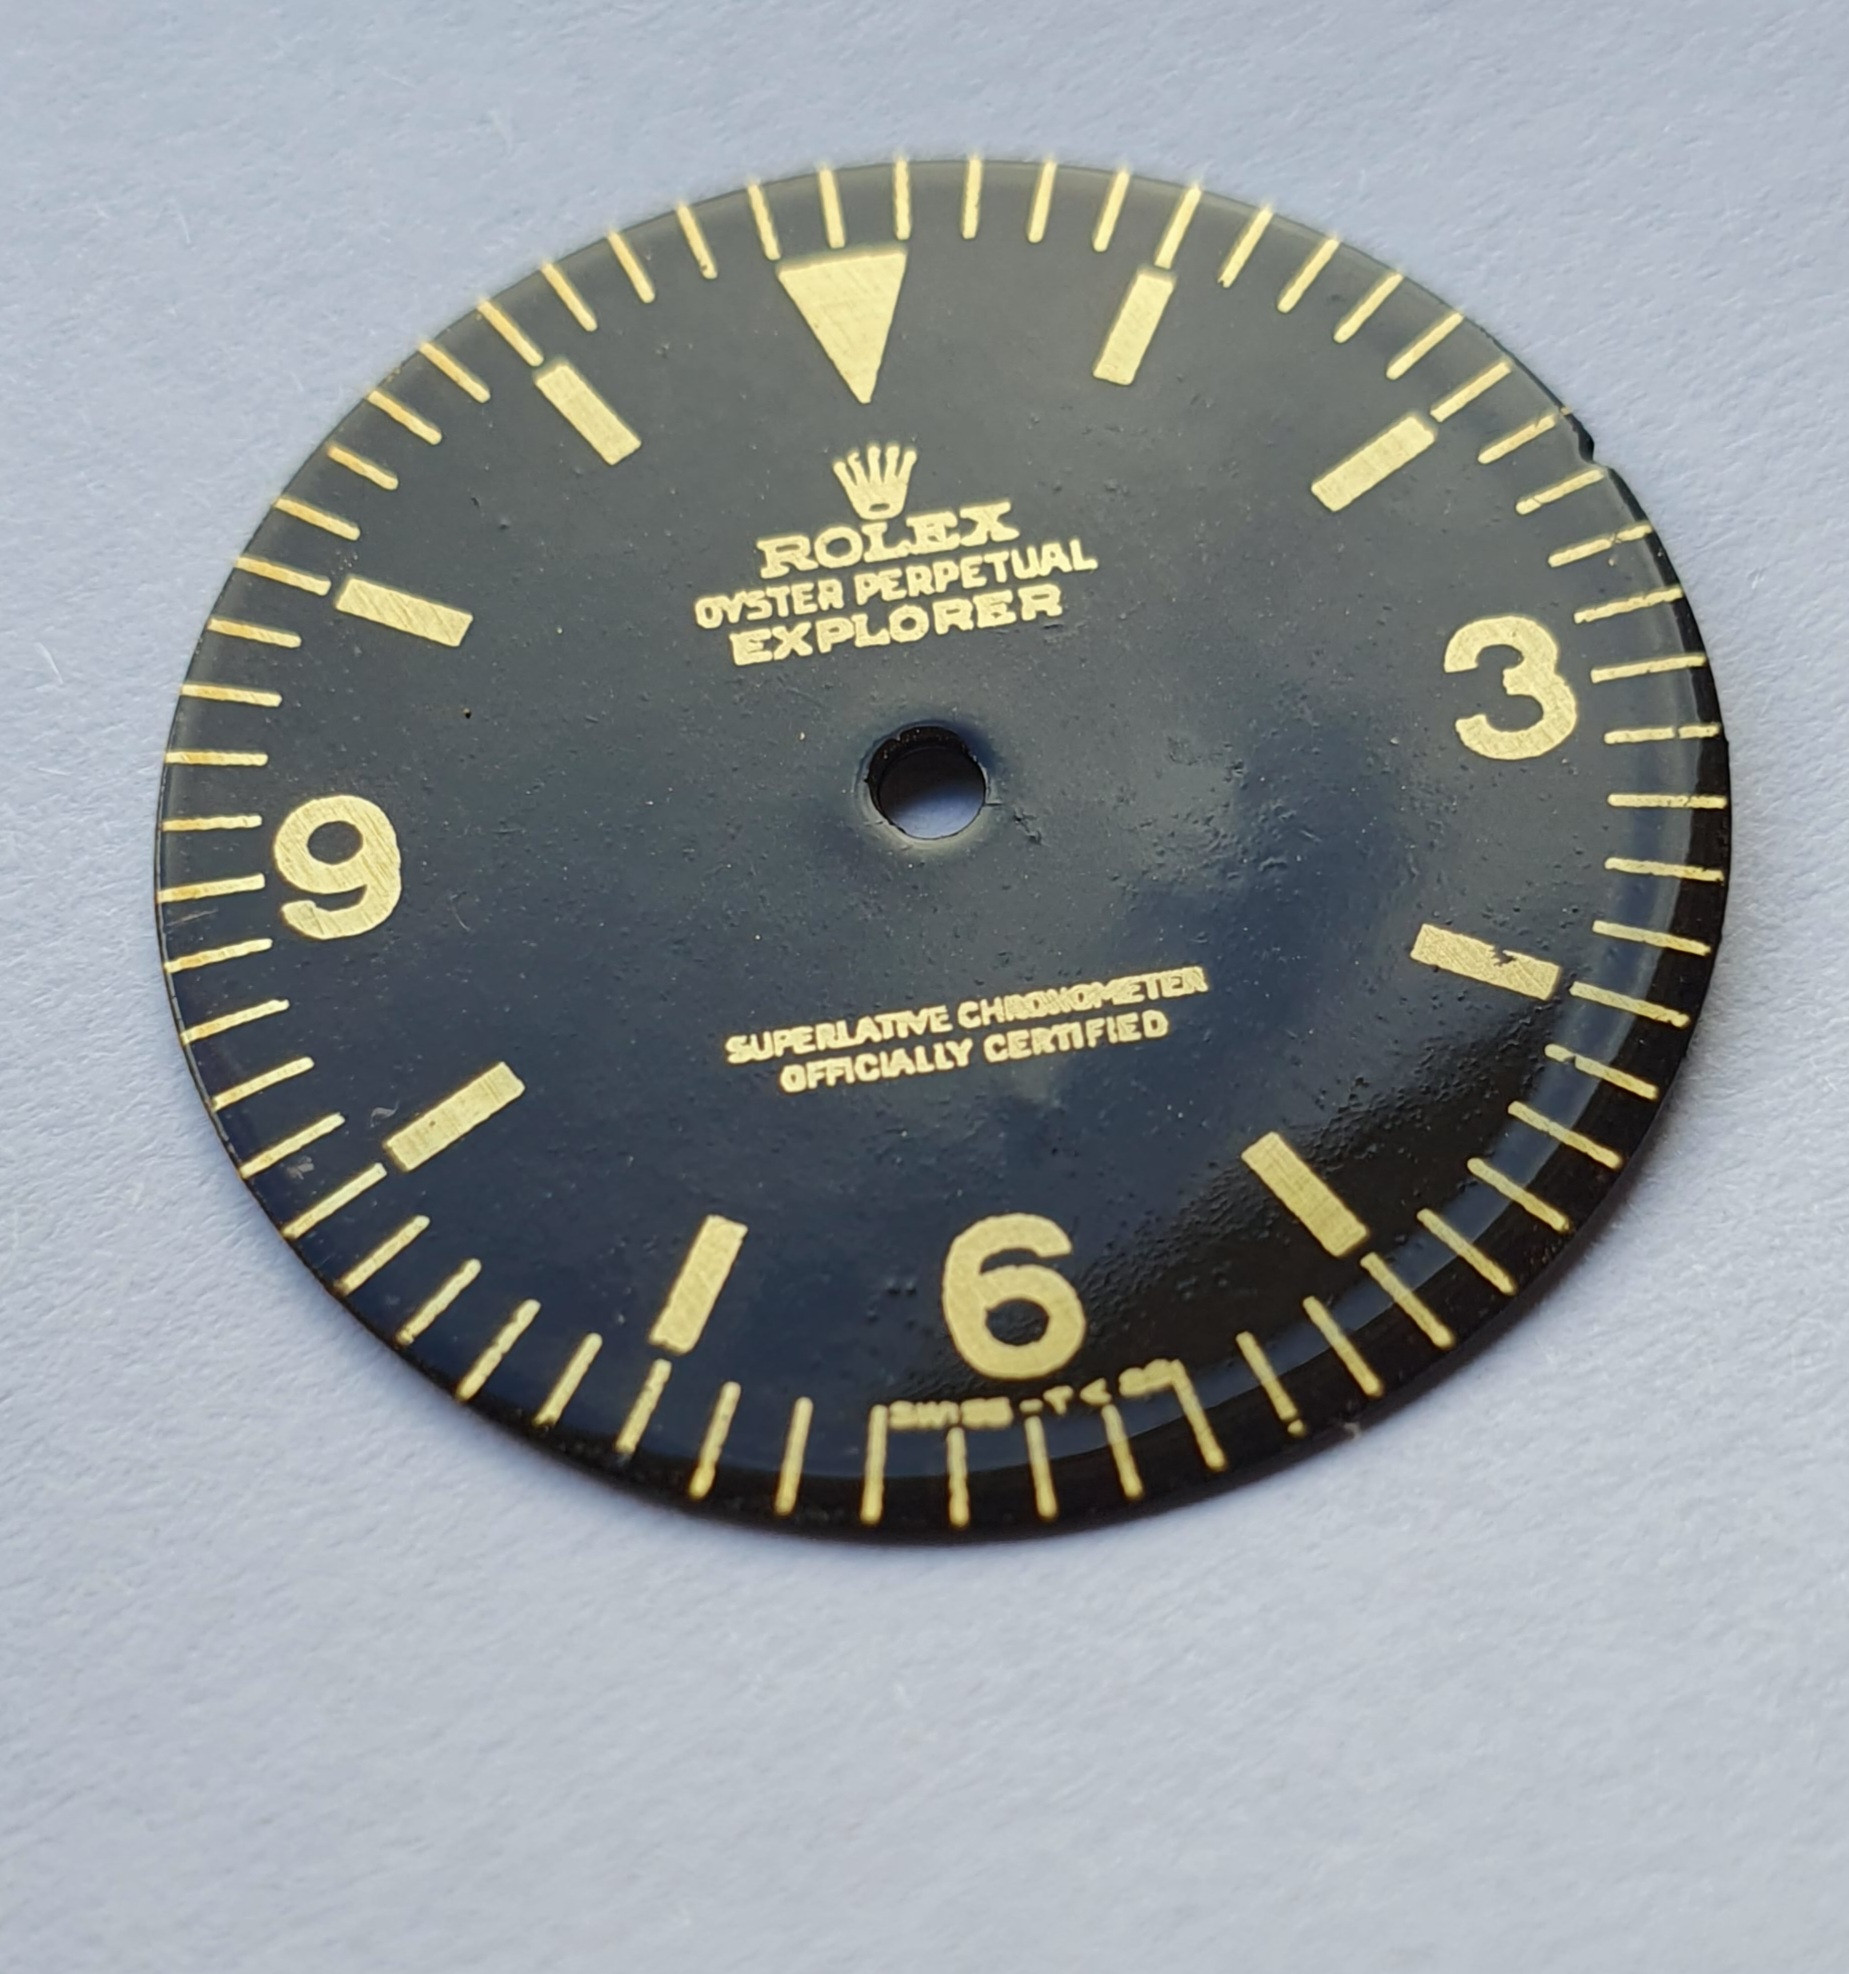
Here the final polished surface and the lume. Since I used the lume from Bergeon everything goes much easier.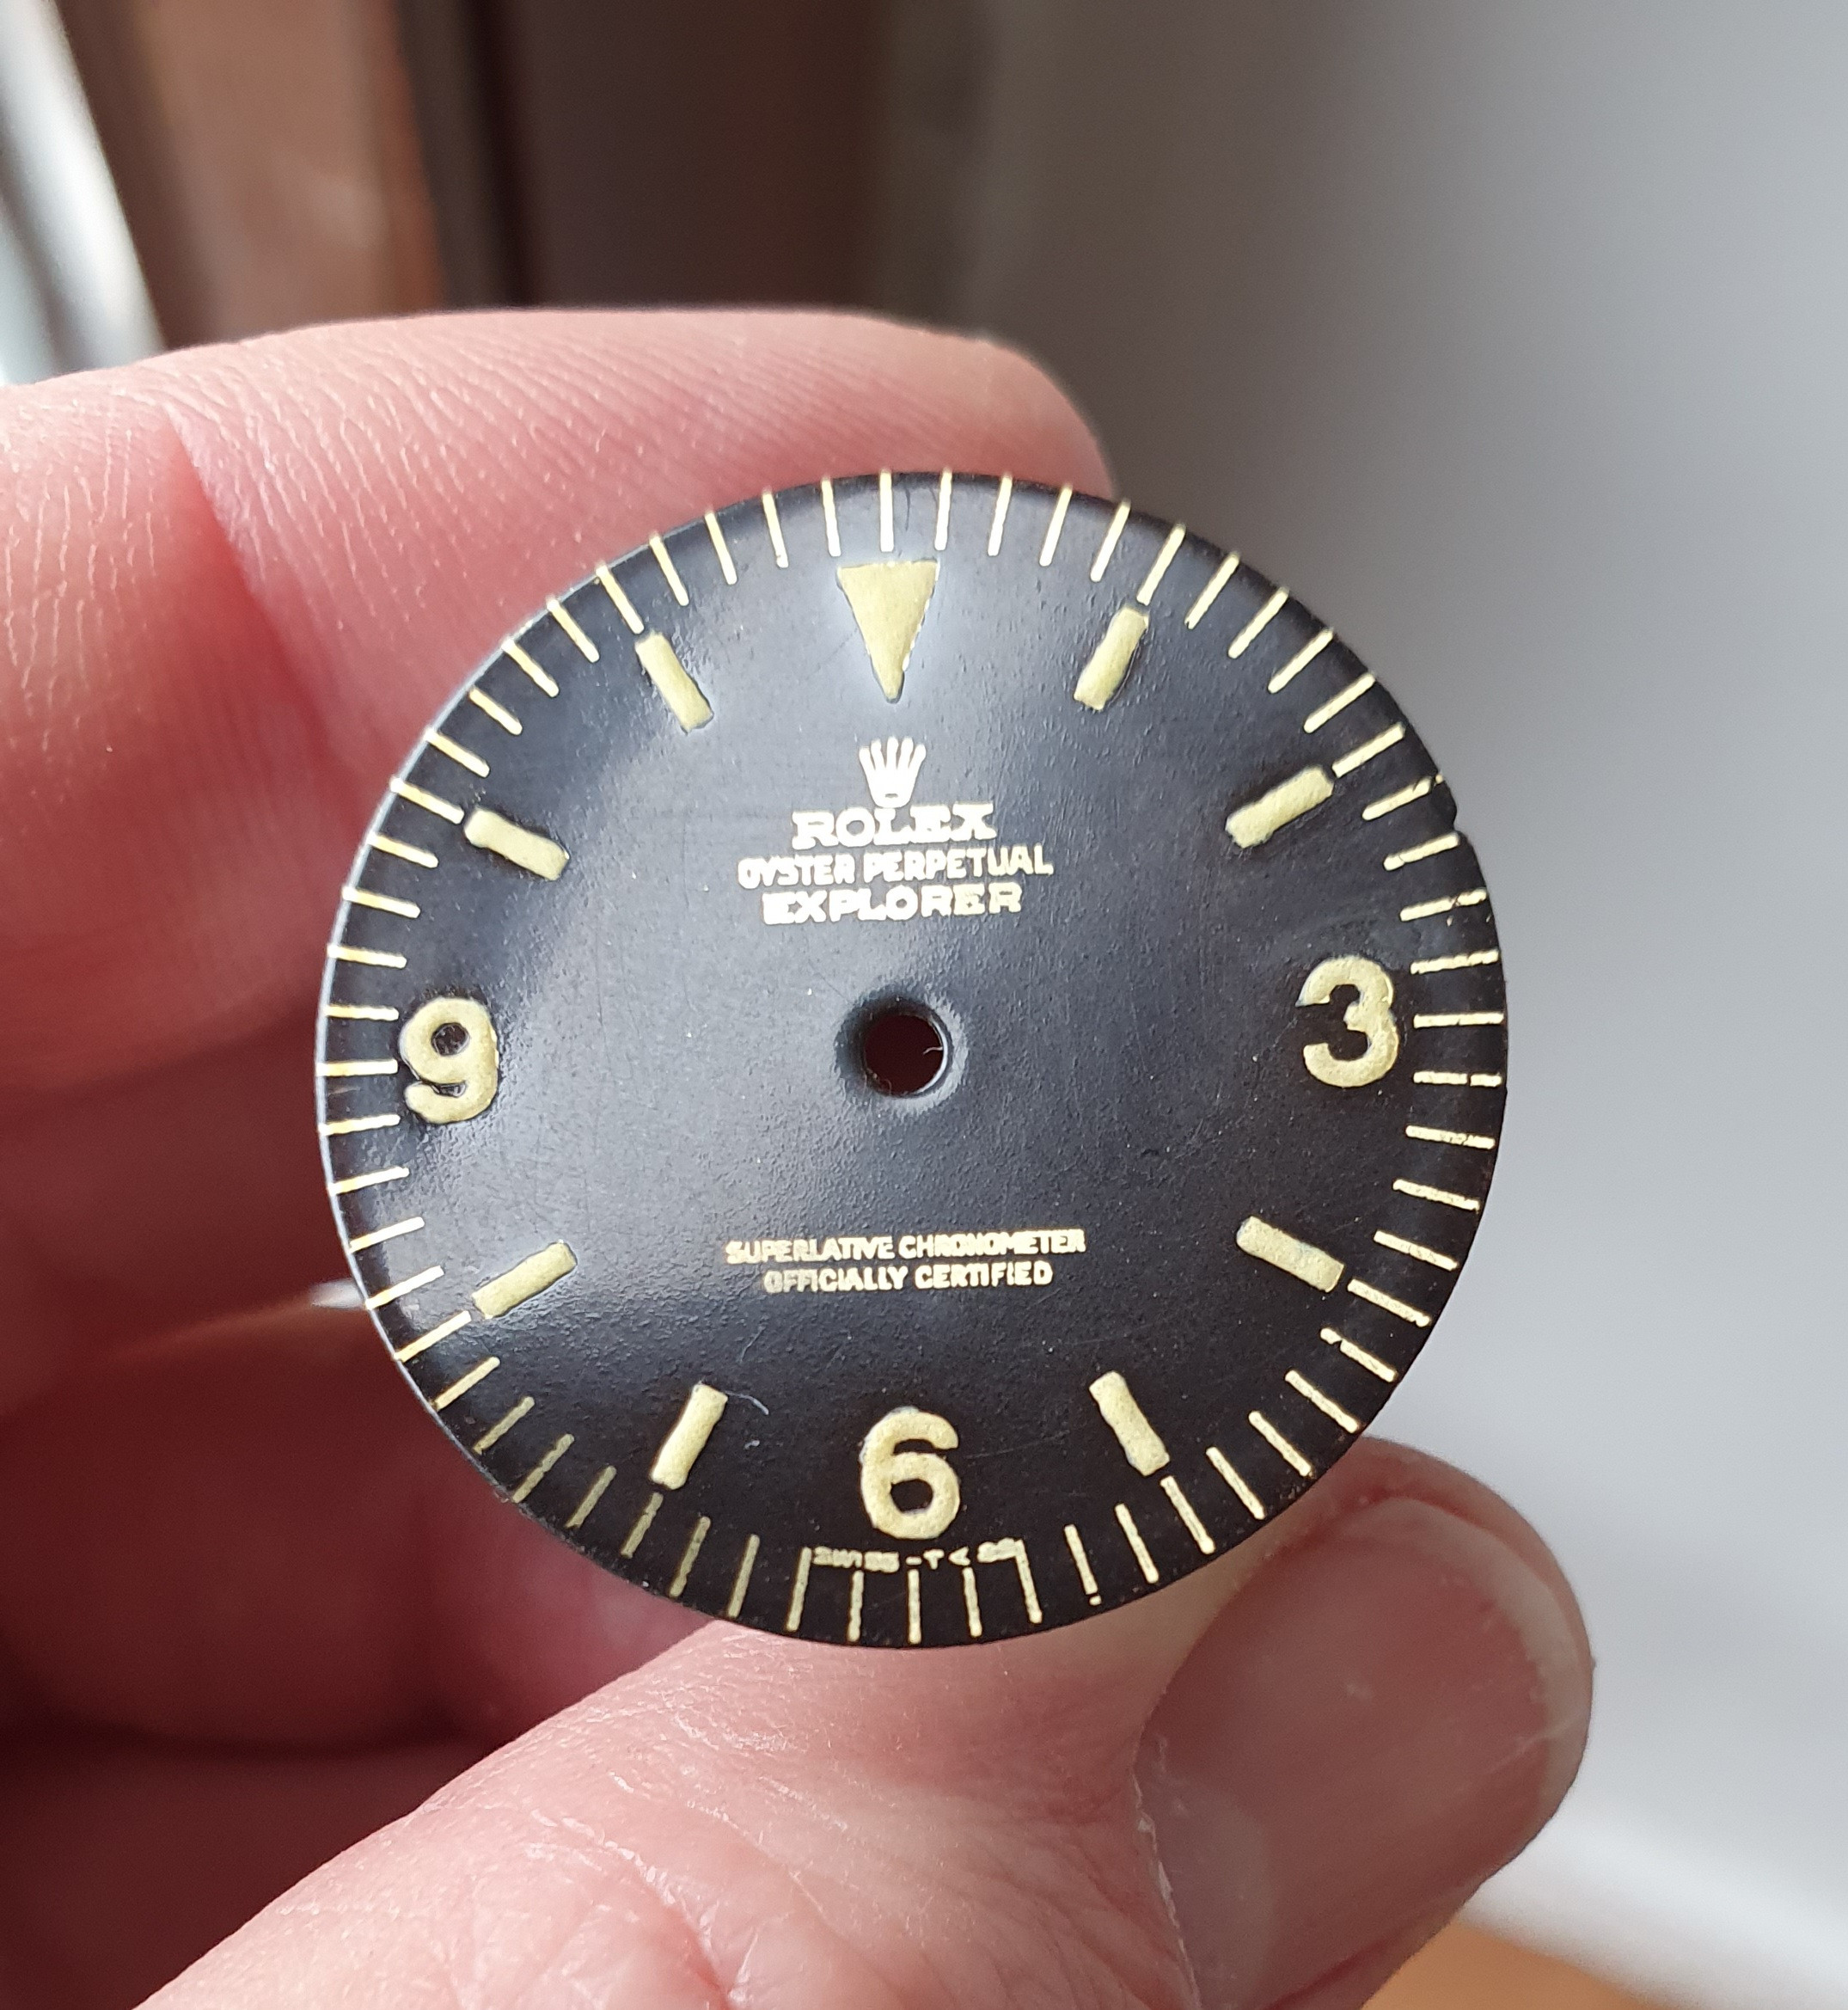
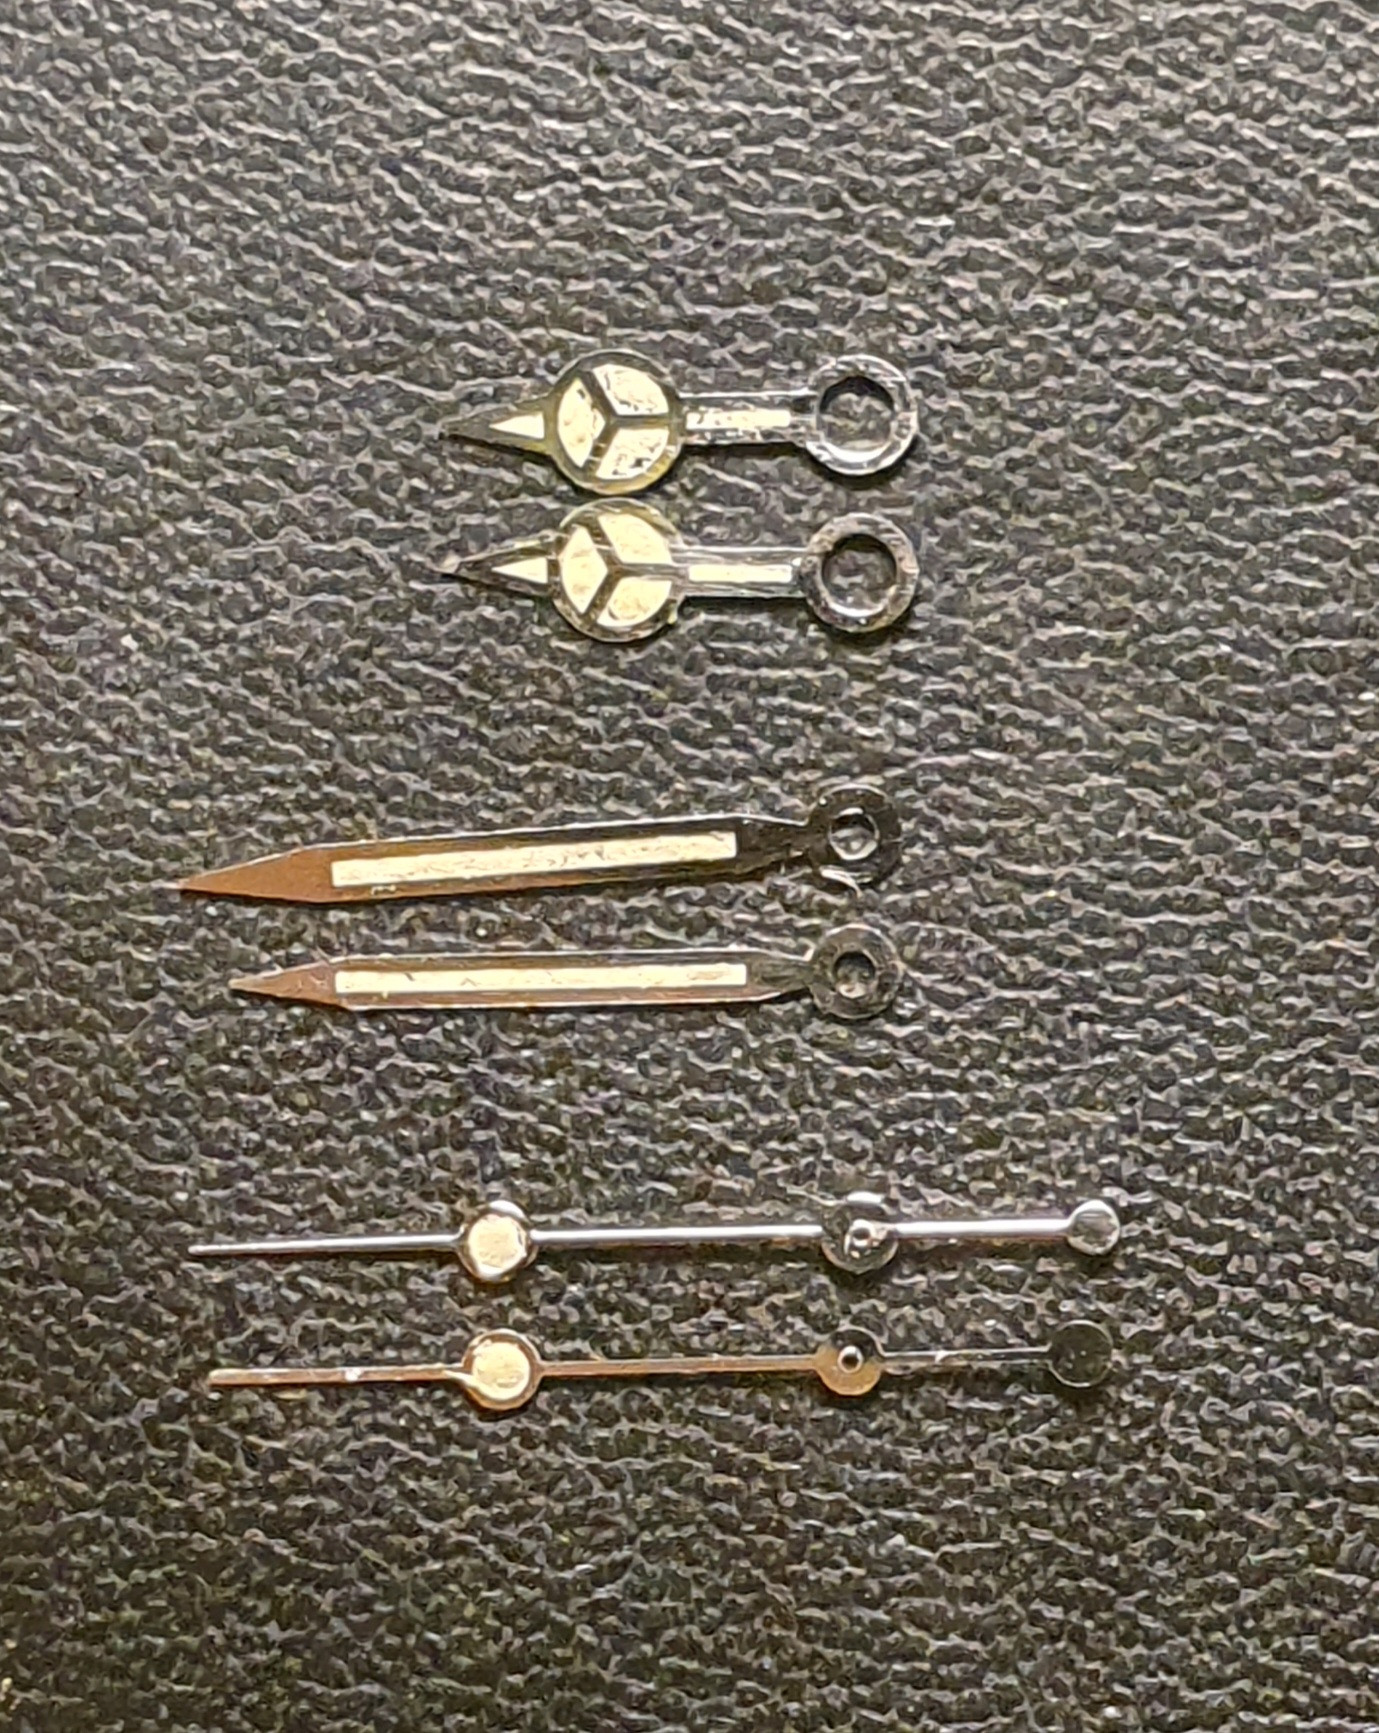
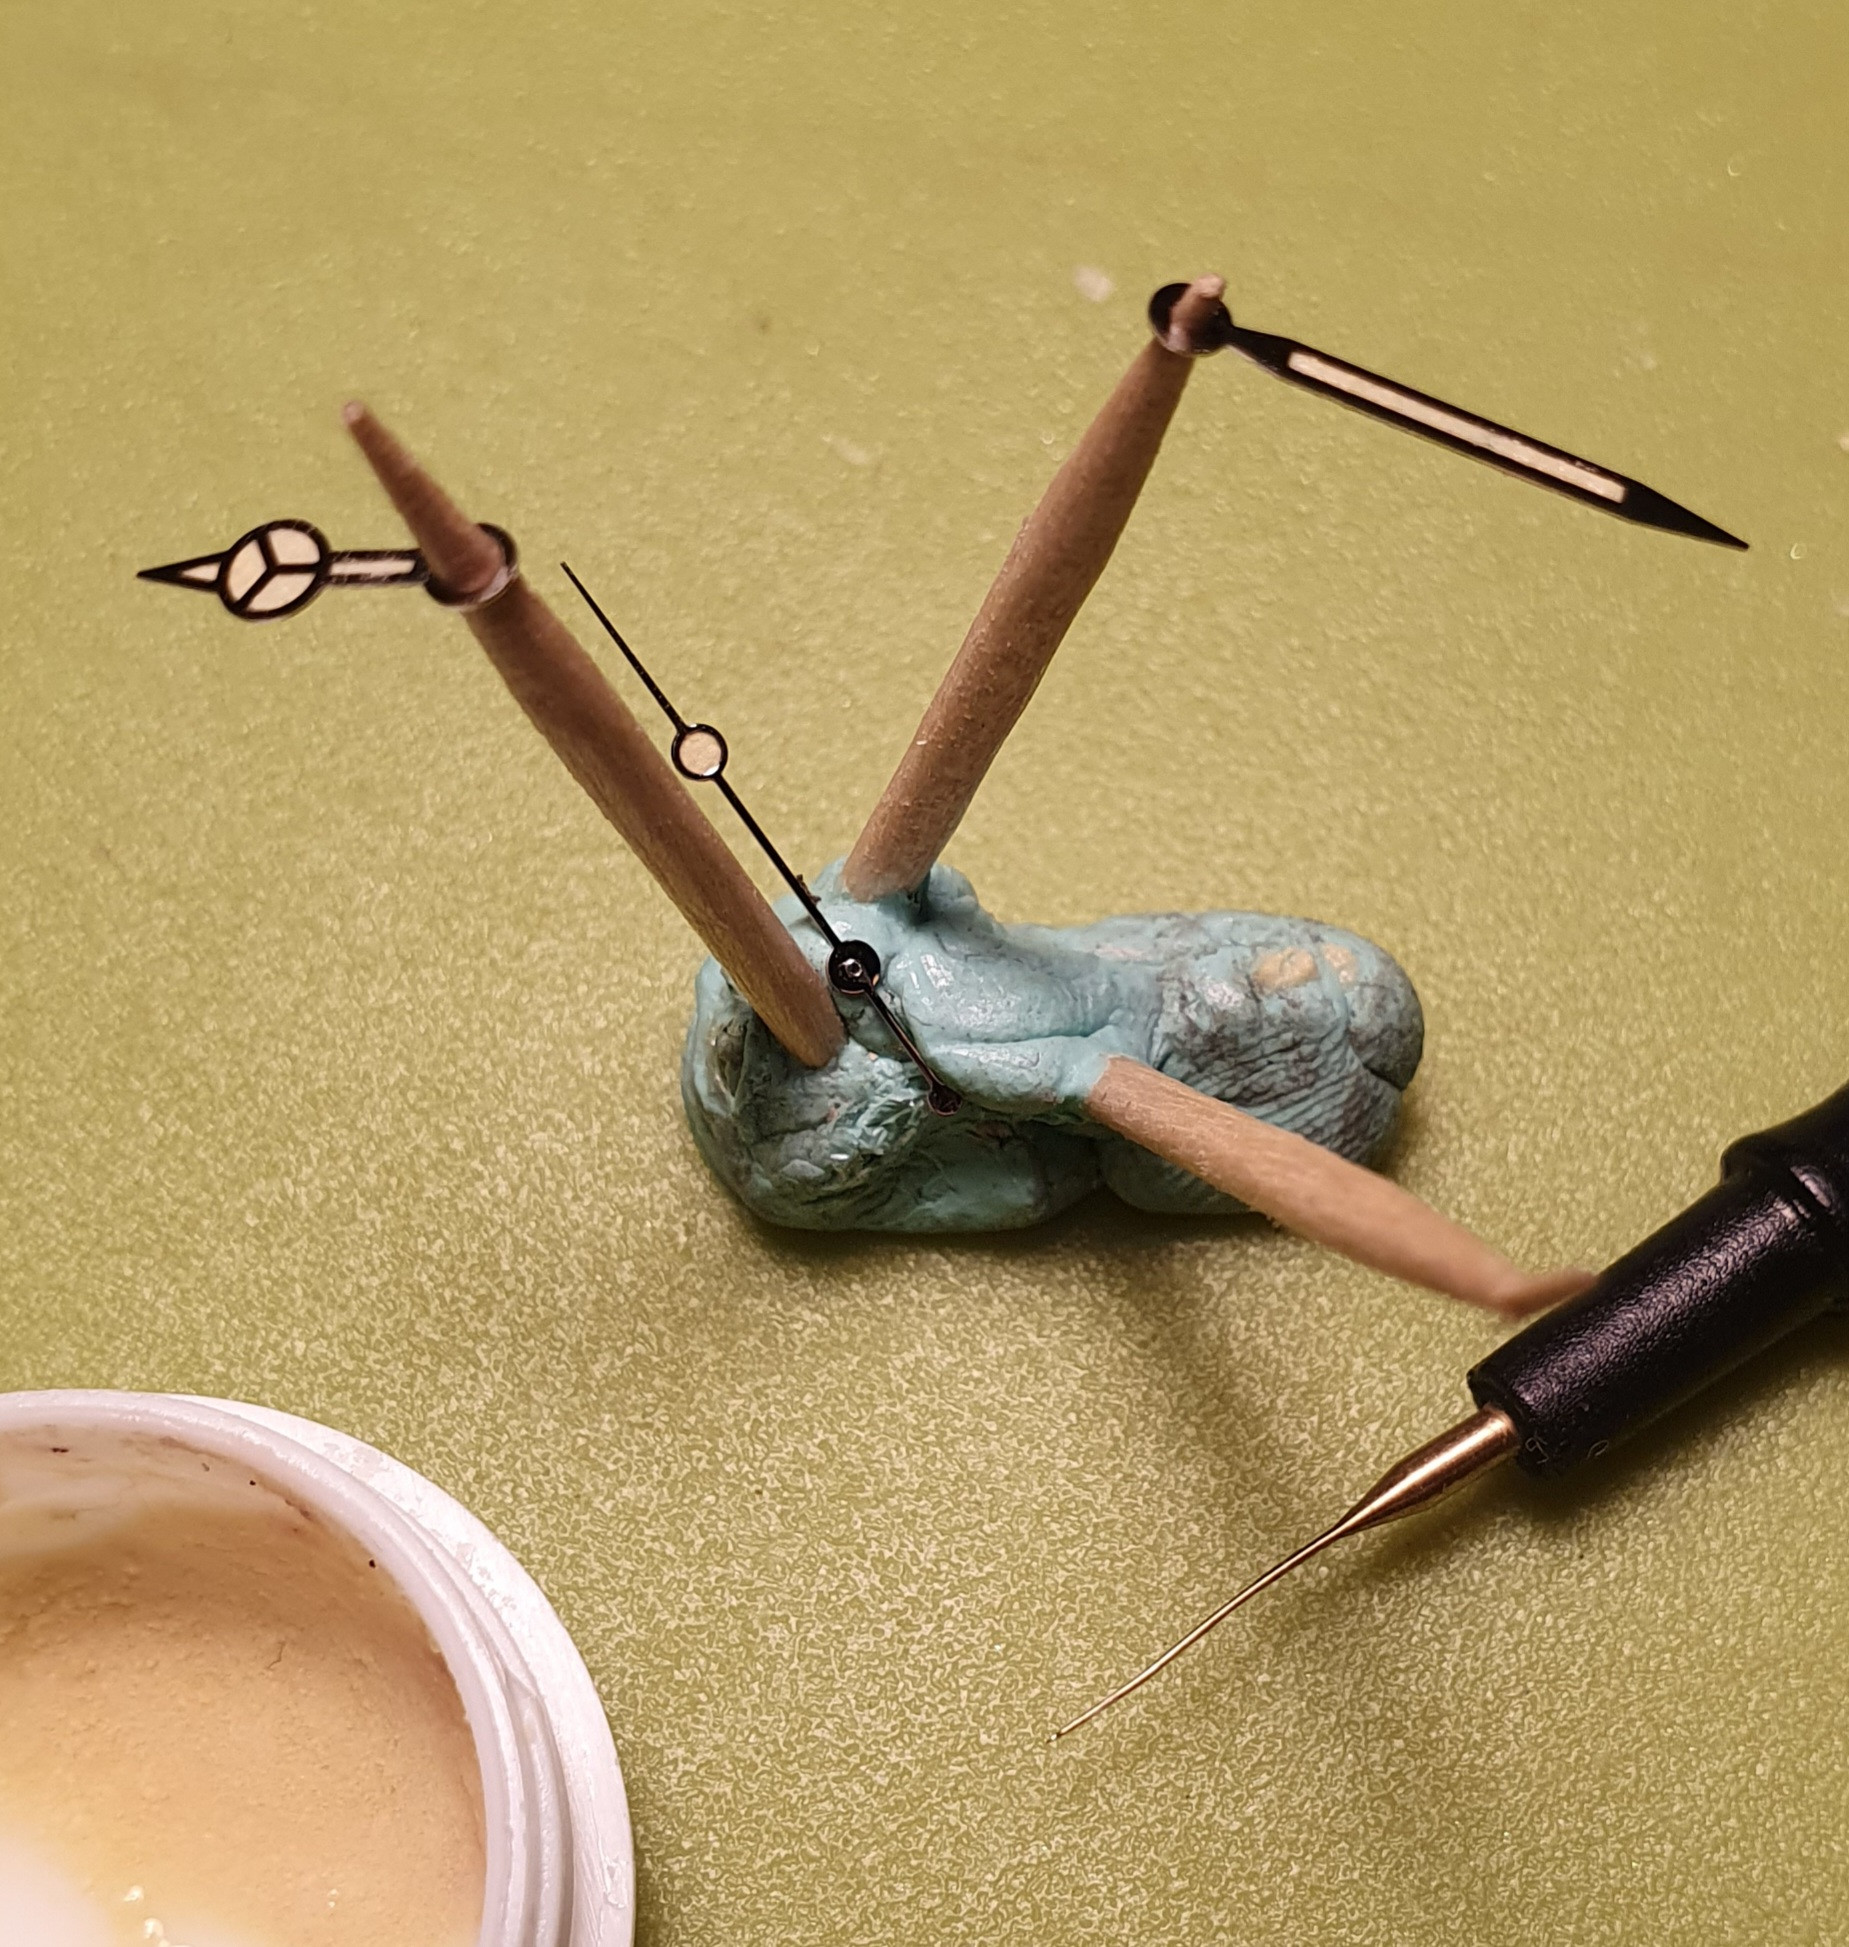
And if nothing else: the first 1016 Explorers had longer hands. Instead of the 12.5mm hands that are common today, they had 13mm hands. I could find the long hands at helenarou and relumed them.
As I wasn't entirely satisfied with the first version, the Explorer didn't make it onto my wrist very often. The dial had errors in the lacquer, in the printing (two letters were missing) and the lume didn't work out well for me. I was also annoyed by the grinding marks in the bezel and the structure of the magnifying glass, which could be seen in the glass.
All good things come in threes.
Here two images of the new dial. This time I applied 3 coats of lacquer and sanded the lacquer after each coat. At the end the surface was finished with a lacquer polish. On this picture you can see an intermediate state.

Here the final polished surface and the lume. Since I used the lume from Bergeon everything goes much easier.

And if nothing else: the first 1016 Explorers had longer hands. Instead of the 12.5mm hands that are common today, they had 13mm hands. I could find the long hands at helenarou and relumed them.

Not a fan of this model, but your work is extremely impressive.
As for getting a real "piano black" shine, I can share some knowledge. You'll get the smoothest coat by building up more layers at first, and then sanding with a 1200 grit or finer, then applying one last "flood coat."
Here are the common problems:
1) All finishes will eventually settle even more over time, so days, weeks, maybe months later, sanding scratches can start to appear. Minimize this by only using finer grits. 1200p is the maximum for automotive clear coats, but lacquer is softer, so maybe 1500 or 1800 is better?
2) Applying a regular lacquer vs a 2-part clear (that cures via heat by chemical reaction) takes much longer to settle. A hot and dry area like the dashboard of a Toyota parked in the Iraqi desert, or extended time in an oven on very low heat, is your friend here.
3) Some people are so cautious about sand scratches appearing later, they'll do a final "flood coat" instead of going straight to polishing. Ideally, it would be a thin wet coat that would fill in microscopic scratches and have zero orange peel. From there, one would have something that needs little or zero polishing.
I'm not giving advice on this, but I figured sharing that may help someone trying to perfect their own process. With that said, I think sanding between every coat is unnecessary. Multiple coats, allow paint to cure, wetsand perfectly flat, and doing a final thin coat is probably equal or less work with better results. And finally, 99% of us are using rattle-can clears, so it's never as easy as it sounds when comparing to modern methods used for show cars.
If in theory you could spray 1 or 2 layers with no orange peel why couldn’t you just polish that? If you could master that would that give the same result as multiple coverings that are sanded followed up with a flooded final layer that is polished?Not a fan of this model, but your work is extremely impressive.
As for getting a real "piano black" shine, I can share some knowledge. You'll get the smoothest coat by building up more layers at first, and then sanding with a 1200 grit or finer, then applying one last "flood coat."
Here are the common problems:
1) All finishes will eventually settle even more over time, so days, weeks, maybe months later, sanding scratches can start to appear. Minimize this by only using finer grits. 1200p is the maximum for automotive clear coats, but lacquer is softer, so maybe 1500 or 1800 is better?
2) Applying a regular lacquer vs a 2-part clear (that cures via heat by chemical reaction) takes much longer to settle. A hot and dry area like the dashboard of a Toyota parked in the Iraqi desert, or extended time in an oven on very low heat, is your friend here.
3) Some people are so cautious about sand scratches appearing later, they'll do a final "flood coat" instead of going straight to polishing. Ideally, it would be a thin wet coat that would fill in microscopic scratches and have zero orange peel. From there, one would have something that needs little or zero polishing.
I'm not giving advice on this, but I figured sharing that may help someone trying to perfect their own process. With that said, I think sanding between every coat is unnecessary. Multiple coats, allow paint to cure, wetsand perfectly flat, and doing a final thin coat is probably equal or less work with better results. And finally, 99% of us are using rattle-can clears, so it's never as easy as it sounds when comparing to modern methods used for show cars.
Absolutely, it would. The difference between experts at painting vs. true masters? A master will have much, much, much less sanding to do. Both can achieve the same result if the effort is there. However, you do need enough coats to give a nice depth. The ideal finish looks thick, smooth... so smooth it appears wet.If in theory you could spray 1 or 2 layers with no orange peel why couldn’t you just polish that? If you could master that would that give the same result as multiple coverings that are sanded followed up with a flooded final layer that is polished?
Unimportant, but ironically, if you're from Houston, you might've heard slang like "wet paint" or "paint dripping." It's a reference to a finish so flawless it still looks wet.
Unfortunately, I don't think one or two coats of rattle-can clear will have the proper depth, and sometimes orange-peel is impossible to avoid. Therefore, build up many coats for depth, then sand that to a perfectly flat surface. Even a hazy or frosted appearance will still shine and reflect if flat enough. The final polish and/or "flood coat" is to remove the haze, scratches, etc.
Just to add more, these are the exact reasons people use a very thick, slow-cure epoxy on tables and bars when clear coating them. The slower curing allows for more imperfections/gases/imperfections to escape before the coat has cured. On something that's very small, or needs a more strength/hardness, it's difficult to make it work.
Thank you for your honest opinion. I've already noticed from the contributions that not everyone likes this dial. Perhaps this is one reason why Rolex has not produced gilt dials for over 50 years.Not a fan of this model, but your work is extremely impressive.
Thank you also for your tips on the lacquering. You can never stop learning.
i really wonder how rolex did the finish. How many coats did they do? How did they polish? Having spent too much time on the dial part even if you have a perfect impression from a pad print at tiny imperfection on the dial surface prior to plating shows up in the final product. I’m sure quite a few dials were rejected for that along with non 100% of print impressions due to ink not being picked up fully. On top of that I’m sure quite a few dials were rejected in what I am assuming is a lengthy lacquering time given curing times and reapplication of lacquer.Not a fan of this model, but your work is extremely impressive.
As for getting a real "piano black" shine, I can share some knowledge. You'll get the smoothest coat by building up more layers at first, and then sanding with a 1200 grit or finer, then applying one last "flood coat."
Here are the common problems:
1) All finishes will eventually settle even more over time, so days, weeks, maybe months later, sanding scratches can start to appear. Minimize this by only using finer grits. 1200p is the maximum for automotive clear coats, but lacquer is softer, so maybe 1500 or 1800 is better?
2) Applying a regular lacquer vs a 2-part clear (that cures via heat by chemical reaction) takes much longer to settle. A hot and dry area like the dashboard of a Toyota parked in the Iraqi desert, or extended time in an oven on very low heat, is your friend here.
3) Some people are so cautious about sand scratches appearing later, they'll do a final "flood coat" instead of going straight to polishing. Ideally, it would be a thin wet coat that would fill in microscopic scratches and have zero orange peel. From there, one would have something that needs little or zero polishing.
I'm not giving advice on this, but I figured sharing that may help someone trying to perfect their own process. With that said, I think sanding between every coat is unnecessary. Multiple coats, allow paint to cure, wetsand perfectly flat, and doing a final thin coat is probably equal or less work with better results. And finally, 99% of us are using rattle-can clears, so it's never as easy as it sounds when comparing to modern methods used for show cars.
I’m assuming too I’m the 50s there was pretty good “dust free room” technologies.
I was more wondering how they lacquered. Hard to believe (but also can believe it) that a mass produced watch would be so labor intensive and involve lots of curing and sanding/polishing.Rolex use two methods either tampoprint or foiling, heatfoil or coldfoiling.
The dials themselves are electroplated (in the rolex at least almost positive it’s black nickel given how it’s oxidized aka tropicalized)and if they were foiled the foil itself would be electroplated as well which renders the foil moot. Ink is later removed post plating to reveal the brass beneath is the way to go.
Now I’m ona rabbit hole of hot foil stamping because it looks cool

