- 12/3/18
- 37,287
- 78,894
- 113
Greetings fellow watchaholics! This has been done for a little while and I’m happy to share the adventure.
The case is the well-known Ebay 16710 from Germany. These are very good cases but did have some notable deviations from gen that needed some tweaking or workarounds. I did a review on these cases which you can read about in the thread below if interested.
Ebay 16710 case review
Gen parts:
Dial - NOS
Hands - NOS
Insert - NOS
Datewheel - used
Crown - used
Jump click 3185-660 - new
Rep parts:
Ebay case and caseback
VR3186
WSO bezel, plated
Startime tube, O rings, retaining ring, bezel washer & click
To summarize the most significant issues:
-The tops of the lugs were not factory brushed close enough to the rehaut to be covered by the bezel. This is even more of an issue with a 16570, which has a smaller diameter bezel.
-No chamfers were cut.
-The CGs are a tad skinny. A gen unpolished 16710 has pretty beefy CGs.
-The rehaut is too tall.
-The lug holes were drilled too low and not perfectly aligned with each other.
-The lugs are a tad long
Here are a few pics next to my gen (with bracelet on).


Here you can see the slight difference in lug lengths. This is not usually noticeable with a bracelet link in its normal position.

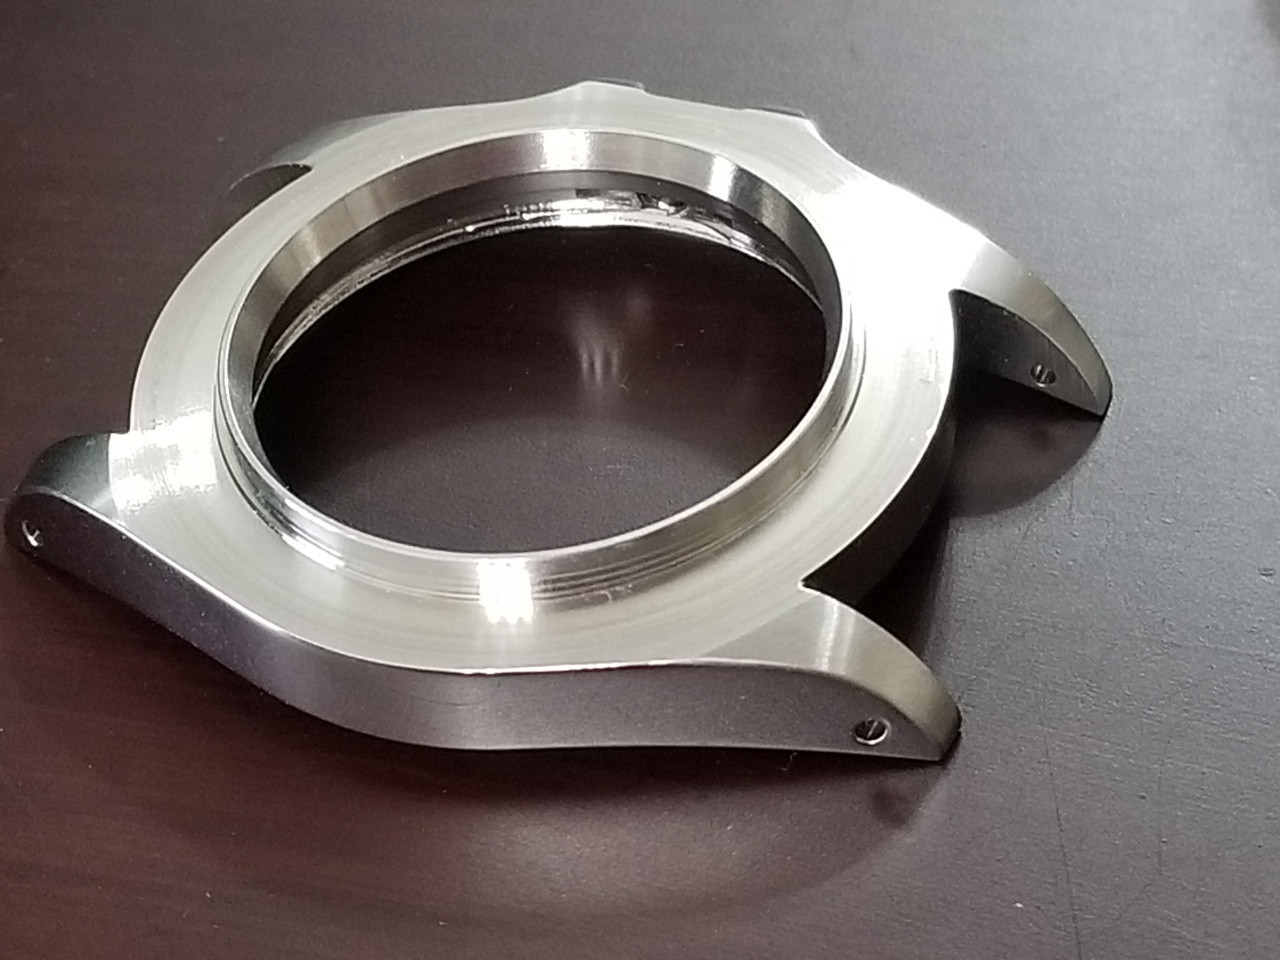
The first issue I wanted to tackle was the lugs. Some significant sanding was necessary to level the little bump where the factory brushing ended and the smooth case top began. Once that was pretty even, a blending was done to carry the brushed finish up closer to the rehaut.


Then you can cut some chamfers. Depending on how wide you want to make them, a dremel with a 600 grit sanding drum is a good way to get a nice cut started. Ofc practice first on a junk case but this is not nearly as hard or risky to do as you might think if you have a steady hand.
Just barely contact the lug top and side corner and swipe the drum along over as long a stroke as you can while maintaining the correct depth and angle. It doesn't take much off at a time if you are careful. Don't worry if it's slightly uneven, the next step with smooth it all down nicely.
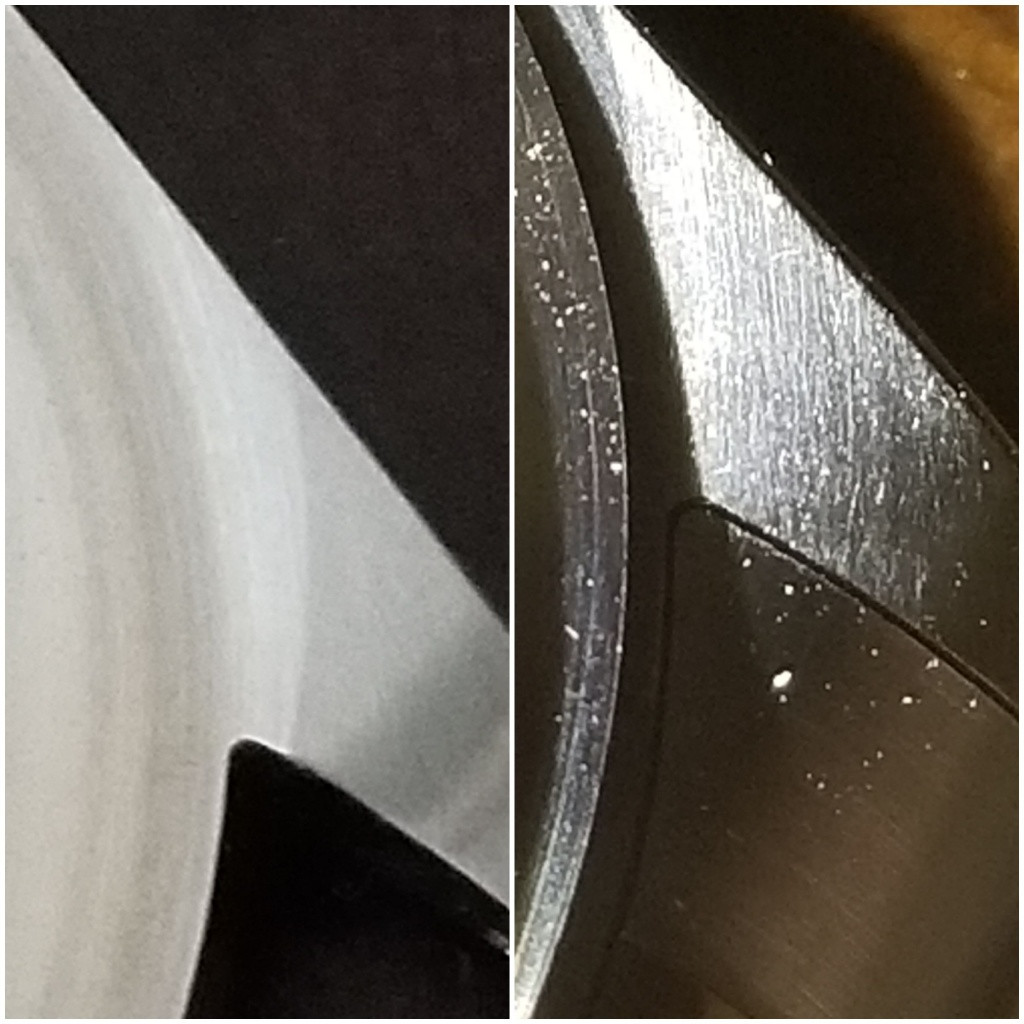
Before initial cut

Nice cut started

Others do it with a file after anchoring the case in a vice. I haven't tried it that way but it would take the same technique - work the file along the corner in a series of strokes while maintaining a correct pressure and angle.
Or you can just do it all with small strips of sandpaper rolled around a a toothpick or a springbar tool, etc. I did my first one this way but it took so long I decided to jump start the rest with a dremel.
After you get a cut started, then just work it away as described above. Start with 400 grit but use it lightly until you get a feel for how much material it removes. Then progress to finer grits 600 800 1000 2000 5000 7000, etc. Finish with buffing wheel polish.
It's important to keep the angle right and the sandpaper contact point to a minimum. Don't let it roll on top onto the brushing or to the polished side or those will have to be touched up. It will happen and touch up will be necessary but keeping it to a minimum means less extra work later.


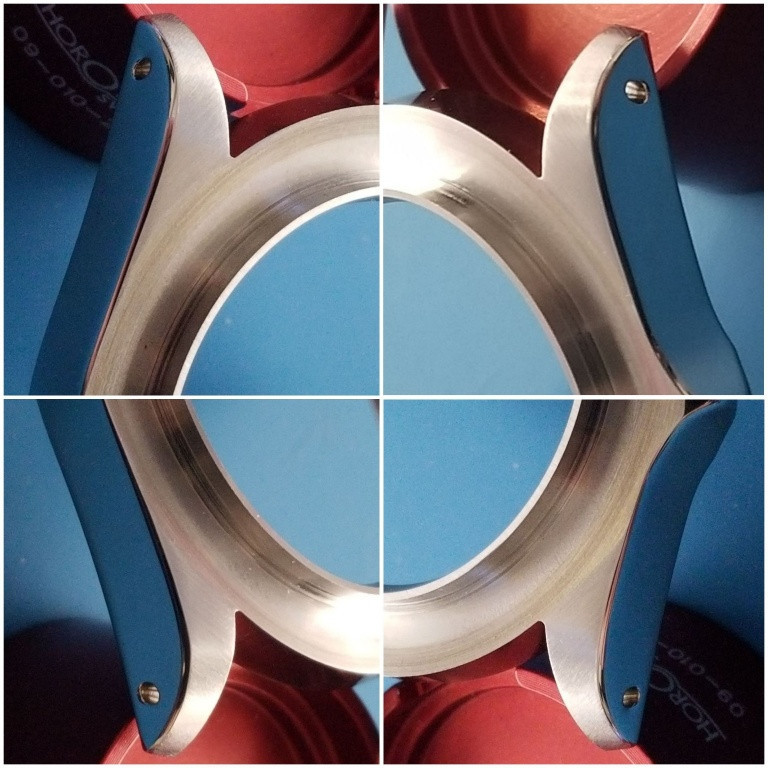
Next to my unpolished gen

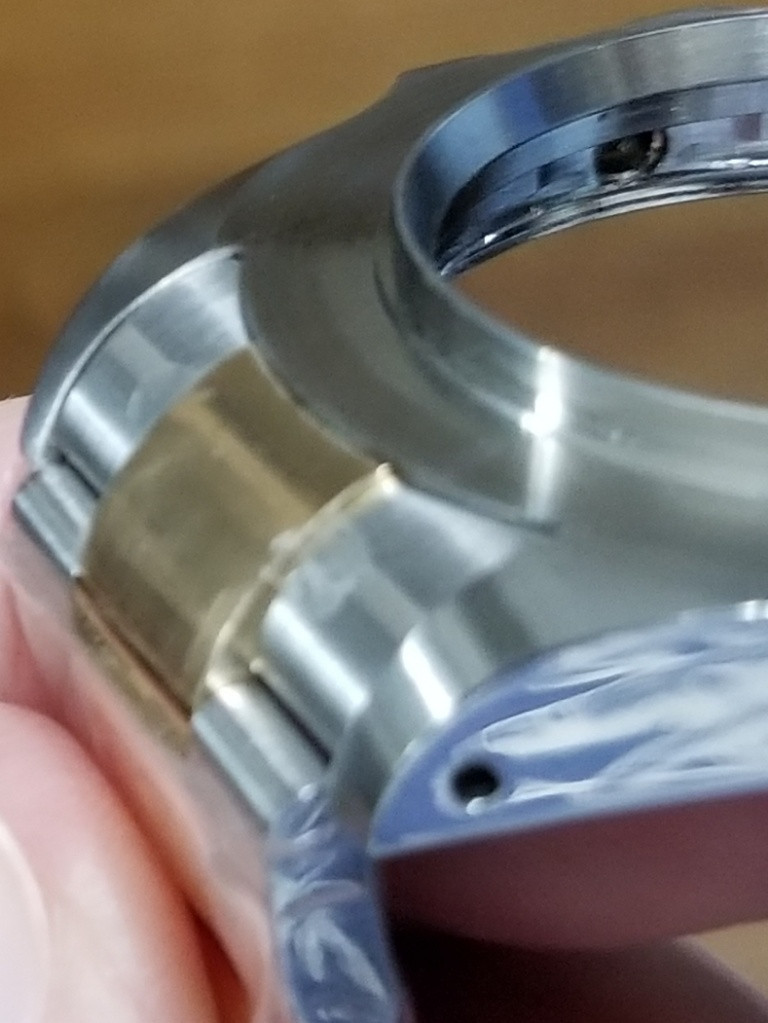
Next I shaved the rehaut 0.15mm. It could have stood a tad more off but I didn't want the second hand any higher relative to the rehaut ledge. Note that this does not affect the sitting height of the crystal which is dependent only on the crystal gasket.
This is really easy to do, takes like 10 minutes. It also makes the rehaut ledge wider, a good thing as the stock ledge is too skinny. 400 grit to lower it, 800 grit to finish it. I like to leave a little brush grain on the ledge.


Before and after next to gen

For the bezel, I had several four year old WSO SS bezels that fit a gen insert and the case better than the two Startime SS bezels I recently bought. I spent a lot of time shaving the ST bezel inner perimeter to fit the gen insert before realizing I had a better choice on hand. I had to take one WSO bezel out of use on another rep.
@Oascom plated my WSO bezel in 18K YG and it looks fabulous.


ST bezel fun (not)


ST on top of gen

I used a Clark's crystal with cyclops AR. Not period correct I know but what can I say I like them!
You just have to live with the lug hole positions but with some creative bending, taping, and sanding of springbars and tips, you can force the SELs to sit up higher on the case and look acceptable. I used an ARF 116613 bracelet, complete with Glidelock. Sorry but I love those and use one on my gen 16710, haha.
These are 2.0mm shouldered springbars from Startime, the part number is on the bag. These are very nice, solid and strong. The ARF SEL hole was big enough to add some tape to help push the SEL upward.


You can stick tape on the bar right from the roll and cut off the excess.


So on the initial fit attempt there was some rotational play in the SEL that created a little gap to the case if the bracelet was pulled down. Two layers of narrow tape on this vertical part of the case lip fixed that.

Then both sides of the bar tips wouldn't go in the holes because the bottom of the SEL was pushed back a little. So I bent the tip a little but even that wasn't enough.

So I began sanding a little of the tip off from the backside to let that tip extend into the hole. After a few attempts, it worked.


Now everything fits tightly and the SEL recess is OK.

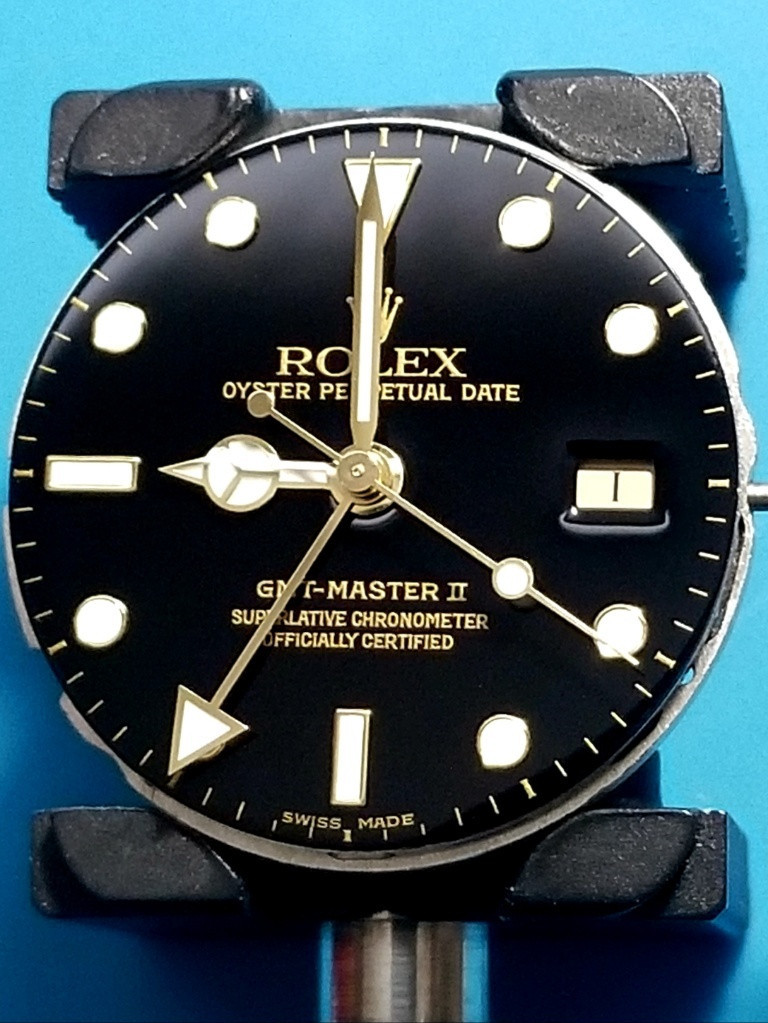
Gen dial, NOS

Also gen hands NOS. A note on using gen hands with a VR3186:
The gen hour hand clearance to the dial is extremely short. I was able to fit it with a little angle up toward the hand tip but wasn't really happy with it. Then when I pressed the GMT hand on it pushed the hour hand down onto the dial. Ouch.
So I was able to get the GMT hand off by itself but had to put some wax paper under the hour hand and use the dial to lift the hour hand enough to use my levers.
This may not happen in every install but there are other reports of it and if not paying attention it can quickly damage a dial.
An example (source unknown)

So I came up with a fix by using an ETA GMT hand hole surround as a spacer on the hour hand wheel.
The fit was perfect, 2.0mm. The hole surround needs to be sanded down on top and bottom to make the spacer. It's not hard to do, you just have to adjust height incrementally to give the hand a little boost but leave it enough vertical room to grip the post.


I made a few of these and the ring I ended up using (shown above) was bigger in diameter than the dial center hole. After I put the movement in the case, apparently the dial contacted the spacer and was affecting the hand post movement, occasionally slowing it down.
The fix was to reduce the diameter of the spacer to smaller than the dial center hole.

Junk dial


Heads up to use extra care with the hour hand, especially if it's a gen hand!
Undoubtedly some suitable 2.0mm hole washers can be found online. Thin, foil type ones can be stacked, etc. I like to just make stuff if I have a usable material.
I took a guess on which caseback gasket would fit the groove under the retaining ring. It looks like the numbers 322 and 337 in the part number correlate to 32.2mm and 33.7mm. The 33.7mm caseback gasket fits the retaining ring groove nicely.

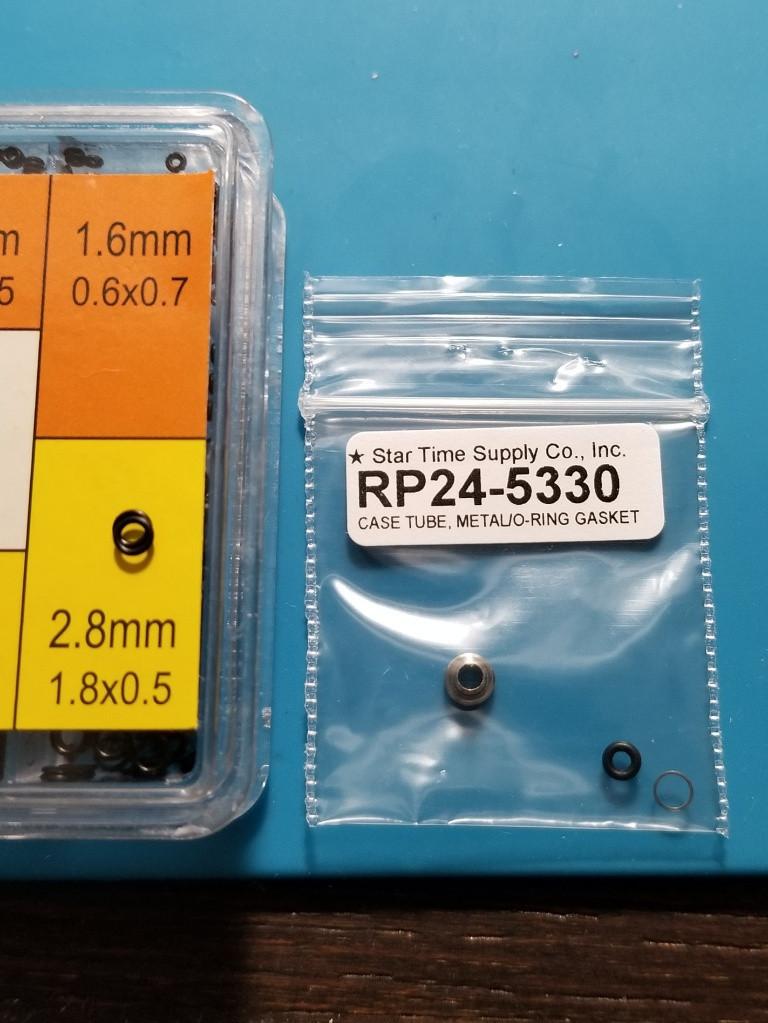
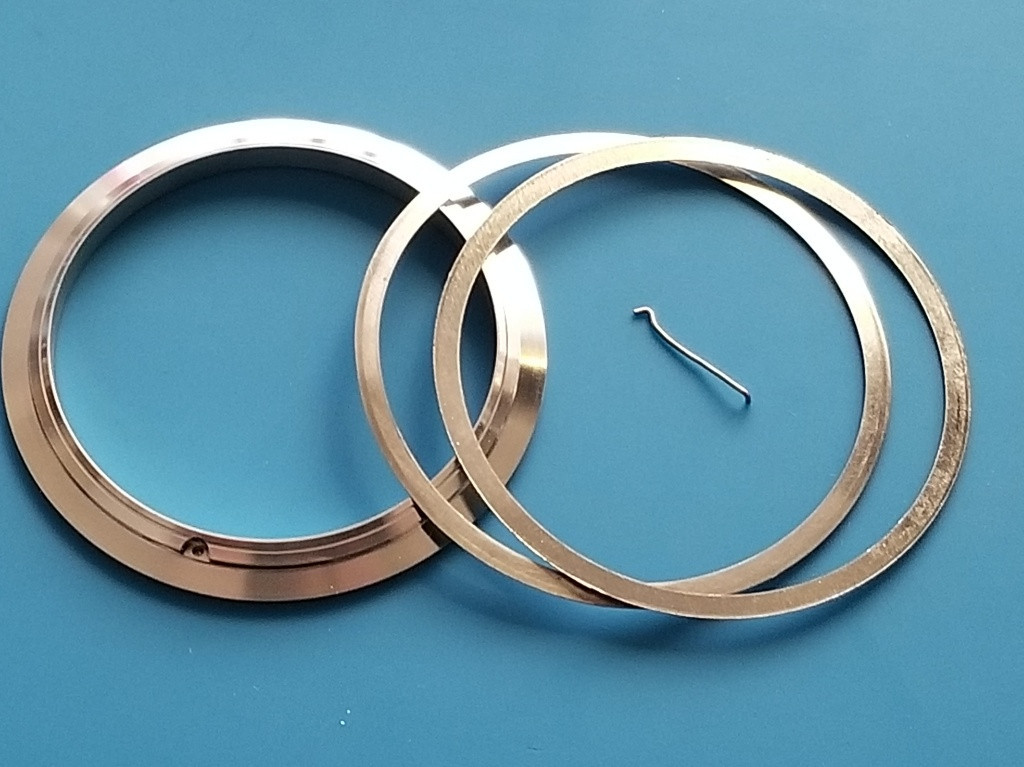
The tube, retaining ring, bezel washer and click came from Startime. The crown is gen.
I had an issue with the cannon pinion on one VR3186. After the hands were on it was reading near perfectly on the timegrapher but losing several minutes a day. Weird combination of symptoms but classic loose cannon pinion. The fix is to pinch the cannon pinion a little tighter around the minute pinion underneath but I was none too happy about taking the hands and dial off again after getting them so carefully fitted with the extra hour hand washer support, arghh. But we do what we gotta do.
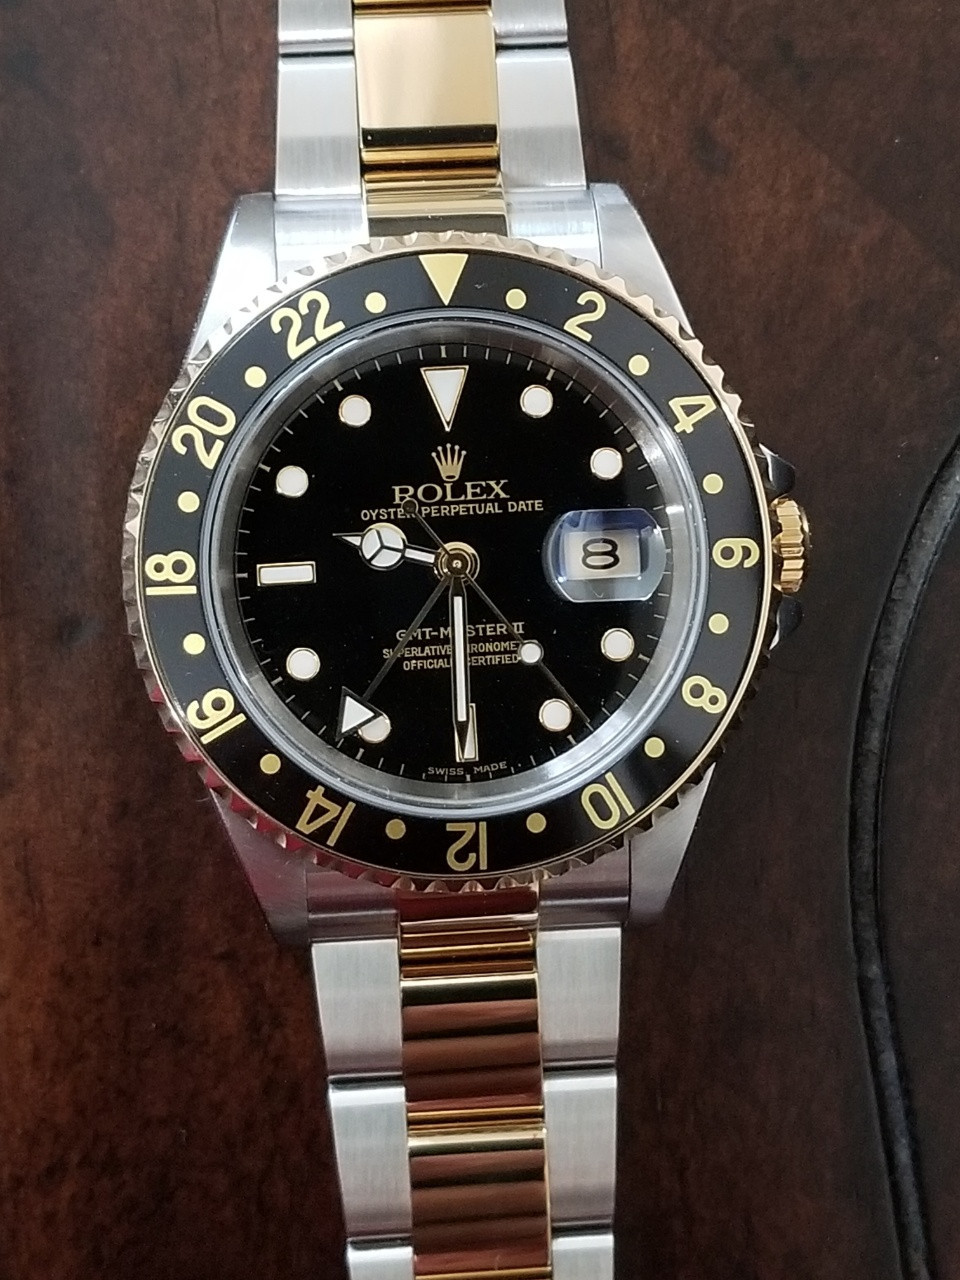
So finally it's all together
I had some leftover bracelet film from my CF Bluesy so I put it on the polished links.

Thanks for looking!
The case is the well-known Ebay 16710 from Germany. These are very good cases but did have some notable deviations from gen that needed some tweaking or workarounds. I did a review on these cases which you can read about in the thread below if interested.
Ebay 16710 case review
Gen parts:
Dial - NOS
Hands - NOS
Insert - NOS
Datewheel - used
Crown - used
Jump click 3185-660 - new
Rep parts:
Ebay case and caseback
VR3186
WSO bezel, plated
Startime tube, O rings, retaining ring, bezel washer & click
To summarize the most significant issues:
-The tops of the lugs were not factory brushed close enough to the rehaut to be covered by the bezel. This is even more of an issue with a 16570, which has a smaller diameter bezel.
-No chamfers were cut.
-The CGs are a tad skinny. A gen unpolished 16710 has pretty beefy CGs.
-The rehaut is too tall.
-The lug holes were drilled too low and not perfectly aligned with each other.
-The lugs are a tad long
Here are a few pics next to my gen (with bracelet on).
Here you can see the slight difference in lug lengths. This is not usually noticeable with a bracelet link in its normal position.
The first issue I wanted to tackle was the lugs. Some significant sanding was necessary to level the little bump where the factory brushing ended and the smooth case top began. Once that was pretty even, a blending was done to carry the brushed finish up closer to the rehaut.
Then you can cut some chamfers. Depending on how wide you want to make them, a dremel with a 600 grit sanding drum is a good way to get a nice cut started. Ofc practice first on a junk case but this is not nearly as hard or risky to do as you might think if you have a steady hand.
Just barely contact the lug top and side corner and swipe the drum along over as long a stroke as you can while maintaining the correct depth and angle. It doesn't take much off at a time if you are careful. Don't worry if it's slightly uneven, the next step with smooth it all down nicely.
Before initial cut
Nice cut started
Others do it with a file after anchoring the case in a vice. I haven't tried it that way but it would take the same technique - work the file along the corner in a series of strokes while maintaining a correct pressure and angle.
Or you can just do it all with small strips of sandpaper rolled around a a toothpick or a springbar tool, etc. I did my first one this way but it took so long I decided to jump start the rest with a dremel.
After you get a cut started, then just work it away as described above. Start with 400 grit but use it lightly until you get a feel for how much material it removes. Then progress to finer grits 600 800 1000 2000 5000 7000, etc. Finish with buffing wheel polish.
It's important to keep the angle right and the sandpaper contact point to a minimum. Don't let it roll on top onto the brushing or to the polished side or those will have to be touched up. It will happen and touch up will be necessary but keeping it to a minimum means less extra work later.
Next to my unpolished gen
Next I shaved the rehaut 0.15mm. It could have stood a tad more off but I didn't want the second hand any higher relative to the rehaut ledge. Note that this does not affect the sitting height of the crystal which is dependent only on the crystal gasket.
This is really easy to do, takes like 10 minutes. It also makes the rehaut ledge wider, a good thing as the stock ledge is too skinny. 400 grit to lower it, 800 grit to finish it. I like to leave a little brush grain on the ledge.
Before and after next to gen
For the bezel, I had several four year old WSO SS bezels that fit a gen insert and the case better than the two Startime SS bezels I recently bought. I spent a lot of time shaving the ST bezel inner perimeter to fit the gen insert before realizing I had a better choice on hand. I had to take one WSO bezel out of use on another rep.
@Oascom plated my WSO bezel in 18K YG and it looks fabulous.
ST bezel fun (not)
ST on top of gen
I used a Clark's crystal with cyclops AR. Not period correct I know but what can I say I like them!
You just have to live with the lug hole positions but with some creative bending, taping, and sanding of springbars and tips, you can force the SELs to sit up higher on the case and look acceptable. I used an ARF 116613 bracelet, complete with Glidelock. Sorry but I love those and use one on my gen 16710, haha.
These are 2.0mm shouldered springbars from Startime, the part number is on the bag. These are very nice, solid and strong. The ARF SEL hole was big enough to add some tape to help push the SEL upward.
You can stick tape on the bar right from the roll and cut off the excess.
So on the initial fit attempt there was some rotational play in the SEL that created a little gap to the case if the bracelet was pulled down. Two layers of narrow tape on this vertical part of the case lip fixed that.
Then both sides of the bar tips wouldn't go in the holes because the bottom of the SEL was pushed back a little. So I bent the tip a little but even that wasn't enough.
So I began sanding a little of the tip off from the backside to let that tip extend into the hole. After a few attempts, it worked.
Now everything fits tightly and the SEL recess is OK.
Gen dial, NOS
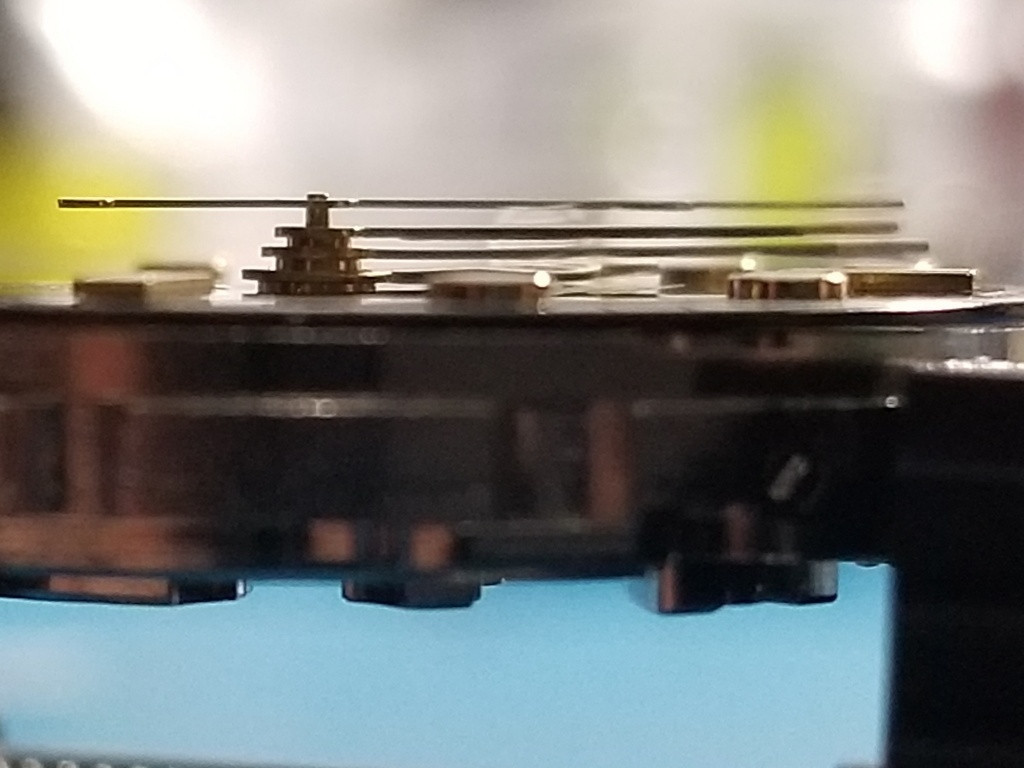
Also gen hands NOS. A note on using gen hands with a VR3186:
The gen hour hand clearance to the dial is extremely short. I was able to fit it with a little angle up toward the hand tip but wasn't really happy with it. Then when I pressed the GMT hand on it pushed the hour hand down onto the dial. Ouch.
So I was able to get the GMT hand off by itself but had to put some wax paper under the hour hand and use the dial to lift the hour hand enough to use my levers.
This may not happen in every install but there are other reports of it and if not paying attention it can quickly damage a dial.
An example (source unknown)
So I came up with a fix by using an ETA GMT hand hole surround as a spacer on the hour hand wheel.
The fit was perfect, 2.0mm. The hole surround needs to be sanded down on top and bottom to make the spacer. It's not hard to do, you just have to adjust height incrementally to give the hand a little boost but leave it enough vertical room to grip the post.
I made a few of these and the ring I ended up using (shown above) was bigger in diameter than the dial center hole. After I put the movement in the case, apparently the dial contacted the spacer and was affecting the hand post movement, occasionally slowing it down.
The fix was to reduce the diameter of the spacer to smaller than the dial center hole.
Junk dial
Heads up to use extra care with the hour hand, especially if it's a gen hand!
Undoubtedly some suitable 2.0mm hole washers can be found online. Thin, foil type ones can be stacked, etc. I like to just make stuff if I have a usable material.
I took a guess on which caseback gasket would fit the groove under the retaining ring. It looks like the numbers 322 and 337 in the part number correlate to 32.2mm and 33.7mm. The 33.7mm caseback gasket fits the retaining ring groove nicely.
The tube, retaining ring, bezel washer and click came from Startime. The crown is gen.
I had an issue with the cannon pinion on one VR3186. After the hands were on it was reading near perfectly on the timegrapher but losing several minutes a day. Weird combination of symptoms but classic loose cannon pinion. The fix is to pinch the cannon pinion a little tighter around the minute pinion underneath but I was none too happy about taking the hands and dial off again after getting them so carefully fitted with the extra hour hand washer support, arghh. But we do what we gotta do.
So finally it's all together
I had some leftover bracelet film from my CF Bluesy so I put it on the polished links.
Thanks for looking!
Last edited:


 .
.


