• Tired of adverts on RWI? - Subscribe by clicking HERE and PMing Trailboss for instructions and they will magically go away!

16610 Franken build - early tritium model!

pegelabfall

Do not accept unsolicited offers
25/5/15
4
2
3
EU
I checked in daily to read your updates - now you got me pressing F5 every few hours haha.
Nearly done with the build, good luck with the rest!
 

HulkyGalore

Active Member
Supporter
Certified
15/12/22
381
467
63
UK
I checked in daily to read your updates - now you got me pressing F5 every few hours haha.
Nearly done with the build, good luck with the rest!
Thanks for this, appreciate it. I didn't rush it this time, as I wanted it to be right. Also I have to fit activity in when I get time. I really enjoy the assembly aspect of this hobby, and hope the explanations help others. Some of what I learned was through previous (or recent!) mistakes and there is usually a good reason for things that happen.
 

HulkyGalore

Active Member
Supporter
Certified
15/12/22
381
467
63
UK
Now the bezel needs assembling with the clickspring. Here is the order:
1. Place the spring washer on the retainer. The little hole for the spring washer should be around the top so that when the click spring is in place, future bezel removing is by prying from the opposite corner near a lug.
2. Insert the click spring in the hole and gently place it in the groove - these springs have a habit of going flying so take care and have a spare.
3. Put the bezel in place by locating the end of the click spring in the grooves, fitting that side first and then pressing the opposite side until it "clicks" in place.

2aQdW1.jpeg


2aQklj.jpeg


2aQwf4.jpeg
 

HulkyGalore

Active Member
Supporter
Certified
15/12/22
381
467
63
UK
The bezel is fitted and the spring then should slip on the teeth as the bezel is rotated.
Sometimes bezel rotation is not perfect and this step needs a few attempts. On this occasion it went well and the bezel turns perfectly. Perfect alignment of the crystal retaining ring can help here so that there is less friction, and as mentioned before, the spring washer thickness and surface quality can make a difference too. It is best to check for friction by doing a test fit without the spring washer, only fitting it when the bezel turns freely without it first.

For these steps the insert has been removed, because it can be inserted once the exact position of the bezel is known with the click spring in place. Otherwise you may get poor alignment of the insert pip wish the 12 o'clock marker resulting in having to start again.

2aQuuX.jpeg

2aQ7ji.jpeg
 

HulkyGalore

Active Member
Supporter
Certified
15/12/22
381
467
63
UK
Next step - aligning the insert and pressing it into place, starting at the 12 o'clock position. The reason for this is to prevent the area where the pip is glued in from being stressed as there are some thin areas of aluminium there.

The insert was again, quite a tight fit. I couldn't press the last bit in easily, so employed a bit of help from my press.

I was super careful in two ways: 1 - I didn't squeeze too hard (especially to avoid breaking the crystal!!) and 2- I made a cut-out in the plastic first to avoid damaging the insert pip.

After a very small compression it went "click" and I'm now able to move into the final stages of assembly (bracelet, end links).

2aXTJi.jpeg


2aXdWb.jpeg
 

DD60

Ye Olde "Eagle Eyed" Moderator
Staff member
Moderator Sales
Global Moderator
Certified
28/4/17
20,351
12,001
113
@HulkyGalore
Well done! Excellent job taking your time to clearly present each step with personal tips in your commentary. Each step supported with very nice photos allowed the readers to be a part of the build with you.
Thank you for sharing yout build tutorial with the community.
 

HulkyGalore

Active Member
Supporter
Certified
15/12/22
381
467
63
UK
@HulkyGalore
Well done! Excellent job taking your time to clearly present each step with personal tips in your commentary. Each step supported with very nice photos allowed the readers to be a part of the build with you.
Thank you for sharing yout build tutorial with the community.
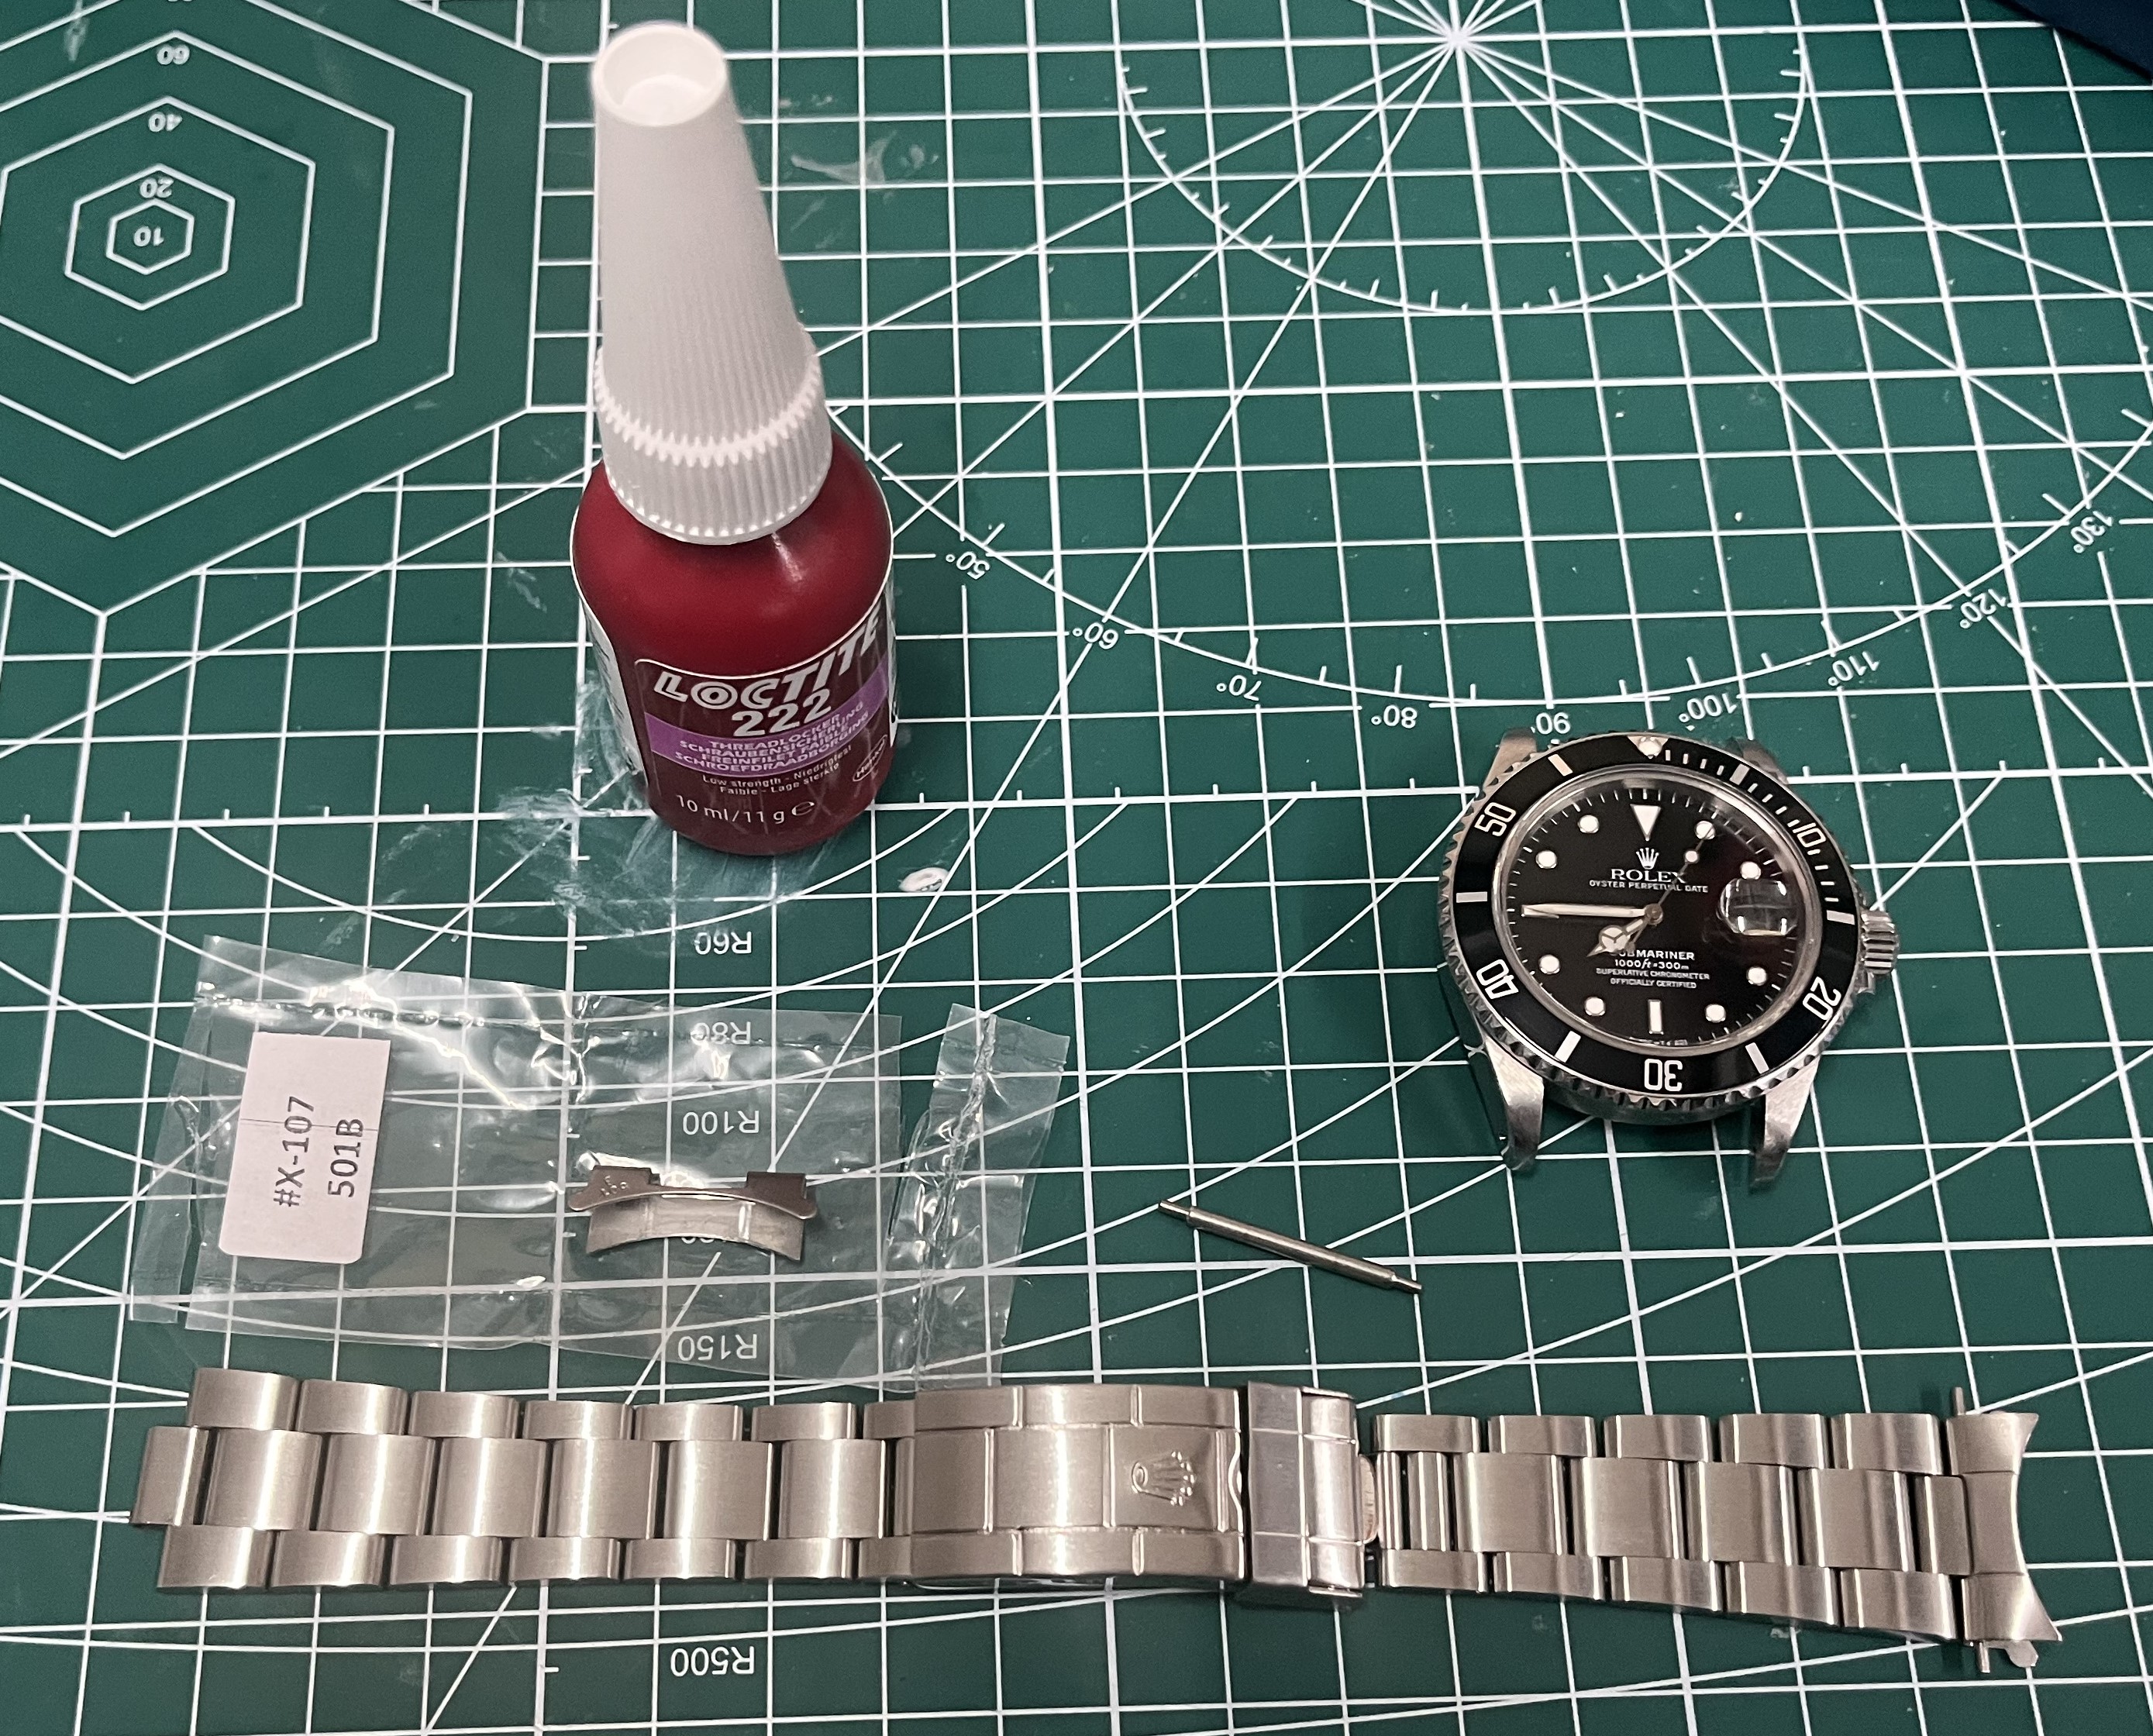
Thanks for this comment. I have learned so much on this forum from people doing builds, restorations, even sales threads. From low to high budgets, reading around you can learn a lot. Although a lot of my experience was learned through mistakes, others posting their journeys and learning got me started. So I thought, why not share a few pictures and explanations. I get so much satisfaction from wearing a self built watch, hopefully others may try it too!

The other tip is to get a cheap watch or parts to experiment on. This can take the stress out of damaging expensive parts, and by the time you get to using those, you have a basic skill level.

My thanks go out to all the builders, modders, hobbyists and fellow members who helped me build my dream watch. The sharing attitude and helpfulness across different regions and cultures is great, it is an amazing community.

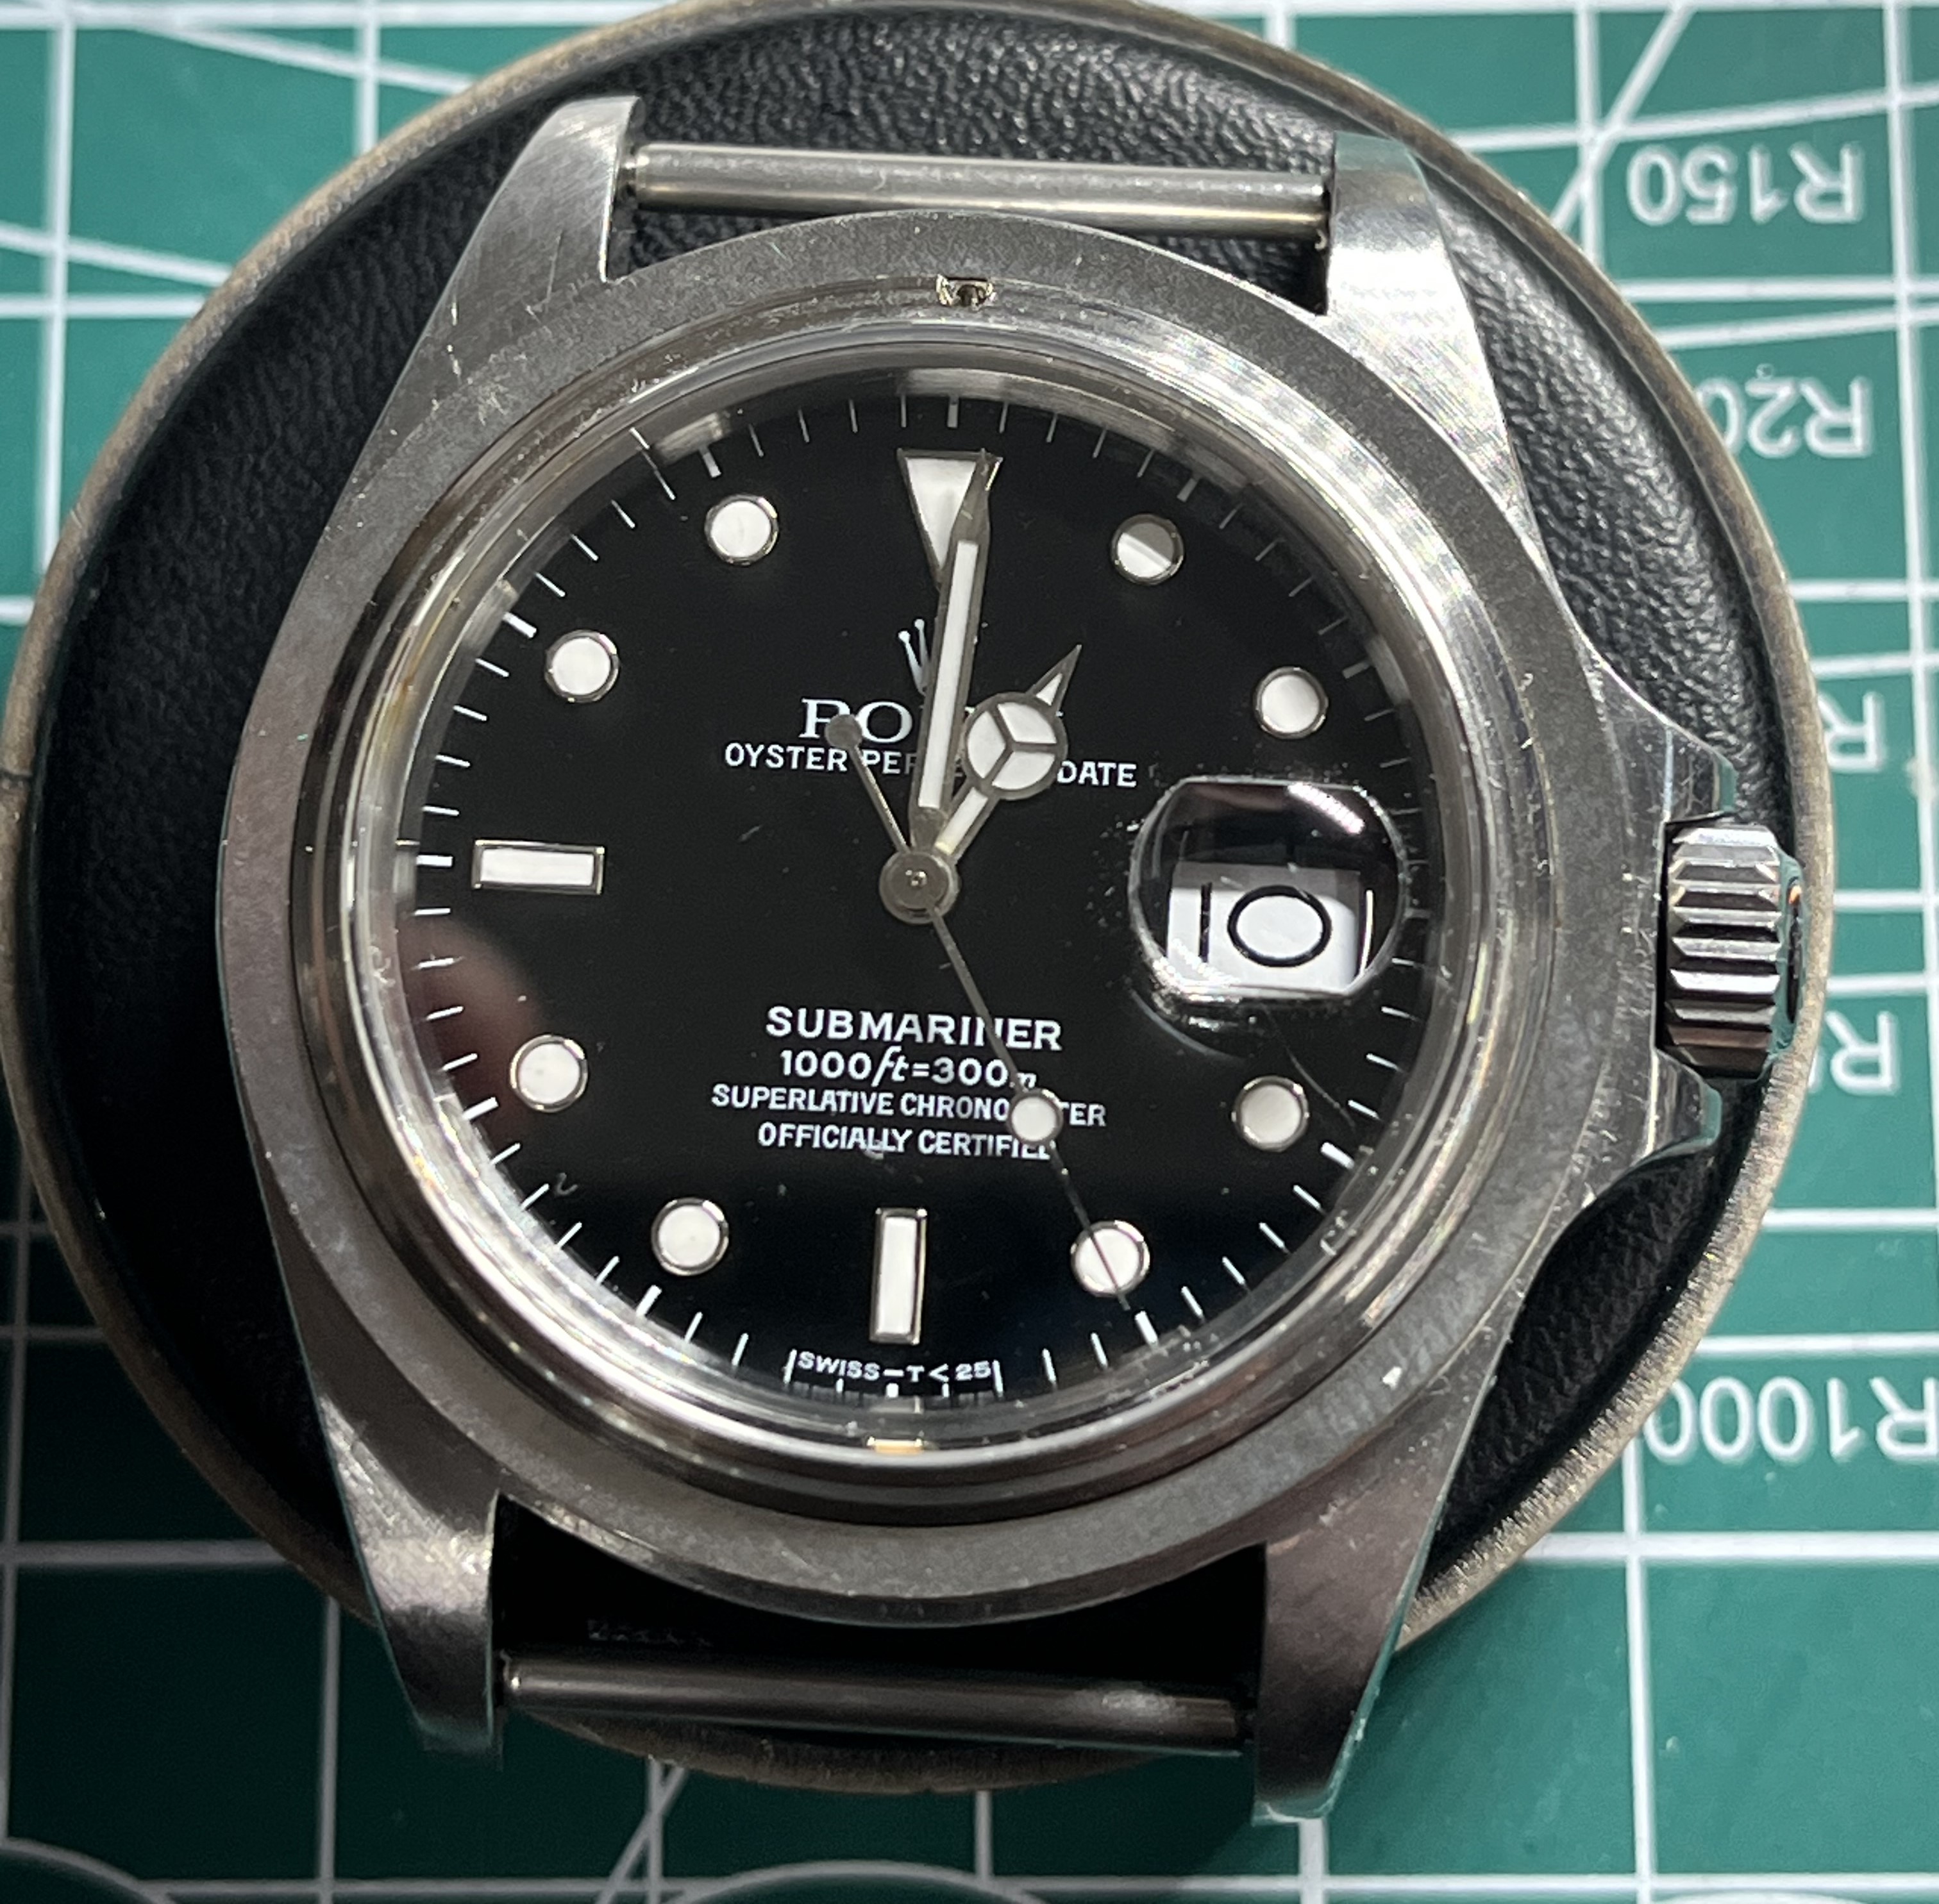
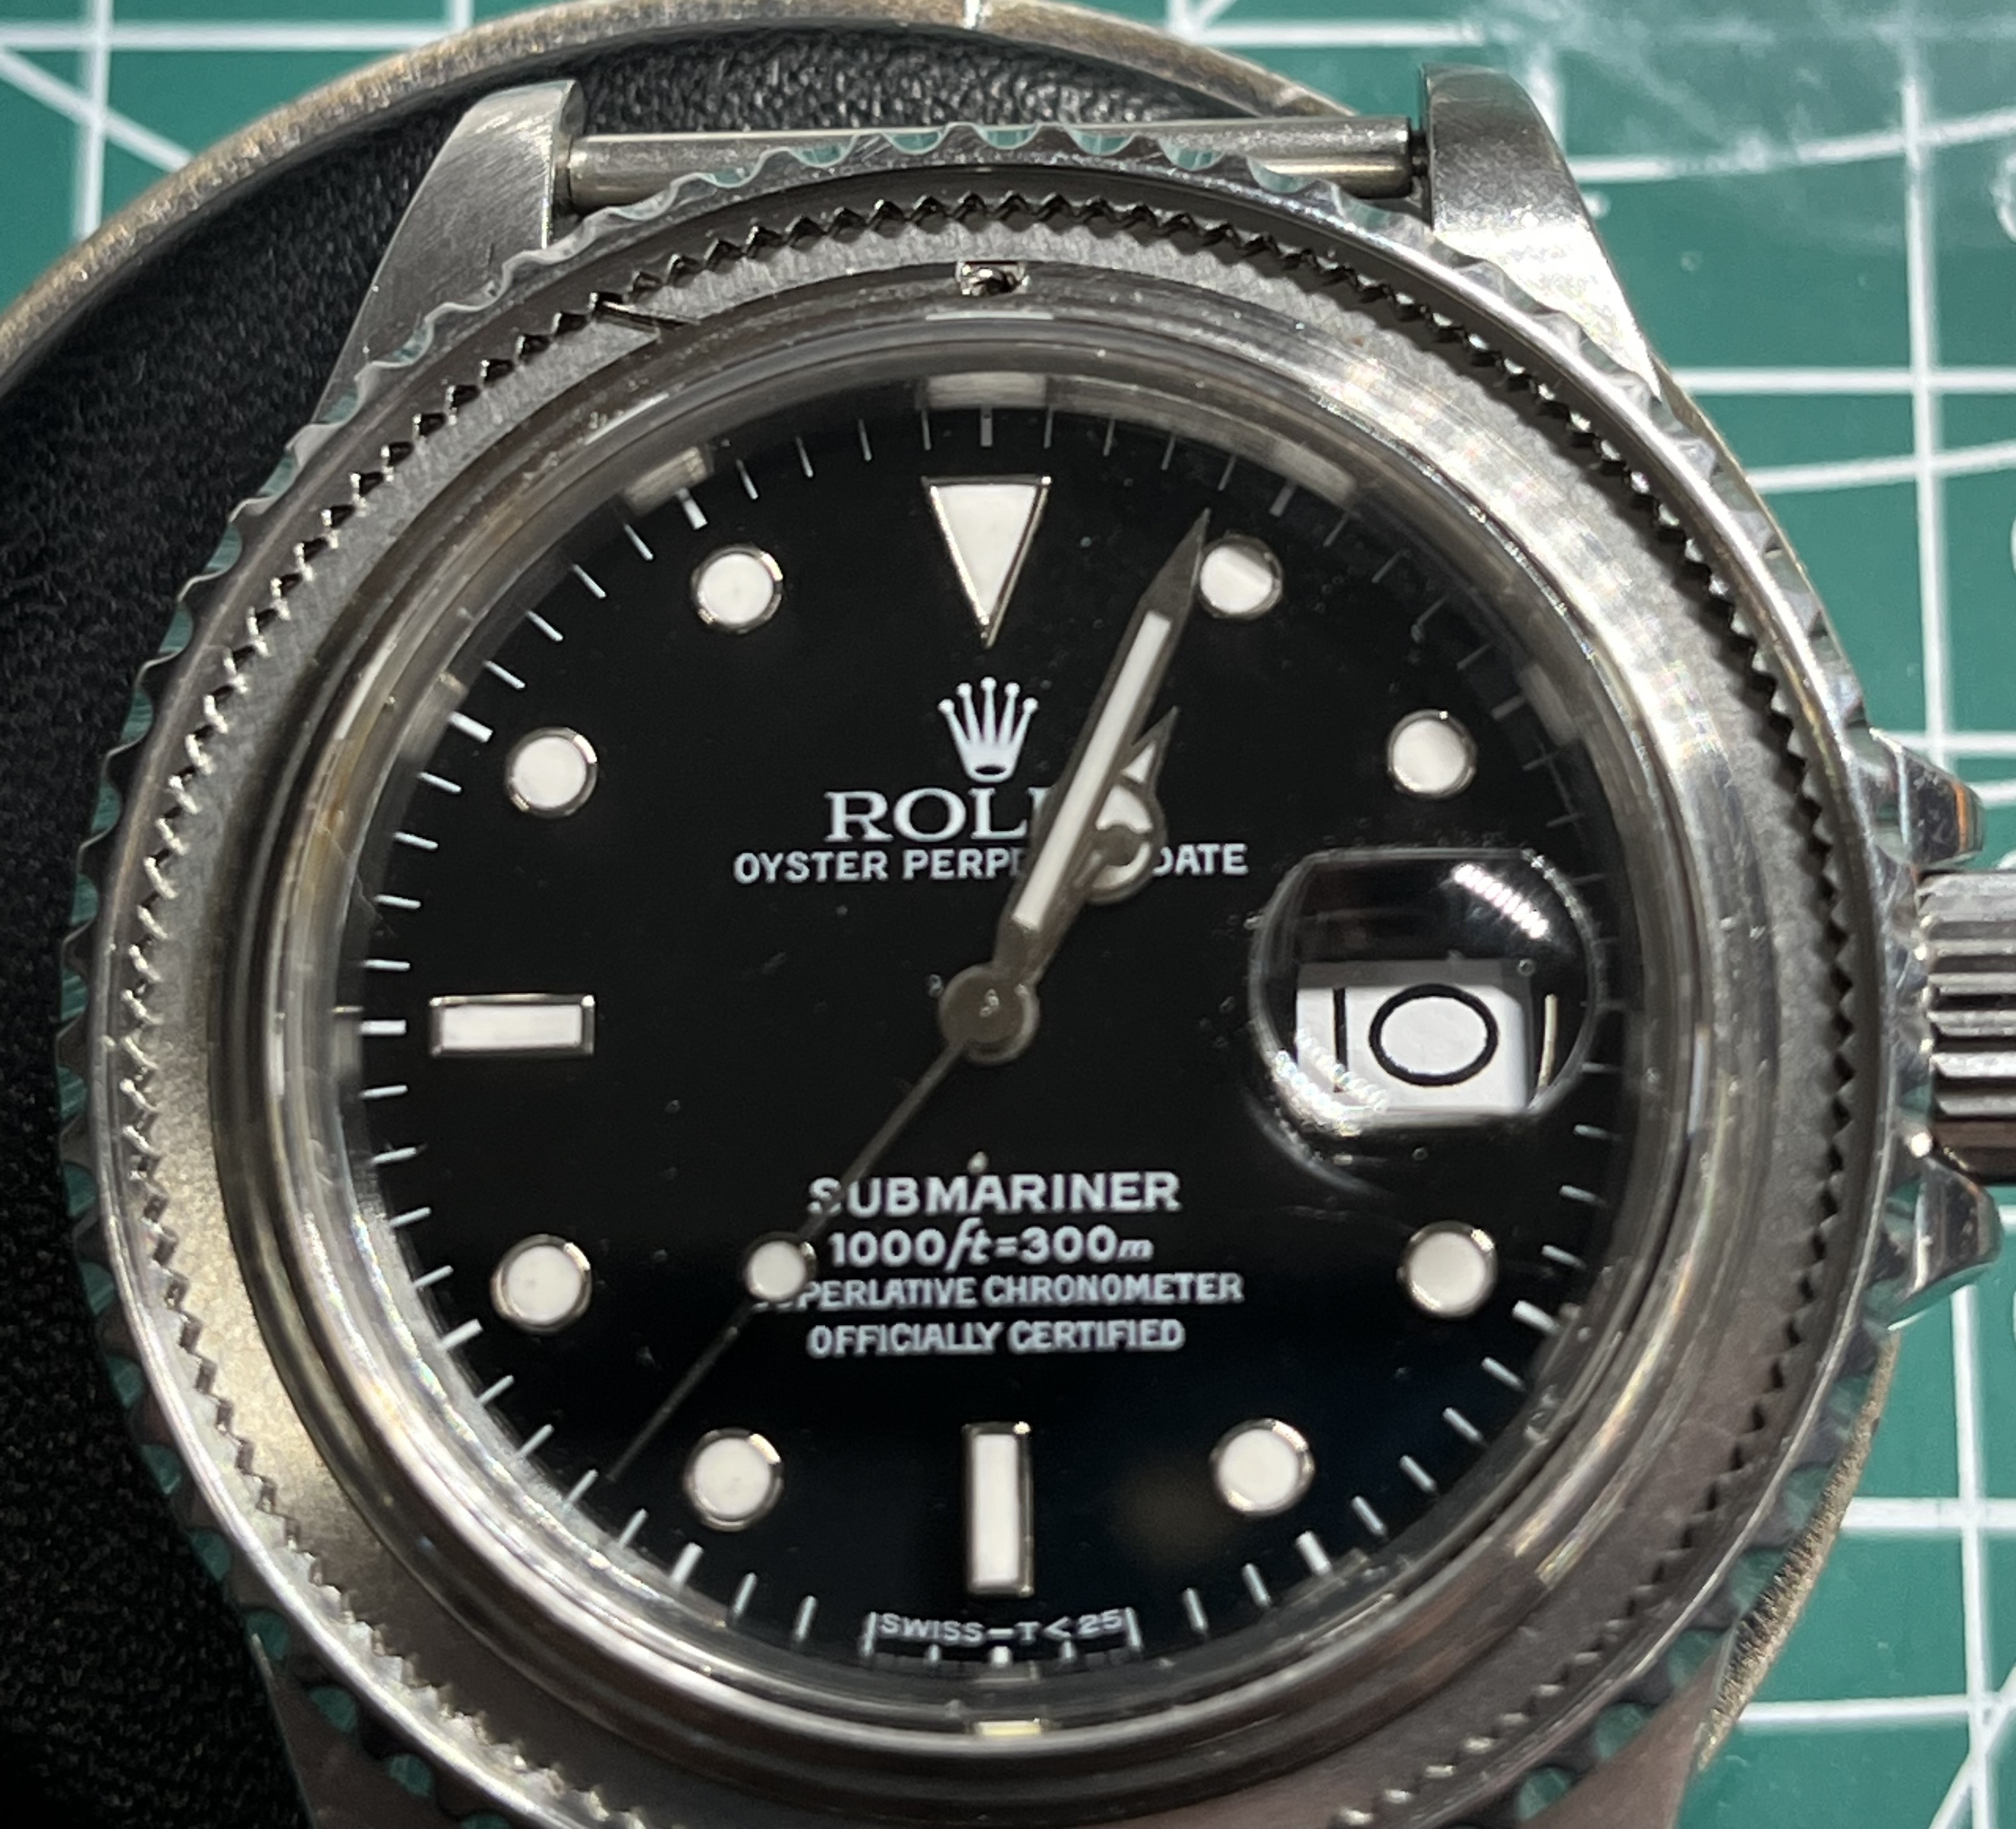
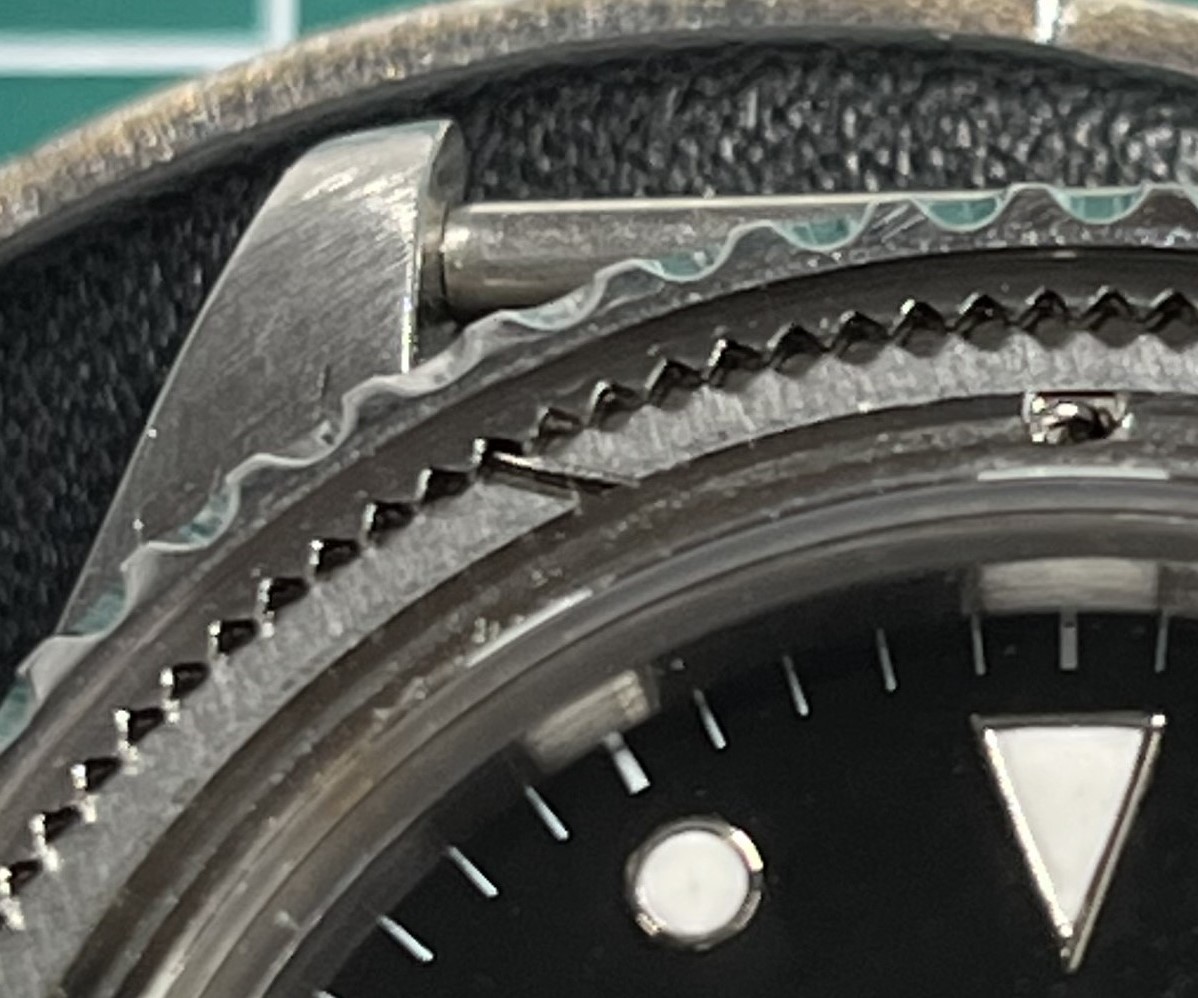
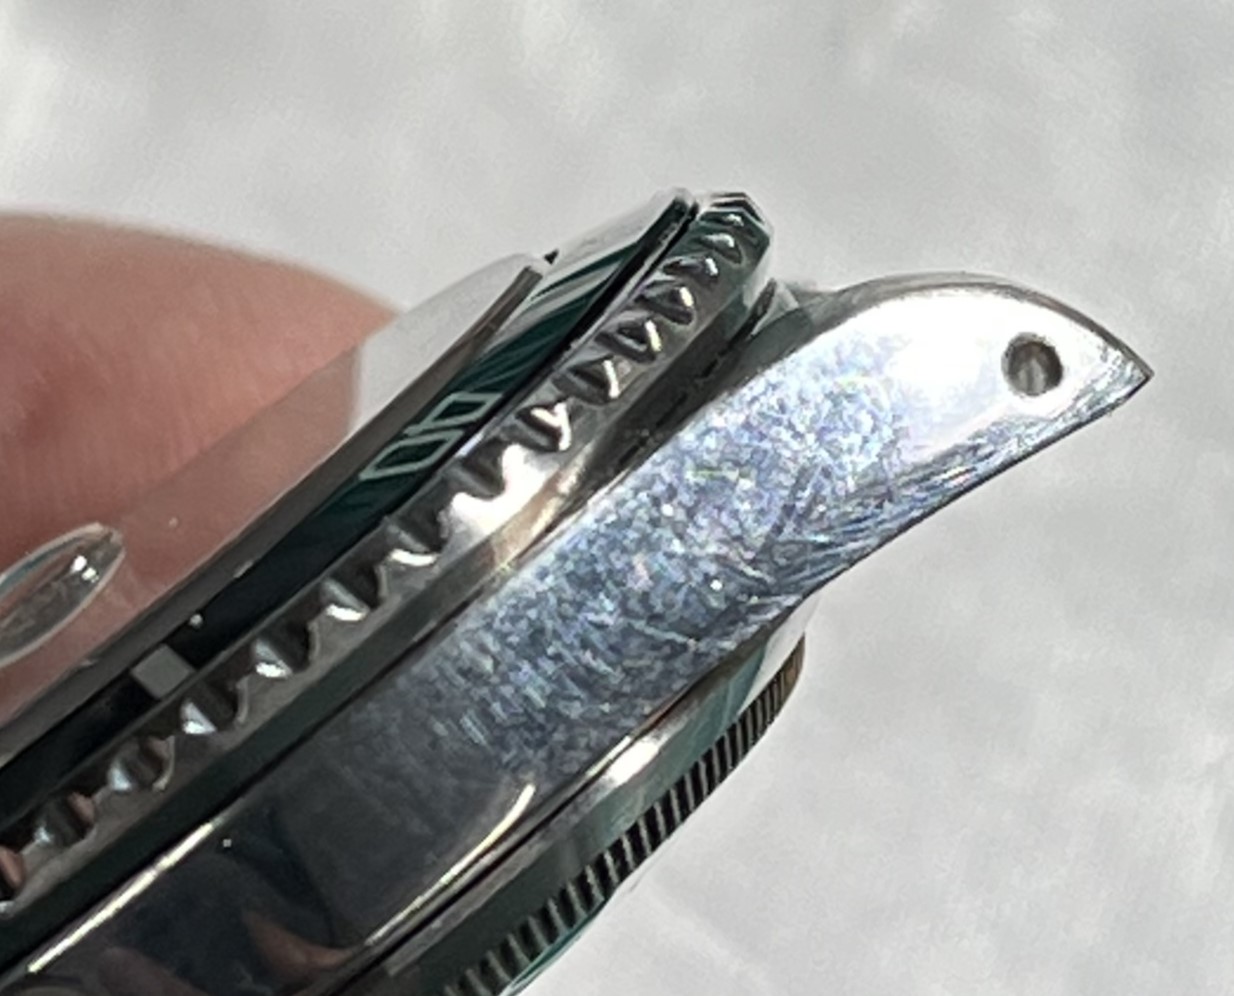
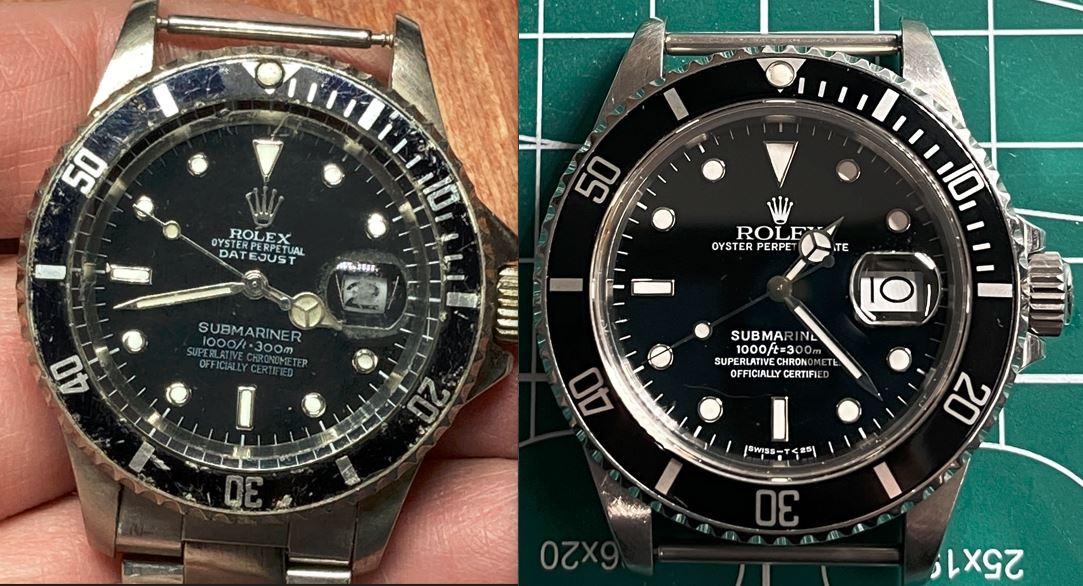
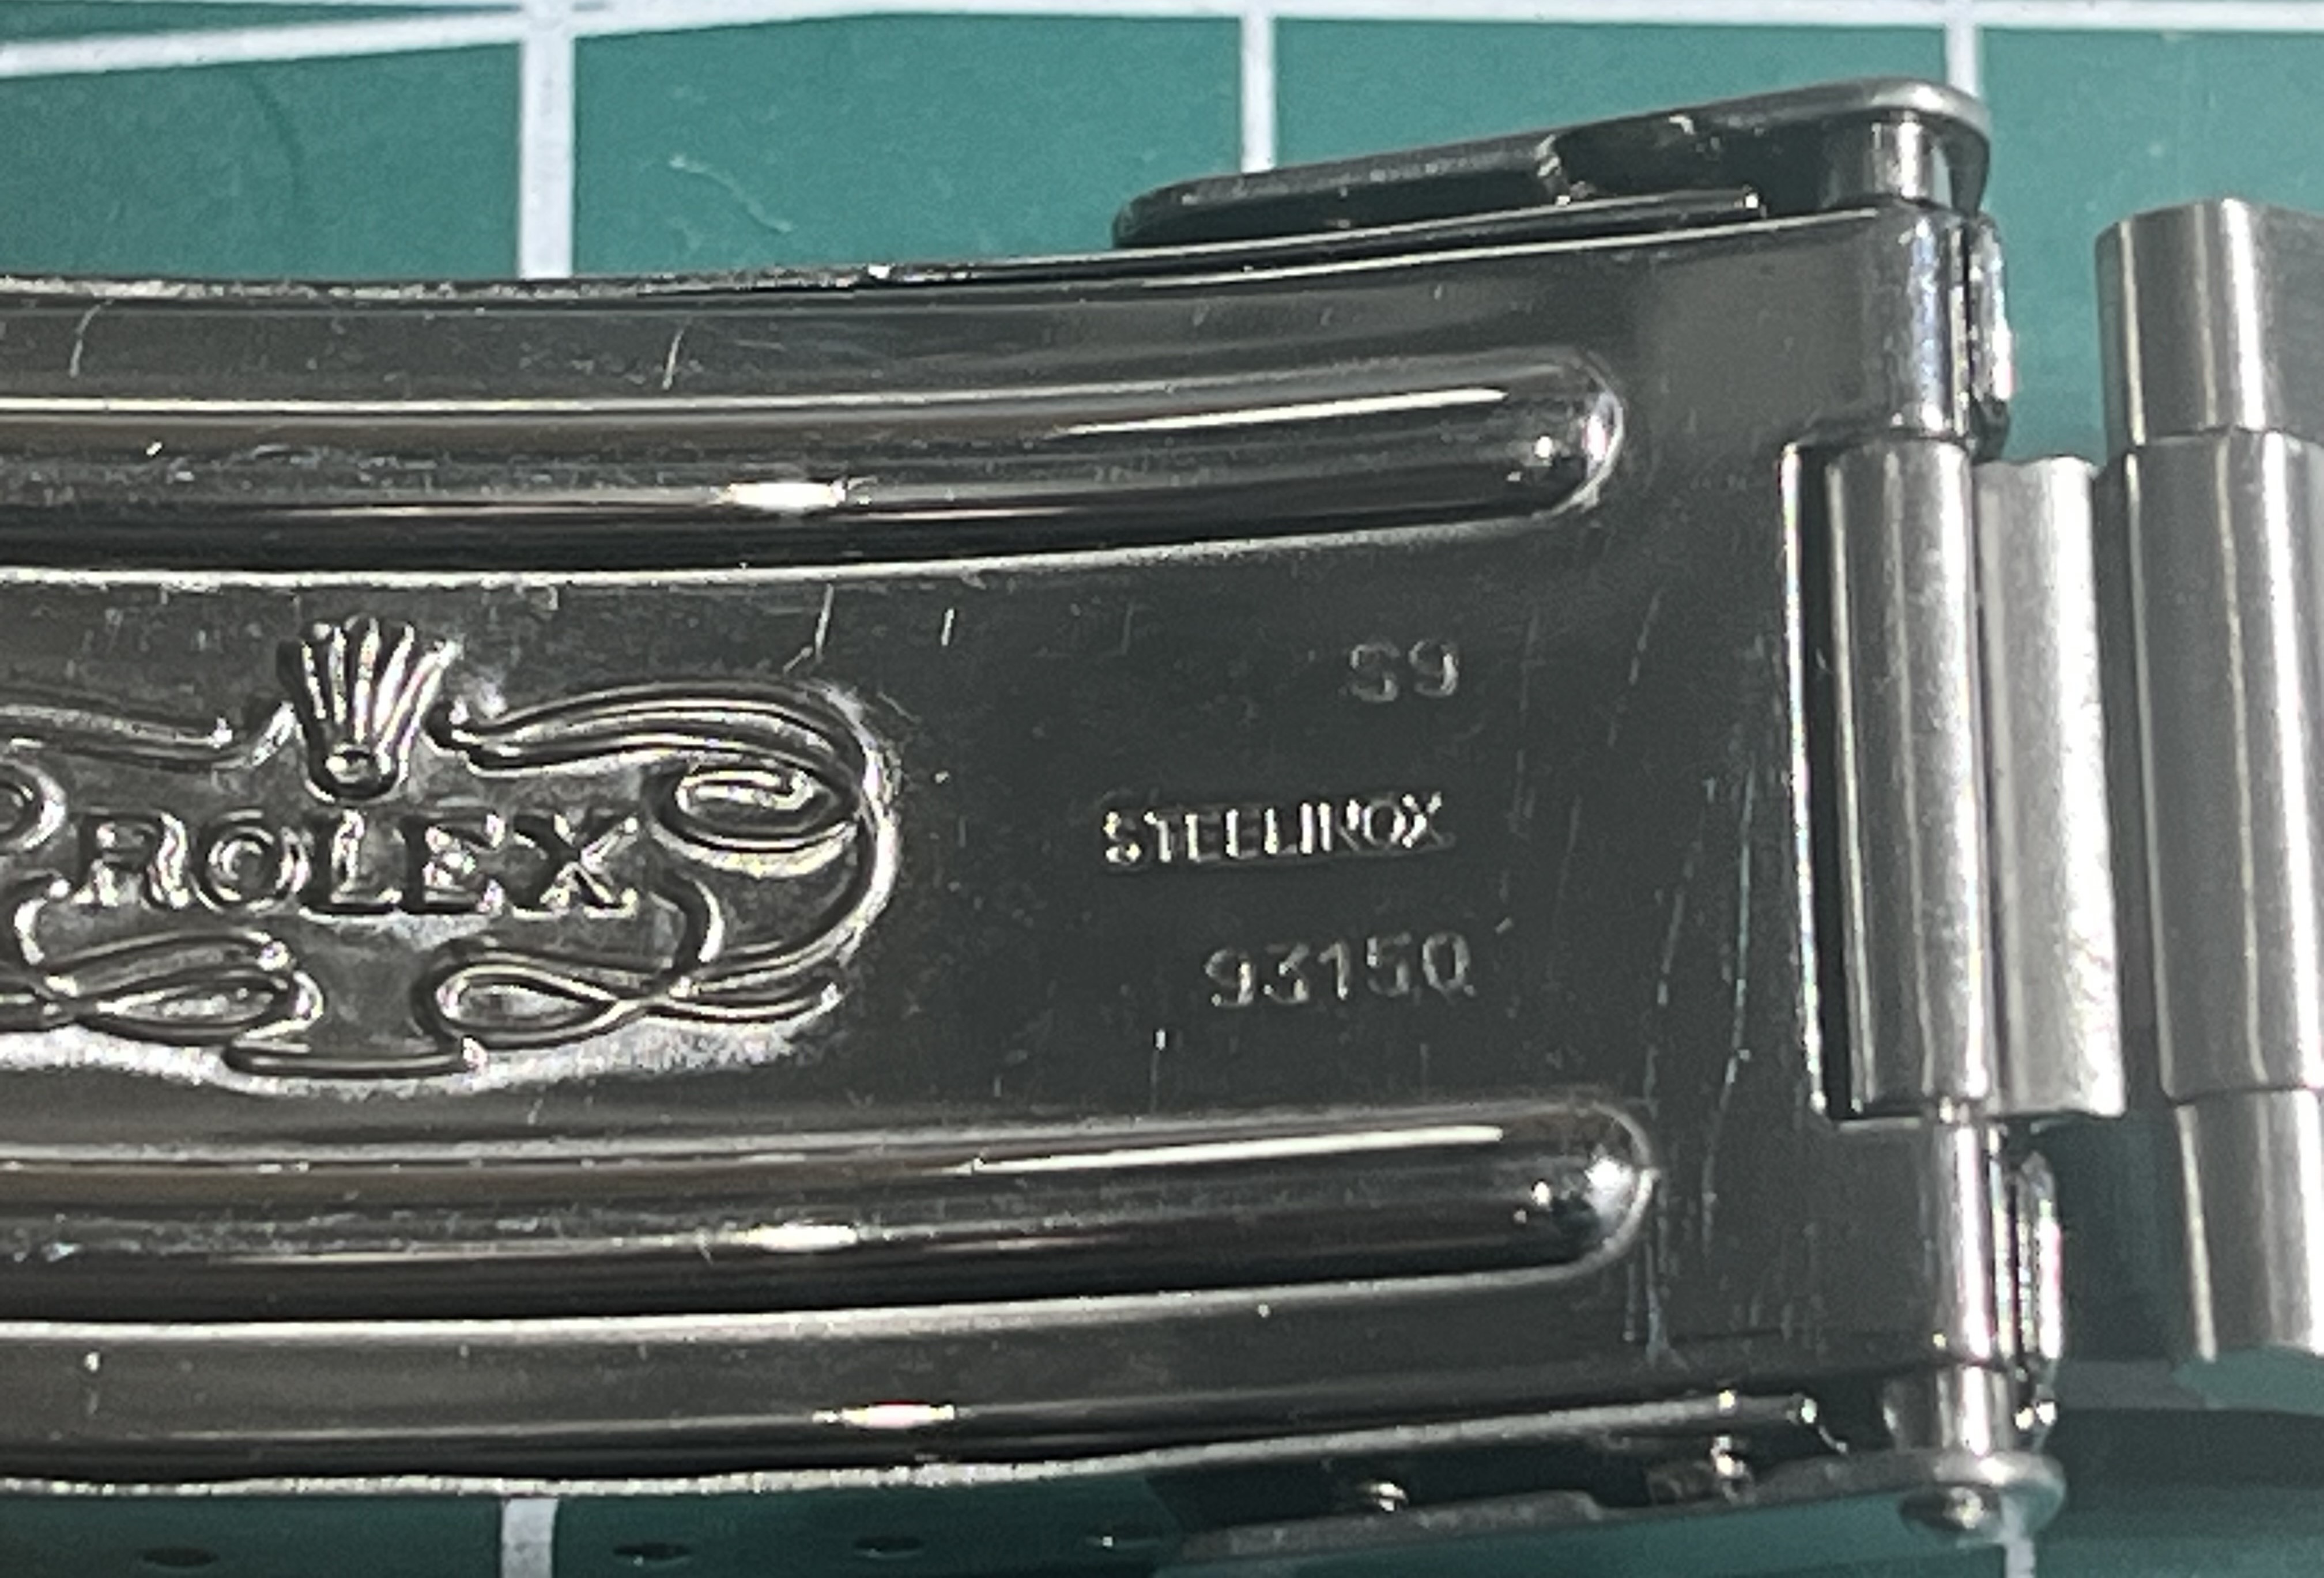
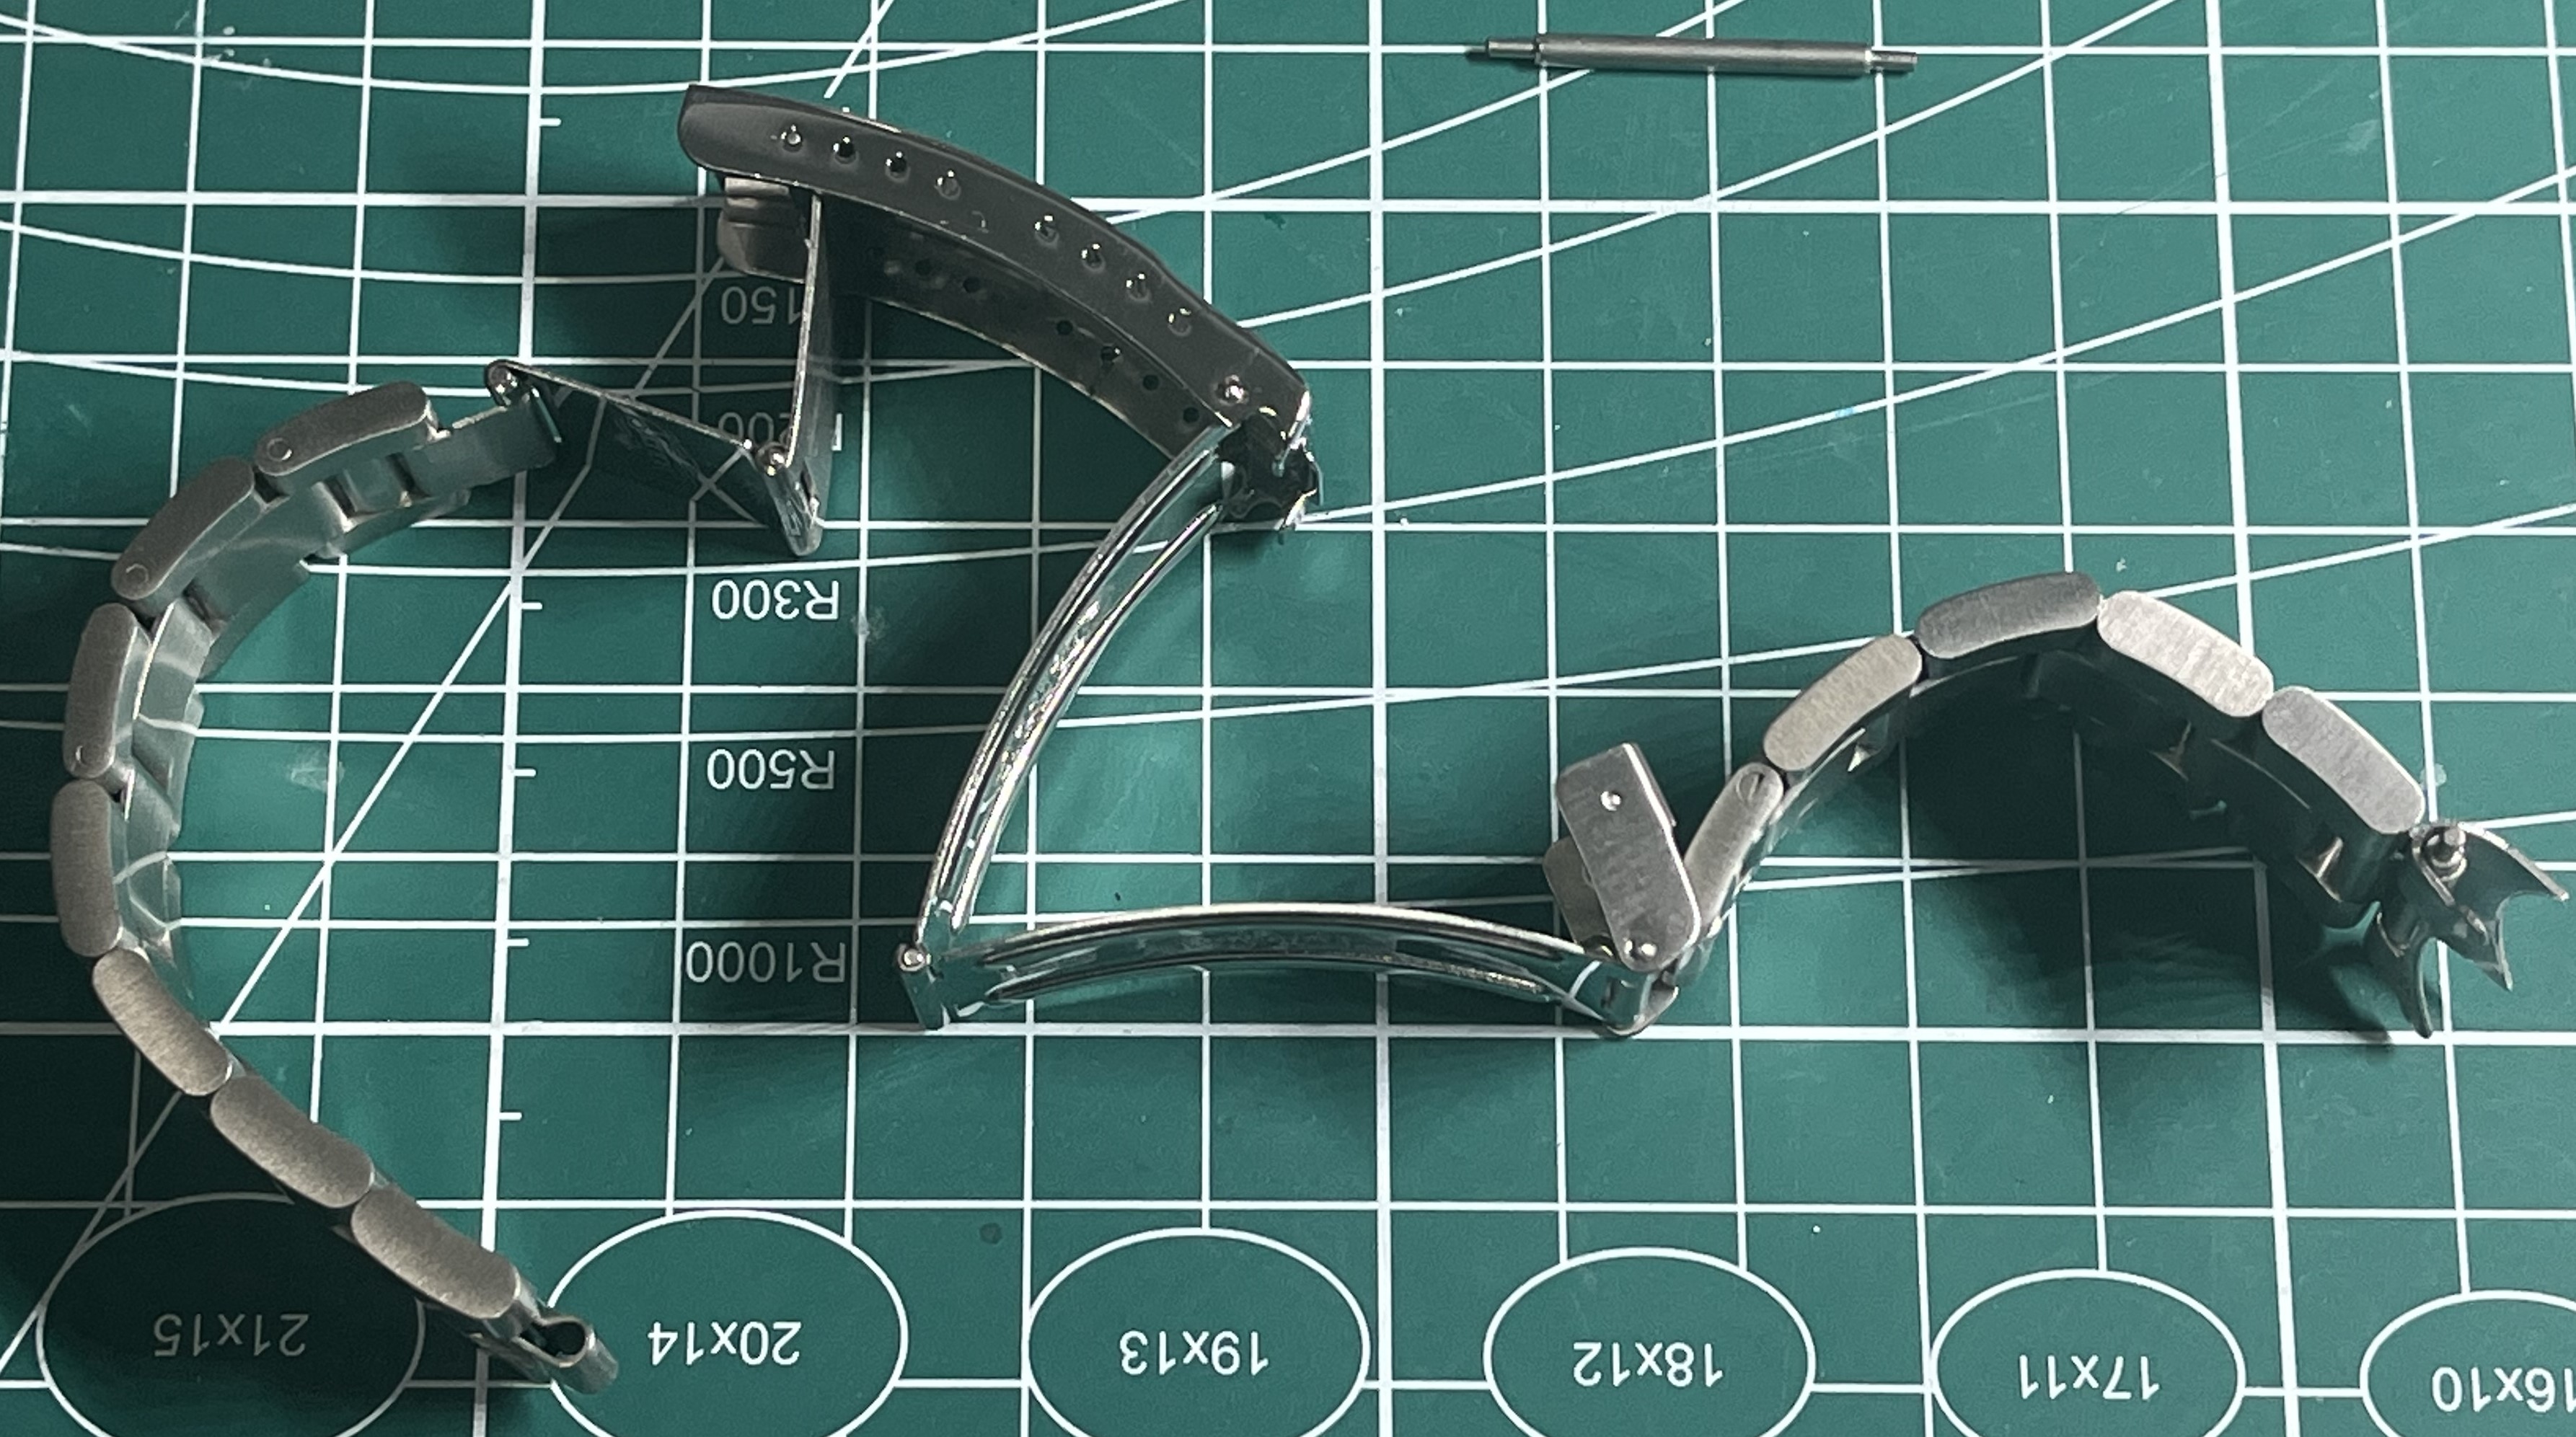
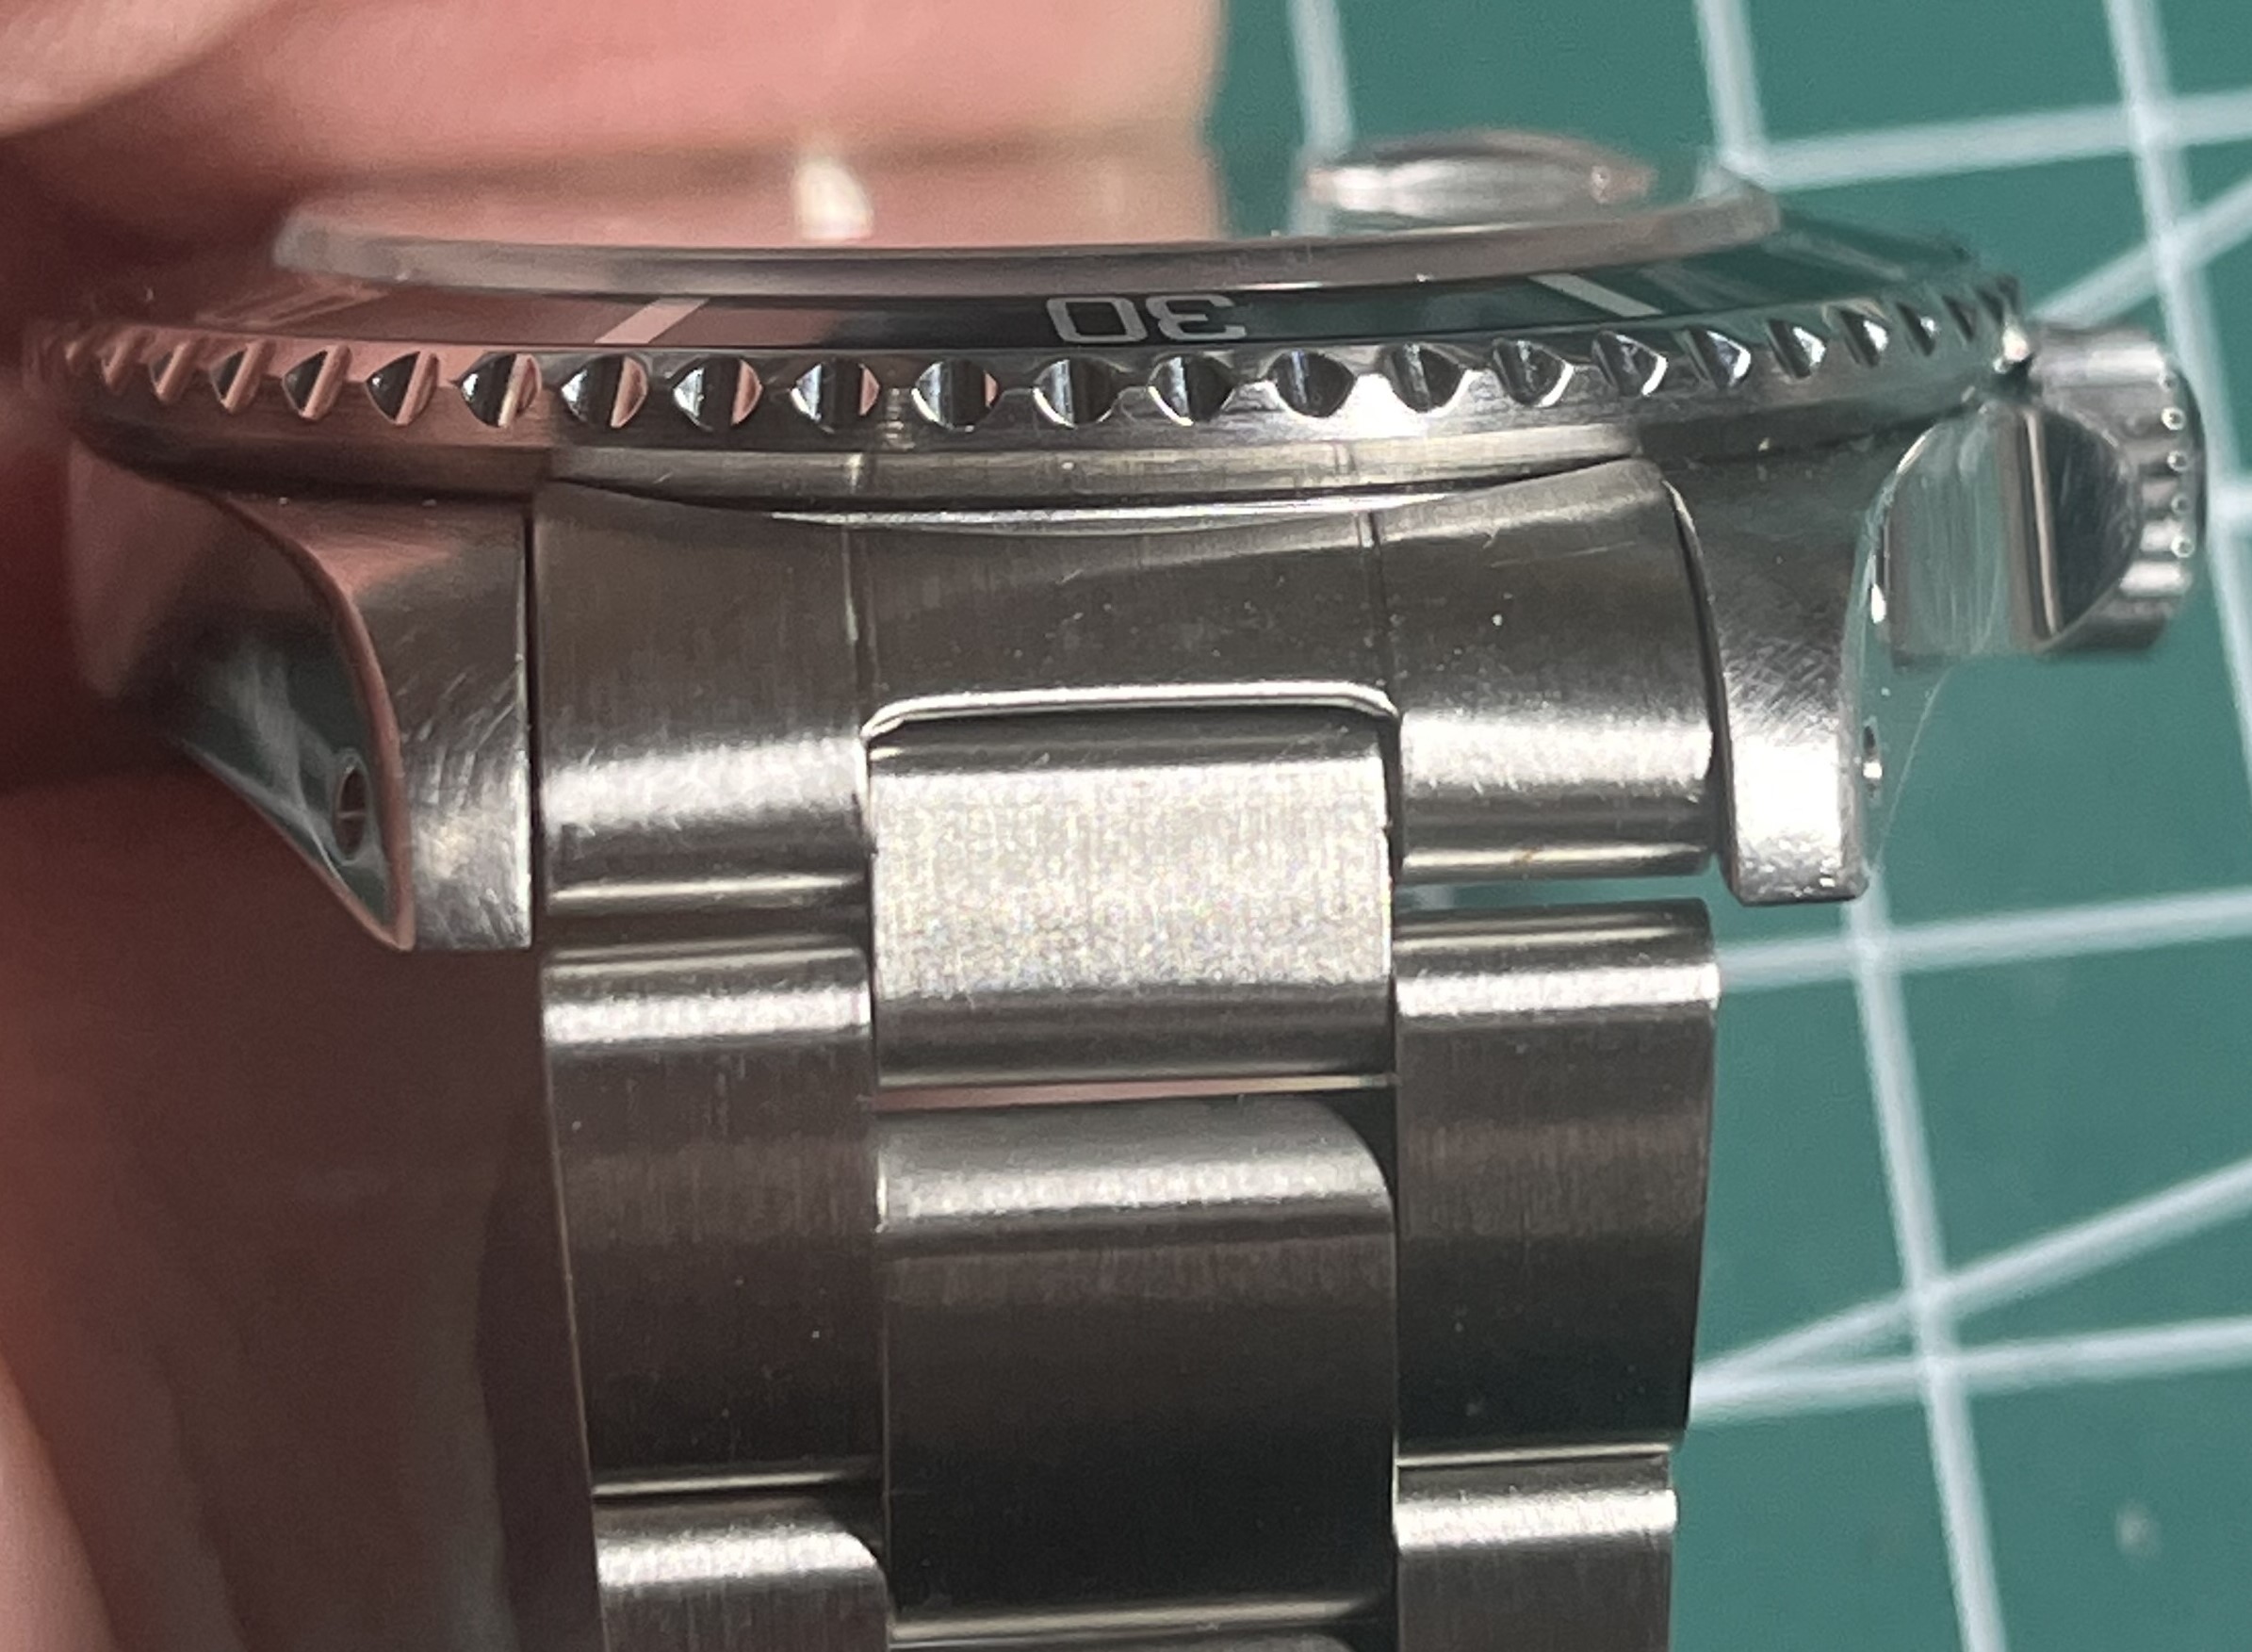
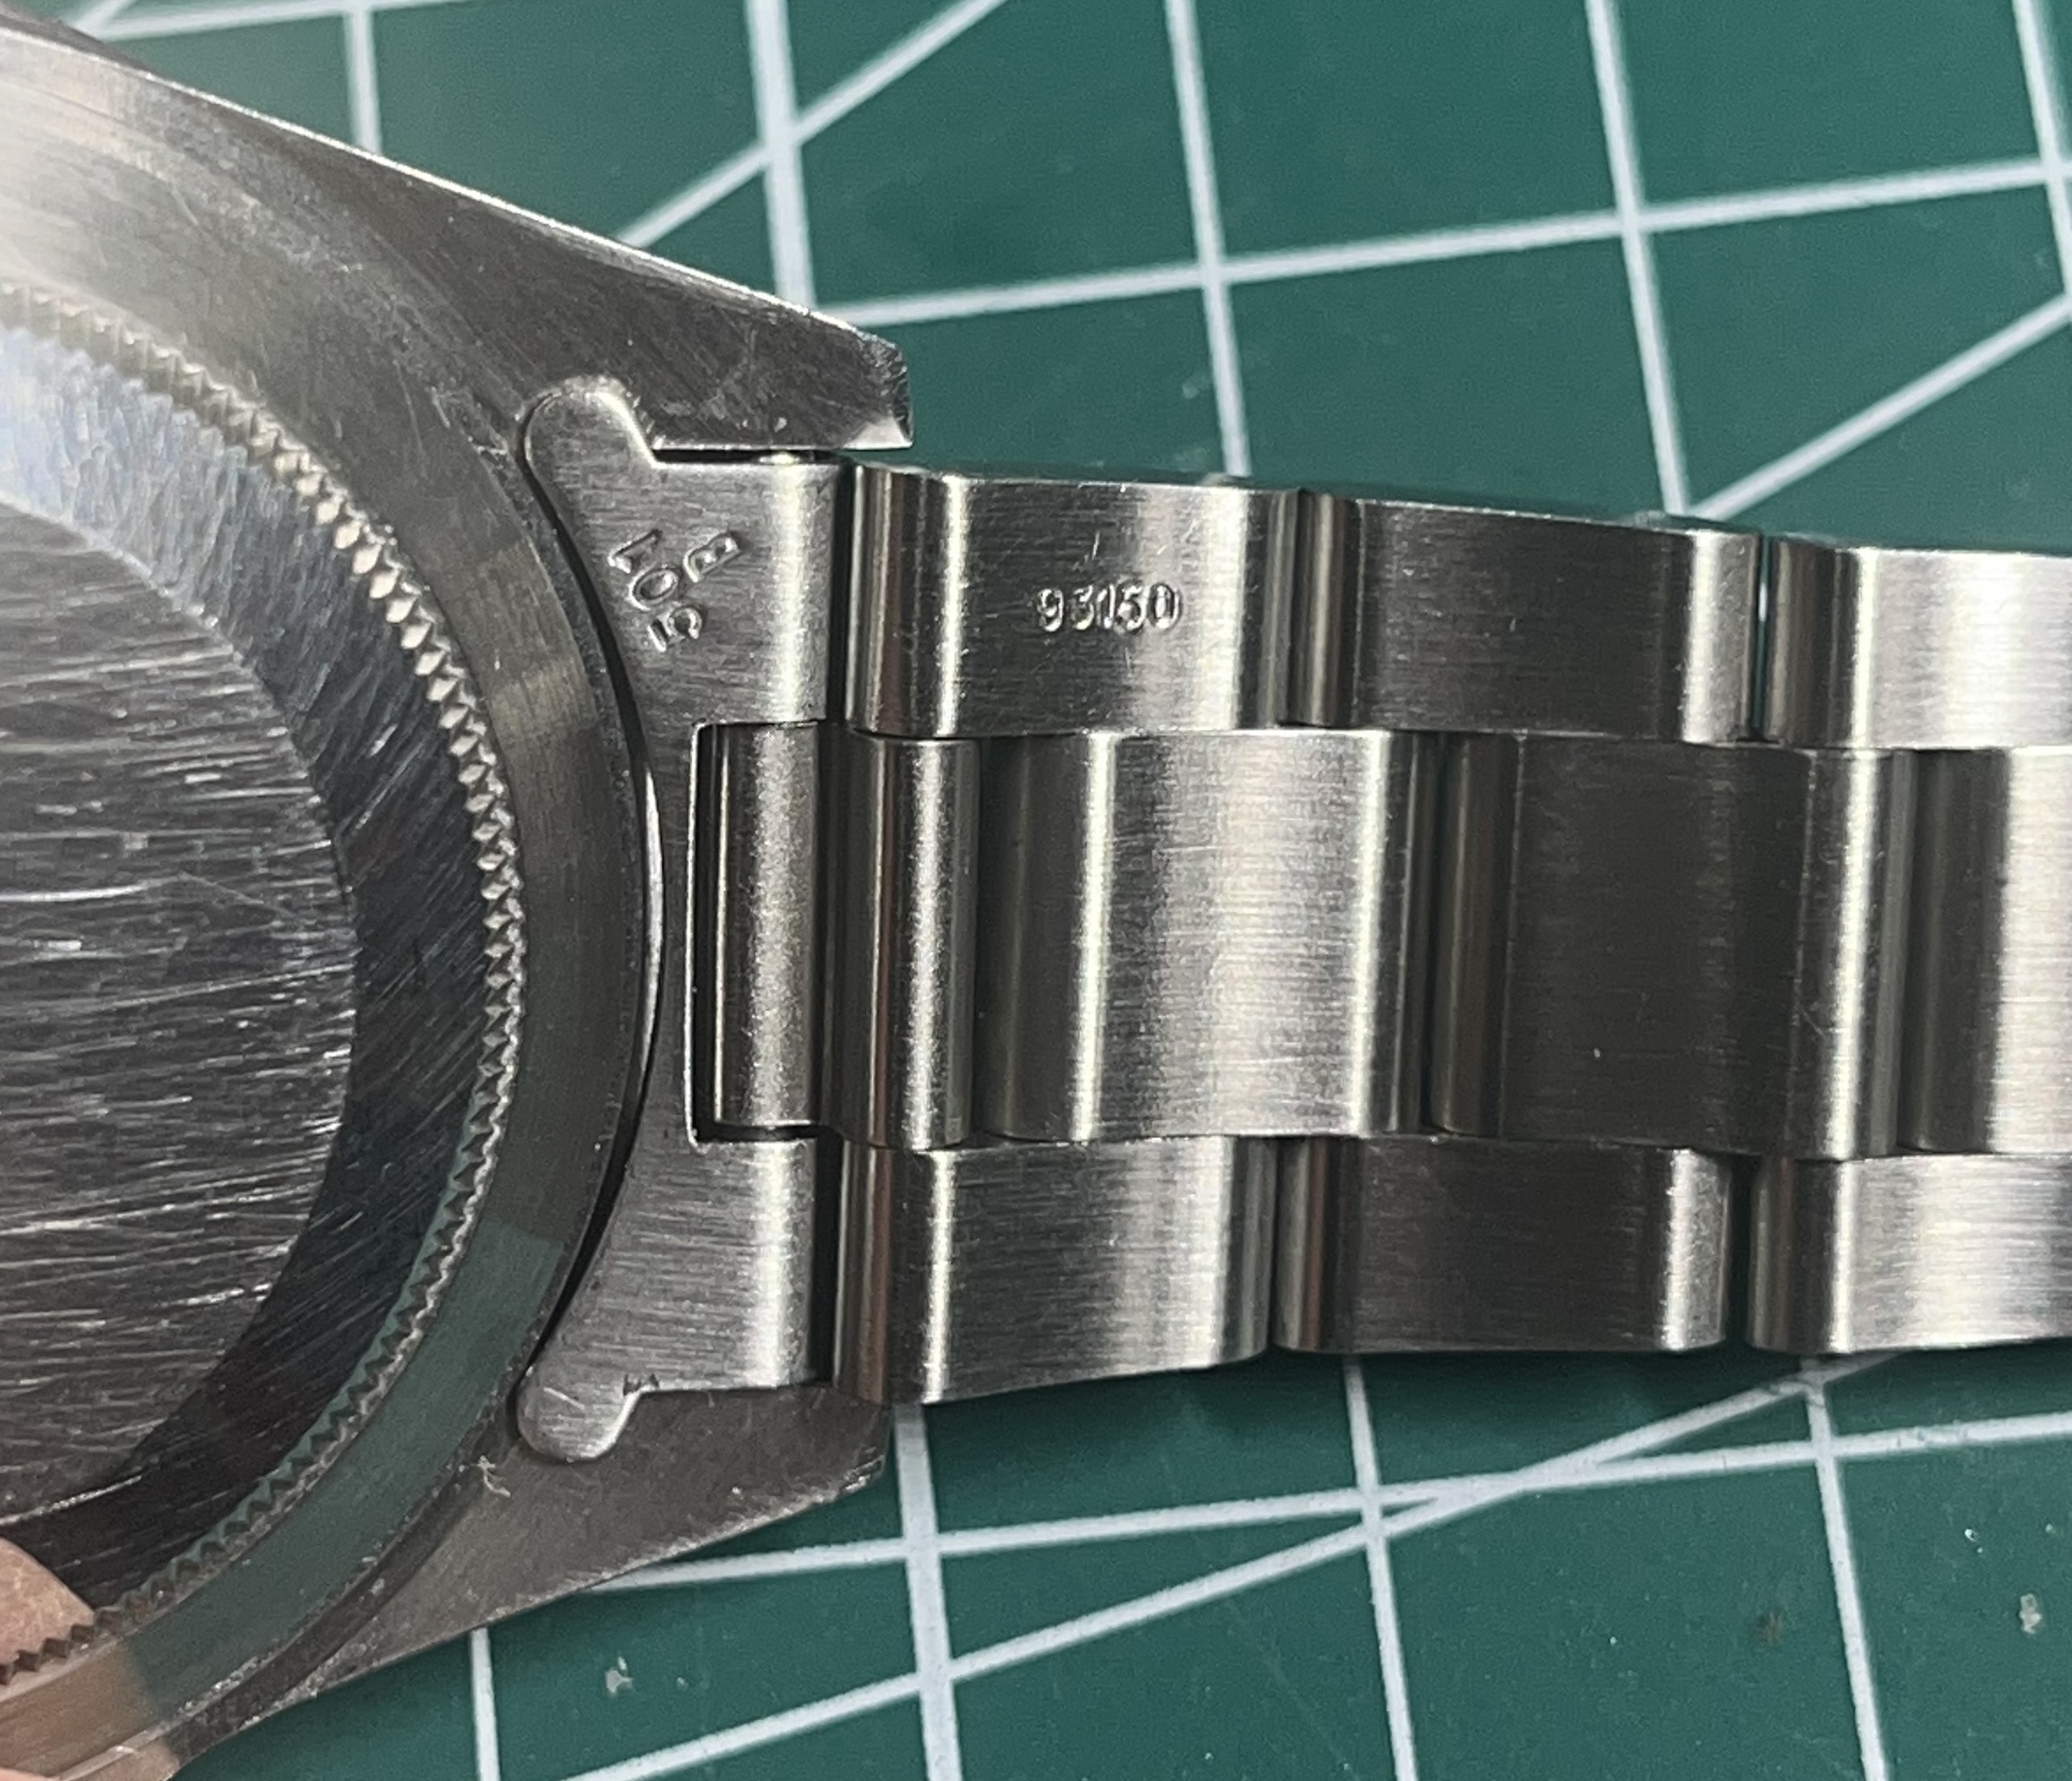
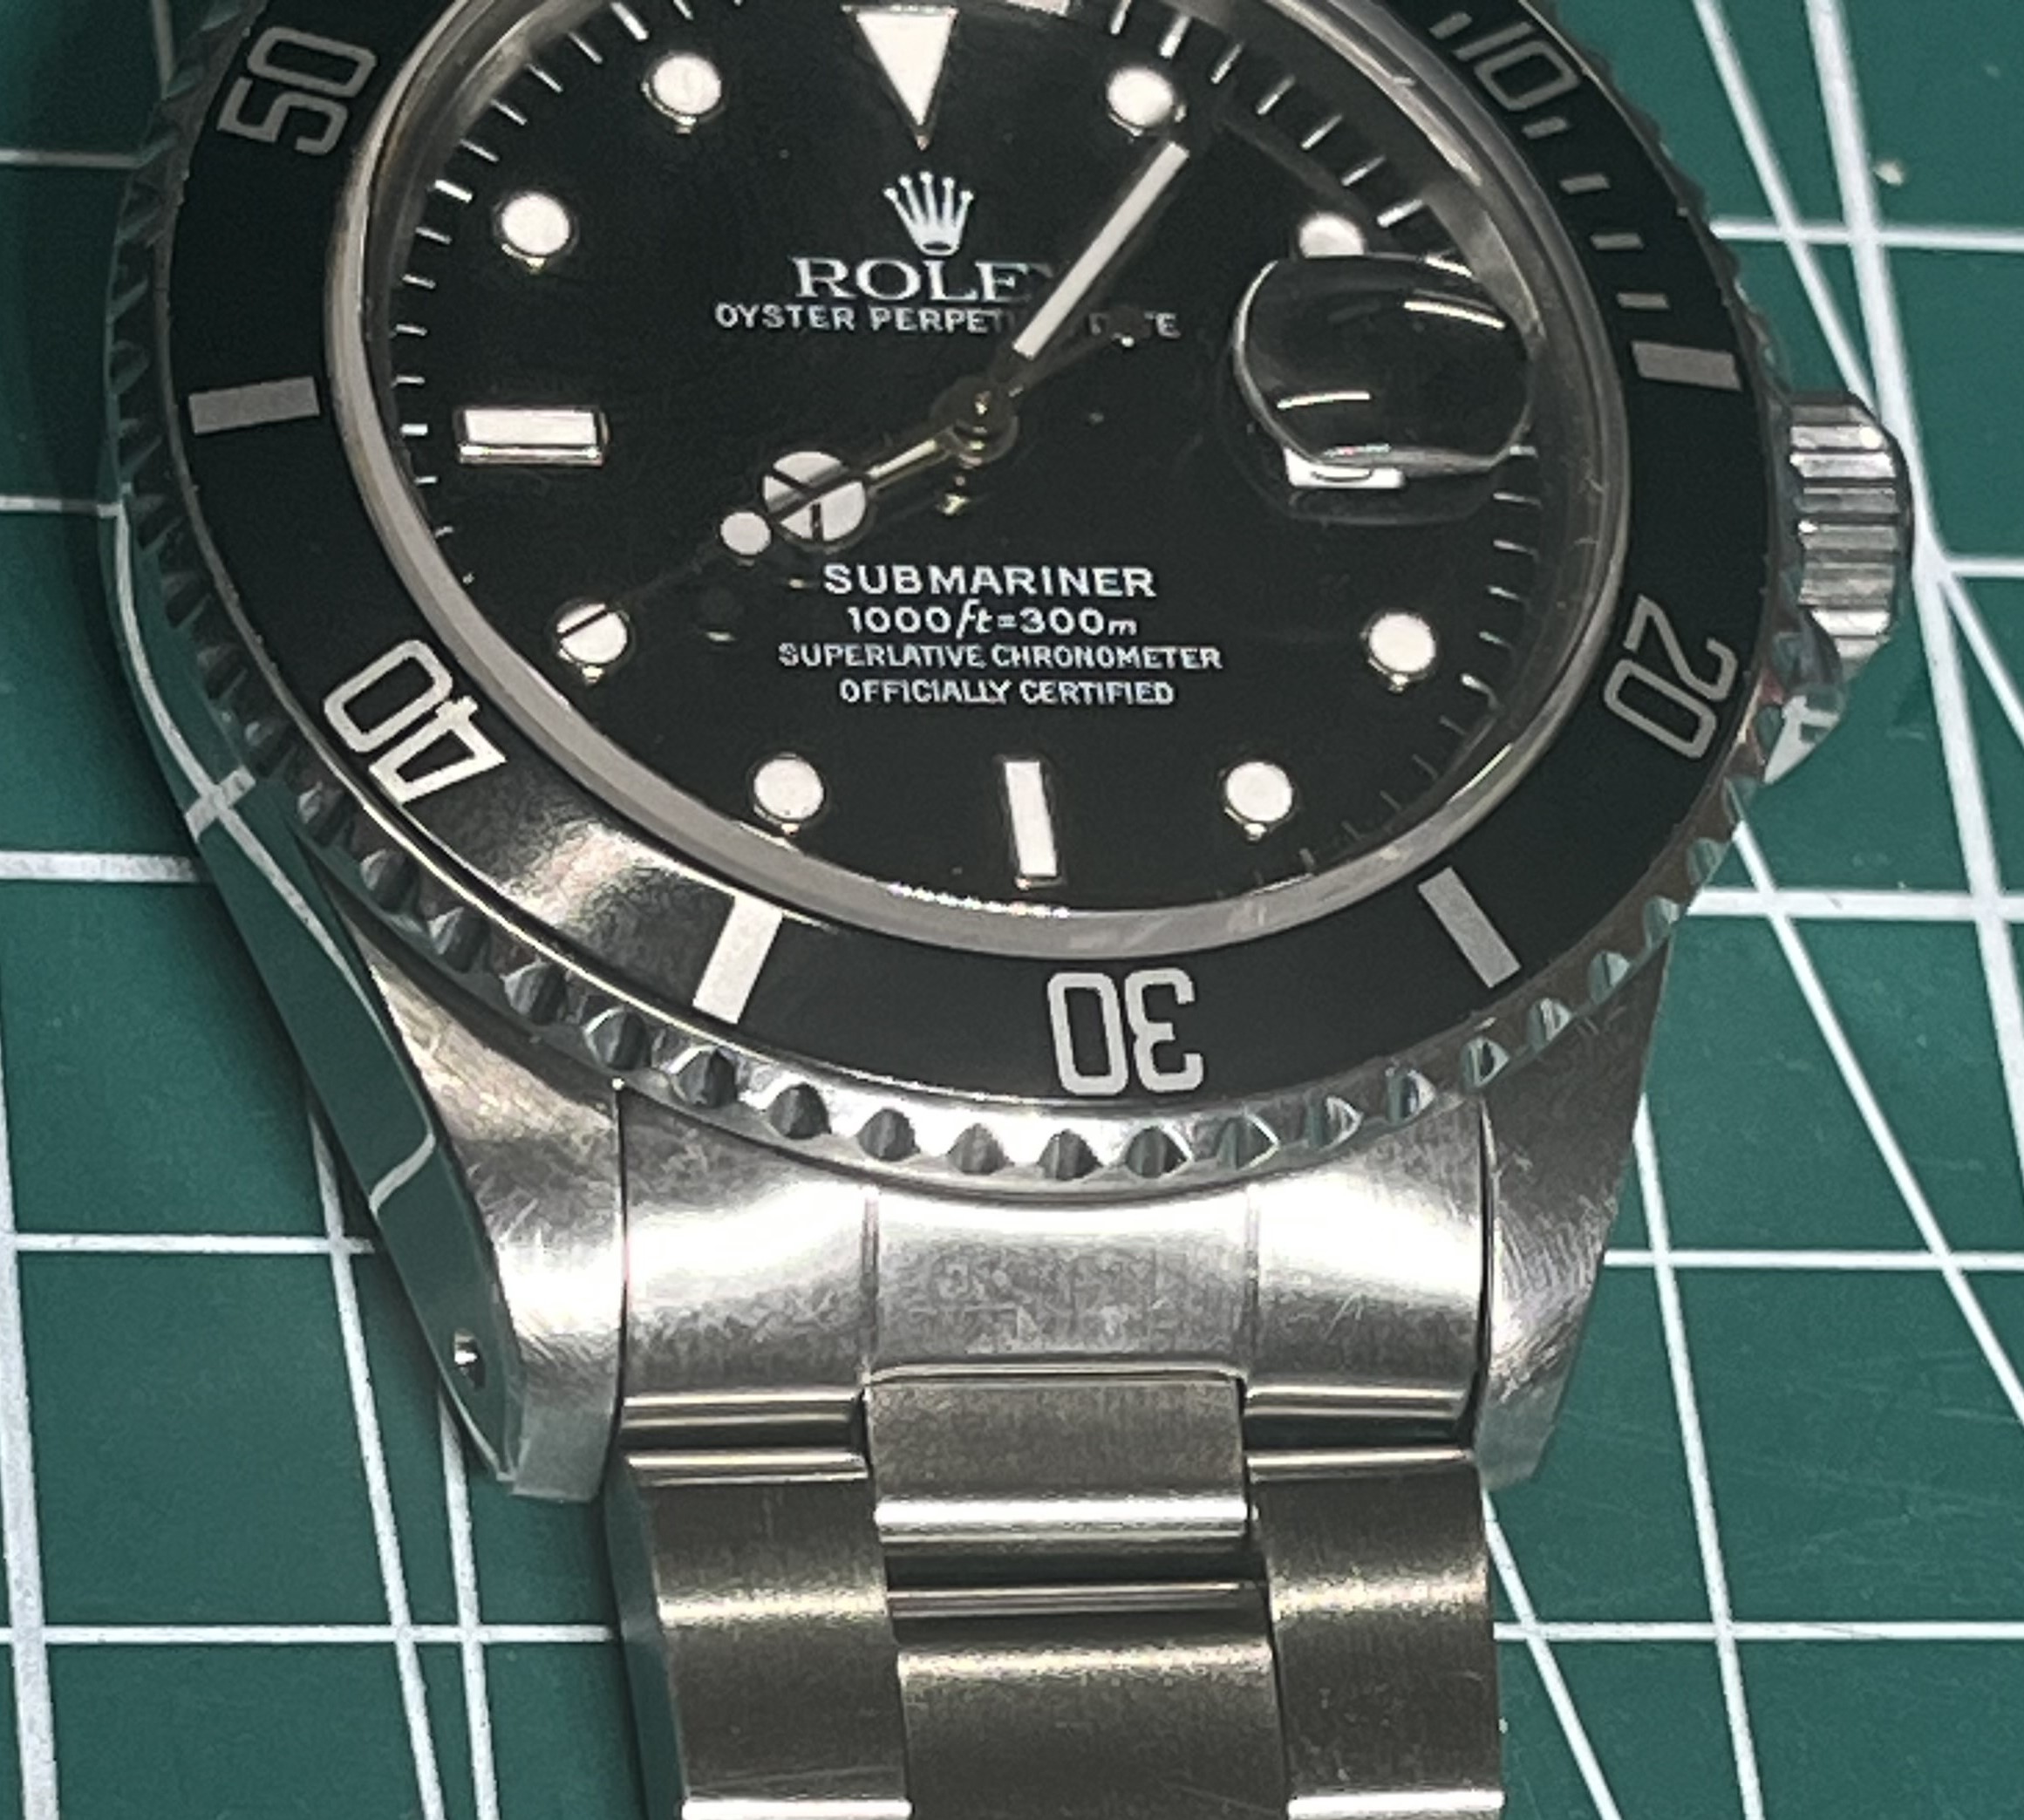
It is not finished yet, I have a few steps left but in the meantime, here is the watch that got me started appreciating these types of subs many years ago. It is interesting that the parts on this franken were probably made at around the same time as the legendary Datejust Submariner - which as you can see has seen some action, I even dived with it and it survived (only to about 10m though).

2avGhR.jpeg
 
Last edited:

p0pperini

patr0n h0arder
Staff member
Gold Patron
Global Moderator
Certified
29/1/19
9,581
35,050
113
UK
Congratulations on a fantastic 5-digit build @HulkyGalore and thank you for chronicalling the process so thoroughly. The steps (and mis-steps - thanks for sharing those too!) are all so well laid out and well-thought through, with clear and helpful pics... this is an invaluable contribution to the forum. Bravo!

It's been so long since I last did a build that your thread will now be squirrelled away at the top of my Big List of Useful Links as an essential "for god's sake - read this before you start and during the process!" guide to ensure I remember to do the things you've done.
 

HulkyGalore

Active Member
Supporter
Certified
15/12/22
381
467
63
UK
Congratulations on a fantastic 5-digit build @HulkyGalore and thank you for chronicalling the process so thoroughly. The steps (and mis-steps - thanks for sharing those too!) are all so well laid out and well-thought through, with clear and helpful pics... this is an invaluable contribution to the forum. Bravo!

It's been so long since I last did a build that your thread will now be squirrelled away at the top of my Big List of Useful Links as an essential "for god's sake - read this before you start and during the process!" guide to ensure I remember to do the things you've done.
Thank you for this p0pperini, it is very kind of you. For anyone not aware of the amazing writing and photography skills you have, I recommend that they look at your signature to click on and have a look at those threads. In particular, the Frankensubs link will make most people drool and start buying frankensubs. If they are too pricy then they can buy the parts over time and spread the cost like I did, using my thread if needed to help with the assembly (I would be happy to answer questions, or try to at least!)

I still have a few steps left in this build, relating to the bracelet. I must get to that soon then I can wear it!!

Cheers!
 
  • Like
Reactions: p0pperini

HulkyGalore

Active Member
Supporter
Certified
15/12/22
381
467
63
UK
Now some bracelet parts. After some thought I went for the best option. I had considered raffles bracelet, or a used gen one, but decided to go for an italian one from @markiemark in the end. He is easy to deal with and helpful and fast.

The bracelet quality is difficult to explain without you having it in your hand. The tolerances, machining, finishing, markings, and feel all are a good match for the watch case. It is a hollow link bracelet so will stretch in time, (years) but for the same price in gen you would get a worn out stretched and polished example. That would be OK for a beaten up looking watch but that wasn't the look I was going for, so I went for it. Here is a list of bits for assembly:

2iYFv5.jpeg
 
  • Like
Reactions: p0pperini

HulkyGalore

Active Member
Supporter
Certified
15/12/22
381
467
63
UK
The bracelet quality is excellent, very well made, look at the markings and brushed sides.
The bracelet unfolded has a divers extension, and the thing about these 91350 bracelets is that they fold very slim, unlike the 92350 which is a bit deeper (although not by much). It all adds to the conservative slim feel to these earlier 5 digit watche versions, which is one of the reasons I like them so much.

You can tell that the screws and threads have been made properly. Despite this I will use the weak loctite (222) which is good for this, and allows the screws to be secure. It would be a shame for the watch to fall and break because of a screw coming loose. Whilst it is unlikely, it is possible and I have had screws work loose before, but noticed it before the inevitable fall! Using blue loctite is possible but then its a bit more stress on the screw heads when getting them out. Hence the weaker purple one.


2iY0Ot.jpeg

2iYbk2.jpeg

2iYxJE.jpeg
 

HulkyGalore

Active Member
Supporter
Certified
15/12/22
381
467
63
UK
Now to accomodate the wristshot, I need to assemble this watch! The fitment is not perfect, and the pointy parts of the endlinks need modifying slighly with pliers. This is not a big deal and will look better relative to the lugs, and also prevent fouling of the endlinks on the bezel - which could reduce its (currently excellent) smoothness.

The back of the endlinks fit fine, and the lugholes make it super easy to fit and replace this as many times as I need to.

2i12Hp.jpeg

2i1L4F.jpeg

2i1egt.jpeg
 

HulkyGalore

Active Member
Supporter
Certified
15/12/22
381
467
63
UK
Now for sizing. I took a couple of links out, and used the loctite to secure the remaining screws. I put the loctite in the hole that the screw threads into, to avoid getting it all over the insides when inserting the screw. The excess that is pushed out of the other side is wiped off. When tight the screw ends are perfectly flush. Nice!

2i1fDF.jpeg

2i1Fqt.jpeg
 
  • Like
Reactions: Karbon74