• Tired of adverts on RWI? - Subscribe by clicking HERE and PMing Trailboss for instructions and they will magically go away!

16610 Franken build - early tritium model!

HulkyGalore

Active Member
Supporter
Certified
15/12/22
347
352
63
UK
Ok, ready to fit the hands.
First the date needs to just flip before fitting the hour hand.
Then the hand is put in place, and aligned with a wooden stick to avoid scratching the dial before being ready to press in place.

2W58mo.jpeg

2W5PHL.jpeg

2W5TyR.jpeg

2W5dgK.jpeg
 
  • Like
Reactions: Yellowsubmarine

HulkyGalore

Active Member
Supporter
Certified
15/12/22
347
352
63
UK
Now its aligned, it is pressed with a hollow plastic press tool. Not much force is needed. It can be pressed at varying angles and pressures to align it horizontally. This can take some practise which is ideally learned on a less precious dial and hands...

2WUKTo.jpeg


2WUA5P.jpeg


2WUeNS.jpeg


2WUUKQ.jpeg
 
  • Like
Reactions: Yellowsubmarine

HulkyGalore

Active Member
Supporter
Certified
15/12/22
347
352
63
UK
The hand is then moved through 24hrs just to make sure the date flips on the hour as close as possible, then onto fitting the minute hand. Doing this step hopefully avoids having to remove the hands and start again later!
 

HulkyGalore

Active Member
Supporter
Certified
15/12/22
347
352
63
UK
Then the minute hand is fitted, following the same process. Care must be taken when handling the potentially brittle tritium hands. Particularly the minute hand which is longer and prone to bending if care is not taken.

The hands are moved through 24hr to check for any clashes and to ensure the date flip is within a few minutes of midnight.

2WUyB4.jpeg

2WU69X.jpeg

2WU8si.jpeg

2WUtDb.jpeg
 
  • Like
Reactions: Yellowsubmarine

HulkyGalore

Active Member
Supporter
Certified
15/12/22
347
352
63
UK
Now for the second hand. In this case I used a tiny bit of rodico on the tool to get it in place, using my rayban magnifier to get a good view and locate it in place.

The alignment check is important, making sure there is clearance through the full range of motion.

Then the movement is put in a container ready for installation later on. Some other jobs to do first...


2WUBqp.jpeg

2WUQX5.jpeg

2WUlbF.jpeg

2WUCUt.jpeg

2WUPQ2.jpeg
 

HulkyGalore

Active Member
Supporter
Certified
15/12/22
347
352
63
UK
Before assembling the crystal, a polish of the rehaut makes sense. I like a shiny rehaut. Not much of the simichrome is needed (other brands like autosol can be used).
Apply polish, and some pressure. Change the cloth often (2-3 times) until it wipes clear. Enjoy the shine :)


2W0ByL.jpeg

2W0QwR.jpeg

2W0lc8.jpeg

2W0CmK.jpeg

2W0PCv.jpeg
 
  • Like
Reactions: intellects

HulkyGalore

Active Member
Supporter
Certified
15/12/22
347
352
63
UK
Preparing to fitting the tube. The threads need cleaning first, on the case and tube, ideally with acetone or something to remove grease. Then the rubber gasket can be greased. (I can use a slightly bigger one than stock since the case hole is countersunk, so the seal gets compressed nicely once the tube is tightened). However the threads need loctite to give it a chance of being water resistant. 242 is one of the blue threadlockers, be careful to use the right one and no red or high temp loctites otherwise you will never get the tube out again.
The tool for tightening the tube is important, without that tool you will chew up tube splines and if you manage to get it inserted, you might never get it out again even with blue loctite only.

2WbzeJ.jpeg
 

HulkyGalore

Active Member
Supporter
Certified
15/12/22
347
352
63
UK
This is the silicone grease used for gasket lubrication. In this use, it is important not to get it on the tube threads so I applied it to the (fitted) gasket first, then applied loctite to the watch case hole threads, then to the tube threads. I used a wooden stick to direct the tube in the case to avoid smearing loctite or grease where it shouldn't be. Less to clean up later!

When tightening, the loctite acts as a lubricant before it has cured. Don't overtighten it at this stage, just nip it up because IF the tube snaps on removal at some future time (when the loctite will have cured), it may become anything from a small nuisance to a big problem to resolve it. This may be still be a problem even if you heat the tube, if it has been tightened too much during installation. Another reason why I used a gen tube, less chance of a breakage.

2WbnTp.jpeg

2Wbr5F.jpeg

2WbtBt.jpeg

2WblKE.jpeg
 

HulkyGalore

Active Member
Supporter
Certified
15/12/22
347
352
63
UK
I chose an old used but great condition crystal with no laser etched crown or cyclops AR. Whilst this makes it more difficult to read the date, it is period correct. If I wanted a luminous dial and clear date window I would make another watch - I mean will :)
The crystal gasket and retaining ring gasket and areas were greased ready to be fitted.


2WxOfJ.jpeg


2Wxy2P.jpeg


2Wx16W.jpeg


2Wx9uS.jpeg


2WxwOX.jpeg
 

HulkyGalore

Active Member
Supporter
Certified
15/12/22
347
352
63
UK
Now the next stage needs a special tool, and special care.
I got this tool first but stripped the thread as its cheap and nasty, aluminium thread. Once it cross threaded it was of no use. "Buy cheap, buy twice"...

2WgIcQ.jpeg
 
  • Haha
Reactions: Blackieray

HulkyGalore

Active Member
Supporter
Certified
15/12/22
347
352
63
UK
Now, some experience I learned from. So you don't make the same mistakes.

1. Make sure the retaining ring is lubricated and partially seated parallel by hand. Don't try to force it with the press, and certainly not when skewed.
2. Do this task with an empty case.
3. Don't force it if there is still a gap, this tool can apply a lot of force...
4. Don't underestimate the sharpness and invisibility of sapphire shards!

2aDkxL.jpeg


2aD4UR.jpeg
 
  • Sad
Reactions: KJ2020

HulkyGalore

Active Member
Supporter
Certified
15/12/22
347
352
63
UK
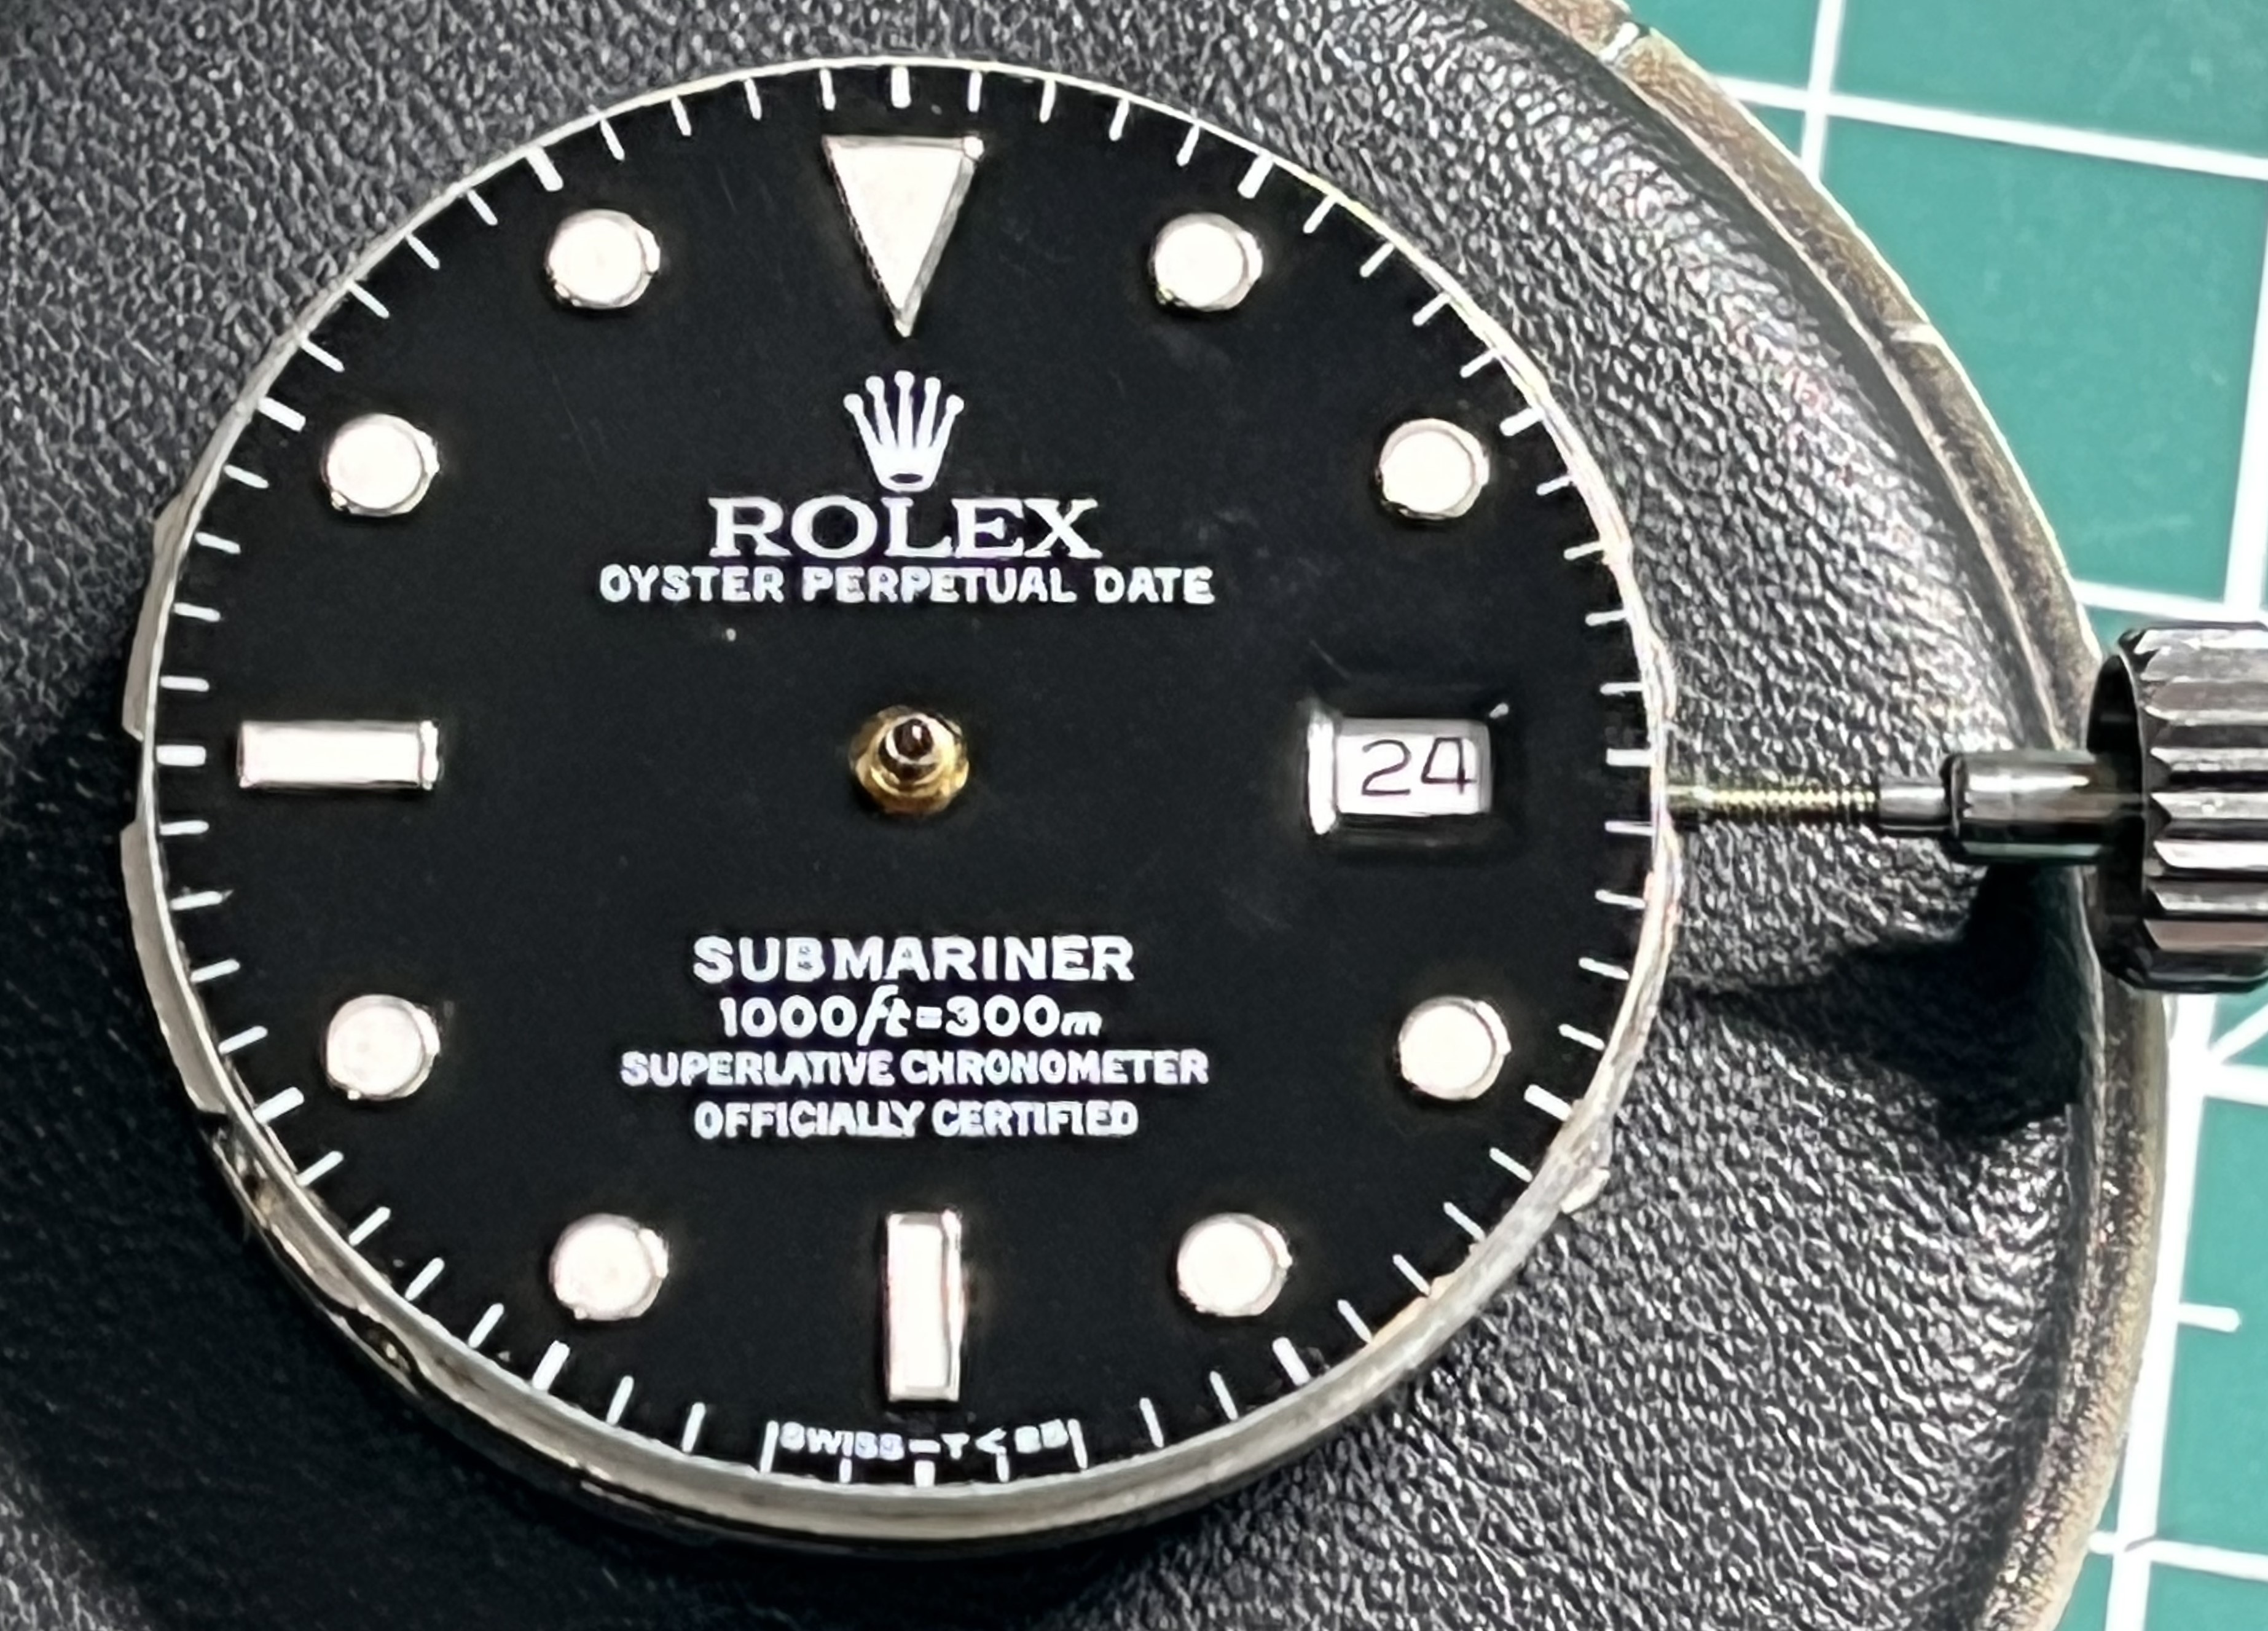
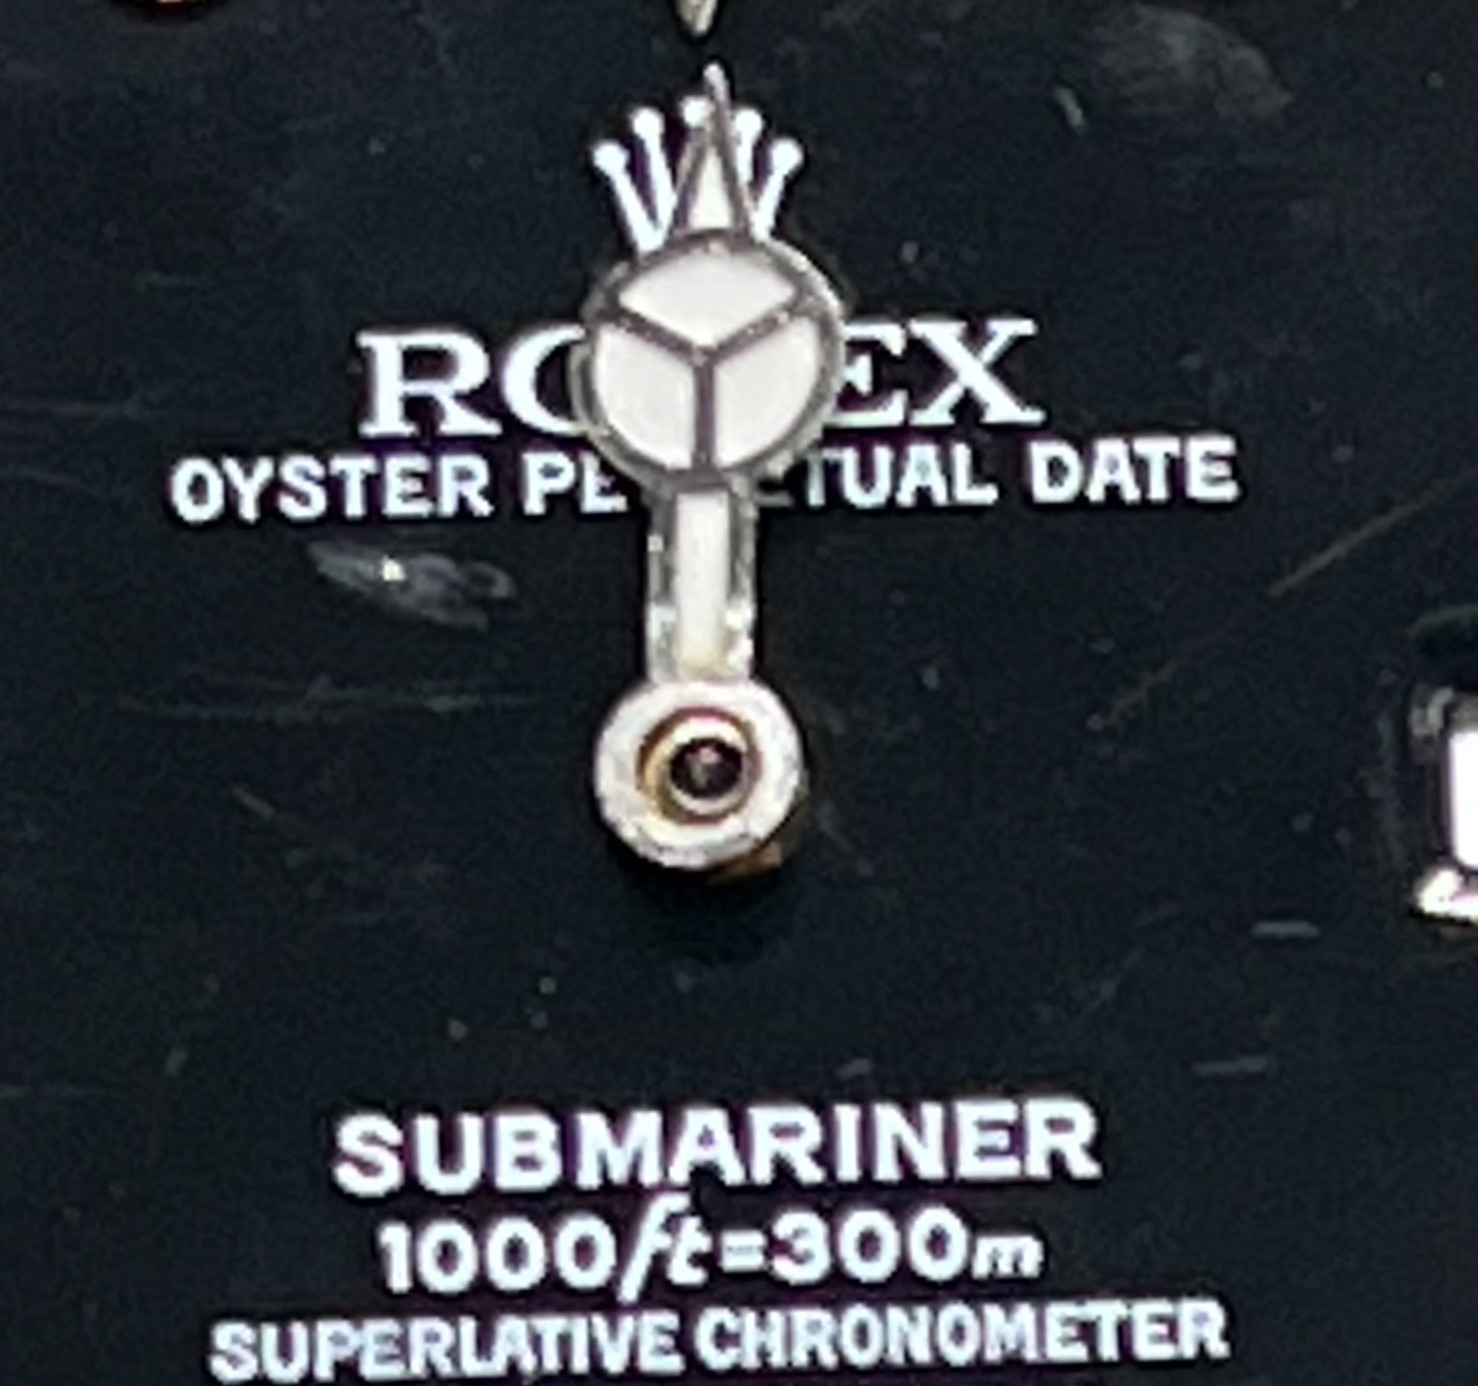
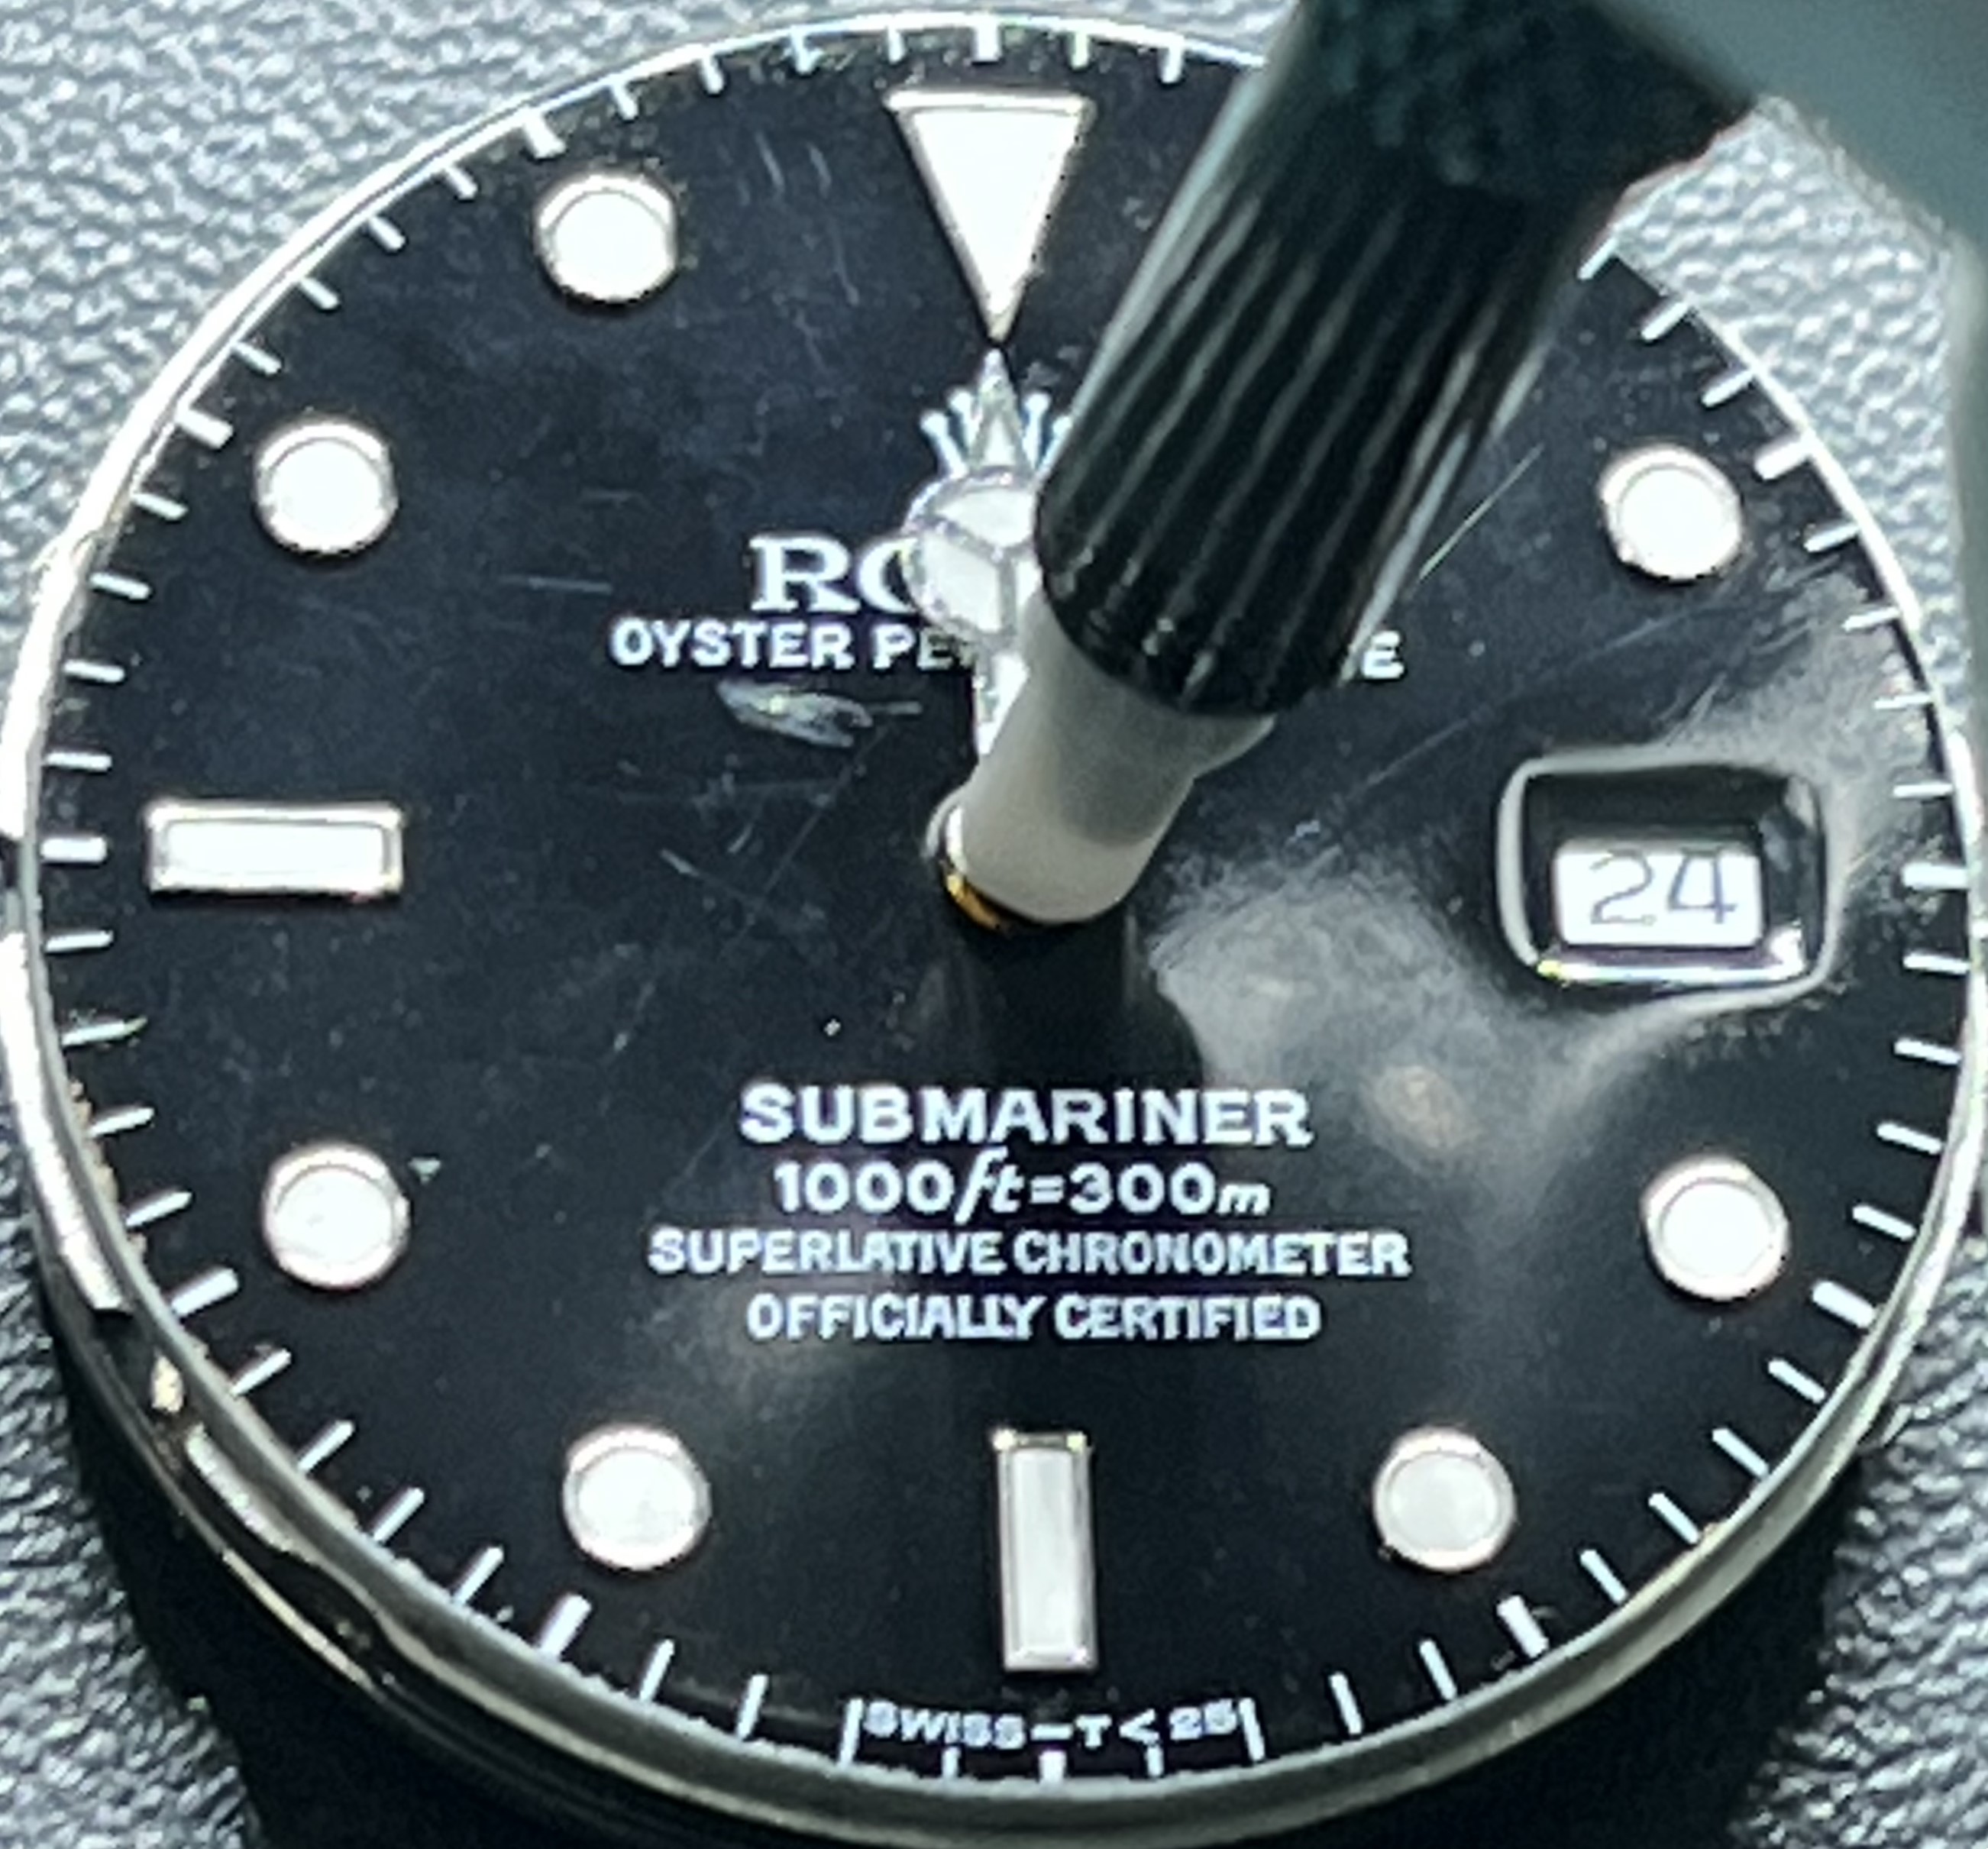
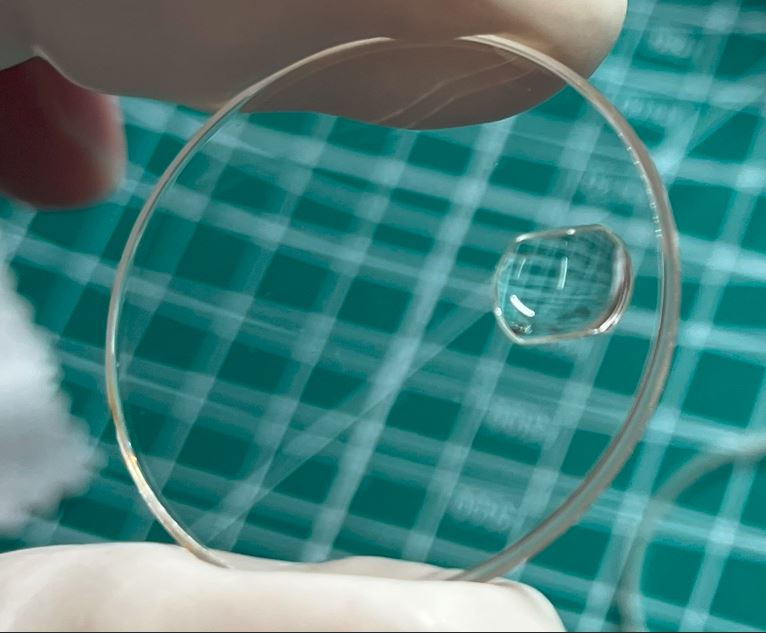
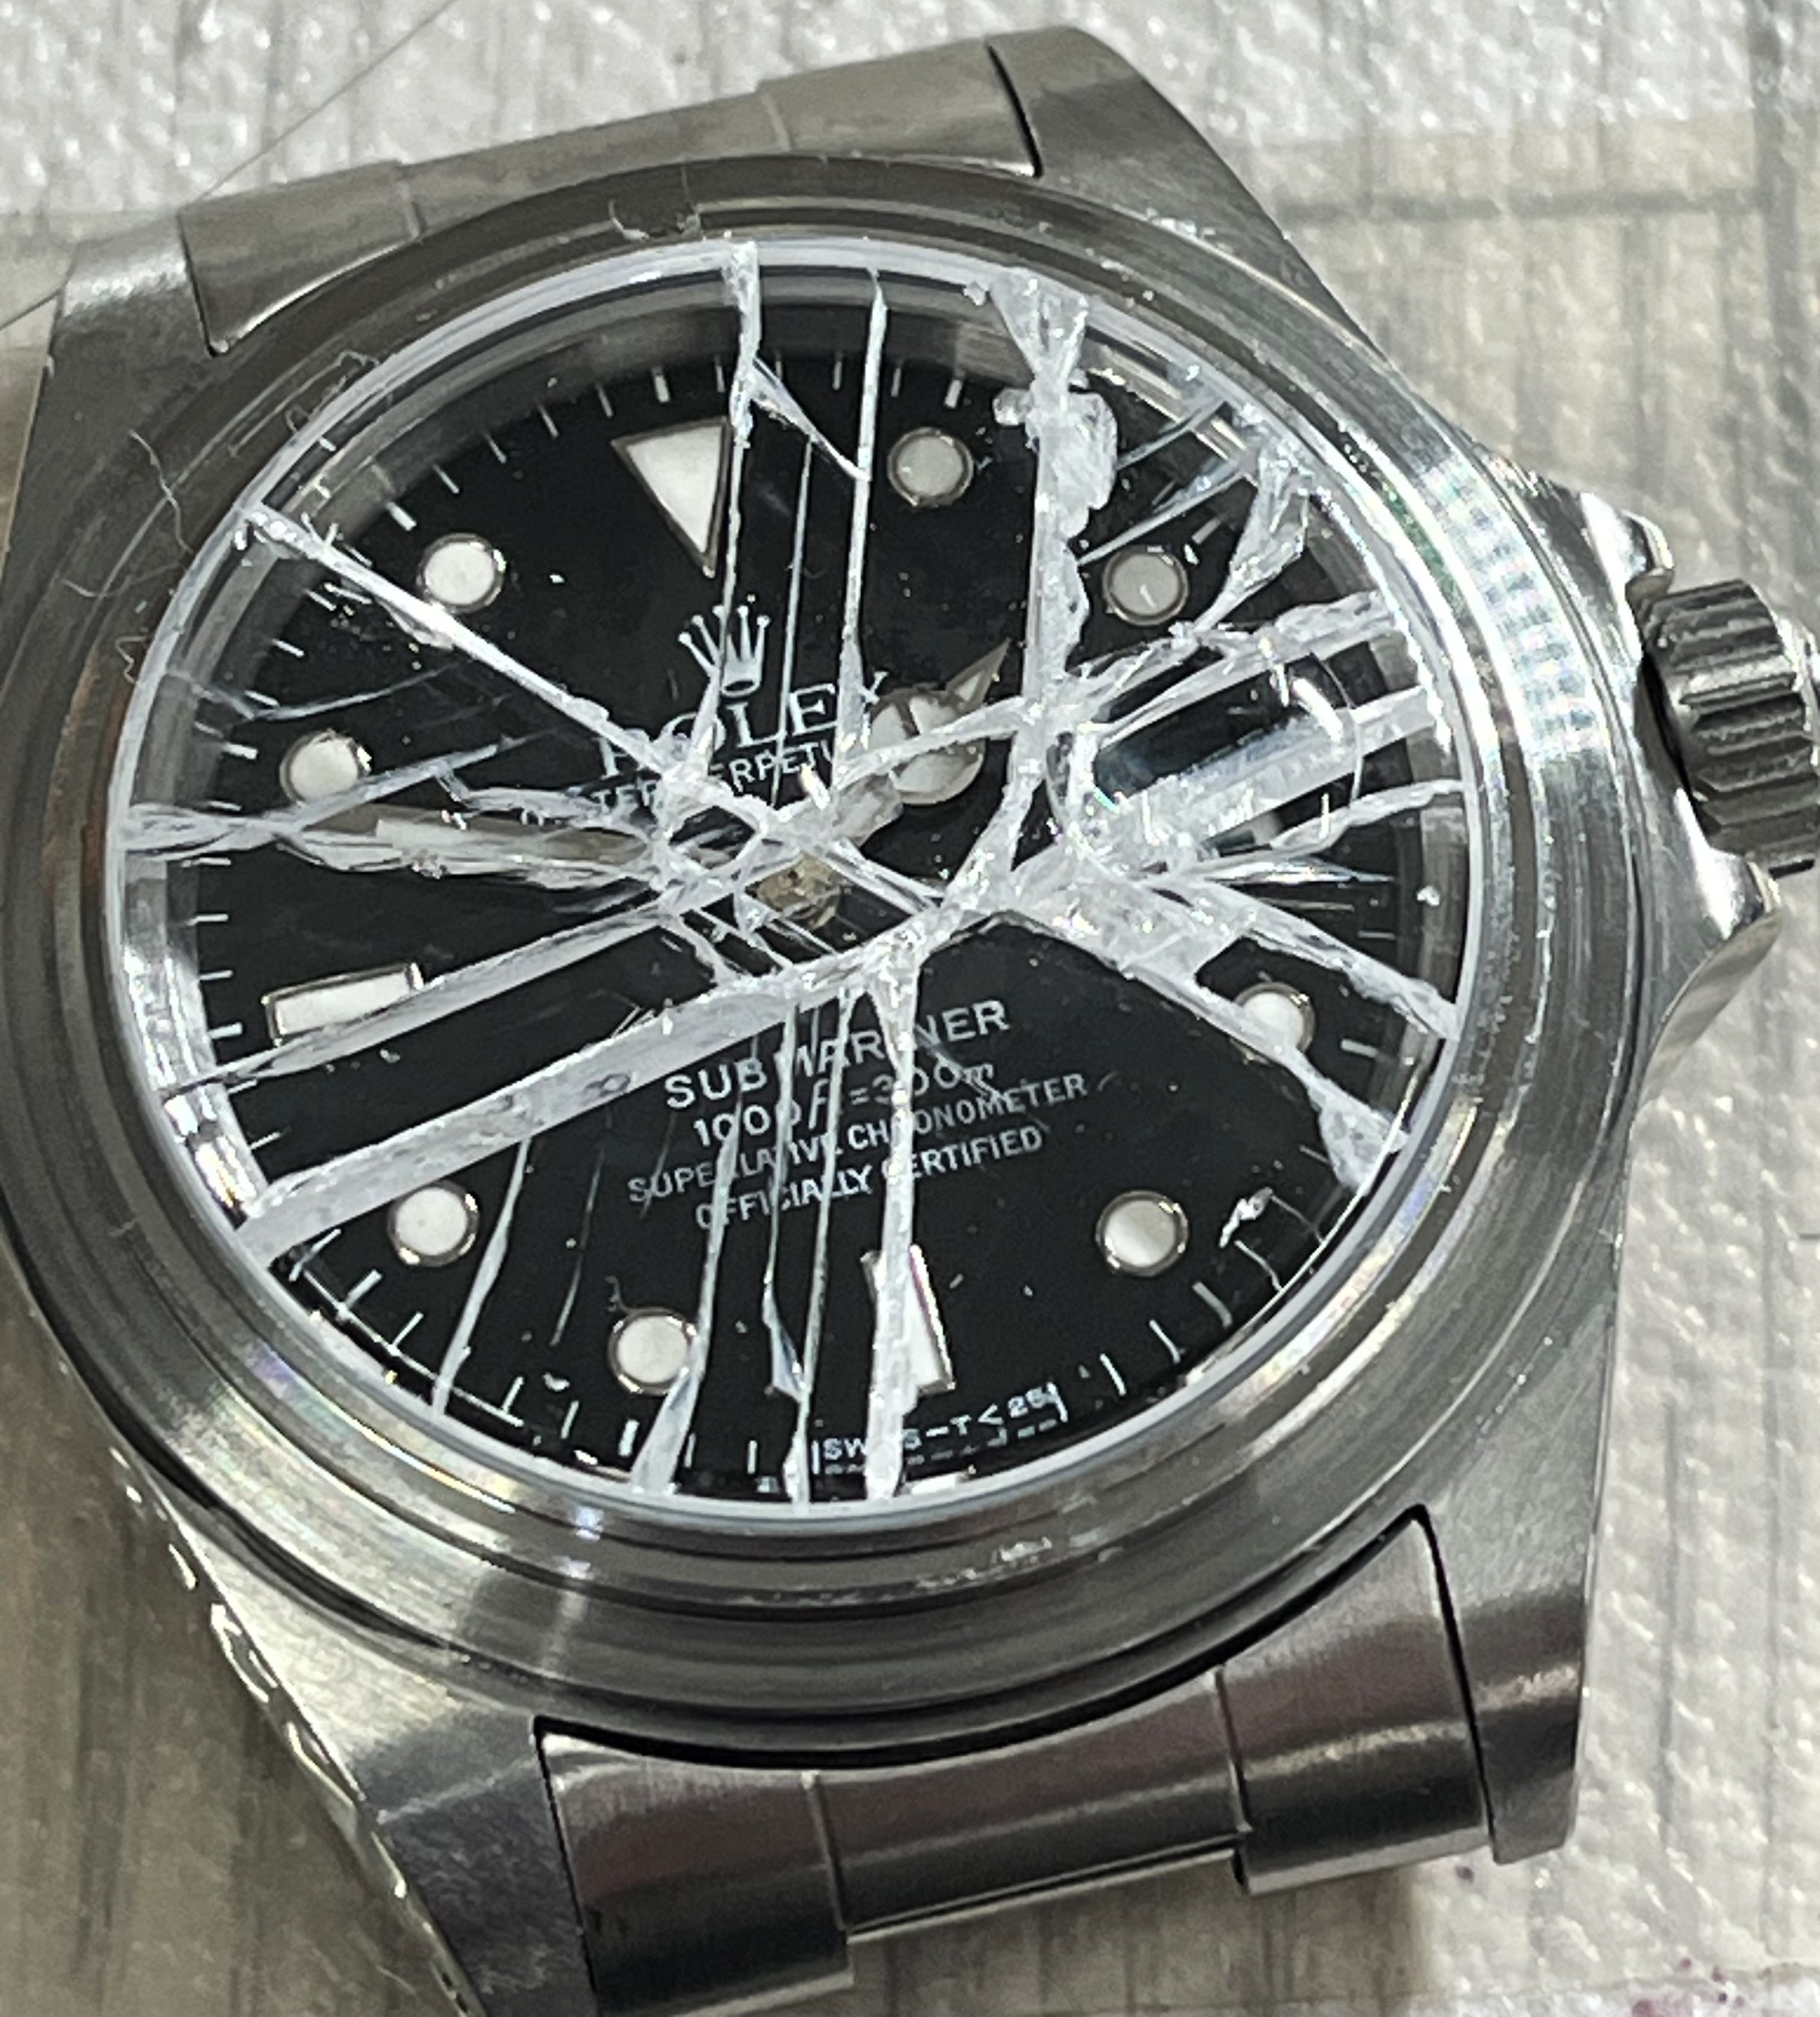
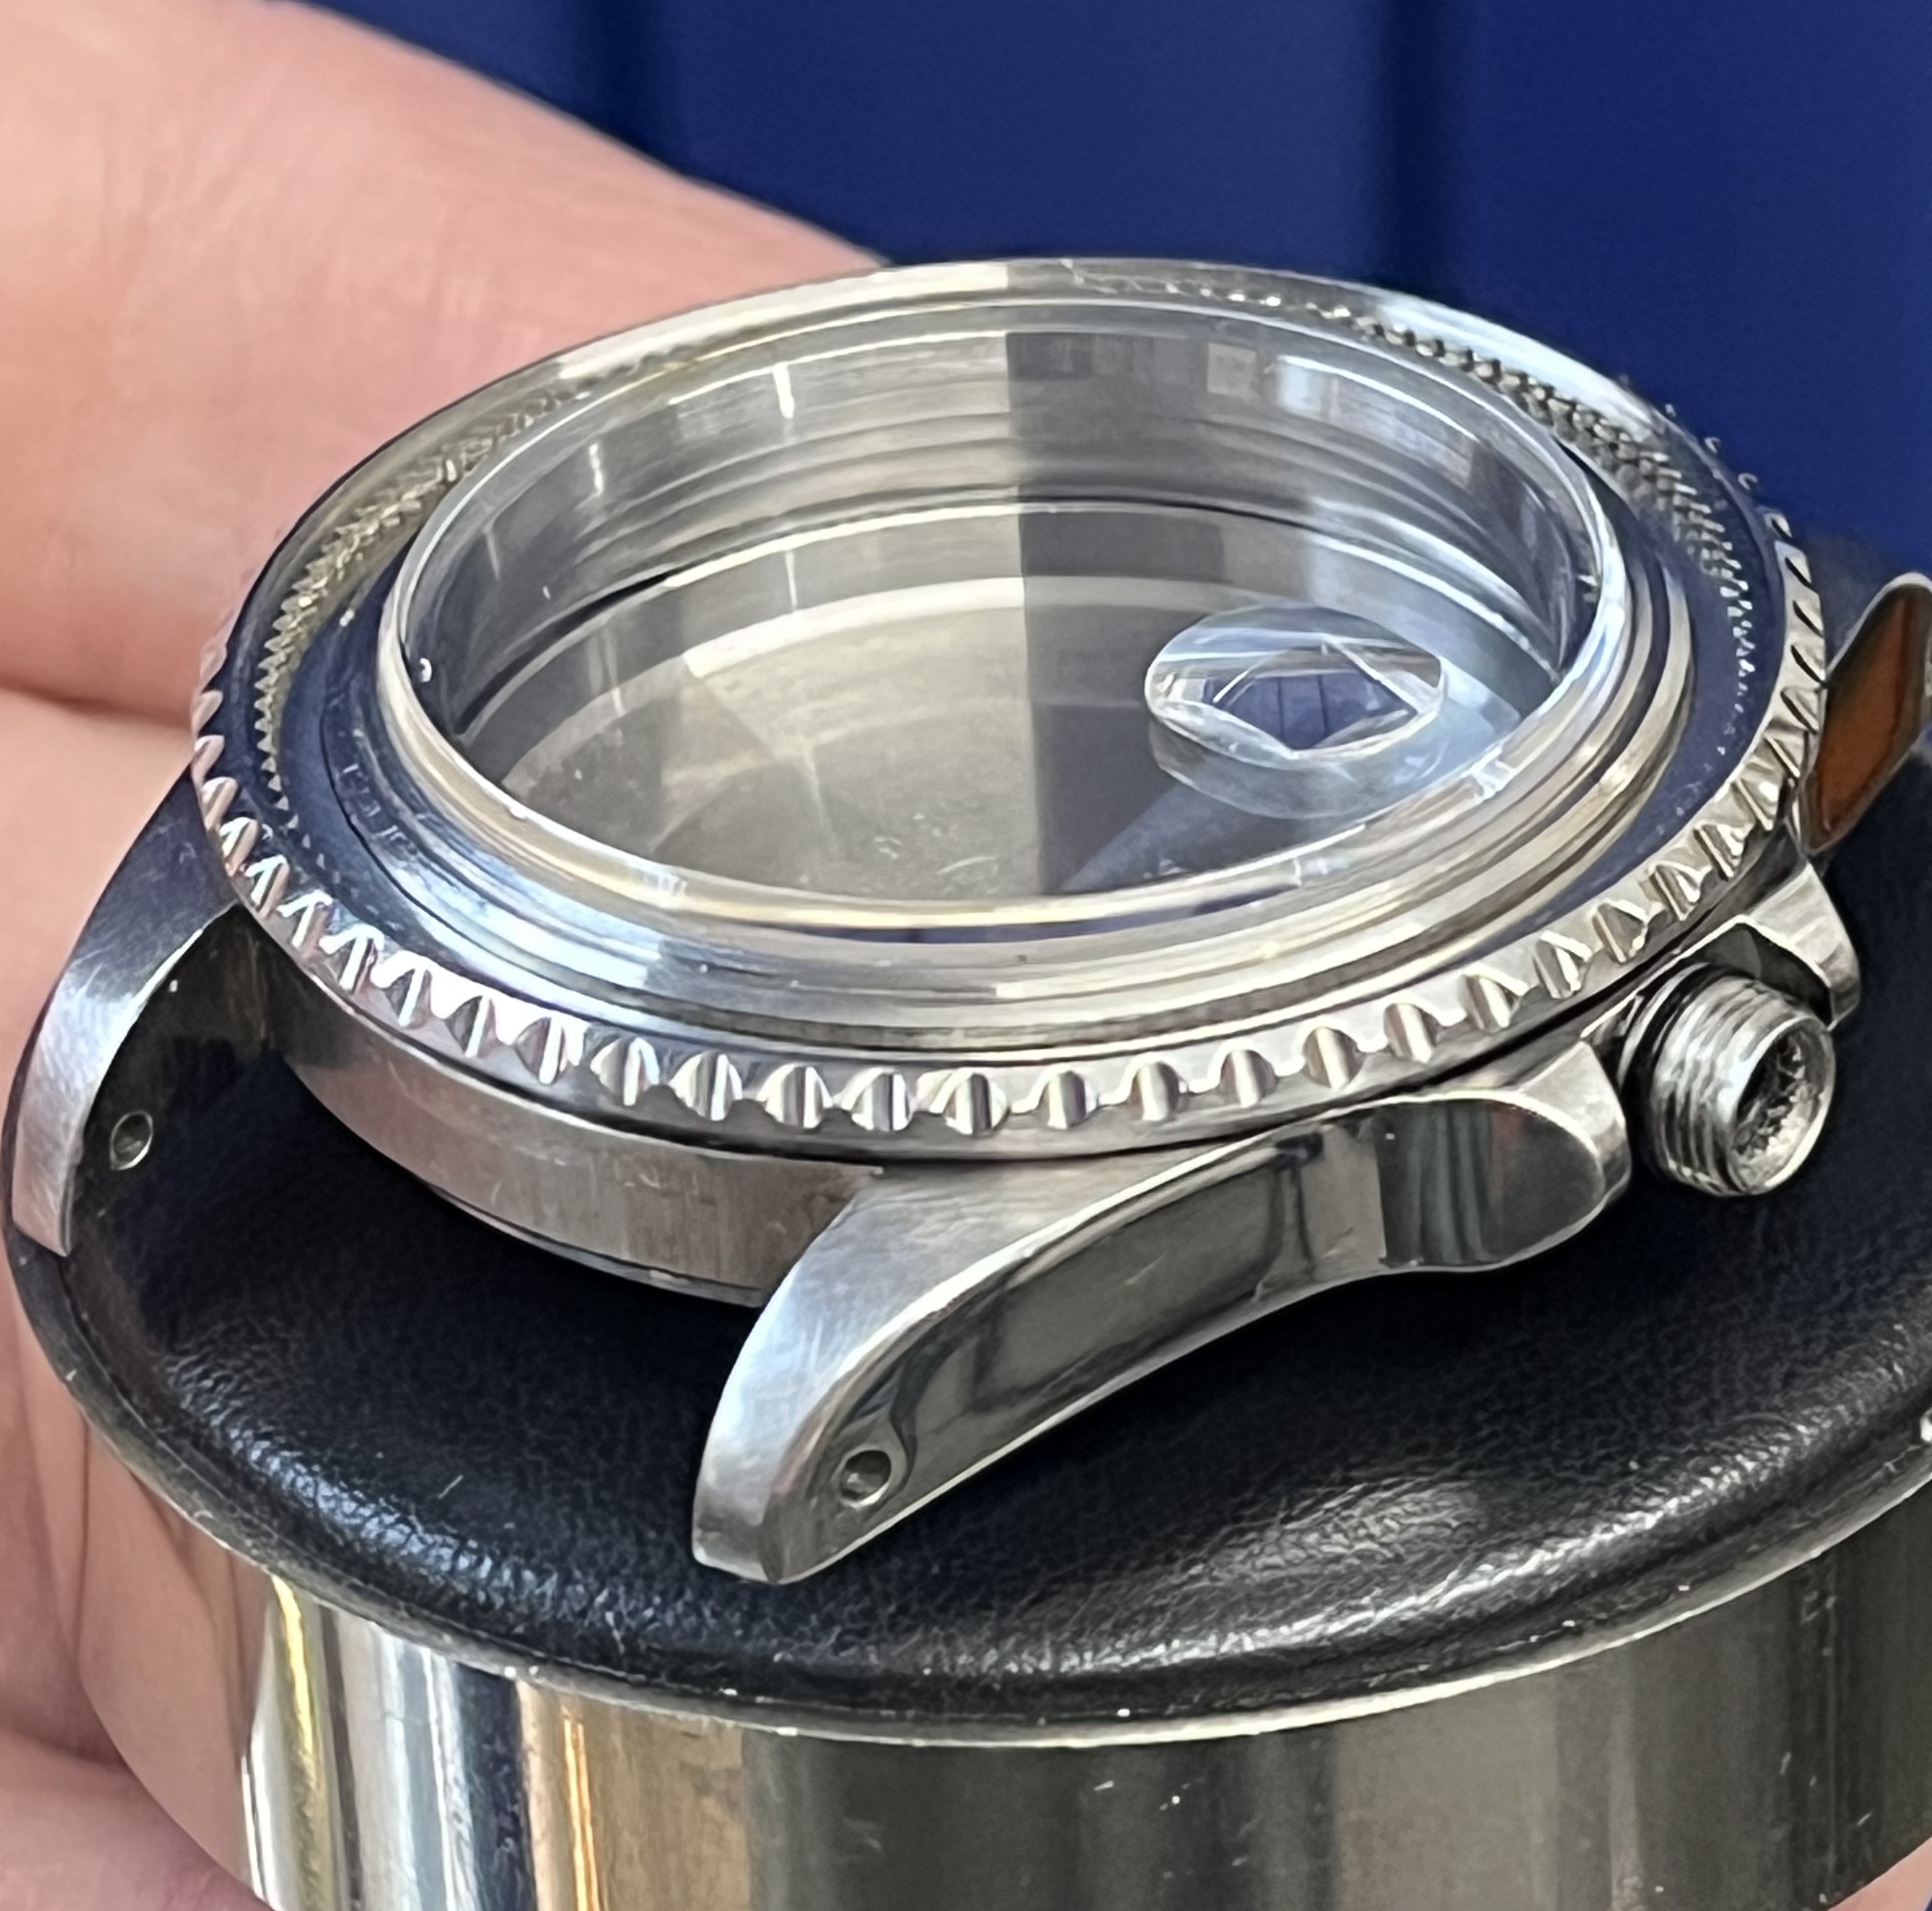
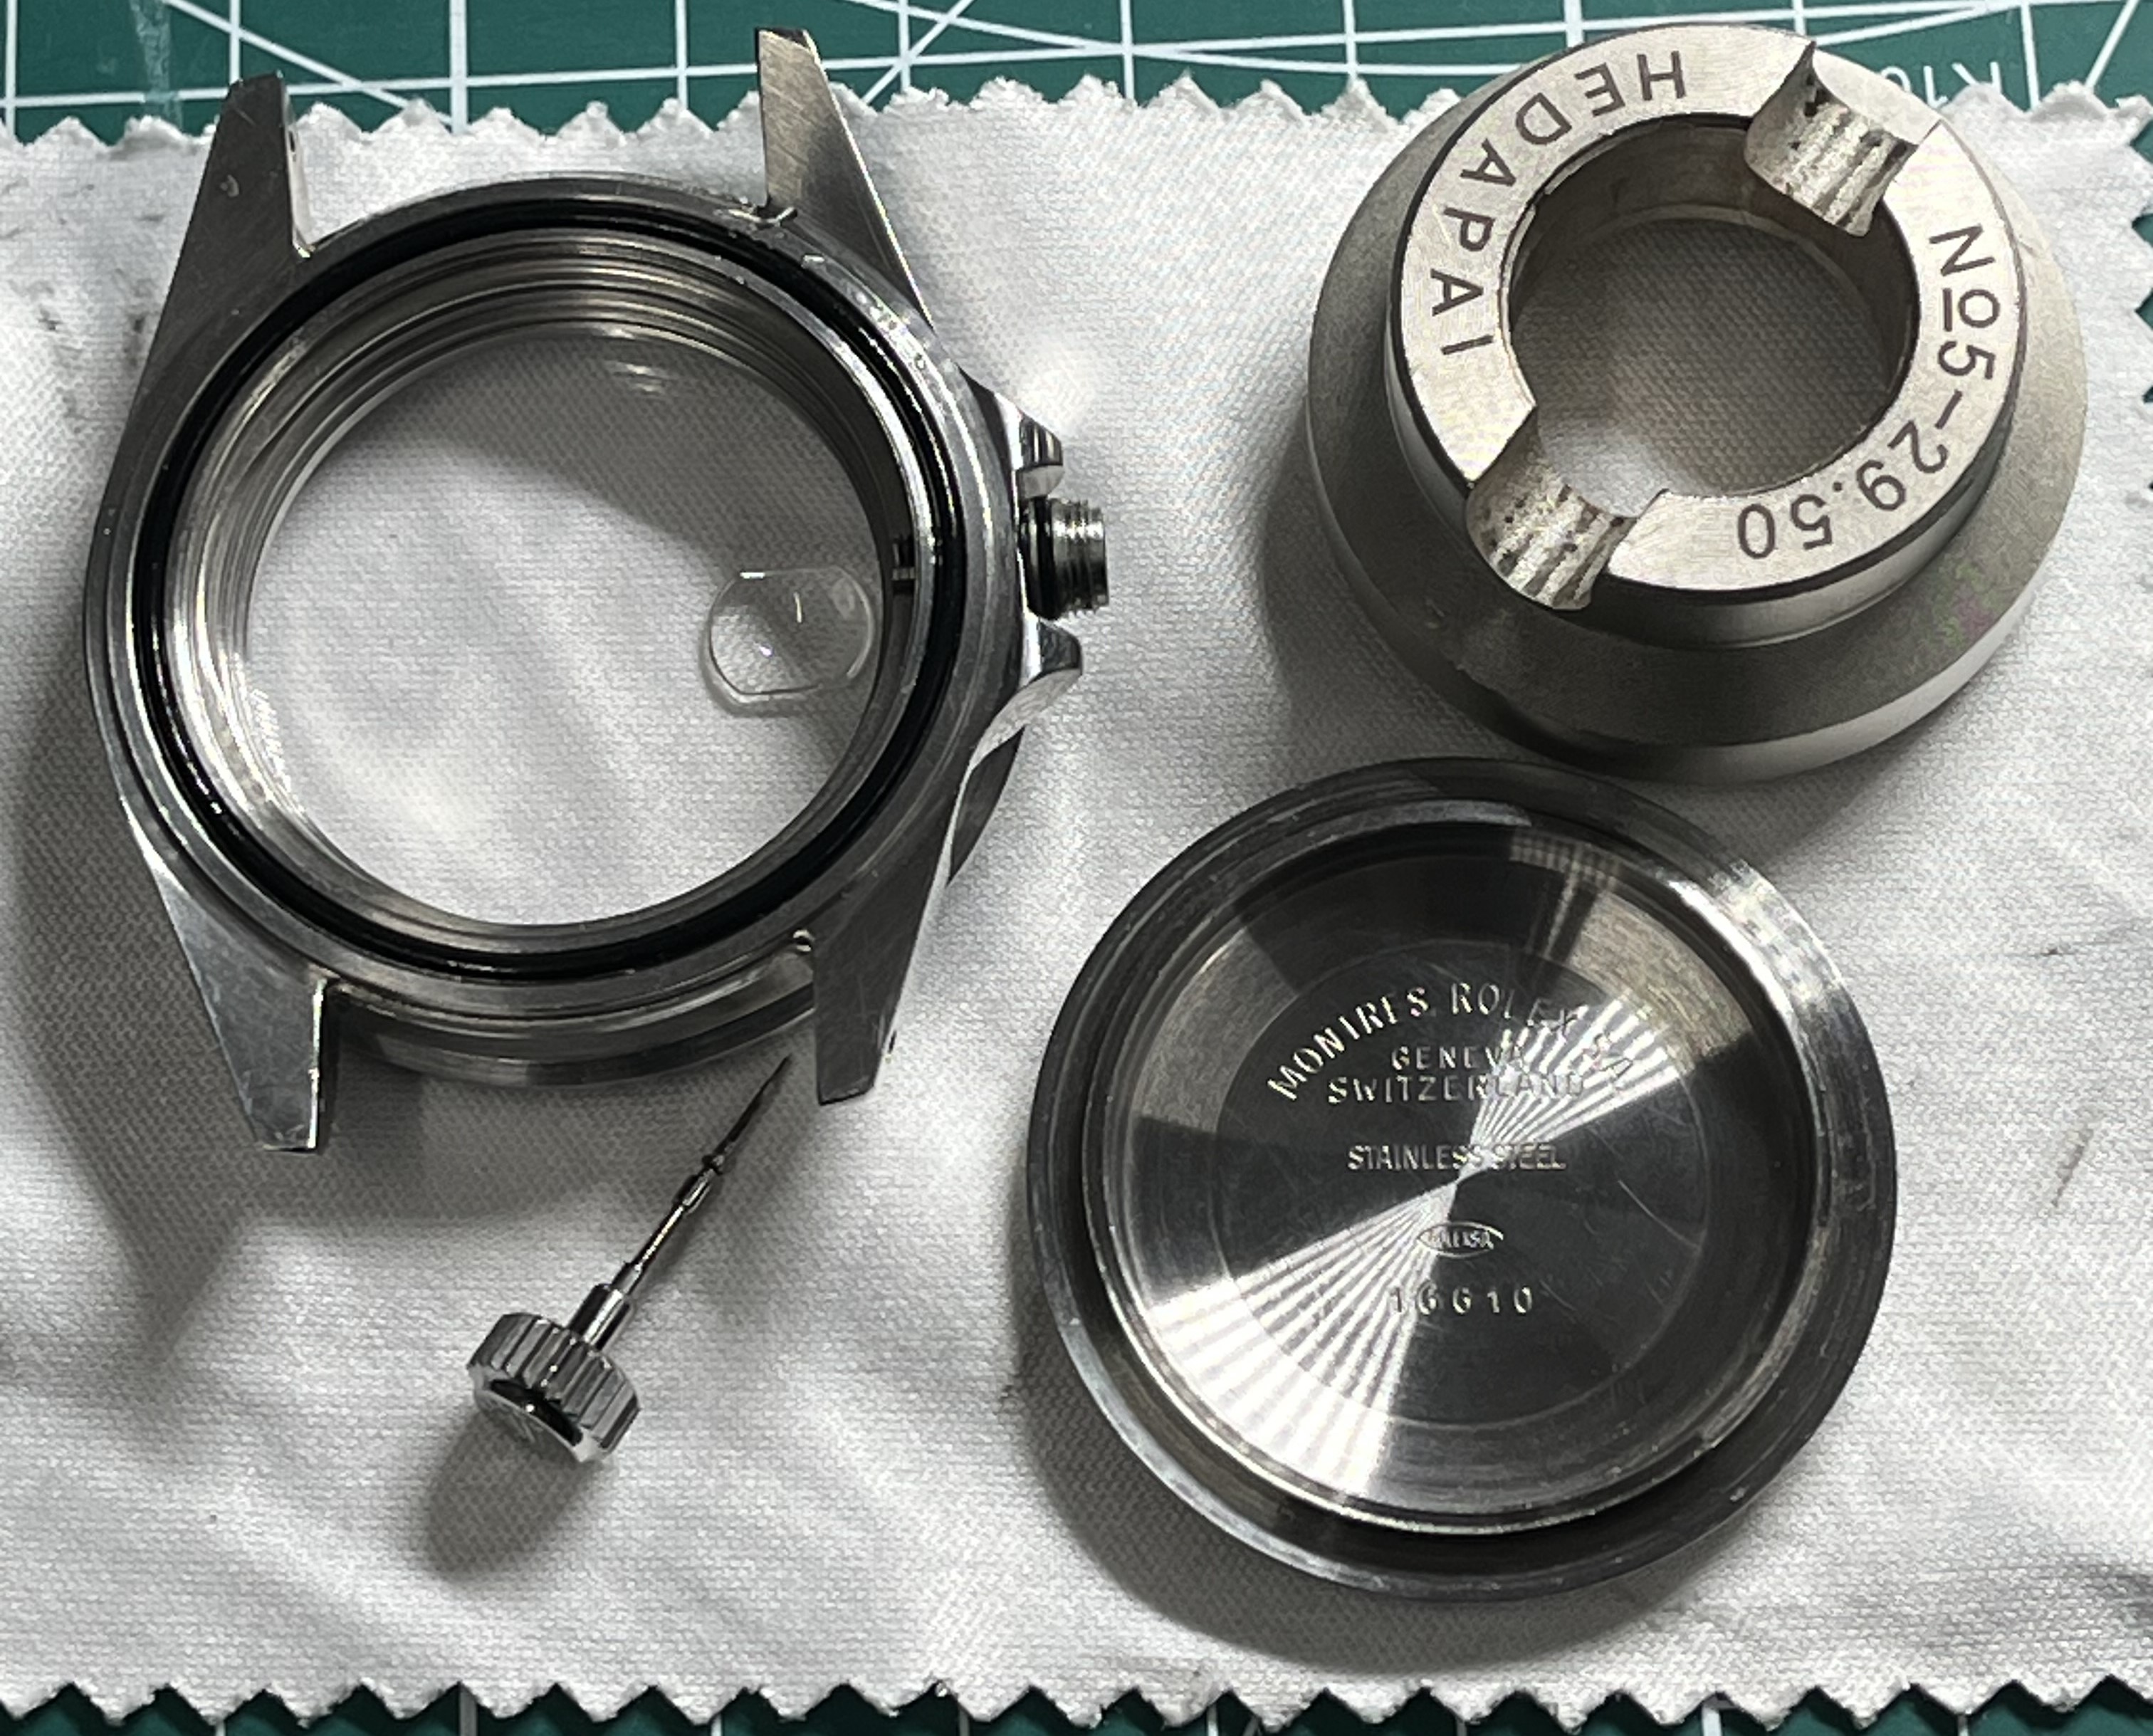
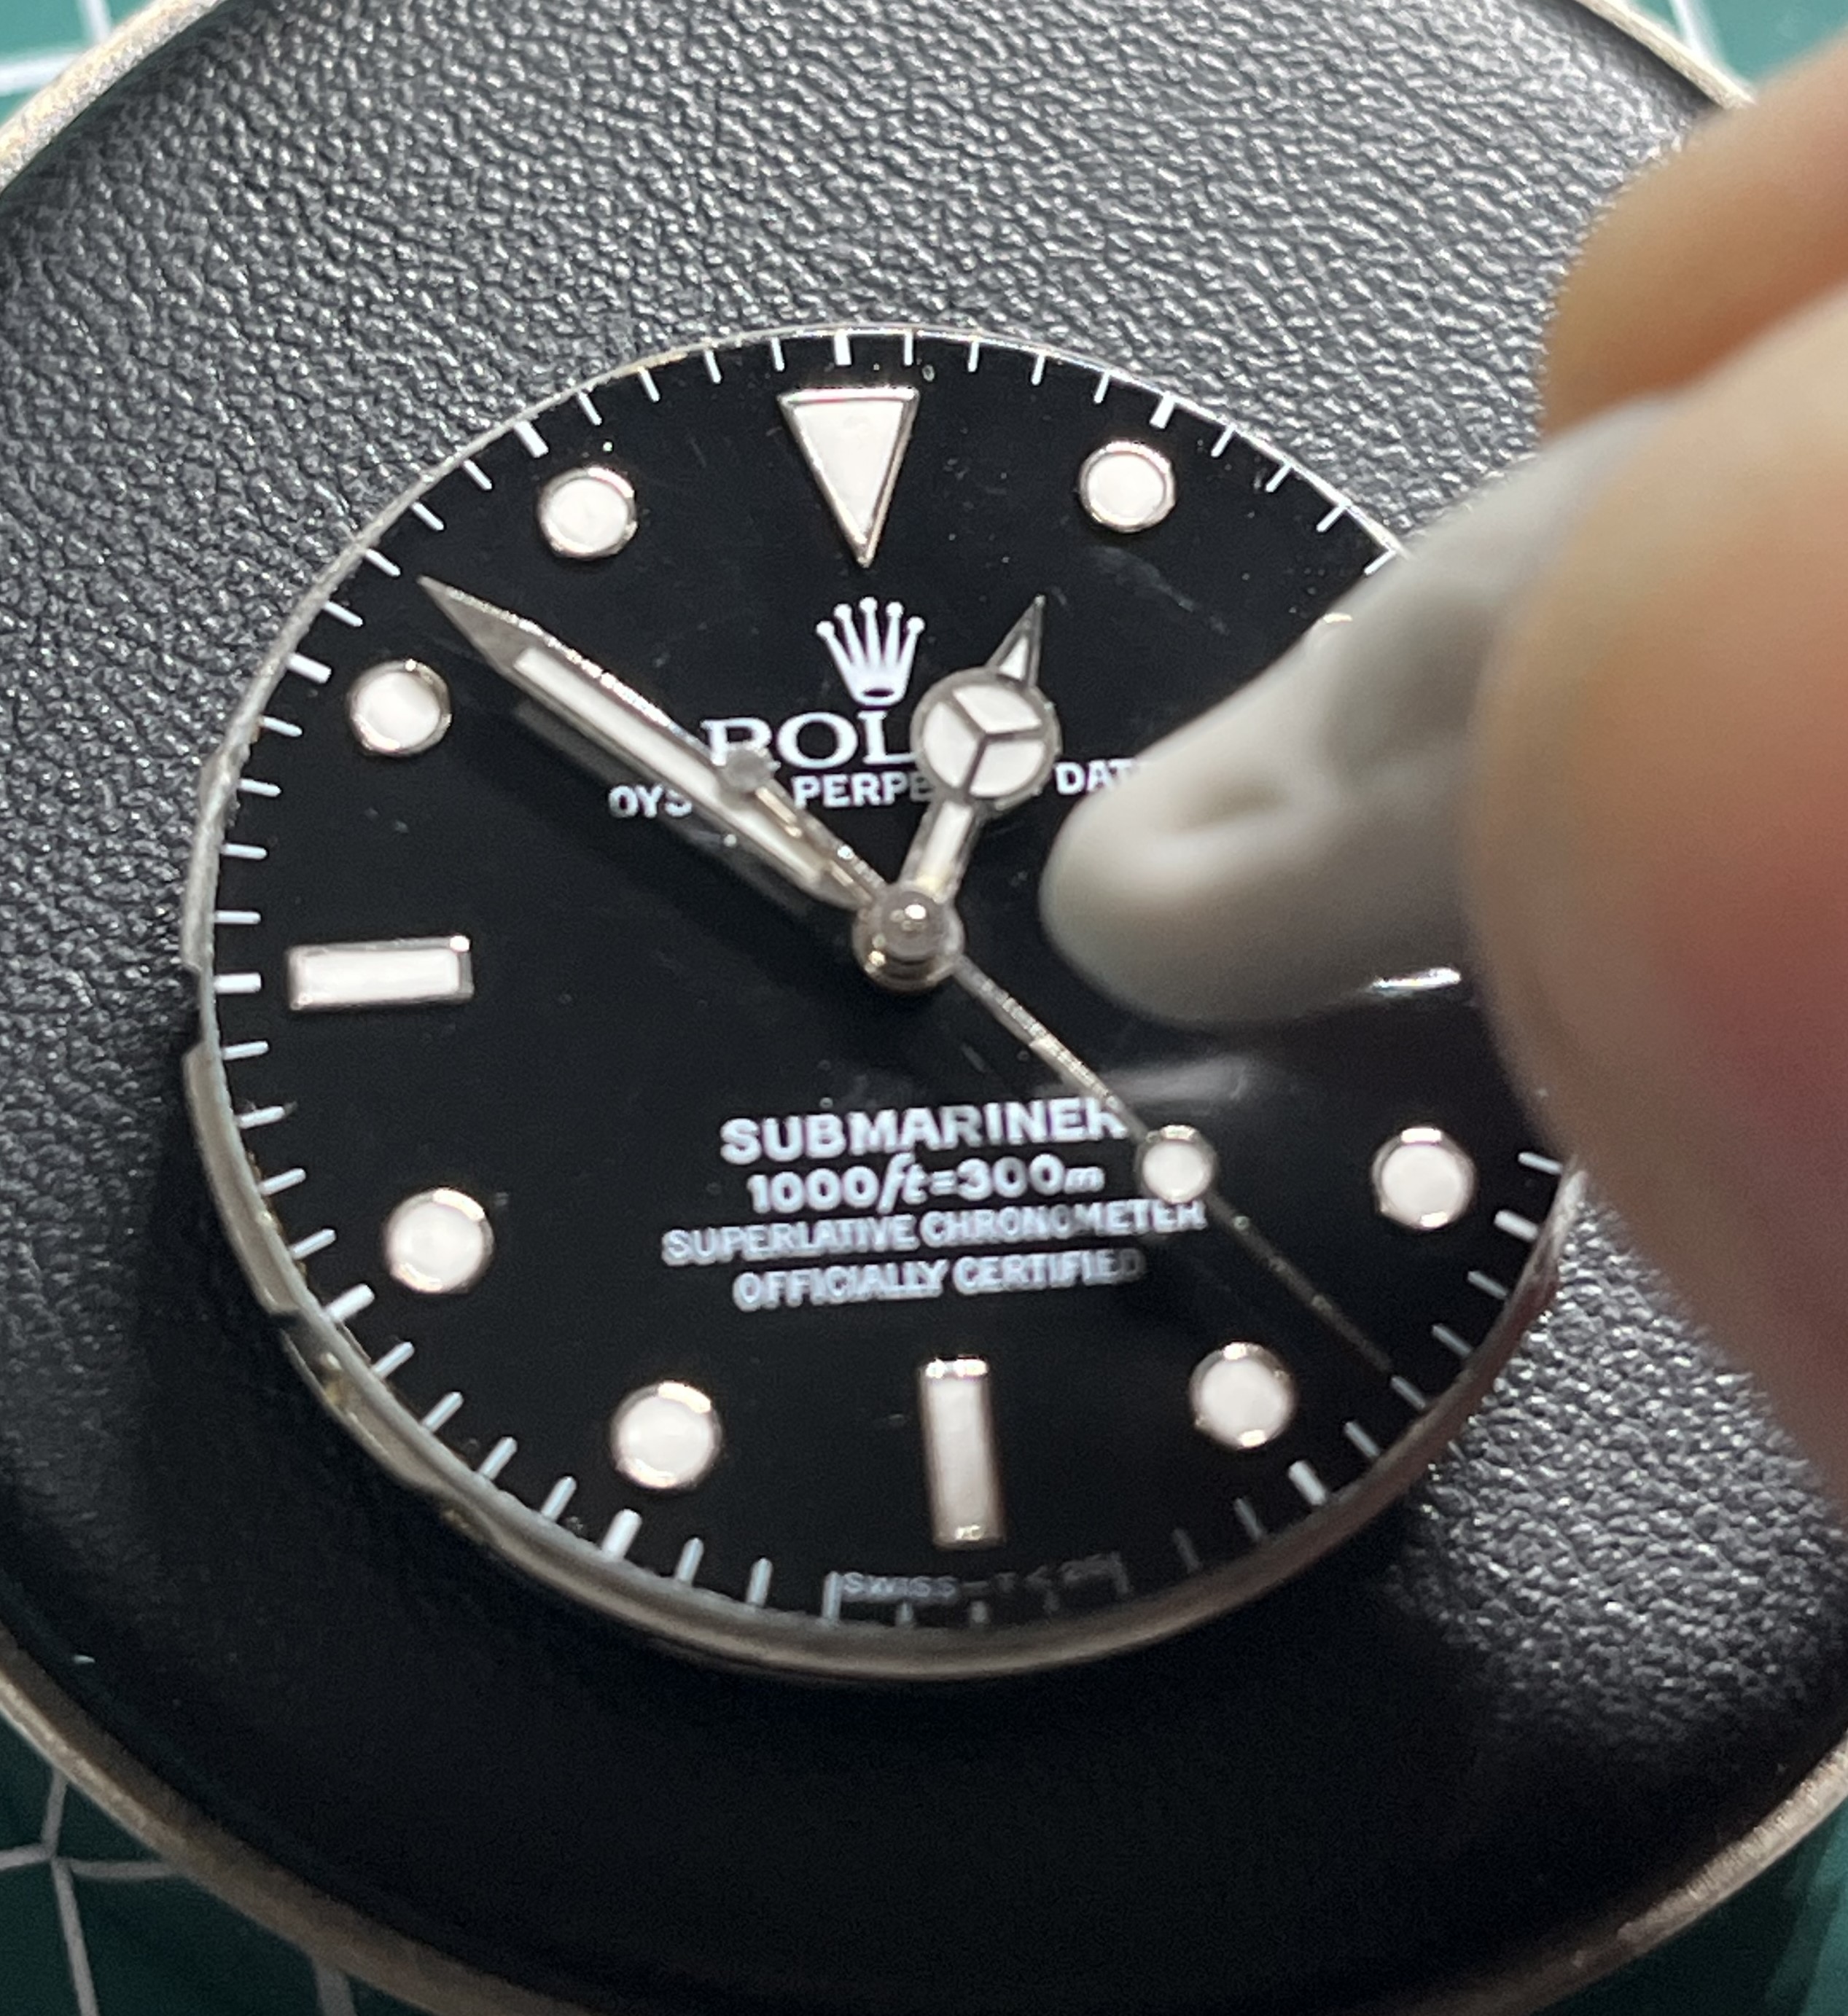
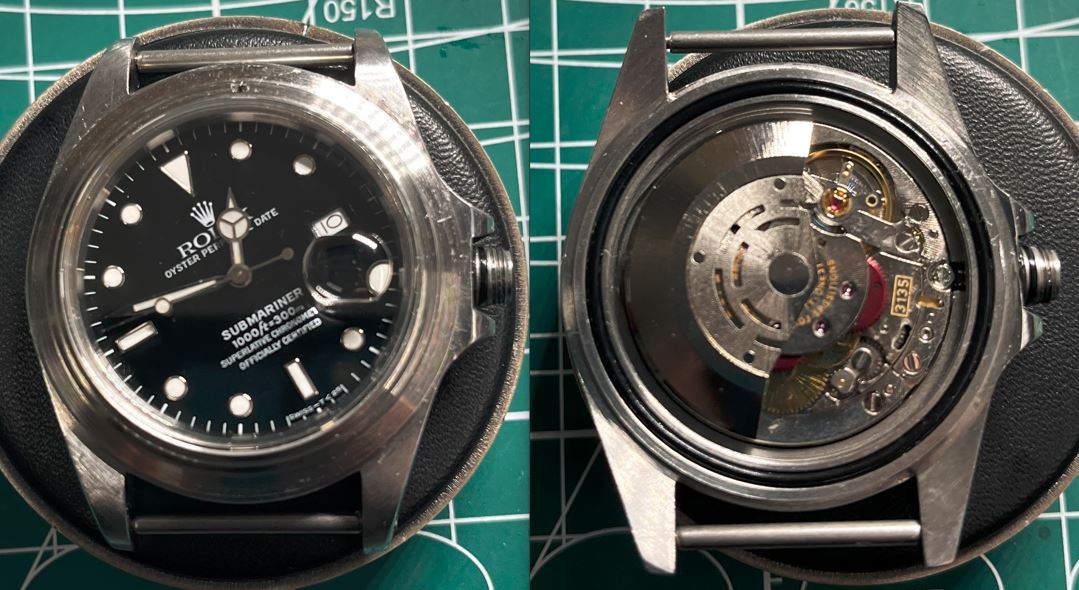
Its not all bad news, fortunately. The cracked sapphire was an ARF one, the case had been reworked by 
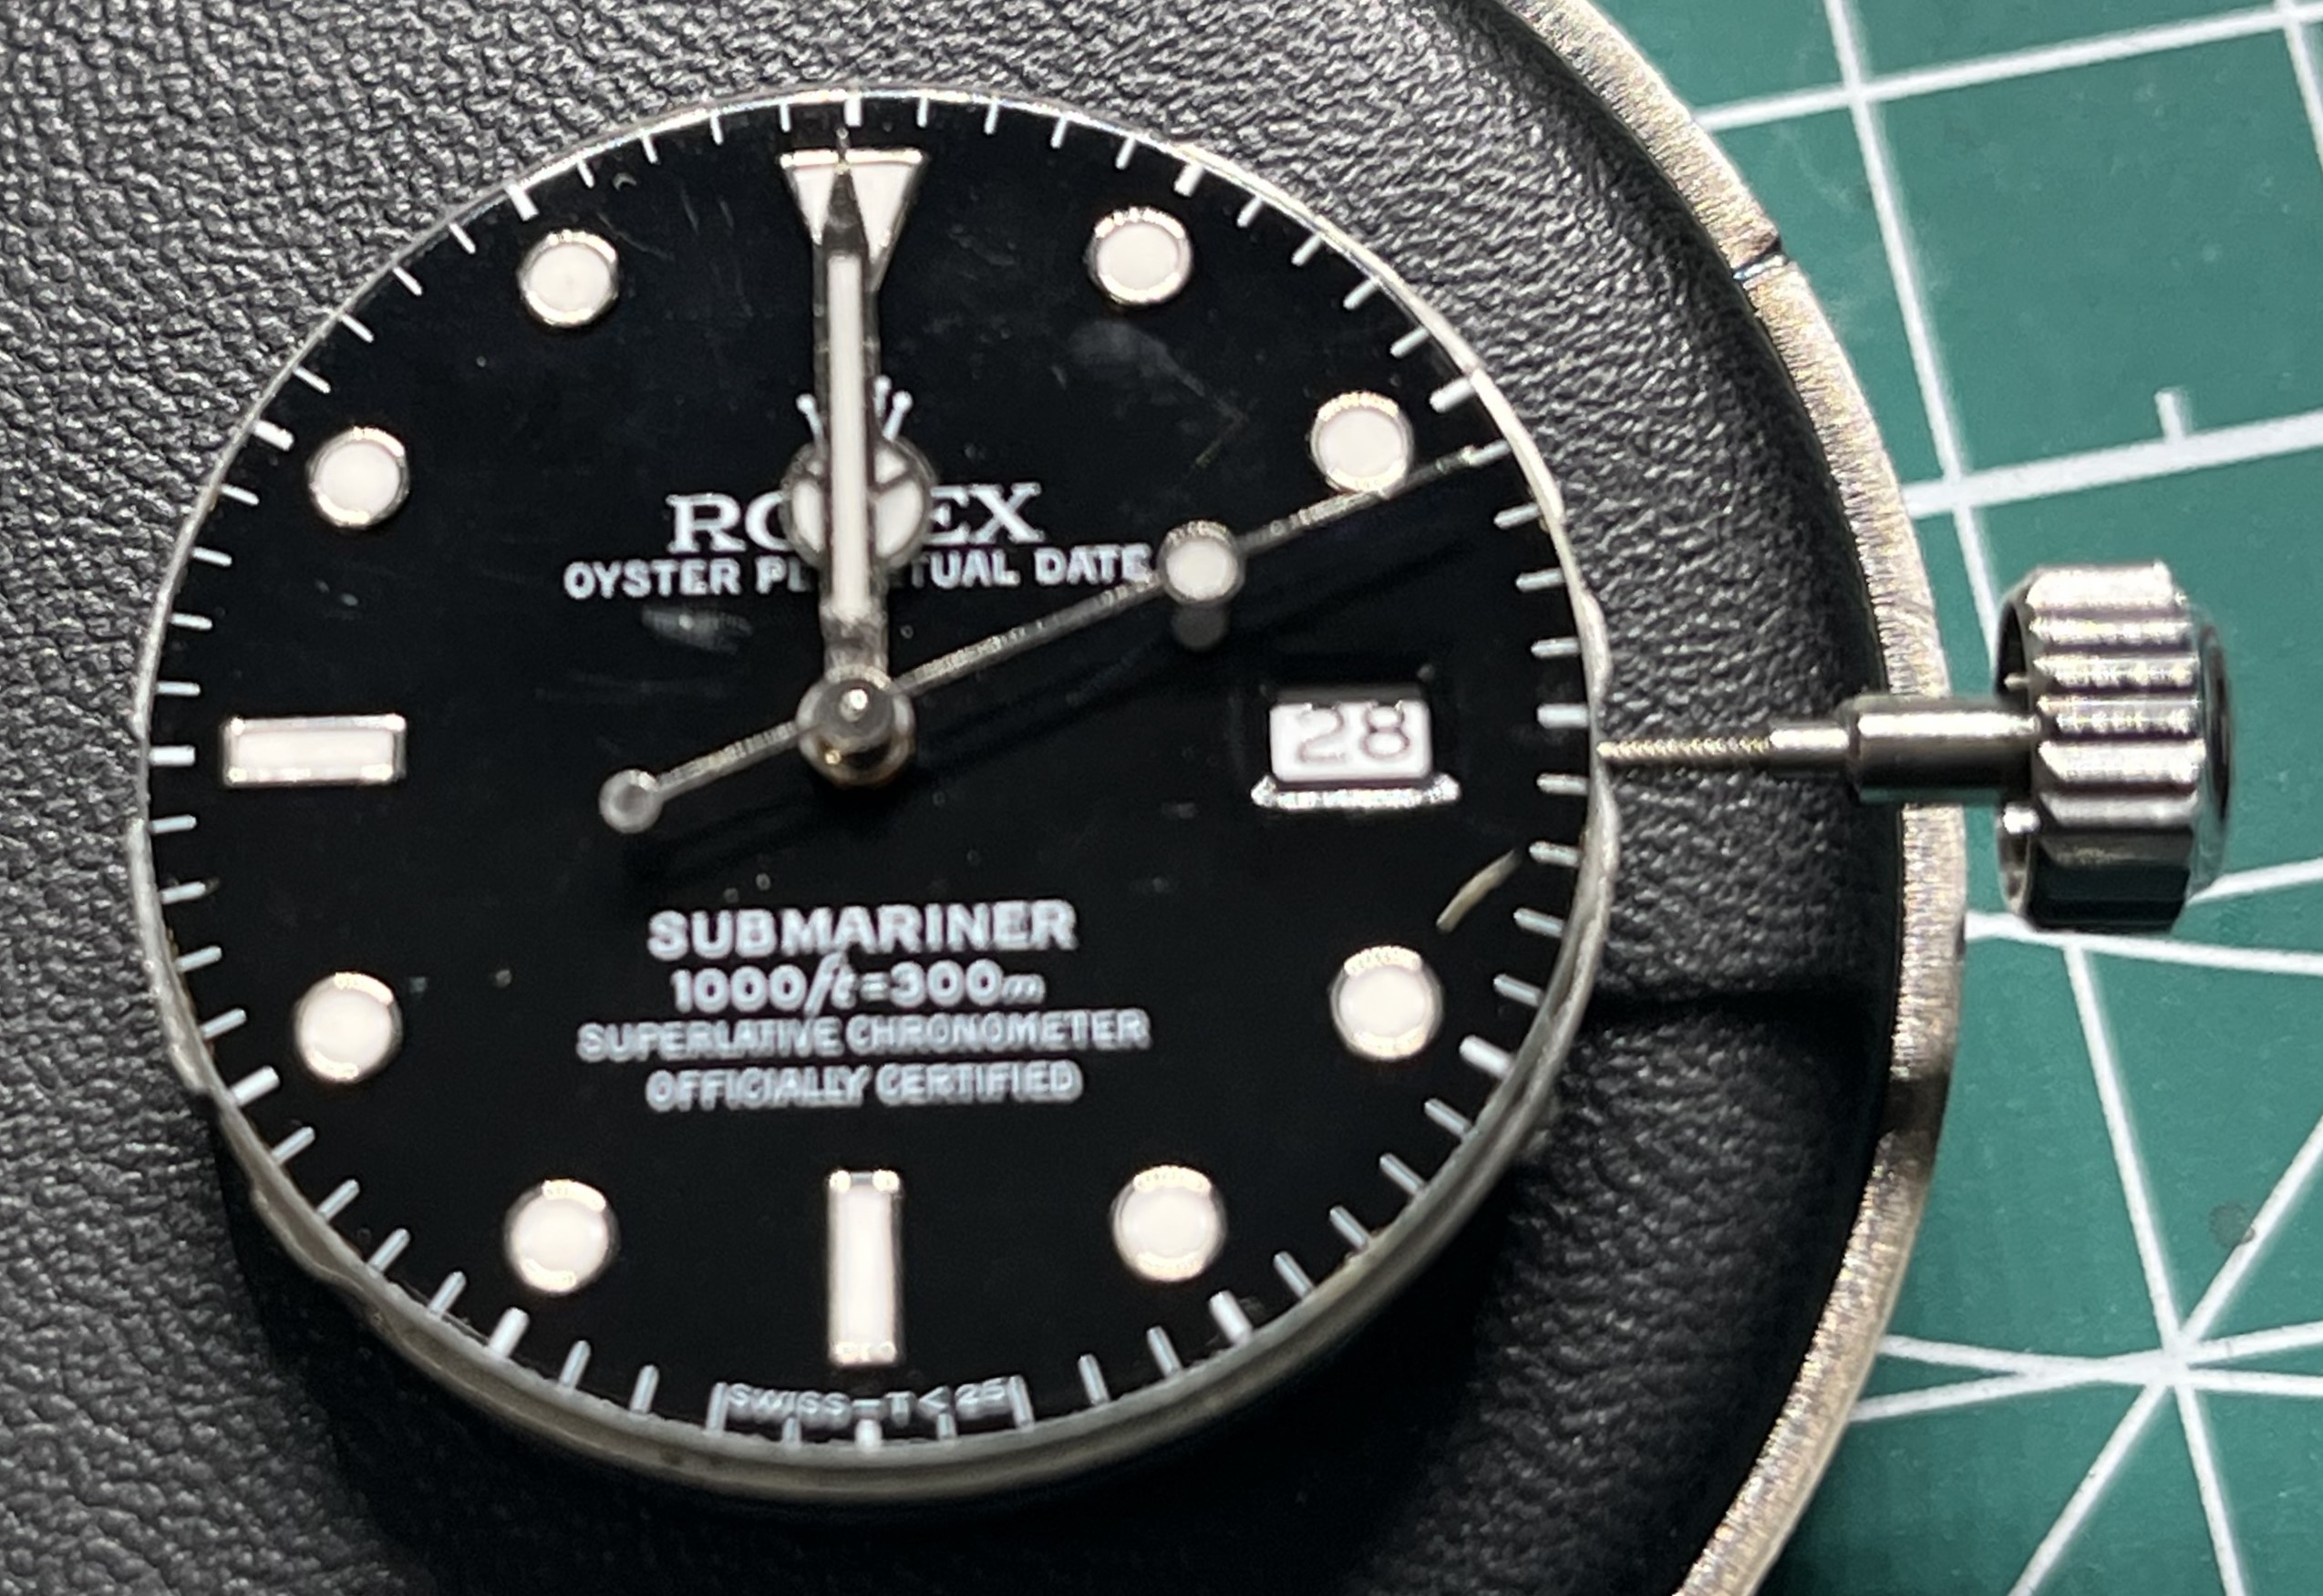
@tripdog (a lower cost alternative, not far off the viet case). He had modified the lugs, drilled holes in them, modified the rehaut slightly, the crown gaurds and the bezel shape. Watch out for a future build with it. I replaced the crystal with one from a TC which actually, was better! (edge shape, especially). And fortunately the experience prevented me from doing it again.

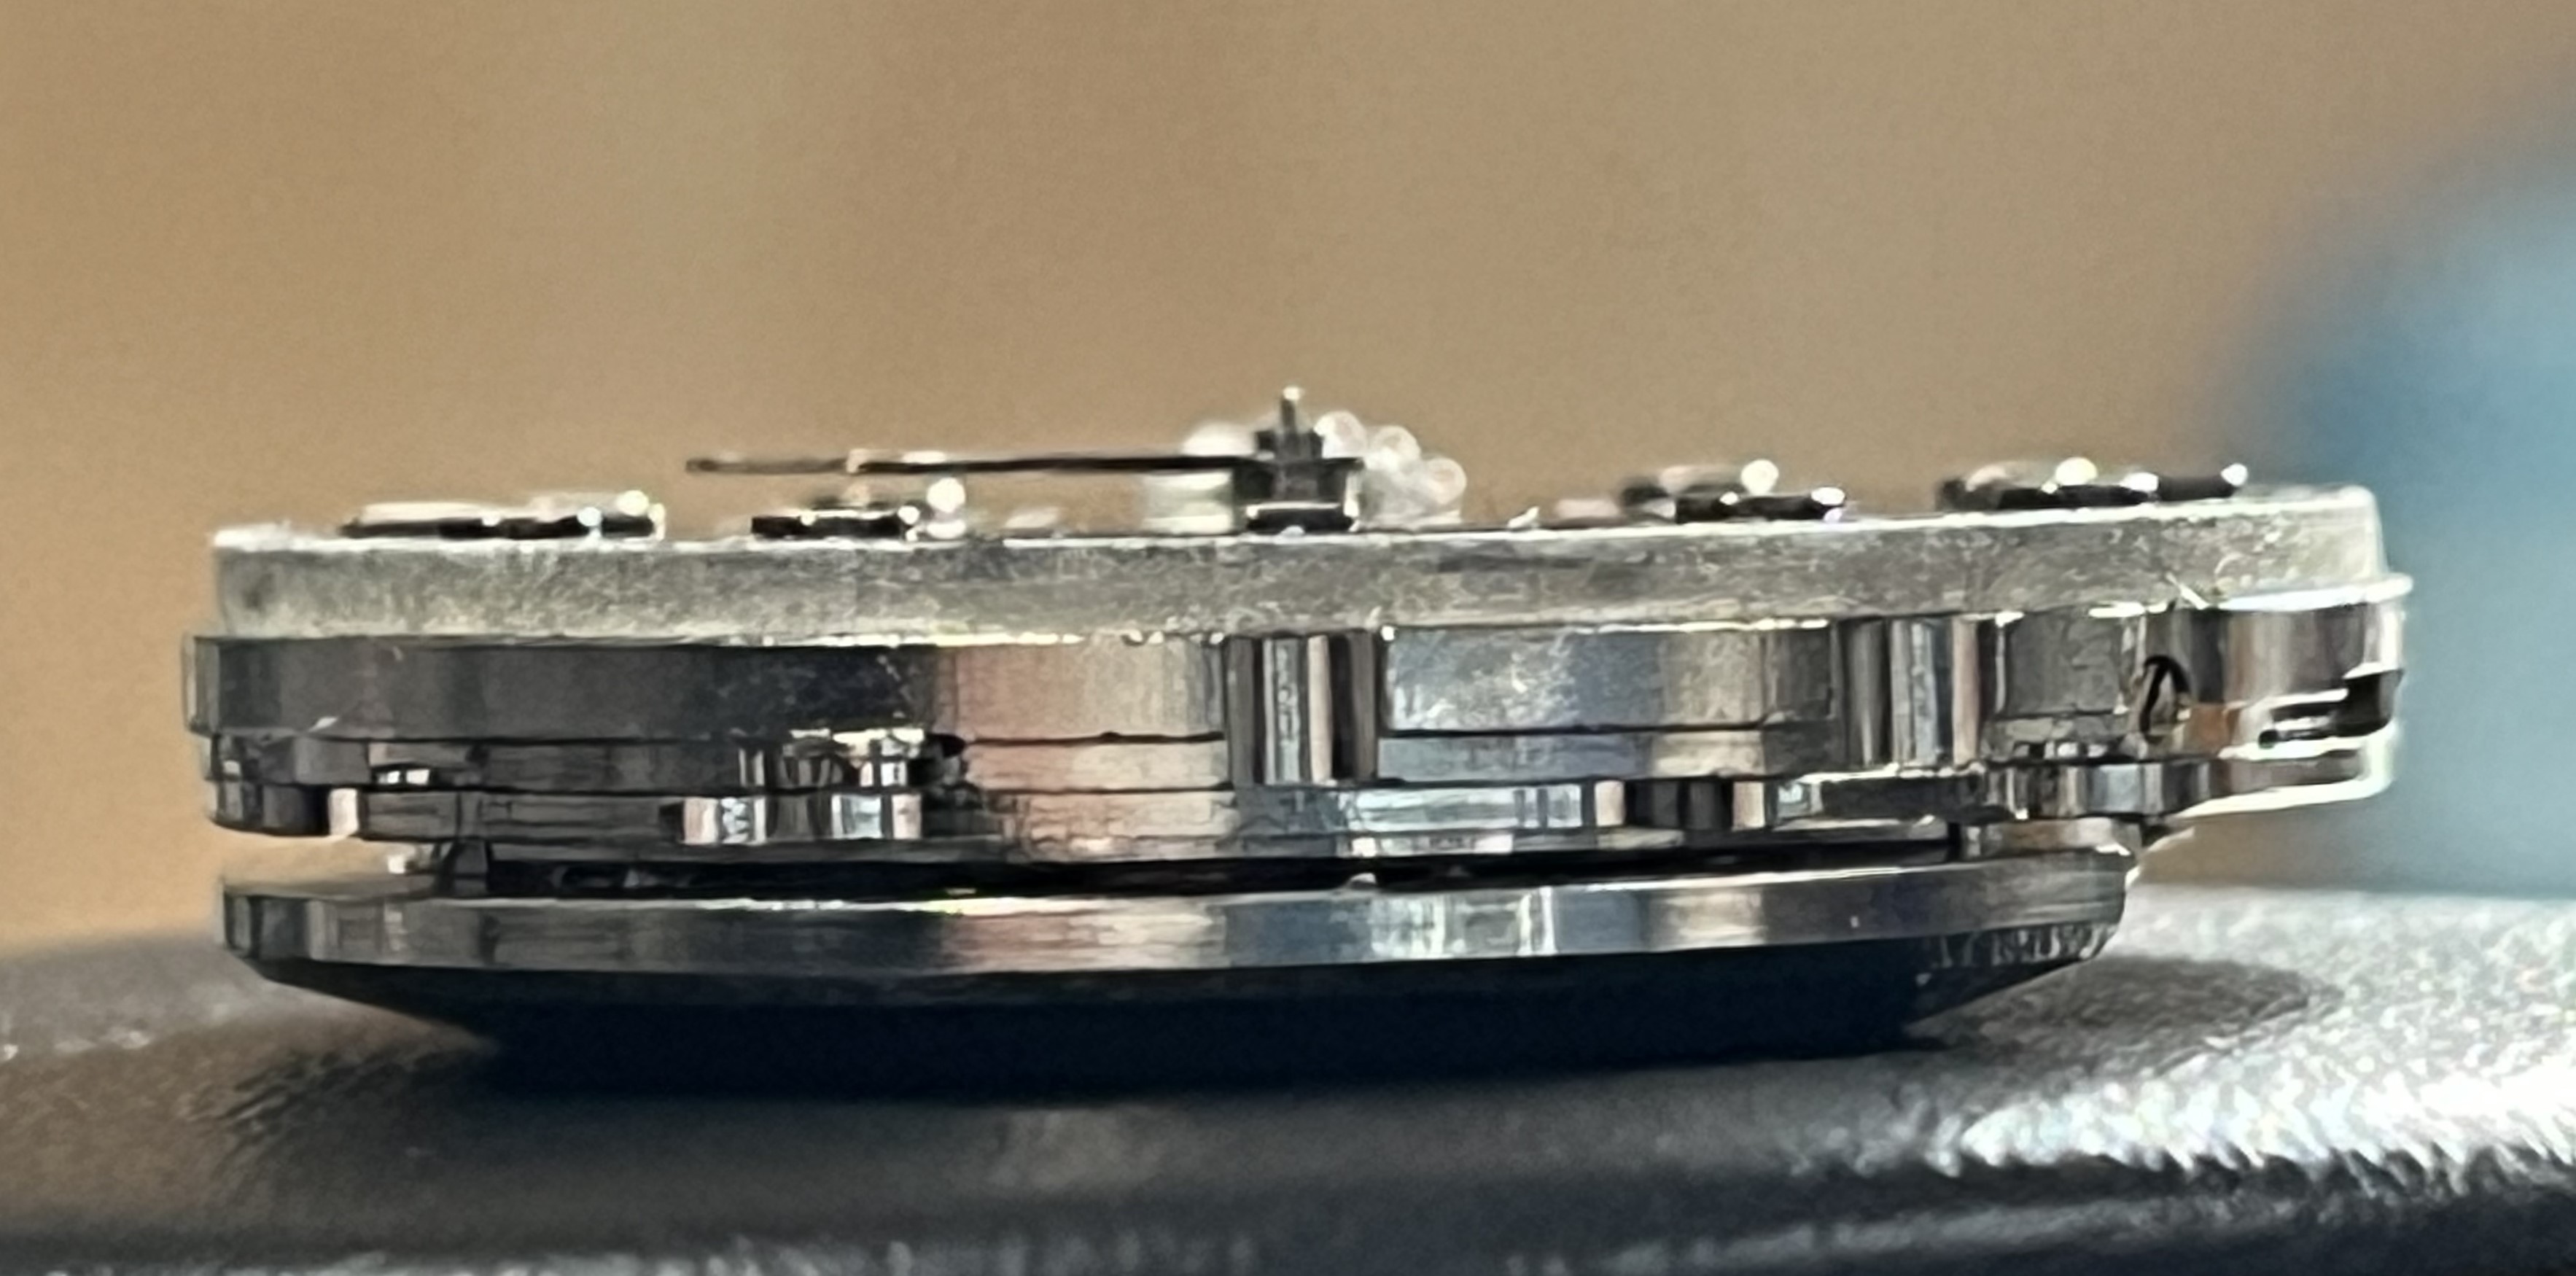
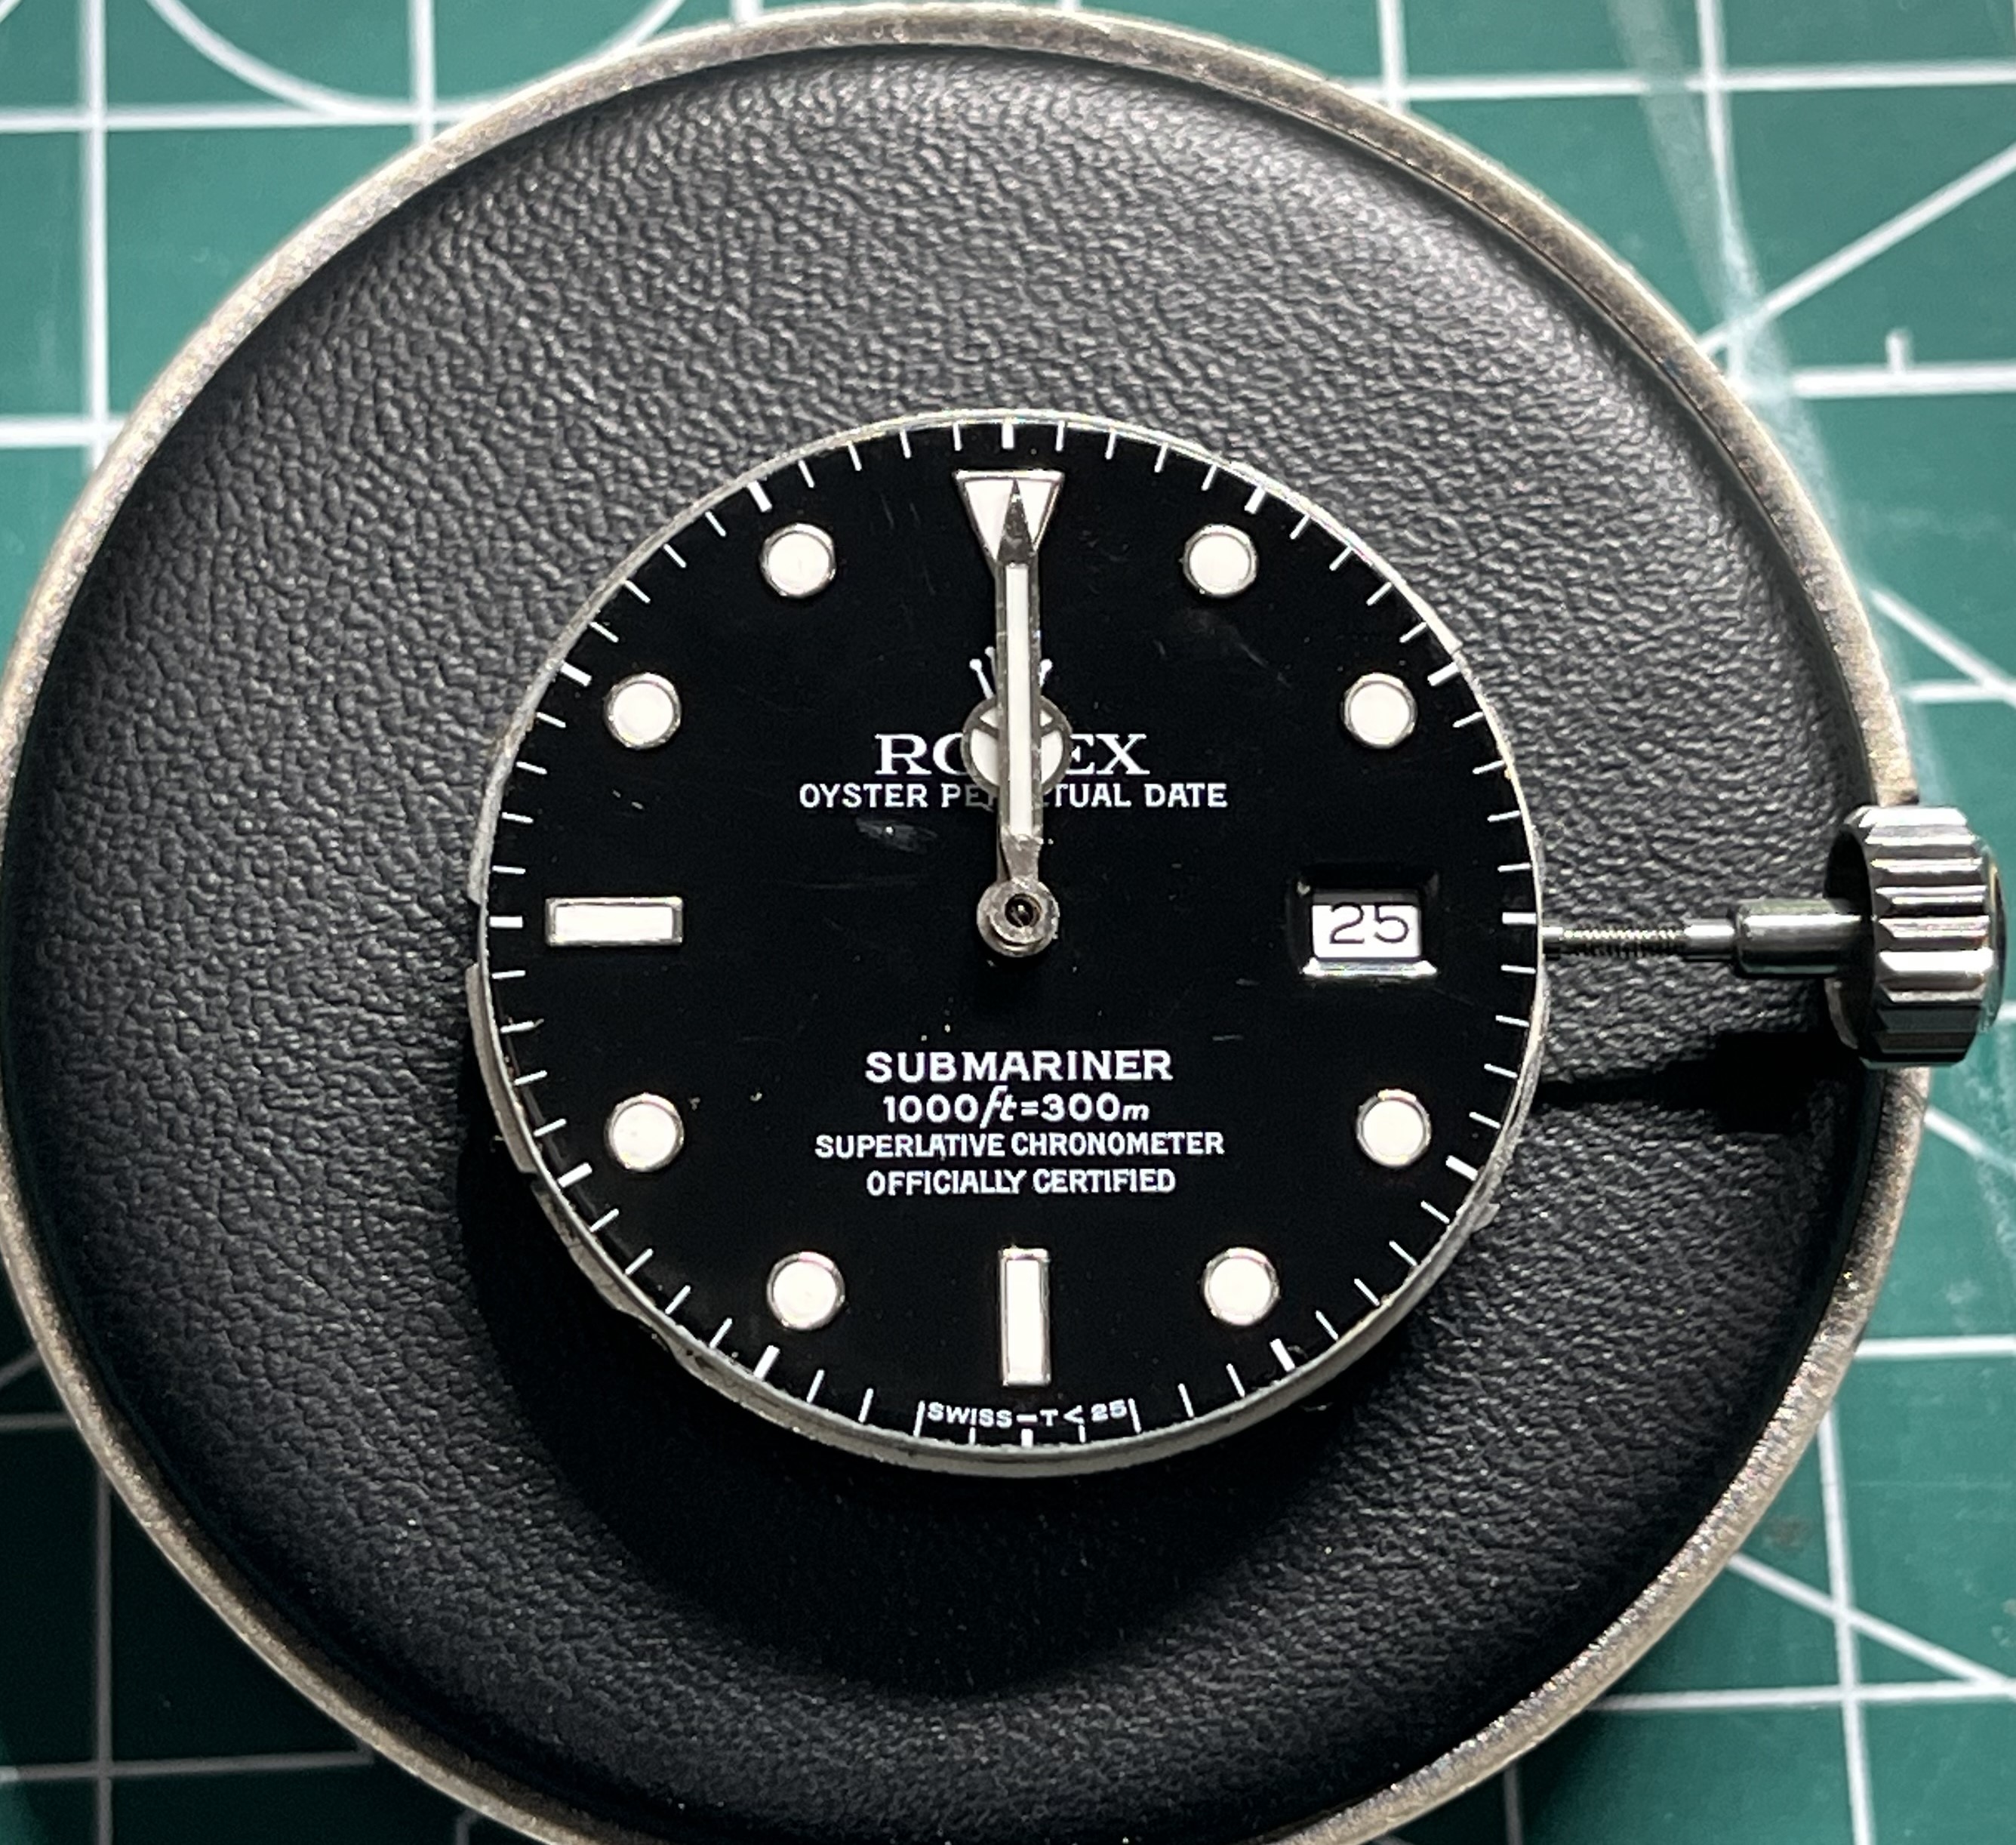
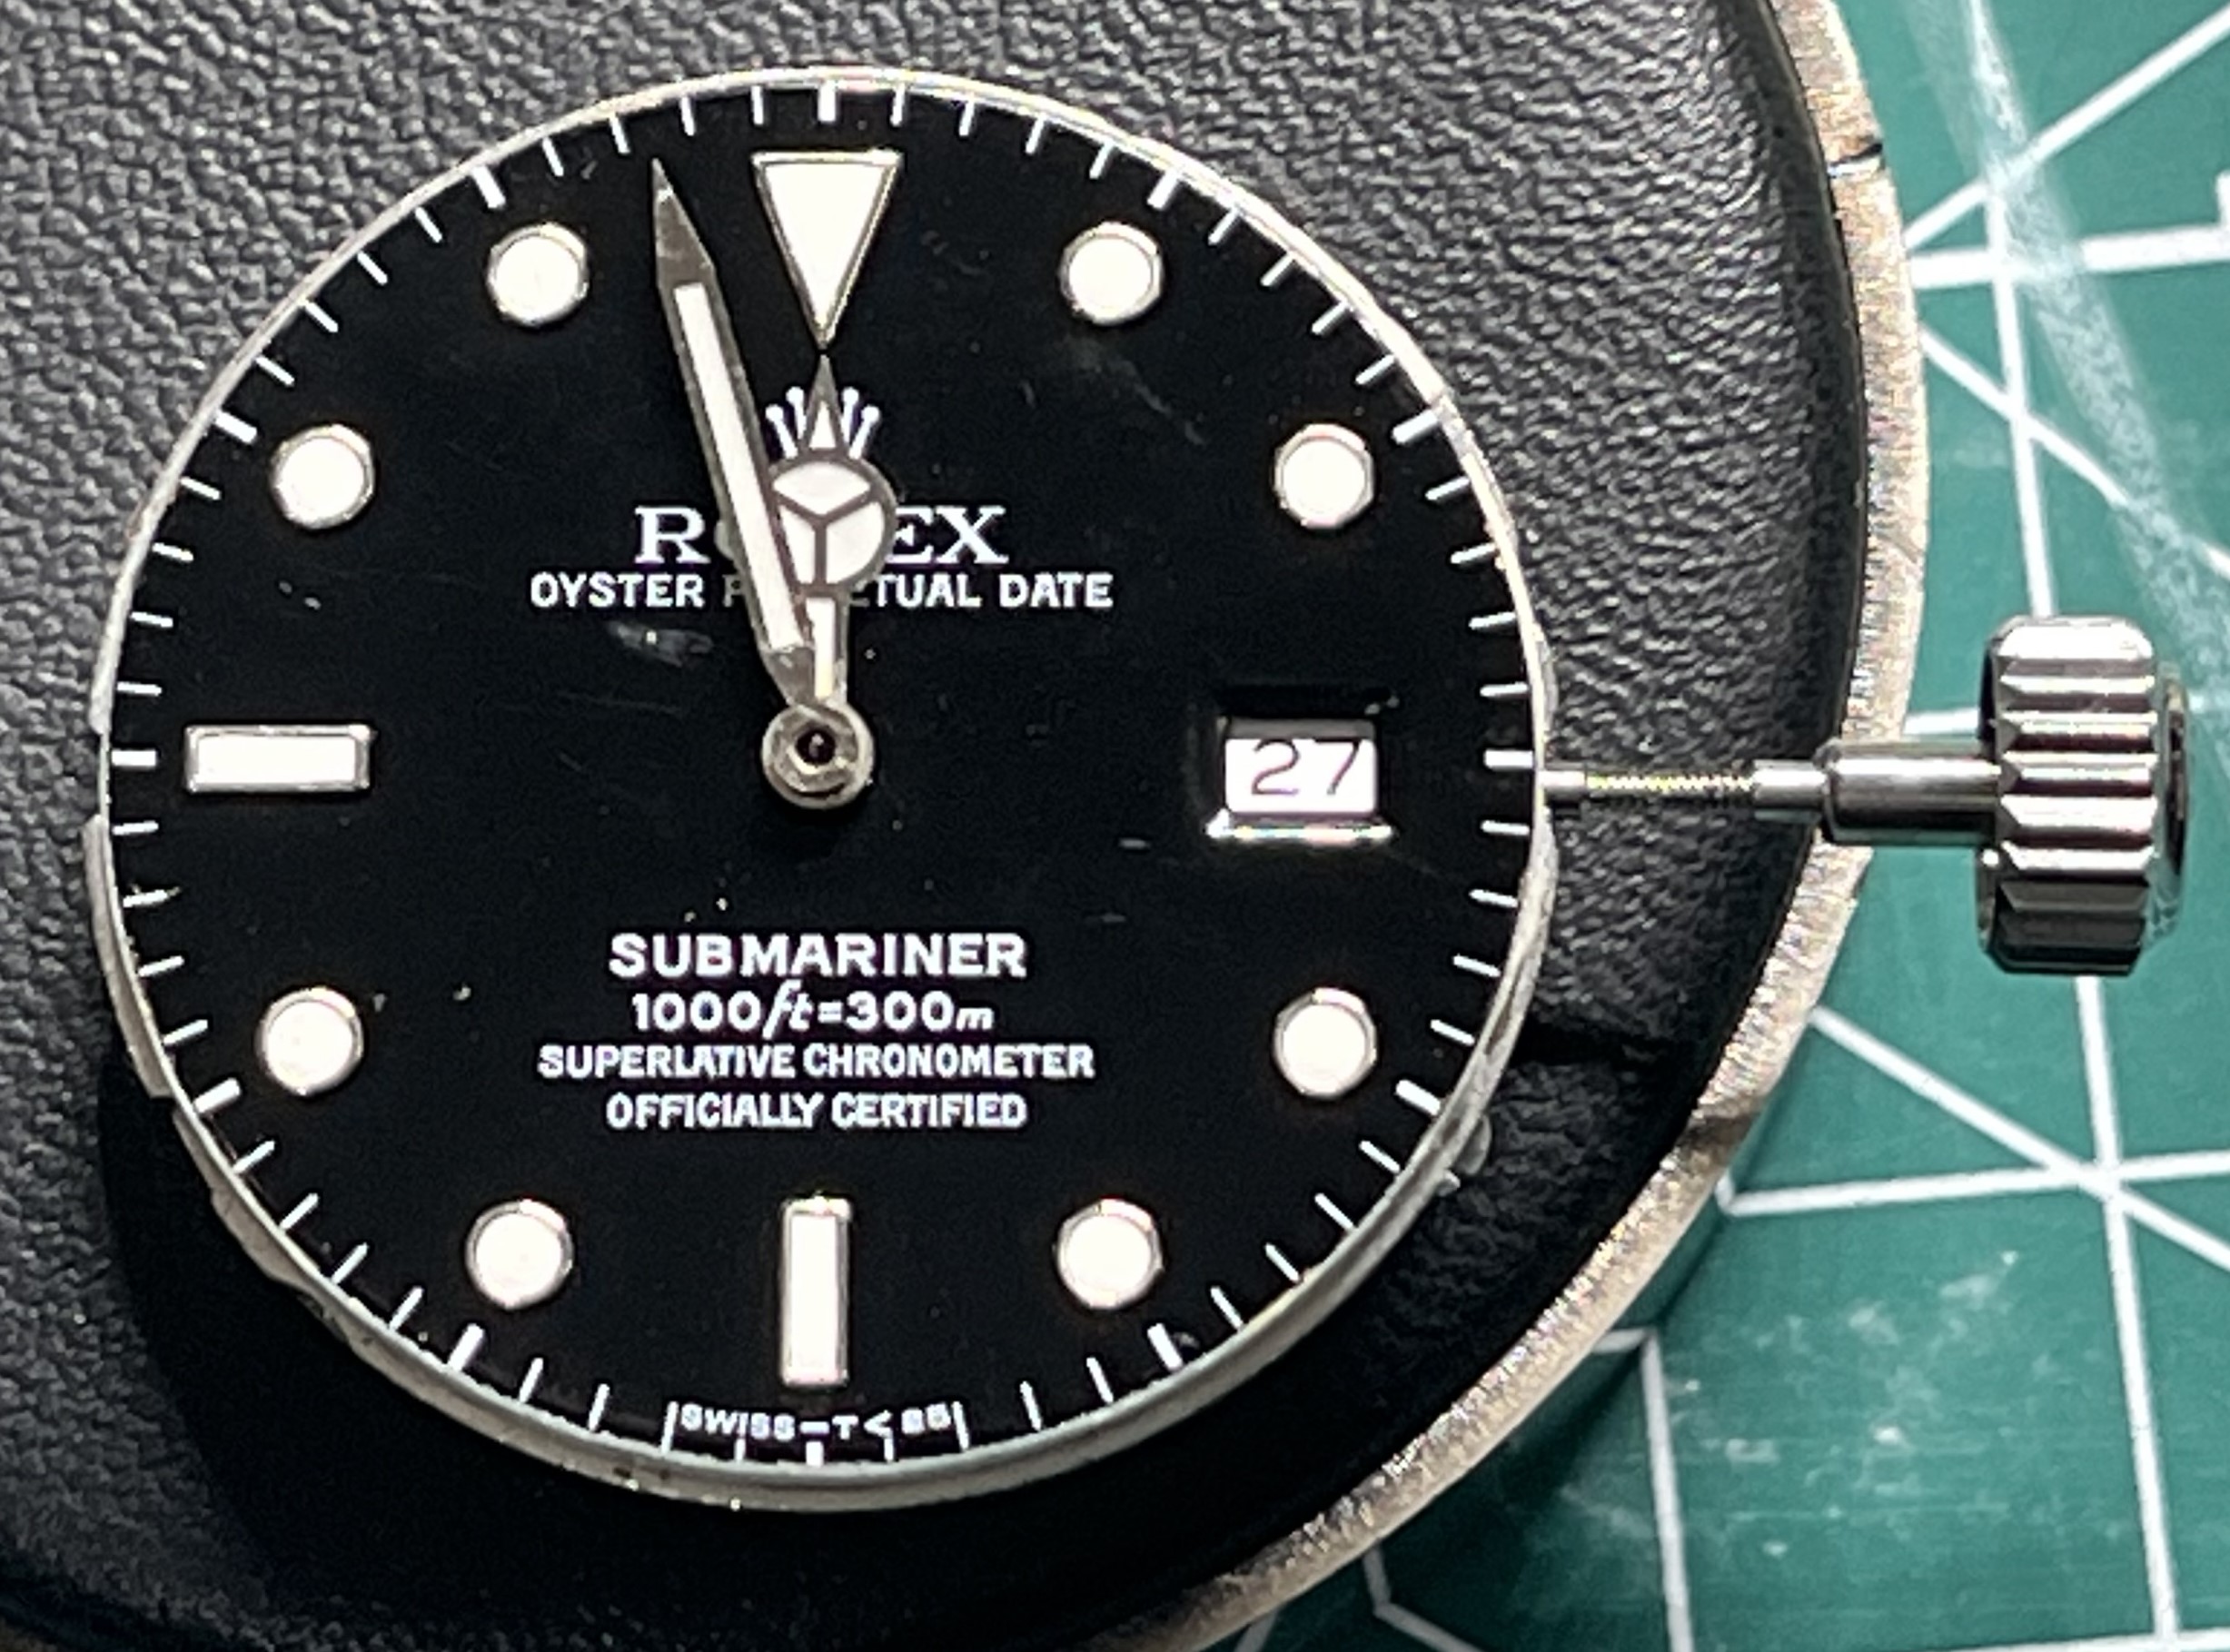
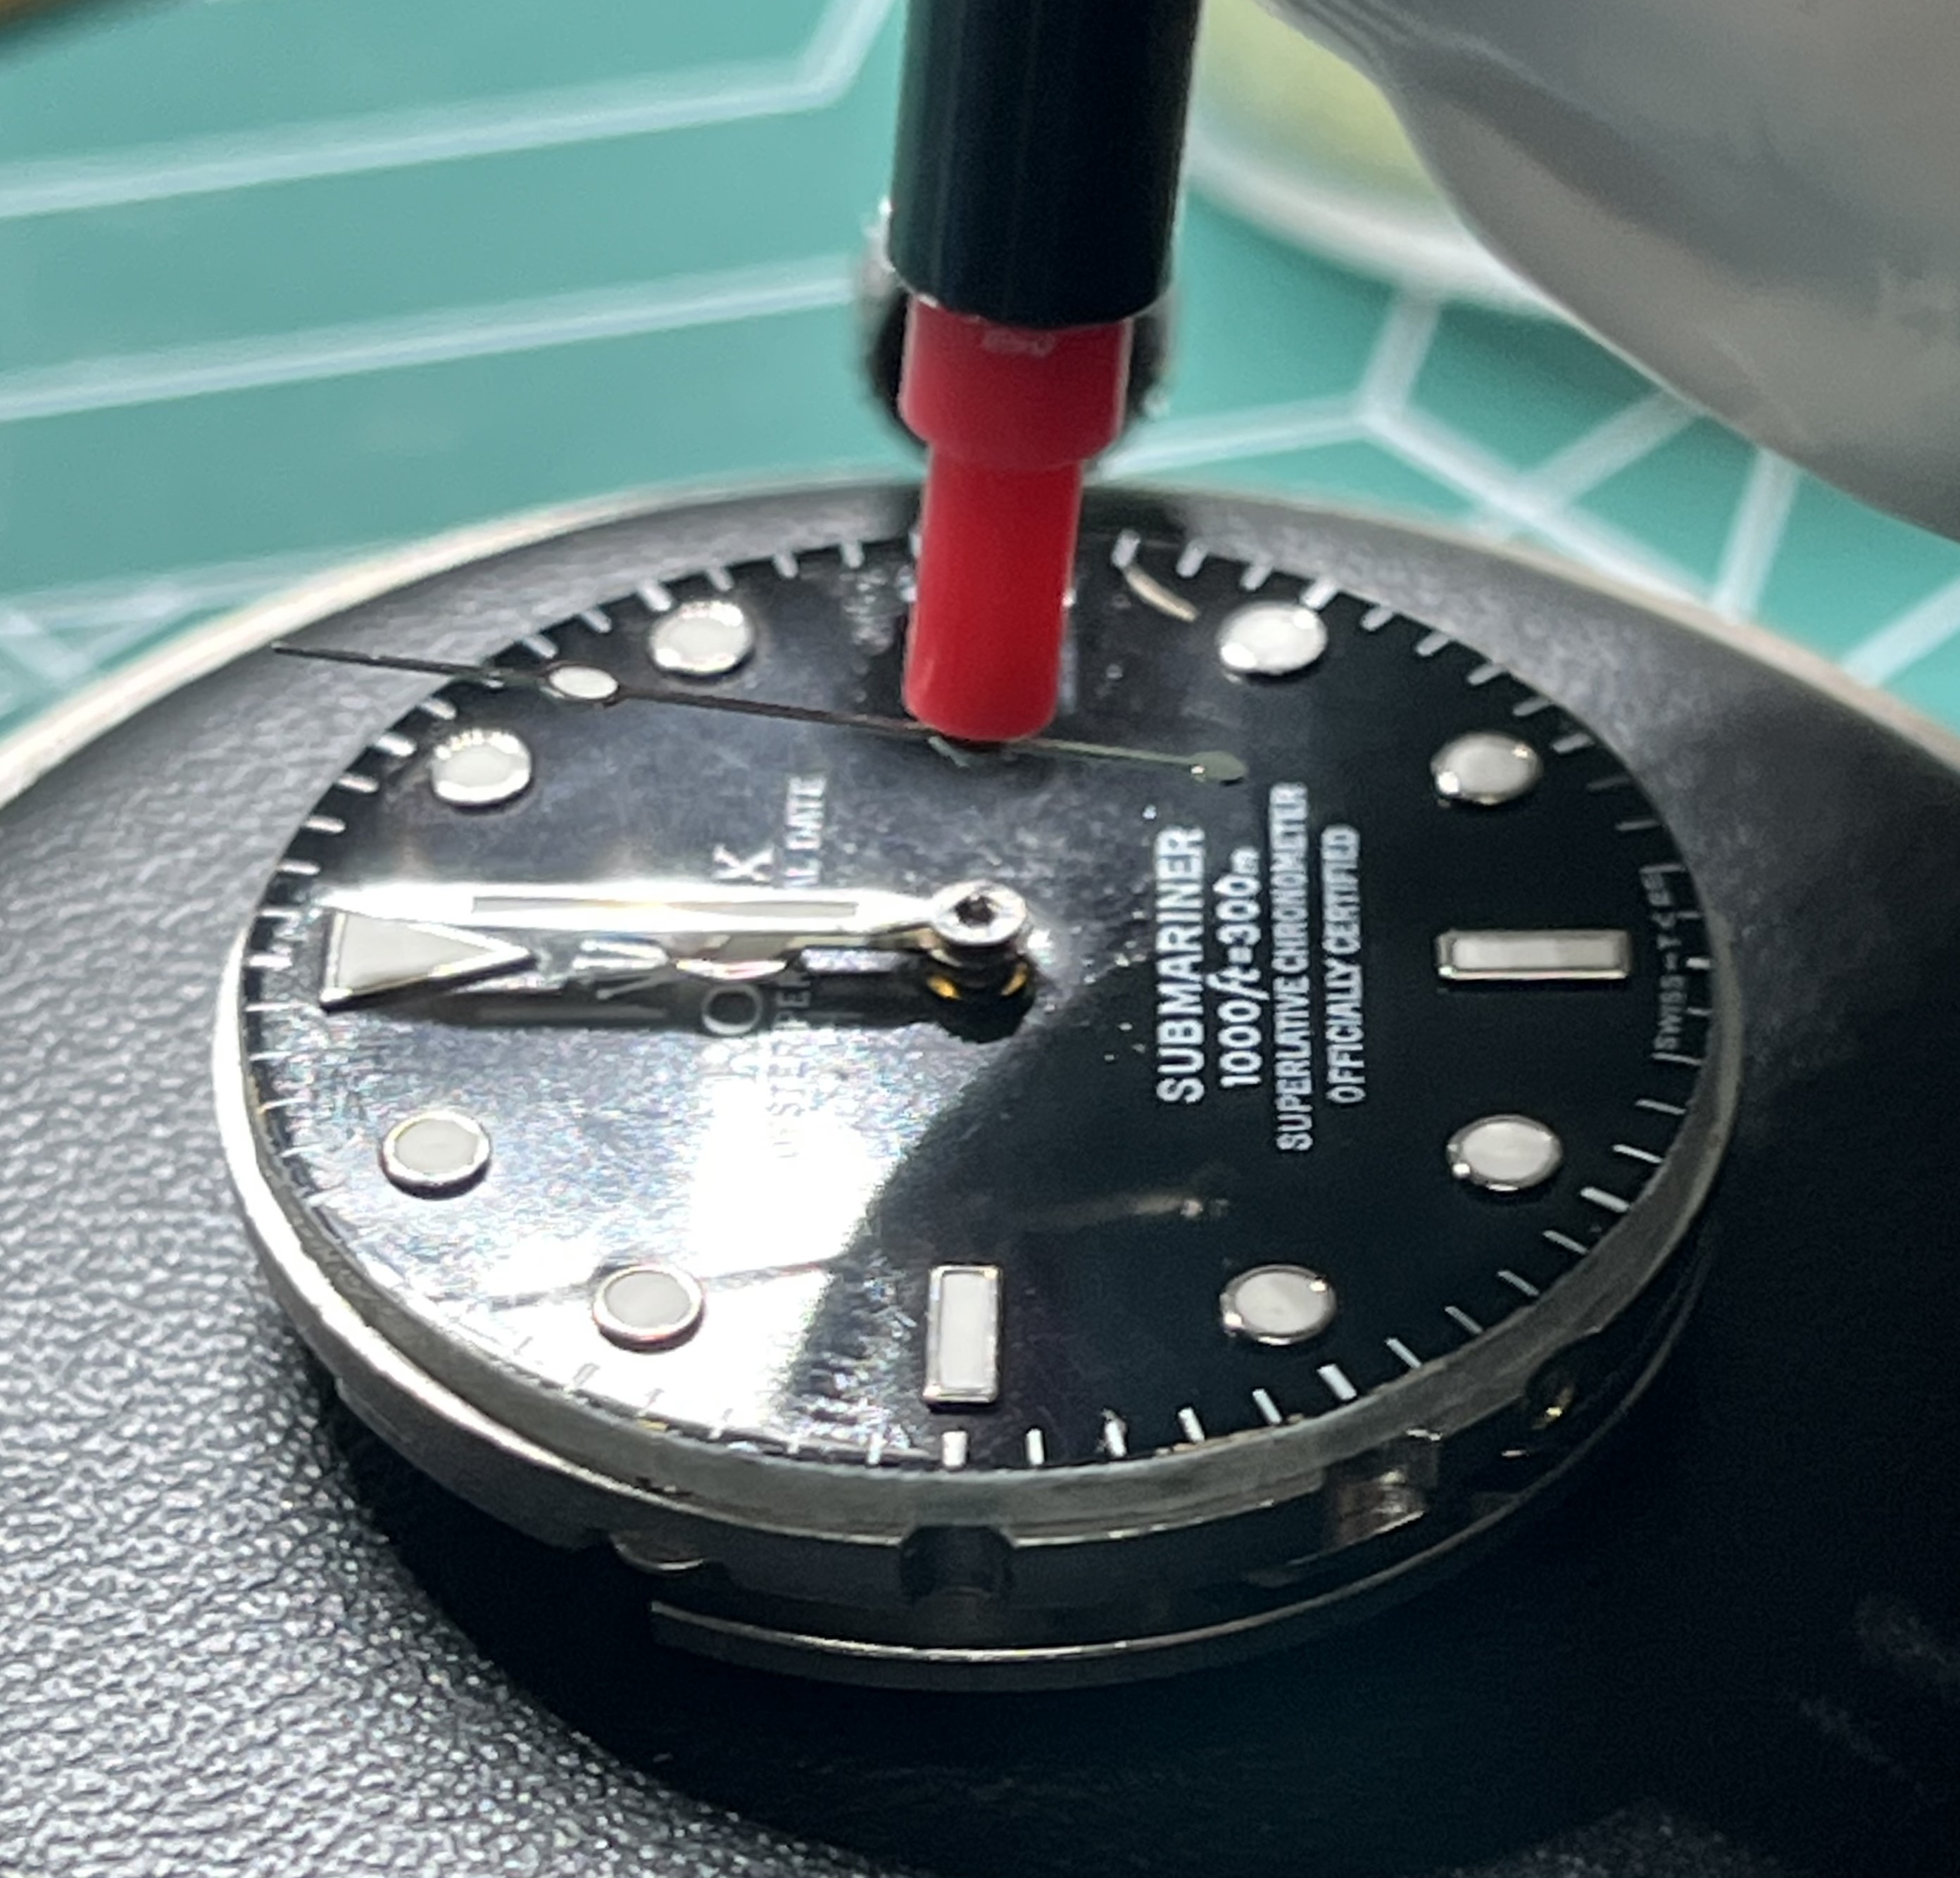
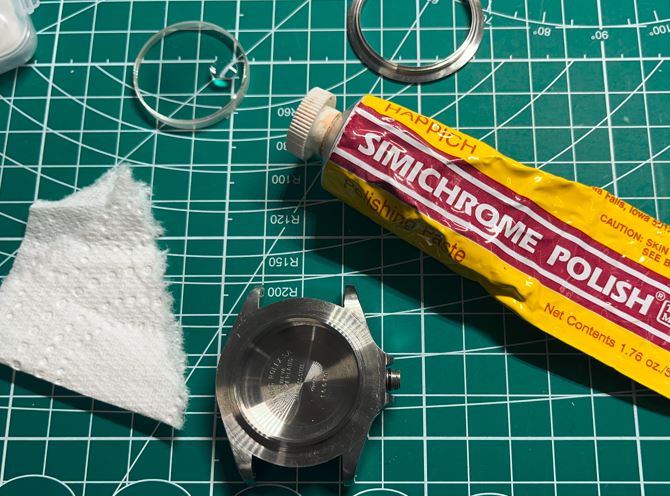
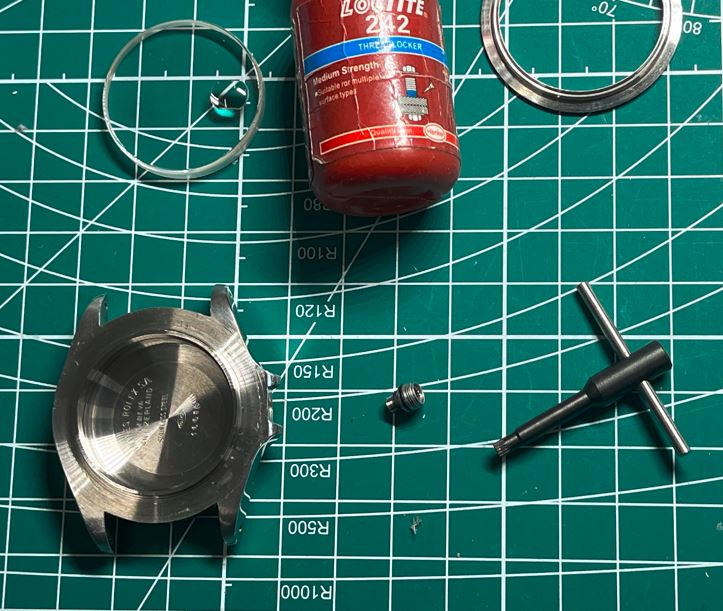
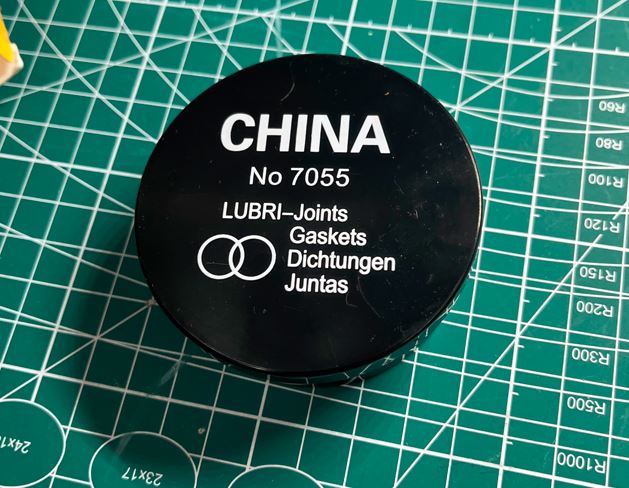
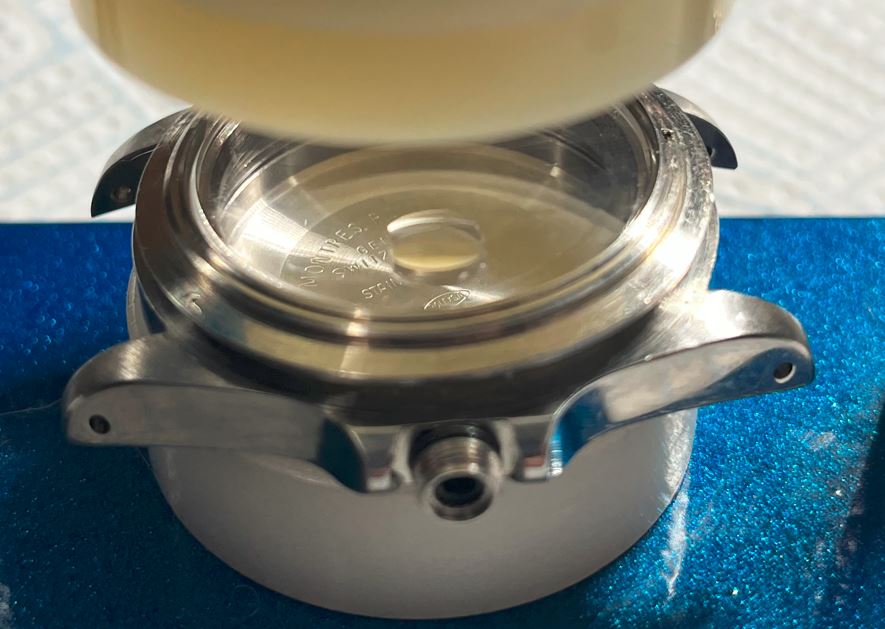
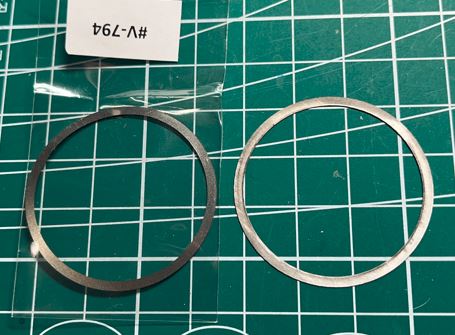
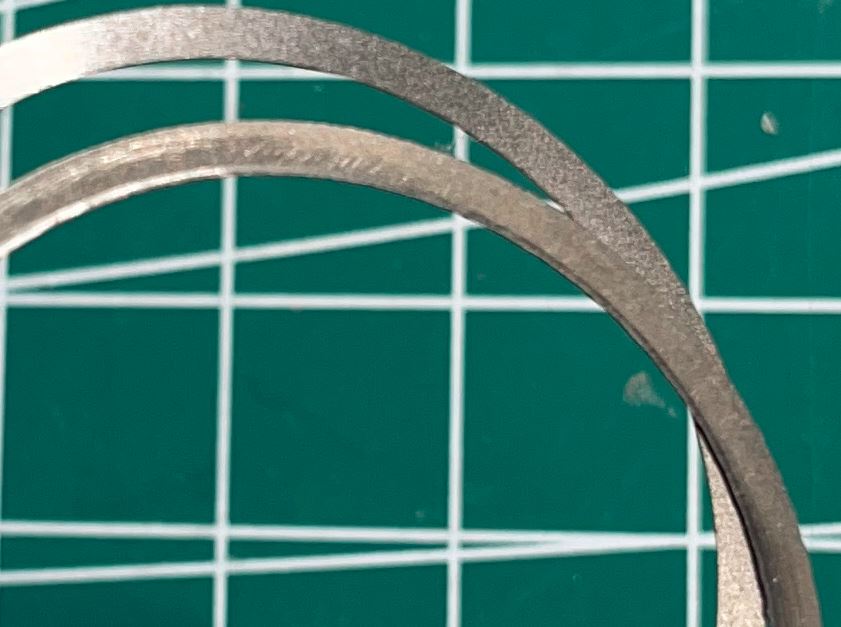
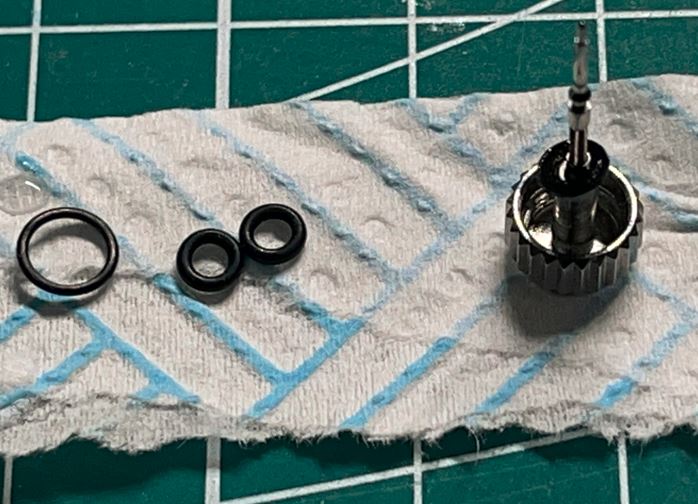
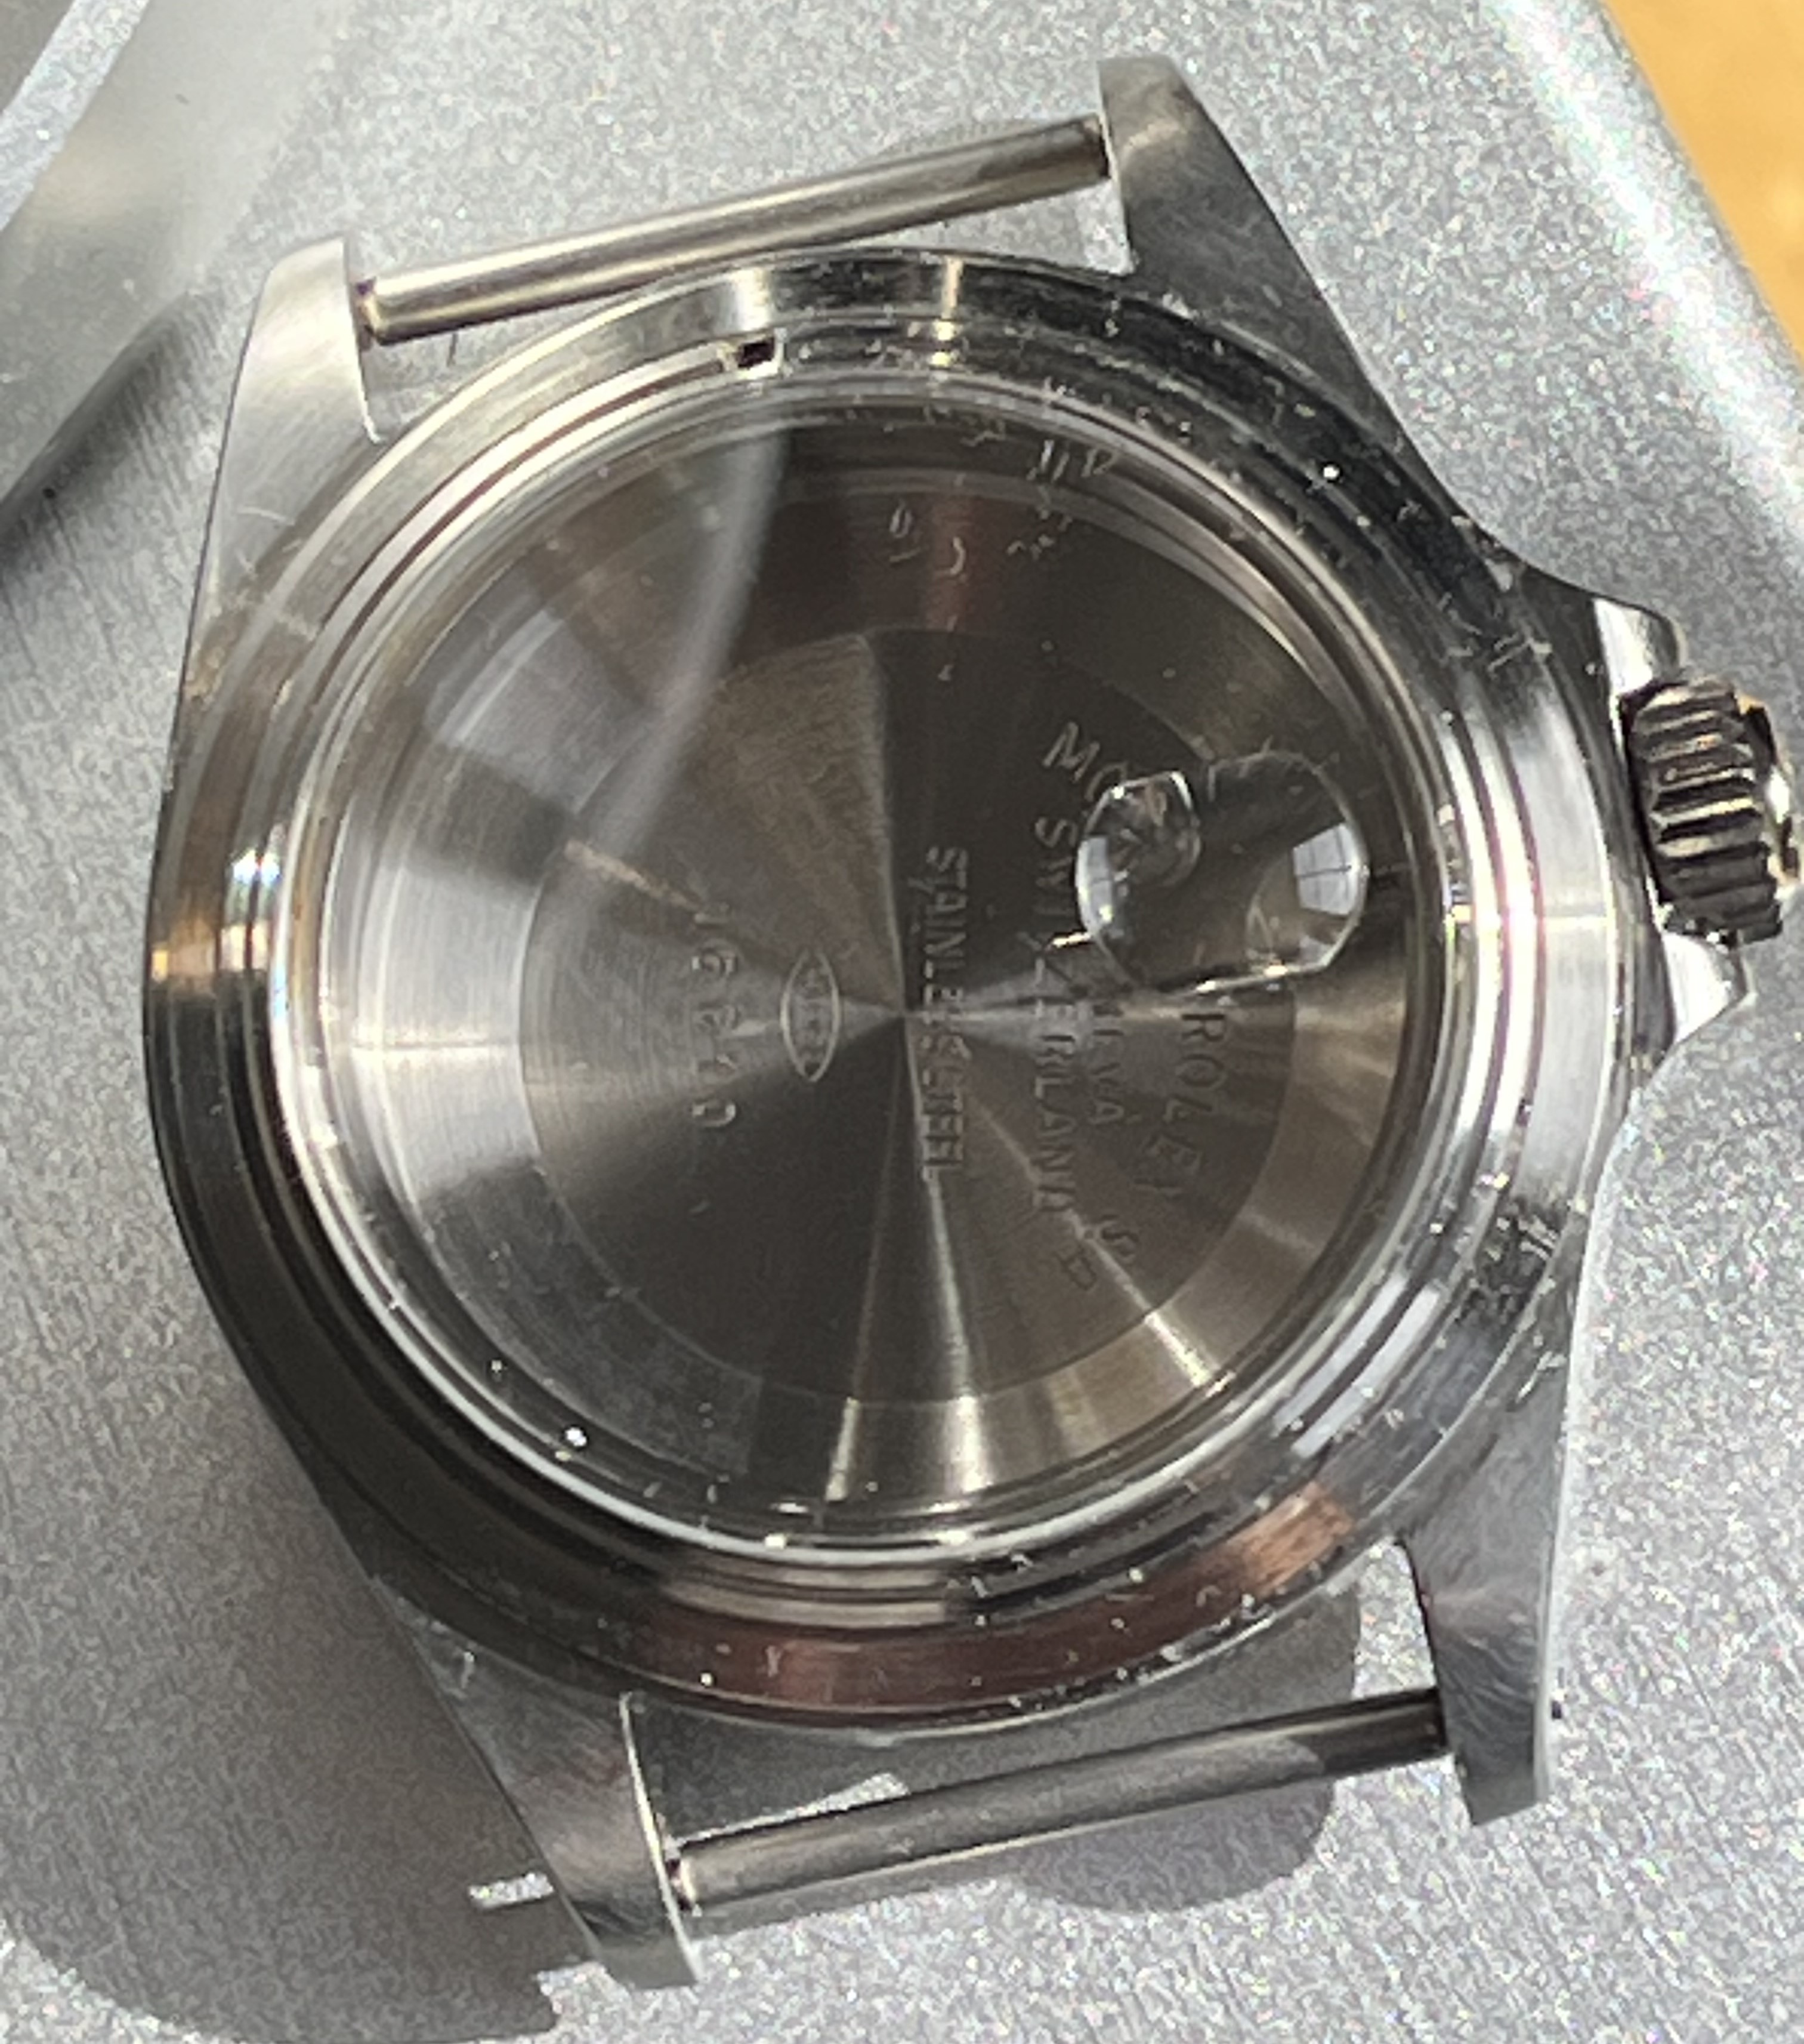
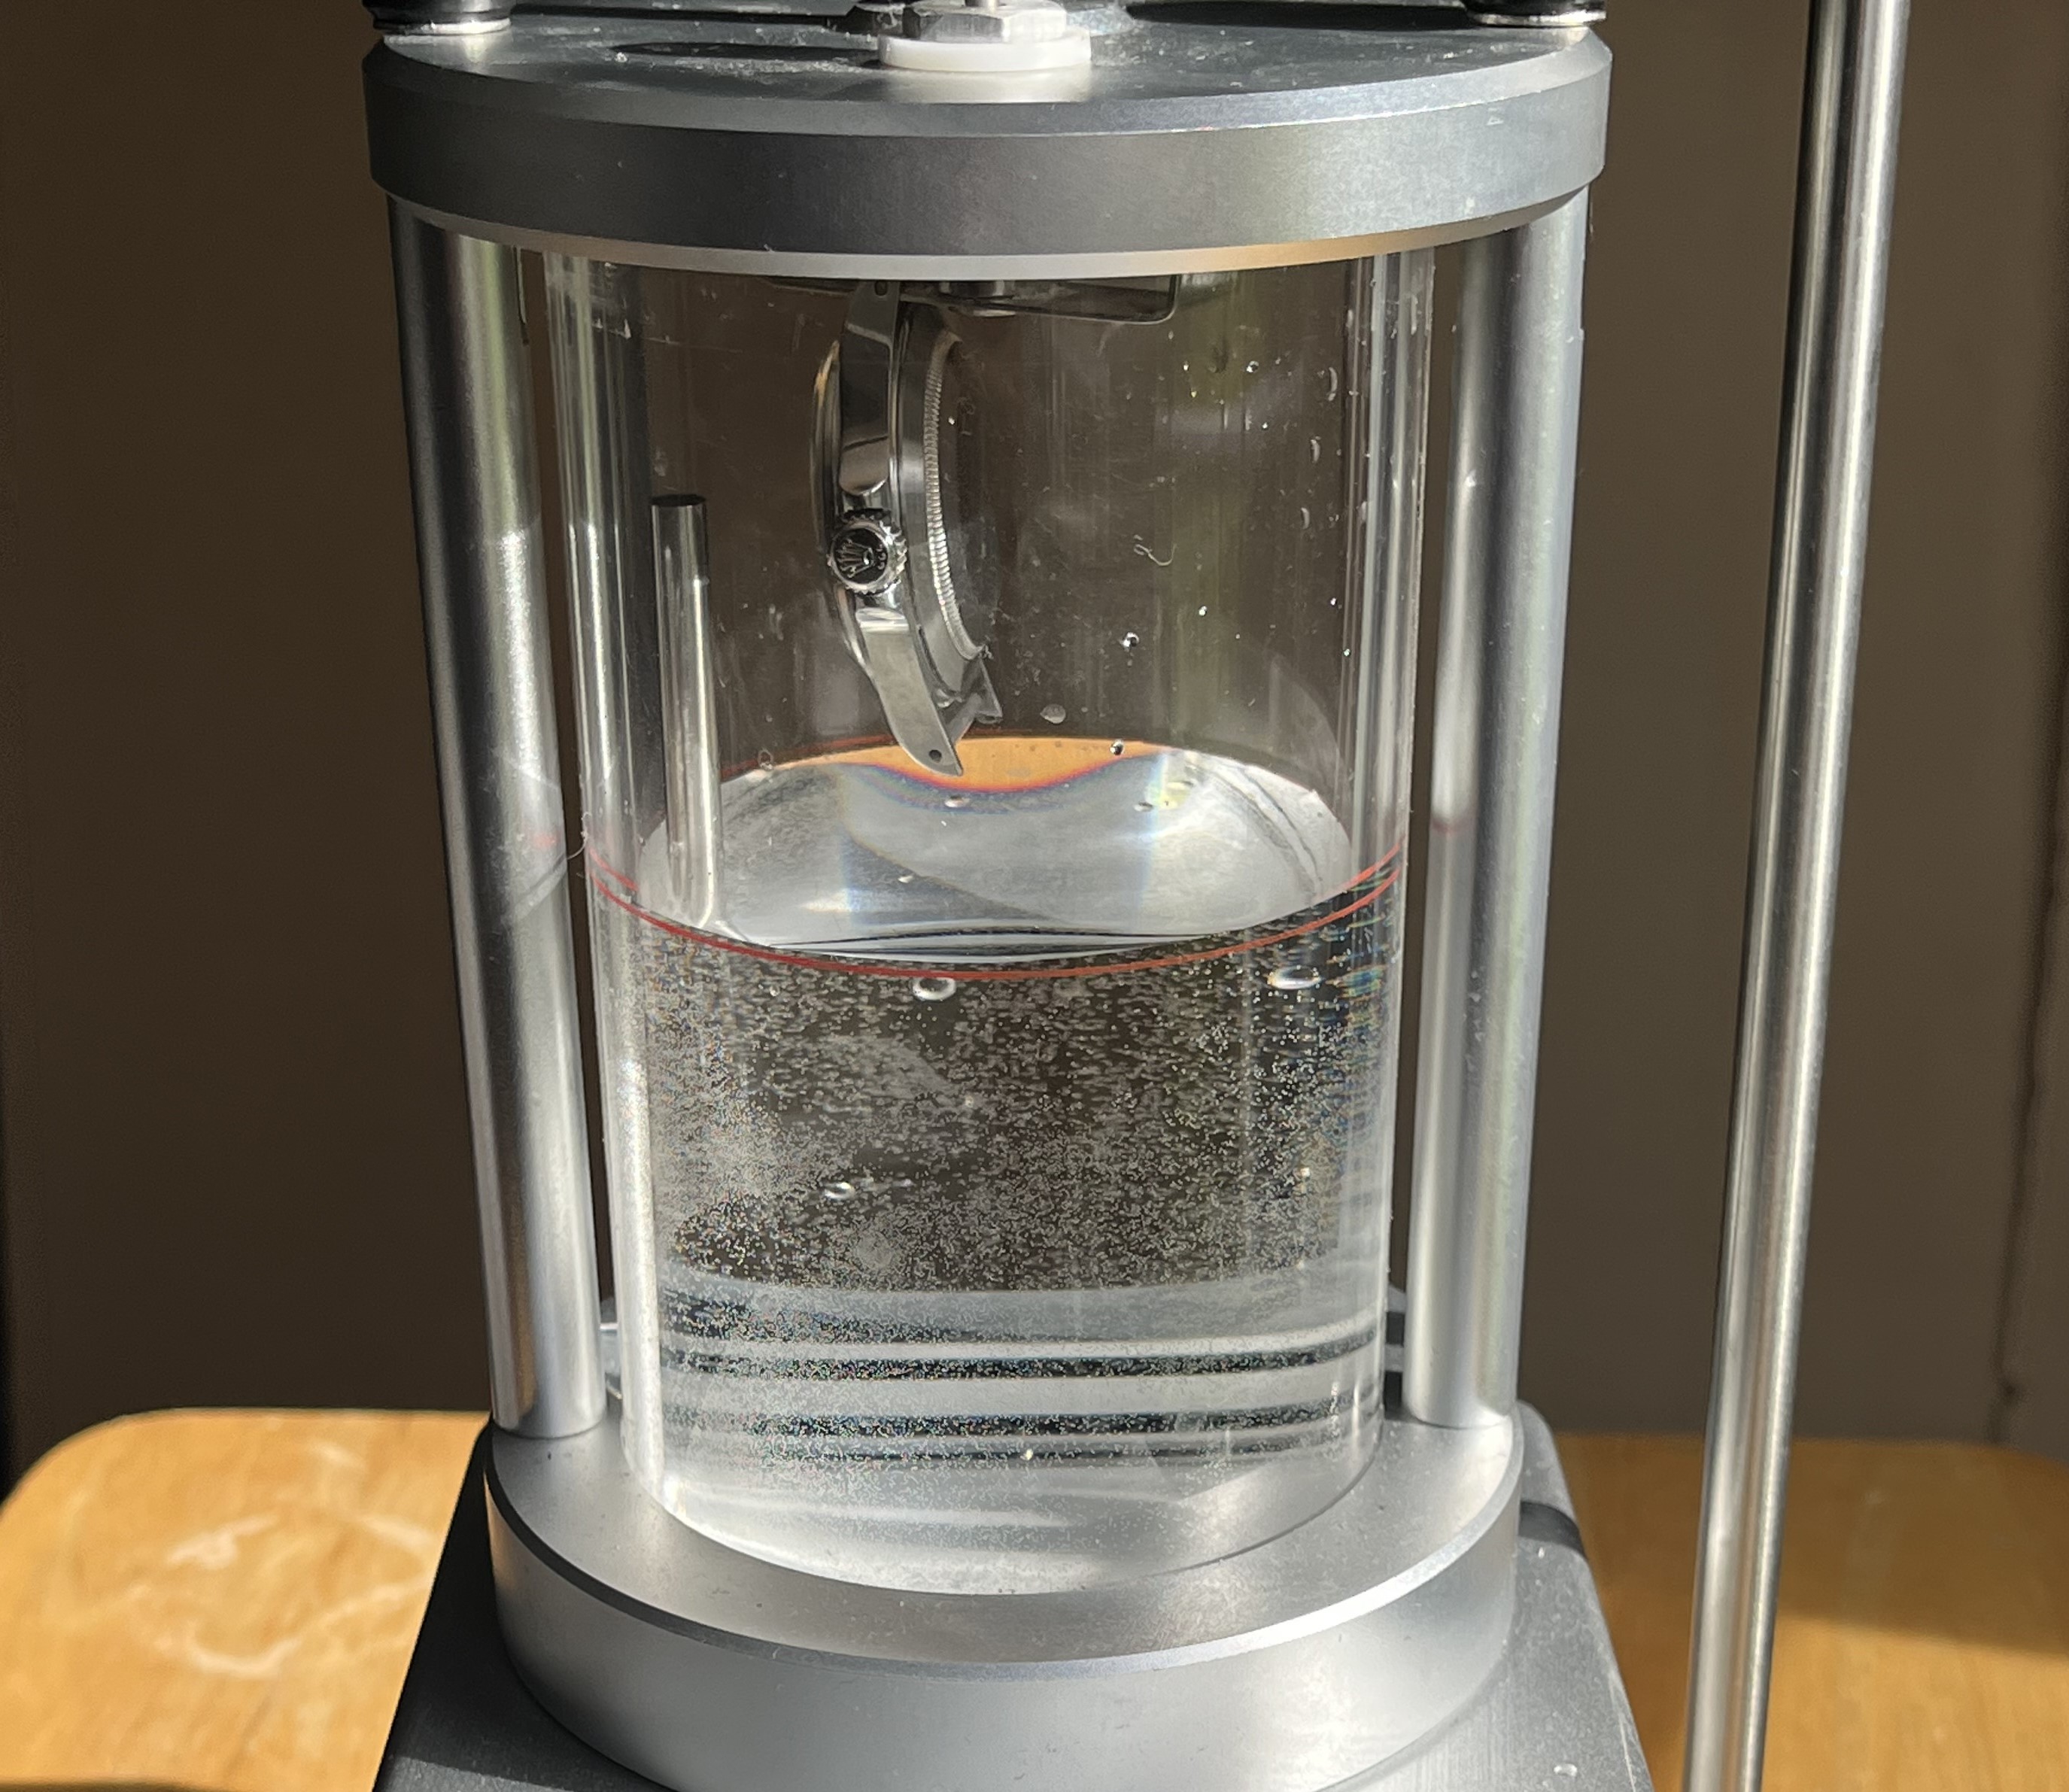
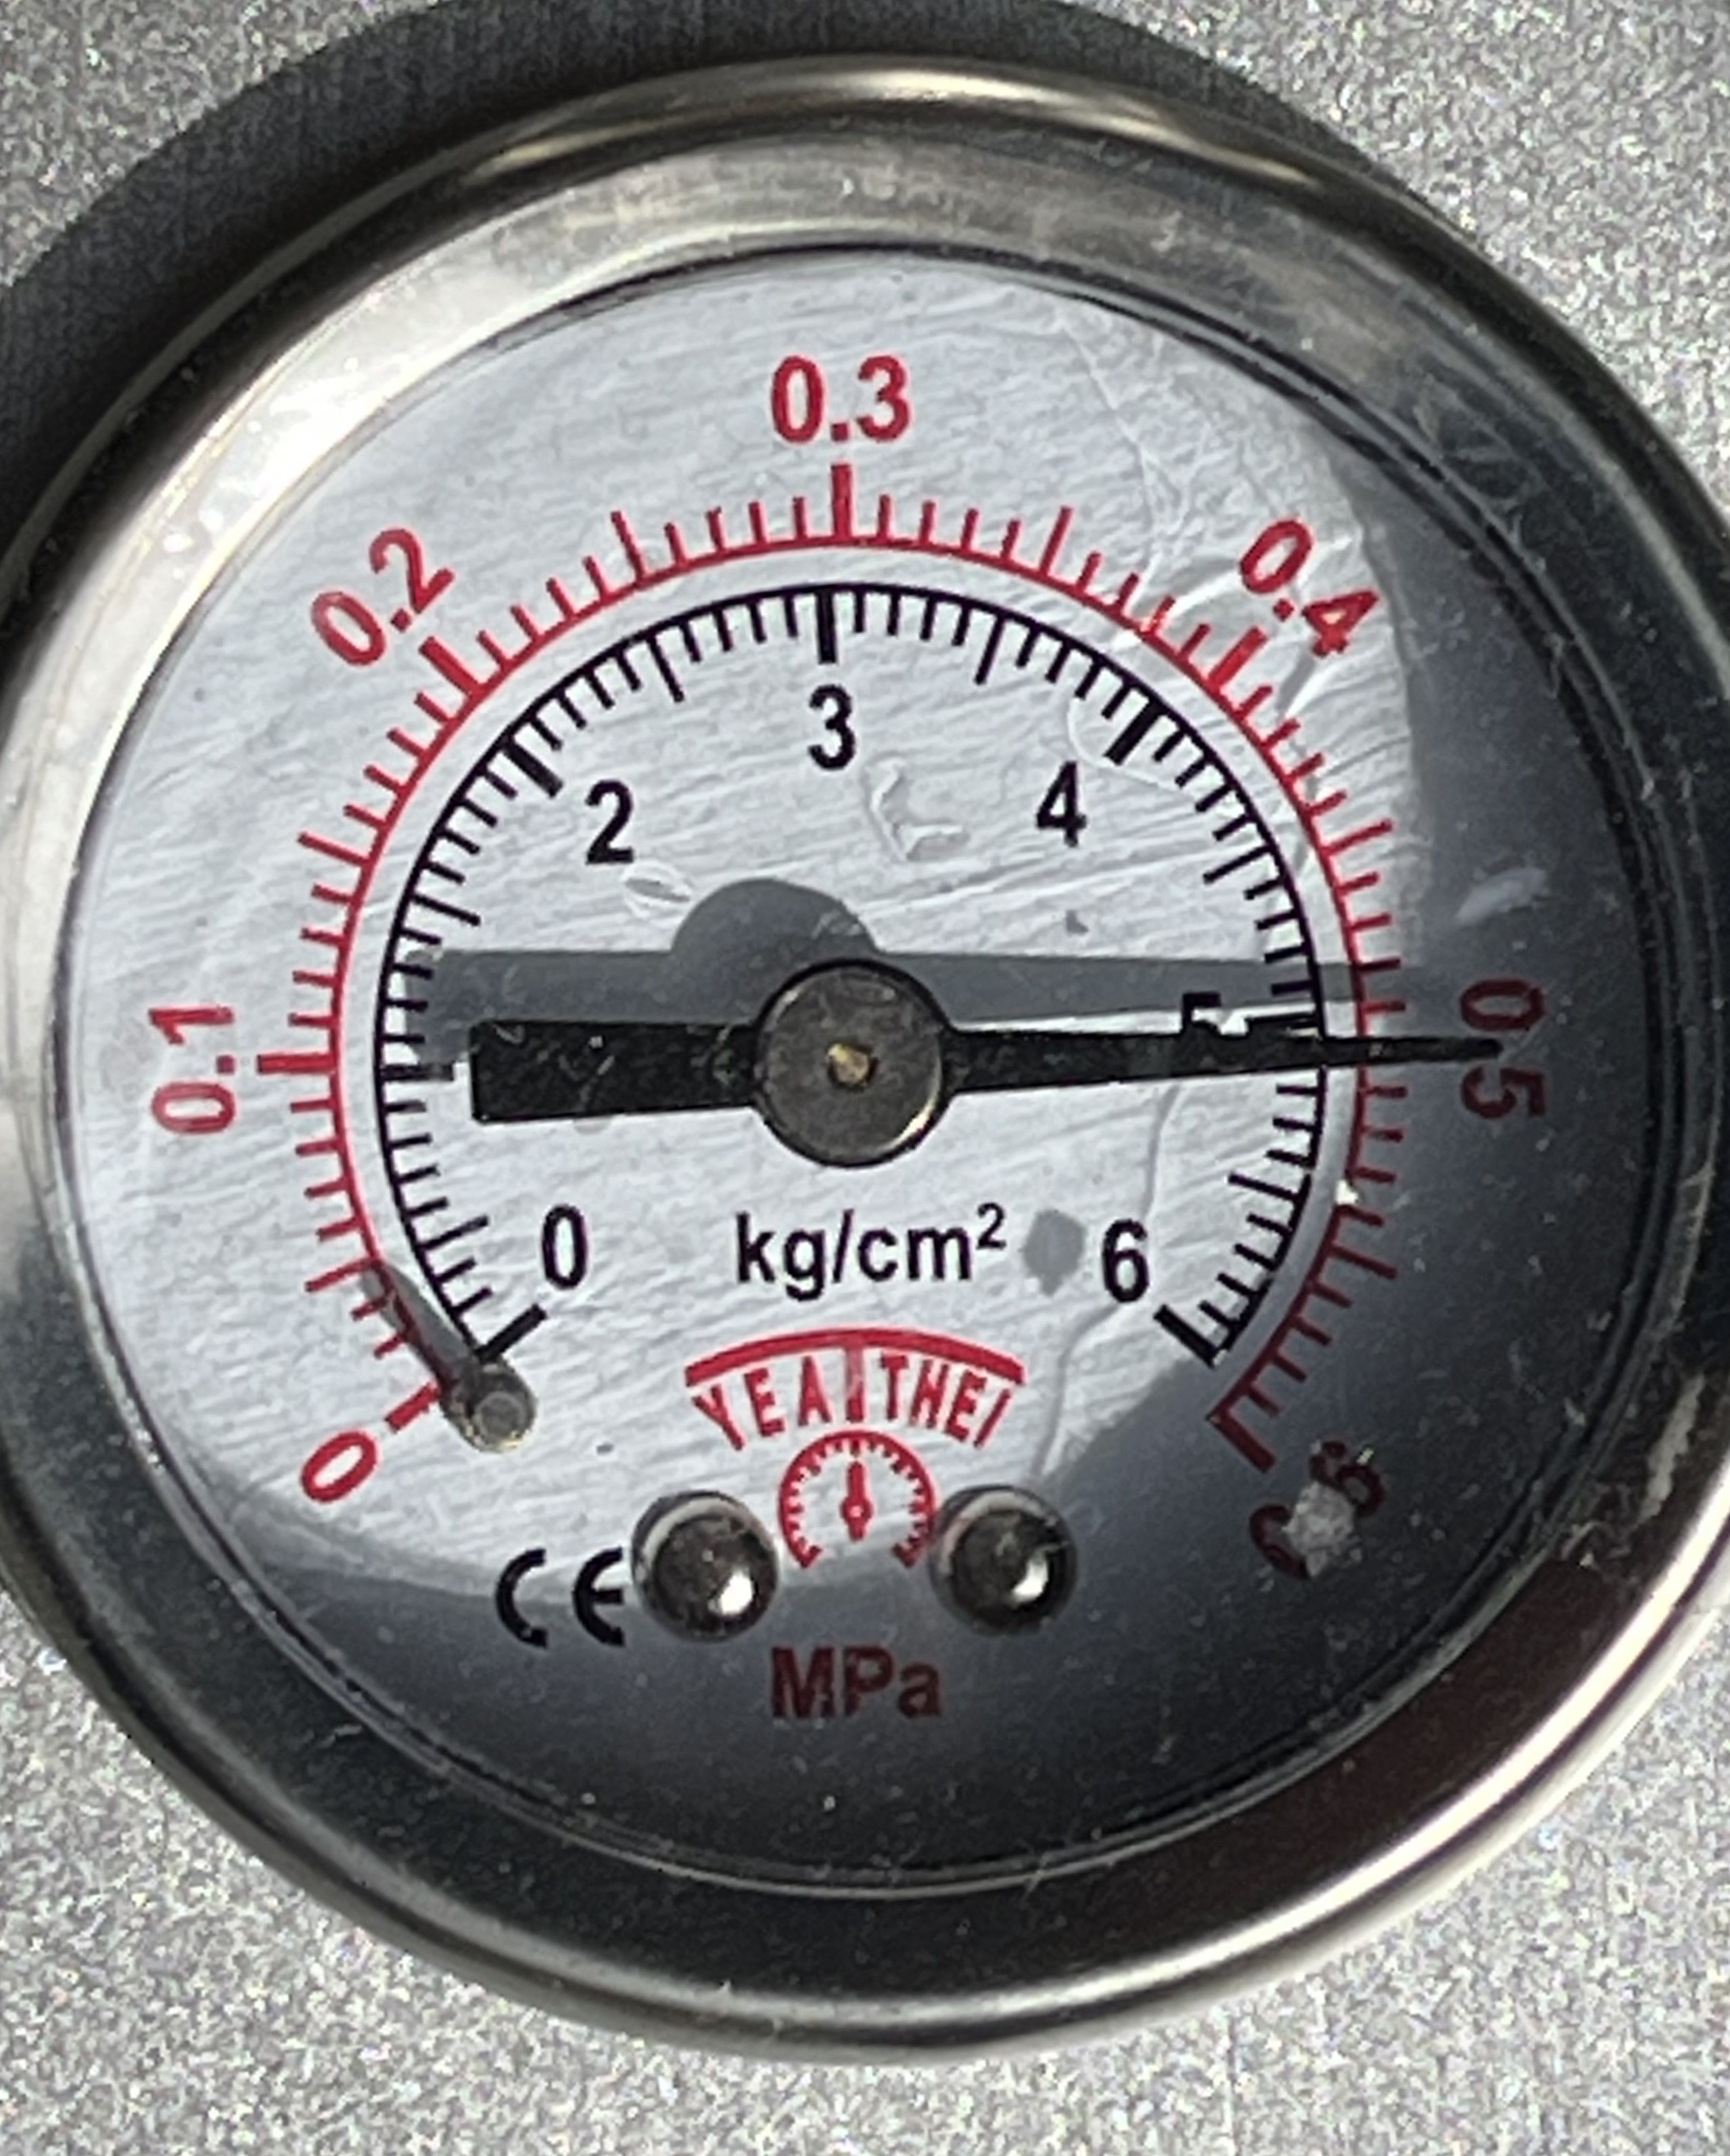
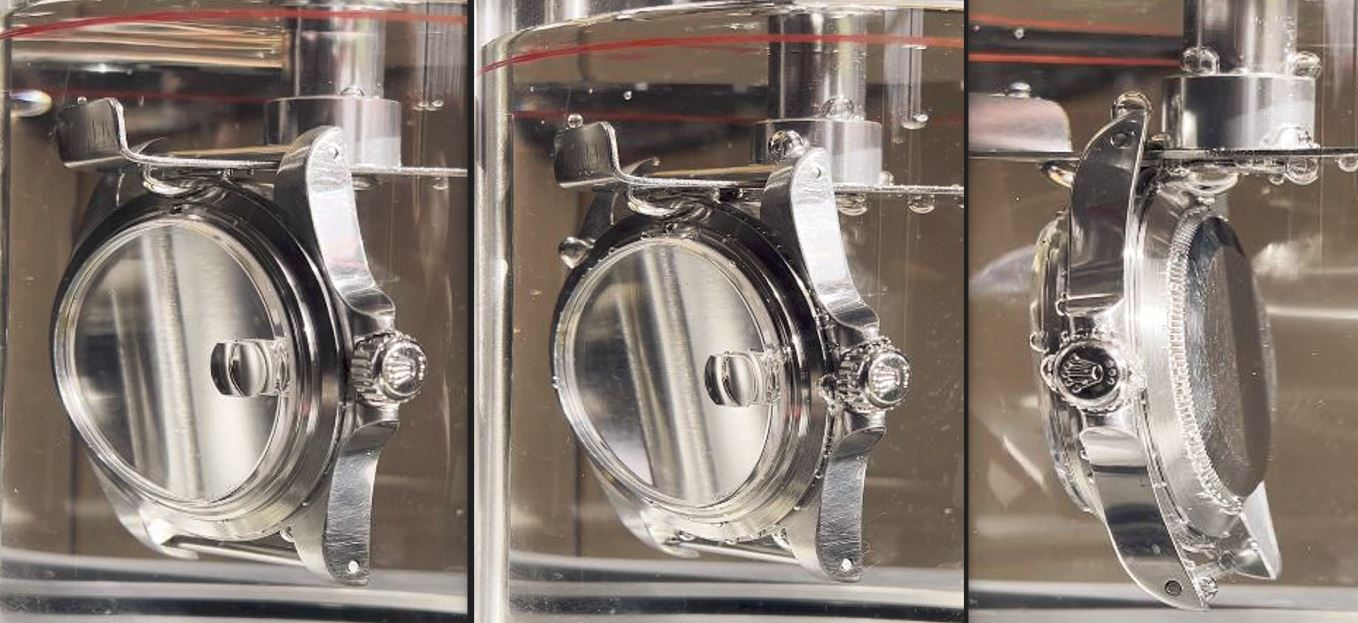
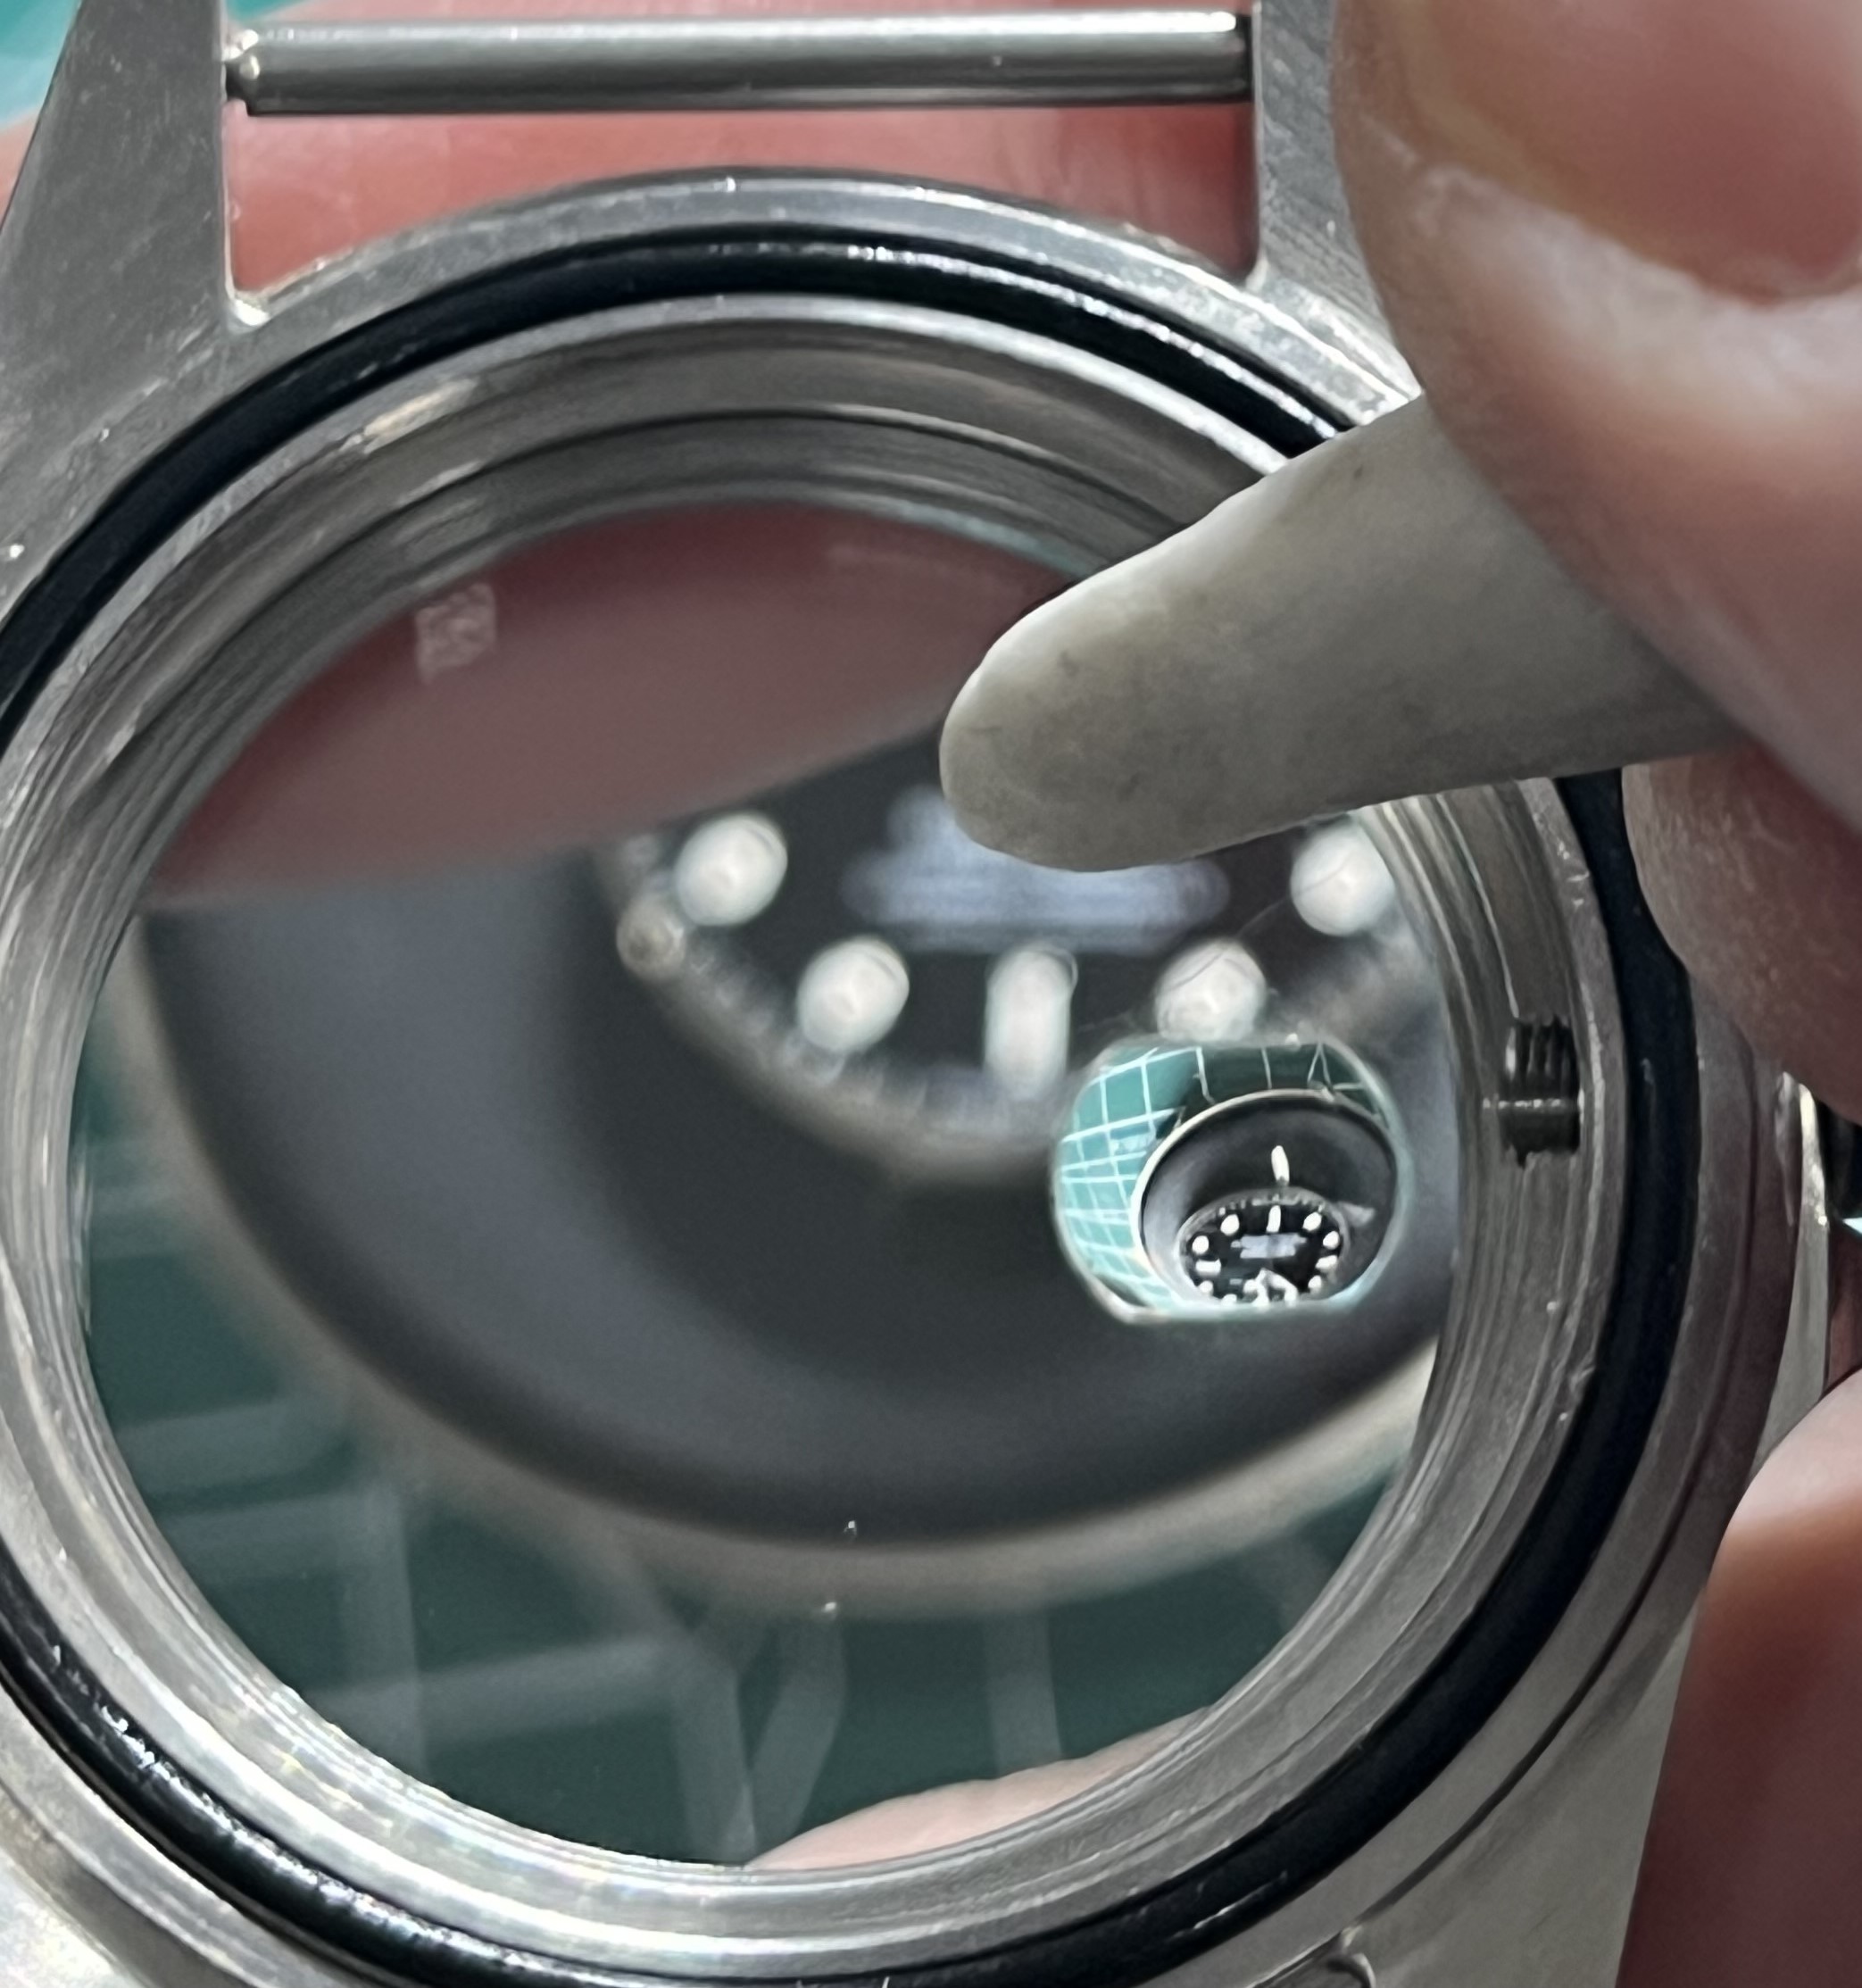
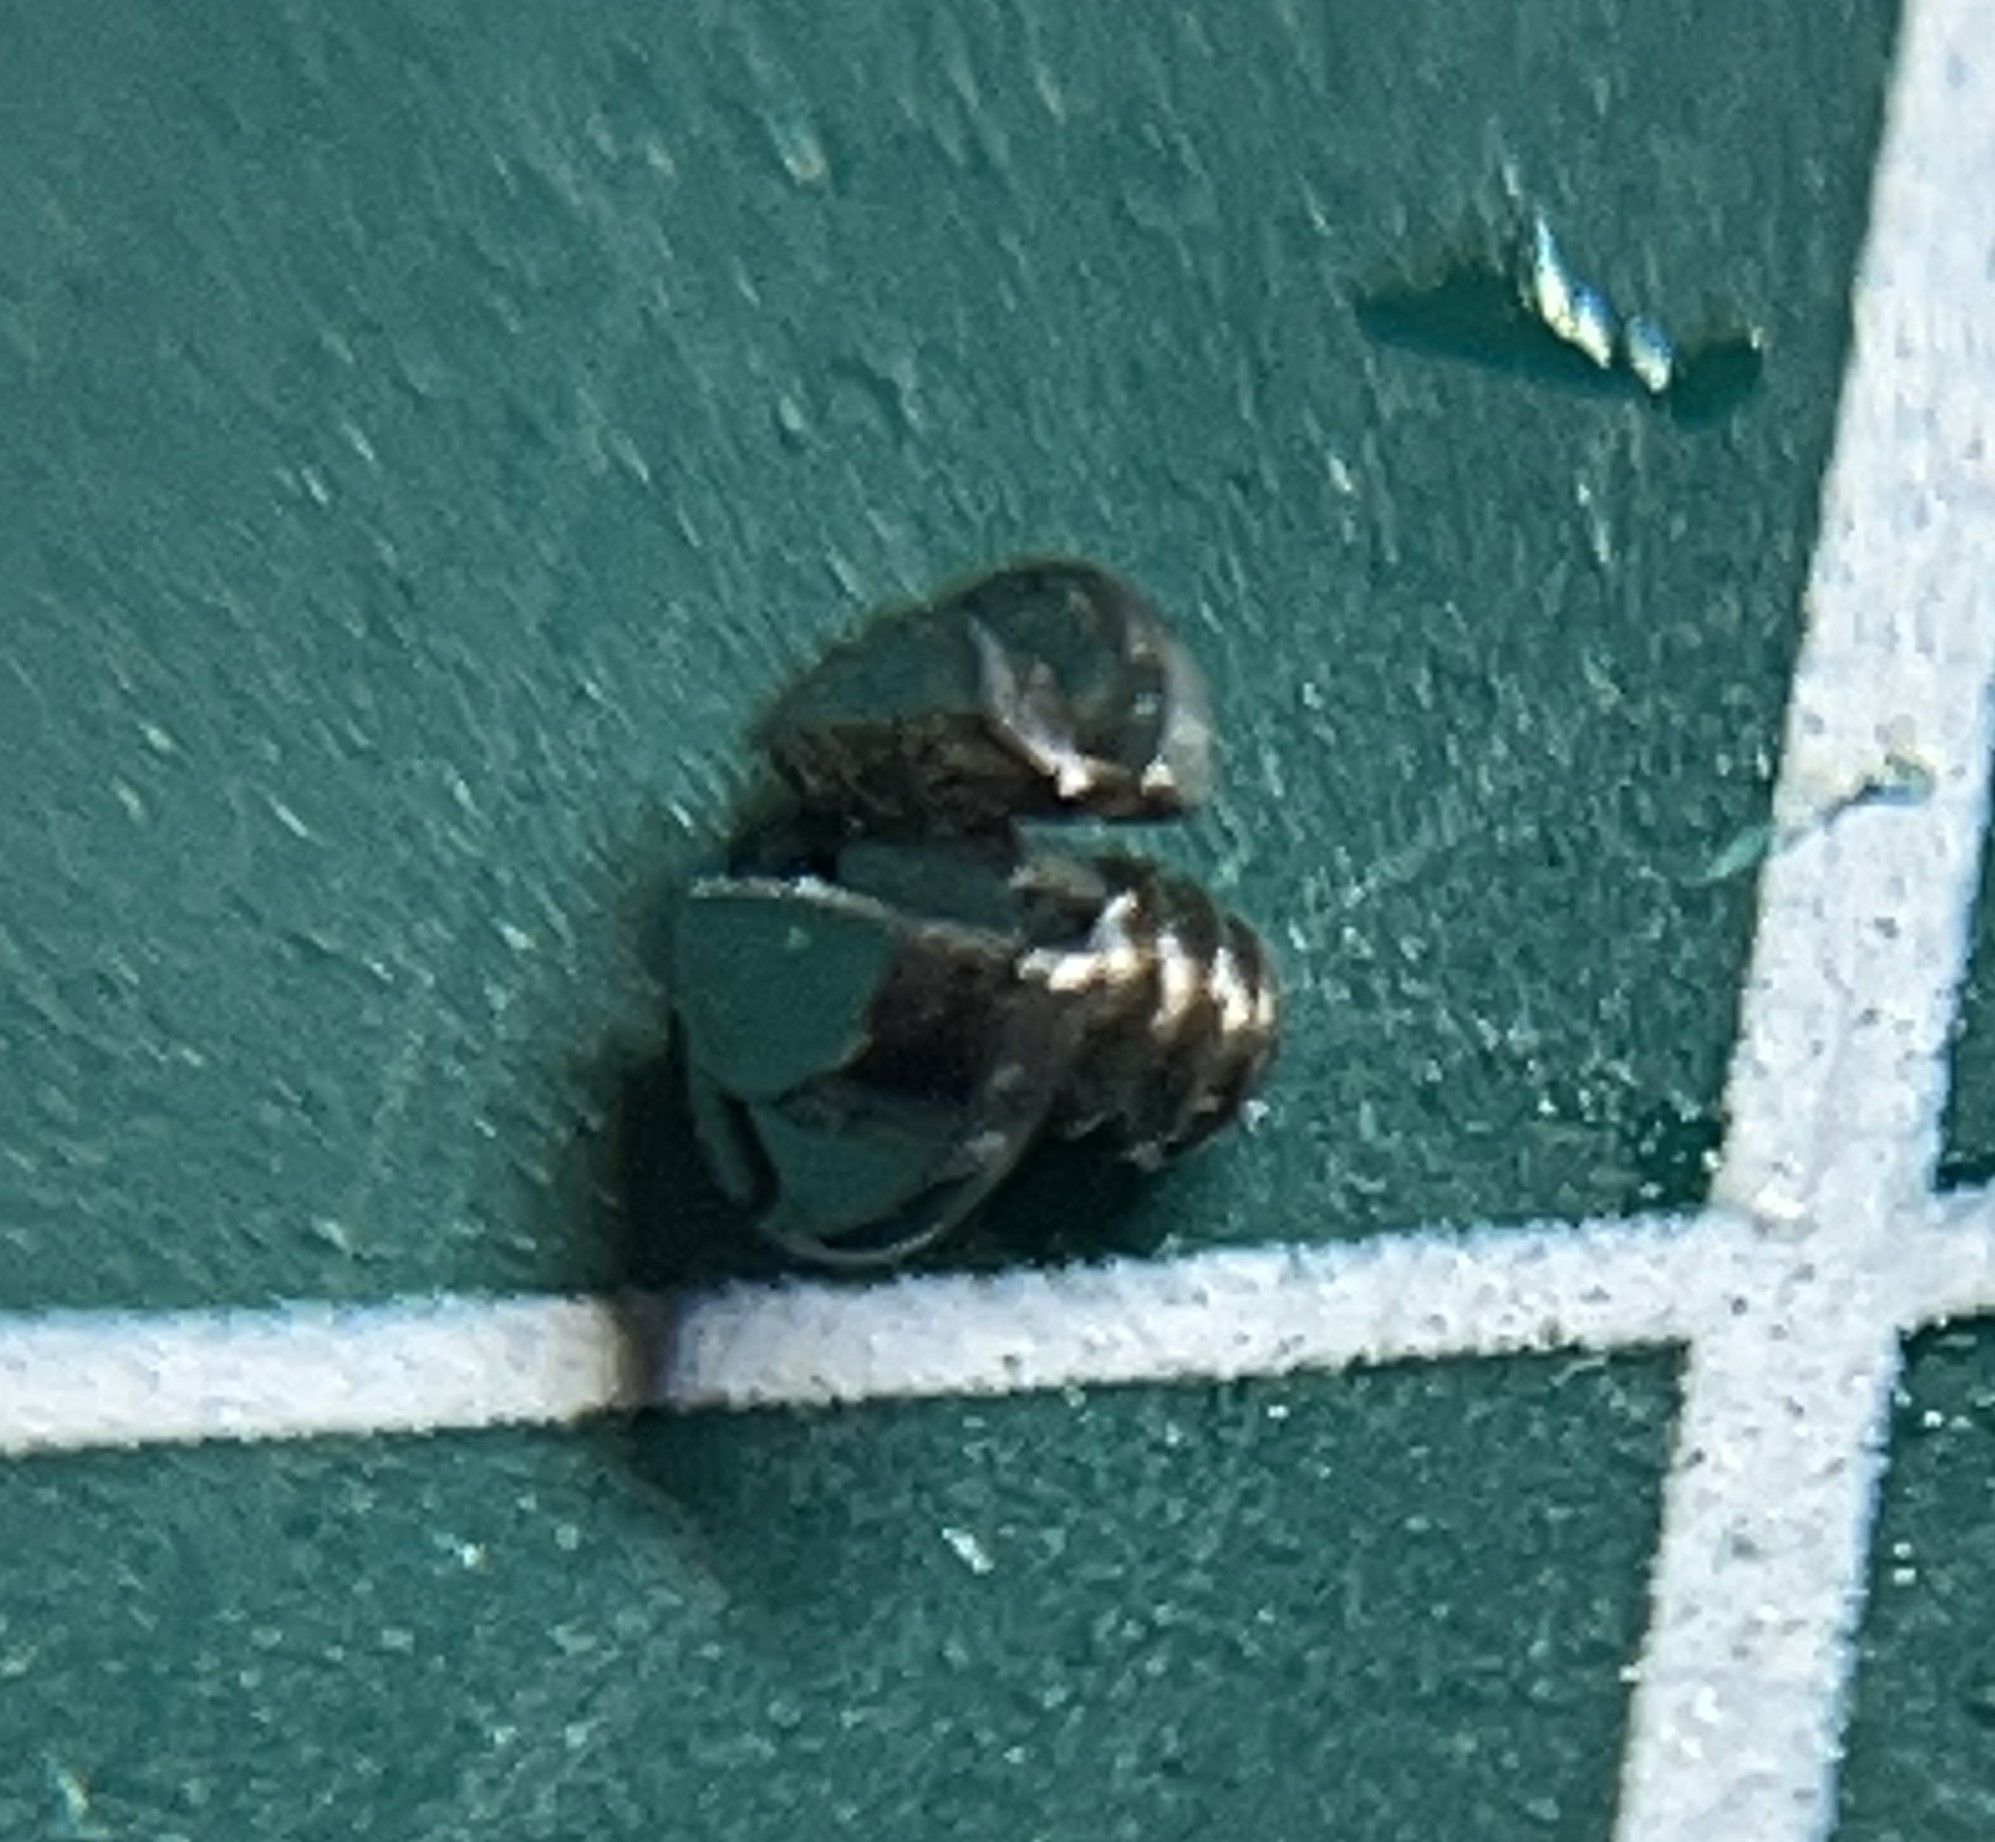
So back to this build - I put the bezel on and it felt rough turning it. I then changed the spring washer as I had anticipated this issue and got new springs as well as gaskets. Check out the quality of the spring washers. The new one is much smoother and very slightly thinner I think, although I didn't measure it.

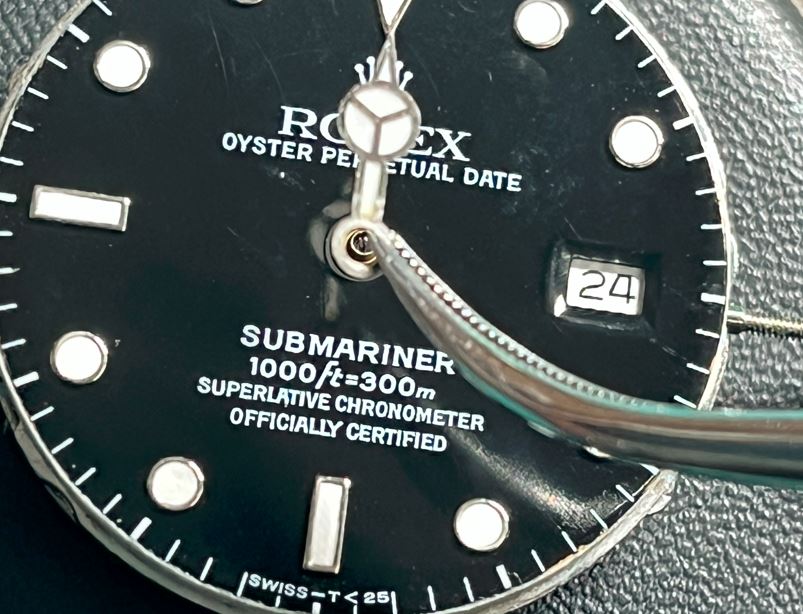
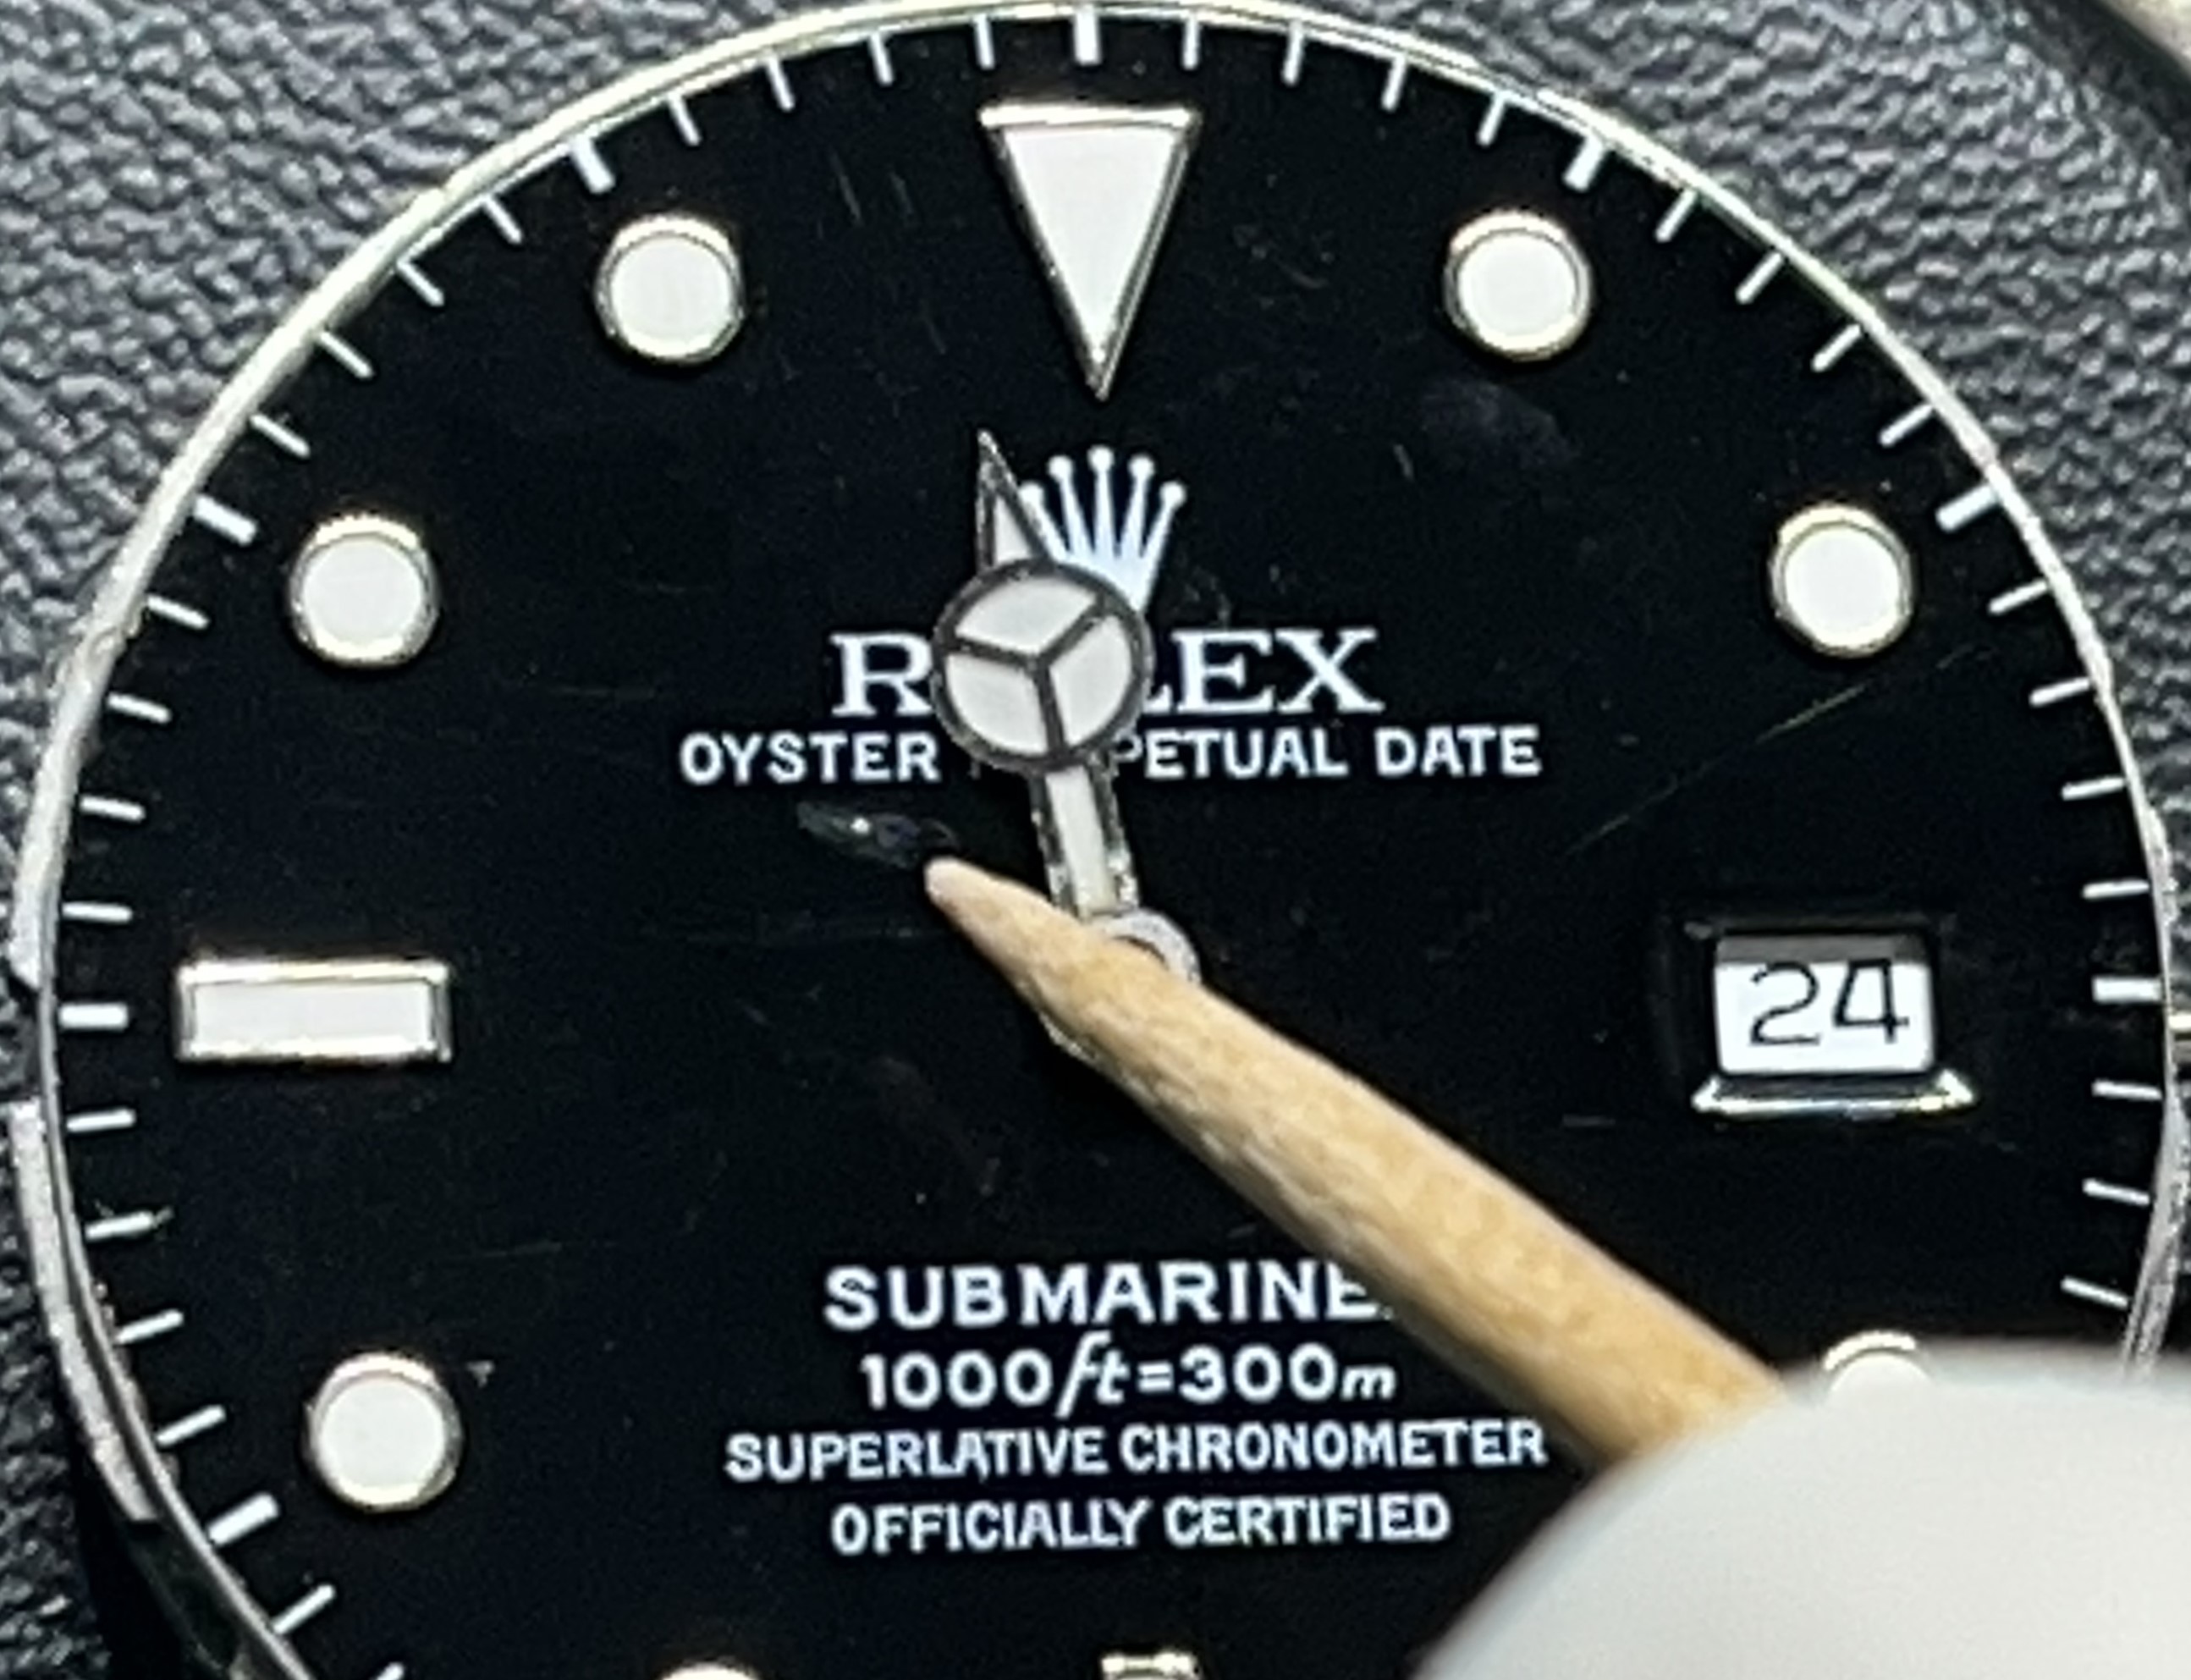
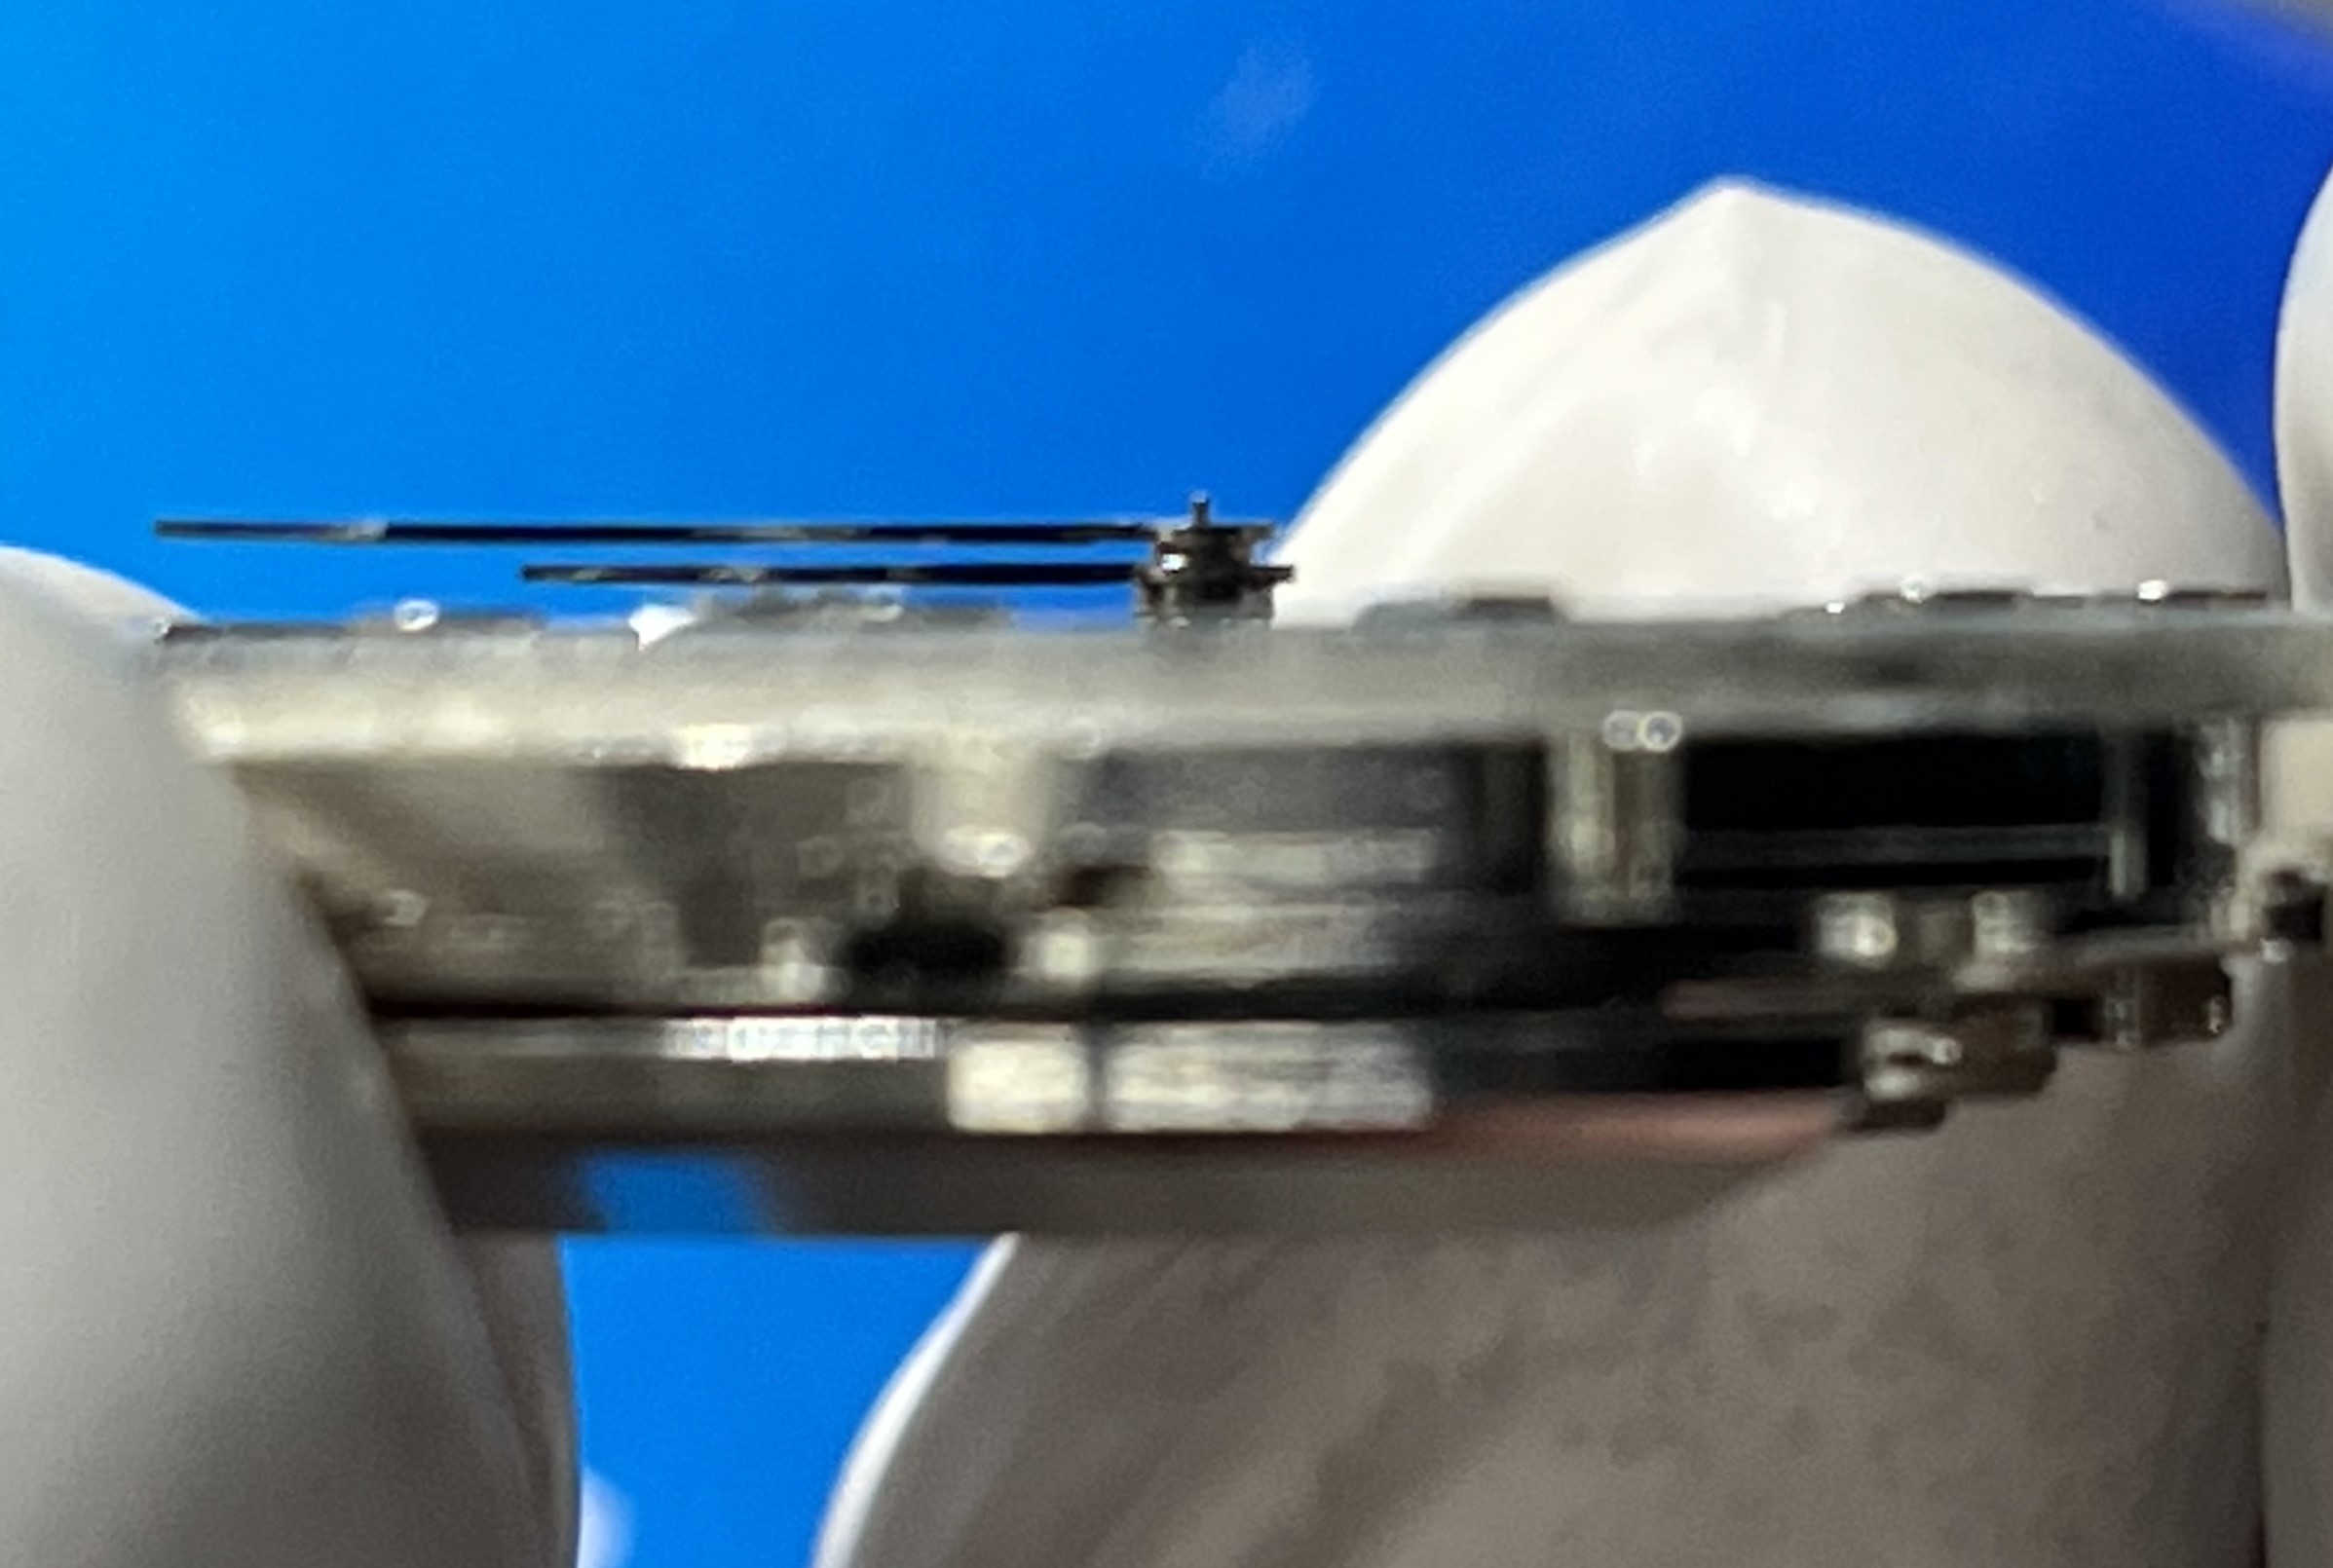
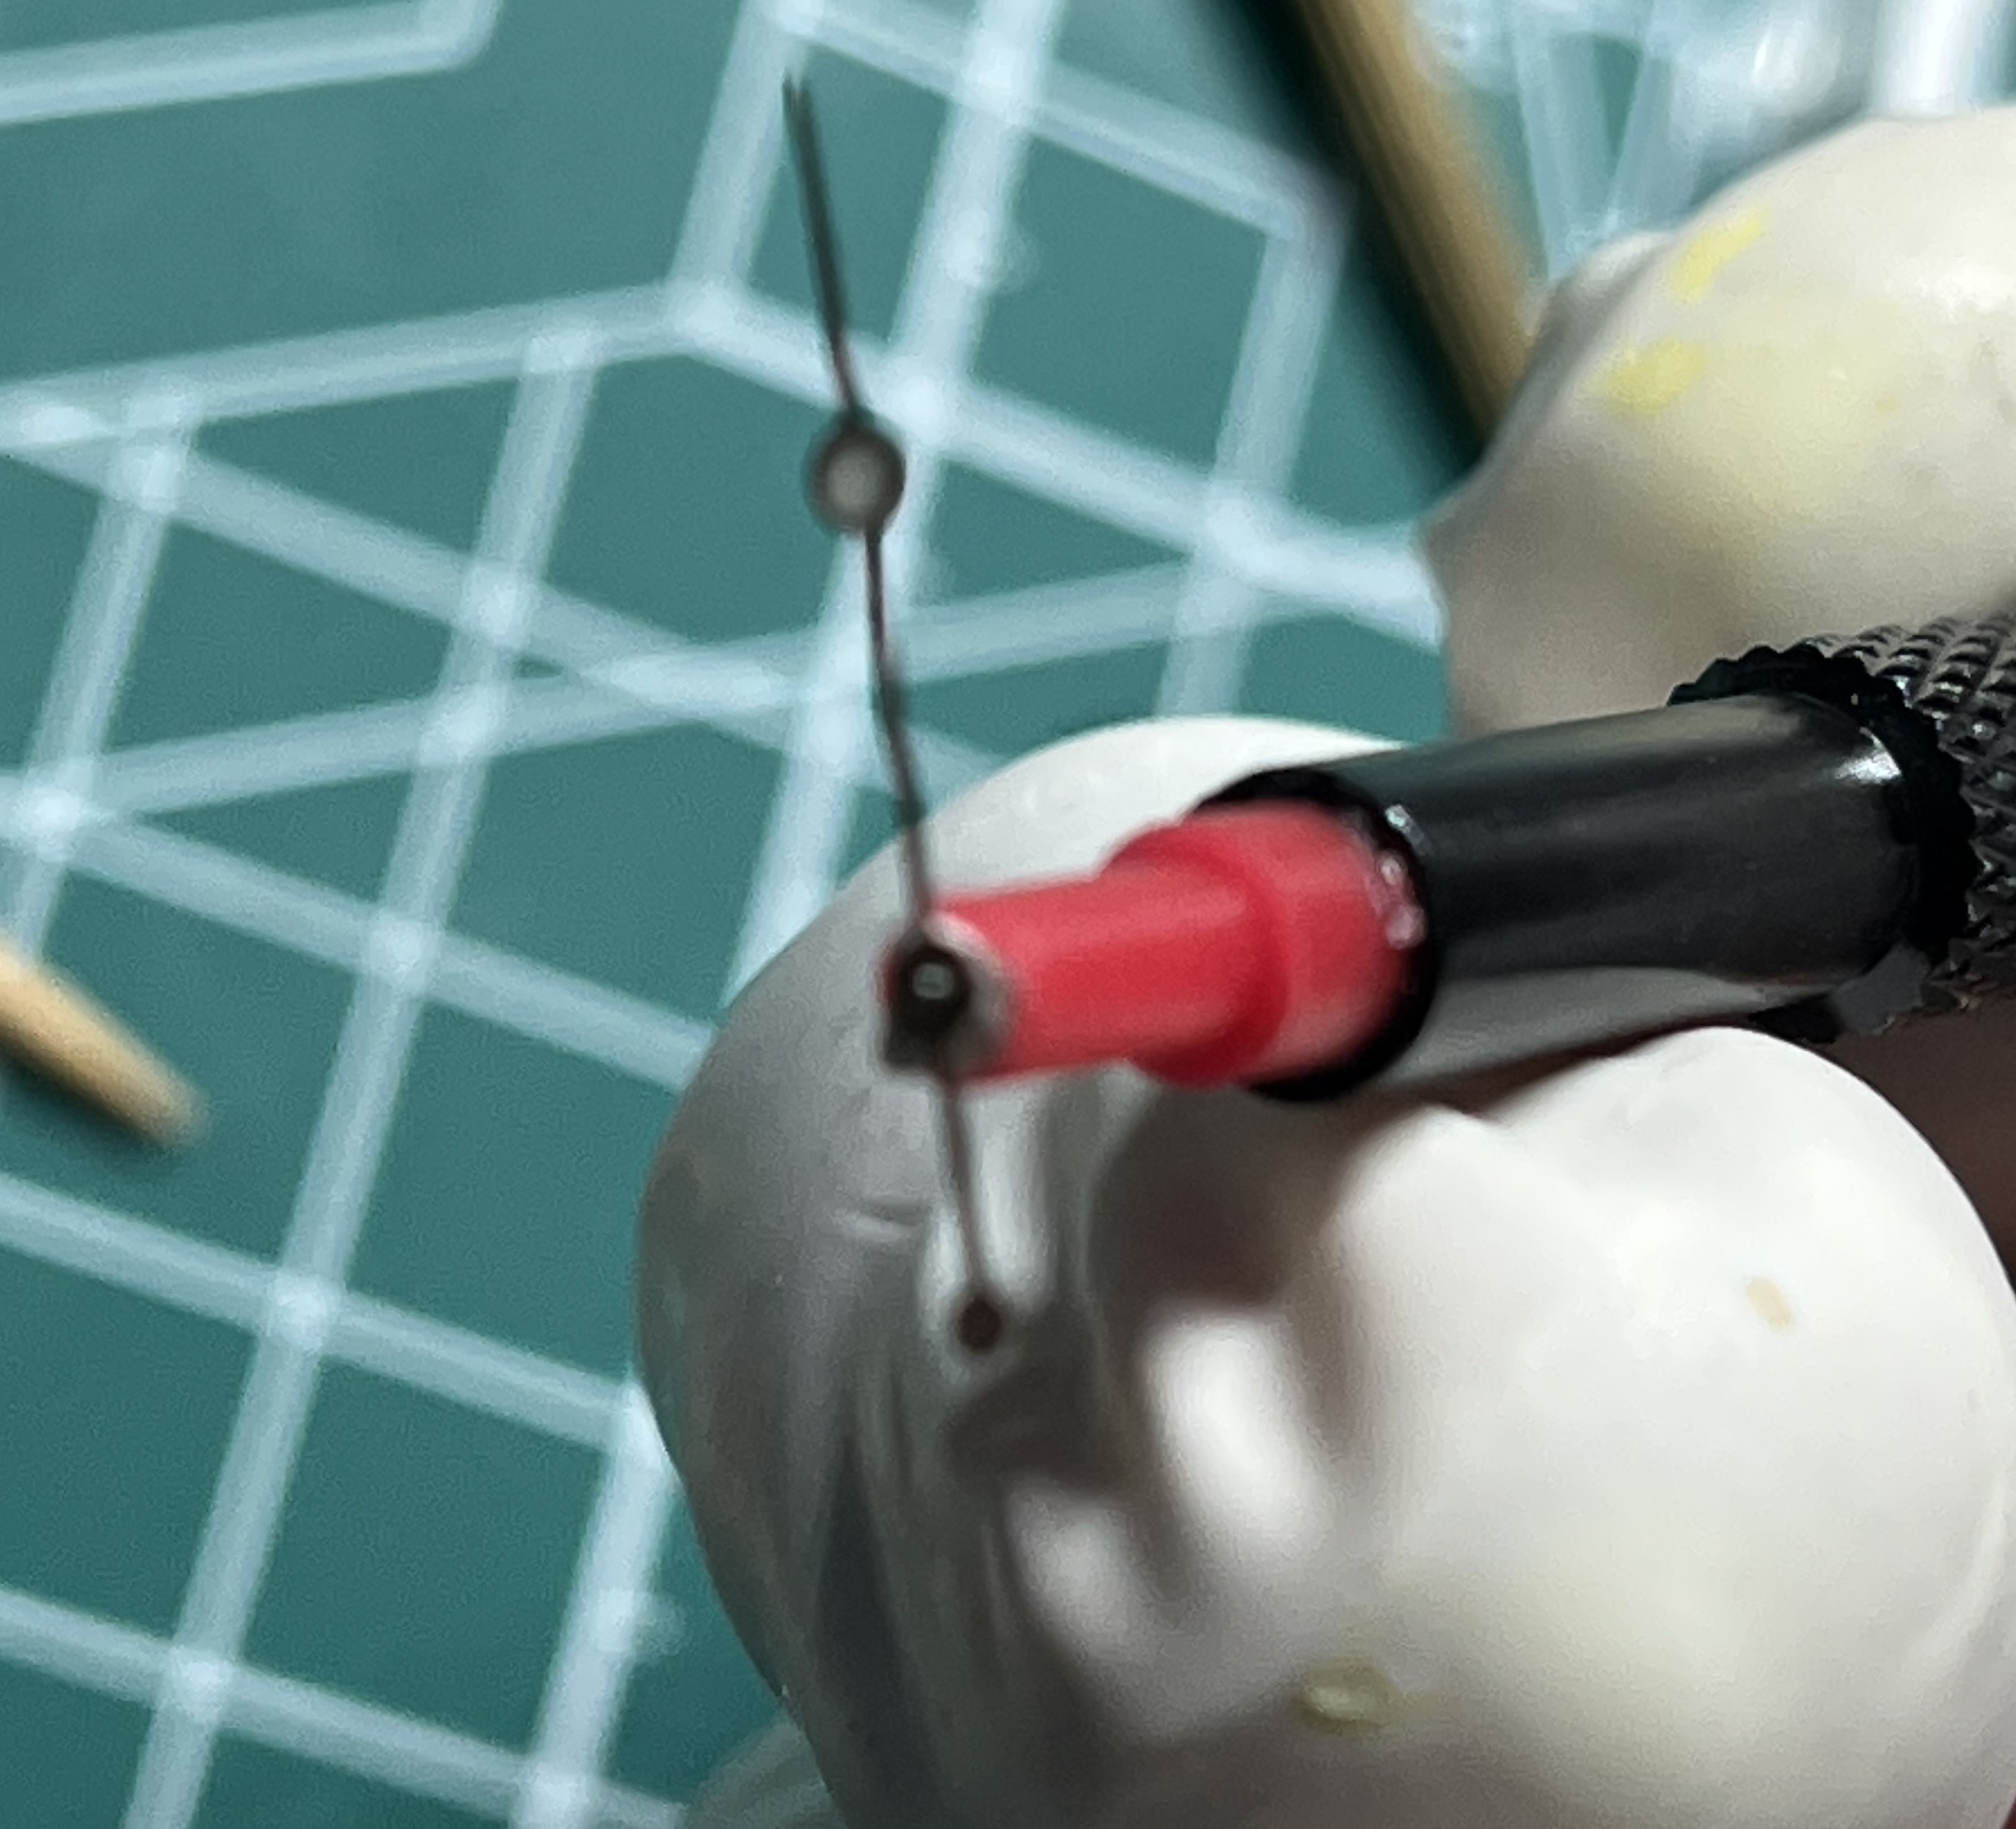
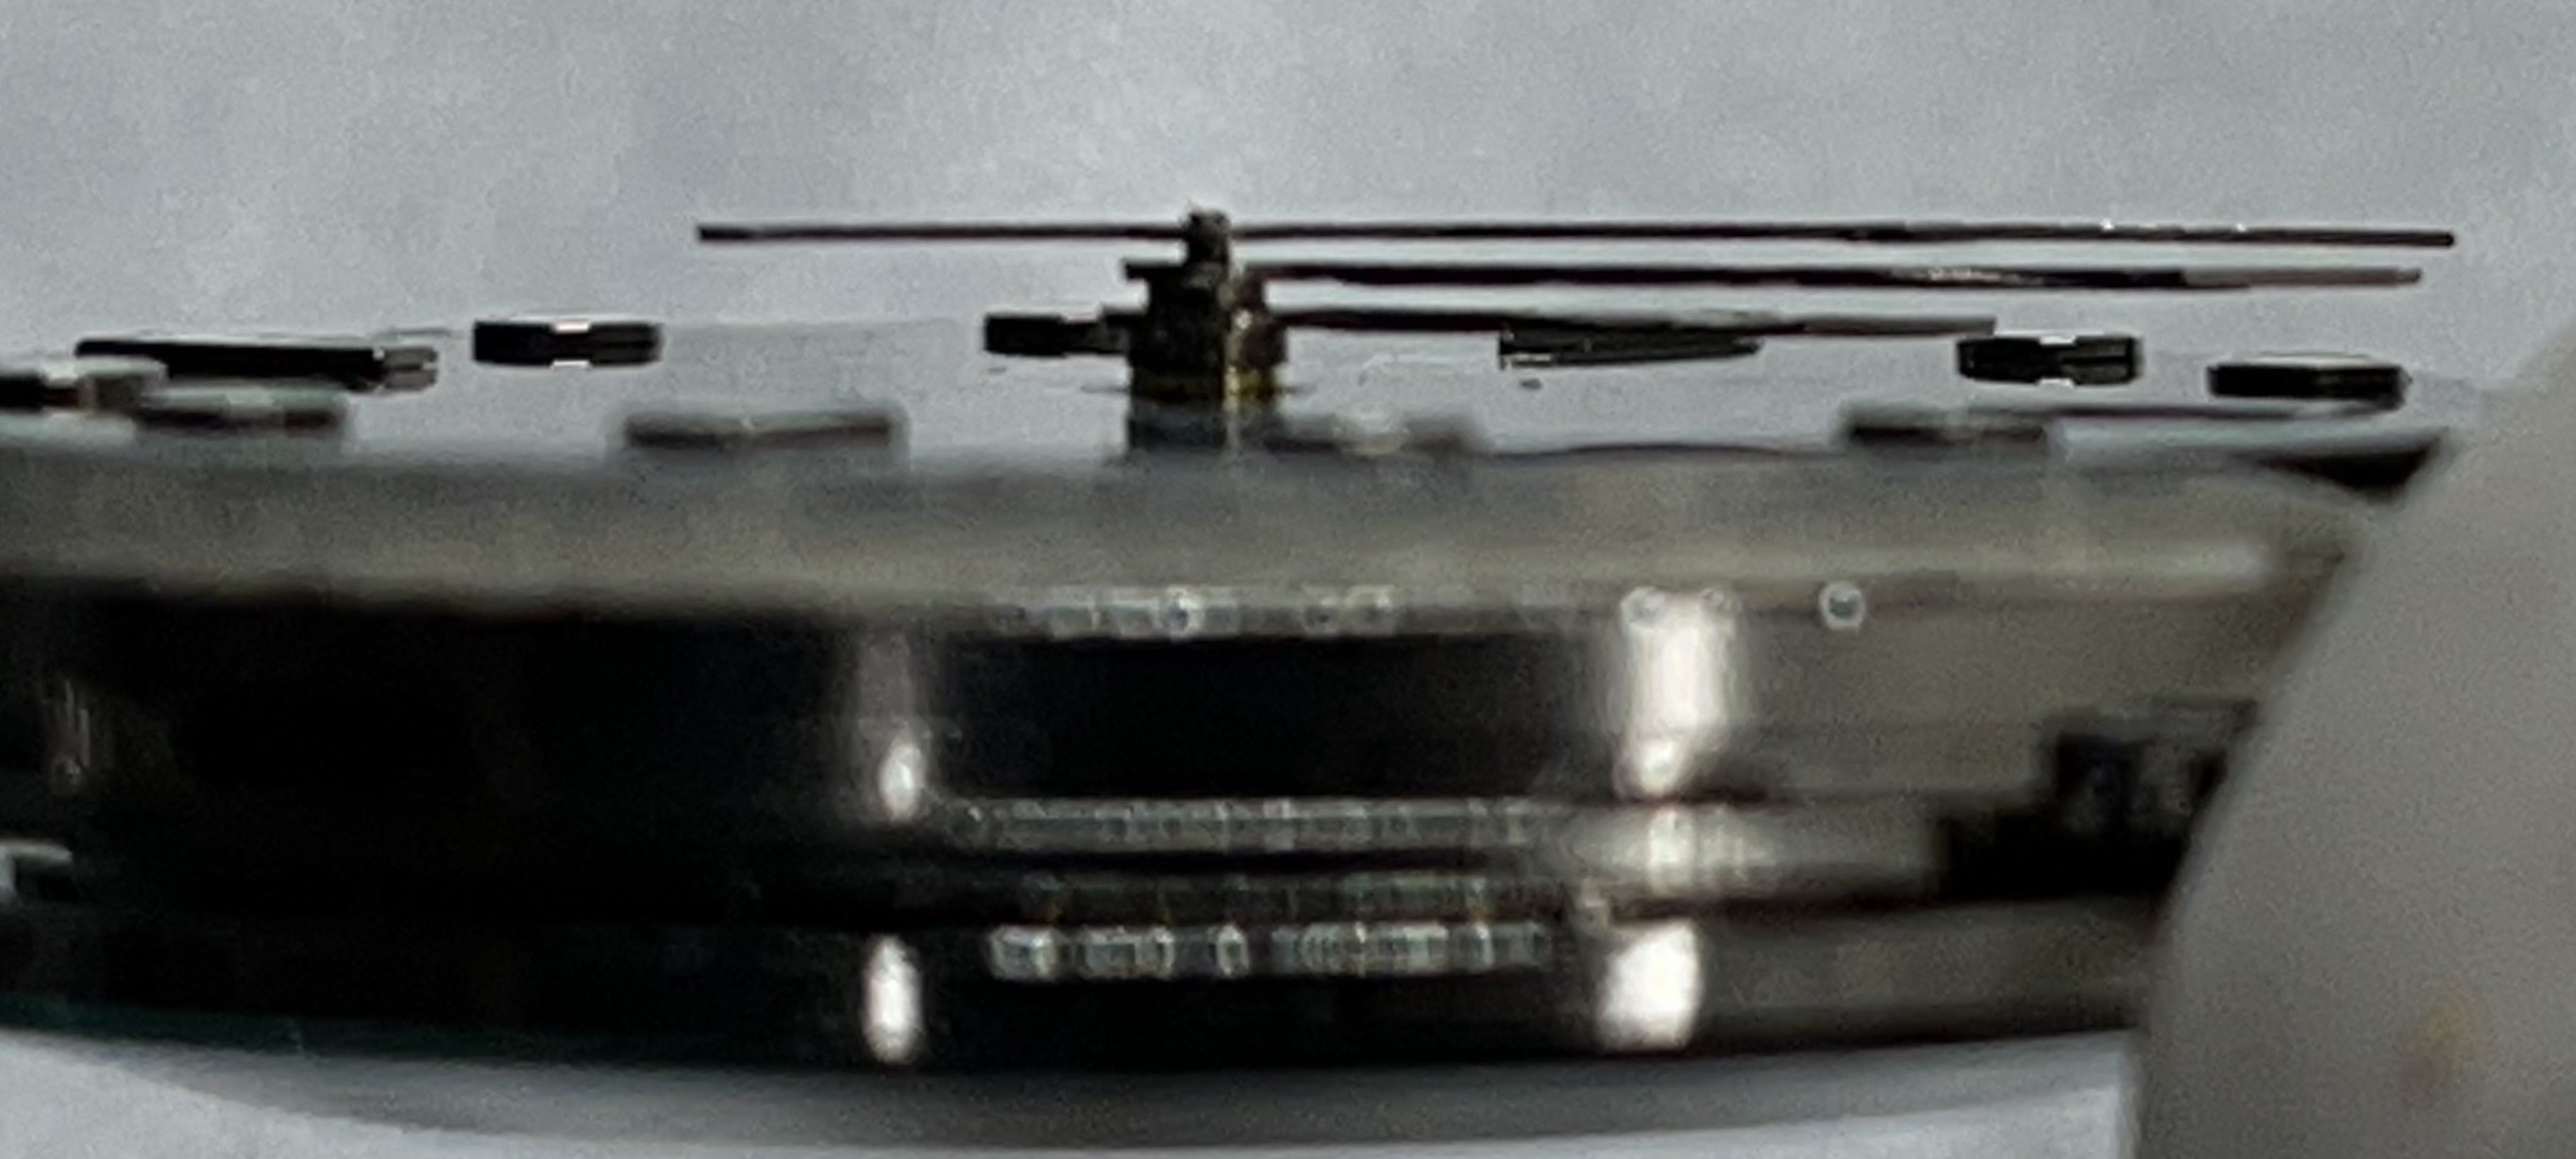
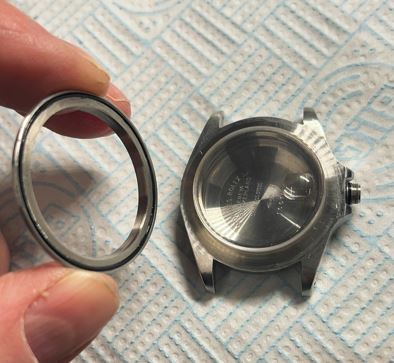
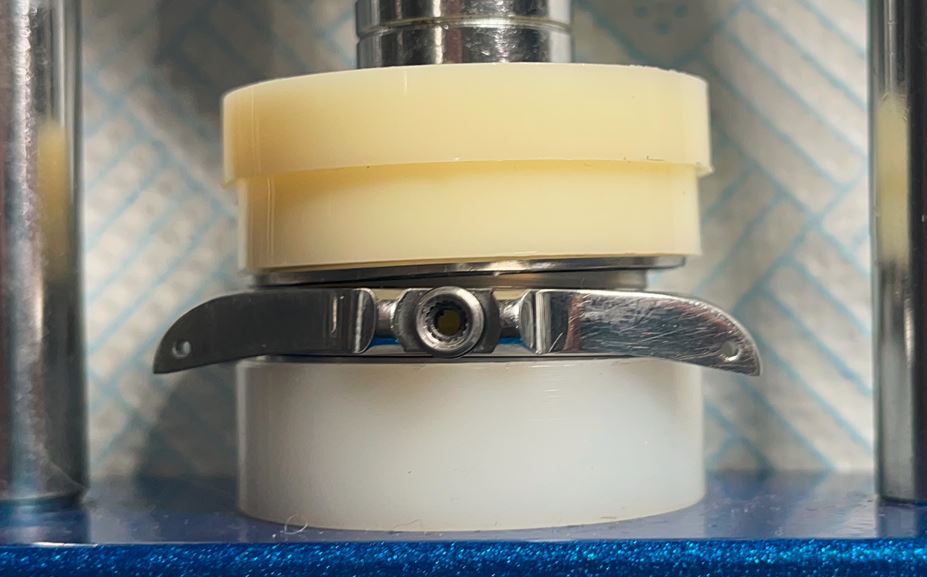
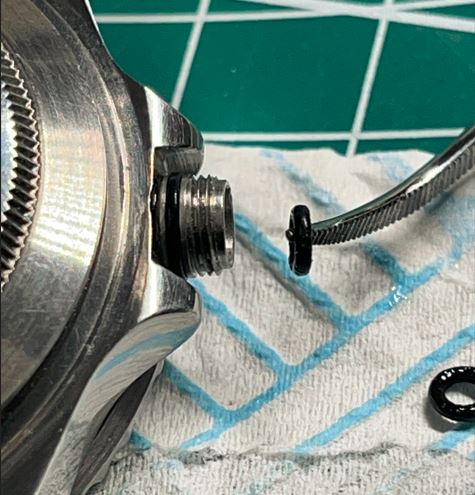
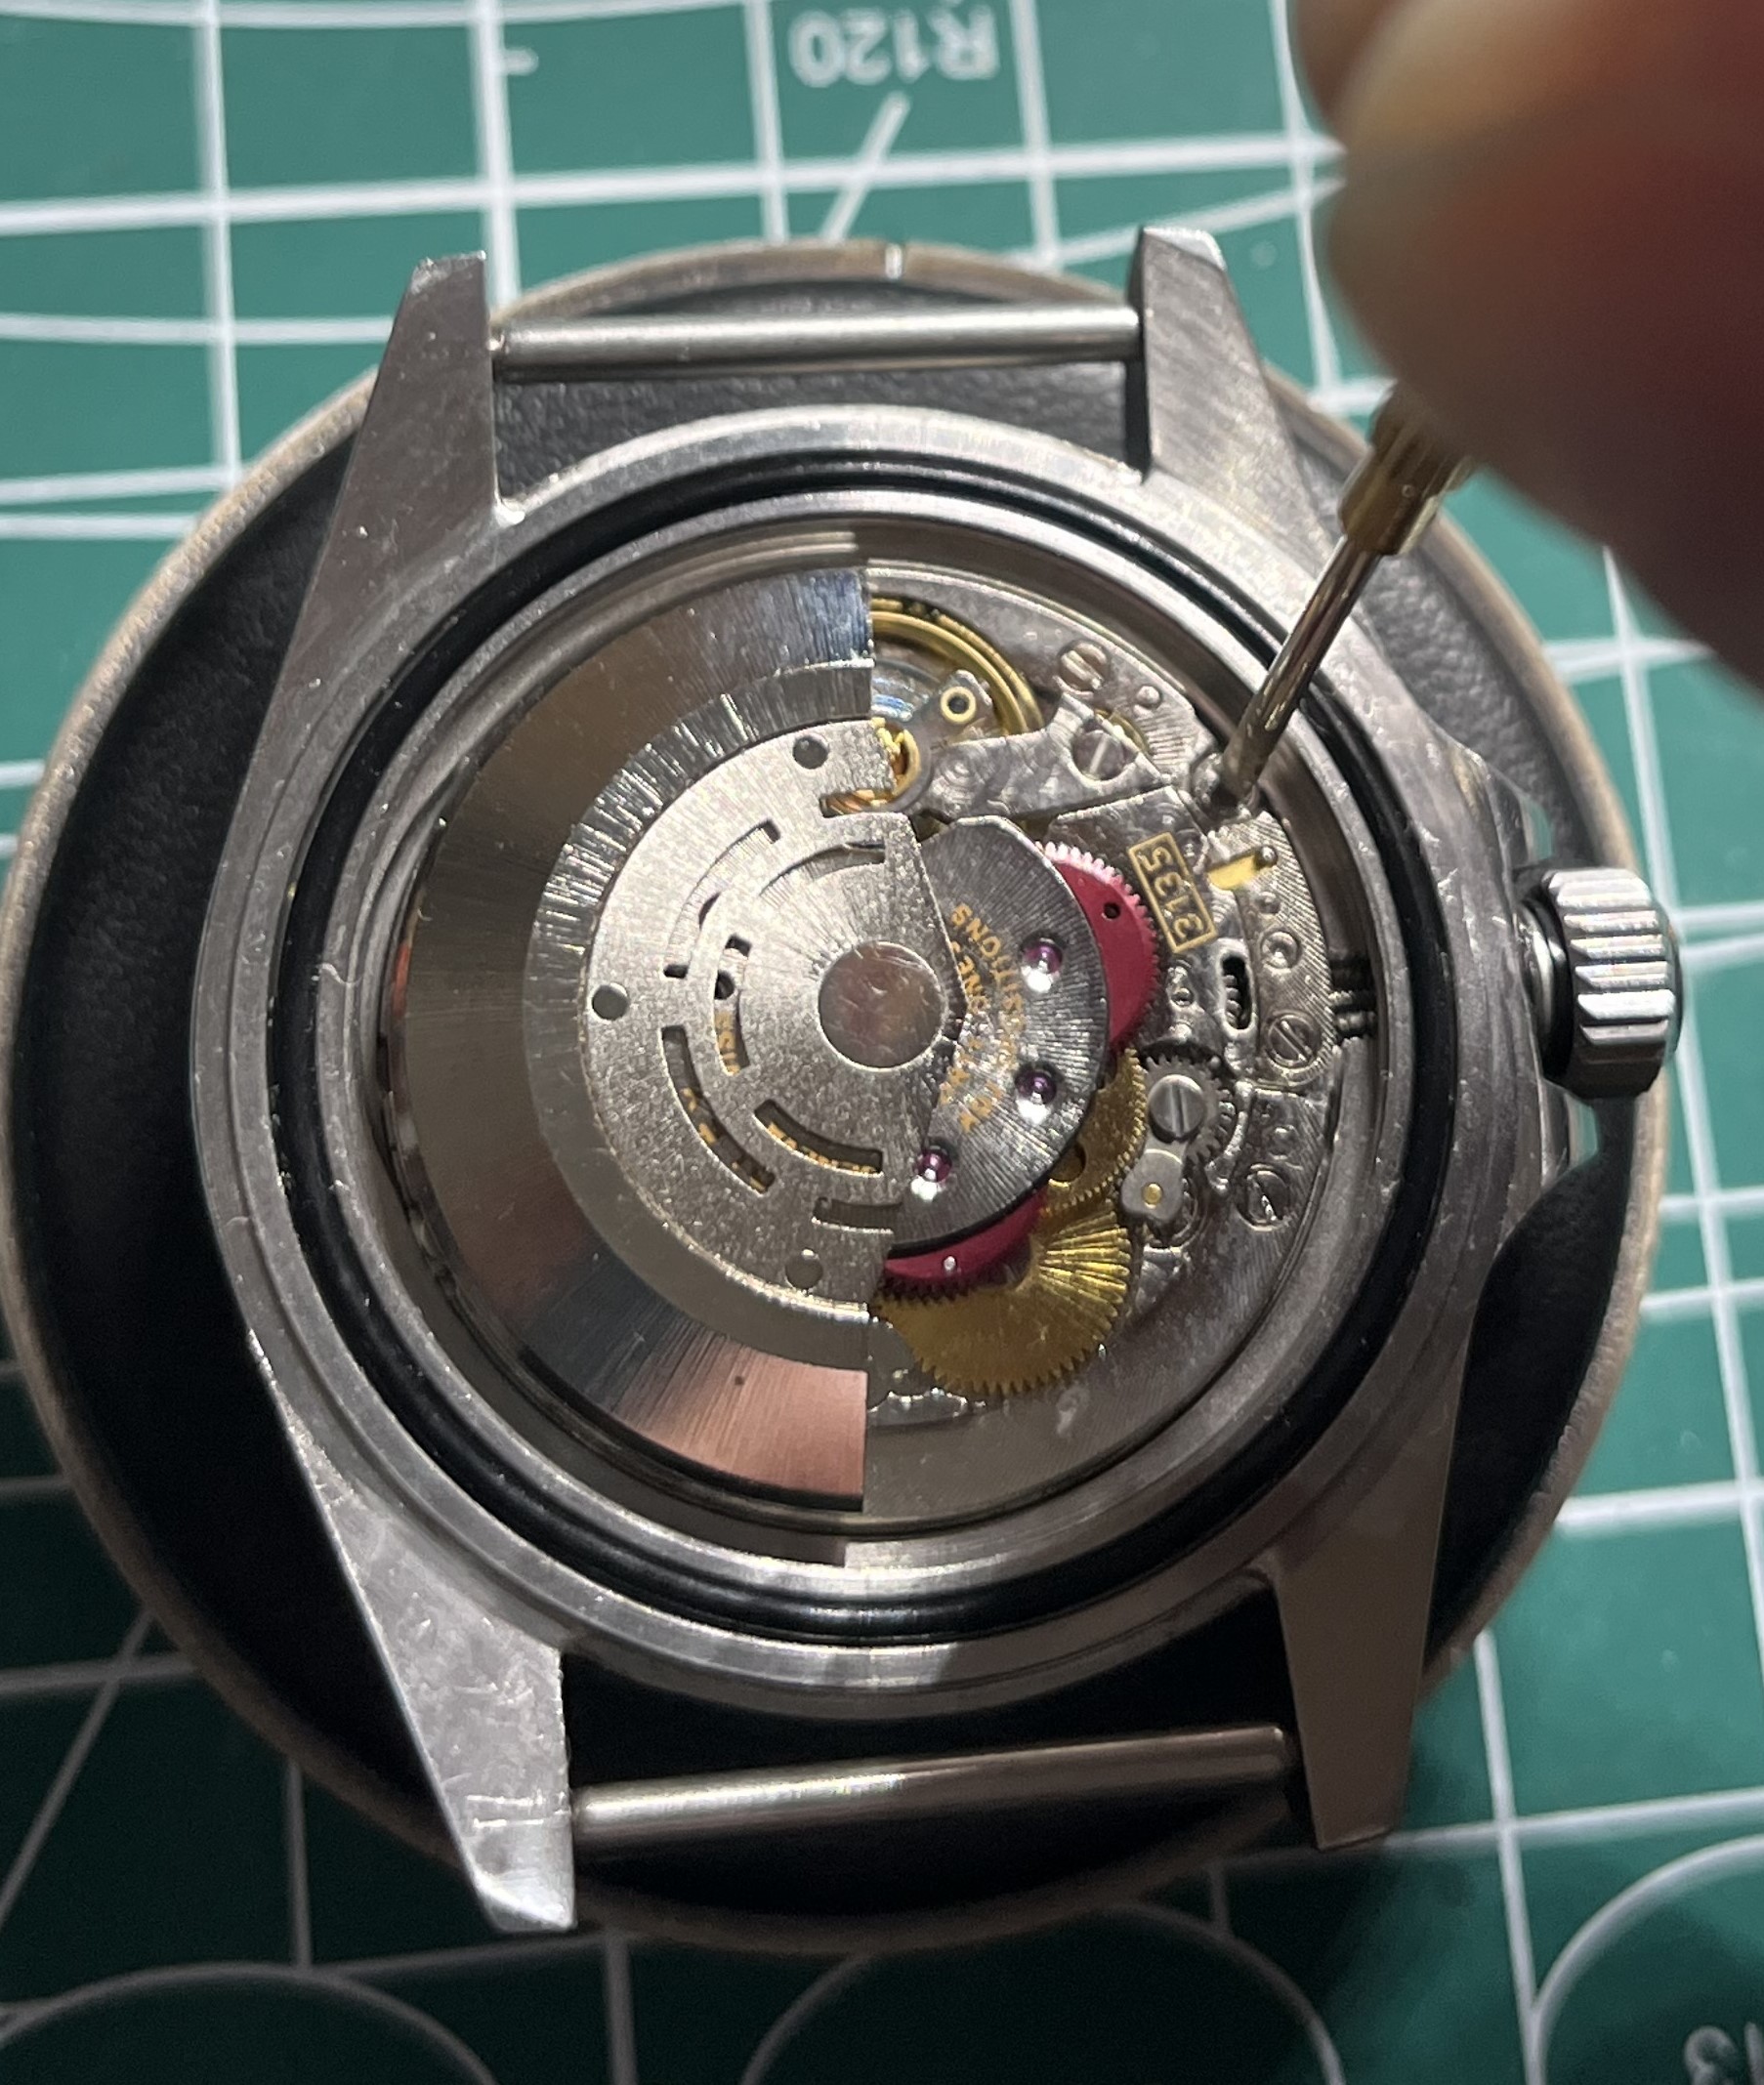
To get the bezel off, a knife edge or similar tool can be put under it, is very easy to get on and off. I put masking tape on the knife to avoid taping the case every time (to avoid scratching it). To get it back on, just press it in place after fitting the click spring, above the spring washer, starting at that side and pushing the opposite side until a satisfying "click" is heard. Have spare click springs because they can go flying sometimes...

2a3wY1.jpeg

2a34wj.jpeg

2a3R8b.jpeg
 

HulkyGalore

Active Member
Supporter
Certified
15/12/22
347
352
63
UK
Now that the loctite has cured, the seals in the crown and stem get replaced and the new ones, lubricated with grease before fitting:


2aaiW5.jpeg


2aaoft.jpeg

2aaI22.jpeg