- 12/3/18
- 36,949
- 77,153
- 113
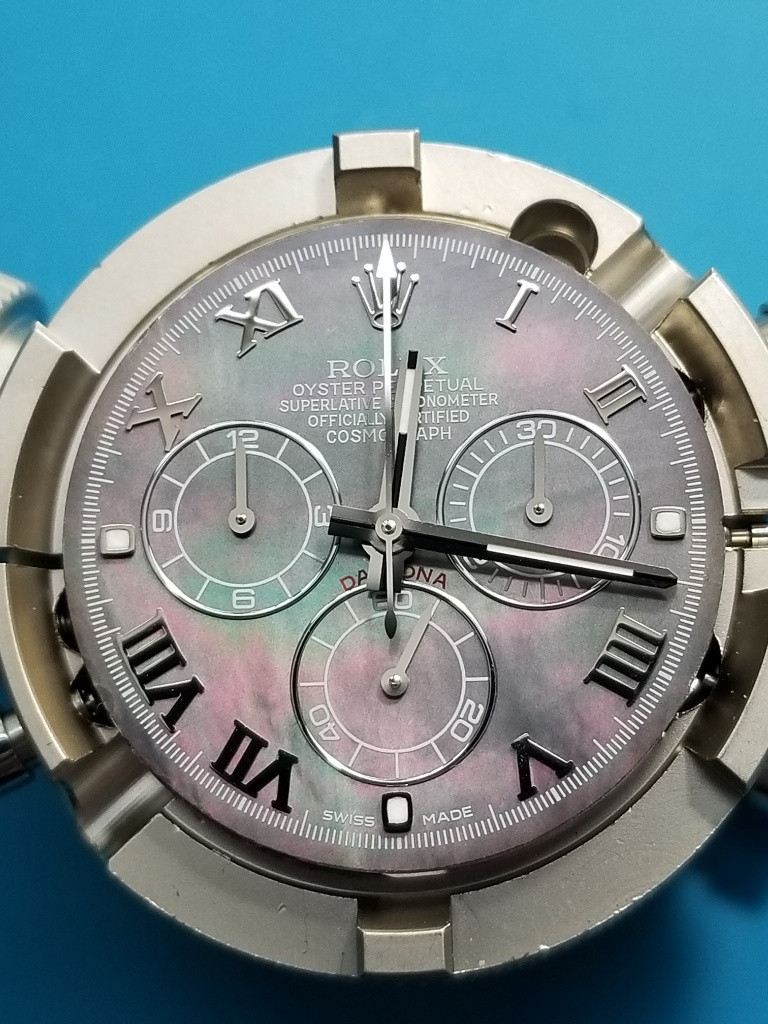
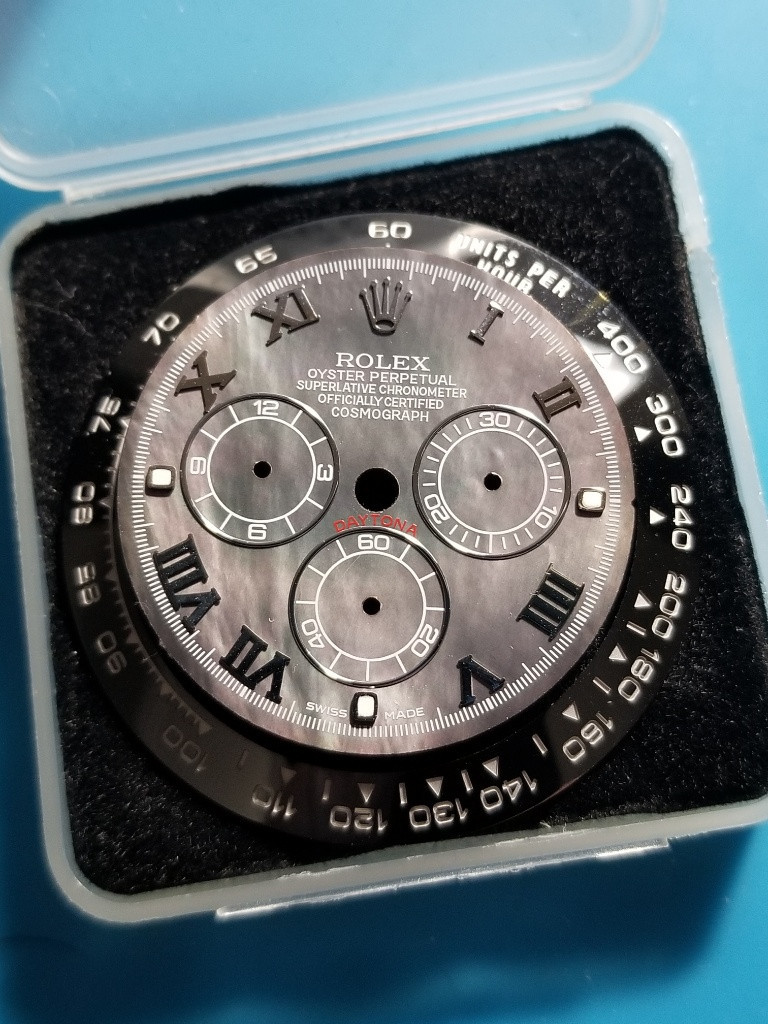
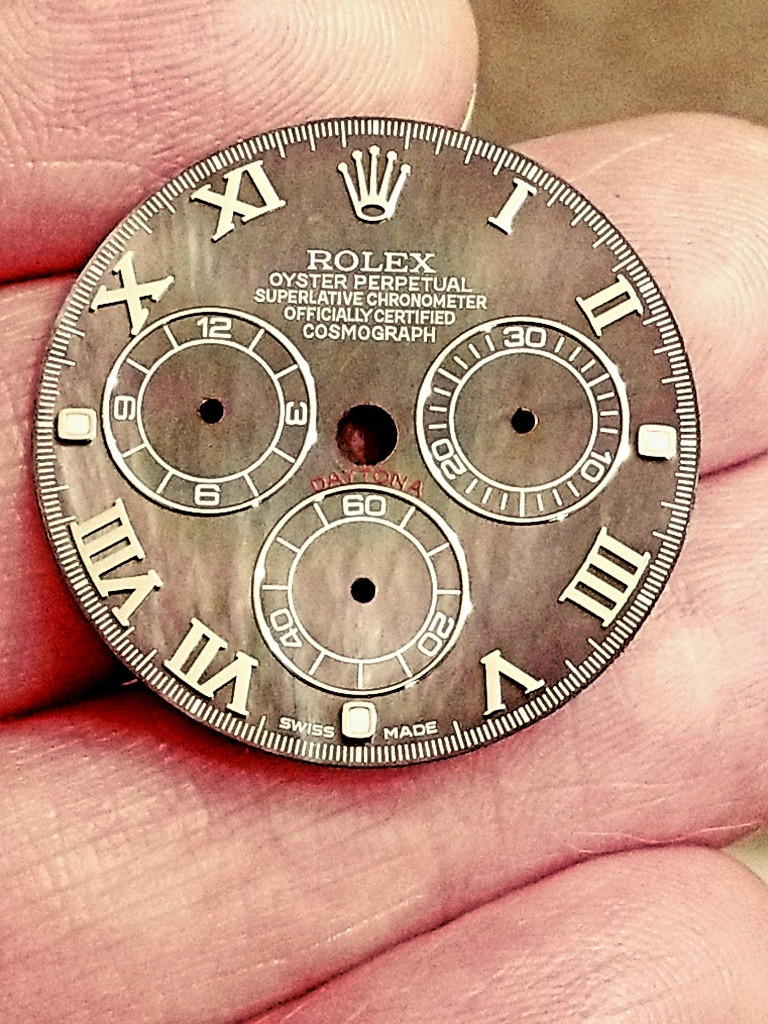
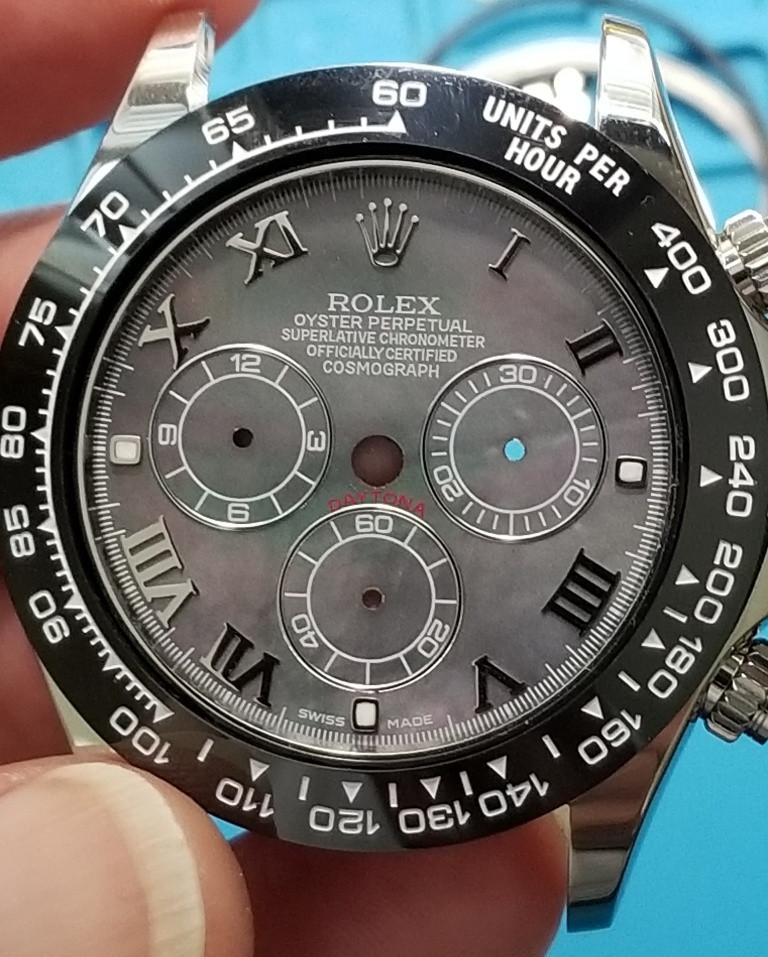
ARF dials often seem to be a tad larger than other factories. ARF Daytona dials are well known to need shaving to fit in a Noob case. I had to shave this ARF GMT dial down to fit it in a VRF case.
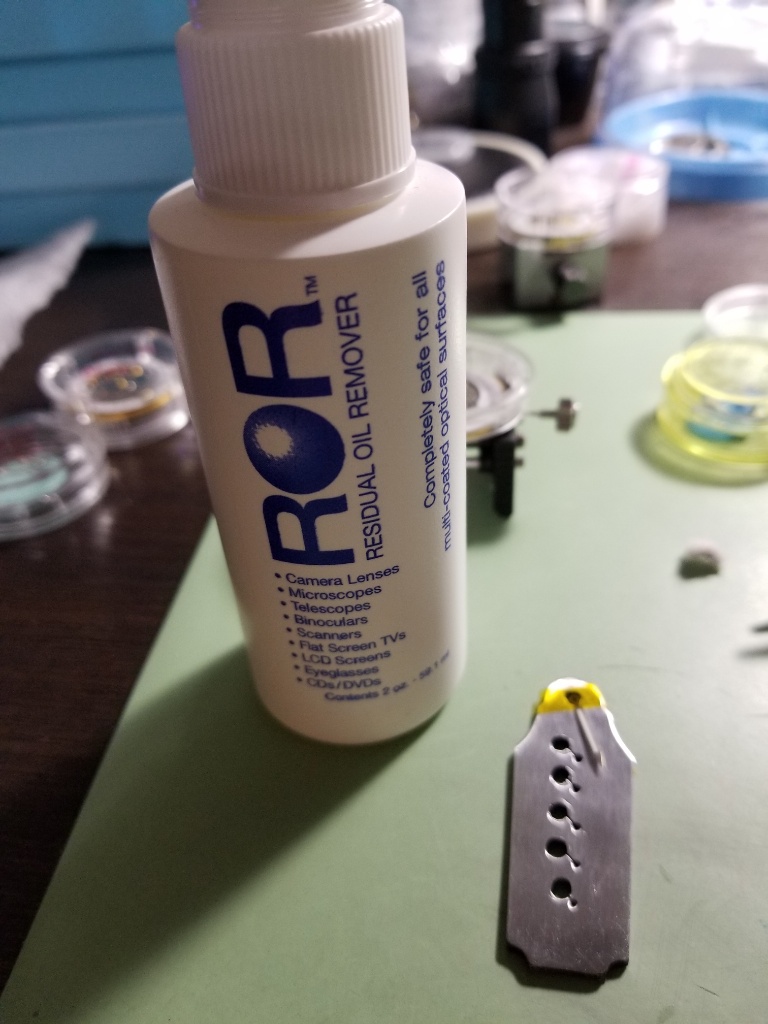
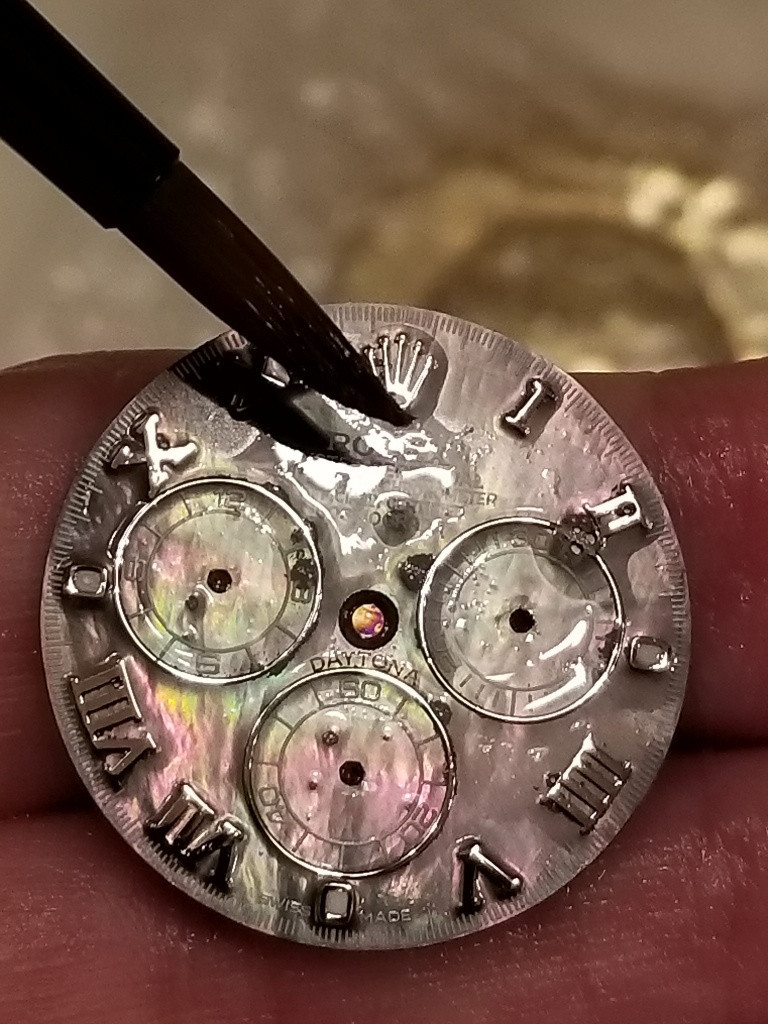
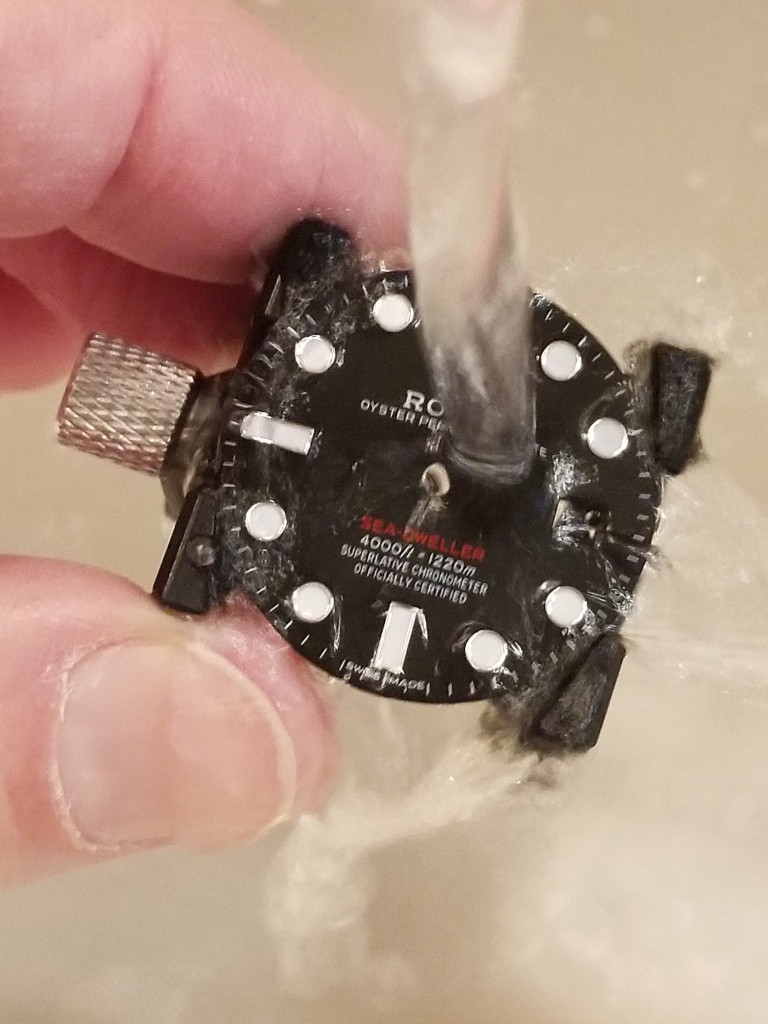
I found a unique way to safely DIY shave a finished dial that may be useful for others. The biggest challenge is anchoring the dial to a die or a mounting plate so it can spin in a dremel without anything touching the face. The solution I found was E6000 glue. I knew from using it on other projects that it is extremely strong. But it also has another quality that makes it perfect for this task. It peels away intact, and totally cleanly.
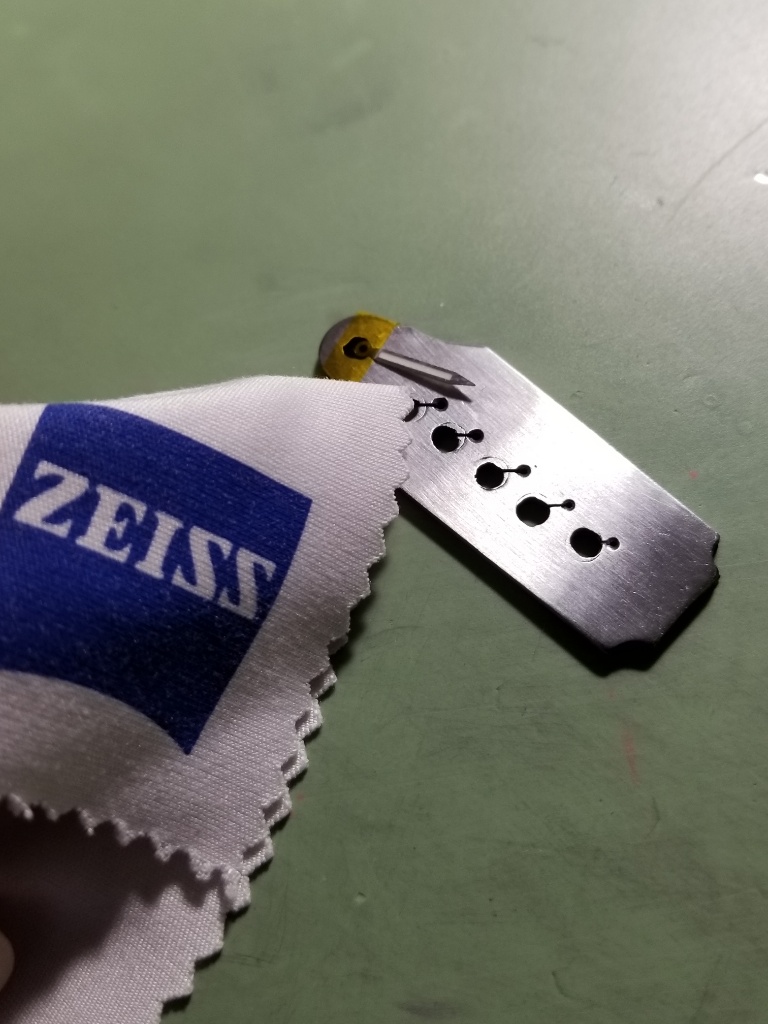
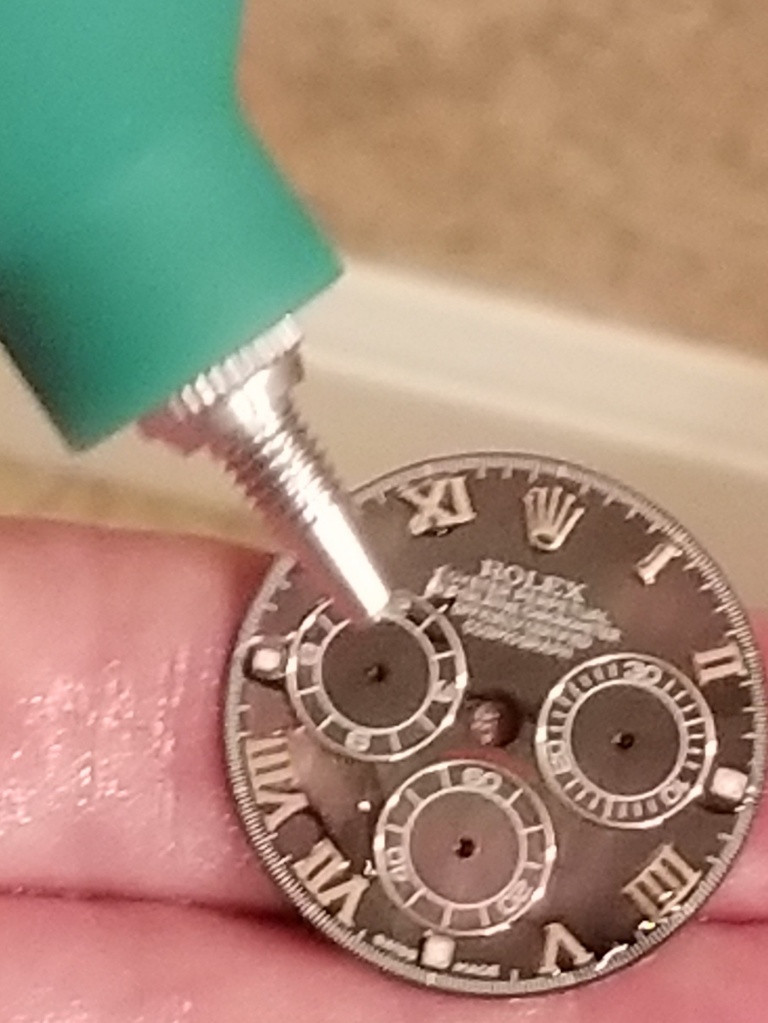
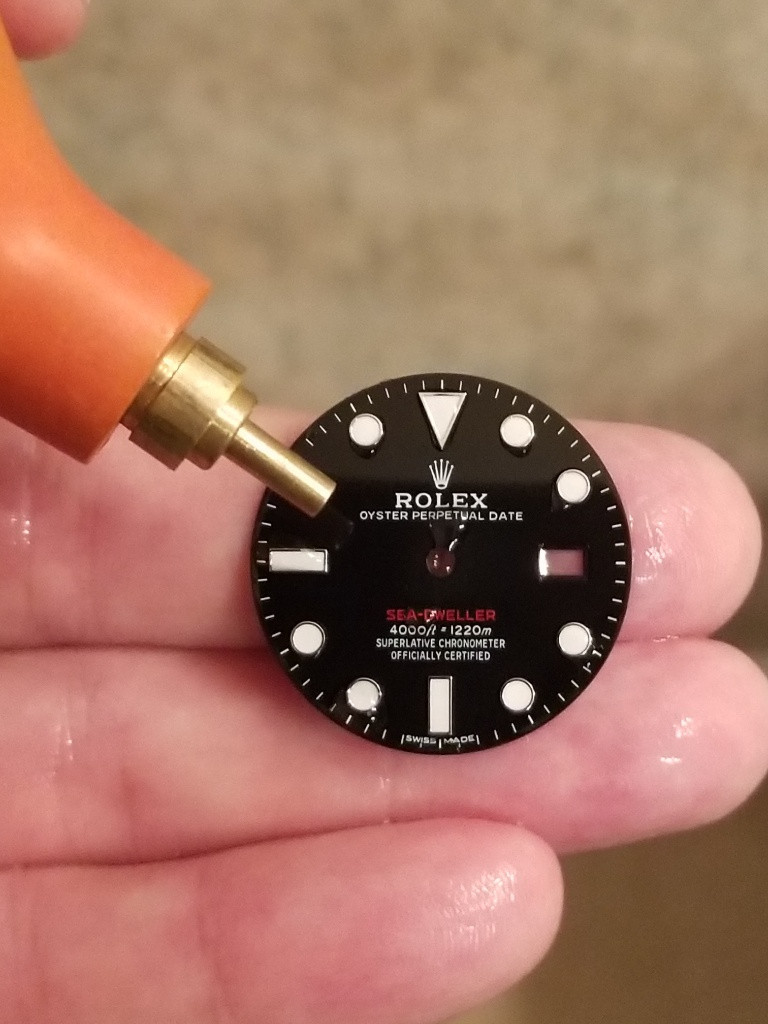
First I epoxied a die to a dremel bit, then stair-stepped it with sharp chisel edge. You could also just use a smaller diameter die.
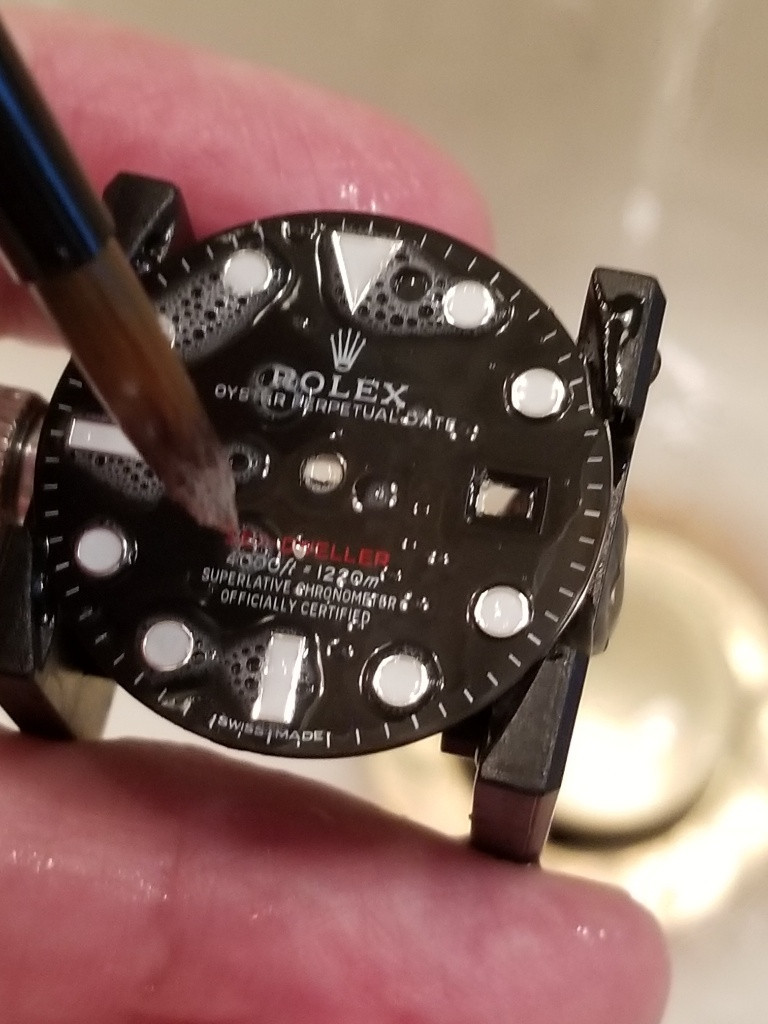
Then I taped off the dial window and glued the dial onto the die with the E6000 glue. The more exactly you can center the dial on the die, the more accurate the edge removal will be. There is a little room for error since the dial edges will be hidden by the rehaut.
Make sure you let the E6000 fully cure for 24 hours.
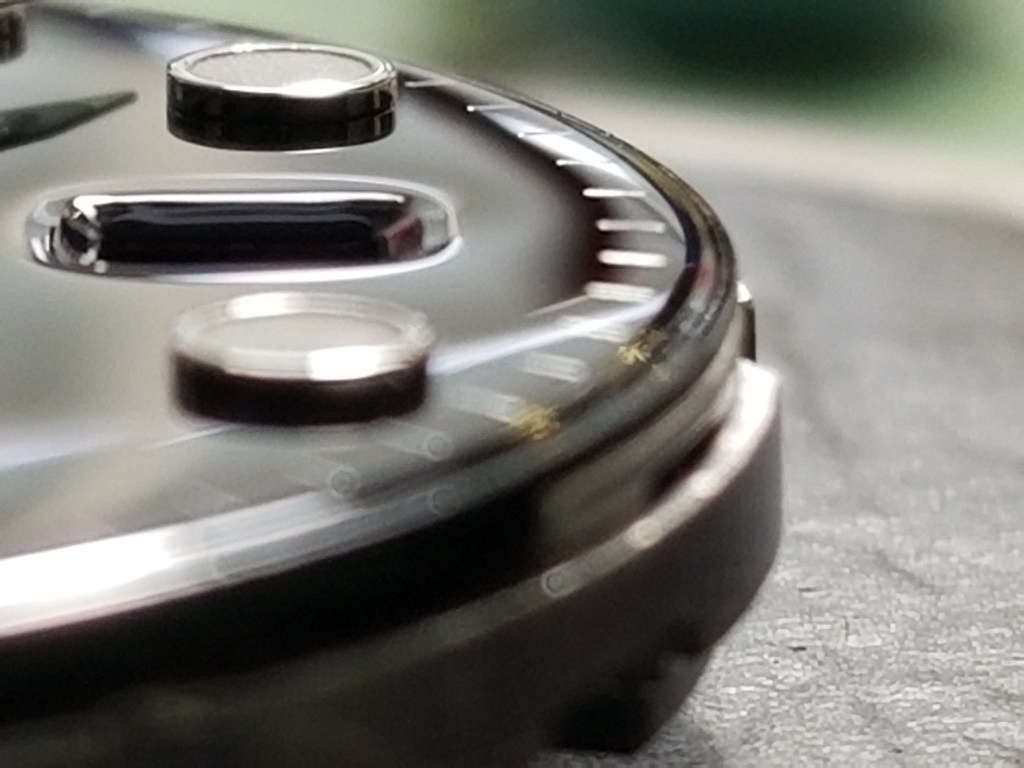
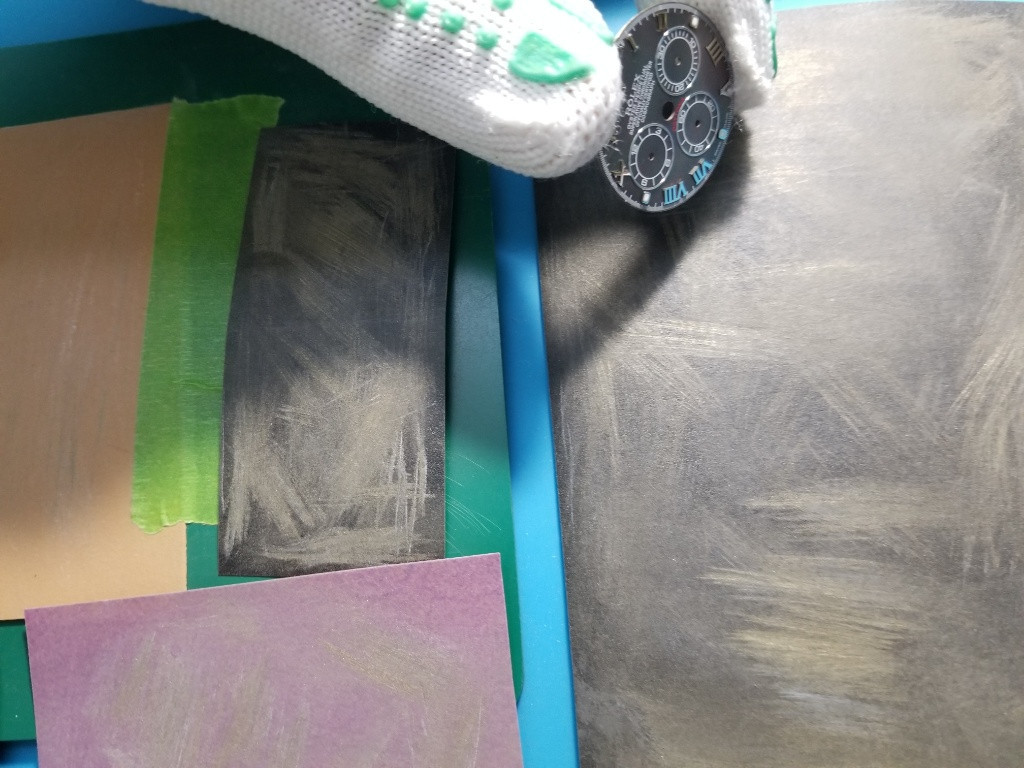
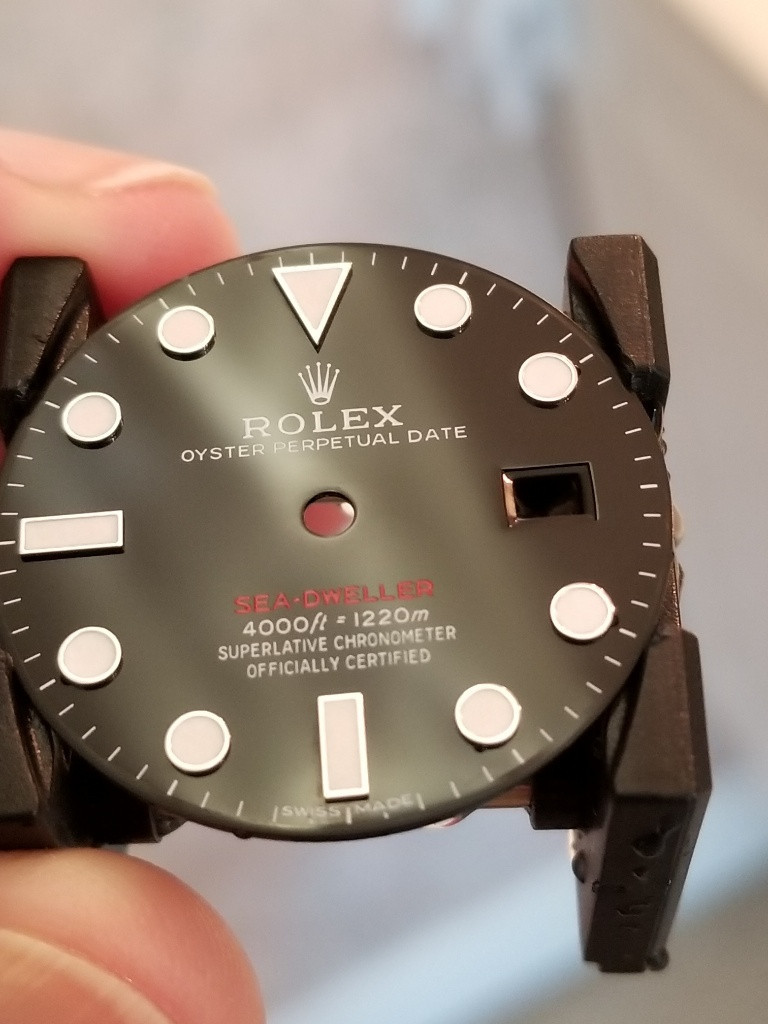
I recommend starting with 600 grit sandpaper to get a feel for pressing it against the dial. It will take 400 or 320 grit to make real progress. Be very careful and angle the paper slightly so the first point of contact is the backside of the dial. Don't push on the dial too aggressively - if you are not taking material off, try the next grade of sandpaper or speed up the dremel a tiny bit. STOP and re-measure frequently and check for symmetry around the edge. It's OK if the removal is slightly lopsided as long as it's far enough out that it will be hidden by the rehaut. Practice on a junk dial first!
NOTE:
If there is only a little bit to take off you can do it by hand, the same way an insert outer diameter is shaved. Tape a piece of 400 grit sandpaper flat on a bench. Wear a latex glove, hold the dial on an angle so as to contact the backside first. Hold the dial by its edge near some markers so if your finger contacts the face it will touch a marker and not the dial. Swipe roll the dial toward you on the sandpaper, 3 - 4 swipes, then regrip and do the next overlapping arc. Use a dust blower frequently to keep sanded particles off the dial face. Measure often. Keep it even all the way around. Finish with a higher grit 800 or 1000 if desired.


I found a unique way to safely DIY shave a finished dial that may be useful for others. The biggest challenge is anchoring the dial to a die or a mounting plate so it can spin in a dremel without anything touching the face. The solution I found was E6000 glue. I knew from using it on other projects that it is extremely strong. But it also has another quality that makes it perfect for this task. It peels away intact, and totally cleanly.
First I epoxied a die to a dremel bit, then stair-stepped it with sharp chisel edge. You could also just use a smaller diameter die.
Then I taped off the dial window and glued the dial onto the die with the E6000 glue. The more exactly you can center the dial on the die, the more accurate the edge removal will be. There is a little room for error since the dial edges will be hidden by the rehaut.
Make sure you let the E6000 fully cure for 24 hours.
I recommend starting with 600 grit sandpaper to get a feel for pressing it against the dial. It will take 400 or 320 grit to make real progress. Be very careful and angle the paper slightly so the first point of contact is the backside of the dial. Don't push on the dial too aggressively - if you are not taking material off, try the next grade of sandpaper or speed up the dremel a tiny bit. STOP and re-measure frequently and check for symmetry around the edge. It's OK if the removal is slightly lopsided as long as it's far enough out that it will be hidden by the rehaut. Practice on a junk dial first!
NOTE:
If there is only a little bit to take off you can do it by hand, the same way an insert outer diameter is shaved. Tape a piece of 400 grit sandpaper flat on a bench. Wear a latex glove, hold the dial on an angle so as to contact the backside first. Hold the dial by its edge near some markers so if your finger contacts the face it will touch a marker and not the dial. Swipe roll the dial toward you on the sandpaper, 3 - 4 swipes, then regrip and do the next overlapping arc. Use a dust blower frequently to keep sanded particles off the dial face. Measure often. Keep it even all the way around. Finish with a higher grit 800 or 1000 if desired.
Last edited: