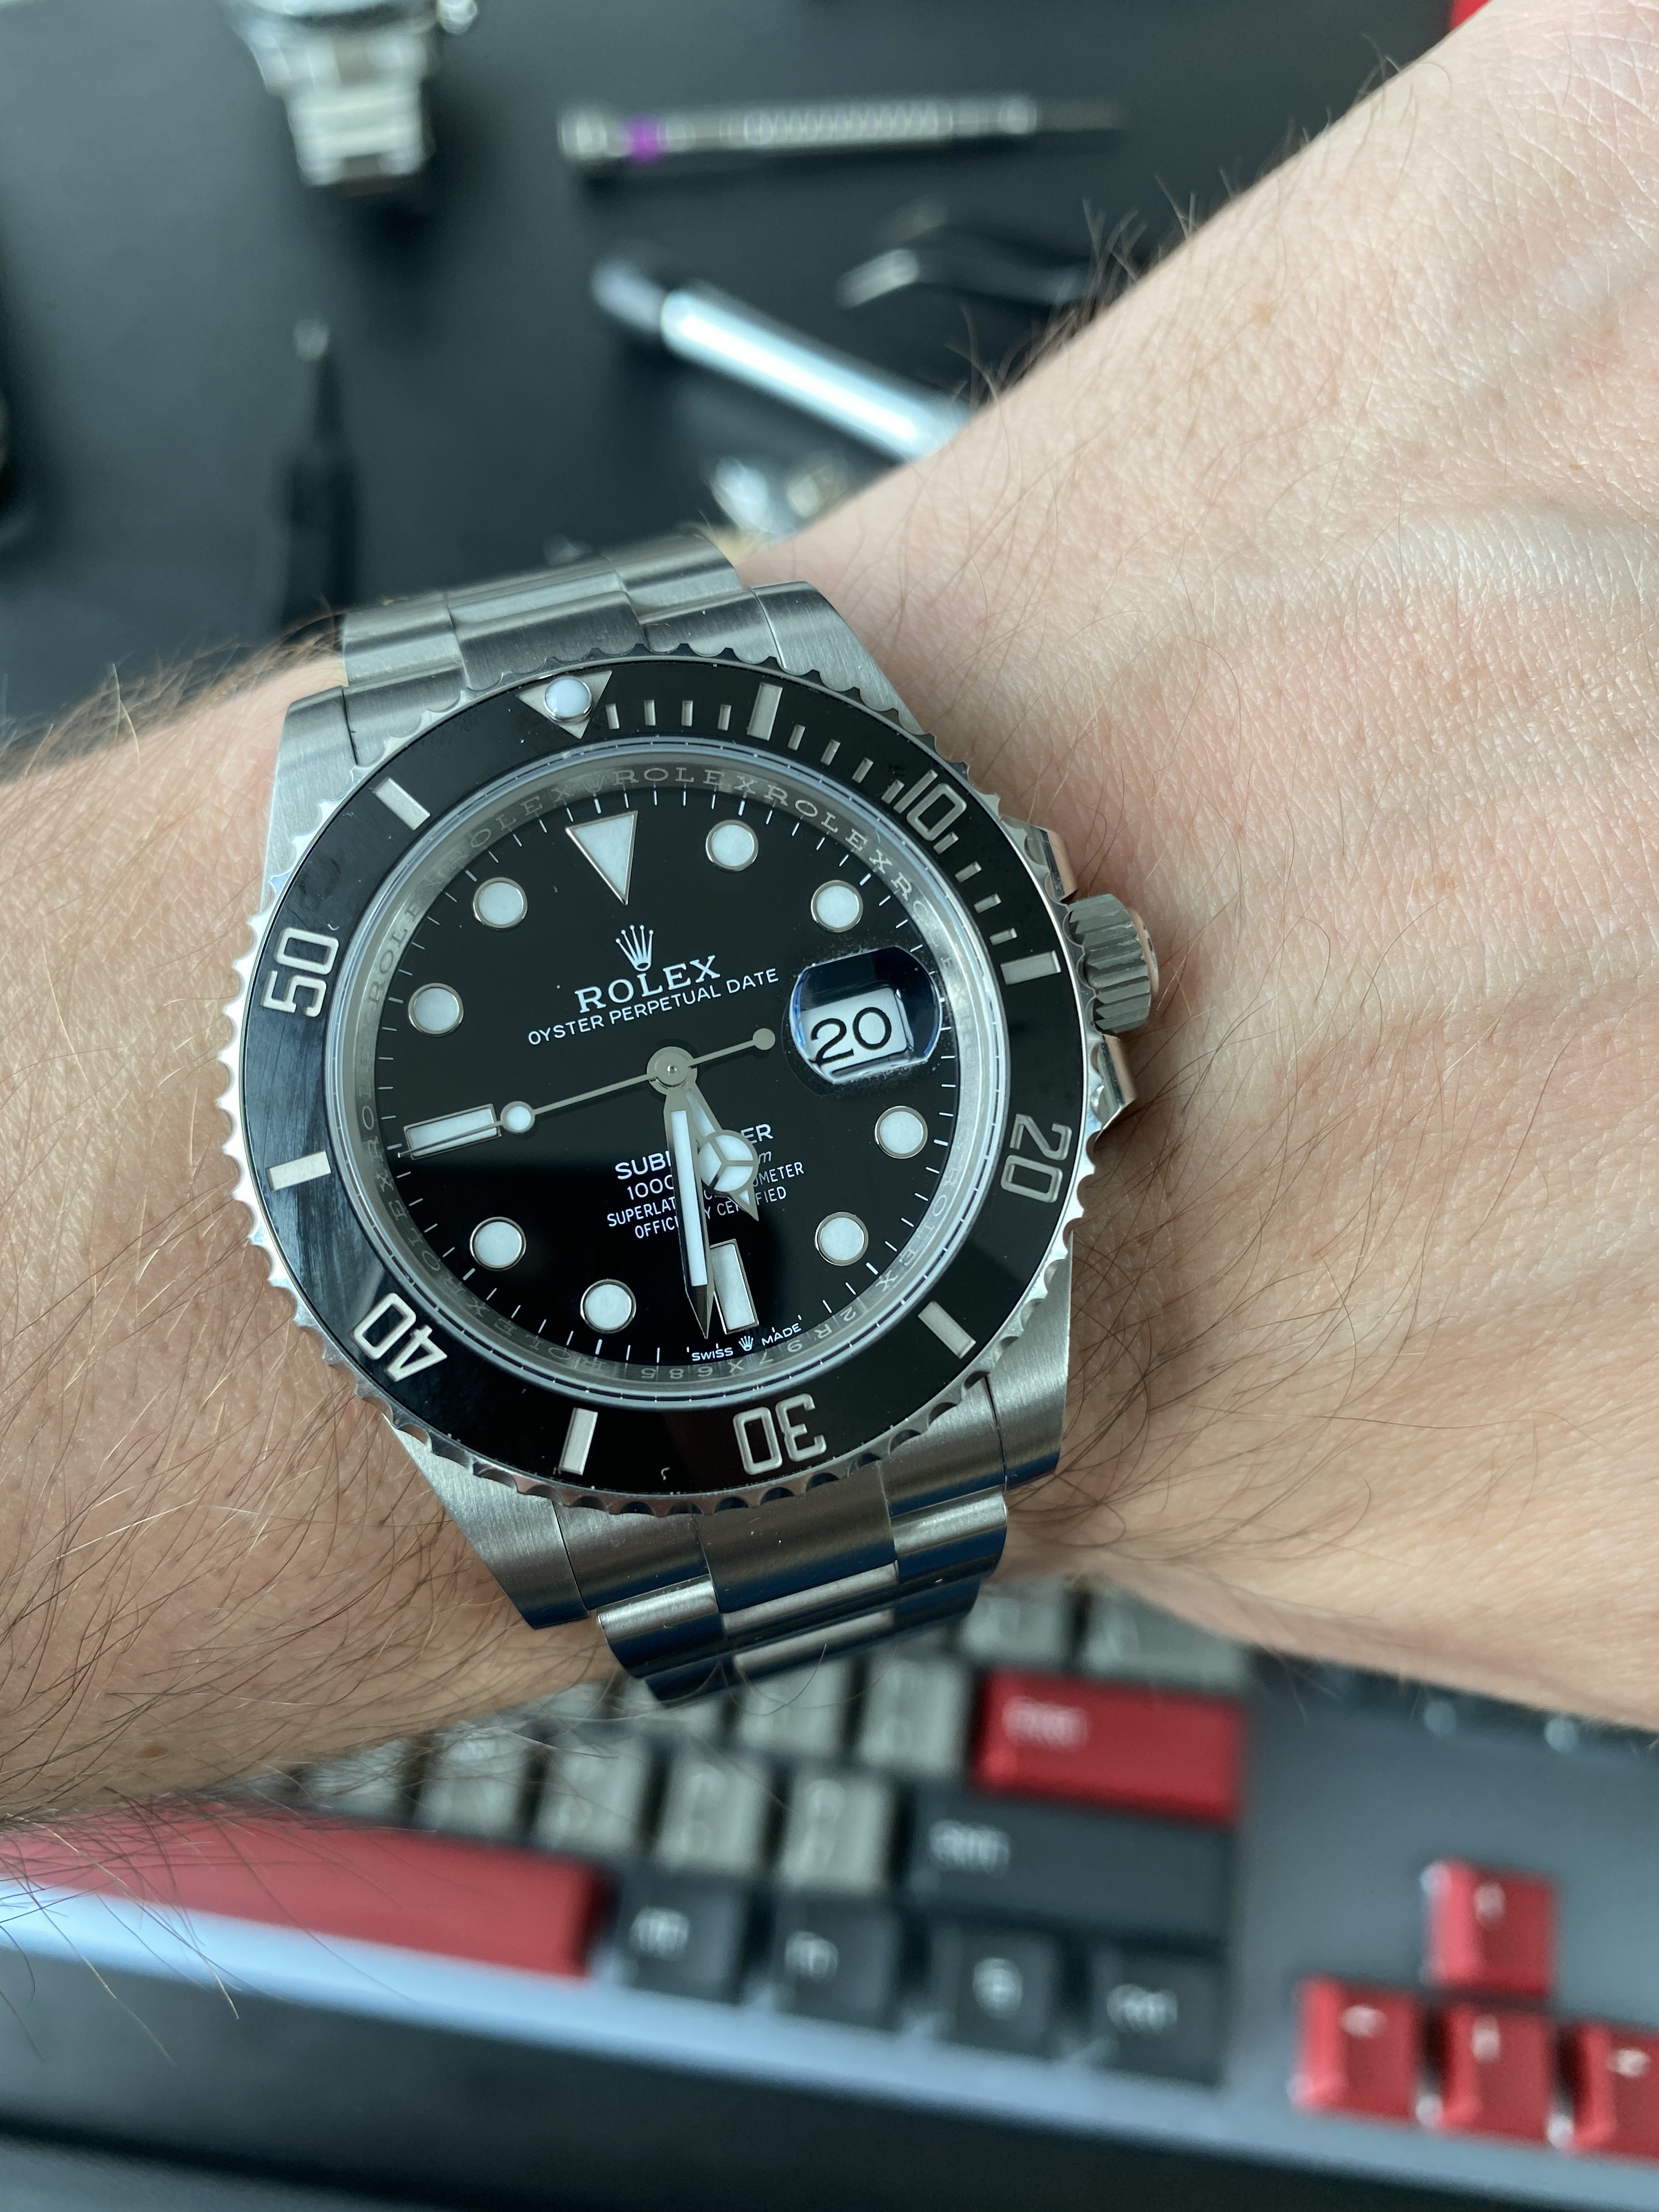
In an effort to expand my watch "smith" skills, I decided it would be a fun project to order some gen parts for my VS3235 movement and see if I could install them without hurting myself (other than my wallet), and see if the movement was any better off for the trouble. The parts I decided to swap for gen were:
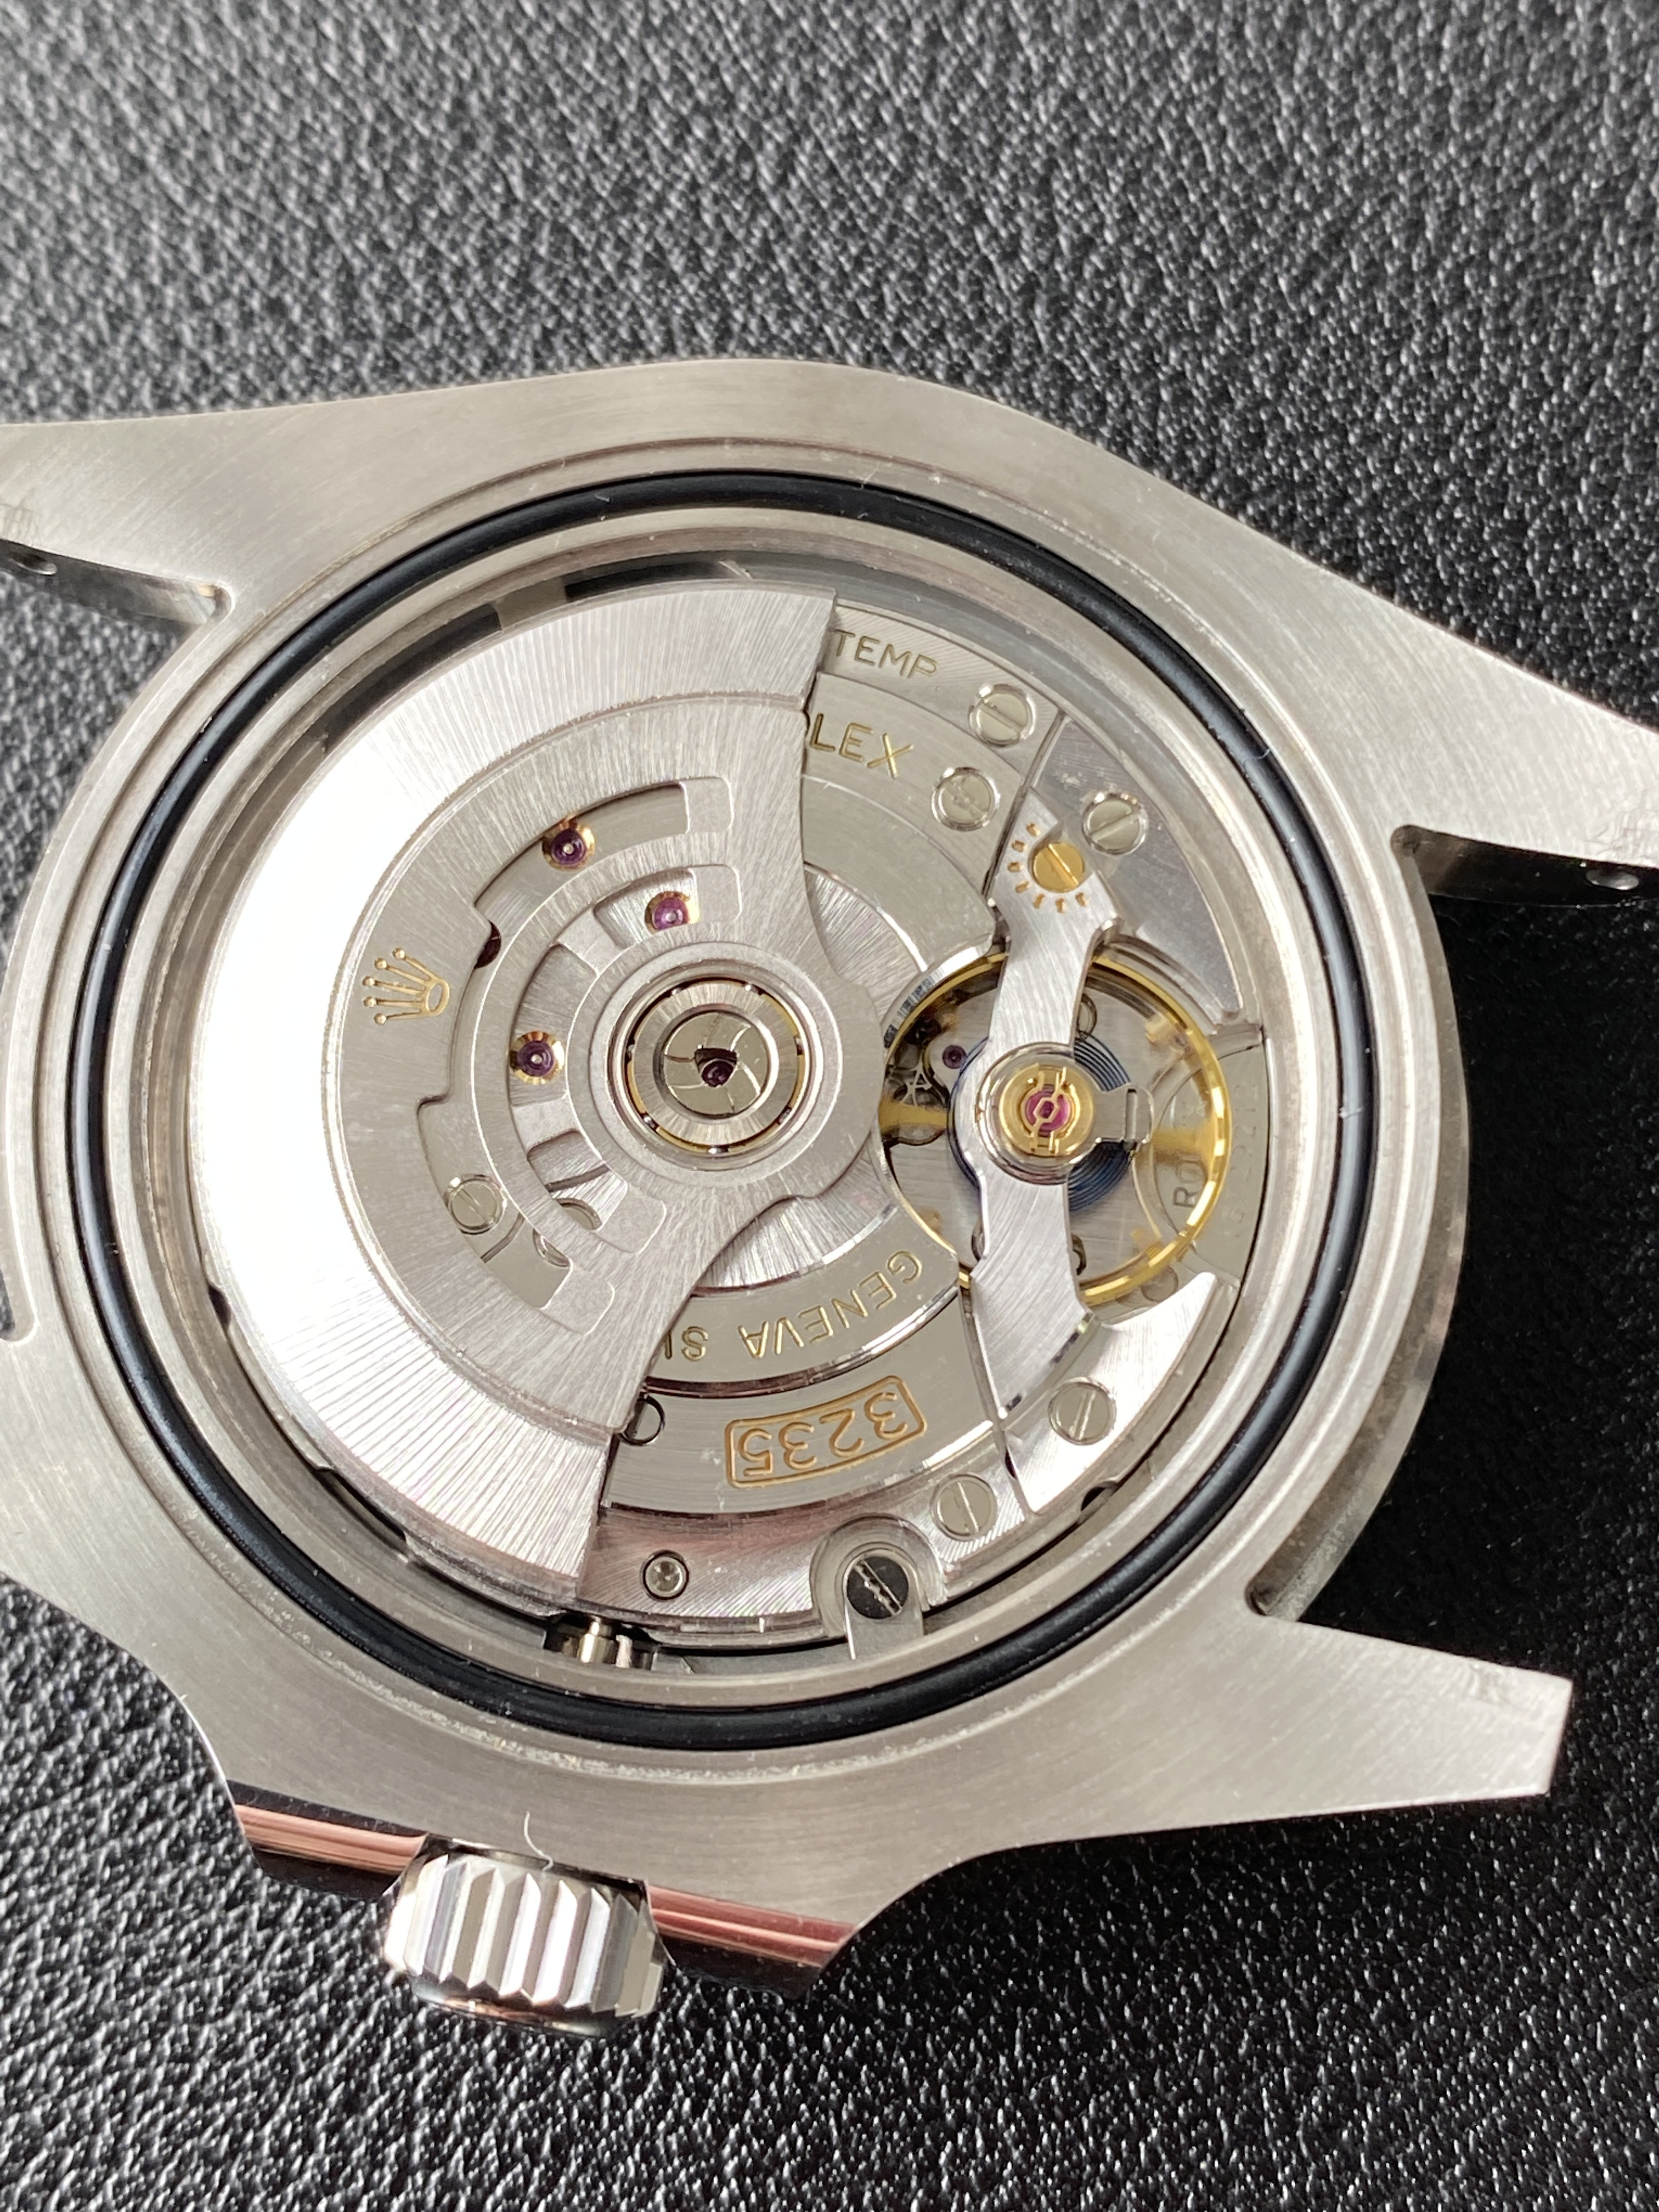
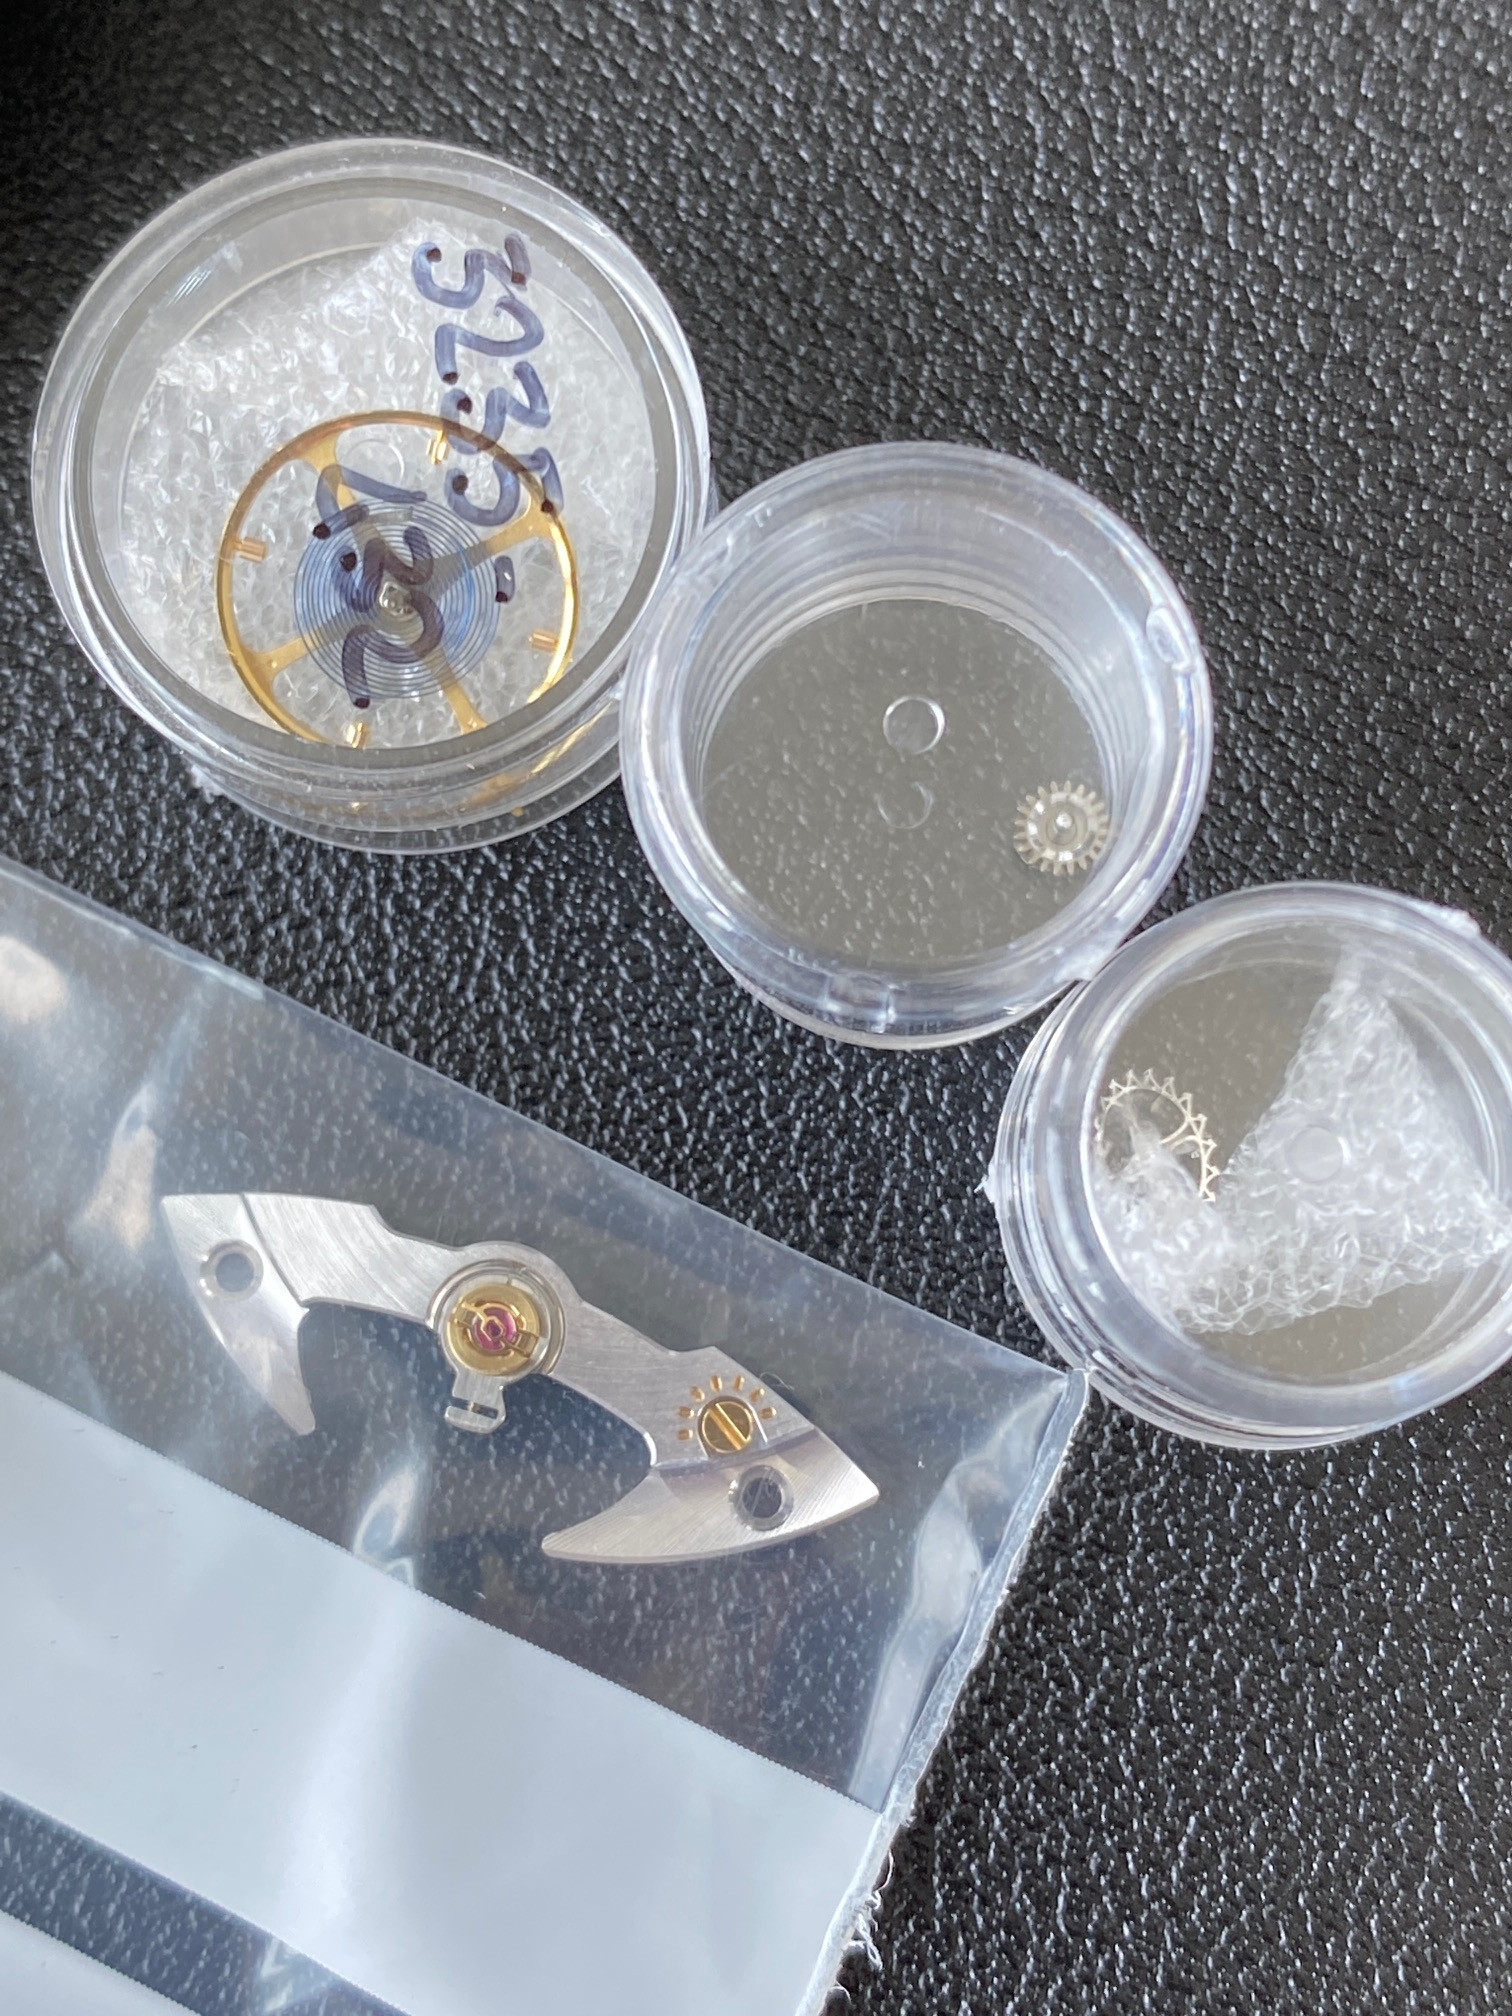
So, here's a pic of the gen parts.
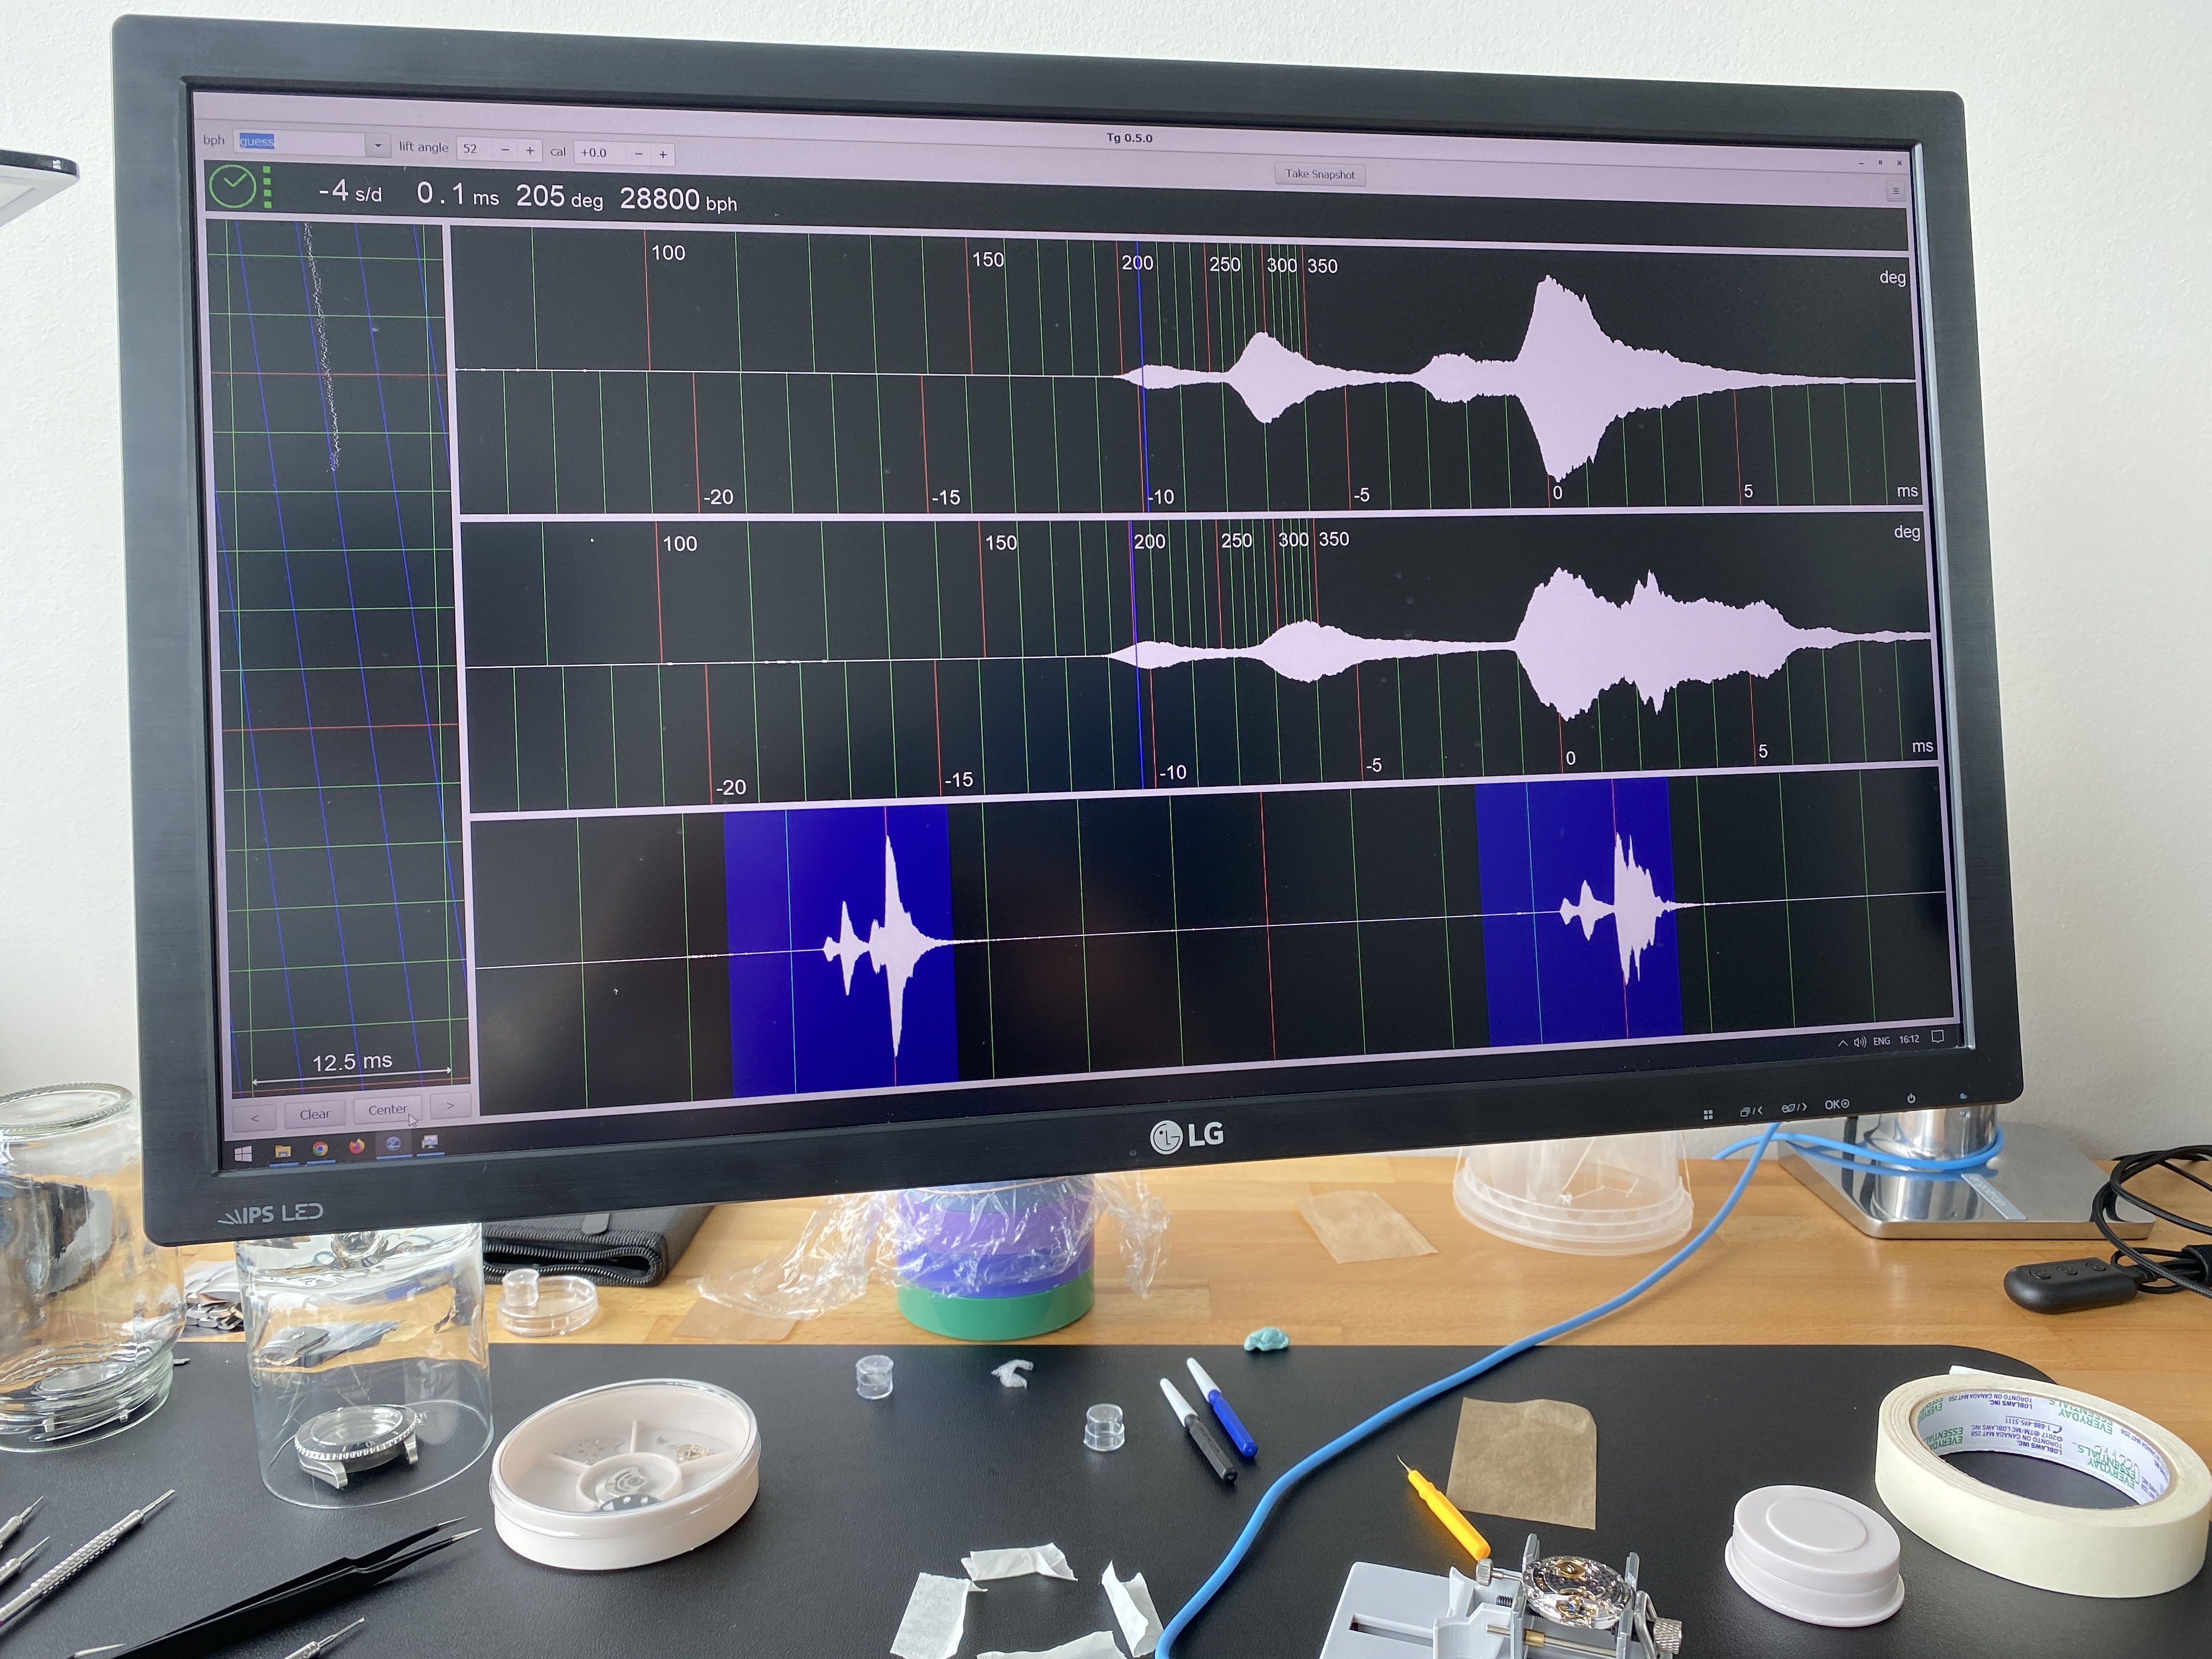
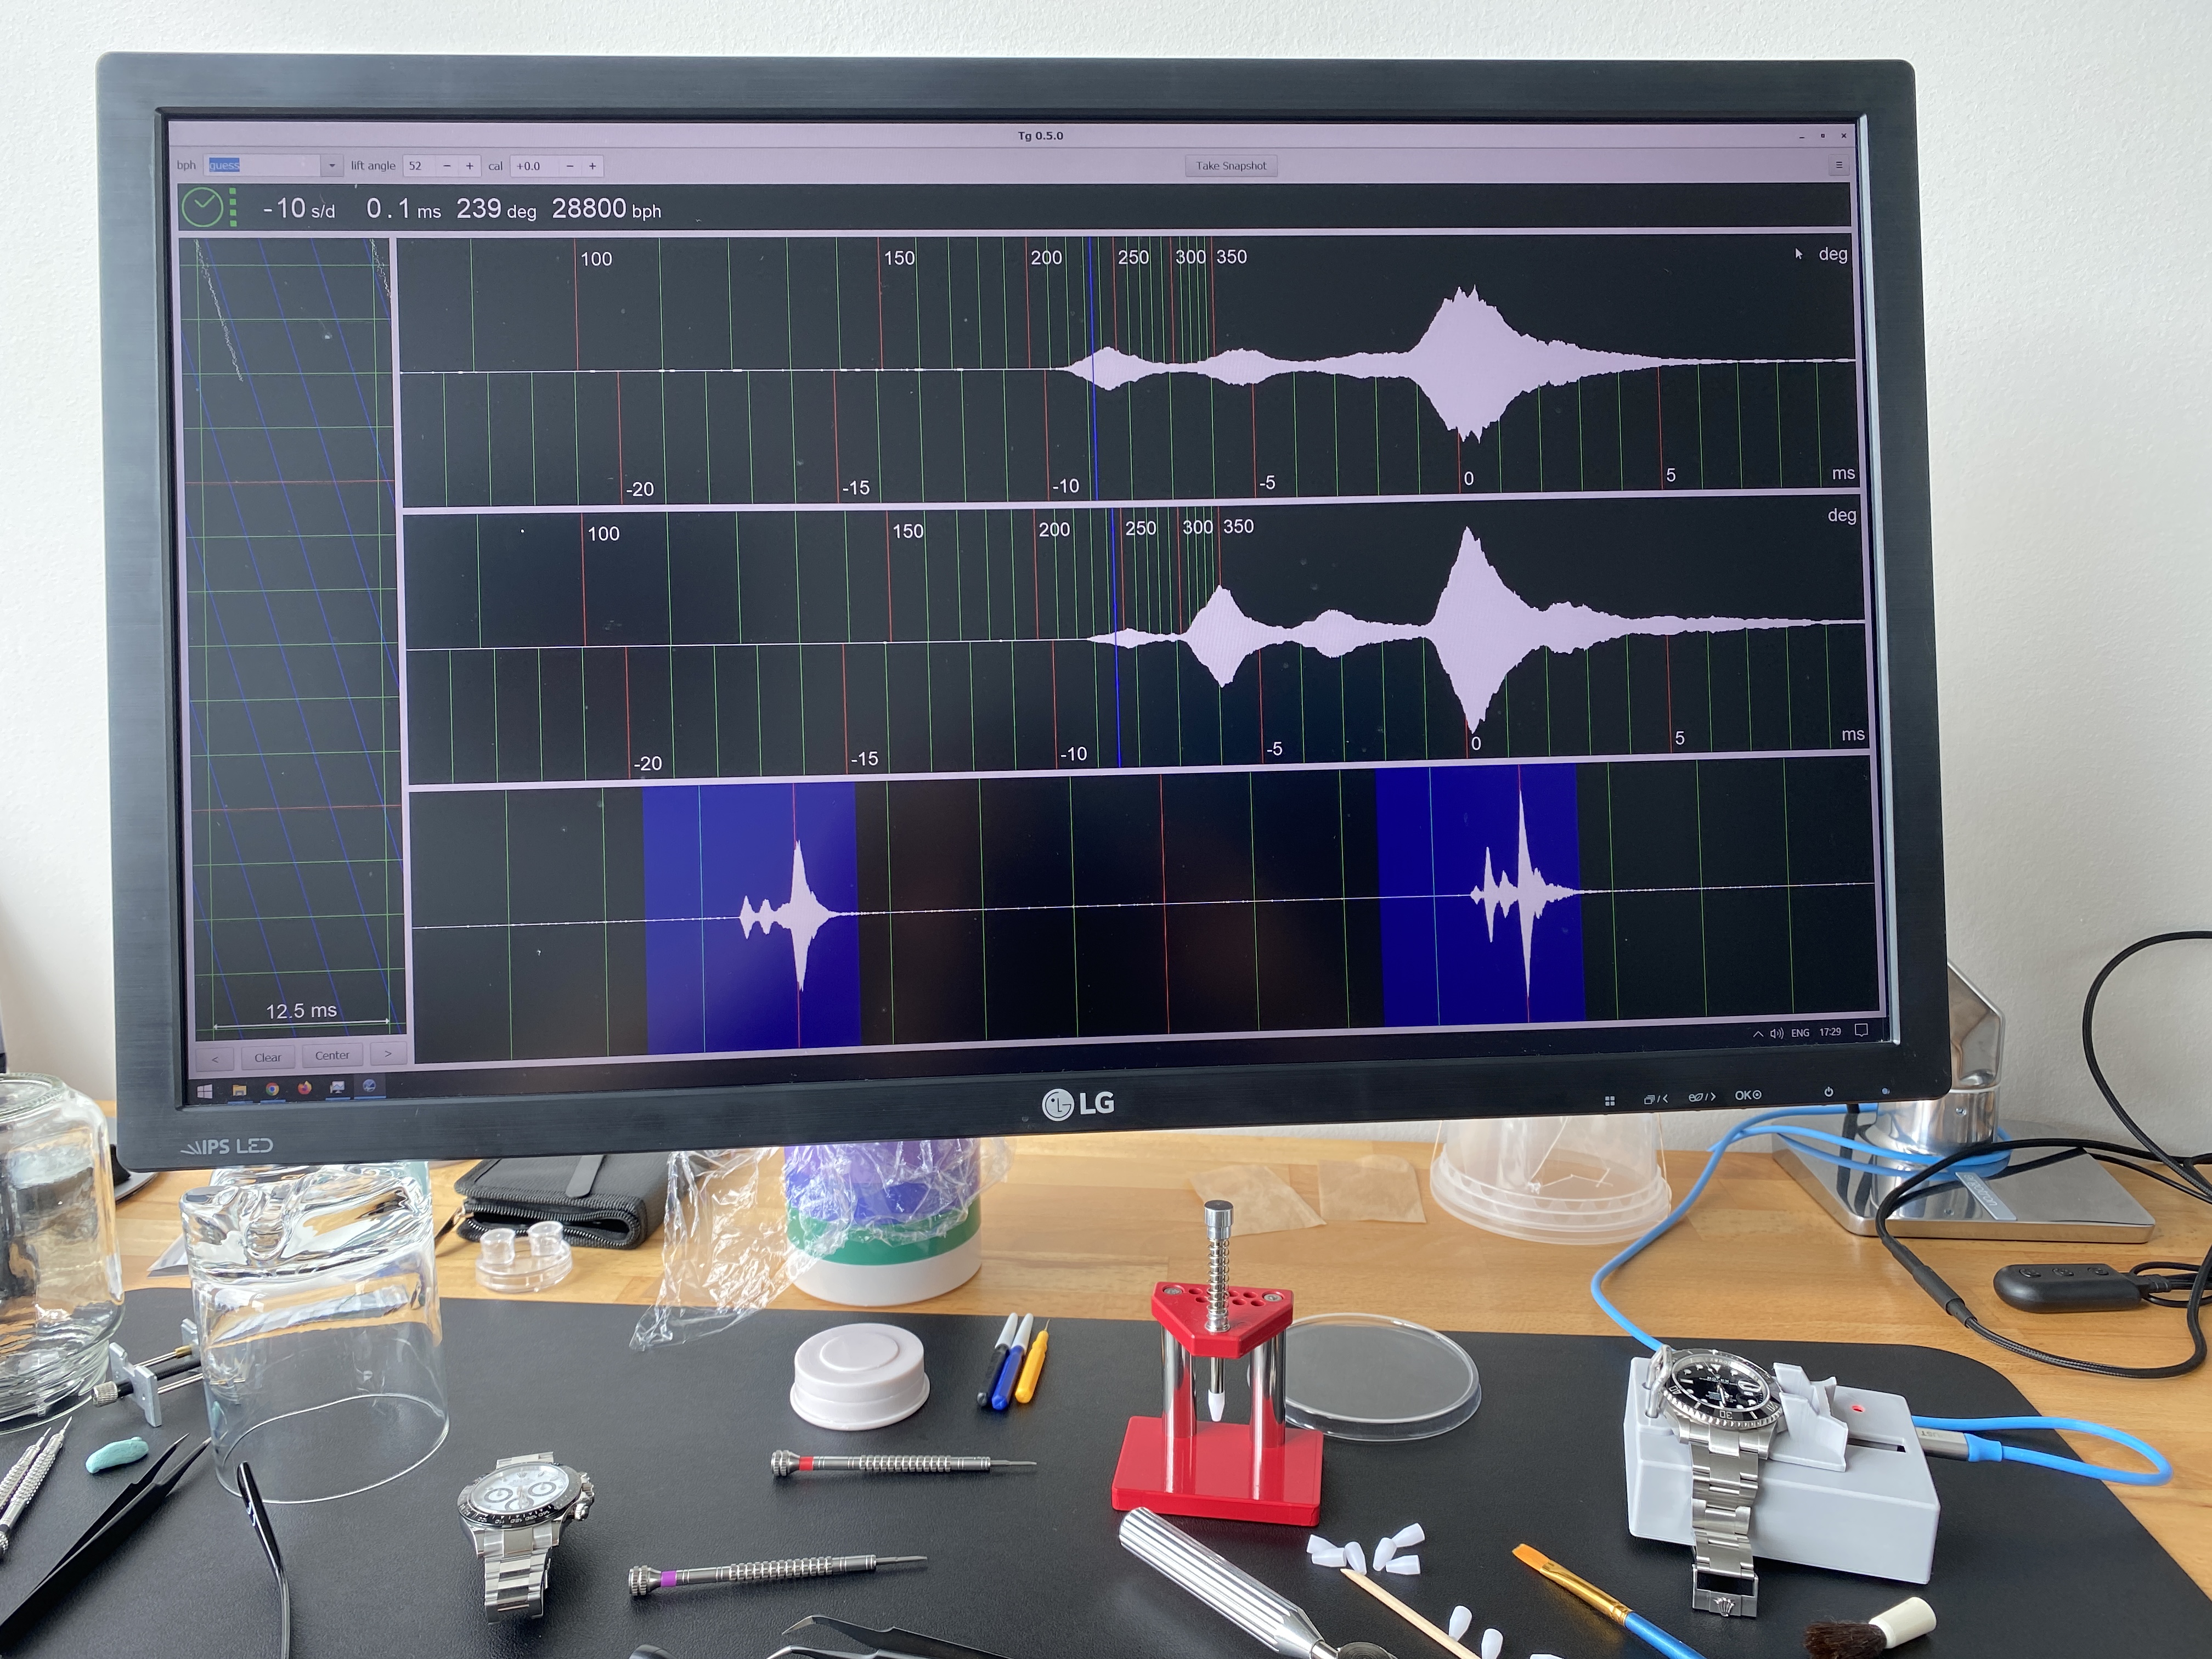
And just to get a baseline of the movement's health, here's what it looks like on the timegrapher *before* I've installed any of the new gen parts.
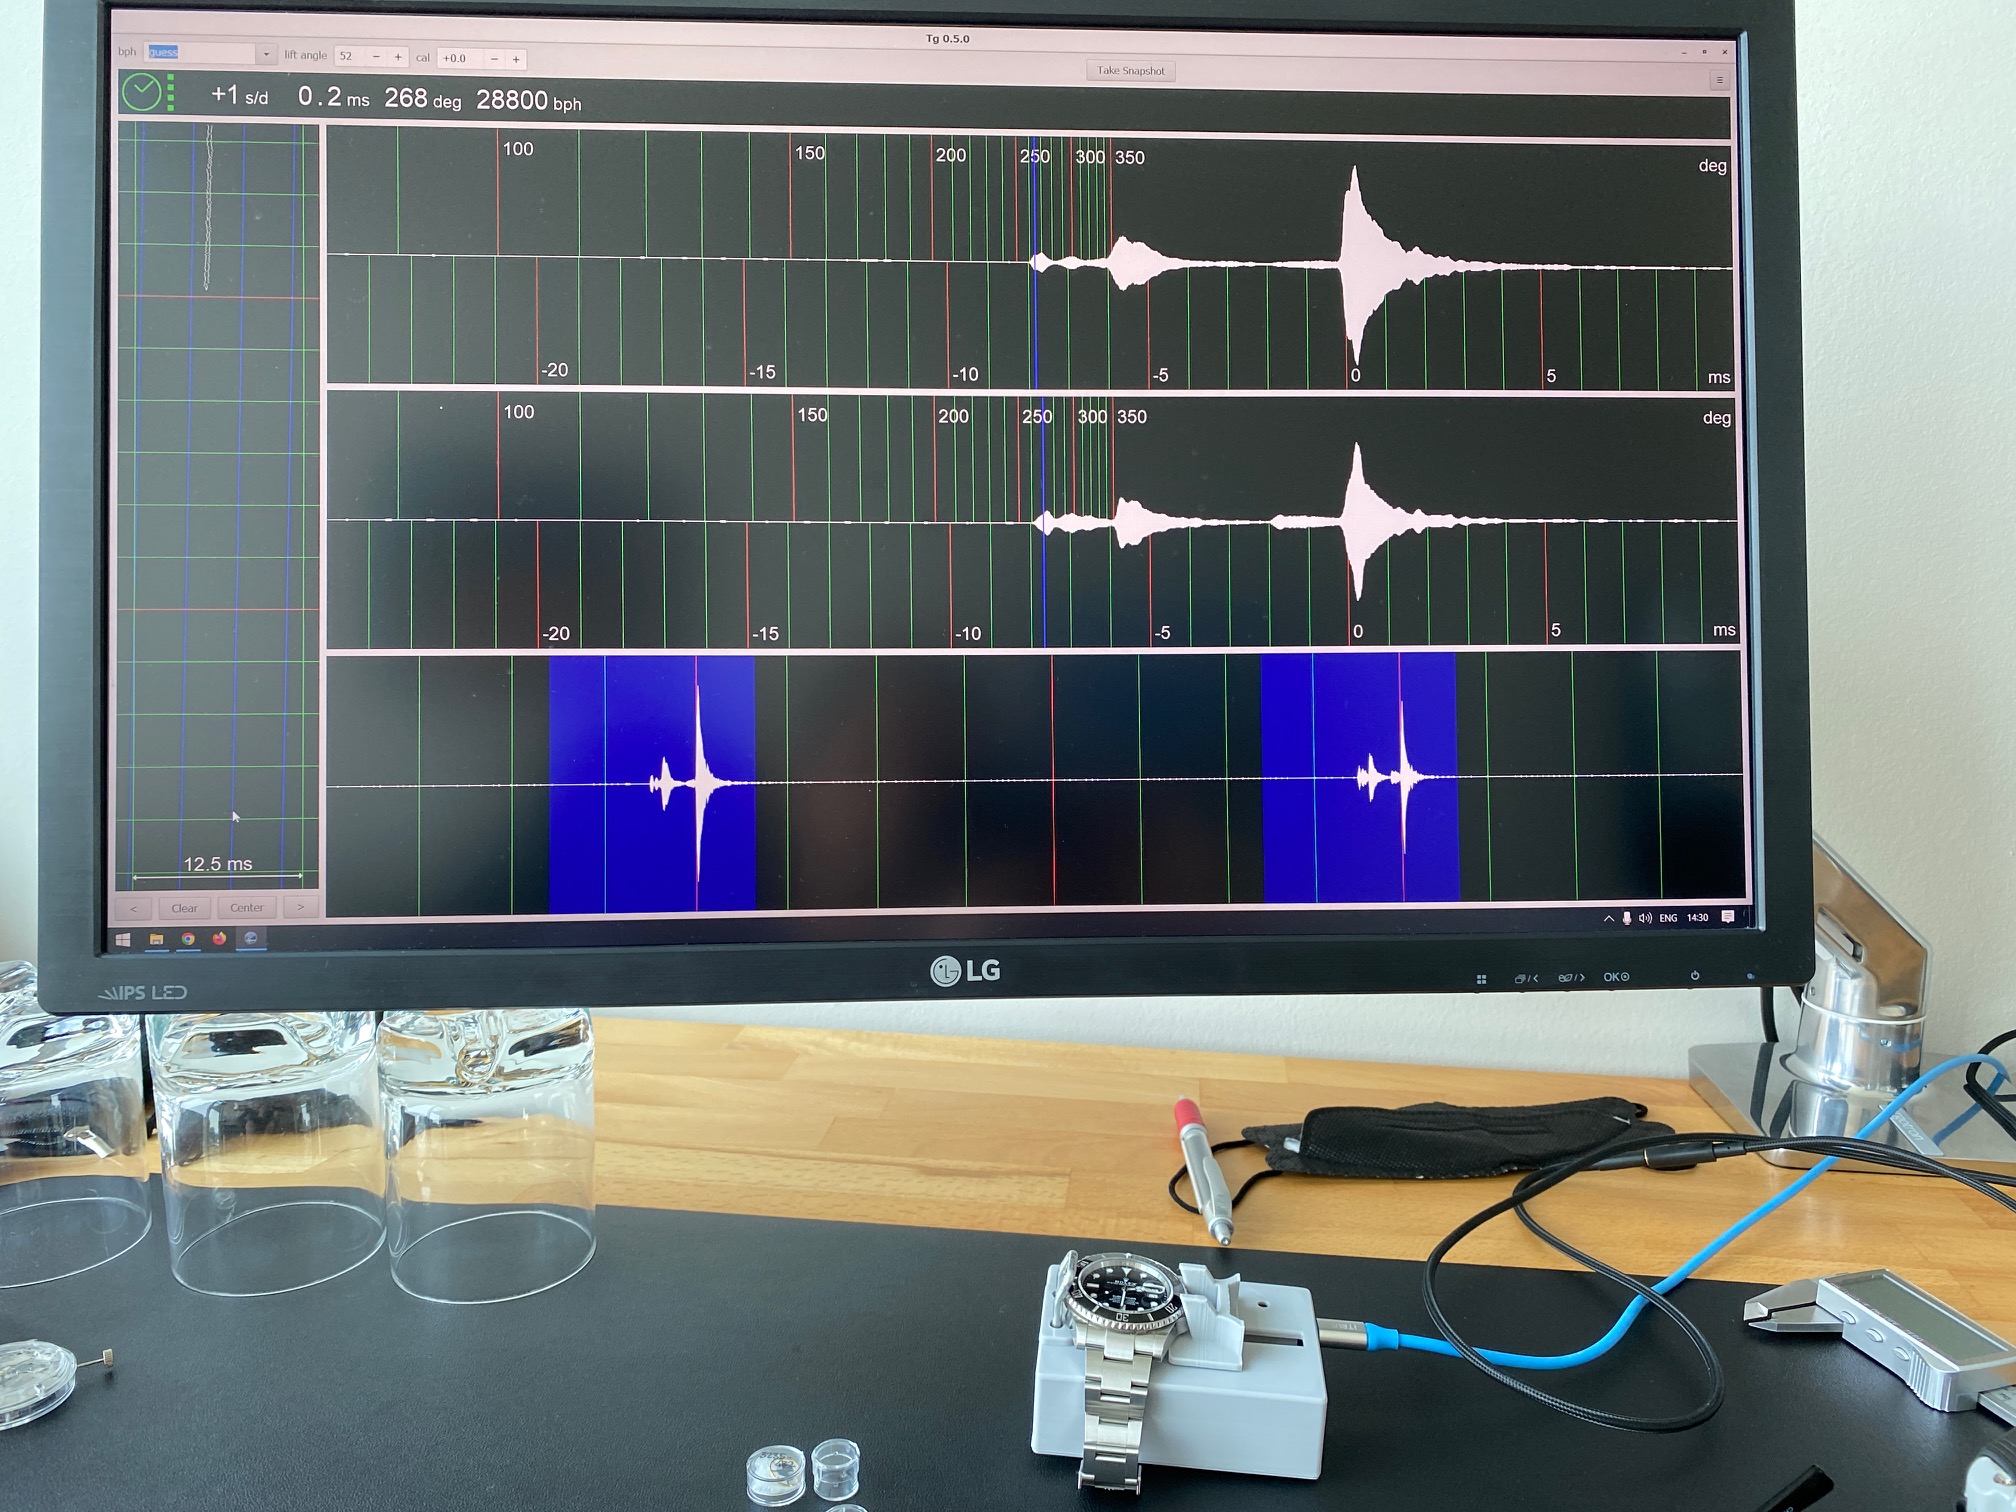
If you were a normal person, you'd look at that timegrapher result, and say "if it ain't broke, don't fix it"... fortunately, in this community we are not normal. And that's how I began to disassemble a perfectly good watch to install expensive genuine parts into a watch that clearly didn't need them to function. Onwards!
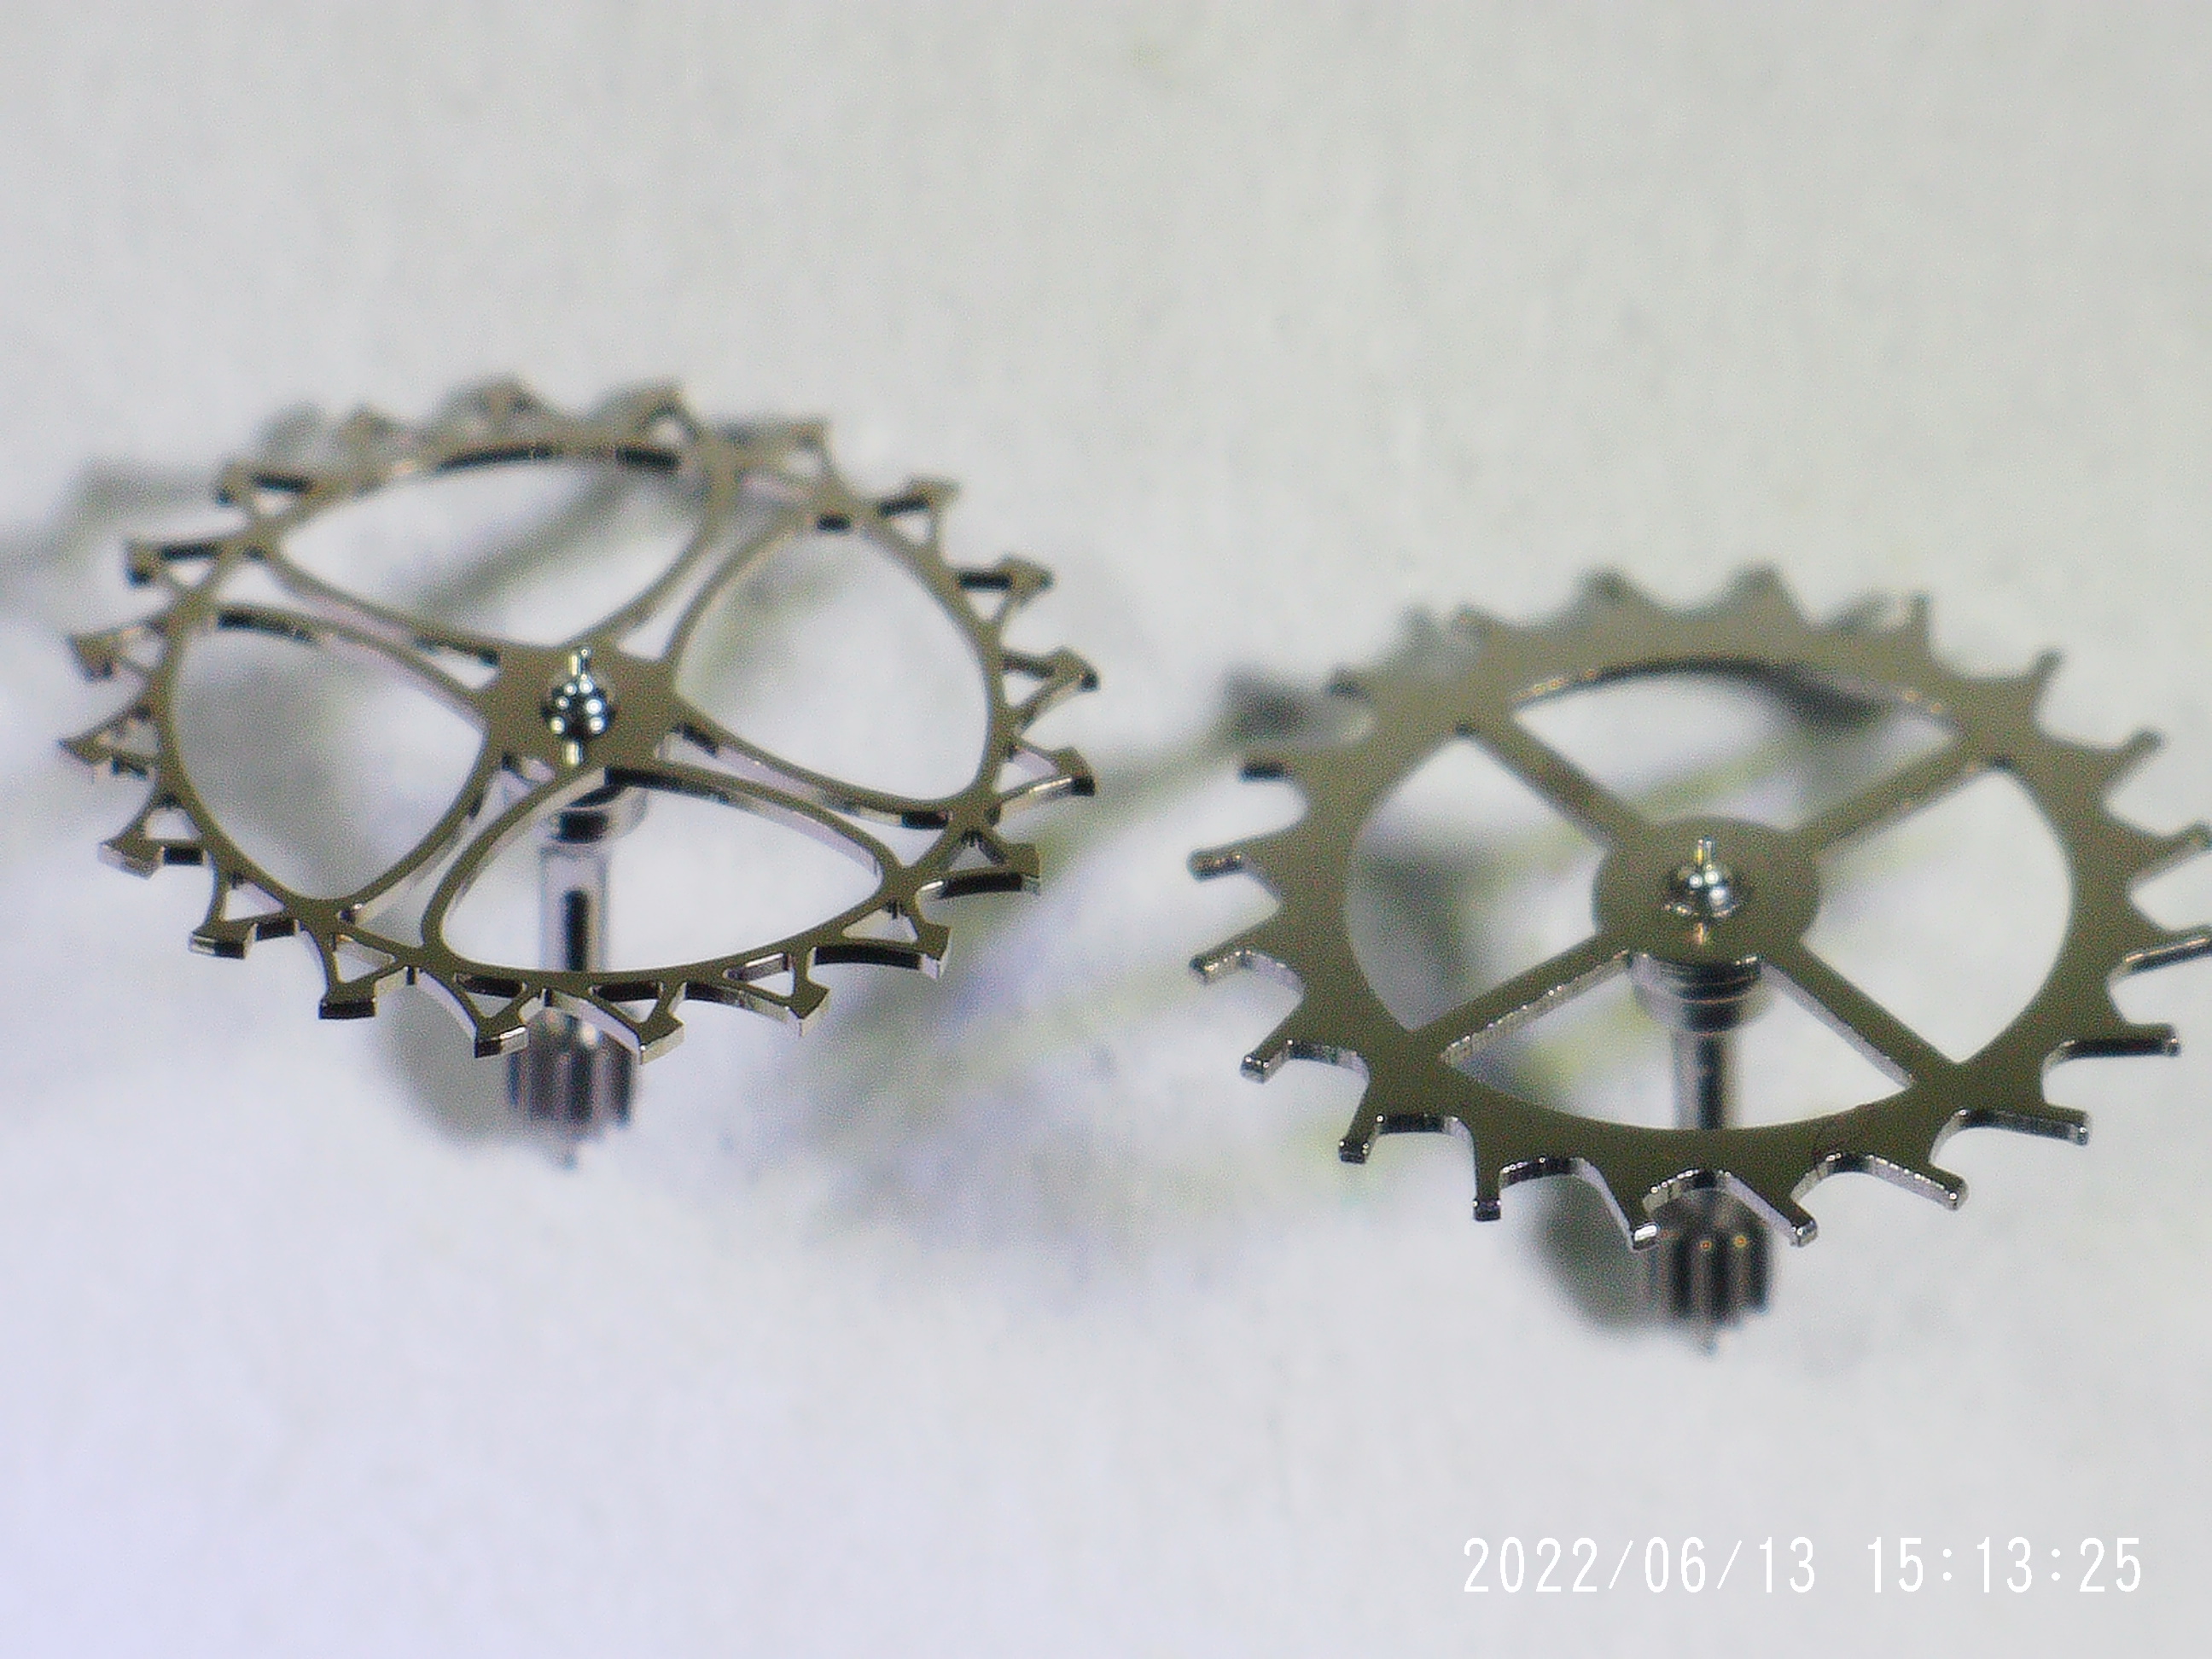
After taking the movement out of the case and removing the automatic mechanism, balance, and main train bridge, I was able to access the bit of the watch that I was planning on replacing. First up was the escape wheel. The gen version is beautifully skeletonized. Here's a pic of the Gen and VS versions under my digital microscope. There's a real difference in the finish quality (and maybe a difference in geometry -- more on this in a minute).
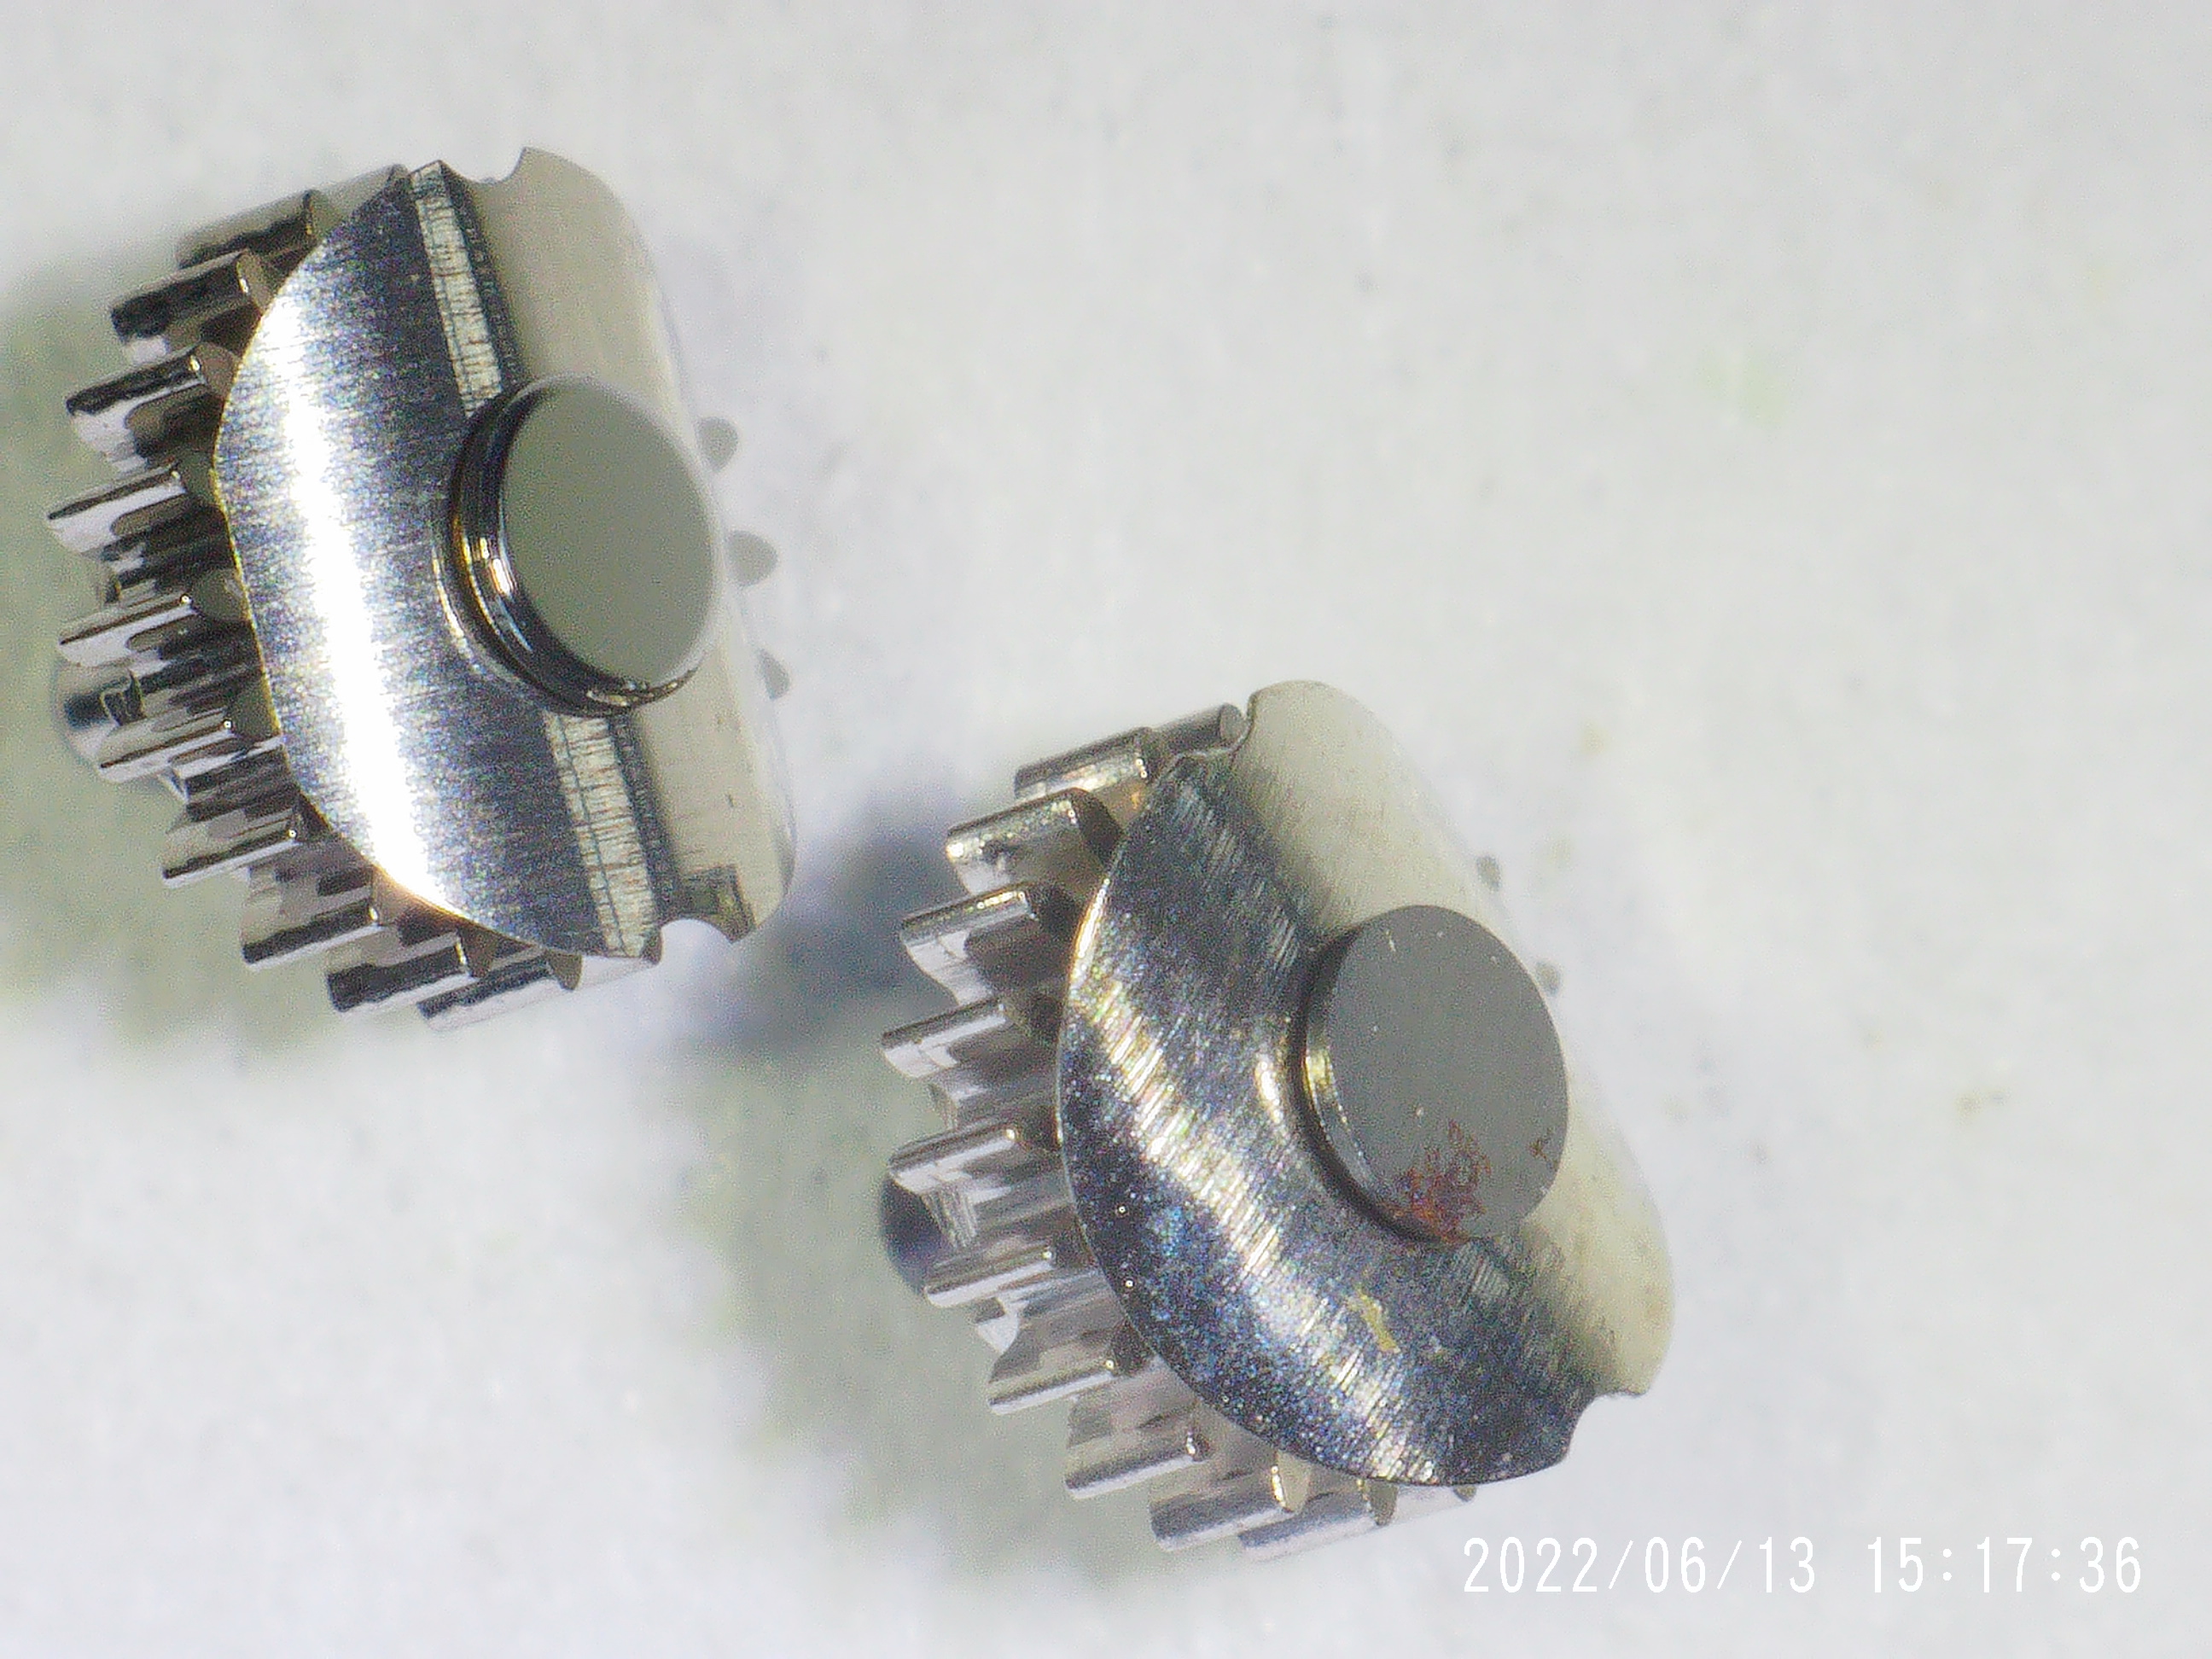
The crown wheel is also accessible from under the main train bridge. The difference here between the gen and the VS parts is more subtle. It's basically impossible to tell the two parts from one another without the aid of magnification. But under magnification, it's possible to see that the gen part has a much nicer finish.
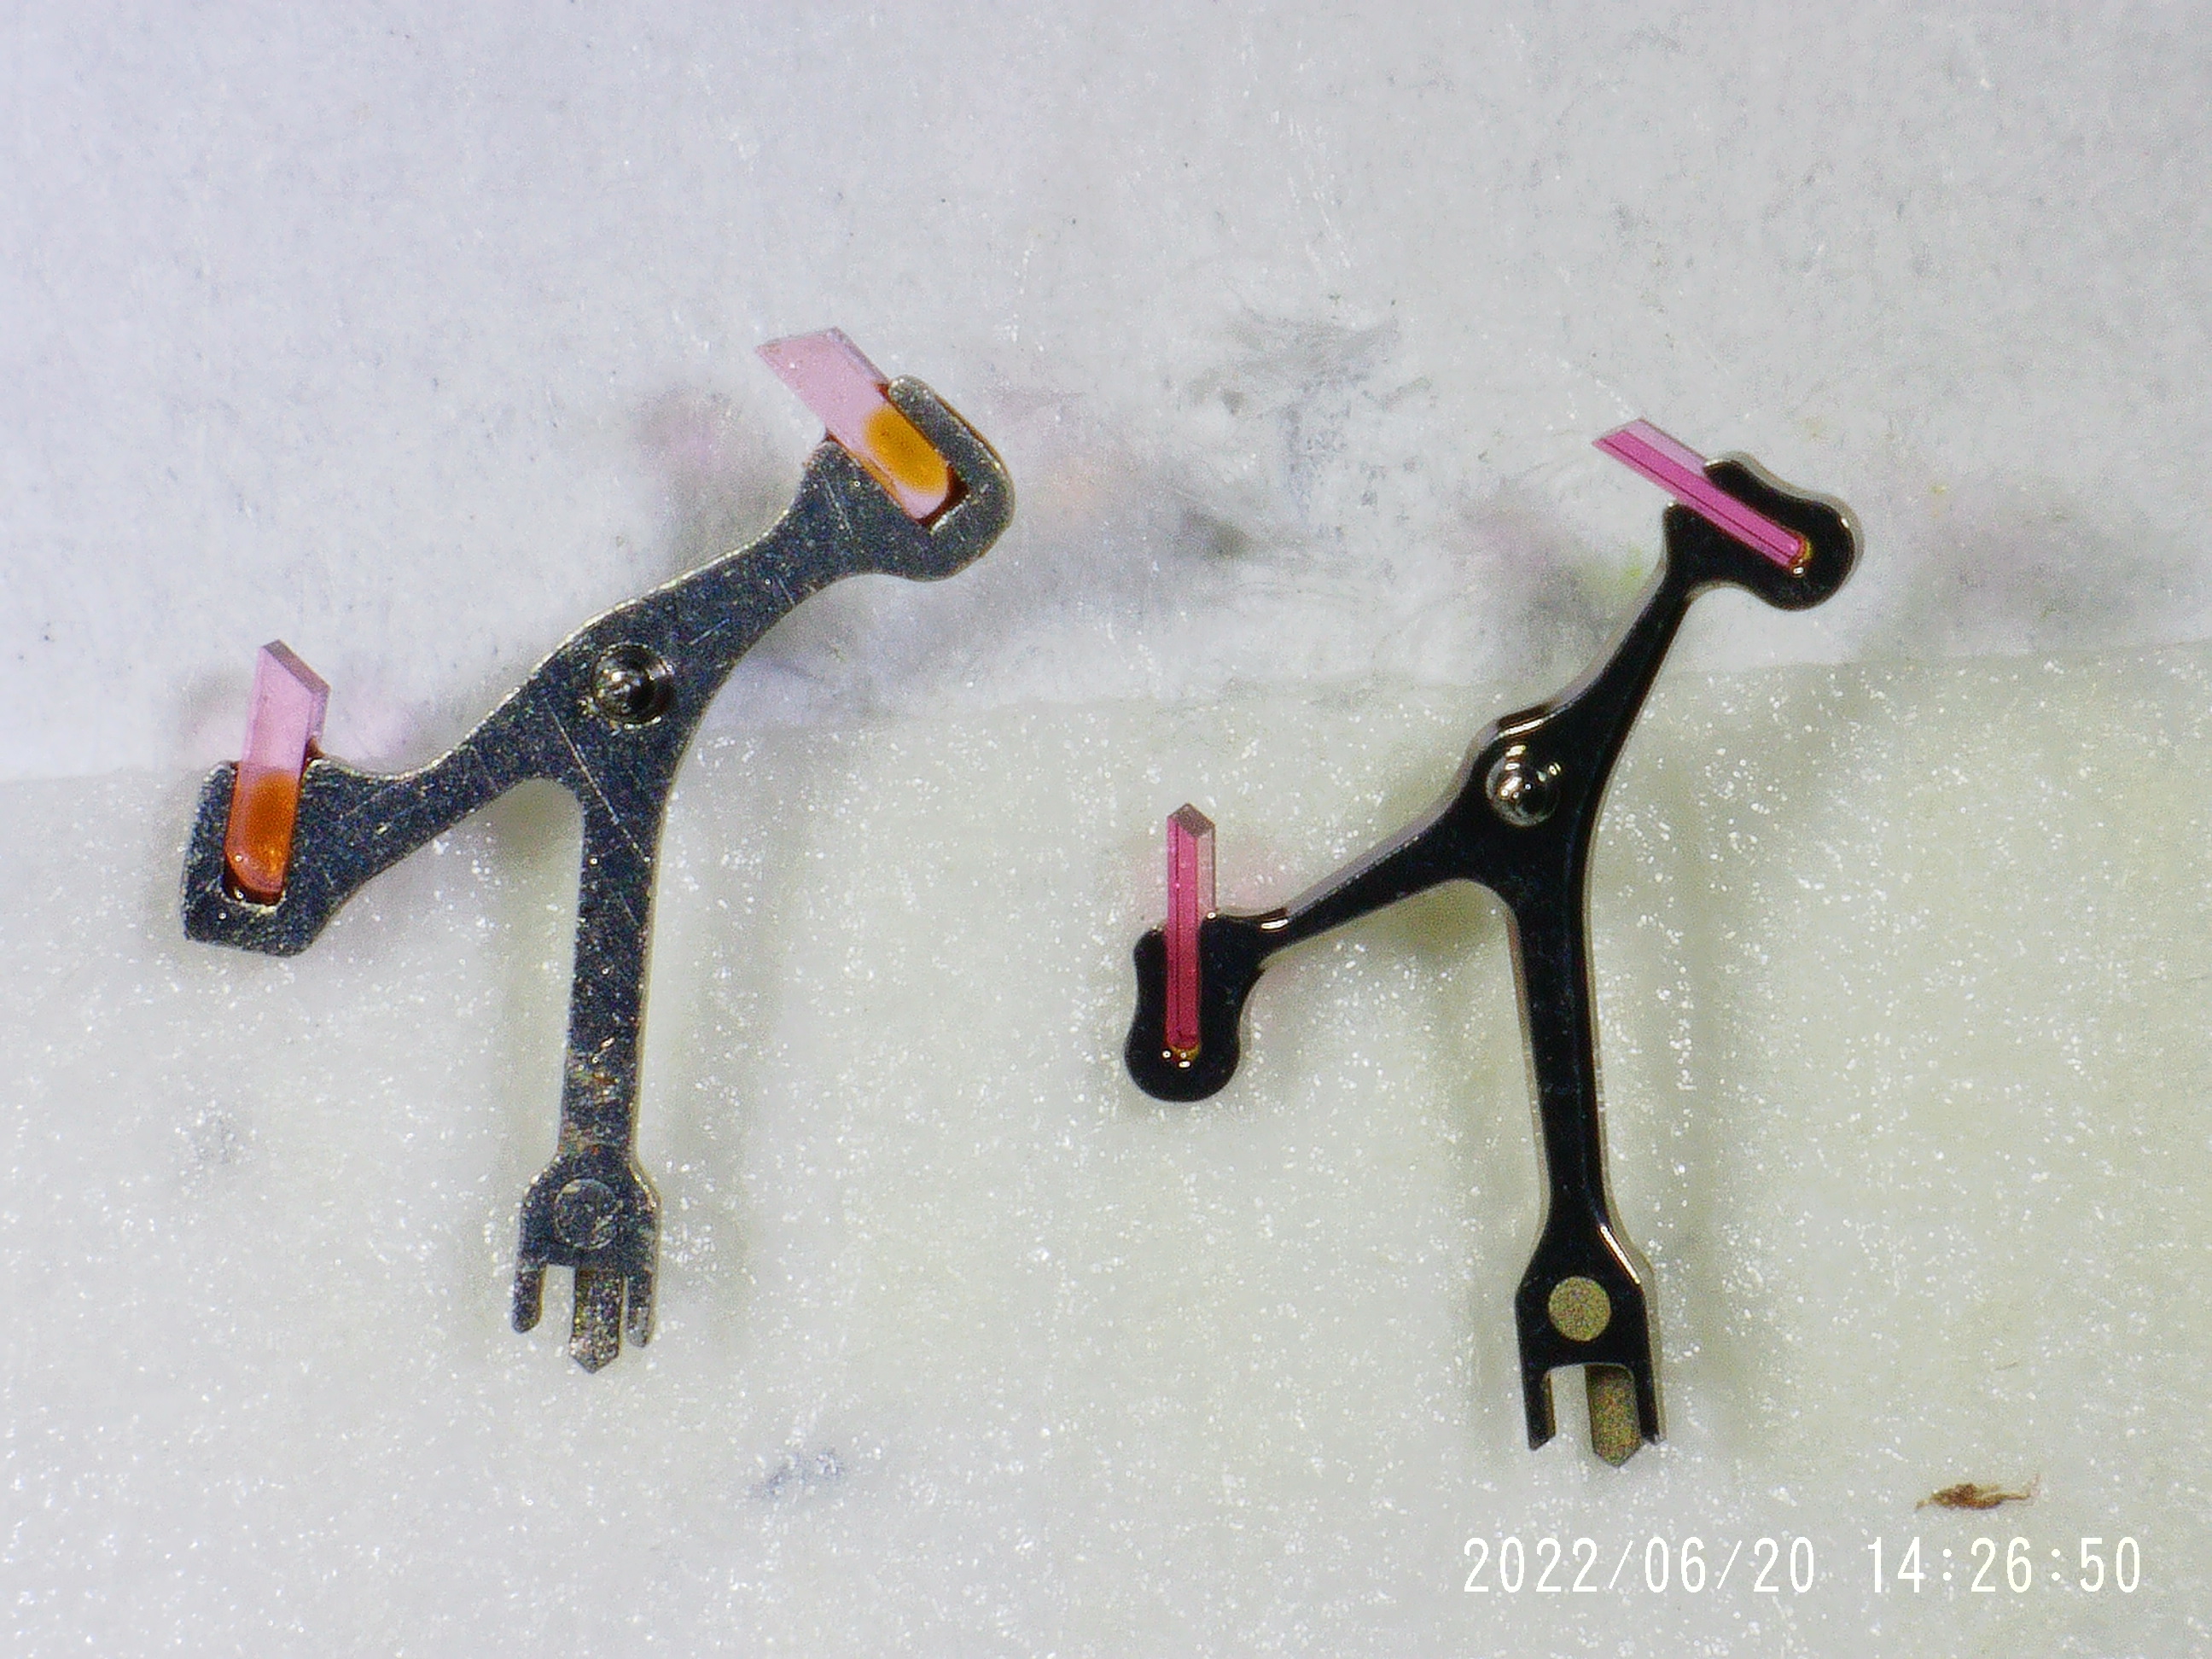
The install of the crown wheel was very straight forward. I simply dropped it into place and was done. It was the same story for the escape wheel. I took out the old one, and put in the new one, re-assembled the train of wheels and then re-installed the train bridge. The train bridge went into place without any trouble and I screwed everything back down. Although when I got the pallet fork re-installed it didn't seem like the VS pallet fork and the gen escape wheel were playing that nicely with eachother. I put a little wind onto the main spring to see if I could manually actuate the pallet fork, but it looks like the VS pallet fork isn't quite right for locking and unlocking the gen escape wheel. For those who've done something like this before, did you need to replace both the escape wheel AND the pallet fork with a Gen in order for it to work?
Next was the balance and balance bridge. I'd read that sometimes that balance bridge won't quite sit properly on the VS mainplate's centering pins, and that sometimes you need to broach the holes on the gen bridge. I tried without broaching, and while *slightly* tighter than the stock balance bridge, the gen bridge fit without the need for any broaching.
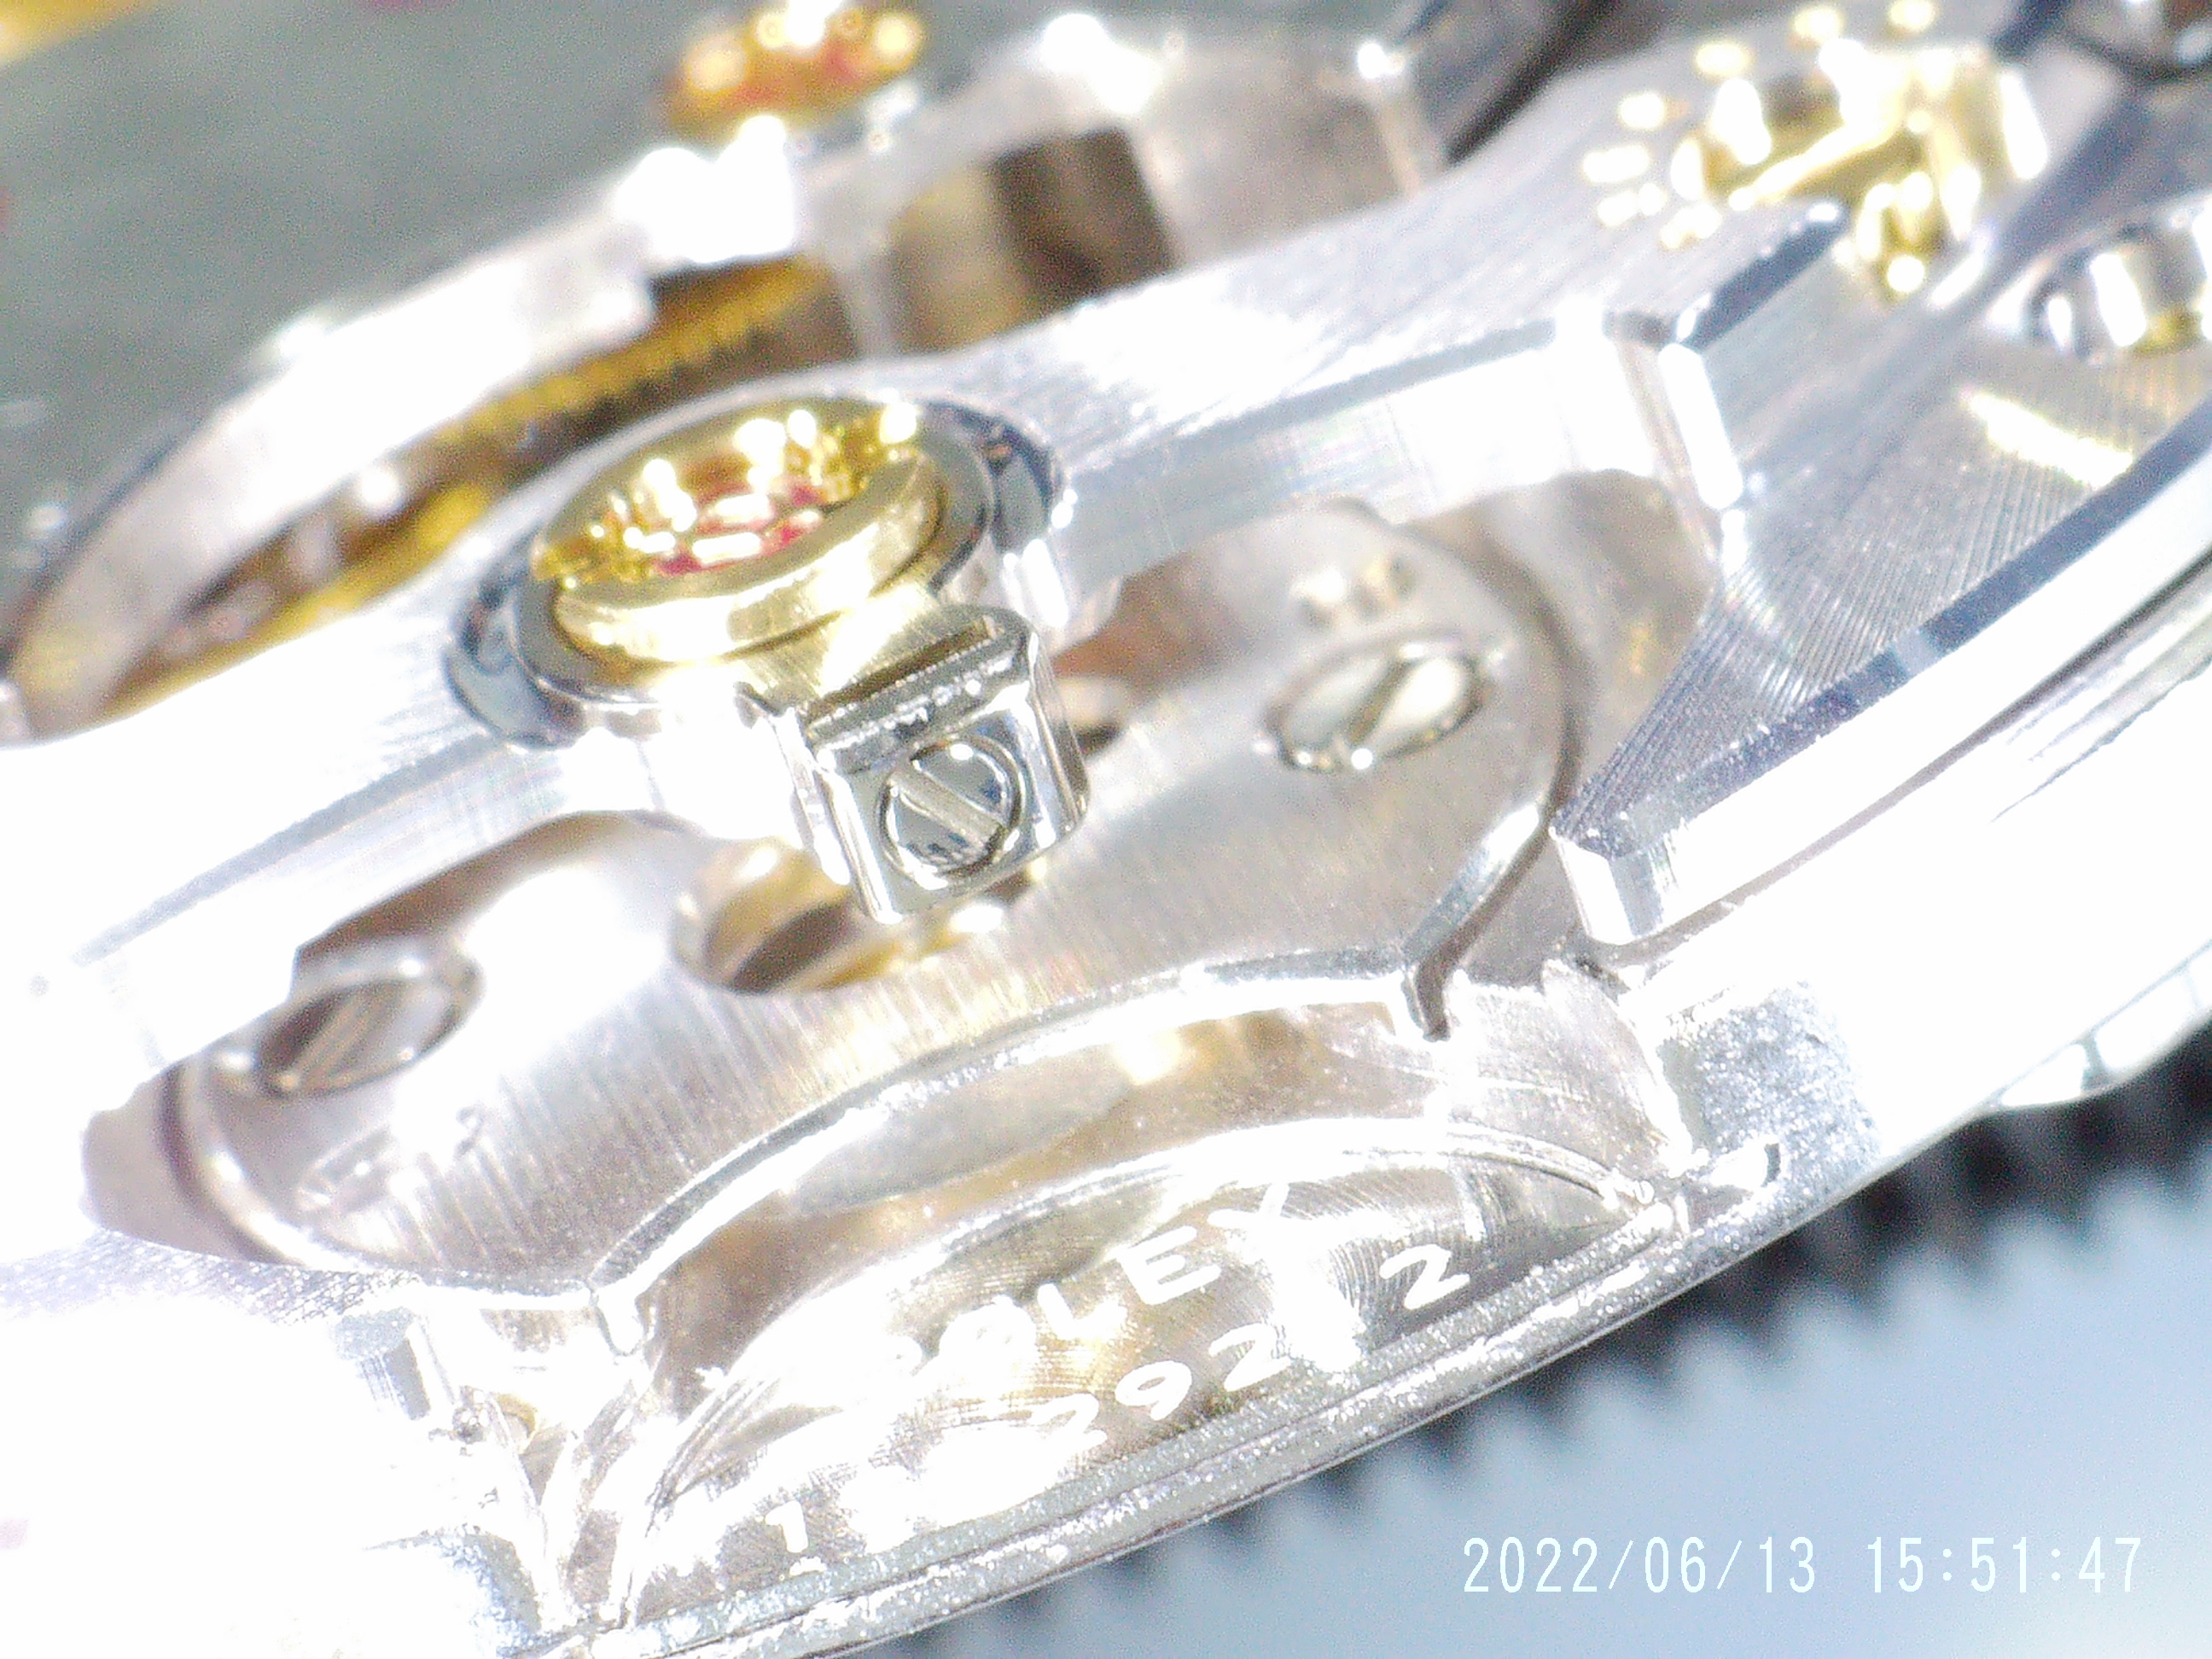
With the knowledge that the balance bridge would fit onto the main plate, I decided I'd try to connect my balance complete with the balance bridge. This was really hard. Is there a tool or jig that would make this easier? I was using two pairs of tweezers; one to hold the bridge, and one to grab the little anchor thingy on the end of the hairspring, then I'd try to move the hairspring anchor thingy into the slot on the balance bridge's hairspring stud. I managed to do this once, but then I needed to somehow change tools to get a screwdriver to tighten the hairspring stud screw. While I was doing so, the anchor thingy came out of the stud slot. My arms were getting a bit tired at this point so I called it a day. If anybody has any suggestions on how to make this process a bit easier I'd love to hear.
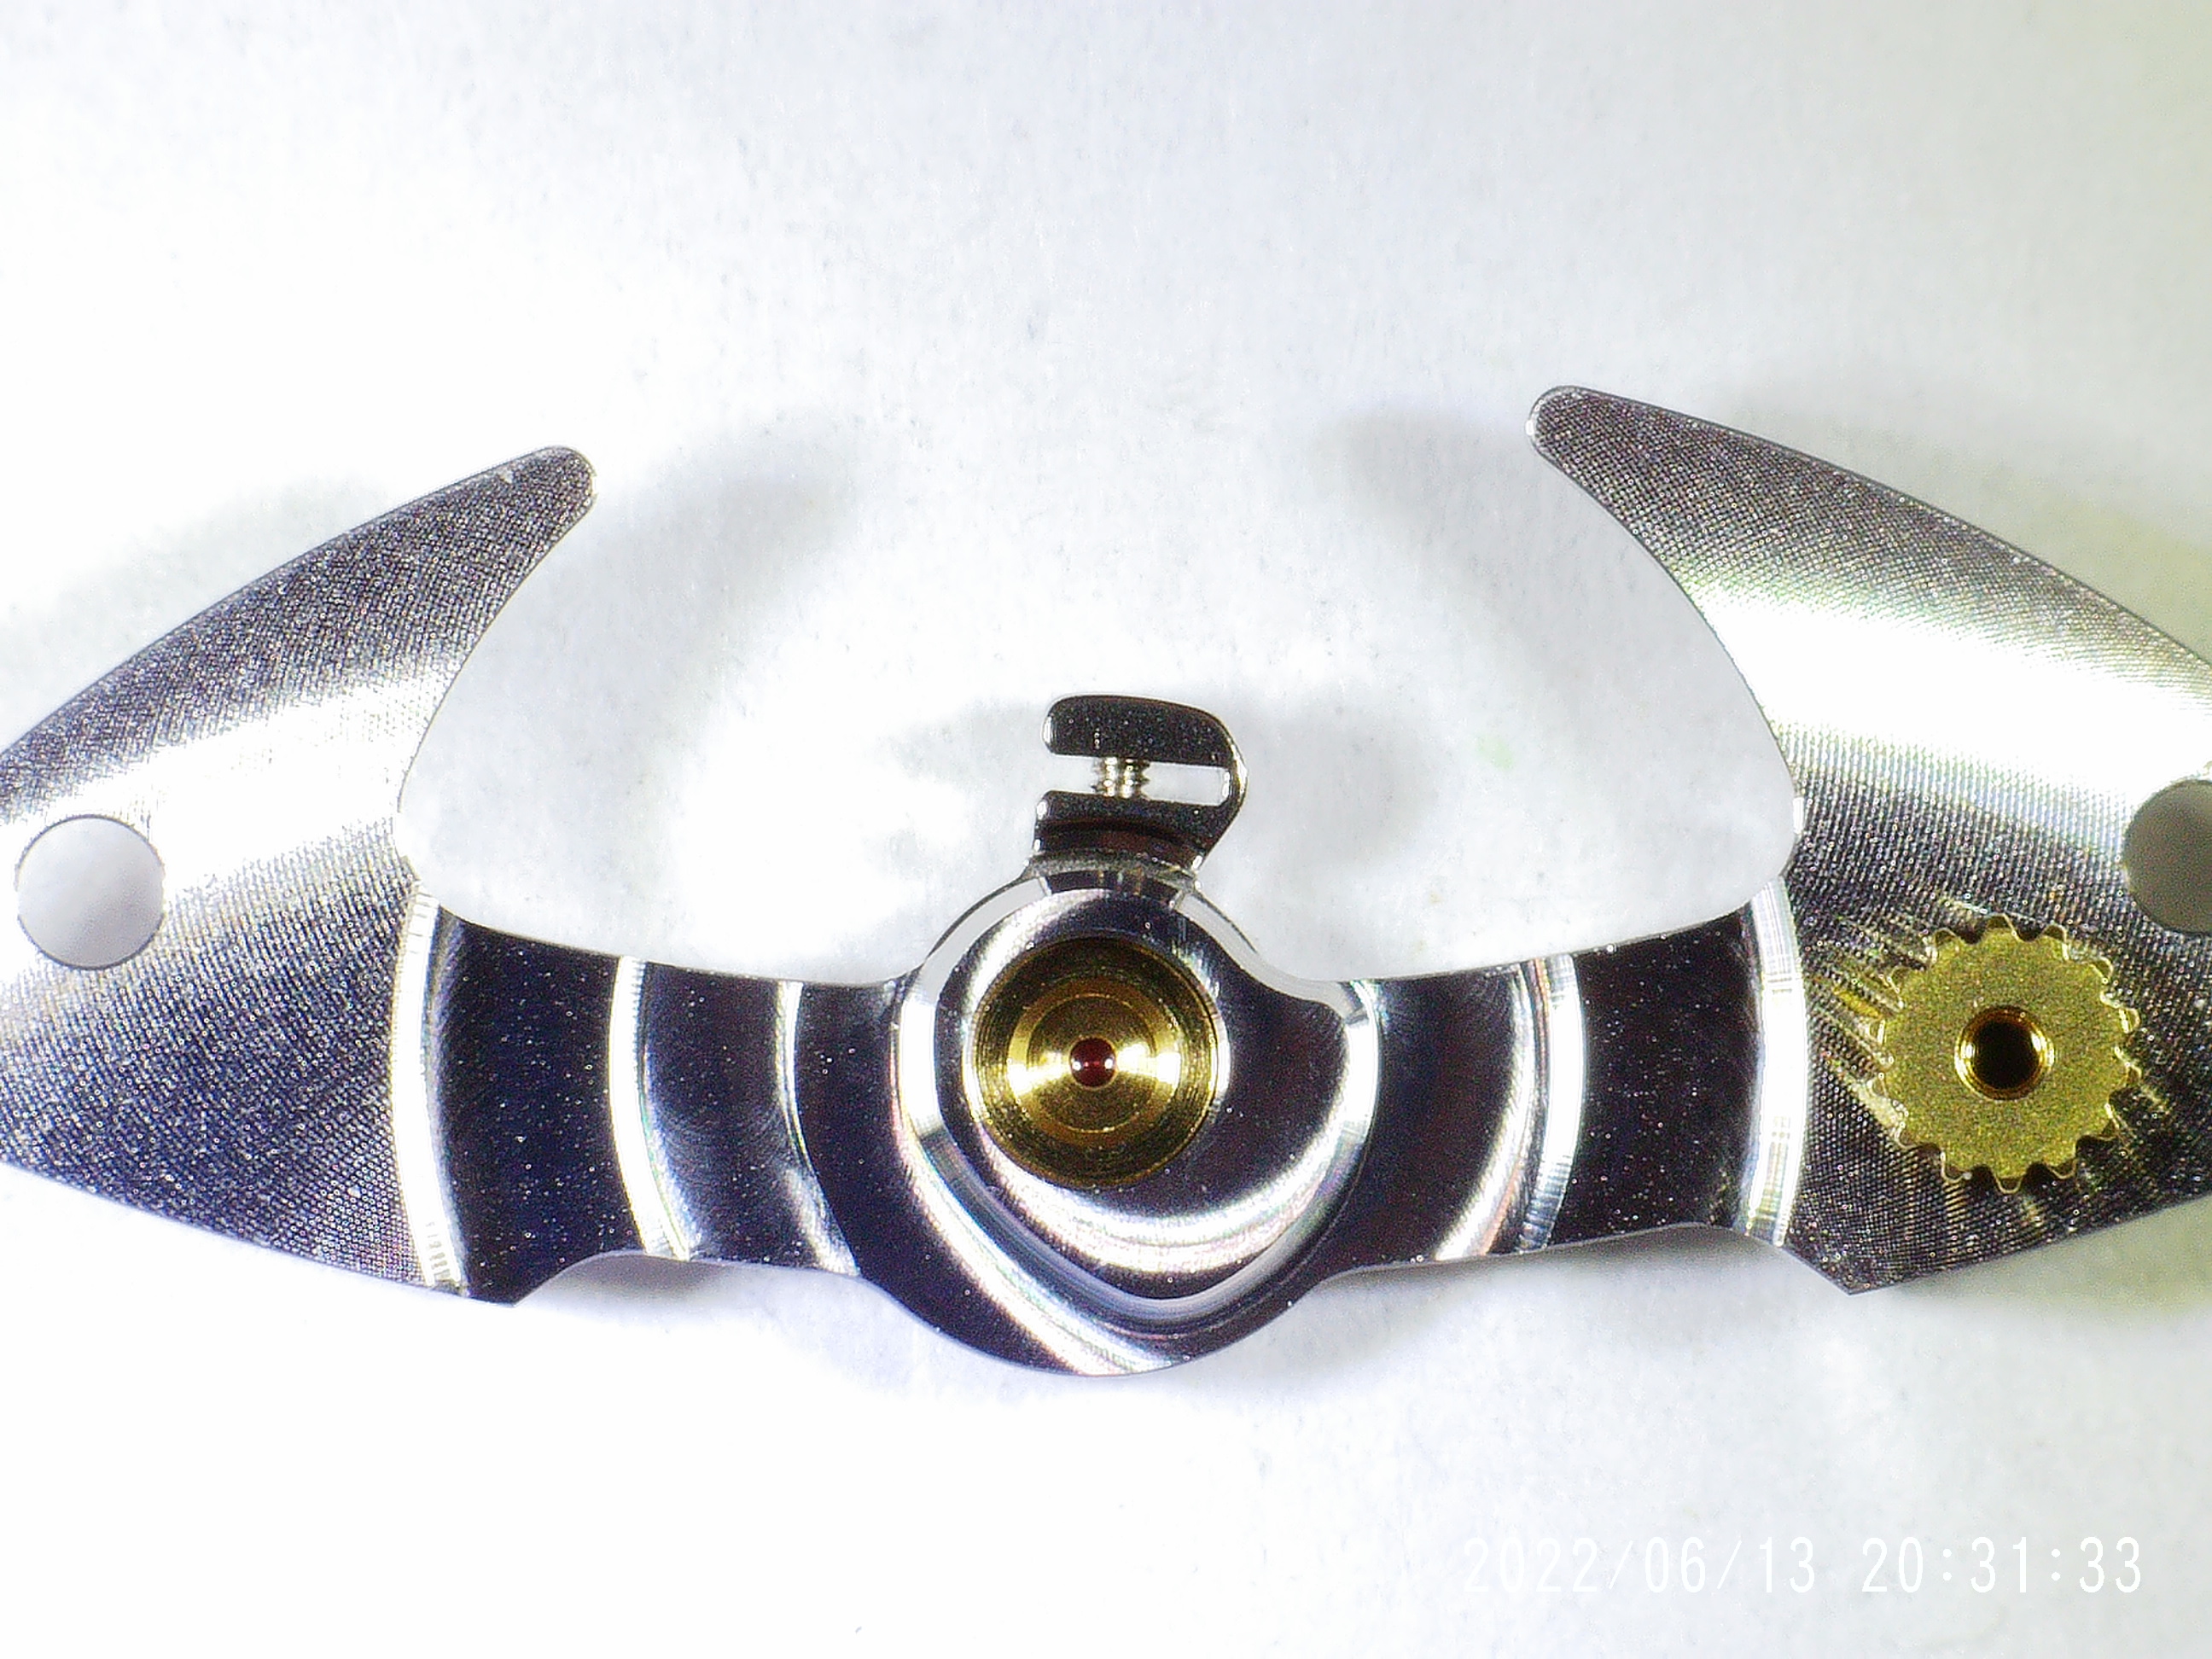
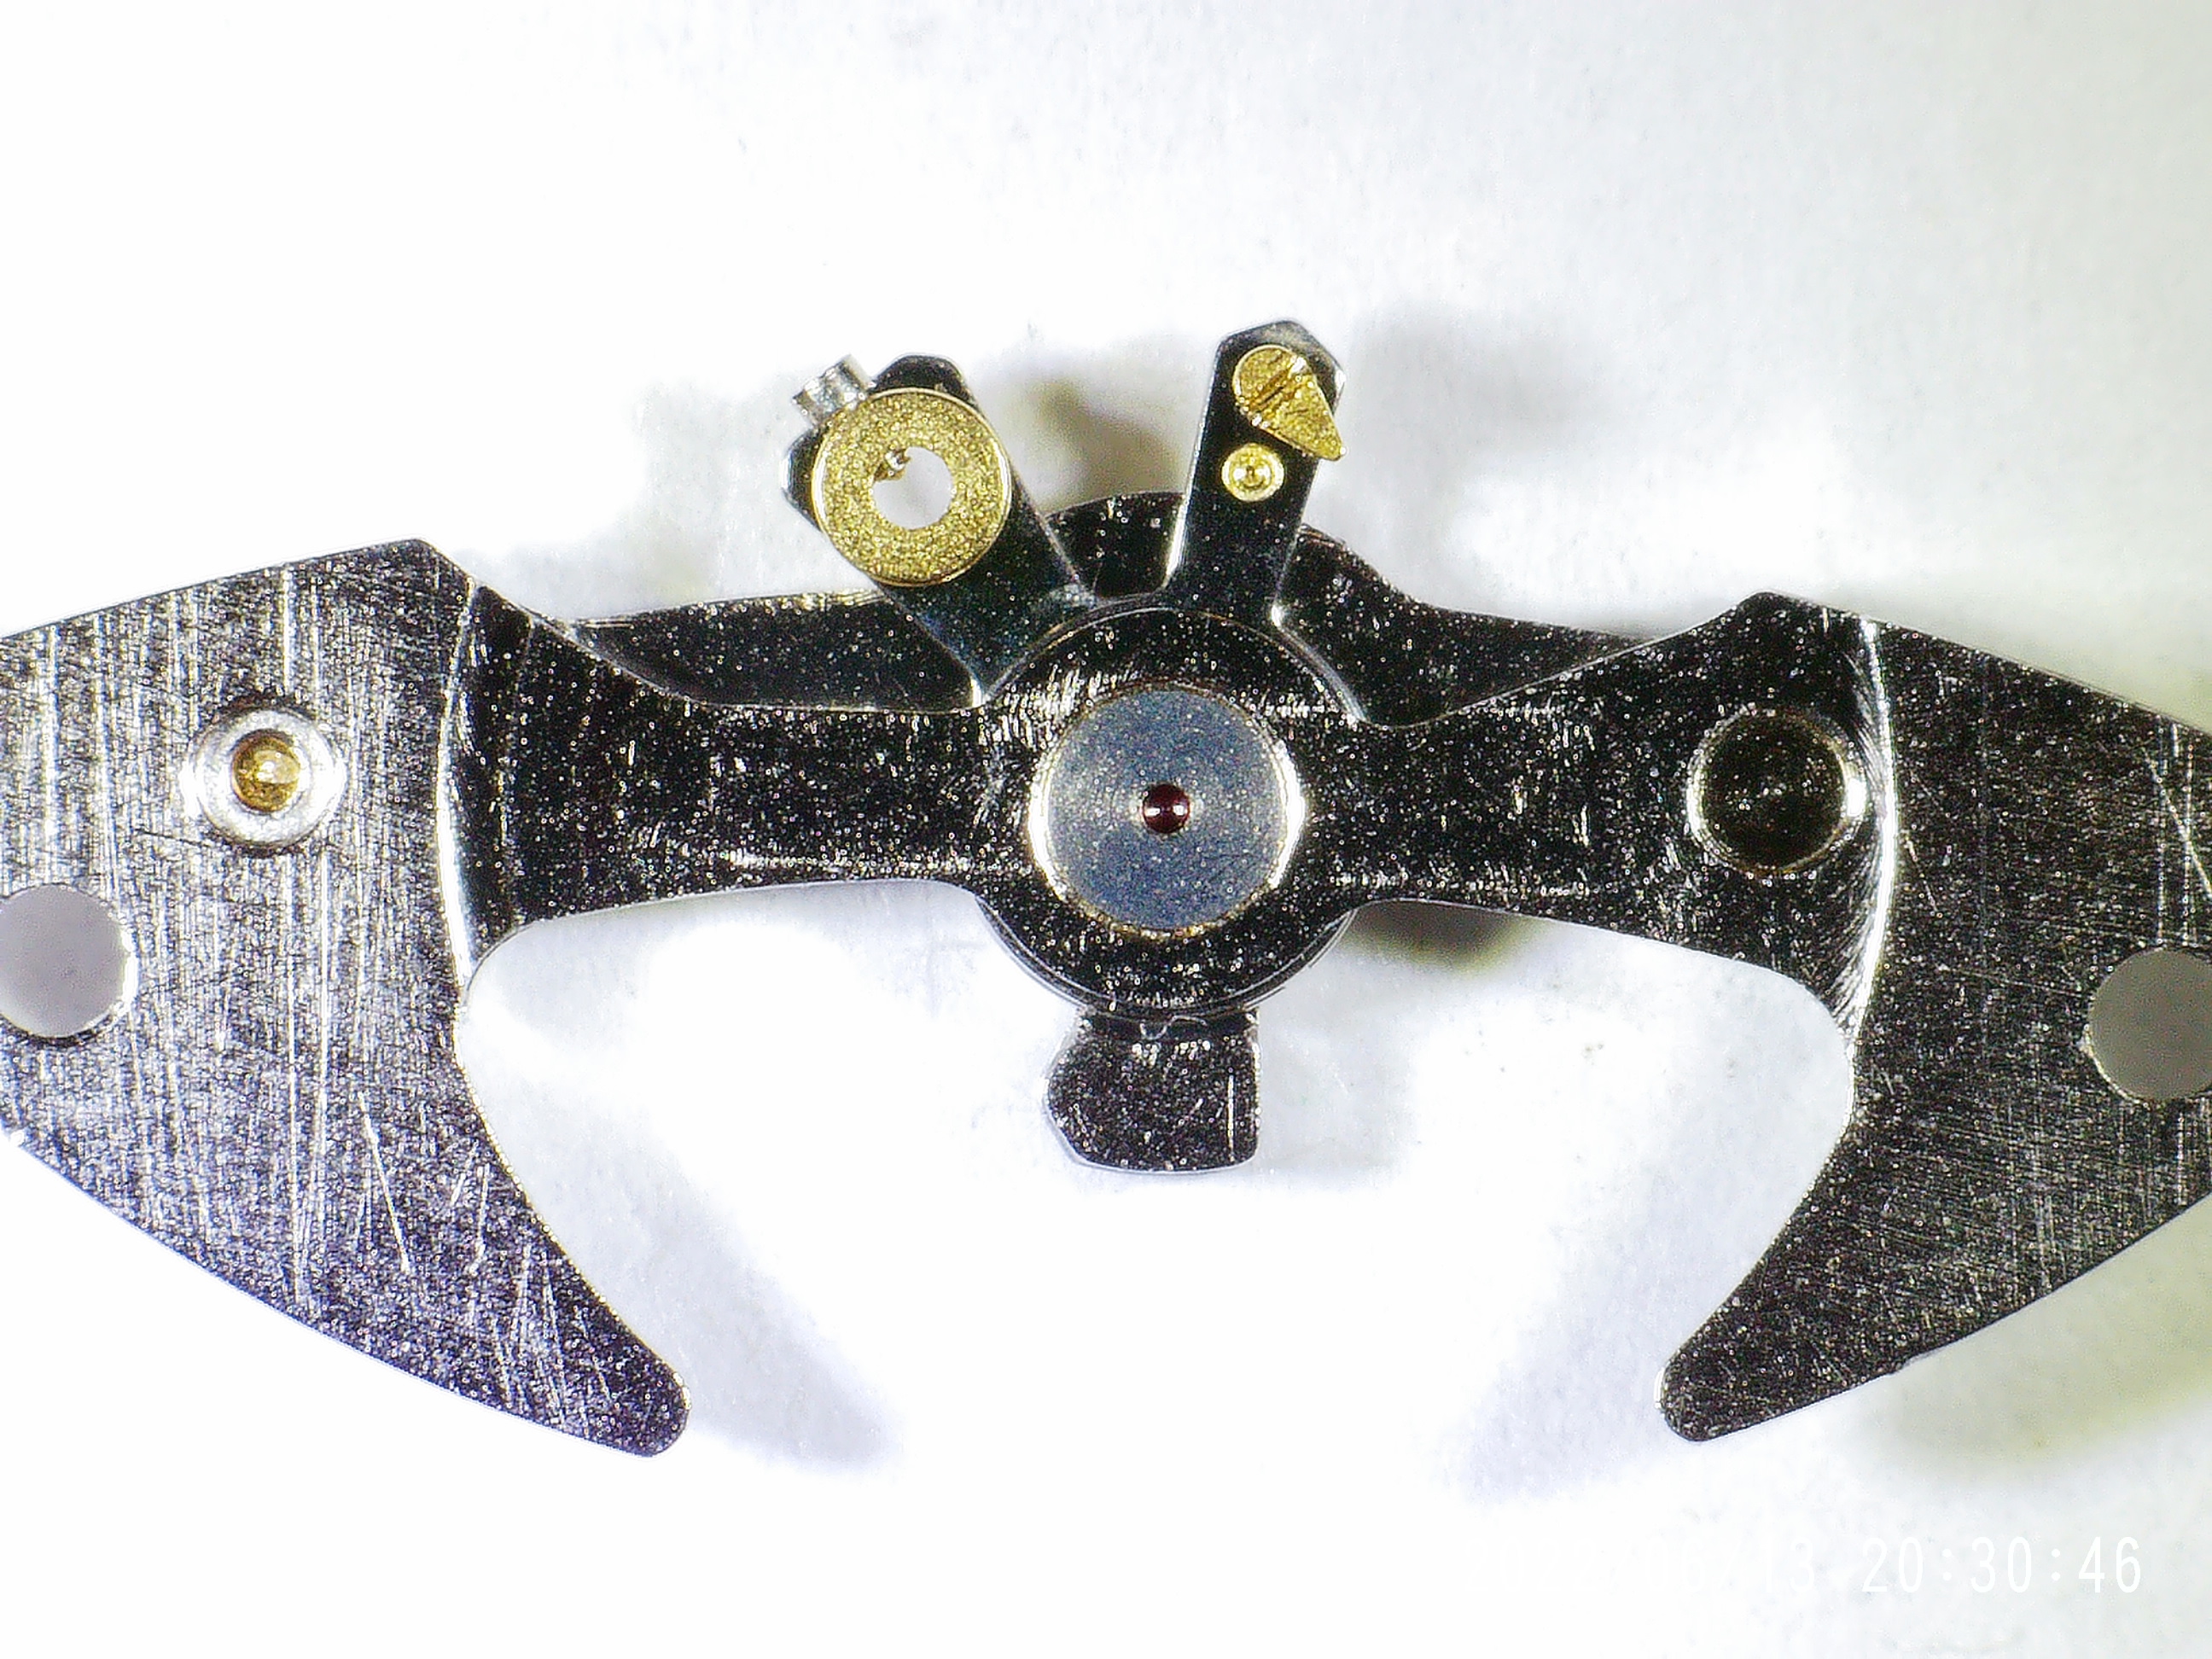
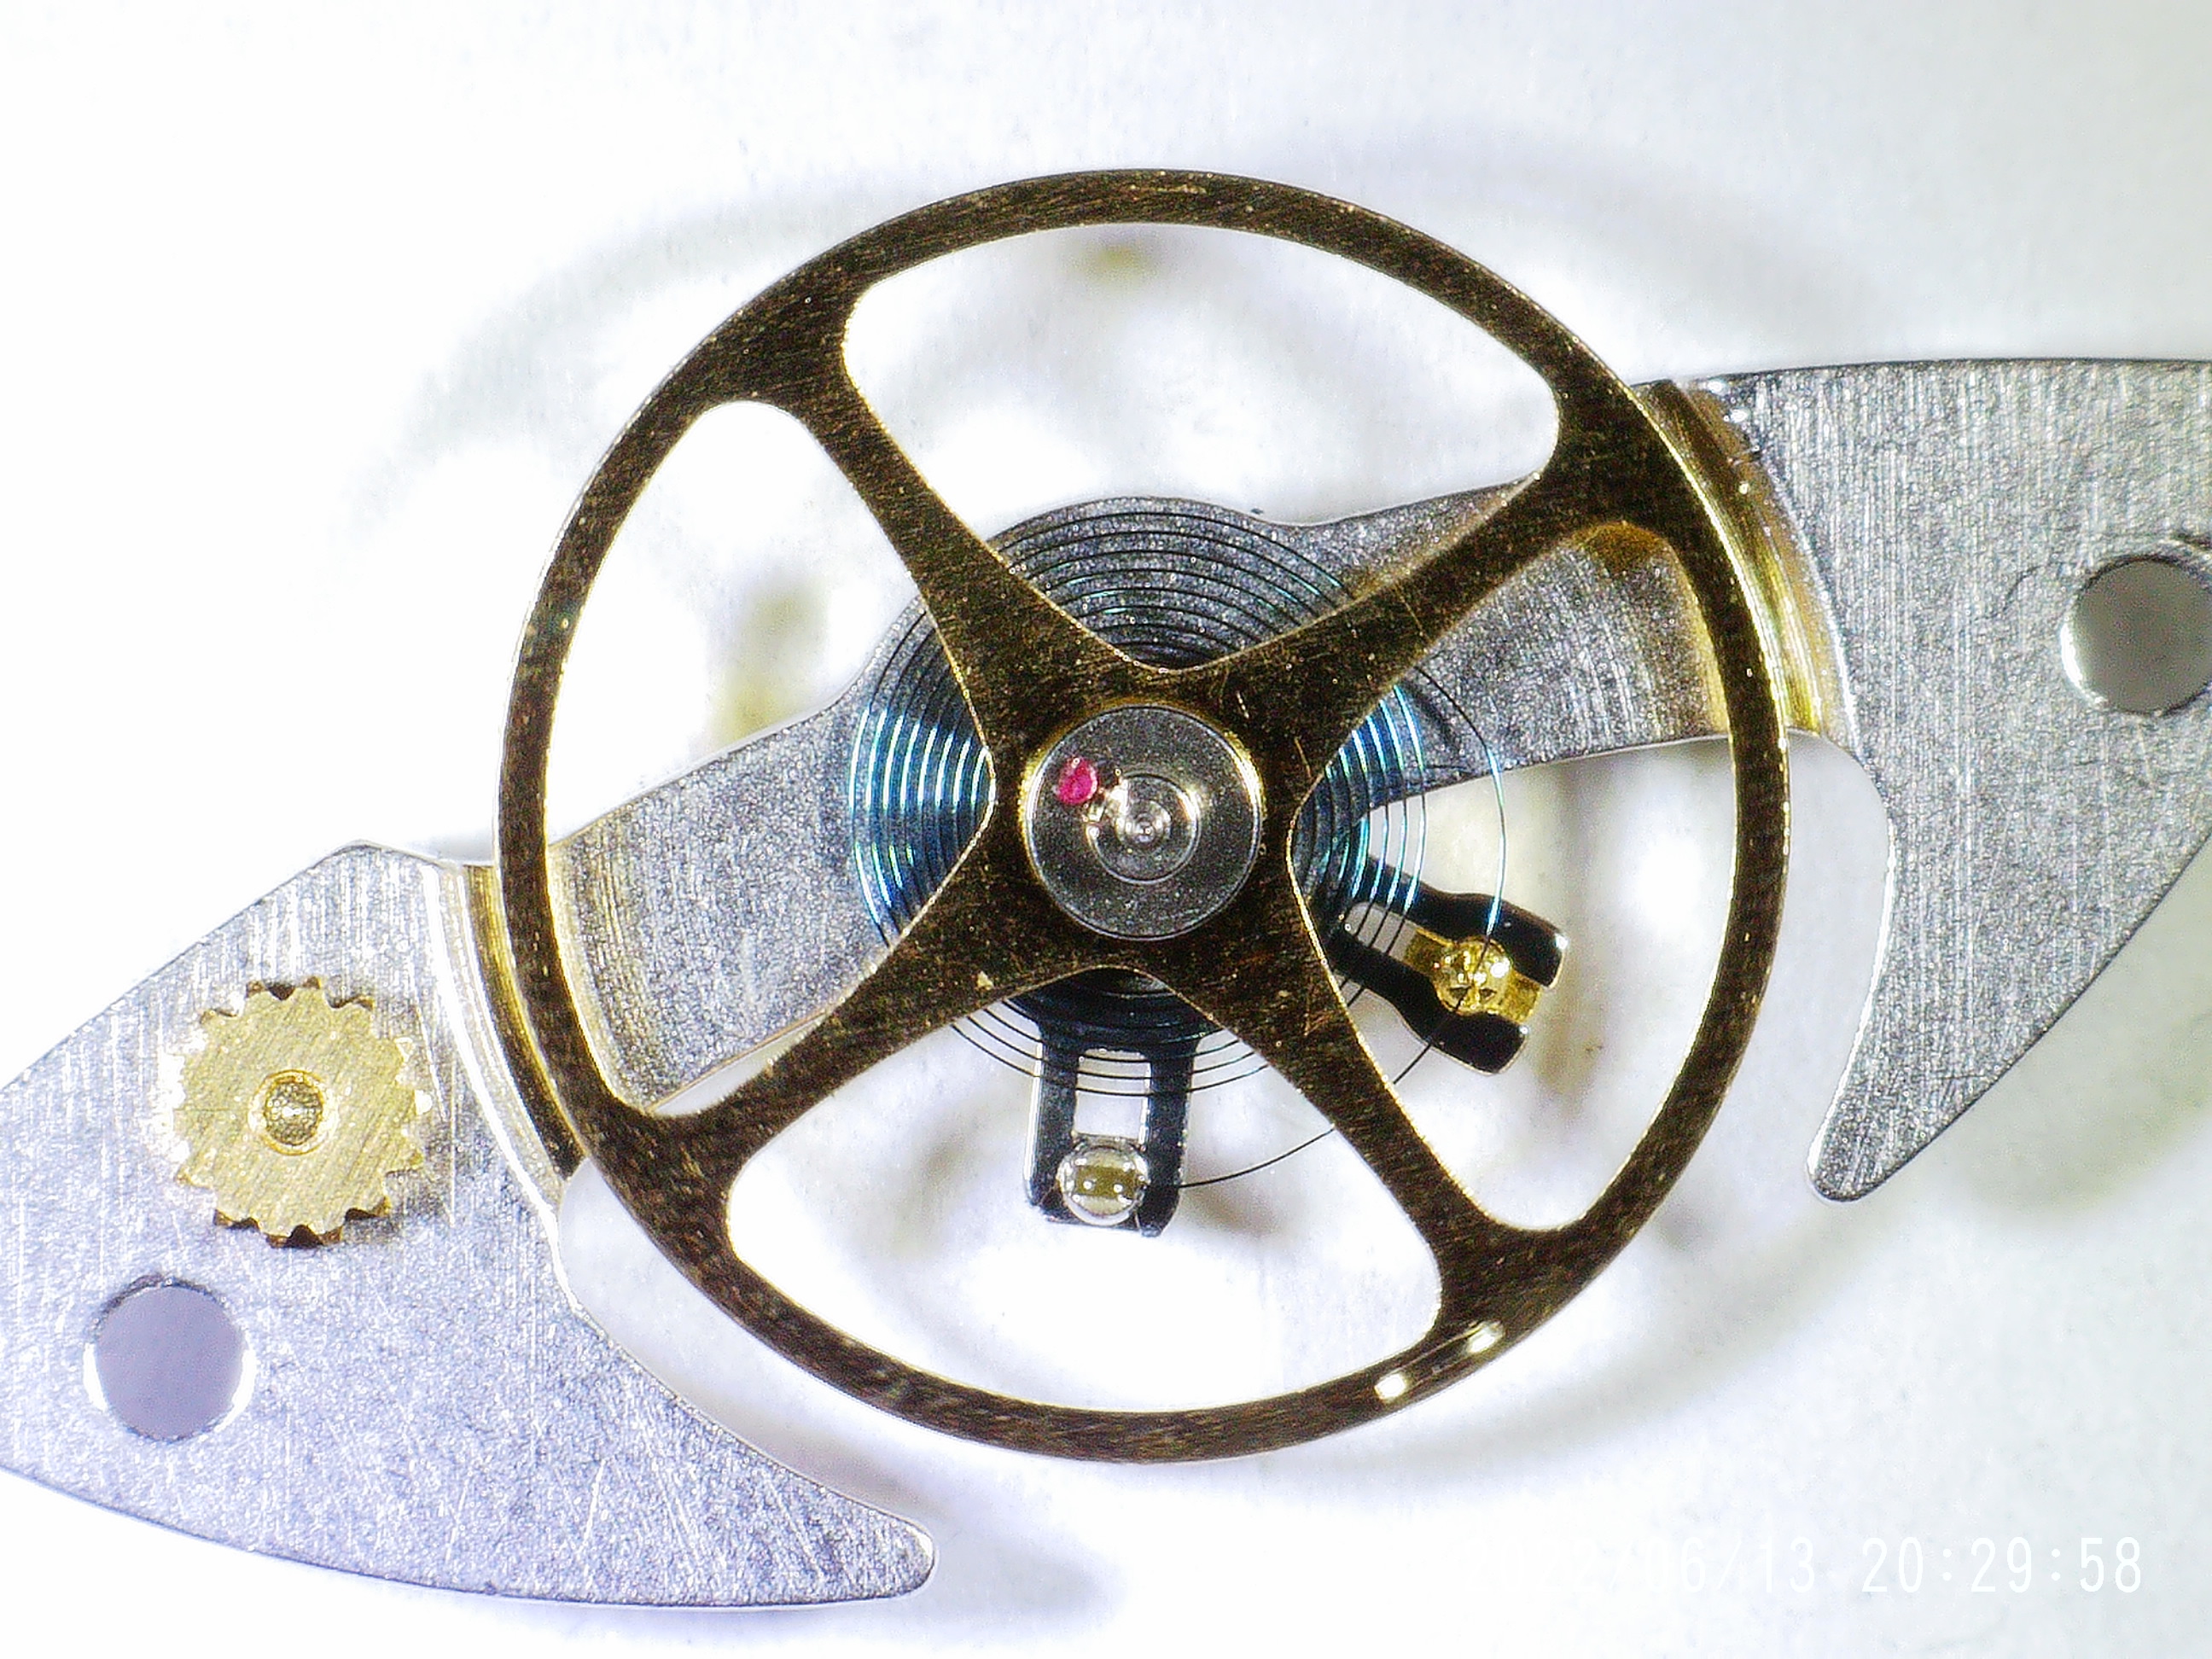
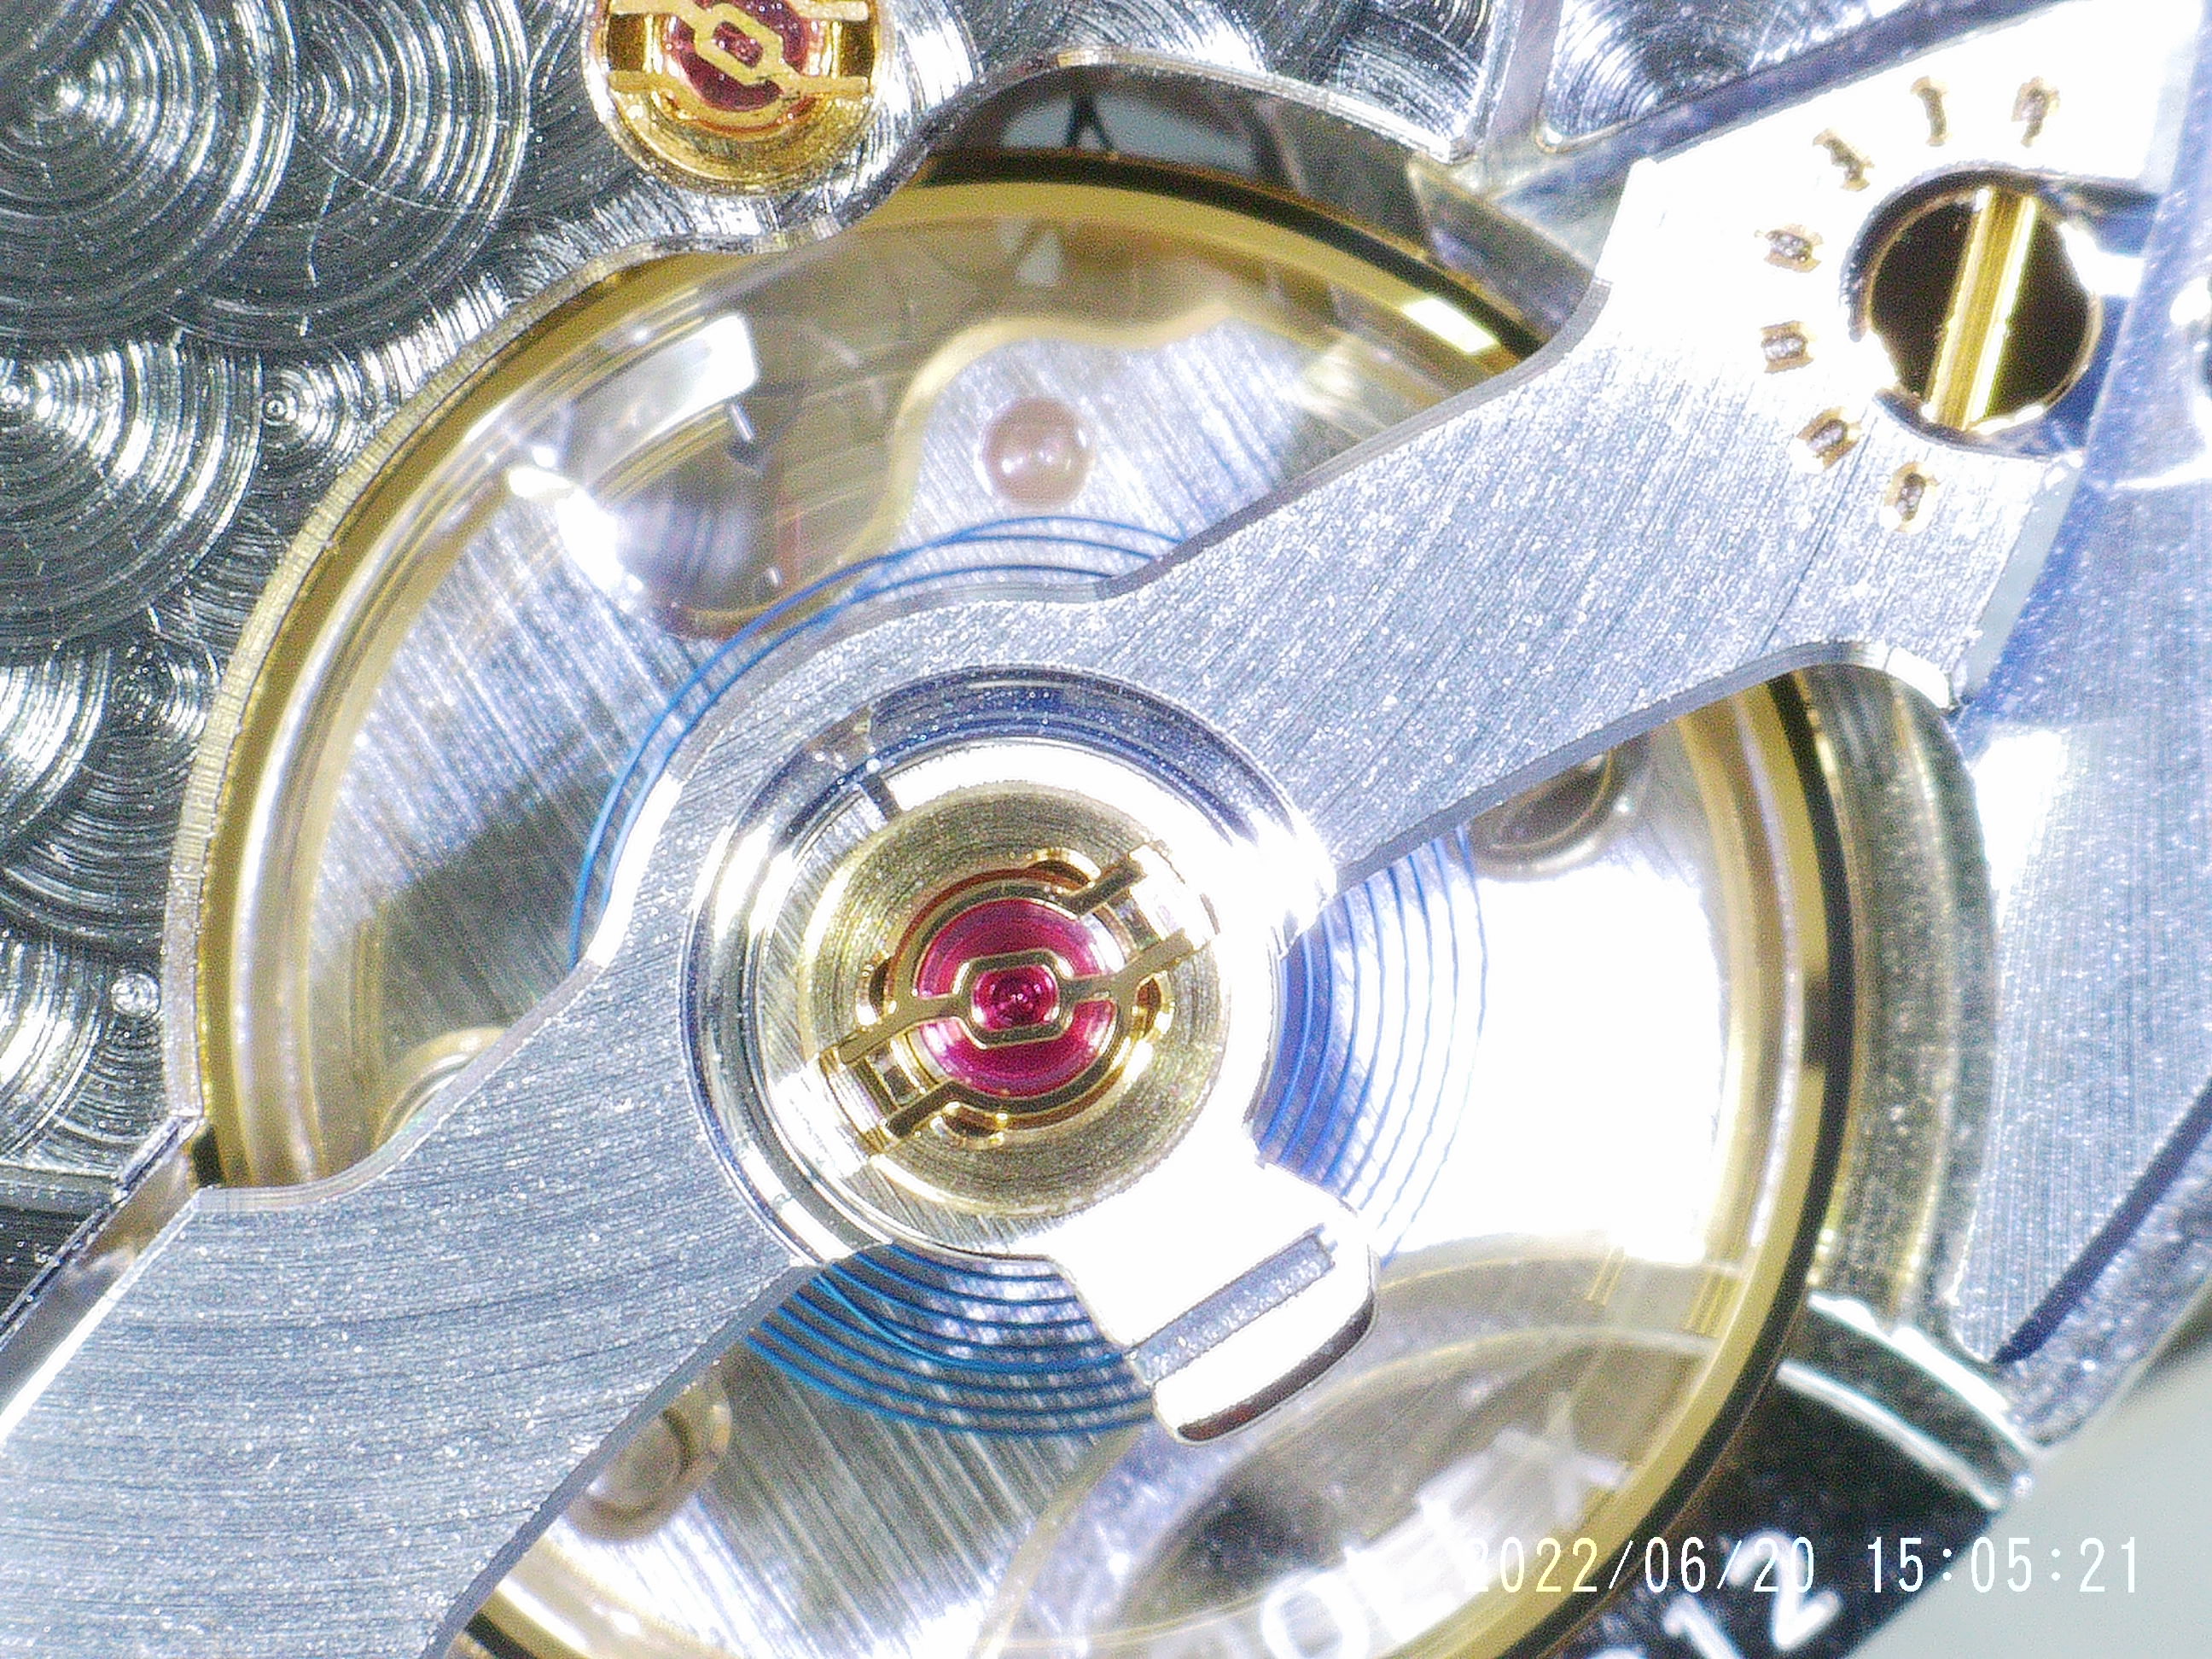
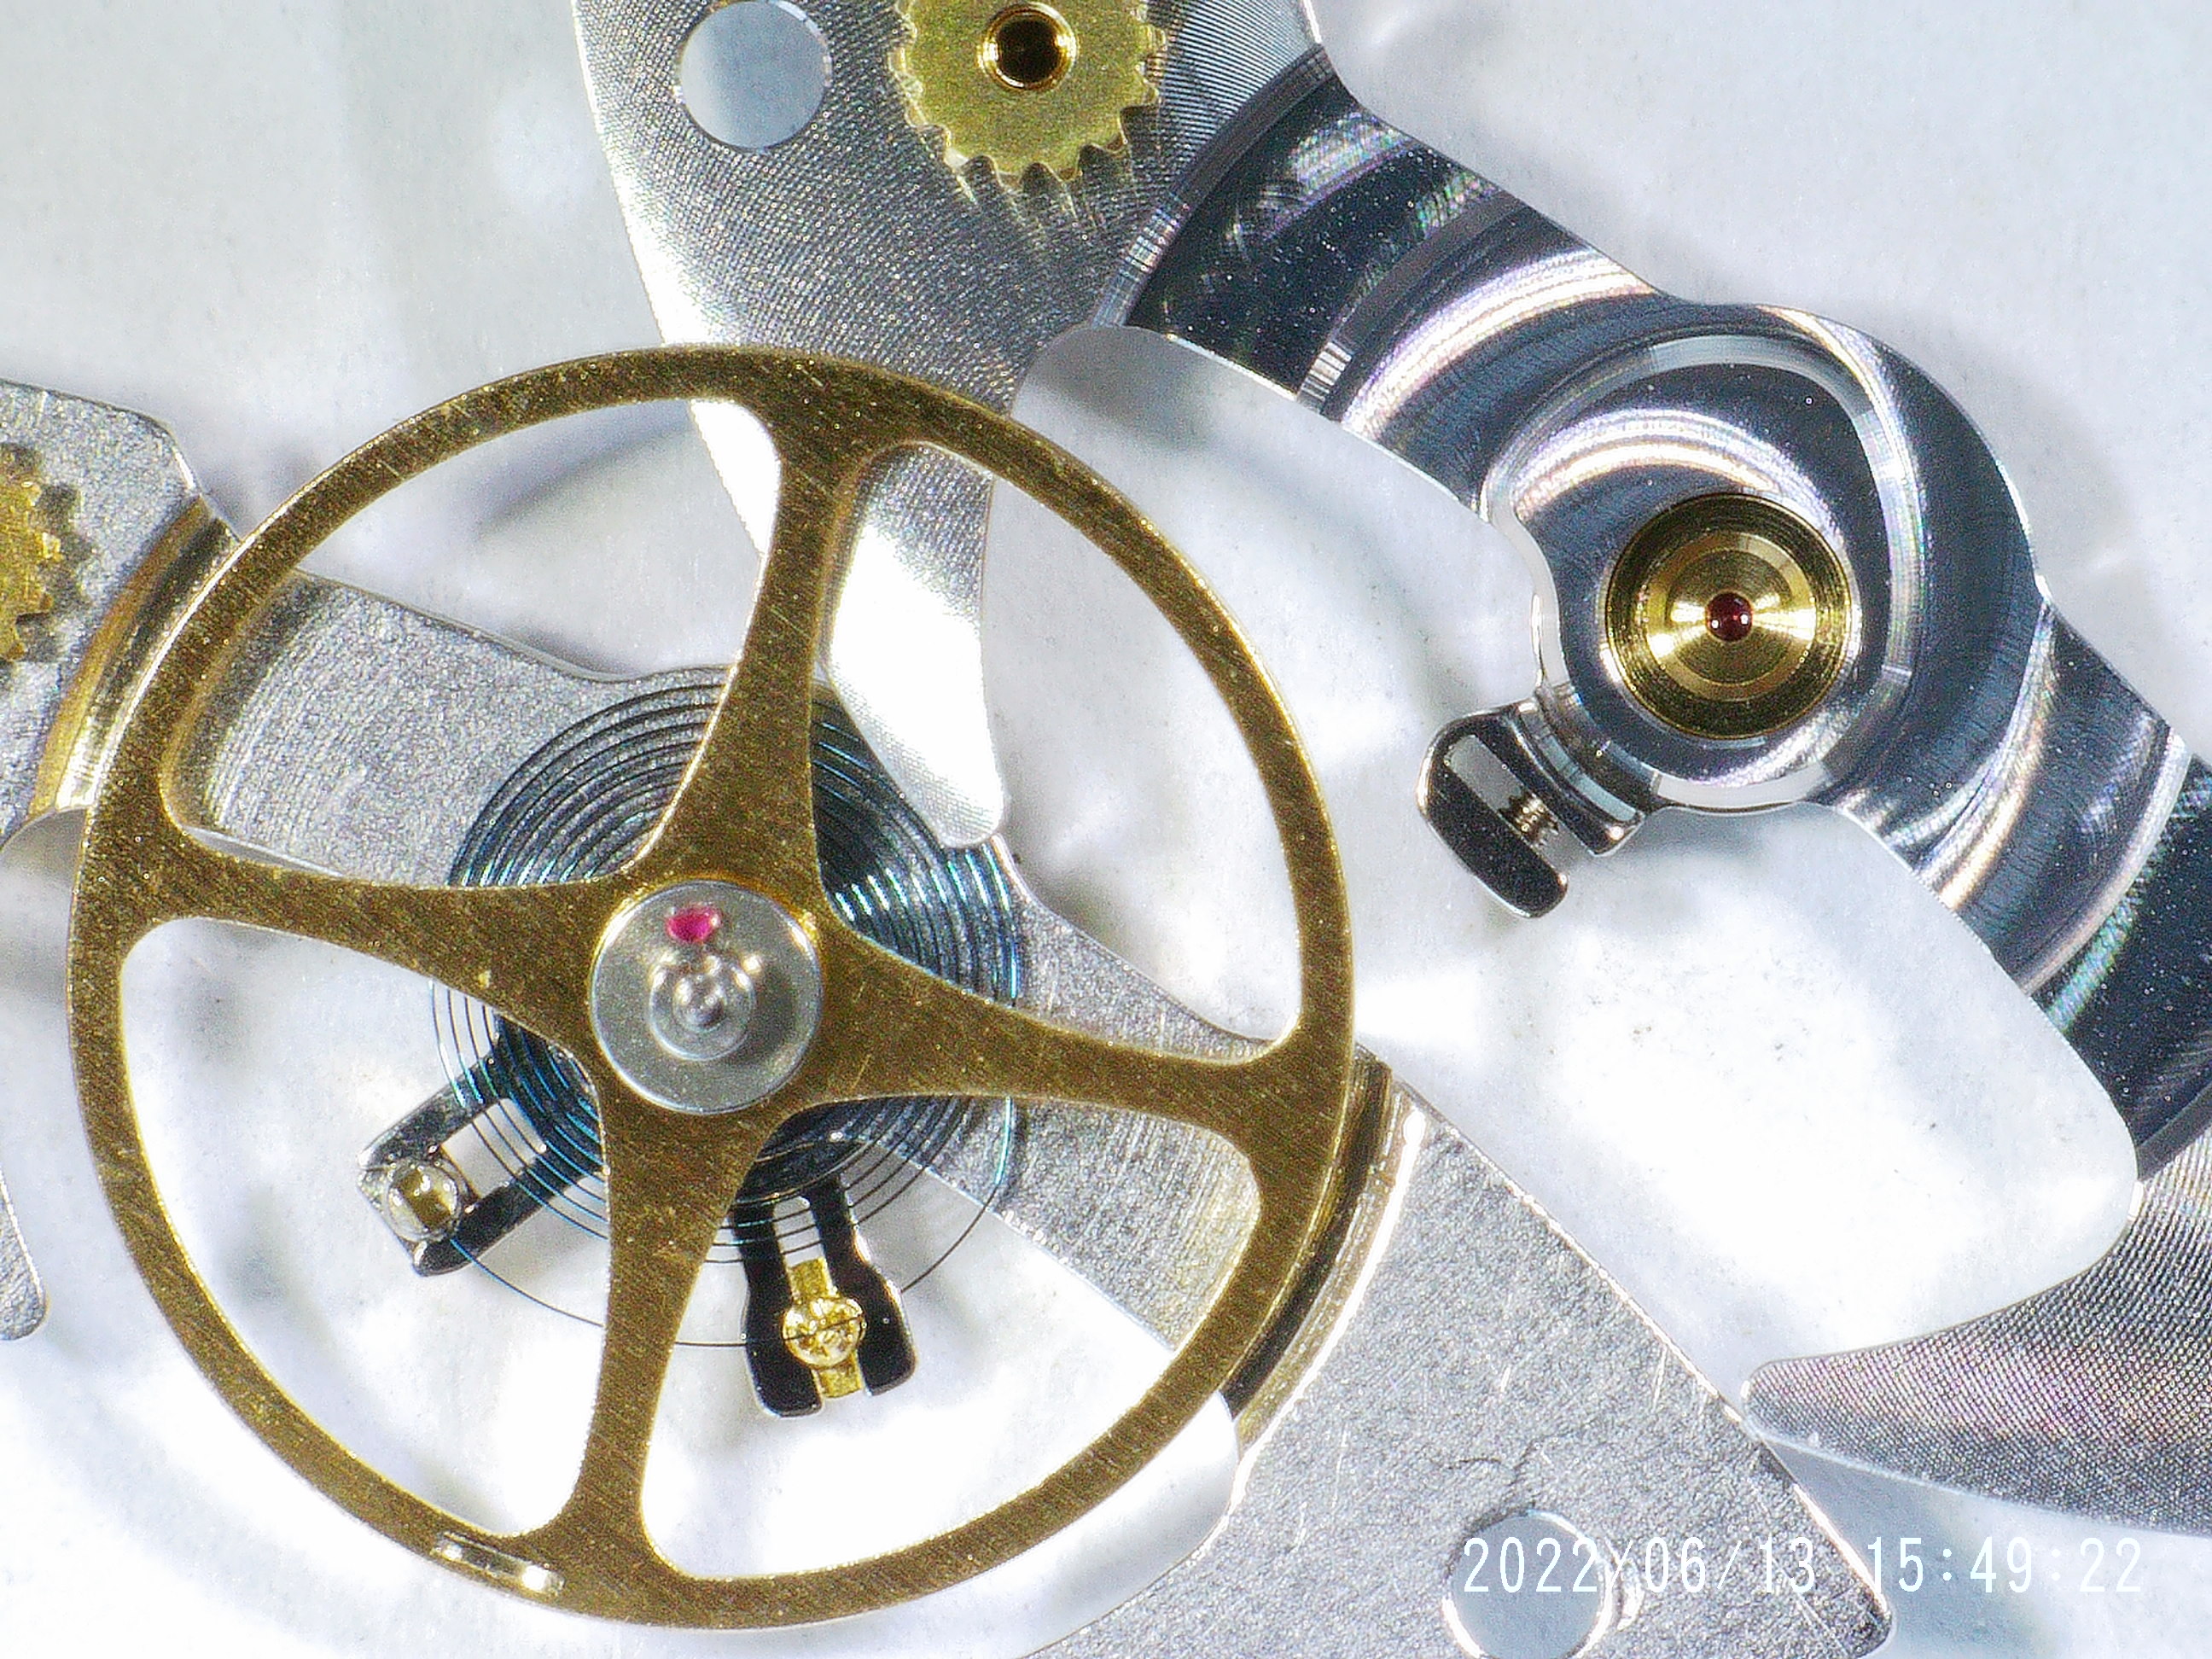
And finally, a pic comparing the gen balance bridge with the VS balance bridge + balance complete. There really is a difference in finish quality at high magnification.
- Crown Wheel (part no. 3235-213)
- Balance Bridge (part no. 3235-120)
- Balance Complete (part no. 3235-432)
So, here's a pic of the gen parts.

And just to get a baseline of the movement's health, here's what it looks like on the timegrapher *before* I've installed any of the new gen parts.

If you were a normal person, you'd look at that timegrapher result, and say "if it ain't broke, don't fix it"... fortunately, in this community we are not normal. And that's how I began to disassemble a perfectly good watch to install expensive genuine parts into a watch that clearly didn't need them to function. Onwards!
After taking the movement out of the case and removing the automatic mechanism, balance, and main train bridge, I was able to access the bit of the watch that I was planning on replacing. First up was the escape wheel. The gen version is beautifully skeletonized. Here's a pic of the Gen and VS versions under my digital microscope. There's a real difference in the finish quality (and maybe a difference in geometry -- more on this in a minute).

The crown wheel is also accessible from under the main train bridge. The difference here between the gen and the VS parts is more subtle. It's basically impossible to tell the two parts from one another without the aid of magnification. But under magnification, it's possible to see that the gen part has a much nicer finish.

The install of the crown wheel was very straight forward. I simply dropped it into place and was done. It was the same story for the escape wheel. I took out the old one, and put in the new one, re-assembled the train of wheels and then re-installed the train bridge. The train bridge went into place without any trouble and I screwed everything back down. Although when I got the pallet fork re-installed it didn't seem like the VS pallet fork and the gen escape wheel were playing that nicely with eachother. I put a little wind onto the main spring to see if I could manually actuate the pallet fork, but it looks like the VS pallet fork isn't quite right for locking and unlocking the gen escape wheel. For those who've done something like this before, did you need to replace both the escape wheel AND the pallet fork with a Gen in order for it to work?
Next was the balance and balance bridge. I'd read that sometimes that balance bridge won't quite sit properly on the VS mainplate's centering pins, and that sometimes you need to broach the holes on the gen bridge. I tried without broaching, and while *slightly* tighter than the stock balance bridge, the gen bridge fit without the need for any broaching.

With the knowledge that the balance bridge would fit onto the main plate, I decided I'd try to connect my balance complete with the balance bridge. This was really hard. Is there a tool or jig that would make this easier? I was using two pairs of tweezers; one to hold the bridge, and one to grab the little anchor thingy on the end of the hairspring, then I'd try to move the hairspring anchor thingy into the slot on the balance bridge's hairspring stud. I managed to do this once, but then I needed to somehow change tools to get a screwdriver to tighten the hairspring stud screw. While I was doing so, the anchor thingy came out of the stud slot. My arms were getting a bit tired at this point so I called it a day. If anybody has any suggestions on how to make this process a bit easier I'd love to hear.
And finally, a pic comparing the gen balance bridge with the VS balance bridge + balance complete. There really is a difference in finish quality at high magnification.


