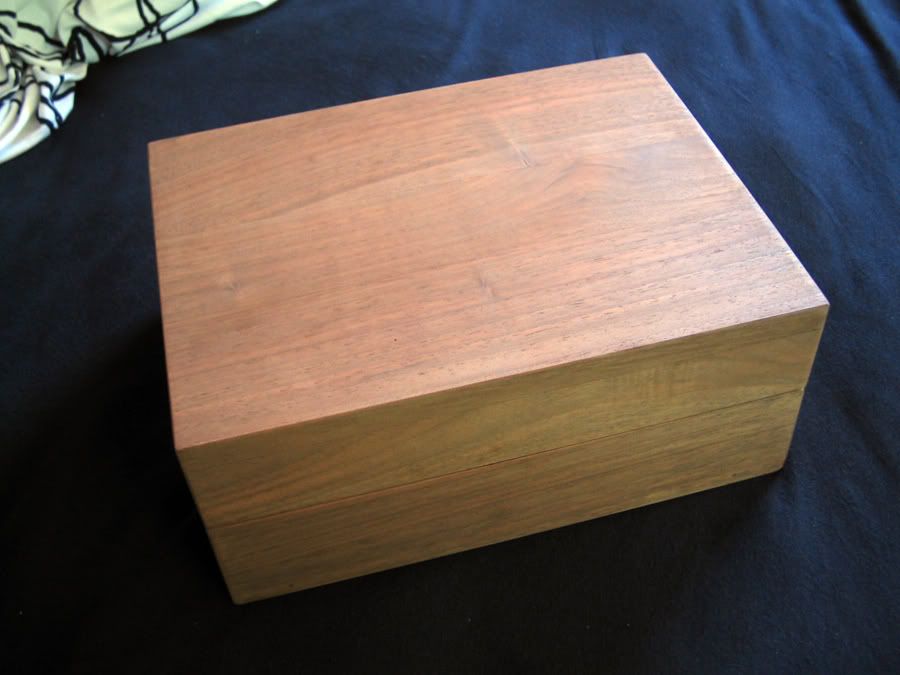
As some of you know, for the past few weeks I have been building me a nice watch box as I didn't feel like spending so much money for something I can do myself and what better way to spend some time with my grandfather. Anyway here's the story. When I was a little kid there was a HUGE walnut tree in the backyard of my grandparents' house in a village near the city. Well long story short, the tree was kind of getting on the way and had to go down. According to my grandpa that very tree was about 160 years old when it was cut down. Fortunately for me, after the tree was down my grandfather cut it down to smaller blocks and stored it in the barn. One thing lead to another and here am I, 15 years later, using the walnut tree that my grandpa stored, to build me a nice small box to keep my precious at. I did get some help from my grandfather on some areas. My intention was to have him help me all the way but in the beginning he was only telling me how am I doing this wrong, how it should be done yadda yadda and I had to drop him off the project for a while lol. You know how old me go. I would like to point out that this box was constructed with tools and machines that my grandfather build himself. Half of them were made from scrap metal and all. Obviously they use real saw-blades and all that other hardware but as far as construction goes, he did it him self. I think that is pretty cool! Well that's basically about it and here come the pictures. As the title states the box is still in progress but I wanted to share this with you guys so badly that I couldn't wait until it was all done. Today I stained the box and it is ready to be lacquered. Also I need to install the hinges (for which I still have no idea what they will be), make the compartments inside the box and inlay it with some nice leather or velour hide. Here are the pics. Hope you enjoy.

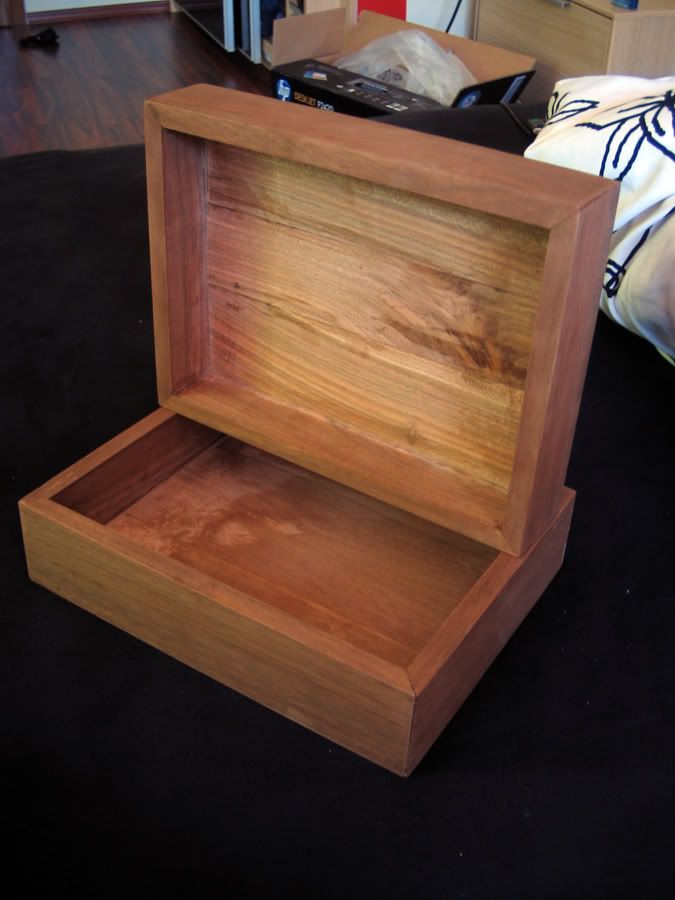
Someone asked how I did the joints (I think it was dustin) so here it is. I cut them down at 45 degrees and put them together

This is the bottom of the box. Pretty neat actually. Check the next pic
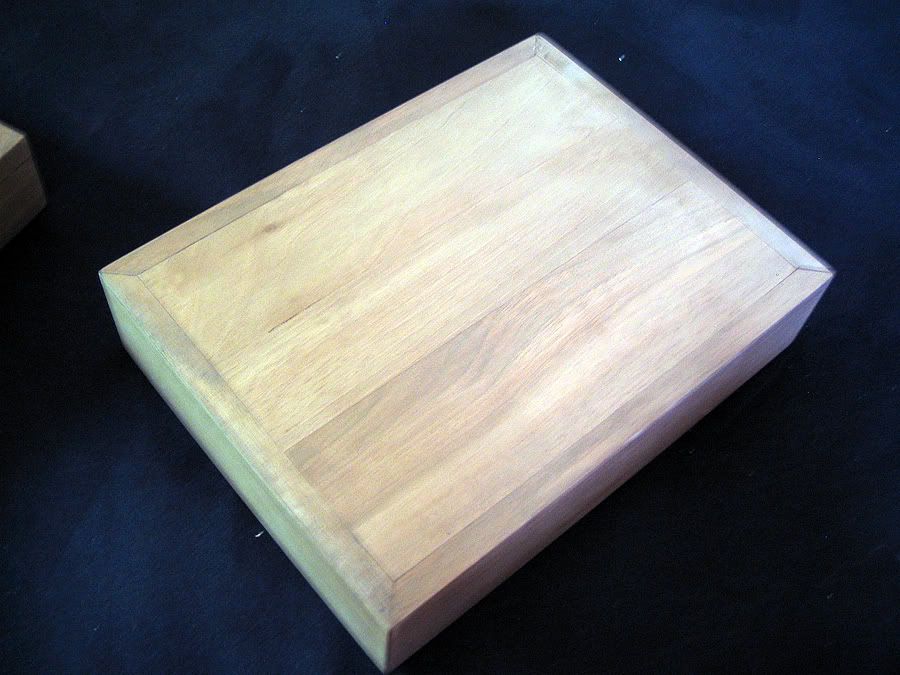
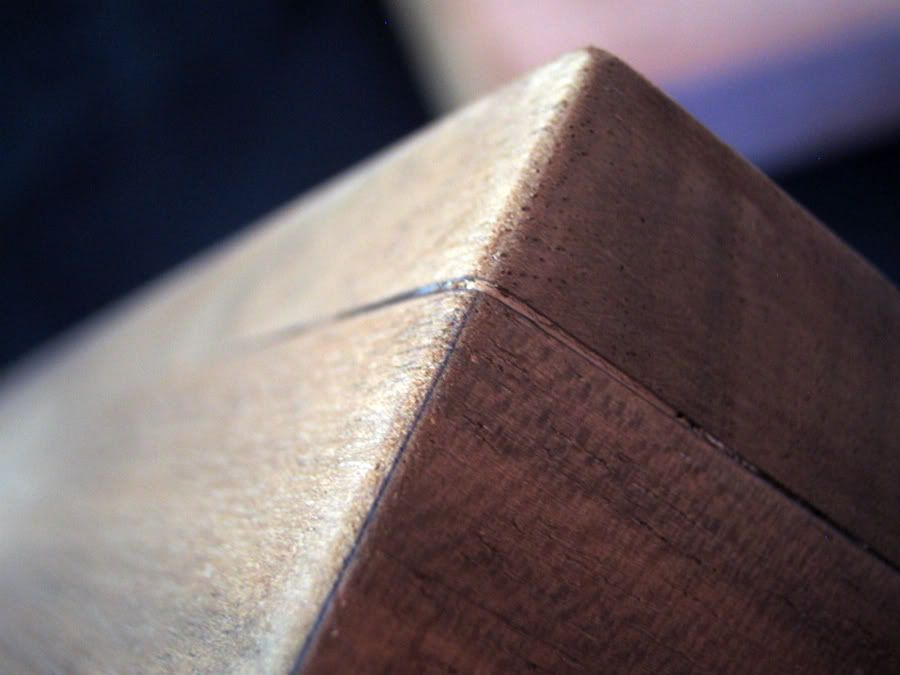
This one shows how tightly and perfectly they fit together. It is all perfectly flush. You can run your nail trough it and you won't feel a bump
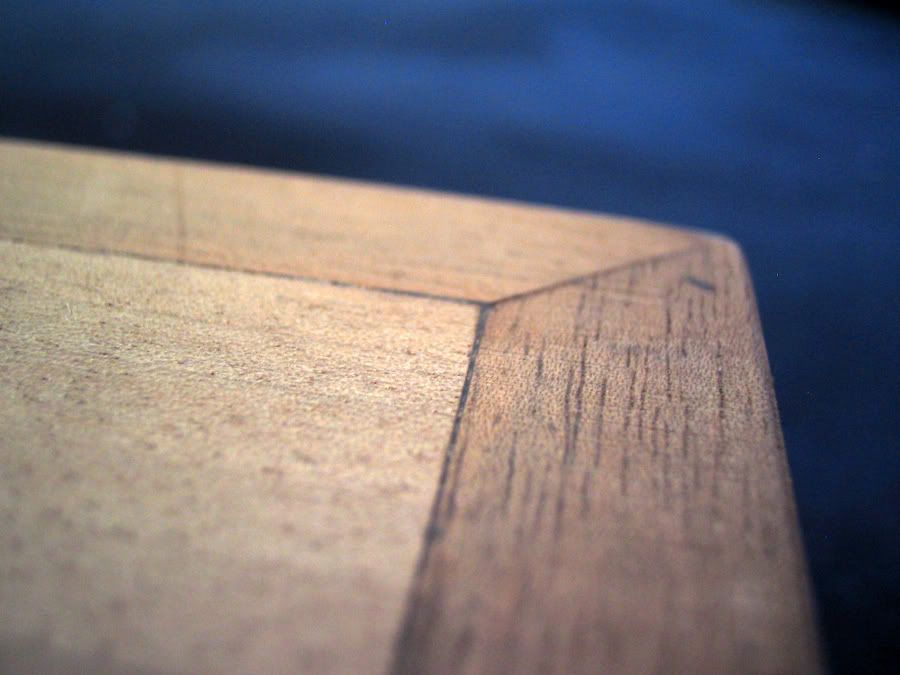
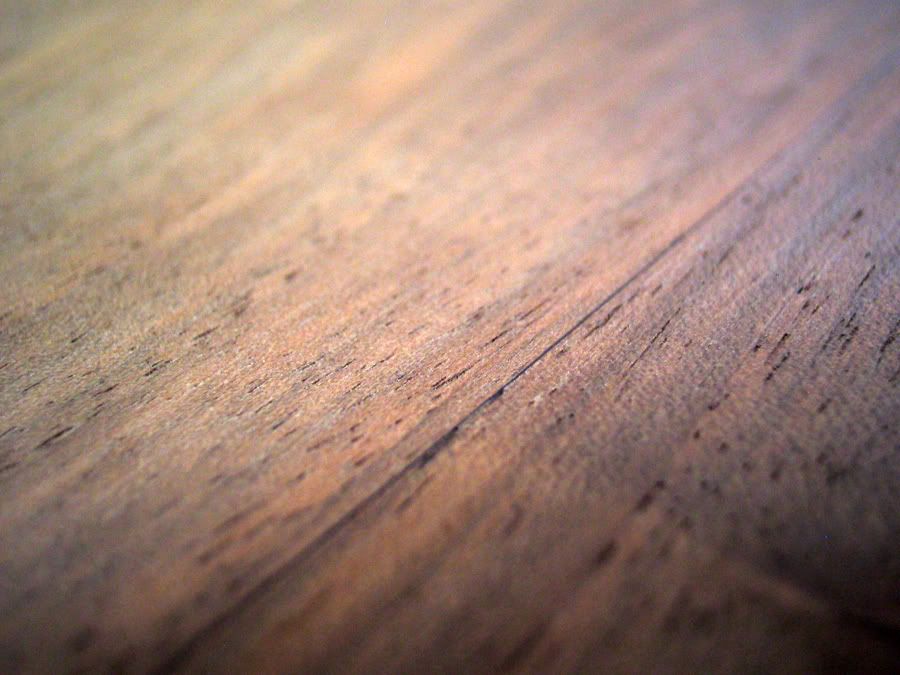
This is a close up of the top of the lid where the planks are glued together(the top of the lid is made out of three separate planks). Again they are perfectly flush and this pictures if quite closed up and you can still barely see where they meet, imagine what it looks like from a normal distance.
This last pictures is of where the top of the lid meets the sides. Not quite happy with that one but again, this picture blows up the proportions and in reality this is almost invisible
[BLINK]Well honestly, I am very happy with the outcome so far and bear in mind, this is my first ever so it's pretty decent. Let me know what you guys think[/BLINK]
Someone asked how I did the joints (I think it was dustin) so here it is. I cut them down at 45 degrees and put them together
This is the bottom of the box. Pretty neat actually. Check the next pic
This one shows how tightly and perfectly they fit together. It is all perfectly flush. You can run your nail trough it and you won't feel a bump
This is a close up of the top of the lid where the planks are glued together(the top of the lid is made out of three separate planks). Again they are perfectly flush and this pictures if quite closed up and you can still barely see where they meet, imagine what it looks like from a normal distance.
This last pictures is of where the top of the lid meets the sides. Not quite happy with that one but again, this picture blows up the proportions and in reality this is almost invisible
[BLINK]Well honestly, I am very happy with the outcome so far and bear in mind, this is my first ever so it's pretty decent. Let me know what you guys think[/BLINK]
")