- 14/6/19
- 237
- 35
- 28
Hello RWI members, just wanted to do a write up hopefully shed some light on this topic and contribute to this wonderful forum. There are tons of videos, forum topics and info online about this process however I find no one goes in depth and accurately explains the process & what to expect for final outcome! SORRY For lack of pics guys, if this gains any interest or Traction I will do a better full breakdown showing every step as I do these multiple times a week hope this can help!
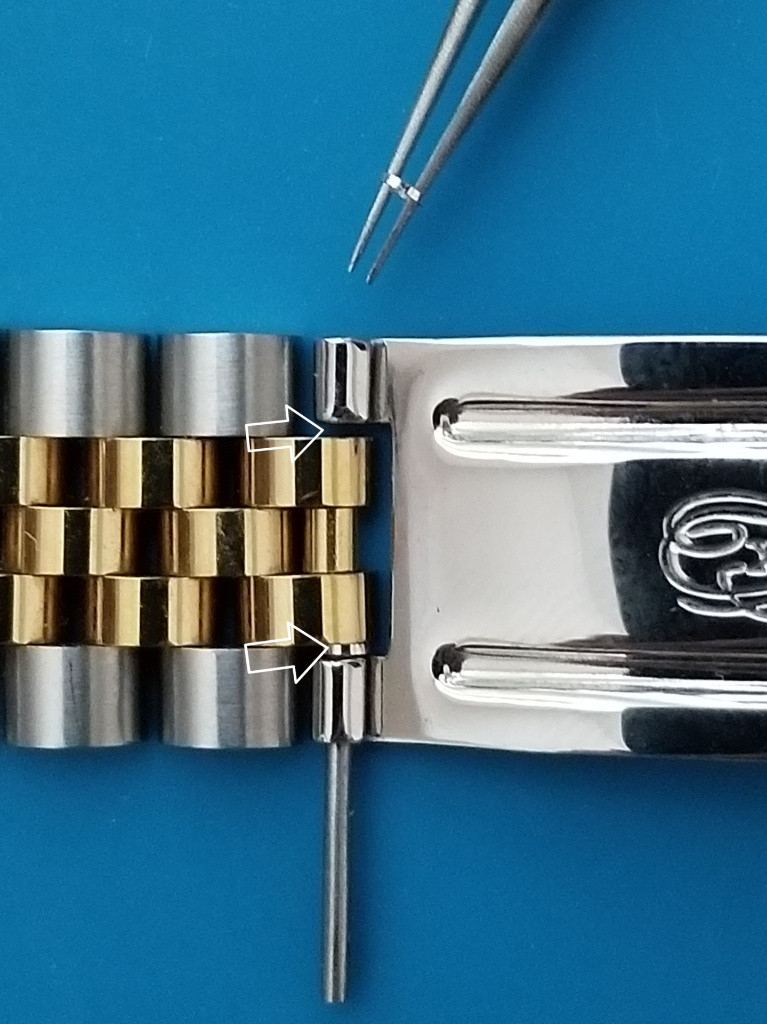
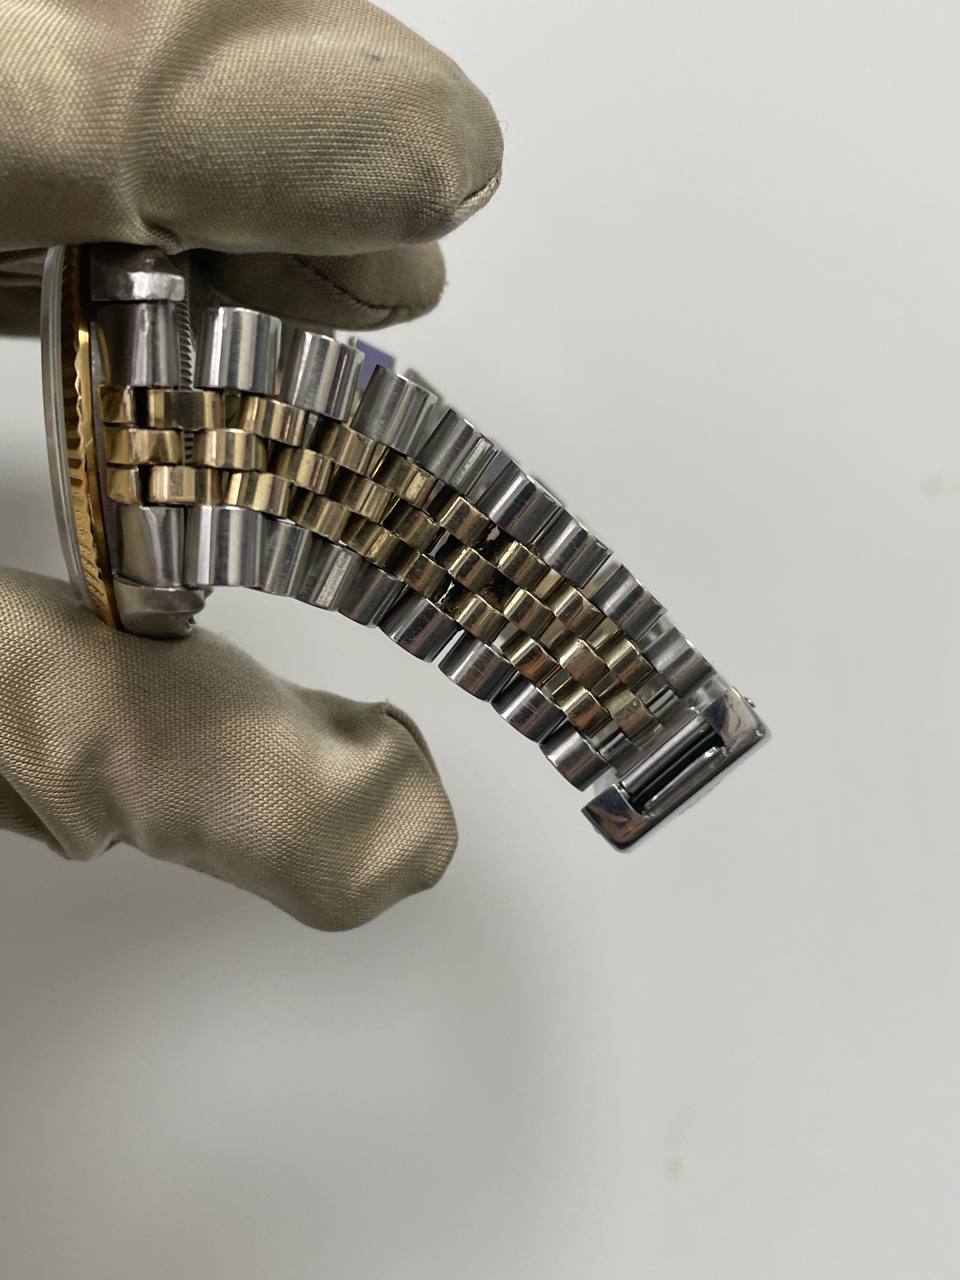
Step one: Asessing the damage, so you just acquired a gen jubilee! That’s great, however you can skip rope with it, this is caused by worn bracelet pins and links rubbing together causing indentations and deformity. Depending on the condition of how bad the center & outer-links are will ultimately determine the end result, some bracelets are just to far gone as you can only manipulate them so much before altering the bracelets width.
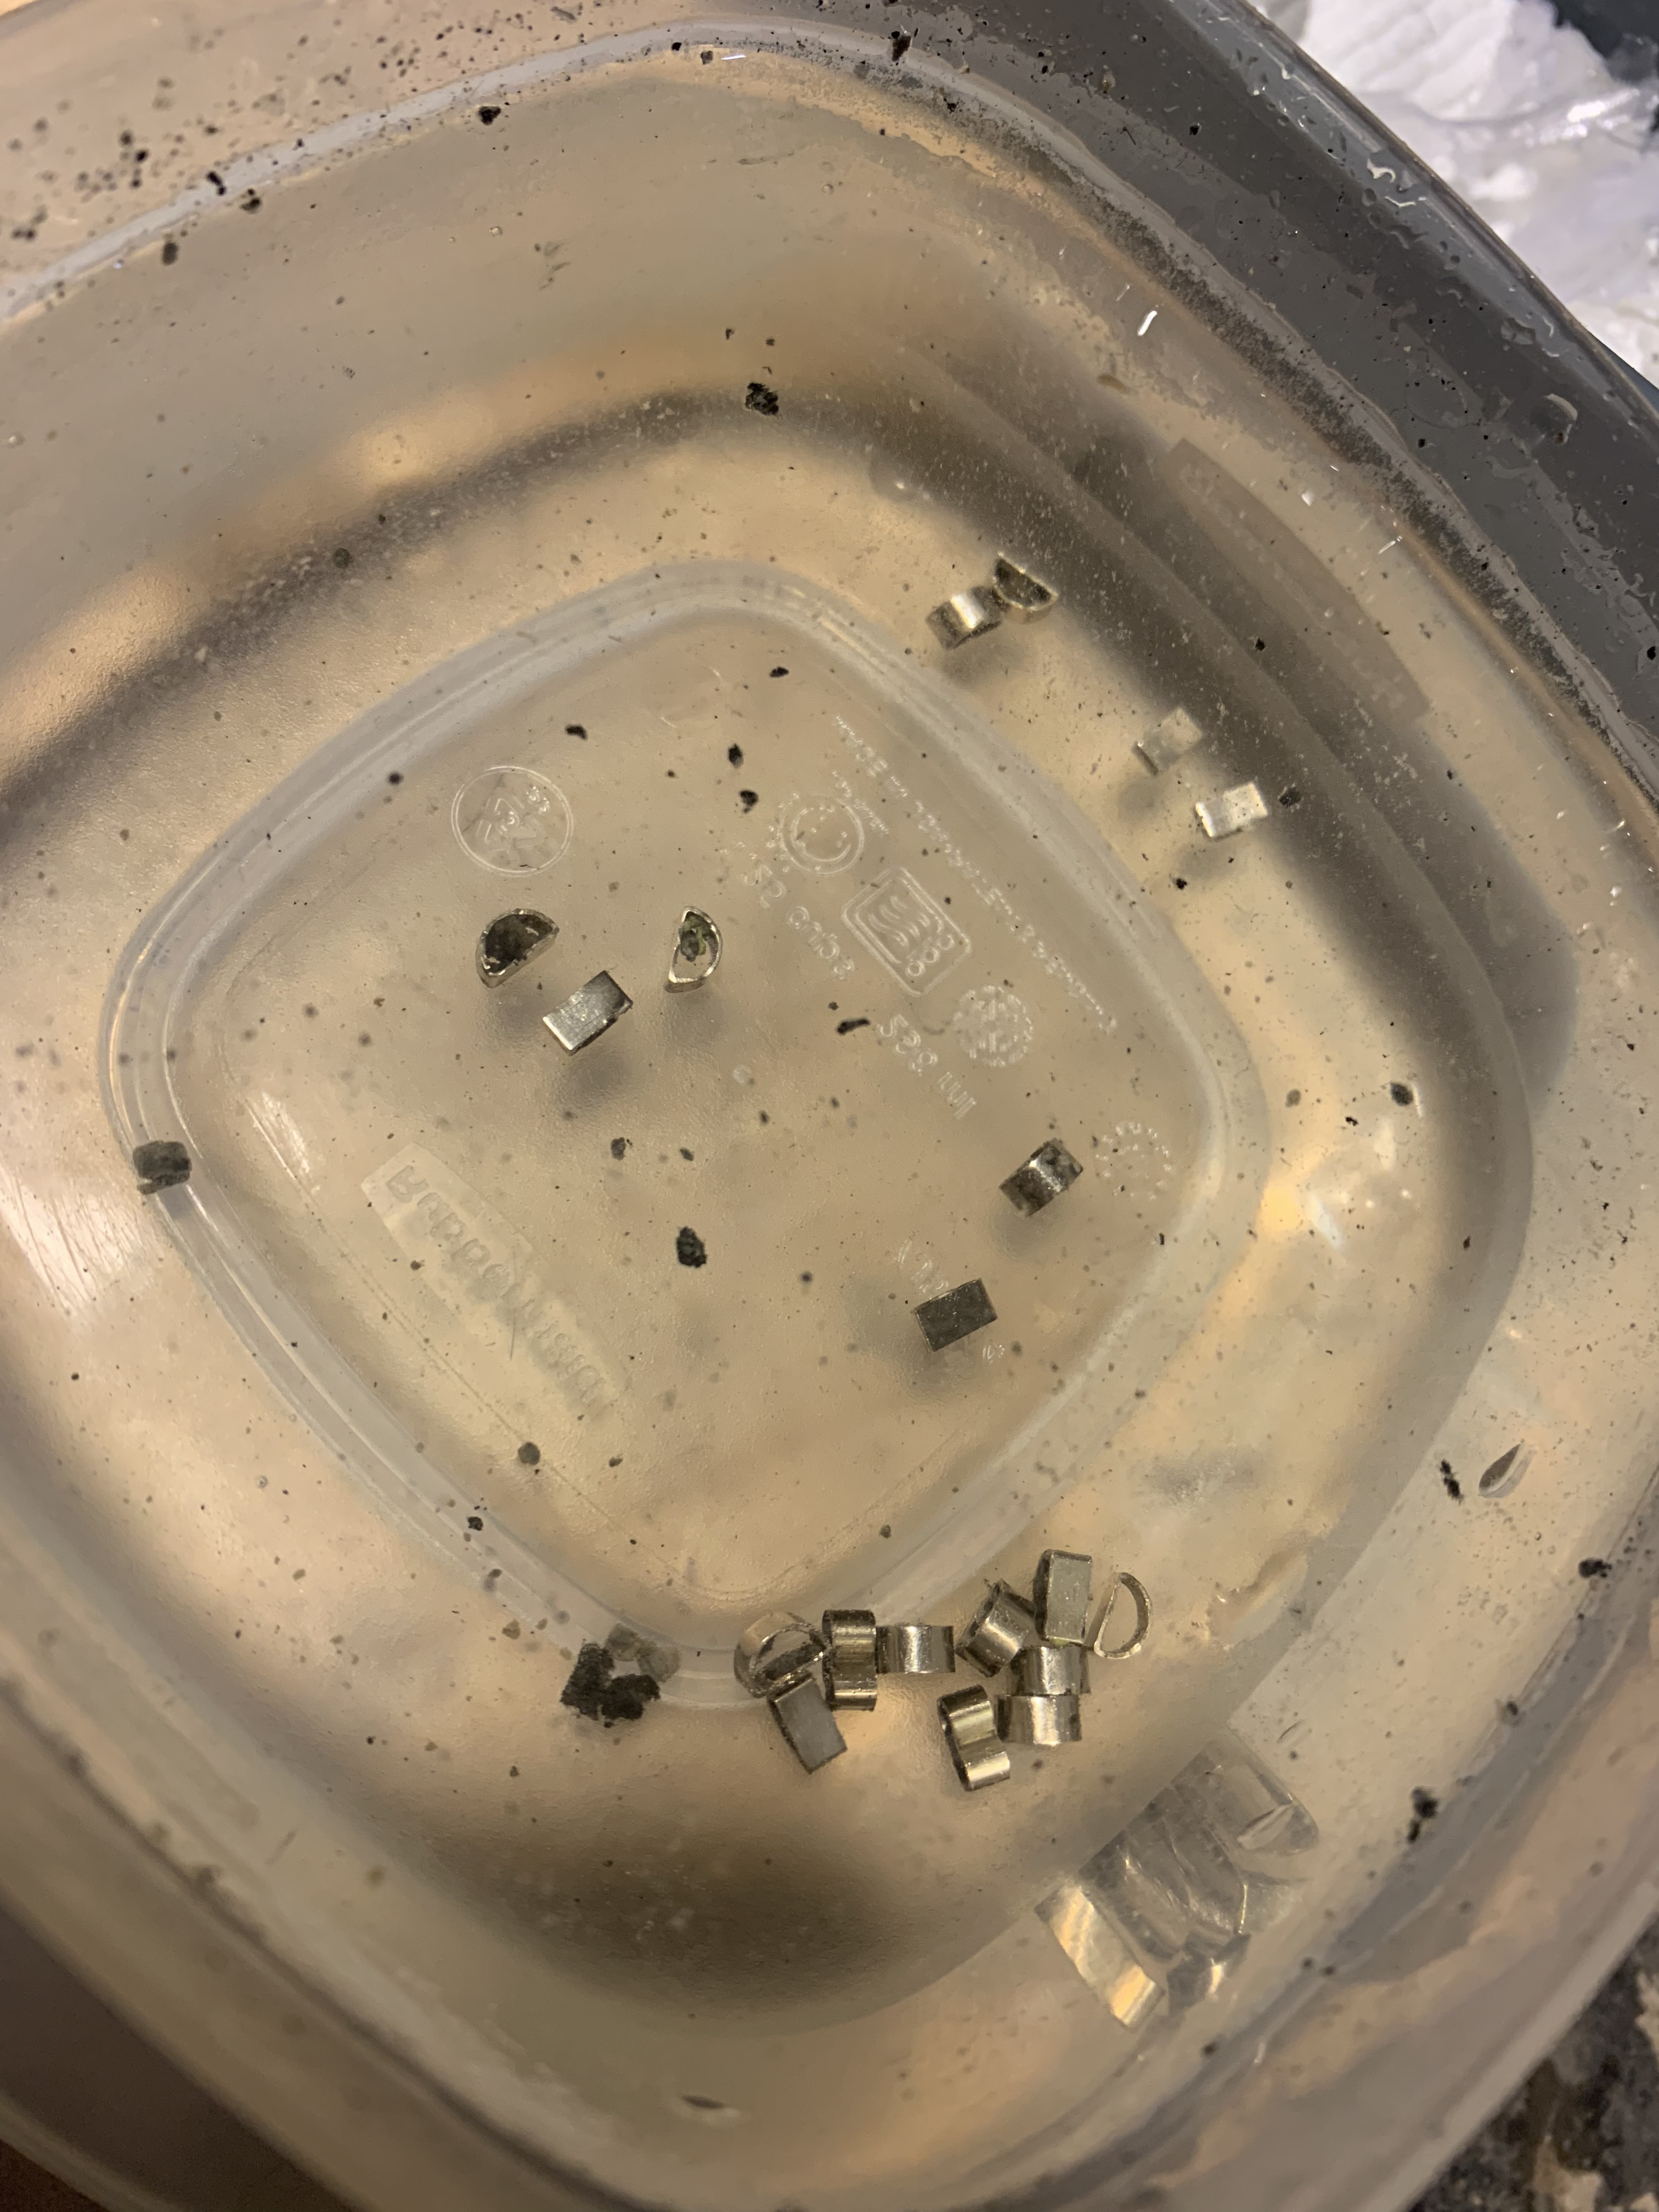
Step two: SOAK IN WARM WATER OR ULTRASONIC CLEANER IF YOU HAVE ONE. I like to heat the bracelet up a little before taking apart as the metals will expand slightly also, it keeps your work area clean (Every link on this bracelet was filled with skin dirt grime etc disgusting) I had to let this sit in a bowl of degreaser for 24 hours to completely clean out the center links!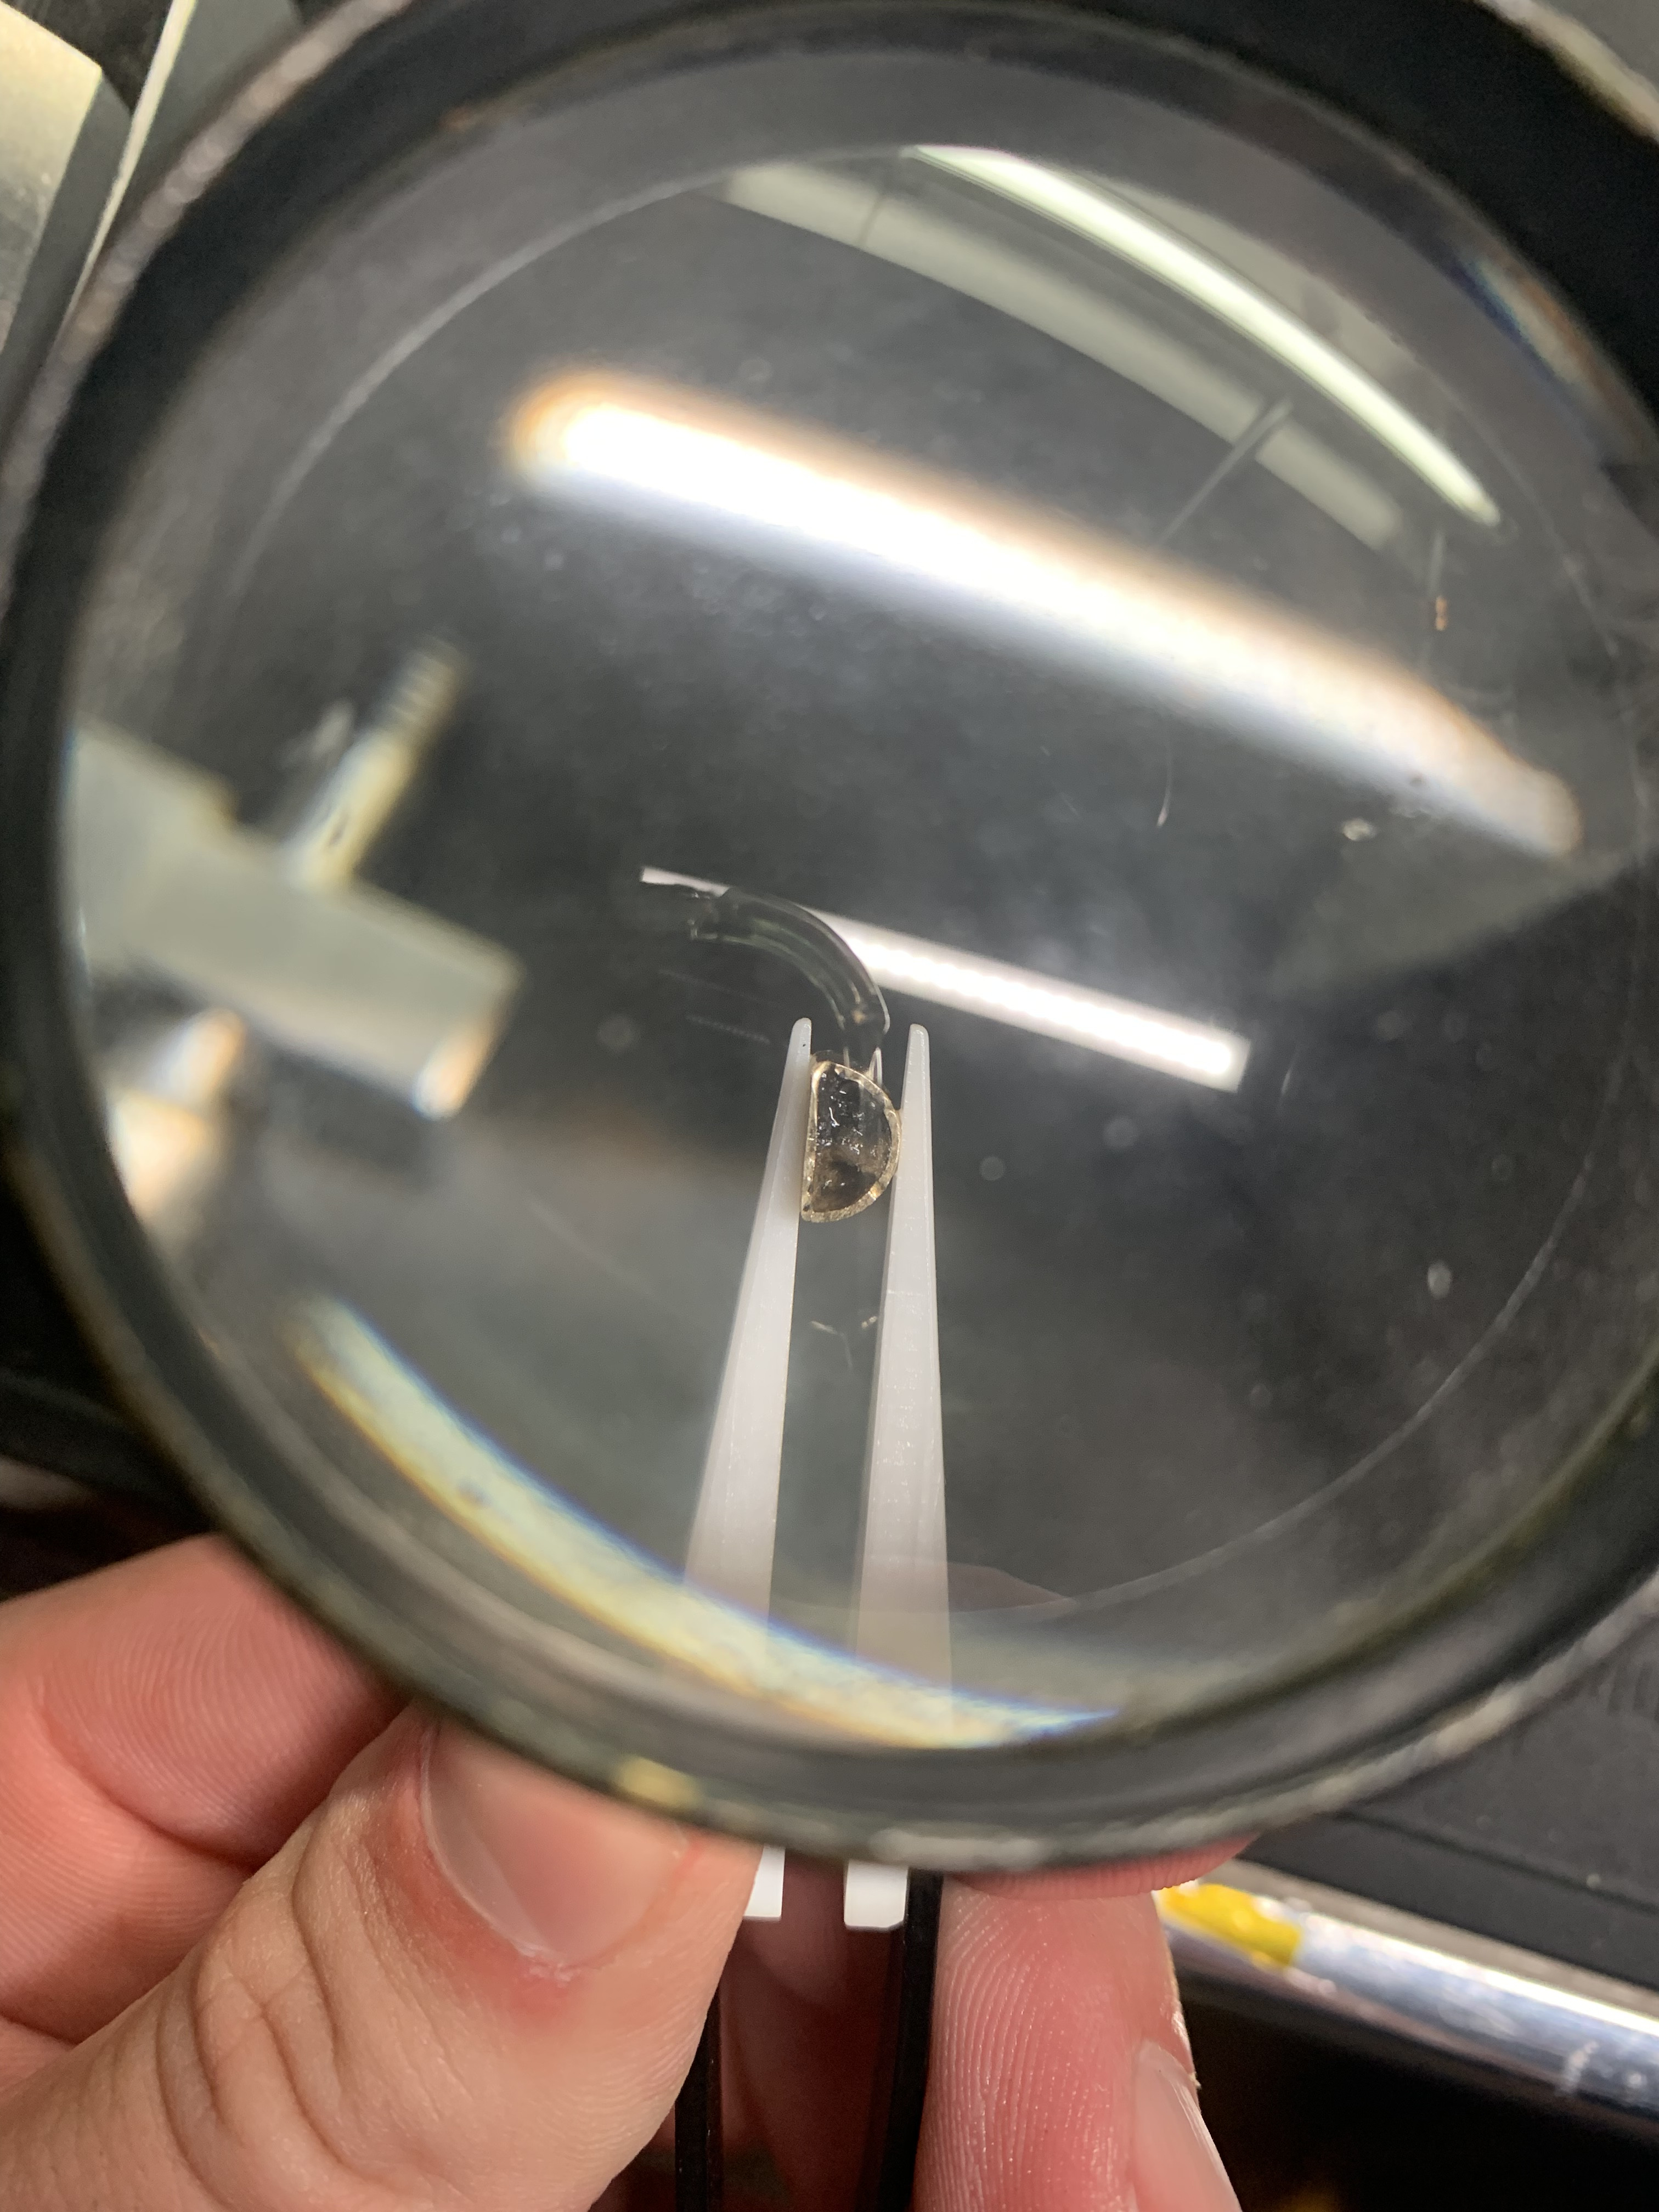
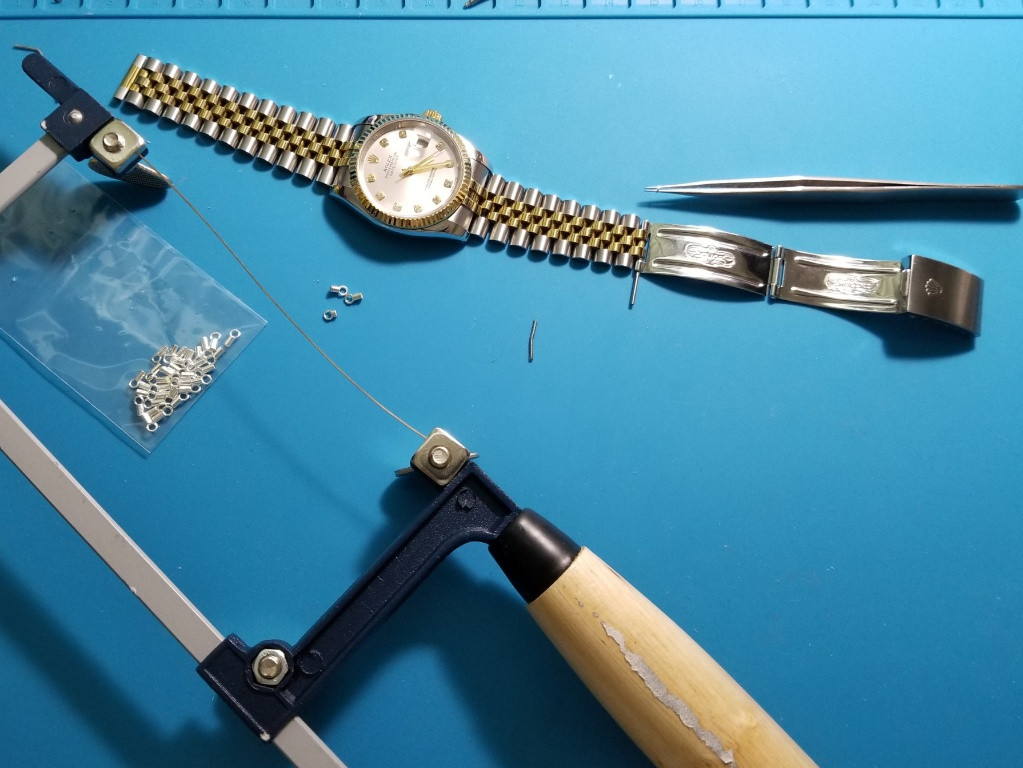
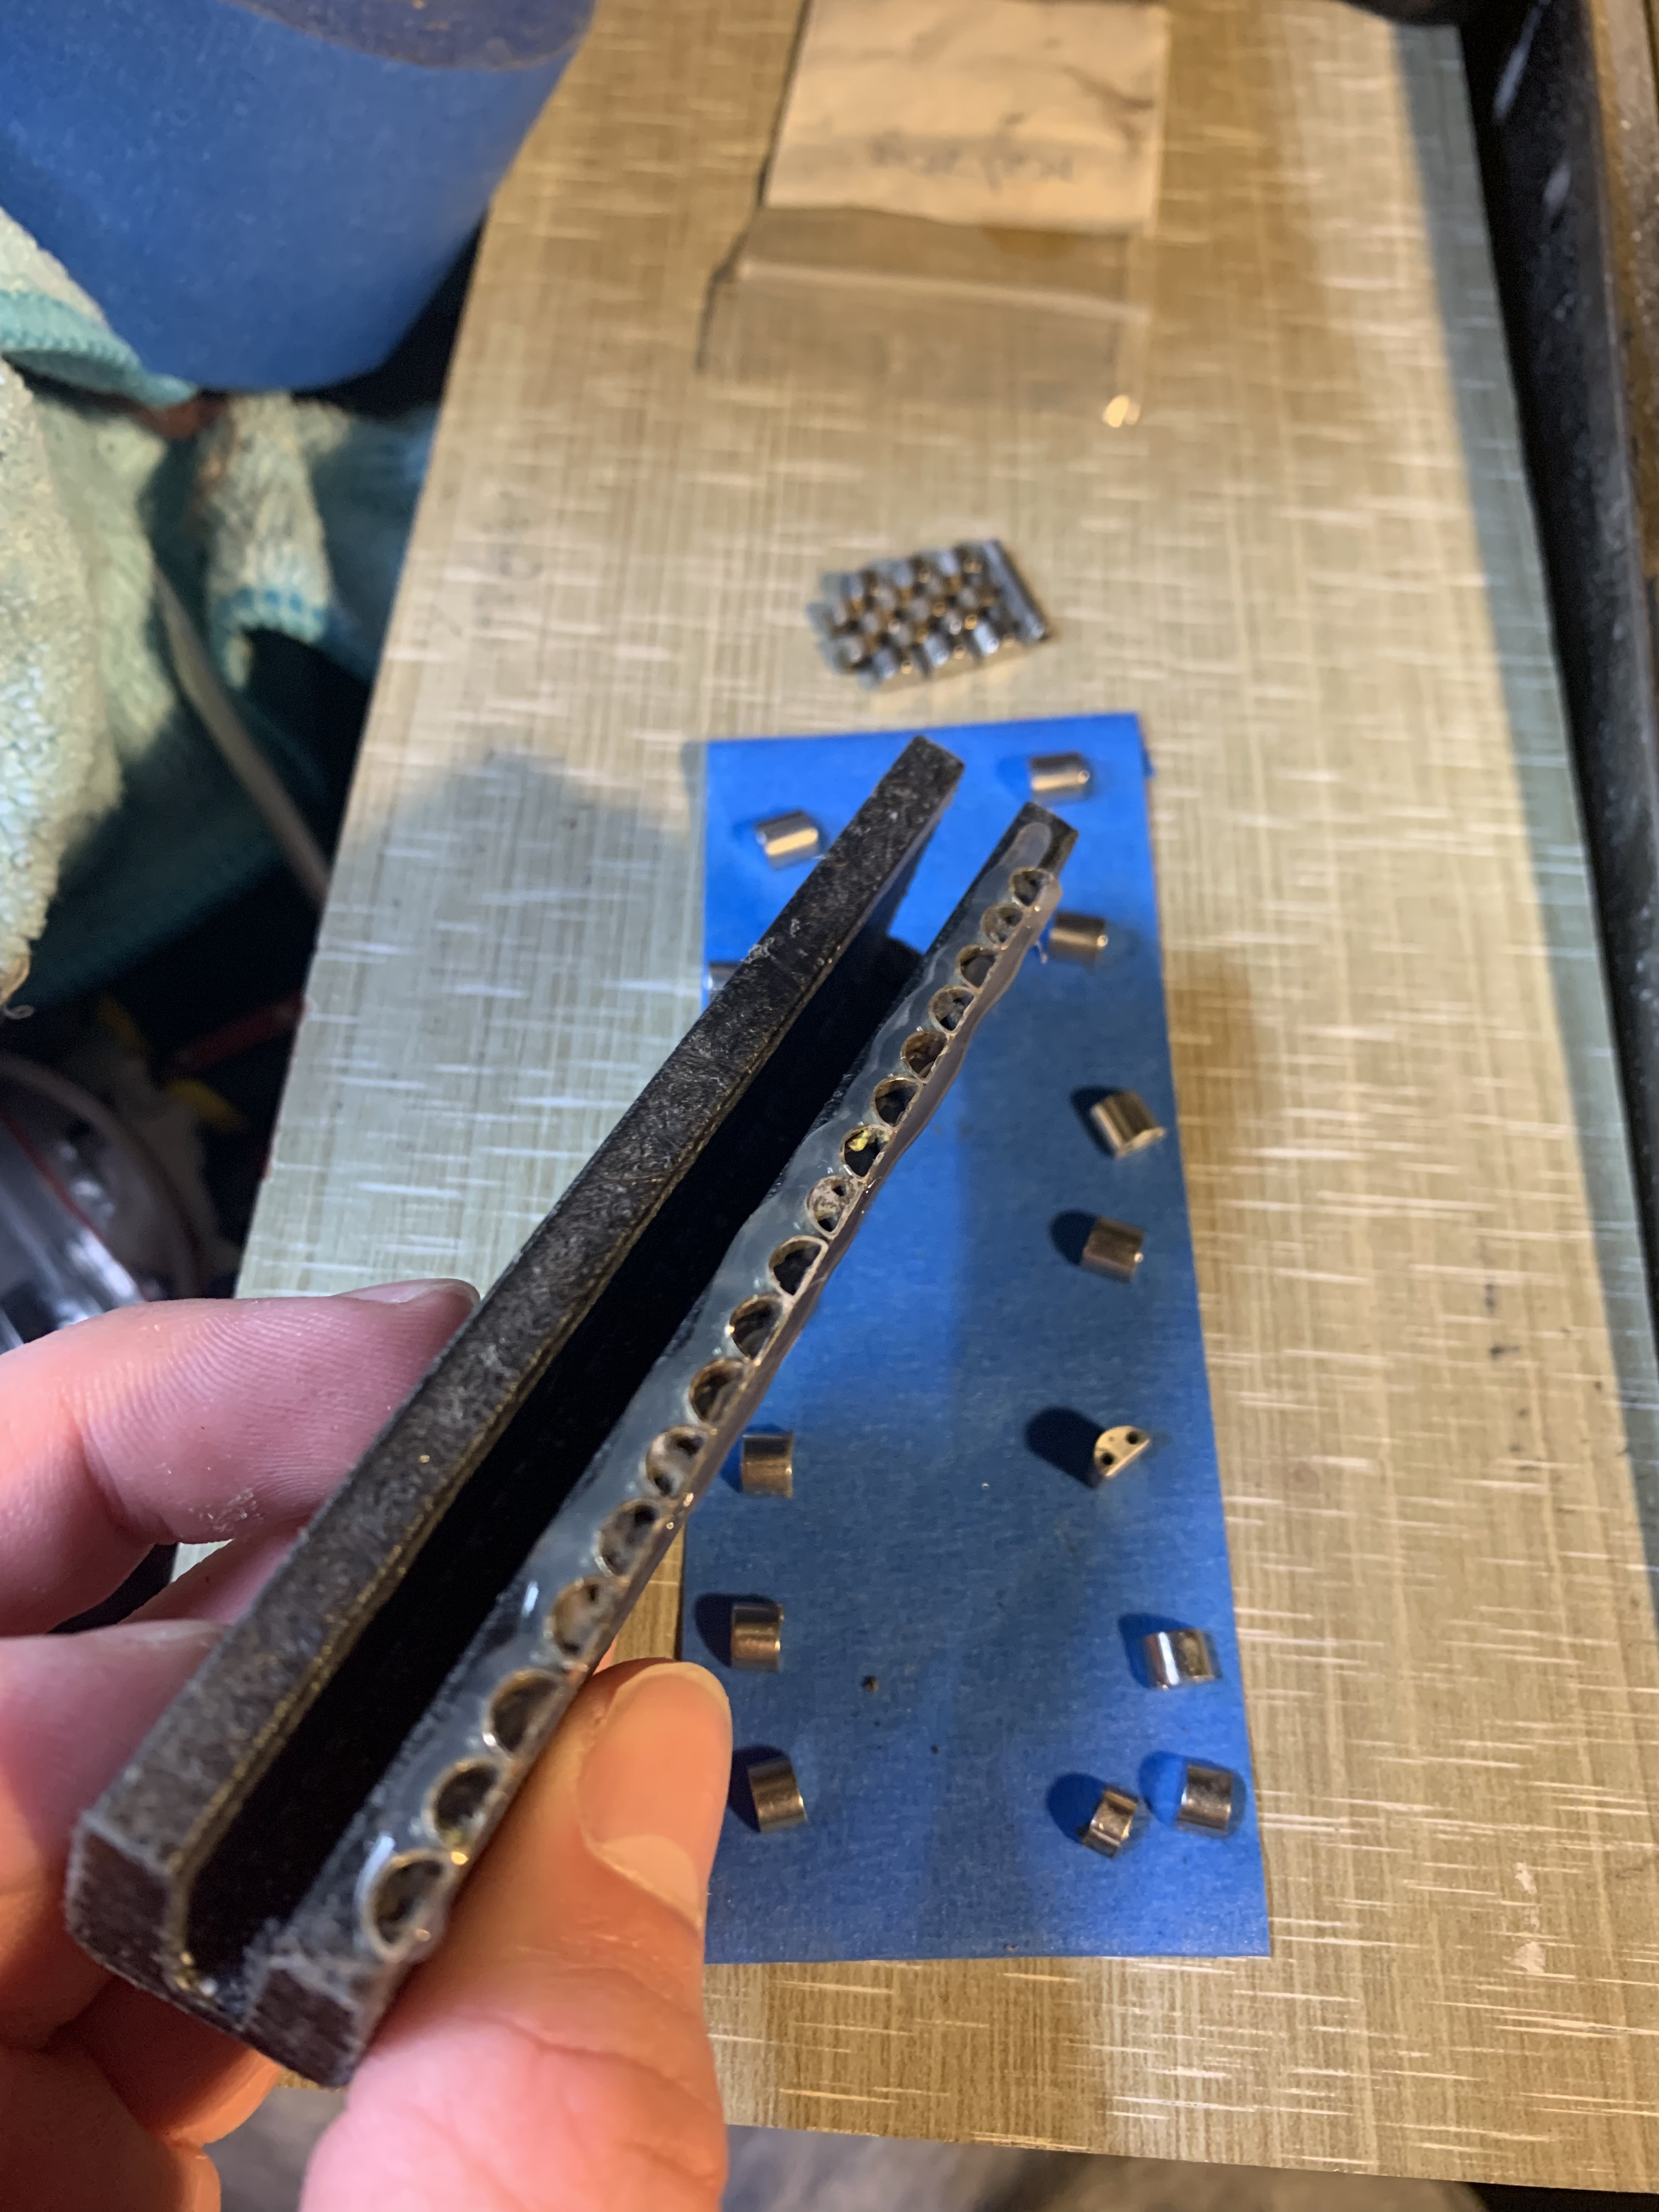
Step Three: This process will require a bracelet repair jig, usually around $1000, can find on eBay, alibaba etc not cheap but well worth the expense as it pays for itself a few bracelets in. Line up each link in the jig then tighten it to pull links apart its important to keep the links in order as each link has a specific profile! Center links are all the same throughout but my OCD keeps everything in order.

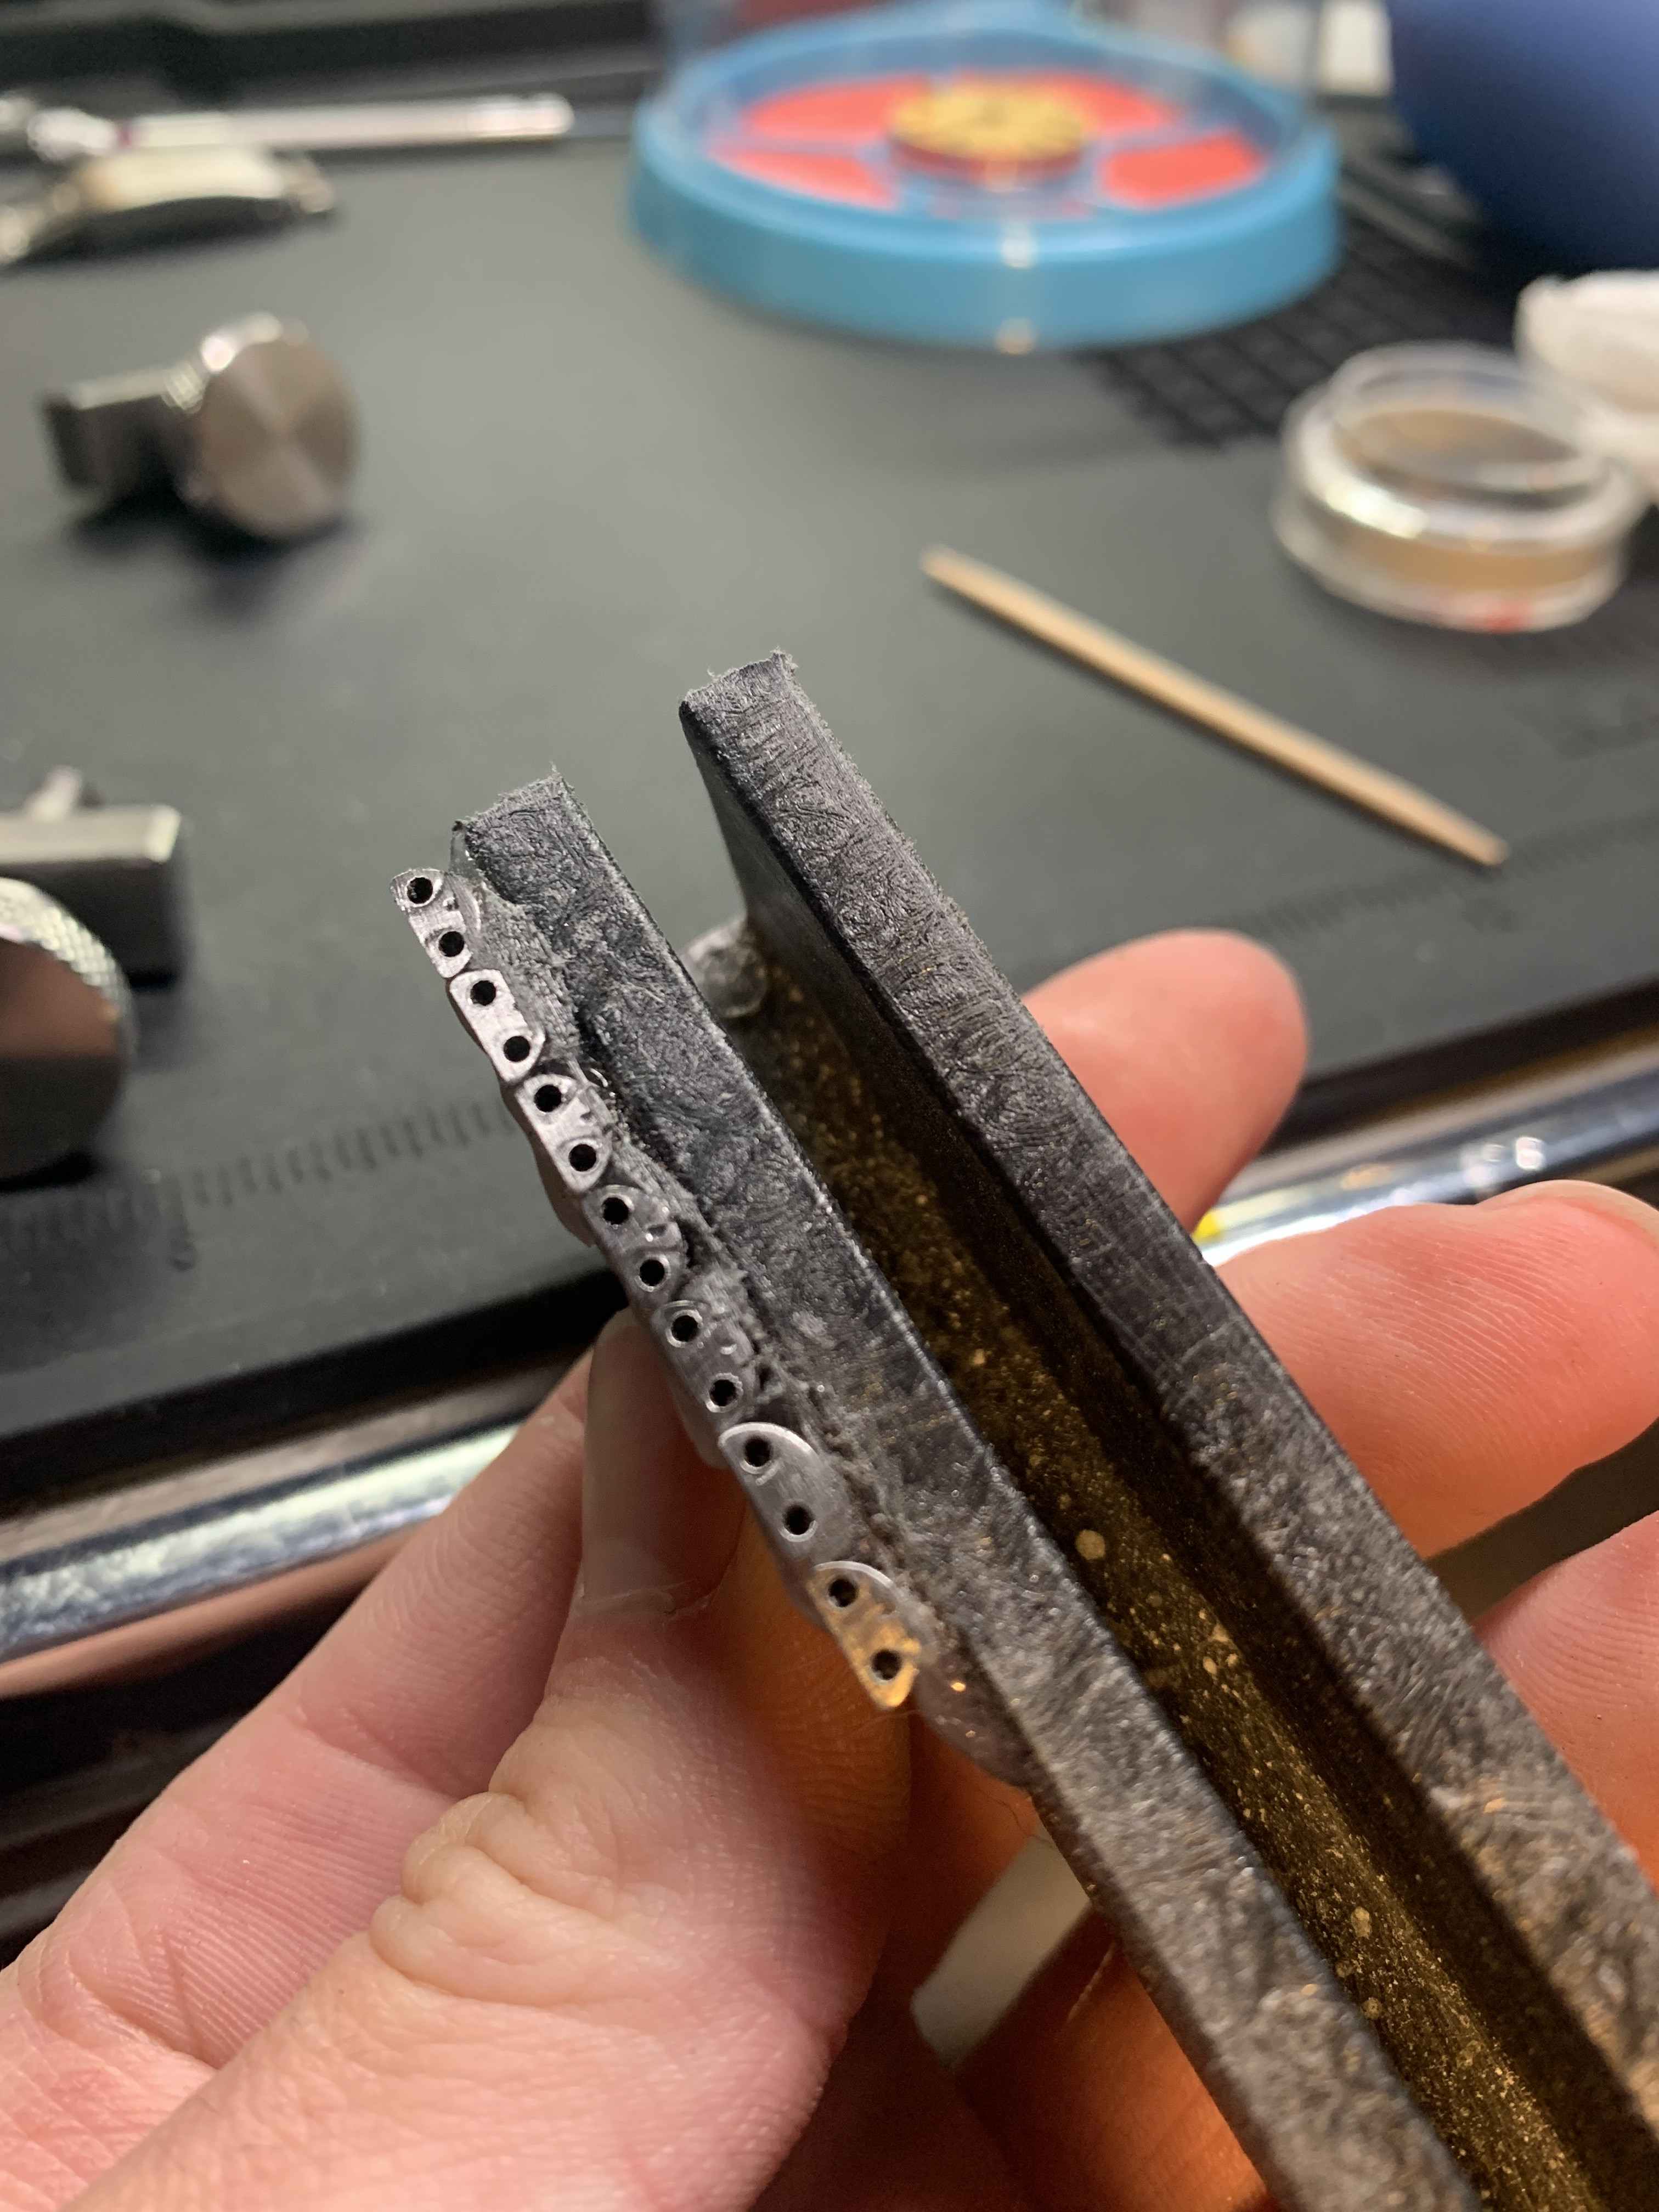
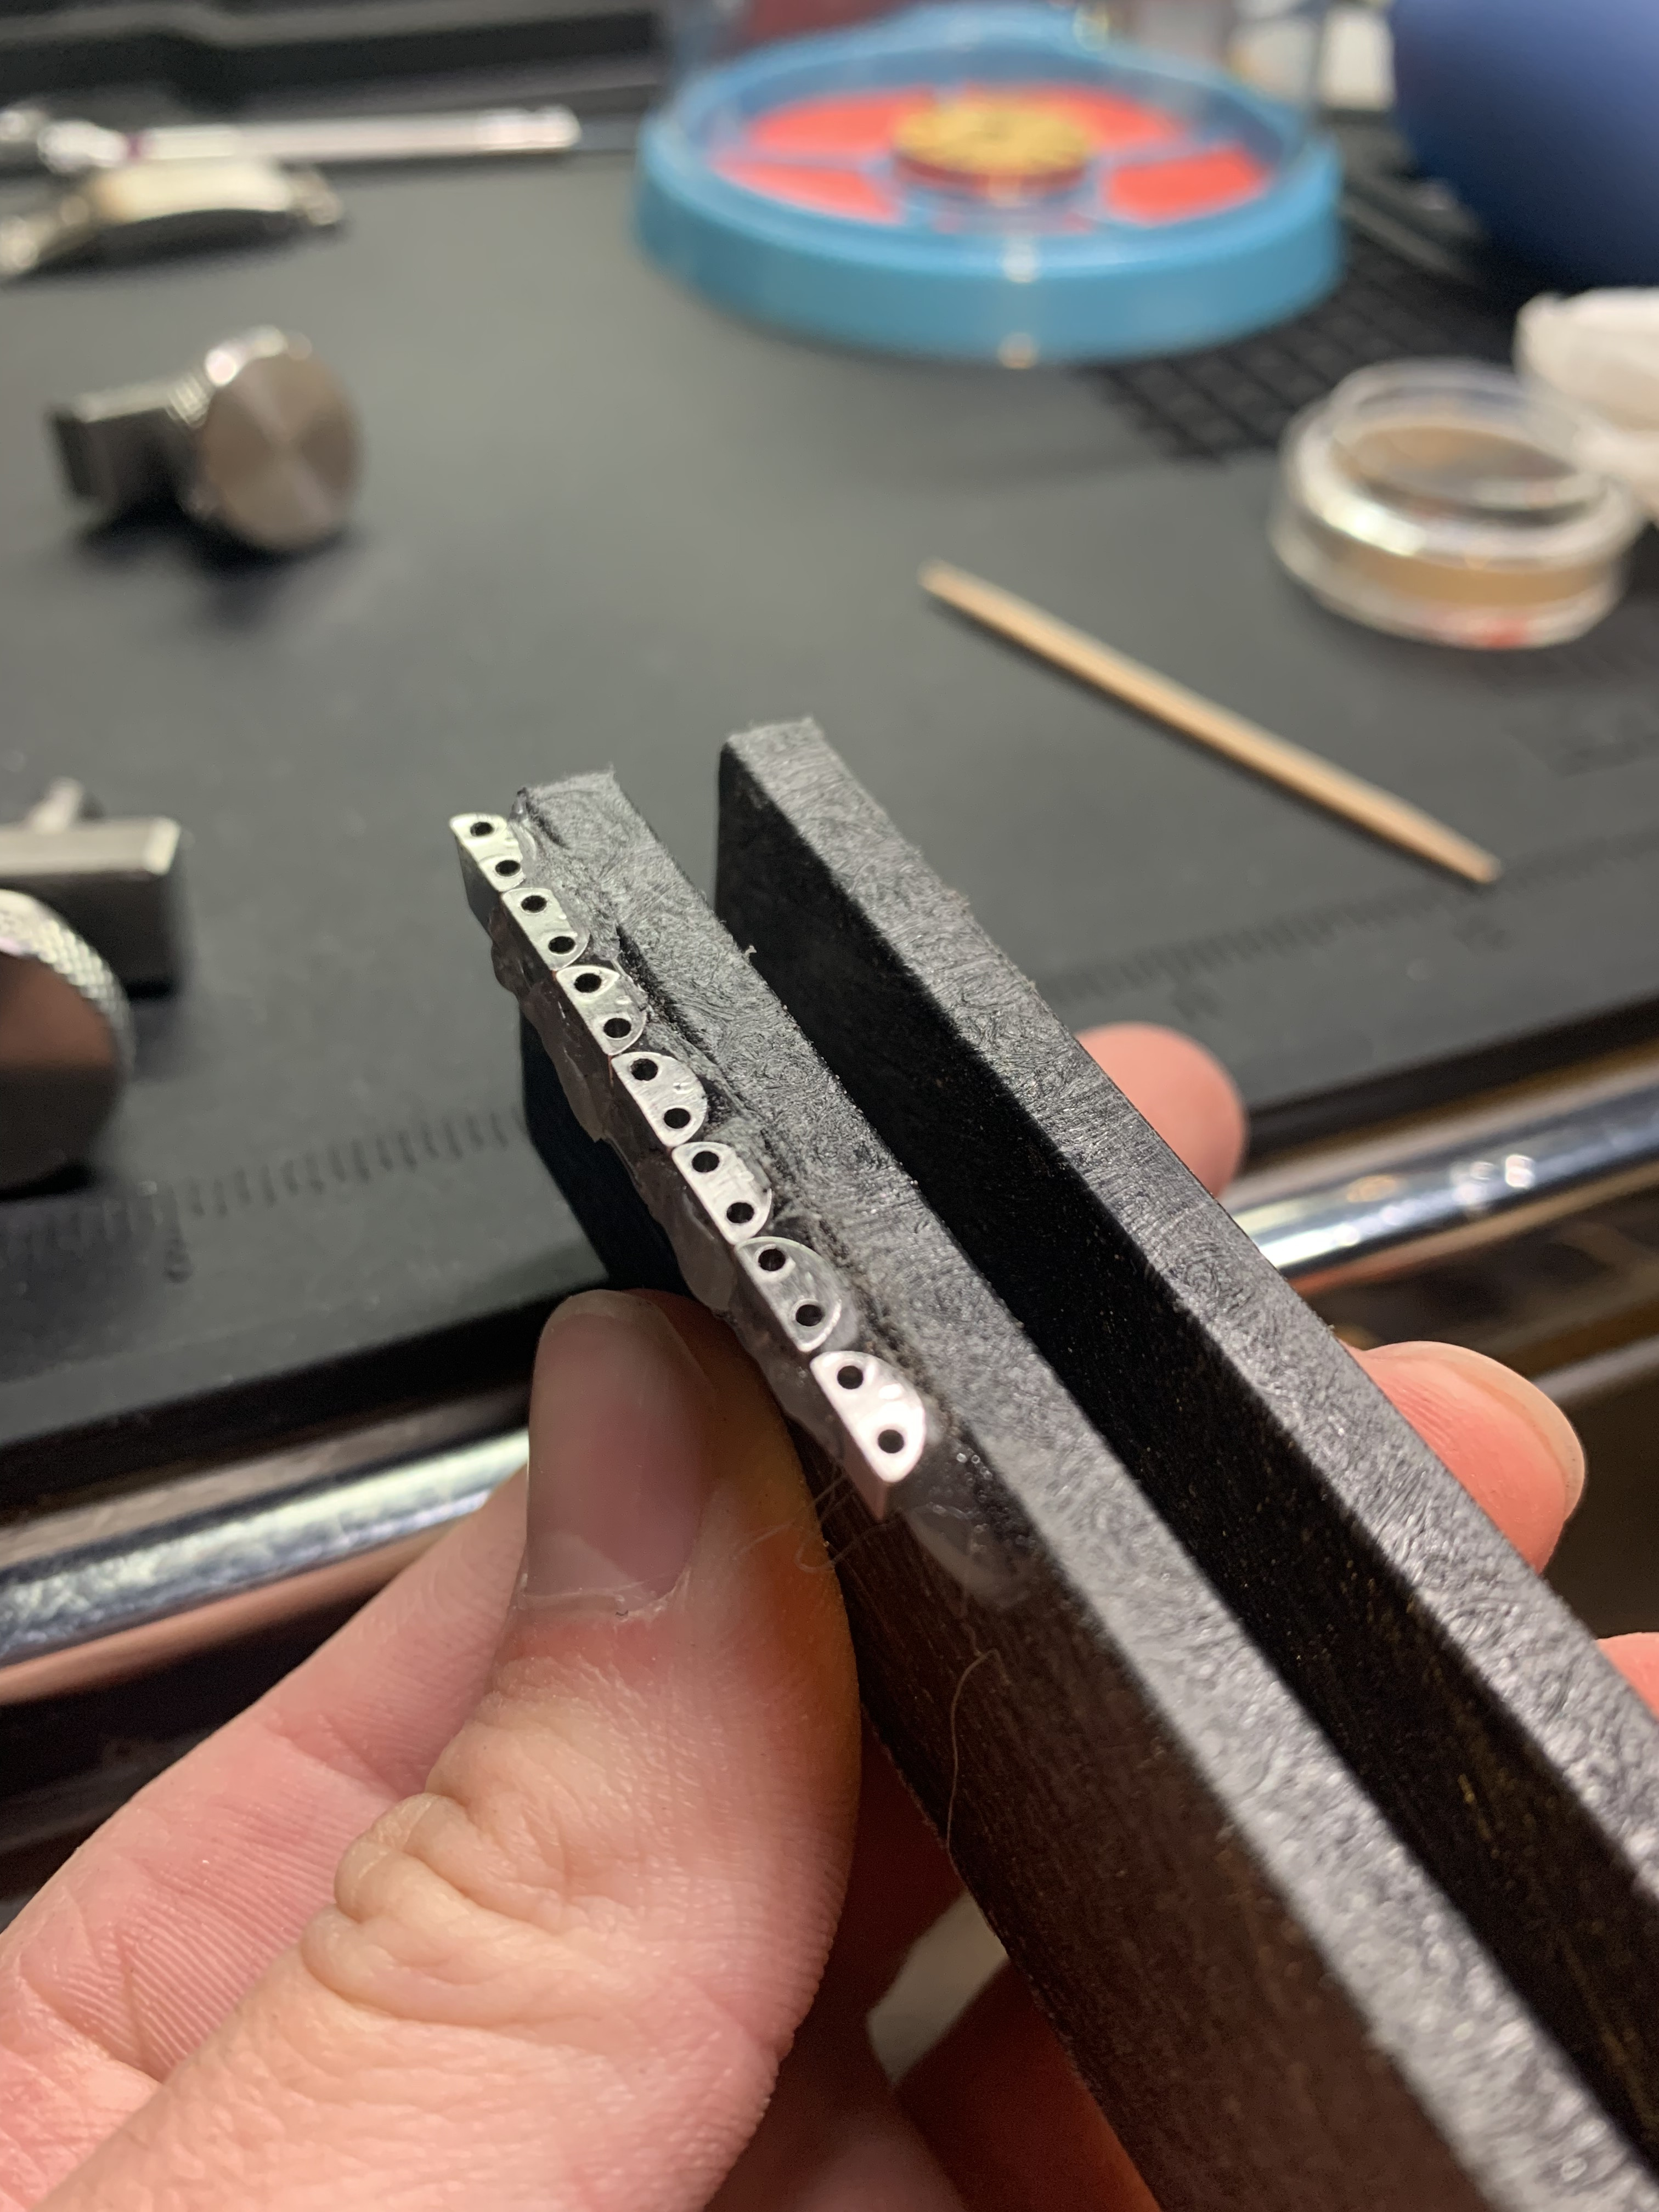
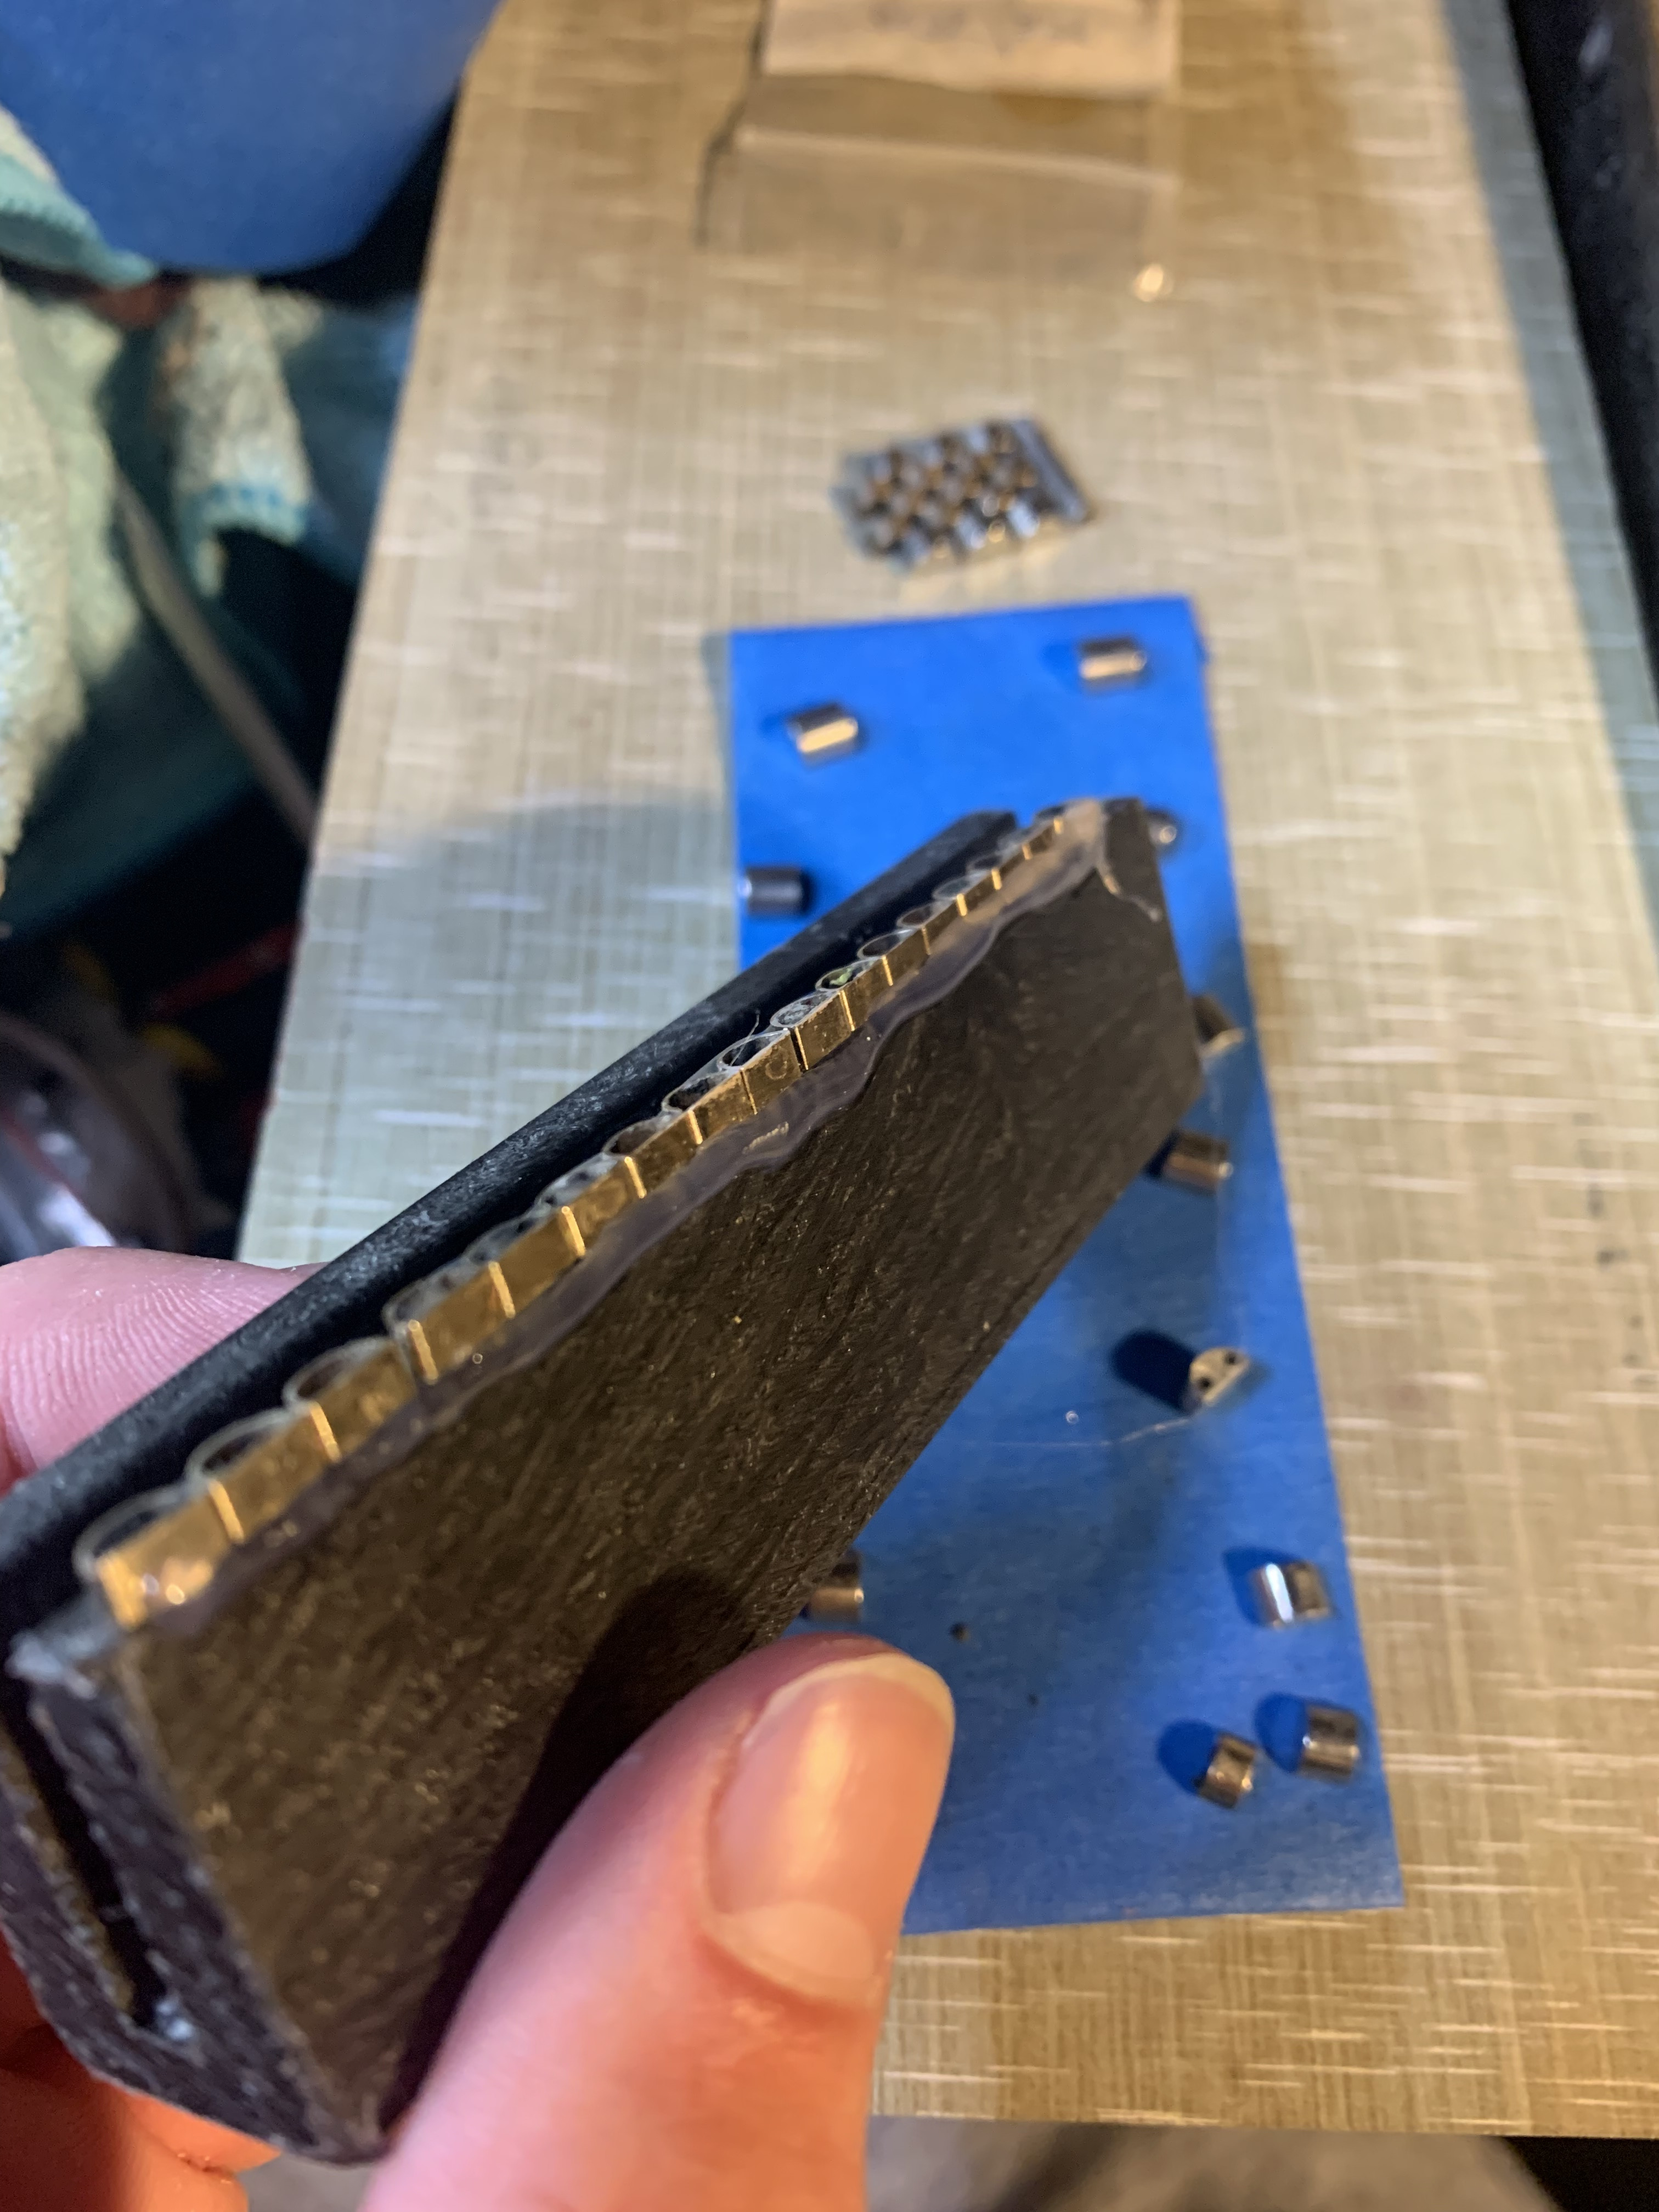
Step Four: THIS IS WHERE PATIENCE IS NEEDED! Now after removing the the pins you can just hammer new ones in, and slap it together however the wear an unevenness of the links will cause binding and extreme stiffness. We want to eliminate stretch without eliminating functionality! So what I like to do Is line all of the links up on a flat level surface then using hot glue and a plastic jig, secure all of the links. This will allow you to sand all of them evenly and get them as flat as possible: you can overdo this especially on gold center links, so go nice and slow until your happy with the feeling of each link, make sure everything is flat!
Step five: Now that you’ve spent the better part of the day sanding tiny links, you can rinse and remove any remaining debris & get ready for rebuild!
get your knurled bracelet pins, hold with pliers and lightly tap back into outer link do this one by one so you don’t run the risk of bending pins, slide back on center links, then grab the remaining outer link, line up with new pins and TAP ON.. just enough to secure it. Fail step is to put in the tightening jig and close the gap, don’t overdo it as you will lock up the link & it wont move! I like to pull on the links making sure there’s even spacing and tighten making sure each individual link can still fold!
Lastly refinish the bracelet, no need to elaborate here, can show that process in another topic.
Step Six: crack open a beer or in my case a bottle of LVOV polish vodka and admire your work, it may not be perfect but definitely a serious improvement, most of these people online crank these links shut making them extremely stiff but they do it just to say hey look its pin straight! Me personally I like the look of “lightly” worn, the jubilee is the most comfortable bracelet IMO so I like to have it free flowing.. Sorry for lack of pics I was always nervous about making these kinds of posts if it gains any traction I will do a better write up as I rebuild 5-10 bracelets a week!
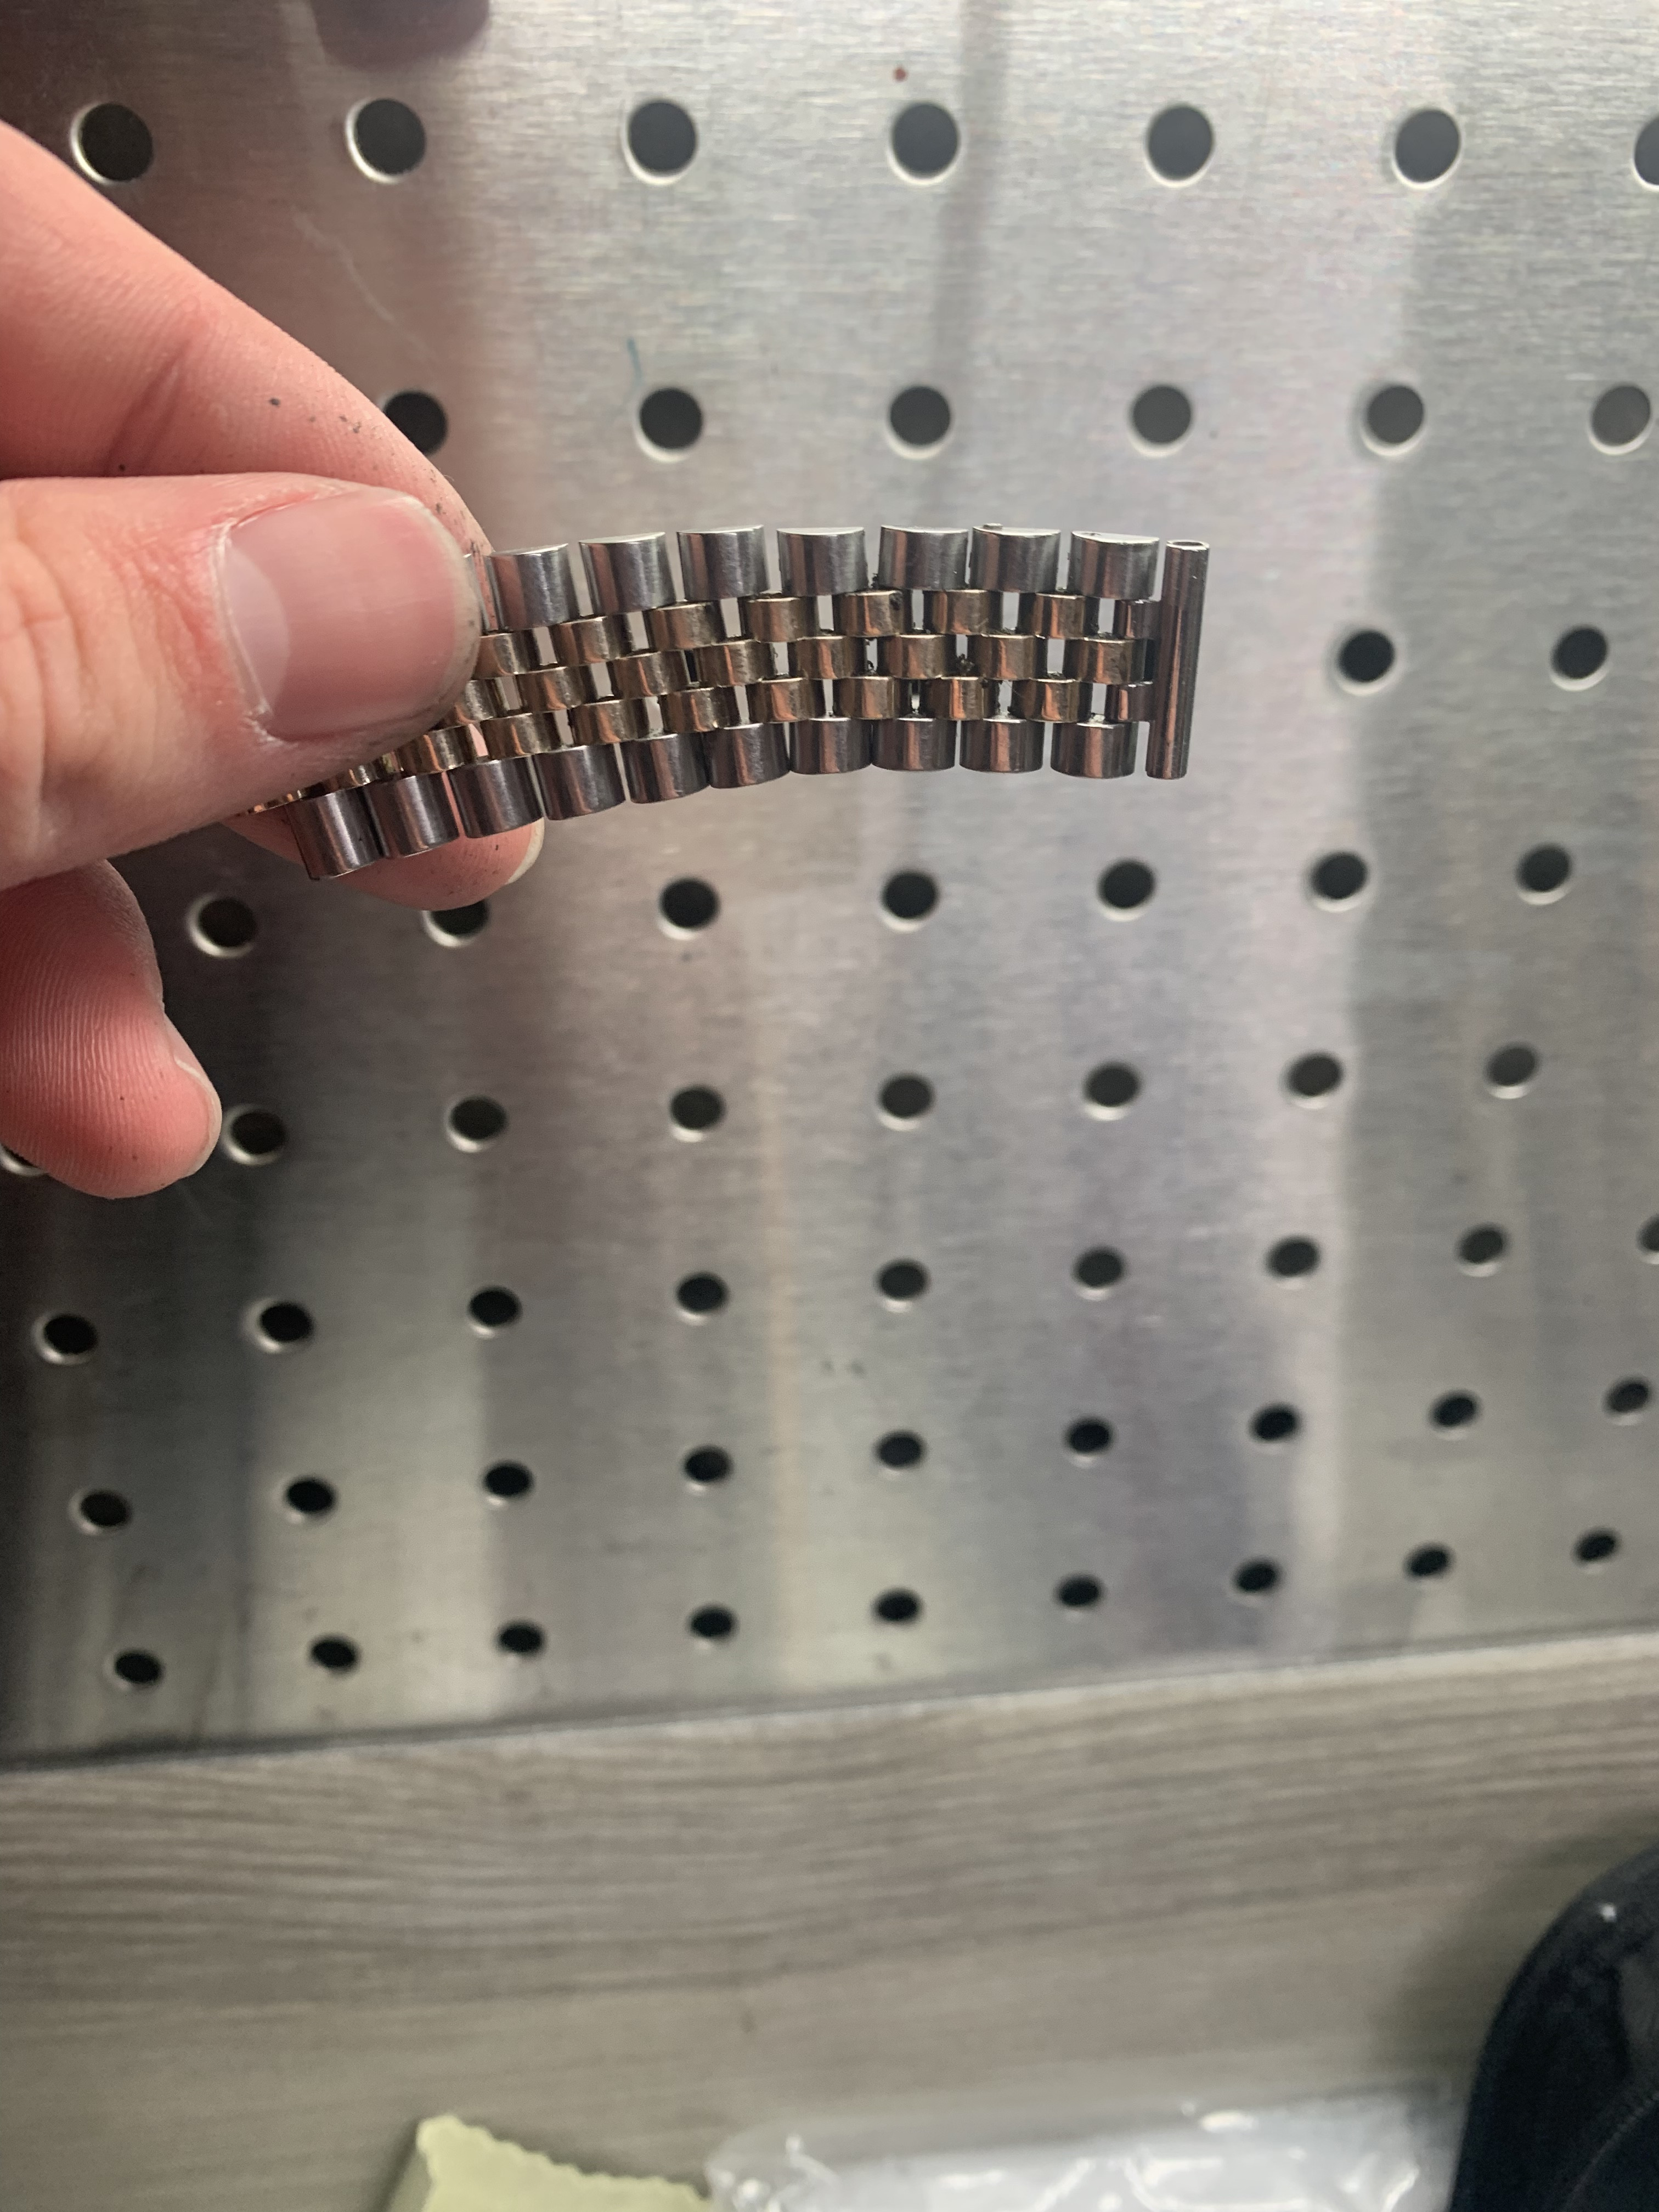

Step one: Asessing the damage, so you just acquired a gen jubilee! That’s great, however you can skip rope with it, this is caused by worn bracelet pins and links rubbing together causing indentations and deformity. Depending on the condition of how bad the center & outer-links are will ultimately determine the end result, some bracelets are just to far gone as you can only manipulate them so much before altering the bracelets width.
Step two: SOAK IN WARM WATER OR ULTRASONIC CLEANER IF YOU HAVE ONE. I like to heat the bracelet up a little before taking apart as the metals will expand slightly also, it keeps your work area clean (Every link on this bracelet was filled with skin dirt grime etc disgusting) I had to let this sit in a bowl of degreaser for 24 hours to completely clean out the center links!
Step Three: This process will require a bracelet repair jig, usually around $1000, can find on eBay, alibaba etc not cheap but well worth the expense as it pays for itself a few bracelets in. Line up each link in the jig then tighten it to pull links apart its important to keep the links in order as each link has a specific profile! Center links are all the same throughout but my OCD keeps everything in order.
Step Four: THIS IS WHERE PATIENCE IS NEEDED! Now after removing the the pins you can just hammer new ones in, and slap it together however the wear an unevenness of the links will cause binding and extreme stiffness. We want to eliminate stretch without eliminating functionality! So what I like to do Is line all of the links up on a flat level surface then using hot glue and a plastic jig, secure all of the links. This will allow you to sand all of them evenly and get them as flat as possible: you can overdo this especially on gold center links, so go nice and slow until your happy with the feeling of each link, make sure everything is flat!
Step five: Now that you’ve spent the better part of the day sanding tiny links, you can rinse and remove any remaining debris & get ready for rebuild!
get your knurled bracelet pins, hold with pliers and lightly tap back into outer link do this one by one so you don’t run the risk of bending pins, slide back on center links, then grab the remaining outer link, line up with new pins and TAP ON.. just enough to secure it. Fail step is to put in the tightening jig and close the gap, don’t overdo it as you will lock up the link & it wont move! I like to pull on the links making sure there’s even spacing and tighten making sure each individual link can still fold!
Lastly refinish the bracelet, no need to elaborate here, can show that process in another topic.
Step Six: crack open a beer or in my case a bottle of LVOV polish vodka and admire your work, it may not be perfect but definitely a serious improvement, most of these people online crank these links shut making them extremely stiff but they do it just to say hey look its pin straight! Me personally I like the look of “lightly” worn, the jubilee is the most comfortable bracelet IMO so I like to have it free flowing.. Sorry for lack of pics I was always nervous about making these kinds of posts if it gains any traction I will do a better write up as I rebuild 5-10 bracelets a week!