- 3/6/14
- 14,770
- 6,323
- 113
Thought I'd post this here aswell as it's Rolex only.
-----
Hey boys, as promised I'll write up a tutorial (my first here :woo") on how to swap the crystal of your watch without having to take out the whole movement.
on how to swap the crystal of your watch without having to take out the whole movement.
This might come in handy as there are some people (including myself (sometimeees)) that tend to screw up the keyless when reassembling the watch.
I've captured every single step of it + some additional steps that you can do or not do..
Also this was done on a WM9 watch with gen construction bezel. I'Ve done it on TC's aswell but I don't know about others.
You should all be aware about that if you do try this, you do it at your own risk. Just making sure so no one tries to sue me because he's ruined his watch because he didn't get it.
So let's begin!
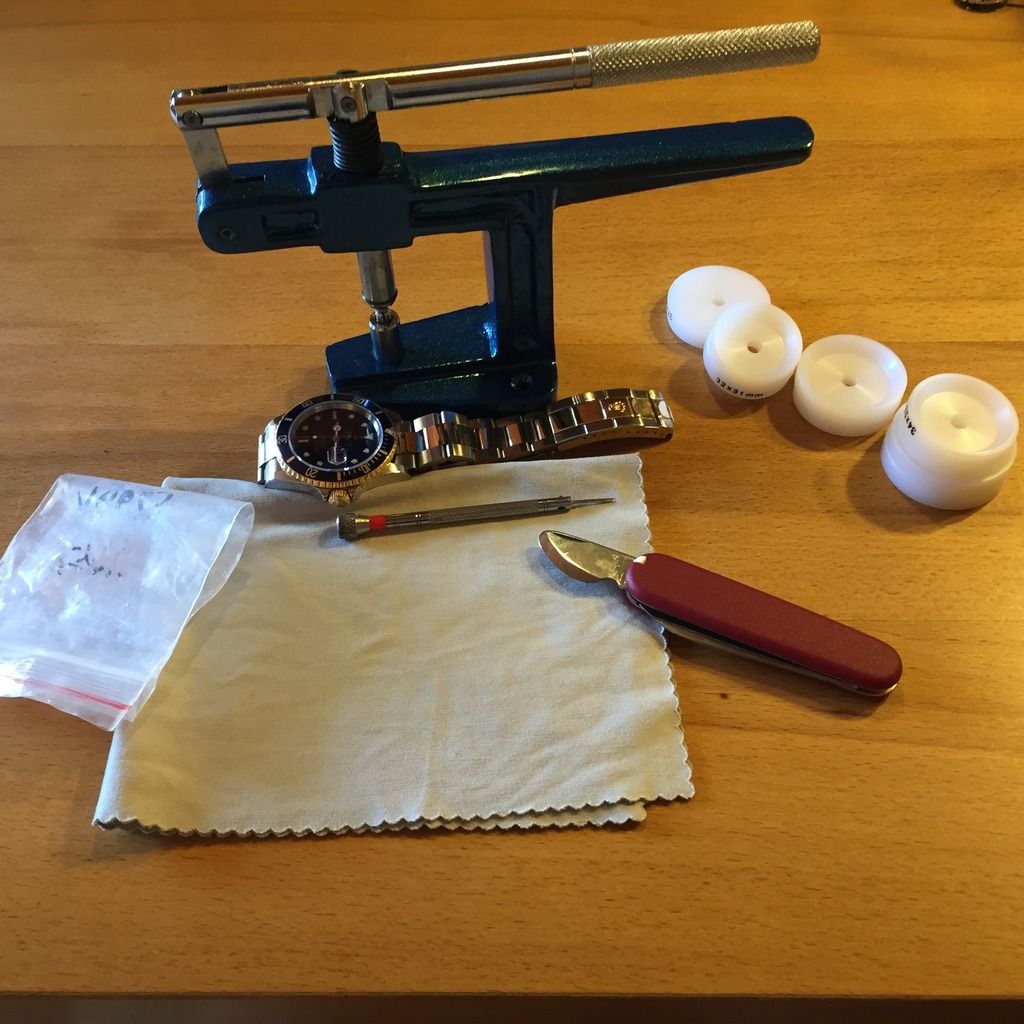
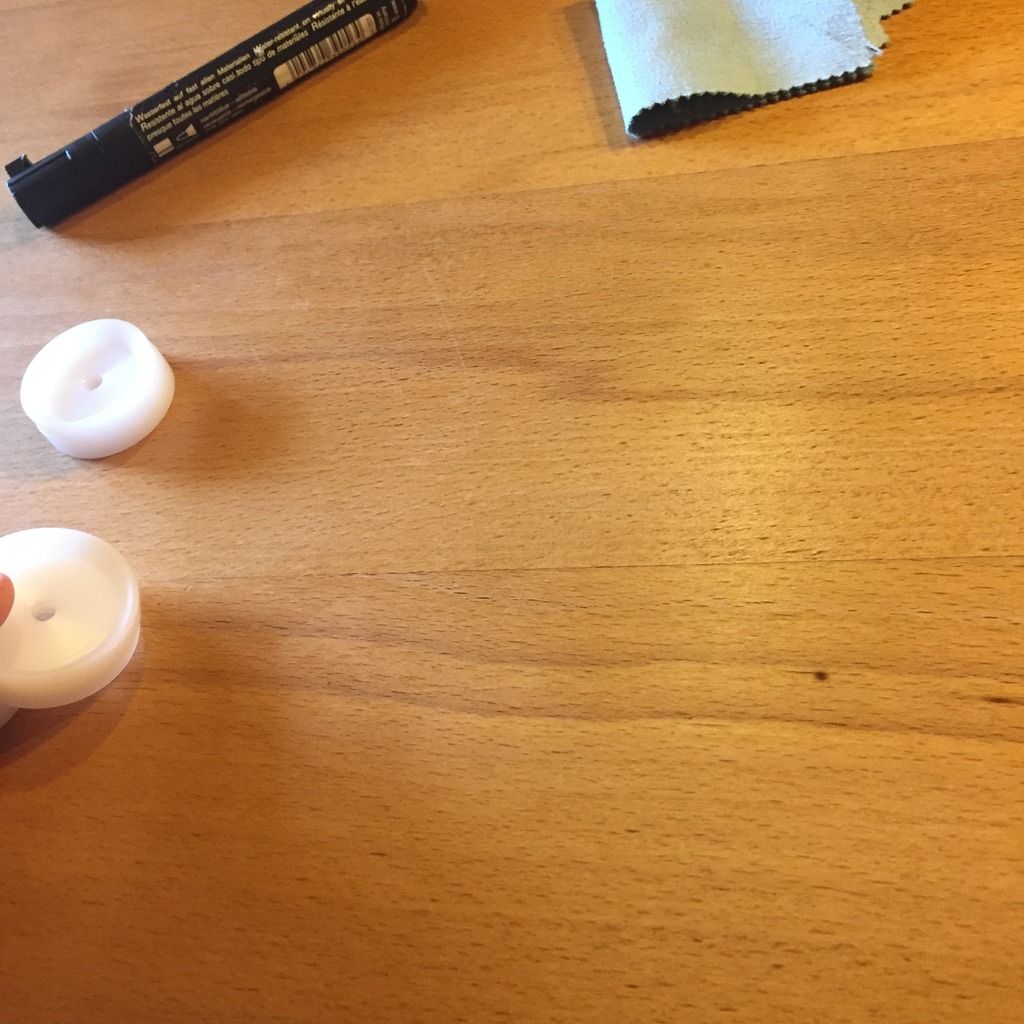
These are the tools that I use to do it.
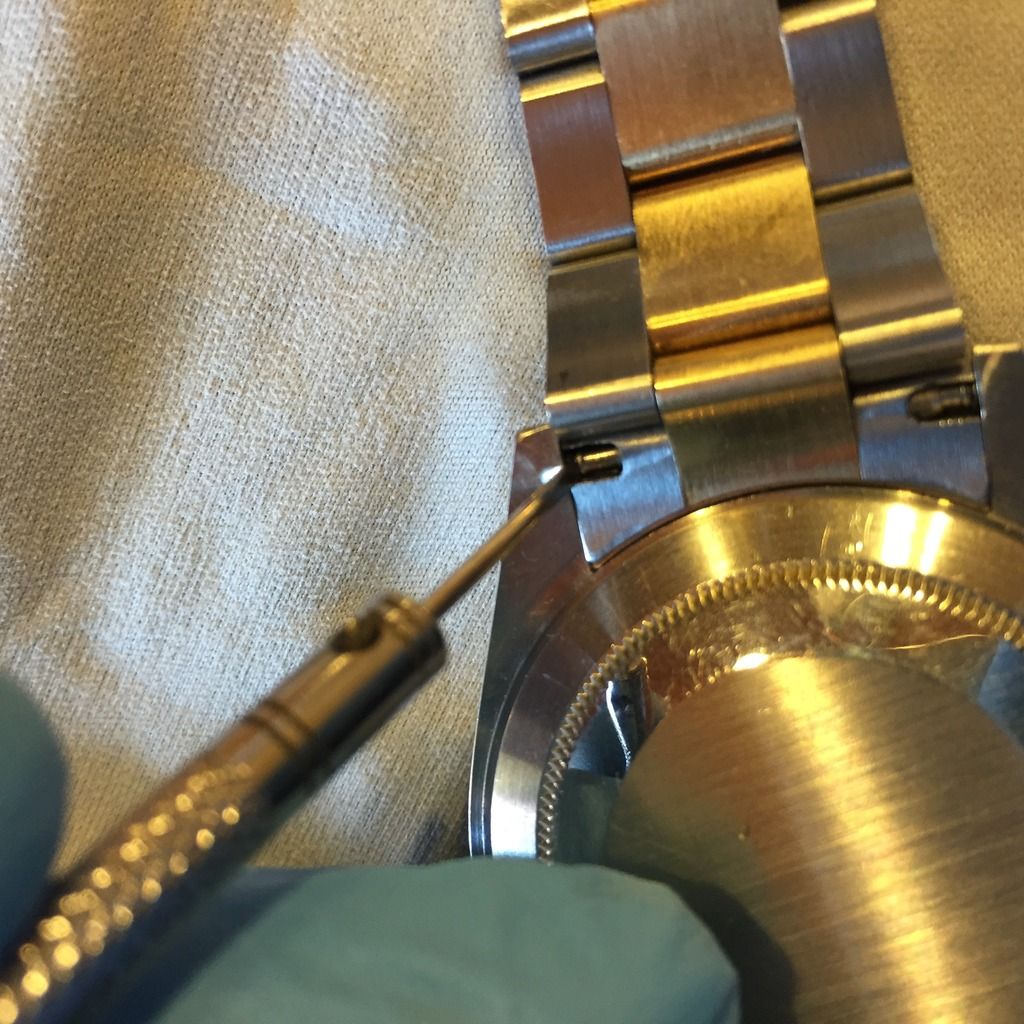
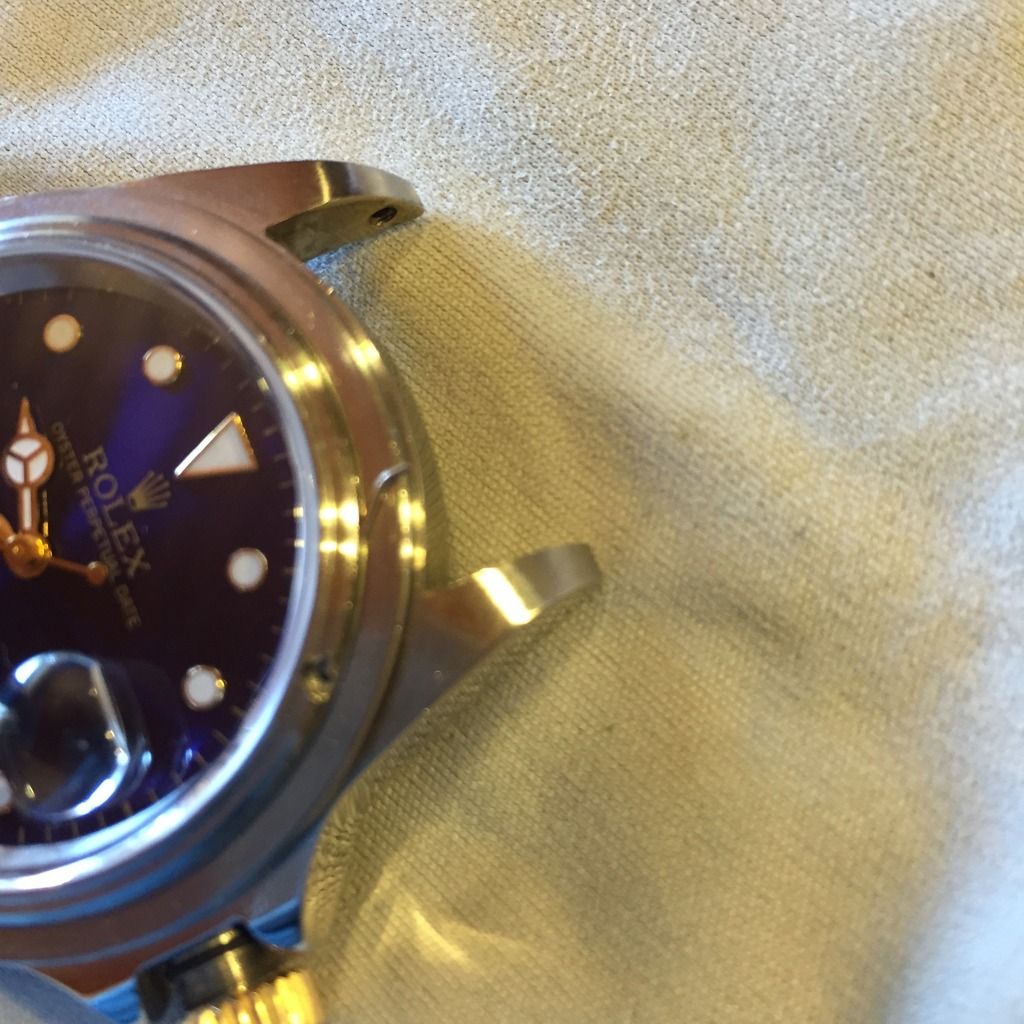
So first step will be removing the bracelet. Just pop out the springbars with the red screwdriver. Make sure you lay them somewhere you don't loose 'em.
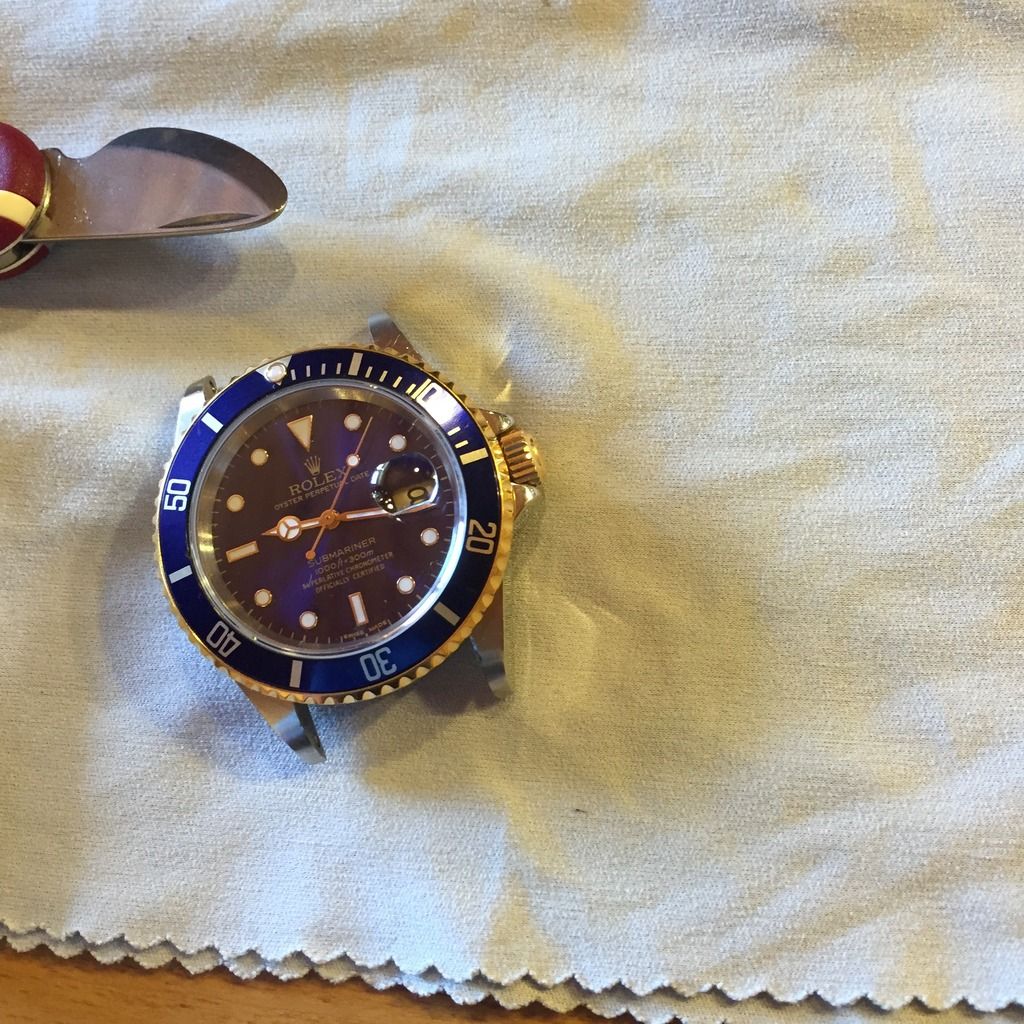
Should look like this!
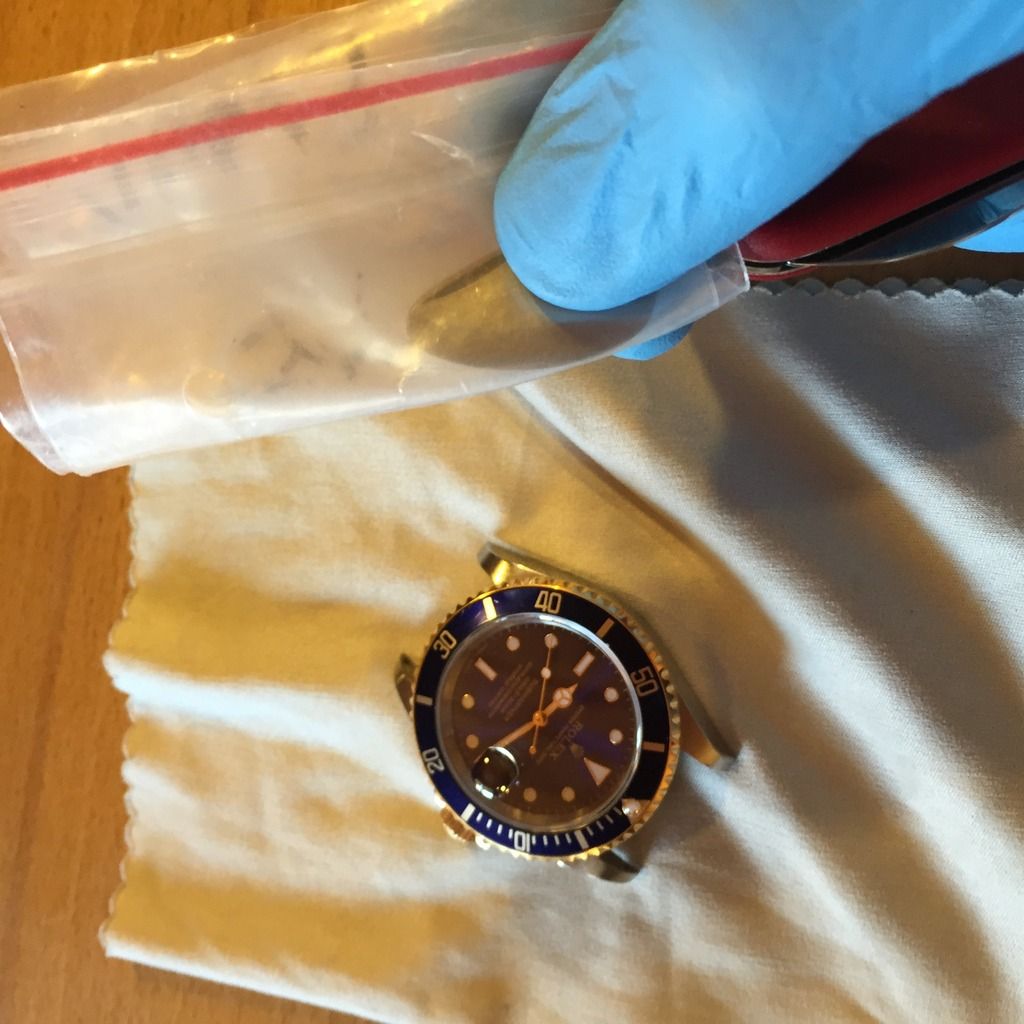
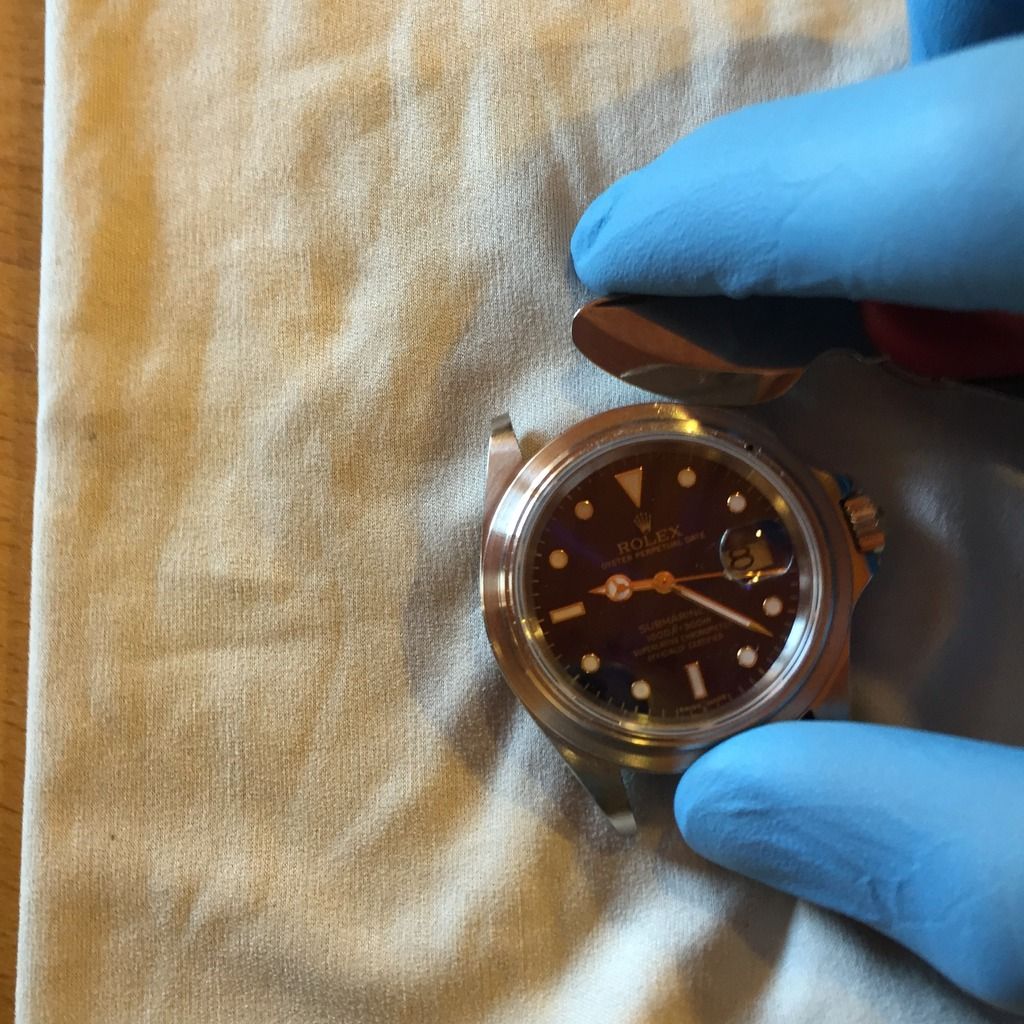
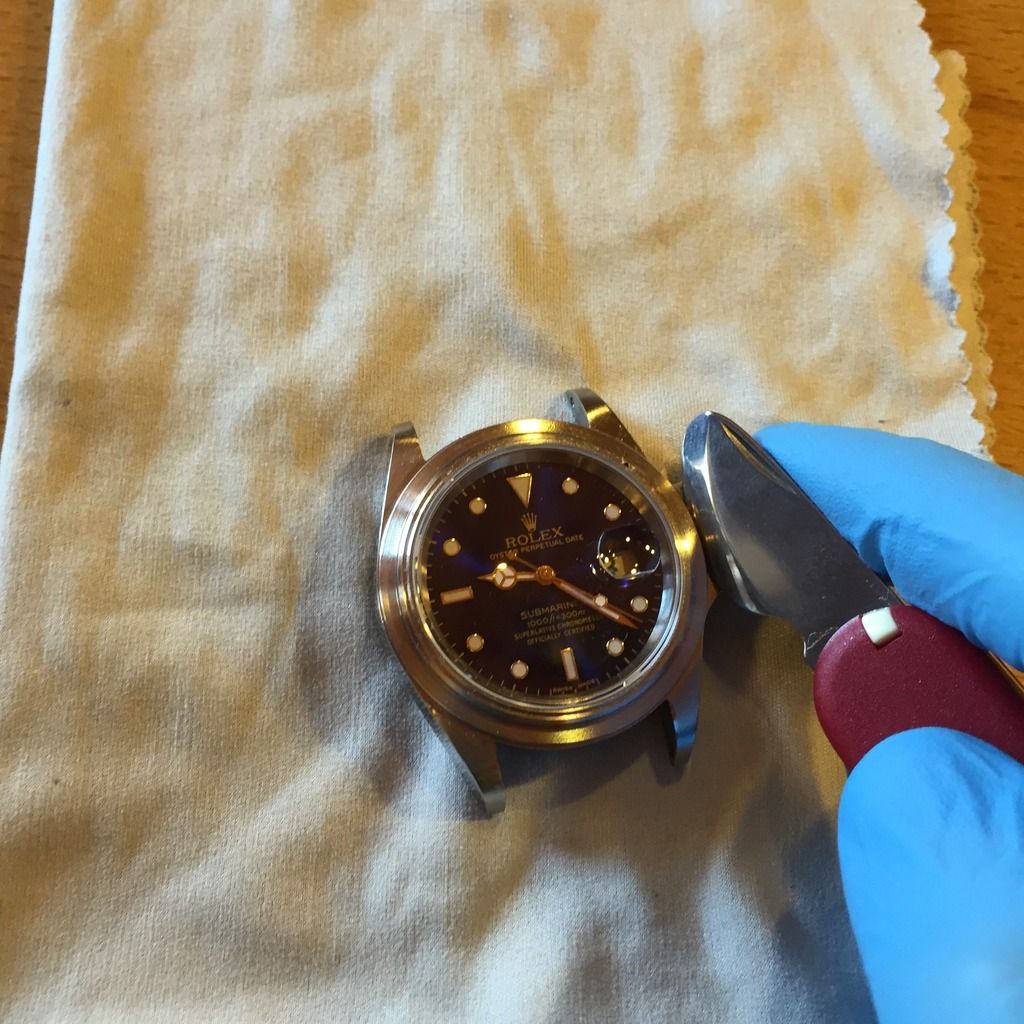
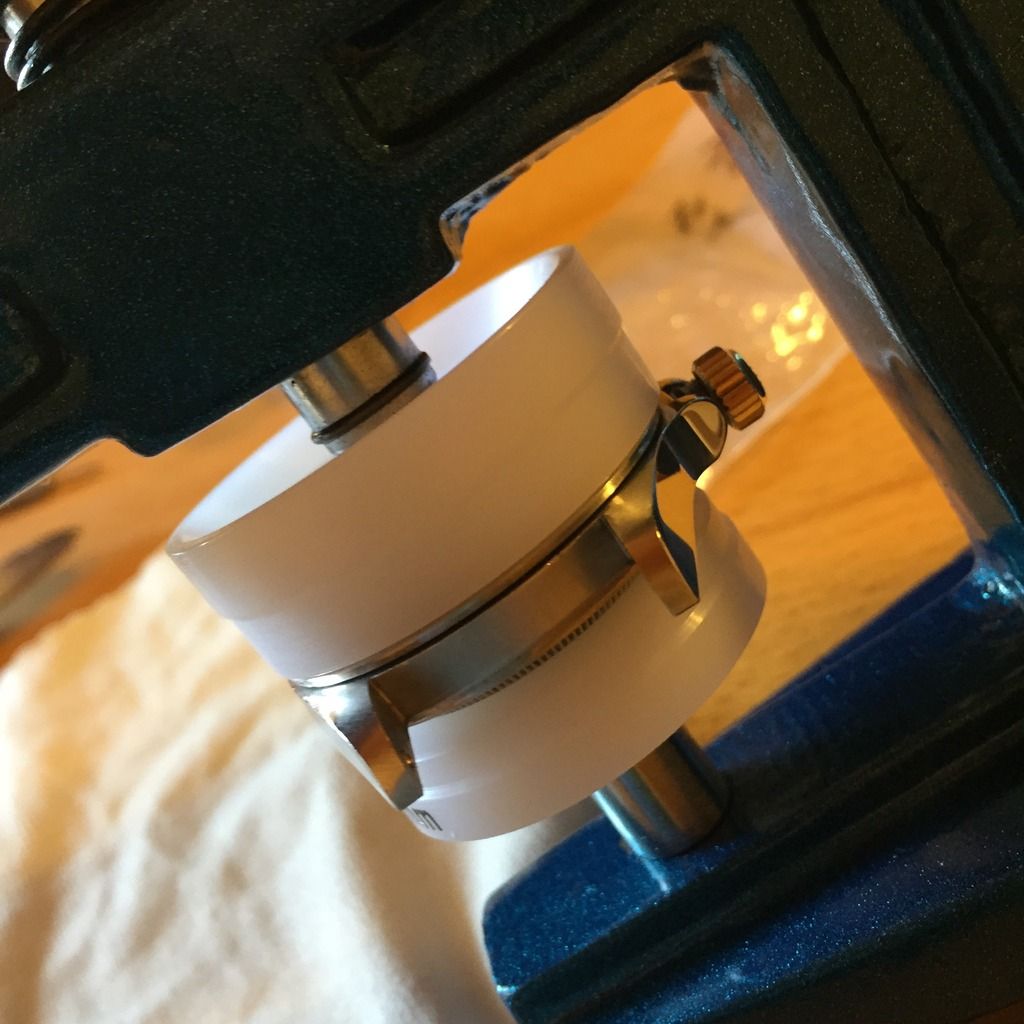
So next step will be getting the bezel off your watch. Just take your watch opener and place it under your bezel at the 7 o' clock hour marker.
Make sure you cover it up with something to avoid scratches on your watch case aswell!
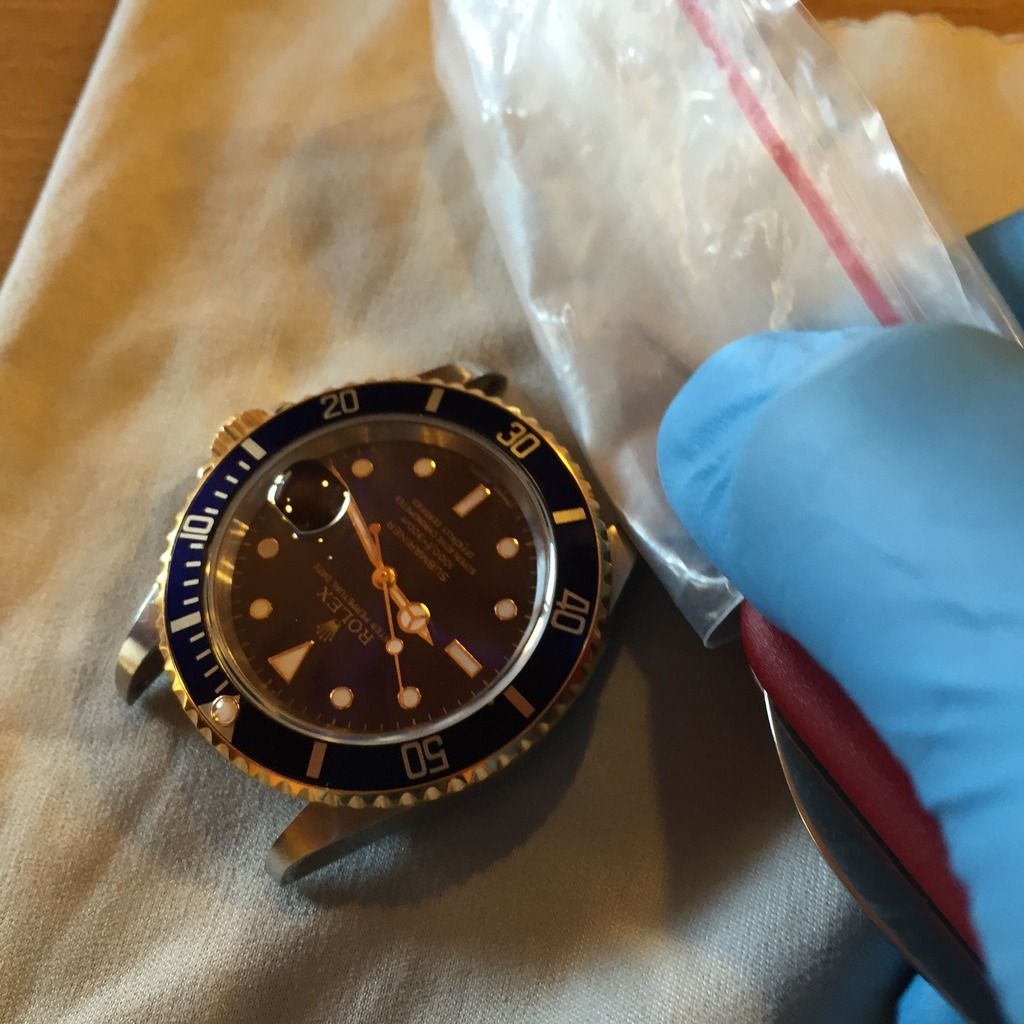
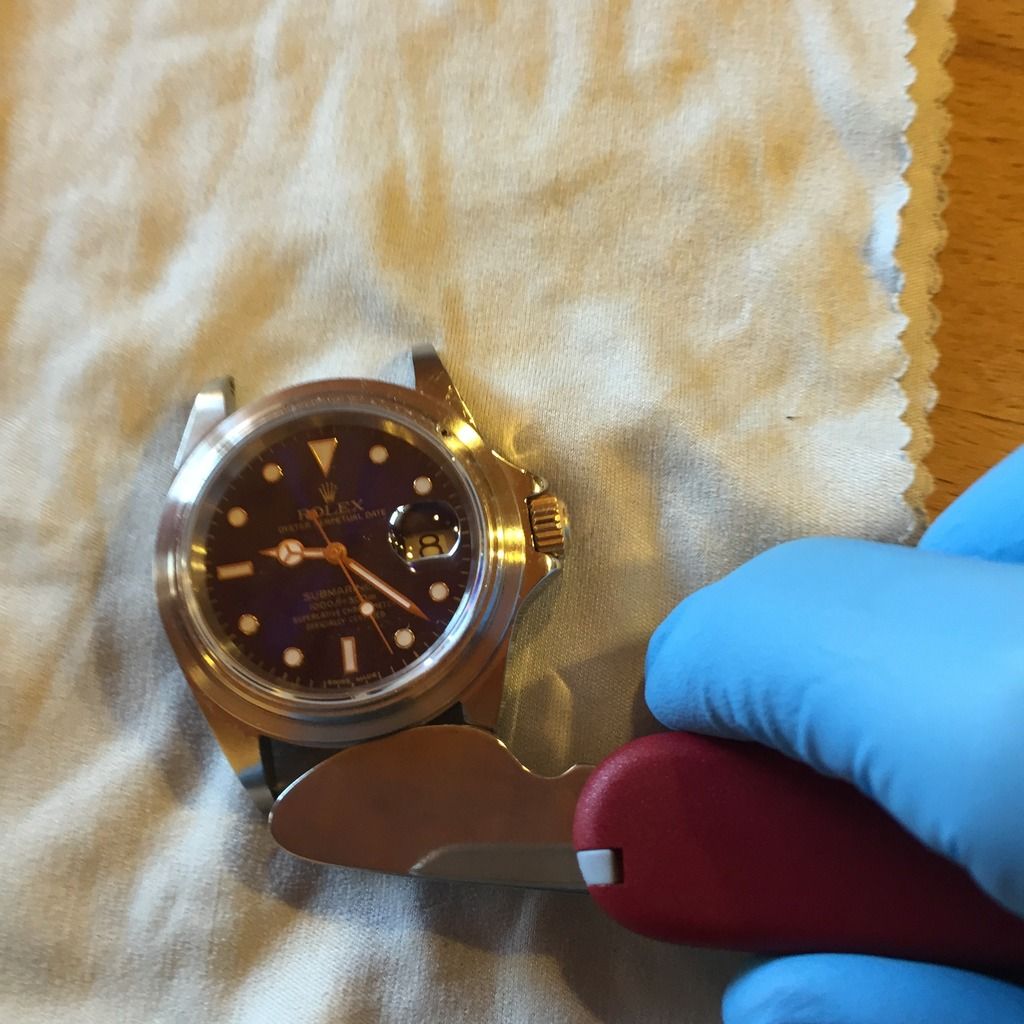
The bezel will pop off without any big force. So should be an easy step.
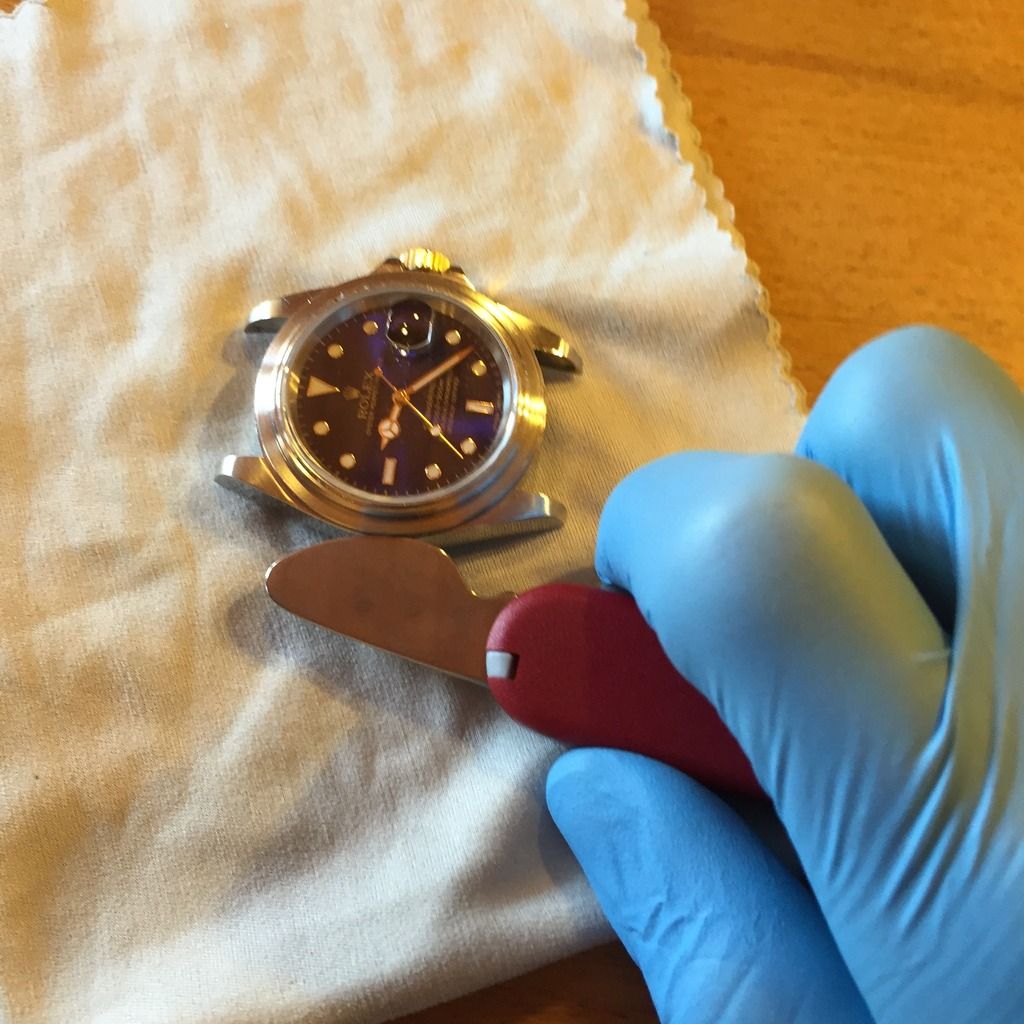
So once you got the bezel off you're looking at something like this!
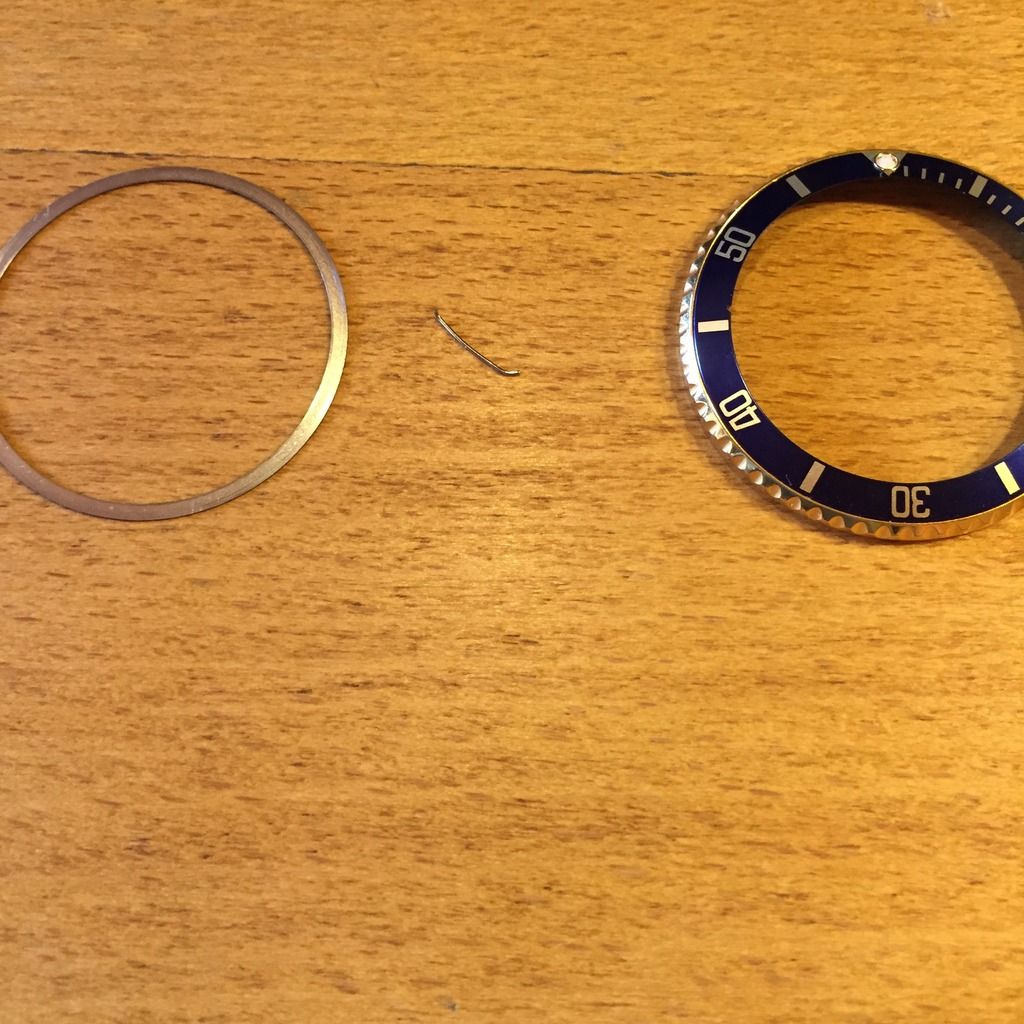
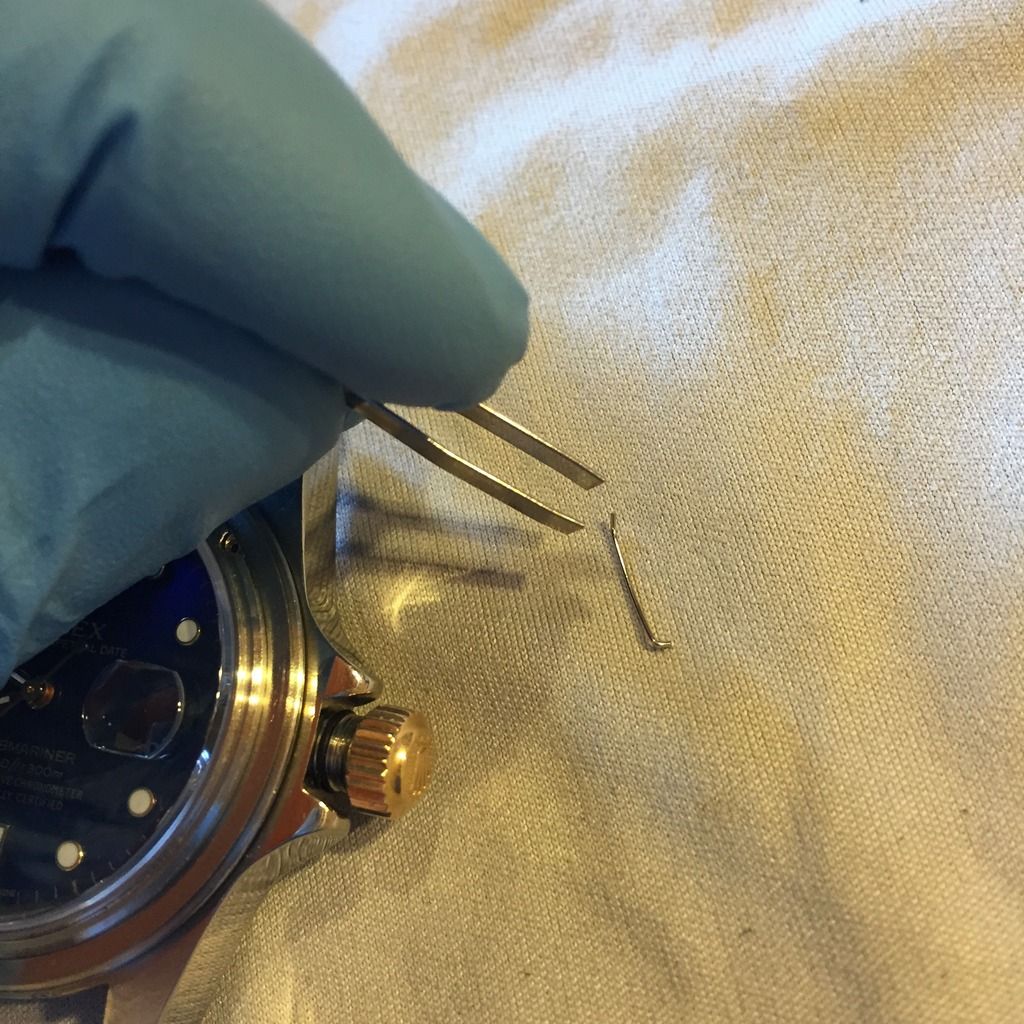
Remove that little spring CAREFULLY, it's easily lost as it tends to jump out sometimes, so make sure you're being super careful. After the springclick remove the loose metal ring around the remaining parts.
You'll end up with all these parts so far.
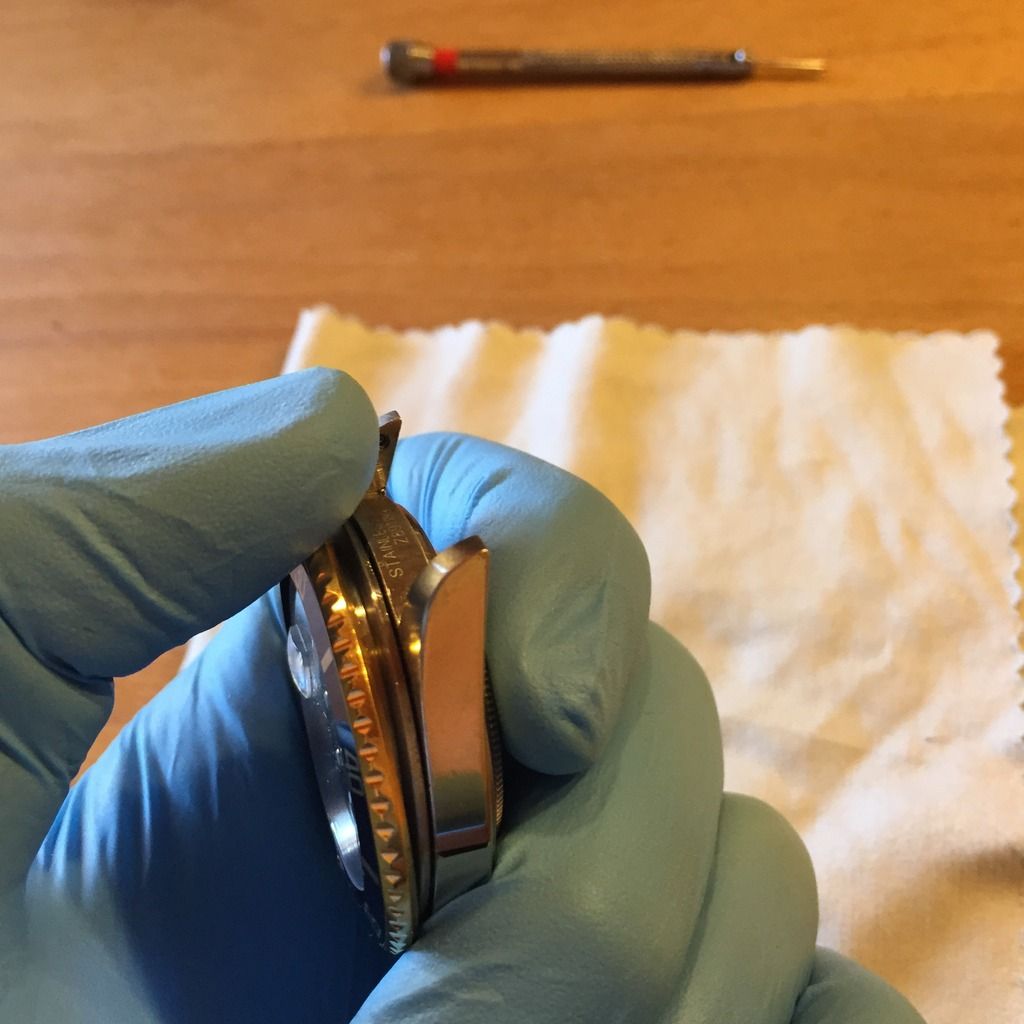
As for the next step, you'll be needing your watch opener aswell. It doesn't matter if you use the cover now as you won't be able to see any scratches that would happen now. And you work your way around the remaining bezel construction.
You'll be giving it a good lift on the 12', 3', 6' and 9' hour markers. Like that
And it'll loosen up so you can take it off!

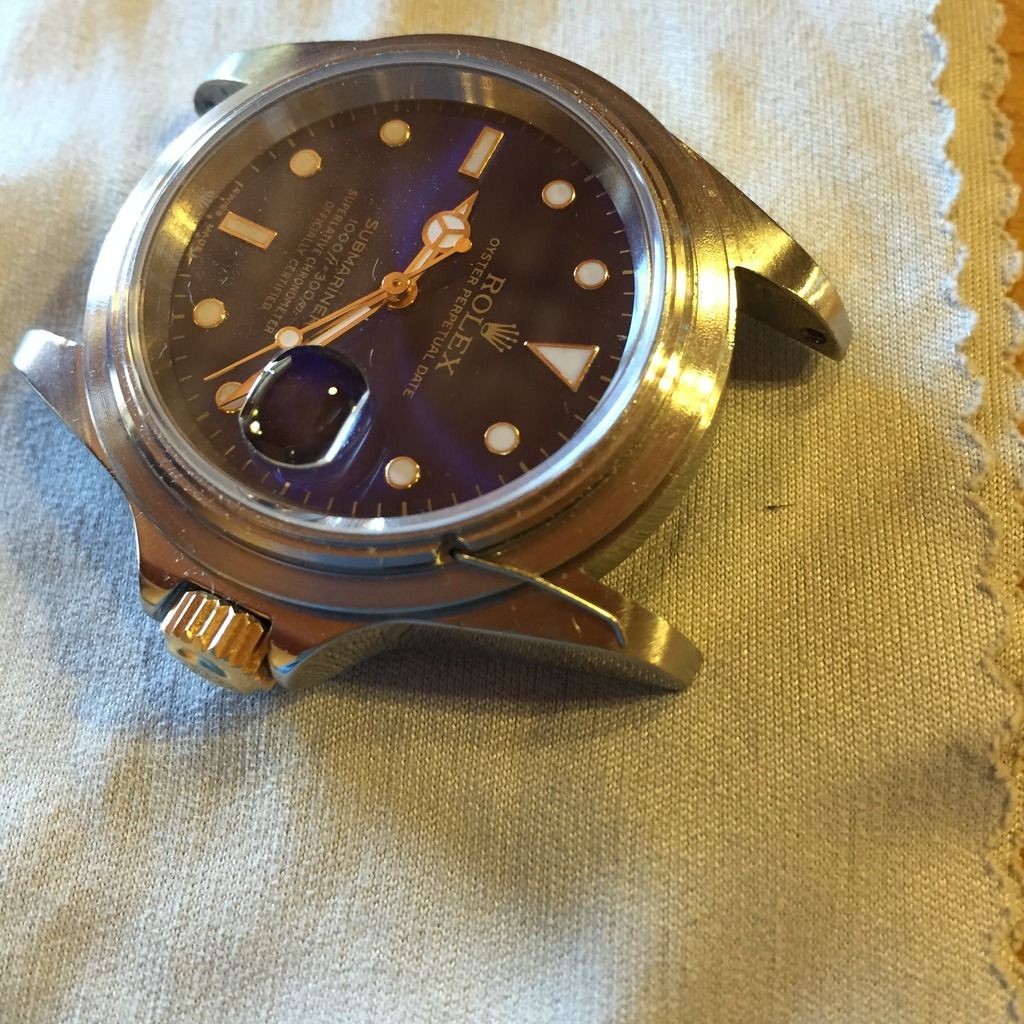
So now that you're looking at the pure crystal and gasket without anything more, you just try to pop off the crystal by rotating it and using a bit of force to pull it up so you can lift it.

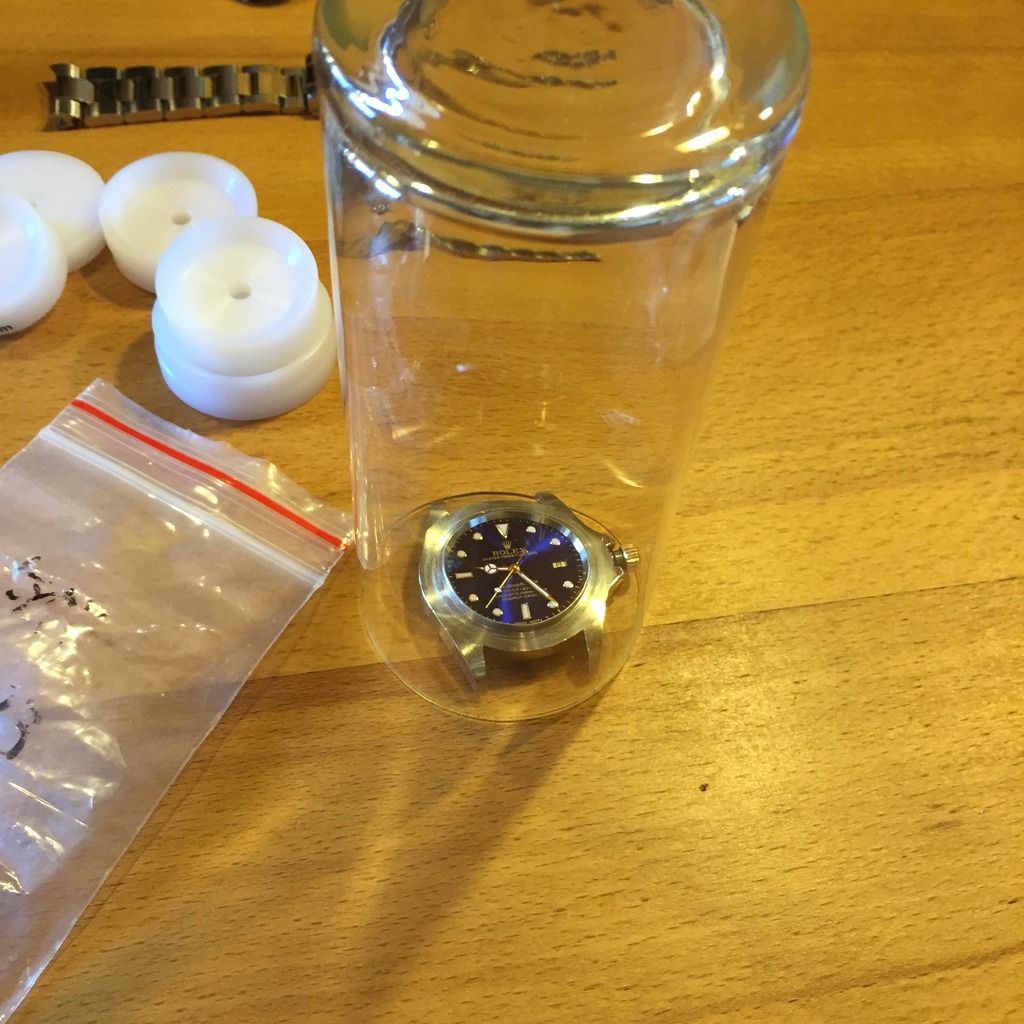
IMPORTANT!
As you just got off the crystal, make sure you put your watch under something that covers it from dust etc, flying onto the dial. I just used a glass to pull over then watch.
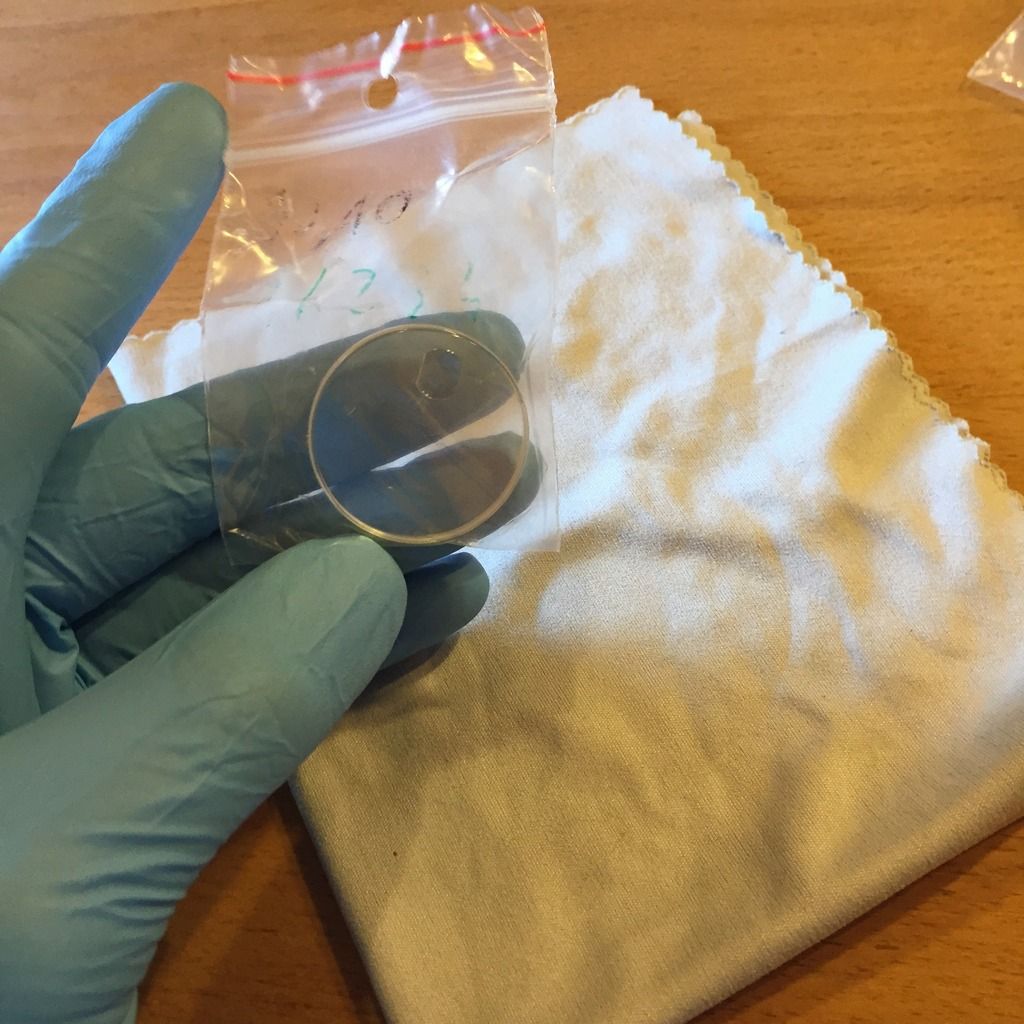
Now you're alright to get your new/replacement crystal out. And give it a good clean so its dust free and ready to be mounted. If you don't have a gasket with your new one, just pop out your old crystal and use its gasket.
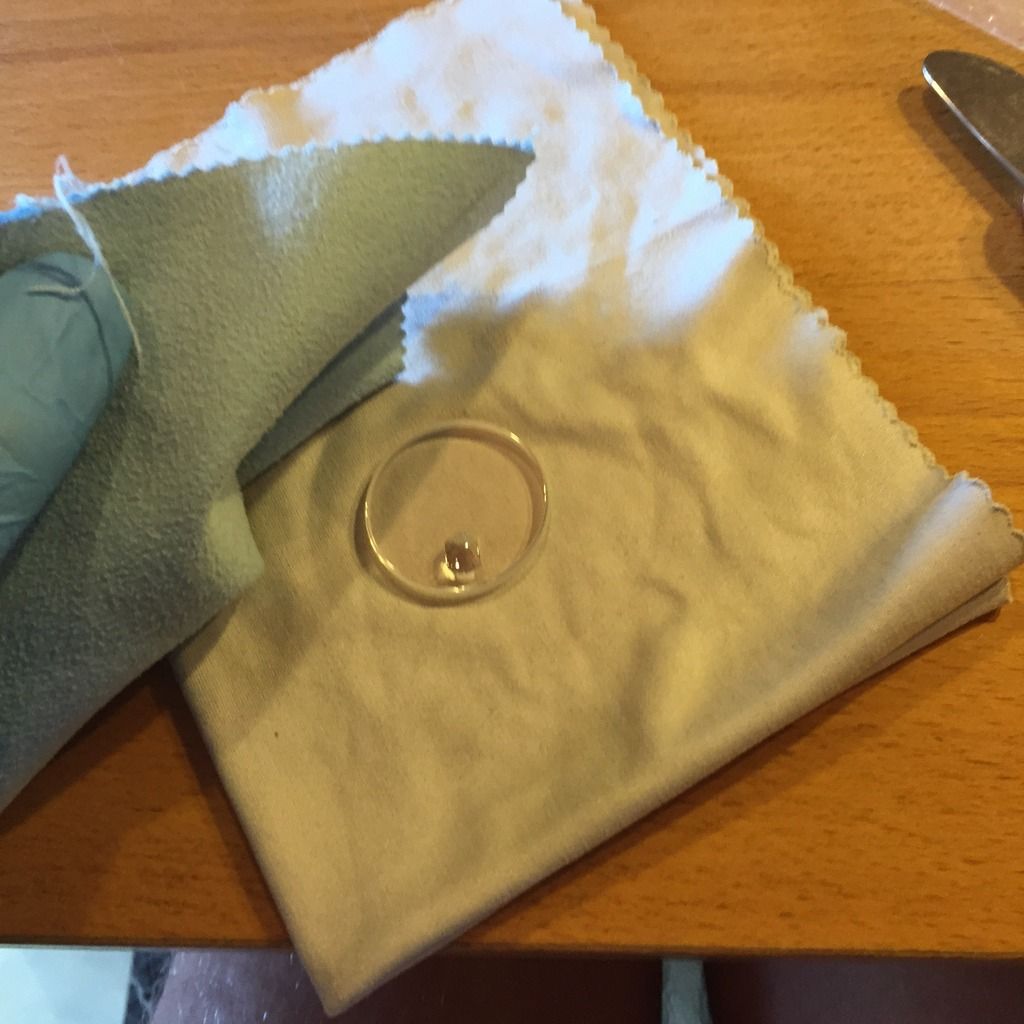
Then just adjust the crystal so that your cyclops and optionally the LEC are spot on as you want it and as it should be..
When you're OK with the outcome of it now we're getting to the first *OPTIONAL* thing.
You can either grease the silicone ring thats on the retaining ring to ensure waterproofness or you can trust on it being reliable and just continue. I've greased my ring the last time I changed crystal, so I skipped this part.
Lay the retaining ring on the crystal and try to push it a tad bit in place. Make sure how you fit it.. I recommend as in my pics, as the click spring is easy to be put in and it's a good click from that spot.
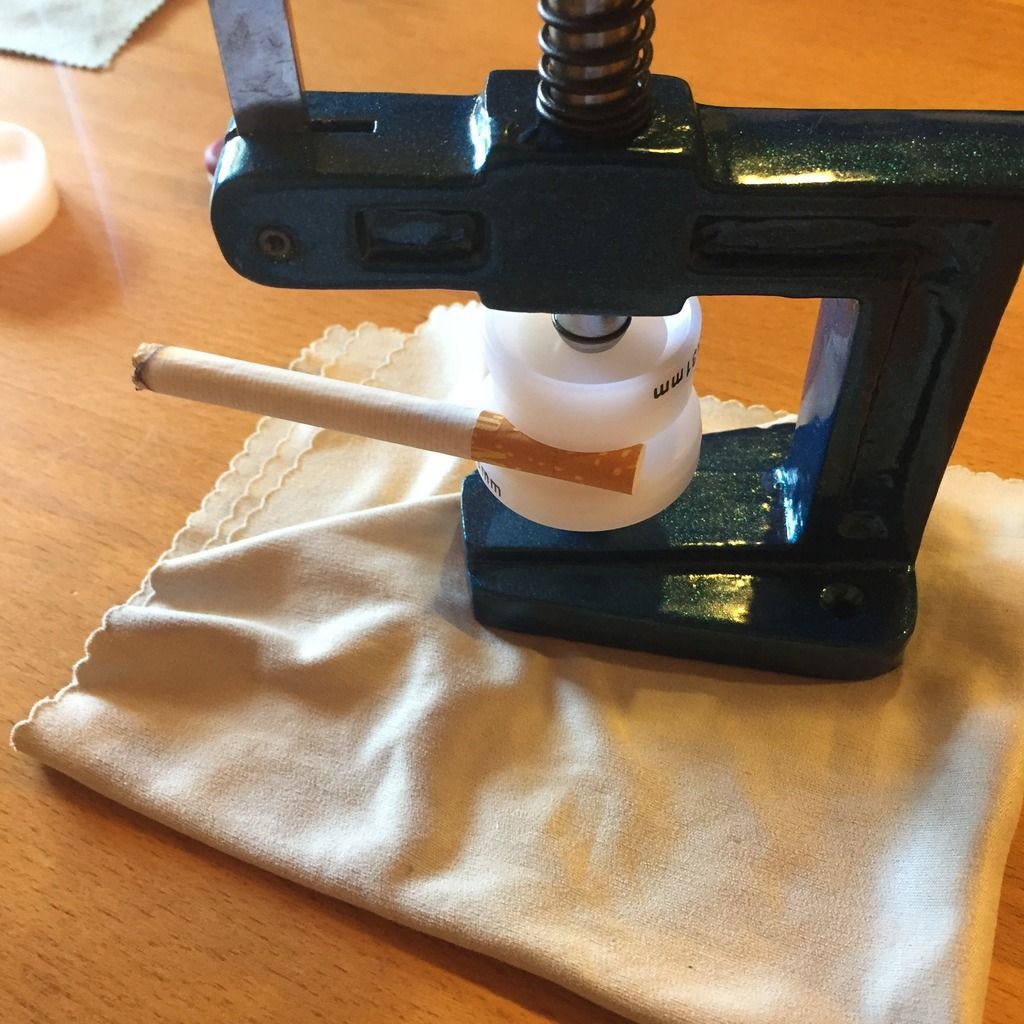
Once you've done that. Put the correct pushers in your press so they line up with the retaining ring. Once done insert the watch and press down with good pressure. Don't be scared you can't break anything.
Make sure it all sits proplery.
Once you're done pressing the retaining ring back on the watch, you can put that metal ring back on it and put it the click spring again. The reassembling of the click spring is probably the hardest thing about this TUT :lmao:

Also make sure to put in the click spring as I've shown on the last pic, otherwise your bezel won't click/work properly.
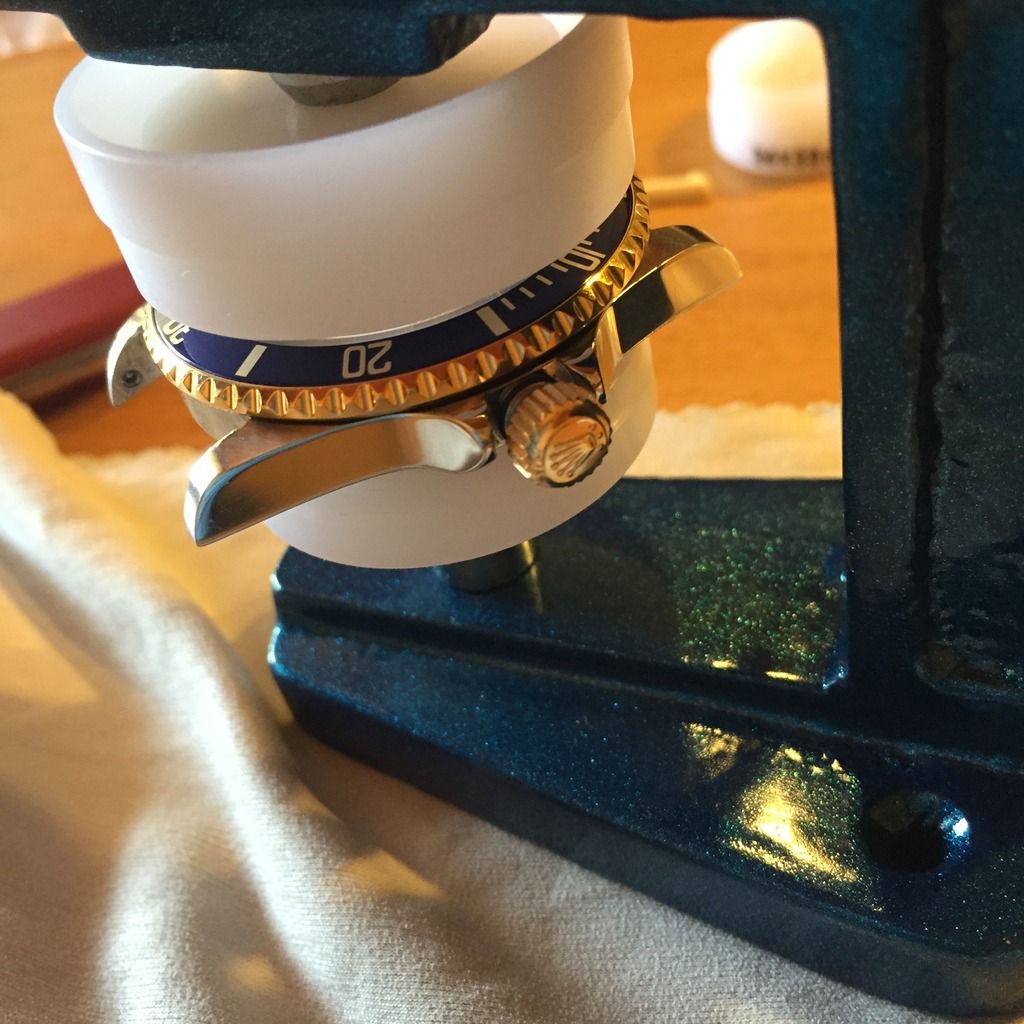
After doing that its time to put your bezel back on, align the pearl with the 12' hour marker and push it back in. After it snapped in, you might have to work your way around the insert with your thumb as the insert can loosen up.

Put it on the press again with bigger pusher so that the pushers line up with the insert and the bezel and the crystal and give it a good press to make sure everything is in properly.
Maybe until you hear a click sound.
That being done, give the bezel a spin and check if it works properly before we progress.
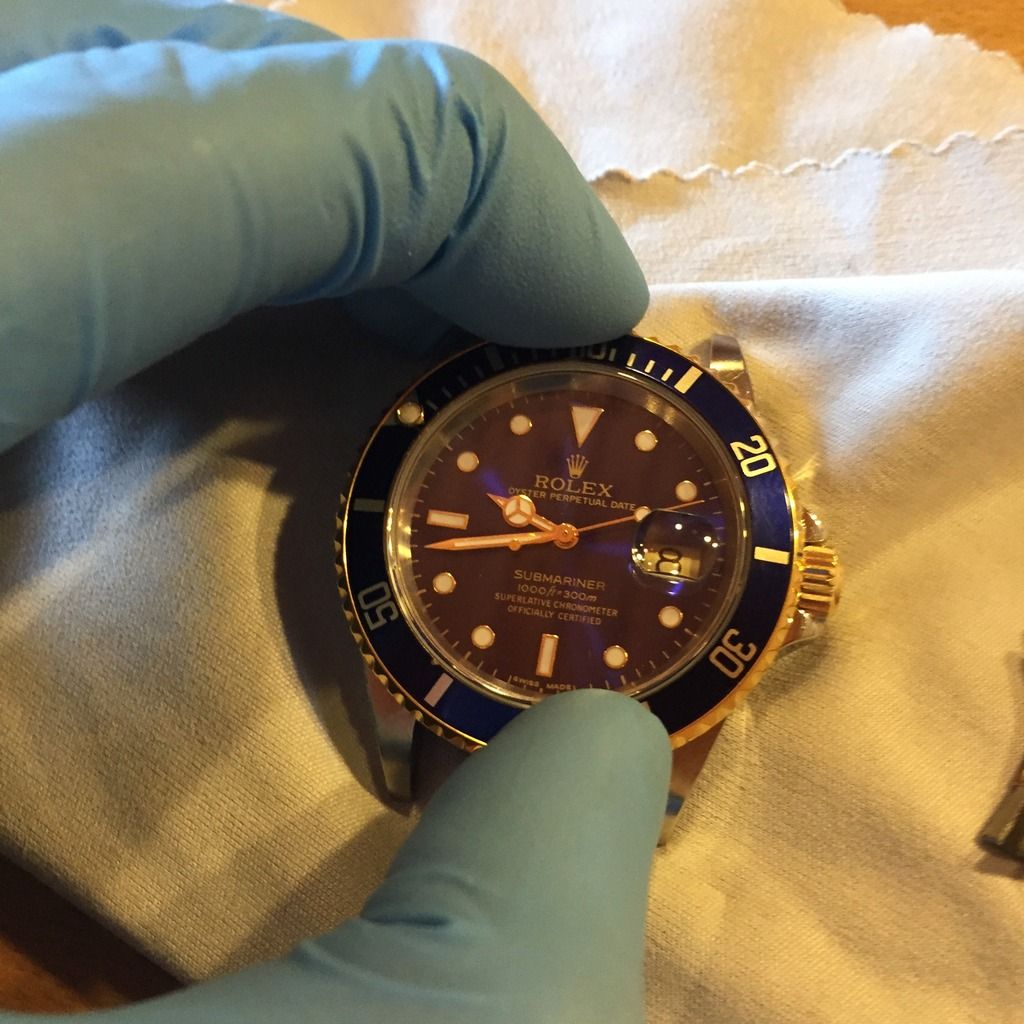
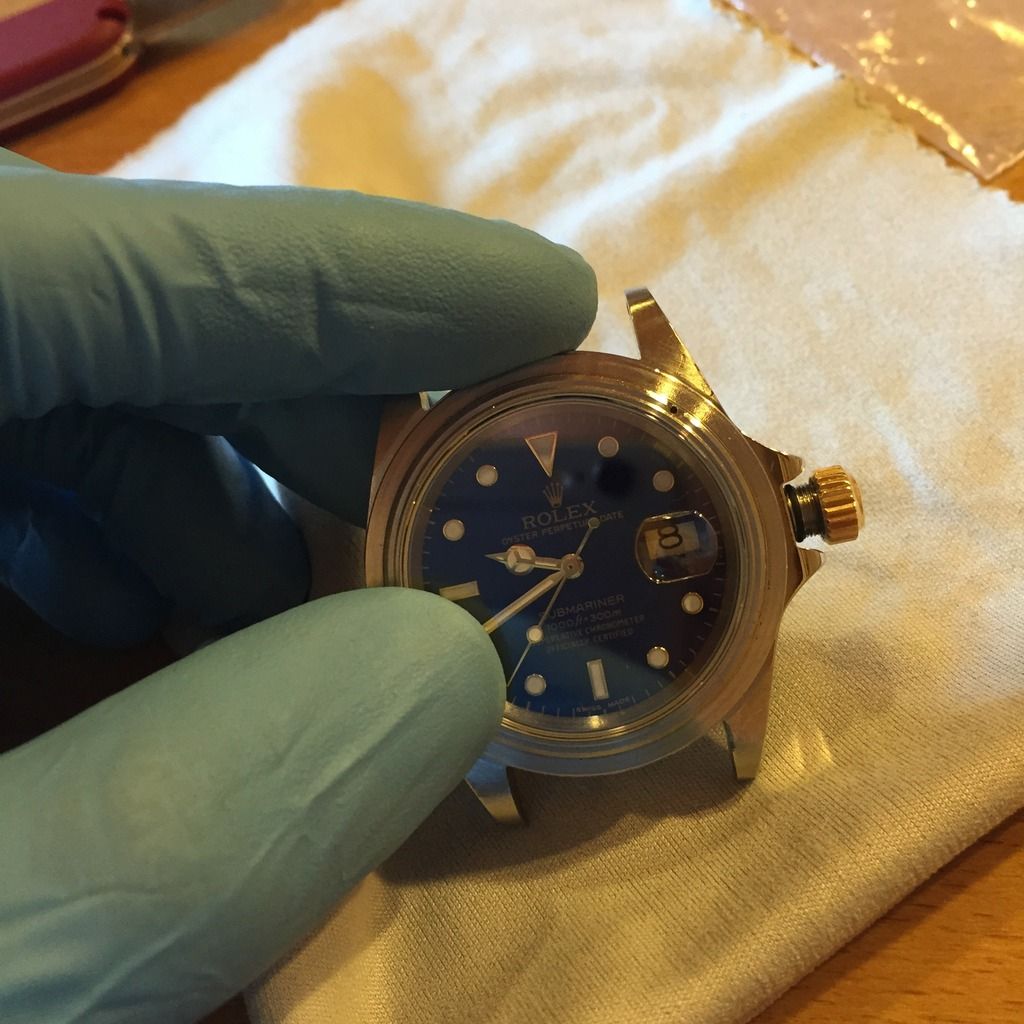
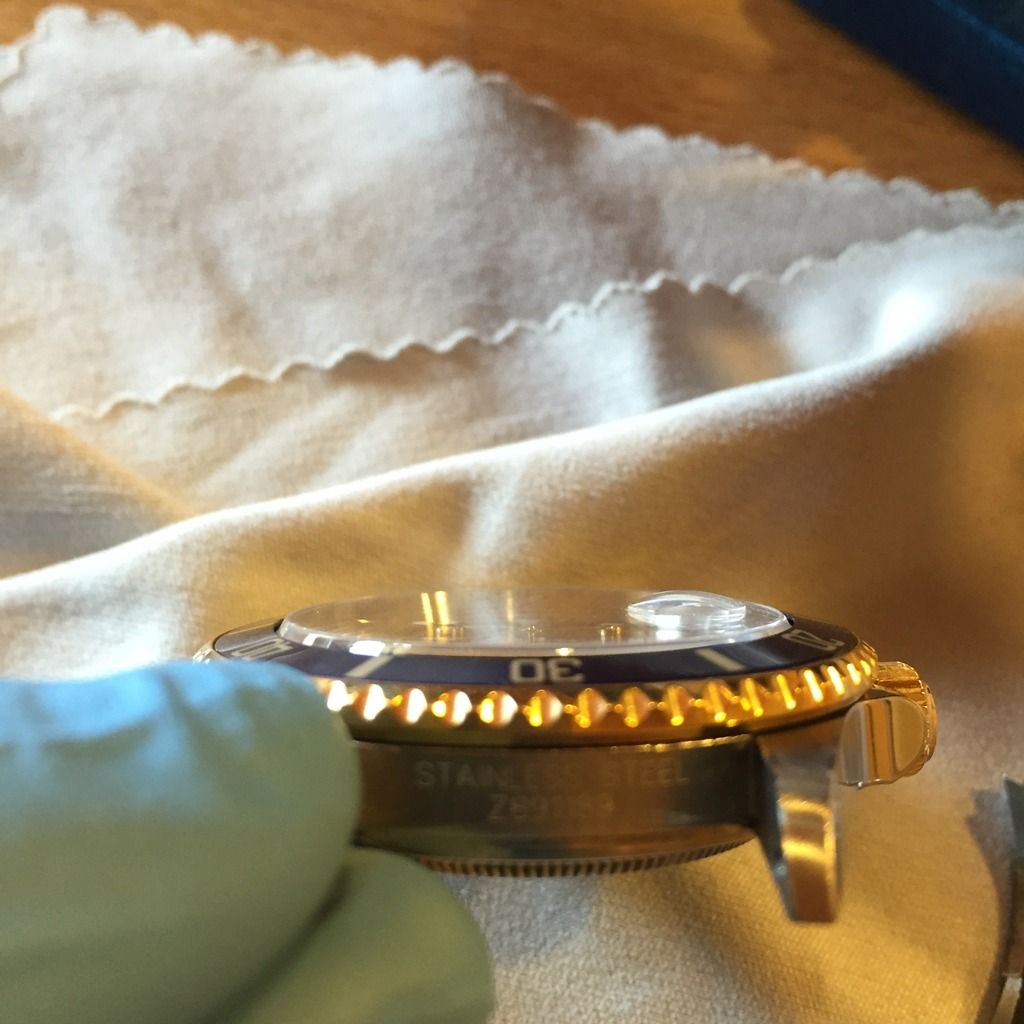
If everything is good, we're good to go. Check if everything looks good. e/g the crystal, insert and bezel.
And now you're looking at your newly self changed crystal. What a good feeling it is, ain't it?
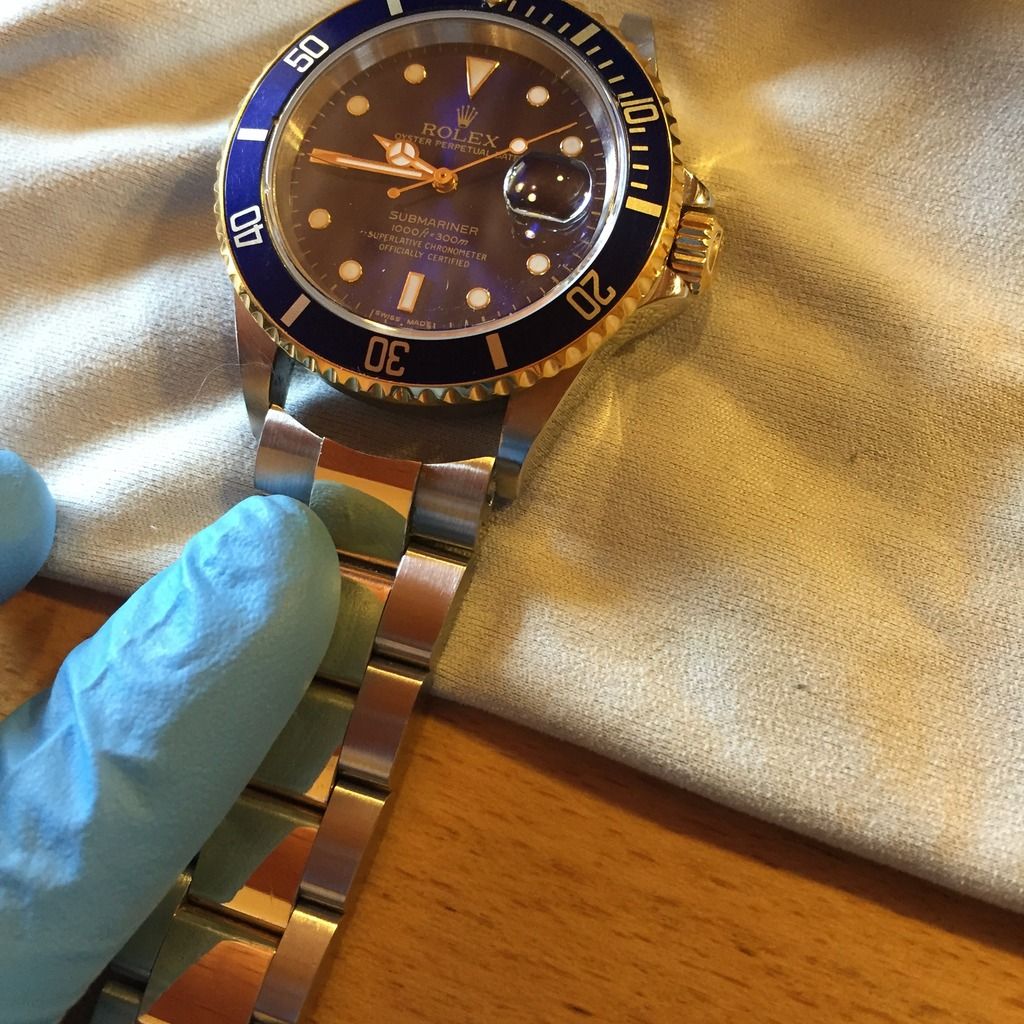
Now you're putting the bracelet back on the watch, just insert the springbars and pop them into the lugholes with a screwdriver!
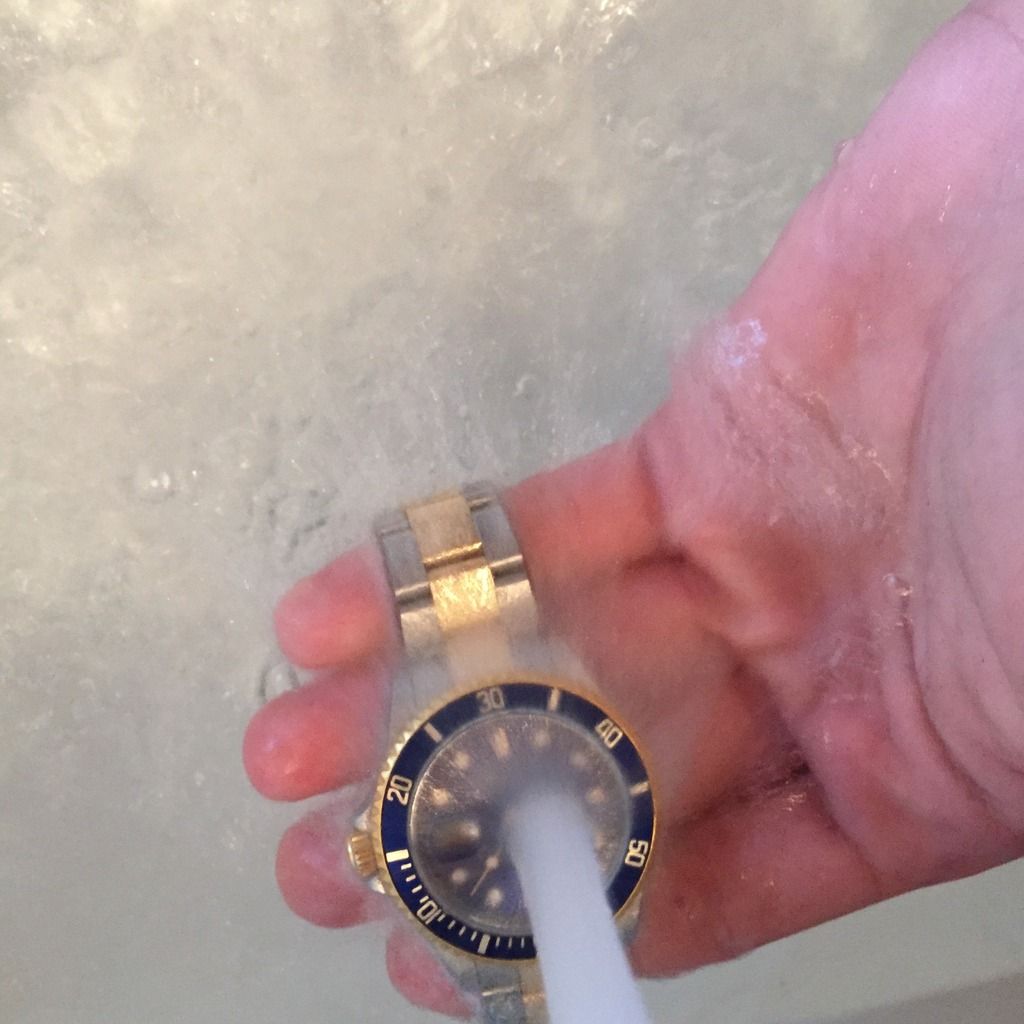
To ultimatively test it, let some water come into the game!
Turn on your water and put your watch under the water and let it sink in for about 10 mins.
In those 10 minutes, you can have a cigarette..
AND you can clean up your workplace so that your wife doesn't skin you alive for leaving such a mess.. :rofl:
Now you can put your watch out of the water, dry it up and give it a clean with a cloth or a cleaning cloth.
You're finally through the tutorial!
I hope you liked this as it was a hell of work to take the pics while operating and uploading and writing this up.
So I'd really appreciate your feedback, concerns, input, reputation whatever. I'm there for you if you need some help or whatever it is just PM me.
-----
Hey boys, as promised I'll write up a tutorial (my first here :woo
on how to swap the crystal of your watch without having to take out the whole movement.This might come in handy as there are some people (including myself (sometimeees
)) that tend to screw up the keyless when reassembling the watch.I've captured every single step of it + some additional steps that you can do or not do..
Also this was done on a WM9 watch with gen construction bezel. I'Ve done it on TC's aswell but I don't know about others.
You should all be aware about that if you do try this, you do it at your own risk. Just making sure so no one tries to sue me because he's ruined his watch because he didn't get it.
So let's begin!
These are the tools that I use to do it.

So first step will be removing the bracelet. Just pop out the springbars with the red screwdriver. Make sure you lay them somewhere you don't loose 'em.

Should look like this!

So next step will be getting the bezel off your watch. Just take your watch opener and place it under your bezel at the 7 o' clock hour marker.
Make sure you cover it up with something to avoid scratches on your watch case aswell!


The bezel will pop off without any big force. So should be an easy step.

So once you got the bezel off you're looking at something like this!

Remove that little spring CAREFULLY, it's easily lost as it tends to jump out sometimes, so make sure you're being super careful. After the springclick remove the loose metal ring around the remaining parts.
You'll end up with all these parts so far.

As for the next step, you'll be needing your watch opener aswell. It doesn't matter if you use the cover now as you won't be able to see any scratches that would happen now. And you work your way around the remaining bezel construction.
You'll be giving it a good lift on the 12', 3', 6' and 9' hour markers. Like that


And it'll loosen up so you can take it off!

So now that you're looking at the pure crystal and gasket without anything more, you just try to pop off the crystal by rotating it and using a bit of force to pull it up so you can lift it.

IMPORTANT!
As you just got off the crystal, make sure you put your watch under something that covers it from dust etc, flying onto the dial. I just used a glass to pull over then watch.

Now you're alright to get your new/replacement crystal out. And give it a good clean so its dust free and ready to be mounted. If you don't have a gasket with your new one, just pop out your old crystal and use its gasket.


Then just adjust the crystal so that your cyclops and optionally the LEC are spot on as you want it and as it should be..

When you're OK with the outcome of it now we're getting to the first *OPTIONAL* thing.
You can either grease the silicone ring thats on the retaining ring to ensure waterproofness or you can trust on it being reliable and just continue. I've greased my ring the last time I changed crystal, so I skipped this part.
Lay the retaining ring on the crystal and try to push it a tad bit in place. Make sure how you fit it.. I recommend as in my pics, as the click spring is easy to be put in and it's a good click from that spot.
Once you've done that. Put the correct pushers in your press so they line up with the retaining ring. Once done insert the watch and press down with good pressure. Don't be scared you can't break anything.

Make sure it all sits proplery.
Once you're done pressing the retaining ring back on the watch, you can put that metal ring back on it and put it the click spring again. The reassembling of the click spring is probably the hardest thing about this TUT :lmao:


Also make sure to put in the click spring as I've shown on the last pic, otherwise your bezel won't click/work properly.
After doing that its time to put your bezel back on, align the pearl with the 12' hour marker and push it back in. After it snapped in, you might have to work your way around the insert with your thumb as the insert can loosen up.

Put it on the press again with bigger pusher so that the pushers line up with the insert and the bezel and the crystal and give it a good press to make sure everything is in properly.
Maybe until you hear a click sound.

That being done, give the bezel a spin and check if it works properly before we progress.

If everything is good, we're good to go. Check if everything looks good. e/g the crystal, insert and bezel.

And now you're looking at your newly self changed crystal. What a good feeling it is, ain't it?
Now you're putting the bracelet back on the watch, just insert the springbars and pop them into the lugholes with a screwdriver!

To ultimatively test it, let some water come into the game!
Turn on your water and put your watch under the water and let it sink in for about 10 mins.

In those 10 minutes, you can have a cigarette..

AND you can clean up your workplace so that your wife doesn't skin you alive for leaving such a mess.. :rofl:

Now you can put your watch out of the water, dry it up and give it a clean with a cloth or a cleaning cloth.
You're finally through the tutorial!
I hope you liked this as it was a hell of work to take the pics while operating and uploading and writing this up.
So I'd really appreciate your feedback, concerns, input, reputation whatever.
I'm there for you if you need some help or whatever it is just PM me. 
