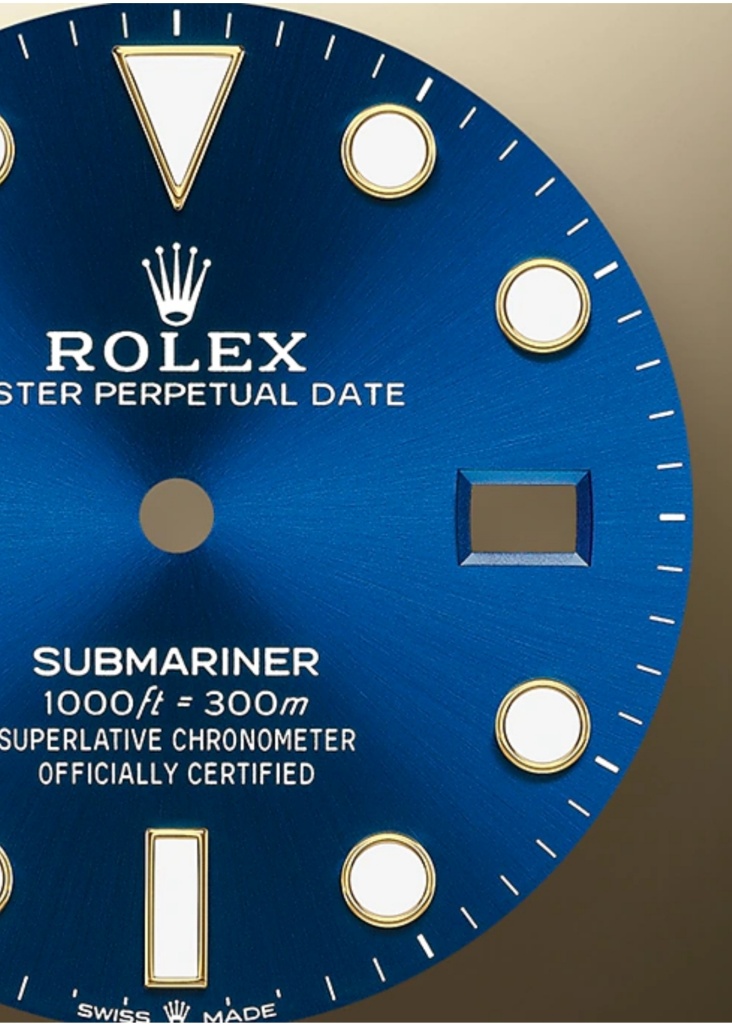
- 12/3/18
- 36,946
- 77,143
- 113
Greetings fellow watchaholics! A gold Hulk has been on my mind for a LONG time now and since neither Rolex nor the rep factories have come out with one that I like, I took the plunge and just made my own. VRF has one that comes close, but the dial says WATCHVICE on it and that’s a deal breaker for me.
https://chazingtime08.co/products/su...elet-a2836-max
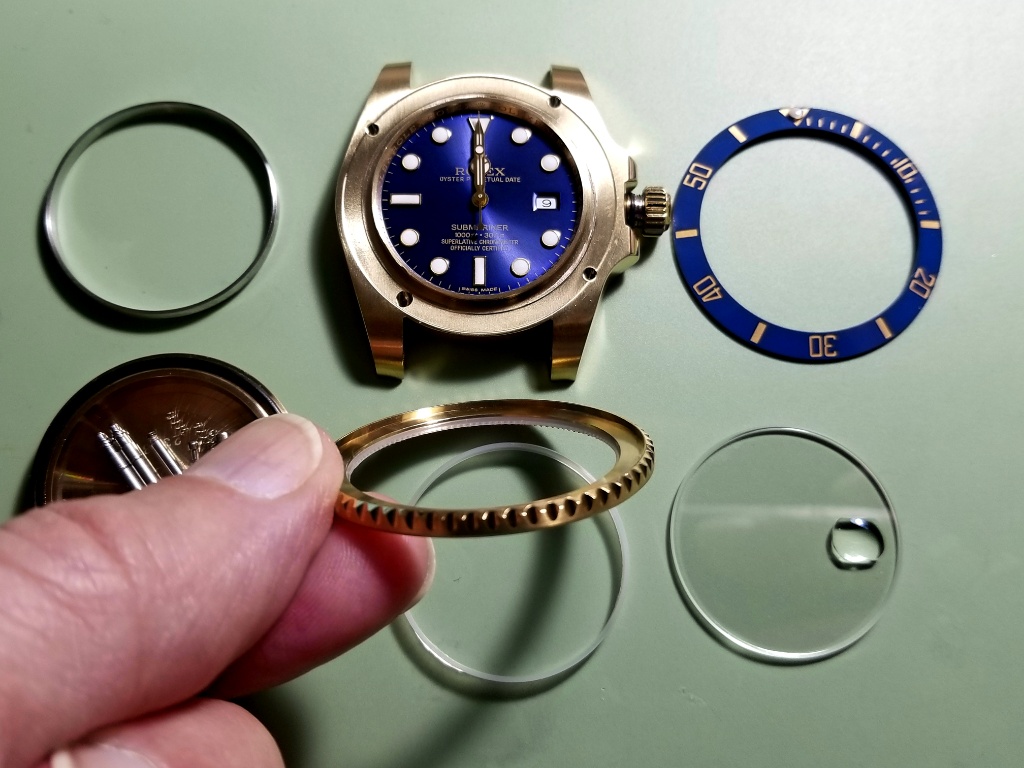
On the surface, this should be an easy project - just start with a FG blue or black Sub rep, swap in a paint modded Hulk insert and switch over some hands and dial markers onto a Hulk dial. Of course like most rep projects you often run into some challenges that make a project more interesting to put it nicely.
The Insert
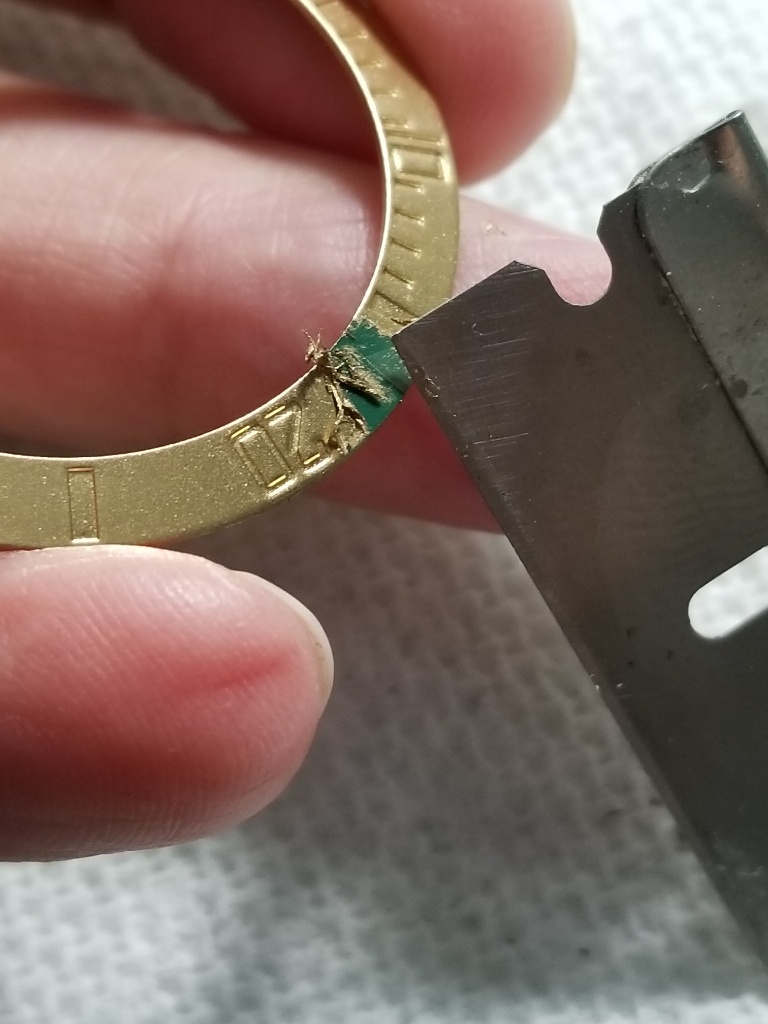
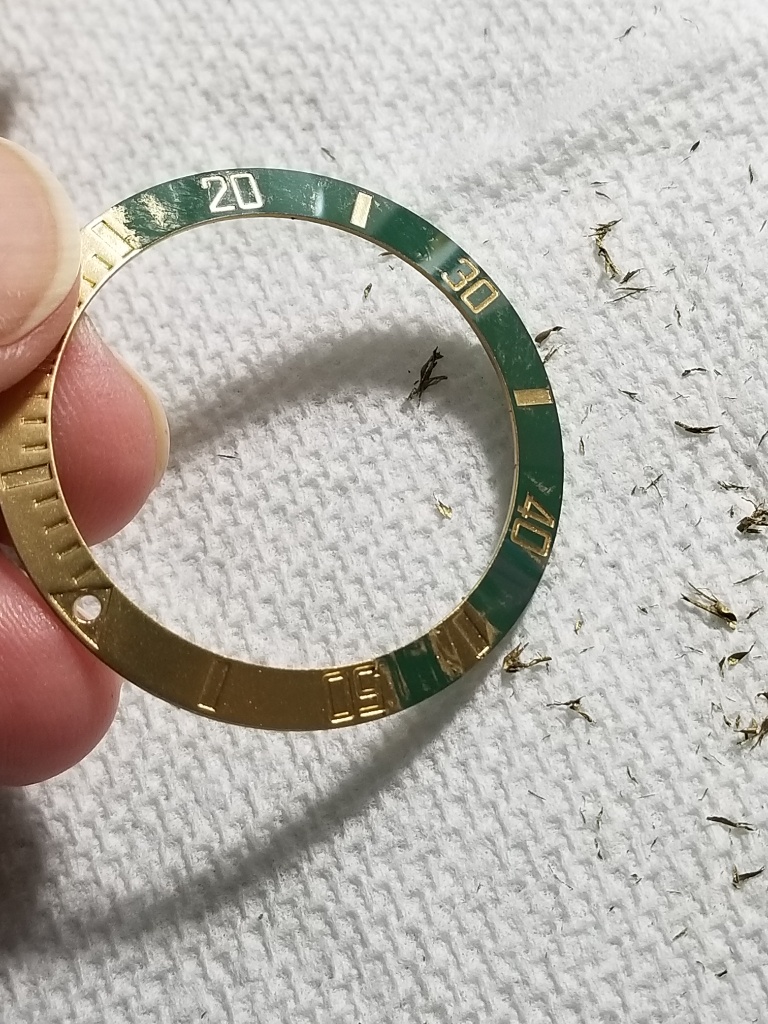
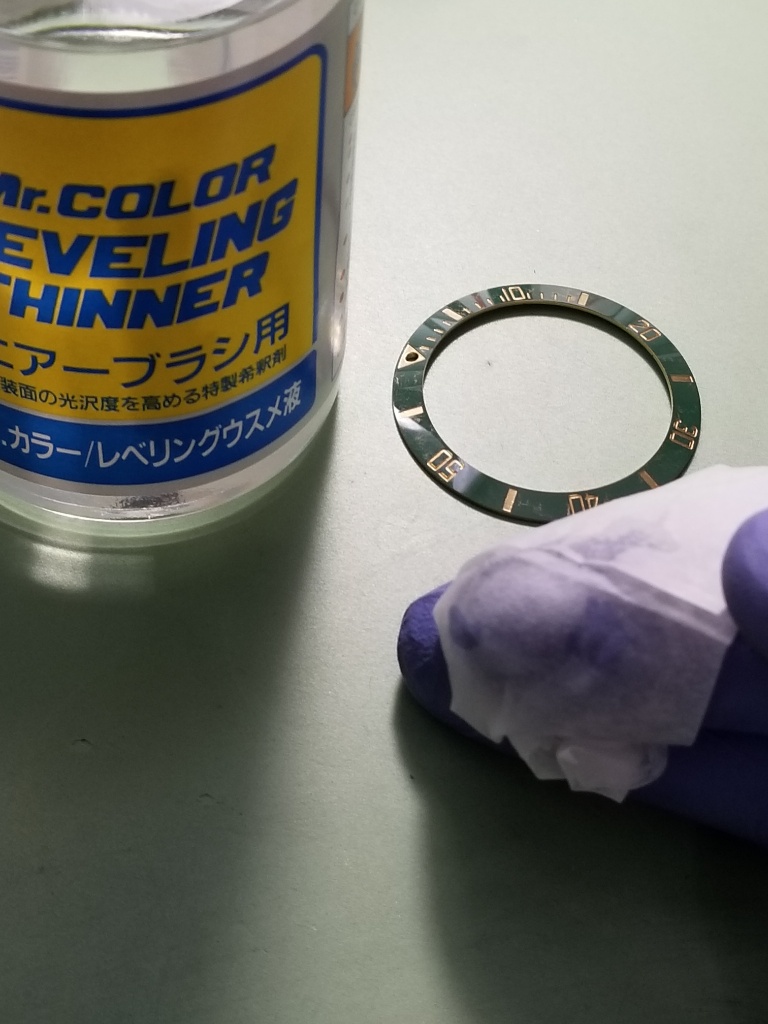
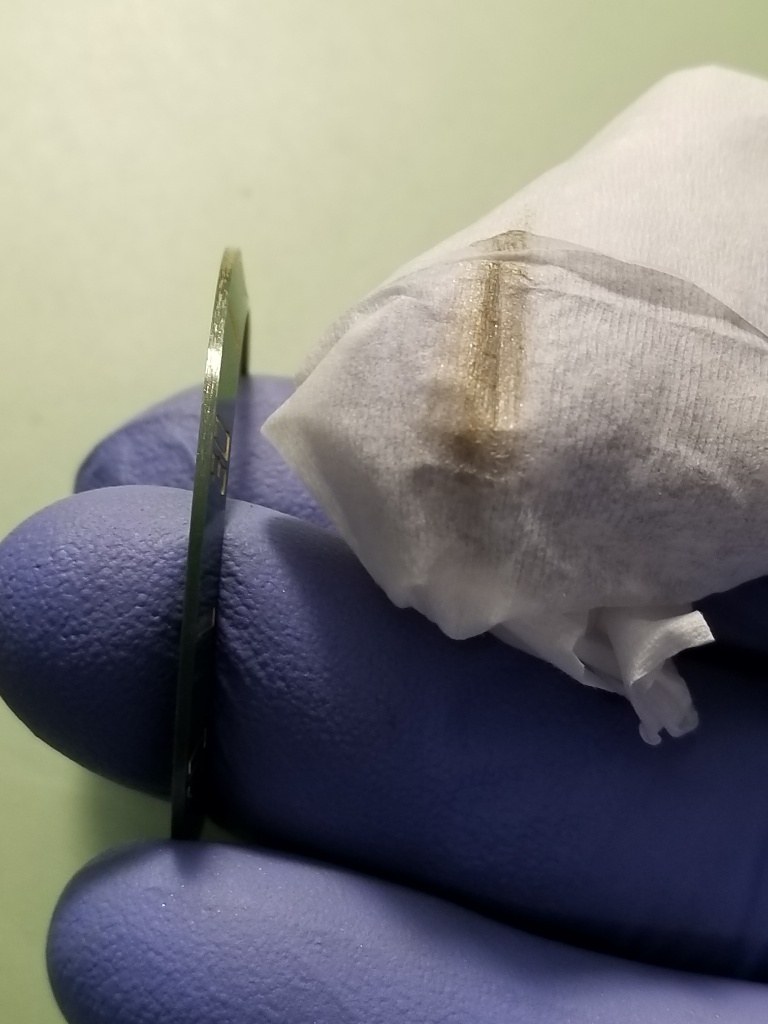
I used a VRF Hulk insert, long the king of Hulk inserts until CF came along. It’s still a very good option at a much more reasonable price and I had one in my parts drawer forever so away we went. I probably did 5 or 6 paint mods on this before finally being satisfied with the result. I had 4 different colors of pens, 2 different hand paints, and 2 different spray paints.
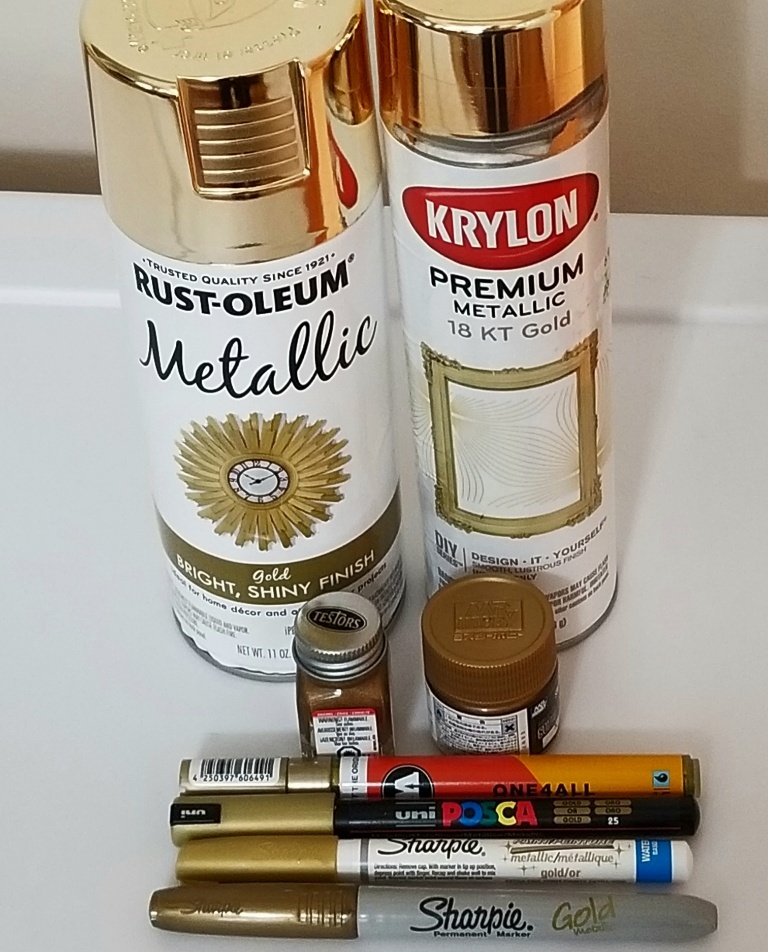
In the end the Rustoleum Metallic Gold spray won out. It’s not as sunflower yellow like the gen color can appear but more of a pale gold that I felt went better with the case and bracelet. Plus it’s brighter so it looks better in low light conditions, something even many rep factory insert markers don’t succeed at doing.
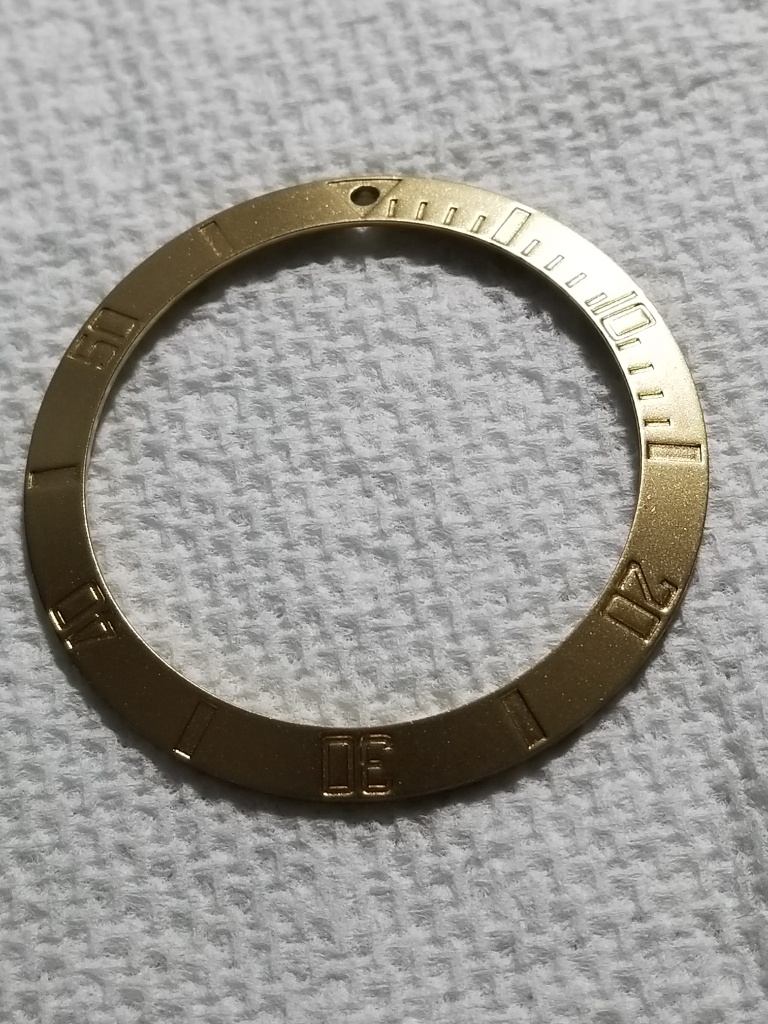
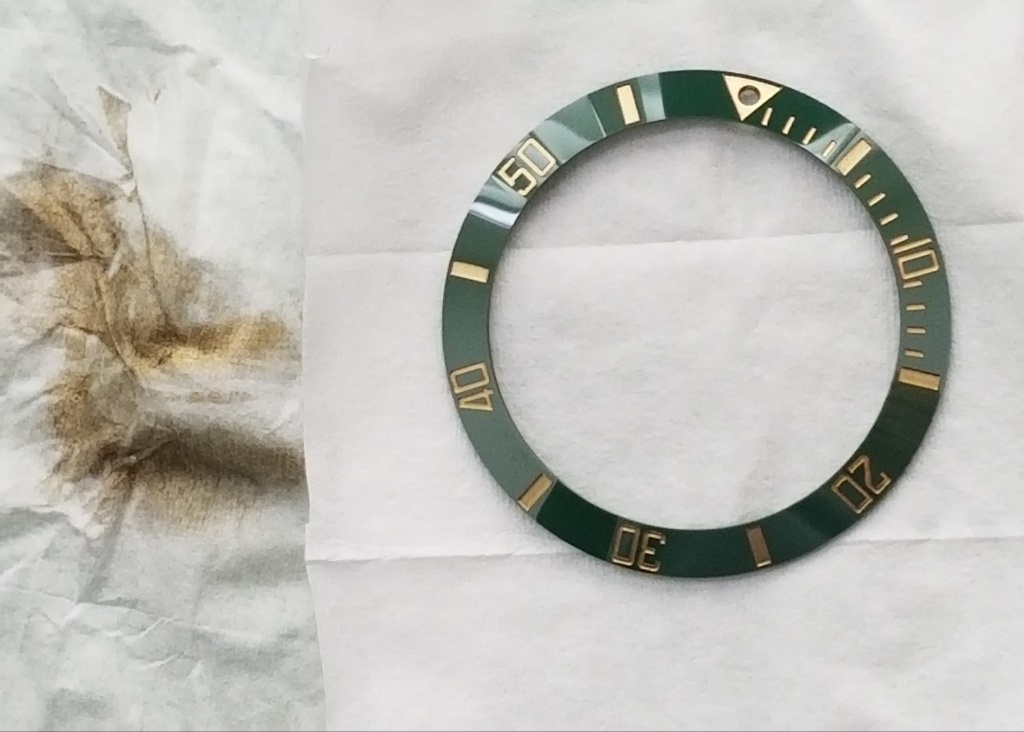
Good so far
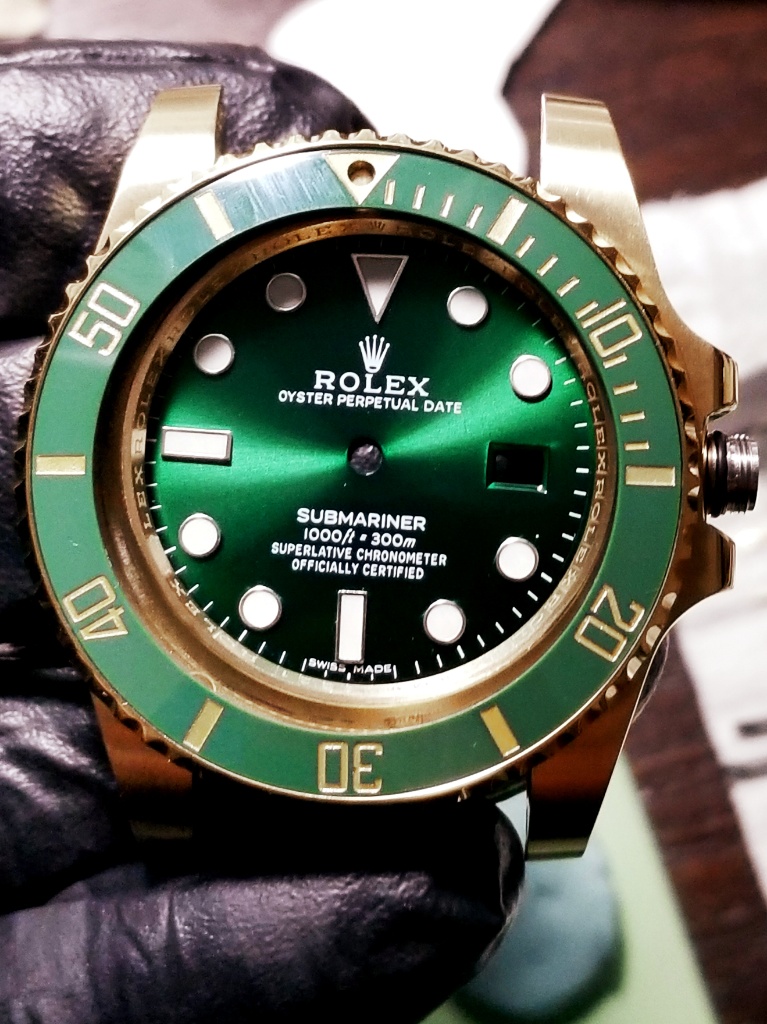
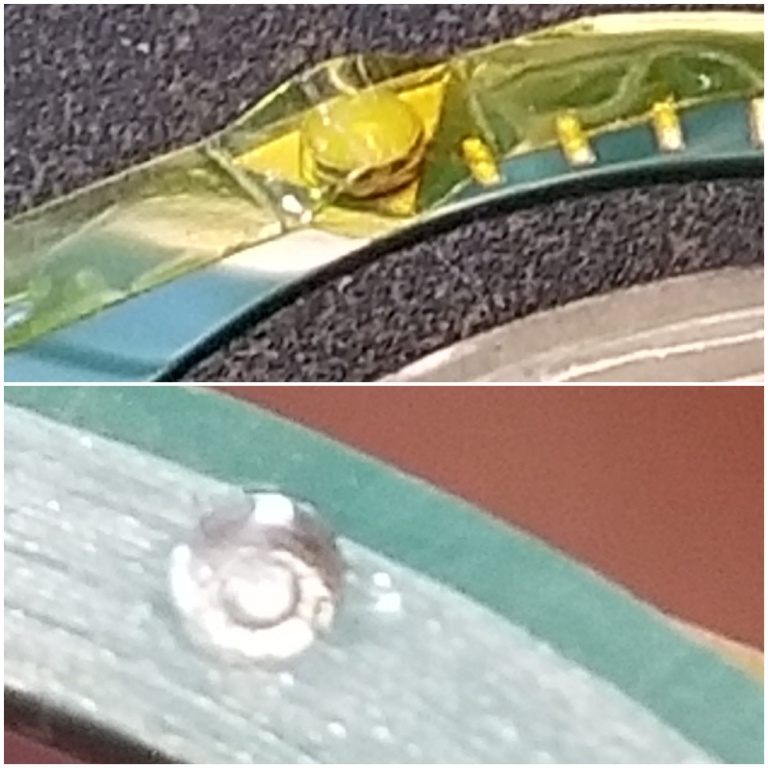
Then you need to glue the pearl back on. I ordered a few cheaper gold inserts to scavenge a pearl from, nothing fancy just decent and gold. I use BSI epoxy for this. I tape the pearl in position from the front and apply the glue from the back. But I let it cure right side up because some can leak though to the triangle if you aren’t careful.
The Dial
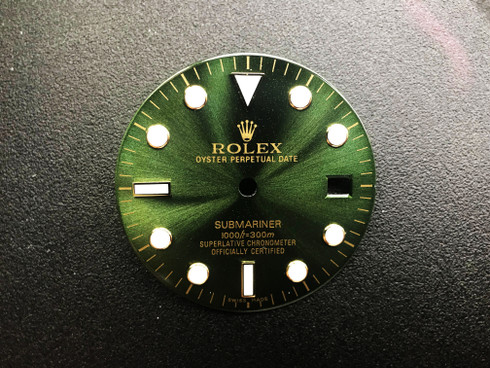
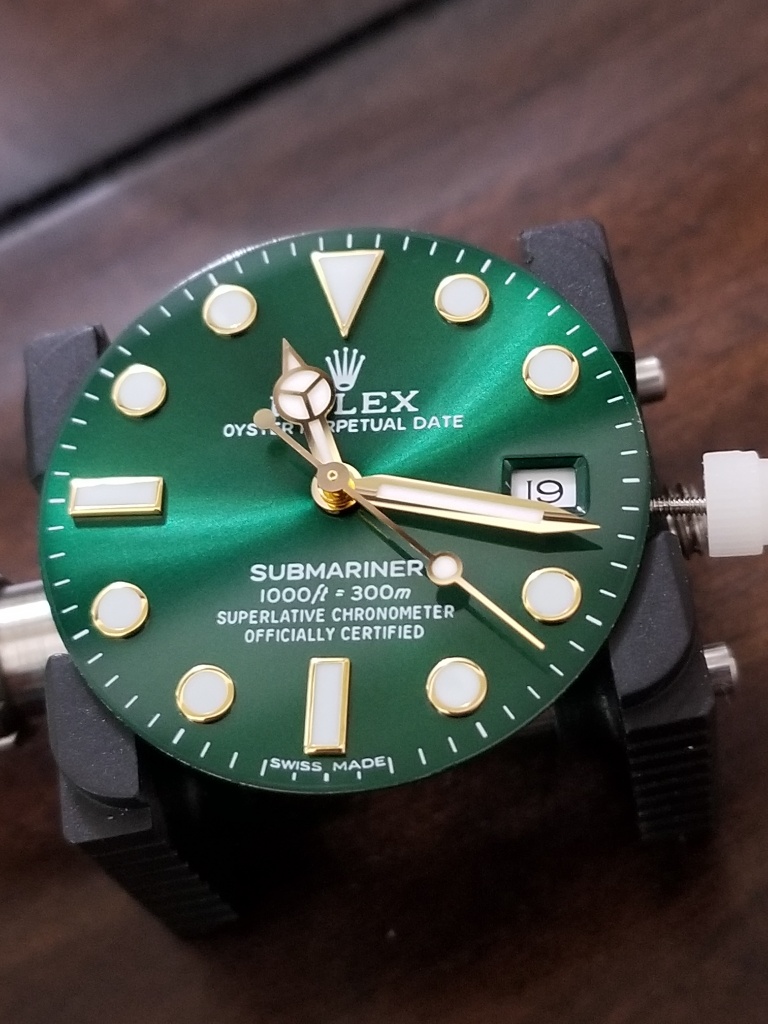
I narrowed the choice down to two dials. One needed to be shaved in diameter to fit the case, the other would need new feet. The way I do feet is actually more work than shaving a dial but a lot less risky so that’s the dial I picked. It’s a Noob V8 or V9 3135 dial, these have a nice green color and decent color range so off we go.
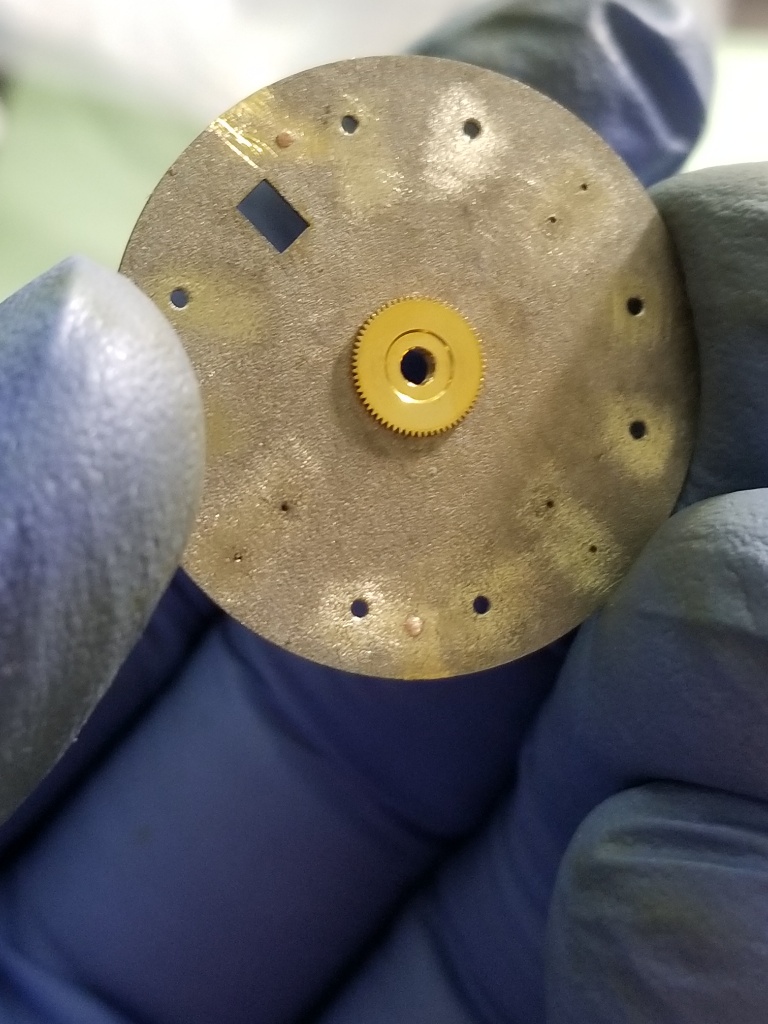
Remove the dial feet and sand off the stumps (file photo)
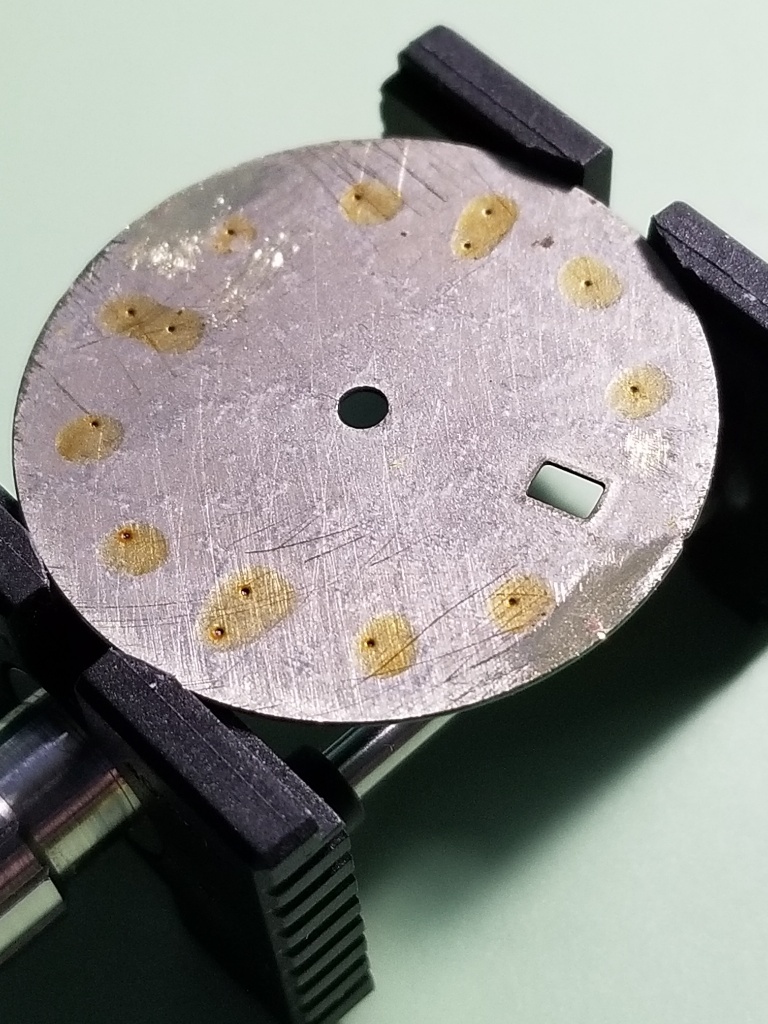
I put a half piece of a dial dot on opposite sides of the movement to keep the dial spacer in position when doing feet or datewheel work. You can actually glue dials right to the spacer and anchor the spacer to the movement this way if you want. I prefer to re-glue new feet.
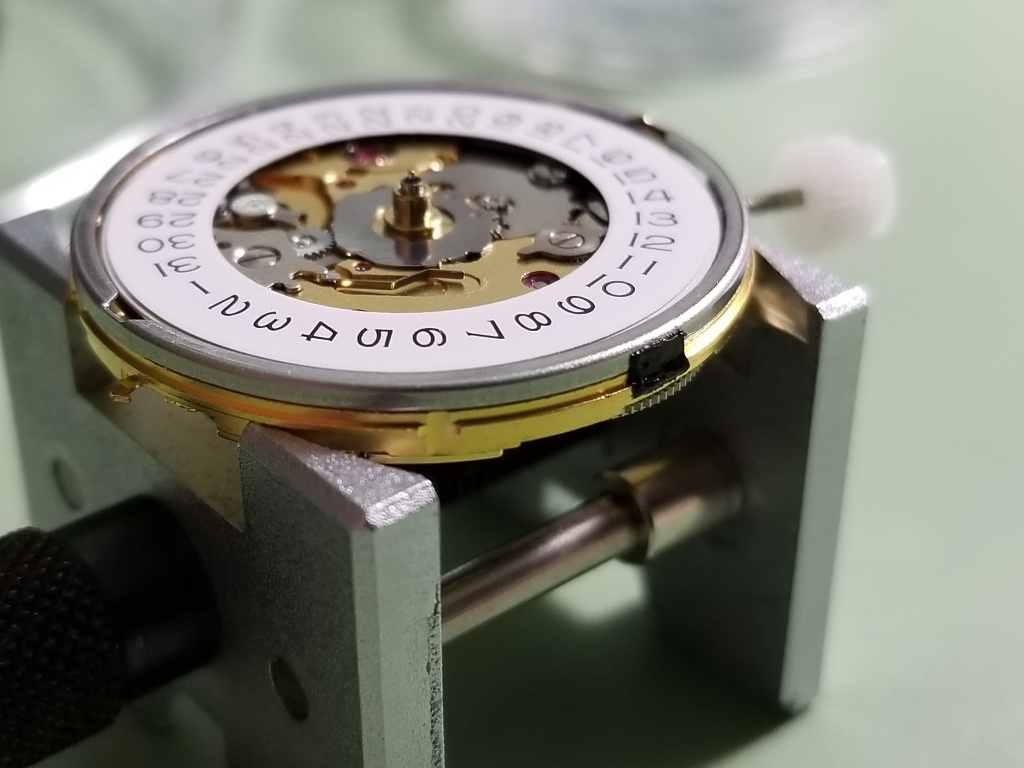
Select new feet and ensure they will anchor properly
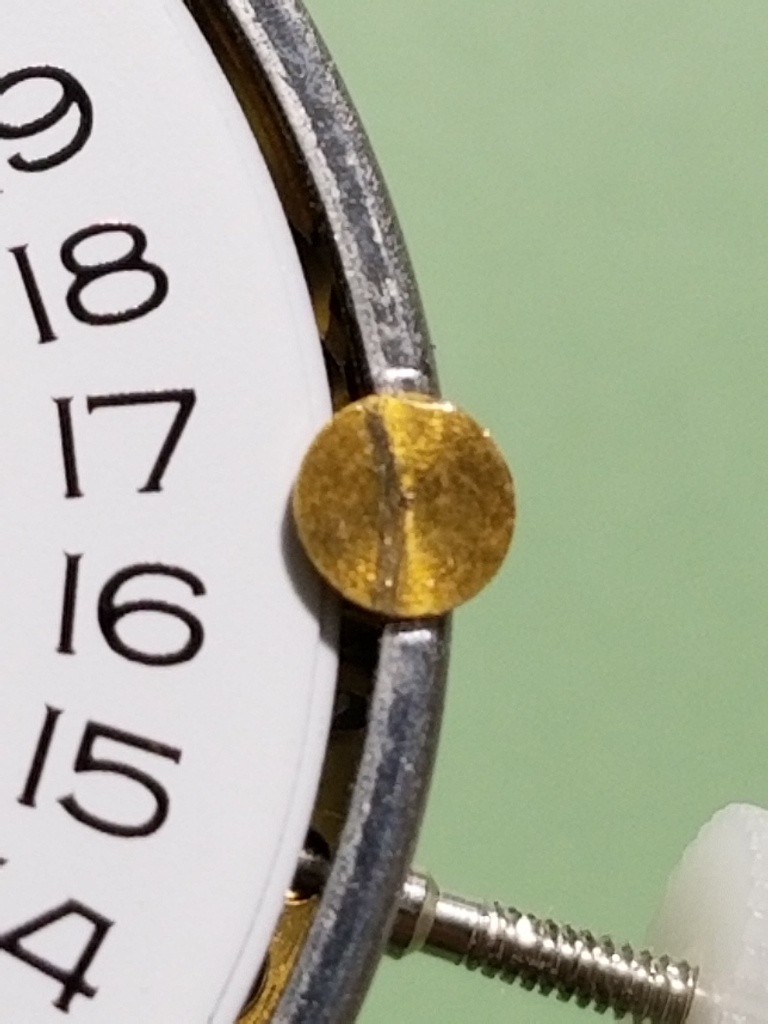
Next, I grind and sand the inner half of the dial feet off to keep them from interfering with the datewheel overlay. It doesn’t look like they would touch in the last pic, but that foot base is going to eventually sit lower as you will see.
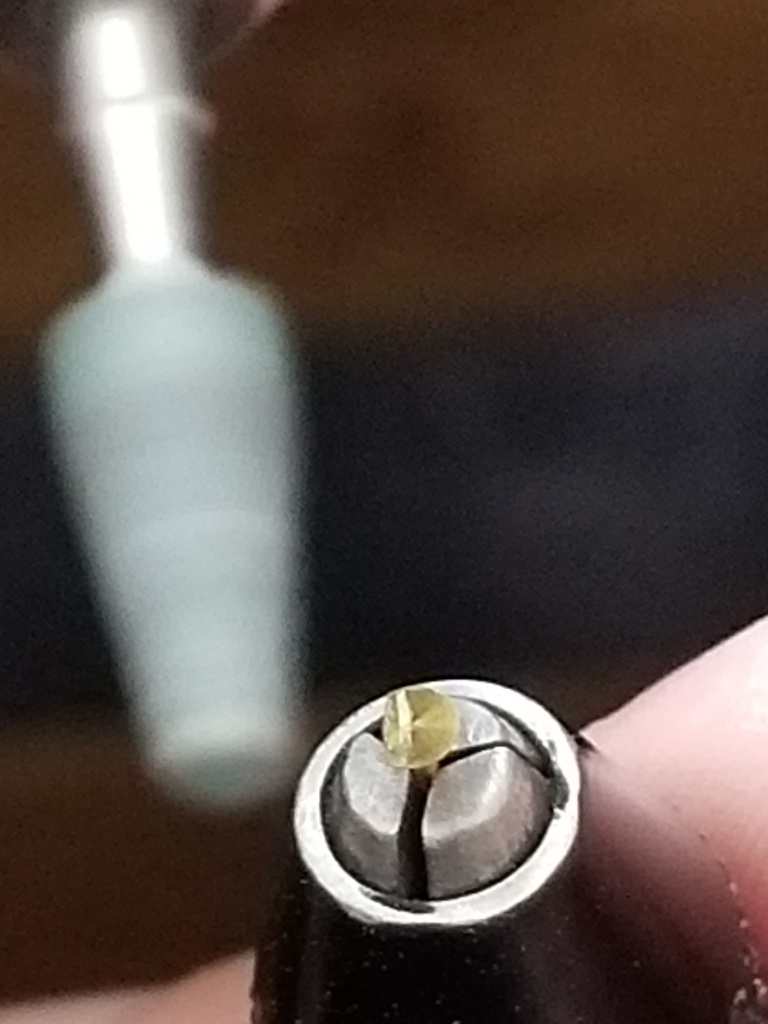
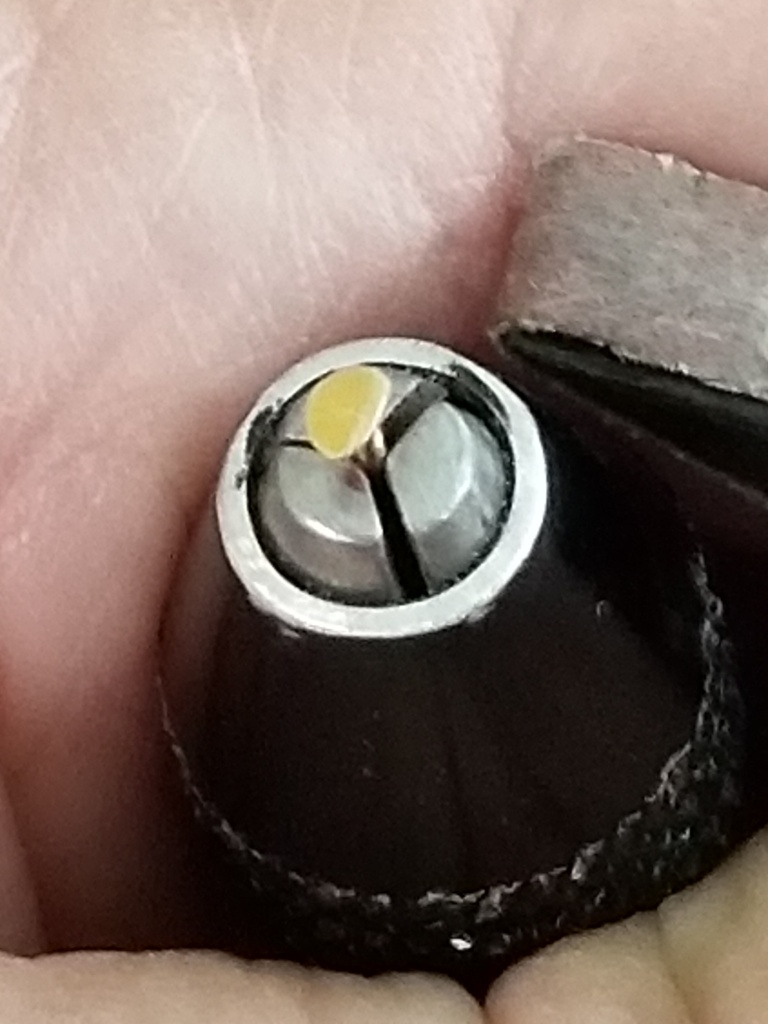
I then run the modified feet through the cleaner
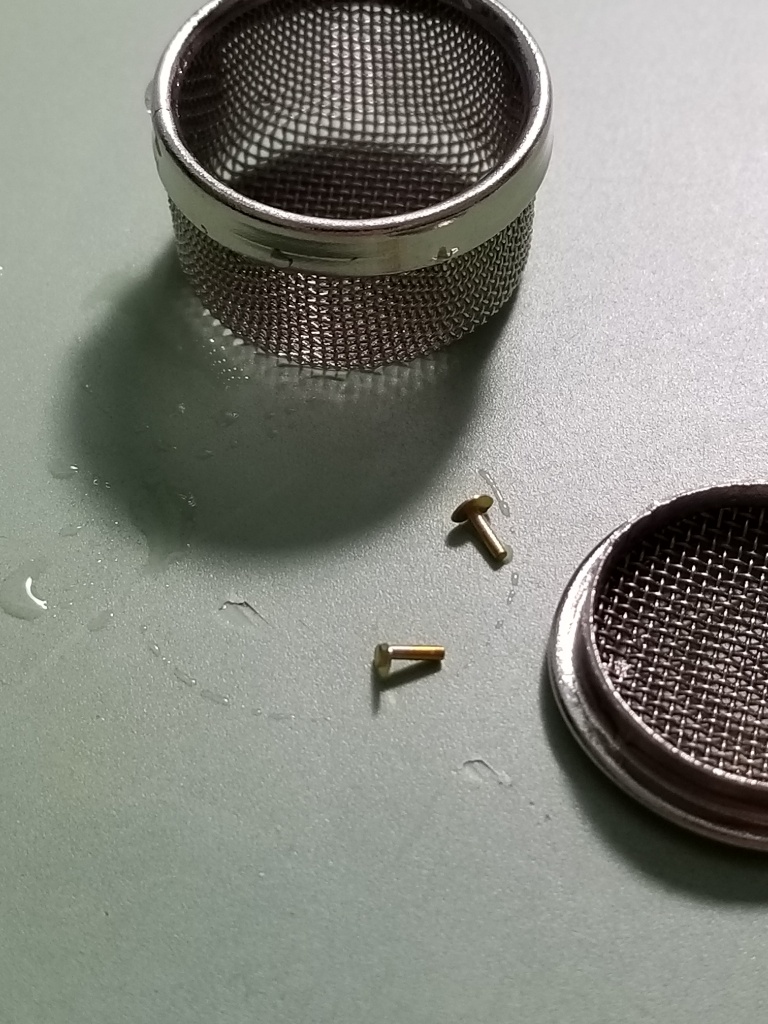
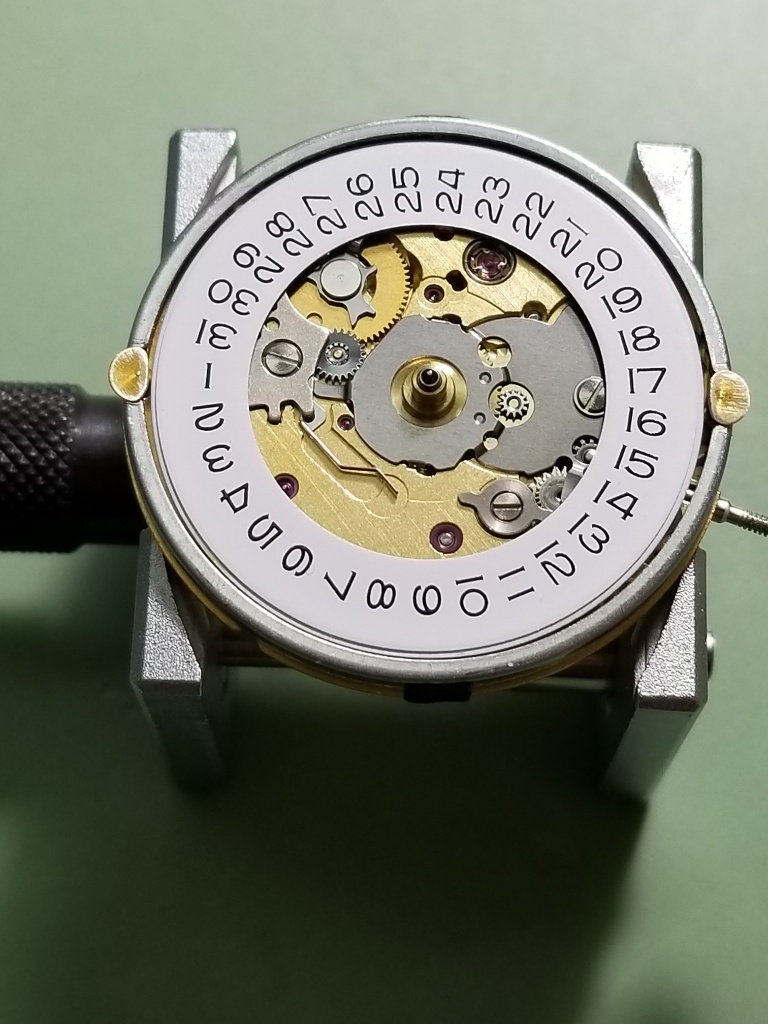
If you have an old GMT hour wheel (or similar) it’s the perfect spacer to keep your dial centered while the feet are being glued.
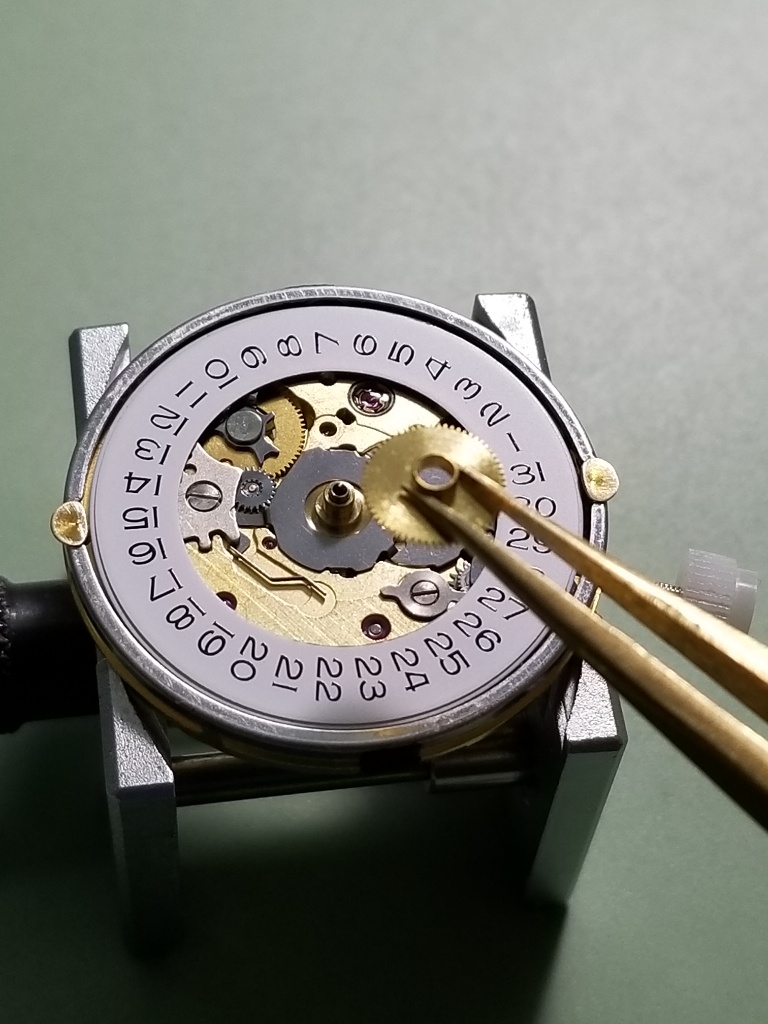
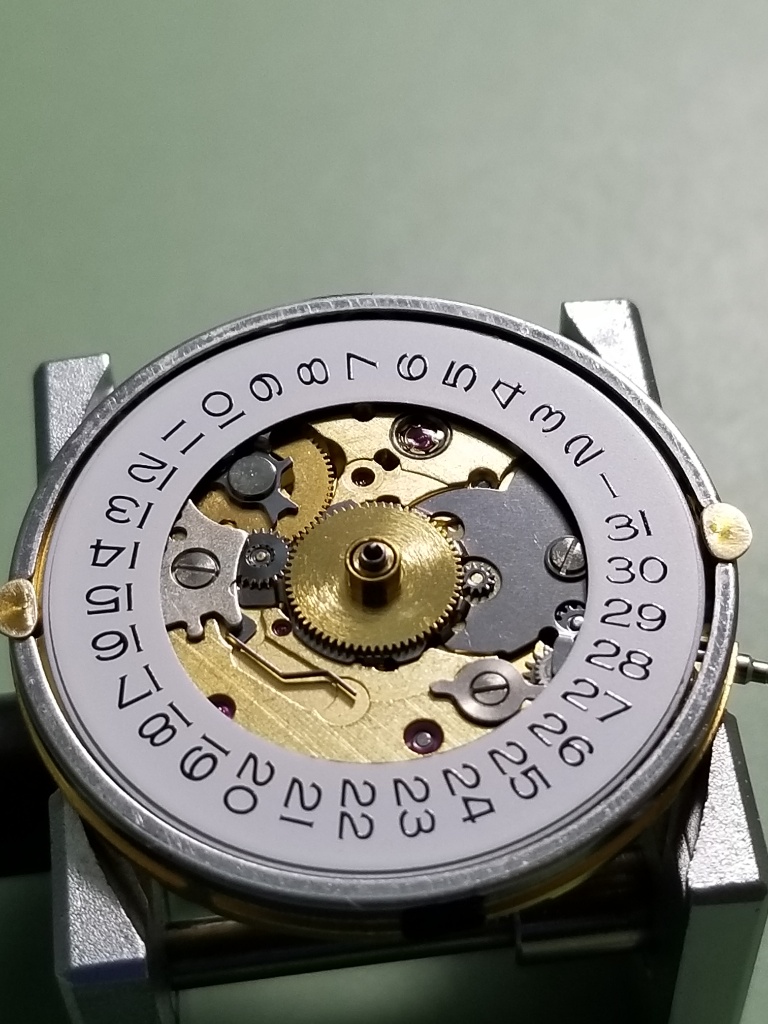
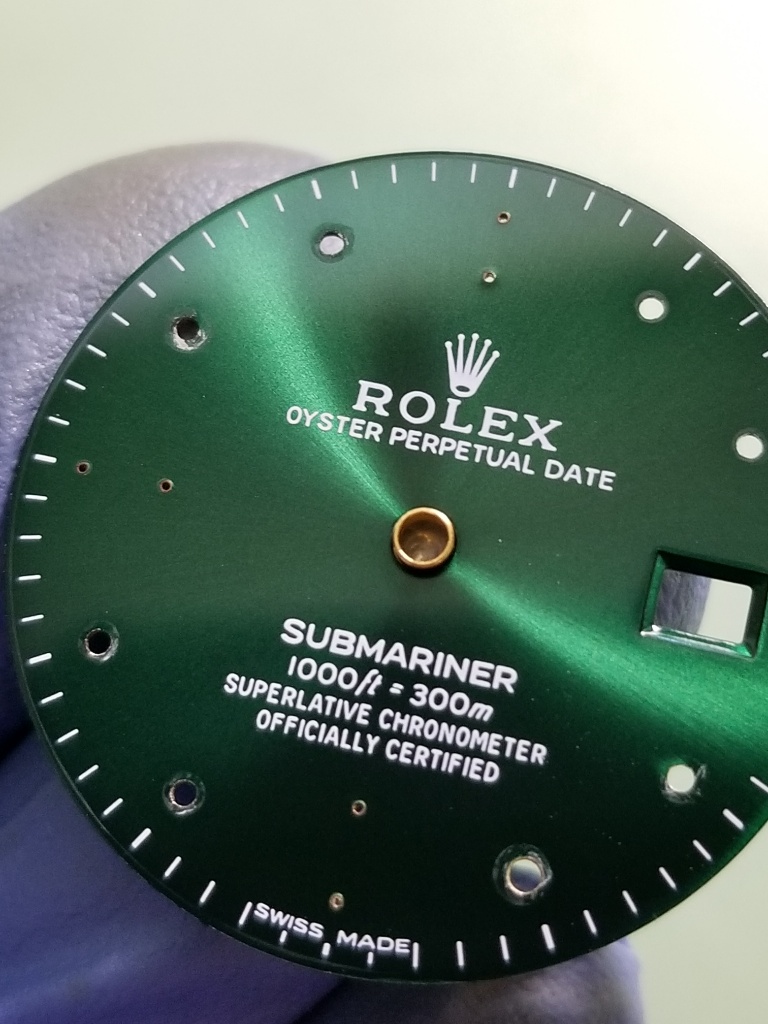
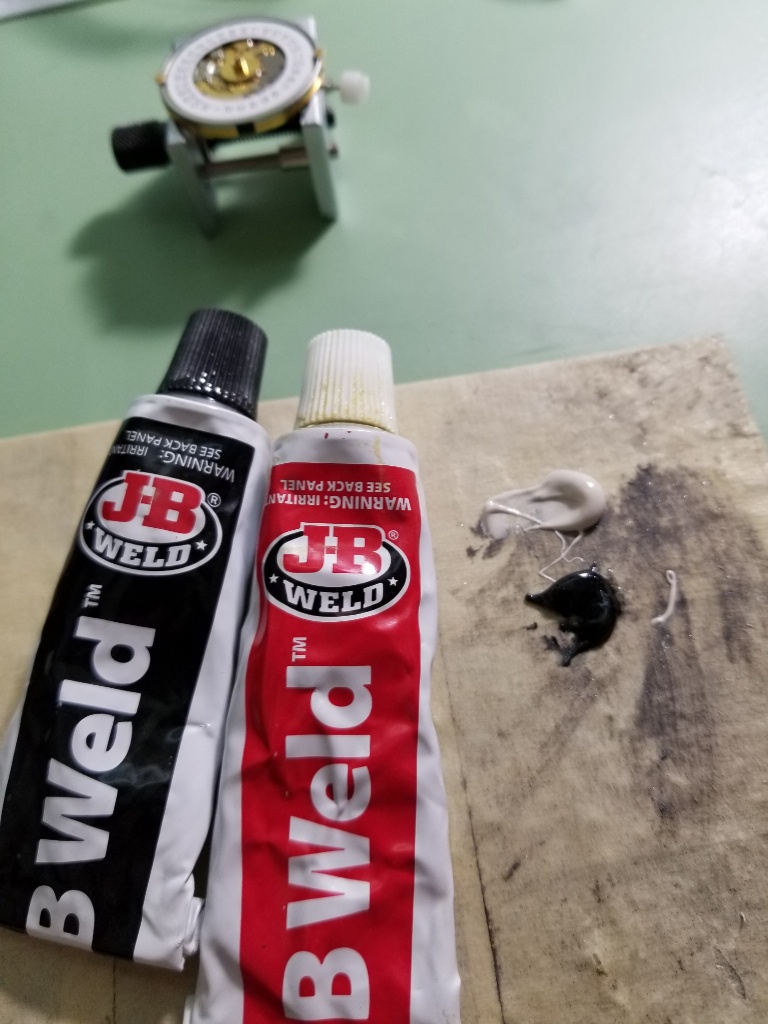
Next mix up some JBWeld epoxy. I like it better than BSI for this task as it is less runny. Note that the JBWeld label specifically says not to use alcohol to clean your parts prior to gluing so don’t!
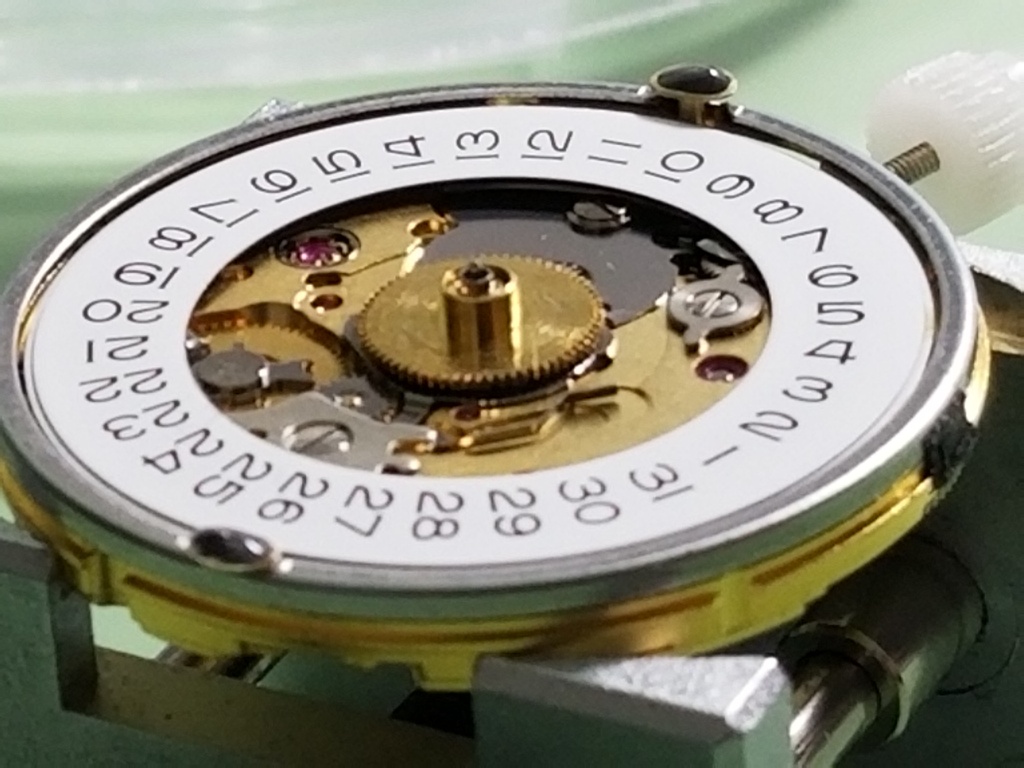
Place the dial, make sure it is centered and line up the stem on the notch or the 15 minute tic mark
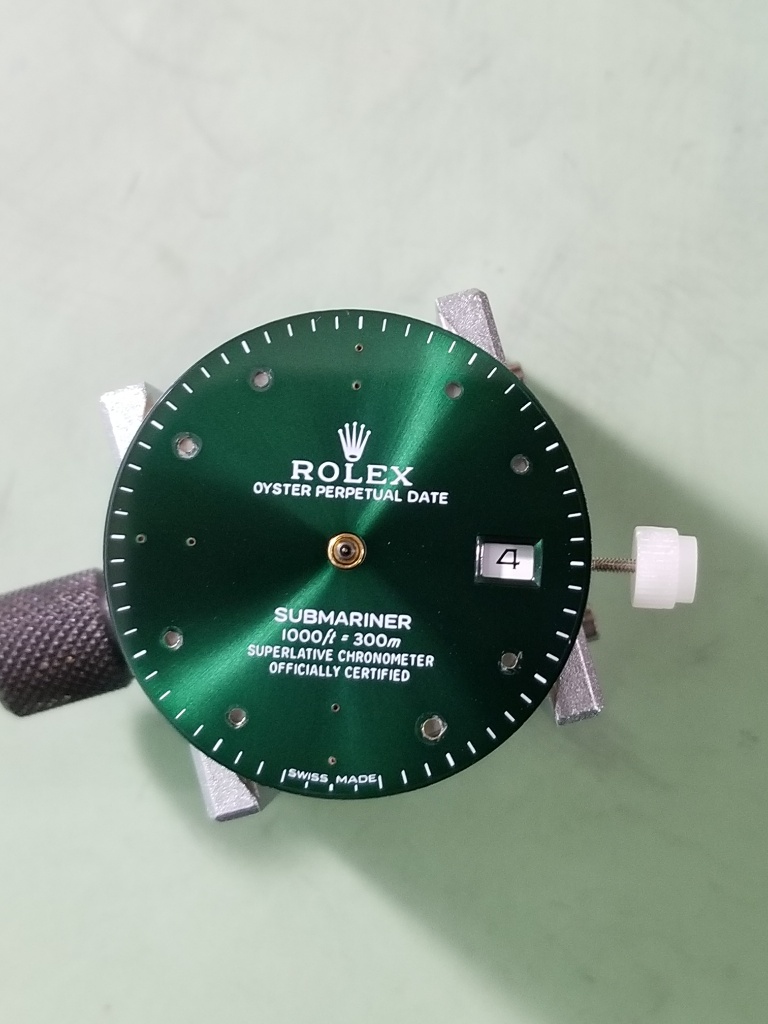
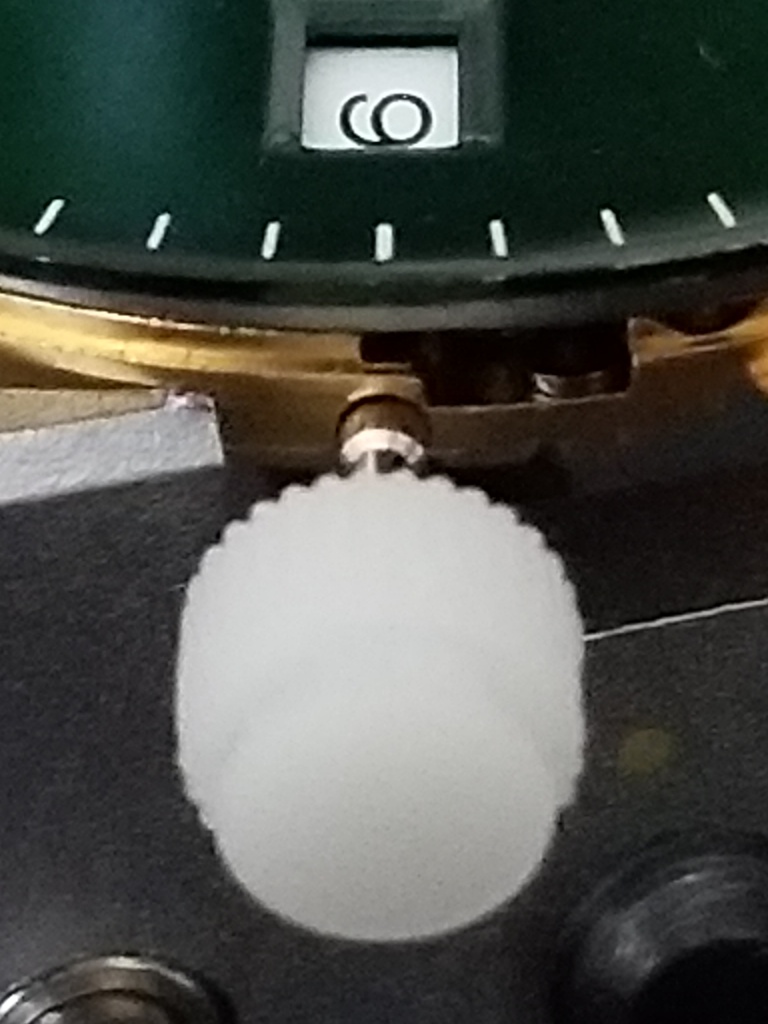
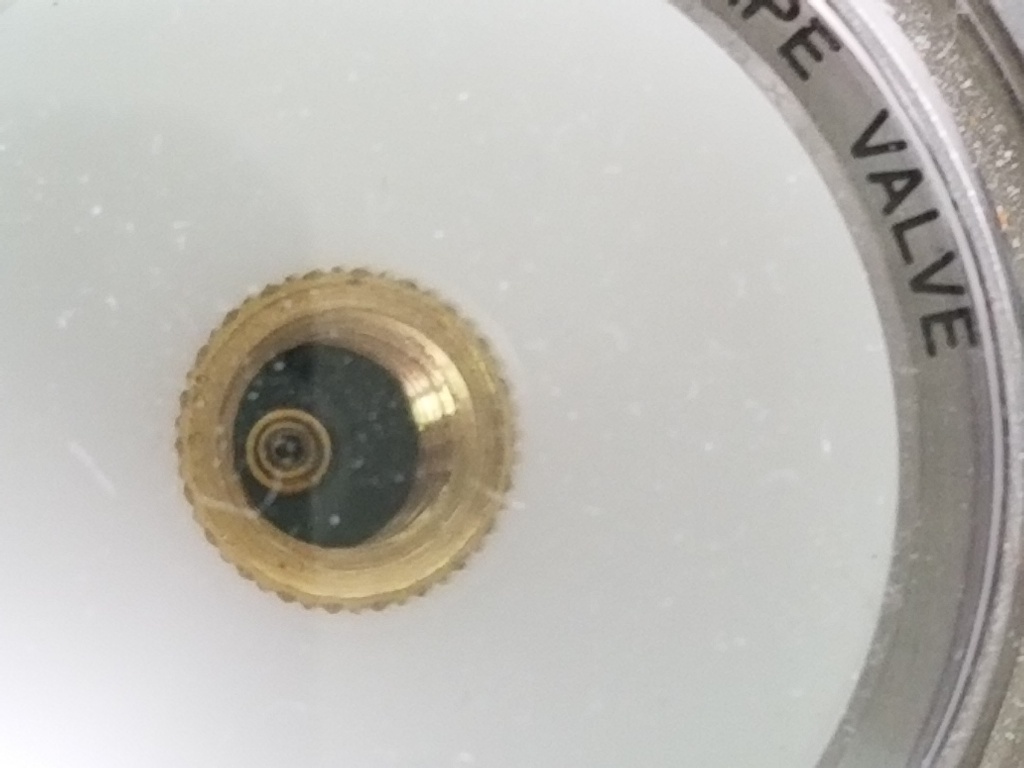
I like to weight down the dial while the epoxy cures, so I place a dial protector, a die, and an old DSSD case on top.
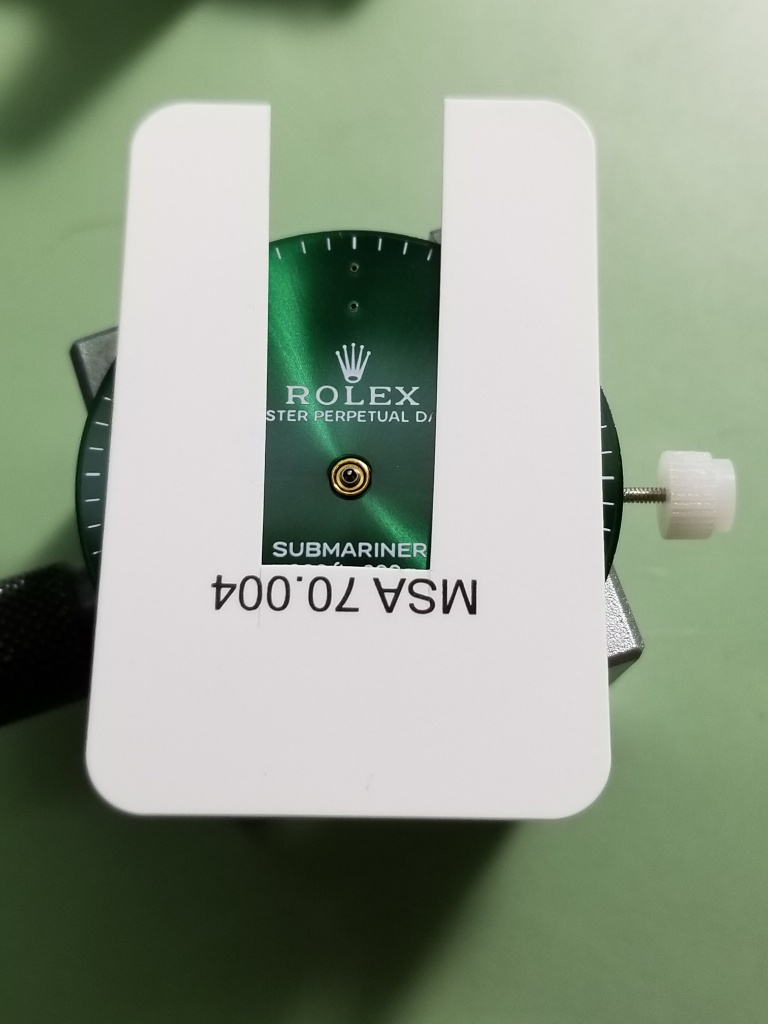
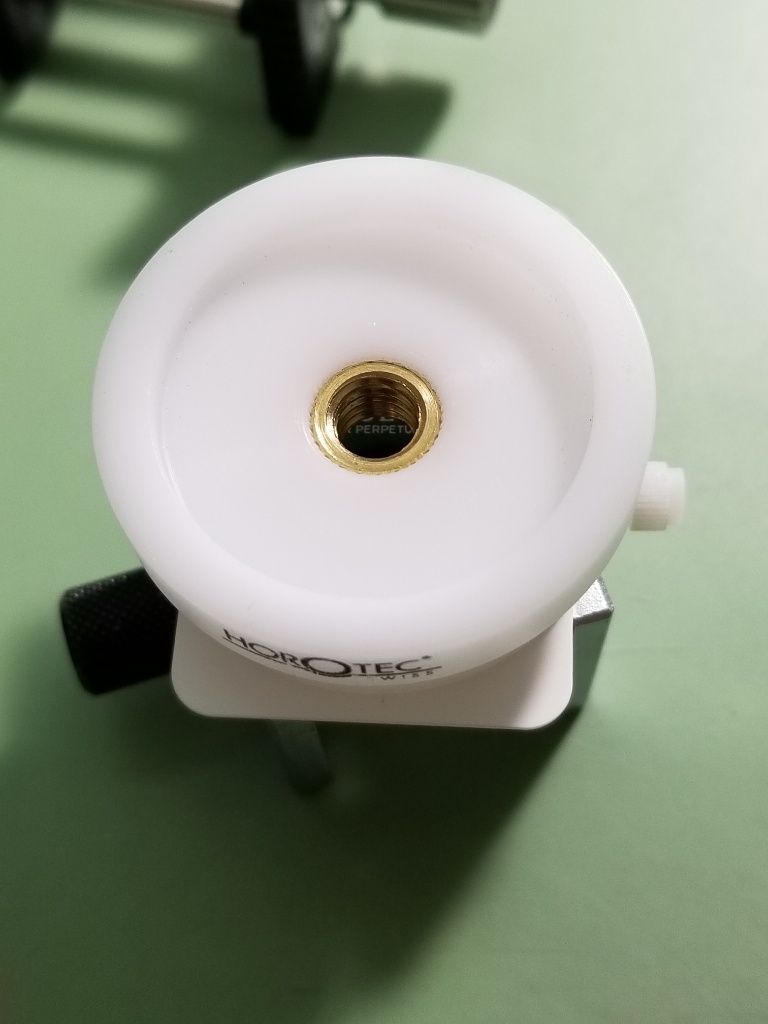
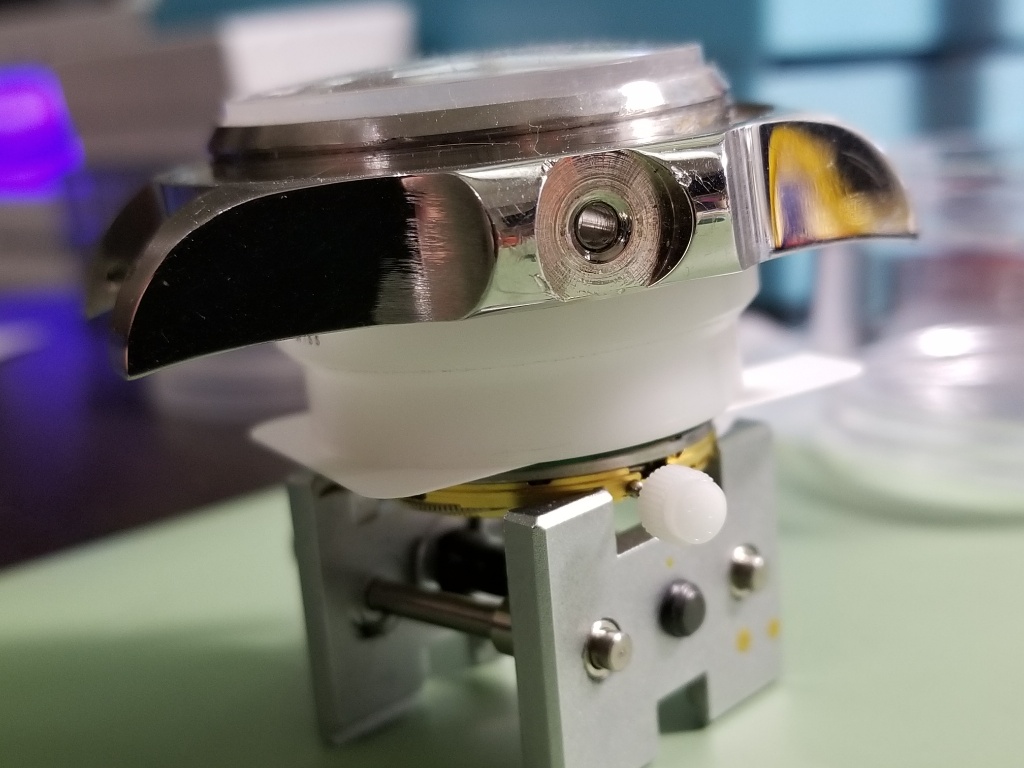
With this choice of weight, you can check on your centering and nudge the dial a little if needed while it’s still weighted down.
After a full 24 hours, the feet are nice and strong
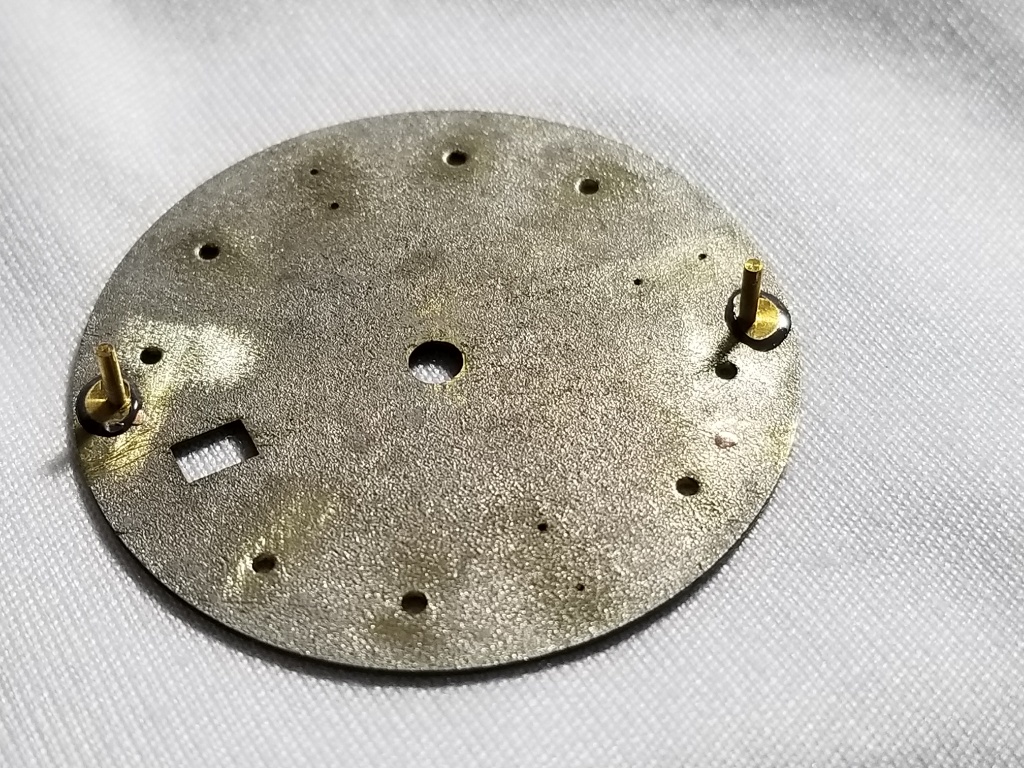
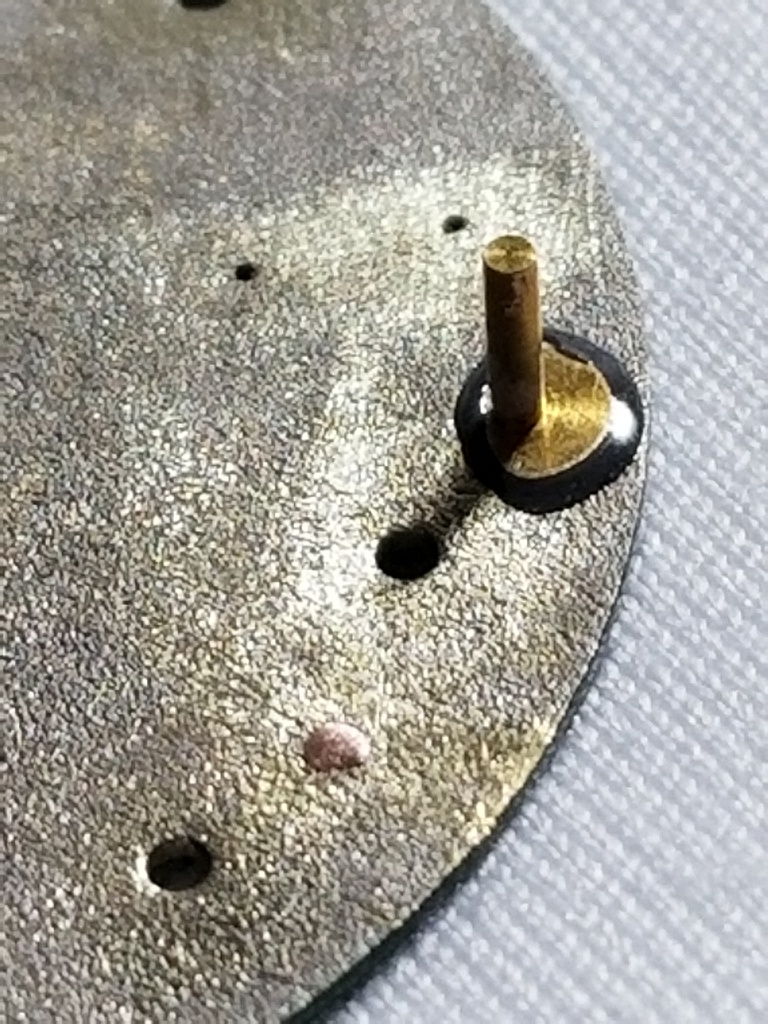
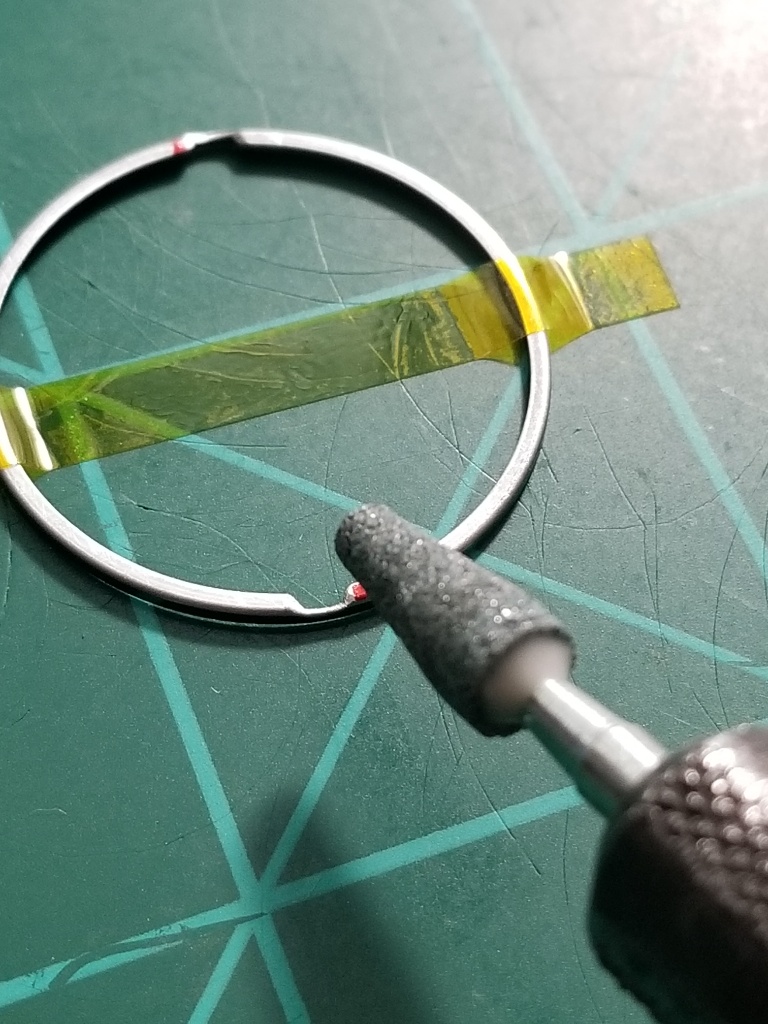
Next we need to notch the dial spacer so the feet bases and the glue bulge don’t cause the dial to sit above the spacer.
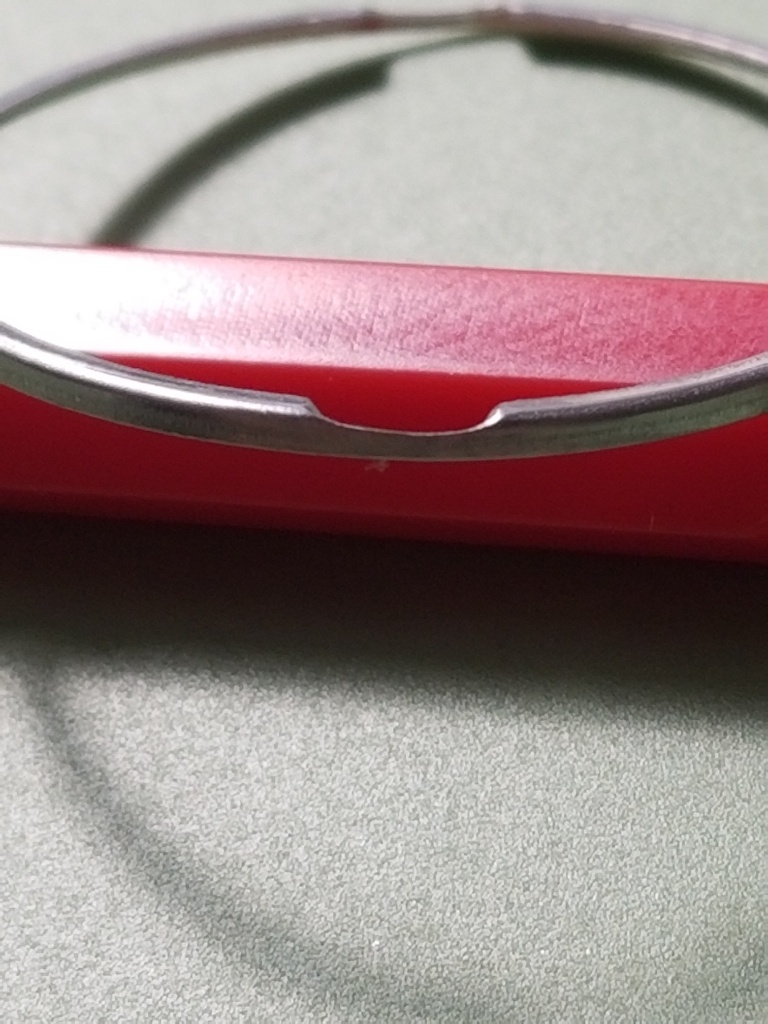
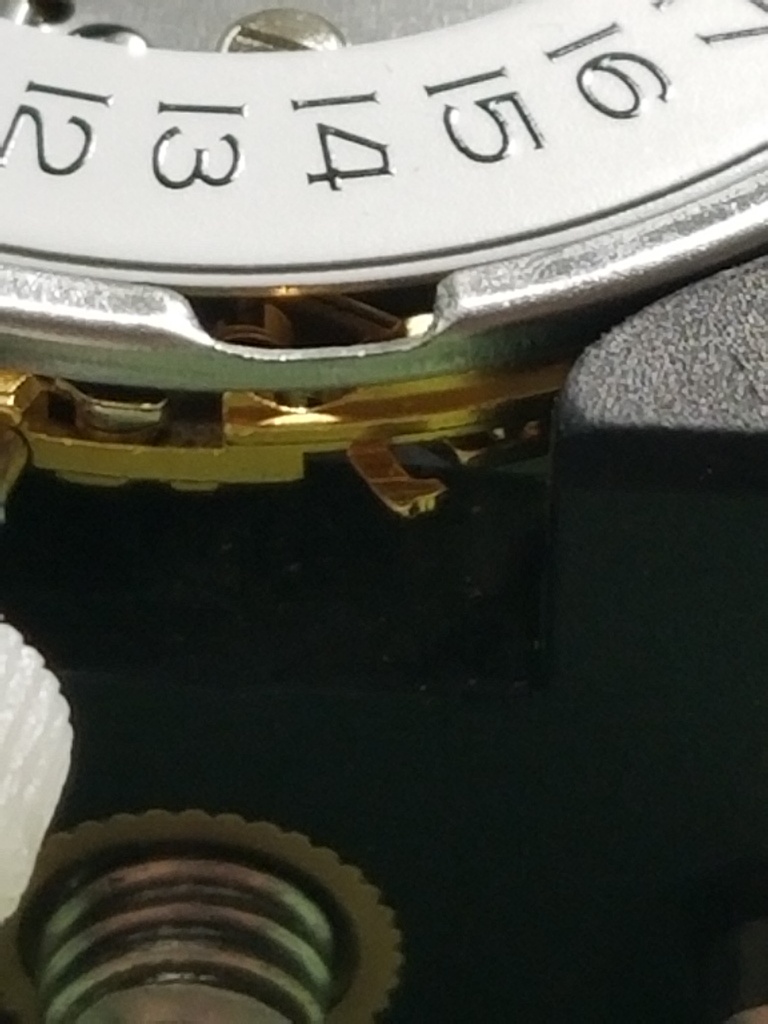
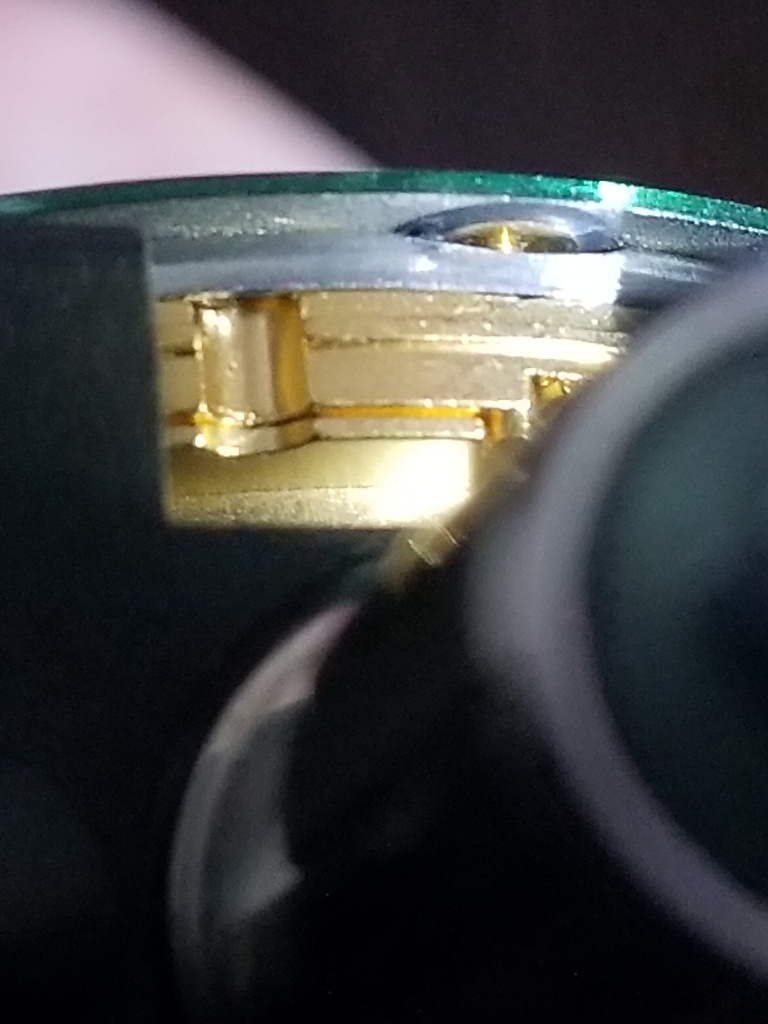
Now the dial sits flush on the spacer again
The Markers
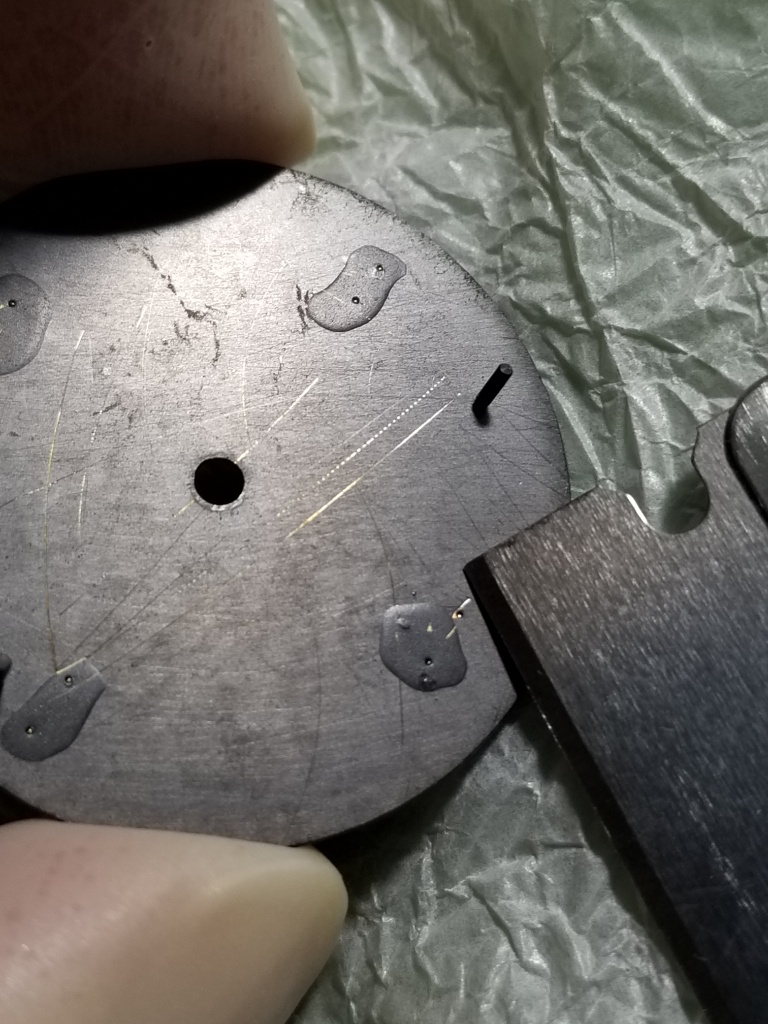
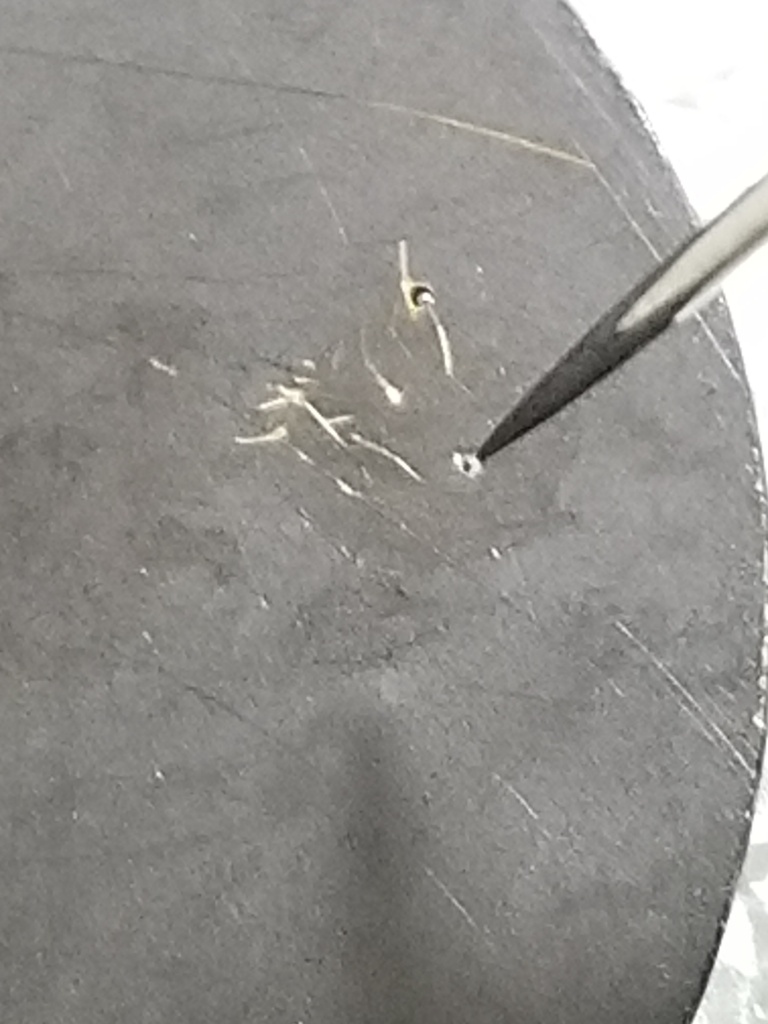
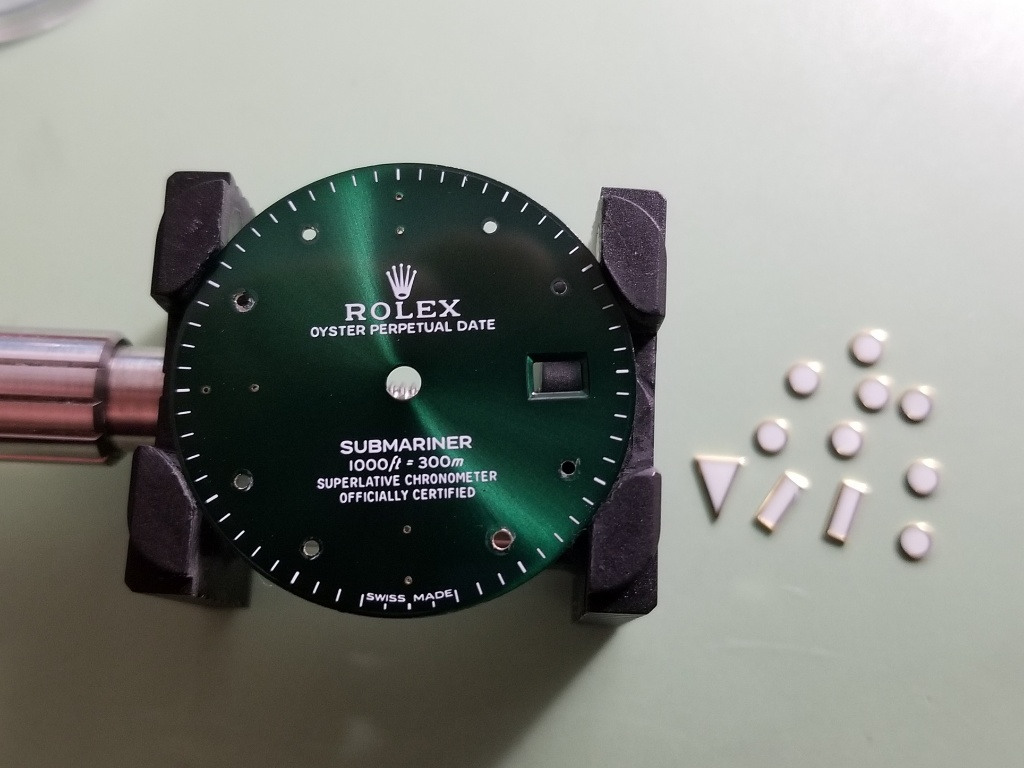
First we have to remove the old silver markers
Scrape away the glue and push the pins out with a needle or a blunt toothpick for larger pins (file photos)
Save the markers for re-use on the dial the gold markers come from
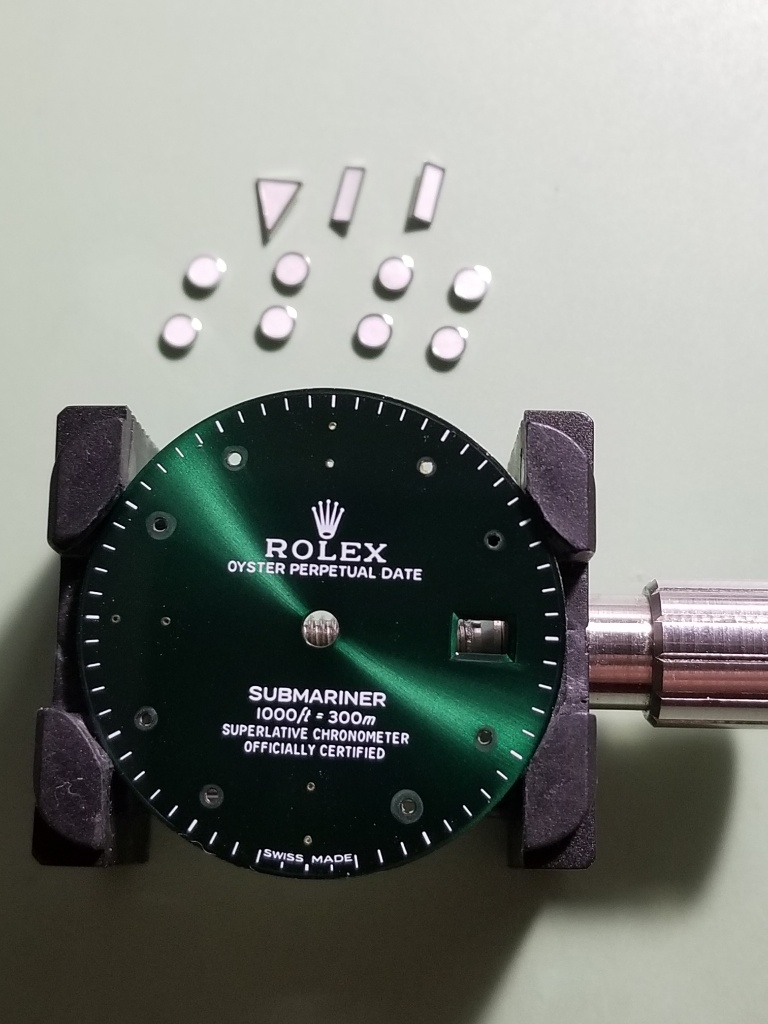
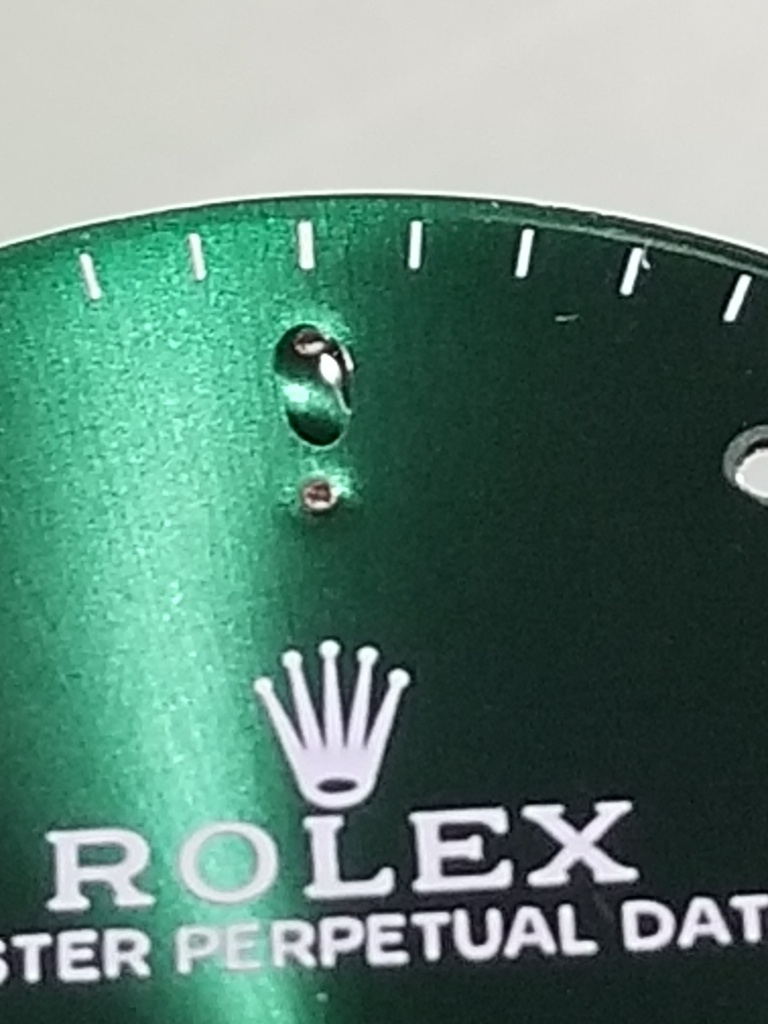
Sometimes you get lucky and the new marker pins are smaller than the new dial holes so you can just start gluing. That was not the case with this project, the new dial holes were smaller than the new marker pins. You can either drill the dial holes bigger or grind off the marker pins. I don’t mind drilling the dial holes, it’s pretty easy with a big guide hole, you are just enlarging them a little. So I started doing that but the first one I did I noticed afterward that the original hole wasn’t perfectly centered at 25 so my enlargement wasn’t either. I saw that the 20 was off too, so time for plan B.
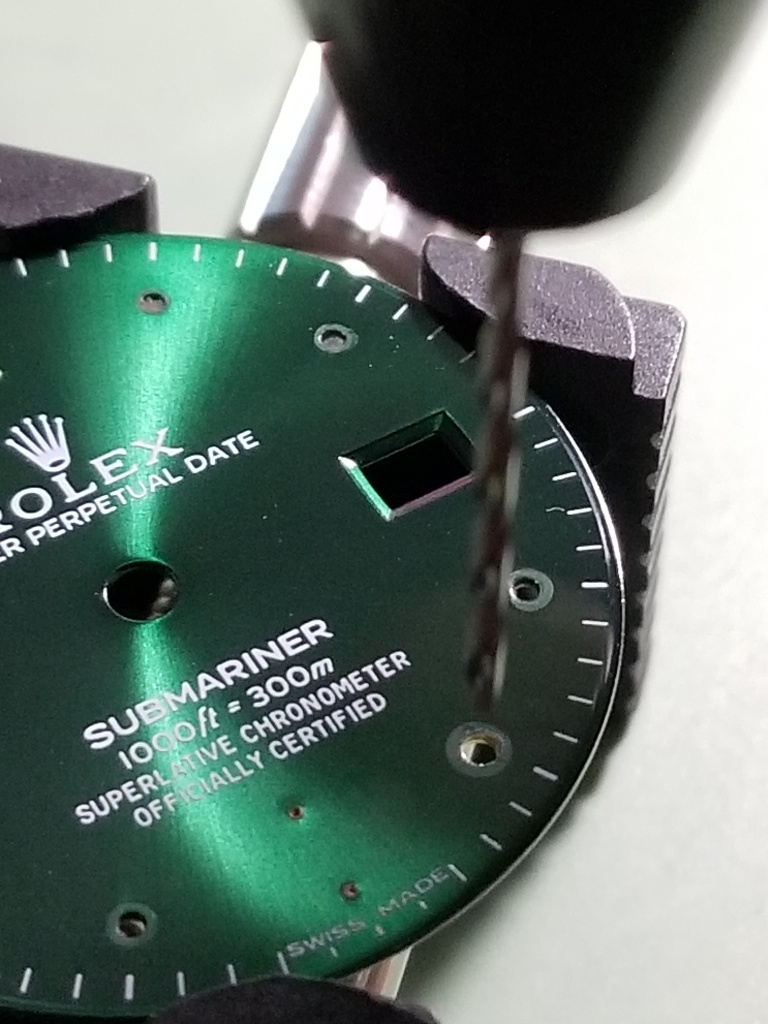
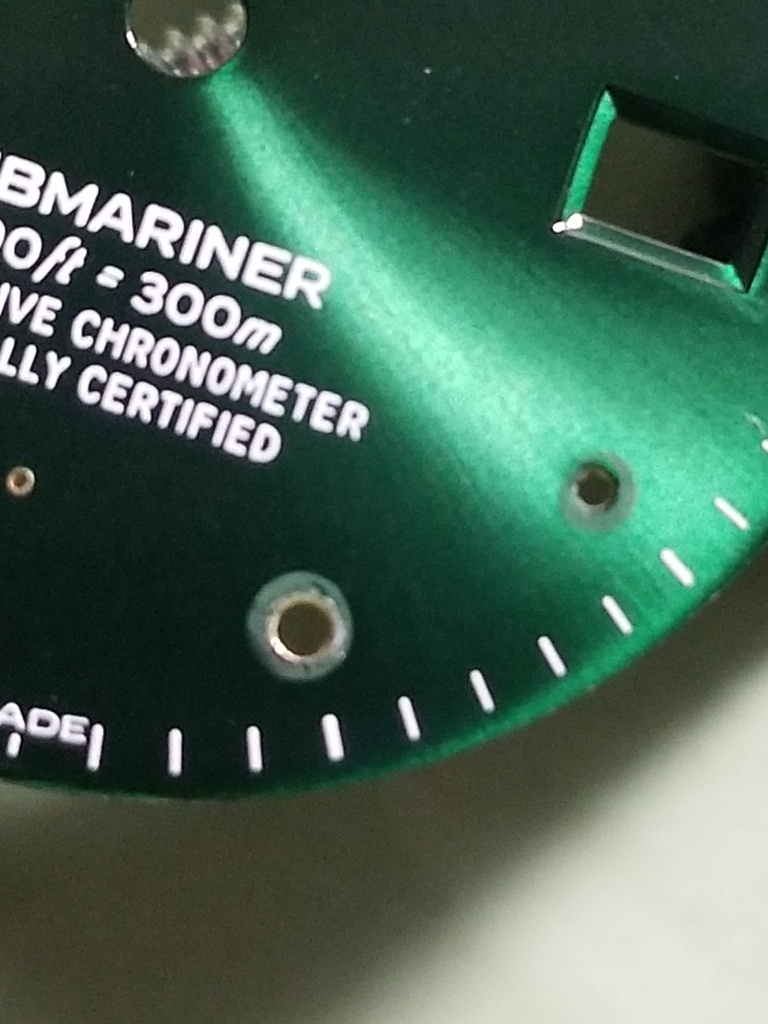
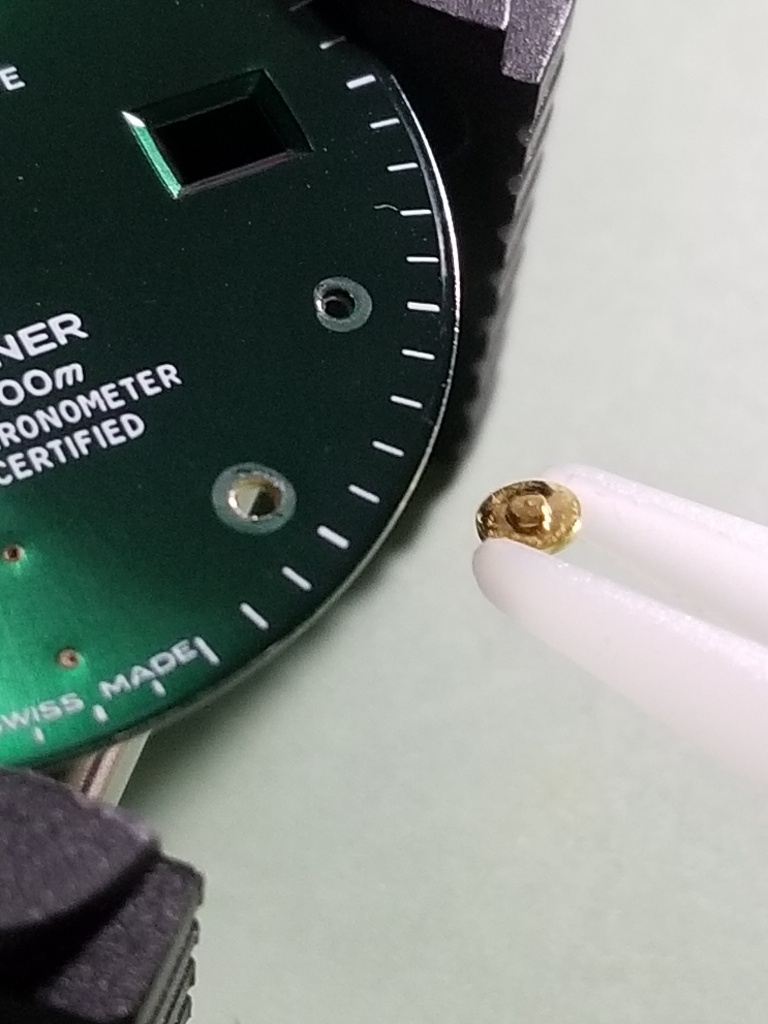
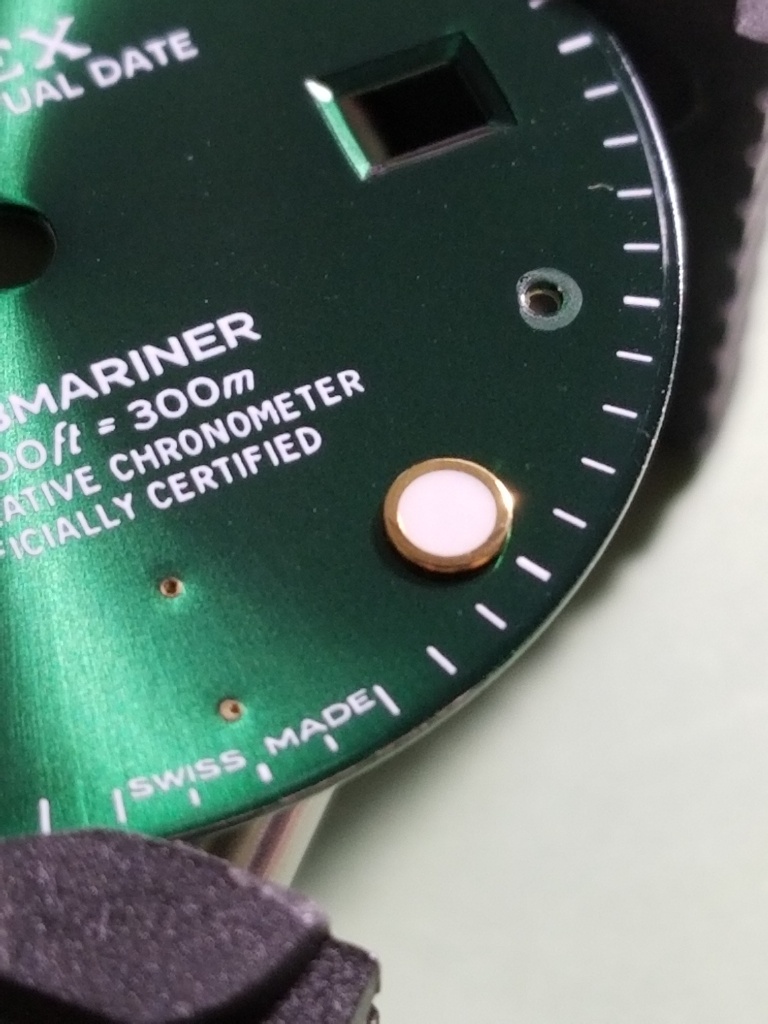
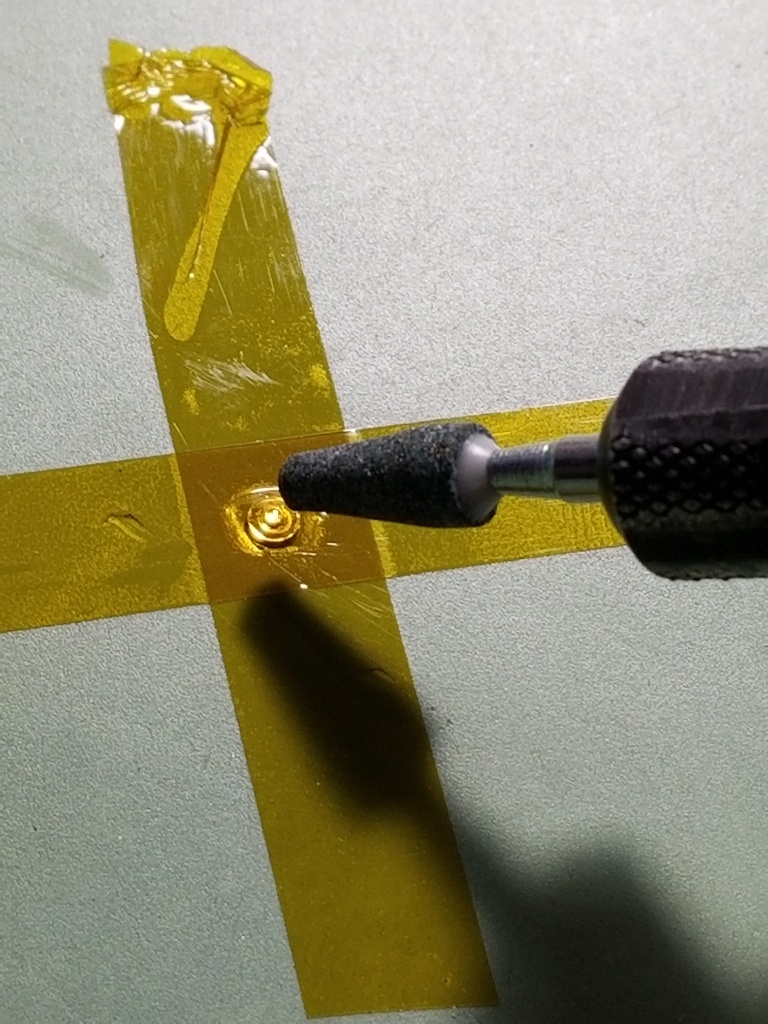
The 12, 6, and 9 markers were always going to have the pins ground down, looks like the rest of them need the same treatment
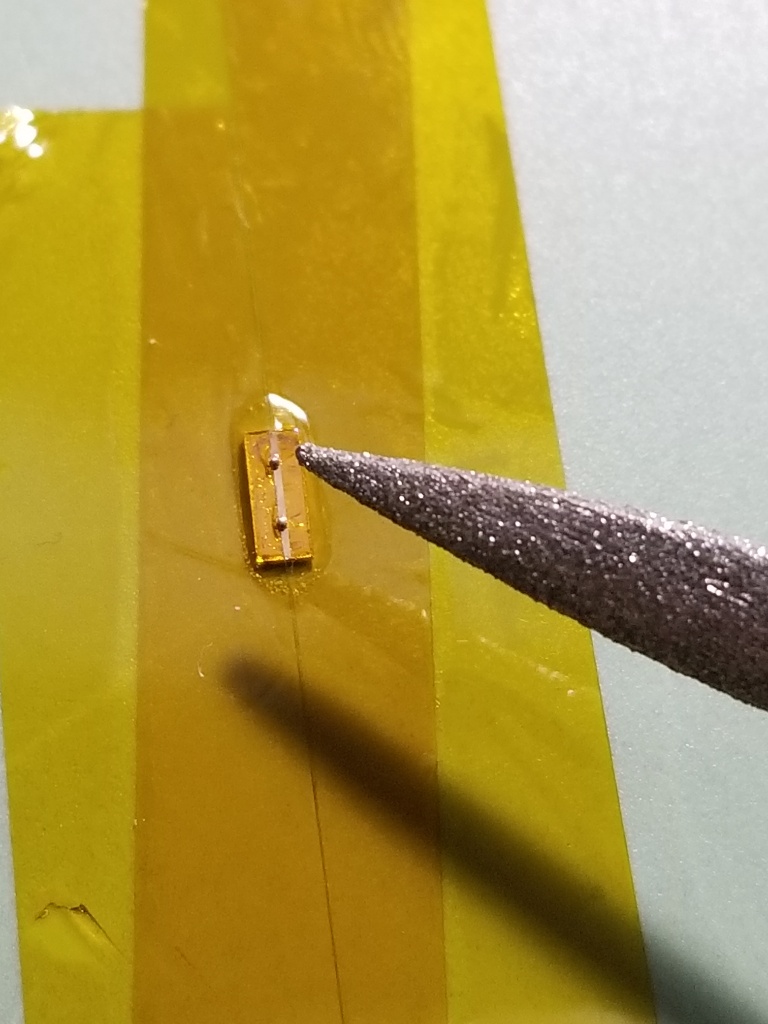
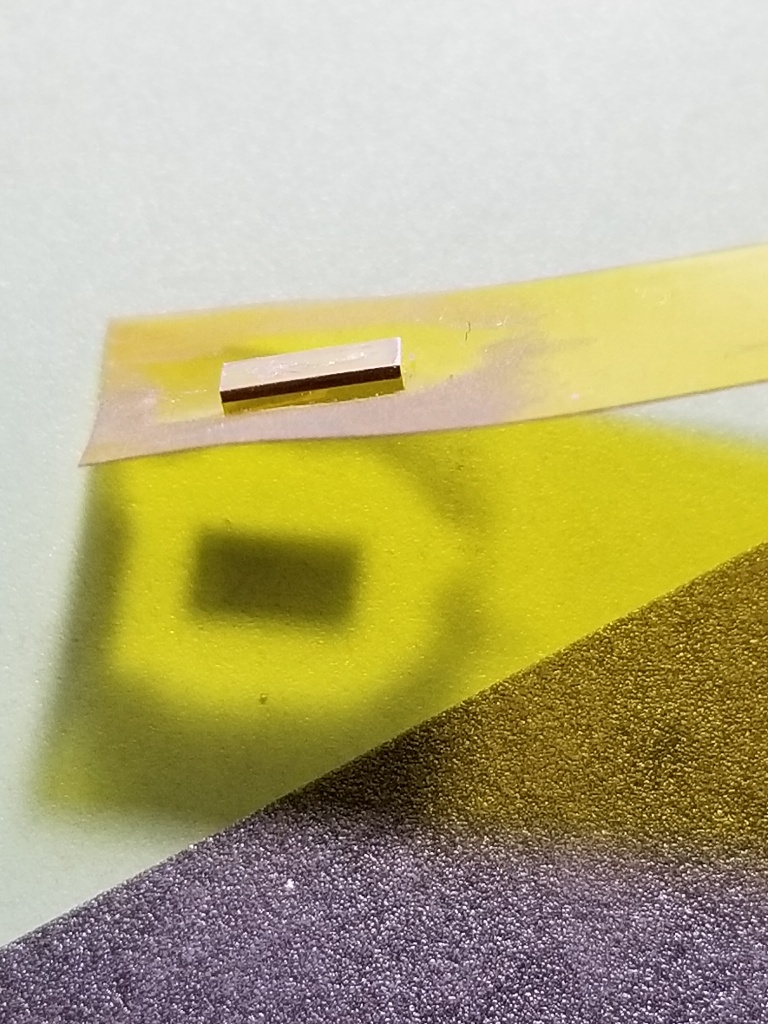
After filing or grinding, the markers can be dragged across sandpaper using tape to sand them smooth
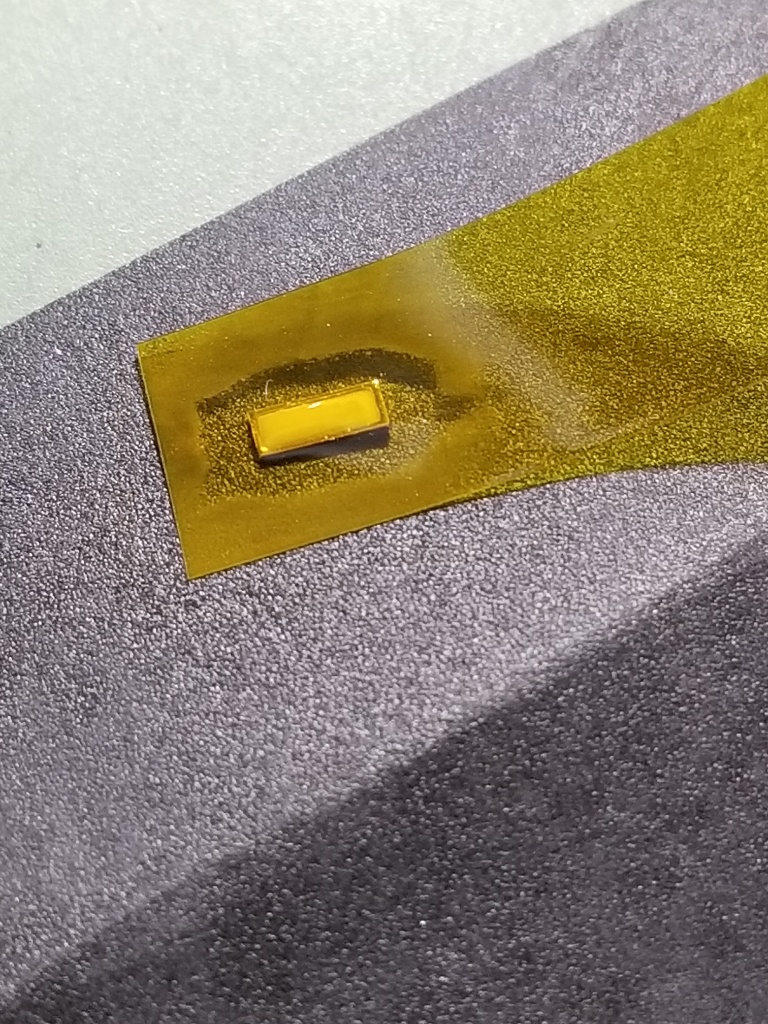
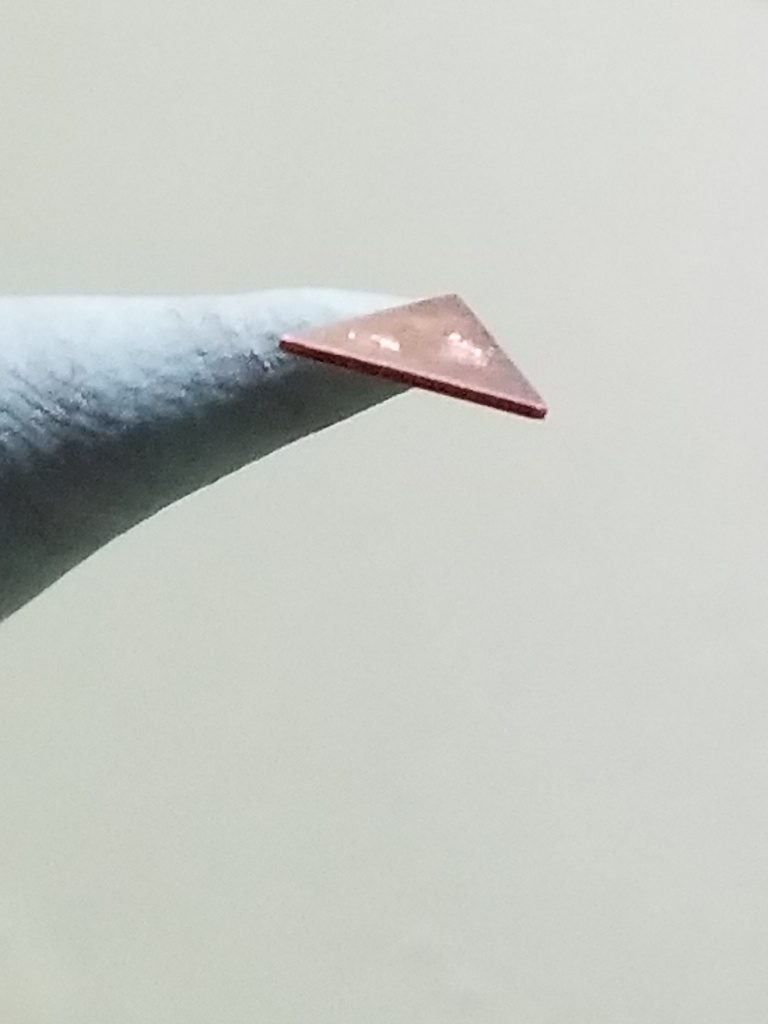
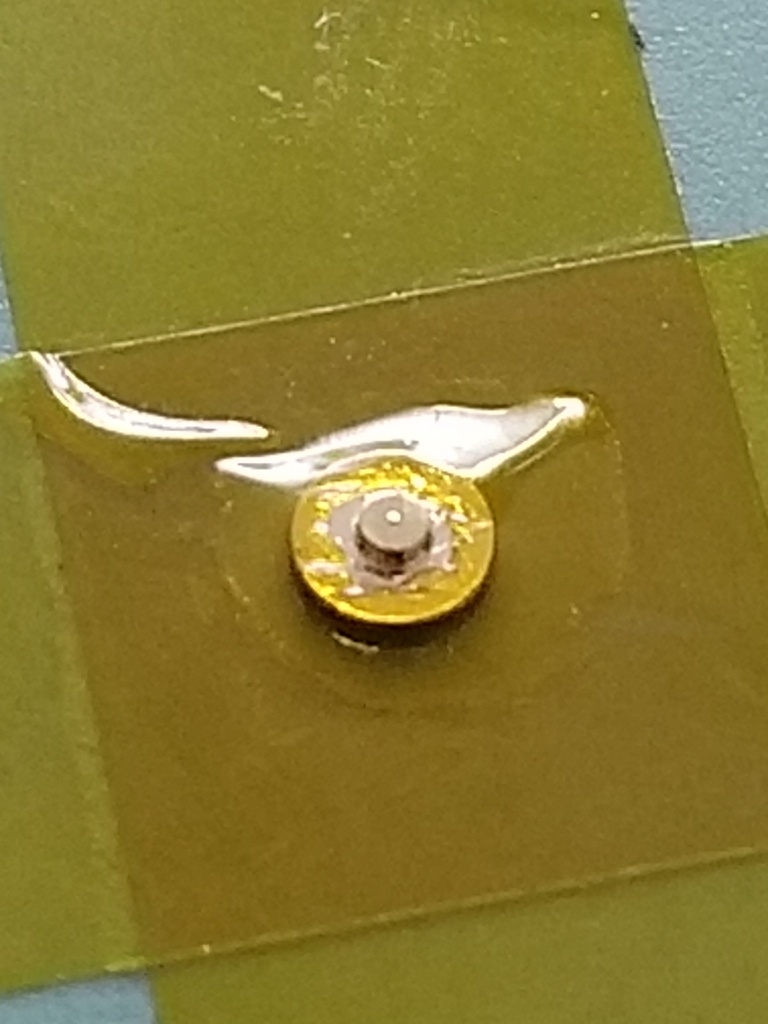
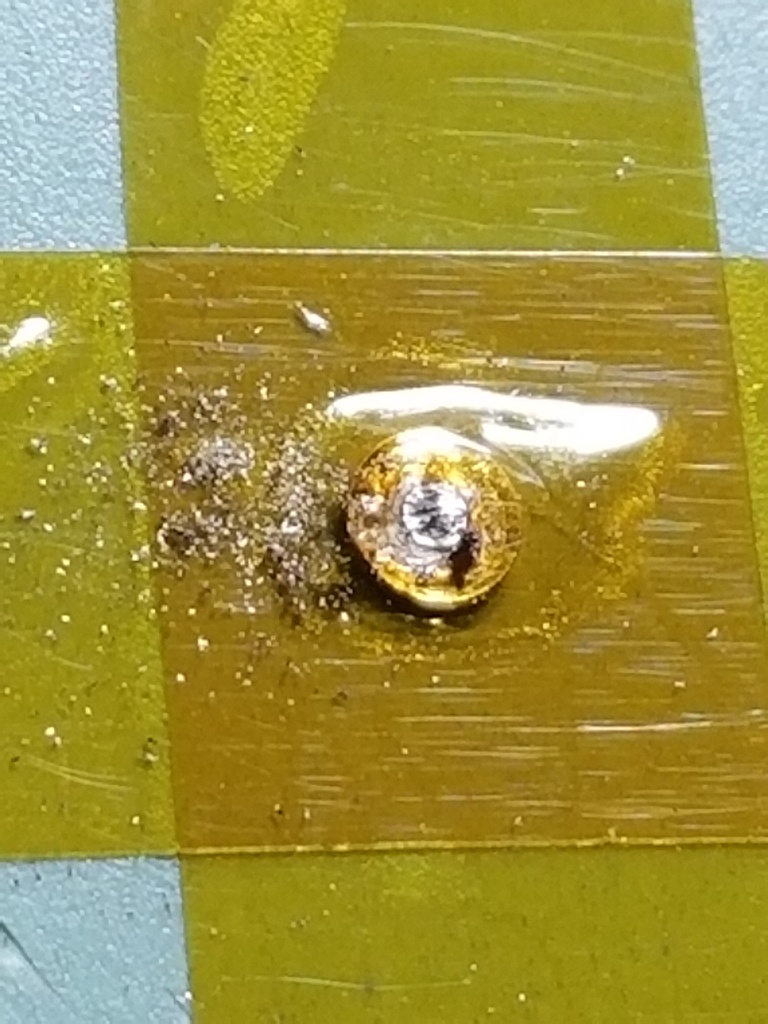
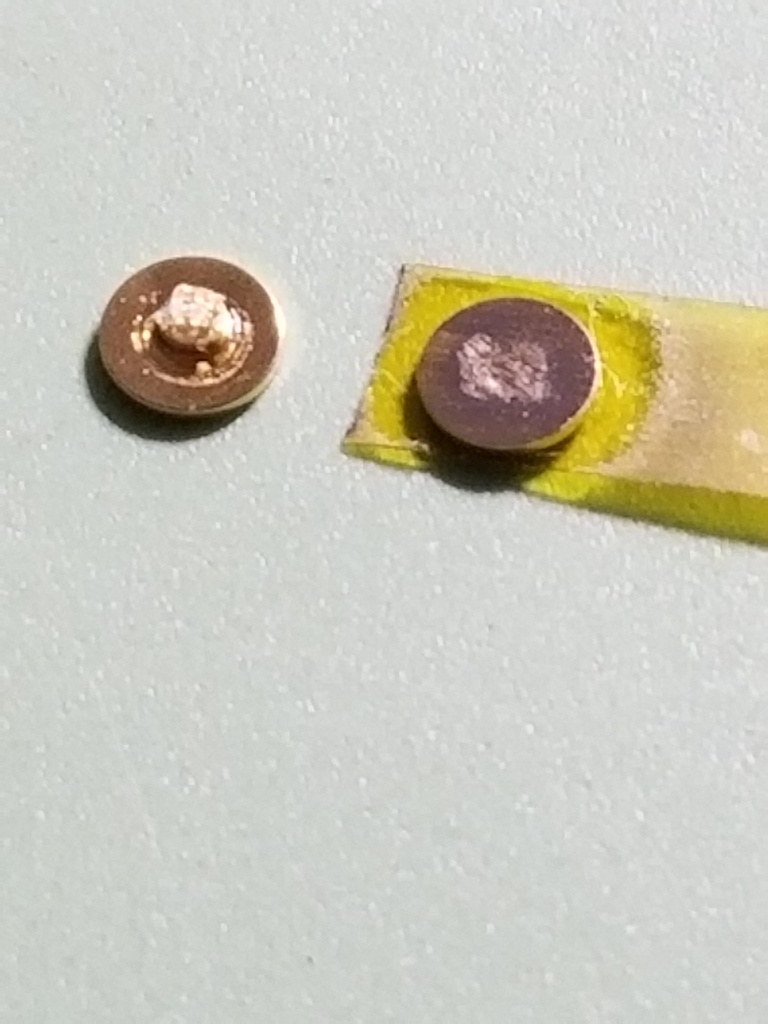
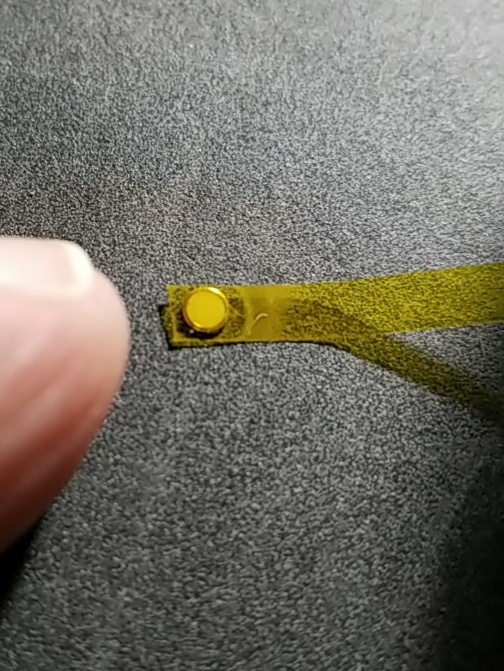
And finally the new markers can be glued on. I use BSI epoxy for this. It takes only a tiny bit. On large holes you can "plunge" your glue laden application tool (an old oiler) in the space to leave a glue rim about 1 -1.5mm around the hole.
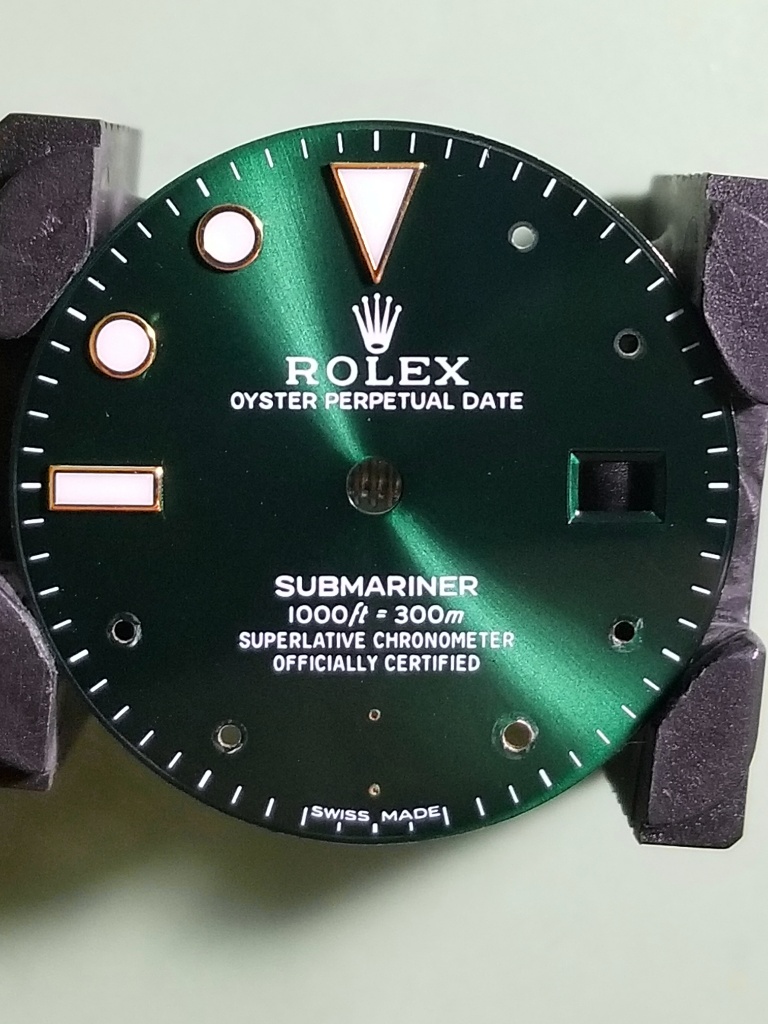
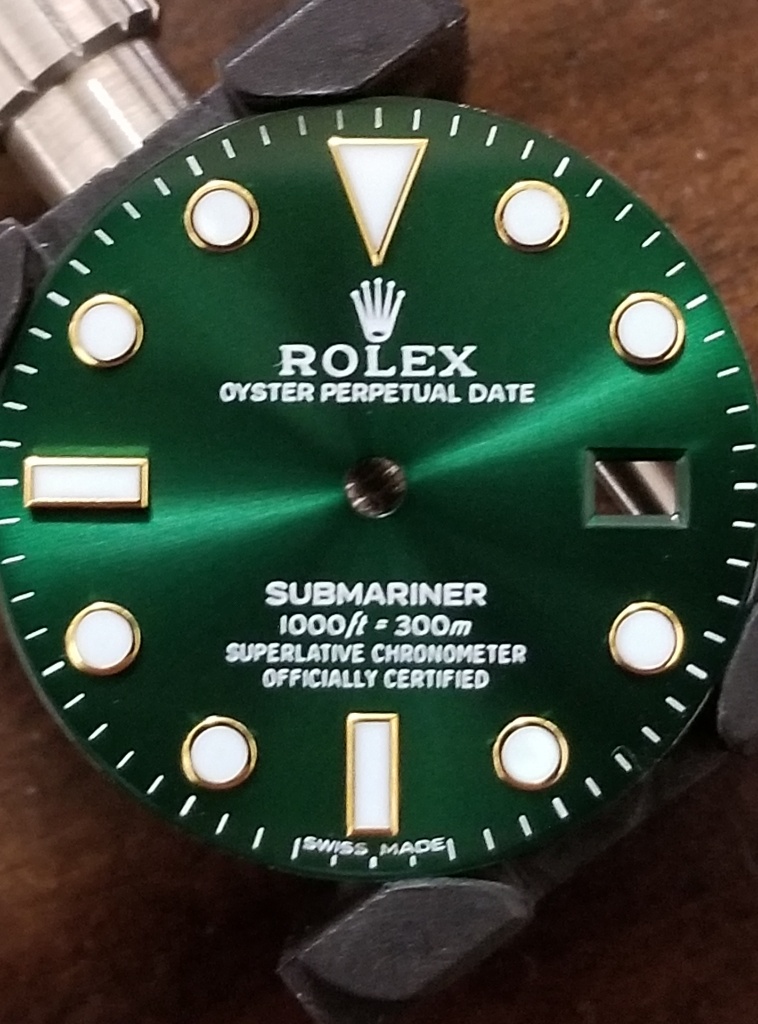
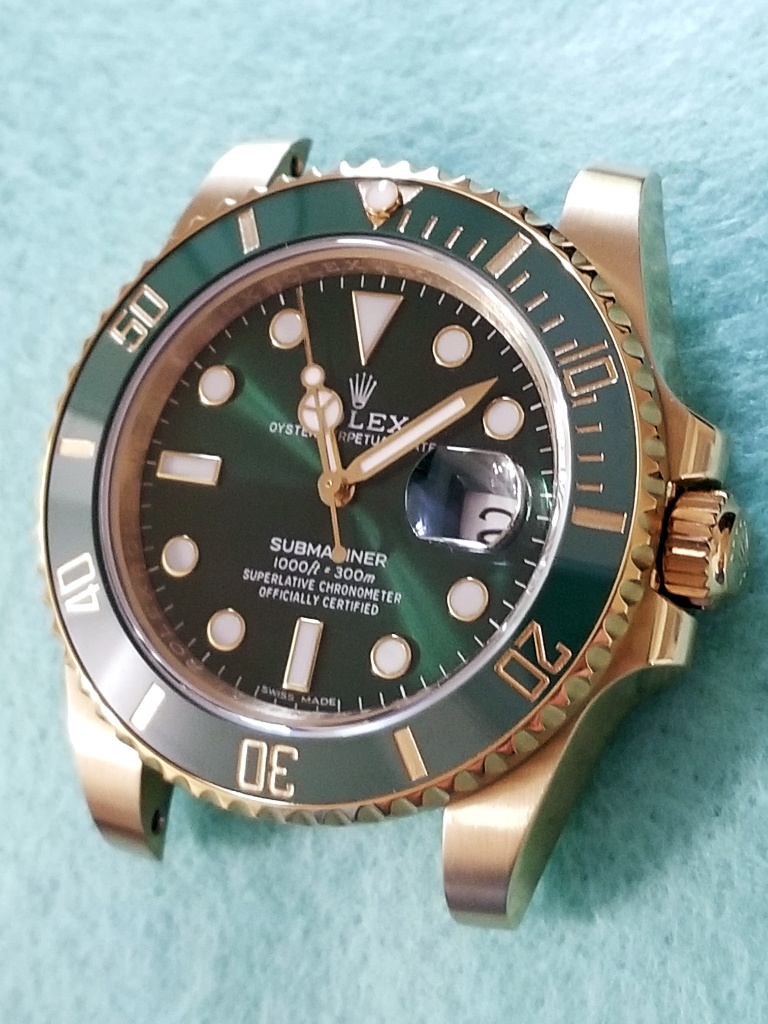
Then we just need to put it all back together
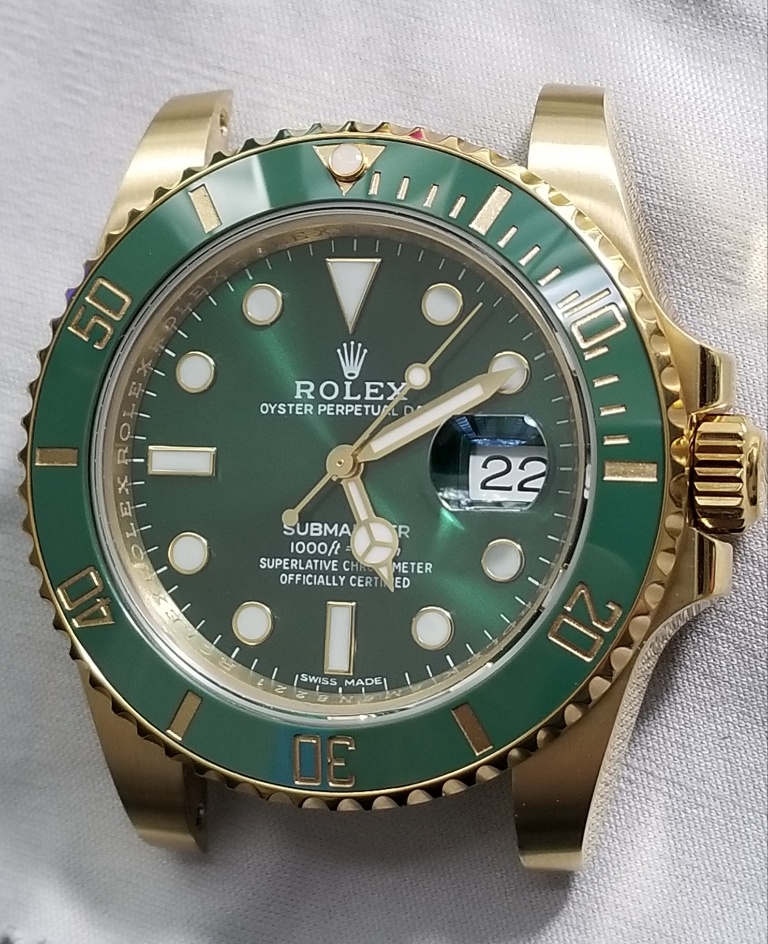
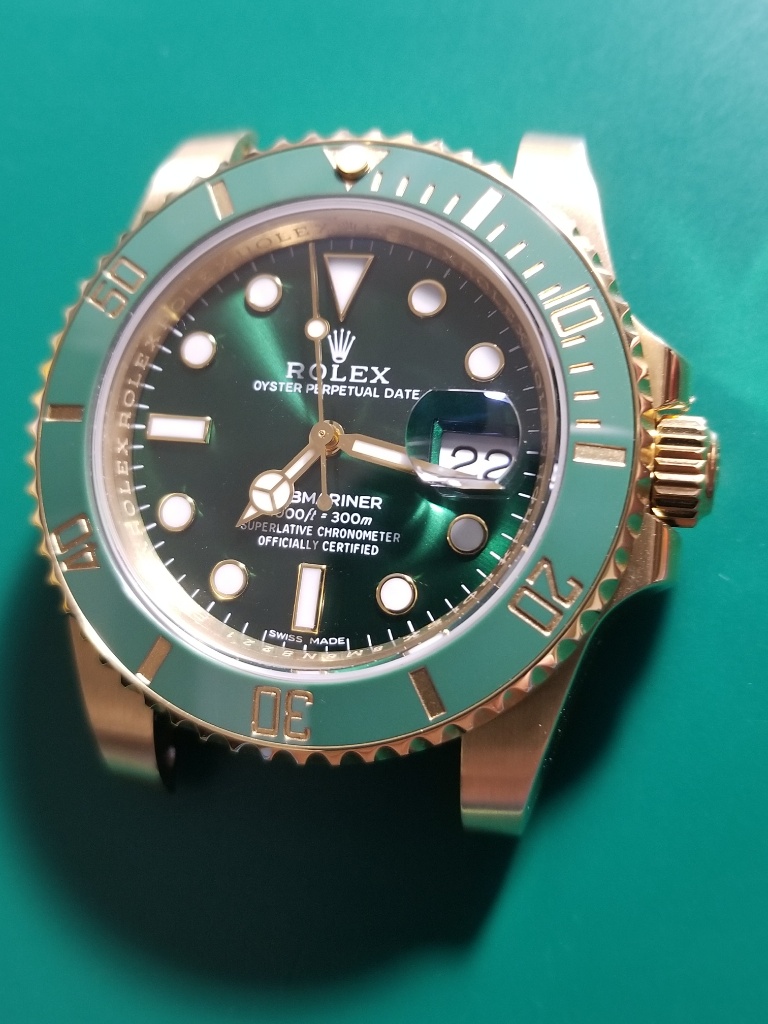
The crystal is a Clark's with AR cyclops, one of my fav's. The host watch is a BP.
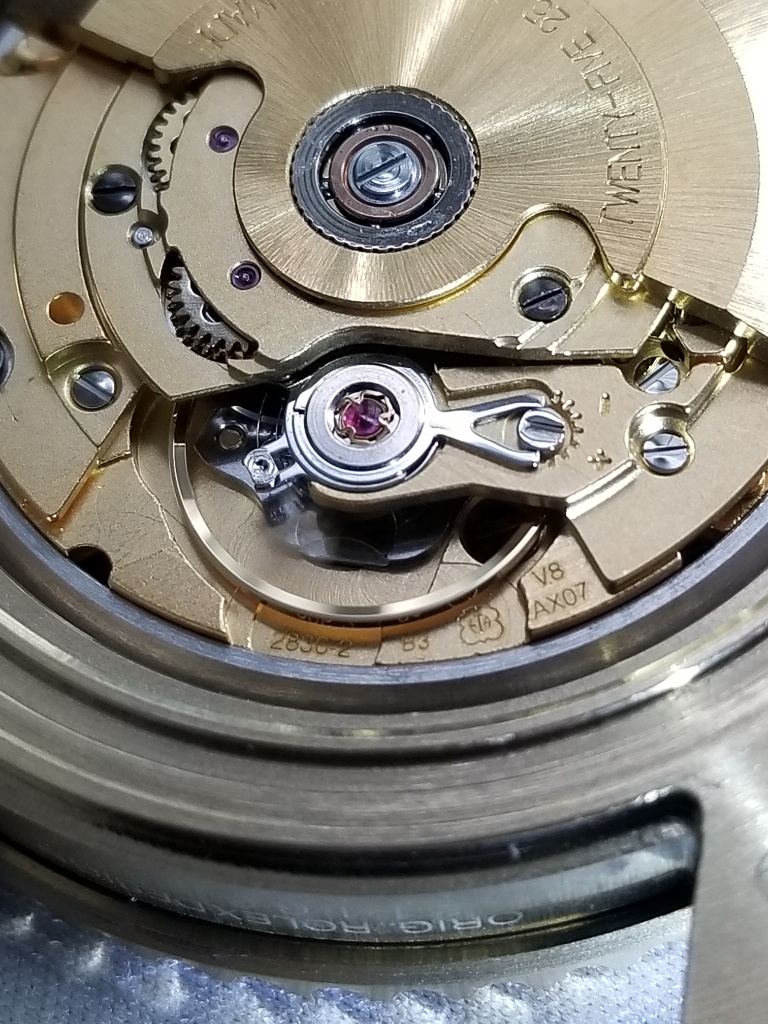
Gen Swiss 2836 movement
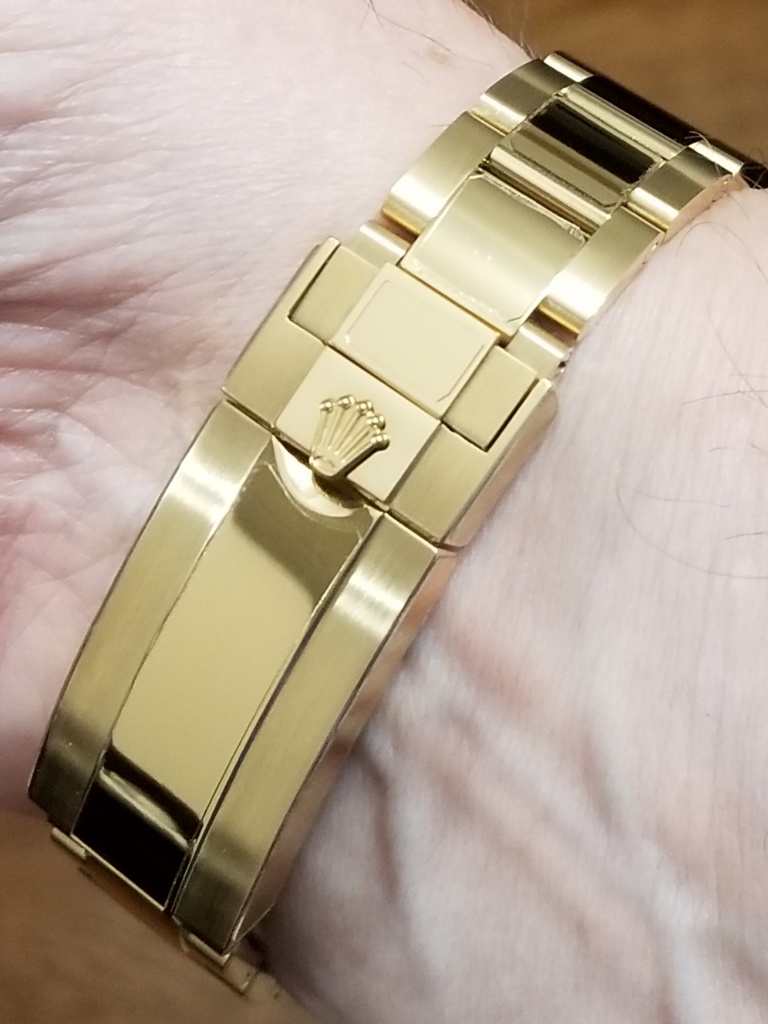
Bracelet clasp and two links either side have protective film
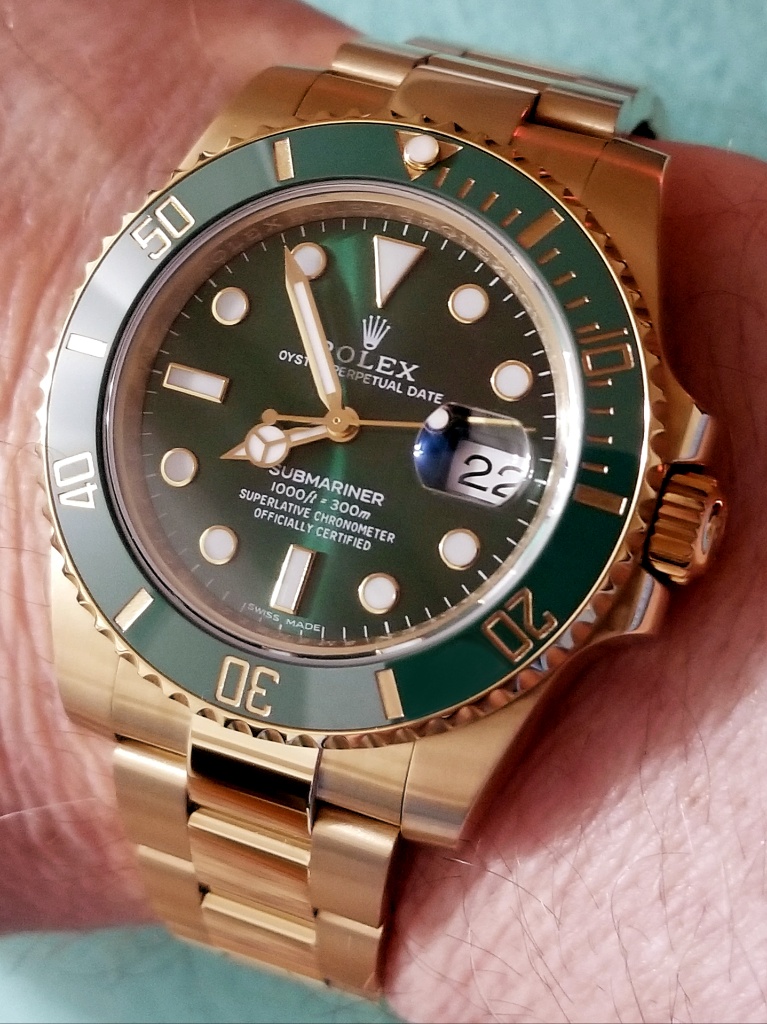
And voila, a gold Hulk, yay!
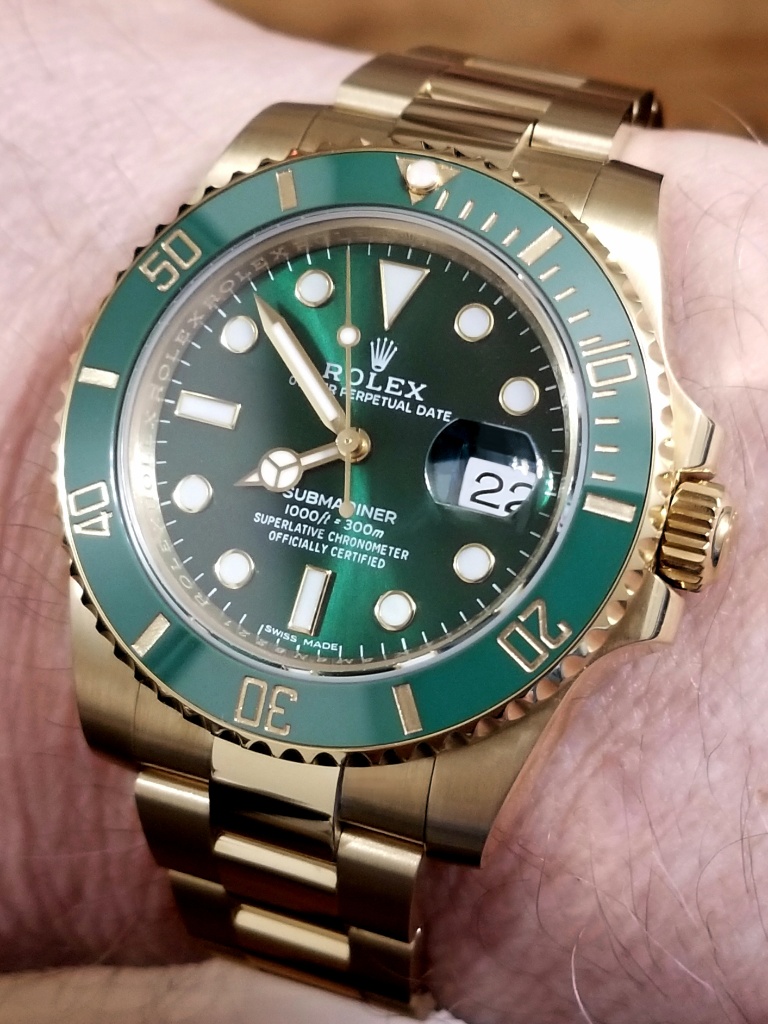
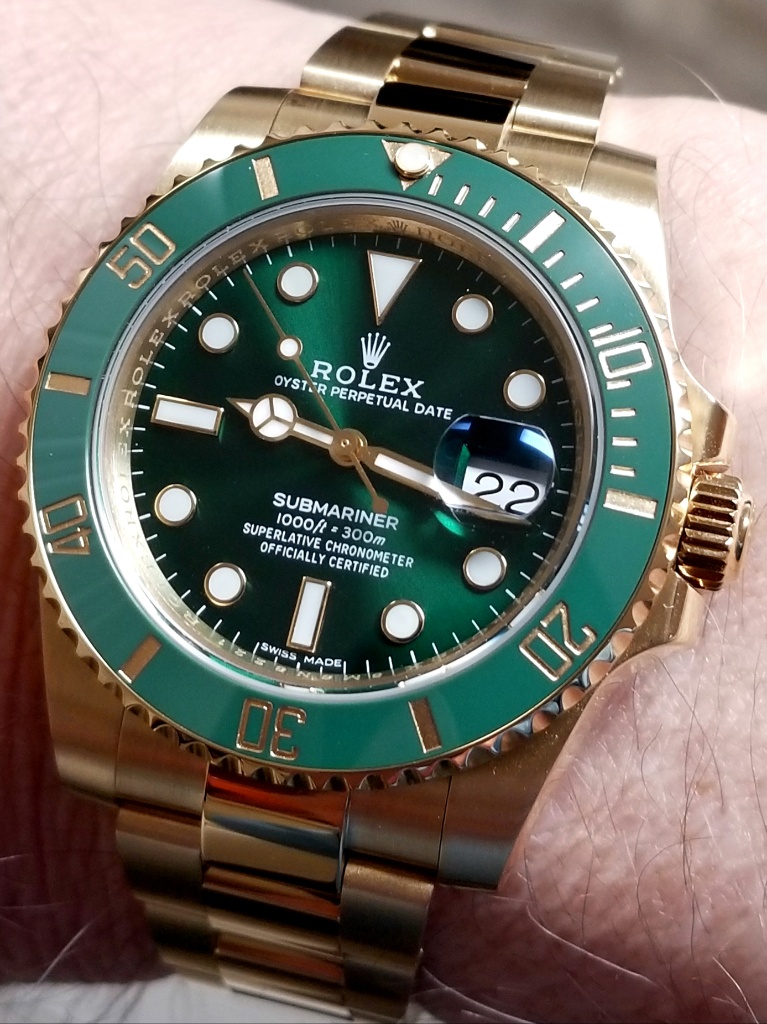
Thanks for looking!
https://chazingtime08.co/products/su...elet-a2836-max
On the surface, this should be an easy project - just start with a FG blue or black Sub rep, swap in a paint modded Hulk insert and switch over some hands and dial markers onto a Hulk dial. Of course like most rep projects you often run into some challenges that make a project more interesting to put it nicely.
The Insert
I used a VRF Hulk insert, long the king of Hulk inserts until CF came along. It’s still a very good option at a much more reasonable price and I had one in my parts drawer forever so away we went. I probably did 5 or 6 paint mods on this before finally being satisfied with the result. I had 4 different colors of pens, 2 different hand paints, and 2 different spray paints.

In the end the Rustoleum Metallic Gold spray won out. It’s not as sunflower yellow like the gen color can appear but more of a pale gold that I felt went better with the case and bracelet. Plus it’s brighter so it looks better in low light conditions, something even many rep factory insert markers don’t succeed at doing.


Good so far

Then you need to glue the pearl back on. I ordered a few cheaper gold inserts to scavenge a pearl from, nothing fancy just decent and gold. I use BSI epoxy for this. I tape the pearl in position from the front and apply the glue from the back. But I let it cure right side up because some can leak though to the triangle if you aren’t careful.

The Dial
I narrowed the choice down to two dials. One needed to be shaved in diameter to fit the case, the other would need new feet. The way I do feet is actually more work than shaving a dial but a lot less risky so that’s the dial I picked. It’s a Noob V8 or V9 3135 dial, these have a nice green color and decent color range so off we go.
Remove the dial feet and sand off the stumps (file photo)

I put a half piece of a dial dot on opposite sides of the movement to keep the dial spacer in position when doing feet or datewheel work. You can actually glue dials right to the spacer and anchor the spacer to the movement this way if you want. I prefer to re-glue new feet.

Select new feet and ensure they will anchor properly

Next, I grind and sand the inner half of the dial feet off to keep them from interfering with the datewheel overlay. It doesn’t look like they would touch in the last pic, but that foot base is going to eventually sit lower as you will see.


I then run the modified feet through the cleaner


If you have an old GMT hour wheel (or similar) it’s the perfect spacer to keep your dial centered while the feet are being glued.


Next mix up some JBWeld epoxy. I like it better than BSI for this task as it is less runny. Note that the JBWeld label specifically says not to use alcohol to clean your parts prior to gluing so don’t!


Place the dial, make sure it is centered and line up the stem on the notch or the 15 minute tic mark


I like to weight down the dial while the epoxy cures, so I place a dial protector, a die, and an old DSSD case on top.


With this choice of weight, you can check on your centering and nudge the dial a little if needed while it’s still weighted down.

After a full 24 hours, the feet are nice and strong


Next we need to notch the dial spacer so the feet bases and the glue bulge don’t cause the dial to sit above the spacer.


Now the dial sits flush on the spacer again

The Markers
First we have to remove the old silver markers
Scrape away the glue and push the pins out with a needle or a blunt toothpick for larger pins (file photos)


Save the markers for re-use on the dial the gold markers come from

Sometimes you get lucky and the new marker pins are smaller than the new dial holes so you can just start gluing. That was not the case with this project, the new dial holes were smaller than the new marker pins. You can either drill the dial holes bigger or grind off the marker pins. I don’t mind drilling the dial holes, it’s pretty easy with a big guide hole, you are just enlarging them a little. So I started doing that but the first one I did I noticed afterward that the original hole wasn’t perfectly centered at 25 so my enlargement wasn’t either. I saw that the 20 was off too, so time for plan B.


The 12, 6, and 9 markers were always going to have the pins ground down, looks like the rest of them need the same treatment


After filing or grinding, the markers can be dragged across sandpaper using tape to sand them smooth


And finally the new markers can be glued on. I use BSI epoxy for this. It takes only a tiny bit. On large holes you can "plunge" your glue laden application tool (an old oiler) in the space to leave a glue rim about 1 -1.5mm around the hole.


Then we just need to put it all back together
The crystal is a Clark's with AR cyclops, one of my fav's. The host watch is a BP.


Gen Swiss 2836 movement

Bracelet clasp and two links either side have protective film

And voila, a gold Hulk, yay!


Thanks for looking!
Last edited:


