This watch looks like it's spent the last 50 years in Cuba traveling between a cigar shop and the beach.
-
Tired of adverts on RWI? - Subscribe by clicking HERE and PMing Trailboss for instructions and they will magically go away!
You are using an out of date browser. It may not display this or other websites correctly.
You should upgrade or use an alternative browser.
You should upgrade or use an alternative browser.
The 1016: The Under Appreciated Thread
- Thread starter ebzen02
- Start date
Apparently I don’t know my own strength.


Piece of crap!!
Piece of crap!!
Last edited:
This watch looks like it's spent the last 50 years in Cuba traveling between a cigar shop and the beach.
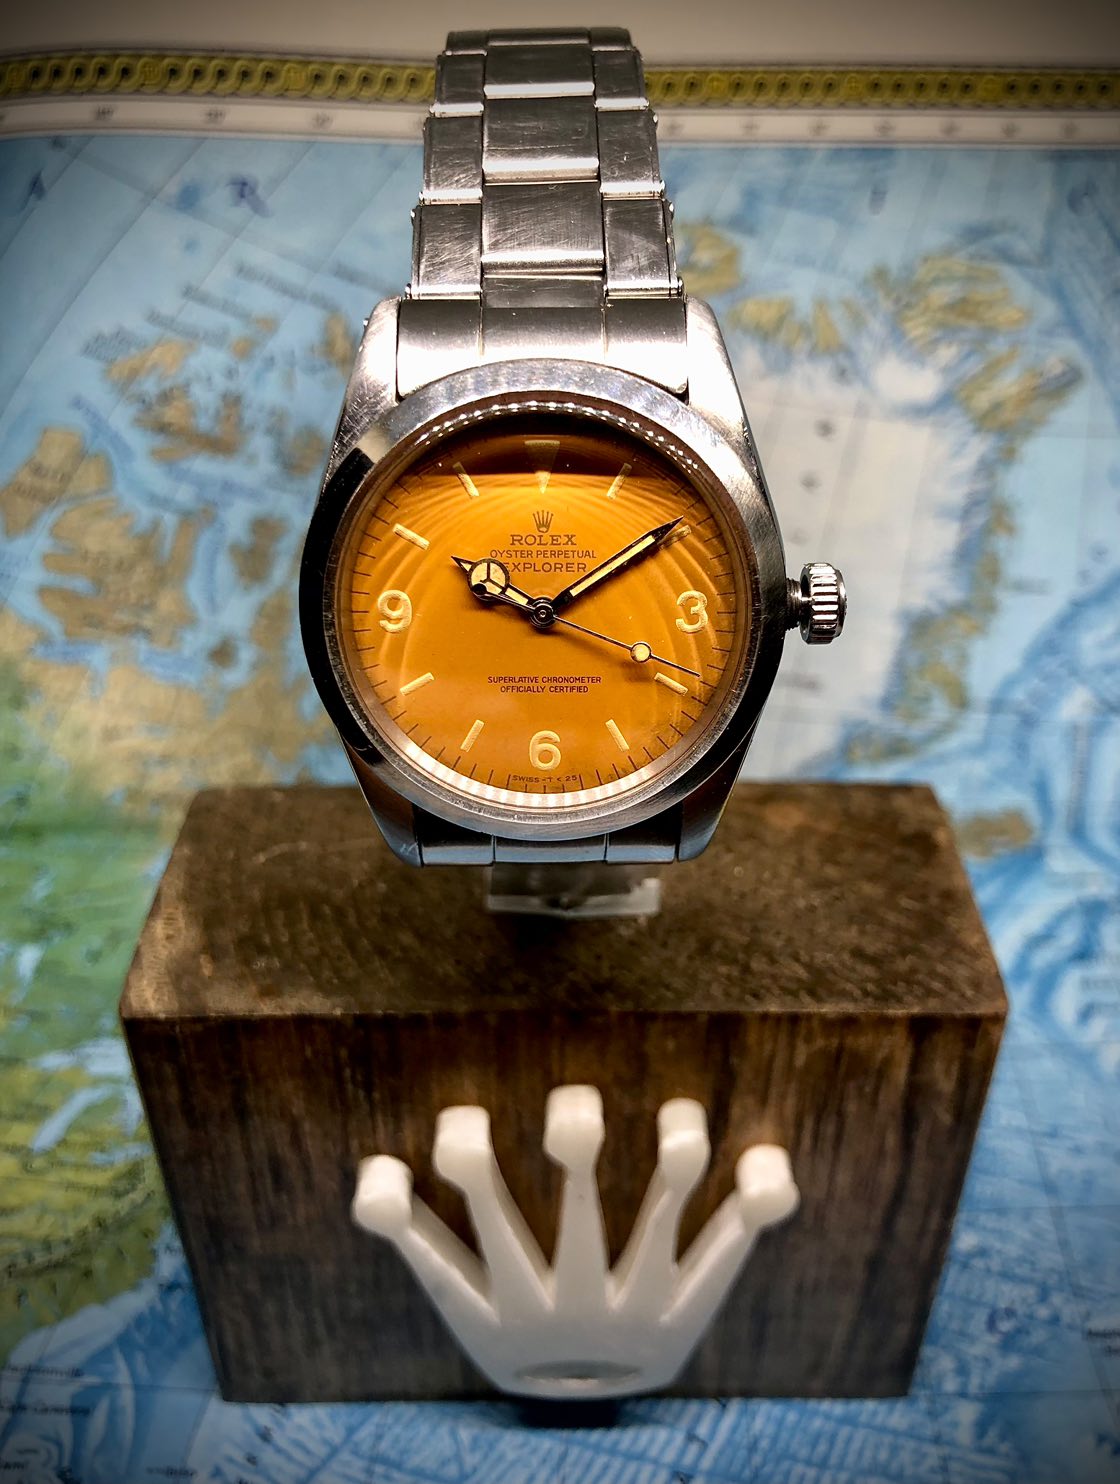
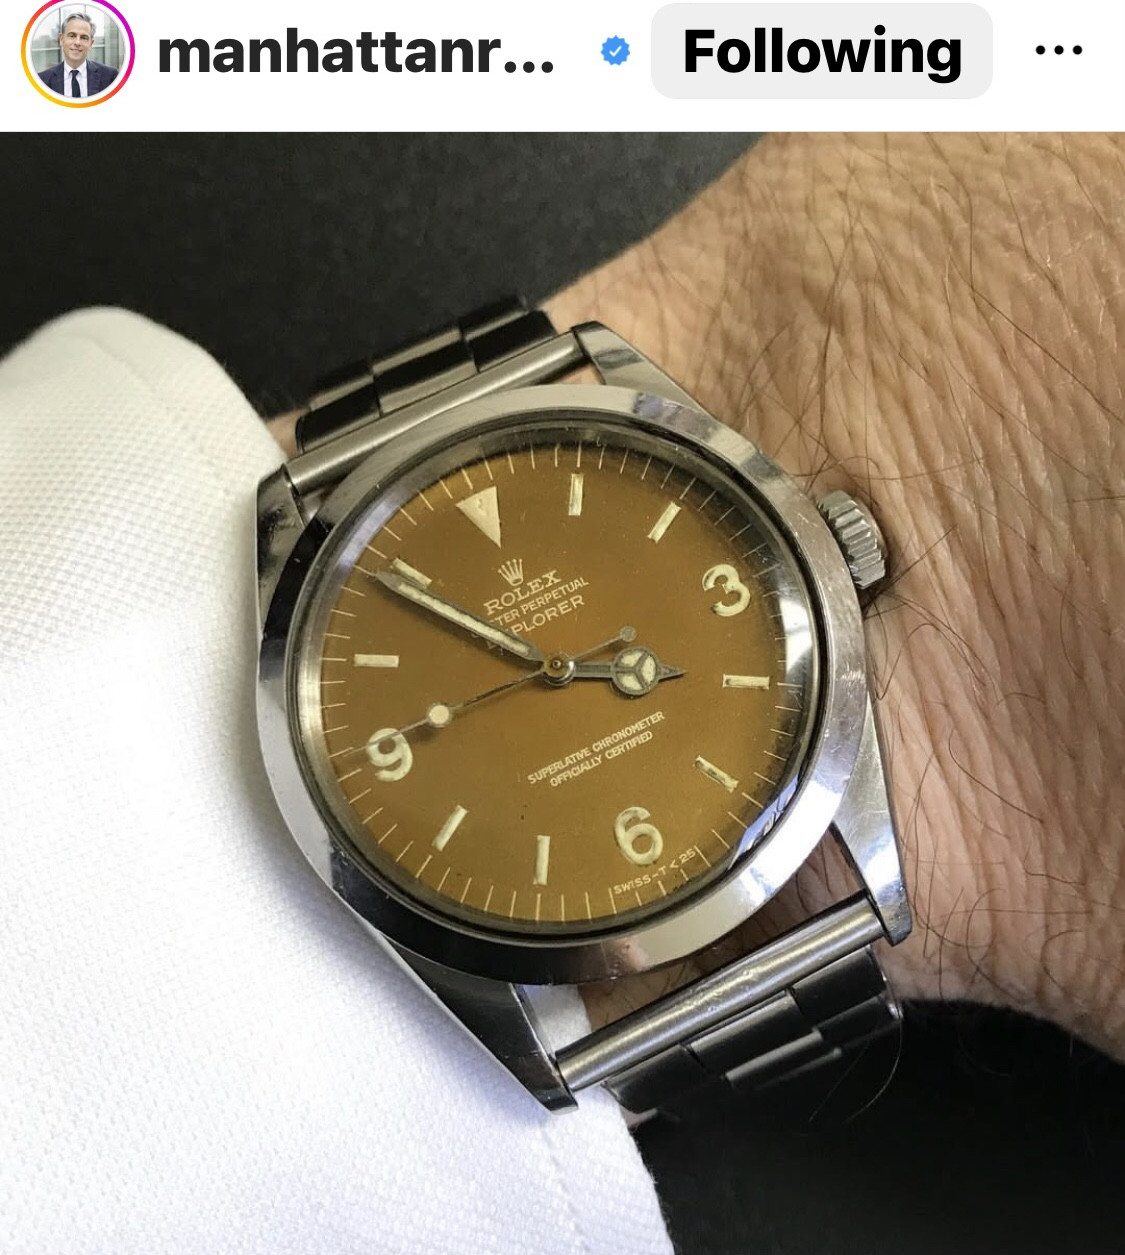
Thanks for the feedback. I built it to resemble “ the Rwandan”. That lived moat of its life in the African sun.

Now in NYC
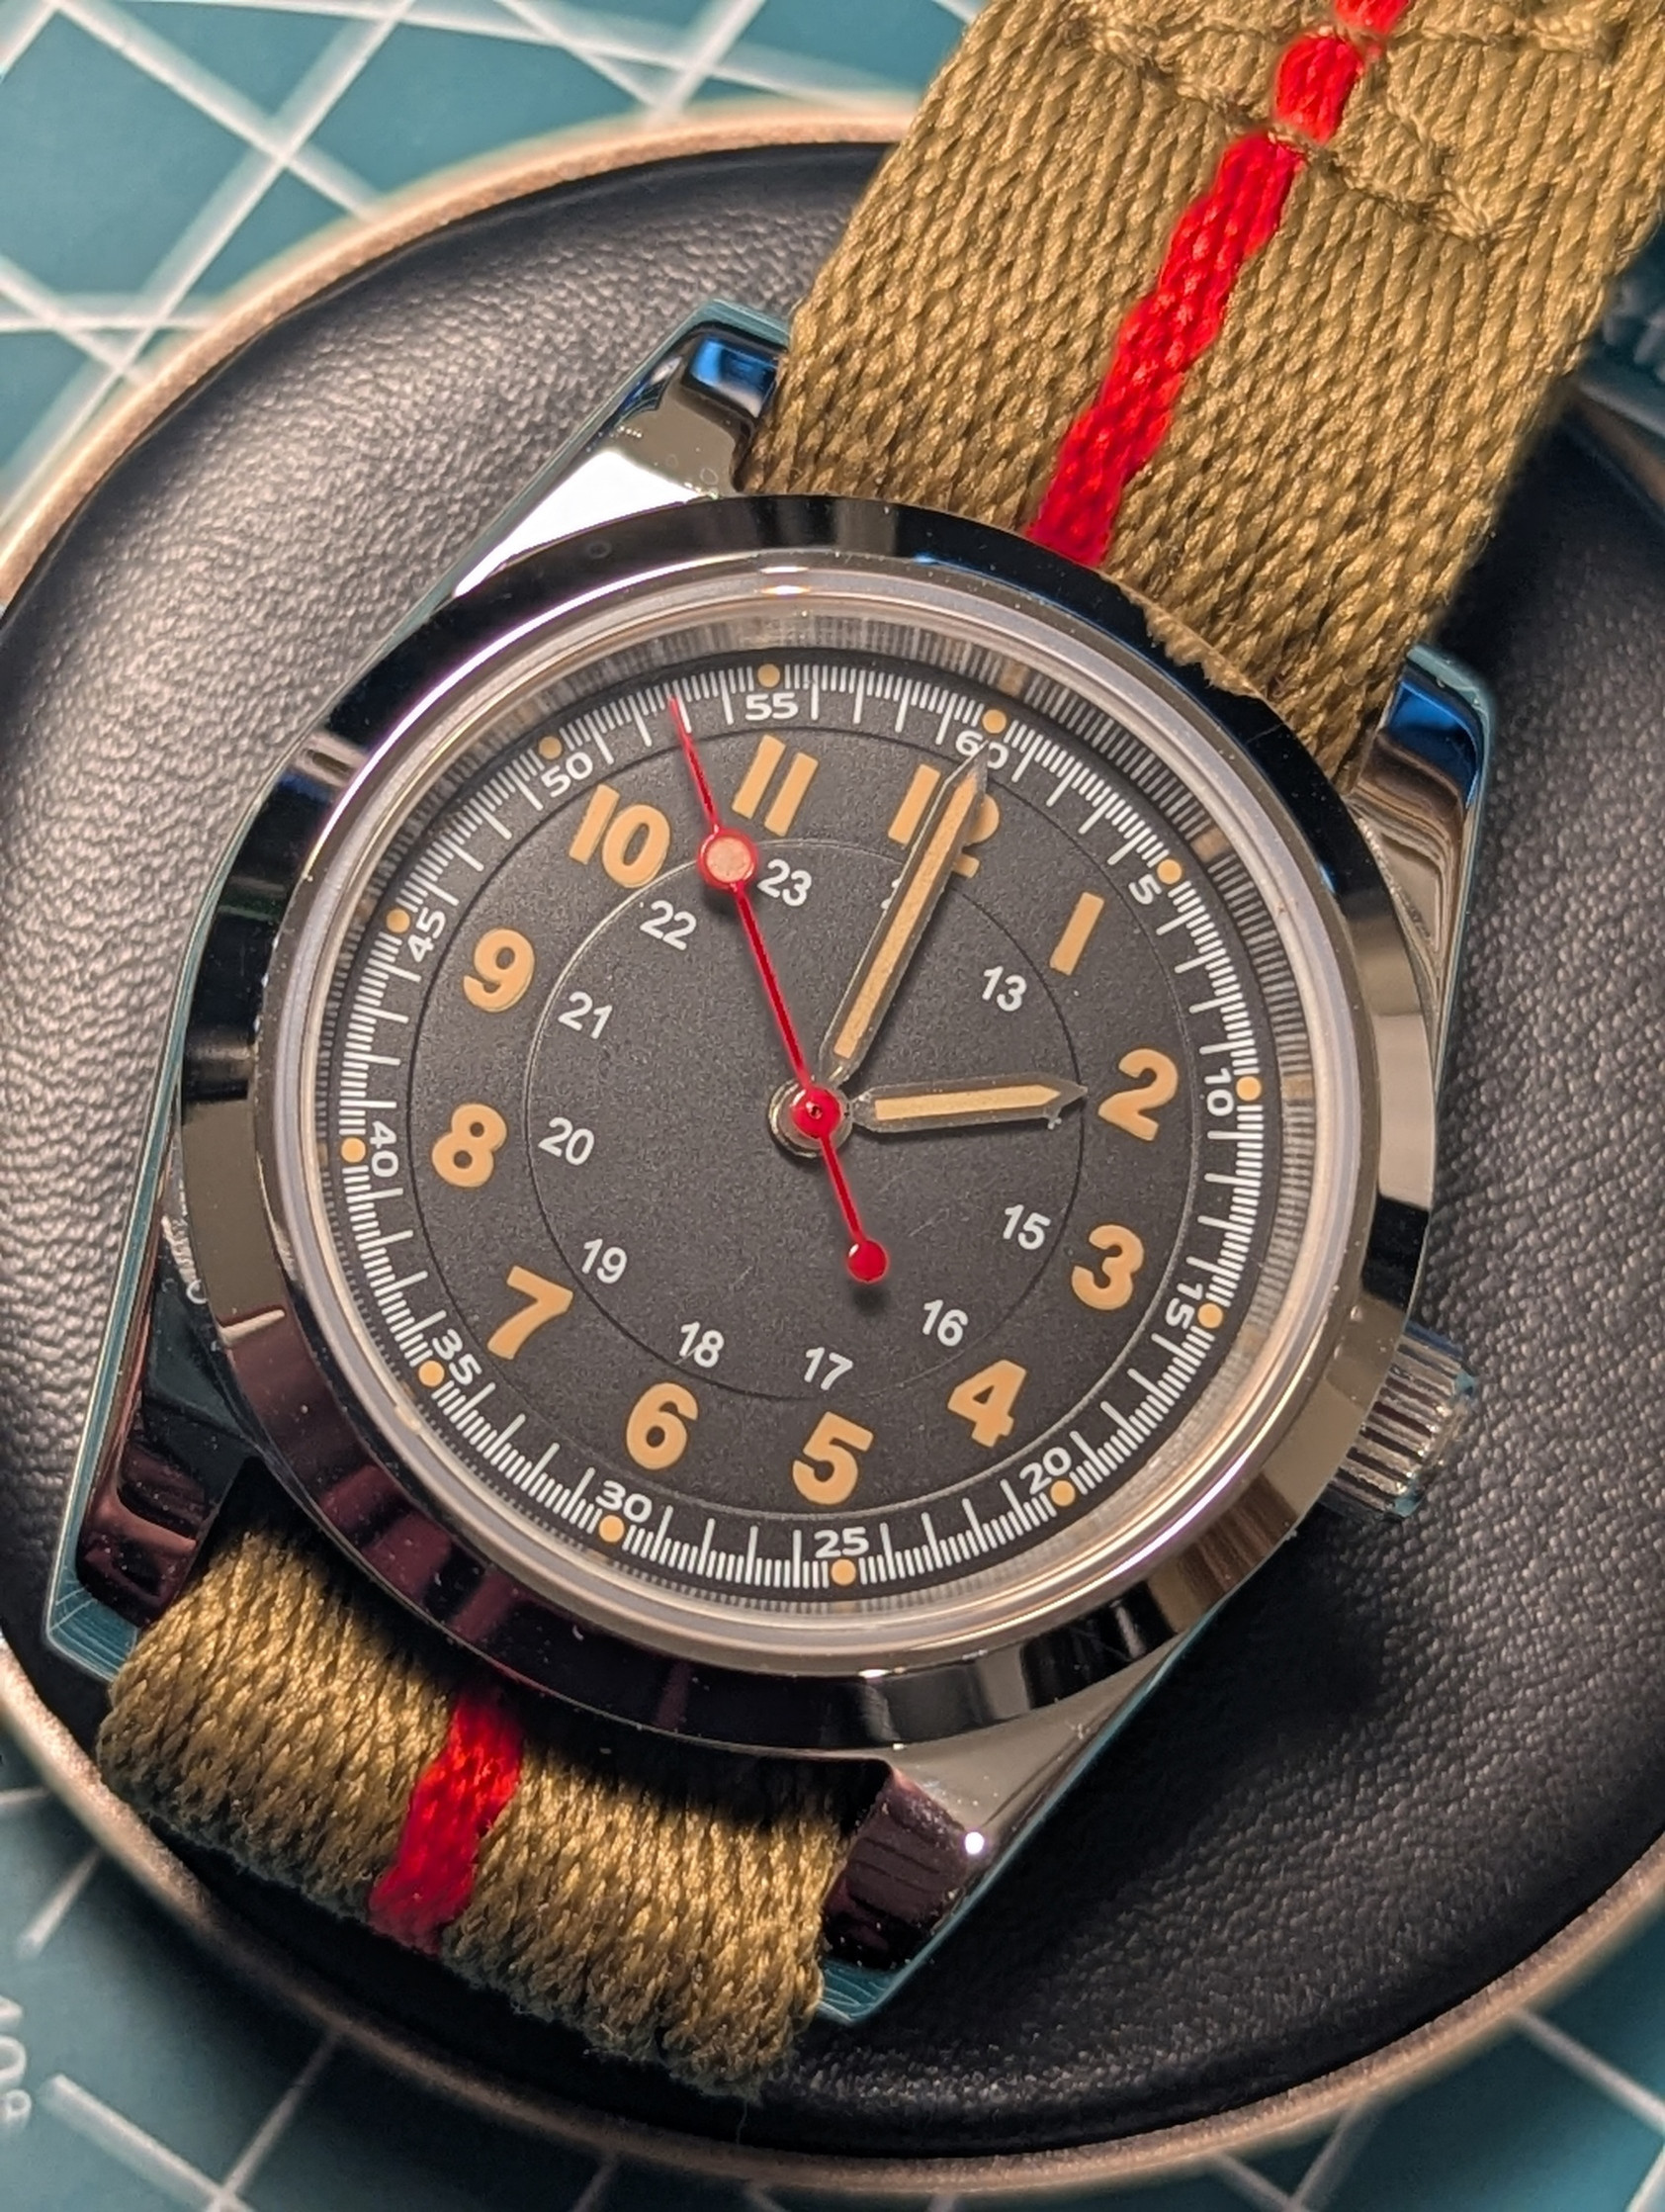
A few detail pics of the dial before installing I might bake it a bit more to see if i can get it darker so its is more similar
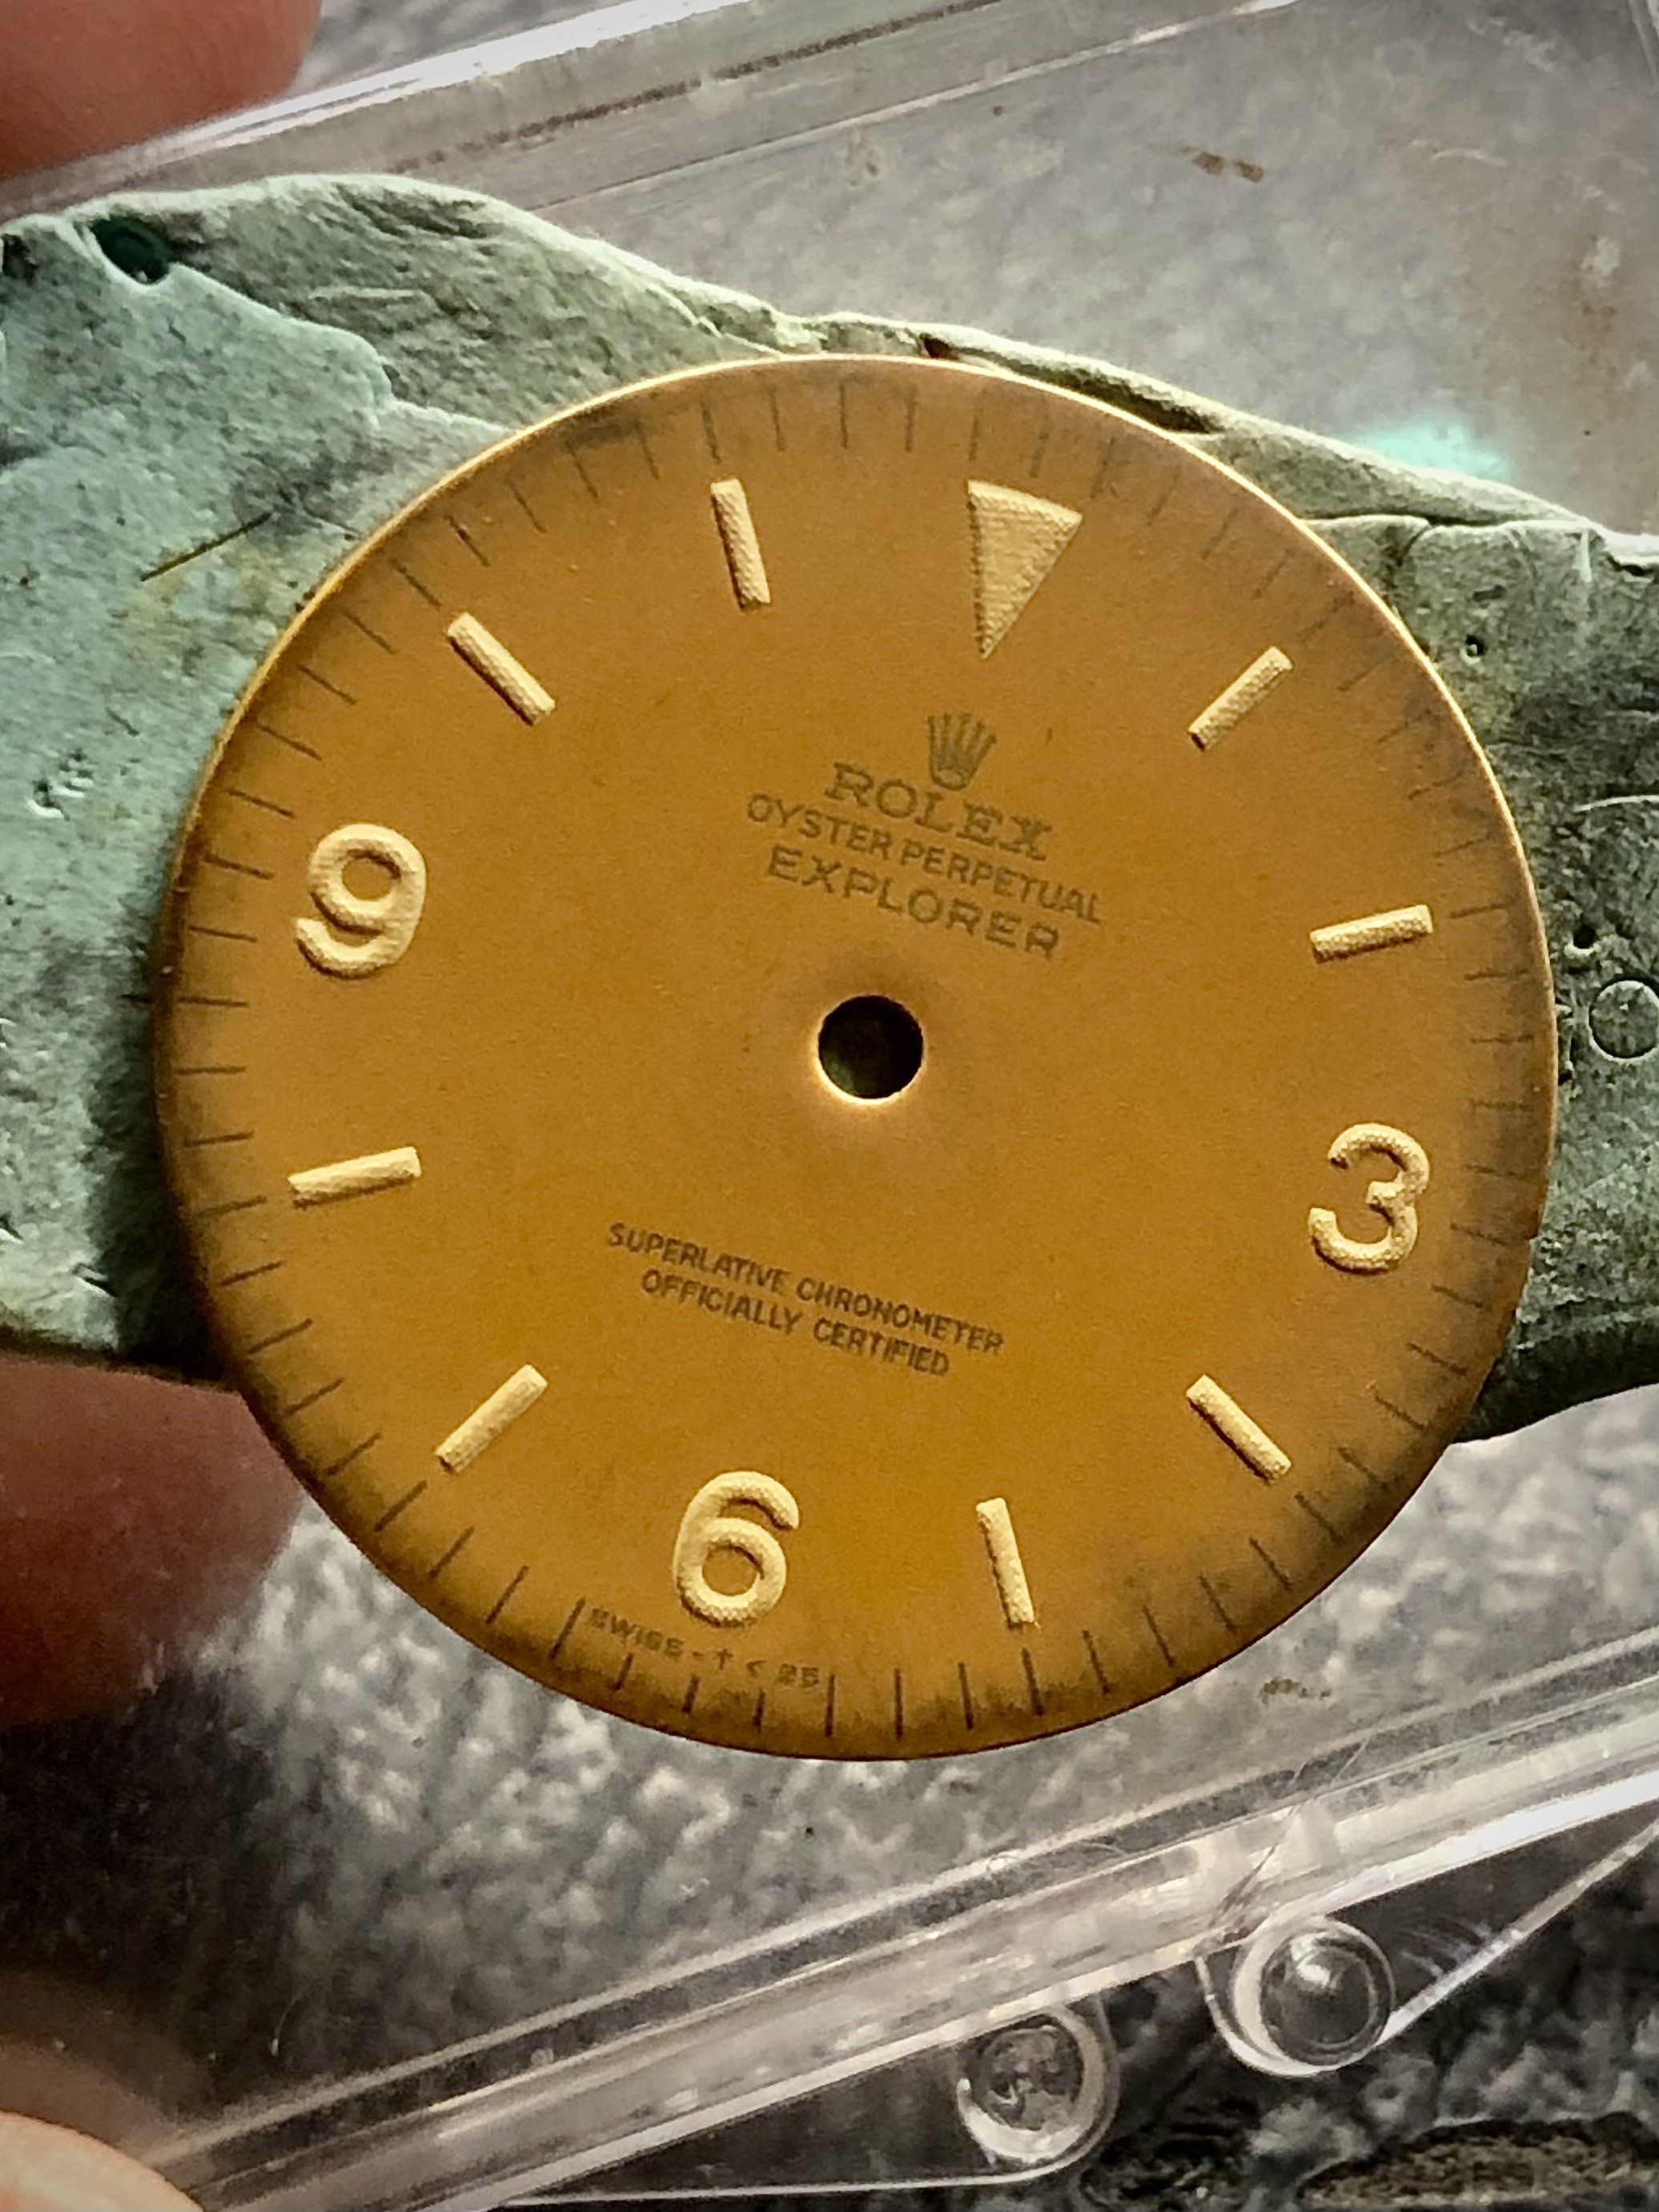

Last edited:
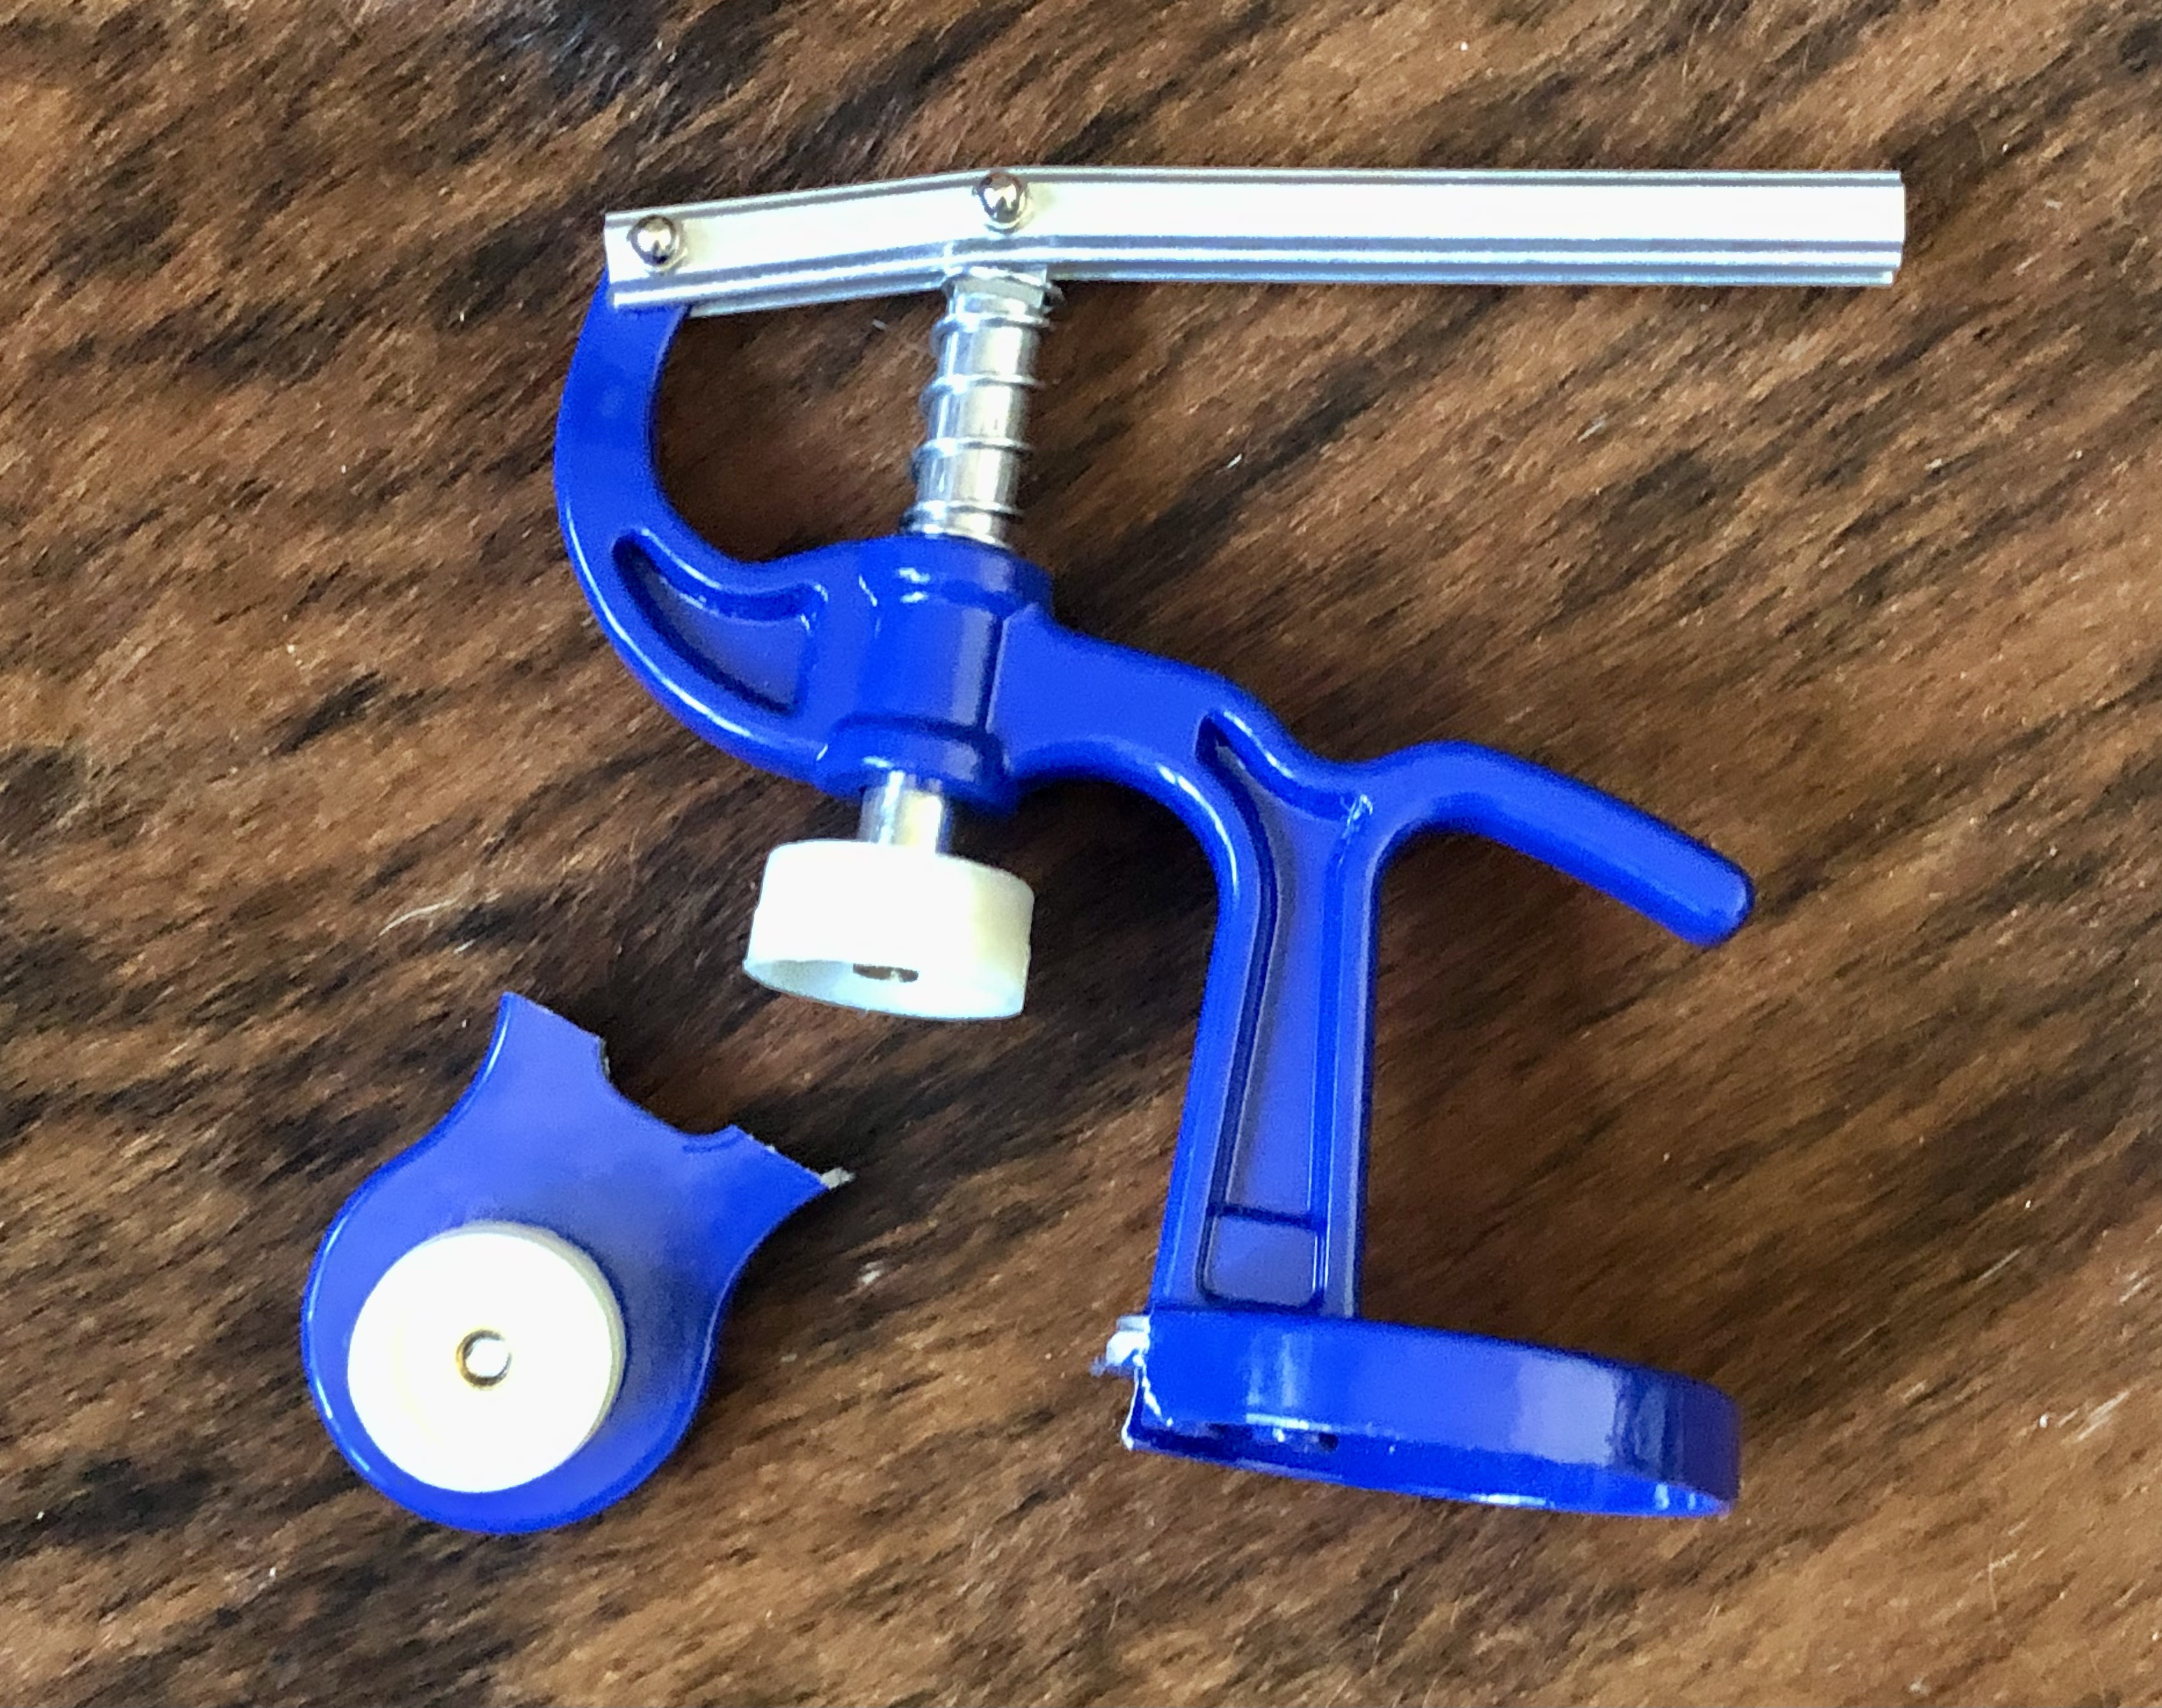
Apparently I don’t know my own strength.
Piece of crap!!
That’s why I use the screw motion one
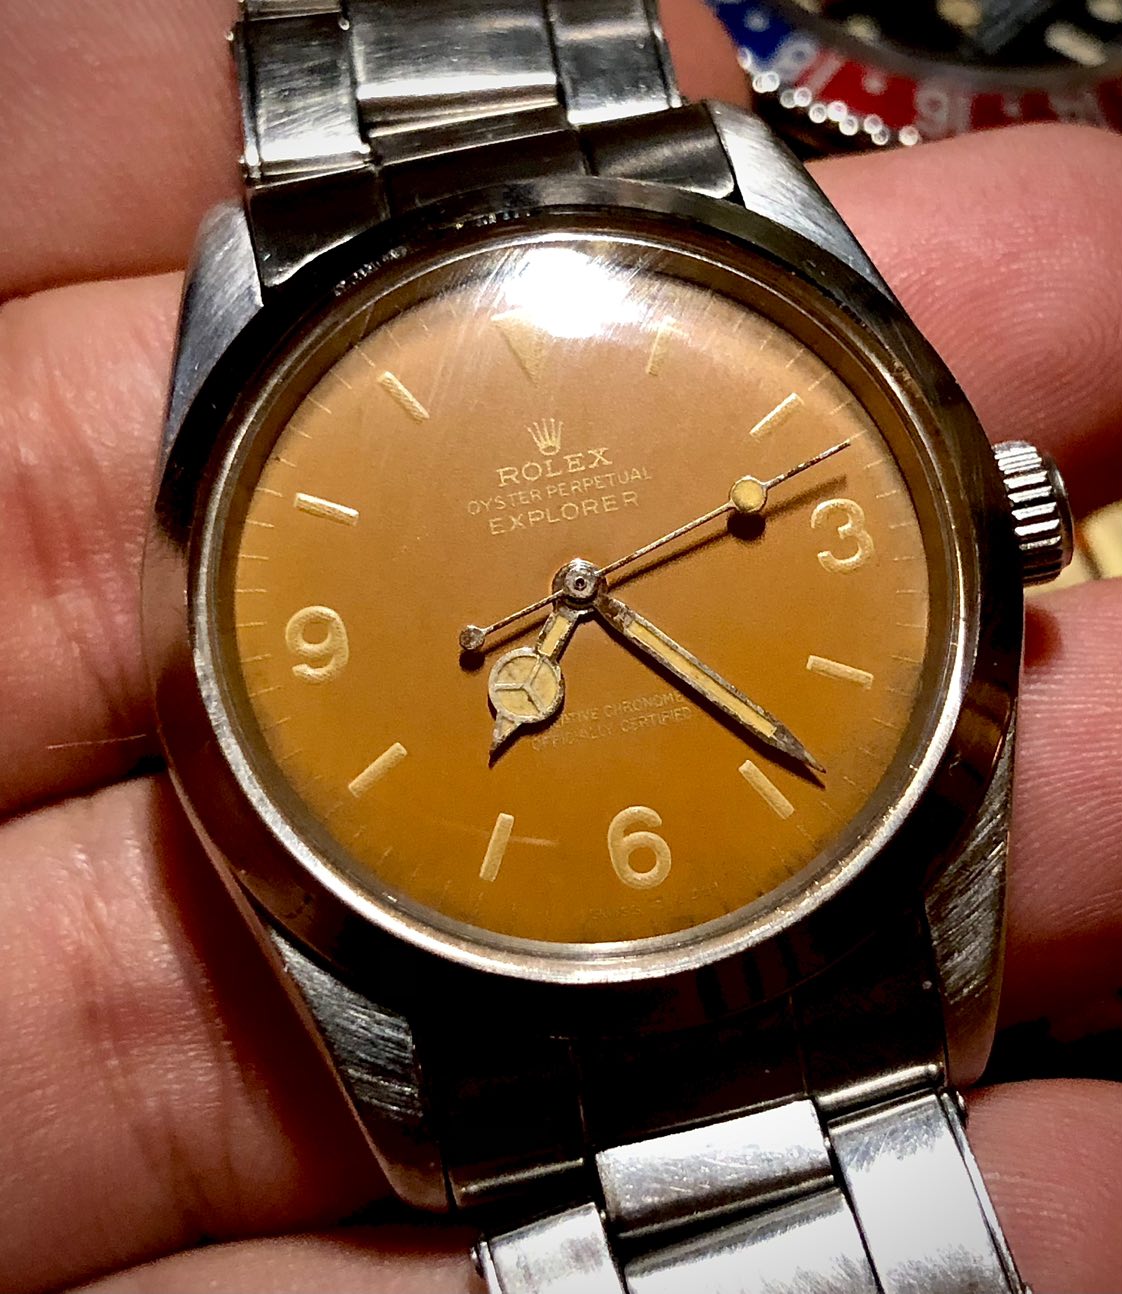
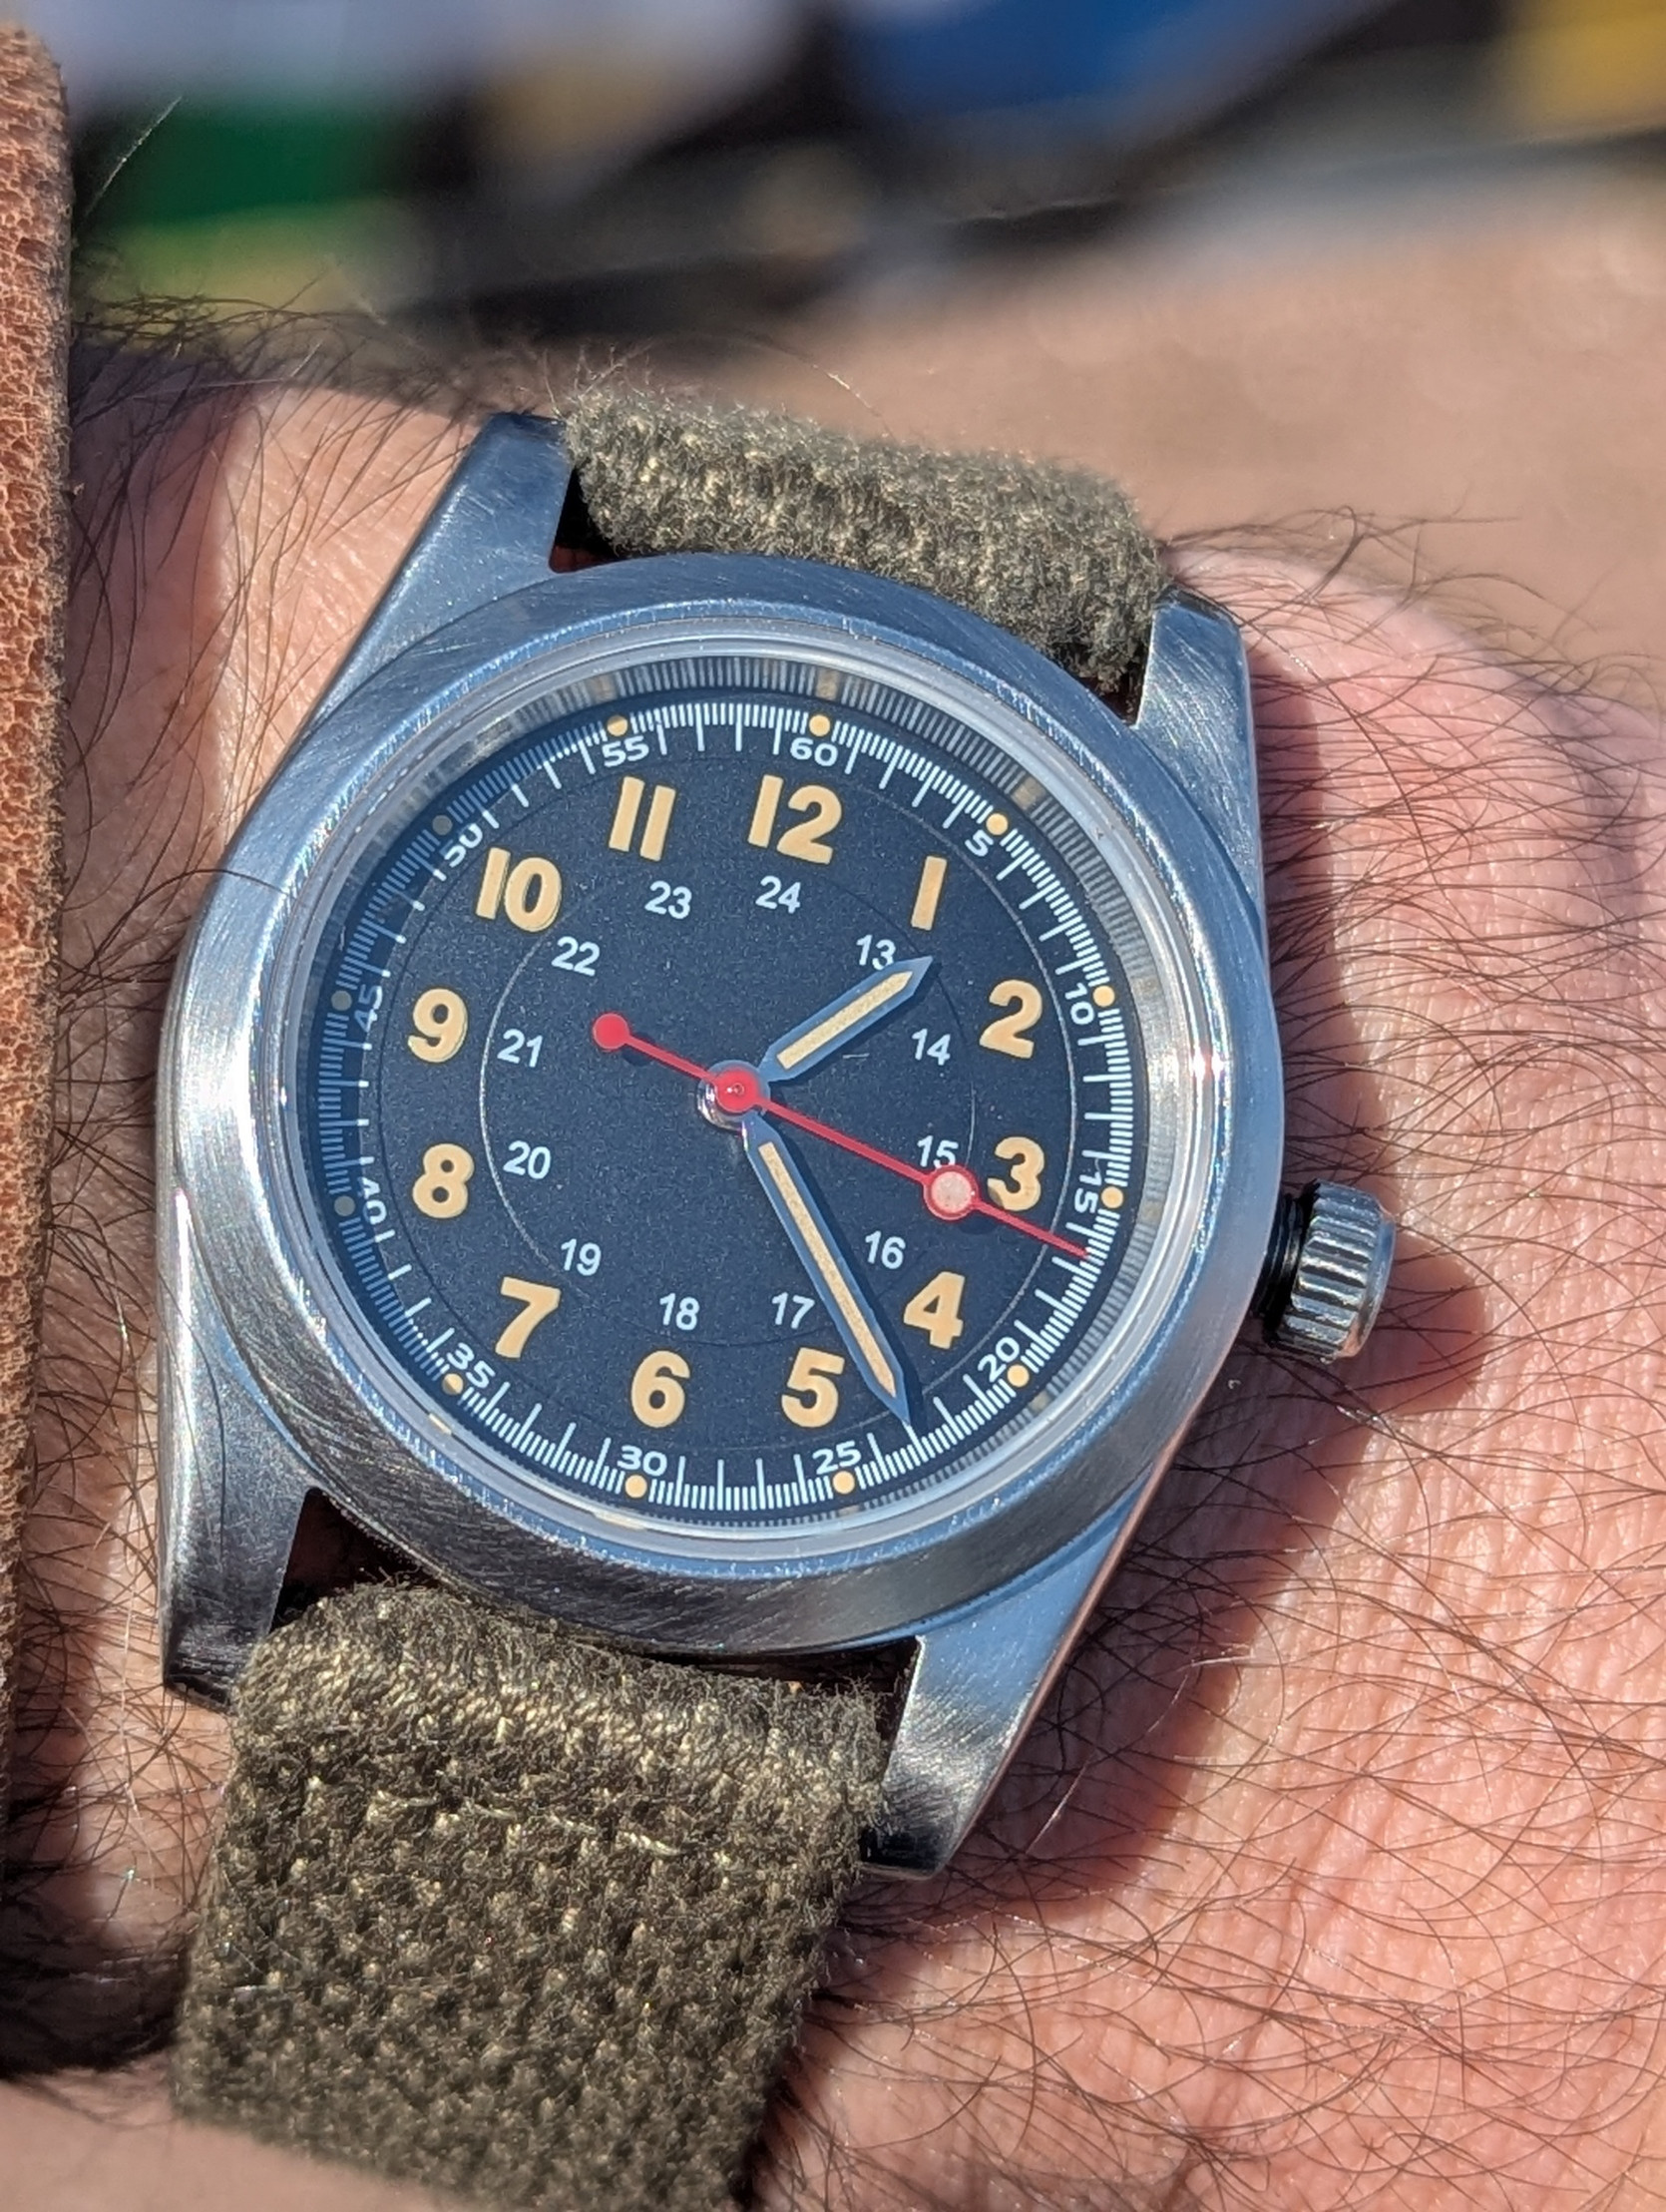
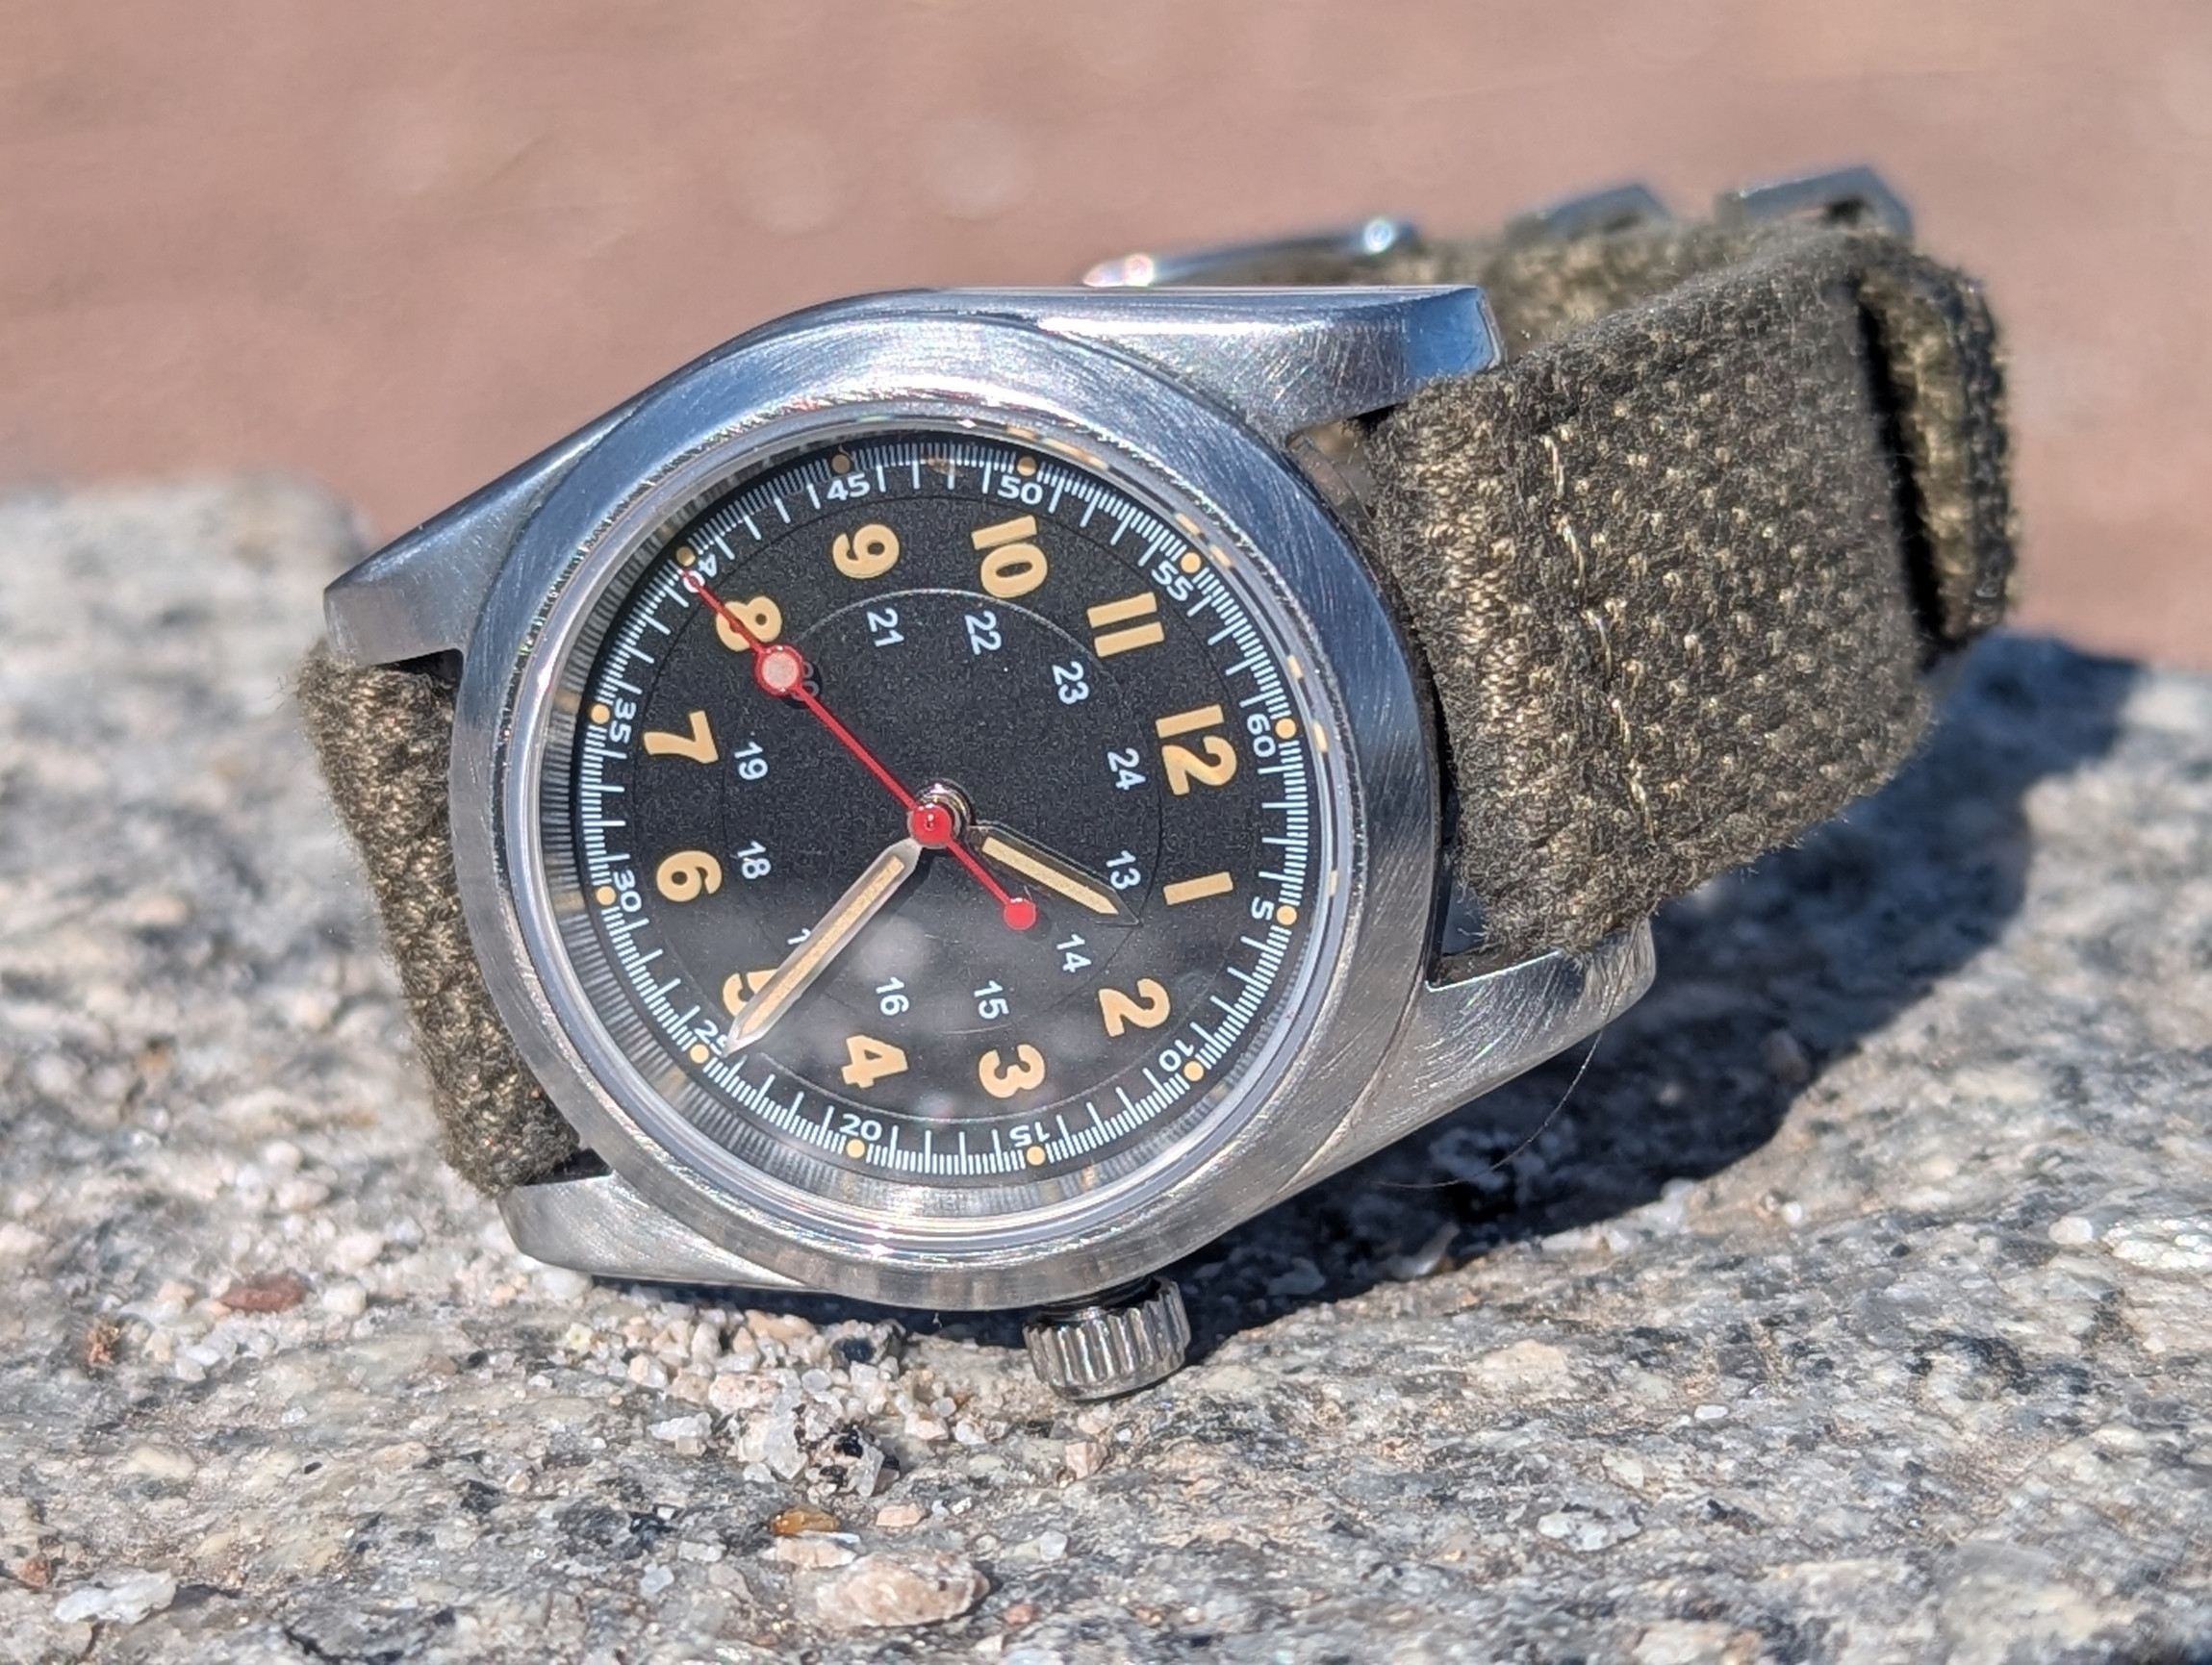
Alright, this is neither a 1016 nor a watch I'm particularly proud of… if you can even be proud of a watch. My plan for the weekend was to start practicing case shaping on a cheap AliExpress case.
But things went sideways right from the start - I couldn't even get the bezel off. The gap is so tight that none of my tools could get in. My bezel removal tool and crystal press are still on their way, just like the Explorer dial, as you can see. So, I decided to at least practice setting the dial and hands using a random dial and hands I had ordered for a few euros at some point.
The hour and minute hands went on fine, though I had to use a bit more 'force' than @Karbon74 originally recommended. The second hand, though? That one made me sweat again. But with @Karbon74 's trick using a tiny piece of Rodico, I finally got it on. Before that, though, the original second hand that came with the set literally vanished into thin air. I picked it up with tweezers, and the stupid thing just flew off. Spent an hour searching - turned off all the lights, used a 5-watt UV lamp… found nothing. Well, nothing except a ton of dust, some white fluff, and the lume pip from a Tandorio that I’d been looking for forever.
  Now I used an old Yachtmaster-Hommage seconds hand, that I painted with some watercolor-pencils to match the lume at least a little bit
  .
.
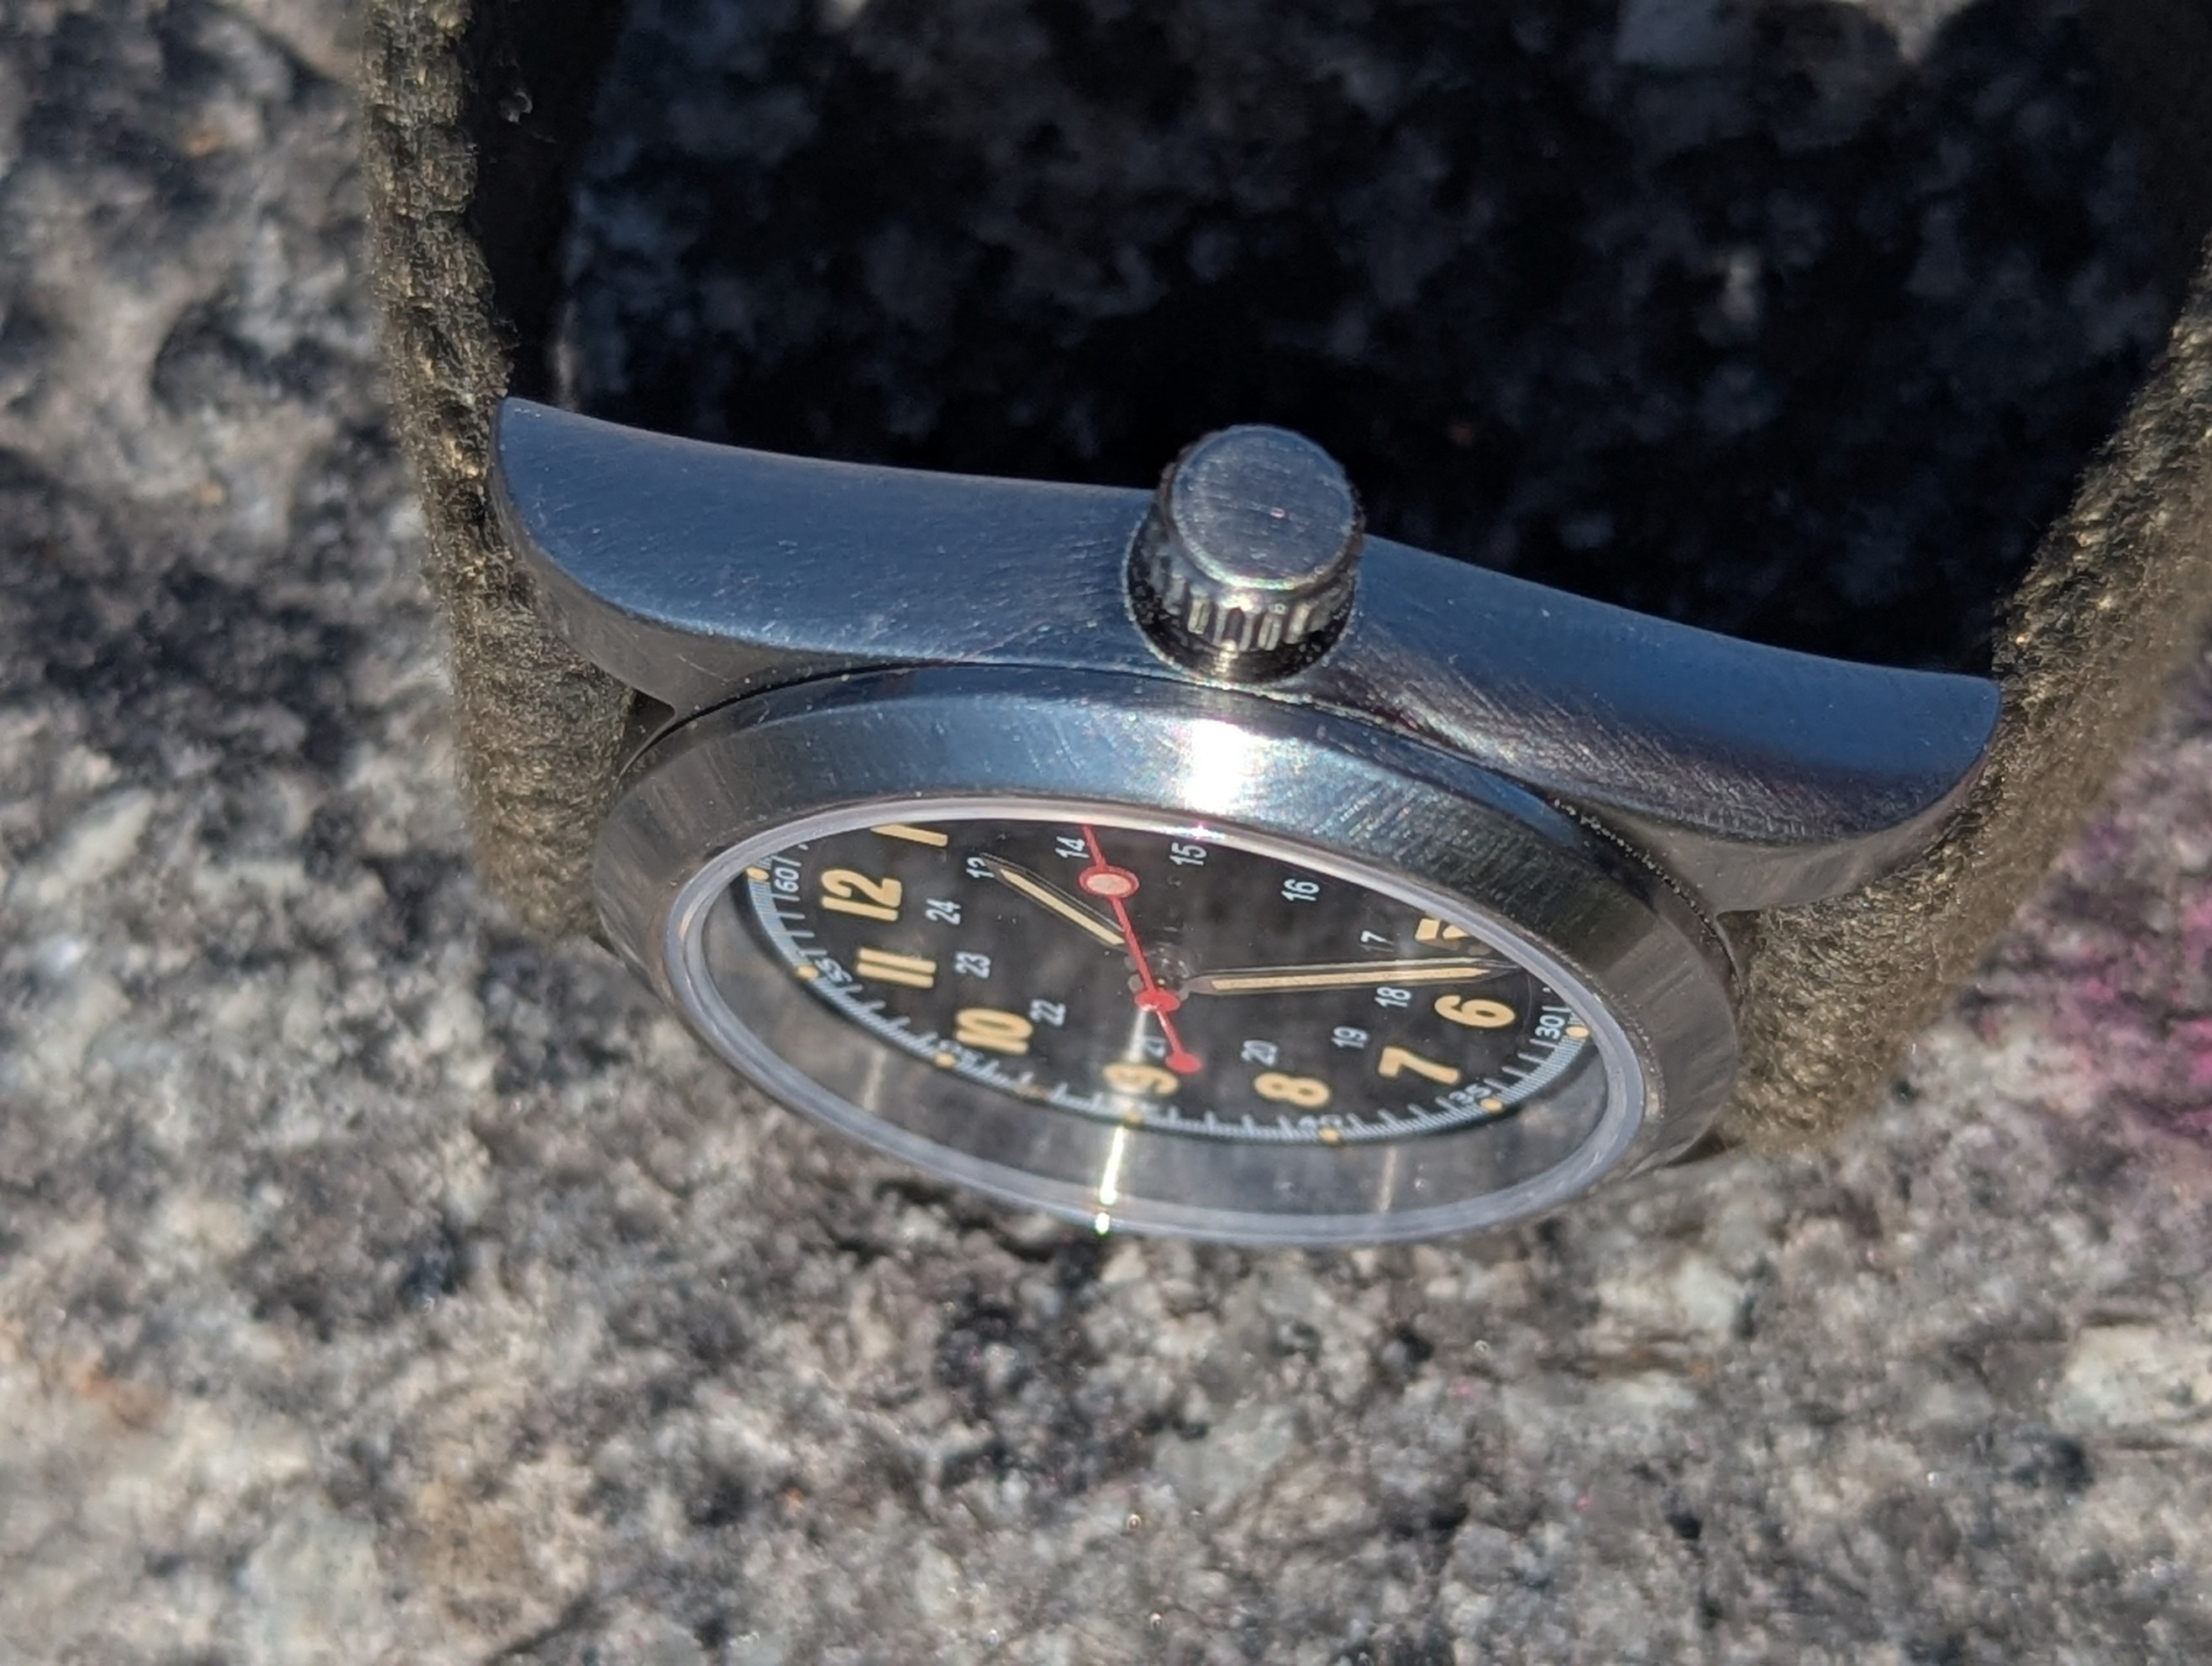
At least the watch is running and telling time, even if it’s not exactly a beauty. Since I didn’t feel like waiting for my tools to arrive, I just started experimenting with different sanding pads. That’s why the case isn’t quite as shiny anymore…
But I do have a few specific questions:
Next week, all the tools should finally arrive, and I can take the next step. At some point, I’ll have a proper 1016… or maybe two, three…
By the way, what do you guys do with all your custom builds? Do you keep modding them over and over, or are your cabinets already overflowing with watches? I’m surprised they don’t show up in the M2M section more often.
Sorry for the photo overload, but I’m hoping someone can take a look and give me specific advice on where and how much material I should remove to make this case look better. Of course, I know it’s never going to turn into a Viet case - but still, any tips would be much appreciated!
But things went sideways right from the start - I couldn't even get the bezel off. The gap is so tight that none of my tools could get in. My bezel removal tool and crystal press are still on their way, just like the Explorer dial, as you can see. So, I decided to at least practice setting the dial and hands using a random dial and hands I had ordered for a few euros at some point.
The hour and minute hands went on fine, though I had to use a bit more 'force' than @Karbon74 originally recommended.
The second hand, though? That one made me sweat again. But with @Karbon74 's trick using a tiny piece of Rodico, I finally got it on. Before that, though, the original second hand that came with the set literally vanished into thin air. I picked it up with tweezers, and the stupid thing just flew off. Spent an hour searching - turned off all the lights, used a 5-watt UV lamp… found nothing. Well, nothing except a ton of dust, some white fluff, and the lume pip from a Tandorio that I’d been looking for forever. Now I used an old Yachtmaster-Hommage seconds hand, that I painted with some watercolor-pencils to match the lume at least a little bit .
At least the watch is running and telling time, even if it’s not exactly a beauty. Since I didn’t feel like waiting for my tools to arrive, I just started experimenting with different sanding pads. That’s why the case isn’t quite as shiny anymore…
But I do have a few specific questions:
- L2L on 1016 models is usually between 44 to 46mm, with a case height of 11–12mm and a bezel thickness of 1 - 2mm, depending on the model - at least that’s what I’ve read. Is there a technical drawing of a 1016 somewhere that I could use as a reference? I couldn’t find anything useful online. I remember someone in this thread once analyzed an Explorer ad and gave the lug measurements at a certain height. I’ll have to dig through the thread again, but so far, searching for keywords hasn’t helped - since they show up on almost every page.
- Drilling lug holes - I assume this is done after shaping? My case doesn’t have drilled lugs, so it’ll be tricky to match the existing holes from the outside. Do you drill from the inside with a special tool?
- Reducing case height - If I want to make the case look slimmer from the side, do I also need to remove material from the top? And would that mean reducing the rehaut height as well? I’ve seen some people in this thread working on the area next to the rehaut and the lugs by cutting a rehaut-sized hole in sandpaper and then rotating the case over the sandpaper. But I think that was more about refinishing the lugs and the part of the case that peeks out from under the bezel. I assume most of the metal is removed from the underside of the case sides, right? I also think I could shave off about 0.5–0.75mm from the case back.
- The Crown – I bought a cheap rep crown. The old crown tube was just press-fitted, but the new threaded one is slightly thicker and doesn’t fit at the moment. Can I just use a regular thread tap (assuming I have the right size), or do I need special tools for this? The watch doesn’t need to be particularly water-resistant afterward - this is mostly just for practicing different techniques.
Next week, all the tools should finally arrive, and I can take the next step. At some point, I’ll have a proper 1016… or maybe two, three…
By the way, what do you guys do with all your custom builds? Do you keep modding them over and over, or are your cabinets already overflowing with watches? I’m surprised they don’t show up in the M2M section more often.
Sorry for the photo overload, but I’m hoping someone can take a look and give me specific advice on where and how much material I should remove to make this case look better. Of course, I know it’s never going to turn into a Viet case - but still, any tips would be much appreciated!
At least the watch is running and telling time, even if it’s not exactly a beauty. Since I didn’t feel like waiting for my tools to arrive, I just started experimenting with different sanding pads. That’s why the case isn’t quite as shiny anymore…
don't do that. ageing should be done in a "natural way" not with snading pads
L2L on 1016 modelsis usually between 44 to 46mm, with a case height of 11–12mm and a bezel thickness of 1 - 2mm, depending on the model - at least that’s what I’ve read. Is there a technical drawing of a 1016 somewhere that I could use as a reference? I couldn’t find anything useful online. I remember someone in this thread once analyzed an Explorer ad and gave the lug measurements at a certain height. I’ll have to dig through the thread again, but so far, searching for keywords hasn’t helped - since they show up on almost every page.
most of us don't bother with such measurements.
either we start from a Raffles case, a gen case, or a viet
Don(t make your life hard. use Raffles.
Drilling lug holes - I assume this is done after shaping?
you drill before shaping. always. this give you the chance to correct things if you slip
My case doesn’t have drilled lugs, so it’ll be tricky to match the existing holes from the outside. Do you drill from the inside with a special tool?
Again, use Rafffles, the case is as cheap as AliExpress and you will save a lot of grief
You need to start from the inside, using a 0.8mm bit carefully.
It will be slightly at an angle but when you come back from outside with 1.3mm it will be fine
Reducing case height - If I want to make the case look slimmer from the side, do I also need to remove material from the top? And would that mean reducing the rehaut height as well? I’ve seen some people in this thread working on the area next to the rehaut and the lugs by cutting a rehaut-sized hole in sandpaper and then rotating the case over the sandpaper. But I think that was more about refinishing the lugs and the part of the case that peeks out from under the bezel. I assume most of the metal is removed from the underside of the case sides, right? I also think I could shave off about 0.5–0.75mm from the case back.
don't bother with this yet.
If you shape the top of the lugs and give a nice organic shapre, the watch will appear thinner.
Caseback grinding is a good way
The Crown – I bought a cheap rep crown. The old crown tube was just press-fitted, but the new threaded one is slightly thicker and doesn’t fit at the moment. Can I just use a regular thread tap (assuming I have the right size), or do I need special tools for this? The watch doesn’t need to be particularly water-resistant afterward - this is mostly just for practicing different techniques.
Tap thread is good
this works for me
else, taps taps
Huge thanks to all of you for your help (especially, but for sure not only, @Karbon74 )! Even a total beginner like me gets support here - even when I ask dumb questions that probably make you pros yawn and have been answered a thousand times before.

Next week, all the tools should finally arrive, and I can take the next step. At some point, I’ll have a proper 1016… or maybe two, three…
By the way, what do you guys do with all your custom builds? Do you keep modding them over and over, or are your cabinets already overflowing with watches? I’m surprised they don’t show up in the M2M section more often.
@dpd3672 keeps all of his

@369mafia and myself we sell them
Sorry for the photo overload, but I’m hoping someone can take a look and give me specific advice on where and how much material I should remove to make this case look better.
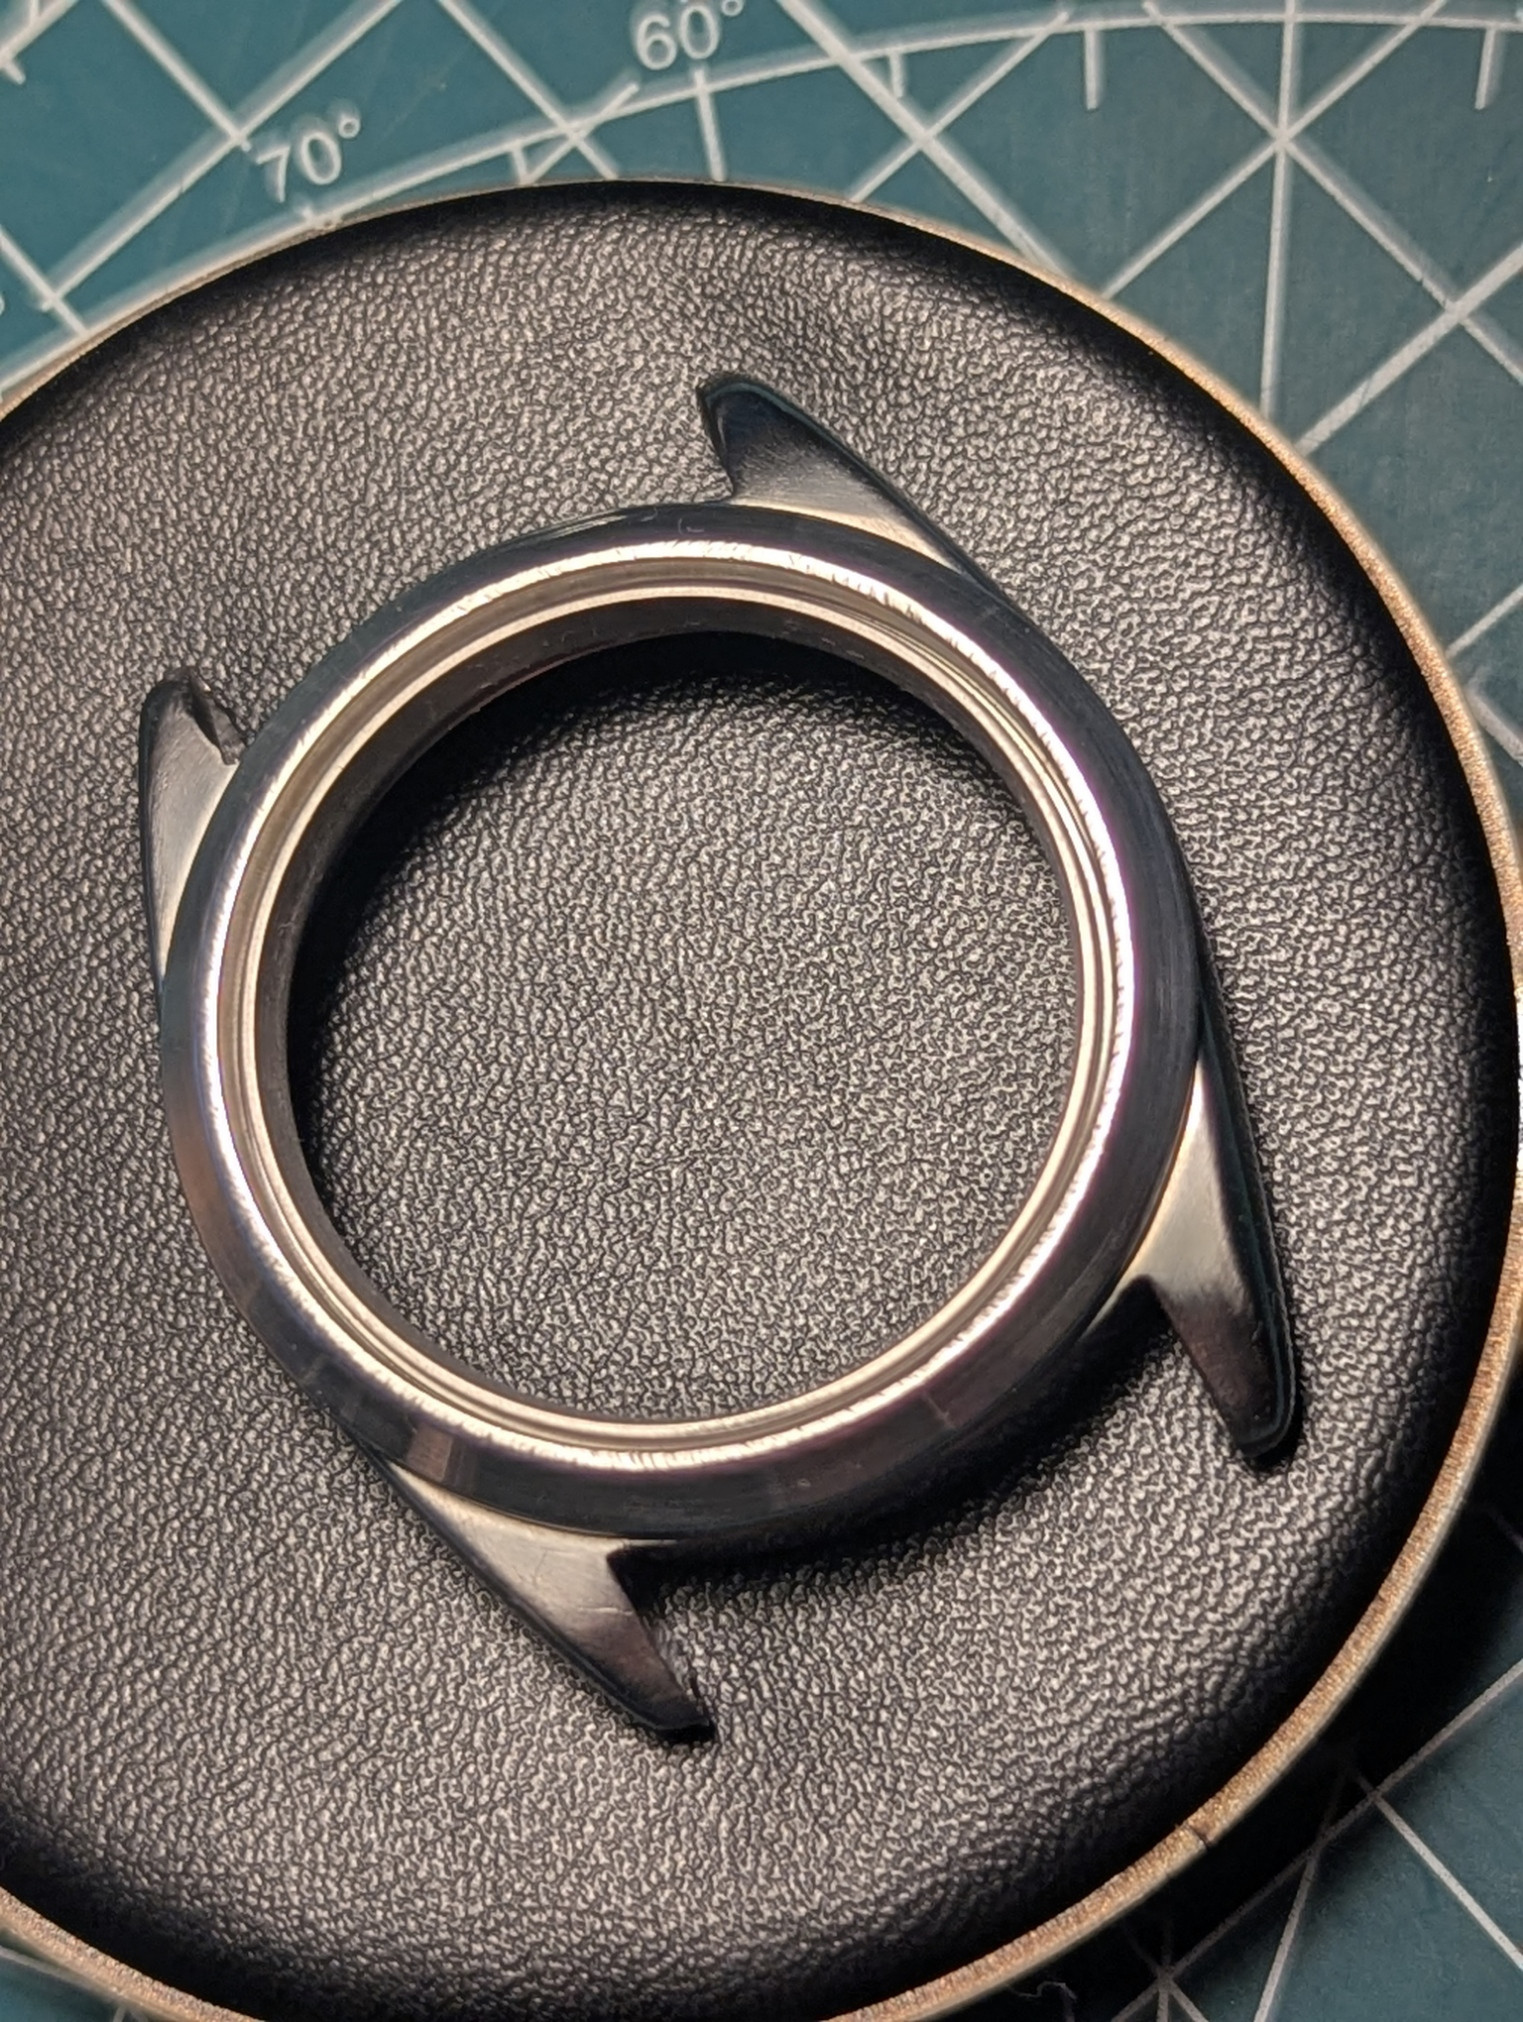
view from top :
Imagine a line crossing 2H/8H and 10H/4H, the lugs start to angle here
then it's a straight line to the lug tips
at the lug tips, aim to remove a bit less than half of the stock shape
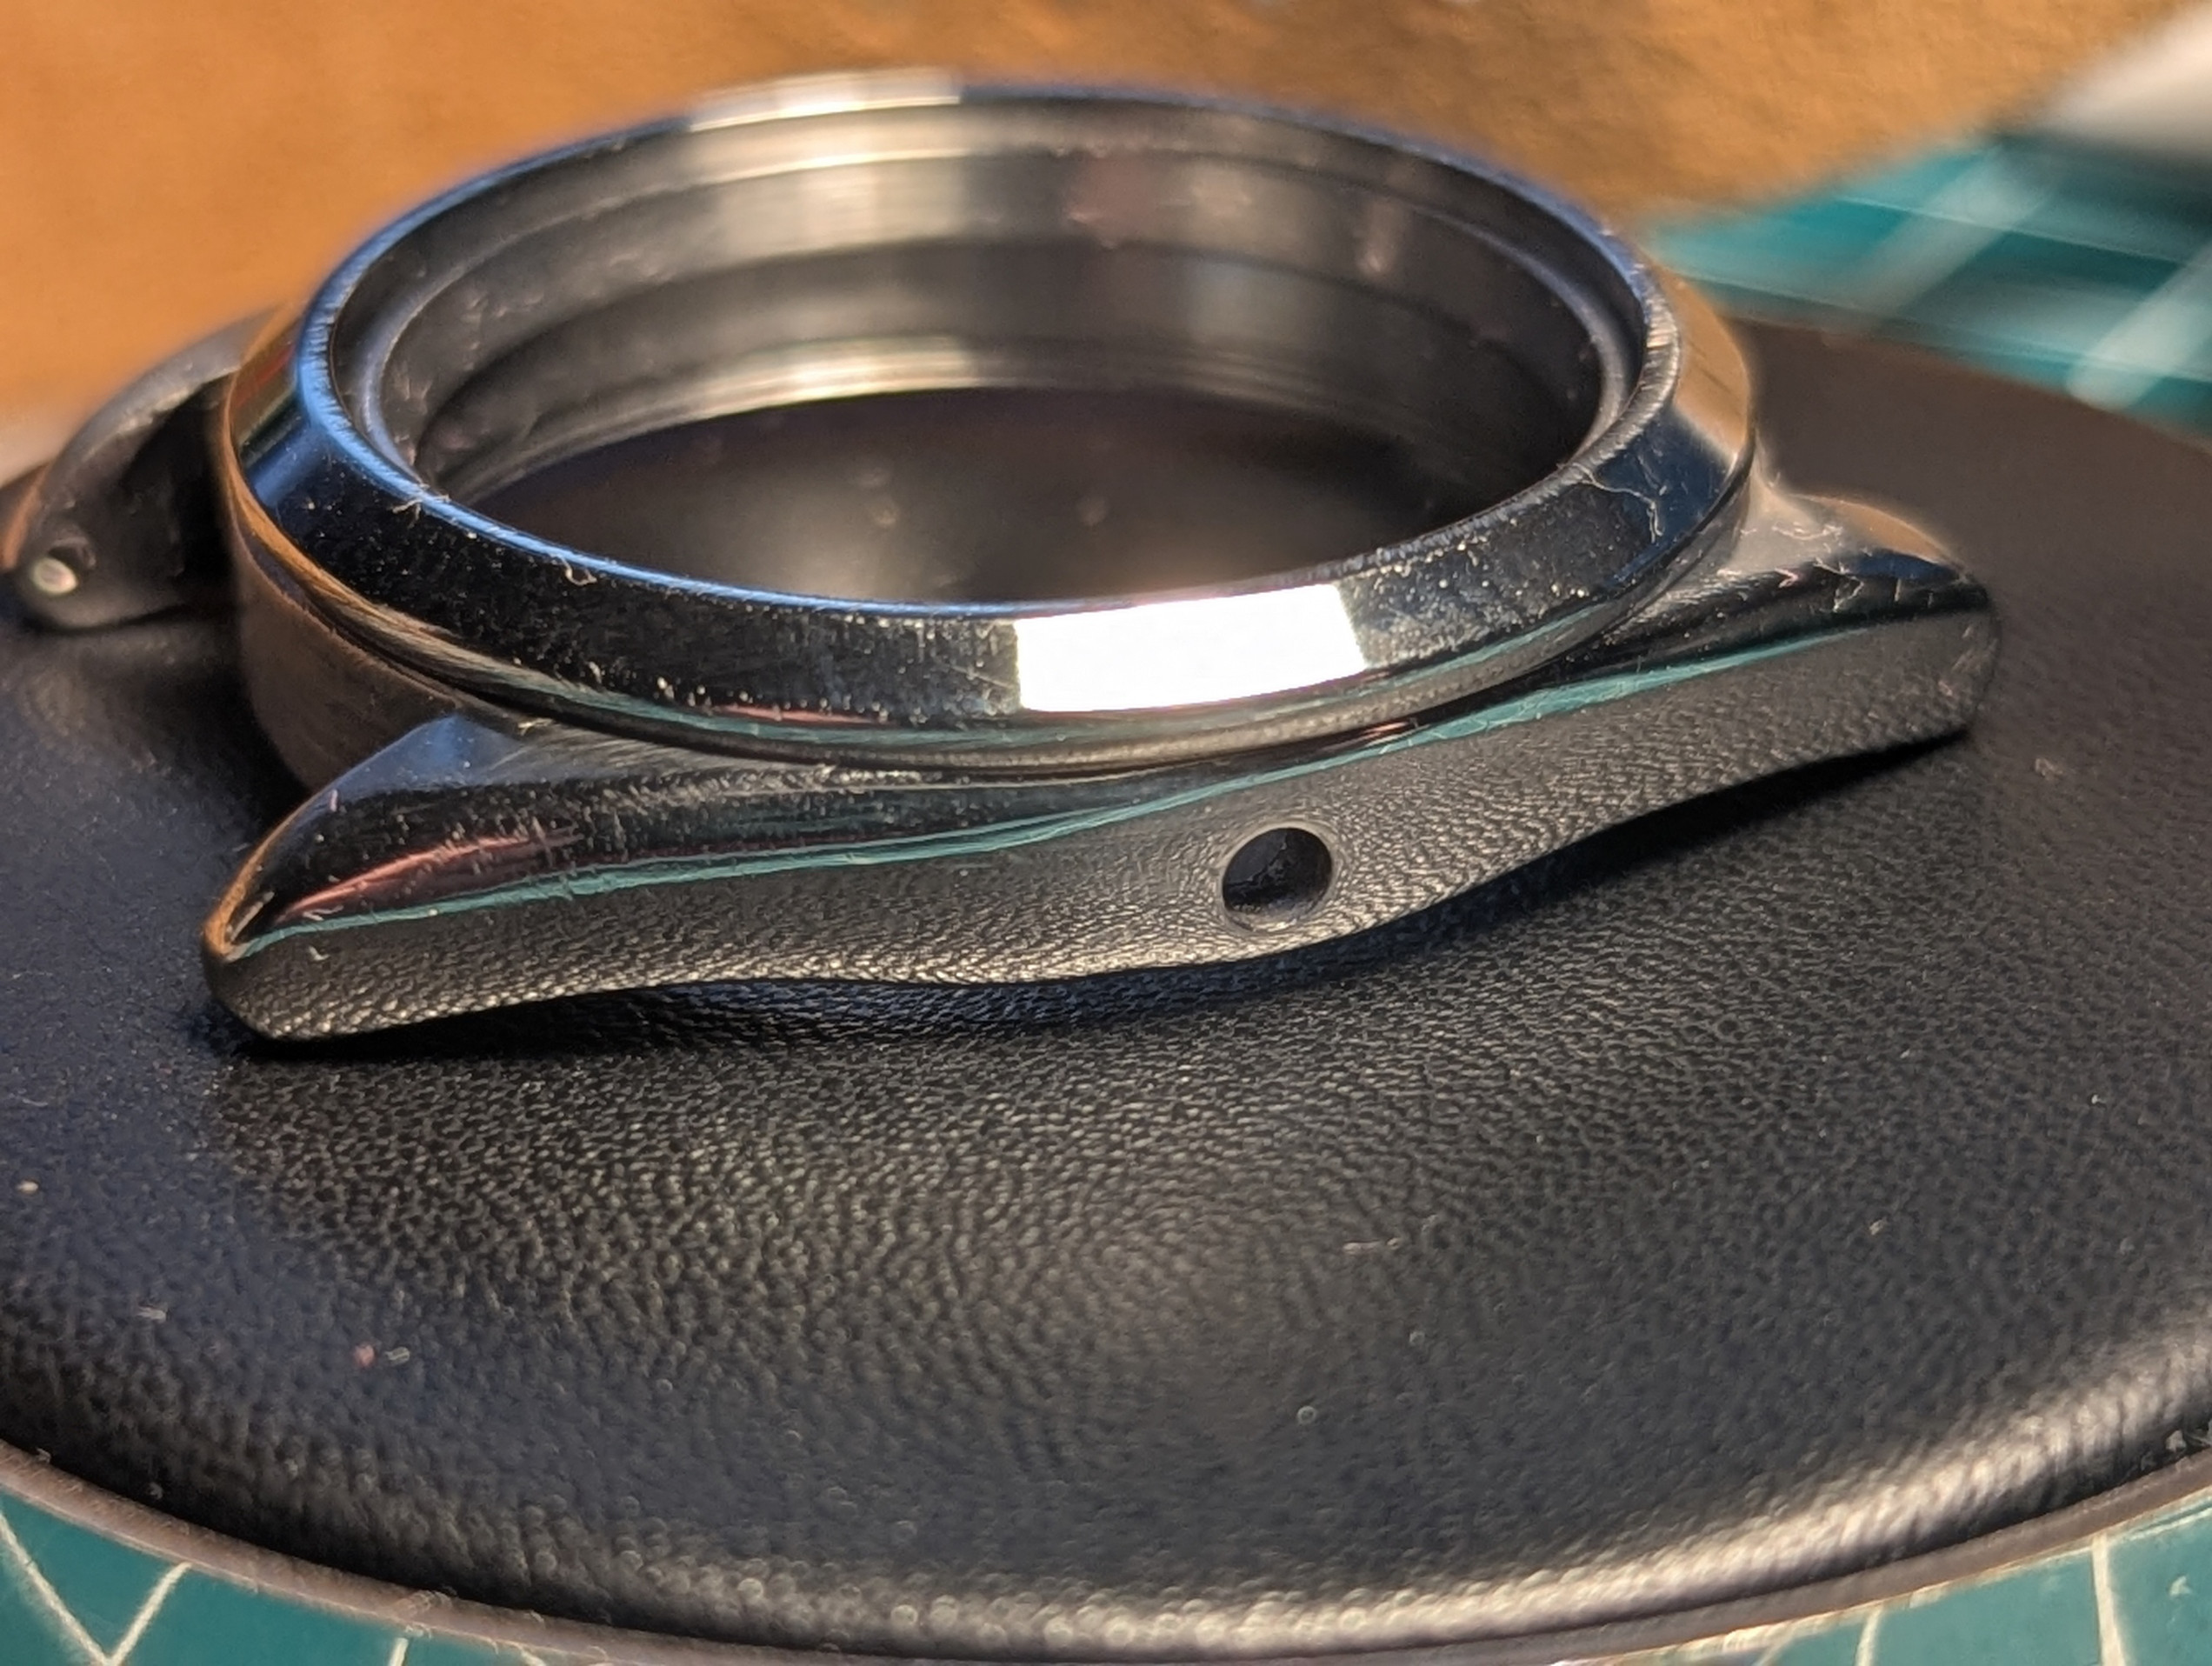
view from side :
Most stock cases will have a rather steep curve at the end of the lugs. work to make that slope come down gently, alike something organic, versus geometrical
Ageing was not the aim of the exercise. But after case shaving, you have to sand and polish the case again. I have pads from 300 - 1200 and then a kind of nail polisher.don't do that. ageing should be done in a "natural way" not with snading pads
I was now able to remove the bezel and glass with a sharp knife and tried out a few different methods. The AliX case cost me 8 euros - so I had no inhibitions about trying out everything from a file and Dremel to a belt sander. I think a mix of everything actually works best ... Next time I will use raffles ;-)most of us don't bother with such measurements.
either we start from a Raffles case, a gen case, or a viet
Don(t make your life hard. use Raffles.
Probably a bit excessive for a 8 € case and 1,50 € crown - the raffles case has a fitting crown. Maybe later, when I'm ready to use gen parts. But thanks for the link.Tap thread is good
Unfortunately, I only read this after I started the belt sander in the garden. Drilling the lugs didn't work with my equipment either - I'll have to get something decent. But maybe it will work with the Dremel. But drilling small holes from the inside first and then using the larger drill bit from the outside is a good idea. I'll try that. I was afraid of drilling at too much of an angle because of the angle. But the holes in this case were so far out anyway that I really shouldn't have removed anything from the lugs.view from top :
Imagine a line crossing 2H/8H and 10H/4H, the lugs start to angle here
then it's a straight line to the lug tips
at the lug tips, aim to remove a bit less than half of the stock shape
view from side :
Most stock cases will have a rather steep curve at the end of the lugs. work to make that slope come down gently, alike something organic, versus geometrical
This is the result of about an hour's work. It won't be famous, but at least I now have a feel for the material. I did it without any templates or pictures because it was getting dark and I was just too impatient as usual
; next time slower, with patience and some photos from all your great work here. Thank you all.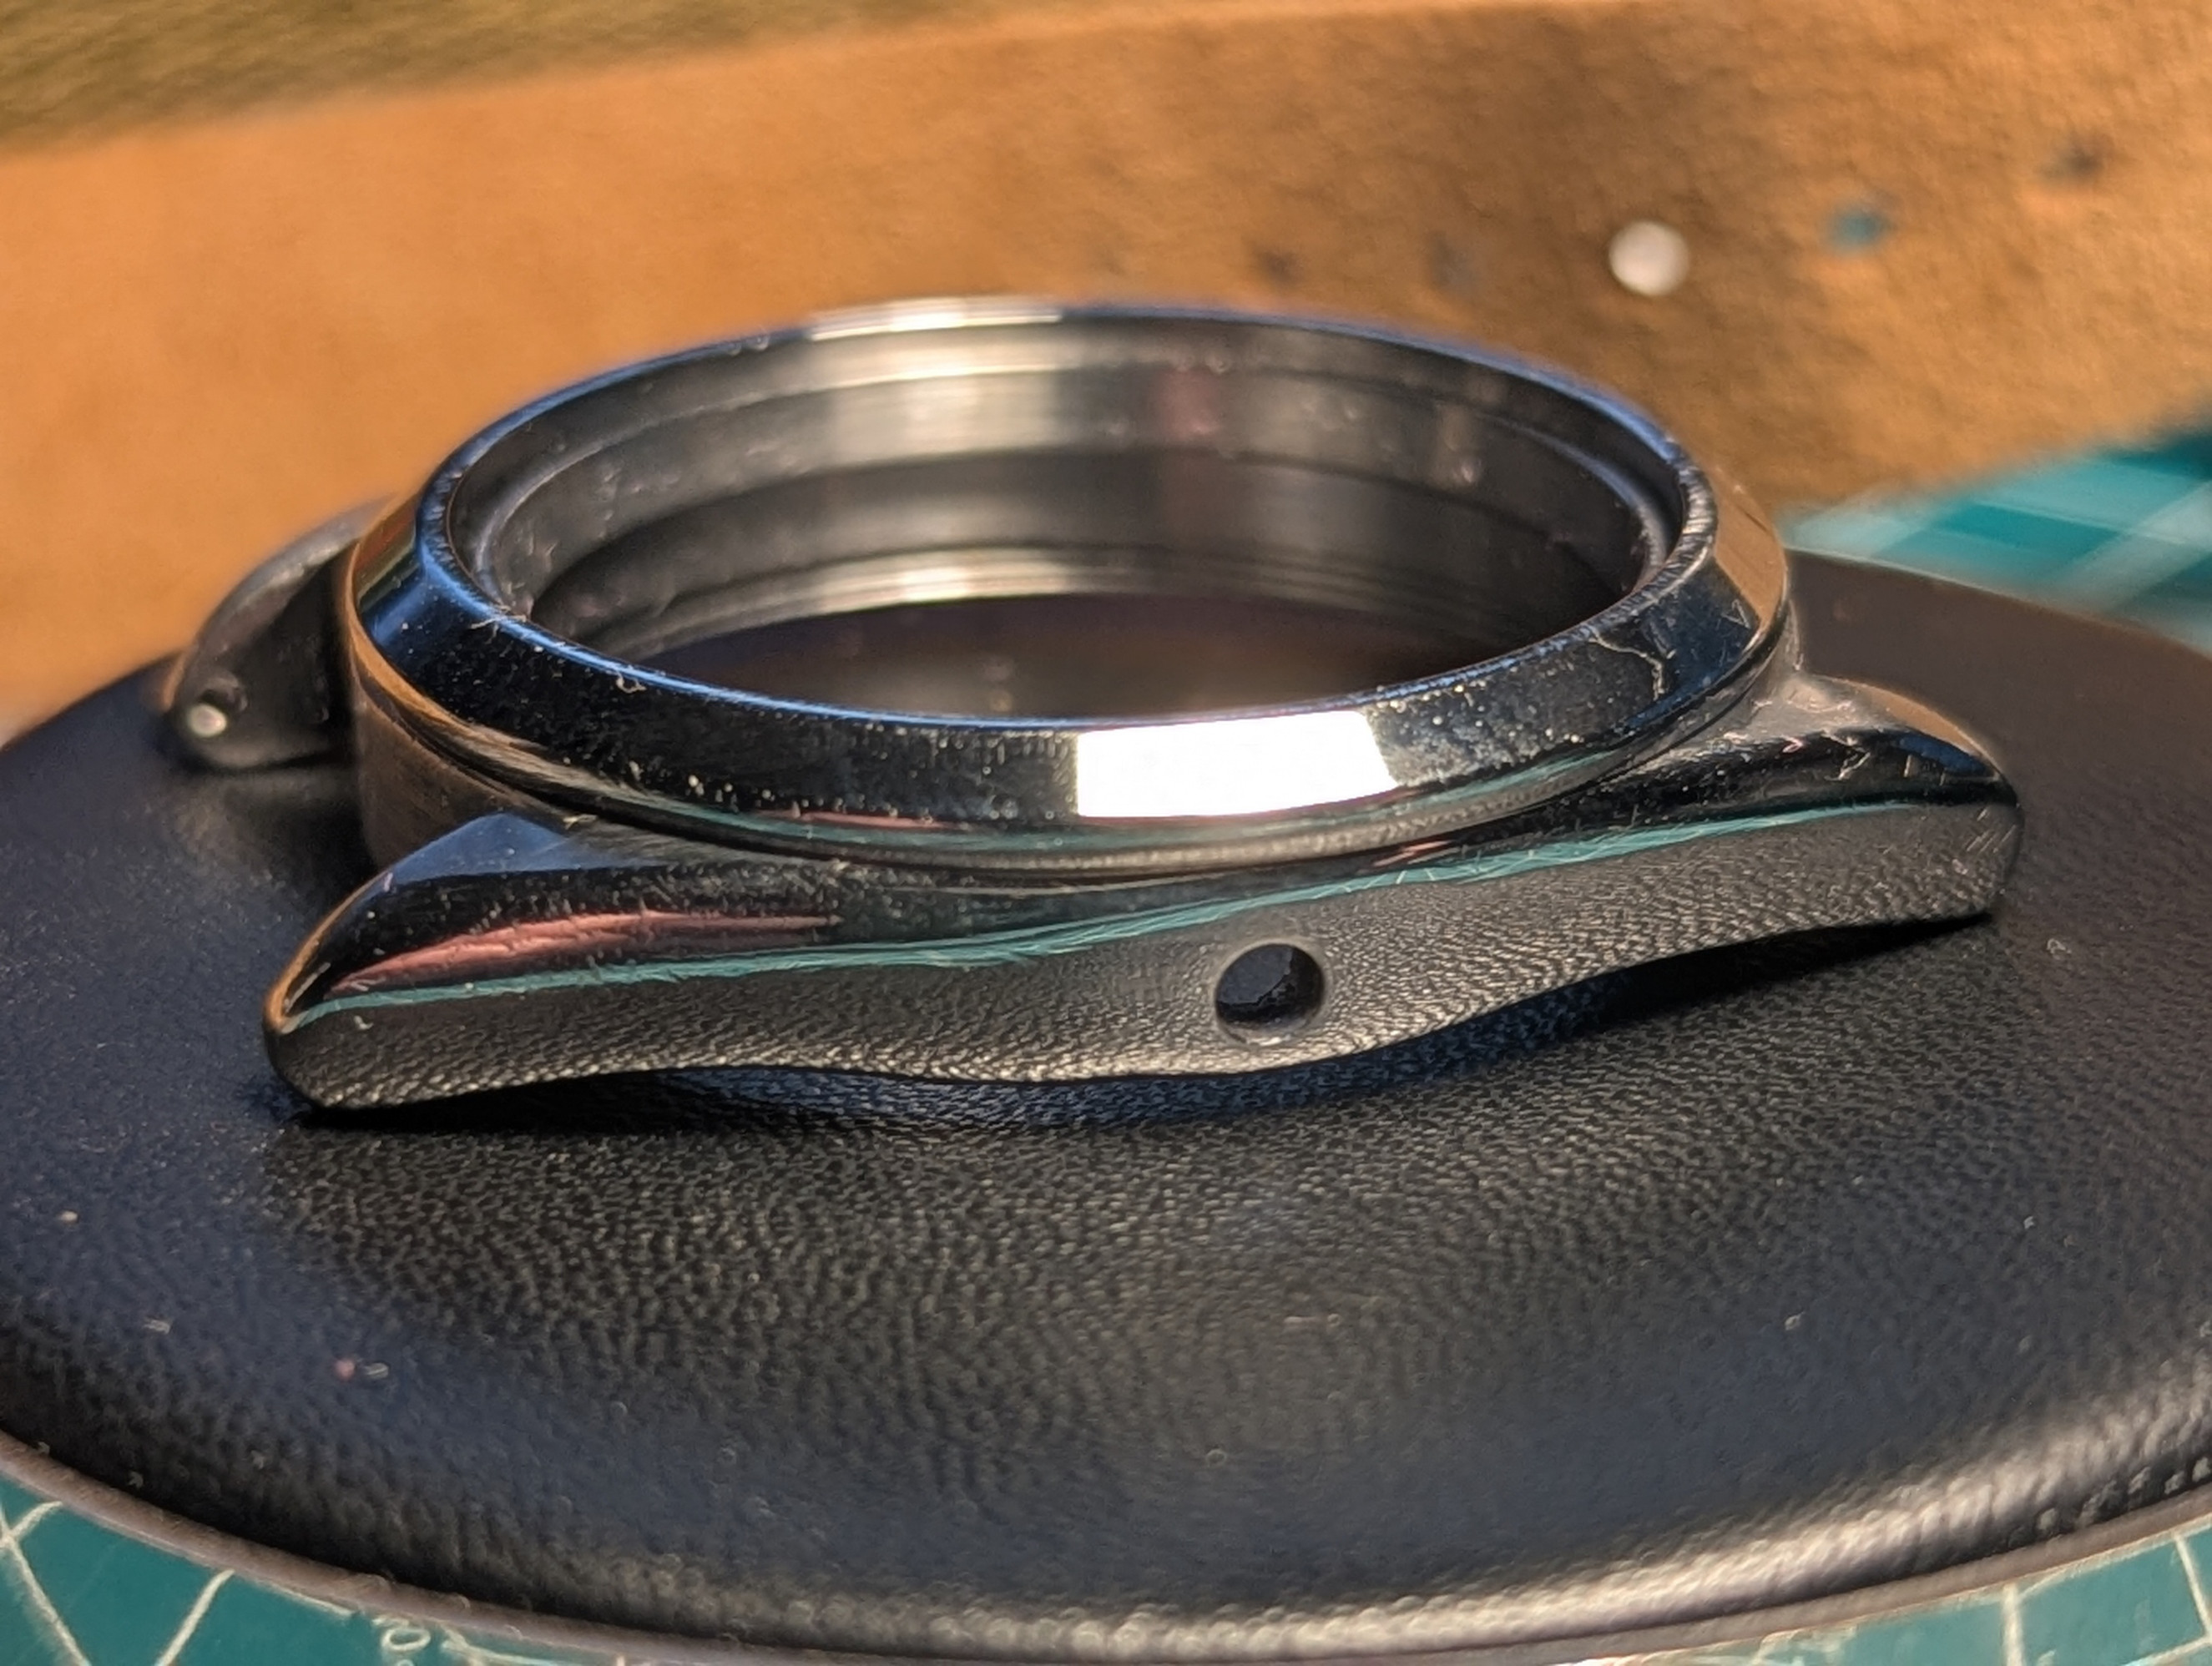
Yes, I had already seen a few examples, but back then I wasn't that interested in the 1016 or I was just too slow lately ... If the self-build doesn't work out, I'll definitely keep my eyes open and I'll probably have to react quickly... These things are selling like hot cakes ...@dpd3672 keeps all of his
@369mafia and myself we sell them

Ah yes, I see it now - like here, for example. I've seen that it looks different, but I couldn't really tell what the difference is. I'll definitely have to bear that in mind next time. Also that the lugs are more tapered towards the bottom. That would probably have kept me far enough away from the lugholes. And now you know why I used an AliX-case instead of rafflesThe top of the lugs need to be flat, not curved
I'm really bad at recognizing the differences between various forms and, above all, at naming them precisely. I can't blame my inability to see 3D in 2D-photos - there must be other reasons for this. But it has the advantage that I can also like a less well-made rep because I simply don't recognize the differences.
I hope there are no scammers reading here
... selling me DHGate for Clean ....
Last edited: