- 19/12/24
- 76
- 43
- 18
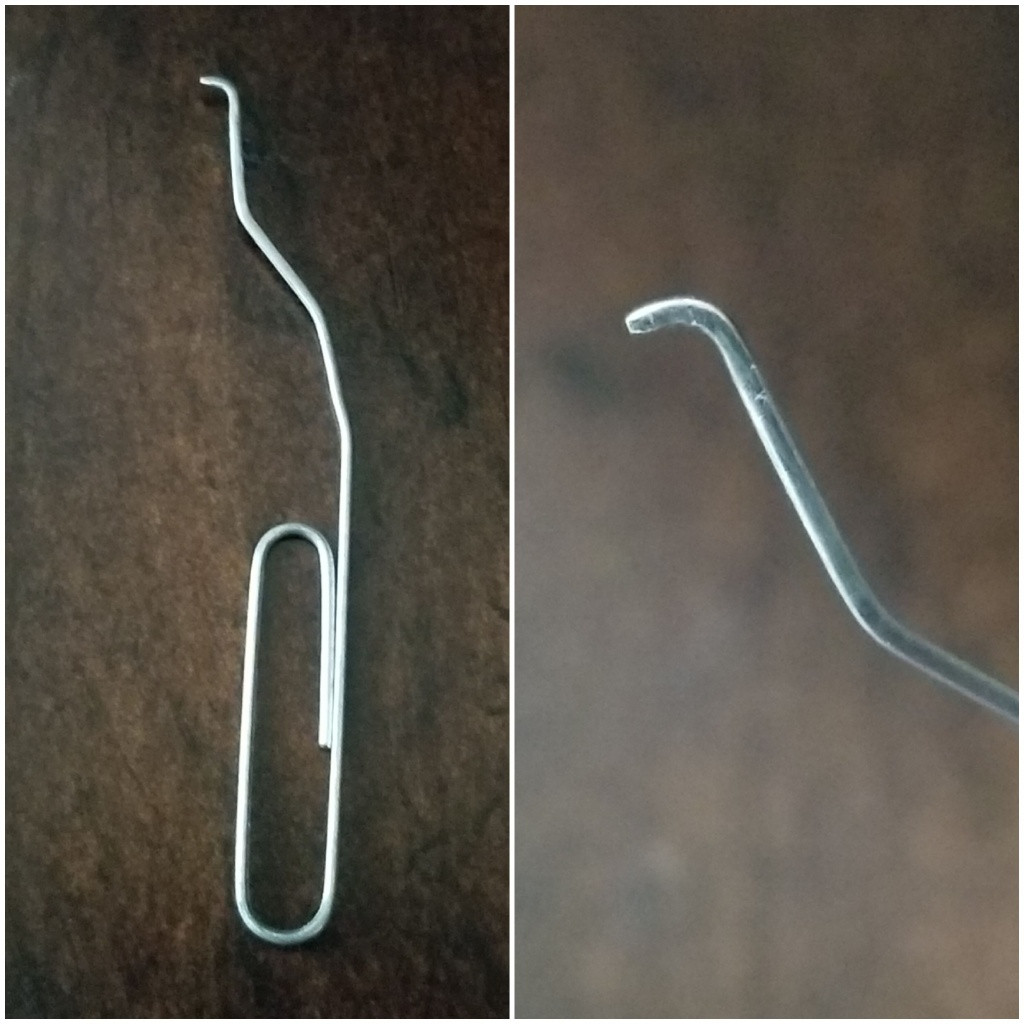
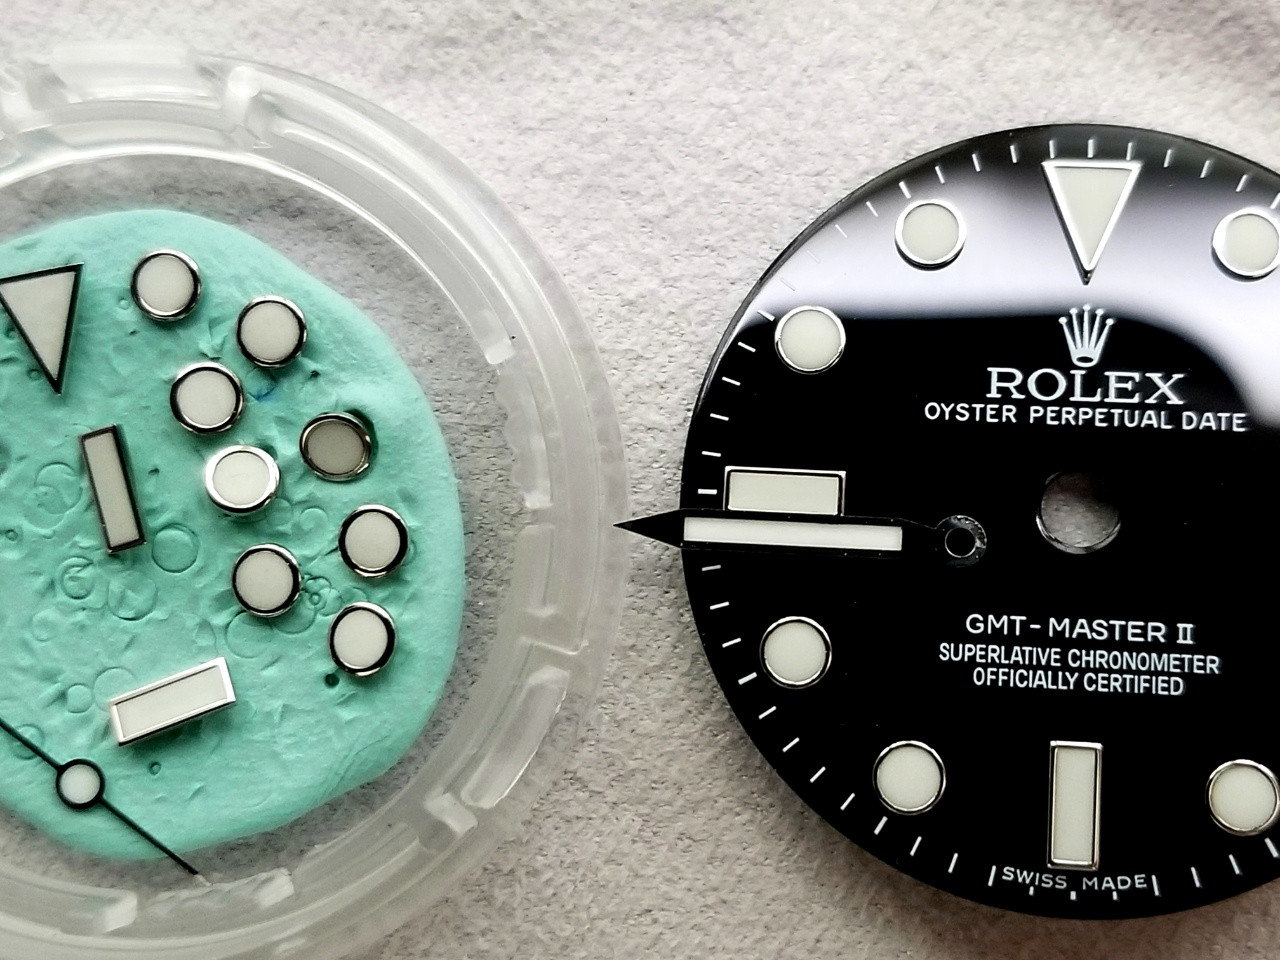
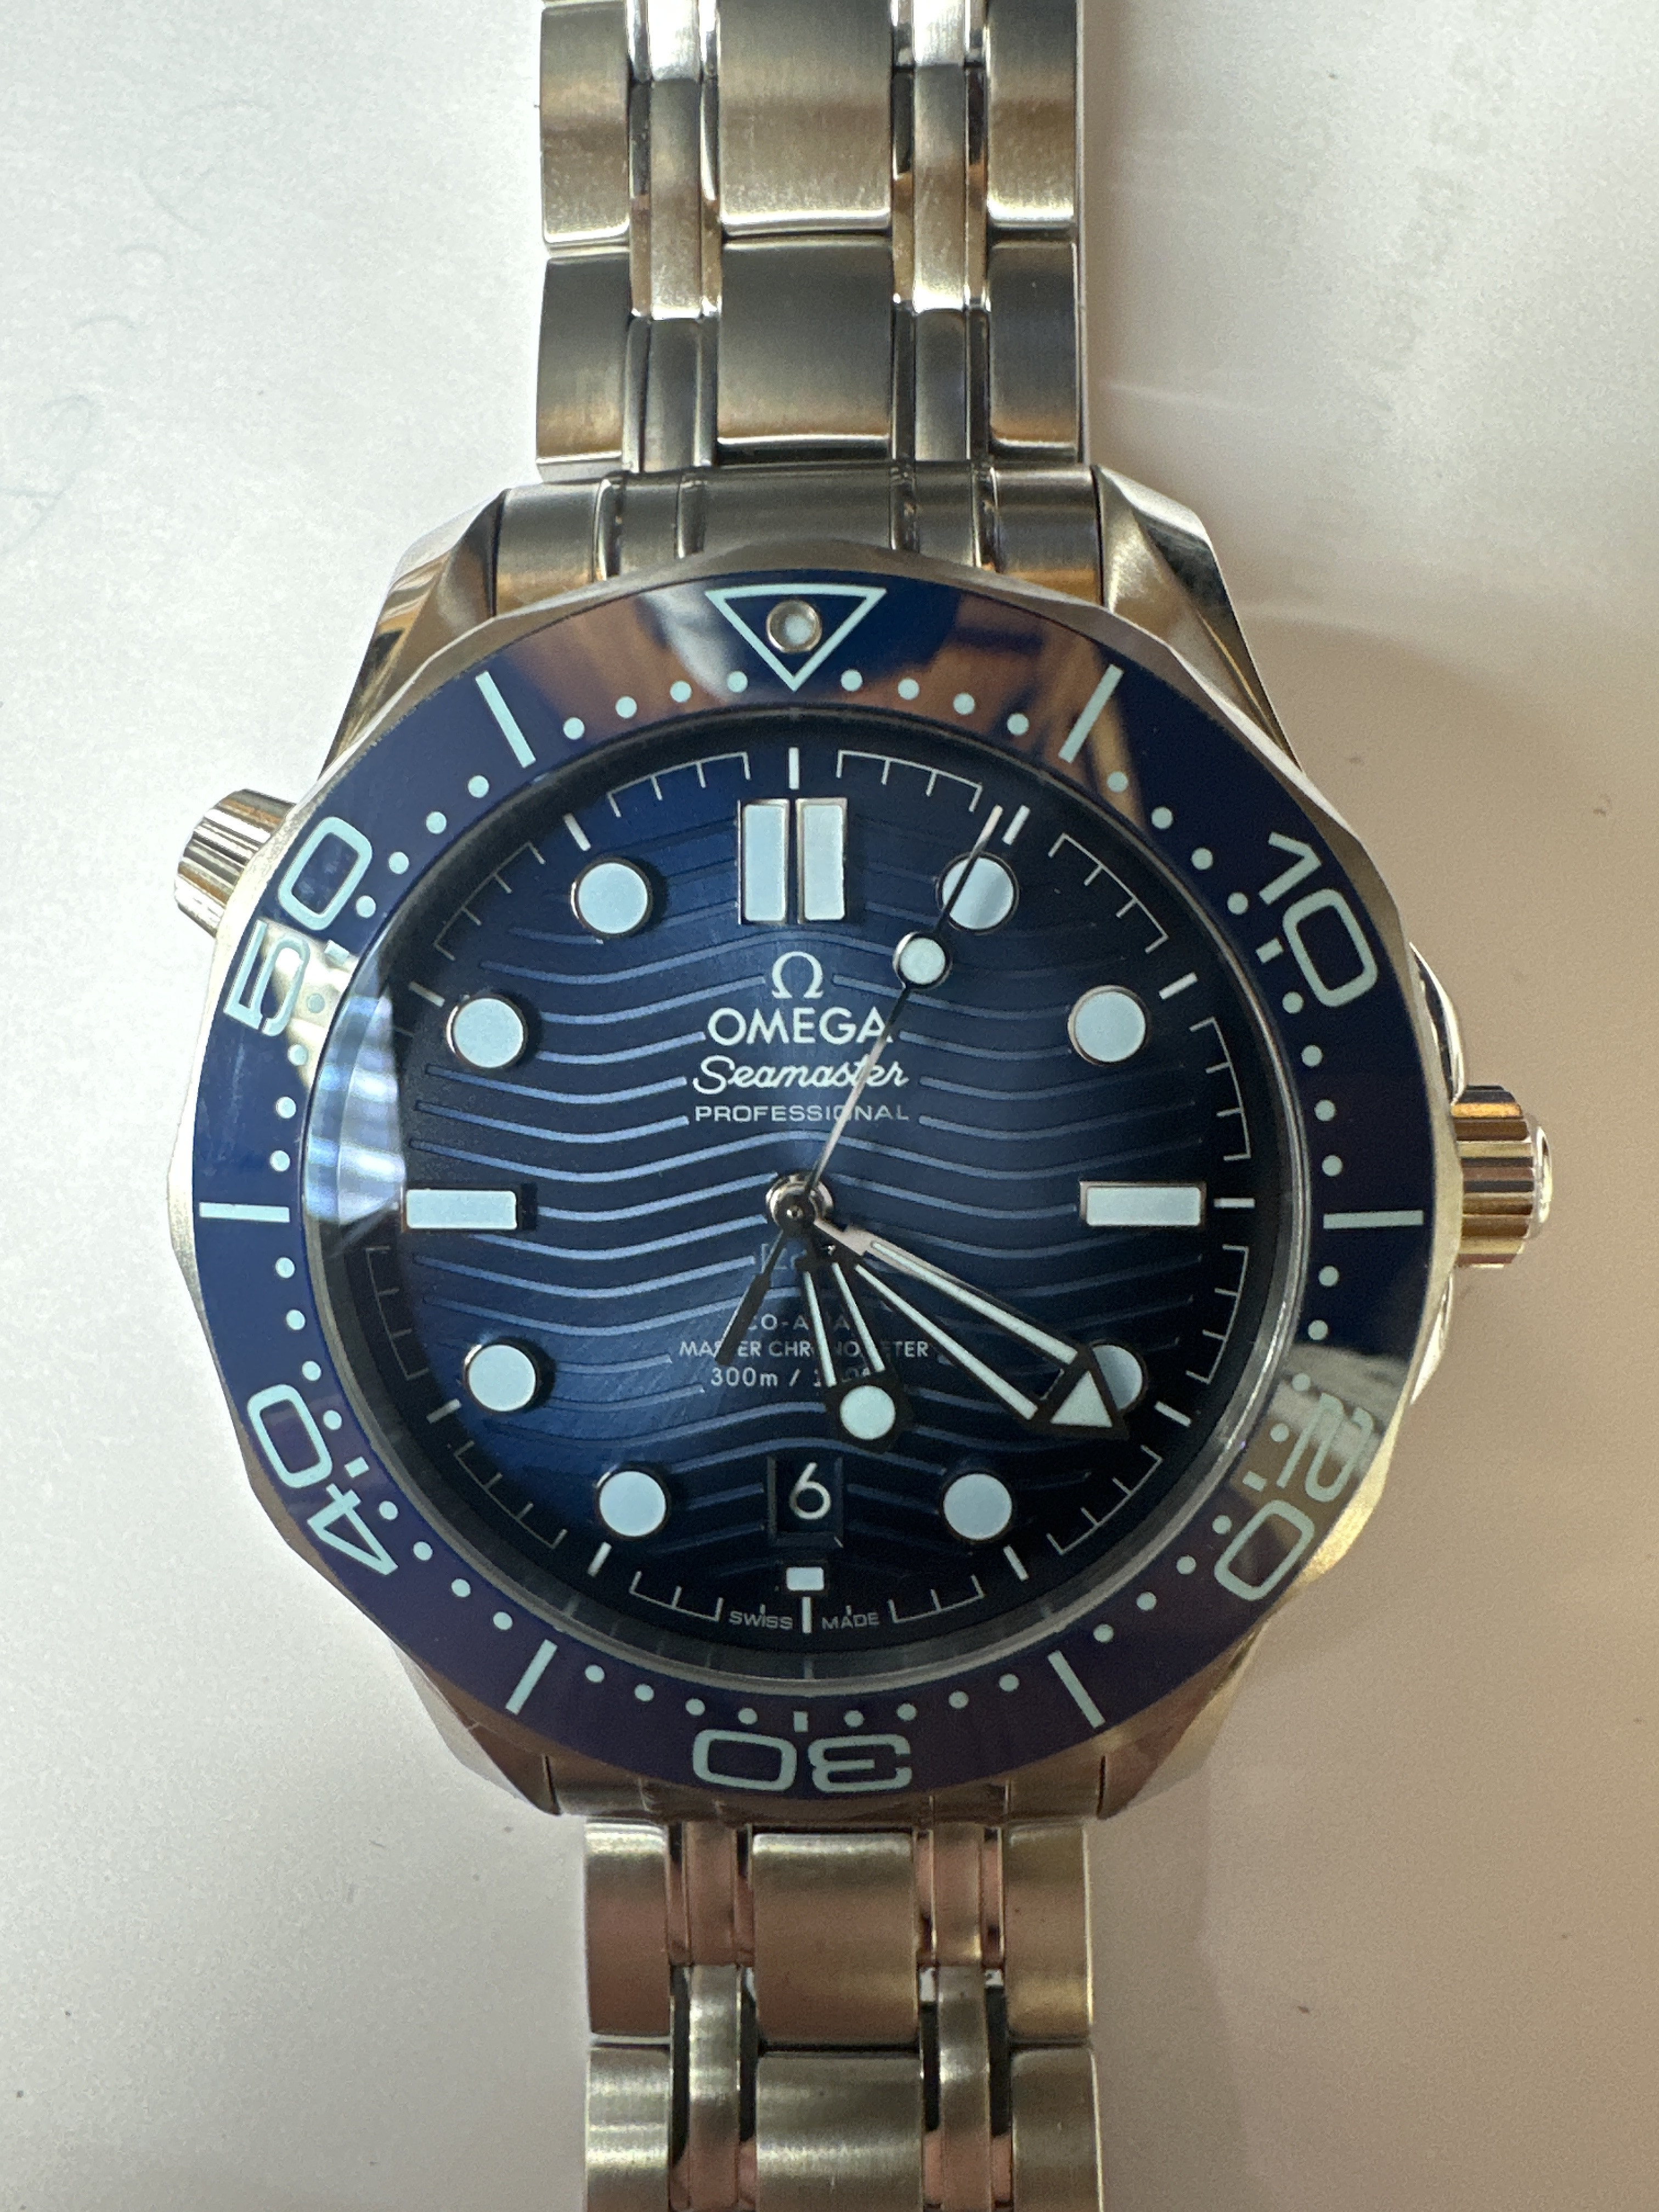
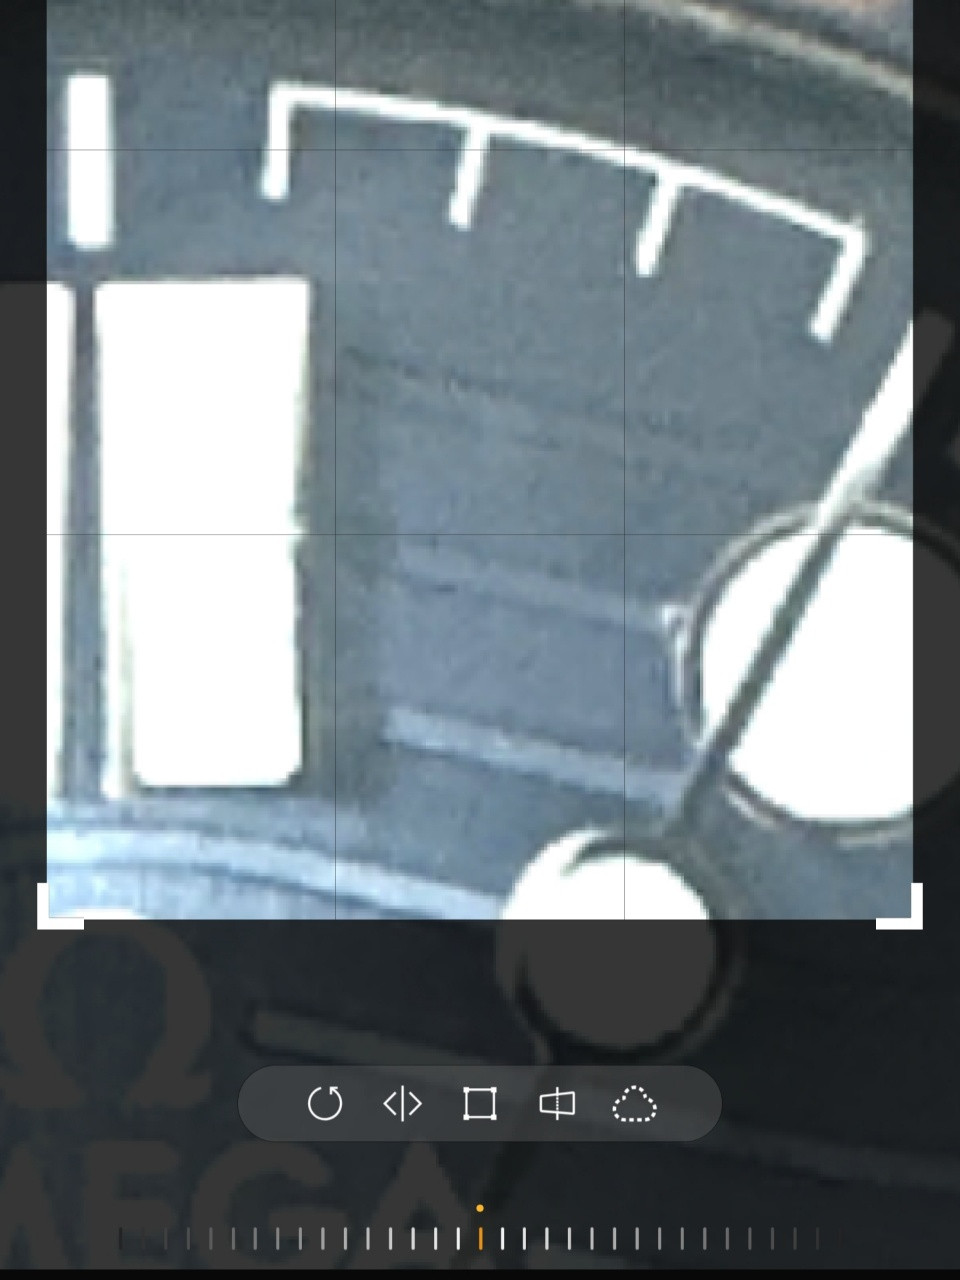
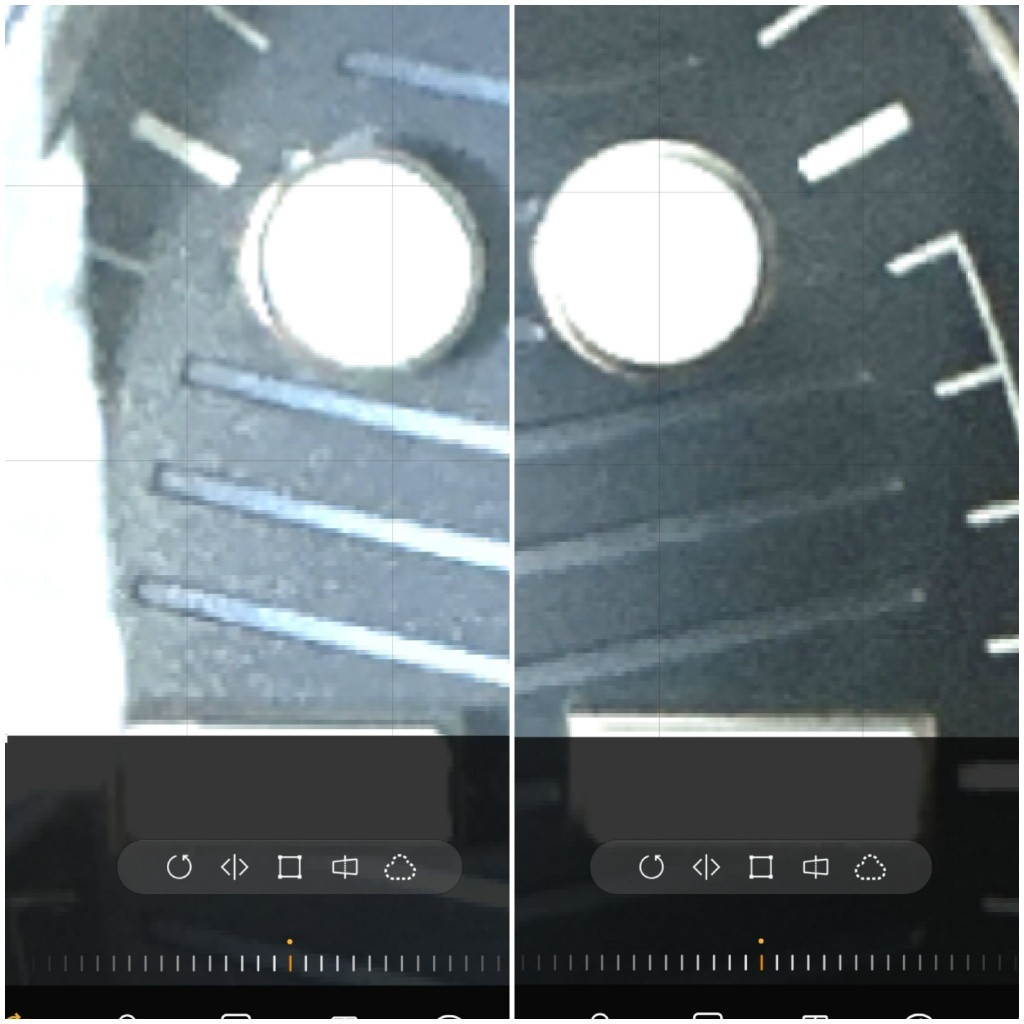
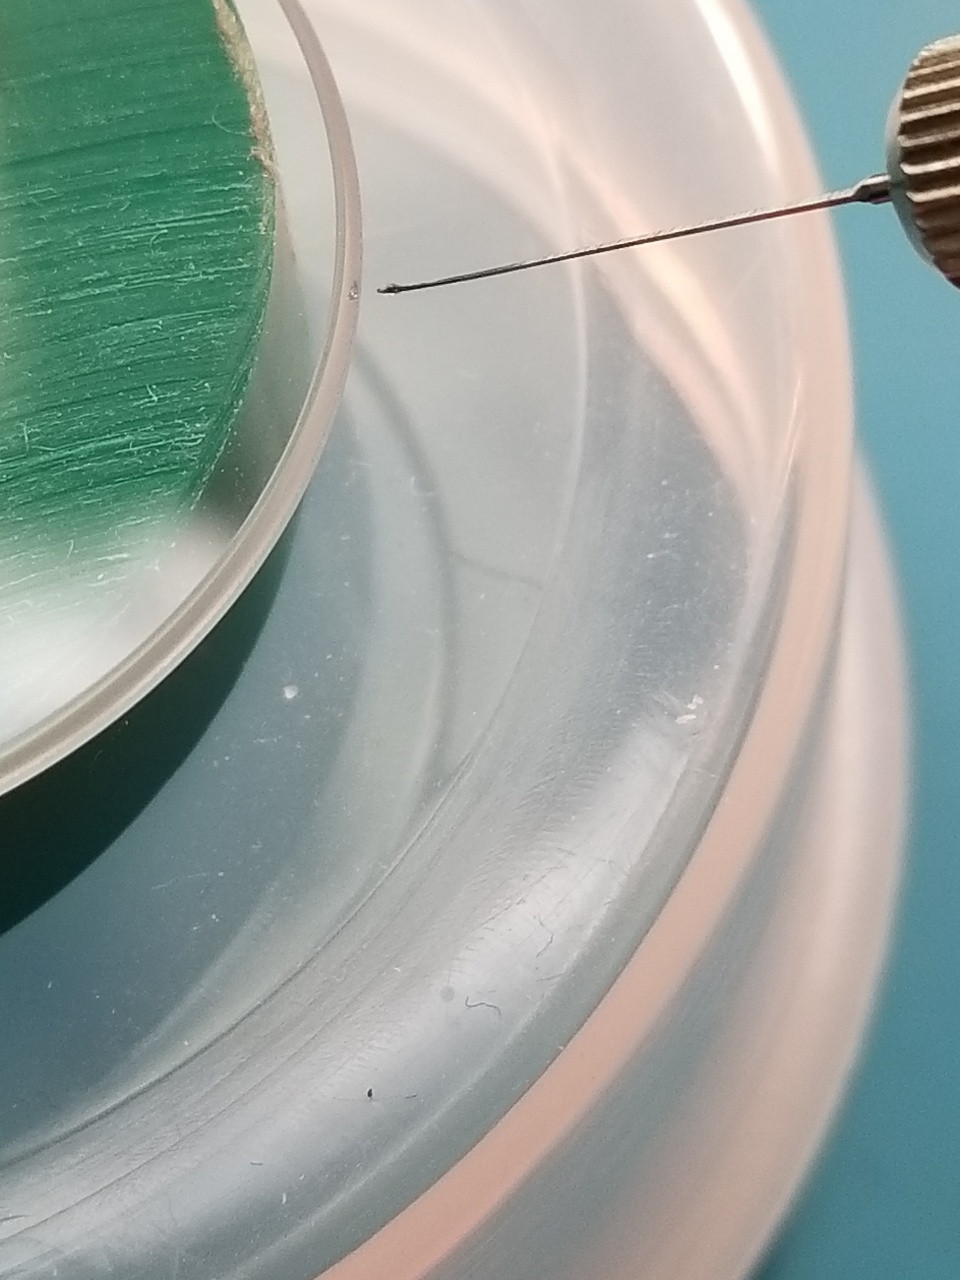
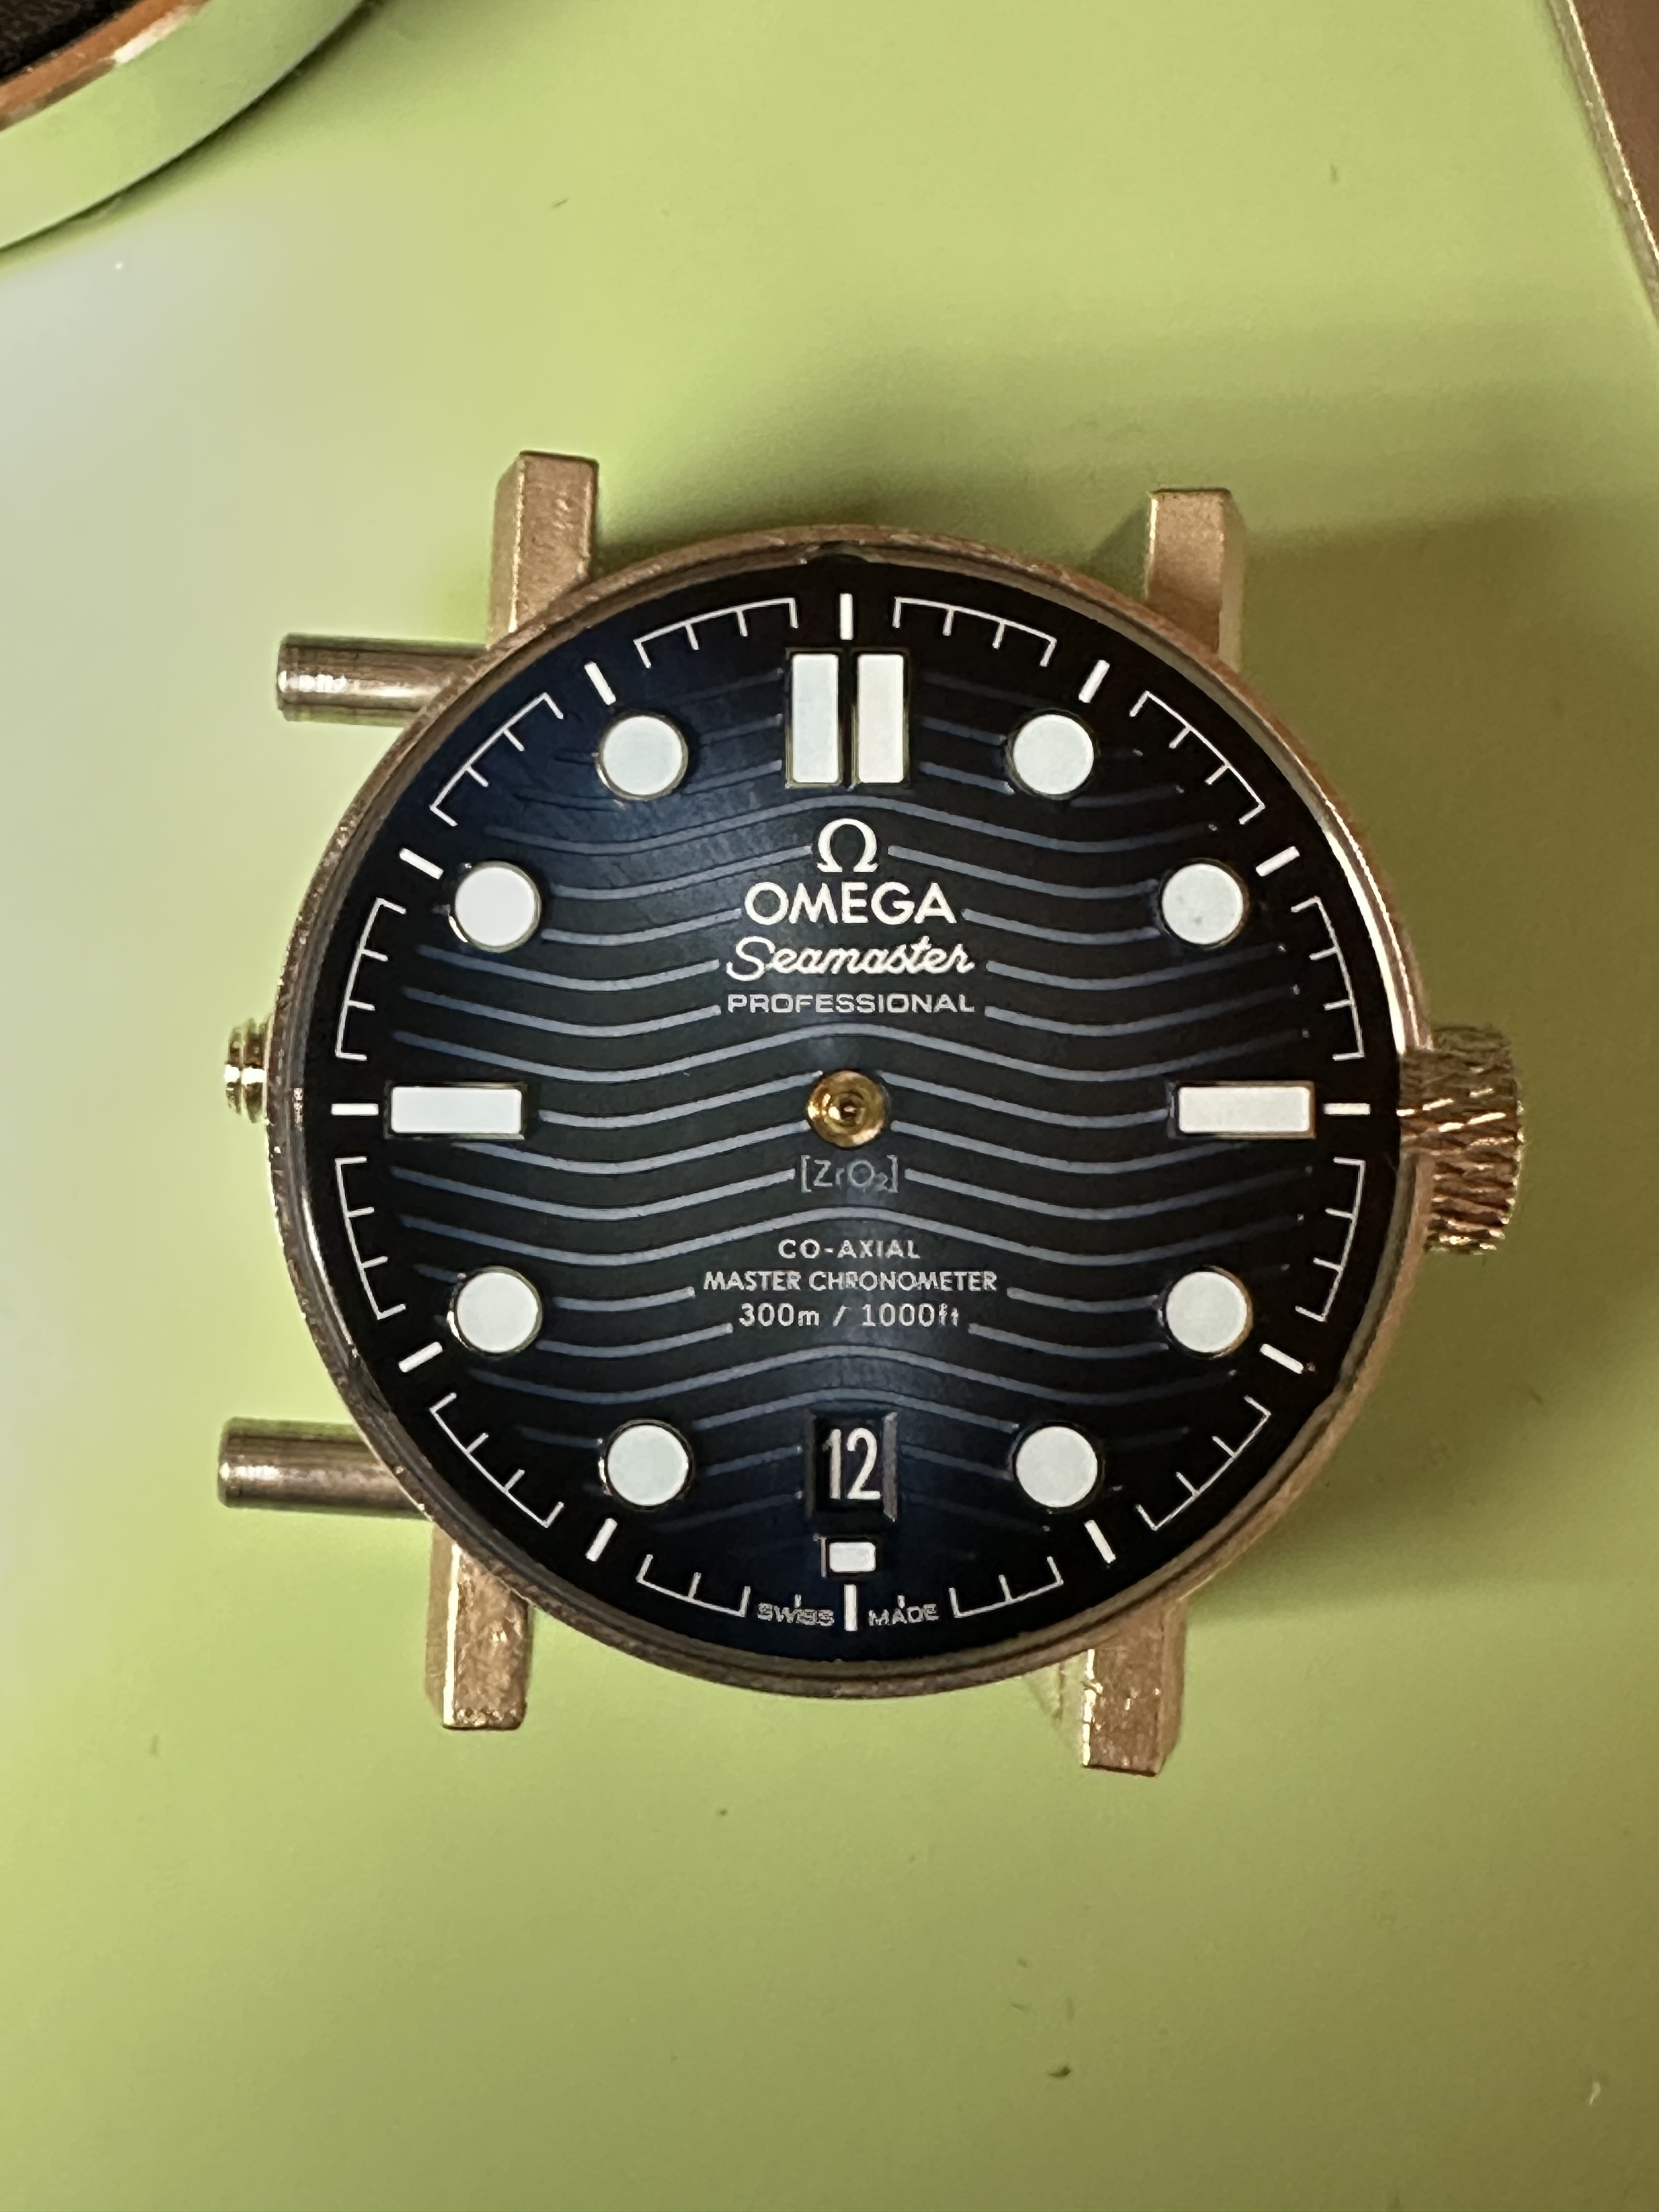
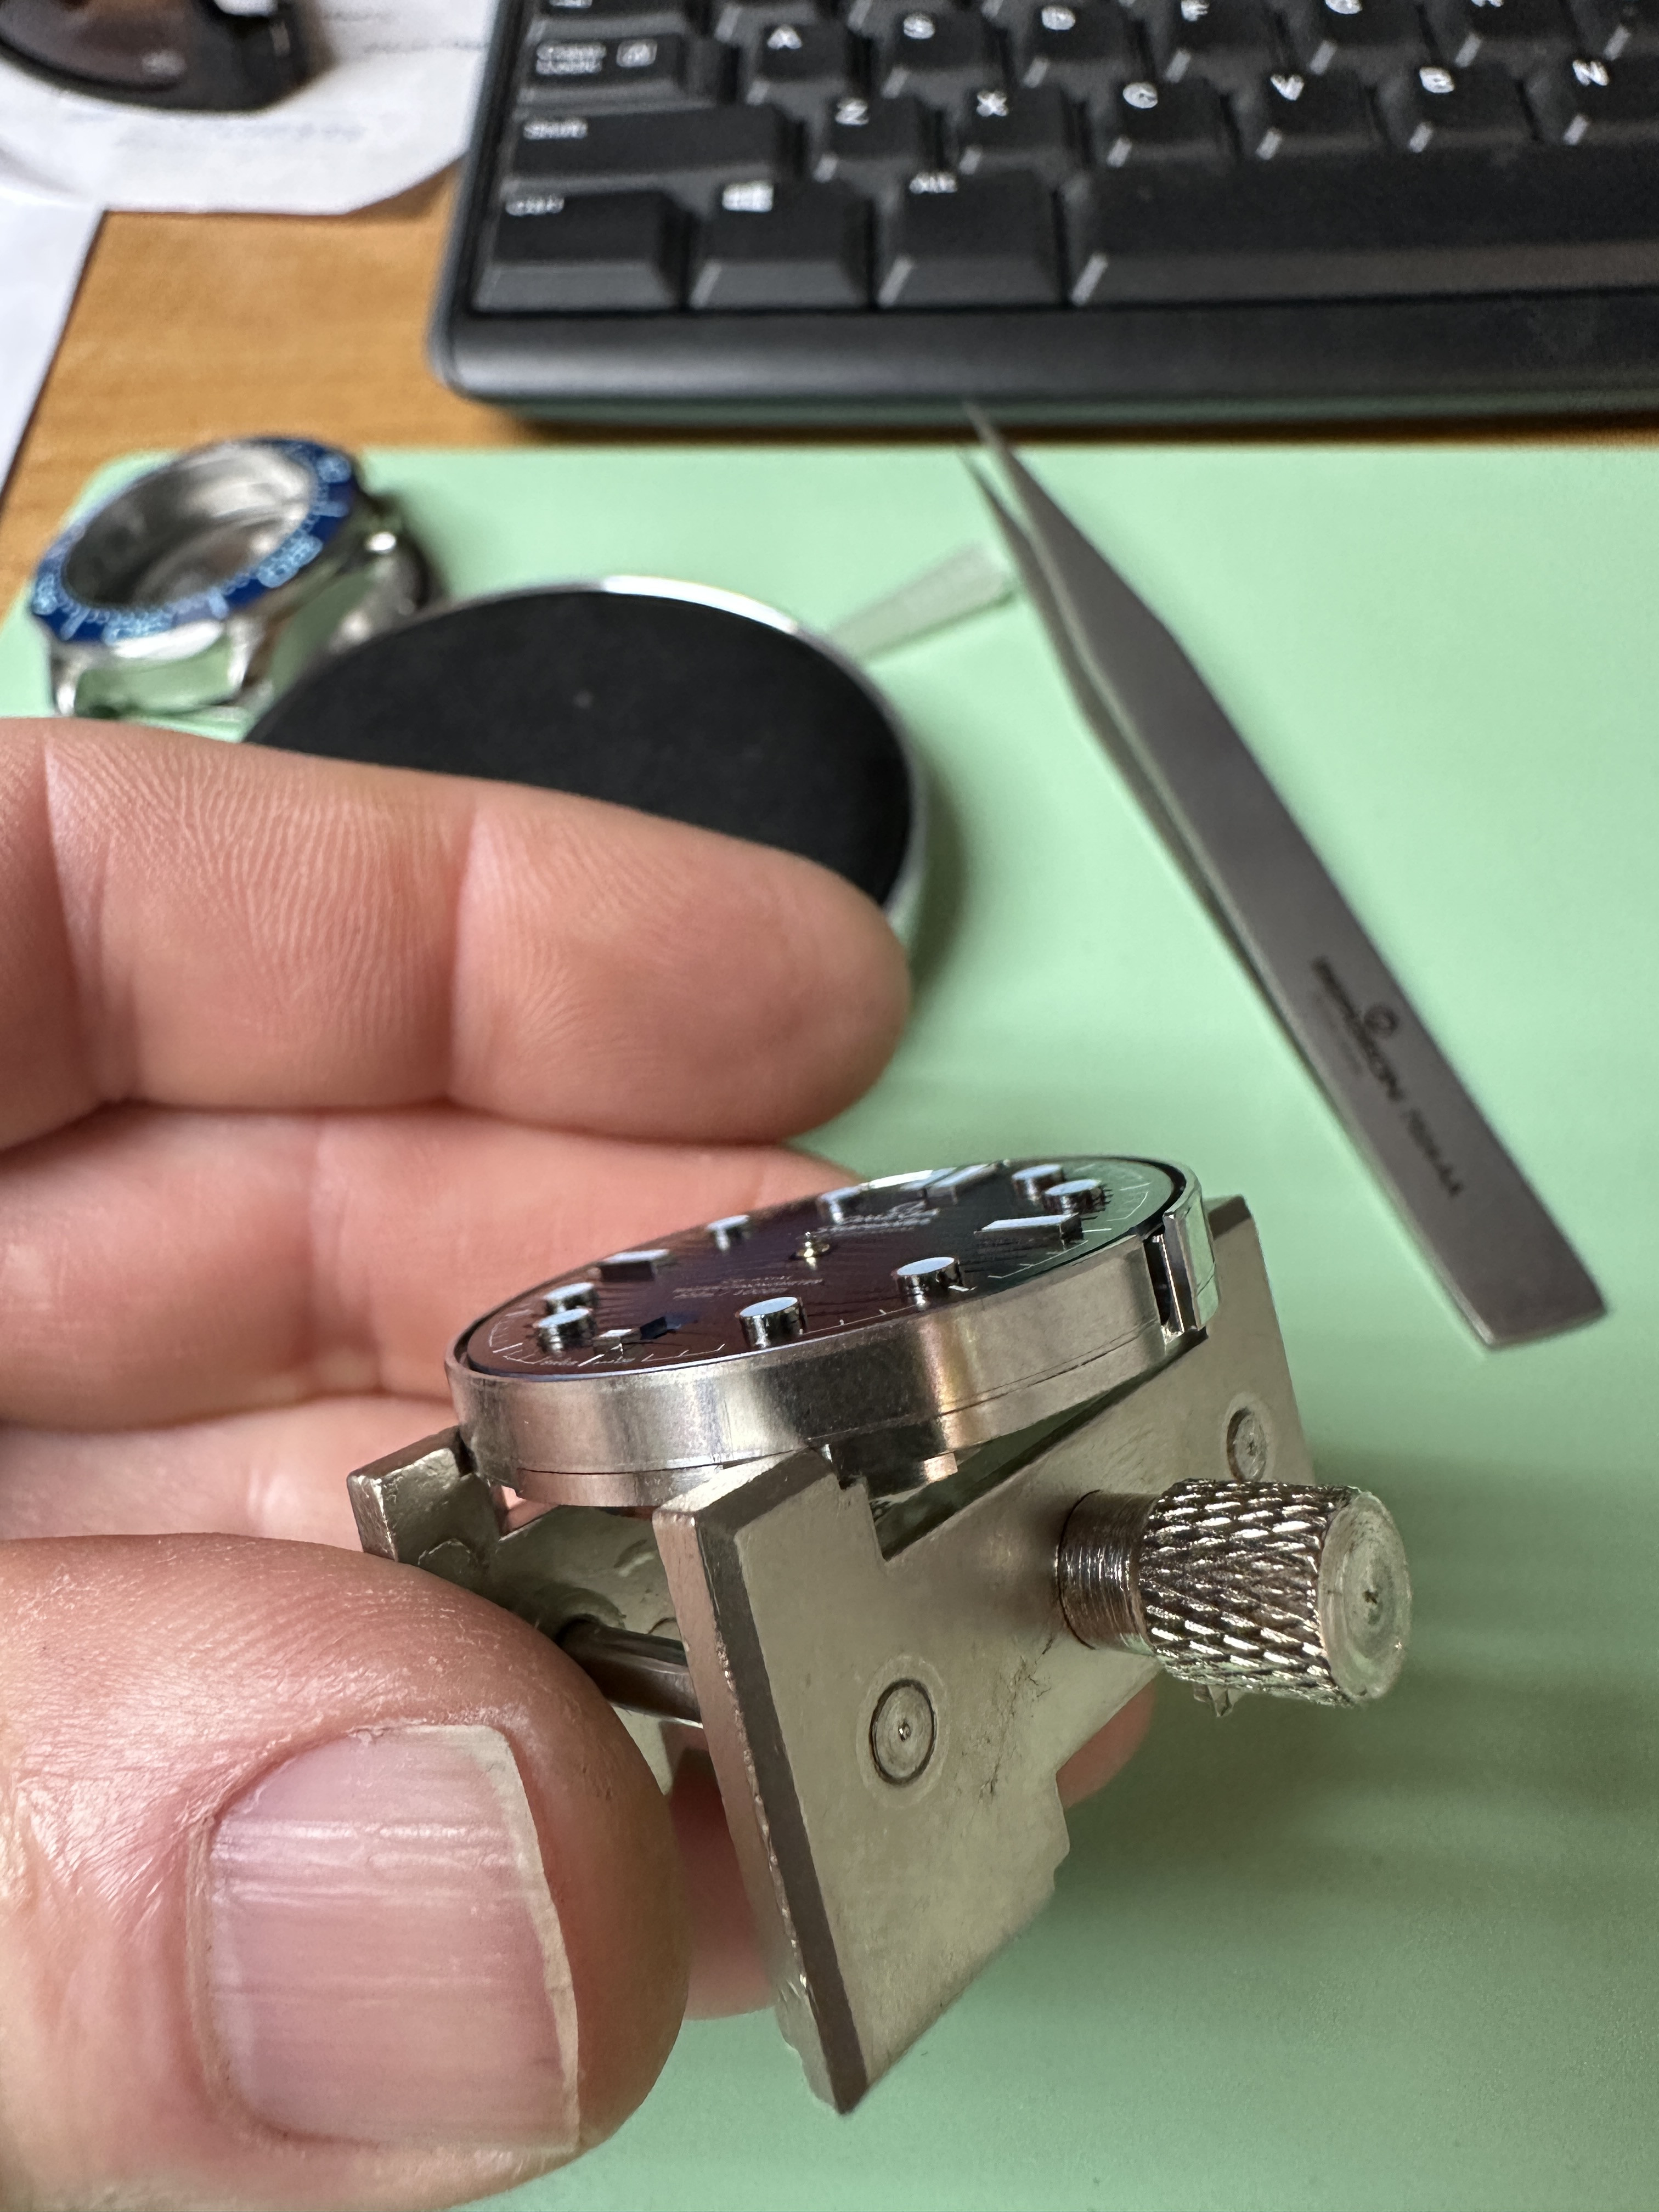
I just got a Seamaster 300 Summer Blue, and somehow I missed that one of the indices for the 12 O'Clock is crooked  . It appears the movement is just a decorated 2824-2 clone. However the claws that hold the dial feet on seem to be buried under the decorated pieces. Is there a way to release the feet without removing the "extra parts"? Or do I need to pull the rotor and decorated plates to get to the claws? Also, if the rotor needs removed, any tricks to get that glued on screw cover off without bending or otherwise destroying it?
Thanks
. It appears the movement is just a decorated 2824-2 clone. However the claws that hold the dial feet on seem to be buried under the decorated pieces. Is there a way to release the feet without removing the "extra parts"? Or do I need to pull the rotor and decorated plates to get to the claws? Also, if the rotor needs removed, any tricks to get that glued on screw cover off without bending or otherwise destroying it?Thanks